• Protip: Profile posts are public! Use Conversations to message other members privately. Everyone can see the content of a profile post.

Down Under Trackday NSX

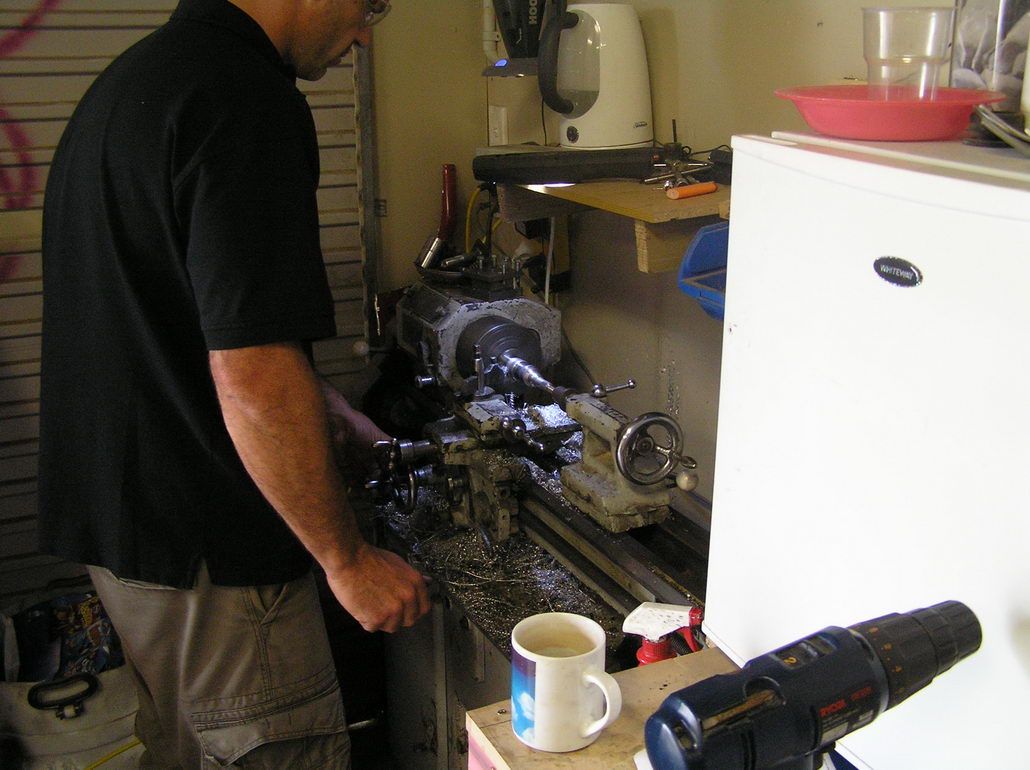
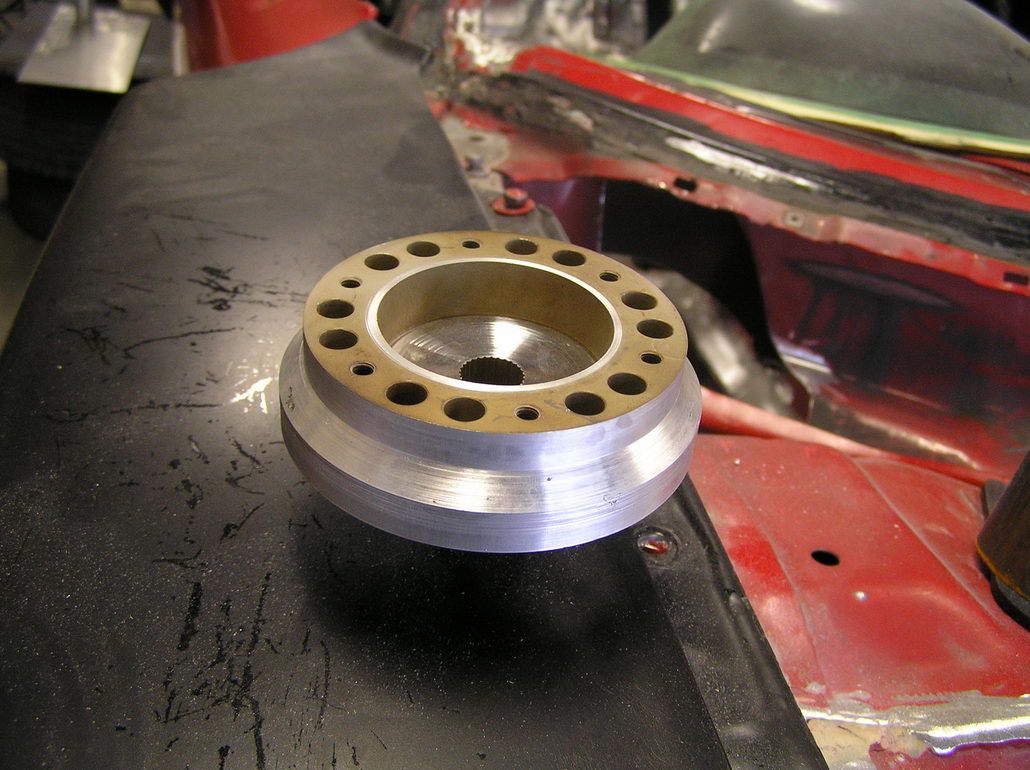
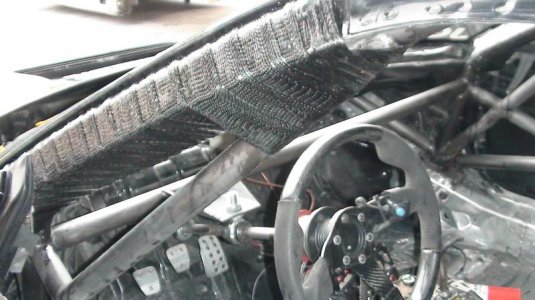
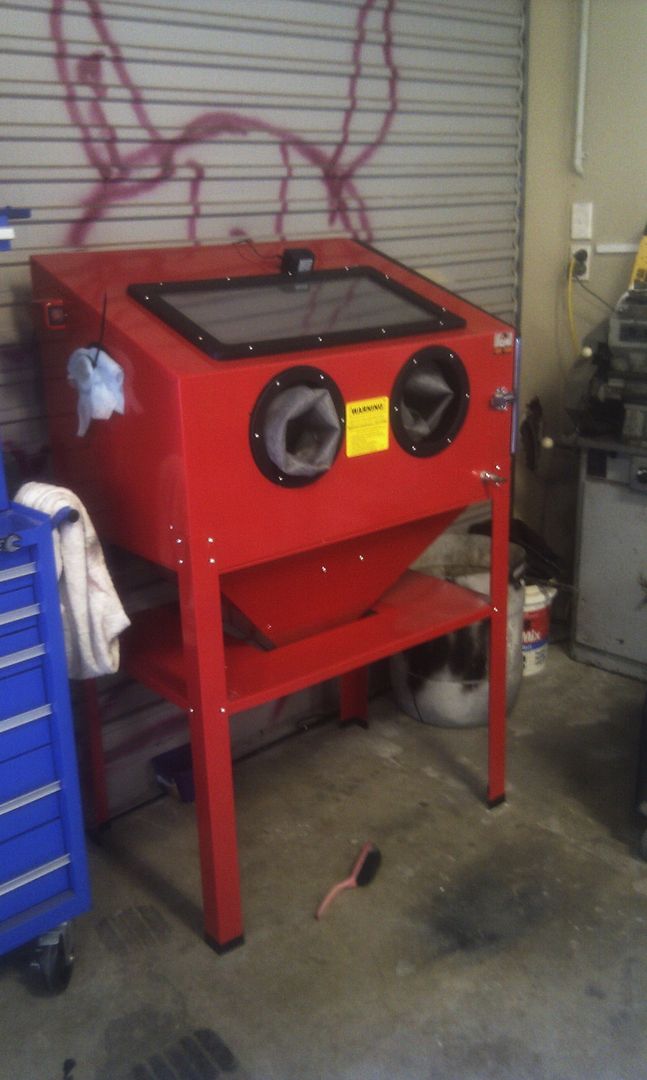
Little bit of progress today......... got a new toy as well which has already done a good job cleaning the intake plenum from Steves R33 GTR.

IMAG0111.jpg


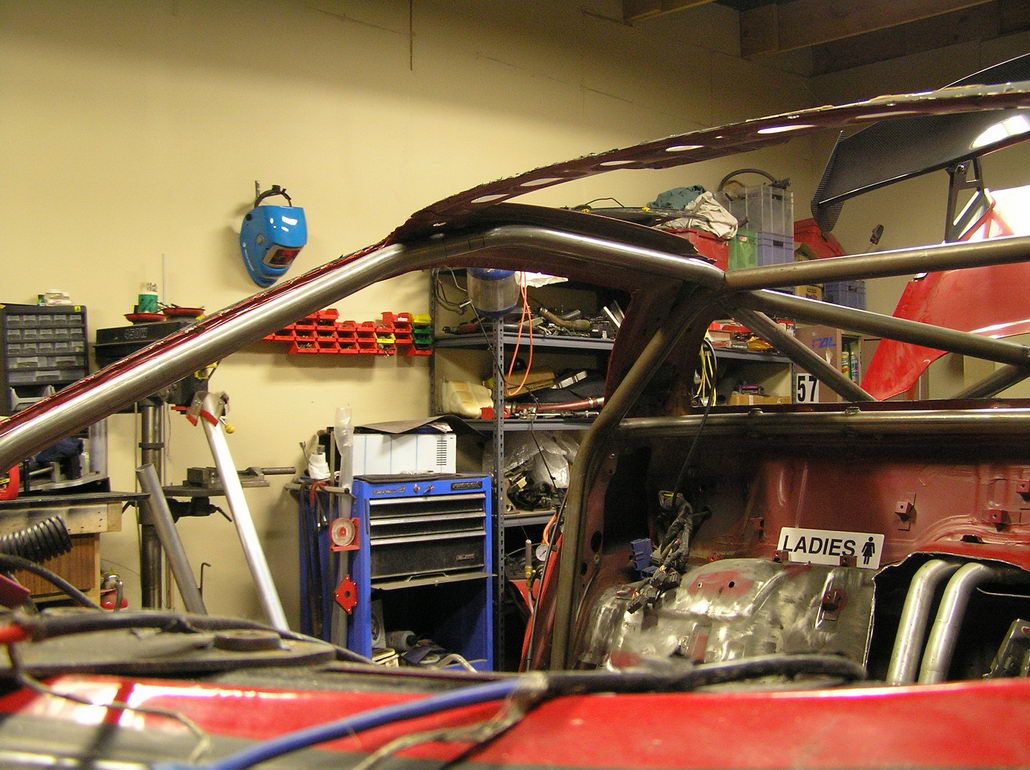
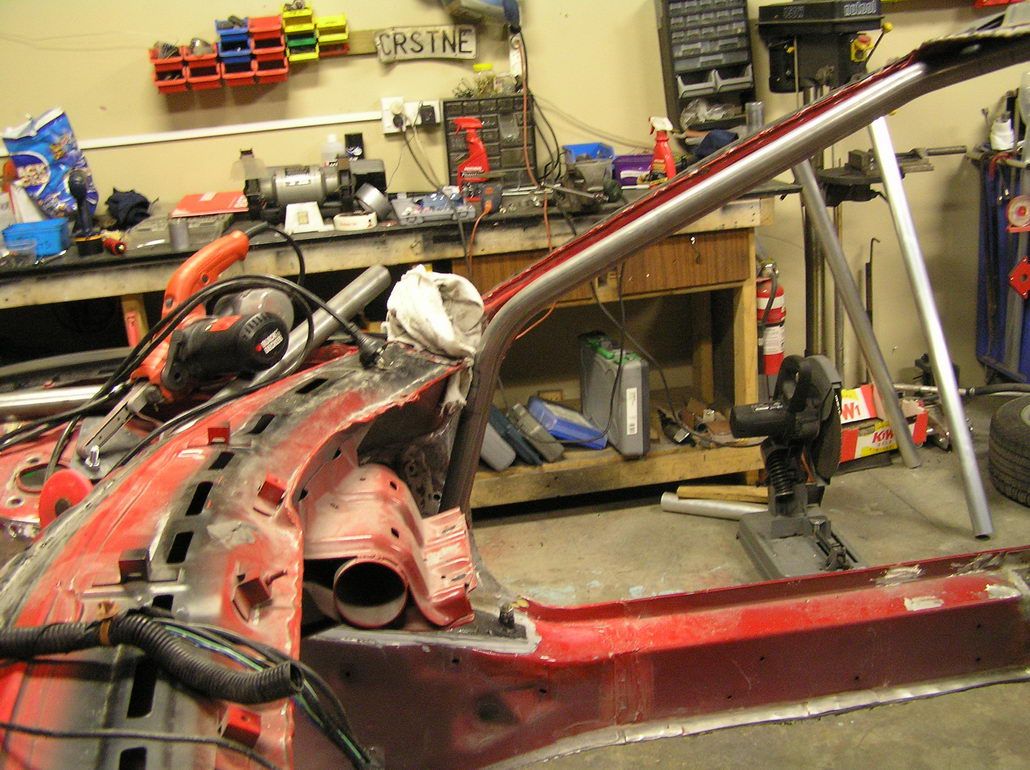
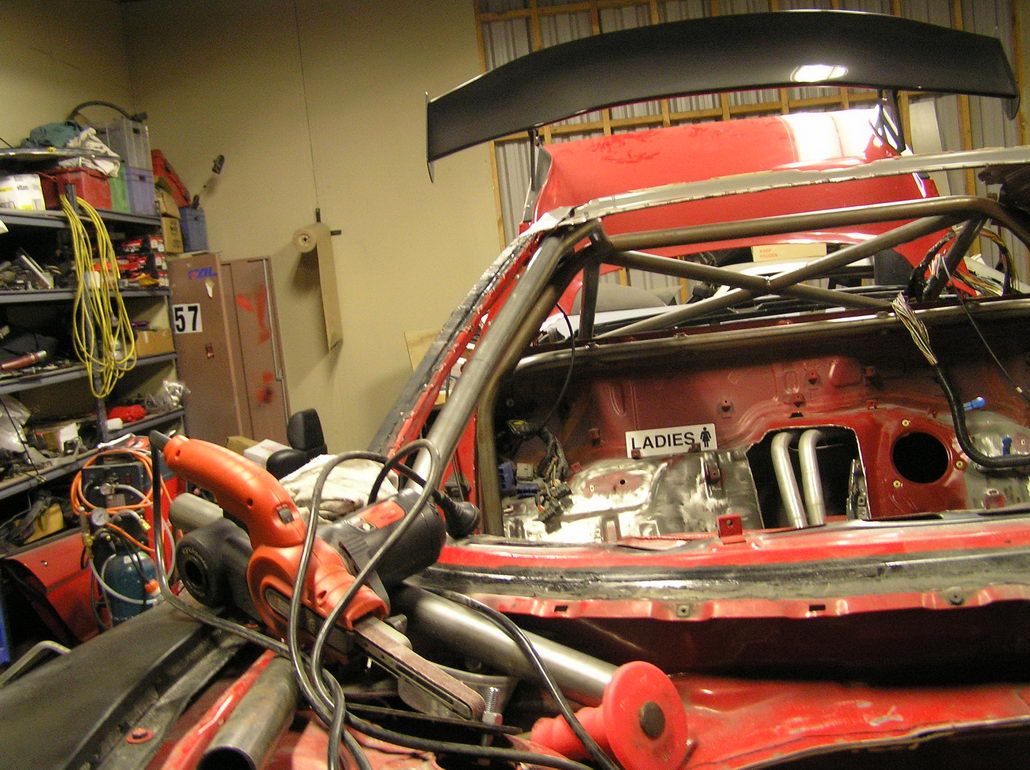
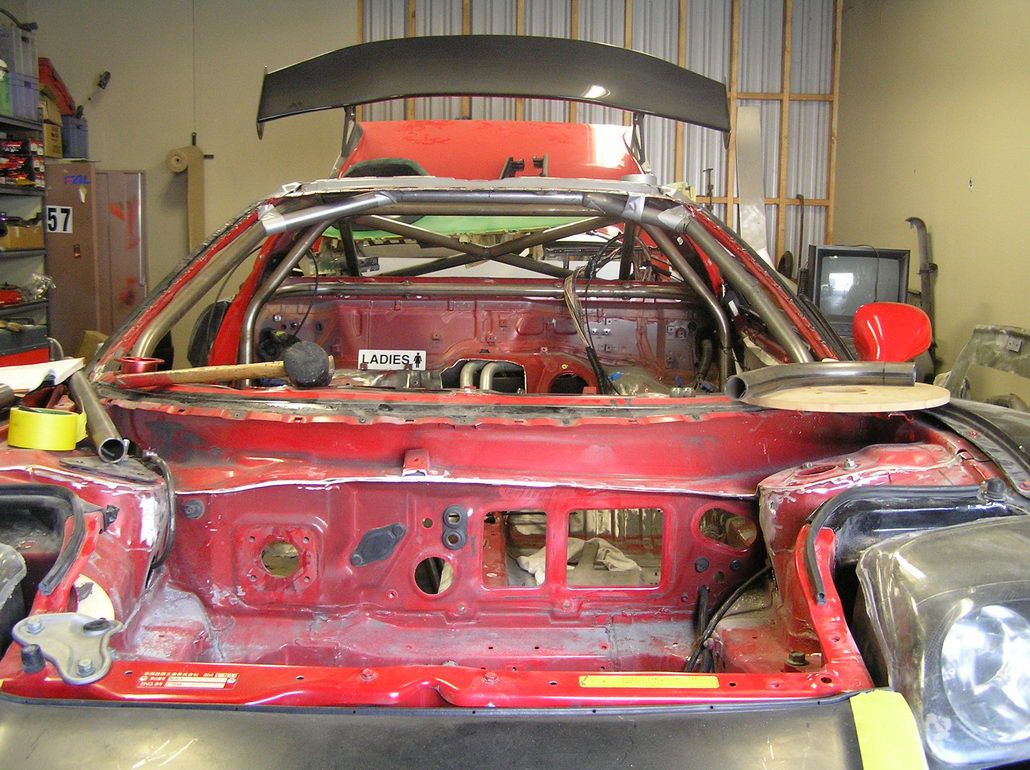
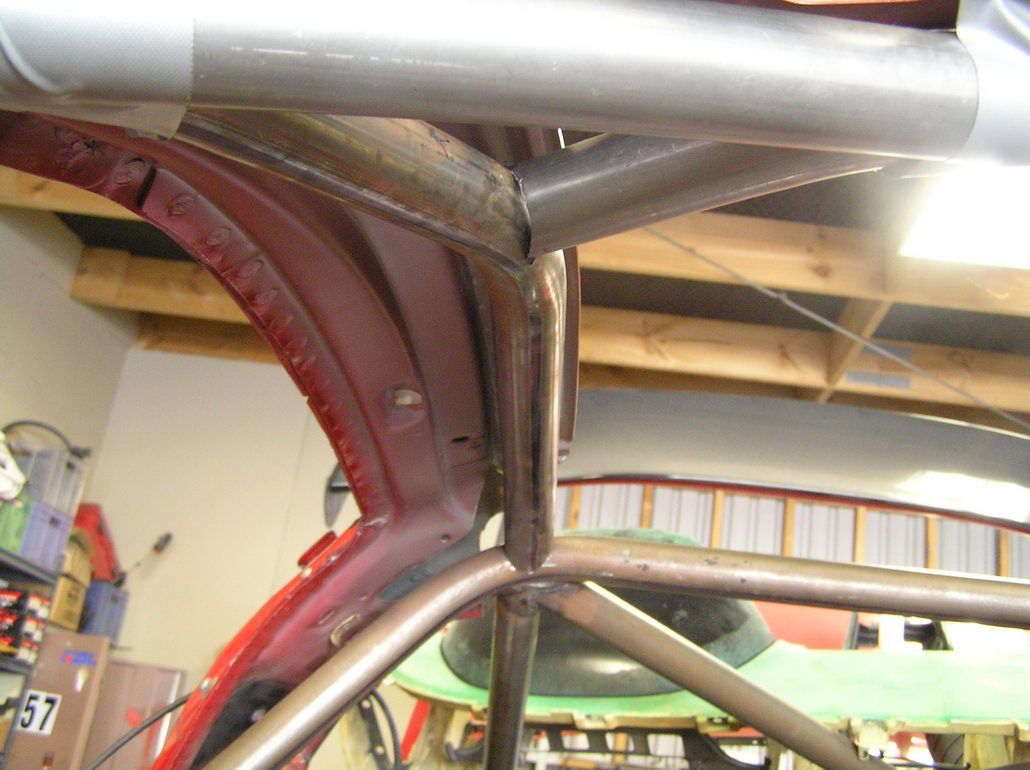
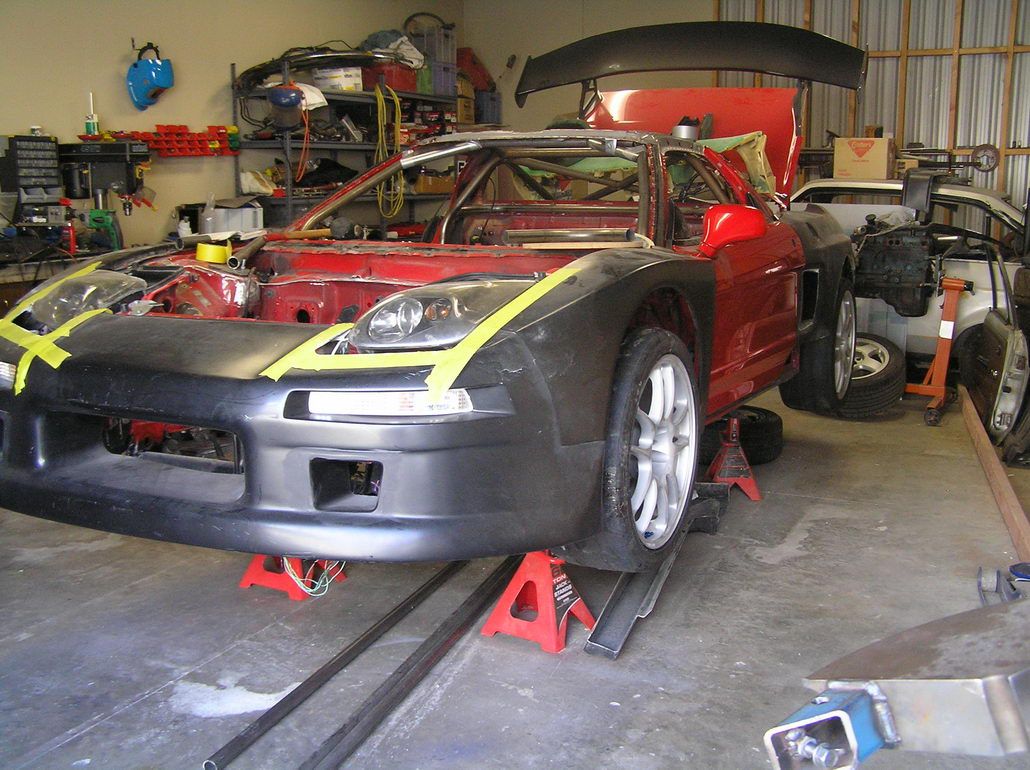
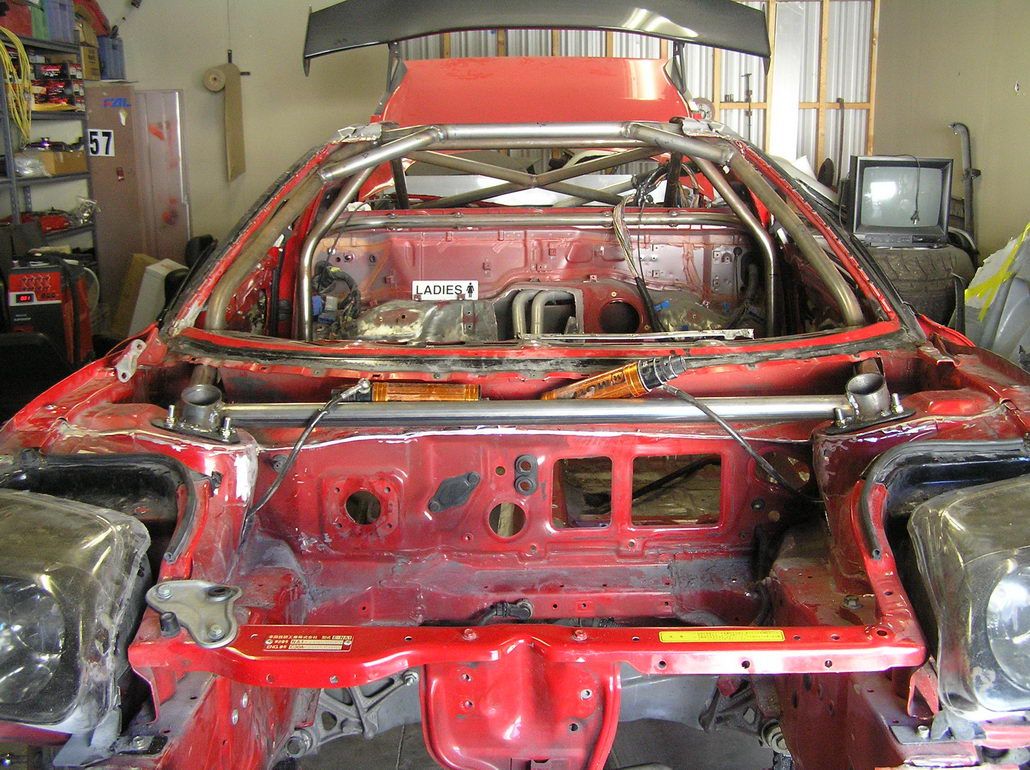
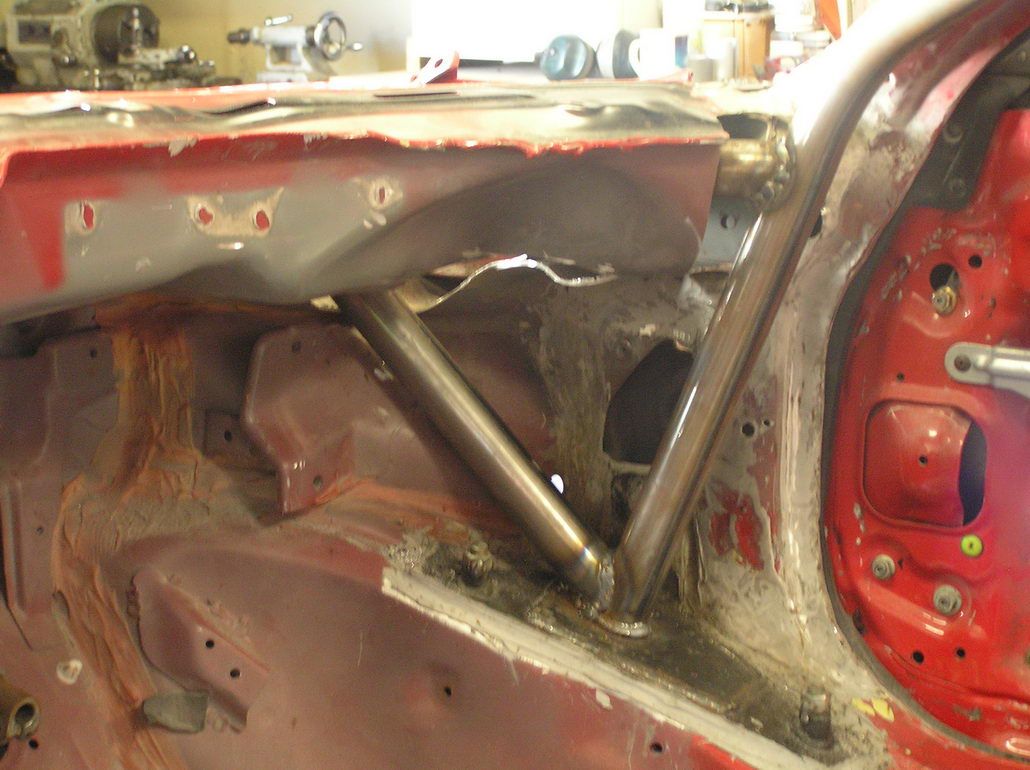
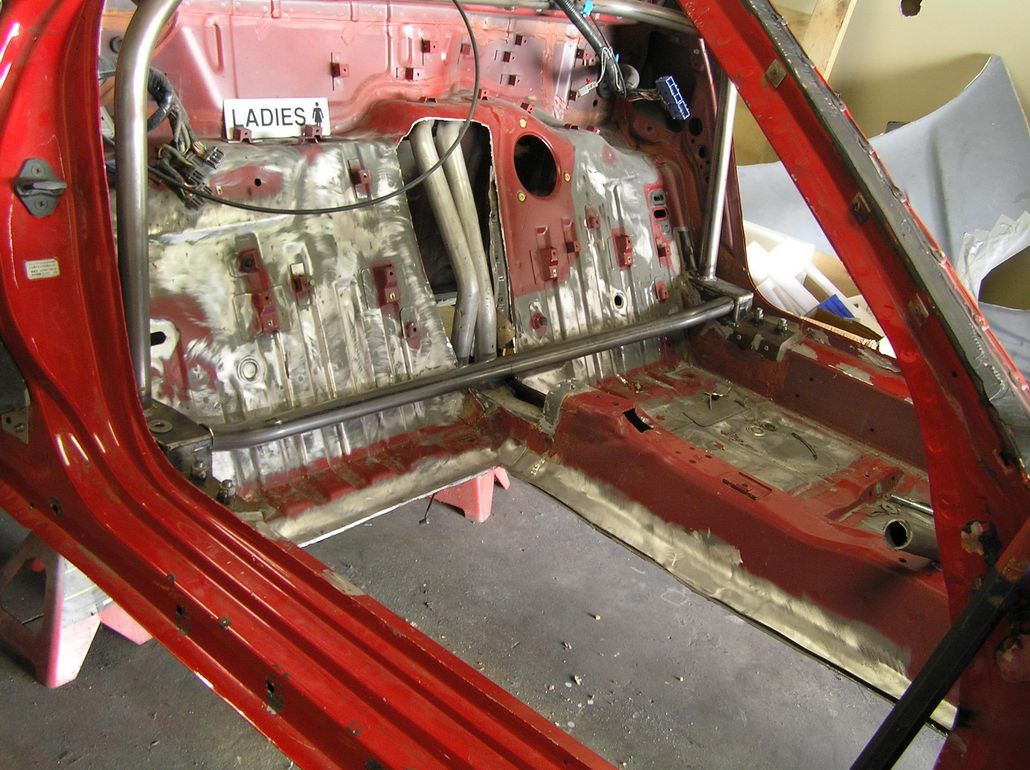
Also we got started on the cage extensions which will support the seat mounting and also Steve's been doing some thinking as well and we'll be able to tie this all into the front of the cage too so overally it will help strengthen things also which supporting the seats properly too.
P2210001.jpg


This is a rough diagram (yes very rough) of what we're aiming to do in the couple of weeks.
P2210001-1.jpg


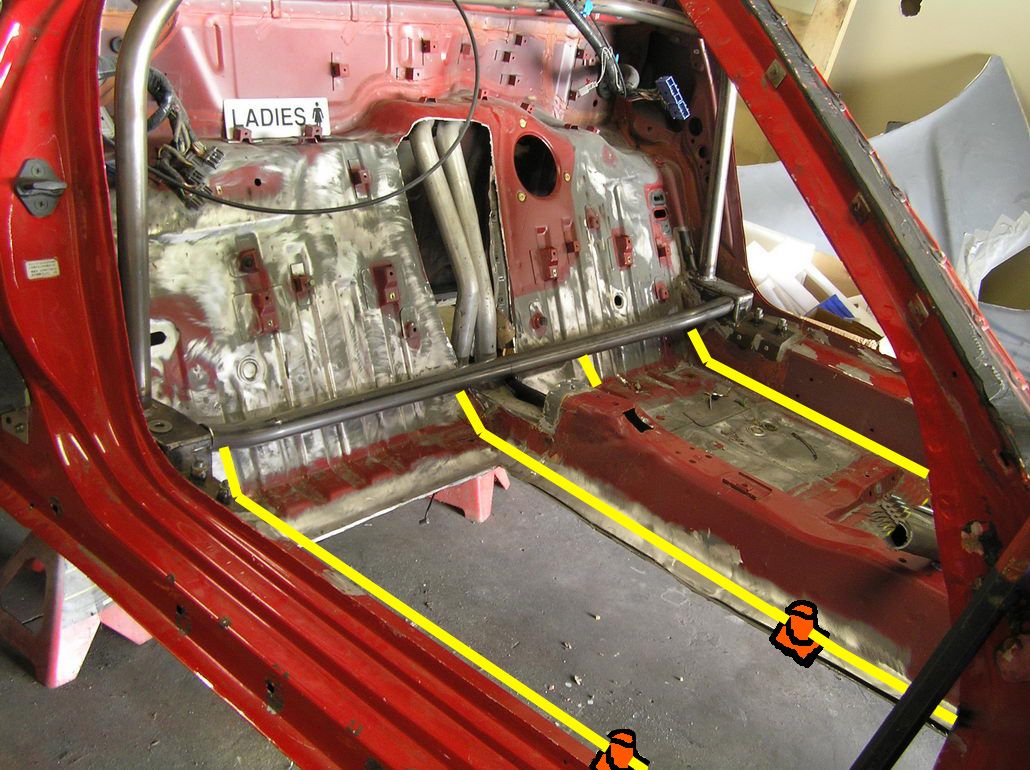
The orange parts shown are some mountings that will be bolted to the floor of the car so the tube from the back part of the car has somewhere to mount to. The bars will continue along to the front of the car and will tie into the front of the cage as well.

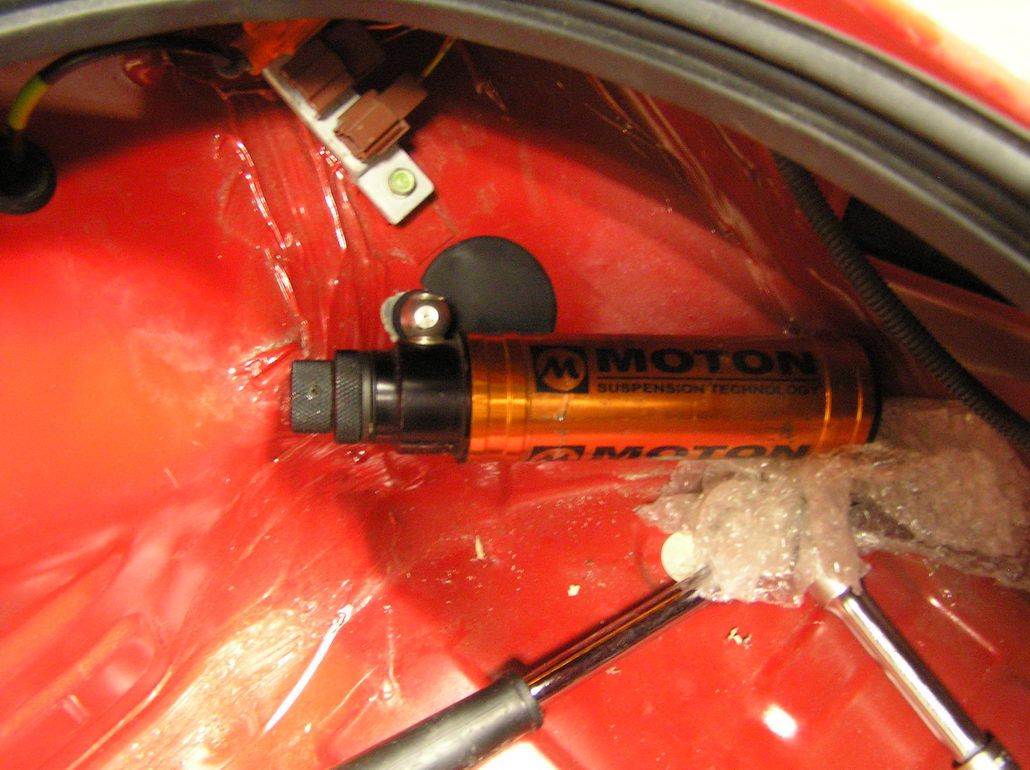
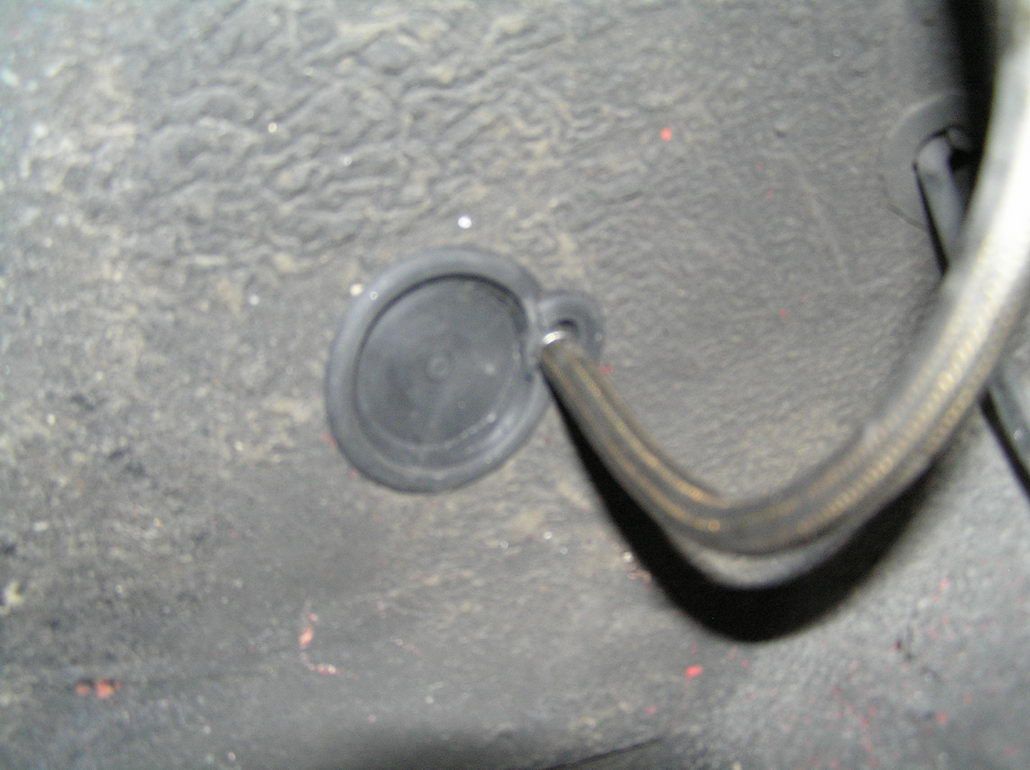
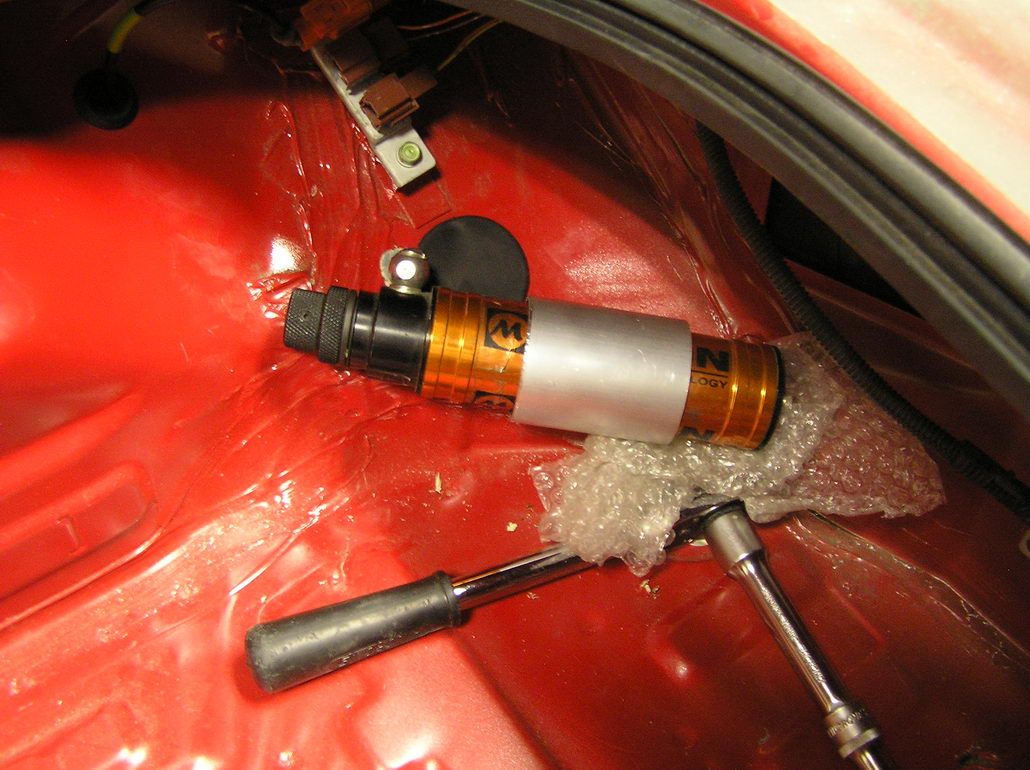
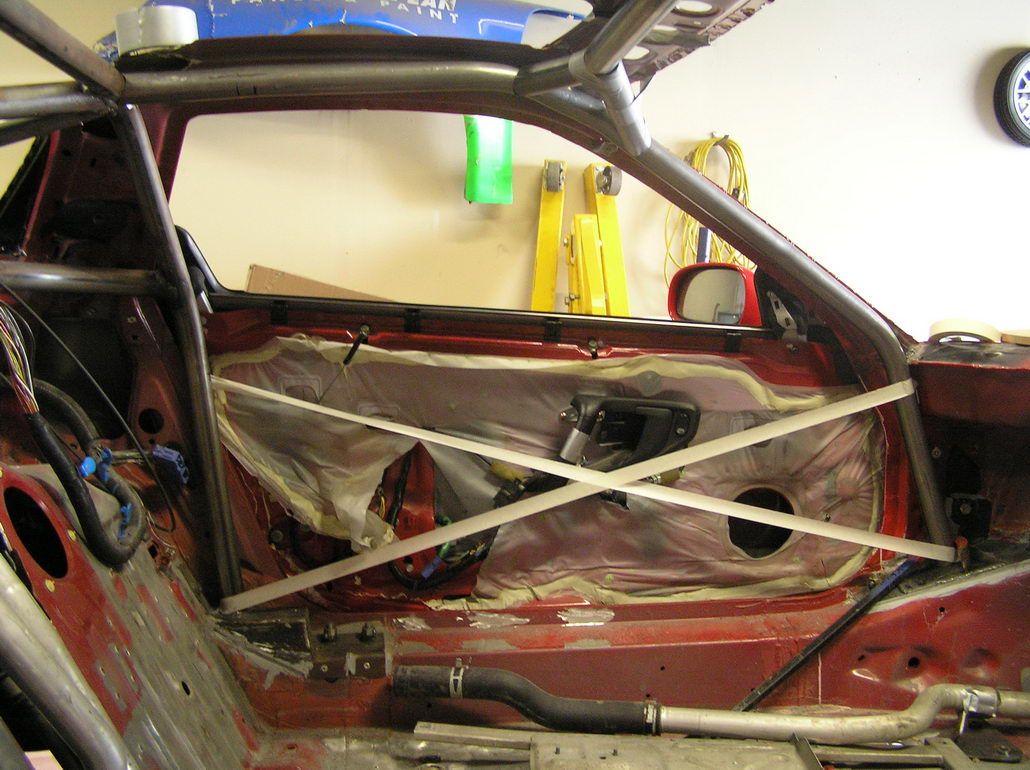
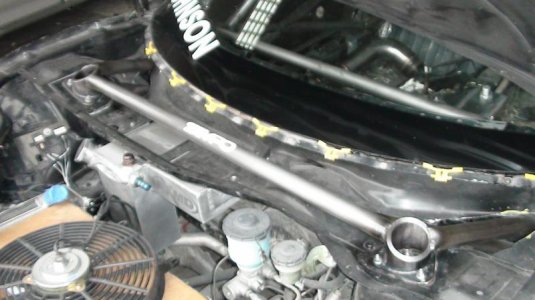
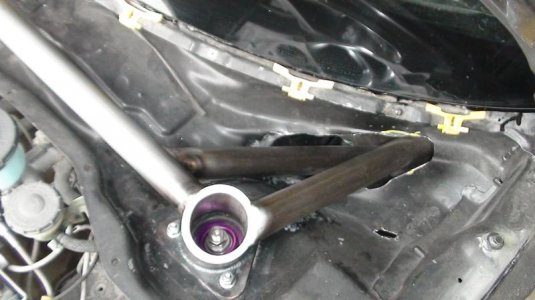
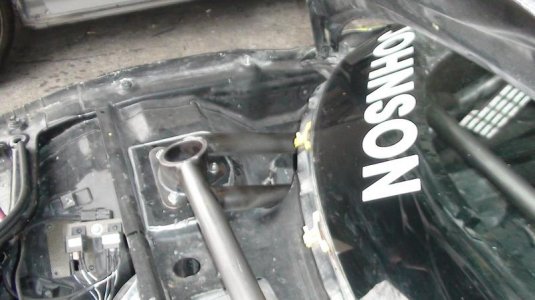
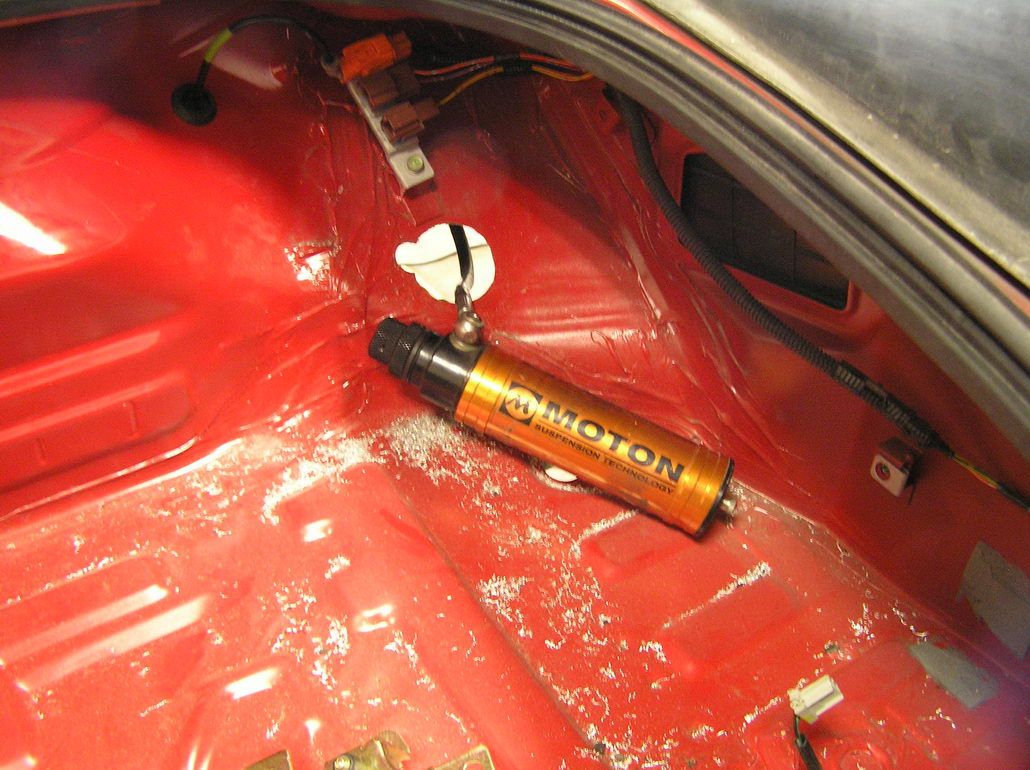
I also started on the mounting of the reserviors for the suspension too
P2210002.jpg
 
so that hole is the floor is so you can hang your bum down there, and thus fit your helmet head under the roof, right ? :biggrin:
 

Is this the trunk? I mean... the boot?

the Bonnet? LOL... I am so confused by what the rest of the world calls the American trunk.

Is that the right side of the trunk? where are you mounting the reservoirs? why not in the engine bay?
 
Is this the trunk? I mean... the boot?

the Bonnet? LOL... I am so confused by what the rest of the world calls the American trunk.

Is that the right side of the trunk? where are you mounting the reservoirs? why not in the engine bay?
Trunk is much cooler than the engine bay and doesn't affect the consistency of the damper as much.
 
Yeah basically what Billy said, and on top of that, to be honest there's very little room in the engine bay to get the reservoirs to anywhere useful that wouldn't mean drilling through some serious structural bits so the boot / trunk is definately the best choice.

We were going to look at mounting them up through the existing holes at the top of the mount, but it was going to get pretty difficult and the above mentioned issues with heat etc meant we just changed to the boot / trunk instead.

I'll take some pictures of the fronts later tomorrow, but that's not something you'll want to do on a road car as I've removed the brace that goes from the side of the front strut towers down to the main chassis rails and then I've drilled a hole through the side of the strut tower for the reservoirs and then we're going to put a bar between the towers at the same height as the old braces once that's done so it will provide at least or more support and give me the easiest mounting points.

My main aim was to keep the braided lines out of the wheel wells to make sure they couldn't foul on anything easily and also mounting them for ease of access for adjustments.
 
Yes thank for asking. We are fine. We're a fair way away and haven't really felt any of the effects from the quake, but Christchurch is devastated as although the quake was only 6.2 I think vs the one last year at 7.0, apparently it felt more like a 9.0 relative to the force people experienced, so no wonder it's done so much damage and unfortunately this time has taken lives :(

New Zealanders and South Island people in particular are very resiliant and will just muck in and get on with it, but my heart goes out to people who have family and friends who are still unaccounted for.

Good to hear it Frasers... and I mirror those comments for those who lost their life’s or loved ones...

build a steel box around that R34 if you get these things annually... and I thought Florida residents were crazy... you guys are truly KIWI
 
Well slow but sure progress in the last couple of days. Steve got some time today to start to think about bending the front legs of the cage as they're a fair bit more difficult as they have to curve in more than one plane in places. He's made what turned out to be his first attempt, but he's not happy with it as unfortunately it doesn't sit as close to the shell as we need it to near the drivers head which is where we're short on space, so I think tomorrow or next week will see attempt number 2 ! This effort looks pretty bloody close though !

P2230005.jpg

P2230006.jpg

P2230007.jpg


Next I got hold of some rubber grommets to fill the space I had to cut to get the suspension reserviors through the body of the car so I cut those to shape. These pics will give you the idea of how it will look and the last picture is an alloy tube I've made up that will clamp around the reservoir and hold it in place, but that's still to be finished.

P2230008.jpg

P2230009.jpg

P2230010.jpg

P2230011.jpg


And then I needed to make sure that the front bumper was sitting in the right place without the front splitter fitted, as we've got to make some modifications to the front bumper for the new headlights and I didn't want to make it all fit nicely and then fit the front splitter only to find it raised to dragged the front bumper down and it was all a waste, so I just cut out some customwood to a rough shape and jacked it up against the bottom of the car where it will sit and bolted it in place.

Before anyone says anything, it was a 20 minute job with a jigsaw, so it's not the final splitter or shape, just wanted to make sure it was flat, that was all at this point, but once again gives you the idea of how the front splitter will sit when made for real.

P2230004.jpg
 
He's made what turned out to be his first attempt, but he's not happy with it as unfortunately it doesn't sit as close to the shell as we need it to near the drivers head which is where we're short on space, so I think tomorrow or next week will see attempt number 2 ! This effort looks pretty bloody close though !


Hey Fraser,...3 relevant suggestions:

1. Re-configure the front down-tube so that it kinks out towards the window frame as much as possible.....EVEN if the tube winds up slightly lower where it attachs to the main bar. This exact problem is something I've worked thru on my cage, & because of helmet clearance issues, it's WAY better to have the bar be outboard your helmet as opposed to above. I have seen many Corvette cages built where the same bar actually curves outward into what would normally be the top of the window opening (since most sanctioning bodies don't allow windows anyway), just to gain precious helmet clearance.

2. I was able to position my Cobra race seat (VERY similar to your Racecraft) 1.75" off-center....closer to the tunnel (as measured at the front OEM seat mounting holes). This simple mod completely eliminated my constant helmet rub (forget having a nice looking helmet). I'm not sure if you're going to use aftermarket pedal assemblies, but in my case, the Tilton "hanging" pedals actually wound up more ideally-suited to the off-center driver placement! Probably wouldn't feel right though with the stock steering column. Woodward builds the BEST collapsable column (9" of collapsability) for VERY reasonable price (less than $ 300)

3. If you REALLY want to create some room (& since you already have cut out your floor), why not cut-out & re-locate the tunnel 2-3"? It is structurally very important to the tub....in that is engineered to be a spine. You can improve on this OEM spine theme with a taller, triangular-profiled tunnel, AND incorporate one of your "seat-tubes" as one of the longitudinal "base elements" of the triangle! Result?...stronger, more rigid tub, with WAY-better driver position!

Keep up the good work....project looks very nice!

Dale
 
Don't listen to Dale.... the guy barely knows what he is talking about... he just likes to cut holes in various pieces of aluminum and talk fancy... I'm onto him.
 
Thanks for the suggestions Dale, I totally get what you're saying and I think we may incorporate some of those things into what we're doing anyhow and had considered slightly offsetting the drivers seat if we can get away with it without touching the tunnel for now, but we'll see.

Bit of a disaster on the brake front today as I've been working to get them all mounted properly and I've just spotted that the 2 x F50 calipers I purchased from another Prime member are actually the same !! I mean exactly the same ! So I've got 2 left side calipers instead of a right and a left !! :(

I don't believe I'm going to be able to source the other one either as the guy I purchased them from, got them from someone else who split them up so he's no doubt driving around with 2 x right side calipers without knowing !

Gutted :( so now it looks like I've made a resonably large investment in a braking setup that is worthless as no one wants one caliper and I've got no doubt it's going to be near impossible to purchase one at a reasonable price to match it !!! Arse.............
 
Well we've been making some very reasonable progress on all counts, but some of it is hard to see in photos.

Zac from Carboglass has been helping to get all of the rear guards, front guards, side skirts and front bumper parts all nicely aligned and has today modified the bonnet for the new headlights so we're getting on with the bodywork which is making it feel like a real car again !

He estimates we'll have it all done in about 2 weeks which is awesome as I had allowed a fair bit more time, but luckily he's been able to come by to do stuff during the day as well as dropping by on nights and weekends too at our workshop so we've been able to take a big chunk of time of my guestimated go date.... !

I also clicked to the fact that I had 2 x Work CR KAI wheels off my Civic that were sat at the paint shop that were the same size and width as the proposed wheels 18x8.5" and so I got 2 of my race tyres fitted up so we could check clearance for brakes and bodywork etc etc and I love the look of the car with good size wheels sitting flush !

P3010012.jpg


This shot gives you an idea of width / clearance
P3010013.jpg


Then Steve has also been putting in some serious time to get the front legs of the cage finished as well as a windscreen bar and some supports. Hopefully tomorrow we're planning on getting the bars extended through the firewall to the front strut towers and then planning out the seat mounting bars and side impact bars (rough position shown in white tape in photo)... thanks Steve and Zac for the efforts, they're much appreciated !! :)

Obviously, these are by no means a finished product so fitment and position will all be sorted before it gets welded of course !!

P3020014.jpg

P3020015.jpg

P3020016.jpg


Then got the headlights all fixed in securely and carved out the openings in the bumper for Zac to work his magic on !
P3020017.jpg

P3020018.jpg
 
OK so.......on the subject of wheels, it seems that even with a larger offset and smaller rotors that the SSR's are no longer an option :( (they still rub and I don't see why I should get custom wheels and have to use spacers !

So here's the next option (these will clear OK as far as we've measured !)

They're a brand new wheel from Work called the M1-R, 2 piece in the right size and offset !!......... I like .......... opinions ?

5371651992_e0eb09cec4_o.jpg

5371046063_15488c0779_o.jpg
 
Last edited:
I think around 20lb according to what info I can find for the fronts, and I guess maybe 24-26lb for the rears ?

I honestly don't care........ any good quality wheel these days is pretty light so it's neither here nor there for me. I'm not chasing every little bit of weight for the car or else I'd have not done some of the stuff I've done.

I want it to be easily used rather than a headache. I've given up weight for safety in the cage design too.
 
Well we really feel like we're making some progress now with the work both Steve and Zac have been doing as well as the time I've spent on the car recently, we're really starting to get things done !

Steve's put his mad skills with his lathe to good work in the last couple of days and machined up a custom steering boss for everything to fit on so now I've just gotta paint or powder coat it and it's ready to rock and roll !!

P3040027.jpg

P3040019.jpg

P3040020.jpg

P3040021.jpg

P3040022.jpg

P3040023.jpg

P3040024.jpg

P3040025.jpg

P3040026.jpg
 
Well today was a momentus day................. we finally got the front of the rollcage in and welded up.......... awesomeness :)

Steve worked his magic and spent a good amount of time welding up all of the bars so we could take pictures for Motorsport NZ to OK the rest of the cage.

Now we're not 100% done as there's still a fair amount of work to do as we are building the mounting rails for the seats into the cage and then connecting it all together with the front dash bar which is also part of the cage, but the cage itself is now whole :)

P3070065.jpg

P3070066.jpg
 
Fraser.. I know you’re not done with the cage... but a piece of advice on the pillar bars to the front strut bar...

Add a secondary pipe from the center of the 2 forward pipes coming off the pillar bars.

The amount of triangulization formed on this method is exponential.

Here are some pics from the FXMD cage build... it should help explain the above.

attachment.php


attachment.php


attachment.php


attachment.php


Your mirrors leave tomorrow... once again... impressive build.

Regards
 

Attachments

  • DSC00043.jpg
    DSC00043.jpg
    53.8 KB · Views: 1,928
  • DSC00044.jpg
    DSC00044.jpg
    50.2 KB · Views: 1,916
  • DSC00045.jpg
    DSC00045.jpg
    52.5 KB · Views: 1,913
  • DSC00055.jpg
    DSC00055.jpg
    65.4 KB · Views: 2,082
Back
Top