Hi,
I was searching for DIY before this installation and couldnt really any with pictures, so I decided to make one.
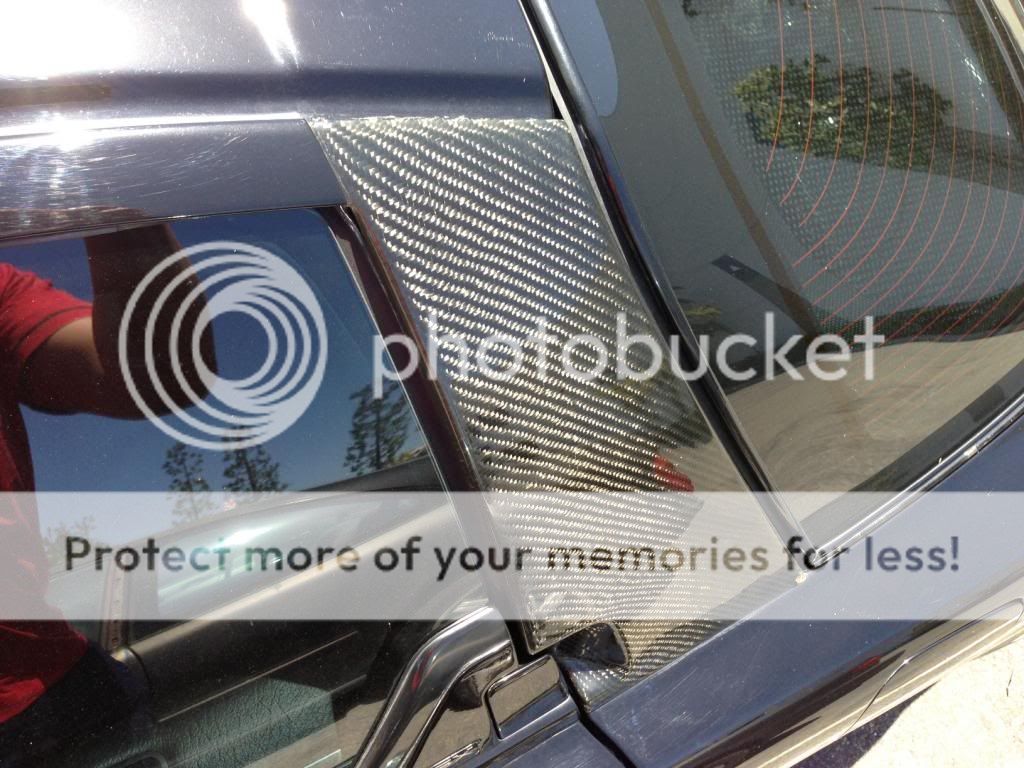
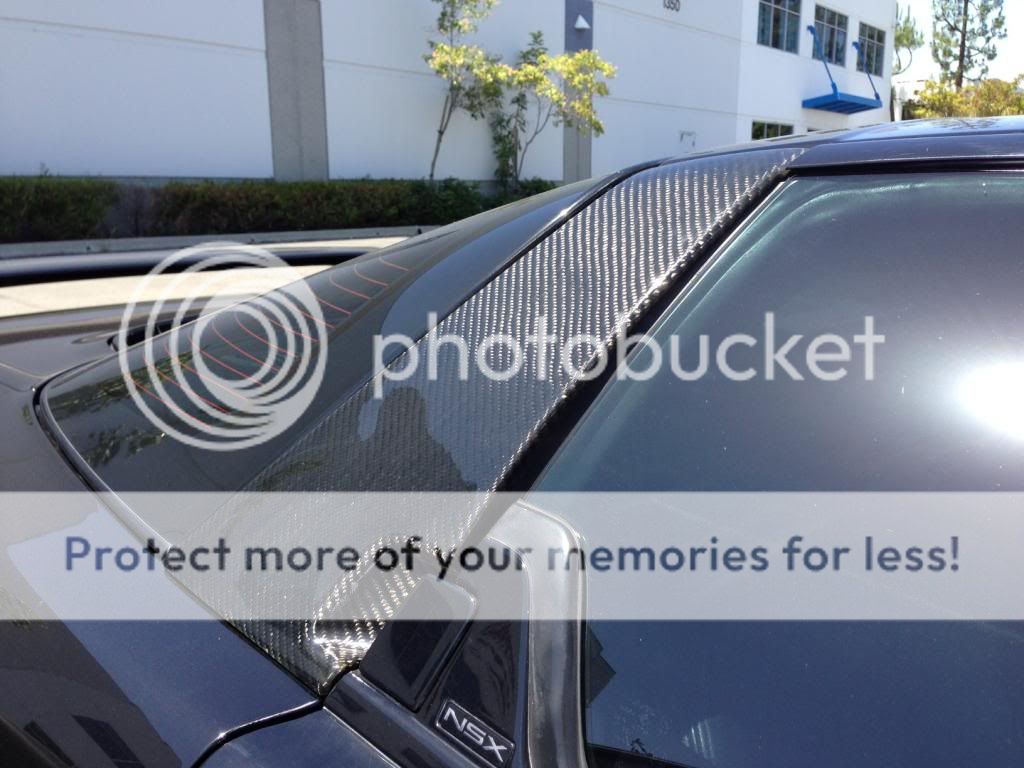
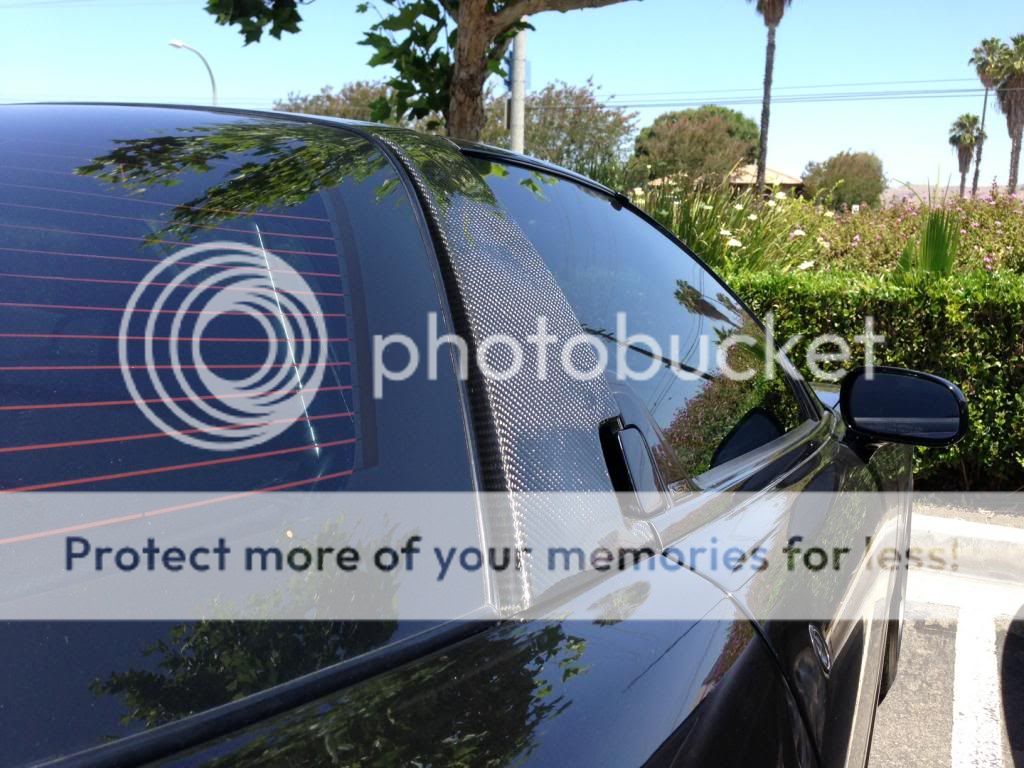
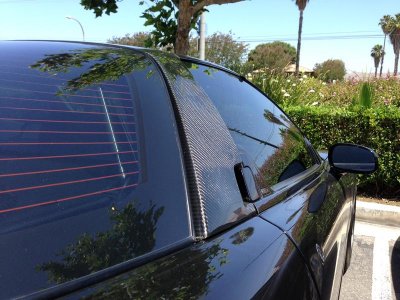
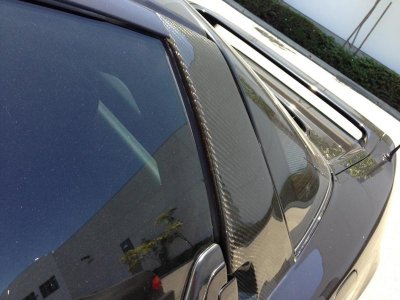
These are I's Impact pillars and I got them through Science of Speed. I got the I's Impact side vents with DF AIS and will be installing them tomorrow.
Note - I skipped the rear panel removal part on this DIY but they ALL need to come out. However, the front end (near the windshield) headliner does not need to be touched !!

Pull the door padding from where my hand is. Don't be afraid, just pull up and it will come off w/o breaking anything

It'll look like this once the padding is removed

Remove the three screws holding the rear side panels.

Pull the door molding. You do not have to compeletely remove them. Just pull them out to the top of the door

Like that !

Unscrew the single screw holding the rear pillar. Once this screw is removed, you need to now use the flat head screw driver to clip off three clips securing the pillar to the body. This is little tricky but REALLY easy

if you look closely, you'll see a flat metal piece sticking out. PLace your screw driver on top of it, and push it down. And wala !! they will come out easily !!


Unscrew the single screw securing the rear end headliner to the body

Then grab the headliner with two hands (approximately where I am holding it since that's where the clips are located) and pull down. You'll need to put some muscle to it...but not too much. You need to do this because in order for you to get to the upper stud holding the B-pillar, you need some room underneath the headliner. B-pillar is held by two nuts.

On the bottom - 8mm deep socket must be used. And for the bottom one, you will need an extention to get to it.

one on top..it is hidden underneath the headliner. Notice how I flexed my headliner alittle.

Once you unscrew them two nuts, pull it hard. You want to wiggle alittle since they are on their pretty tight. Start from the bottom end, grab and pull towards your body - really hard

Once the bottom end gets free, grab the top end. HOWEVER, instead of pulling towards your body, you have to pull diagonally towards the hatch because of the way the top end of the pillar is mounted. You'll know what's I'm talking about


Remove the two studs from the OEM pillar

Don't forget to put a new weatherstrip - I got mine from Advance auto for $7
 When you are installing your new B-pillar, install the bottom stud ONLY and mount/align your new b-pillar. You cannot put both studs as it is almost impossible to align it with both studs intact. Once aligned properly, re-install the lower nut from inside.
 Now, take the other stud, and install it from inside. You'll need a buddy/gf/wife (pref someone with small hand) to help here since one person need to push the b-pillar against the body while the other person trys to find the hole/thread it from inside.
Re-install your panels and you are done !! This is reallllly EASY !!
I hope this helps !
I was searching for DIY before this installation and couldnt really any with pictures, so I decided to make one.
These are I's Impact pillars and I got them through Science of Speed. I got the I's Impact side vents with DF AIS and will be installing them tomorrow.
Note - I skipped the rear panel removal part on this DIY but they ALL need to come out. However, the front end (near the windshield) headliner does not need to be touched !!
Pull the door padding from where my hand is. Don't be afraid, just pull up and it will come off w/o breaking anything
It'll look like this once the padding is removed
Remove the three screws holding the rear side panels.
Pull the door molding. You do not have to compeletely remove them. Just pull them out to the top of the door
Like that !
Unscrew the single screw holding the rear pillar. Once this screw is removed, you need to now use the flat head screw driver to clip off three clips securing the pillar to the body. This is little tricky but REALLY easy
if you look closely, you'll see a flat metal piece sticking out. PLace your screw driver on top of it, and push it down. And wala !! they will come out easily !!
Unscrew the single screw securing the rear end headliner to the body
Then grab the headliner with two hands (approximately where I am holding it since that's where the clips are located) and pull down. You'll need to put some muscle to it...but not too much. You need to do this because in order for you to get to the upper stud holding the B-pillar, you need some room underneath the headliner. B-pillar is held by two nuts.
On the bottom - 8mm deep socket must be used. And for the bottom one, you will need an extention to get to it.
one on top..it is hidden underneath the headliner. Notice how I flexed my headliner alittle.
Once you unscrew them two nuts, pull it hard. You want to wiggle alittle since they are on their pretty tight. Start from the bottom end, grab and pull towards your body - really hard
Once the bottom end gets free, grab the top end. HOWEVER, instead of pulling towards your body, you have to pull diagonally towards the hatch because of the way the top end of the pillar is mounted. You'll know what's I'm talking about
Remove the two studs from the OEM pillar
Don't forget to put a new weatherstrip - I got mine from Advance auto for $7
Now, take the other stud, and install it from inside. You'll need a buddy/gf/wife (pref someone with small hand) to help here since one person need to push the b-pillar against the body while the other person trys to find the hole/thread it from inside. Re-install your panels and you are done !! This is reallllly EASY !!
I hope this helps !
Last edited: