Hi!
Thought I would share my recently acquired knowledge of interior reupholstering. But first, I would like to give a big thanks to all the people who have contributed with their knowledge, expertise and experience to this great forum. I've gained a lot of insight and basically all the knowledge I have of the NSX originally came from reading up on hundreds and hundreds of threads and posts, and reading the wiki. So a BIG thanks!
Introduction
My name is Johan, I am 26 years old and I am a happy and proud owner of a 1991 Veilside Widebody Acura NSX which I got my hands on almost a year ago now. The car is stock except for the widebody kit, rims, exhaust, rims and painted interior panels (Formula red, same as exterior).


Now, the car is over 20 years old and the interior is not in a good shape and I would like to do something to it. Enhance it. And then I found these awesome NSX's:
Synergy004

Jetpilot3

Quickly found out that the cost of getting this done professionally would set me back at least 3k, if not more. Now, I did seriously consider this option, but then I met a guy named Christer aka "marbling" who owns an Opel GT. He had done all the reupholstering himself, check out his build thread here:
http://www.skyroadster.com/forums/f2/last-new-modds-my-opel-gt-2011-a-37818/
Christer gave me the courage and inspiration needed to tackle this job myself, and he provided answers for my questions before I started and a few tips and tricks. :biggrin:
Enough of this talk, let's walk the walk!
The basics
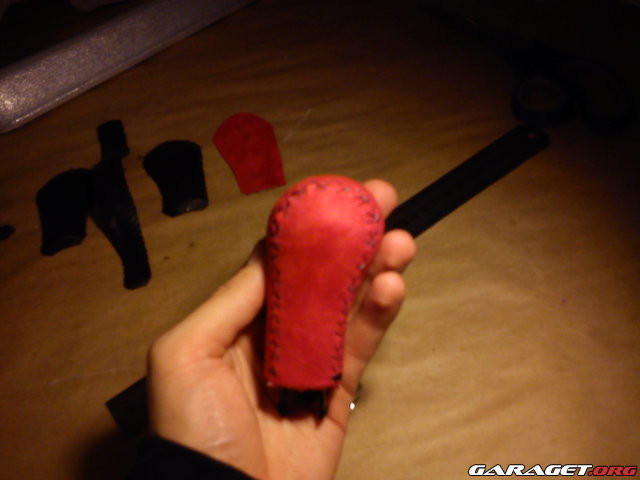
There are many ways to do upholstering work, I'm presenting one way of doing it which works for me. This part will cover the process of wrapping plastic or wooden interior panels without any stitchings. That will be covered in part 2.
The interior panels in the NSX consists of three layers. First, the structural part which forms the shape of the panel, made out of molded plastic or wood. Not very exclusive, but it does the job. The second layer is made out of a thin piece of foam which gives the panel a feeling of being soft, when touched. The third layer is the actual fabric. The fabric is glued to the foam which is then glued to the structural part (or stapled). So no rocket science here. On to the process.
Step 1
Prepare yourself for this project. This is not a weekend project if the entire interior is being done. Plan ahead and realize that your car will probably be sitting in the garage for a couple of weeks, maybe even months. Get all the equipment and fabric required before doing anything, otherwise you'll risk performing a task without the proper equipment, resulting in a sub-optimal end result. And order more fabric than you think you will need, the same goes for the glue.


Shop list:
*Fabric of your choice in sufficient amount (I started with 10 m2)
*Foam layer in sufficient amount
*A suitable bonding agent
*A good quality stapler with 4 mm staples (length of "legs")
*A good pair of high quality scissors
*Some sharp knives in different sizes
*Marker pen (normal ink pen will do)
*Some cheap brushes
*Suitable tools for removing the panels from the car
Some notes on the glue. I am using a water based contact glue. Easy to work with, dissolves in water if not cured, and gasoline removes cured glue. This contact glue needs to cure for about one hour, and both parts need it. When fully cured, the two parts are brought together and it's instant stick! No second chances. But if it goes wrong it can be pulled apart and the glue can be "rolled" off from the part using your thumb. Then just redo it.
Warning! Make sure the glue you are using are adapted to your climate! You don't want the glue to release and form air bubbles under your panels, as this will ruin your interior completely. It can get pretty hot in the sun somedays.
Some notes on the foam. 2 mm thickness is a good rule of thumb. Too thick, and you won't be able to get it around edges. To thin and it won't fulfill it's purpose. Where to get? Any store that sells laminate flooring. I use some which is supposed to be placed under the floor.
Step 2
Remove the interior panels you wish to reupholster from the car. Now, this could be a DIY guide by itself, but the excellent service manual serves this purpose perfectly. Take your time, do it step by step in the order the manual states and it won't be any hazzle. I got the instrument panel out in about 6 hours myself, of which at least 2 were spent eating snacks and occasional walks to stretch my legs. The entire interior was out in less than 12 hours, of which about 8 were working hours without any rush. It's not difficult, just takes some time.
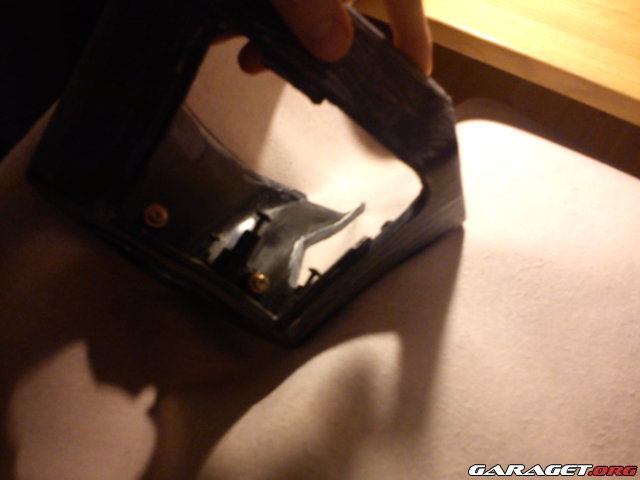
Tip 1: Be careful when removing the parts which are mounted to the car with clips. They are stuck pretty darn hard sometimes. Easy to brake the plastic, which I did for some of them. Don't panic if that happens, just glue it together again, it will be like new.
Tip 2: Whenever a panel is removed, collect all screws and/or clips and place them in a small plastic bag and seal it. Make a note on the bag which part the fasteners belong to, in order to ease the installation later on.
Tip 3: Don't panic by the sight of the naked interior of the car, with all of the electrical harness exposed amongst other things. It looks worse than it is.
Tip 4: This is a good time to to some proper wiring for an aftermarket audio system or other aftermarket electrical items. Also a good time to to some work to the AC system, like replacing the evaporator if it's leaking, like mine is.
Some pics of the process:


Step 3
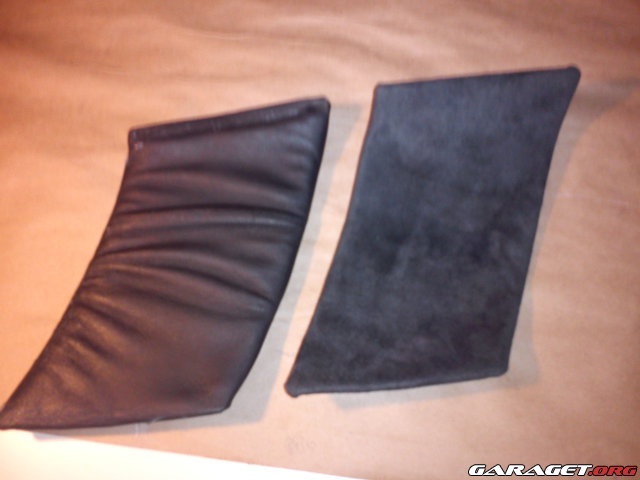
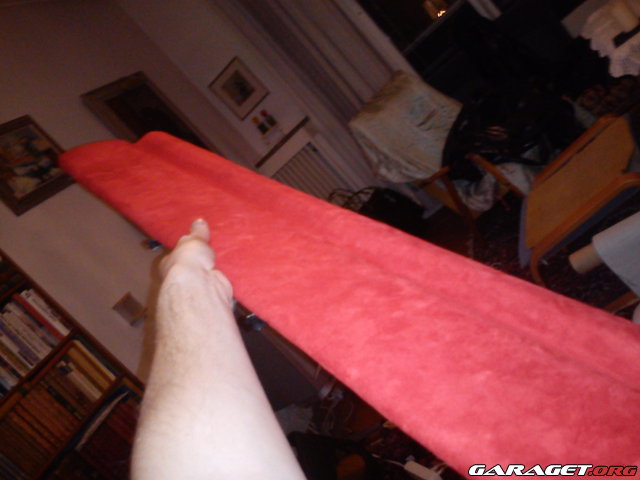
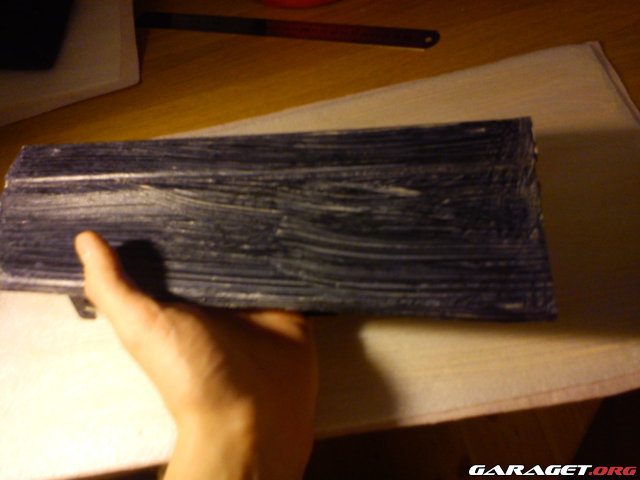
Start with the easiest part. The more complex shape and larger size of an object, the more difficult it is to work with. The easiest parts are the two flat panels sitting behind the seats, on the wall.
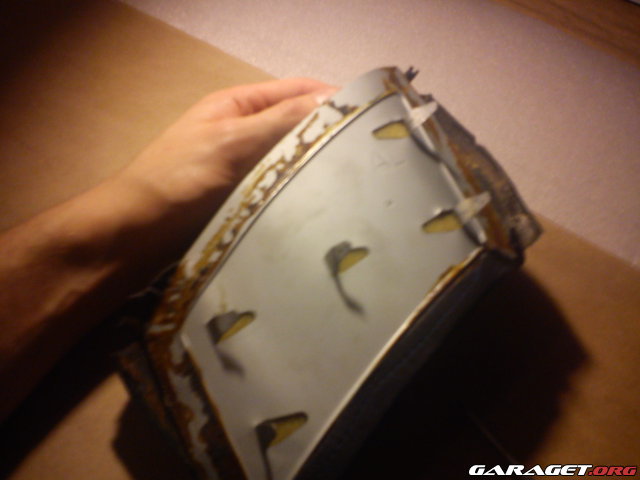
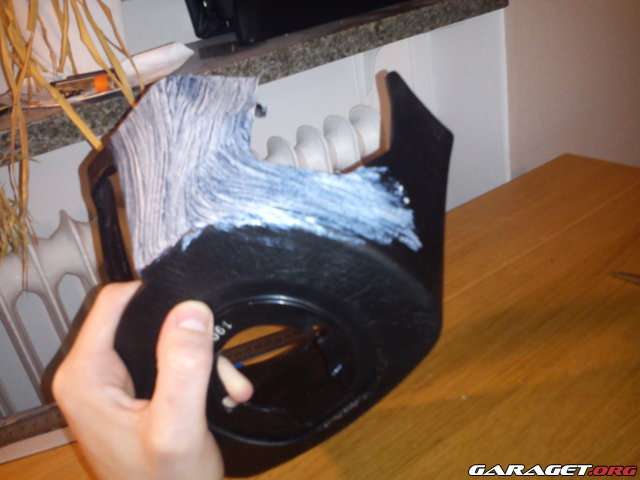
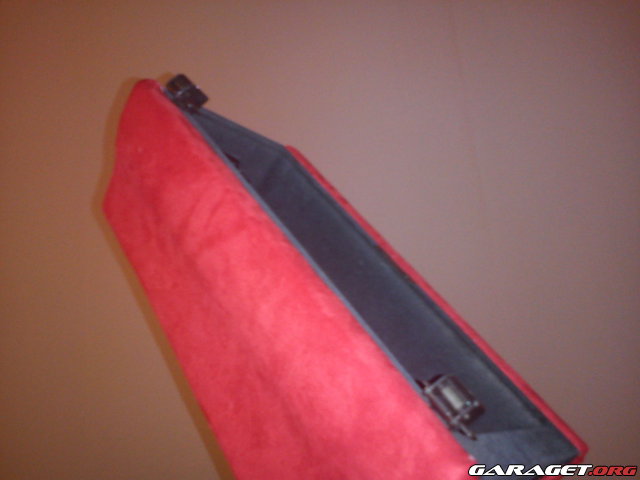
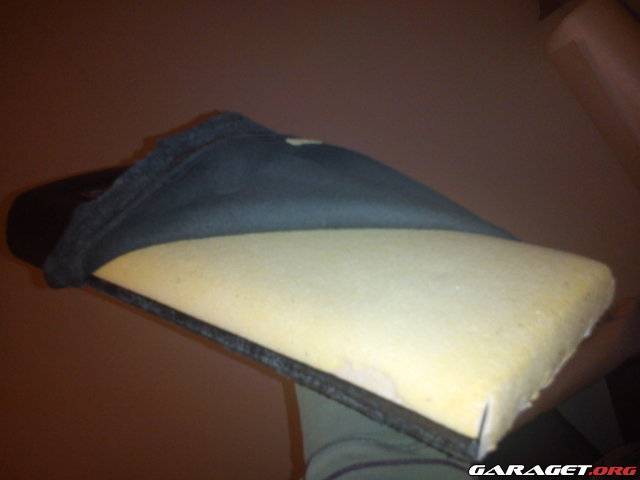
Remove the old fabric and foam from the part. Staples are pulled out with a flat headed screw driver and pull the fabric and foam from the part.


Use the old fabric and foam as a template for the new foam. Place it over the new foam and draw the contours with the marker pen. Don't place it on the wrong side or you'll end up with a fabric with a mirrored shape! Add a cm or so in order to minimize the risk of having an undercut part. Too large is better than too small, you can always cut away later on, but not add. Cut out a proper amount of the fabric aswell, but a tad larger in size than the foam piece. (Pic showing the A-pillar original fabric)

If you are using the same type of glue as I am, this is how to apply it. Use one of the brushes and apply a thin amount of glue to the underside of the fabric and the foam (not the side where you have marked!) and let it cure until fully hardened. One hour was enough for me. Follow the instructions that came with your glue.


Place the foam with the side with the glue on it on top of the fabric. Take your time and get it right! No second chances. Make sure that the markings are within the fabric edges. Put as much pressure as possible on the surface for a couple of seconds.

Since it sticks immediatly, you can start to work right away. Use the scissors and cut along the previously drawn lines.


Take out the glue again and apply a thin layer to the underside of the foam/fabric piece and to the panel (the correct side!). Let it cure for about an hour. Again, follow the instructions for your glue.

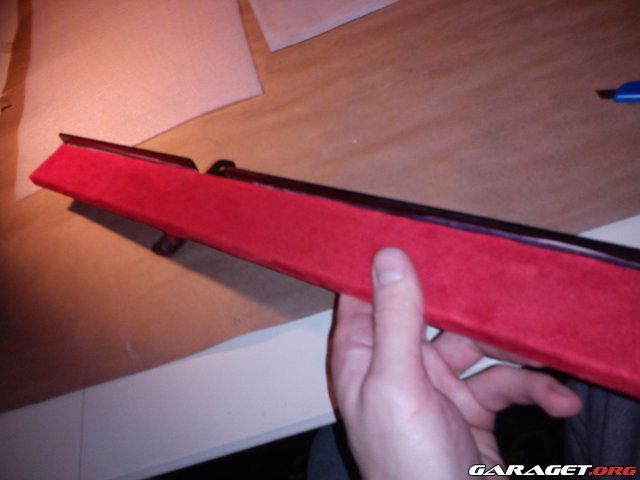
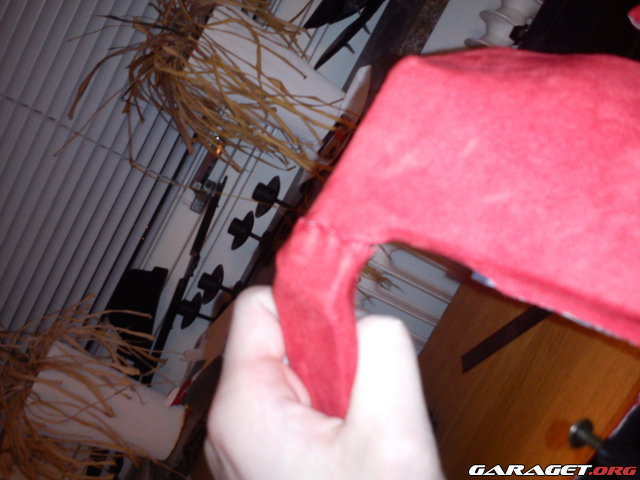
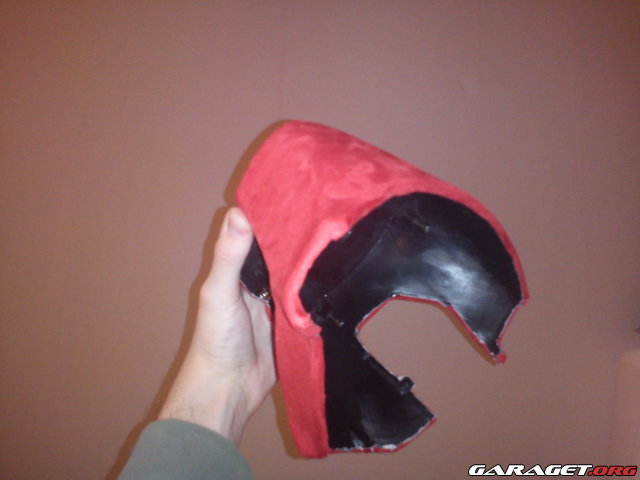
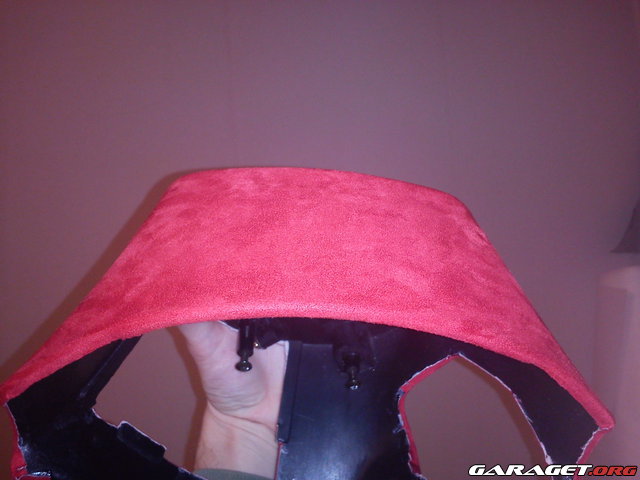
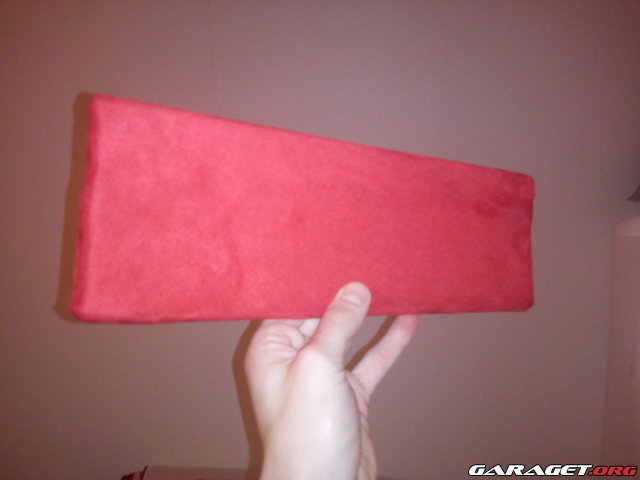
When fully cured, wrap the fabric/foam around the panel. This is the most difficult step, take your time and do it properly! If you get it wrong, you have to redo it again. Put pressure on it for a few seconds as before.

Fold the edges onto the backside of the panel. Staple it to the part or use glue here like before. Get it real tight and snug.


And you are done! With one panel at least :smile:


If there are any holes in the panel, just use a sharp knife and cut it out afterwards.


The A-pillar, driver side:

Thats it! Just a few more to go :biggrin:

It's pretty straight forward and not that difficult. Just takes a lot of time. Plan for about 3 hours per part, including the curing time. You can do several pieces at a time.
Step 4
Reinstall the panels in the car. Follow the service manual!
If you have any questions, I am happy to answer them, if I can. Happy gluing!
Ps: Cost so far: Under 500 bucks, and that's for the whole interior!
//Johan
Thought I would share my recently acquired knowledge of interior reupholstering. But first, I would like to give a big thanks to all the people who have contributed with their knowledge, expertise and experience to this great forum. I've gained a lot of insight and basically all the knowledge I have of the NSX originally came from reading up on hundreds and hundreds of threads and posts, and reading the wiki. So a BIG thanks!
Introduction
My name is Johan, I am 26 years old and I am a happy and proud owner of a 1991 Veilside Widebody Acura NSX which I got my hands on almost a year ago now. The car is stock except for the widebody kit, rims, exhaust, rims and painted interior panels (Formula red, same as exterior).
Now, the car is over 20 years old and the interior is not in a good shape and I would like to do something to it. Enhance it. And then I found these awesome NSX's:
Synergy004
Jetpilot3
Quickly found out that the cost of getting this done professionally would set me back at least 3k, if not more. Now, I did seriously consider this option, but then I met a guy named Christer aka "marbling" who owns an Opel GT. He had done all the reupholstering himself, check out his build thread here:
http://www.skyroadster.com/forums/f2/last-new-modds-my-opel-gt-2011-a-37818/
Christer gave me the courage and inspiration needed to tackle this job myself, and he provided answers for my questions before I started and a few tips and tricks. :biggrin:
Enough of this talk, let's walk the walk!
The basics
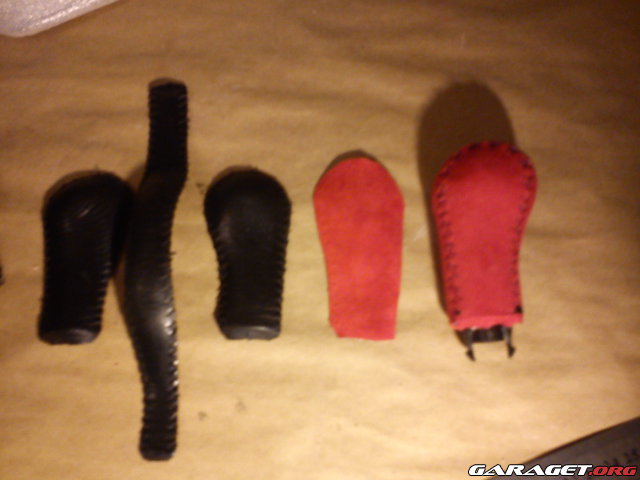
There are many ways to do upholstering work, I'm presenting one way of doing it which works for me. This part will cover the process of wrapping plastic or wooden interior panels without any stitchings. That will be covered in part 2.
The interior panels in the NSX consists of three layers. First, the structural part which forms the shape of the panel, made out of molded plastic or wood. Not very exclusive, but it does the job. The second layer is made out of a thin piece of foam which gives the panel a feeling of being soft, when touched. The third layer is the actual fabric. The fabric is glued to the foam which is then glued to the structural part (or stapled). So no rocket science here. On to the process.
Step 1
Prepare yourself for this project. This is not a weekend project if the entire interior is being done. Plan ahead and realize that your car will probably be sitting in the garage for a couple of weeks, maybe even months. Get all the equipment and fabric required before doing anything, otherwise you'll risk performing a task without the proper equipment, resulting in a sub-optimal end result. And order more fabric than you think you will need, the same goes for the glue.
Shop list:
*Fabric of your choice in sufficient amount (I started with 10 m2)
*Foam layer in sufficient amount
*A suitable bonding agent
*A good quality stapler with 4 mm staples (length of "legs")
*A good pair of high quality scissors
*Some sharp knives in different sizes
*Marker pen (normal ink pen will do)
*Some cheap brushes
*Suitable tools for removing the panels from the car
Some notes on the glue. I am using a water based contact glue. Easy to work with, dissolves in water if not cured, and gasoline removes cured glue. This contact glue needs to cure for about one hour, and both parts need it. When fully cured, the two parts are brought together and it's instant stick! No second chances. But if it goes wrong it can be pulled apart and the glue can be "rolled" off from the part using your thumb. Then just redo it.
Warning! Make sure the glue you are using are adapted to your climate! You don't want the glue to release and form air bubbles under your panels, as this will ruin your interior completely. It can get pretty hot in the sun somedays.
Some notes on the foam. 2 mm thickness is a good rule of thumb. Too thick, and you won't be able to get it around edges. To thin and it won't fulfill it's purpose. Where to get? Any store that sells laminate flooring. I use some which is supposed to be placed under the floor.
Step 2
Remove the interior panels you wish to reupholster from the car. Now, this could be a DIY guide by itself, but the excellent service manual serves this purpose perfectly. Take your time, do it step by step in the order the manual states and it won't be any hazzle. I got the instrument panel out in about 6 hours myself, of which at least 2 were spent eating snacks and occasional walks to stretch my legs. The entire interior was out in less than 12 hours, of which about 8 were working hours without any rush. It's not difficult, just takes some time.
Tip 1: Be careful when removing the parts which are mounted to the car with clips. They are stuck pretty darn hard sometimes. Easy to brake the plastic, which I did for some of them. Don't panic if that happens, just glue it together again, it will be like new.
Tip 2: Whenever a panel is removed, collect all screws and/or clips and place them in a small plastic bag and seal it. Make a note on the bag which part the fasteners belong to, in order to ease the installation later on.
Tip 3: Don't panic by the sight of the naked interior of the car, with all of the electrical harness exposed amongst other things. It looks worse than it is.
Tip 4: This is a good time to to some proper wiring for an aftermarket audio system or other aftermarket electrical items. Also a good time to to some work to the AC system, like replacing the evaporator if it's leaking, like mine is.
Some pics of the process:
Step 3
Start with the easiest part. The more complex shape and larger size of an object, the more difficult it is to work with. The easiest parts are the two flat panels sitting behind the seats, on the wall.
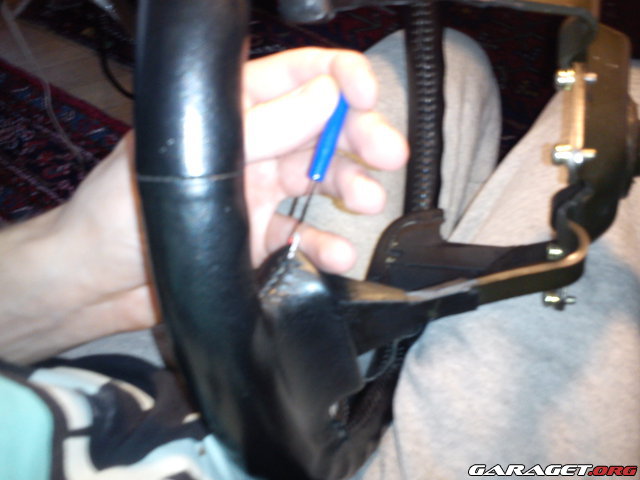
Remove the old fabric and foam from the part. Staples are pulled out with a flat headed screw driver and pull the fabric and foam from the part.
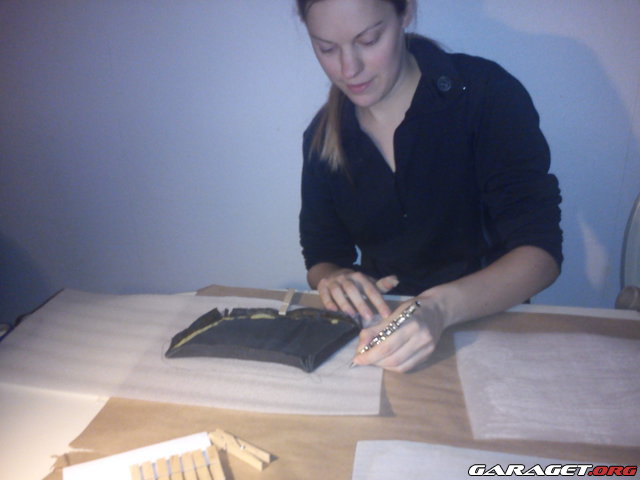
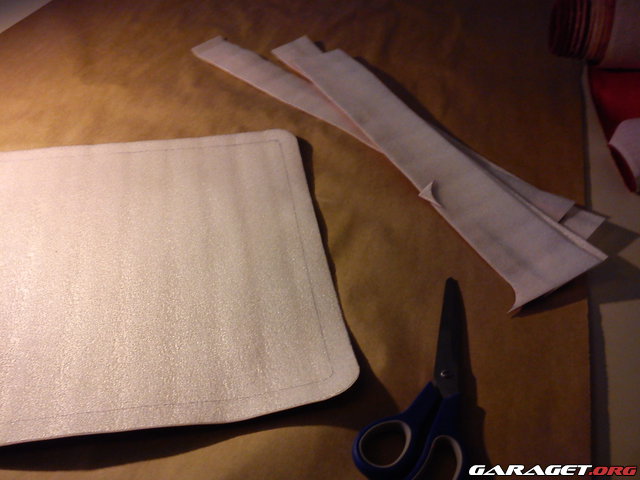
Use the old fabric and foam as a template for the new foam. Place it over the new foam and draw the contours with the marker pen. Don't place it on the wrong side or you'll end up with a fabric with a mirrored shape! Add a cm or so in order to minimize the risk of having an undercut part. Too large is better than too small, you can always cut away later on, but not add. Cut out a proper amount of the fabric aswell, but a tad larger in size than the foam piece. (Pic showing the A-pillar original fabric)
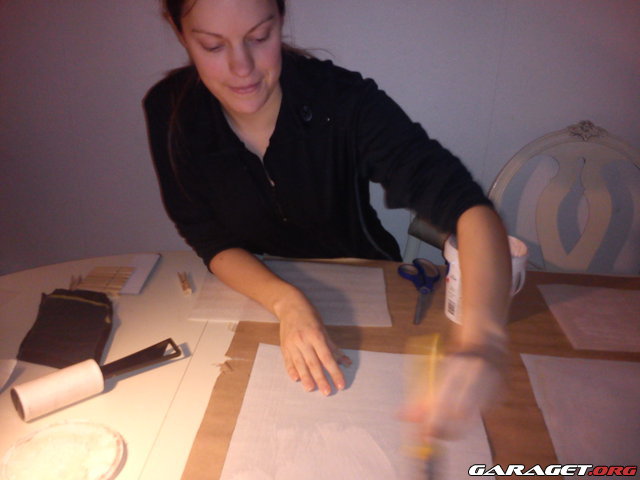
If you are using the same type of glue as I am, this is how to apply it. Use one of the brushes and apply a thin amount of glue to the underside of the fabric and the foam (not the side where you have marked!) and let it cure until fully hardened. One hour was enough for me. Follow the instructions that came with your glue.
Place the foam with the side with the glue on it on top of the fabric. Take your time and get it right! No second chances. Make sure that the markings are within the fabric edges. Put as much pressure as possible on the surface for a couple of seconds.
Since it sticks immediatly, you can start to work right away. Use the scissors and cut along the previously drawn lines.
Take out the glue again and apply a thin layer to the underside of the foam/fabric piece and to the panel (the correct side!). Let it cure for about an hour. Again, follow the instructions for your glue.
When fully cured, wrap the fabric/foam around the panel. This is the most difficult step, take your time and do it properly! If you get it wrong, you have to redo it again. Put pressure on it for a few seconds as before.
Fold the edges onto the backside of the panel. Staple it to the part or use glue here like before. Get it real tight and snug.
And you are done! With one panel at least :smile:
If there are any holes in the panel, just use a sharp knife and cut it out afterwards.
The A-pillar, driver side:
Thats it! Just a few more to go :biggrin:
It's pretty straight forward and not that difficult. Just takes a lot of time. Plan for about 3 hours per part, including the curing time. You can do several pieces at a time.
Step 4
Reinstall the panels in the car. Follow the service manual!
If you have any questions, I am happy to answer them, if I can. Happy gluing!
Ps: Cost so far: Under 500 bucks, and that's for the whole interior!
//Johan