
Hugo thank you for sharing your build with the community. Cant wait for the finish product.
-
Protip: Profile posts are public! Use Conversations to message other members privately. Everyone can see the content of a profile post.
You are using an out of date browser. It may not display this or other websites correctly.
You should upgrade or use an alternative browser.
You should upgrade or use an alternative browser.
My NSX-R & NSX-Reventon project
- Thread starter Hugabuga
- Start date
wow, Epic thread. Want to see the finished product.
Amazing work!!!
Amazing work!!!
Can't thank you enough, you make it worth all my efforts :biggrin:
Intake manifold is now ready, took me all my free time on Saturday to complete it
First I had to disassemble it and carefully protect all the parts not to be sand blasted with some tape...
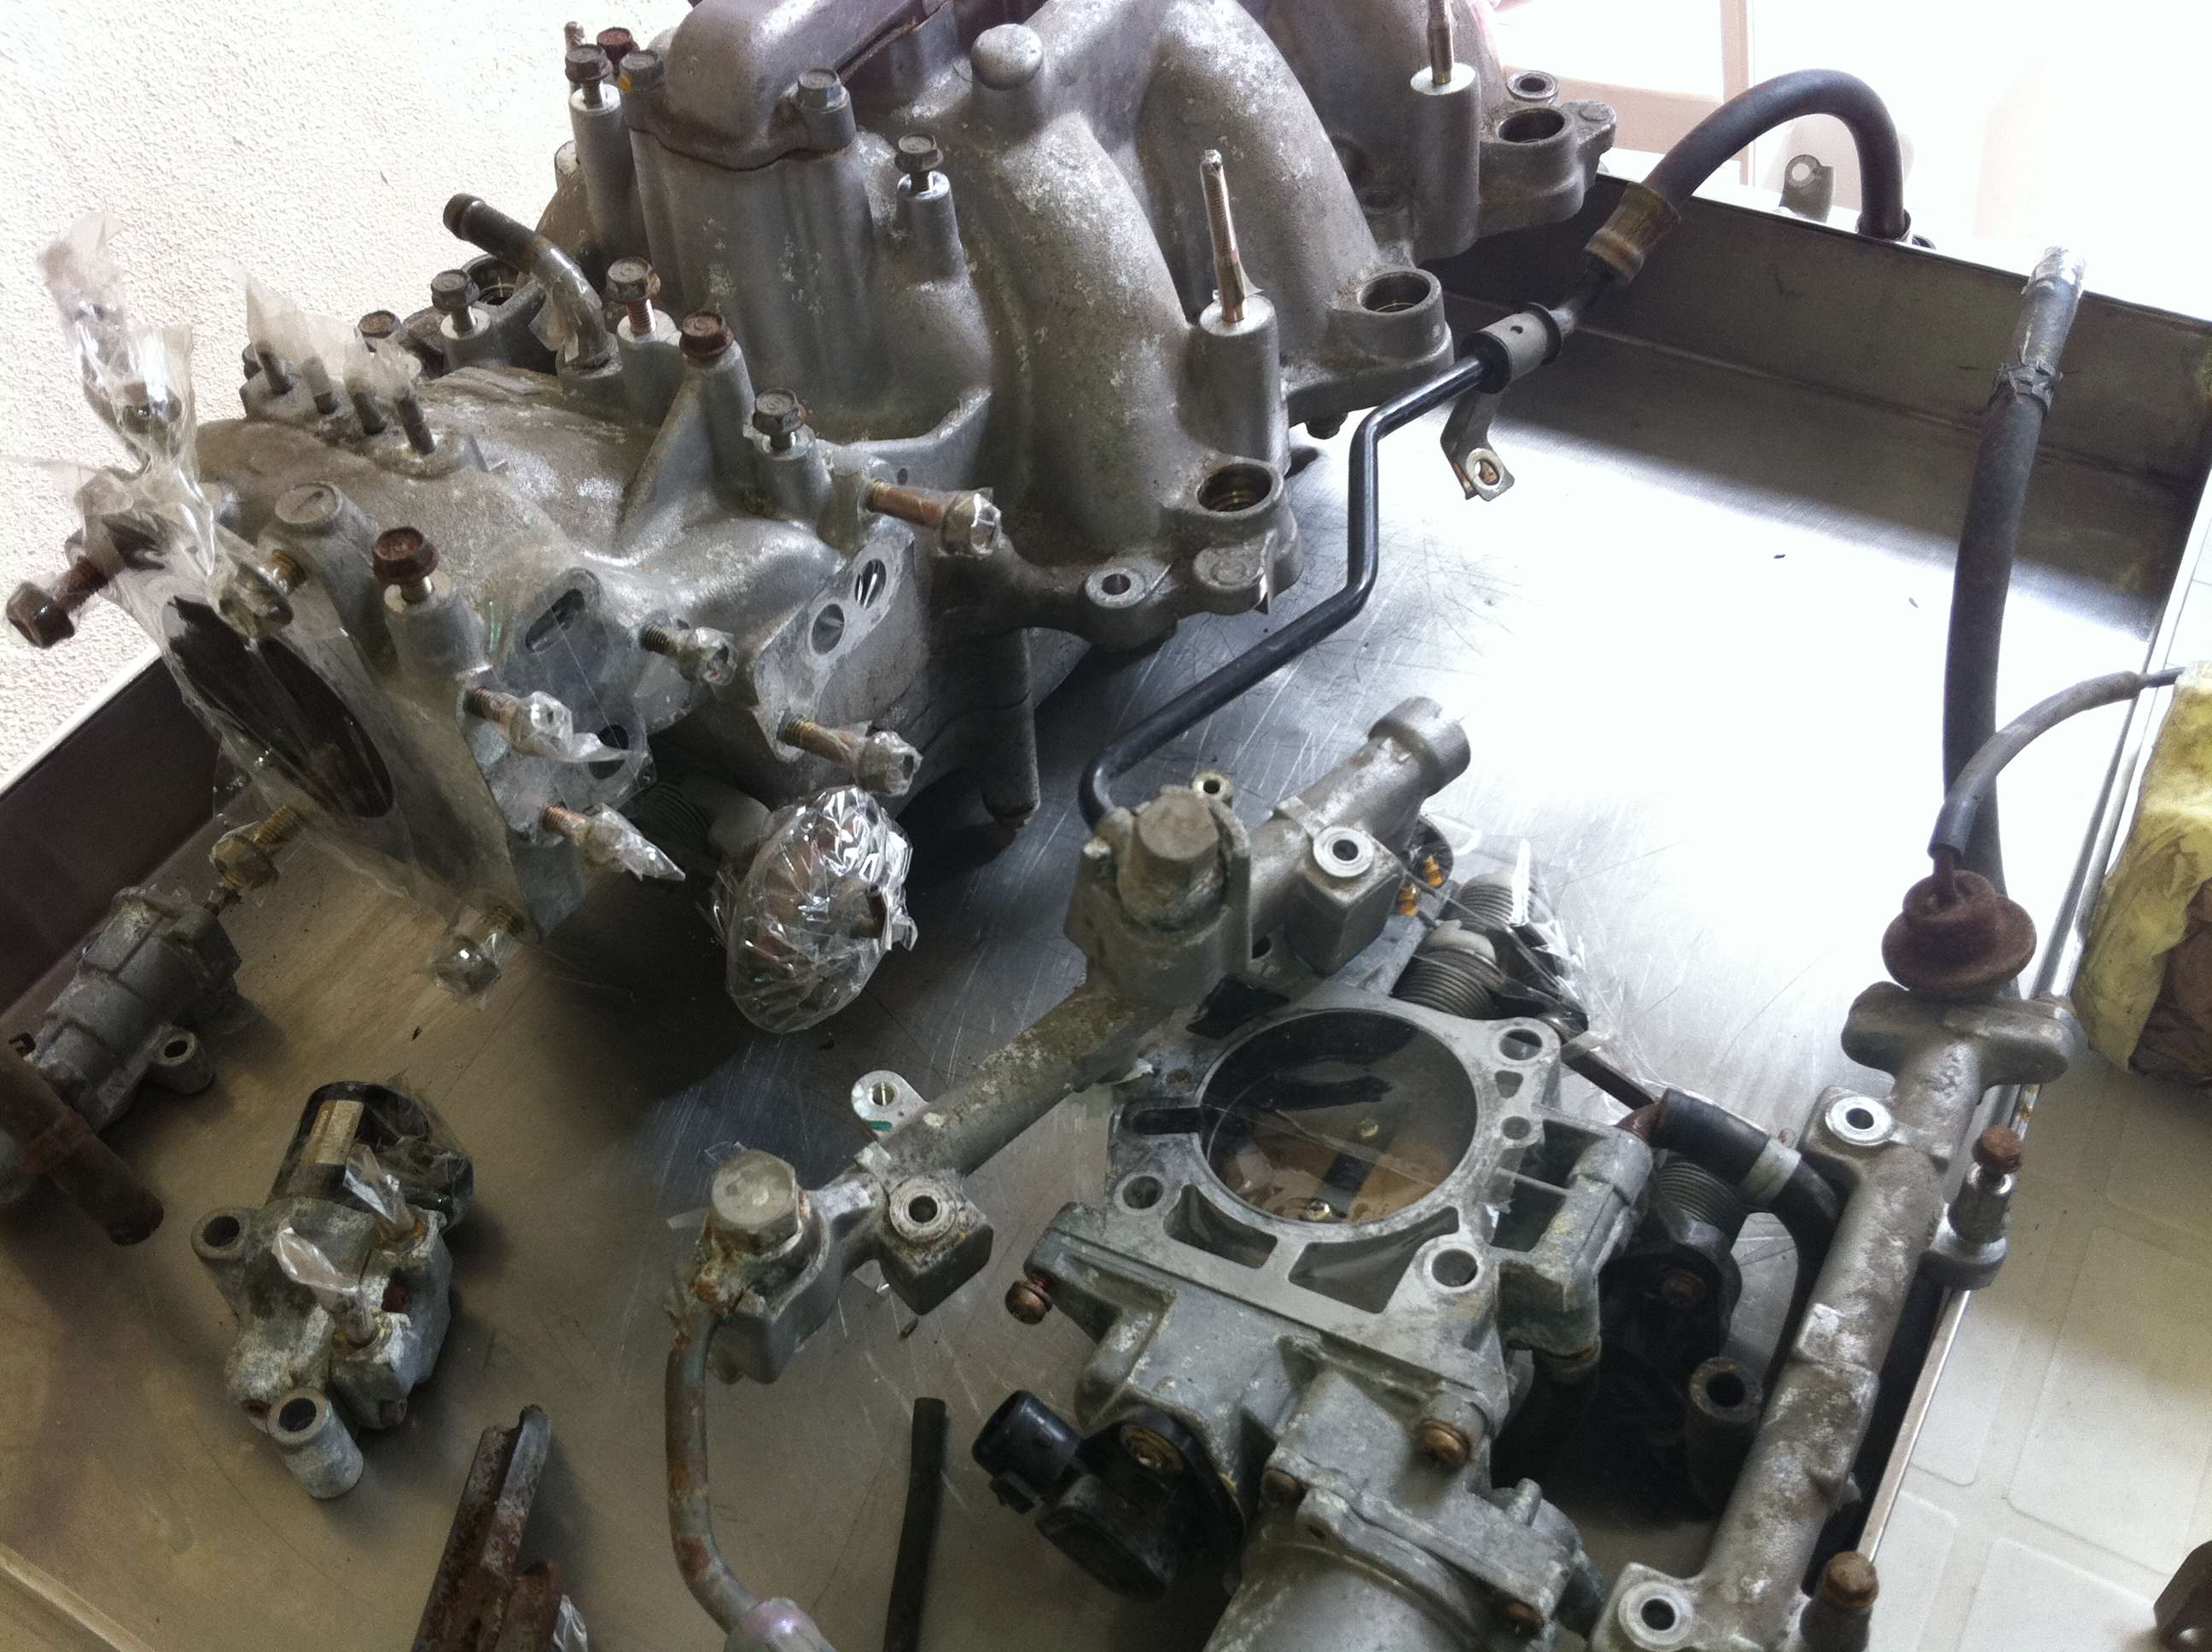
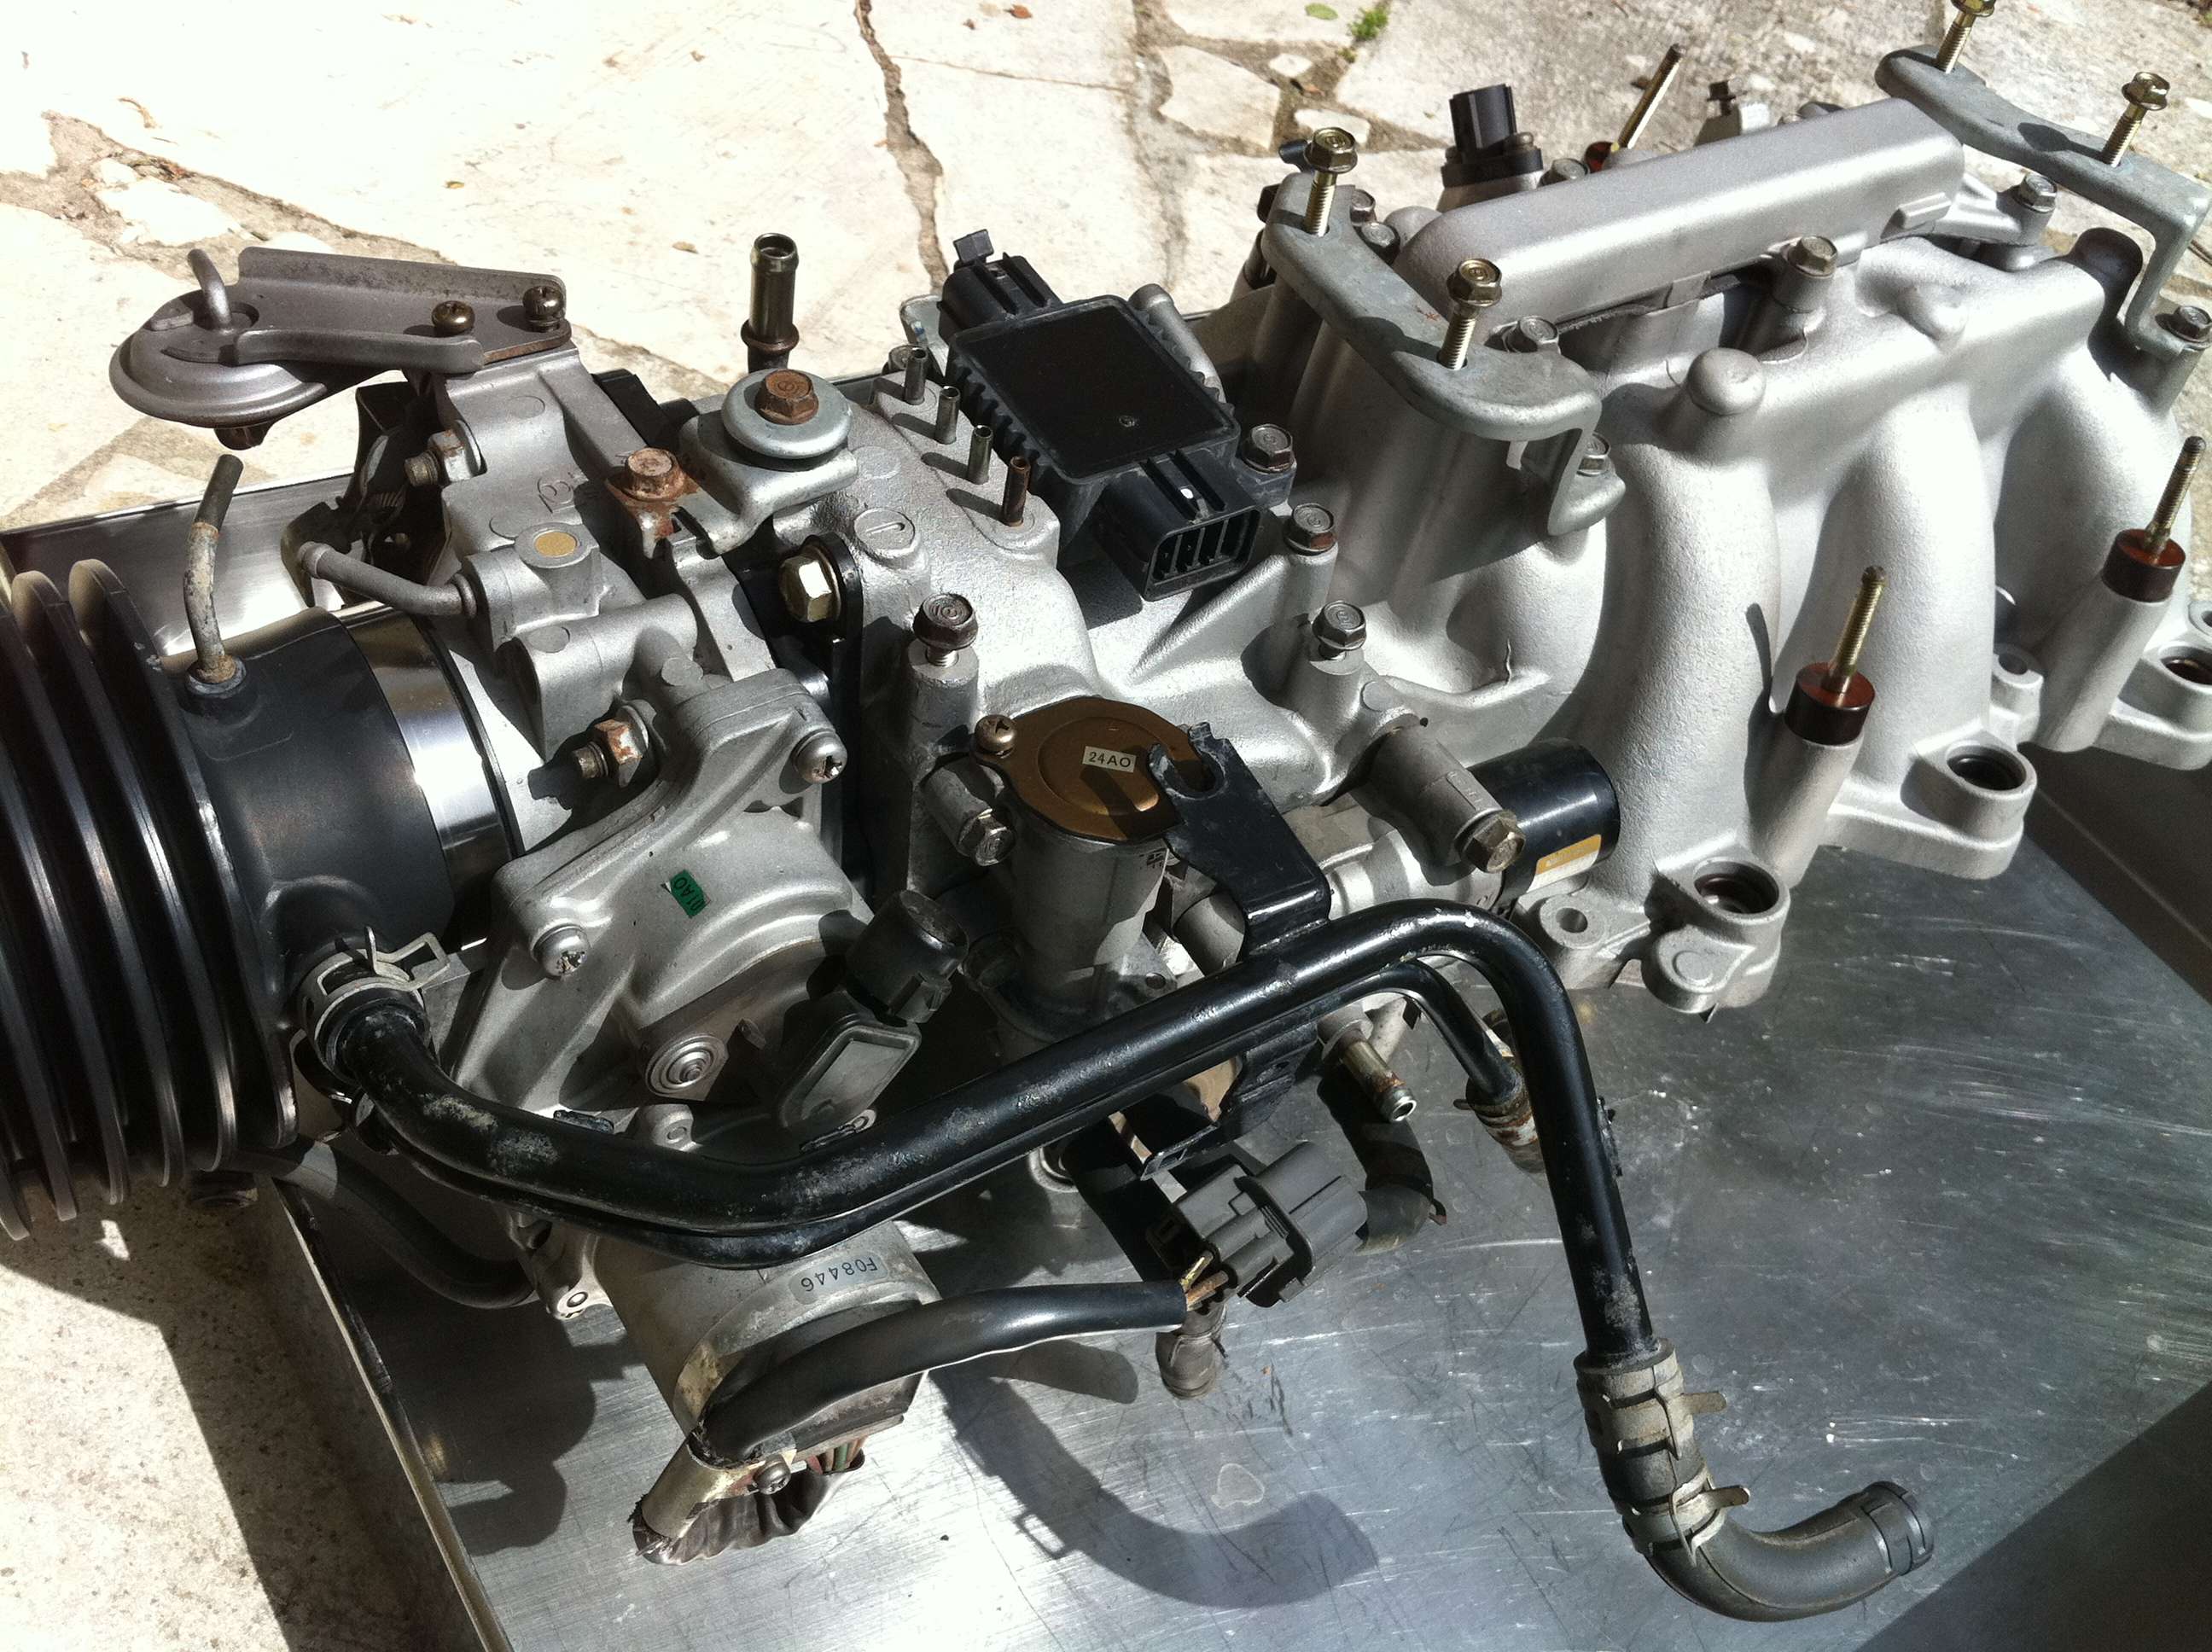
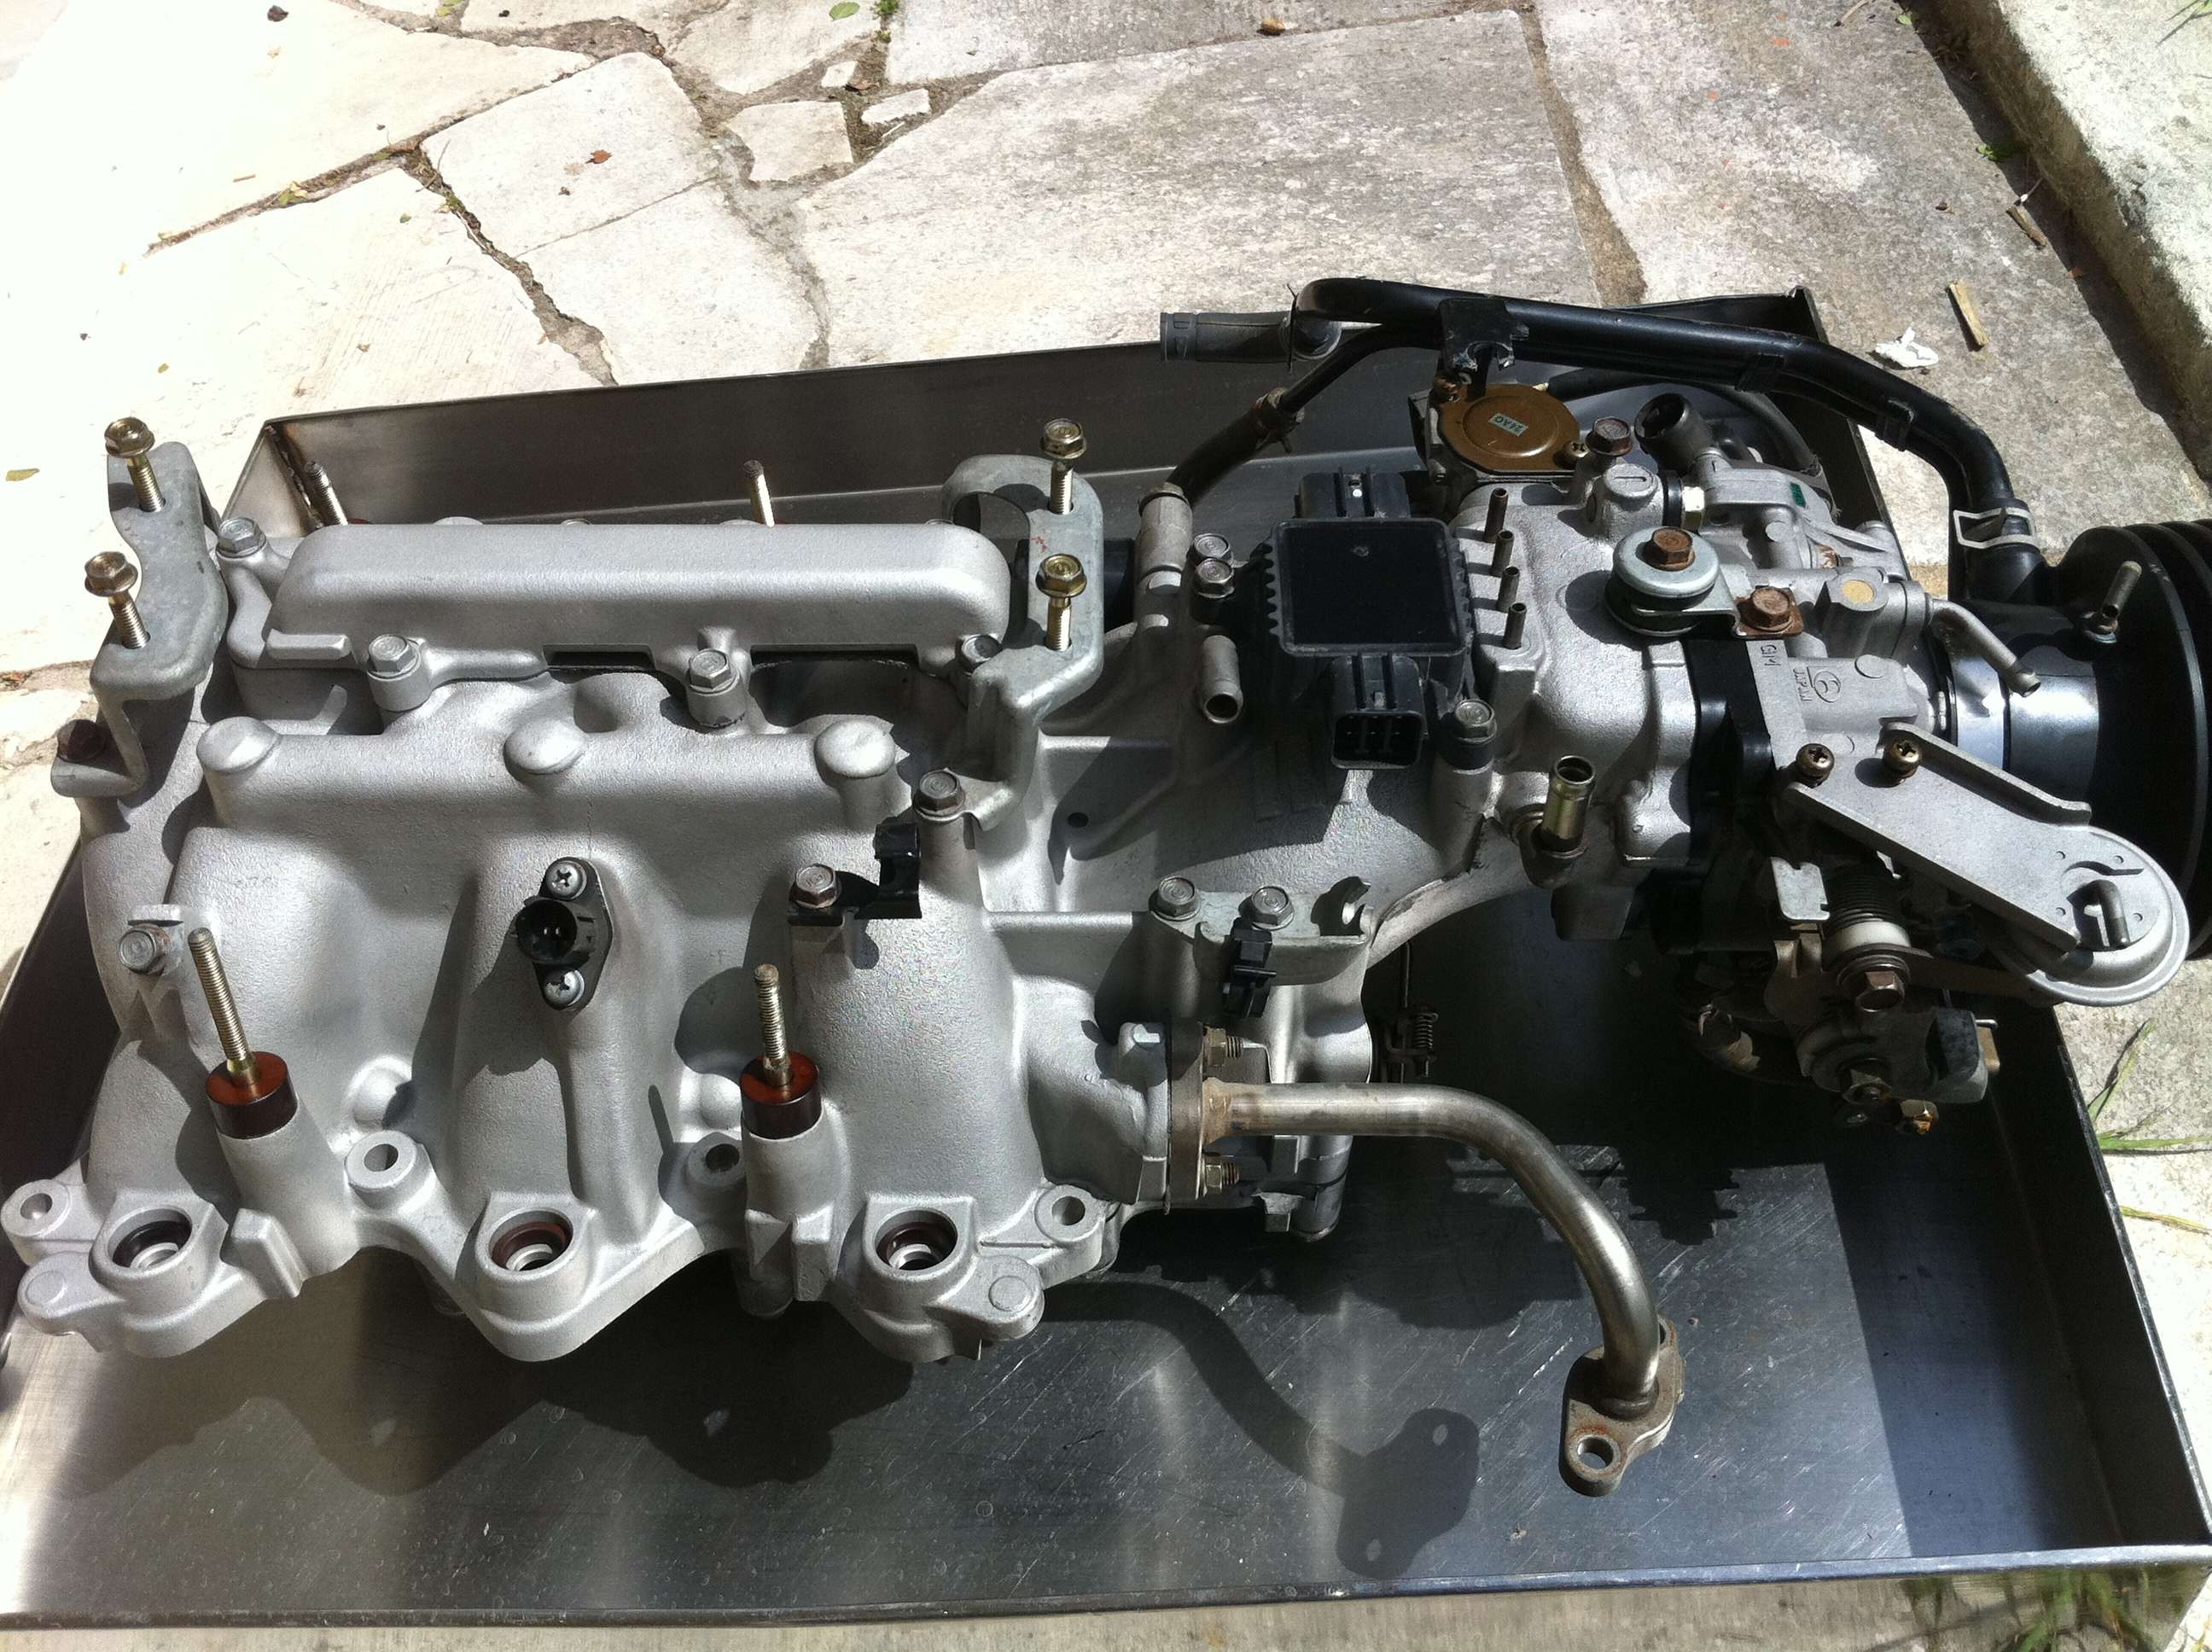
Then, after petrol cleaning all the individual parts to remove any sand that would accidentaly entered during the blast, here is the final result of the refreshed intake manifold
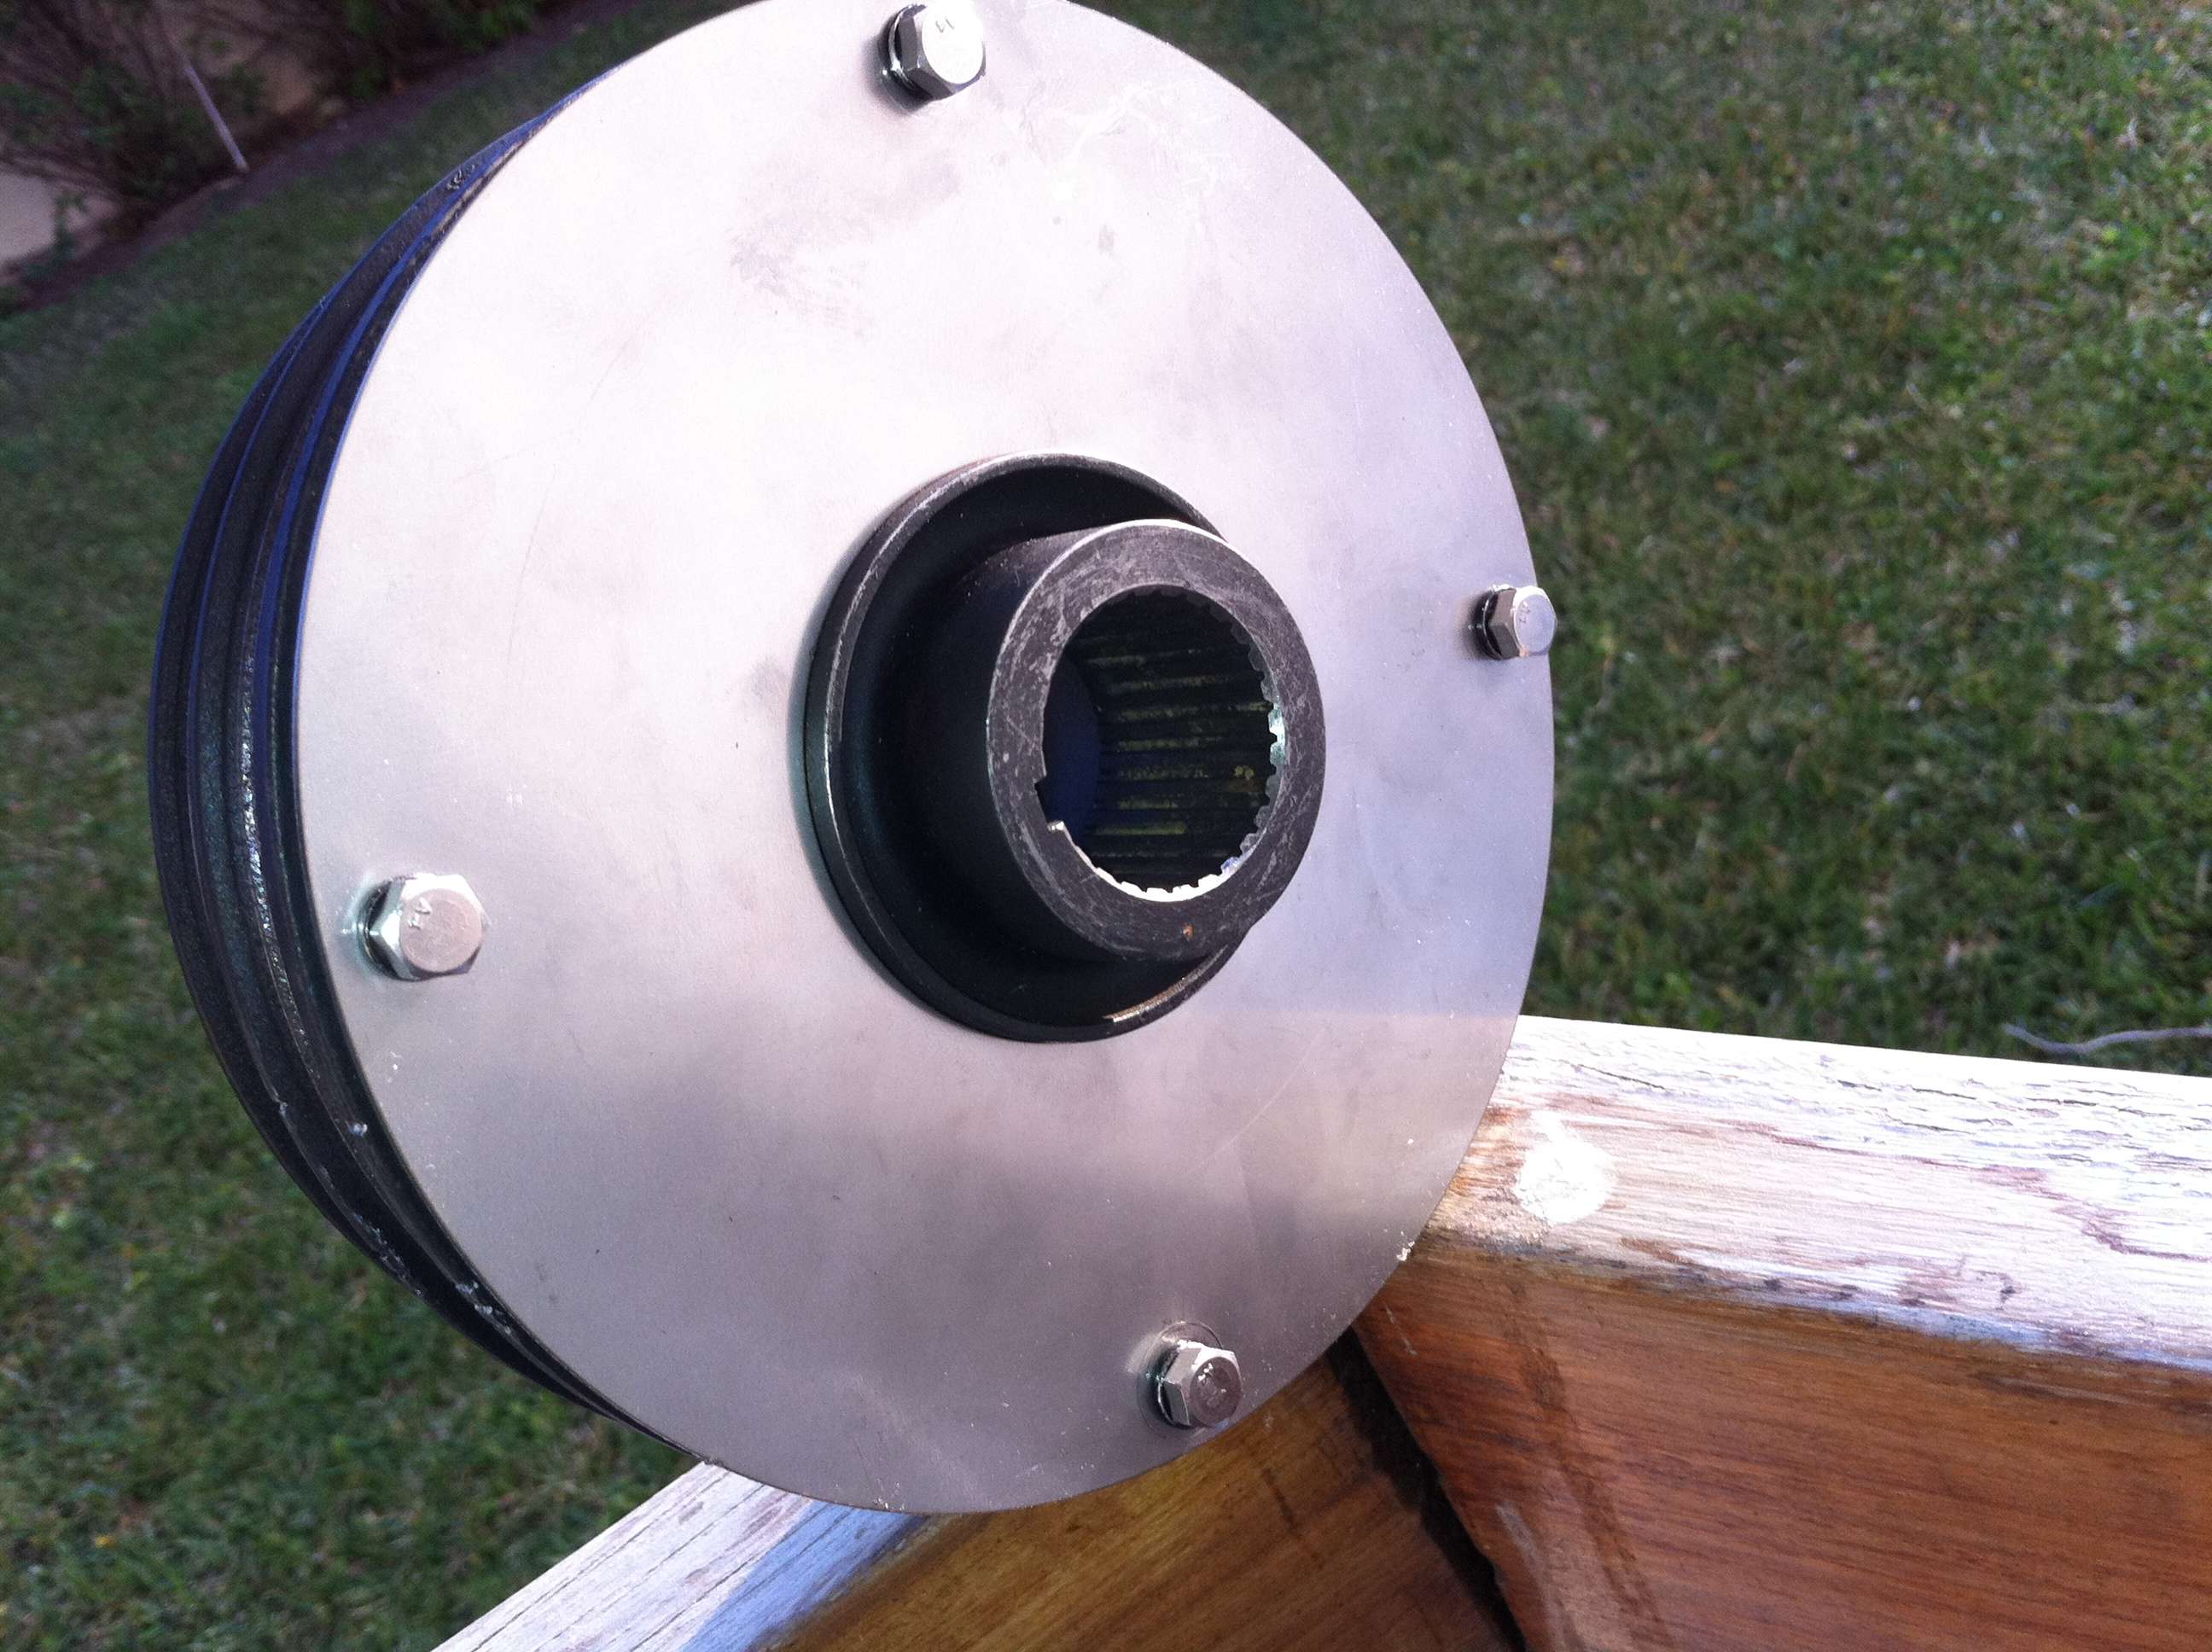
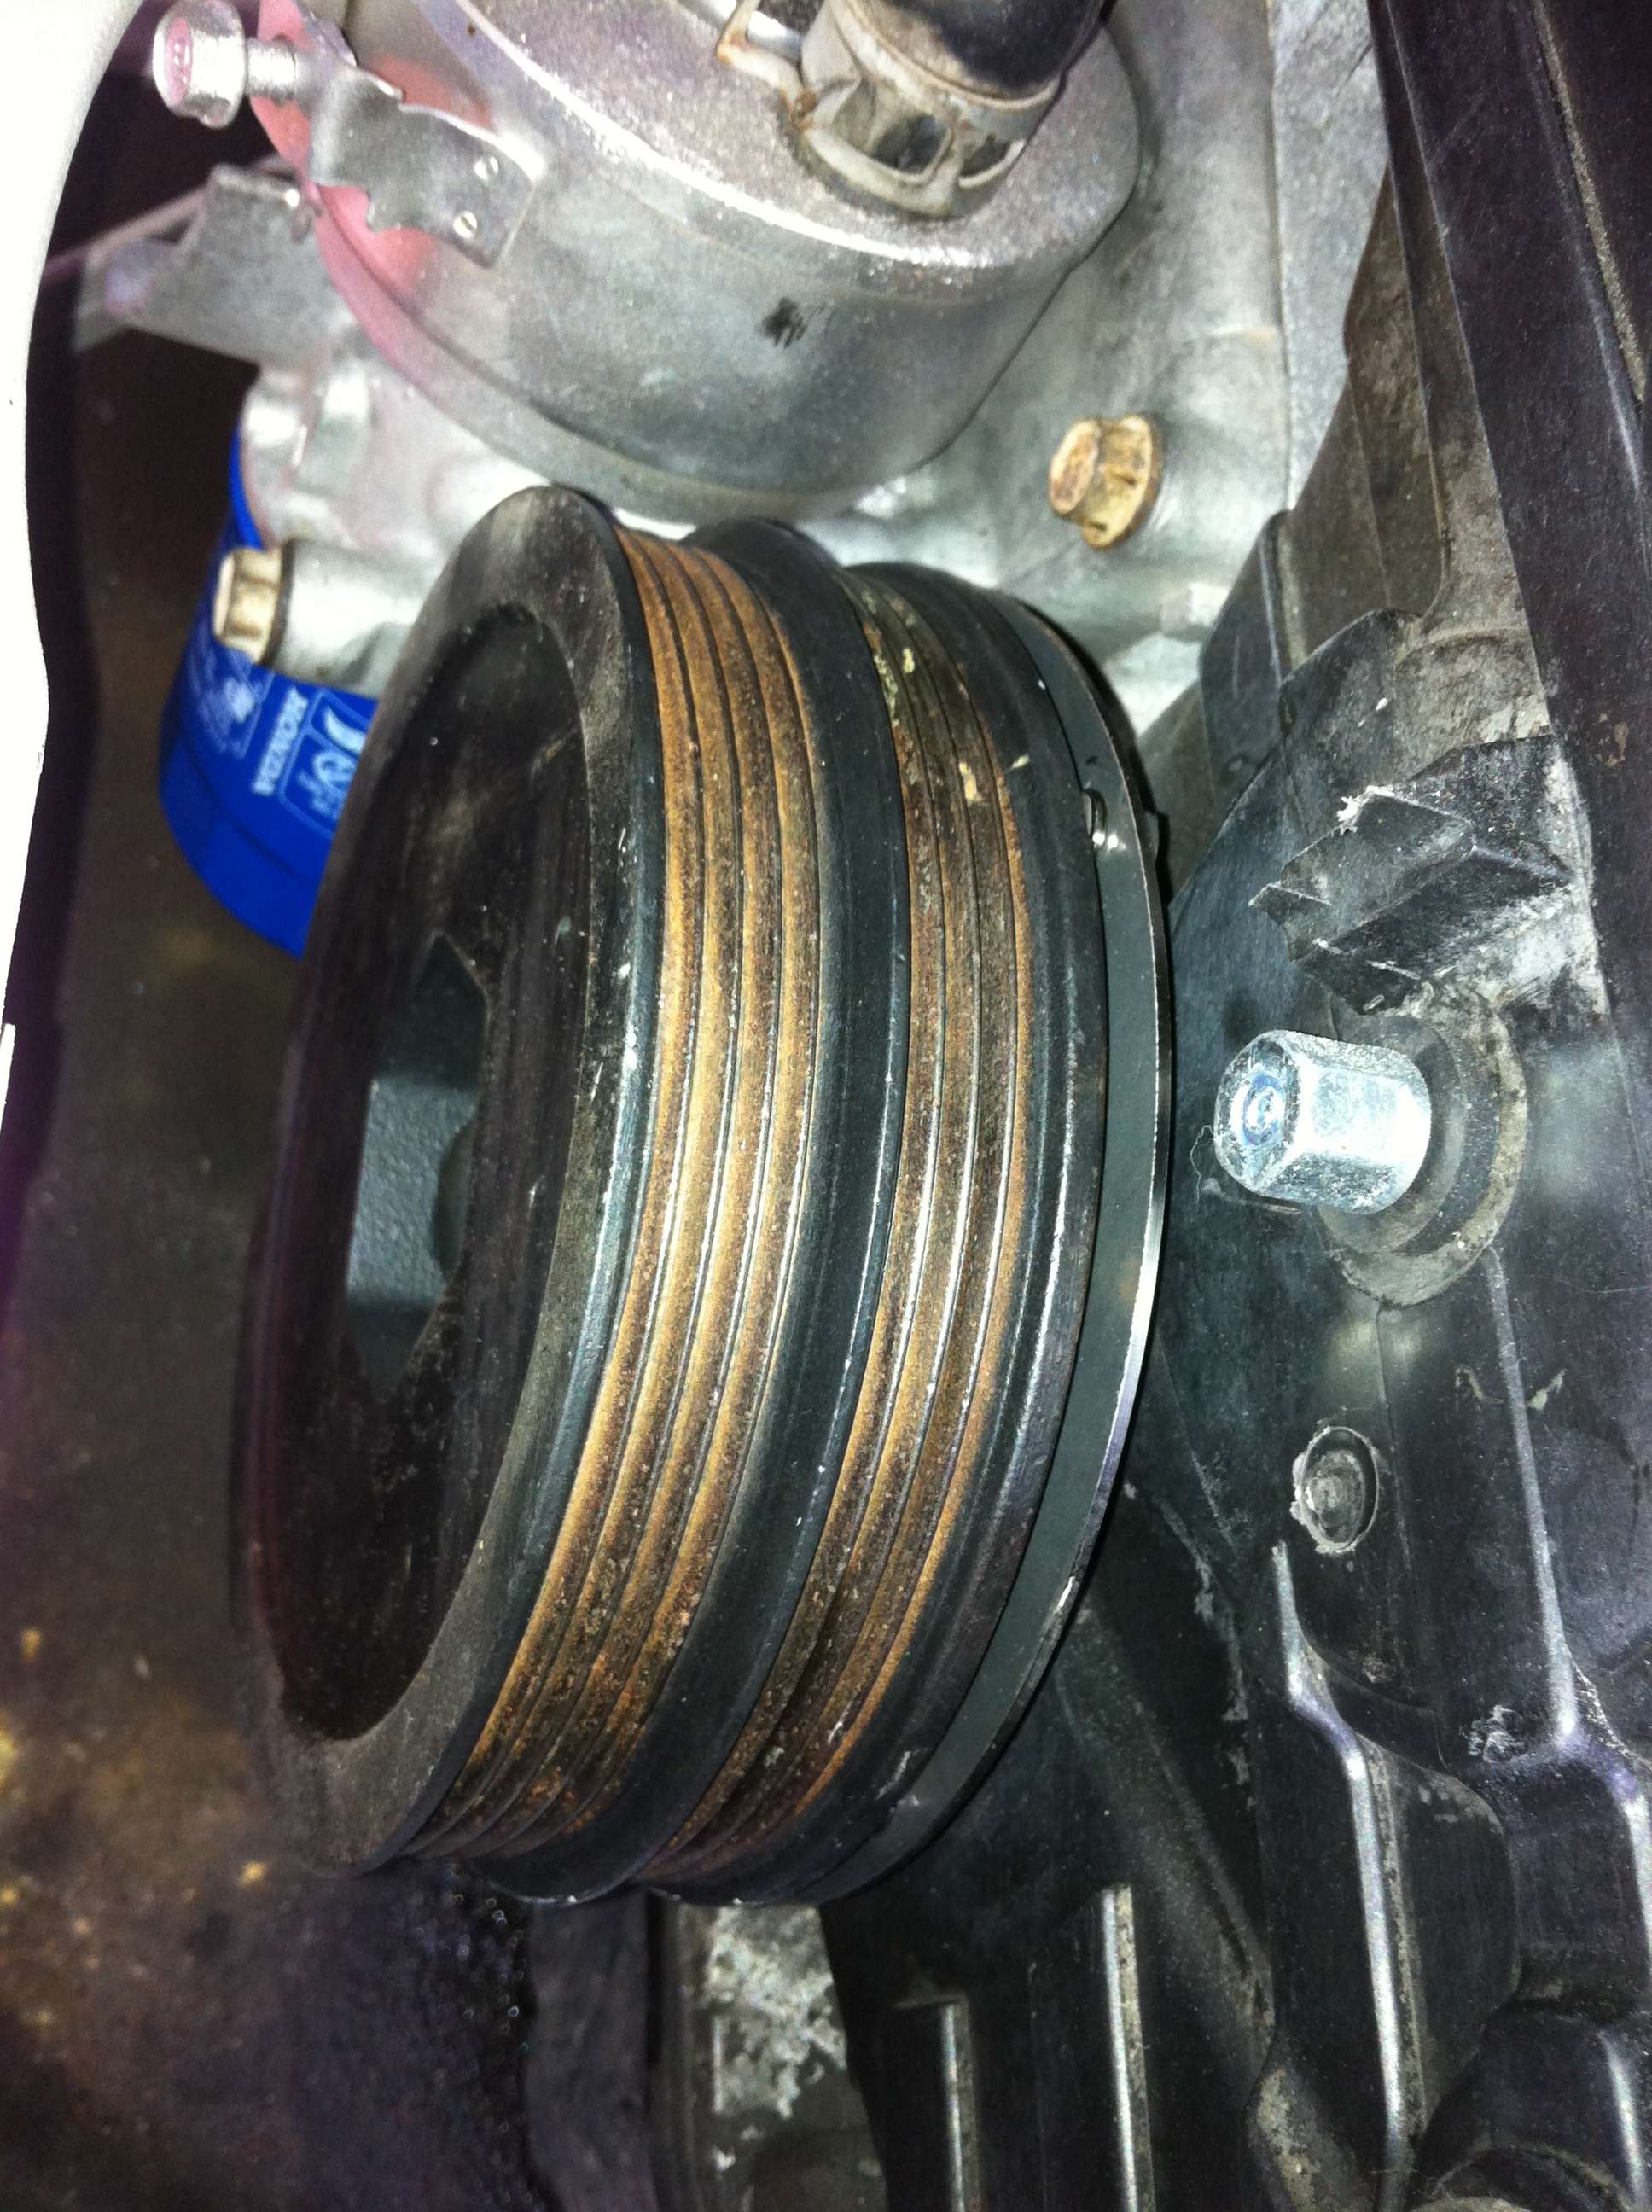
Meanwhile I found an alternative solution for the harmonic balancer protective shield, a bolt-on-pulley shield instead of a fixed bolt-on-engine-block one. I am explain it in more details in this DIY section here: http://www.nsxprime.com/forum/showthread.php?t=159582
Here are the pictures of my solution that I will now try at my own risk! I will be driving to France with the NSX-R next month, so this will be a nice opportunity to test my shield, if it holds 2000miles without any problems :wink:
the BOLT-ON-PULLEY shield
and here as it looks fit on the engine...
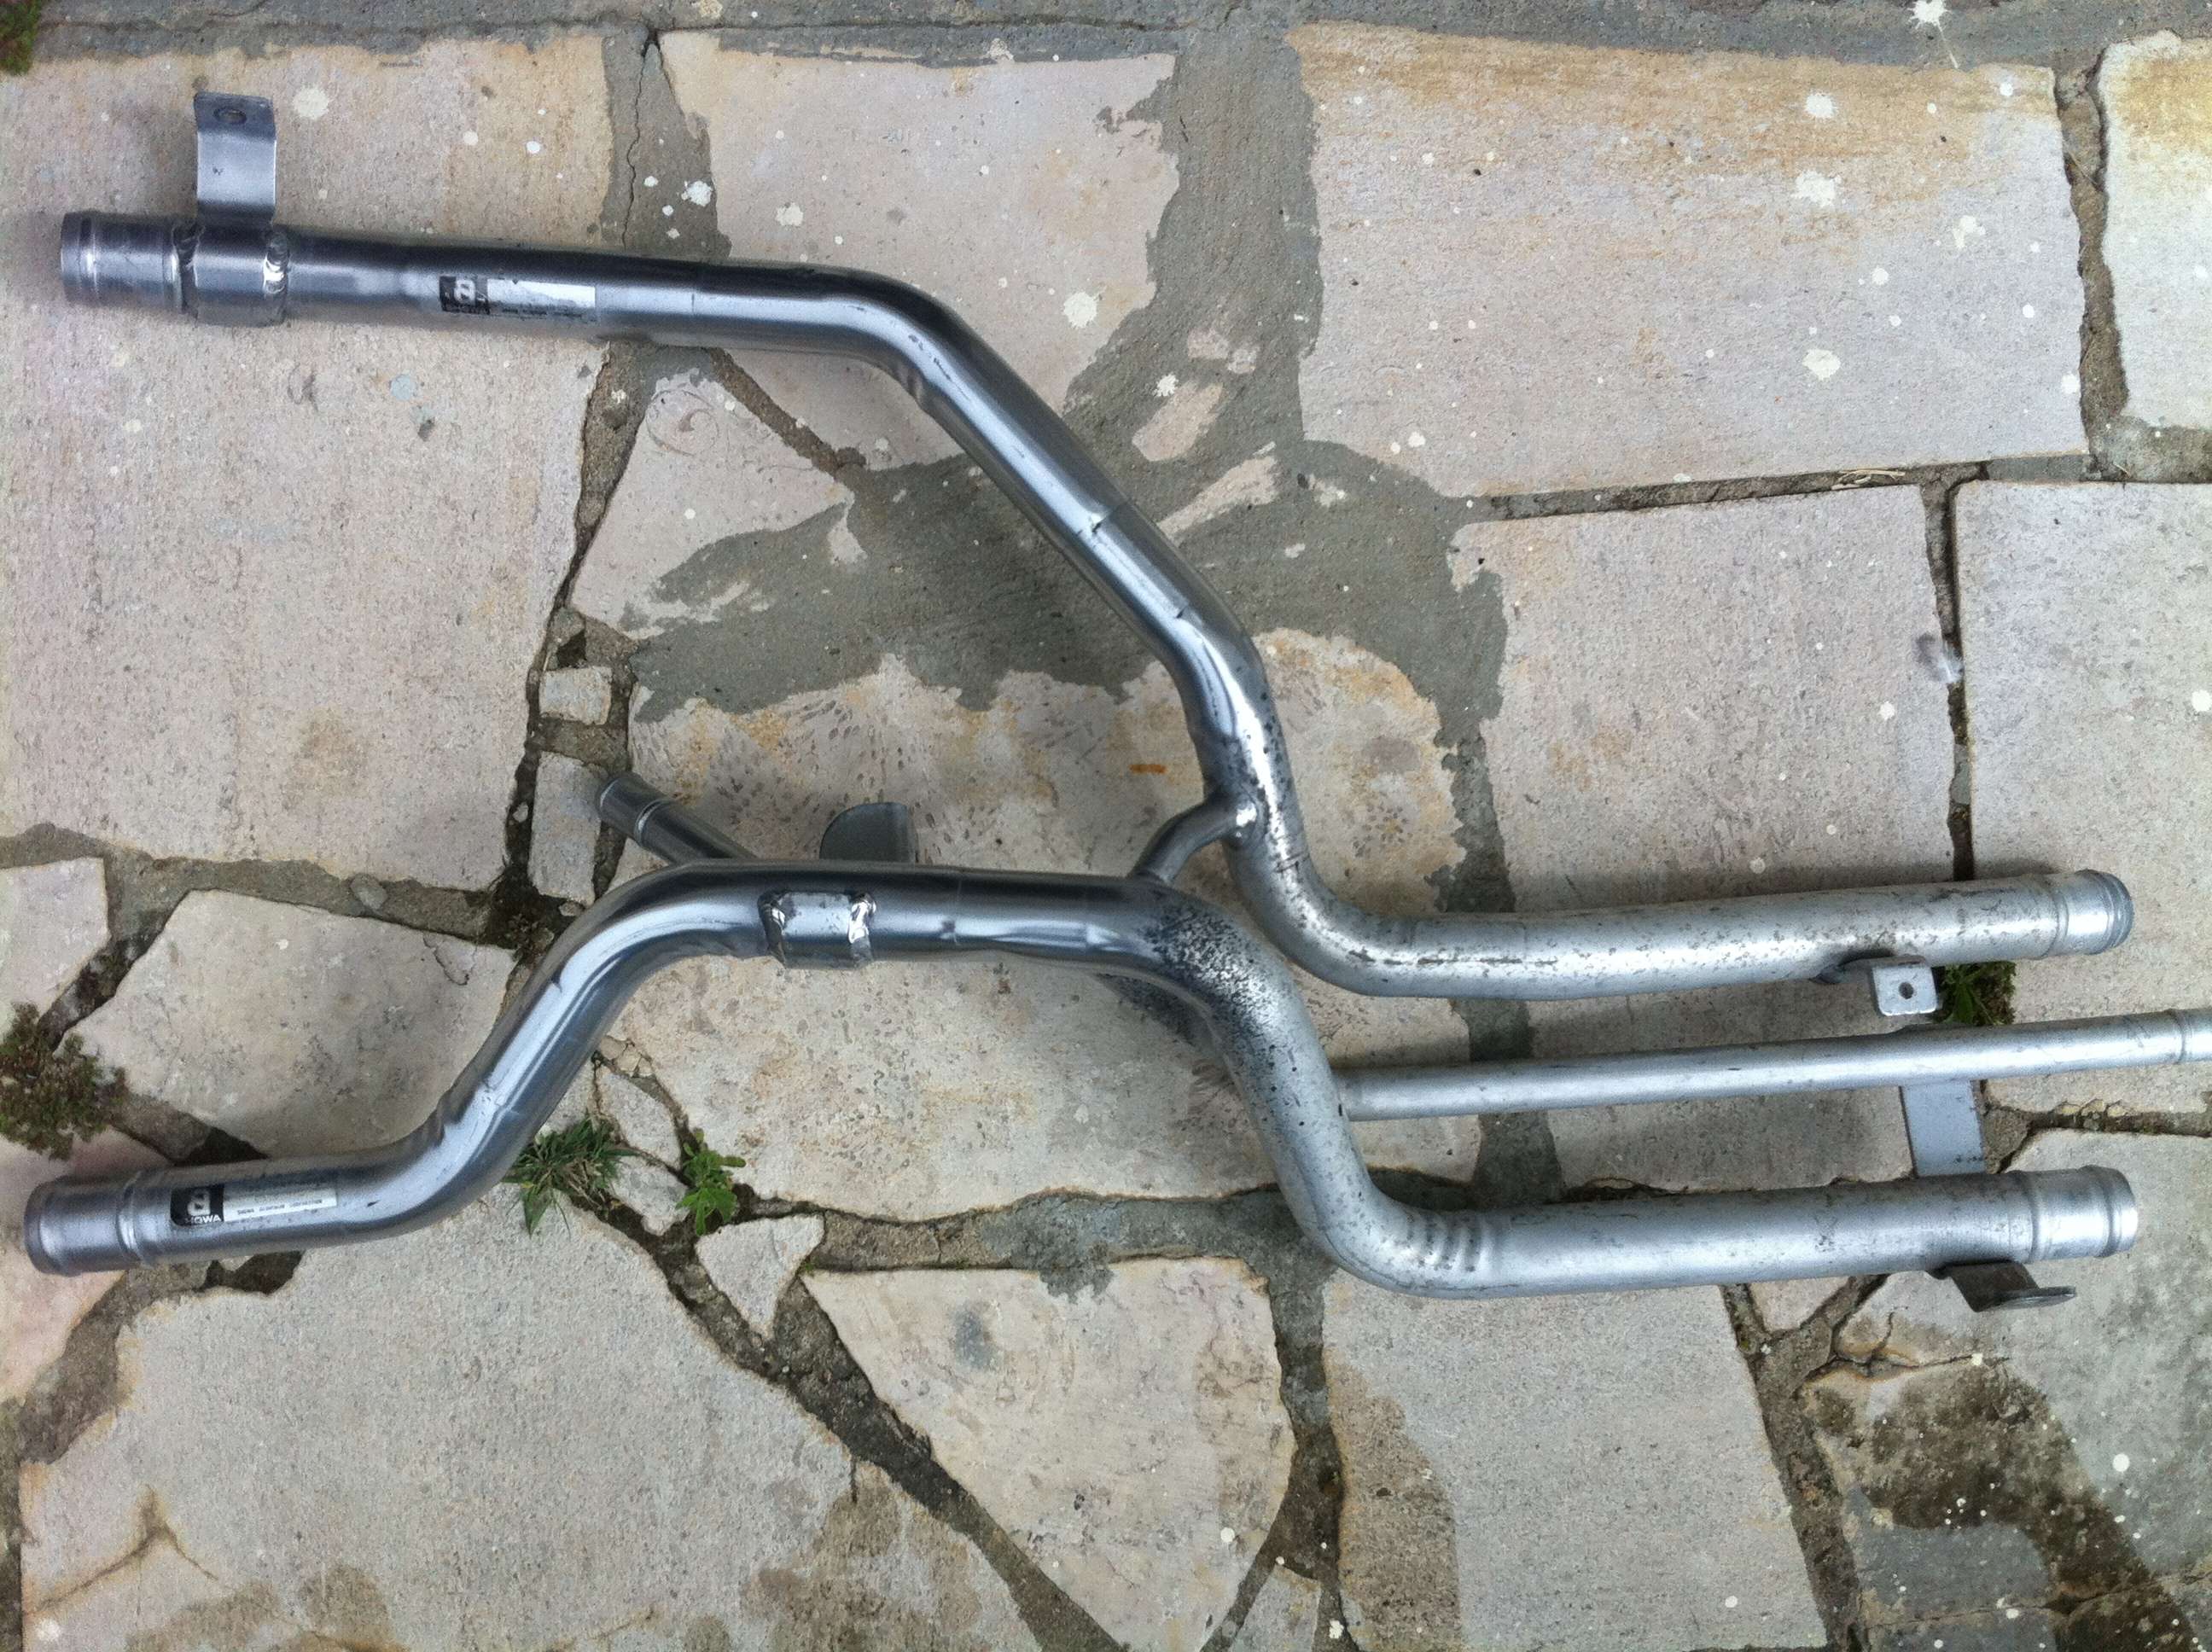
Finally i had all the fuel lines rebuilt here by a local shop specialized in this type of work for the last 30years or so.
I ordered him some Teflon/stainless tubes for the Reventon that should be ready next week, mainly because I will later tubocharge it so will need more fuel pressure :biggrin::biggrin:
The nsx-r will have these reinforced rubber tubes.
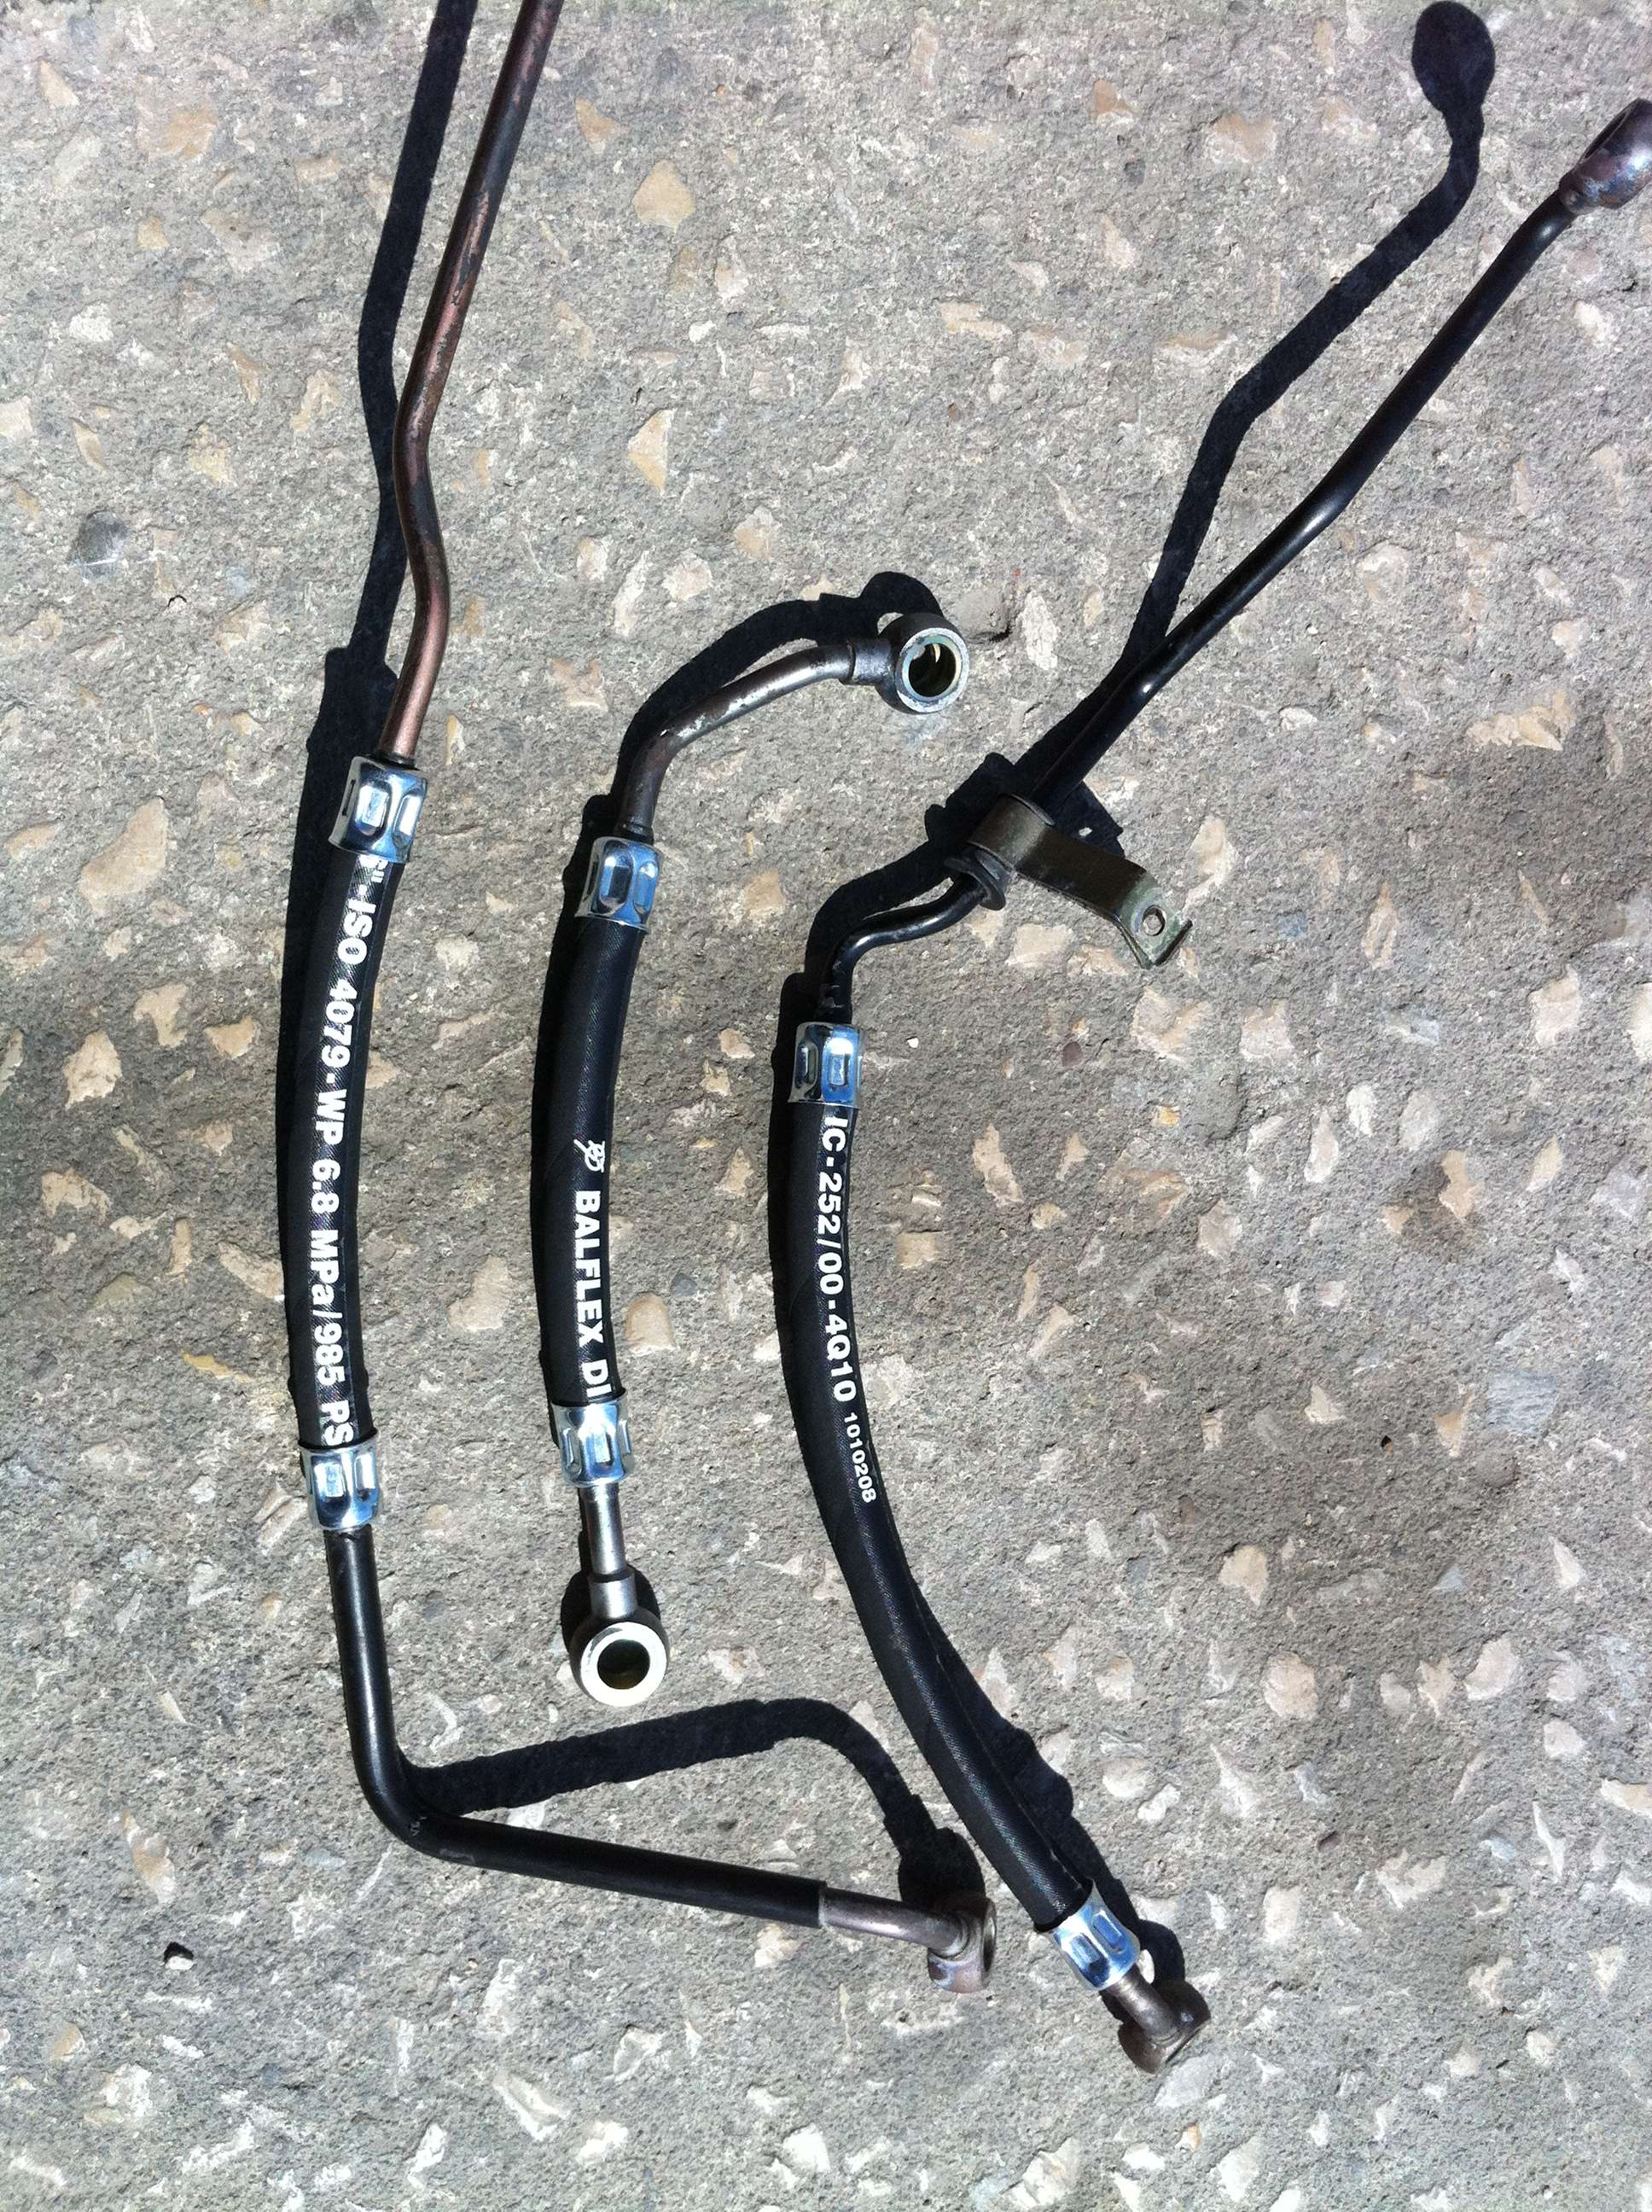
Reinforced fuel line and pulley shield are just for preventive maintenance
I will post the Reventon painting pictures tomorrow
Intake manifold is now ready, took me all my free time on Saturday to complete it
First I had to disassemble it and carefully protect all the parts not to be sand blasted with some tape...
Then, after petrol cleaning all the individual parts to remove any sand that would accidentaly entered during the blast, here is the final result of the refreshed intake manifold
Meanwhile I found an alternative solution for the harmonic balancer protective shield, a bolt-on-pulley shield instead of a fixed bolt-on-engine-block one. I am explain it in more details in this DIY section here: http://www.nsxprime.com/forum/showthread.php?t=159582
Here are the pictures of my solution that I will now try at my own risk! I will be driving to France with the NSX-R next month, so this will be a nice opportunity to test my shield, if it holds 2000miles without any problems :wink:
the BOLT-ON-PULLEY shield
and here as it looks fit on the engine...
Finally i had all the fuel lines rebuilt here by a local shop specialized in this type of work for the last 30years or so.
I ordered him some Teflon/stainless tubes for the Reventon that should be ready next week, mainly because I will later tubocharge it so will need more fuel pressure :biggrin::biggrin:
The nsx-r will have these reinforced rubber tubes.
Reinforced fuel line and pulley shield are just for preventive maintenance
I will post the Reventon painting pictures tomorrow
Nice looking build. I love clean engine parts. :biggrin:
Amazing.
shawn110975
Suspended
I think you missed a spot on the intake manifold LOL Just kidding.
awesome build.
I will do that one day with my first NSX remove every bolt and repaint the chassis all the way out and have a brand new NSX LOL
I wanna travel out there to see all of this yikes I forgot I have a baby on the way so maybe after LOL
awesome build.
I will do that one day with my first NSX remove every bolt and repaint the chassis all the way out and have a brand new NSX LOL
I wanna travel out there to see all of this yikes I forgot I have a baby on the way so maybe after LOL
shawn110975
Suspended
I wonder why Huggo's builds are packed with so much info it makes us other builders threads look like poop?
Thank you Shawn, you have some very nice build threads yourself do not worry :biggrin: I would change my old 91 & 93 NSX for your 04 & 02 ones anytime
Reventon is finally painted
I couldn´t imagine it would be such an amazing color in person, I couldn´t be more happy with the result. It looks like brushed bronze or titanium color, with some yellow and blue pearl effect, that really is amazing.
I will update the progress movie, as I did shoot the car right after it got painted as I did for the R, I will post it very soon.
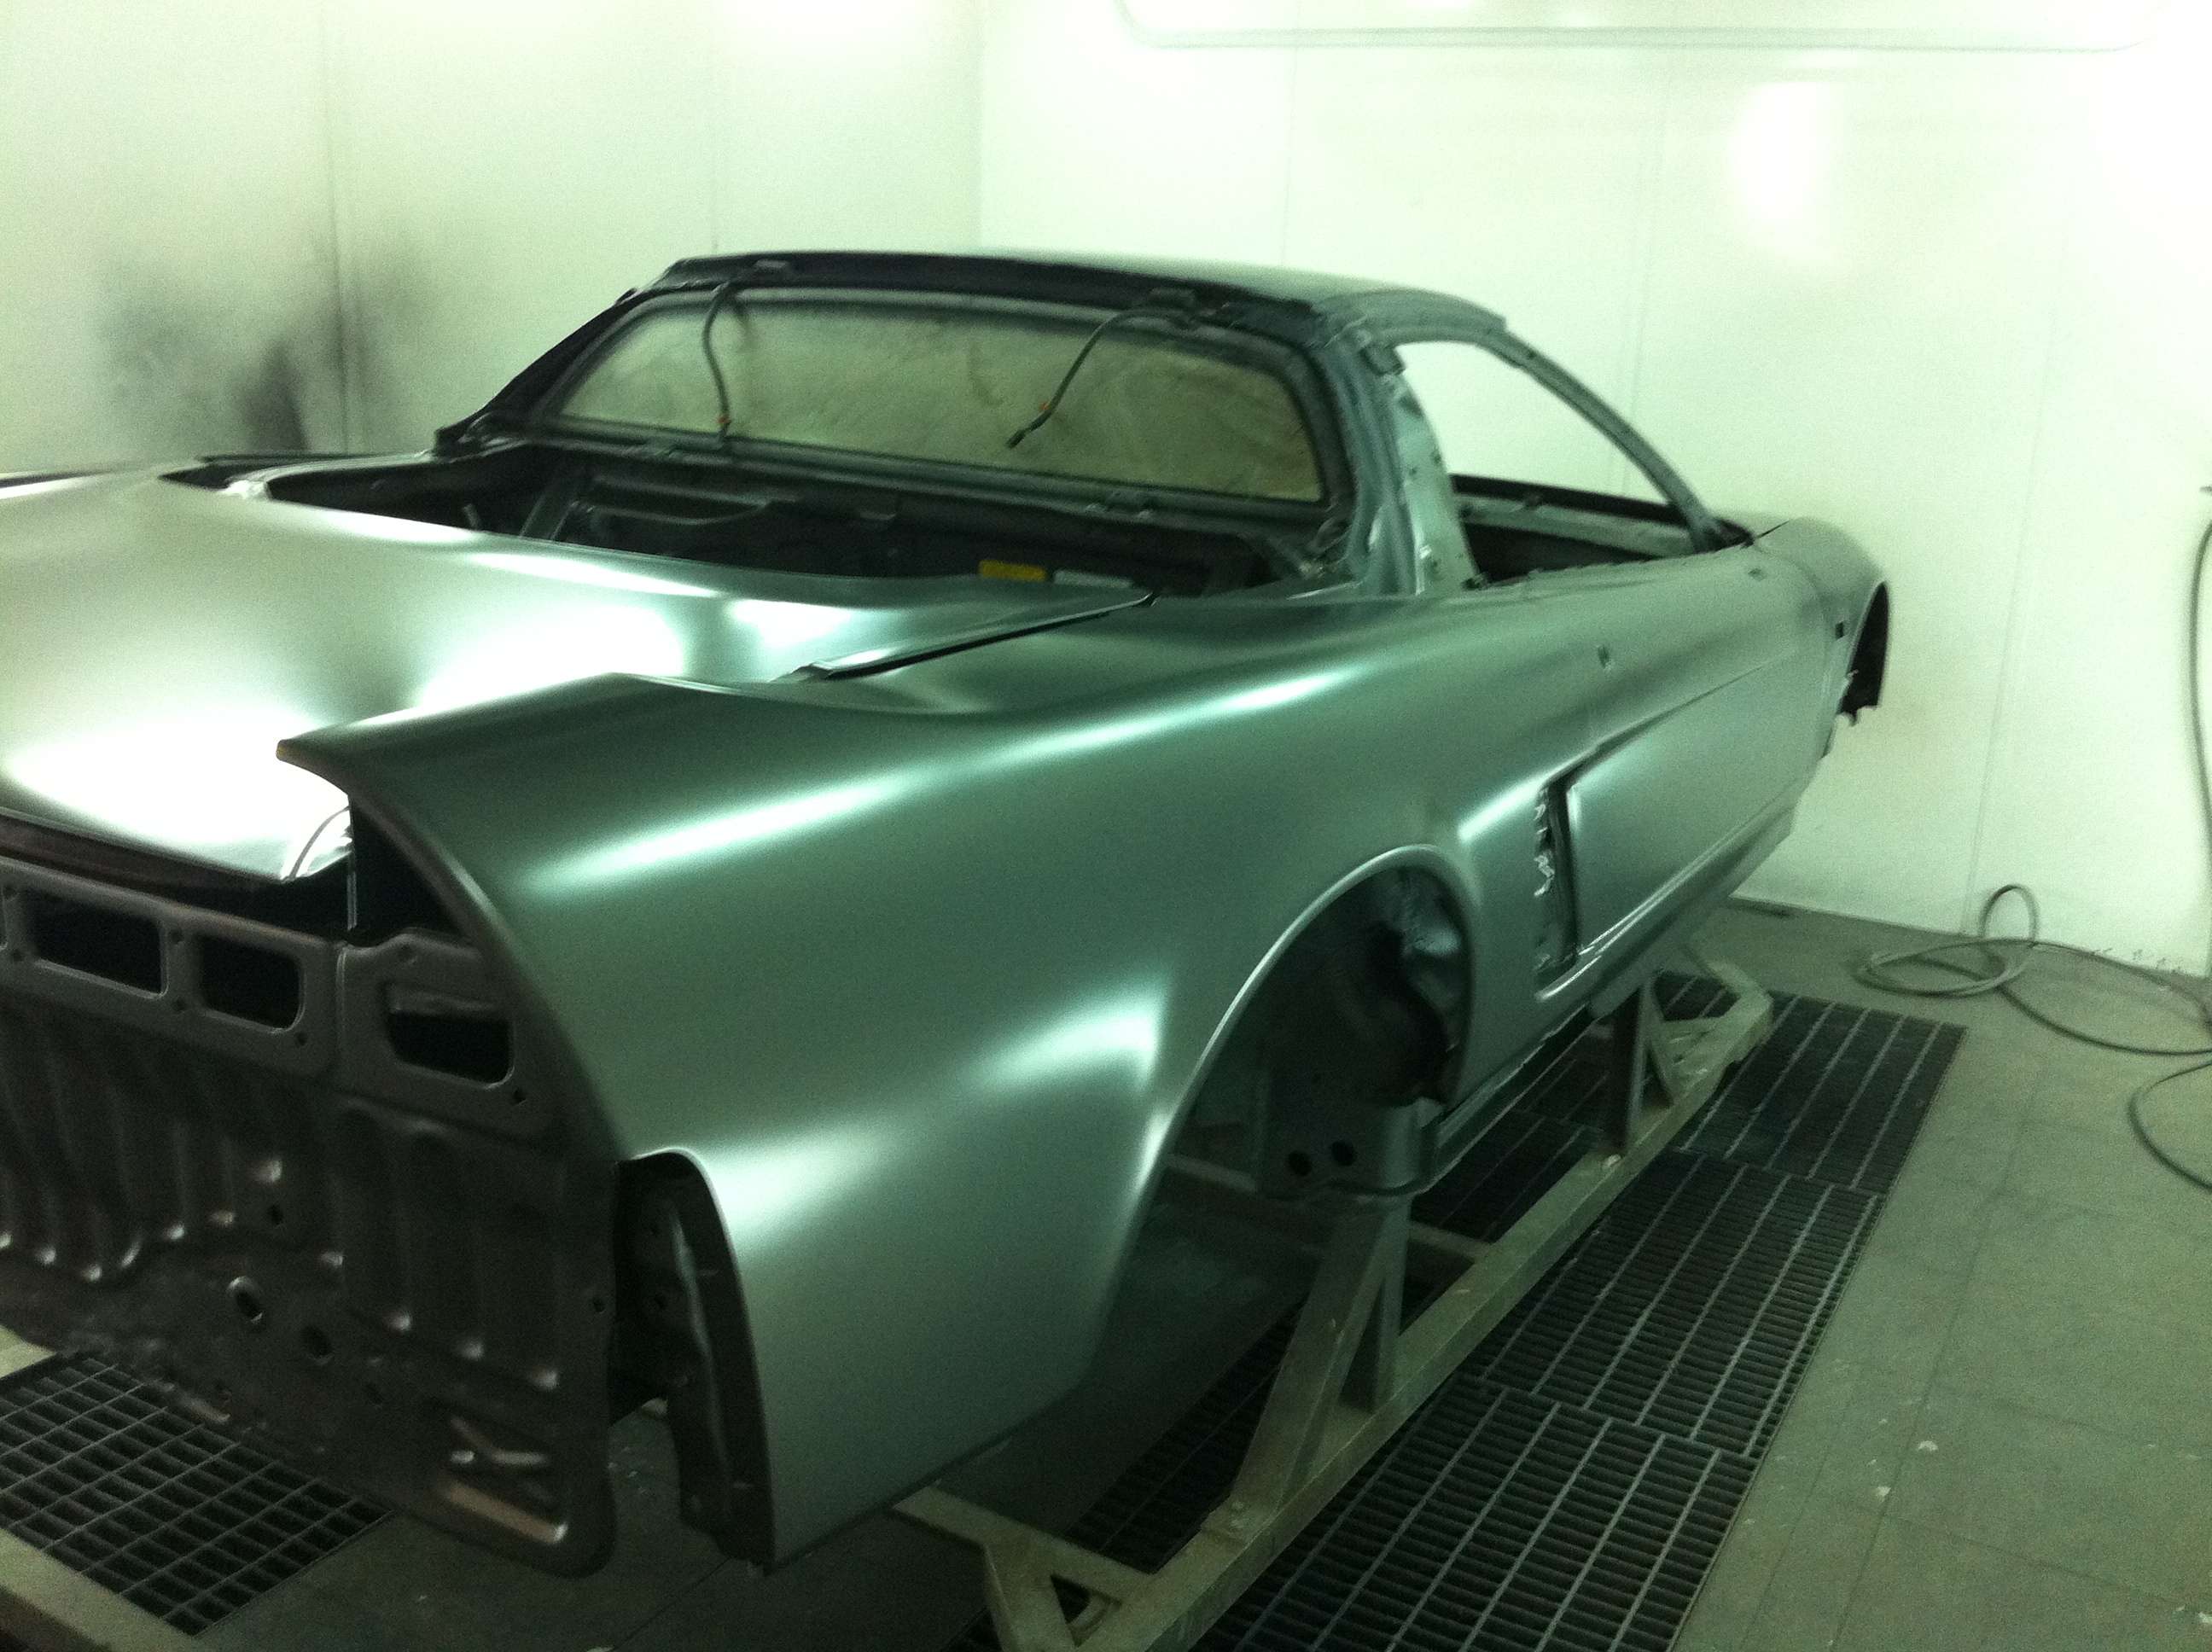
The clearcoat can take upto a full week to become 100% matt as they explained me, it has to do with its solvent evaporation process. For the moment it´s kinda "satinated", they used the most matt clearcoat available so next week it should look like the Lambo.

I gave up the idea of painting the engine compartment in shining black as the NSX-R. The Reventon is not to become an R so there was no point mixing themes, the contrast will be done by polished aluminium parts there, not by the paintjob...
I left the stickers intact as they are original, under them it is now the only place where we still can find the original sebring silver paint...
Engines are ready, I intend to fit them on both cars next week, right after the oil filling/pre-pressurization and some compression test just to know their health:wink:
Now progress should be faster
Reventon is finally painted
I couldn´t imagine it would be such an amazing color in person, I couldn´t be more happy with the result. It looks like brushed bronze or titanium color, with some yellow and blue pearl effect, that really is amazing.
I will update the progress movie, as I did shoot the car right after it got painted as I did for the R, I will post it very soon.
The clearcoat can take upto a full week to become 100% matt as they explained me, it has to do with its solvent evaporation process. For the moment it´s kinda "satinated", they used the most matt clearcoat available so next week it should look like the Lambo.
I gave up the idea of painting the engine compartment in shining black as the NSX-R. The Reventon is not to become an R so there was no point mixing themes, the contrast will be done by polished aluminium parts there, not by the paintjob...
I left the stickers intact as they are original, under them it is now the only place where we still can find the original sebring silver paint...
Engines are ready, I intend to fit them on both cars next week, right after the oil filling/pre-pressurization and some compression test just to know their health:wink:
Now progress should be faster
Looks great. Looking forward to see the car put back together.
Found this TOP GEAR episode of the Reventon, color really looks the same now...
<iframe width="640" height="390" src="http://www.youtube.com/embed/k4CQumVkGho" frameborder="0" allowfullscreen></iframe>
I won´t include any carbon fins to the wheels :biggrin:, am thinking about painting them in 2 colors Reventon & Black. The carbon fiber parts looks the same as the the bodypaint to me
Wheels I'll be using are the OEM 16/17...
I need some opinions here :biggrin:
Last edited:
shawn110975
Suspended
very nice cant wait to see the end result.
Man you must've sold a lot of window regulator kits lol
I can't imagine paying for this project for one car let alone two at once. Awesome work!
I can't imagine paying for this project for one car let alone two at once. Awesome work!
I haven´t sold enough window kits to pay for this project, but they surely are sponsoring it :biggrin:
Here are some updates
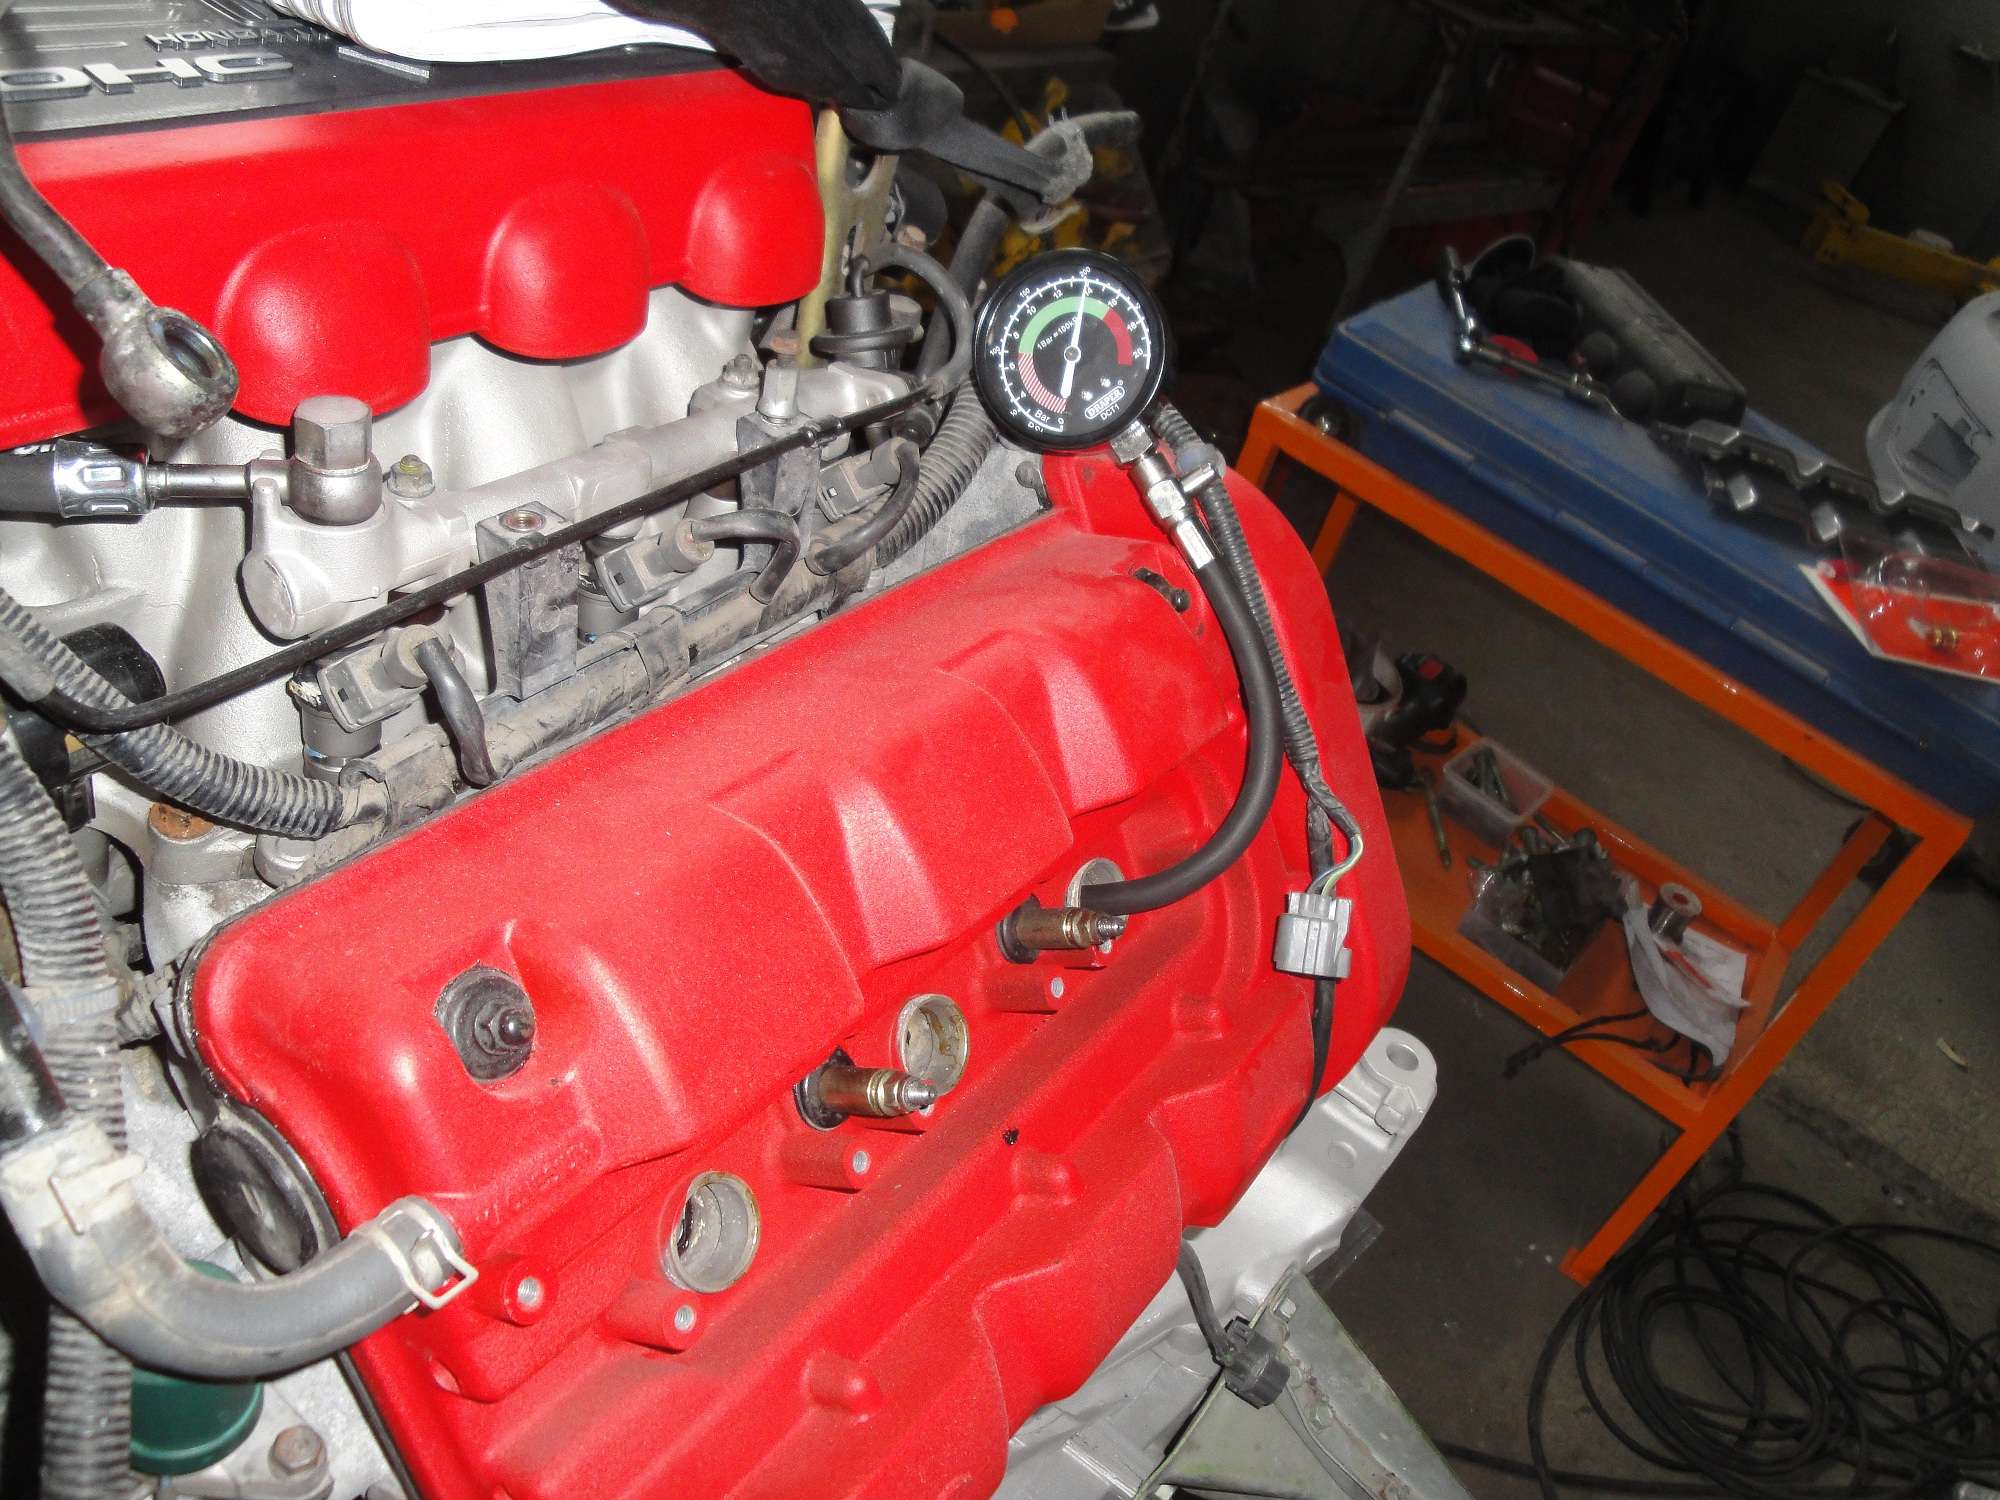
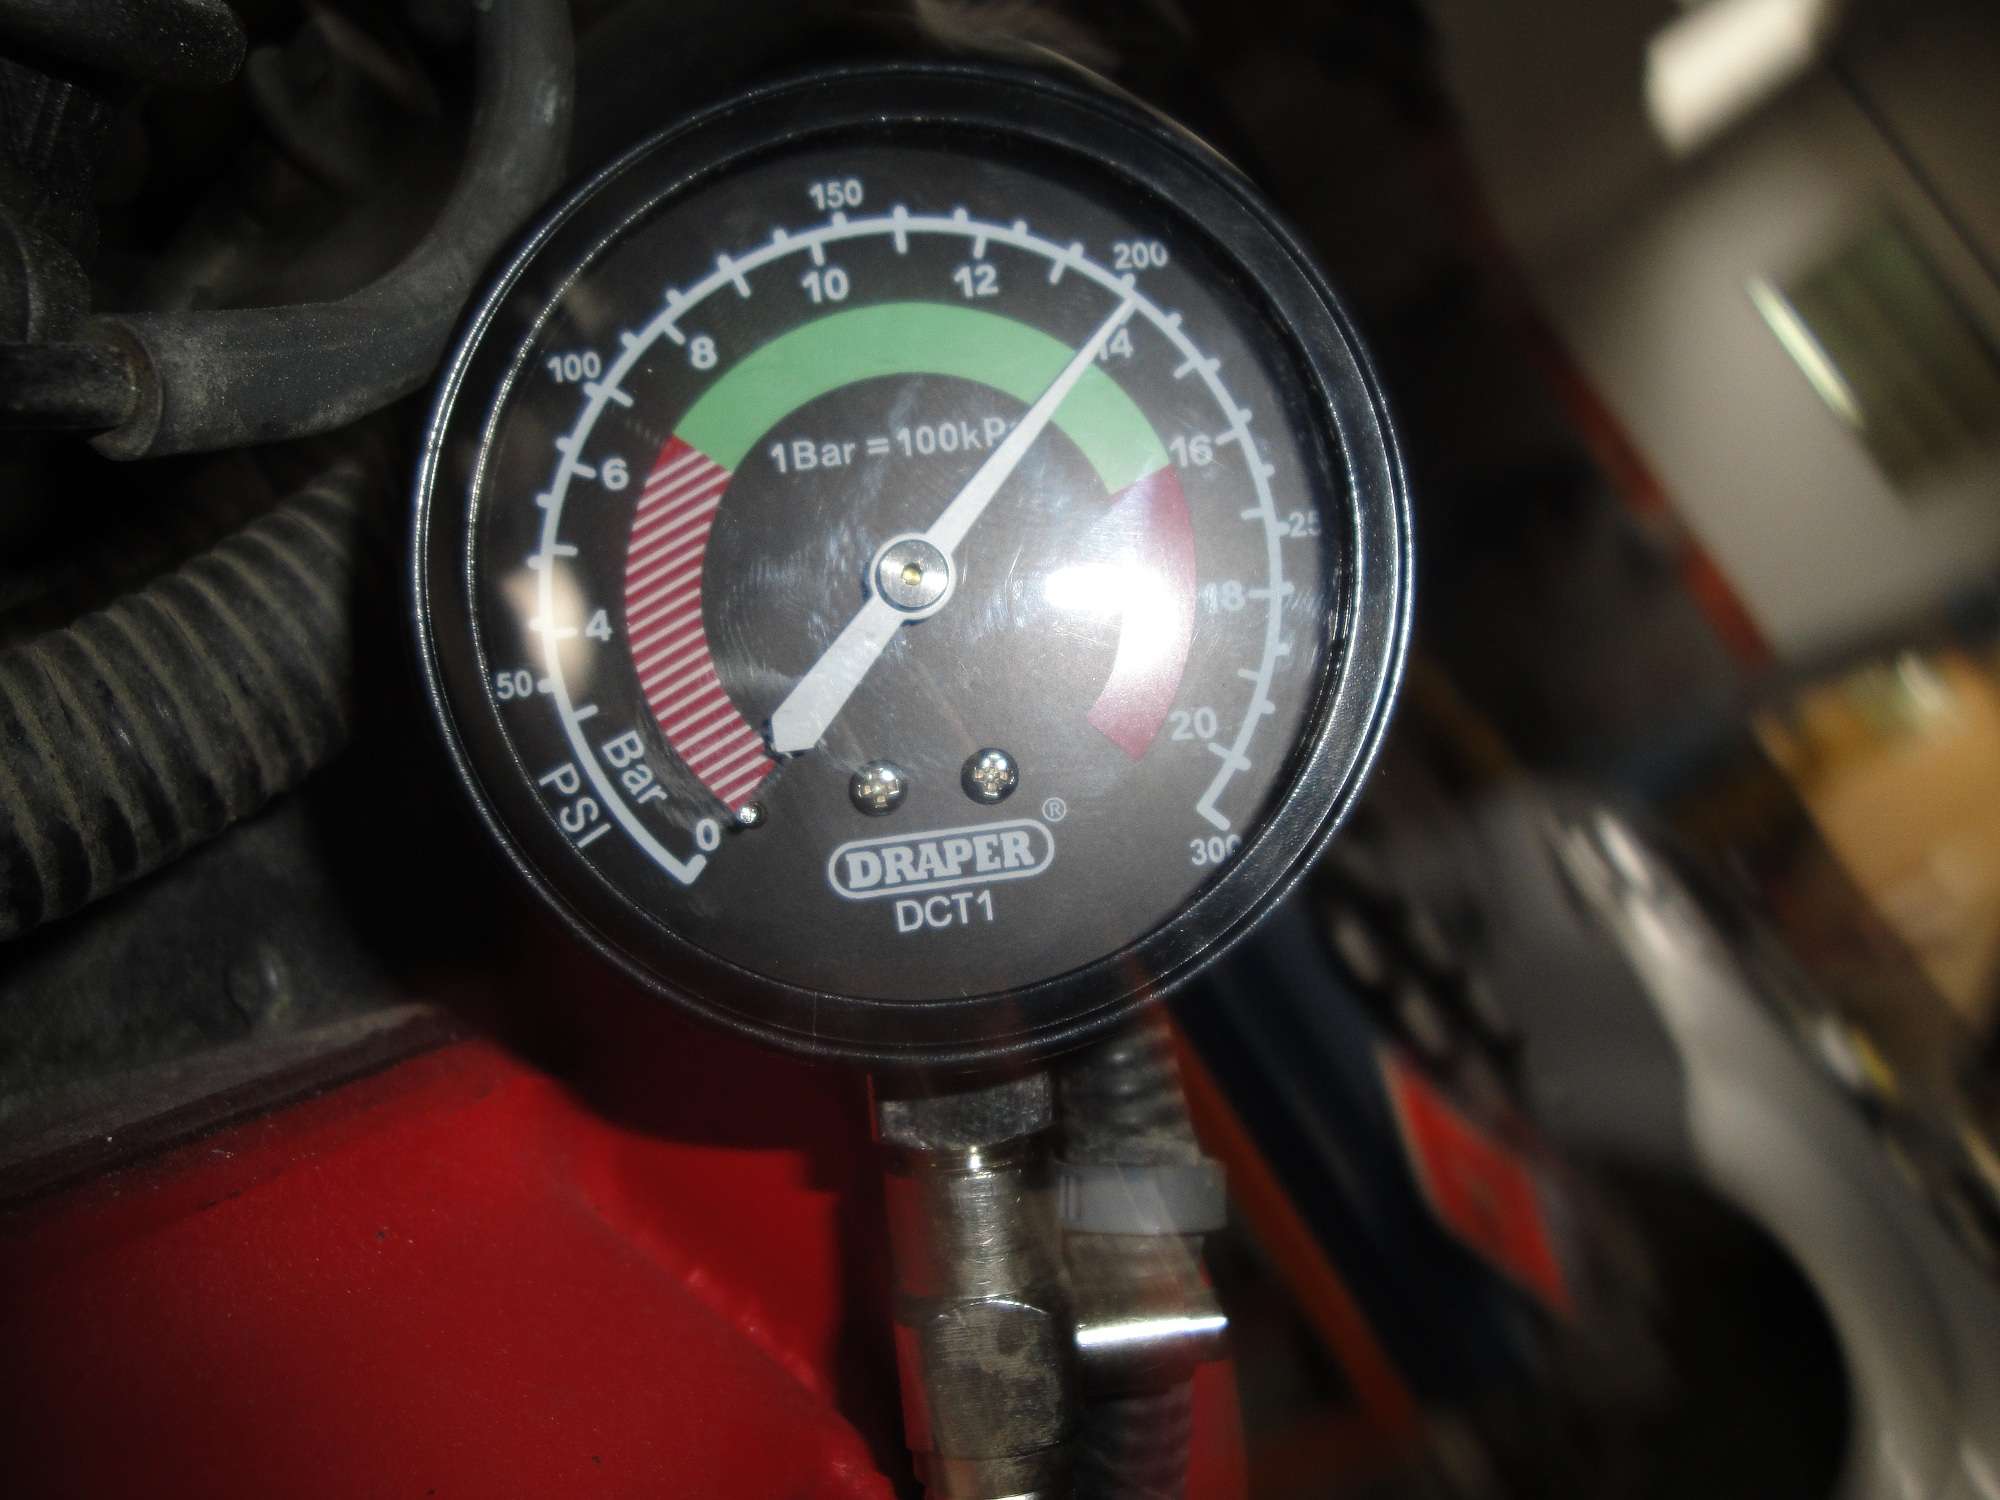
I decided to run a compression test on engines before fitting them on cars. First time all pistons had no compression at all on both engines!! both engines have been stopped for 10 years or so, but I was not expecting such a result.
I pre-pressurized the oil circuit of the engine with my external driller-operated pump, but I guess that was not enough to lubricate under the cilinders and the piston rings
So, I drop a small amount of pure oil on top of each cilinders through the sparking plug hole and waited for 24h and ran the test again
Now I have full compression on both engines, I can´t imagine the smoke when I'll start them!! :biggrin::biggrin:
While the Reventon is evaporating and getting matter, I had time for some detailing: I polished the water tubes, just the visible part as it is very time consuming to do it
And did some valve cover paint refreshing in black, just one layer this time, not 3 as i did for the red ones
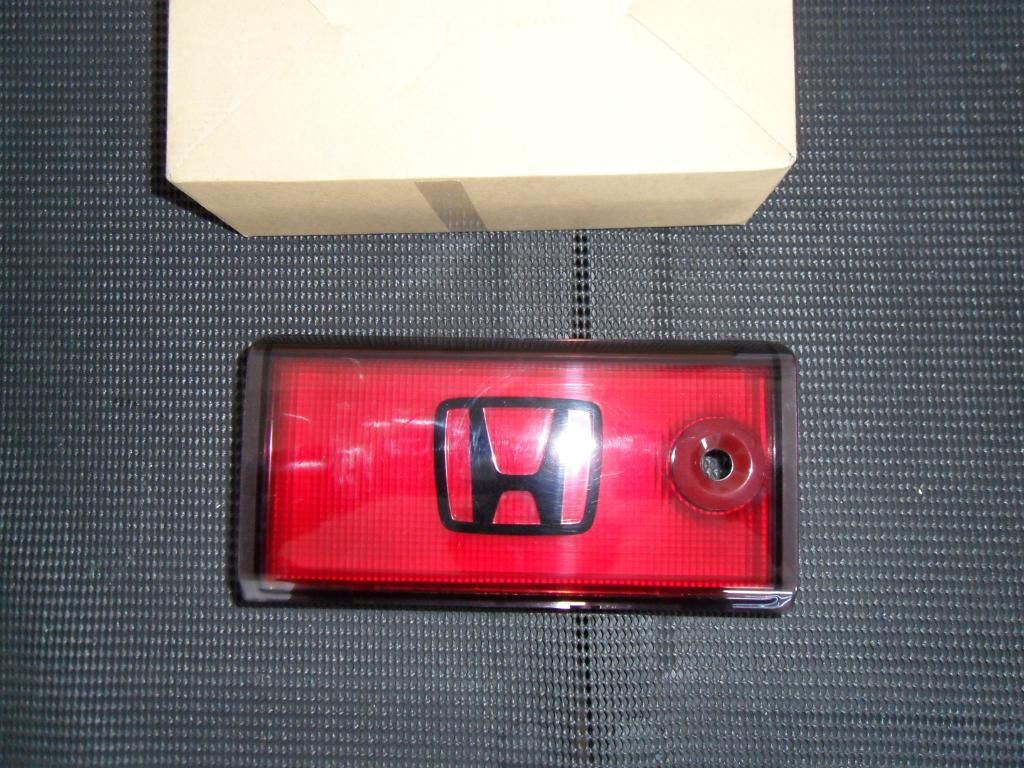
Then I had nothing to do, and decided to costumize the rear badge
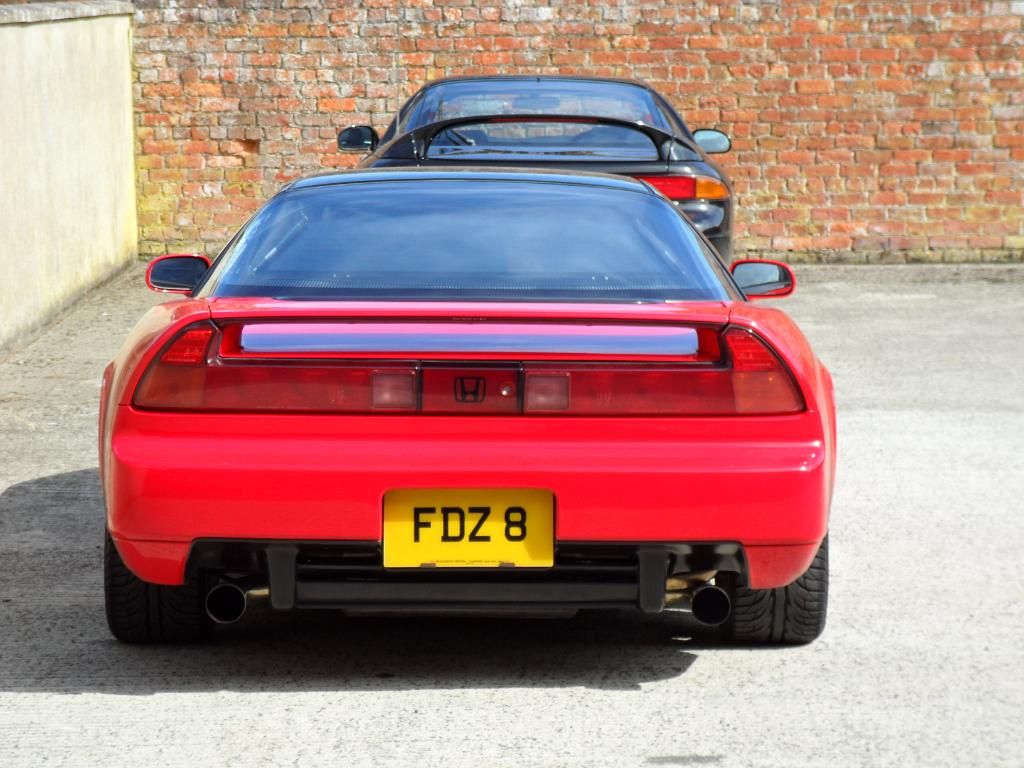
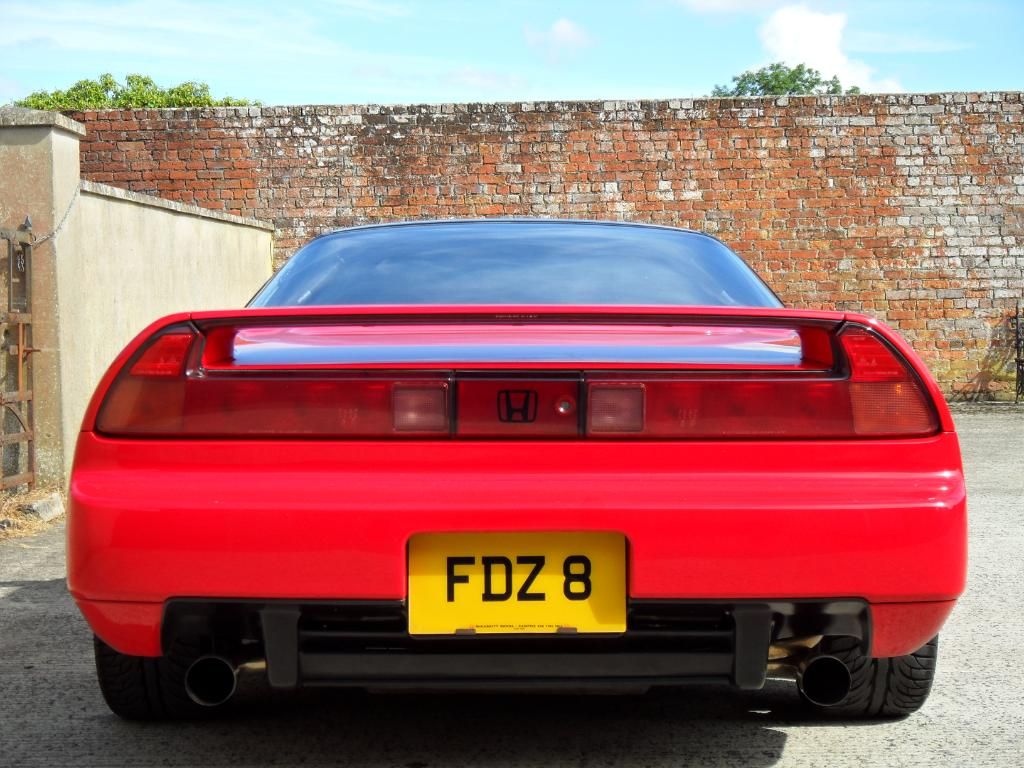
The Reventon has a very discrete "LAMBORGHINI" black handwritten style logo in the middle of the tailights
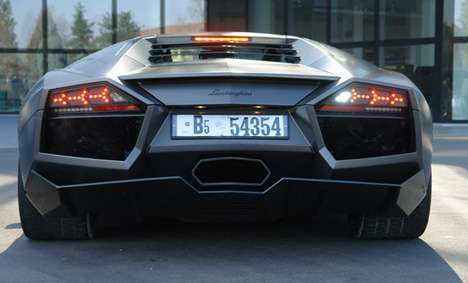
I can´t imagine a Lamborghini having just a "L" or a Ferrari having just a "F" as their badge, so I tried to find a way to replace our H.
I searched, and searched and found that some nice honda bikes, as Goldwings and so also have an handwritten HONDA logo.
I found my happiness on ebay, and bought some cheap self-adhesive replica from Hongkong that perfectly fit on the center tailight
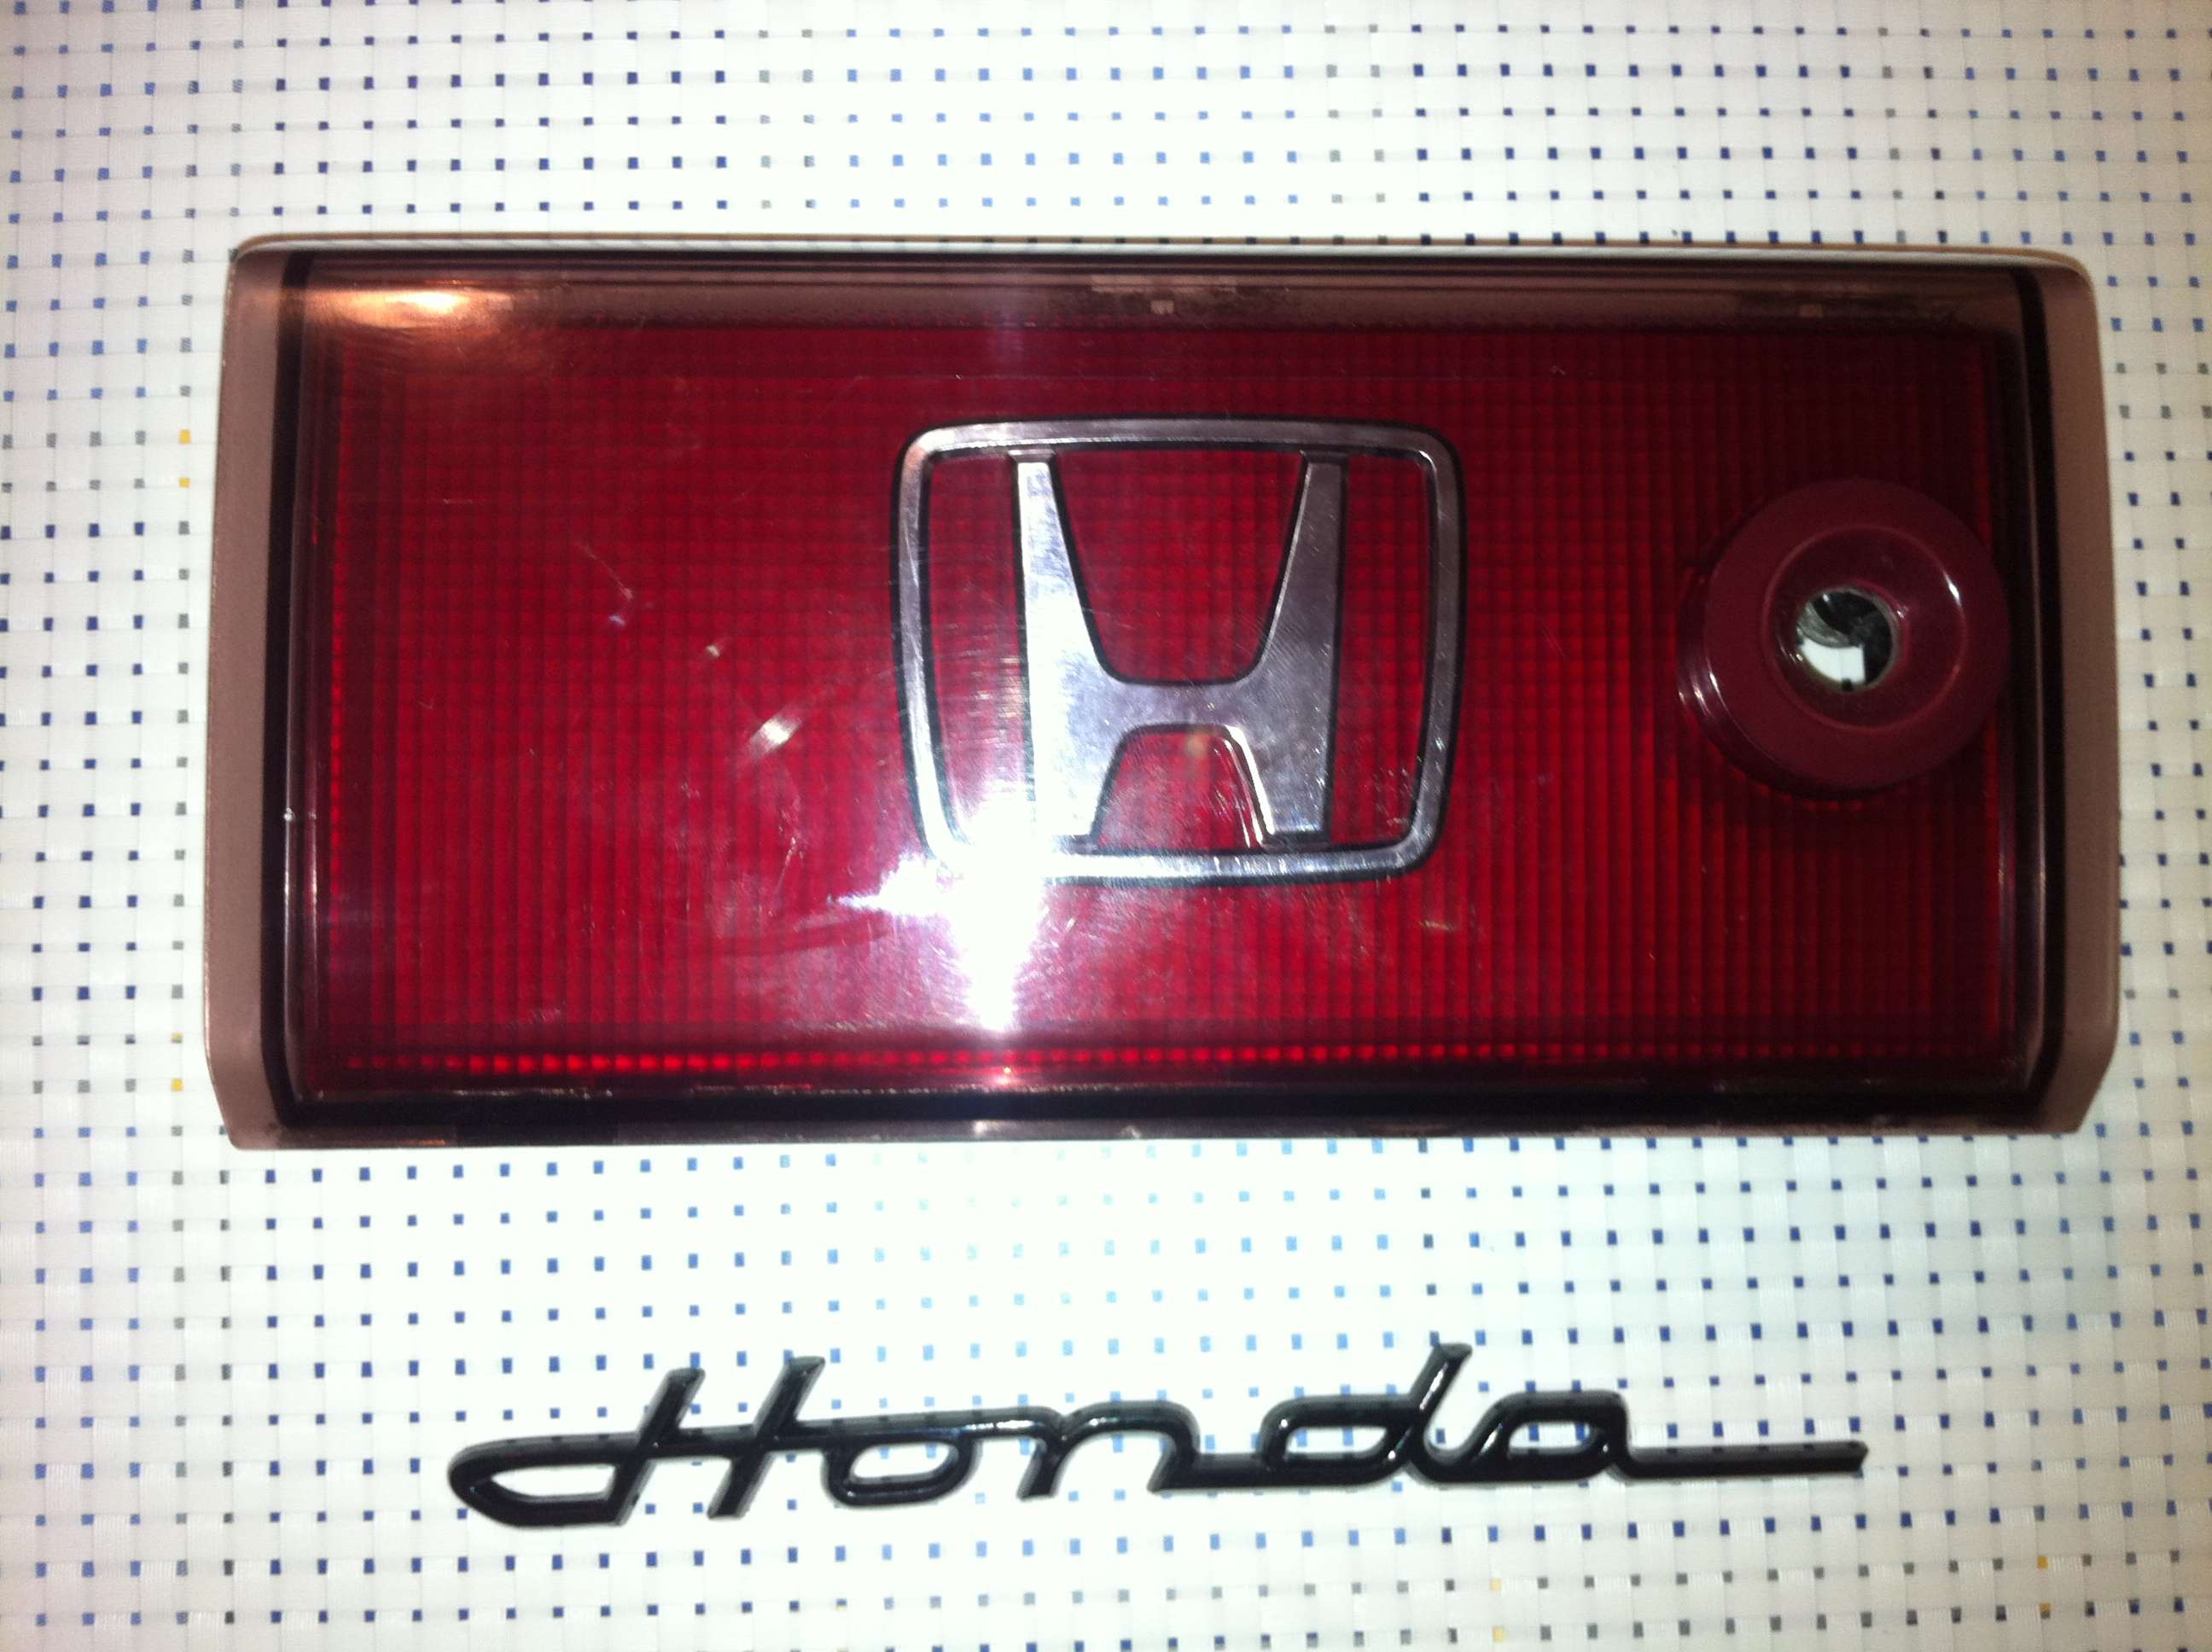
So, my idea was to remove the "H" and replace it by this handwritten logo to match the Reventon style
I then baked the part, to soften its glue and to be able to open it
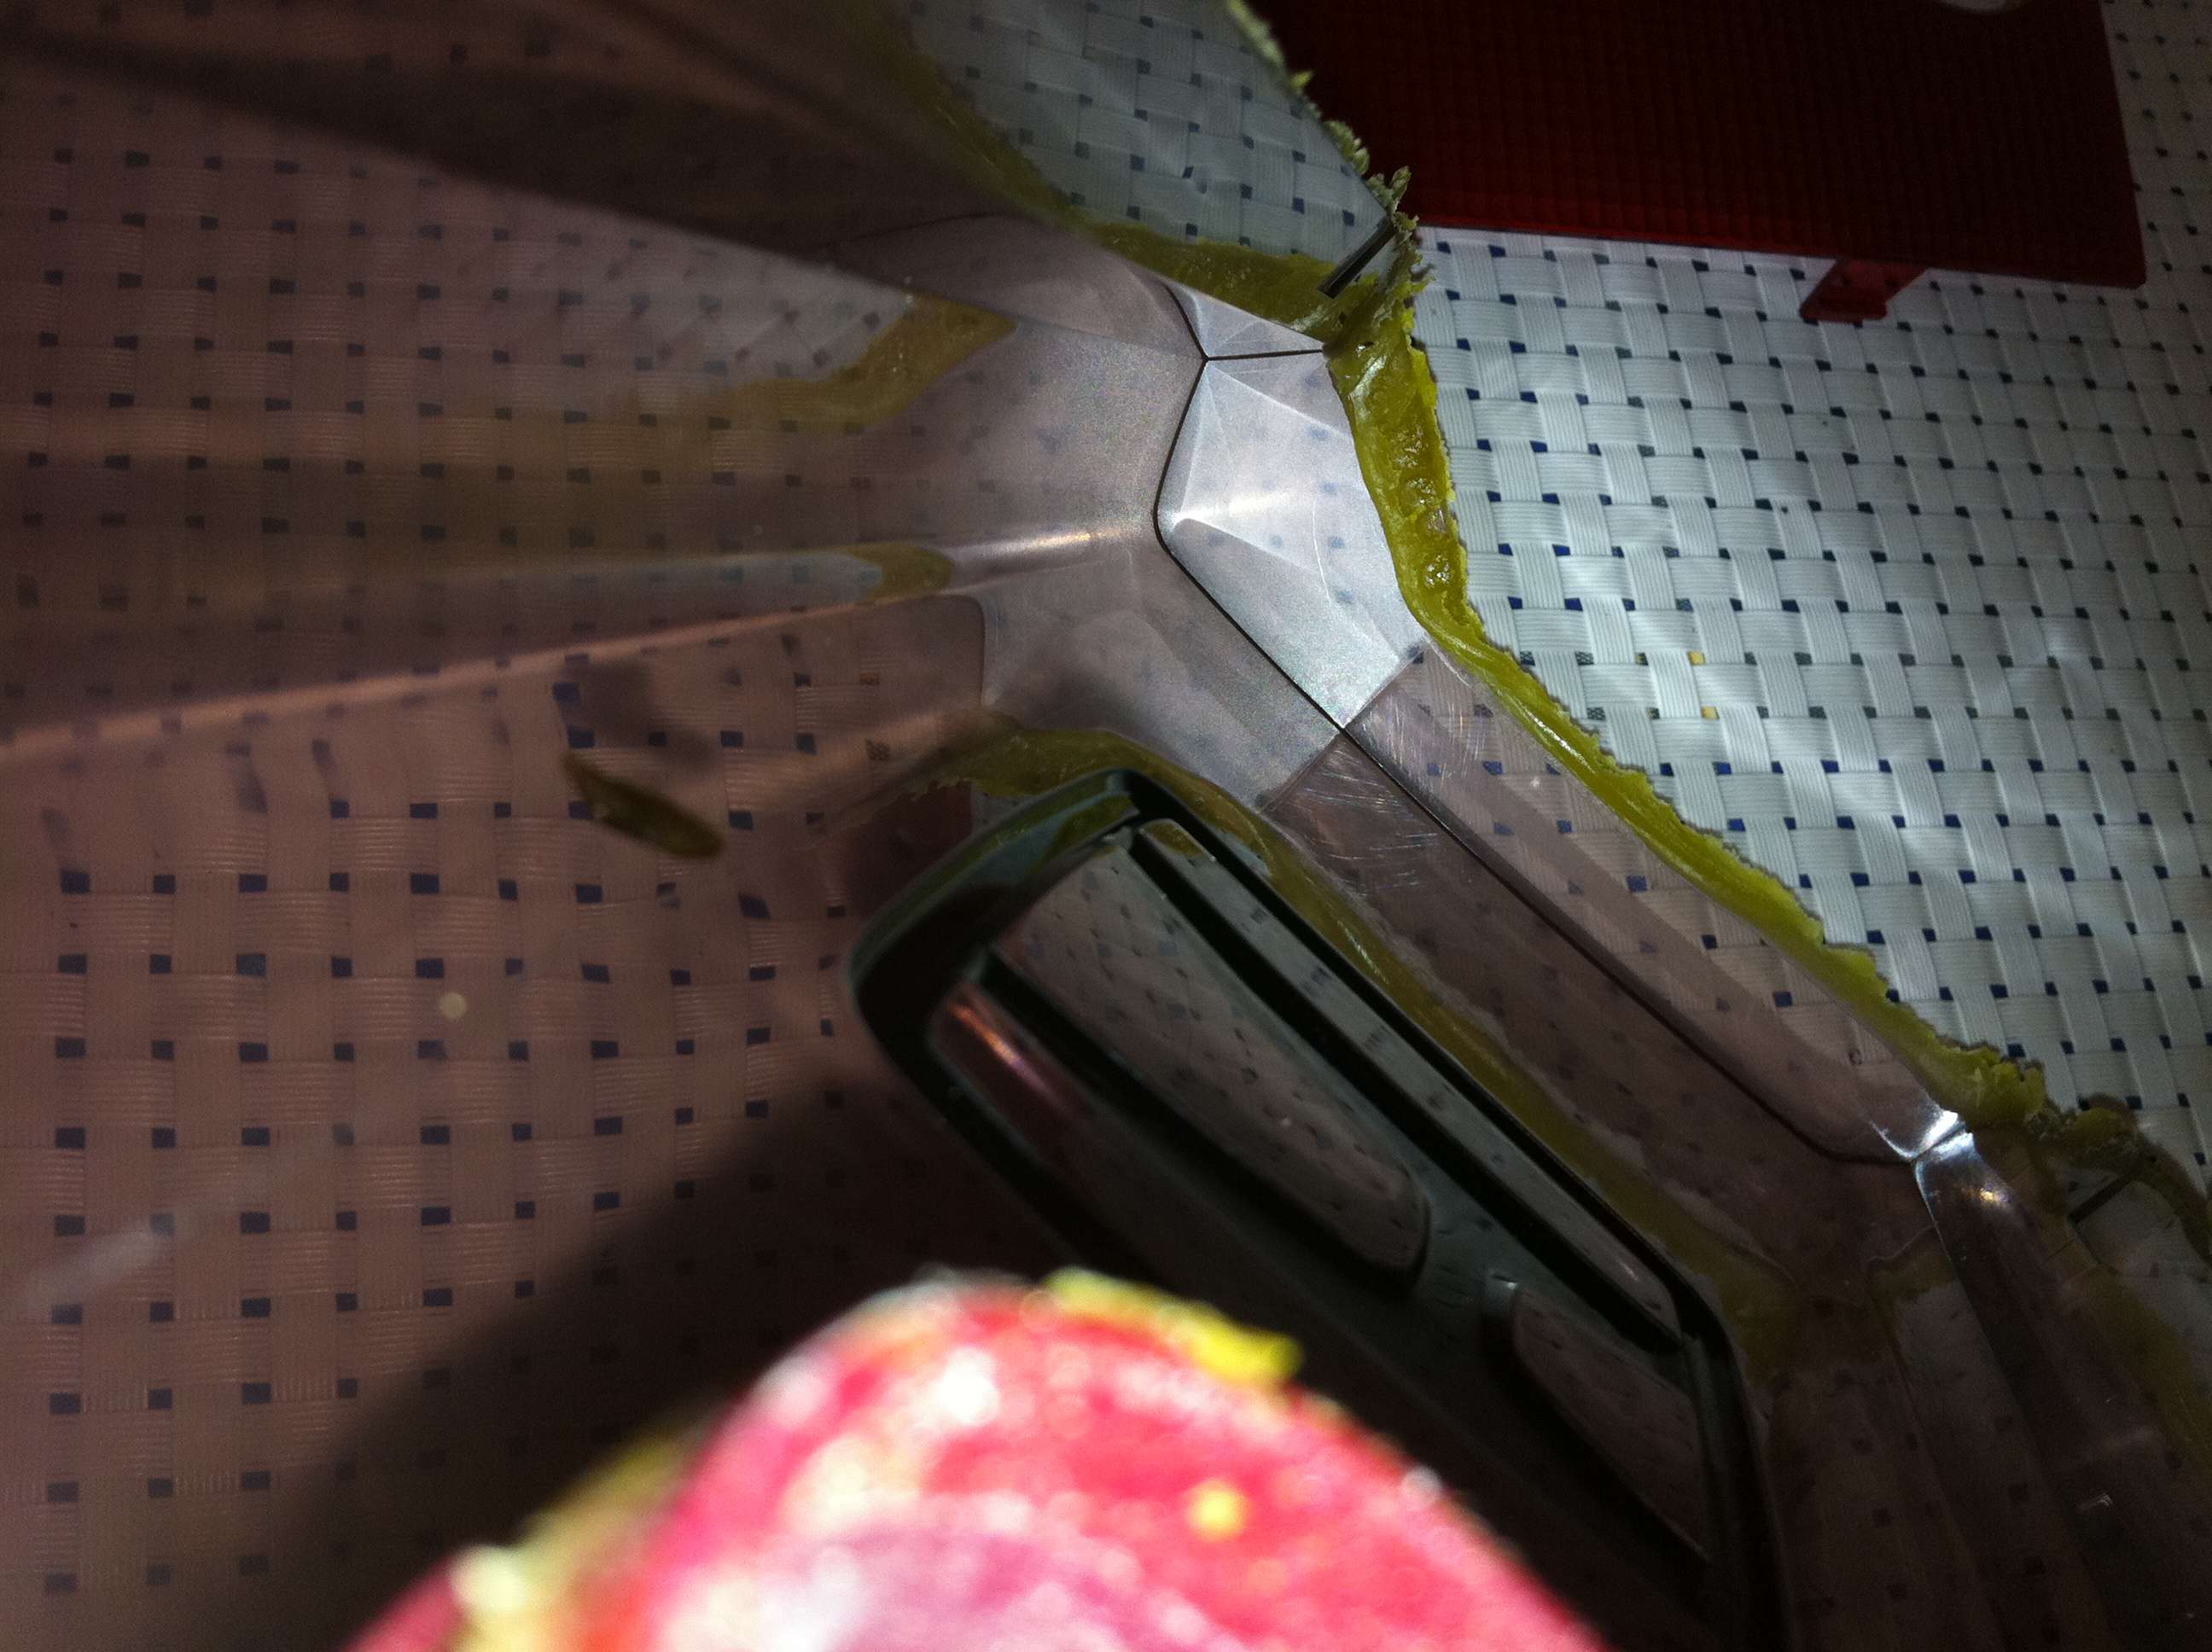
I then realized that we can´t remove the H from the JDM center piece because the logo molded in 3D from the inside of the glass
Anyway, that didn´t stop me, I could not have a chrome logo in a matt car :biggrin:
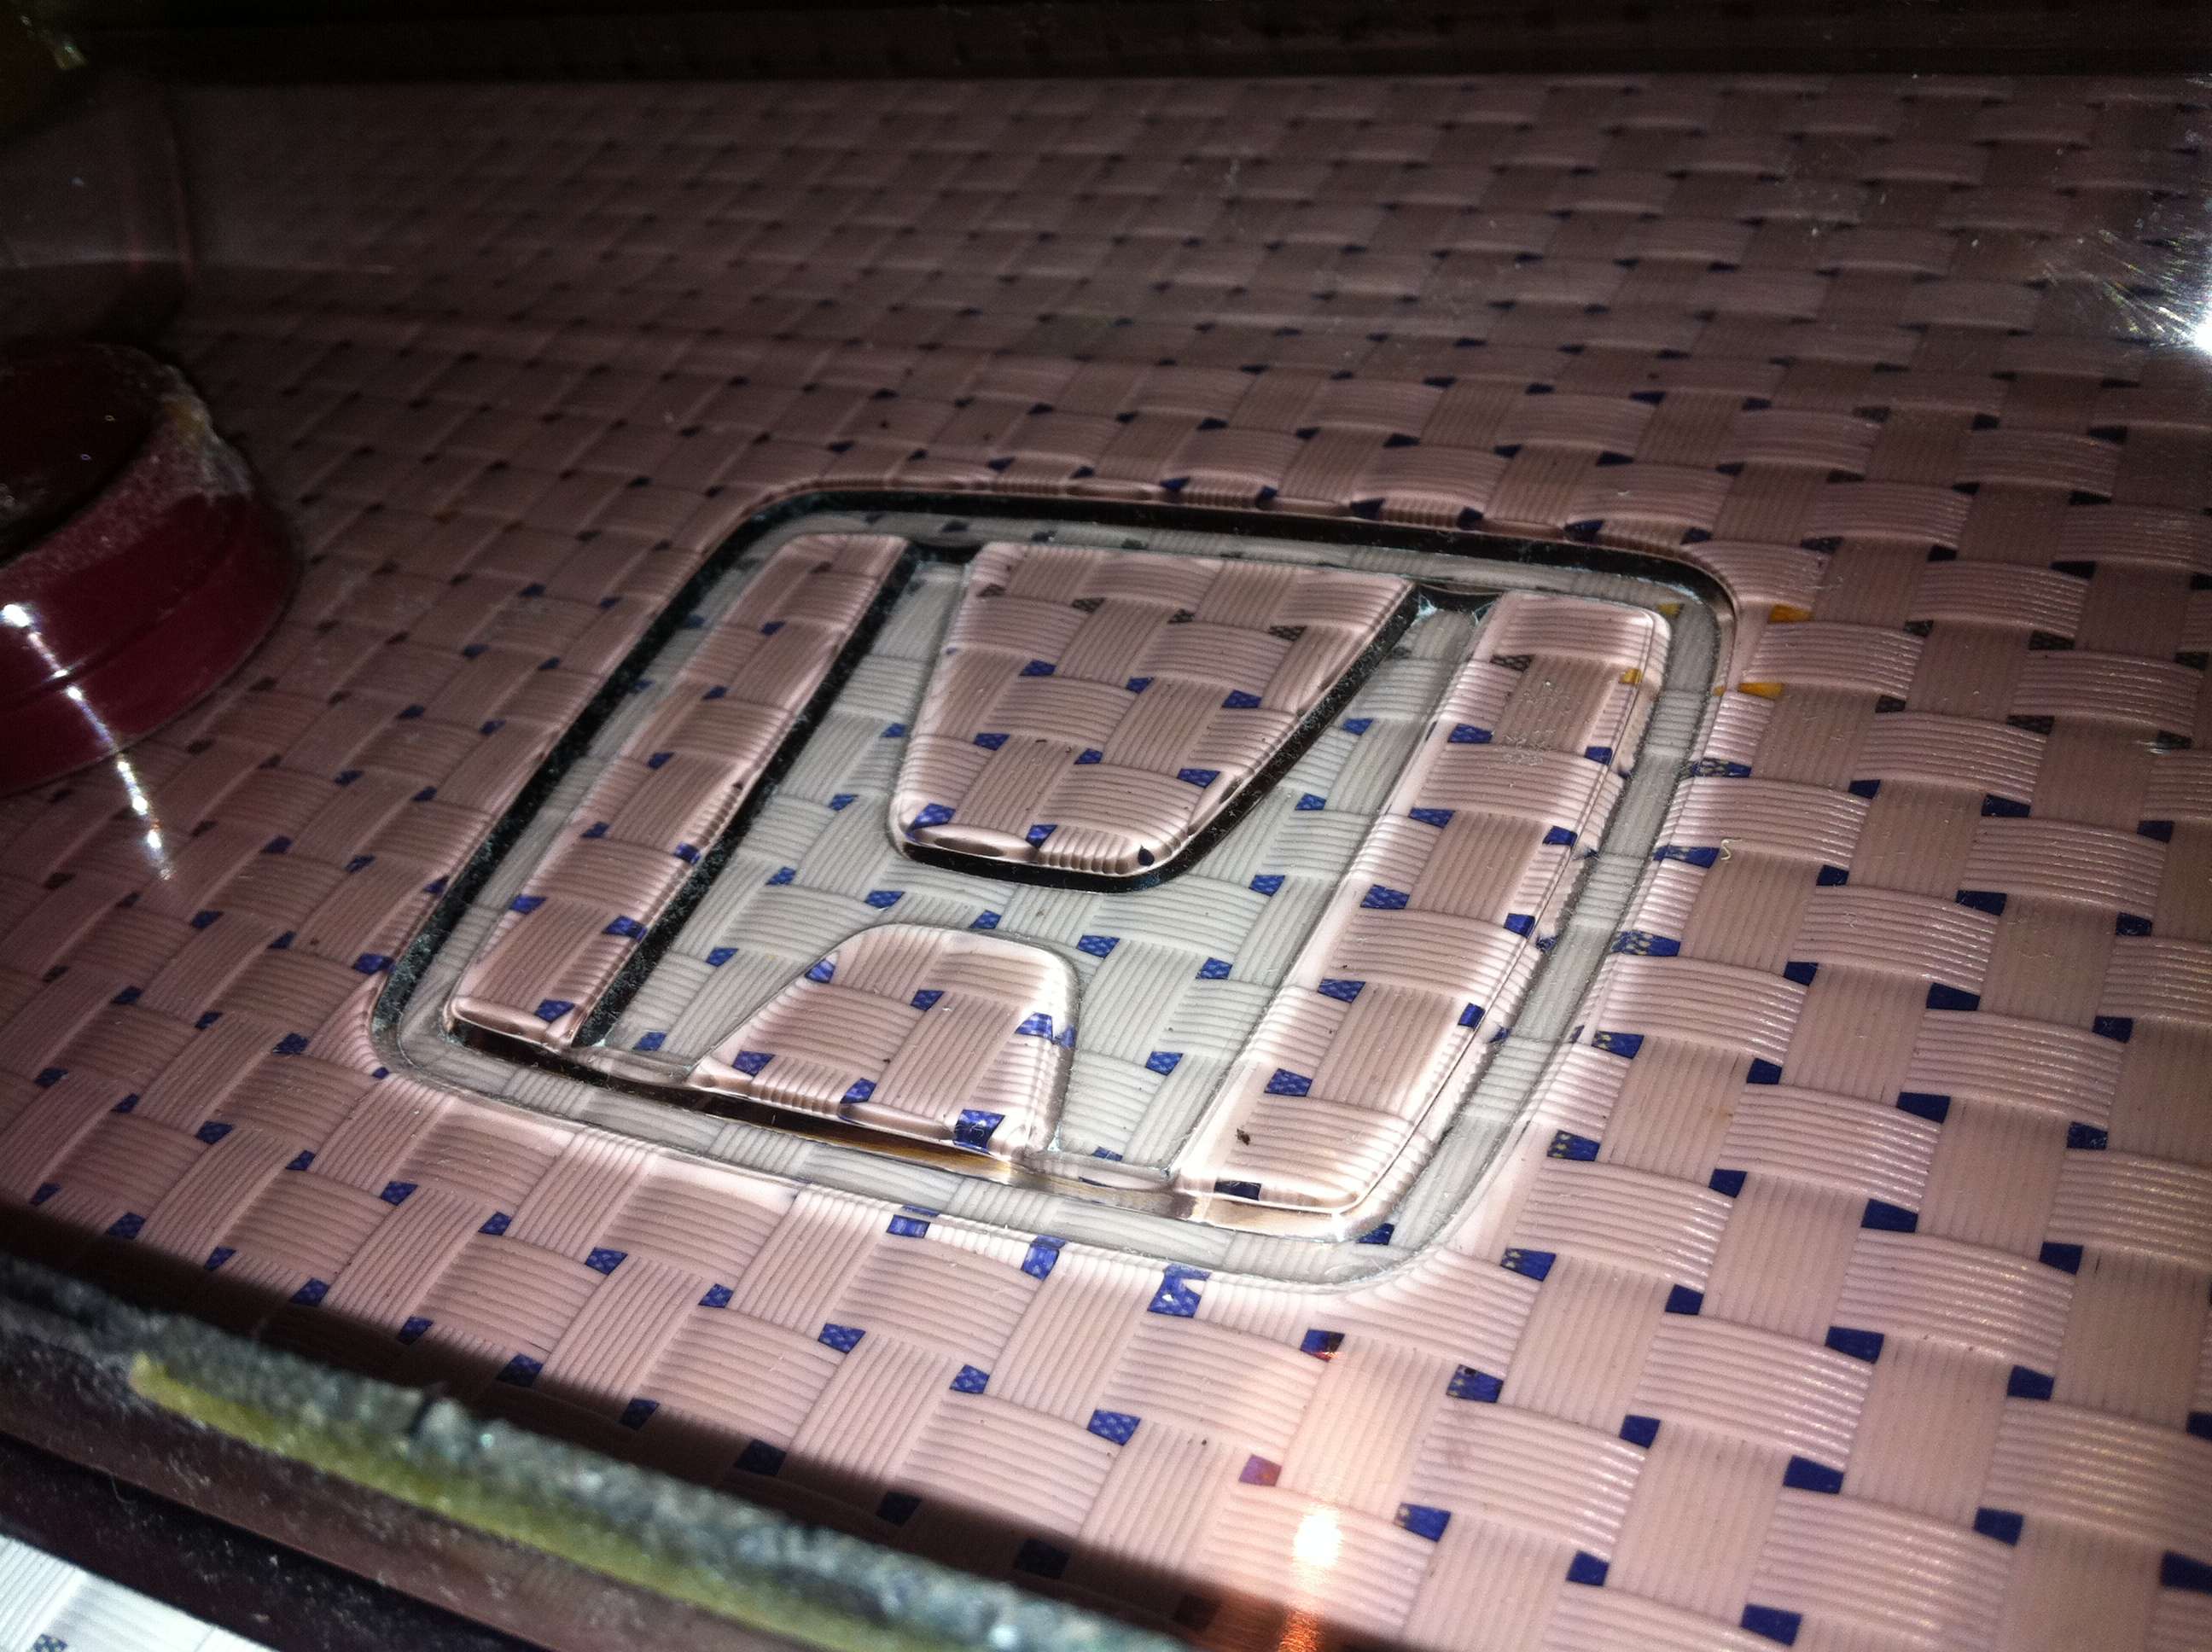
So I used a lot of solvents, plastic polisher and could finally remove all the paint of the logo.
The plastic is smoked but as the logo is in 3d the plastic gets thinner, that is why it looks brighter there
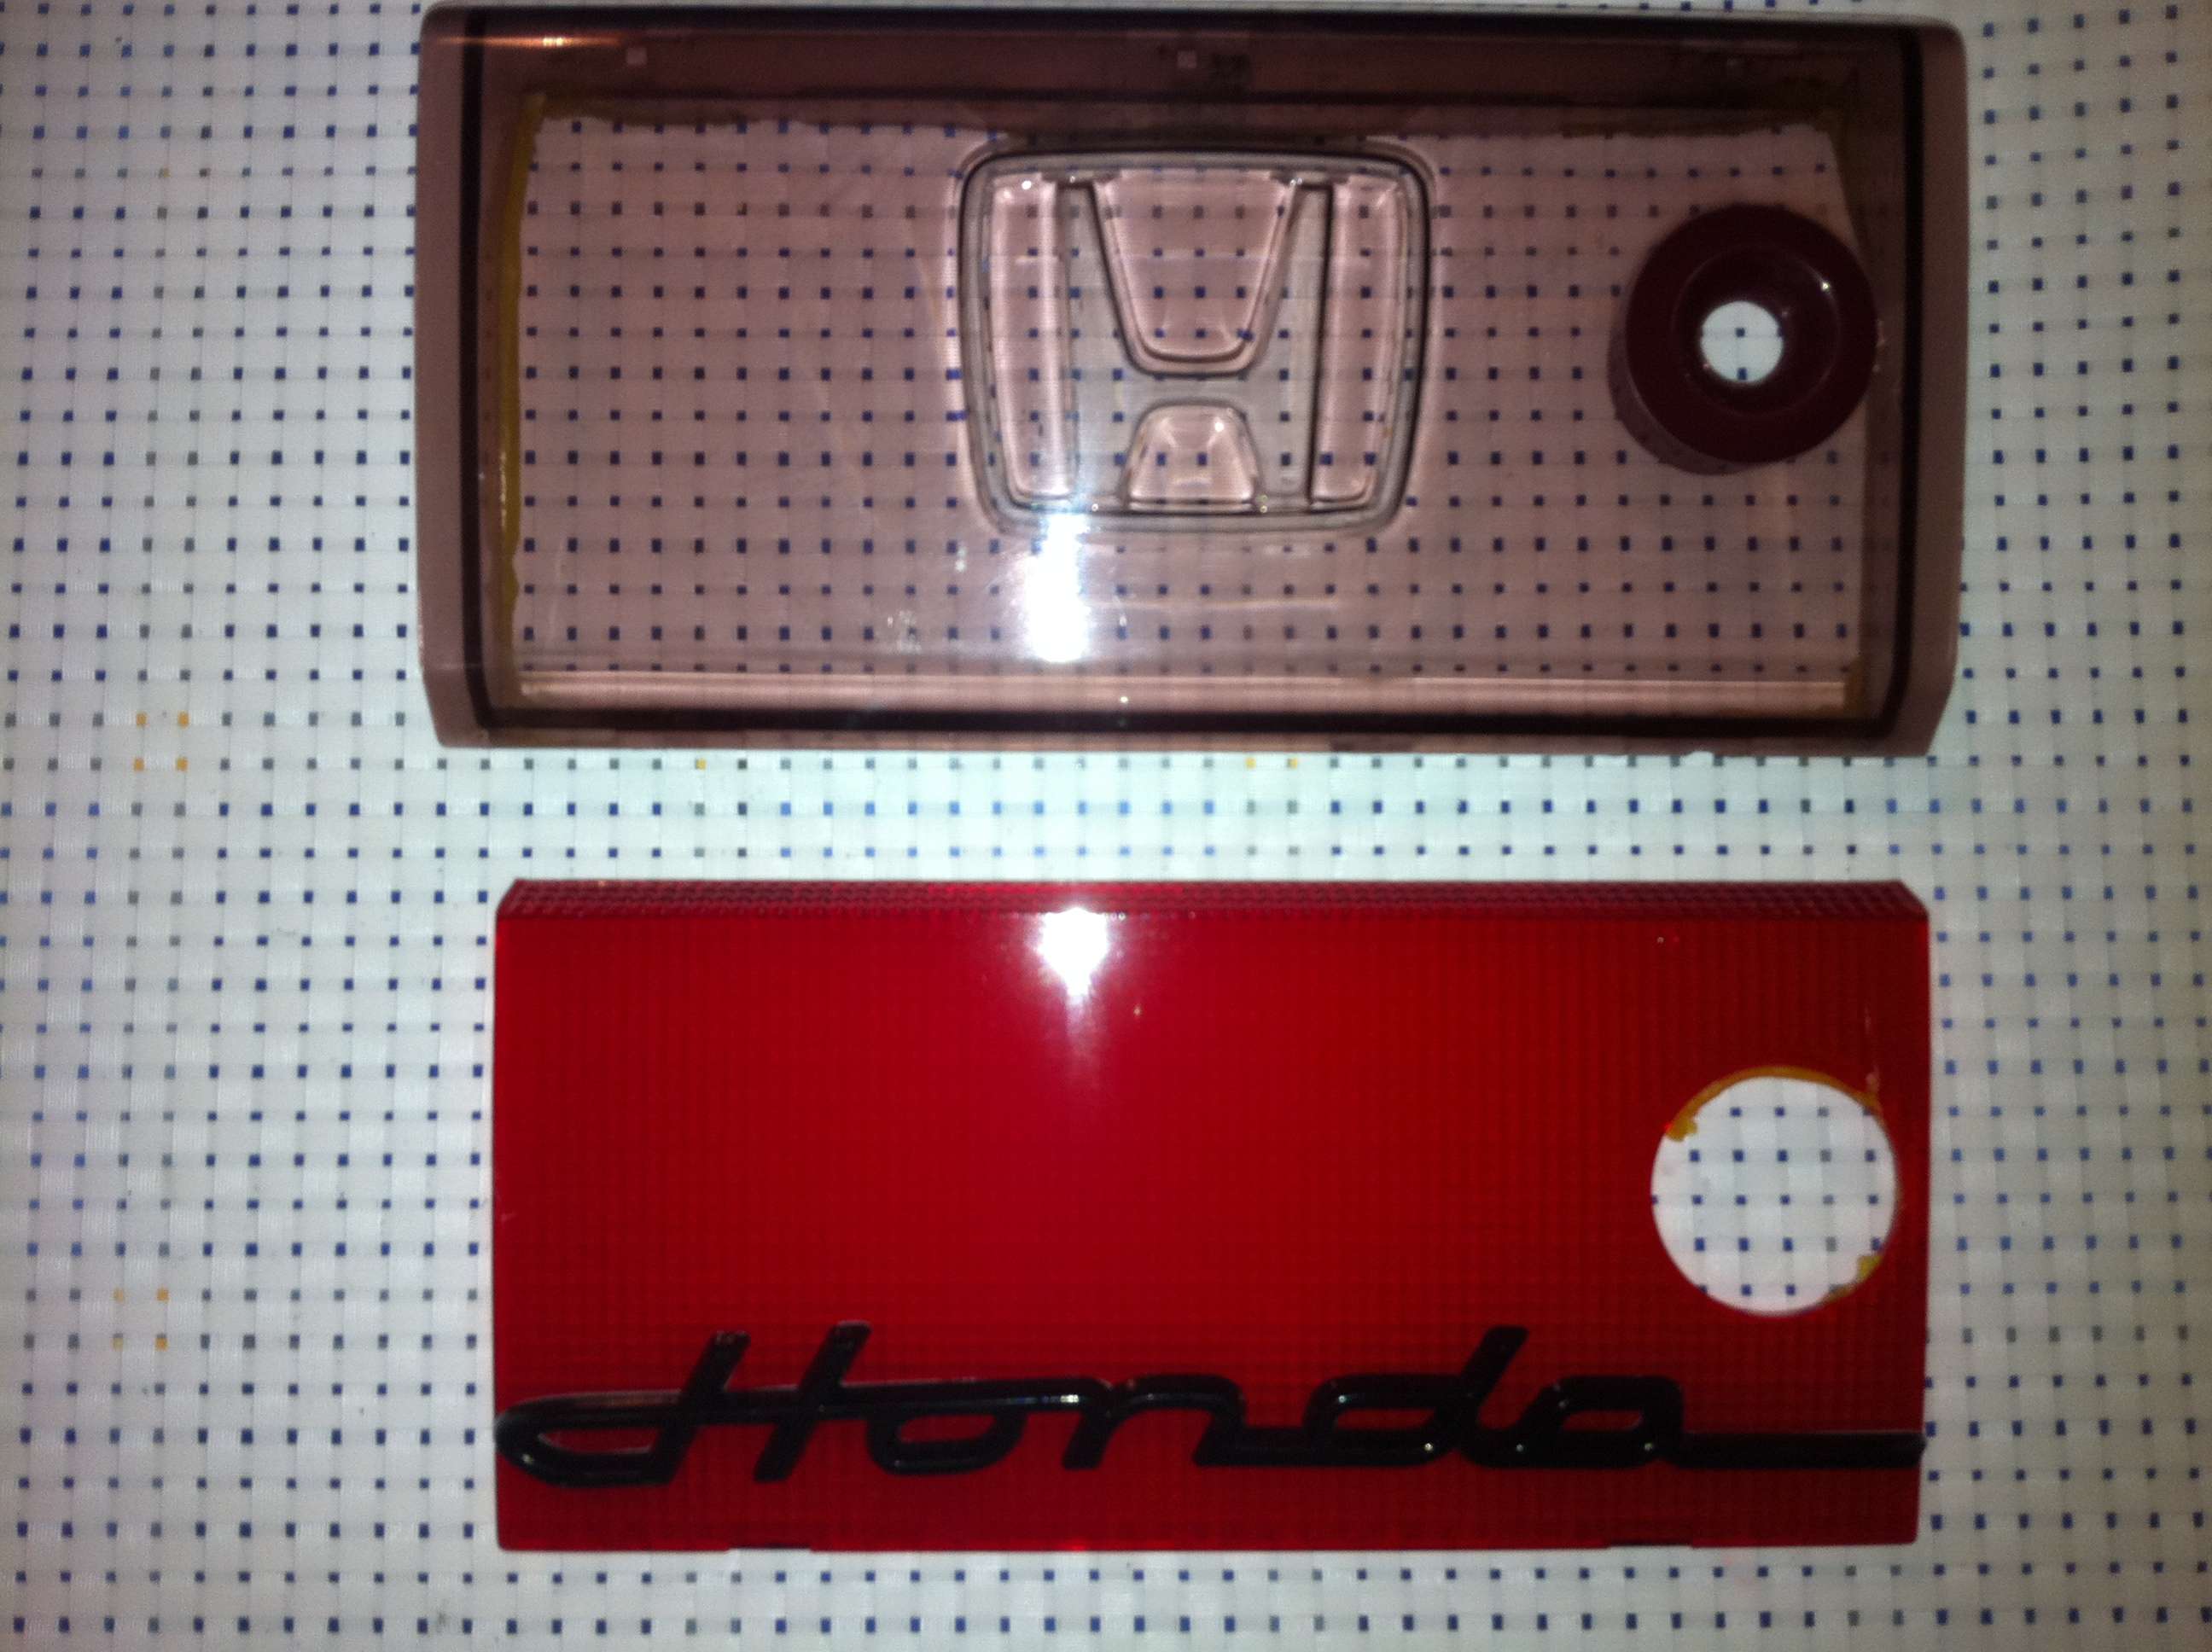
Then I placed my handwritten logo behing the glass and here is the result with sunlight
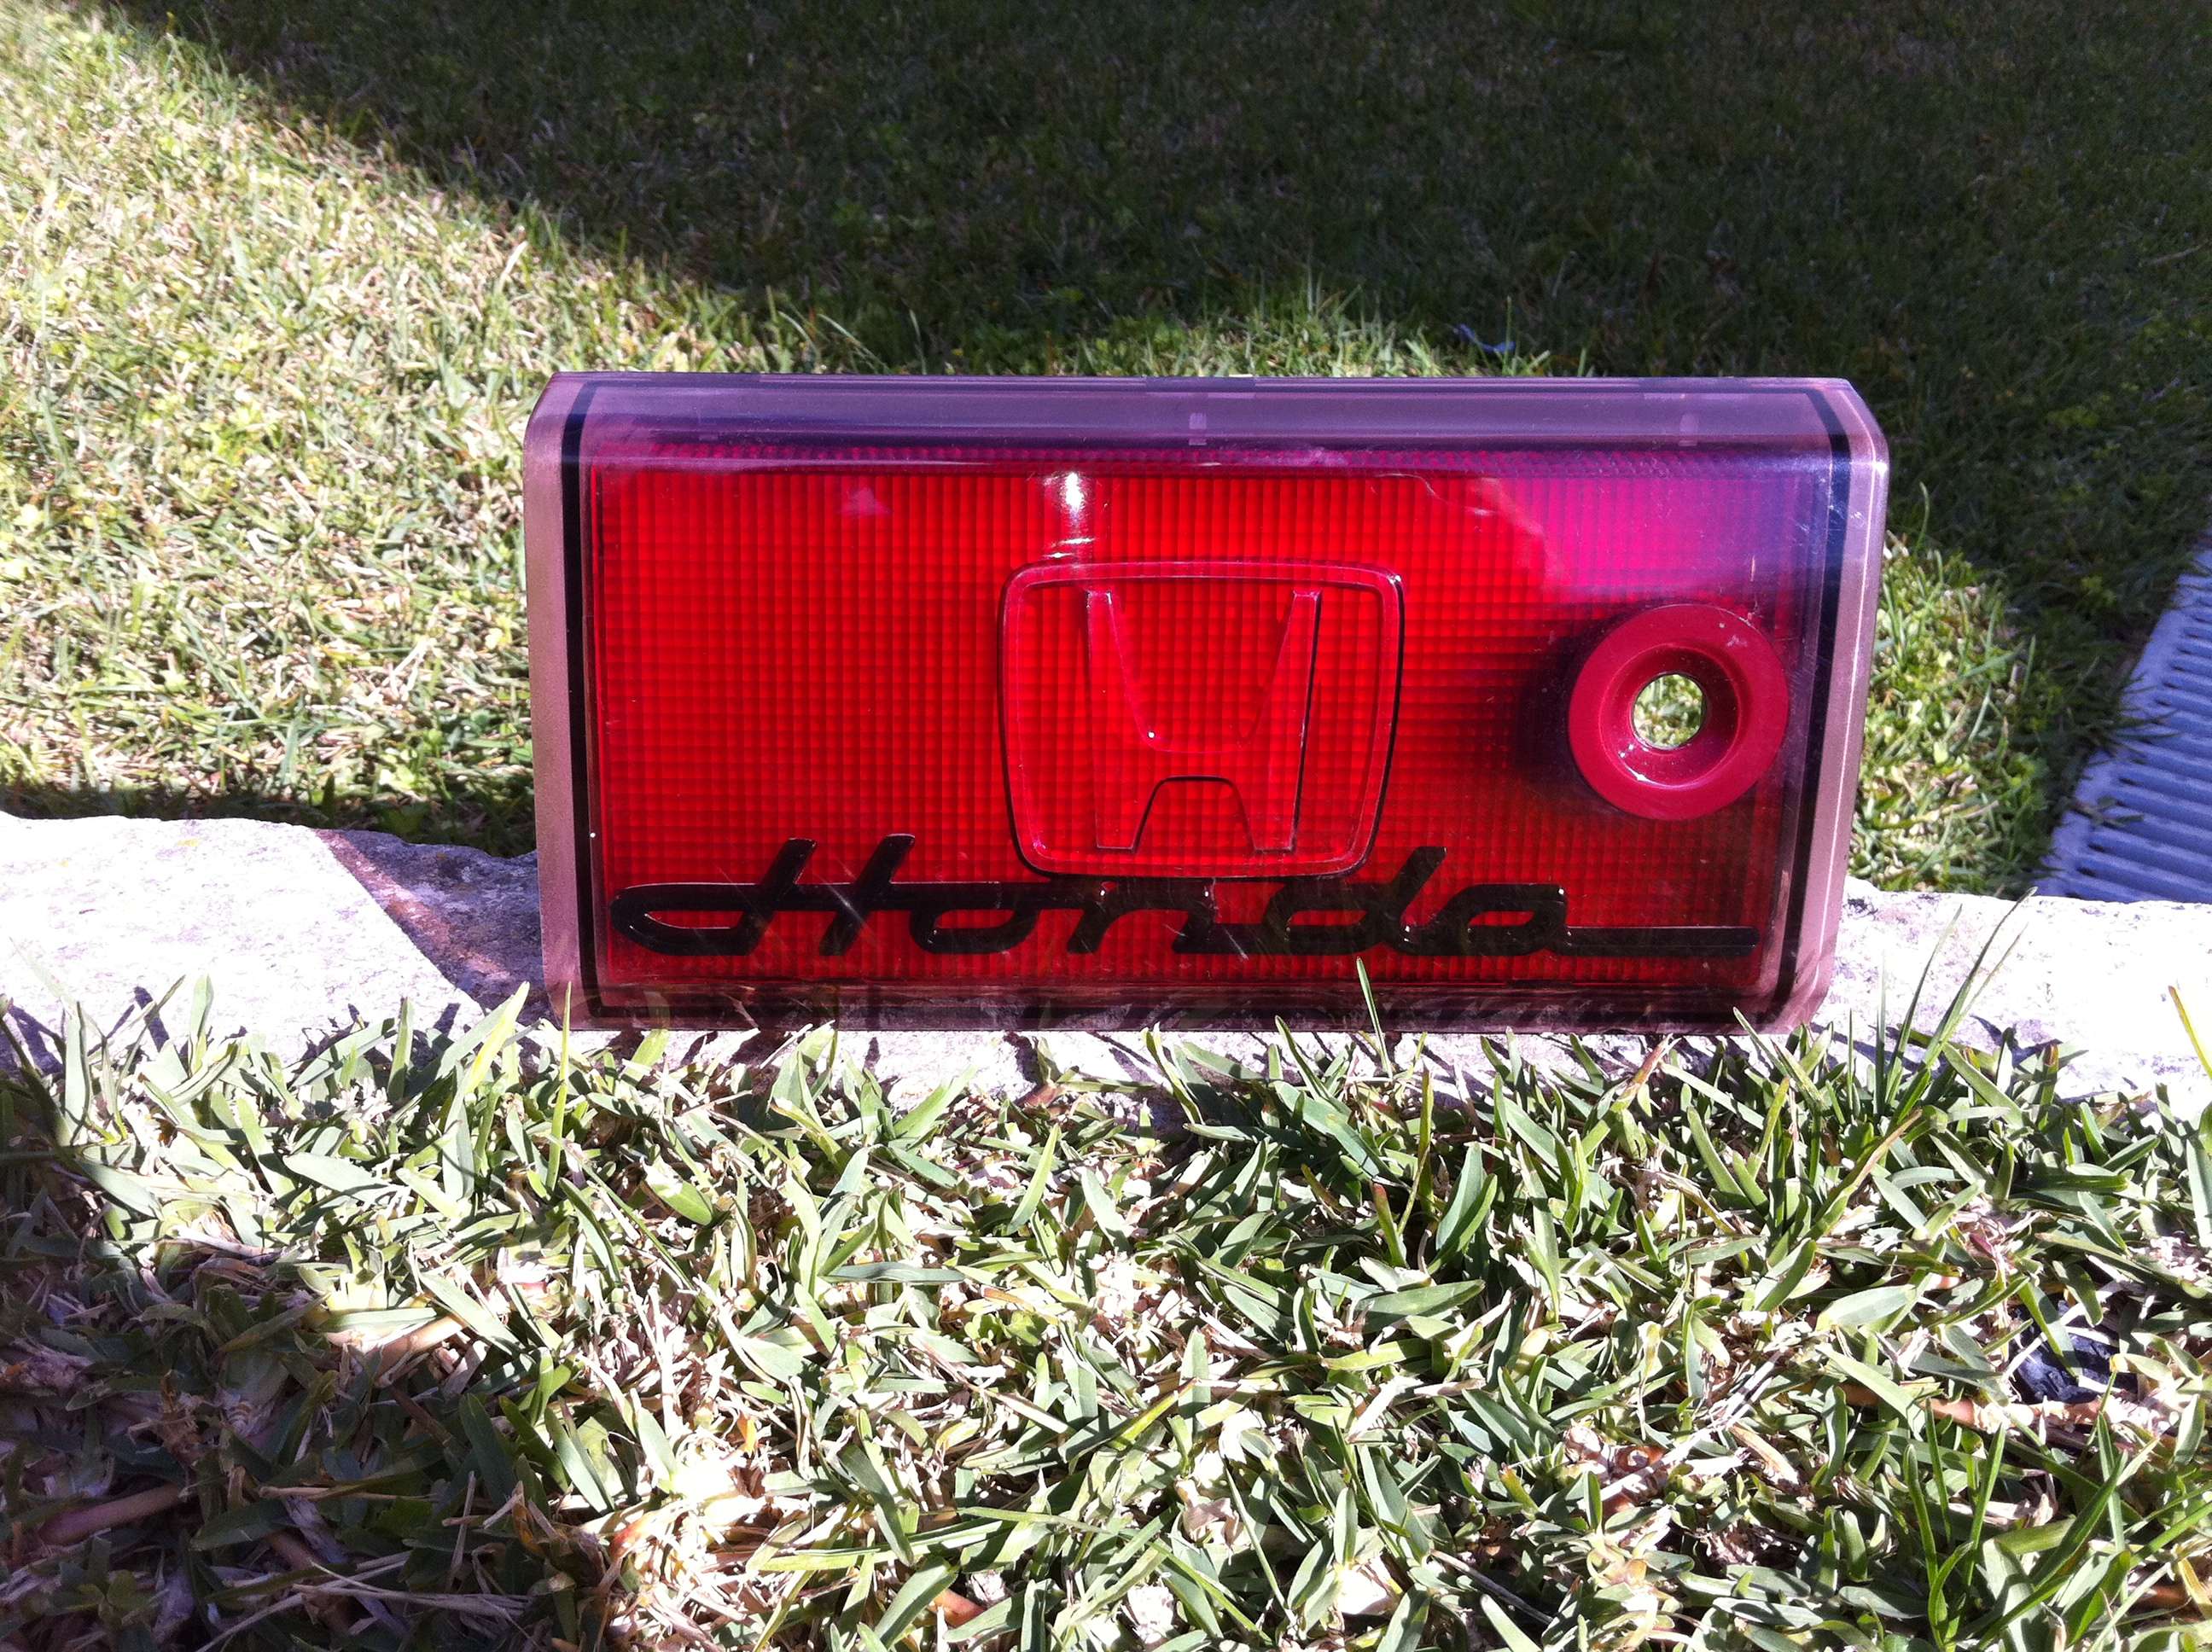
Now I realize that I like the transparent H hologram better then the handwritten logo.
I haven´t baked the piece again to close it, so I might change it before fitting on the car...one thing is sure, I won´t be able to get rid of that H:biggrin:
Here are some updates
I decided to run a compression test on engines before fitting them on cars. First time all pistons had no compression at all on both engines!! both engines have been stopped for 10 years or so, but I was not expecting such a result.
I pre-pressurized the oil circuit of the engine with my external driller-operated pump, but I guess that was not enough to lubricate under the cilinders and the piston rings
So, I drop a small amount of pure oil on top of each cilinders through the sparking plug hole and waited for 24h and ran the test again
Now I have full compression on both engines, I can´t imagine the smoke when I'll start them!! :biggrin::biggrin:
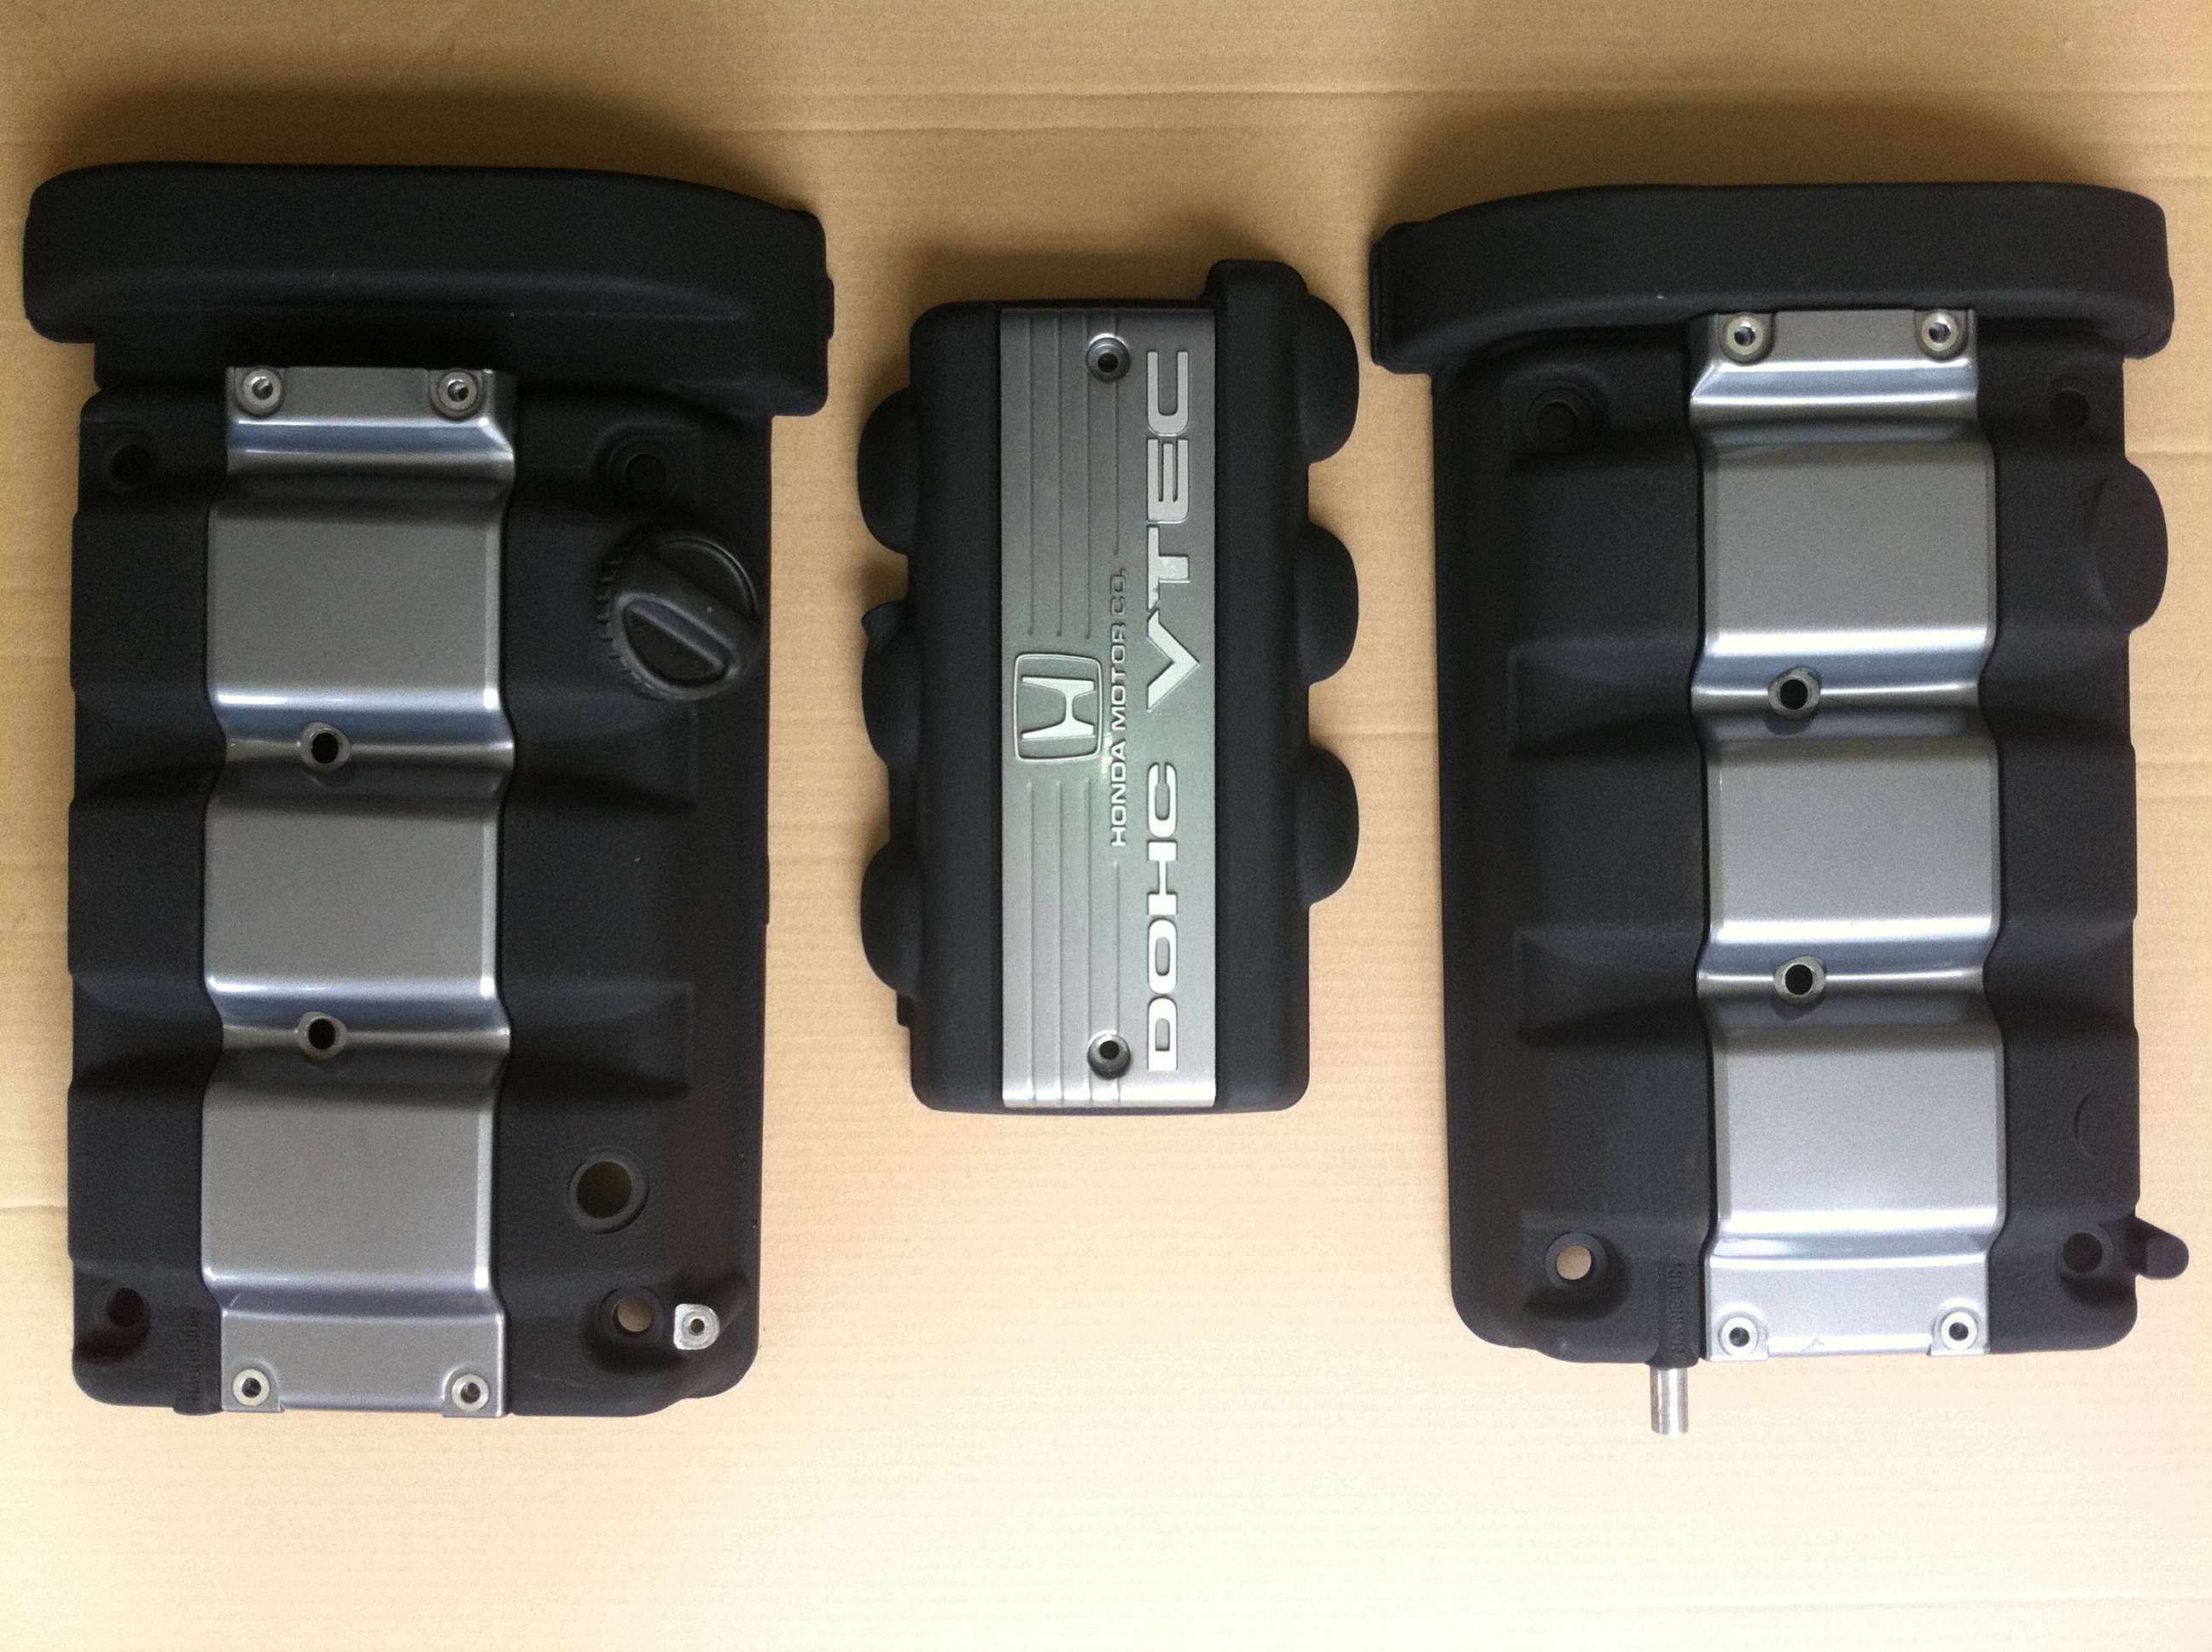
While the Reventon is evaporating and getting matter, I had time for some detailing: I polished the water tubes, just the visible part as it is very time consuming to do it
And did some valve cover paint refreshing in black, just one layer this time, not 3 as i did for the red ones
Then I had nothing to do, and decided to costumize the rear badge
The Reventon has a very discrete "LAMBORGHINI" black handwritten style logo in the middle of the tailights
I can´t imagine a Lamborghini having just a "L" or a Ferrari having just a "F" as their badge, so I tried to find a way to replace our H.
I searched, and searched and found that some nice honda bikes, as Goldwings and so also have an handwritten HONDA logo.
I found my happiness on ebay, and bought some cheap self-adhesive replica from Hongkong that perfectly fit on the center tailight
So, my idea was to remove the "H" and replace it by this handwritten logo to match the Reventon style
I then baked the part, to soften its glue and to be able to open it
I then realized that we can´t remove the H from the JDM center piece because the logo molded in 3D from the inside of the glass
Anyway, that didn´t stop me, I could not have a chrome logo in a matt car :biggrin:
So I used a lot of solvents, plastic polisher and could finally remove all the paint of the logo.
The plastic is smoked but as the logo is in 3d the plastic gets thinner, that is why it looks brighter there
Then I placed my handwritten logo behing the glass and here is the result with sunlight
Now I realize that I like the transparent H hologram better then the handwritten logo.
I haven´t baked the piece again to close it, so I might change it before fitting on the car...one thing is sure, I won´t be able to get rid of that H:biggrin:
Transparent logo is much better, but you could do the NSX-R style one and paint it black. Honda was making the subtle look before Lamborghing!
Ths is mine, Genuine NSX-R centre.
Ths is mine, Genuine NSX-R centre.
I dont know... you shoulda left the "H" as is... but it looks a little better in concept than the blue '02-'05 NSX for sale, with "NSX" in italics on the back instead of the 'H' or 'A'
shawn110975
Suspended
maybe put a small light behind it and make the honda logo GLOW.
thats something I have been thinking about for awhile now.
great work Hugo. keep it coming we are hungry for pics
thats something I have been thinking about for awhile now.
great work Hugo. keep it coming we are hungry for pics
Well you can use some LED badge Shawn, there are plenty on ebay
http://shop.mobileweb.ebay.com/searchresults?kw=Honda+led+badge&x=0&y=0&cmd=SKW
However it should look better in a highly modified Civic than an NSX:biggrin:
I tried to paint it in black but it then looks like a decal we loose all the 3d effect given by the chrome. I think I will leave it transparent, I like the subtle look wondering if it is OEM, and just forget about the handwritten logo
The wheel centers and front badge will be golden on black as the lamborghini :wink:
Now I realize that I like the transparent H hologram better then the handwritten logo.
i agree, it looks really good.
Mine is nota decal or modded!
Its the genuine NSX-R one, and as such, retains that 3D look
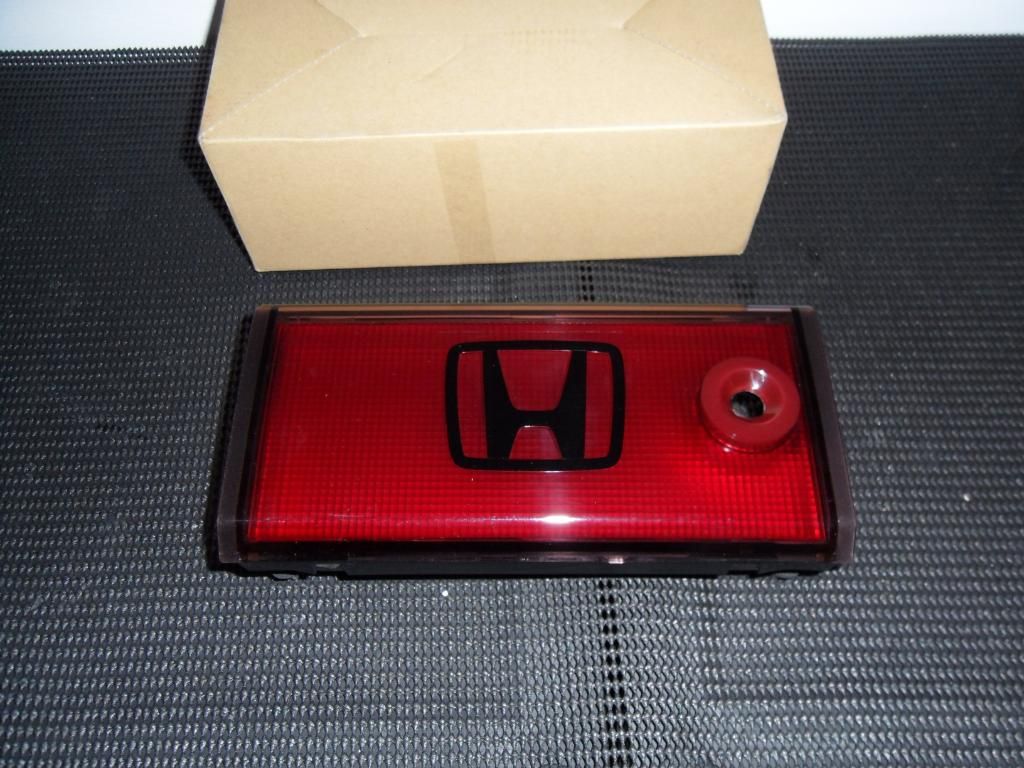
OLD AND NEW
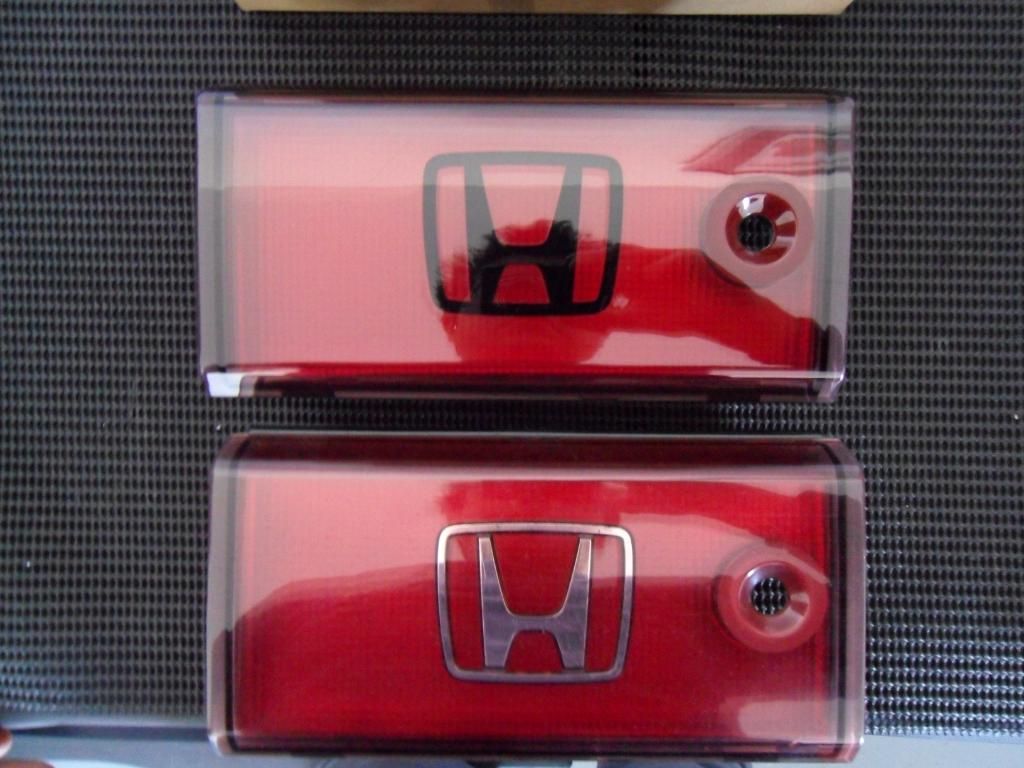
Its the genuine NSX-R one, and as such, retains that 3D look
OLD AND NEW
Thank you Sudesh, I didn't know the R had that badge, really.
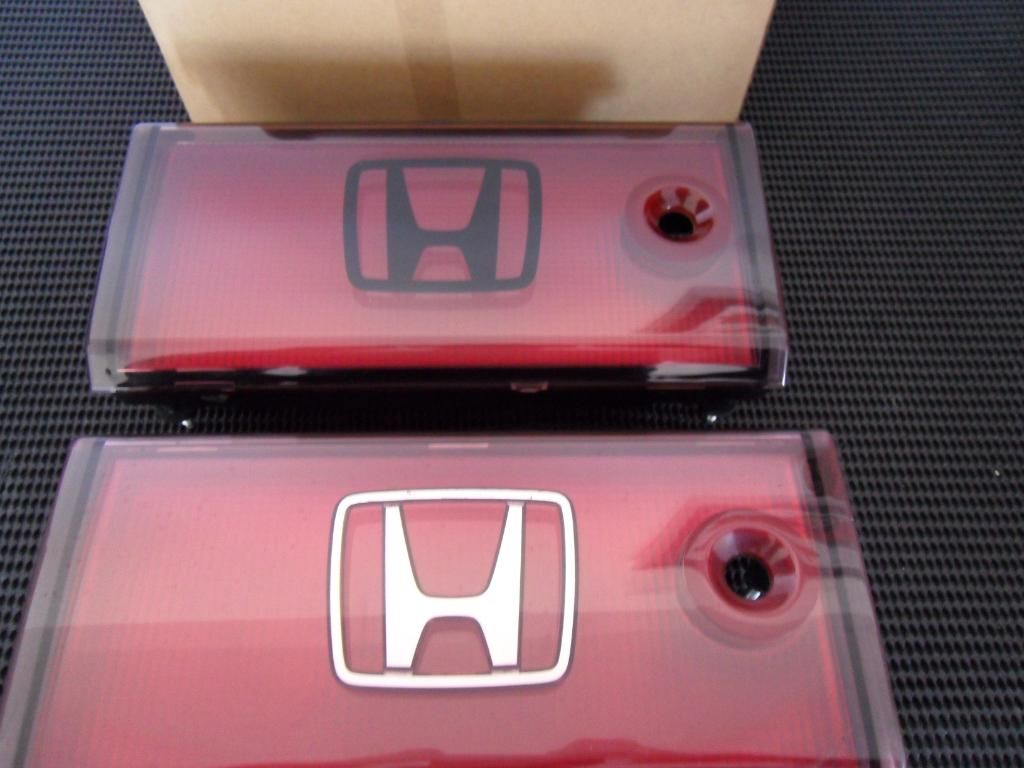
So now it looks like we found a way to replicate it out of a regular jdm badge, by removing the chrome and simply paint it in black from the inside of the glass, however a genuine part will always be a genuine part of course
I will do it for my NSX-R then, and leave the badge transparent for the Reventon!
The USDM centre tail light is not smoked so I would also need to replace the tail lights and the 3rd brake leds bar, that is too much trouble just to eliminate the H I think
I am working on the progress movie now and some S2000 glovebox DIY mod to be revealed very soon:wink: