Someone up for a challenge?
Do some CF skinning!
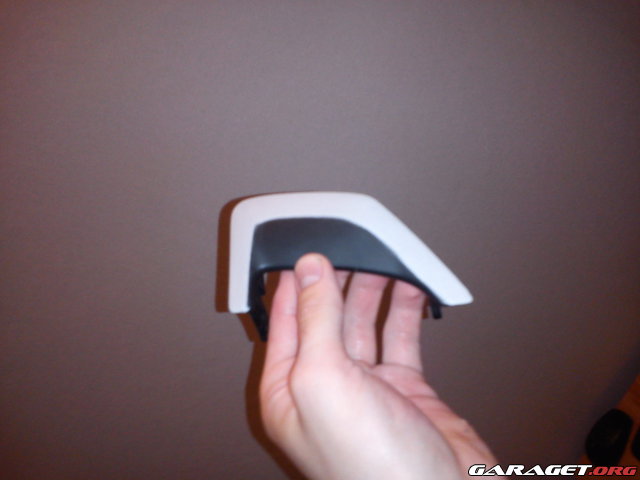
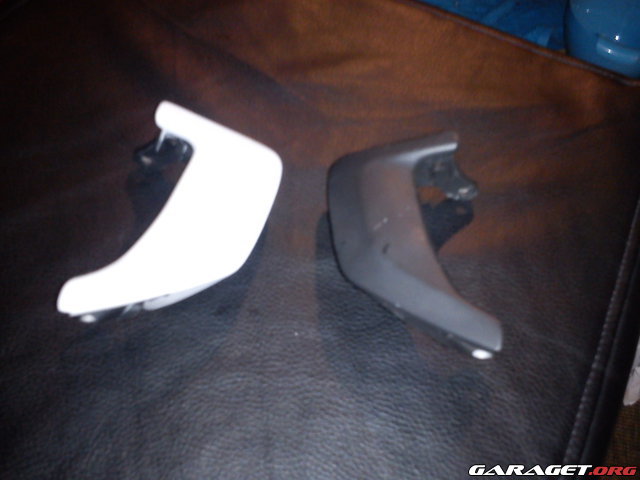
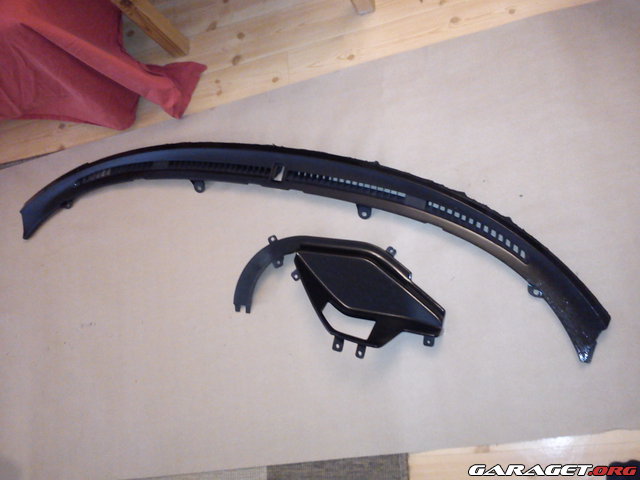
I'm in the middle of skinning a couple of plastic interior bits as a part of my interior DIY makeover. Thought I should share some useful links and pics of my stuff, and some lessons learned.
First, here's an excellent video and a step-by-step pdf file that describe the process:
Vid:
http://www.youtube.com/watch?v=6rTWaV1imzs&feature=player_detailpage
pdf:
http://www.carbonmods.co.uk/Downloads/carbon-fibre-skinning-starter-kit.pdf
I got my supplies from Carbon Mods. Really great to deal with, fast responses, fast delivery and excellent service.
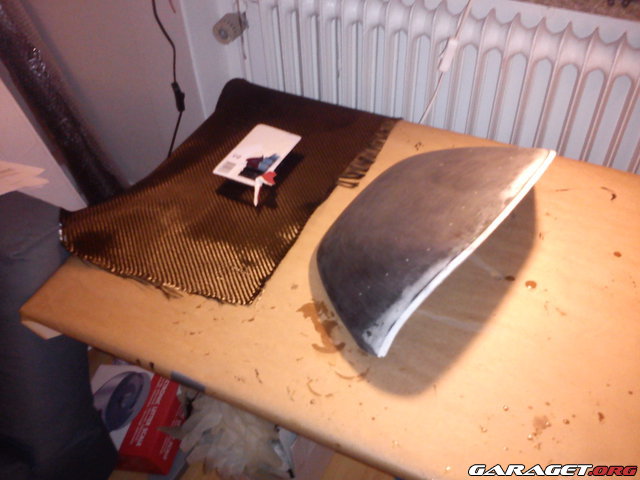
Here is some of my stuff:
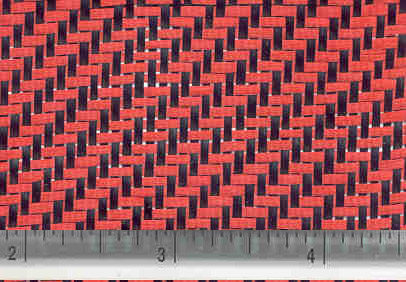
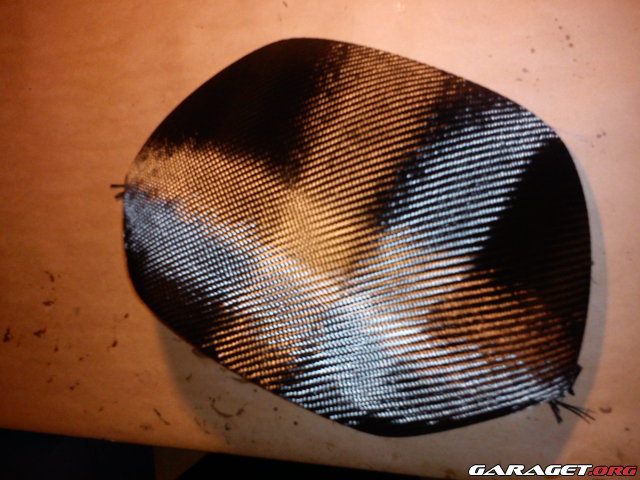
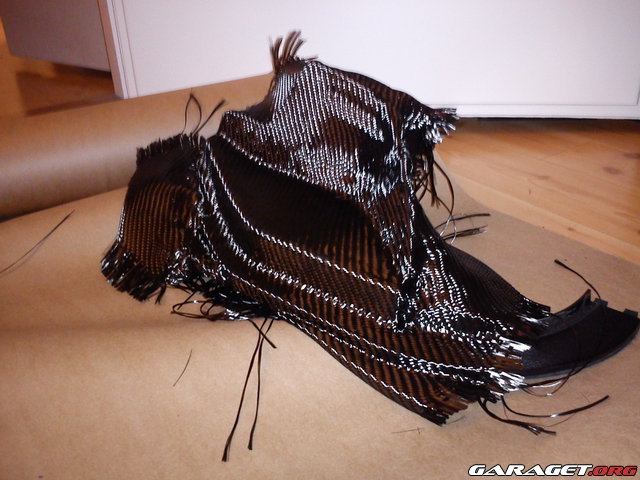
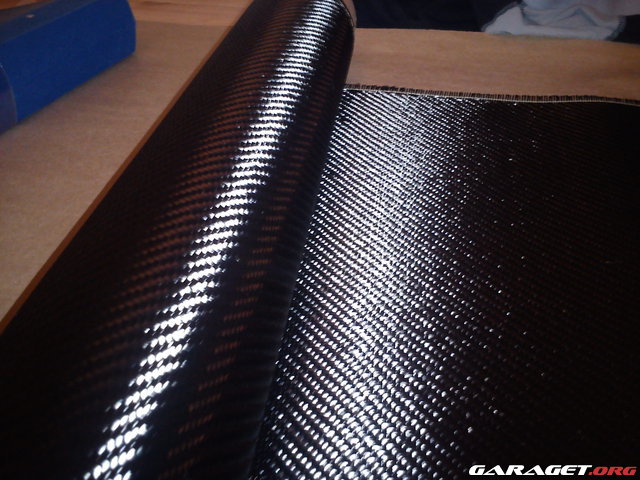
2x2 twill 200gsm carbon fibre cloth:
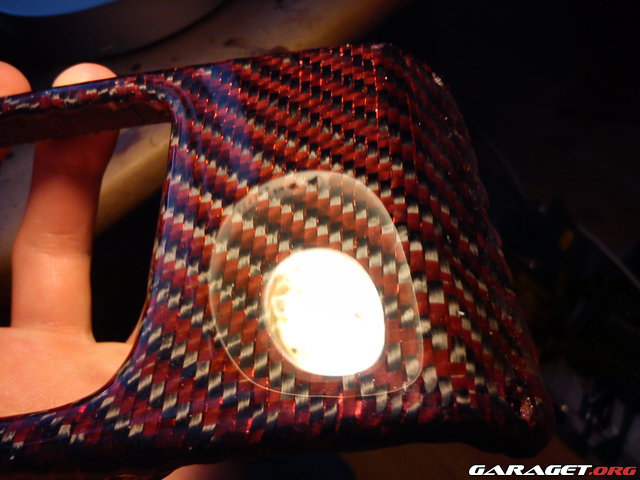
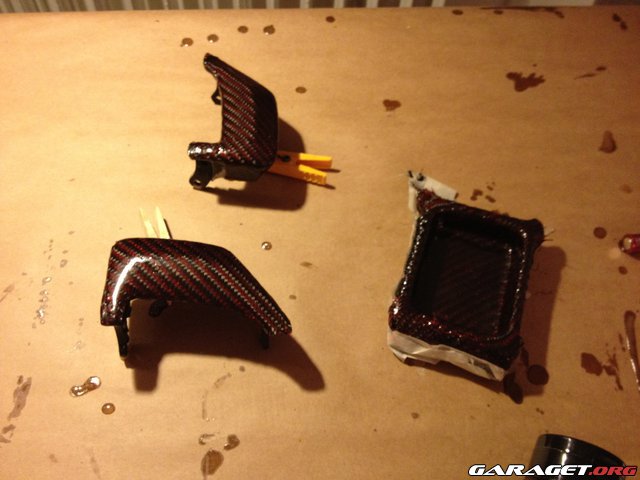
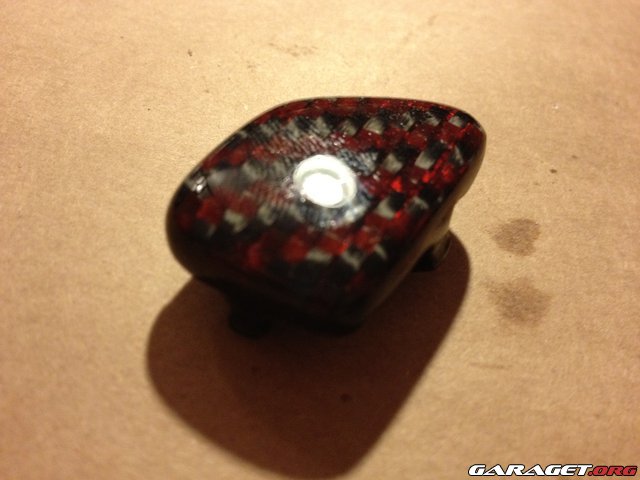
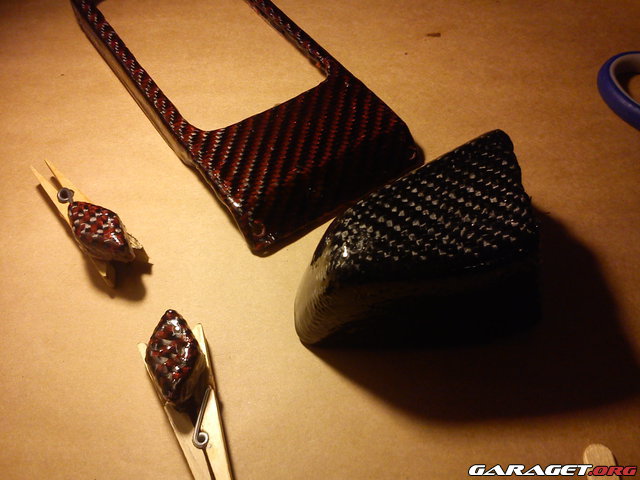
I got the red/black combo cloth aswell. The red is actually not carbon, but nylon. Makes for a great visual effect, but degrade the strength of the product, which is'nt a problem for me. I'm after the good looks :biggrin:
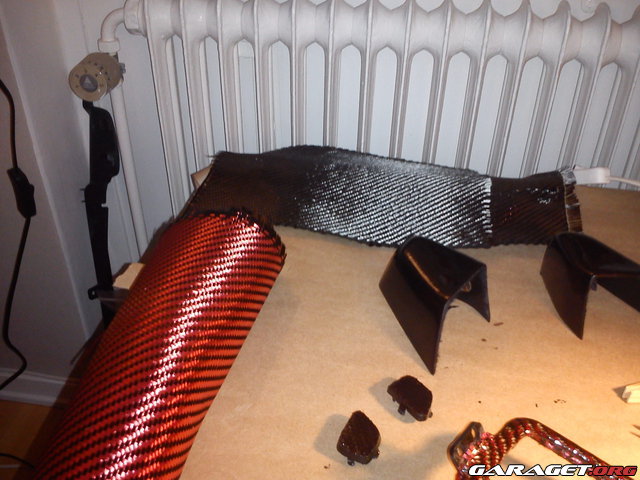
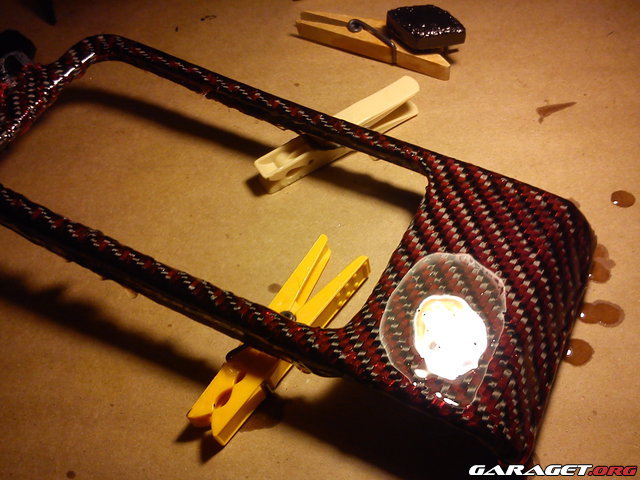
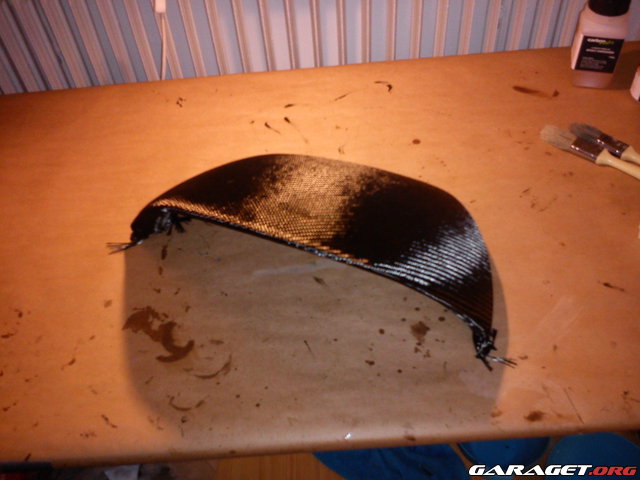
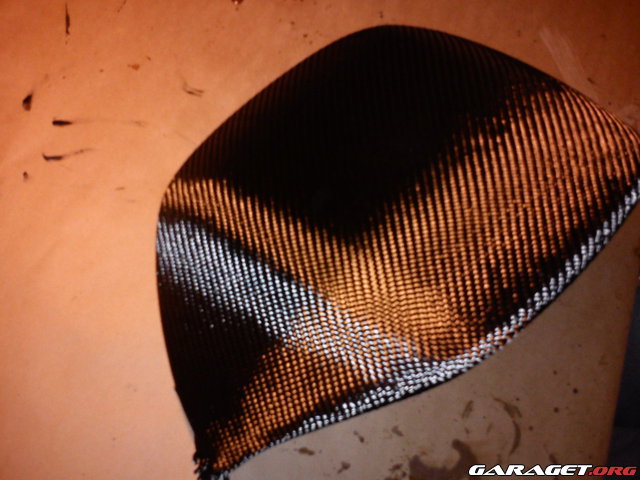
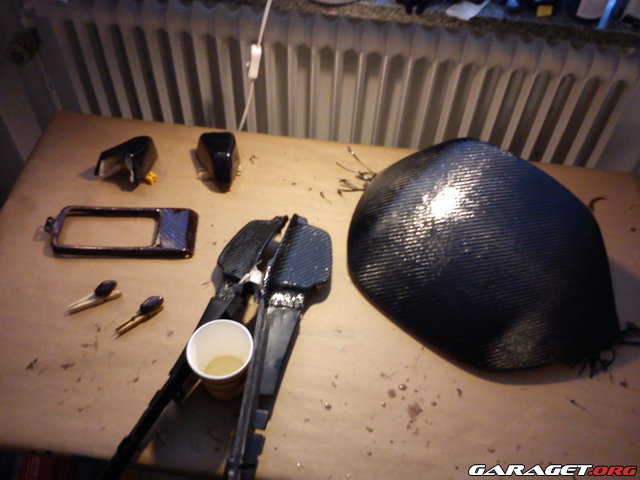
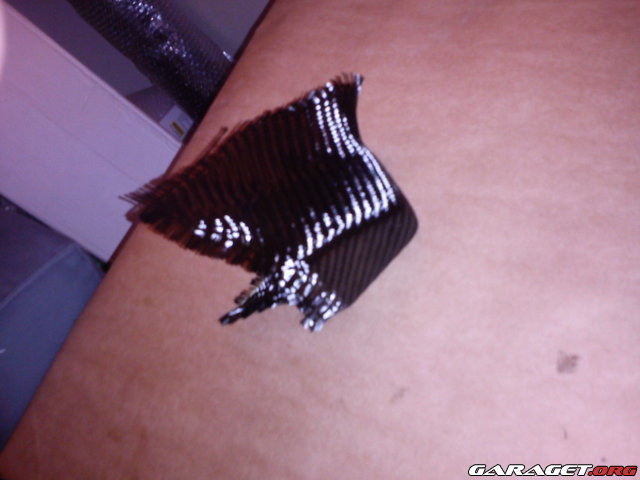
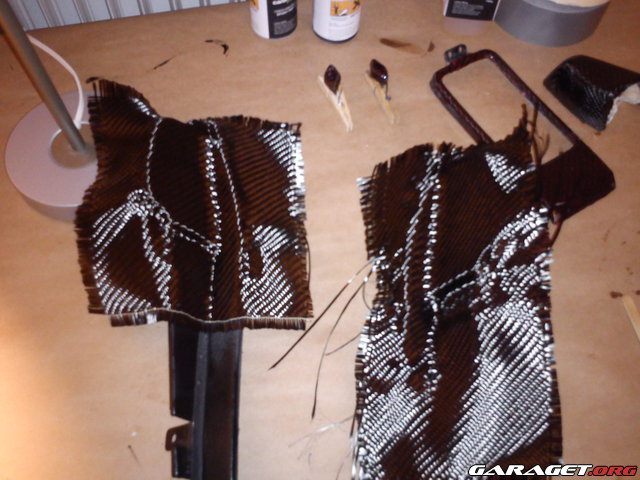
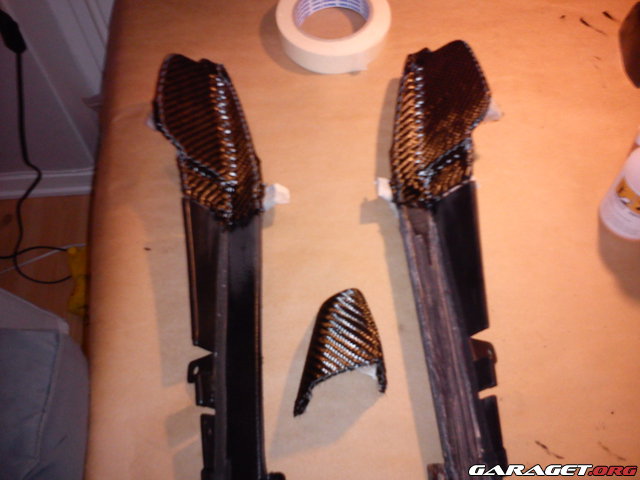
Wrapping the cloth:
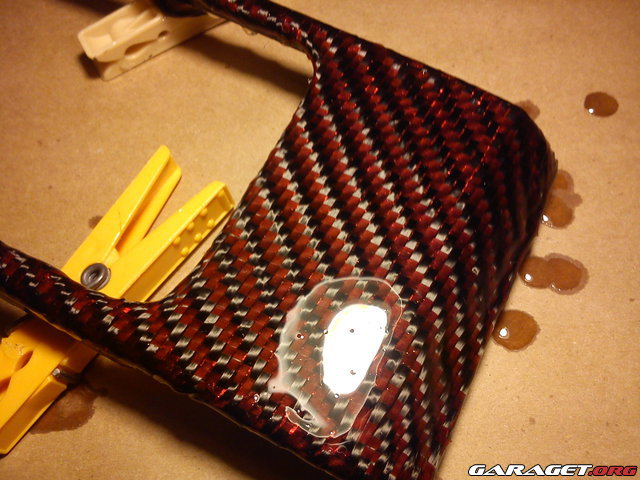
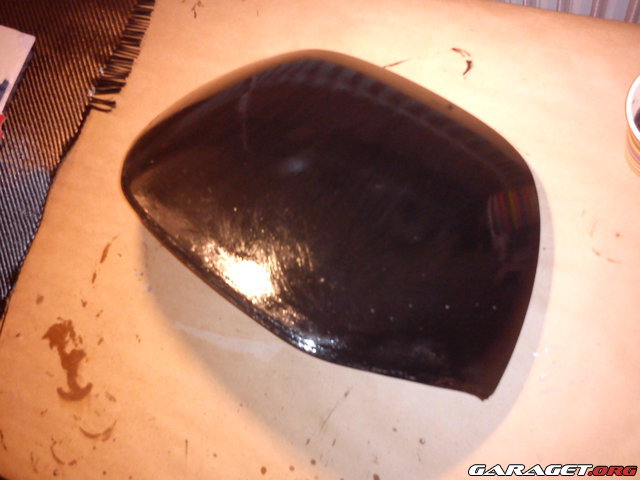
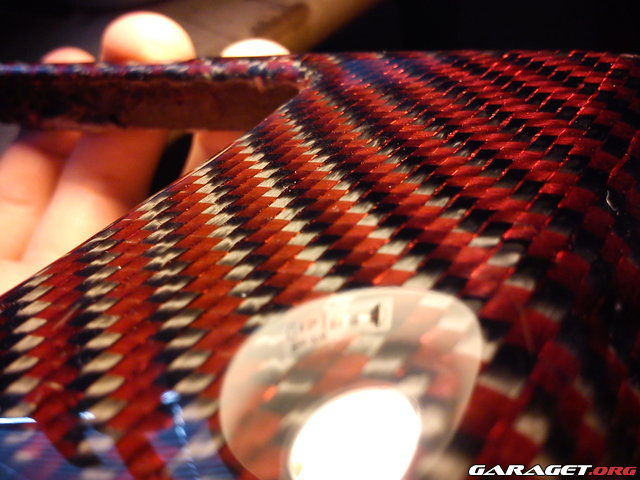
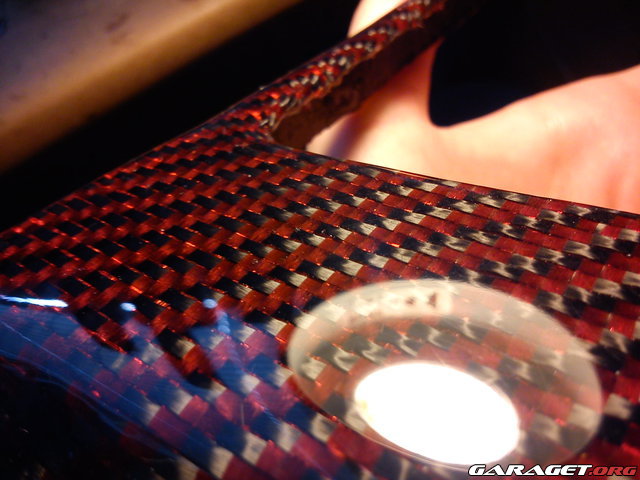
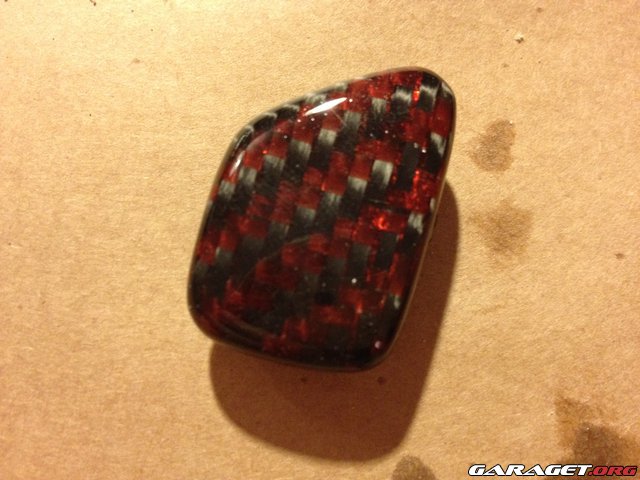
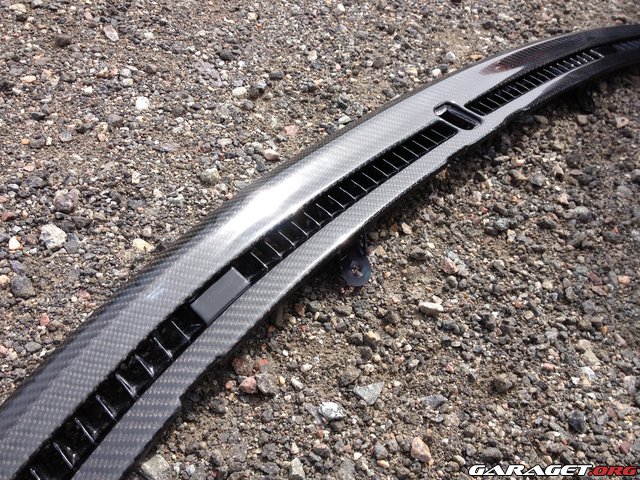
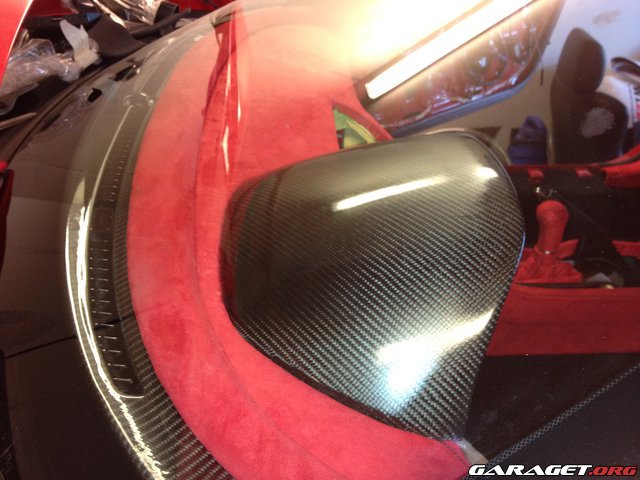
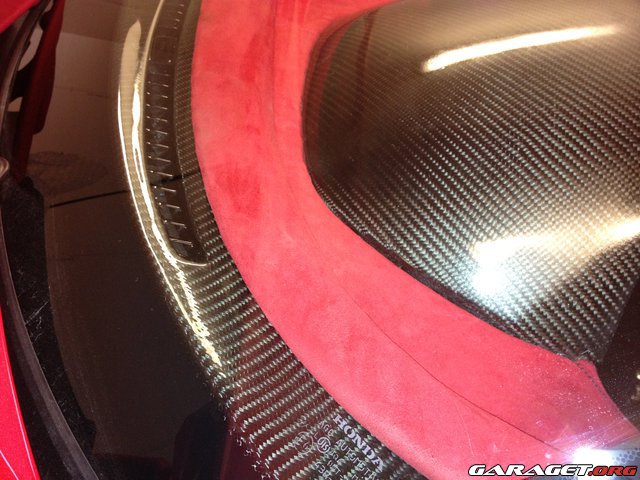
After a few layers of top coat:
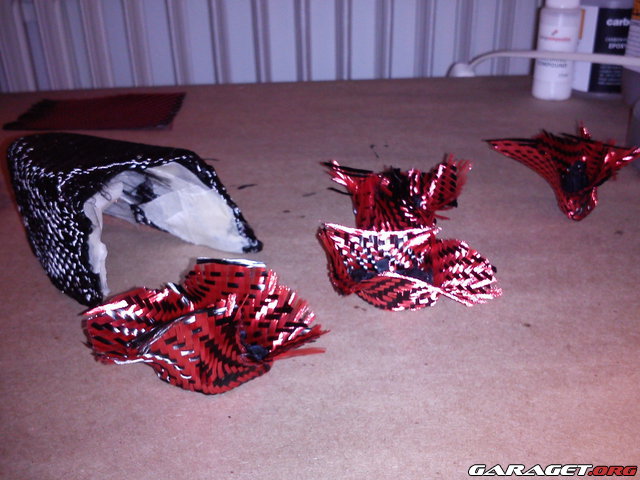
Some problems I have run into:
Let's see some CF skinning! :biggrin:
//Johan
Do some CF skinning!
I'm in the middle of skinning a couple of plastic interior bits as a part of my interior DIY makeover. Thought I should share some useful links and pics of my stuff, and some lessons learned.
First, here's an excellent video and a step-by-step pdf file that describe the process:
Vid:
http://www.youtube.com/watch?v=6rTWaV1imzs&feature=player_detailpage
pdf:
http://www.carbonmods.co.uk/Downloads/carbon-fibre-skinning-starter-kit.pdf
I got my supplies from Carbon Mods. Really great to deal with, fast responses, fast delivery and excellent service.
Here is some of my stuff:
2x2 twill 200gsm carbon fibre cloth:
I got the red/black combo cloth aswell. The red is actually not carbon, but nylon. Makes for a great visual effect, but degrade the strength of the product, which is'nt a problem for me. I'm after the good looks :biggrin:
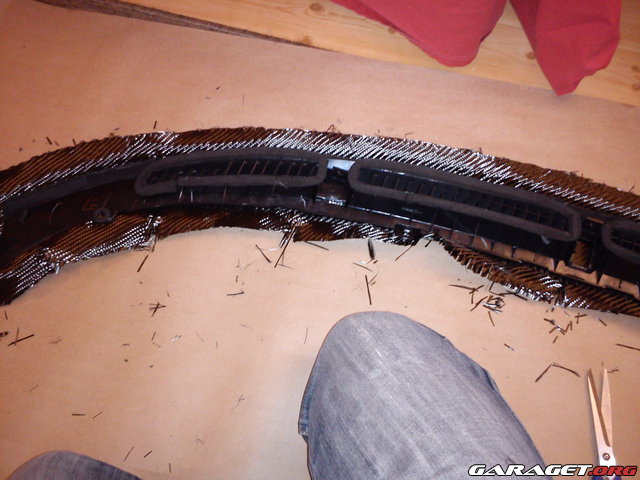
Wrapping the cloth:
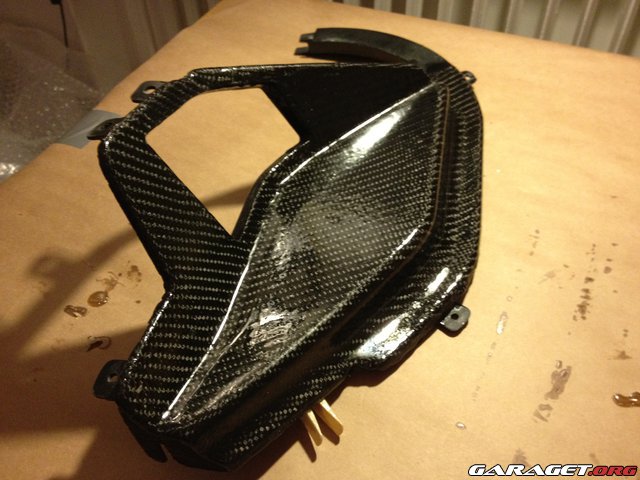
After a few layers of top coat:
Some problems I have run into:
- Air bubbles in the top coat resin. Resin too cold when mixing --> whipping effect with TINY TINY air bubbles trapped. Will make for a misty surface later on if not coped with. Resin too warm when mixing --> "large" air bubbles that creates craters when popping, if they pop at all. Hot resin cures really fast and may trap the bubbles before they escape. Solution: Pre-heat the resin components to a medium temp, mix gently (no whipping around!) and after applying a layer, use a heat gun/hair dryer and heat the surface, this reduces the viscosity and let air bubbles escape. Apply in thin layers!
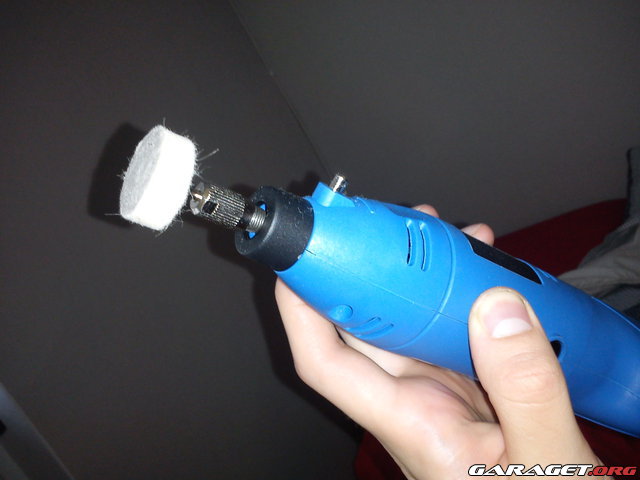
- Uneven surface after applying top coats. Been sloppy when applying the resin? Calm down. Use some 240 grit paper and GENTLY rub down som of the top parts, and apply a few more layers of resin. This can sometimes be neccessary to repeat. Apply the resin in a smooth manner and try to get it even.
- Flattening down to the carbon cloth. The 240 grit paper eats cured resin really fast. When flattening the part, there is a risk that you'll eat down to the carbon, fraying it. Solution: If not excessive damage to the carbon fiber cloth, reapply a couple of top coats and do it all over again OR, if the damage is unacceptable, do EVERYTHING all over again, starting with a new base coat :wink:
- Ugly edges. After wrapping the cloth around the surface, take care when folding the cloth over the other side and use masking tape to fix it into position. Make sure the edges look ok before starting to add top coats.
- Dirt in the top coats. Well, work in a really clean area! Dust will kill the finish of the part. Also, keep an eye out for fibers from the brush used to apply the resin, they may release from the brush and get stuck in the resin. Gently remove them before the resin has cured, and smooth the surface with a little more resin afterwards. Carbon fiber cloth will fray when you cut it, releasing A LOT of tiny pieces of carbon flying around that may get stuck to your parts with uncured top coat resin. Do not cut the carbon cloth in the vicinity of uncured resin! If the resin has cured, try to rub it off with some 240 grit paper and reapply a couple of top coat layers.
Let's see some CF skinning! :biggrin:
//Johan