• Protip: Profile posts are public! Use Conversations to message other members privately. Everyone can see the content of a profile post.

NSXCessive’s ’91 Project "Sliding Knife" Build:

Joined
26 February 2003
Messages
1,490
Location
Waterloo, Ontario, Canada
Just over 4 years ago I was very fortunate to come out ahead of a bad situation. For those of you that don’t know you can check it out here http://www.nsxprime.com/forum/showthread.php?t=88492 & http://www.nsxprime.com/forum/showthread.php?t=88554.

After all the hoopla with the insurance company I was able to buy back my ’91 with the intentions of maybe rebuilding it in the future. Brought it home and parked it in my garage and threw a cover over it for the last 4 years. A few months later I replaced it with a super clean ’00 Black NSX-T. I still contemplated with the idea of rebuilding my ’91 started looking into it and just didn’t make financial sense to repair the damaged frame.

Last year I stumbled across an empty chassis salvage repaired and possibly needing some front end repair from Cali. Chatted with the owner on numerous occasions and then made the arrangements and had her shipped to me in Oct ’11. When importing I was told by CBSA/Transport Canada that since the car was a salvage repair the car need to be on the road in 12 months or less i.e. Structural inspection, Certified (MTO Safety), and Emissions Tested. So lucky for me a ’91 is +15yrs old exempting it from RIV program in Canada, but not exempted from Transport Canada’s Motor Vehicle Regulations Act have to have her done by Oct '12.

Oh wow was not expecting that... so with that said started tearing in into the build Winter ’11 let the madness begin to get her on the road in less than 12months & enough babbling... Pictures because no one likes to read anymore we are fast forwarding through a few months of work so missed some steps here and there but you get the idea:

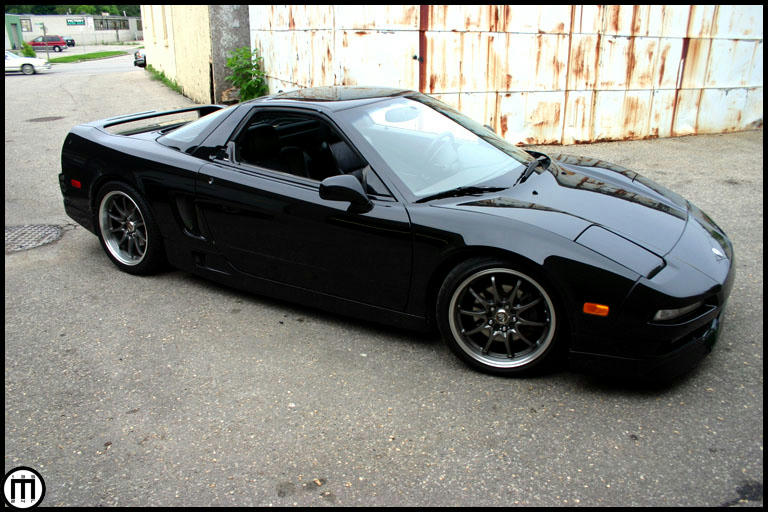
My '91 Black... The way I would like to always remember her before the accident:
a6608ee9055ff1b01664962baeb0ad21850a23eb699ddf85f2584f64b50b629b6g.jpg


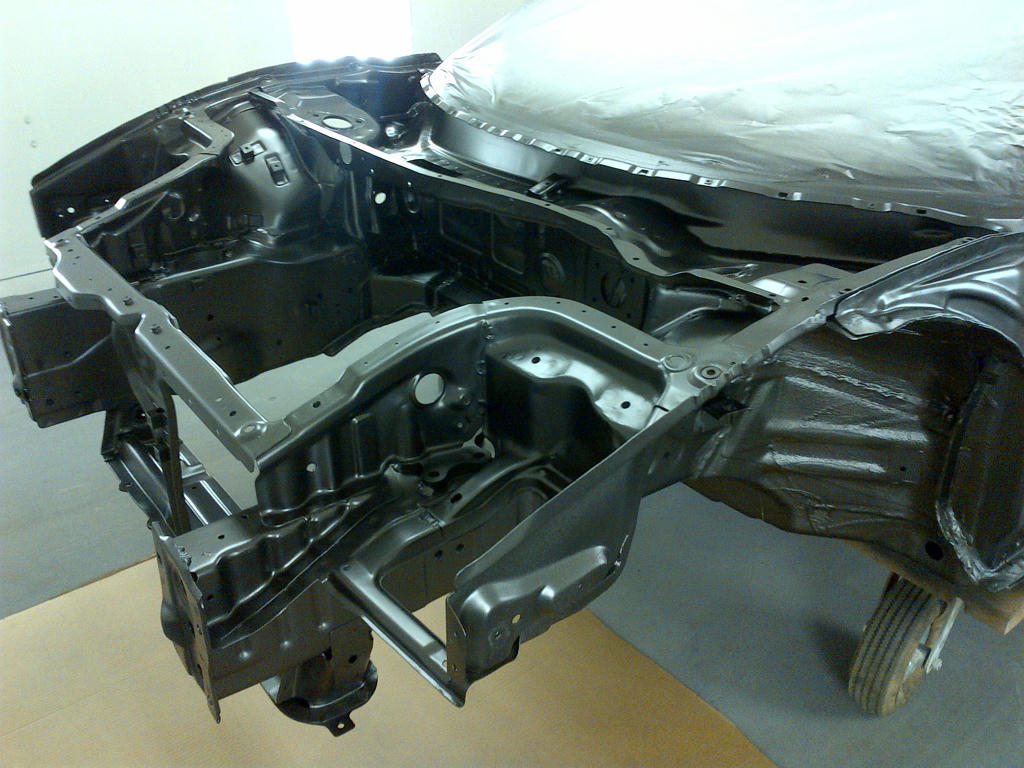
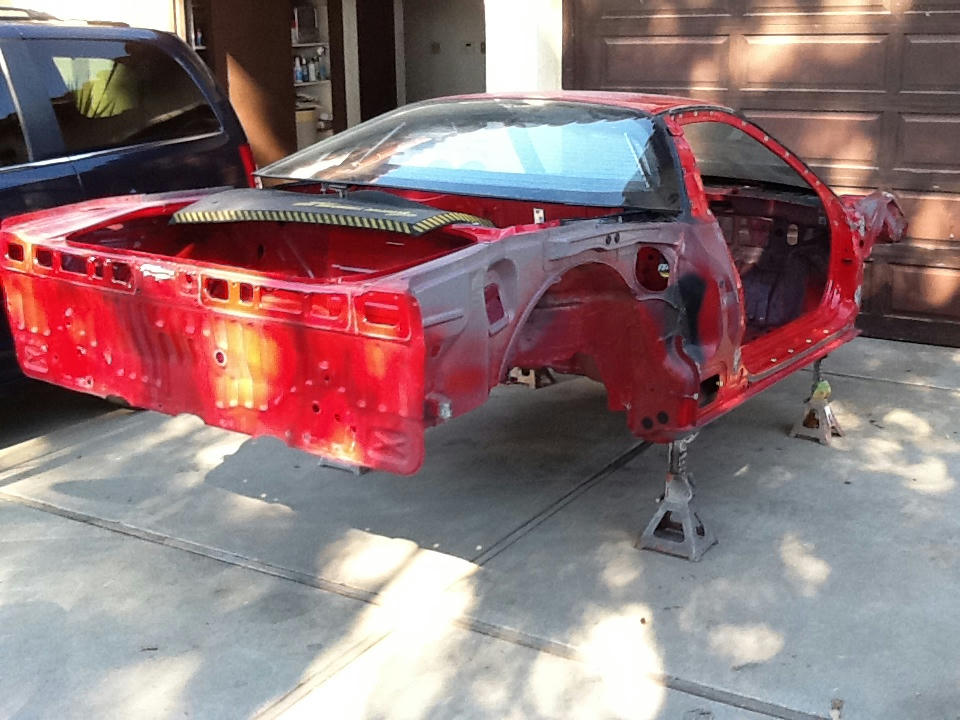
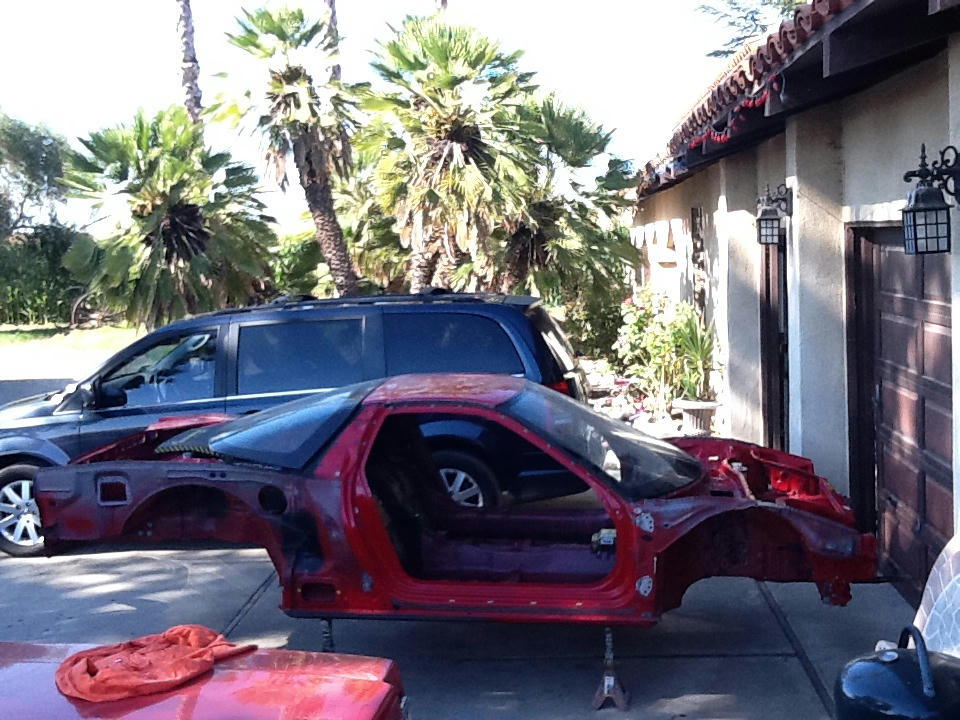
New Project Chassis as she sat in Cali:
d08160fd322c603d7b092e42a1201efd4ecc1fd69f59e02f89138267dfd0609a6g.jpg


46ad4b87b13151860c6afbfcdf5f4b16fe571f8c75ce79948679573994ead96c6g.jpg


d1d81d460985fee7bb07683a43bade5b23b8ac35c29a731b446eef52191ebcc06g.jpg


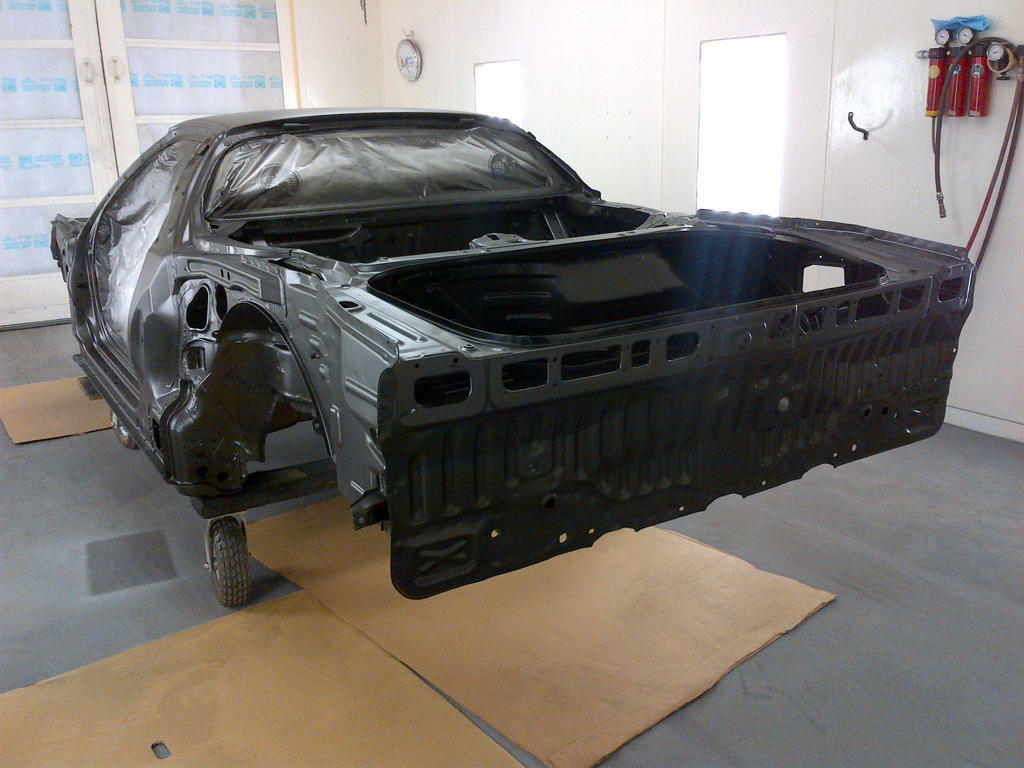
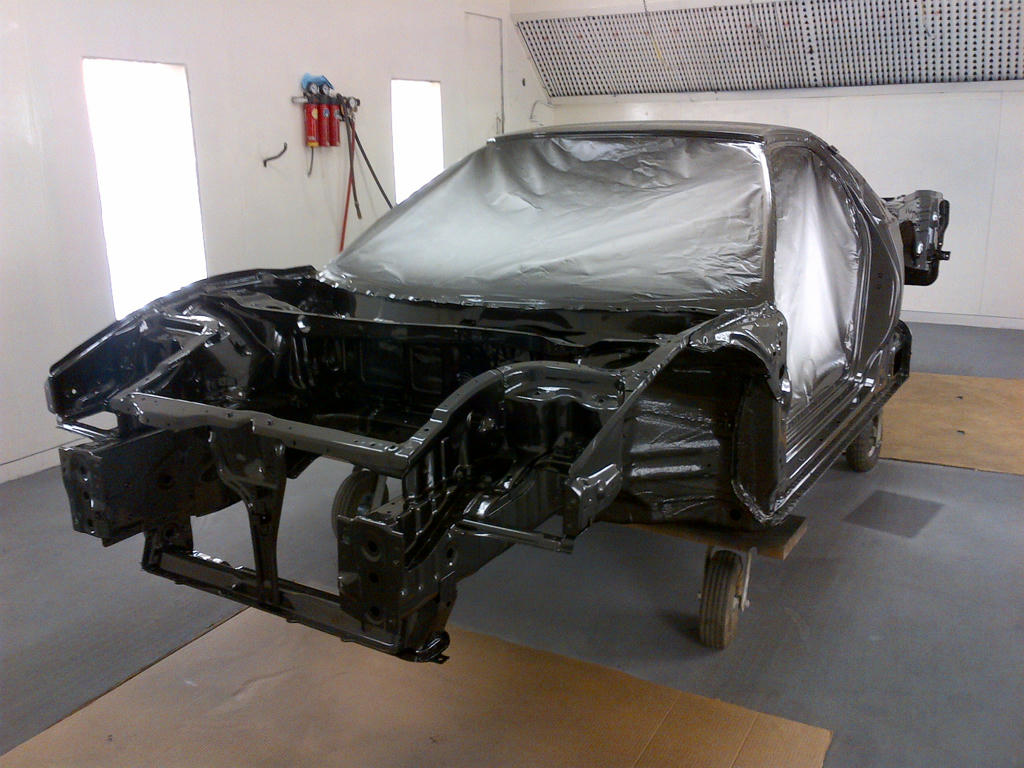
Arrival at the Body Shop and on the Frame Machine (Got to love the palm tree):
07b012b7ecabd1aa90a991c3e89bc48de7399b3ba8de32424e14c2ab0336a90e6g.jpg


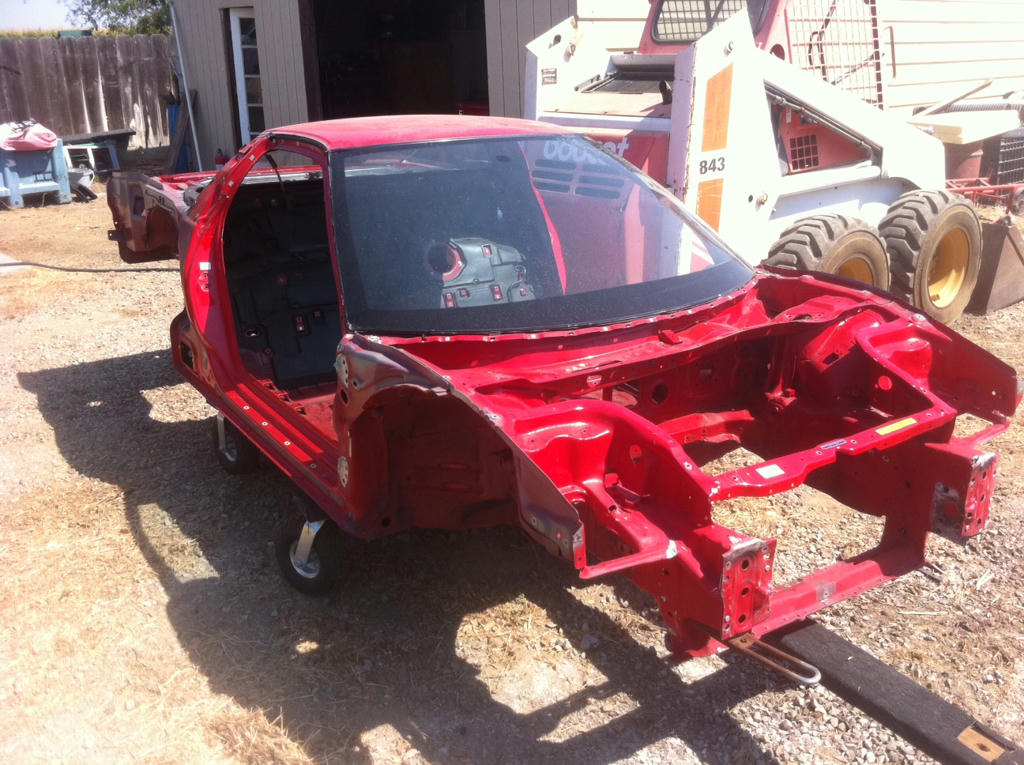
Tearing down the old '91:
f6ea784b83a3ae45cf579ce12073bb7c487511b06a205e55a7c5ee32e87fcadc6g.jpg


9da1fc4a7344020d8f7451b38ceecfe62d7c3de40276574c467bb9d74158796e6g.jpg


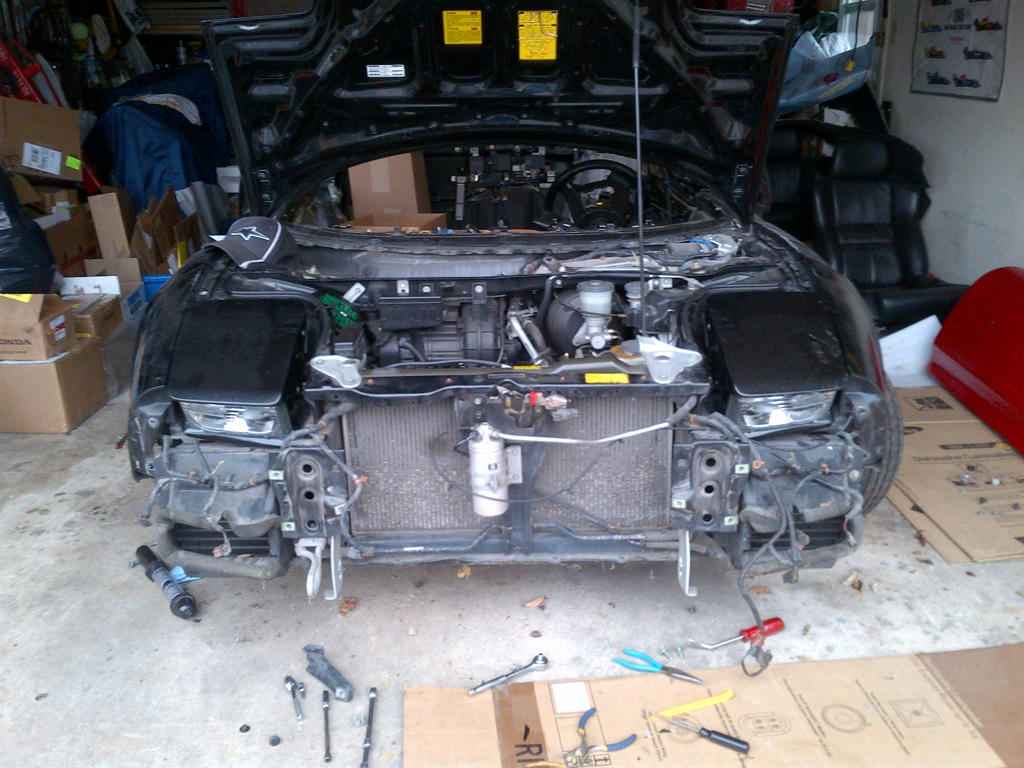
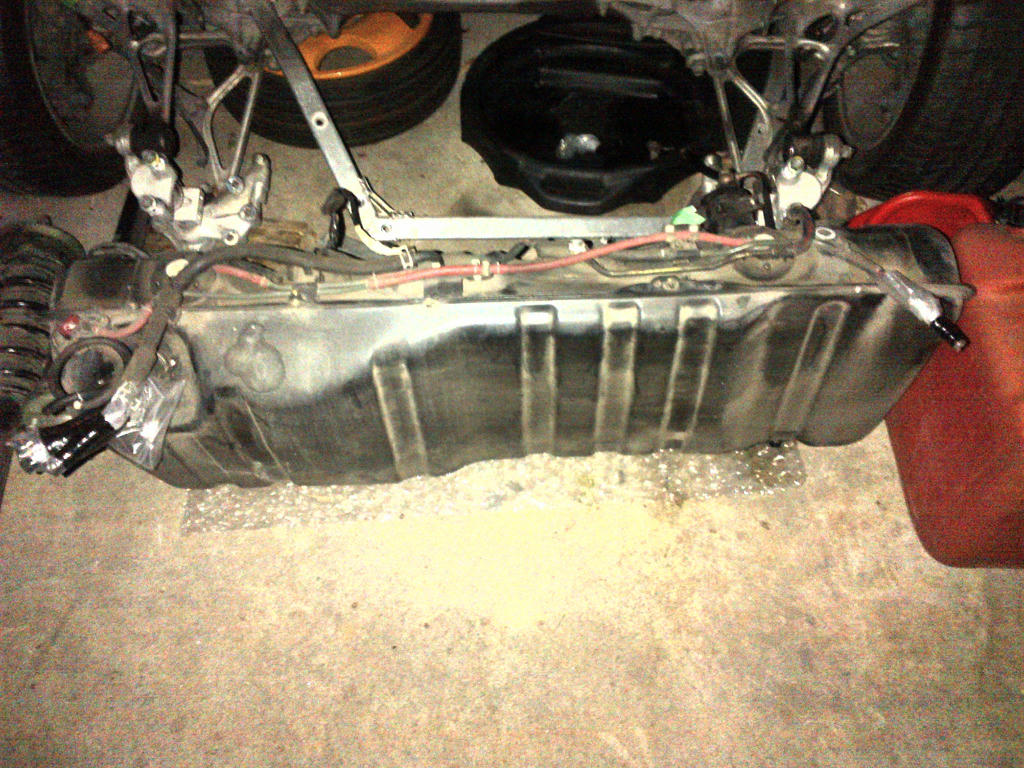
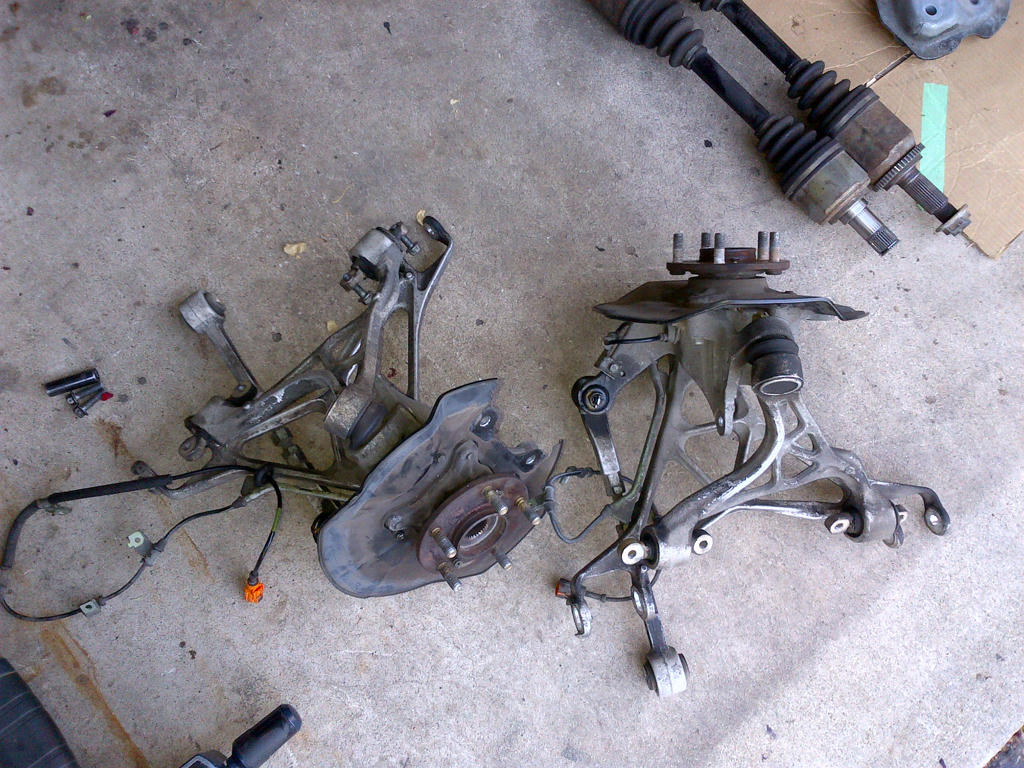
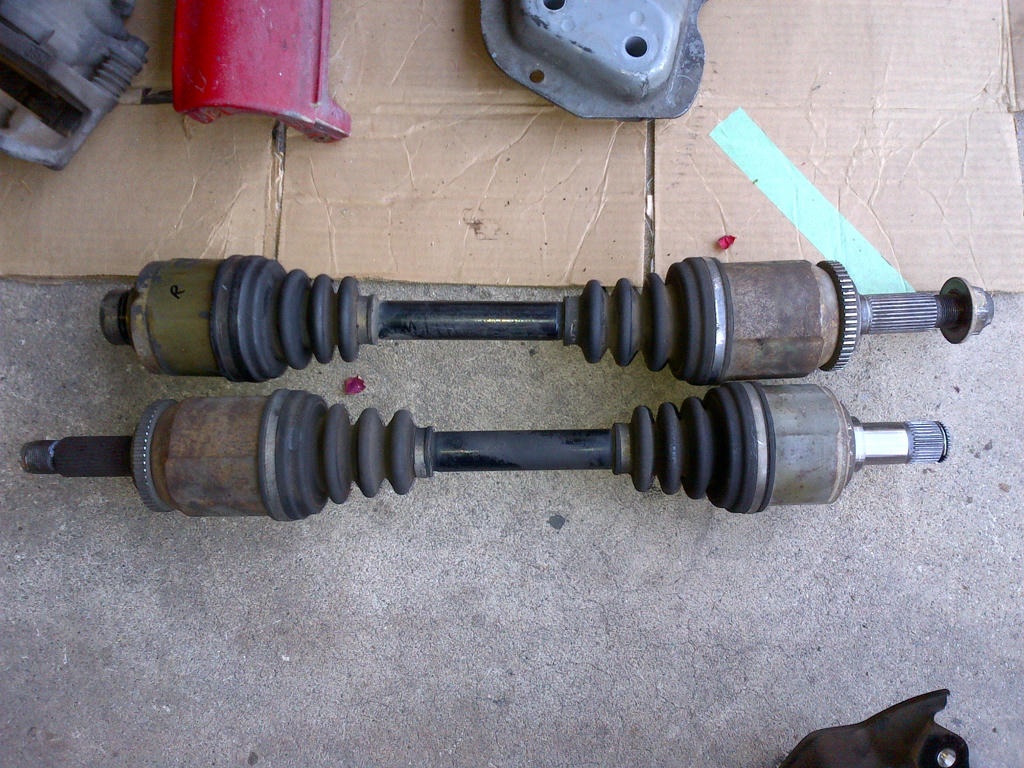
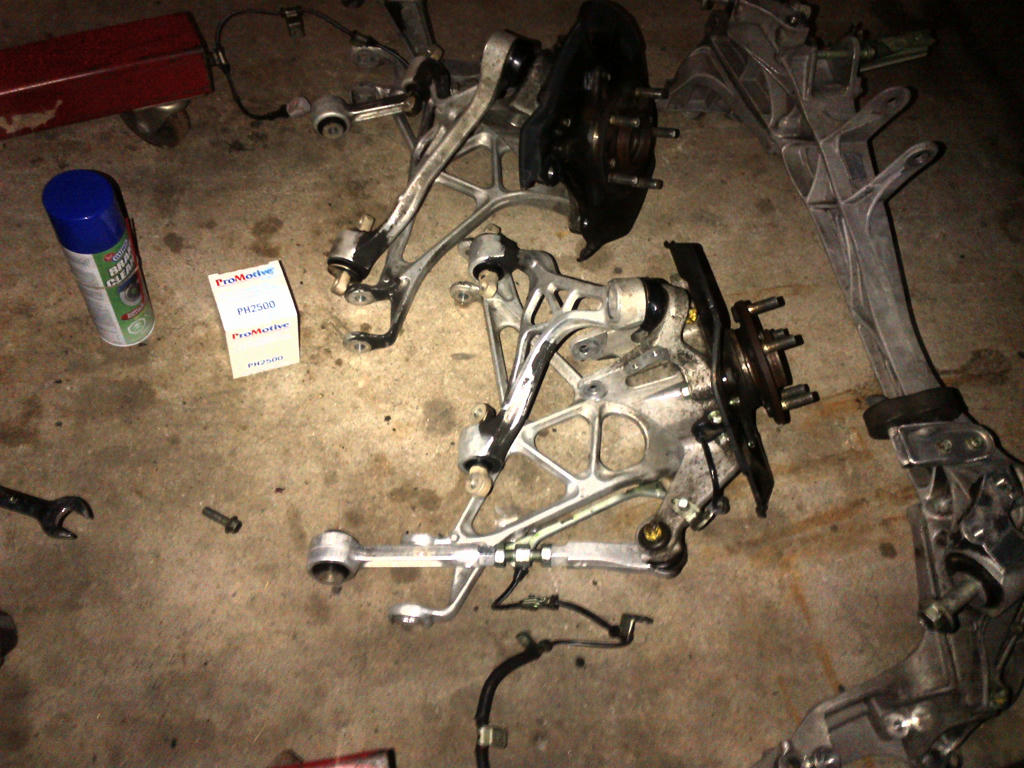
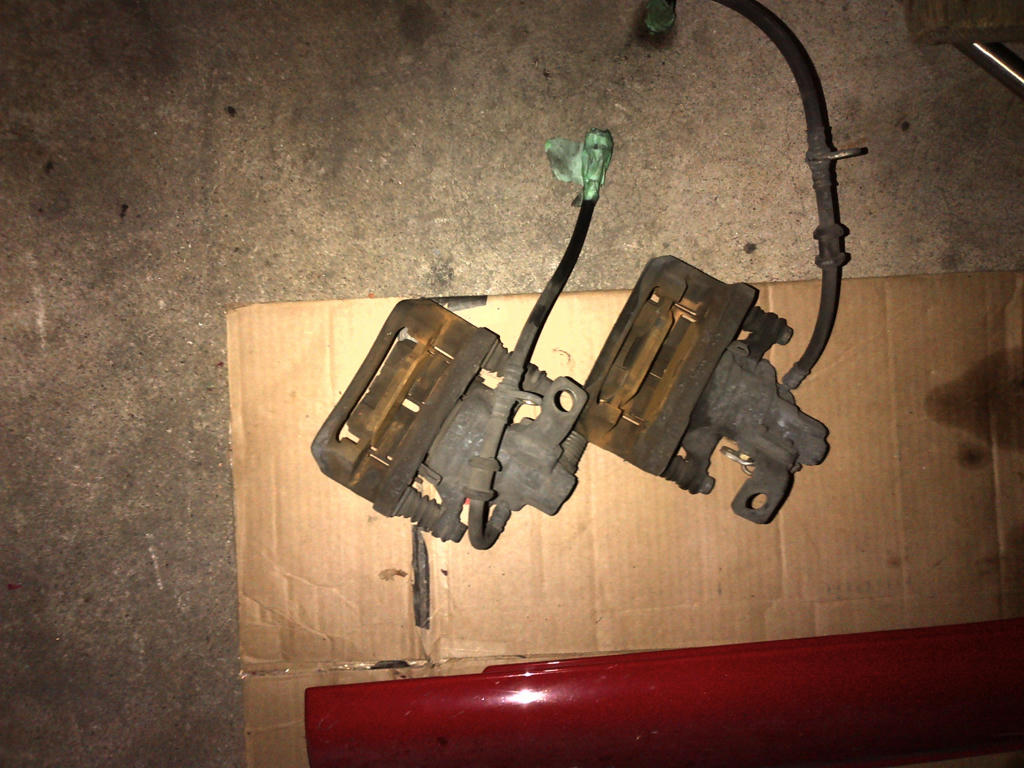
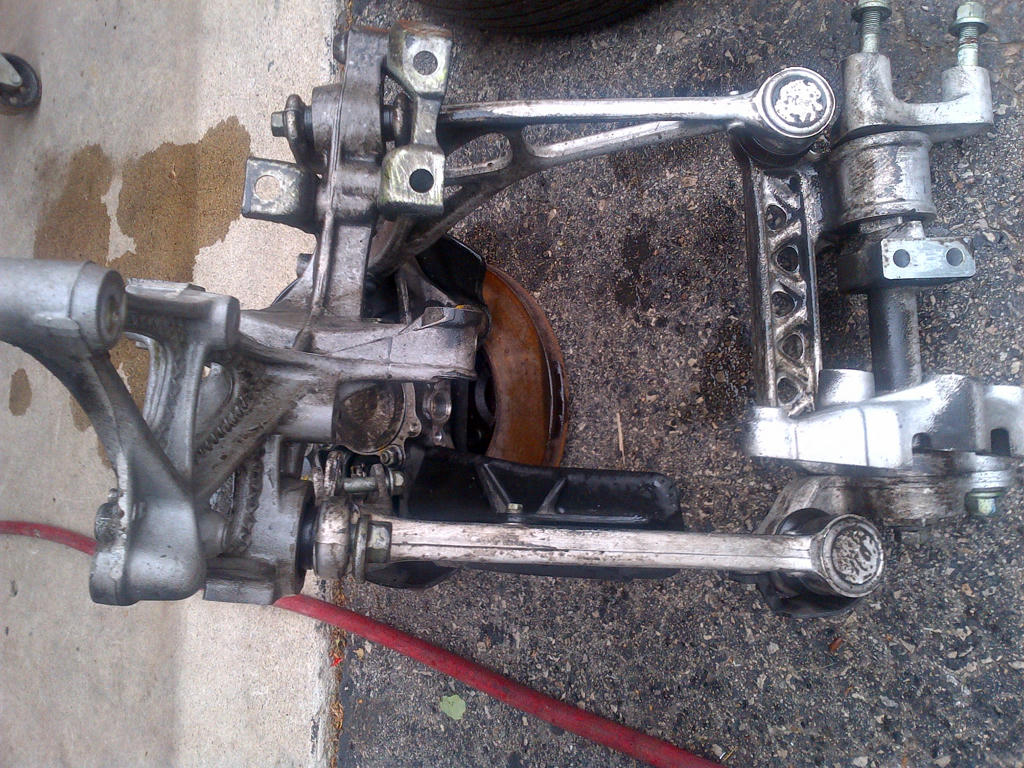
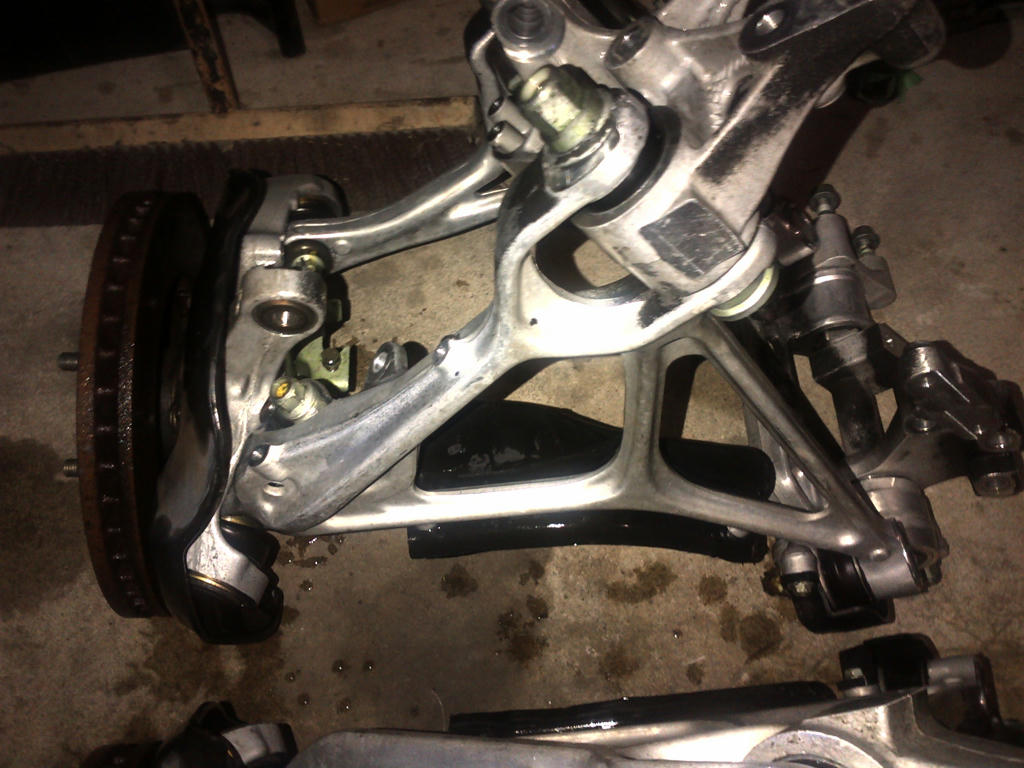
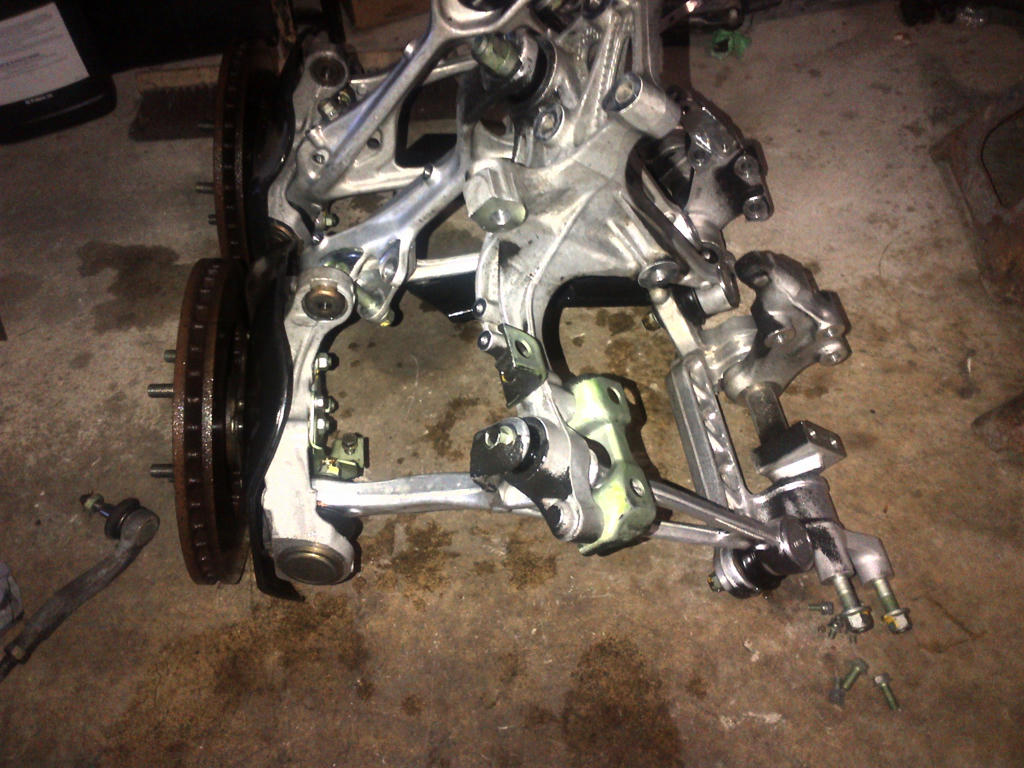
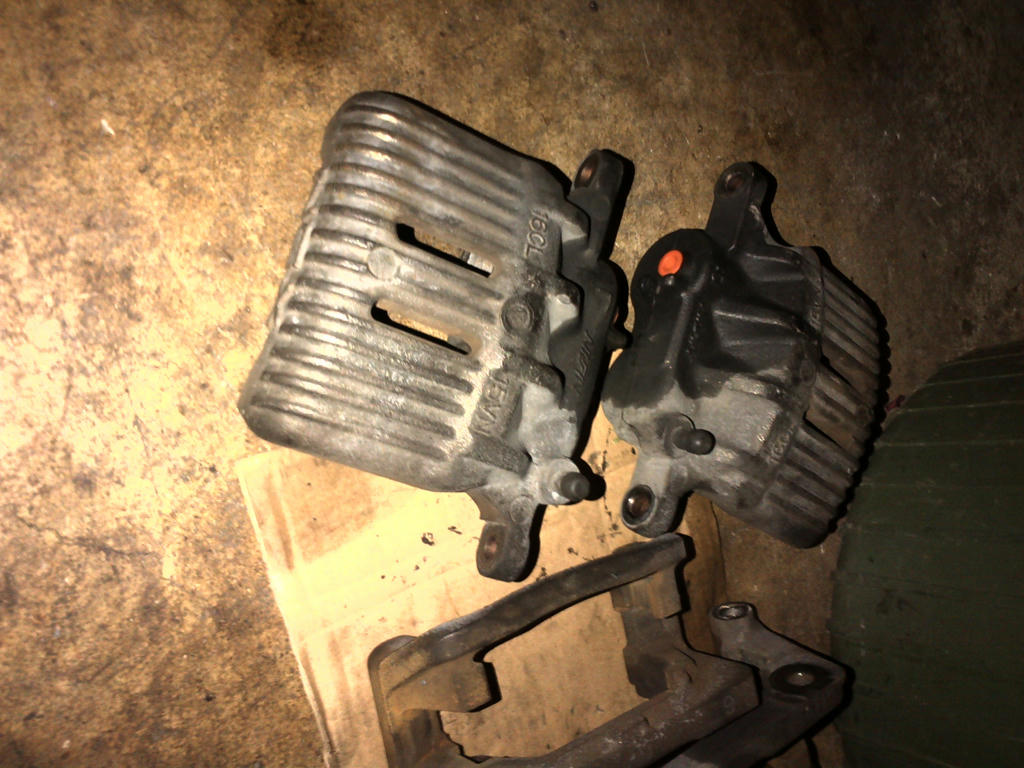
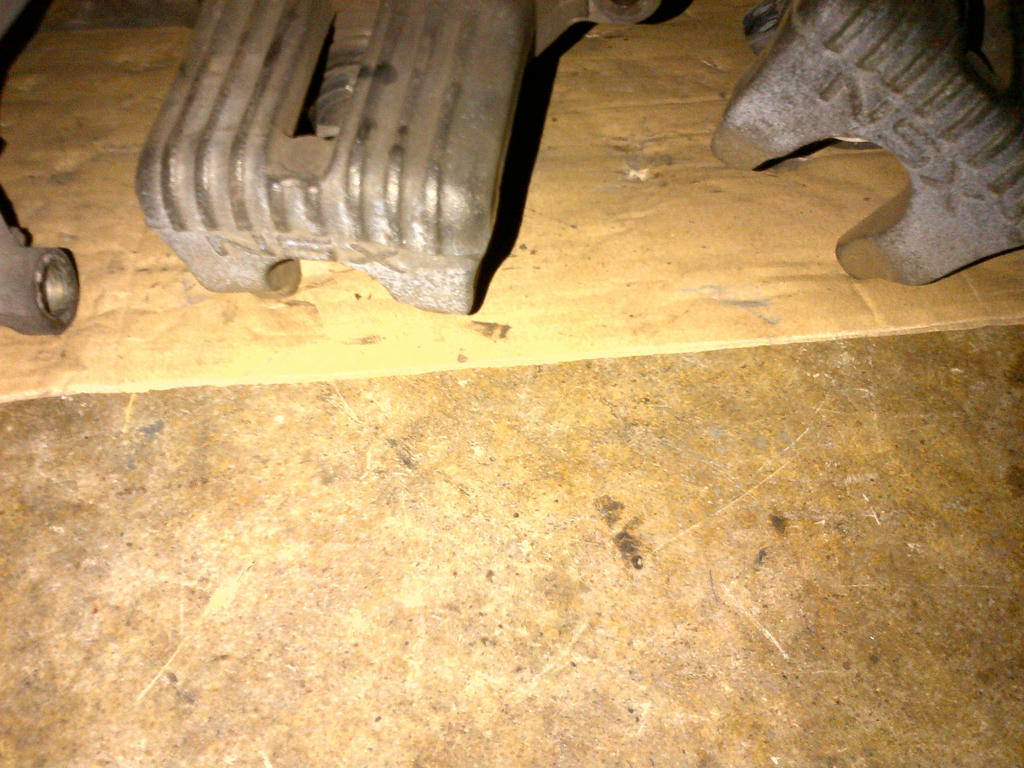
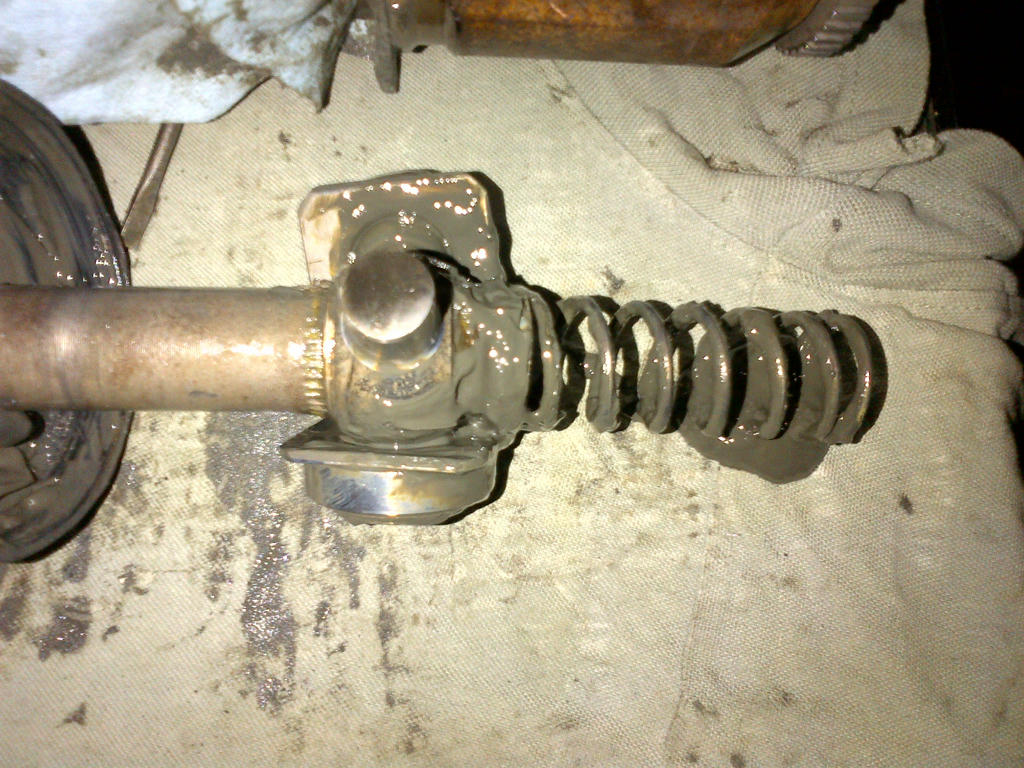
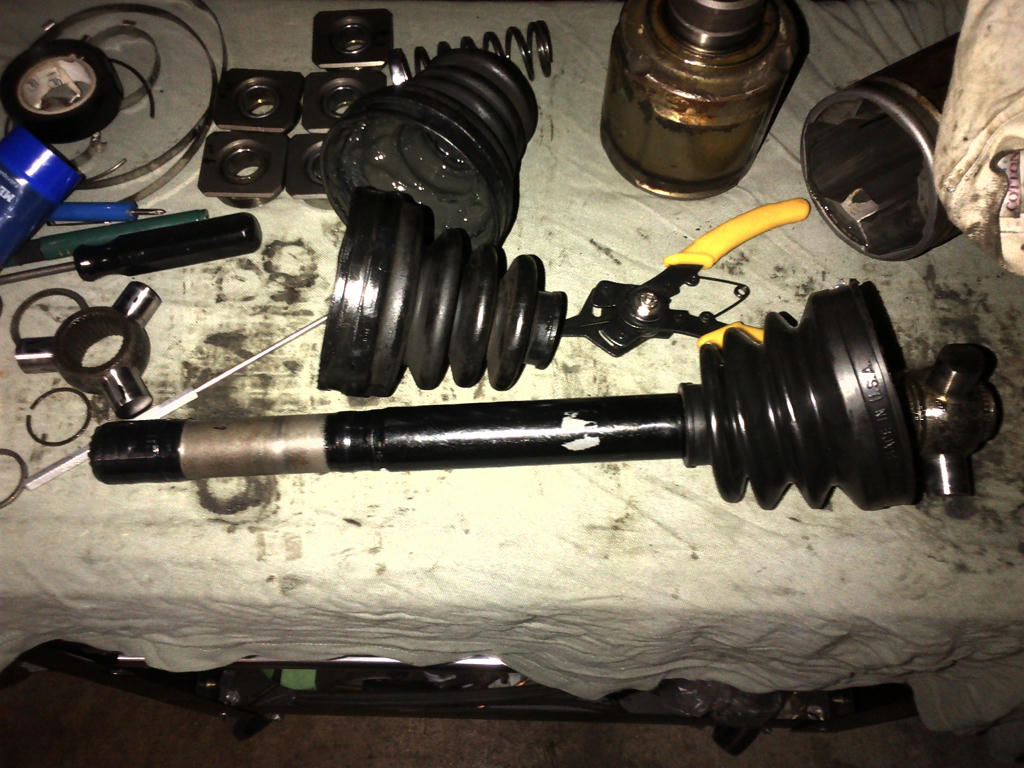
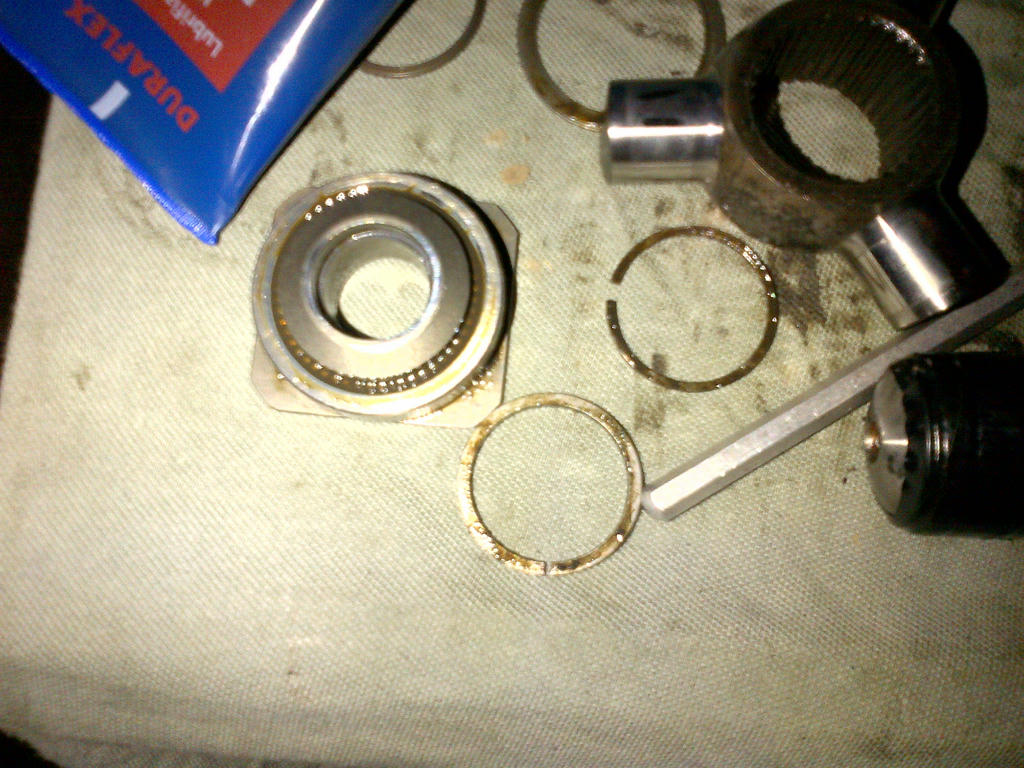
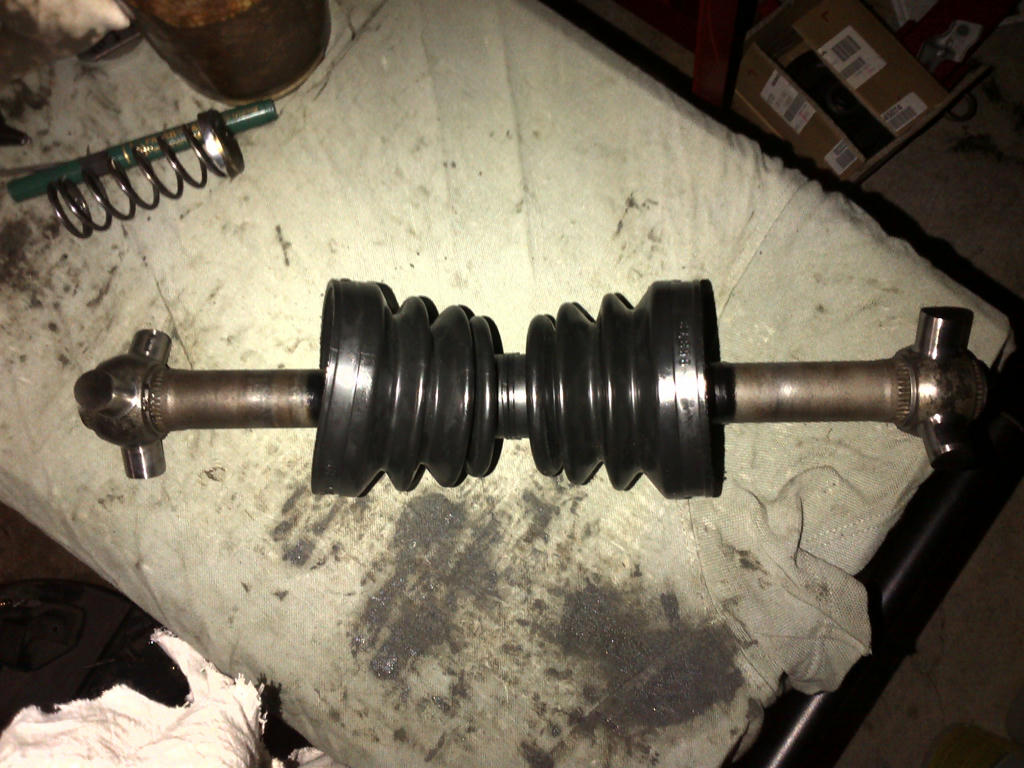
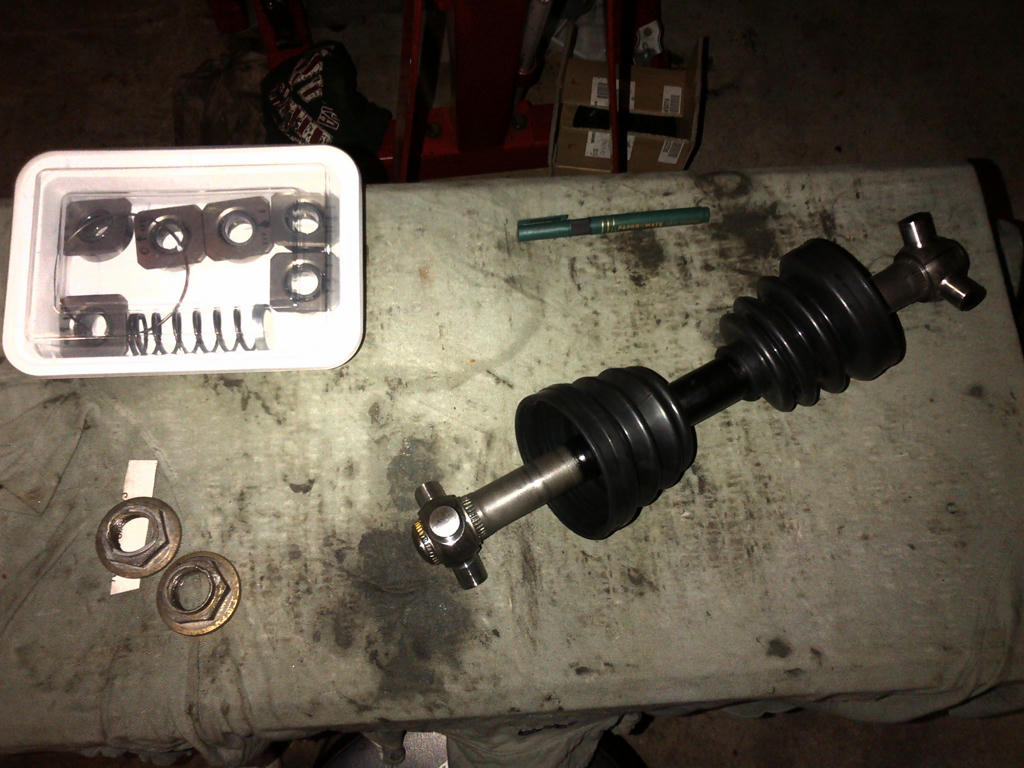
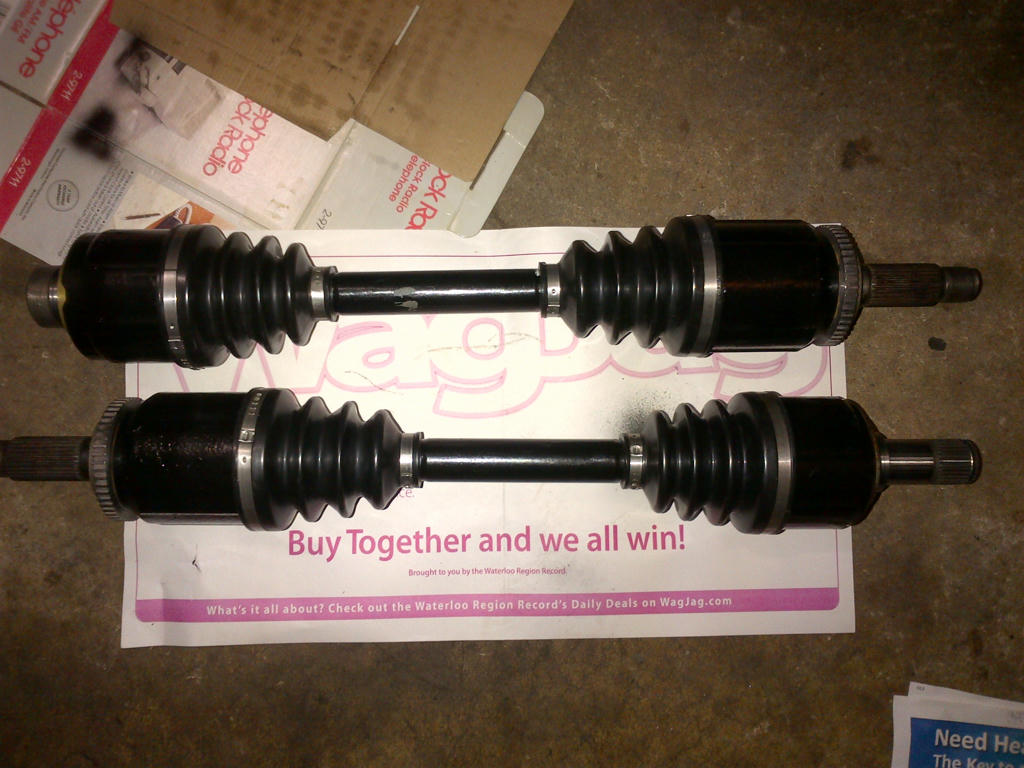
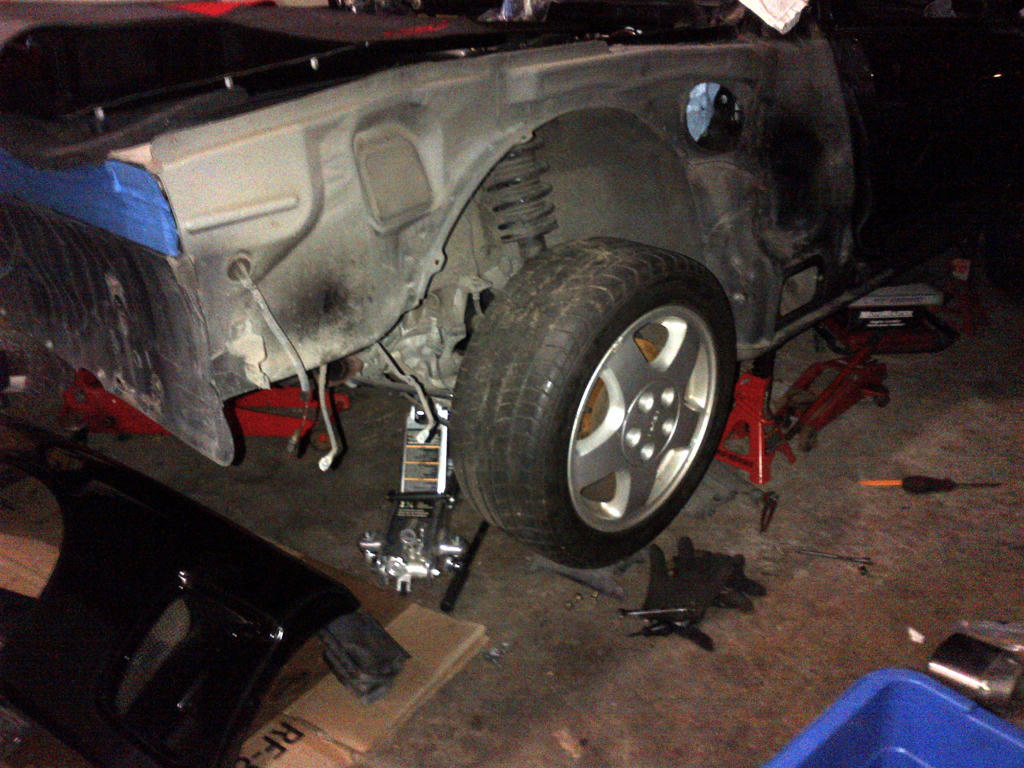
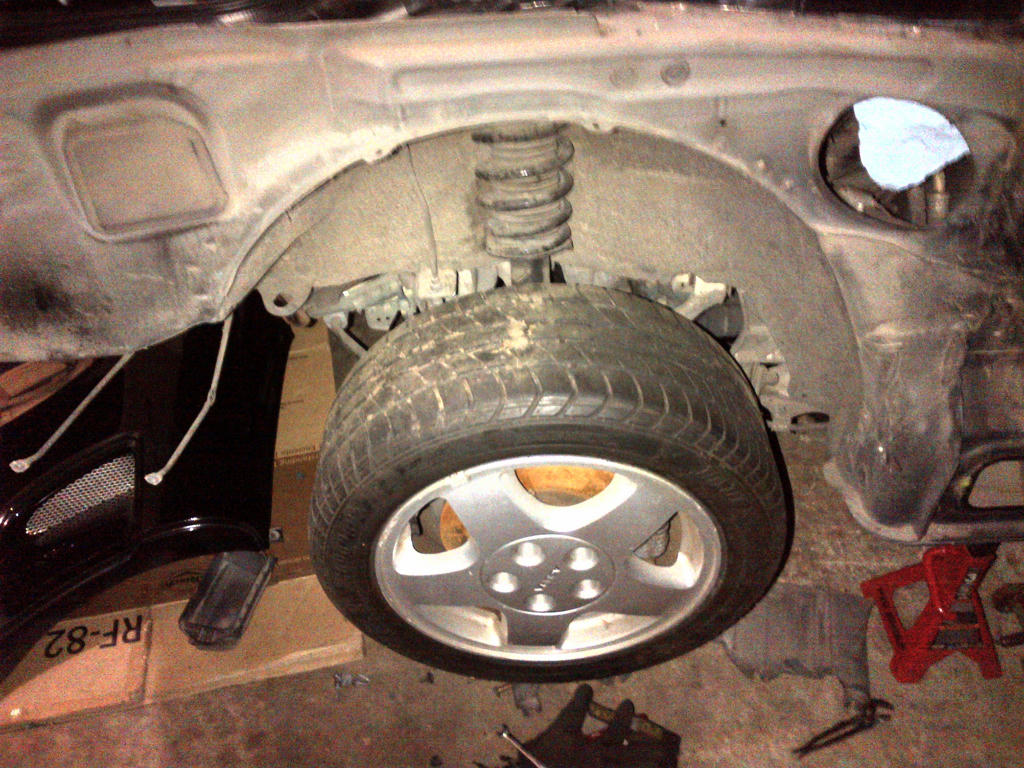
Stripping down the Front End & Dropping out the entire suspension:
59810b7ebba93e0026241f48749219523b37b9a9f7840ede3d14a633b0774c6b6g.jpg


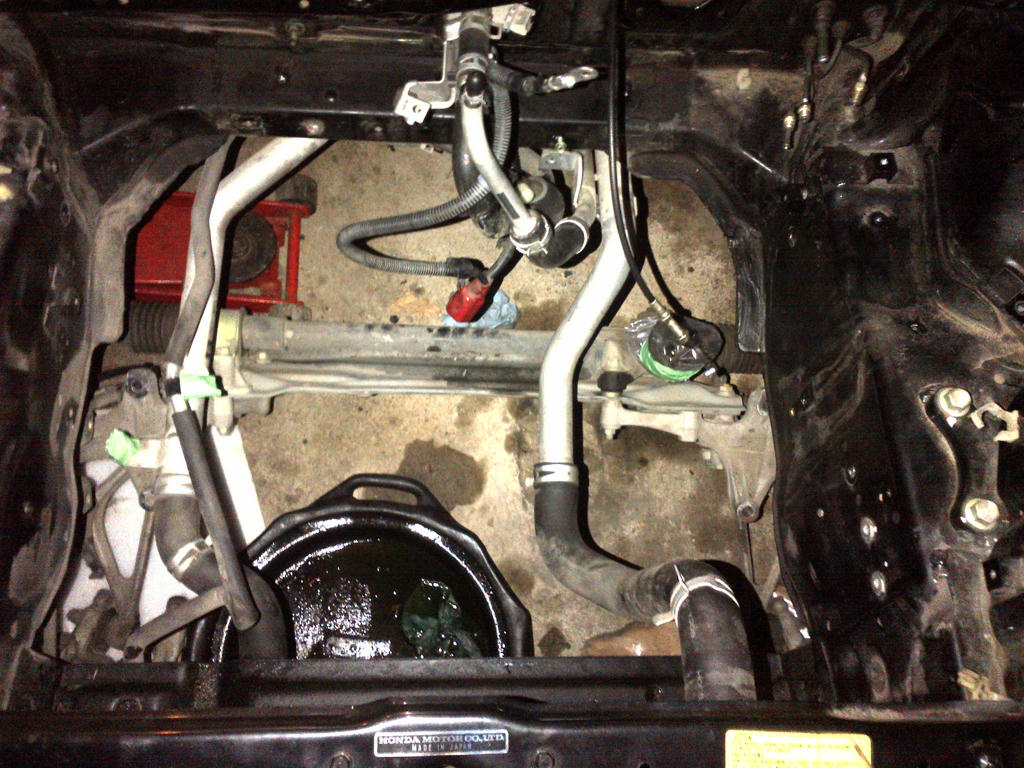
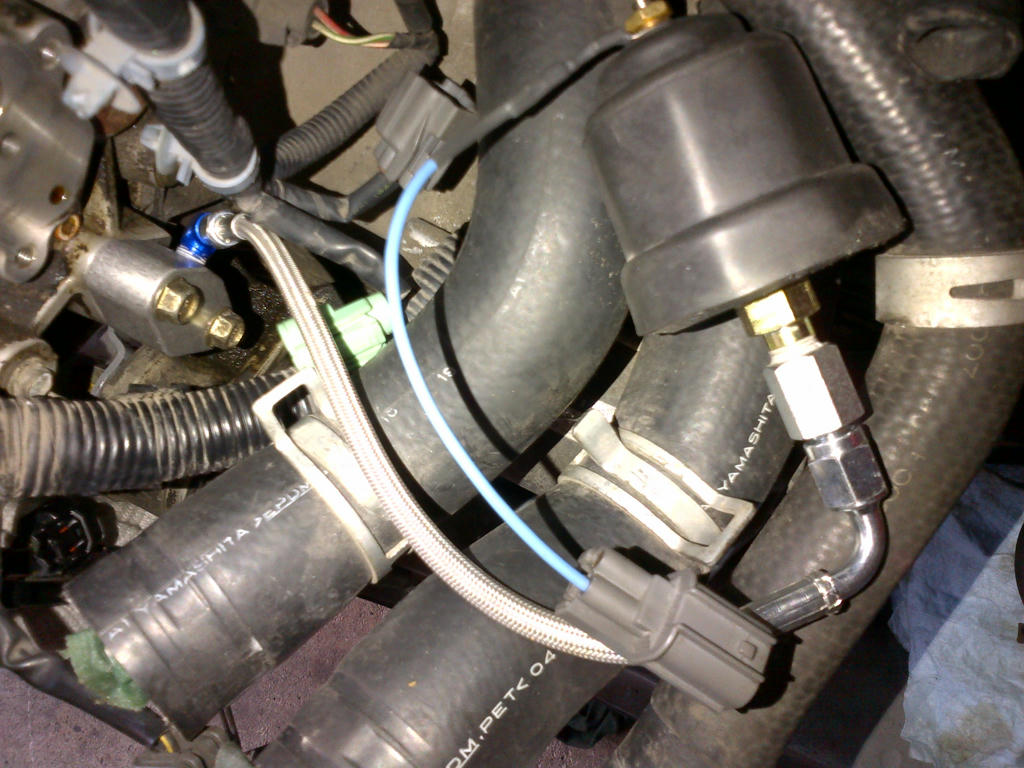
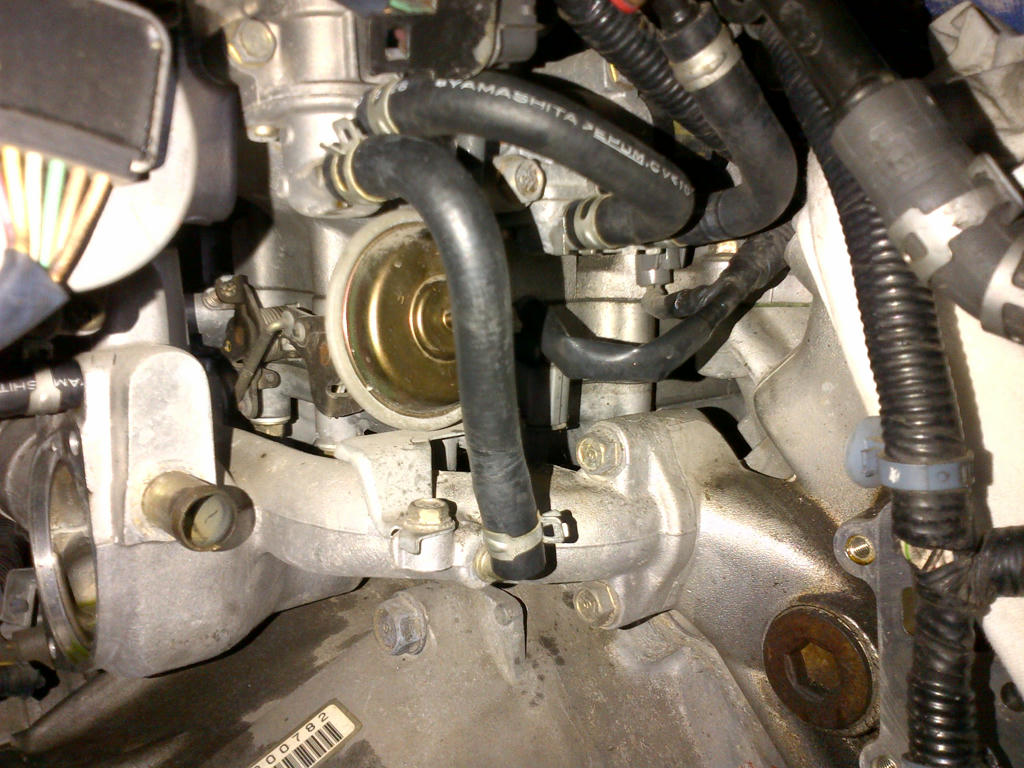
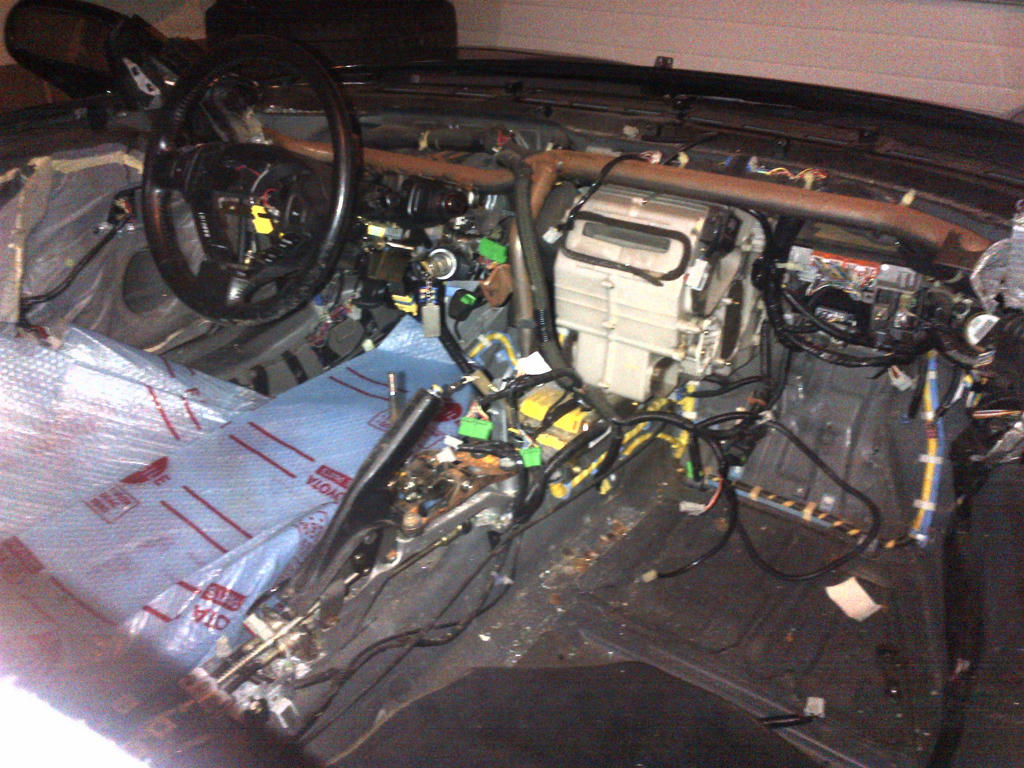
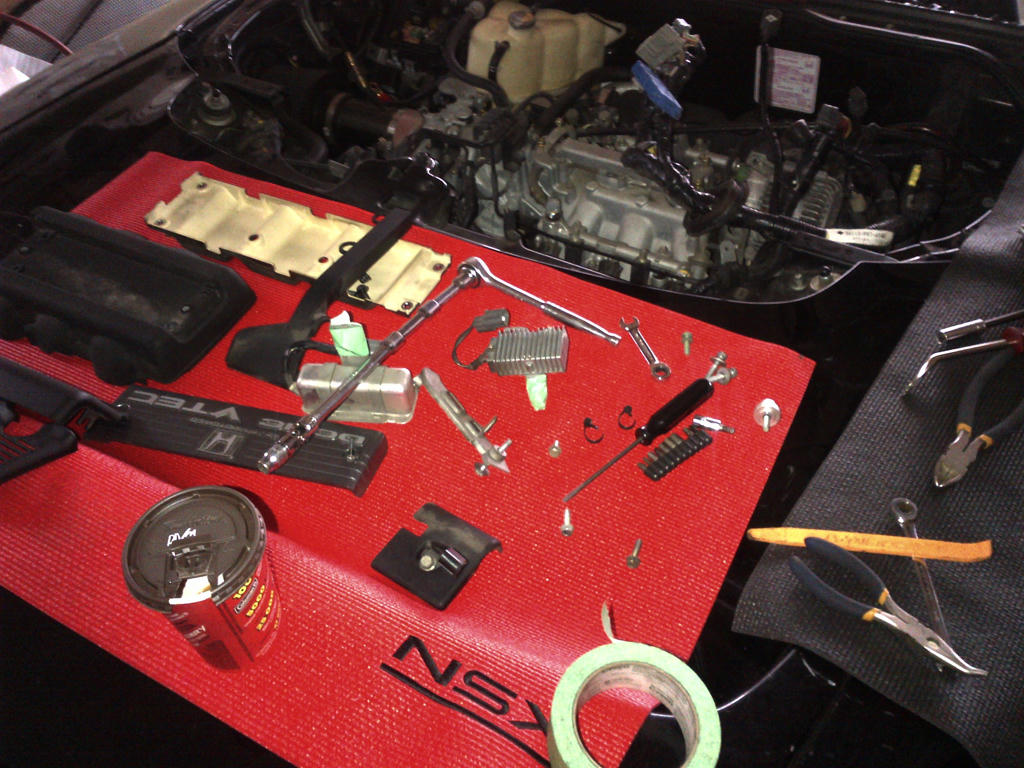
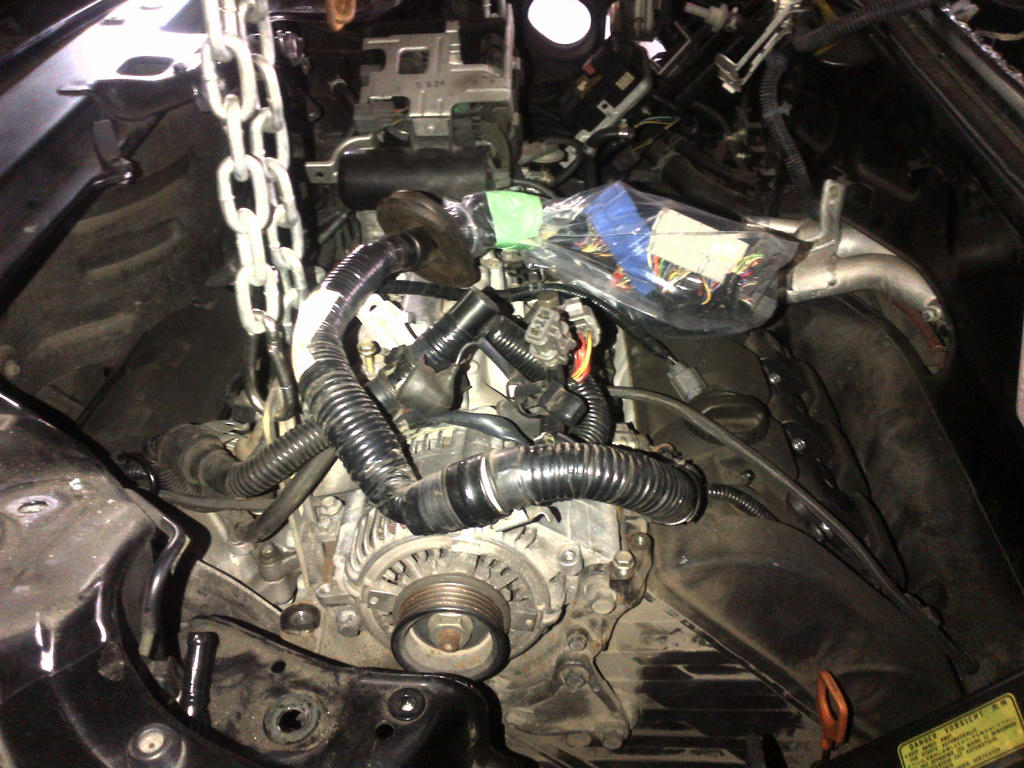
Moving on to the Engine Bay:
931be0fea1111e37c8fed92b2105ae3d998622ee01576862b32c1de6ab3d89cb6g.jpg


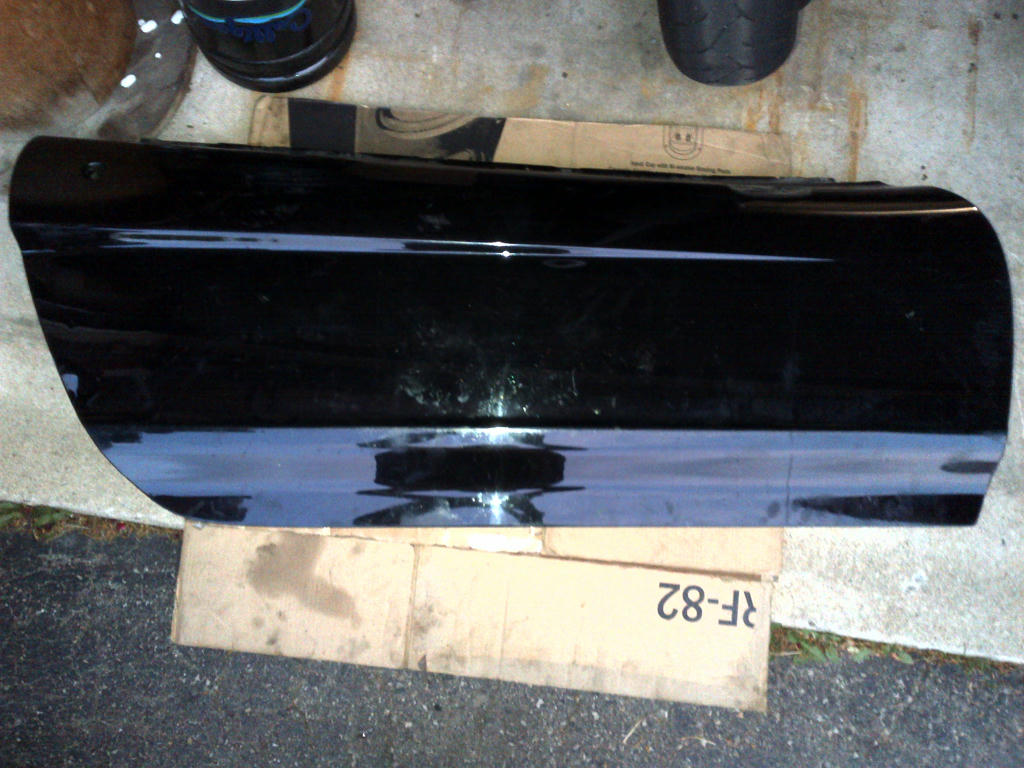
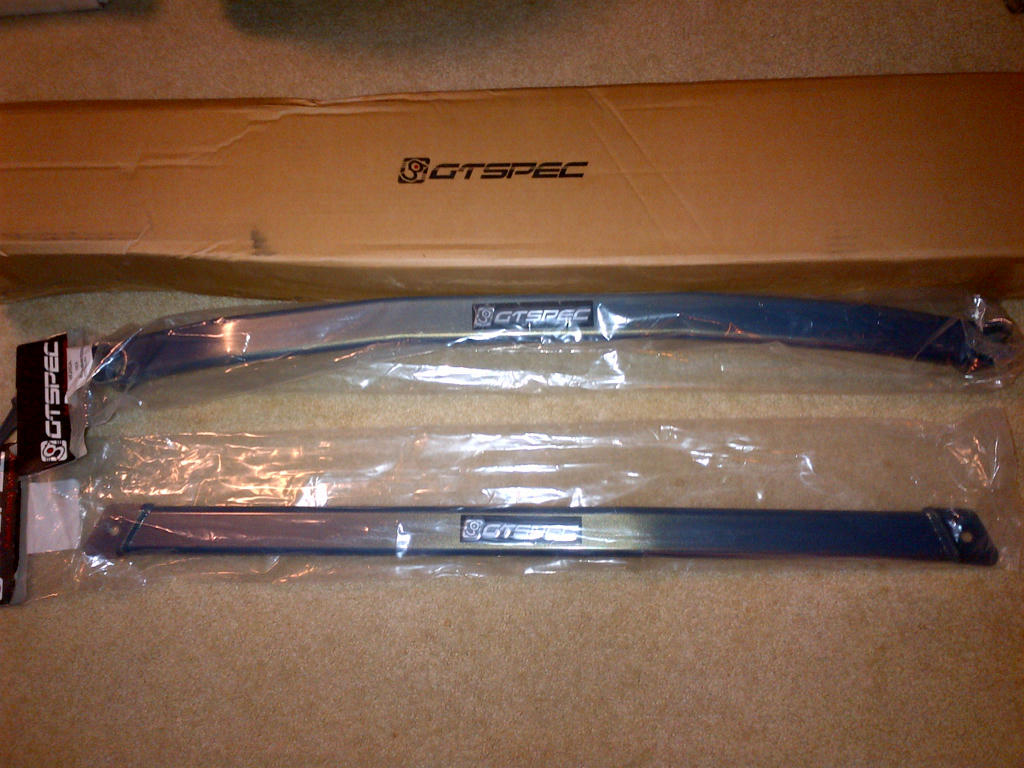
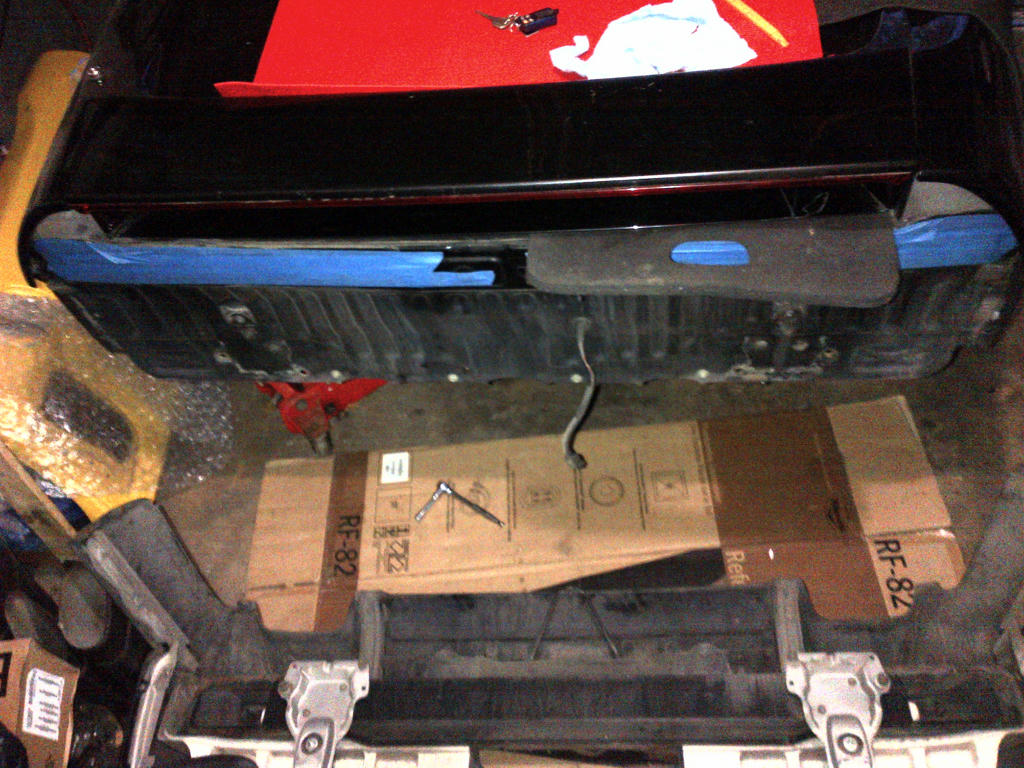
Rear Bumper & Quarter Panels:
d05b4851c48107fada501c15b32740ad8b9ce03bdce8153650343cb5dcd60bf66g.jpg


a914bb82af8ec0c6fc00647d03504f399ebb9aeb7d50158a7559d30eee39f42f6g.jpg


cafa785d35130f3f4a5c3b26e3207b18a553a318459205370c5bf4cd75bcfe796g.jpg


Removing the Engine:
e3c809ca652b44eba6f1405248e3fb9164972f72677bed14d628dbbe30045c136g.jpg


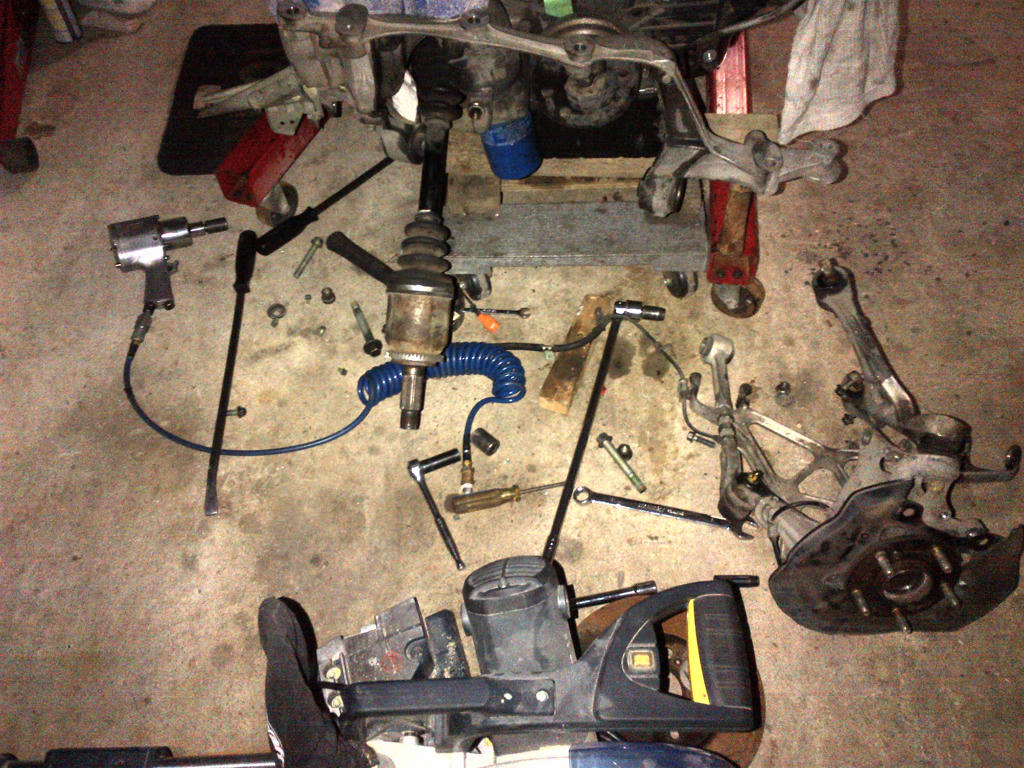
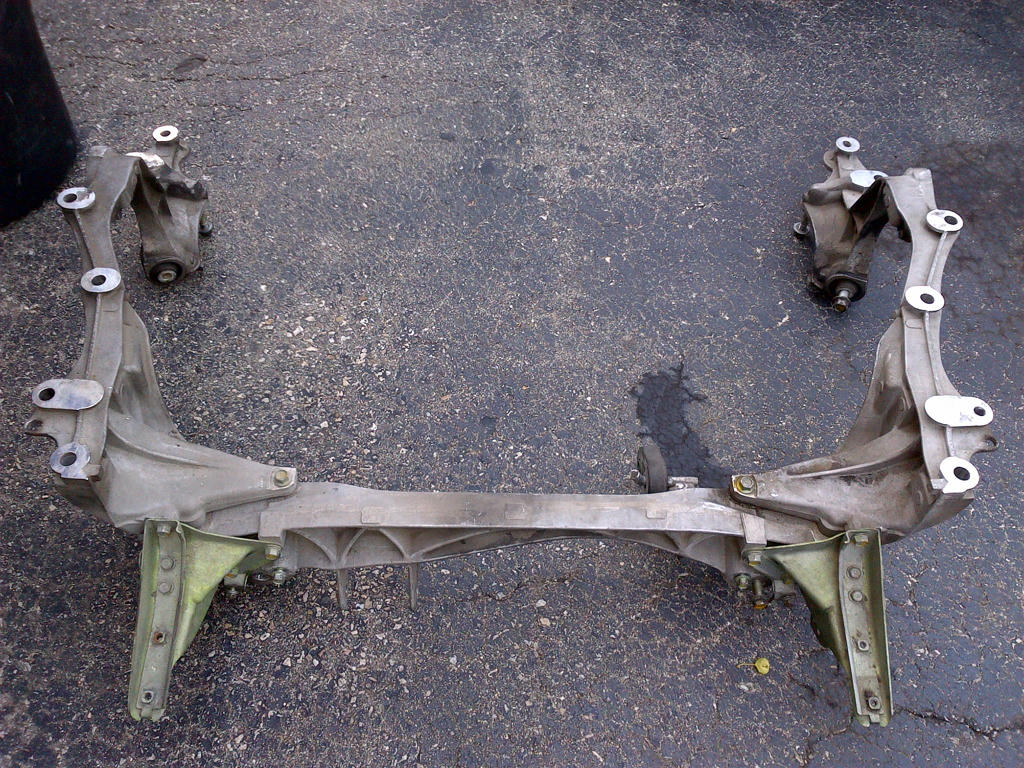
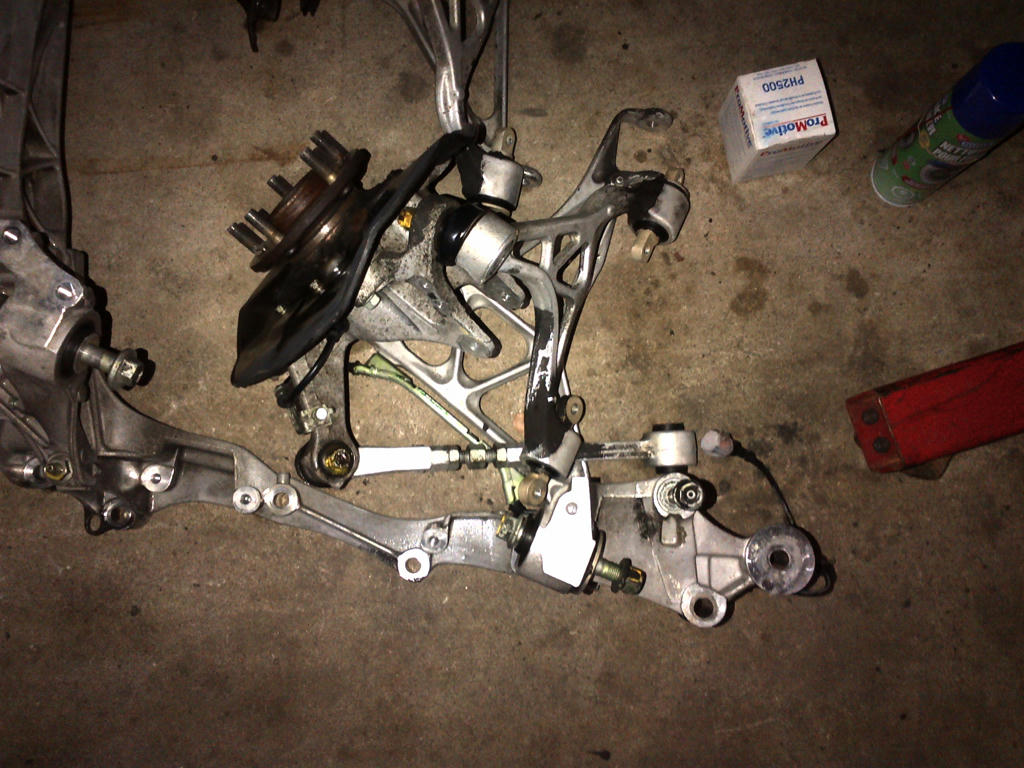
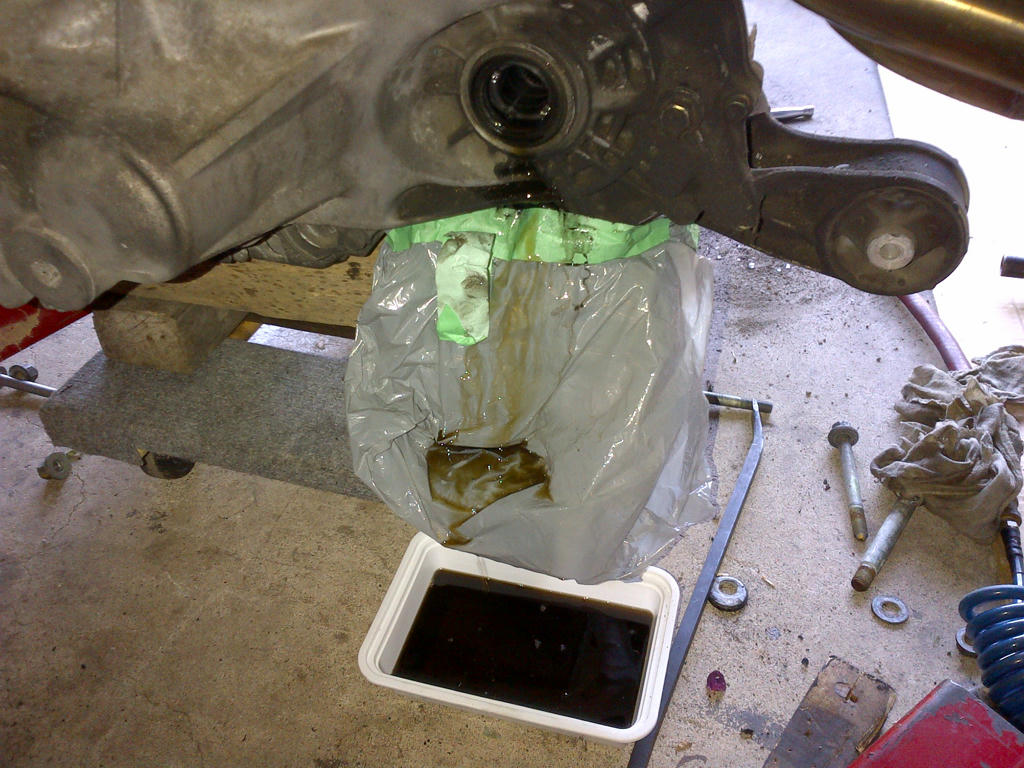
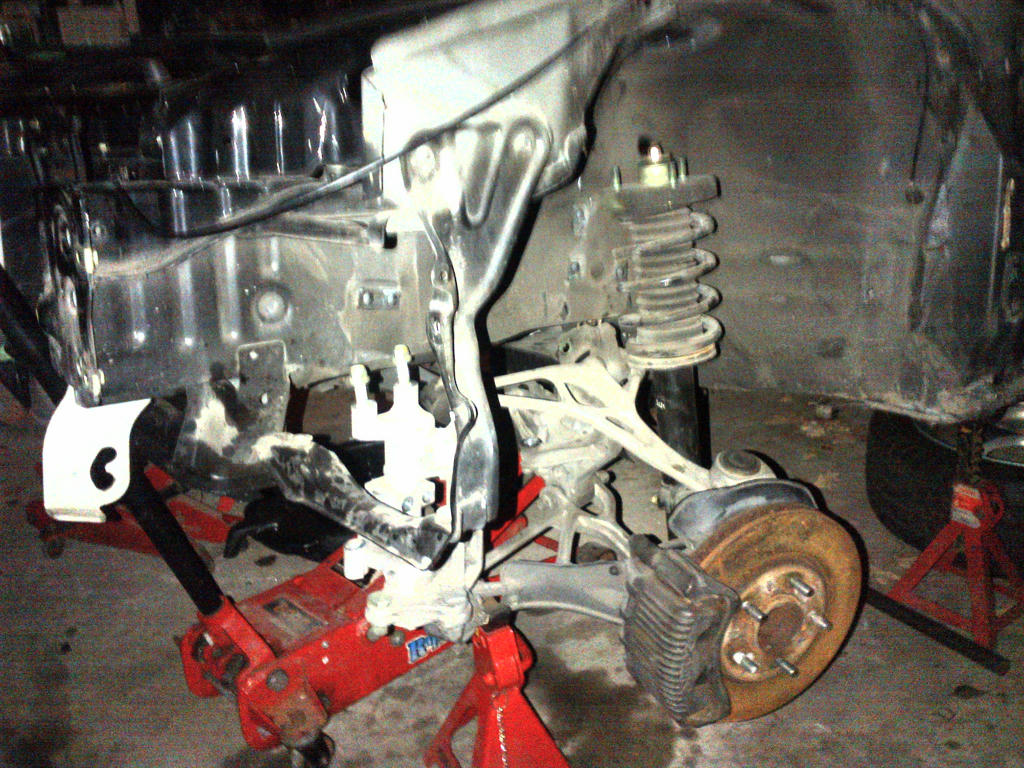
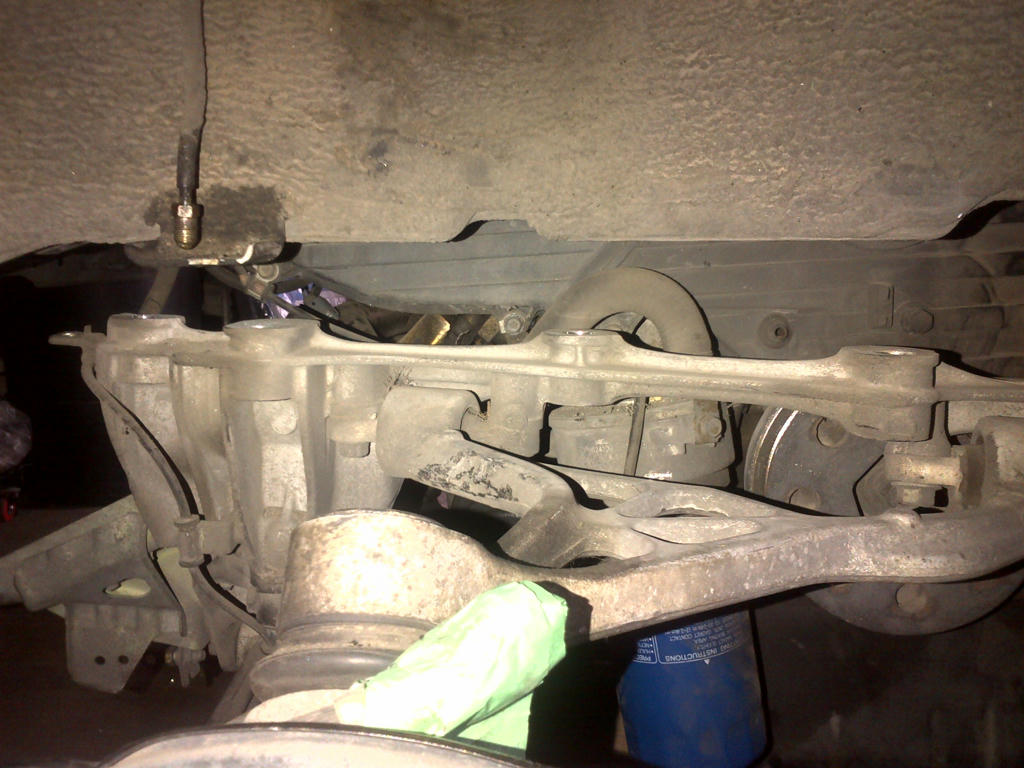
Disconnected Rear Sub Frame:
7d27ead660fac30466cad8b60c70bfeefc1ca2b0ff3069b41cd73a27eb1fb3d96g.jpg


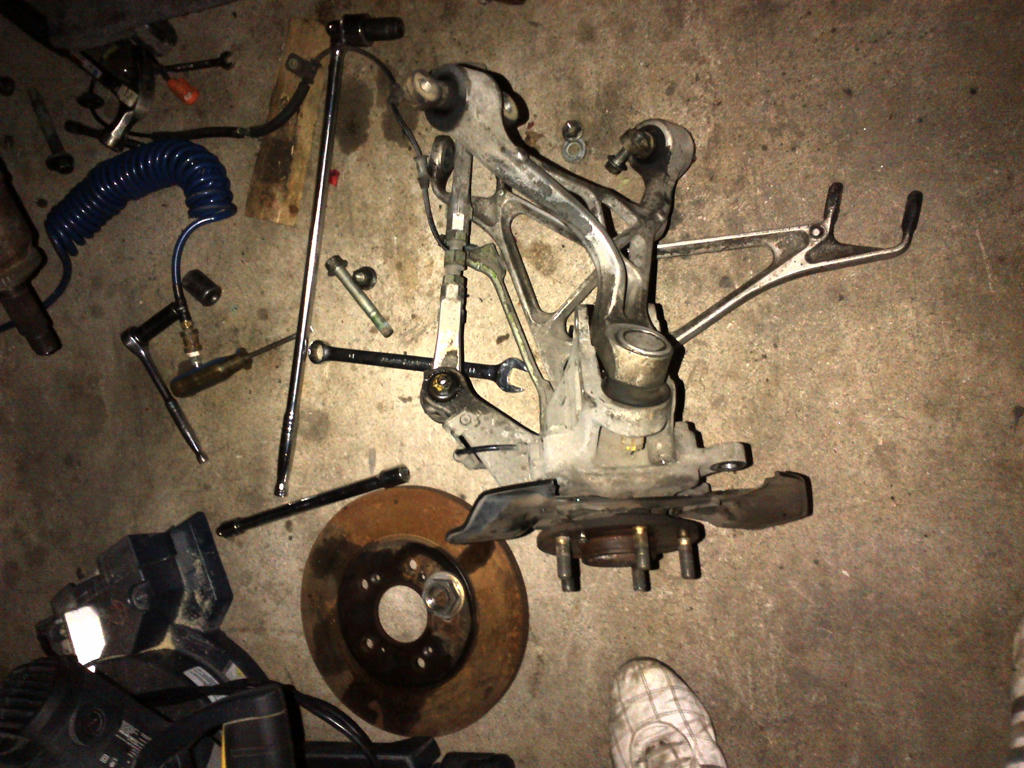
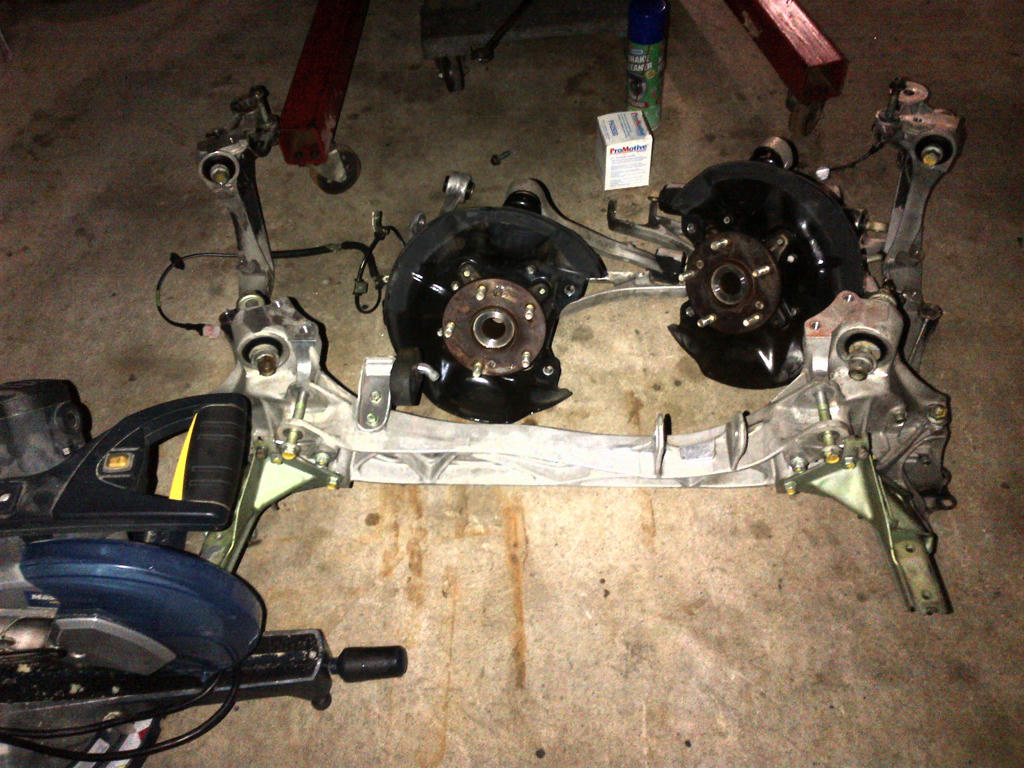
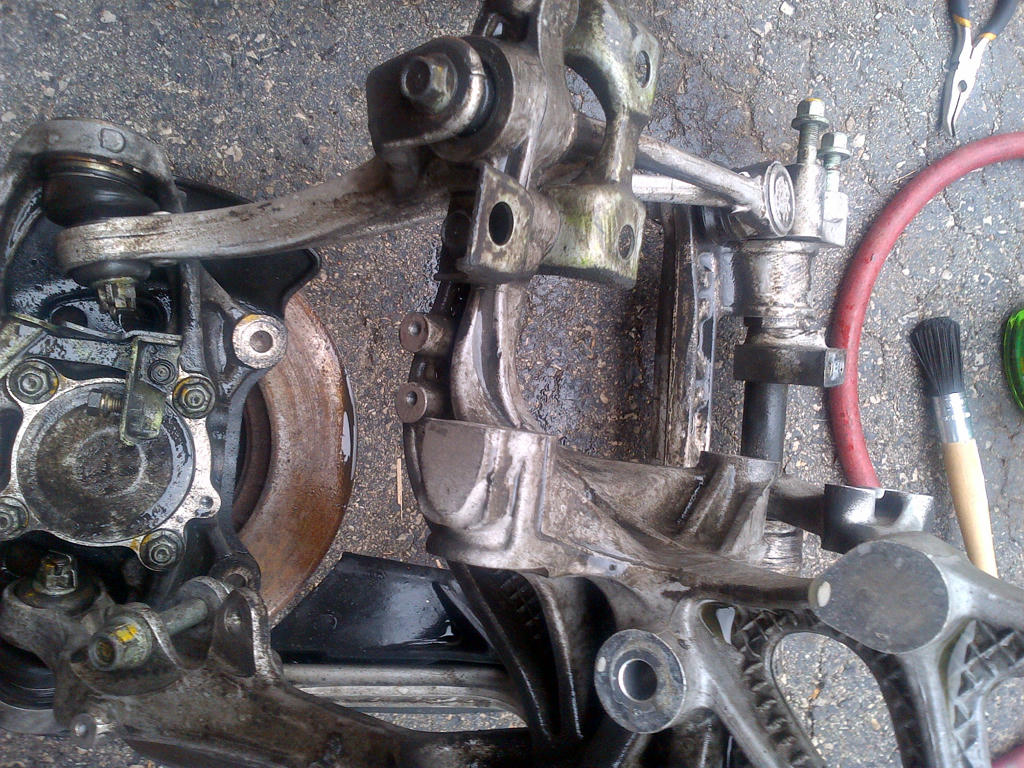
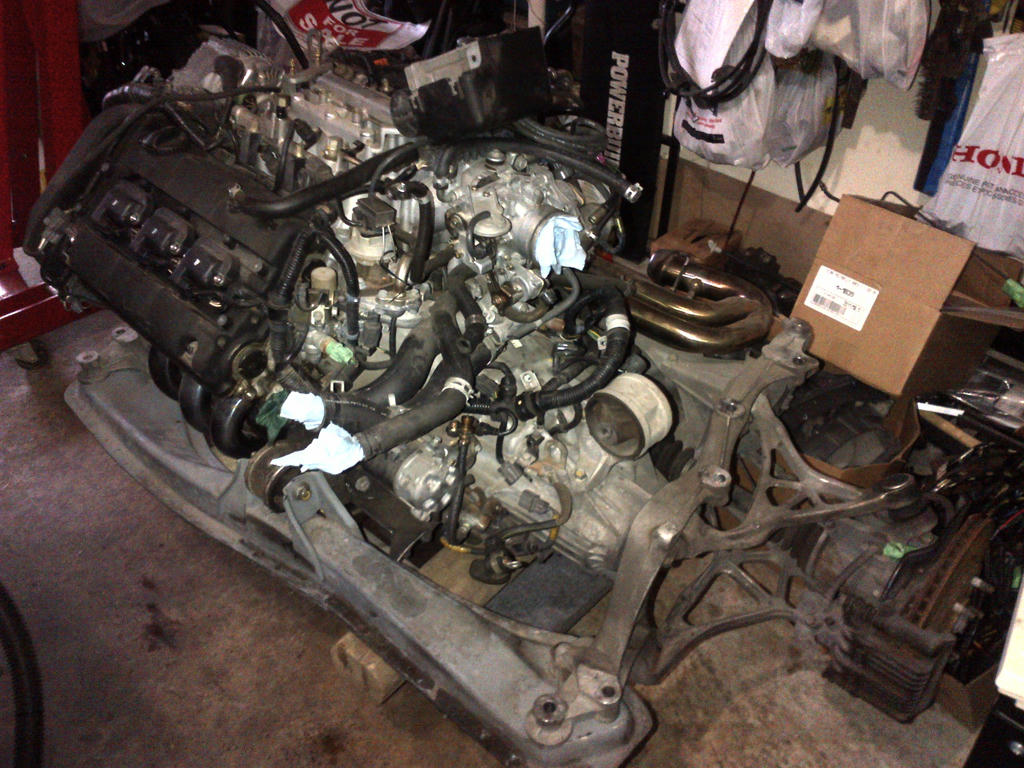
Engine Dropped & rear sub frame assy & suspension complete:
31f594ba9b9bd3a322bd5a6af86685ff0c2bd9d13ad433adb5f0f81ee7bcd1846g.jpg


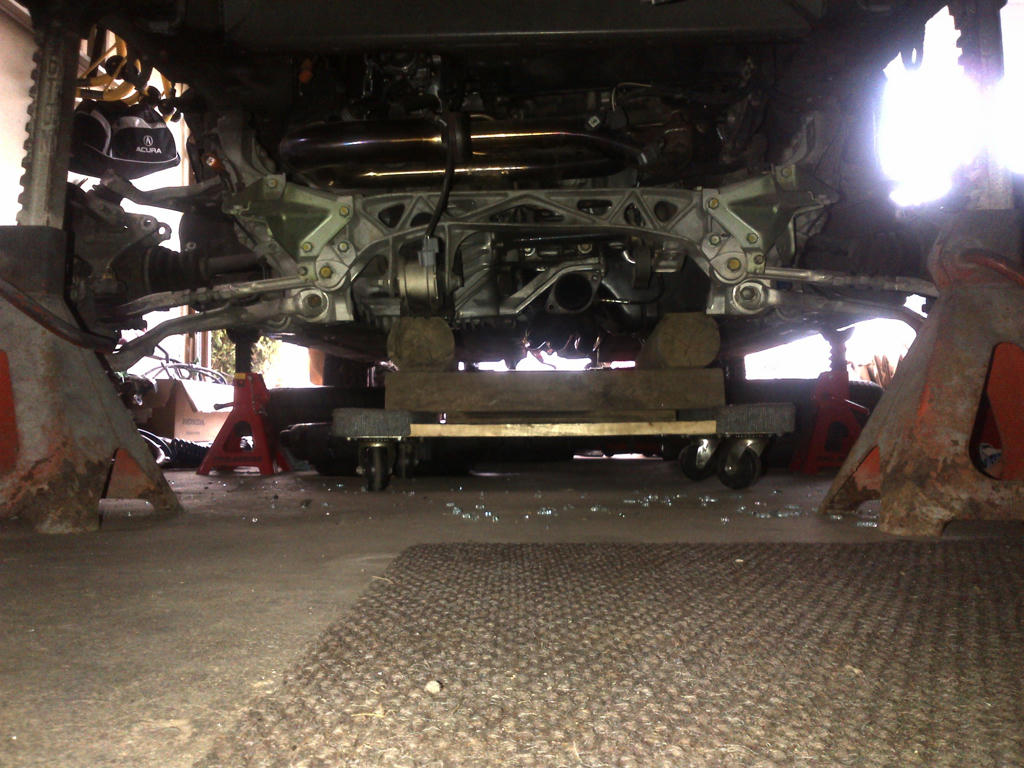
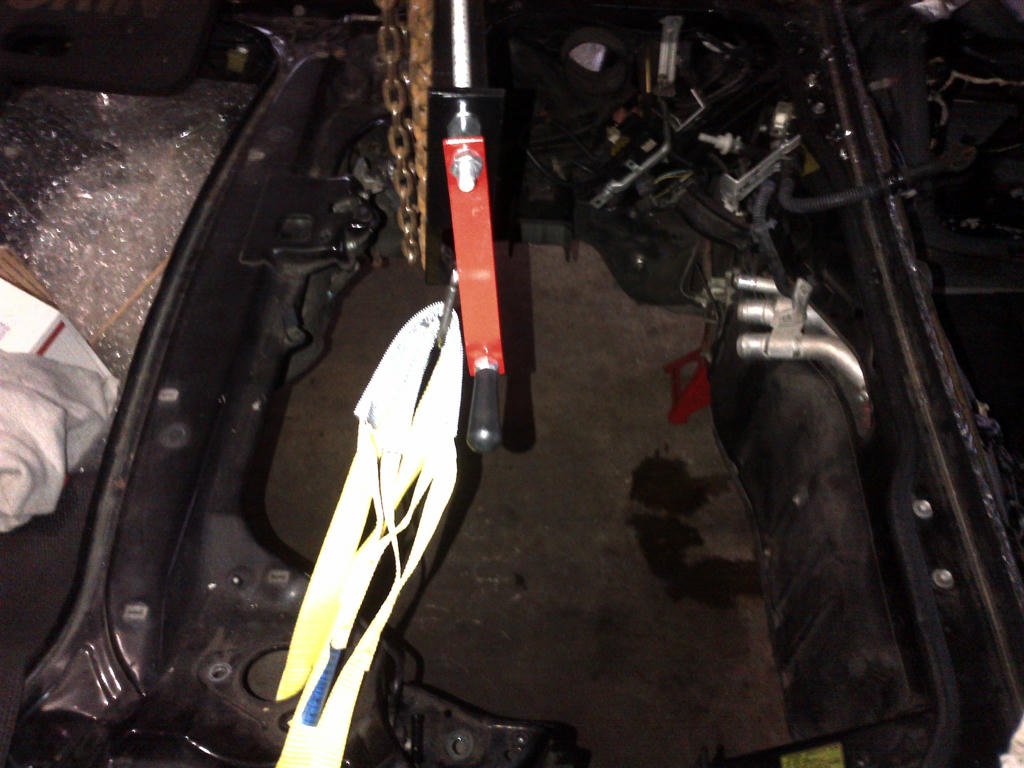
Lifted the car off the Motor about 6ft, and slide it out of the way amazing how light the body is with almost nothing in it:
0e57f04a2a1b0d0d7258f0b85daa7f96a64b242c0d589393a0549e22dffe68146g.jpg


She’s finally Free... Tada!:
f48e0344787041abee67414c409efea316aca422eb8bd18d6224f4539db2793c6g.jpg


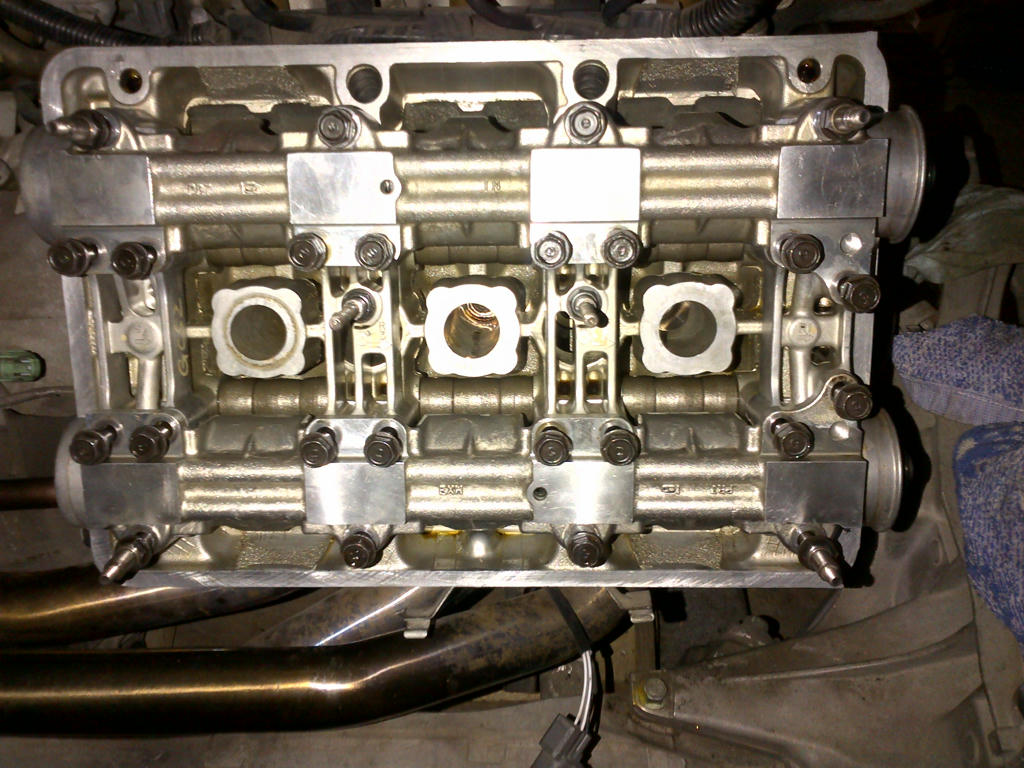
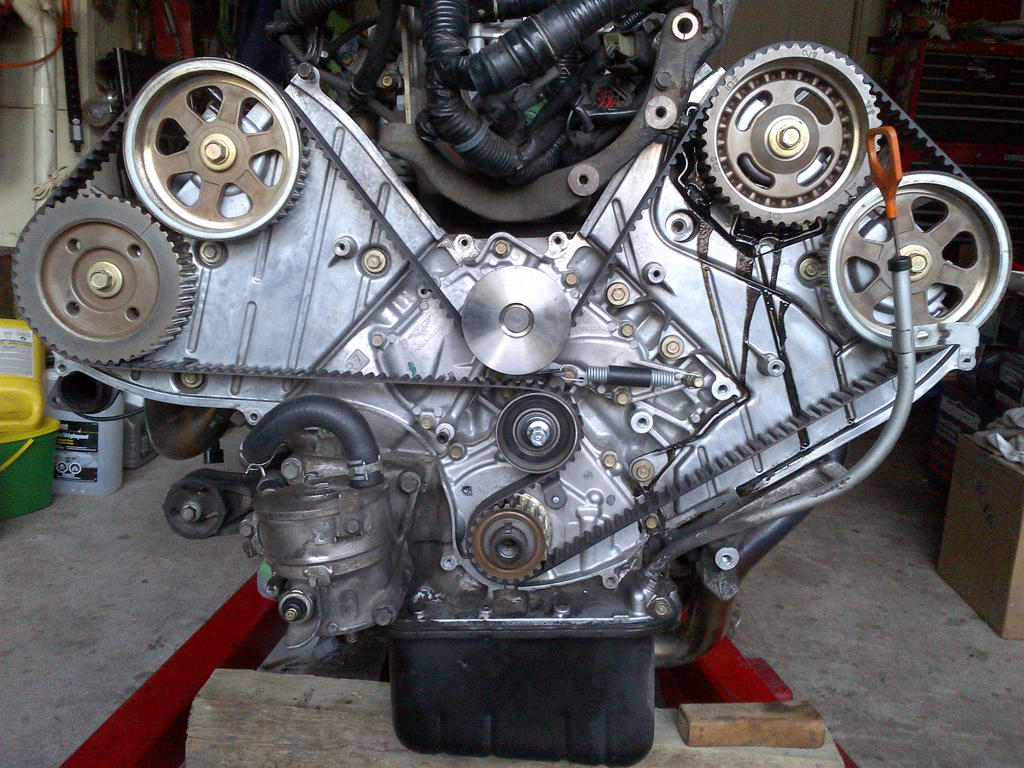
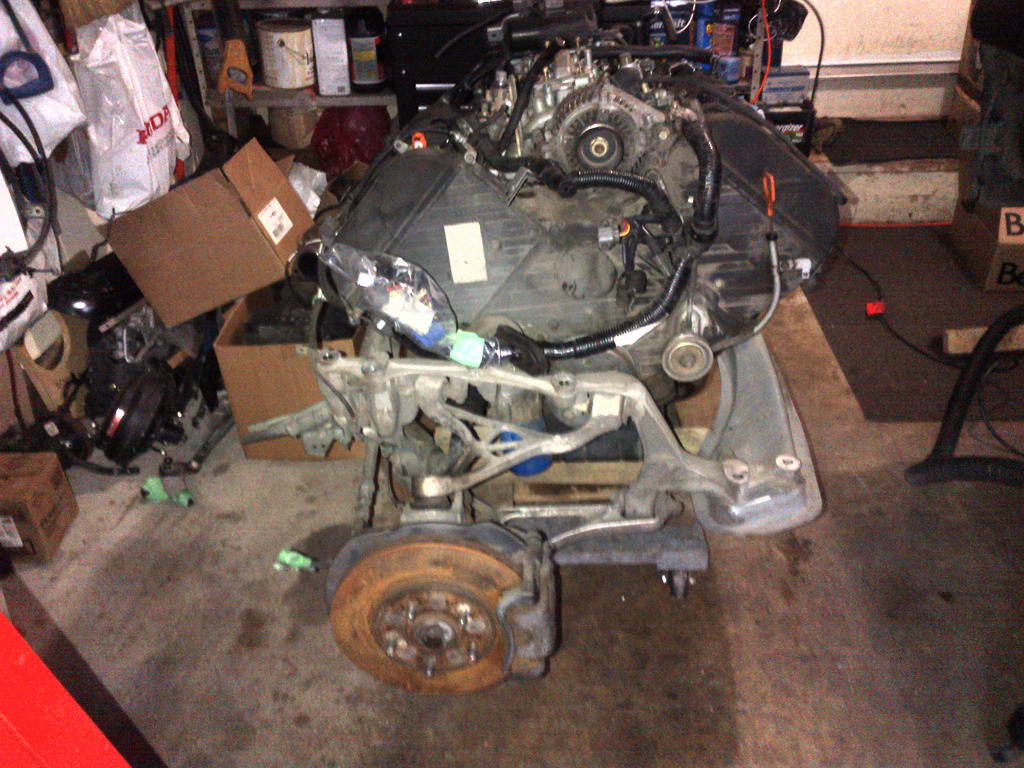
Man this engine is huge so wide:
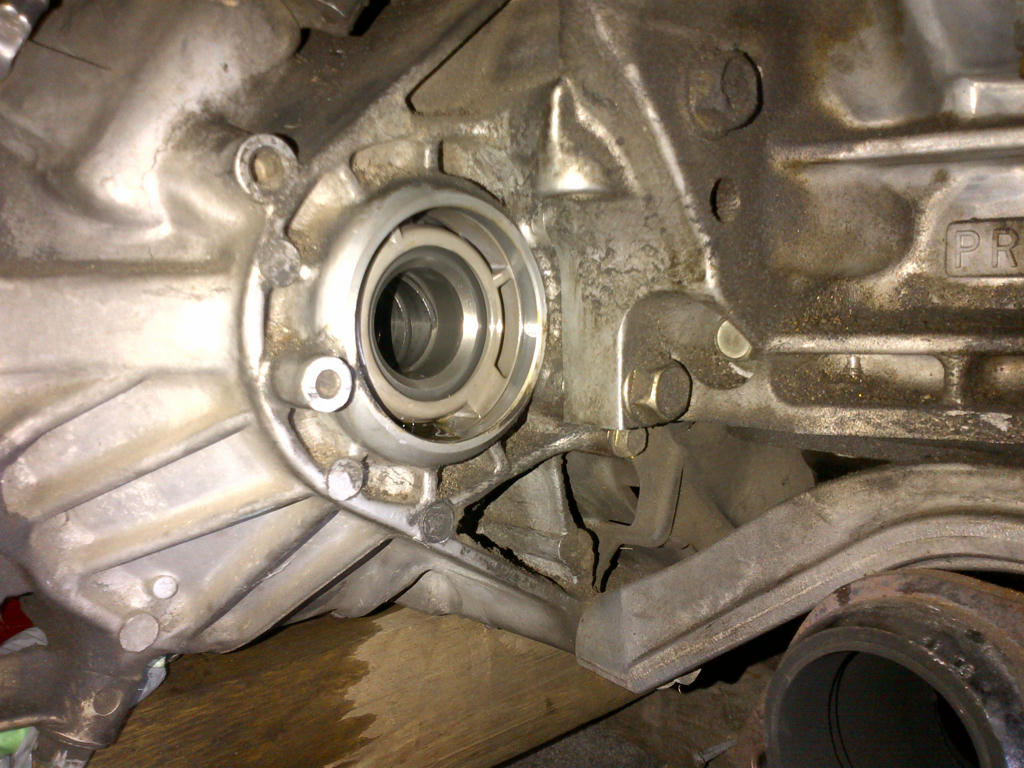
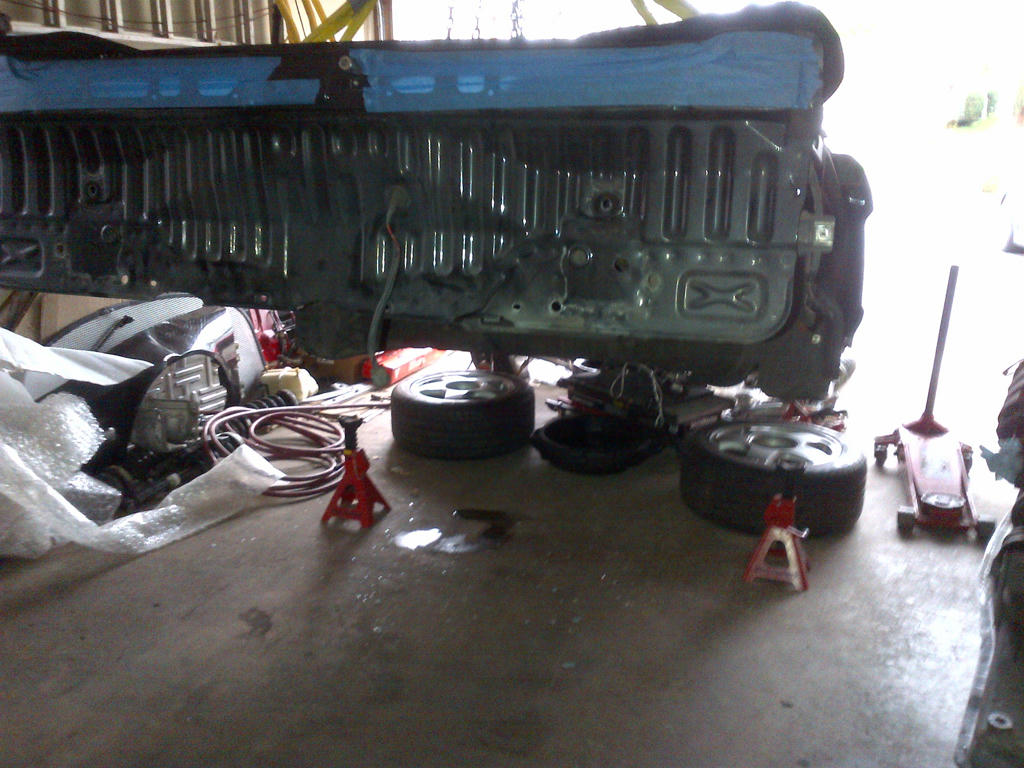
20cbb611de234a8b81d4f4fa5526e2be42865a99af52595b4aeafb0047d7c0816g.jpg


Now an empty hole:
c23f93778726ebbb158c781dce757cf0b5545f2752e2185895a2342deb1b23e16g.jpg


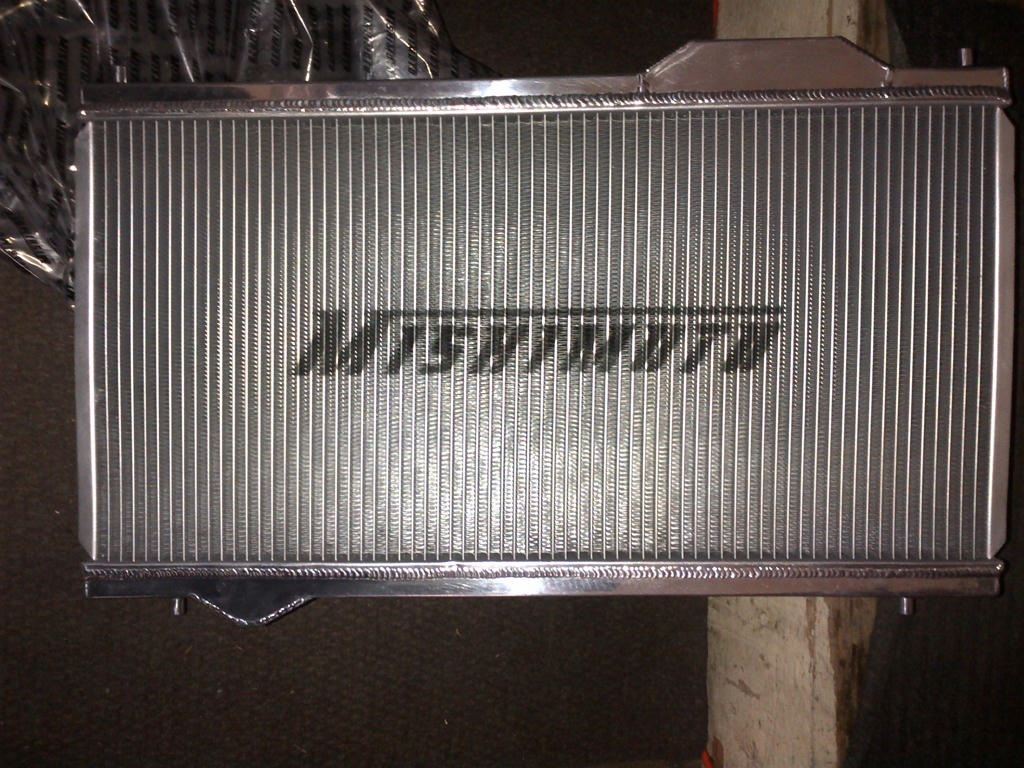
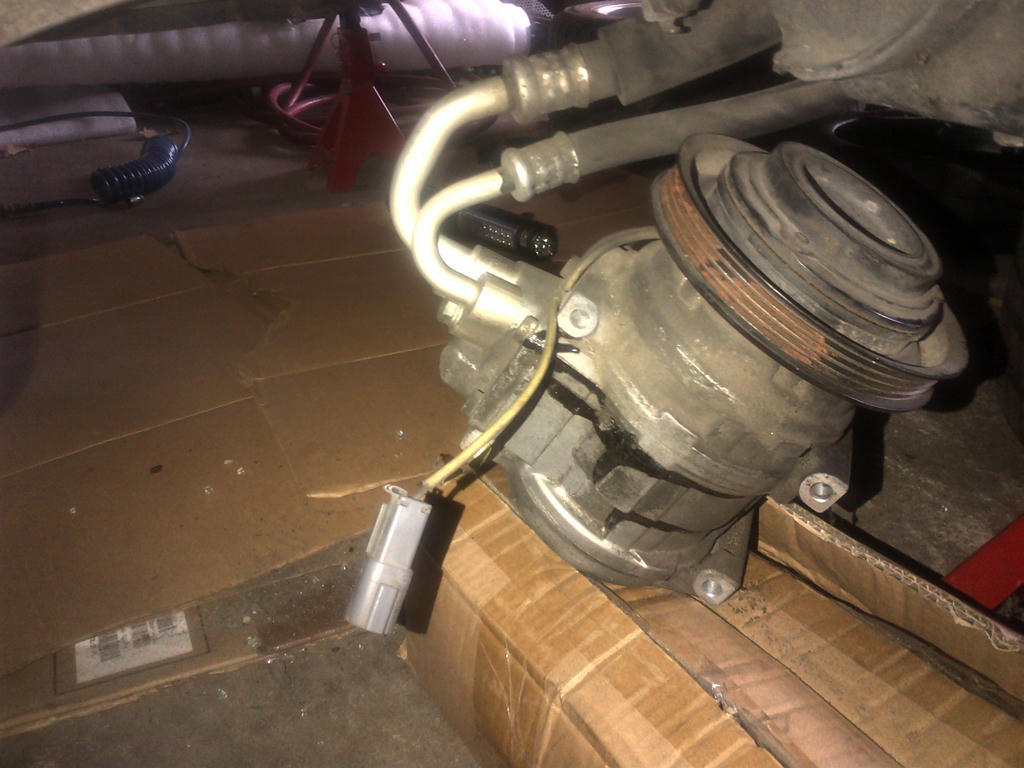
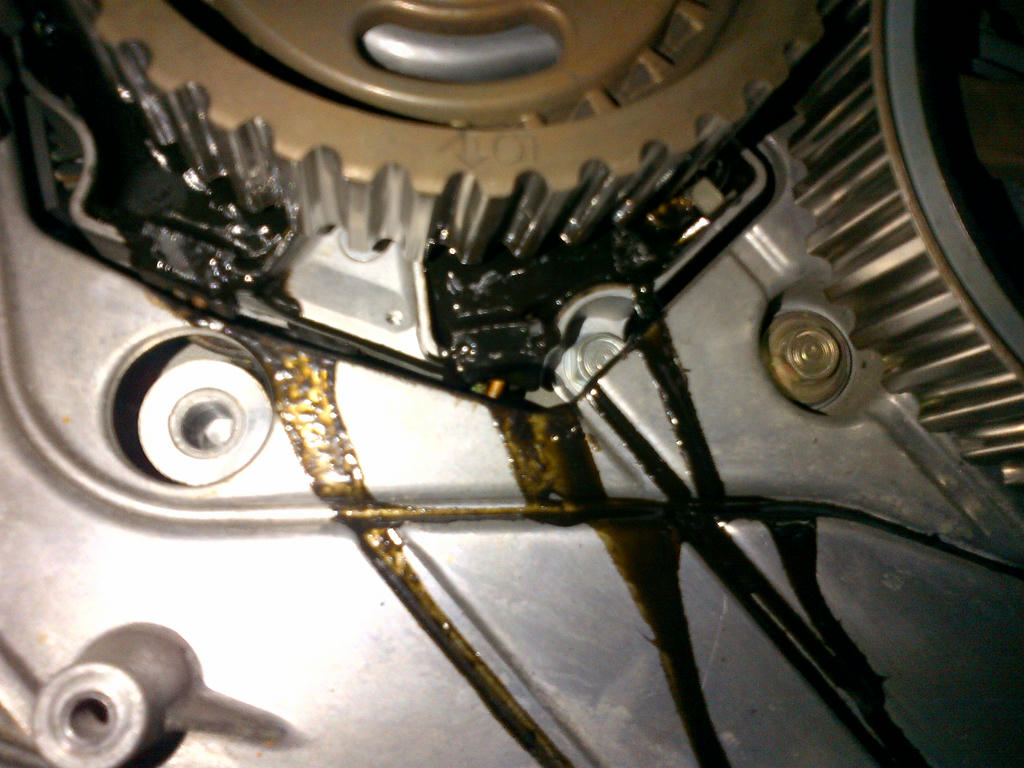
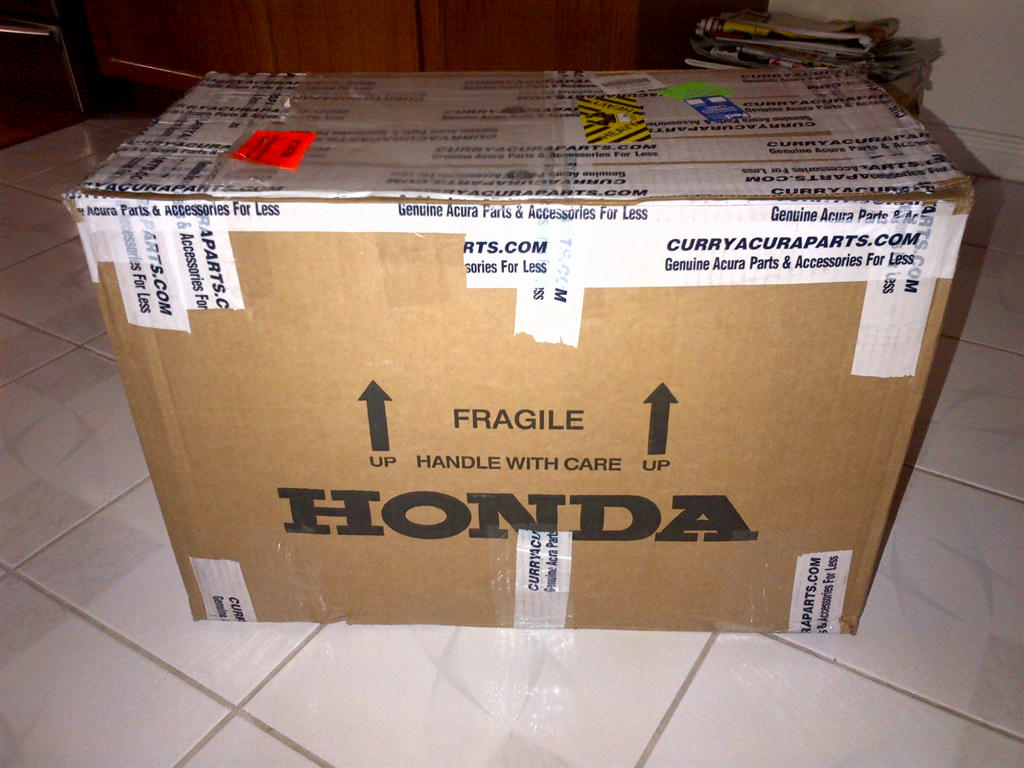
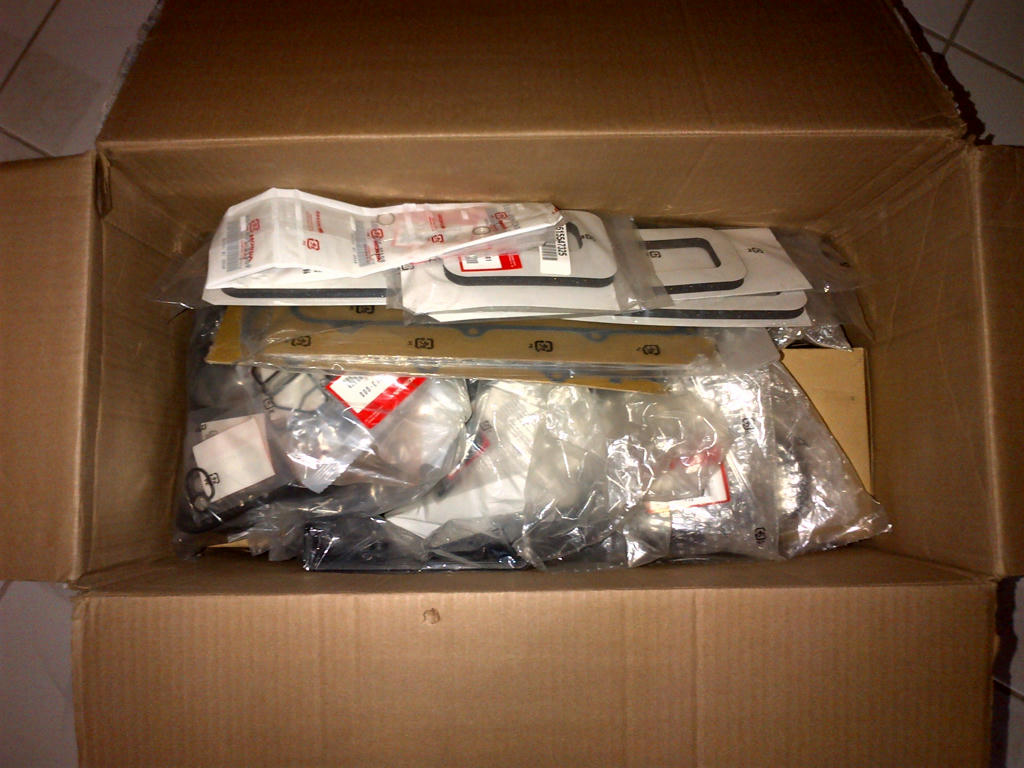
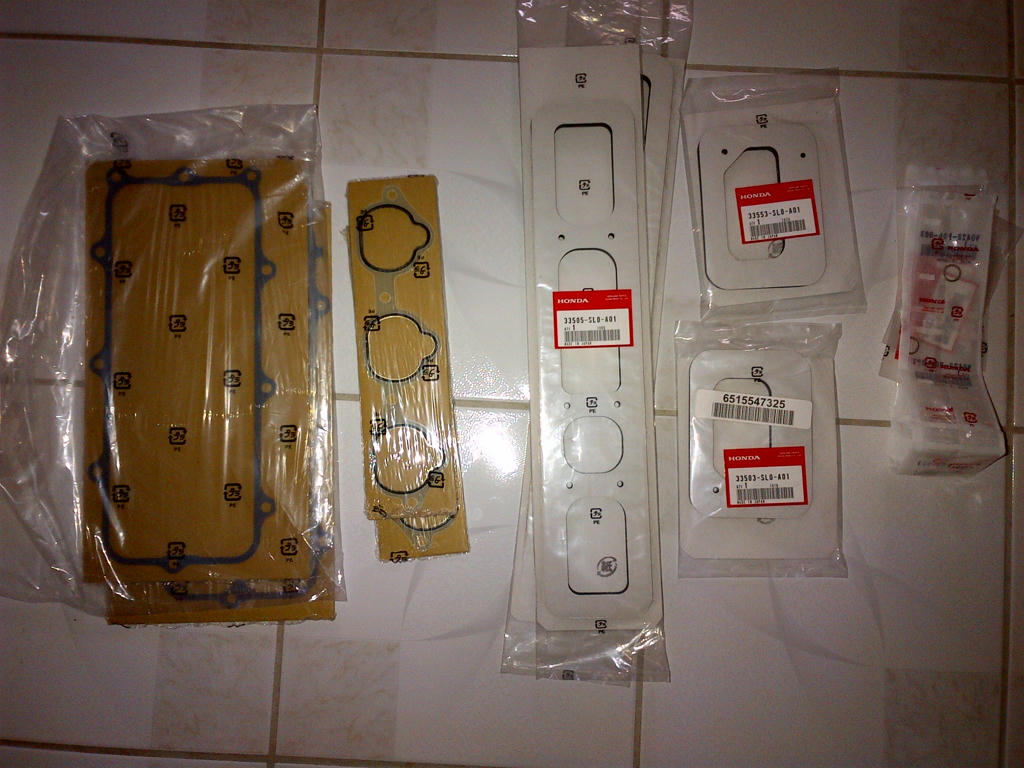
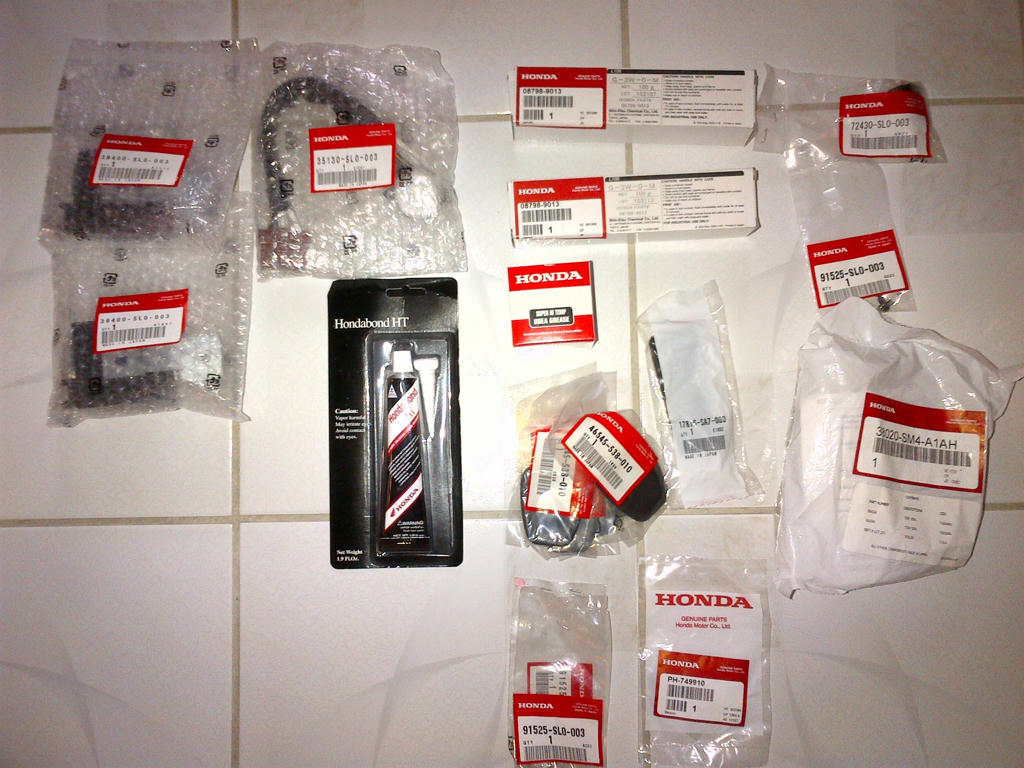
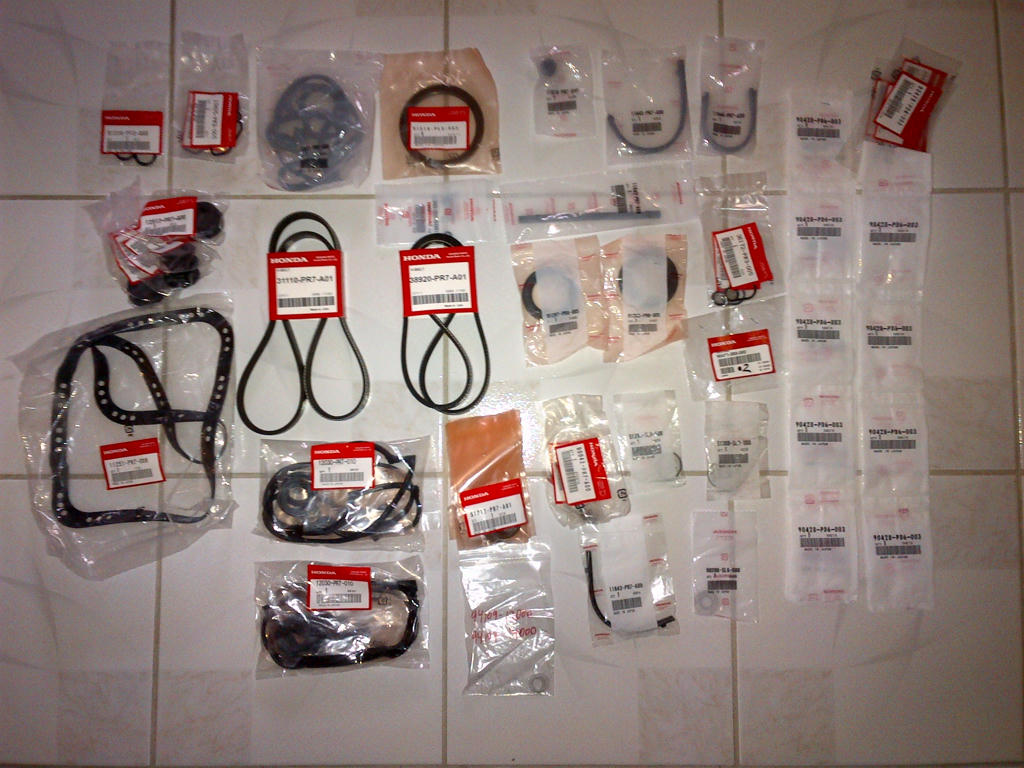
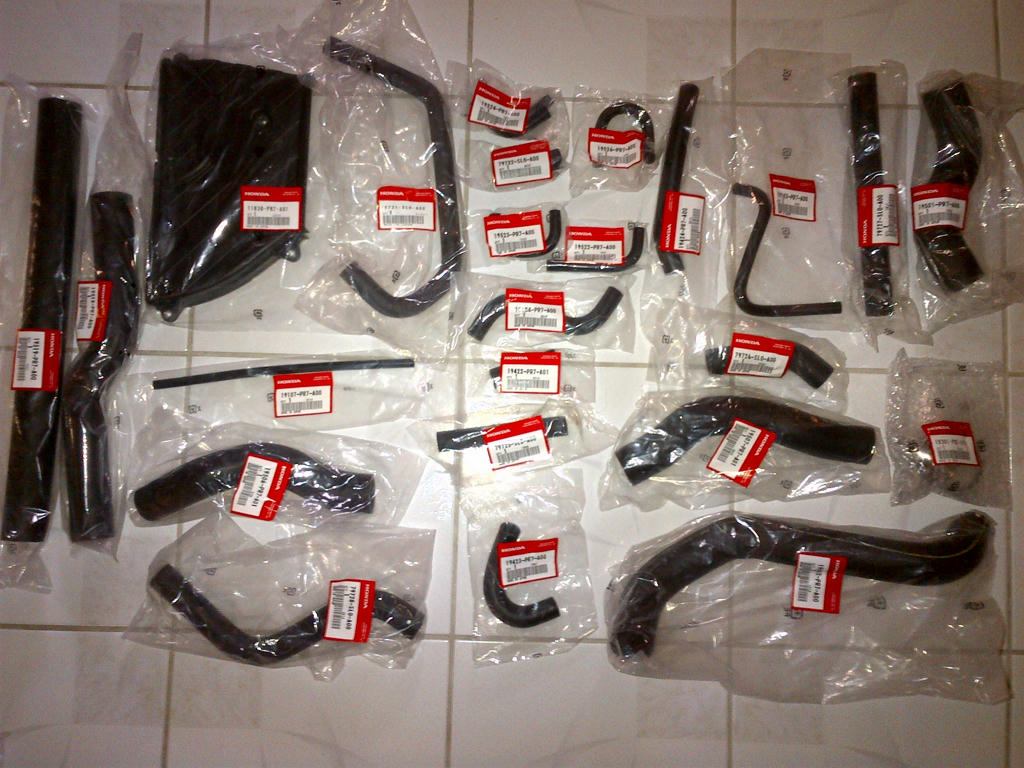
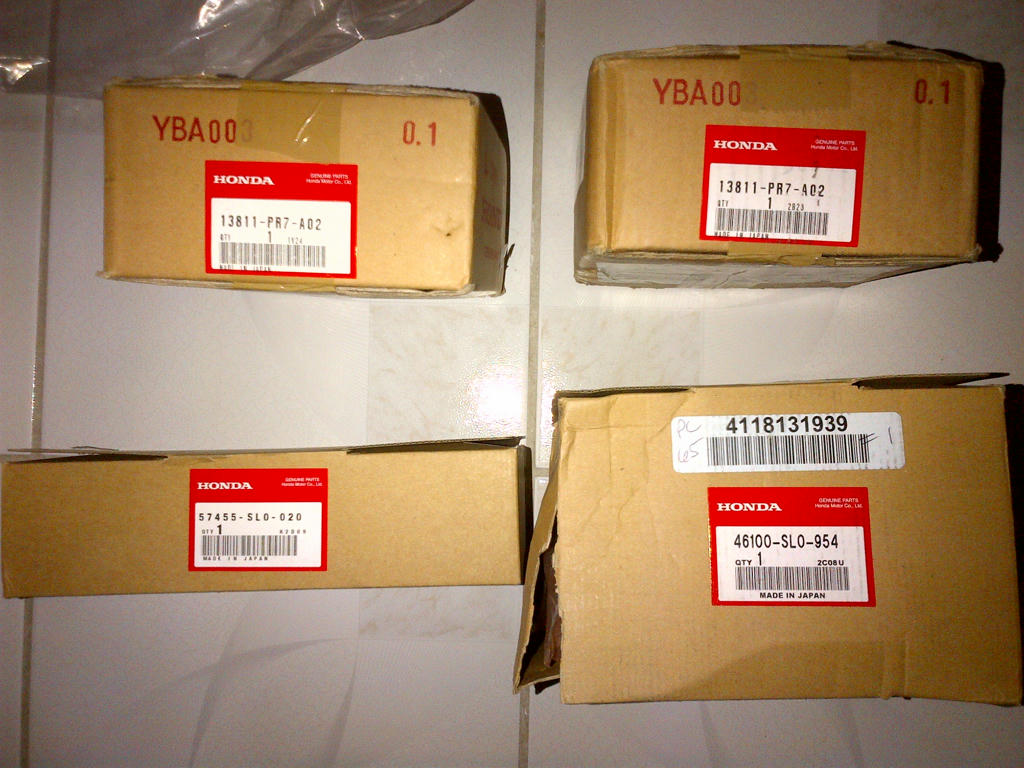
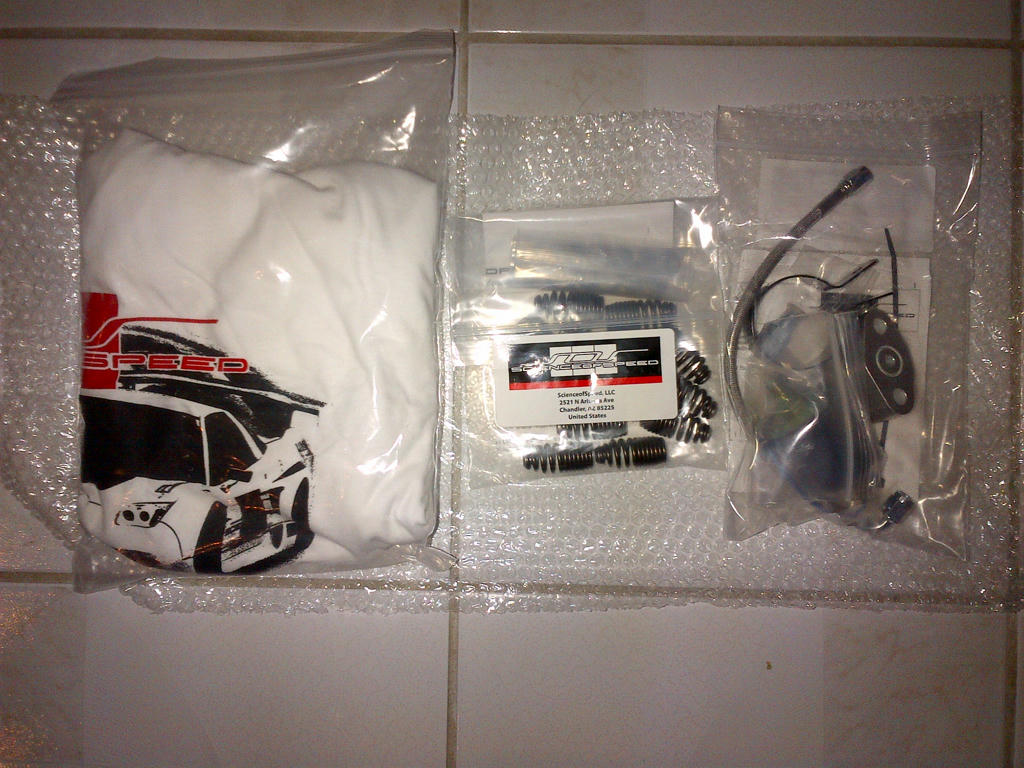
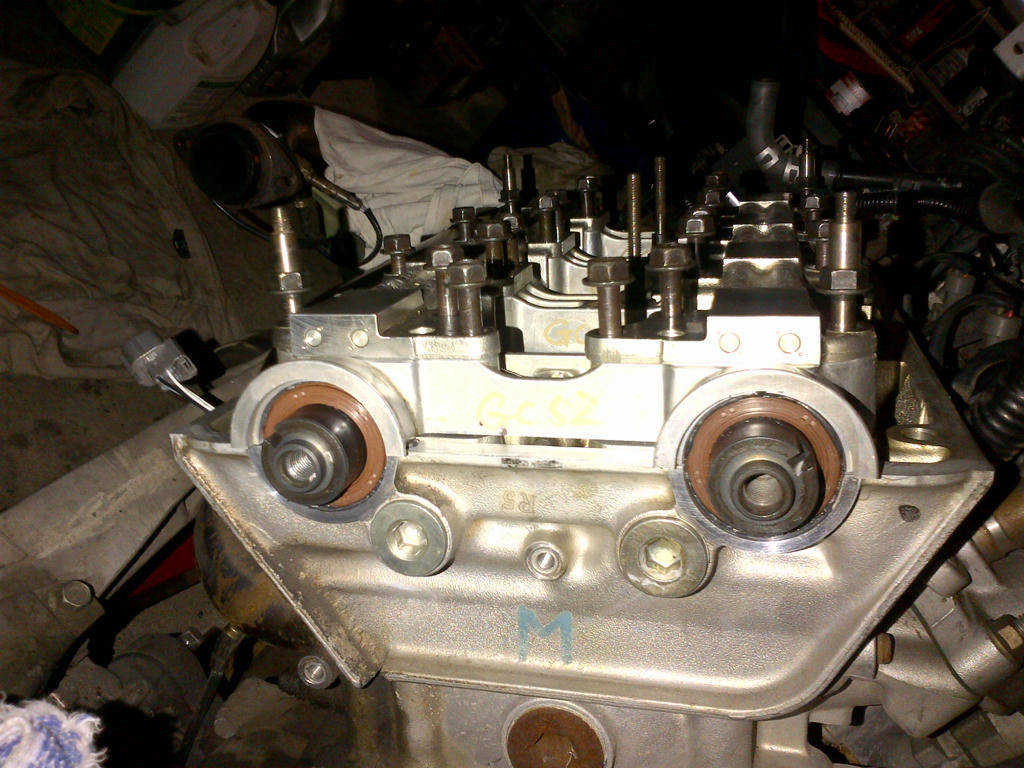
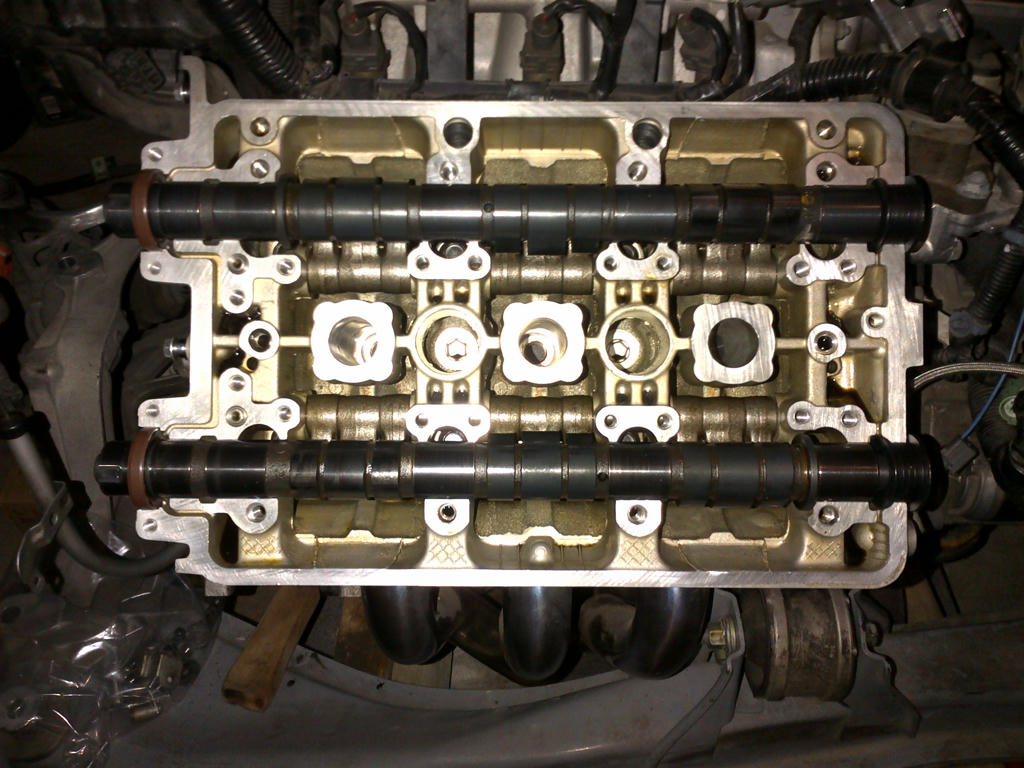
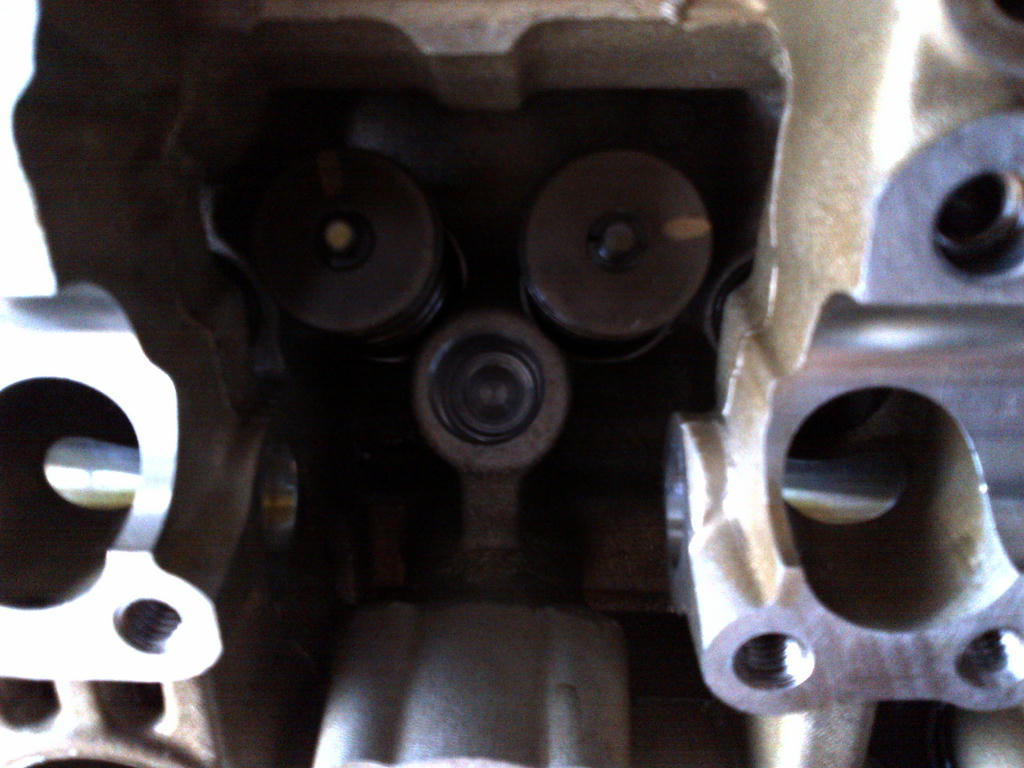
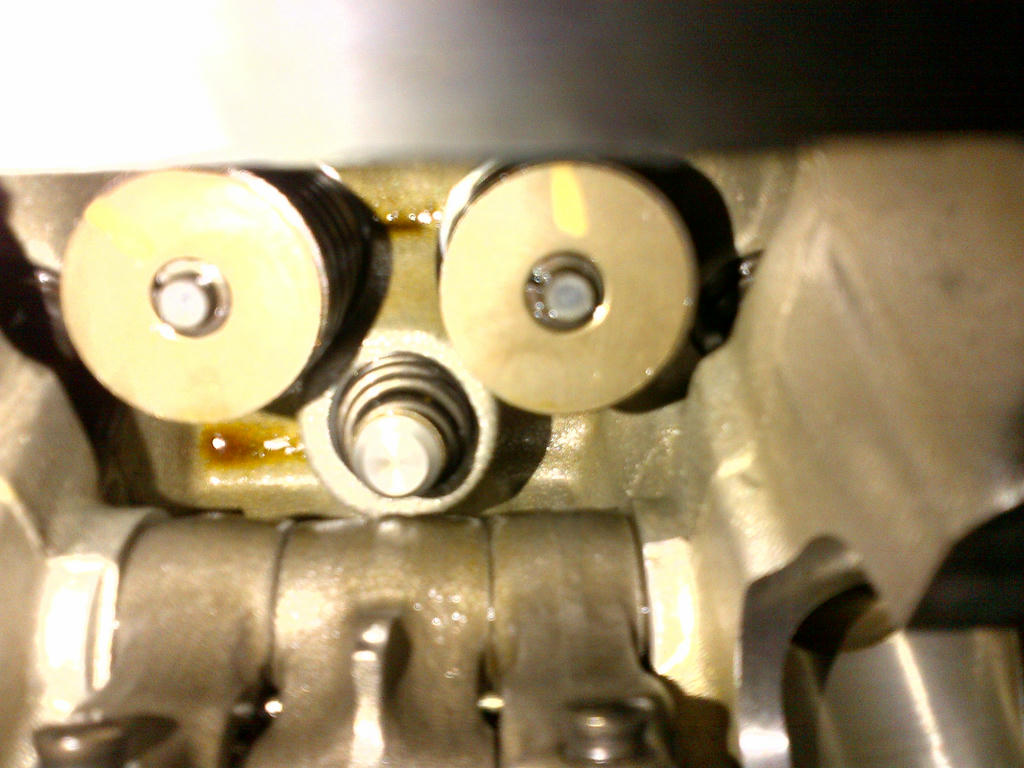
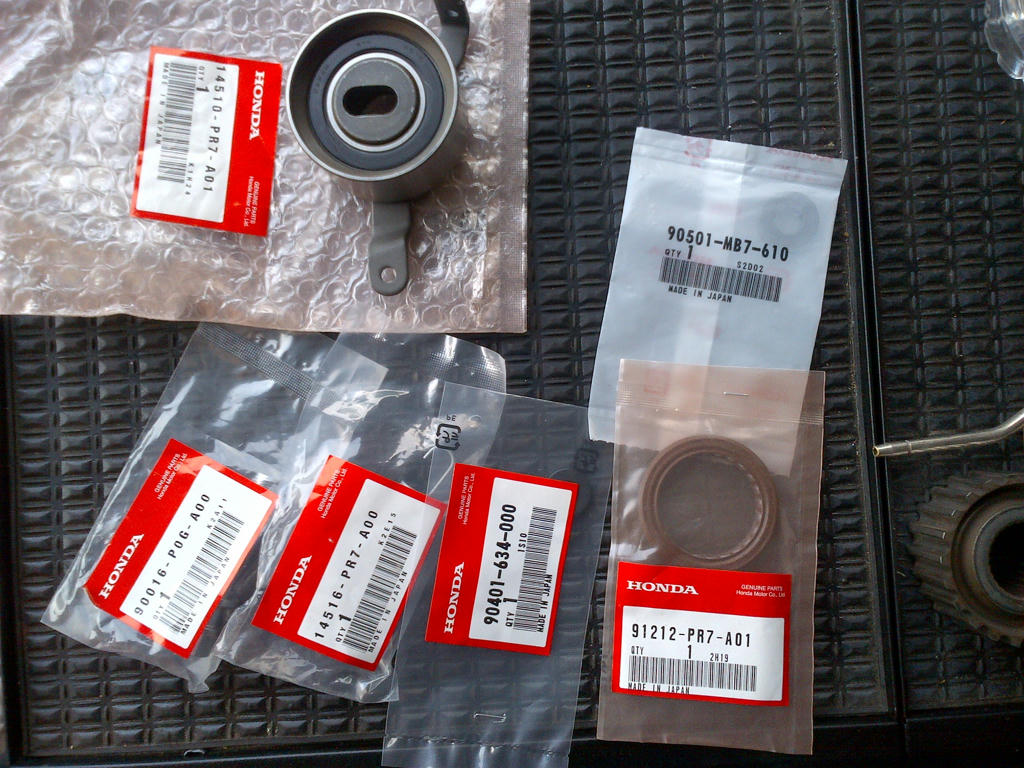
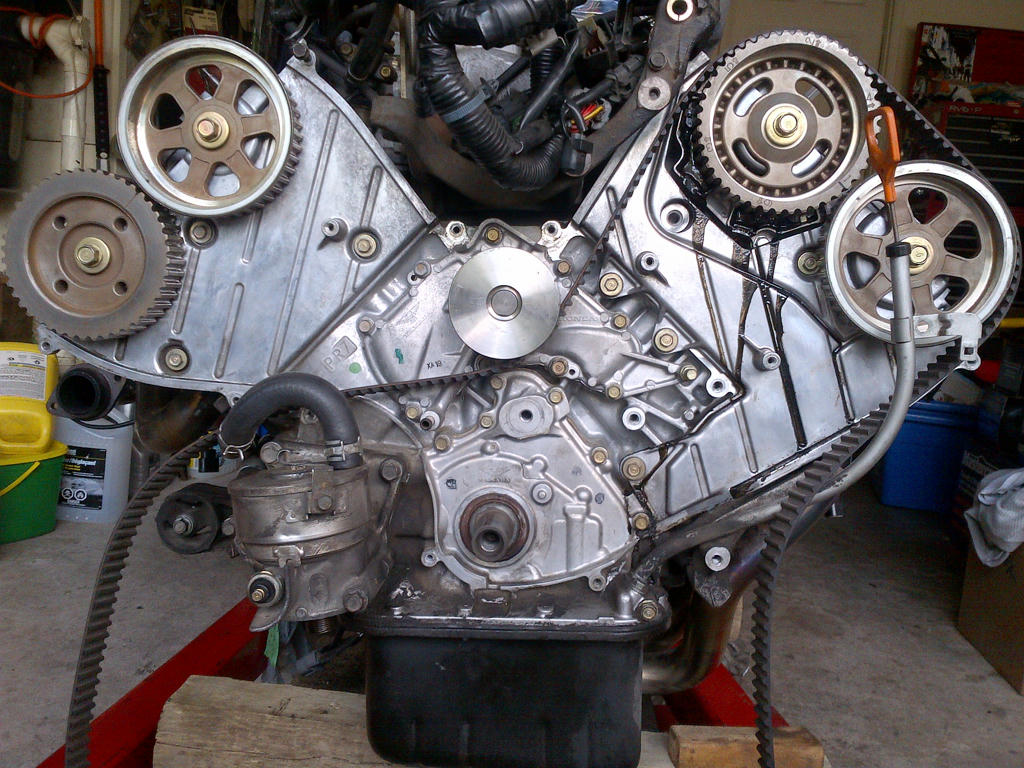
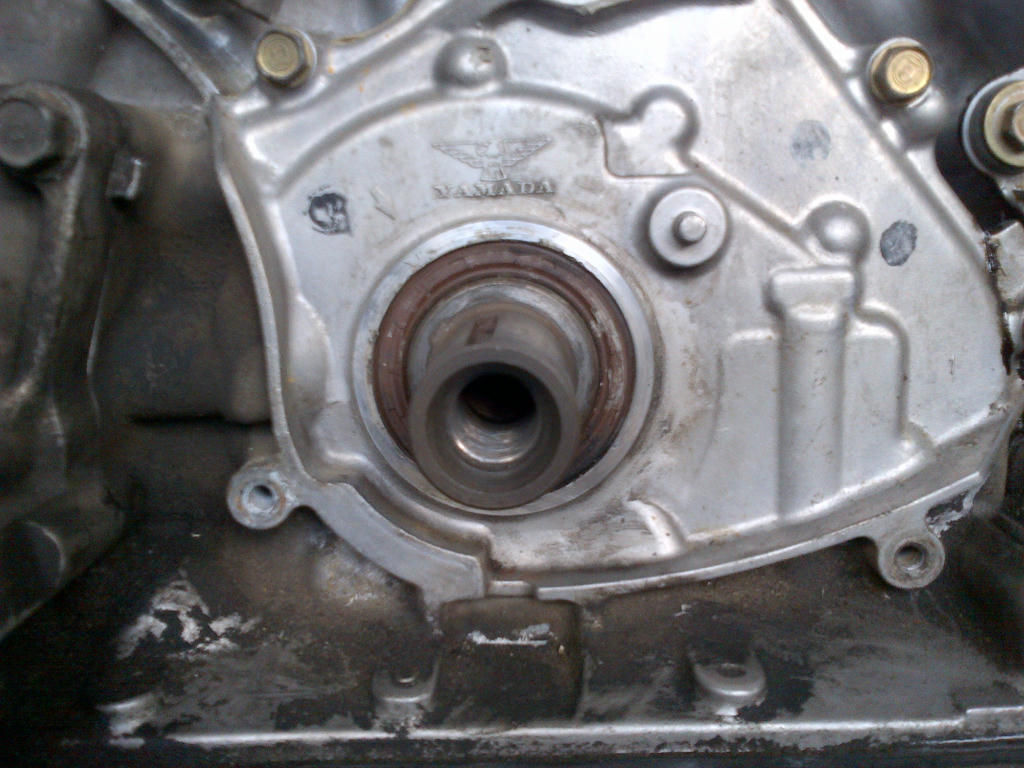
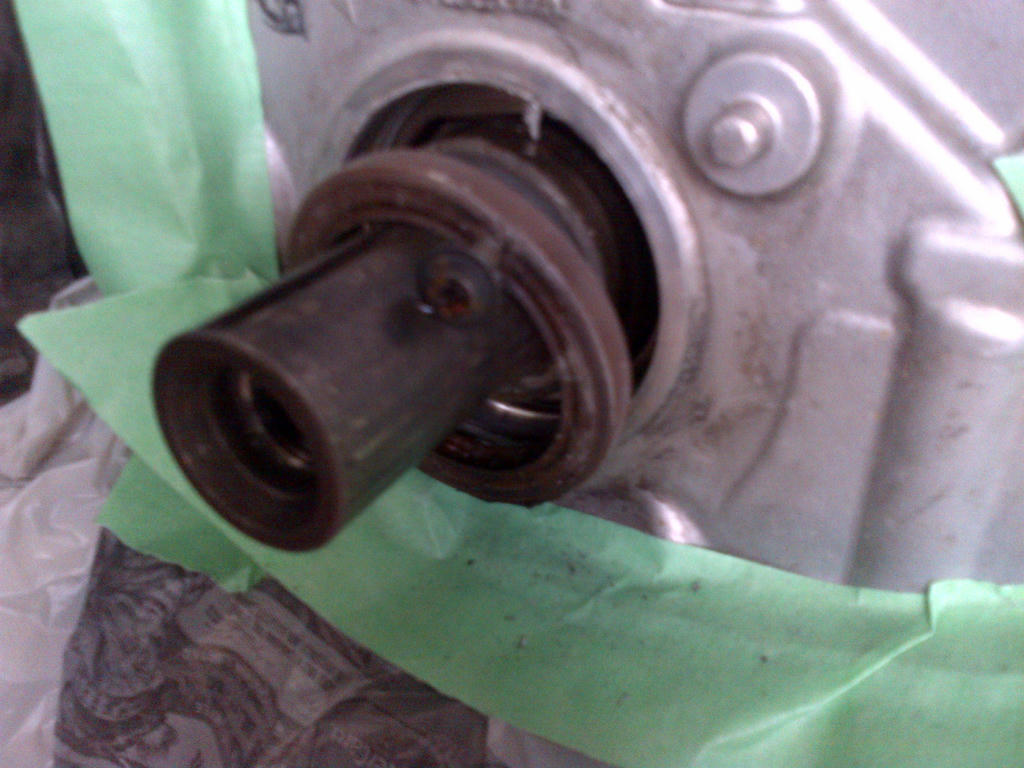
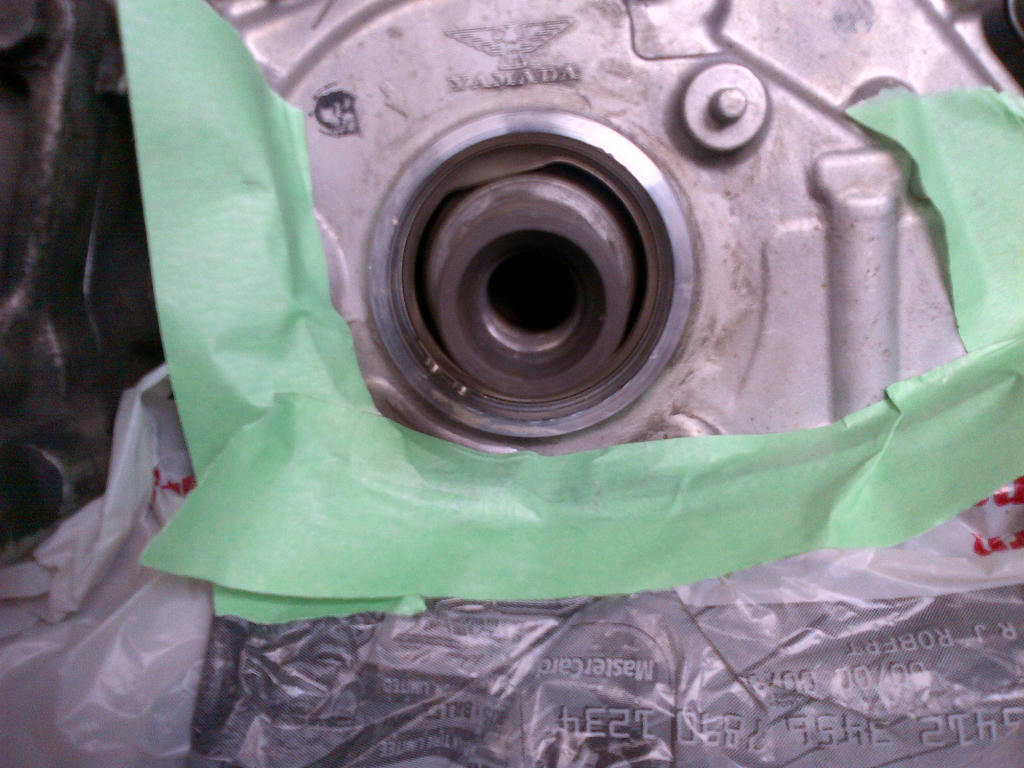
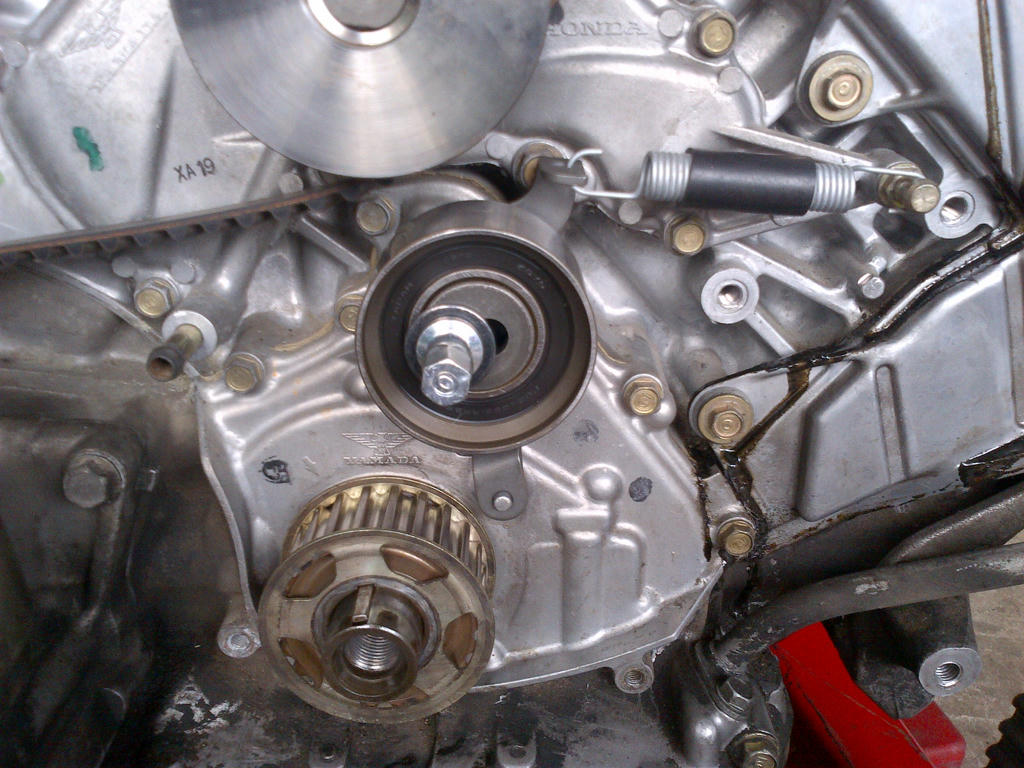
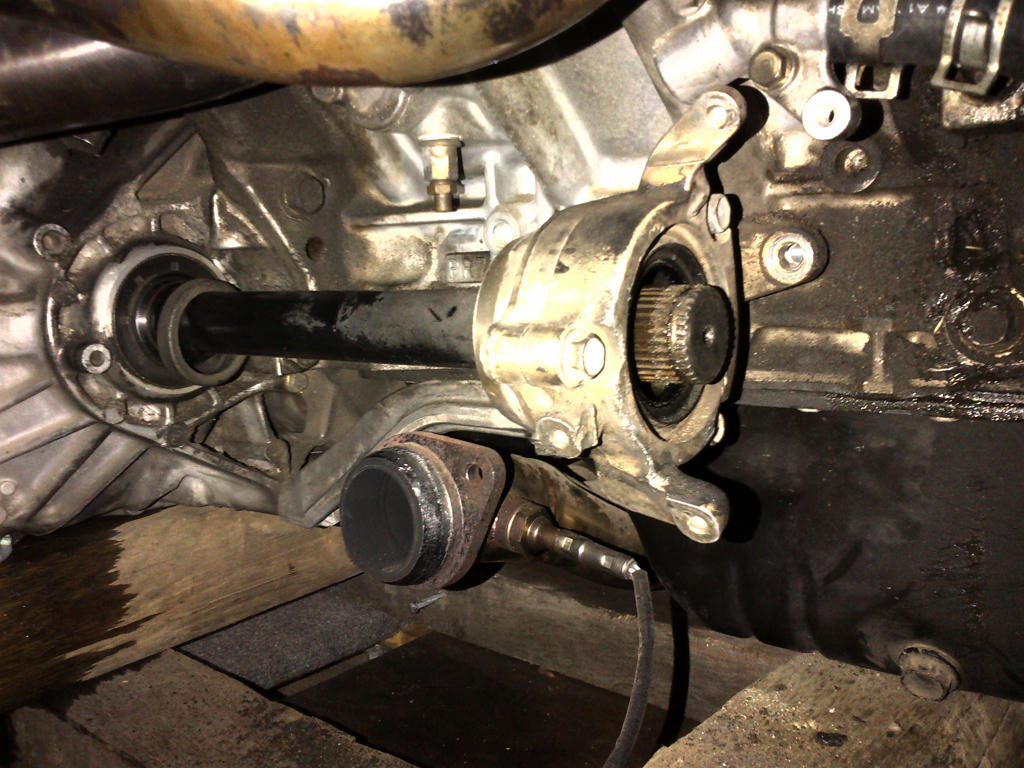
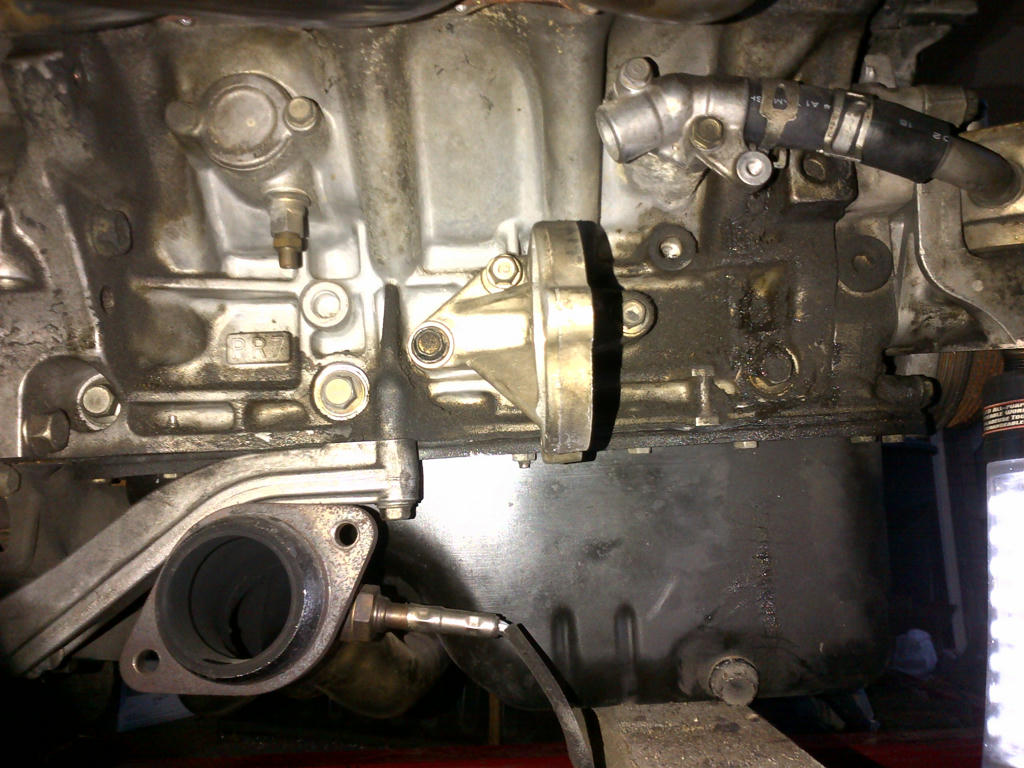
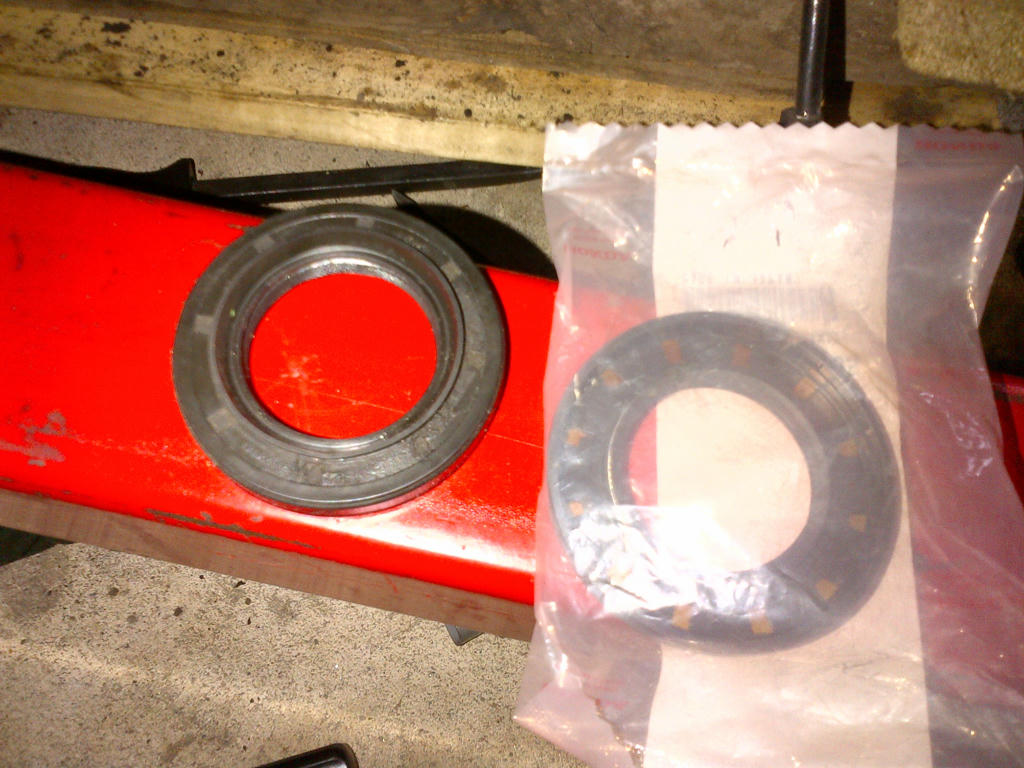
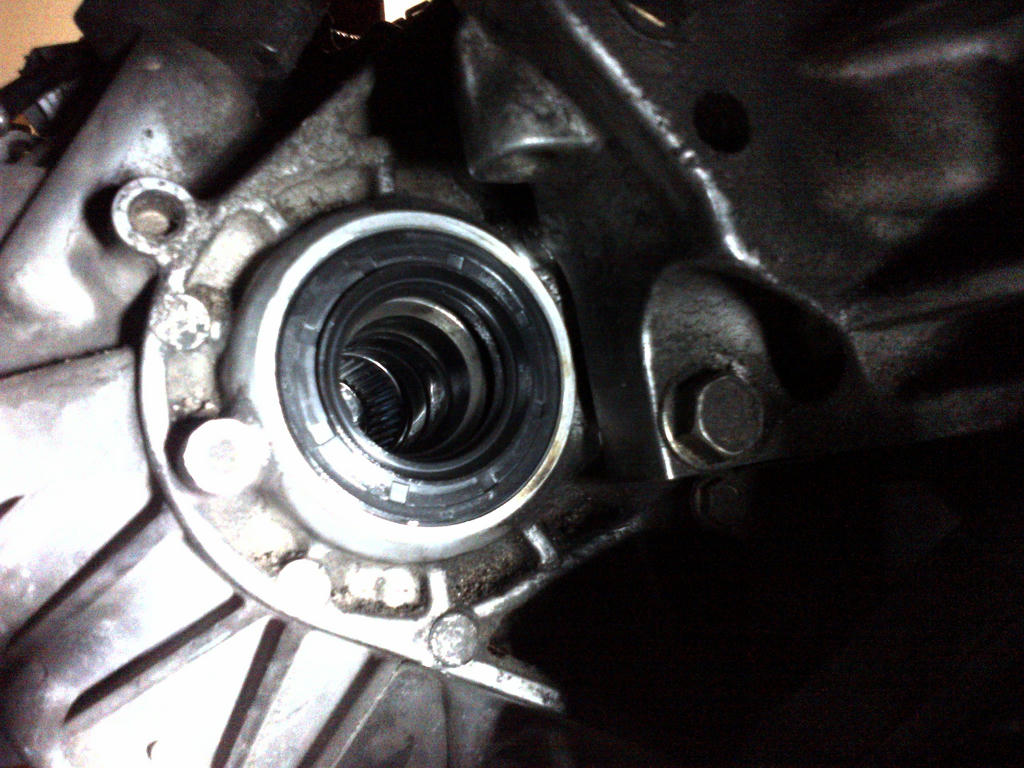
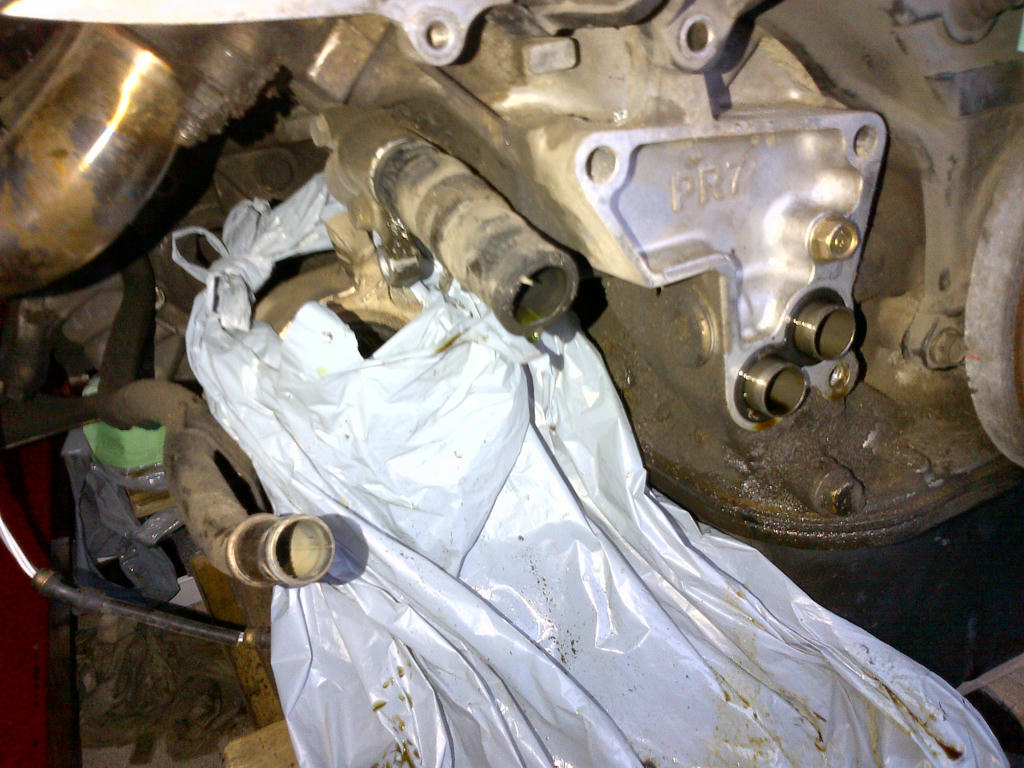
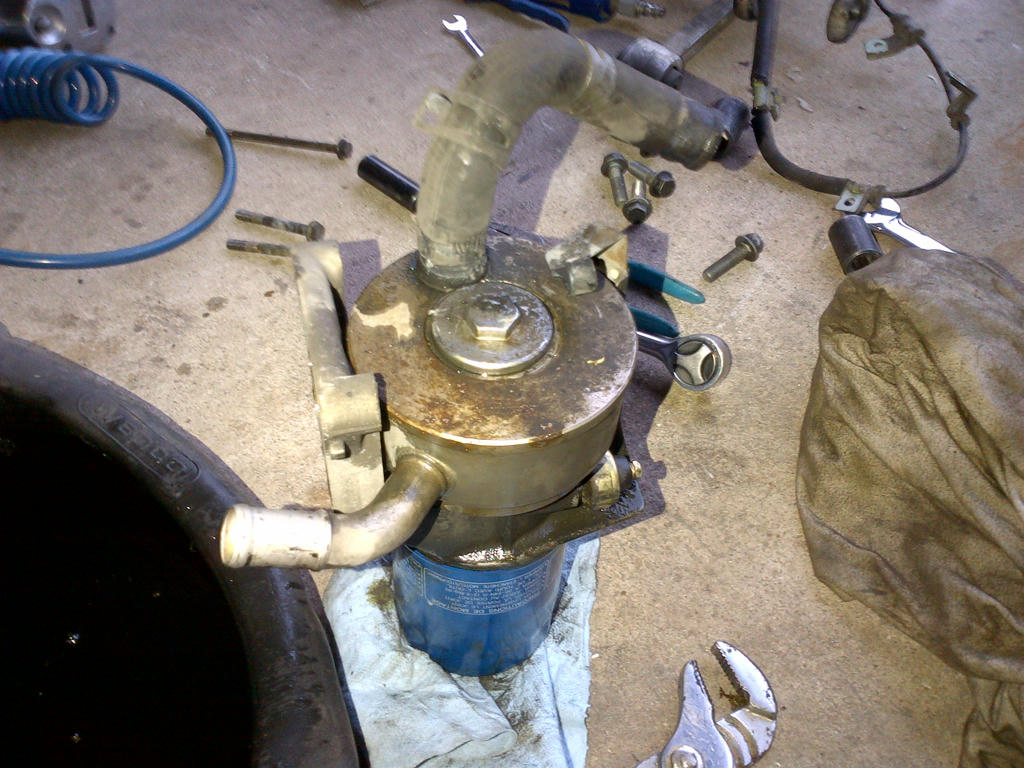
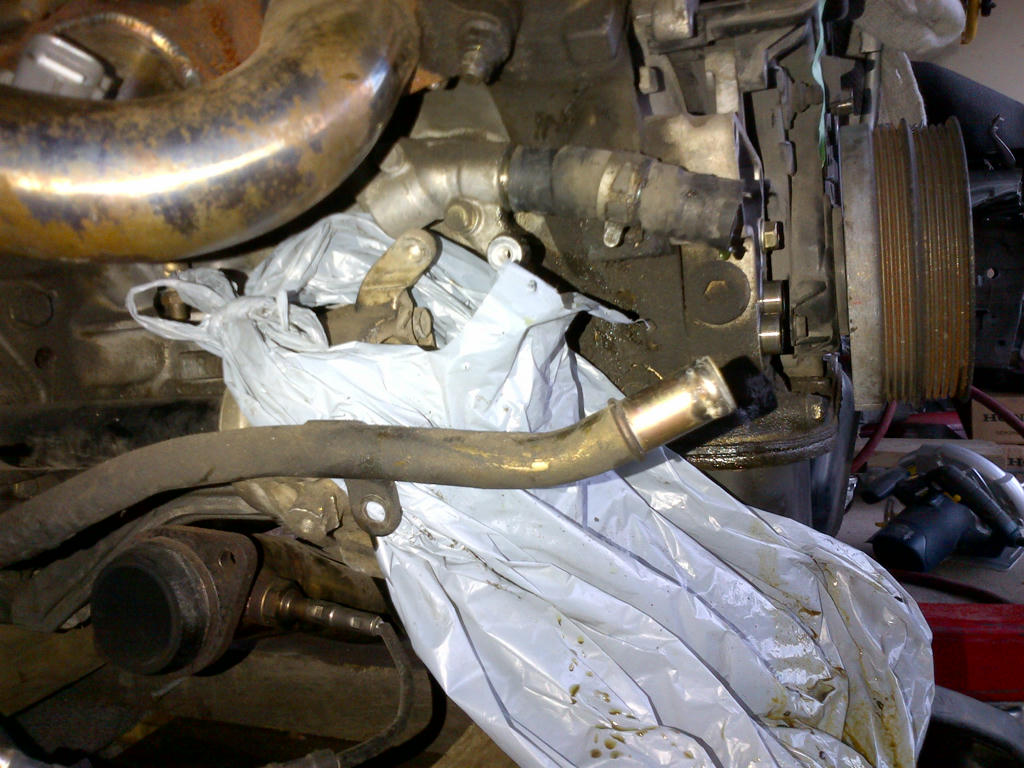
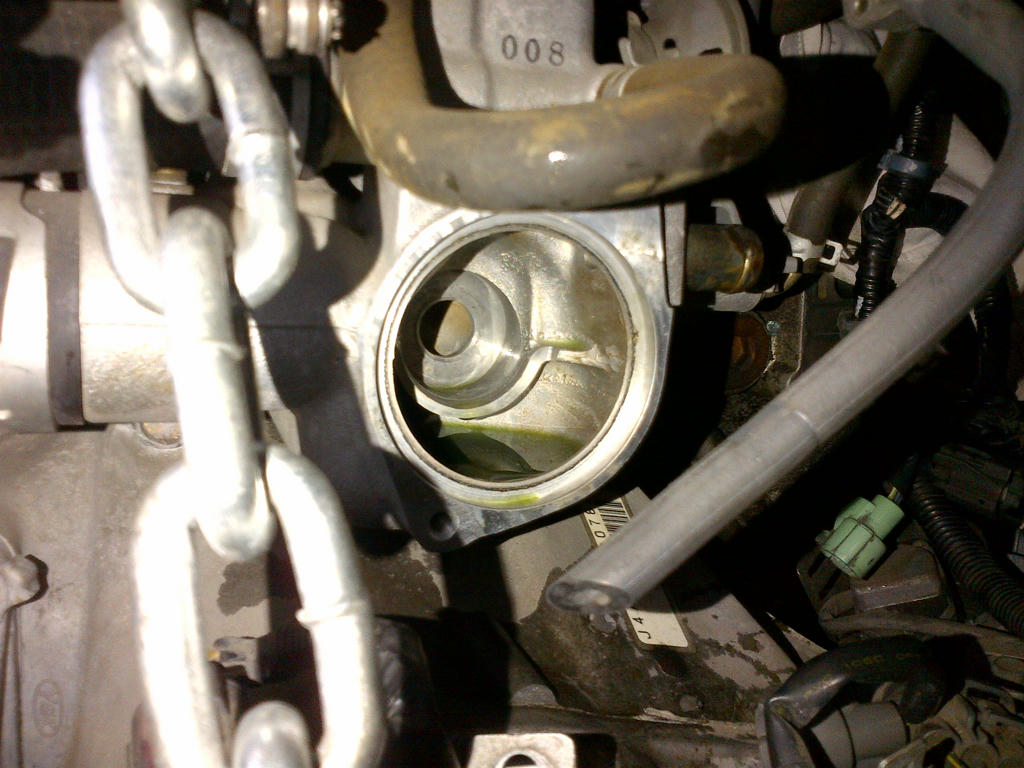
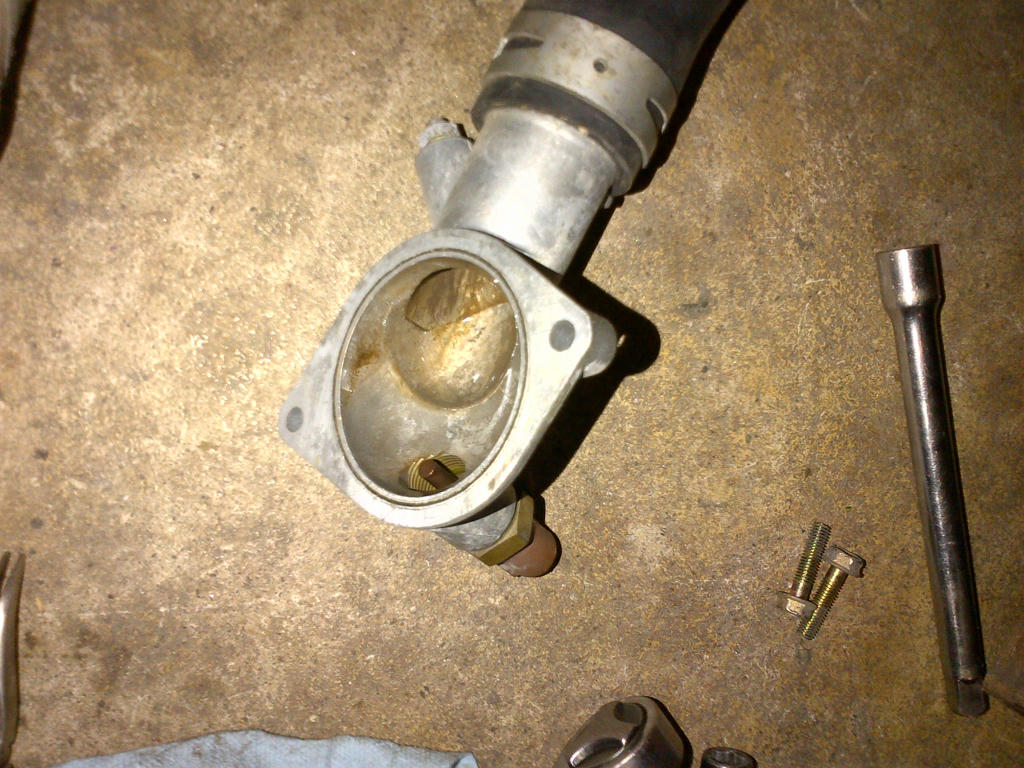
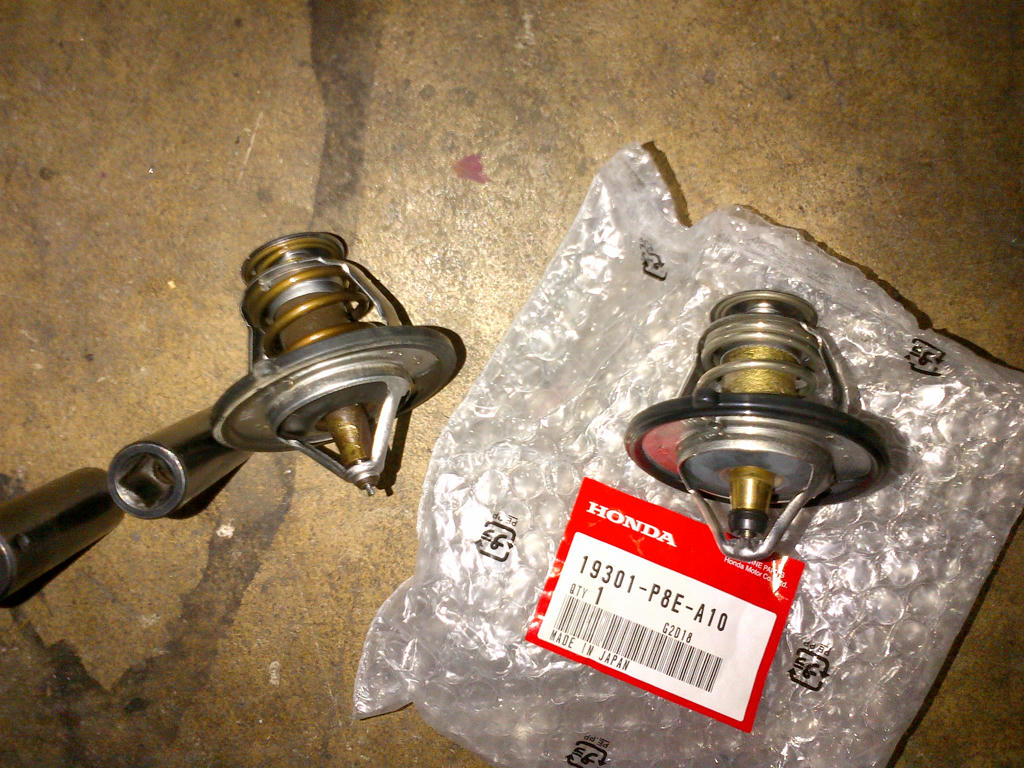
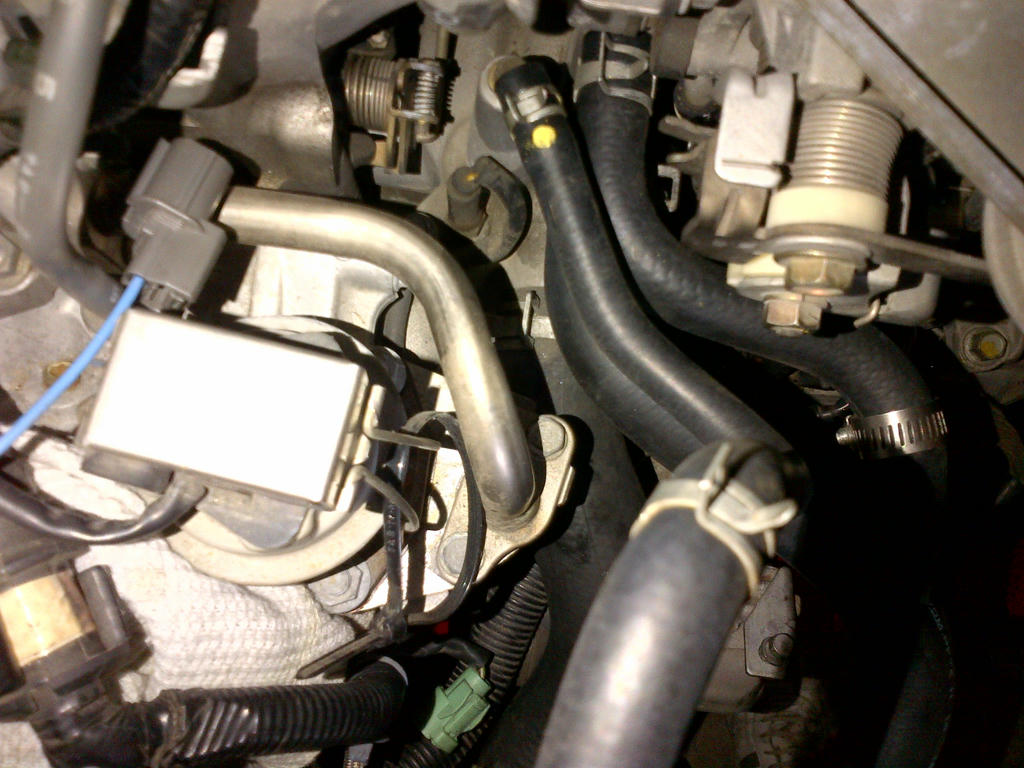
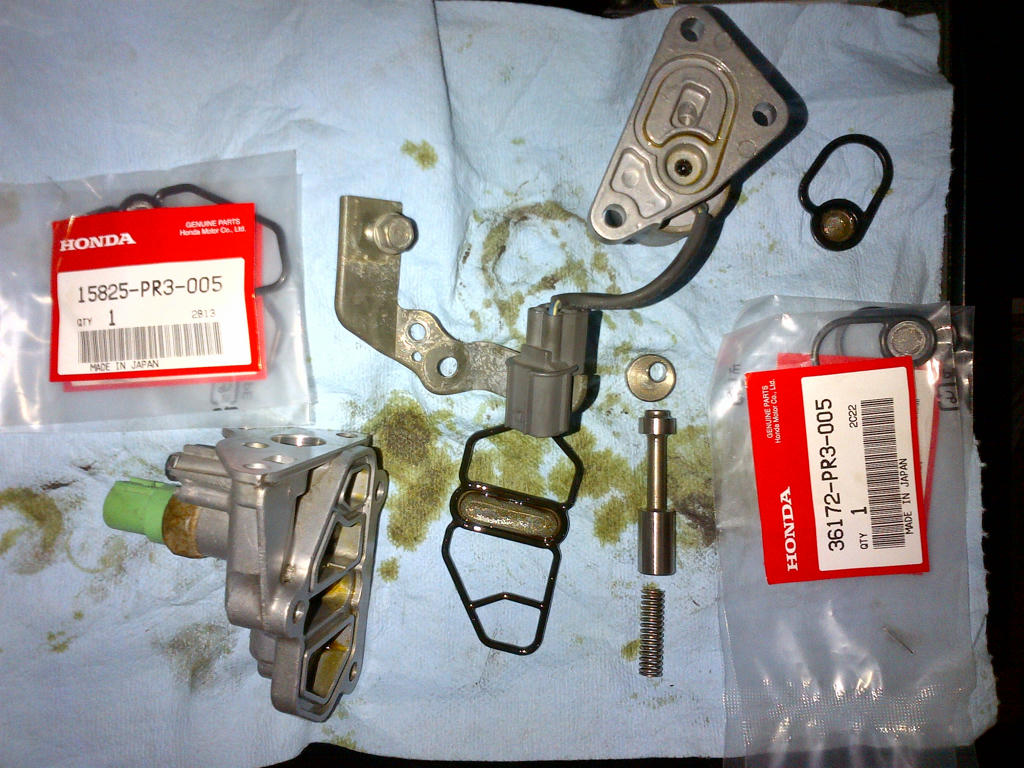
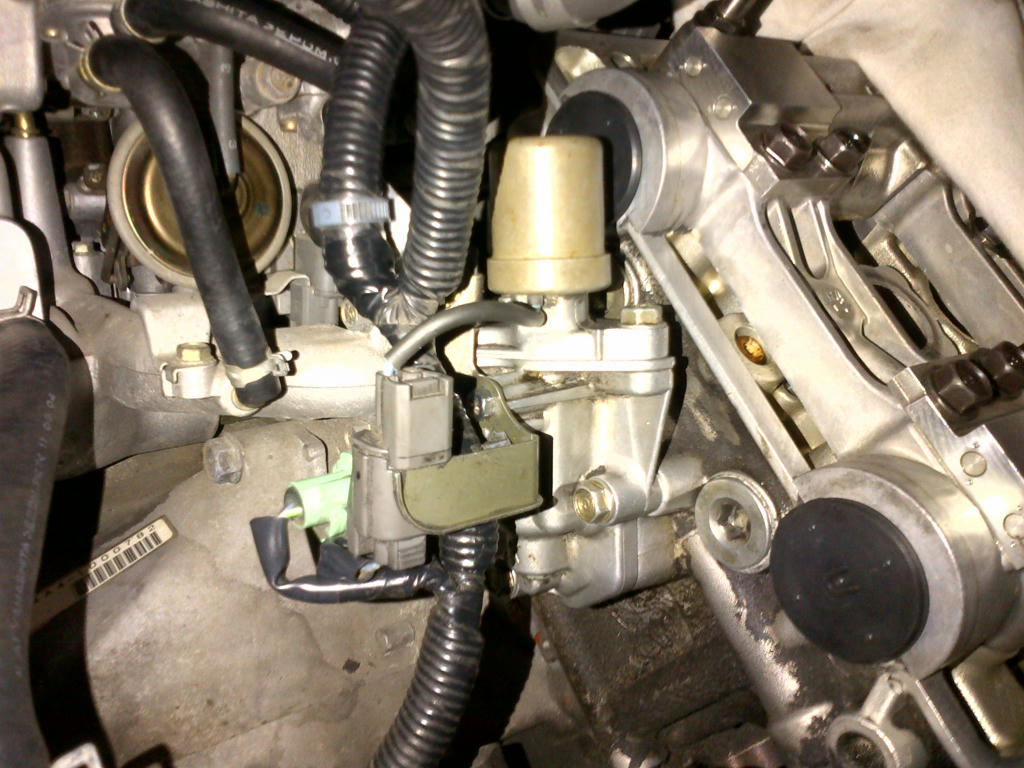
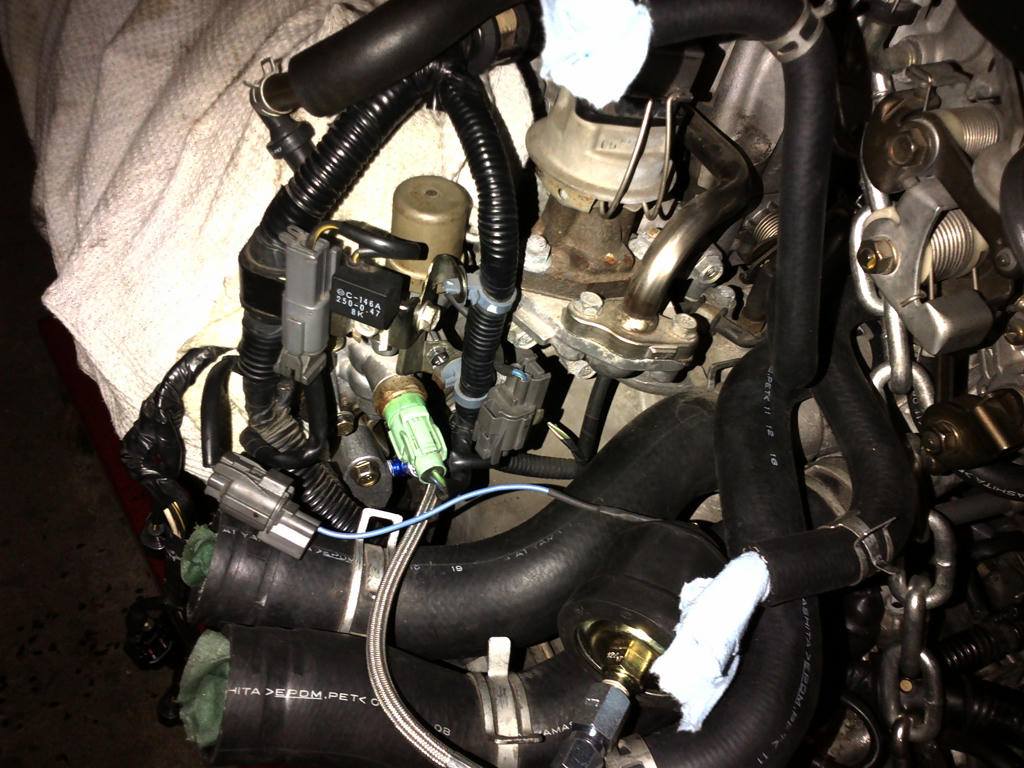
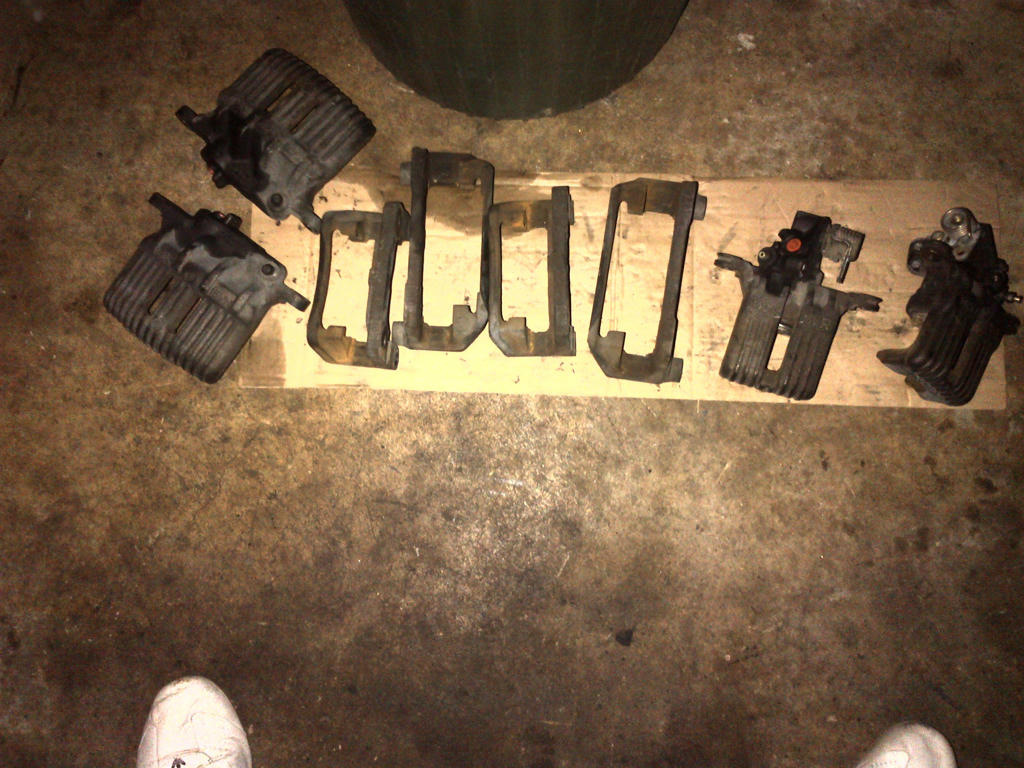
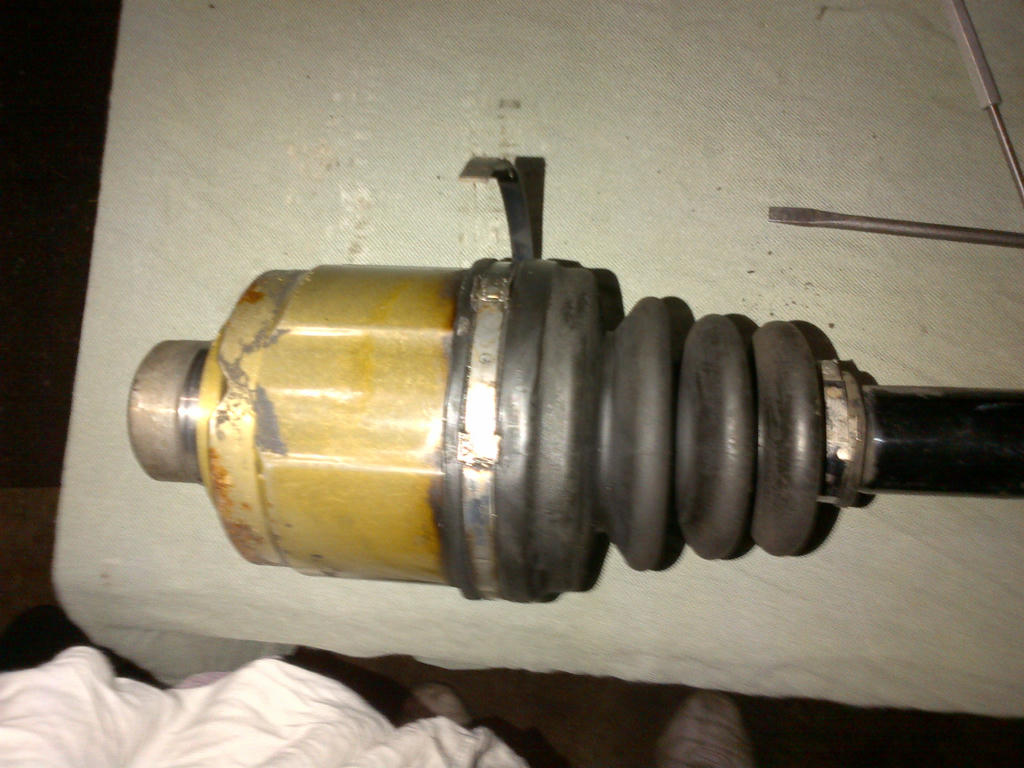
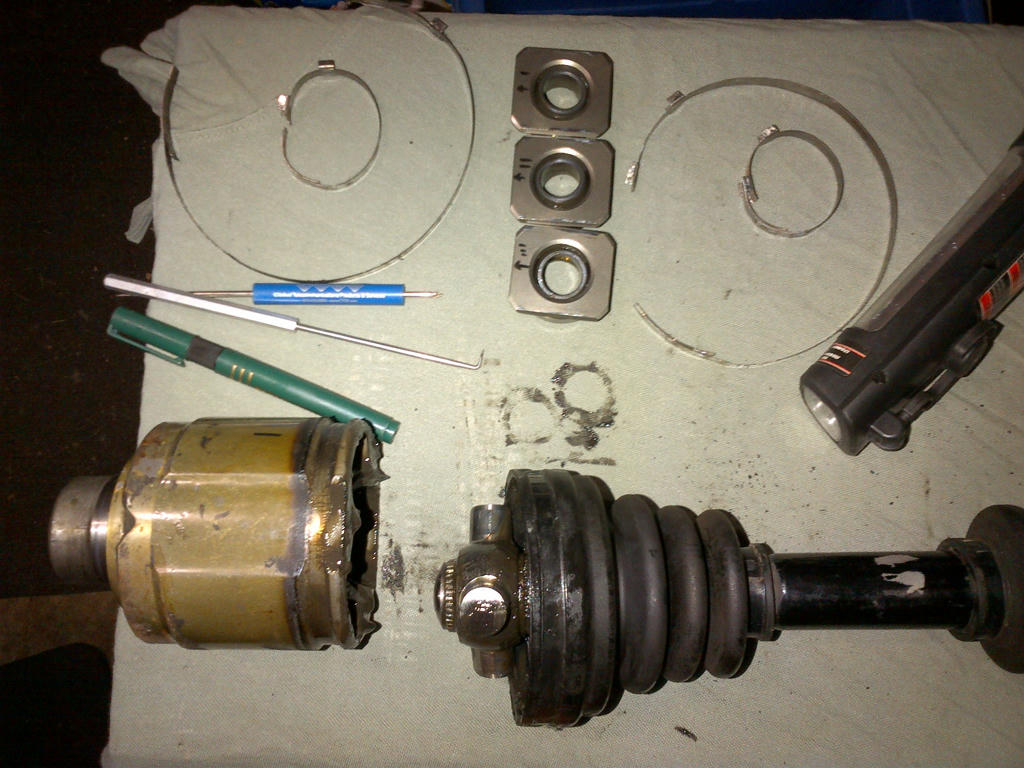
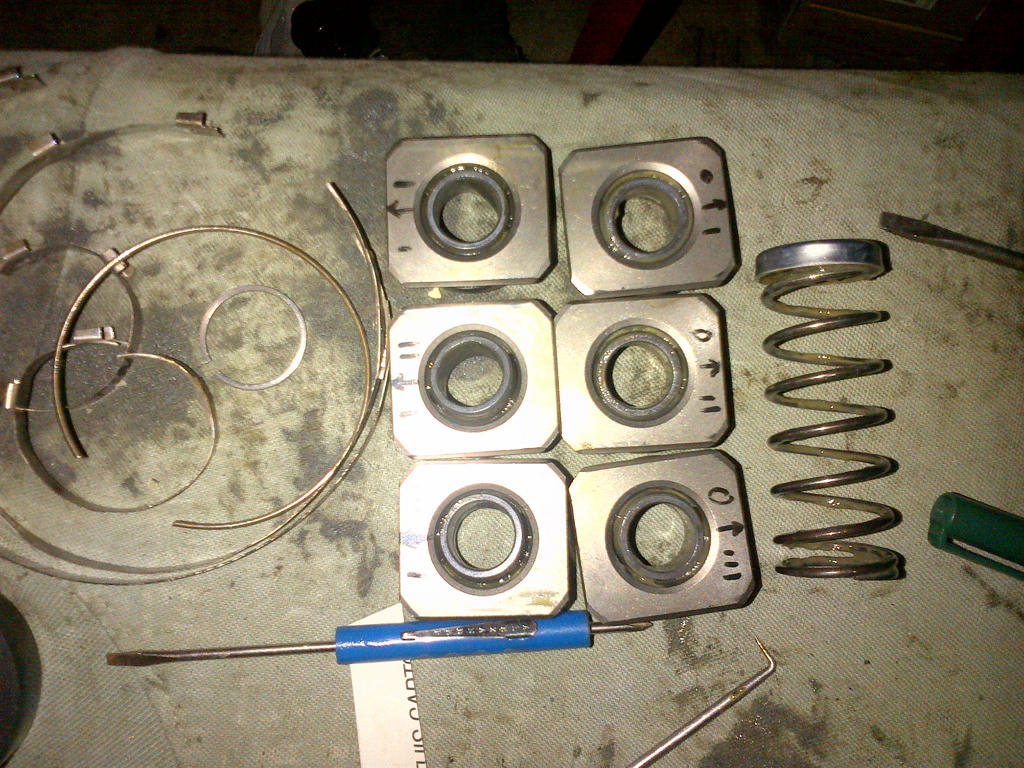
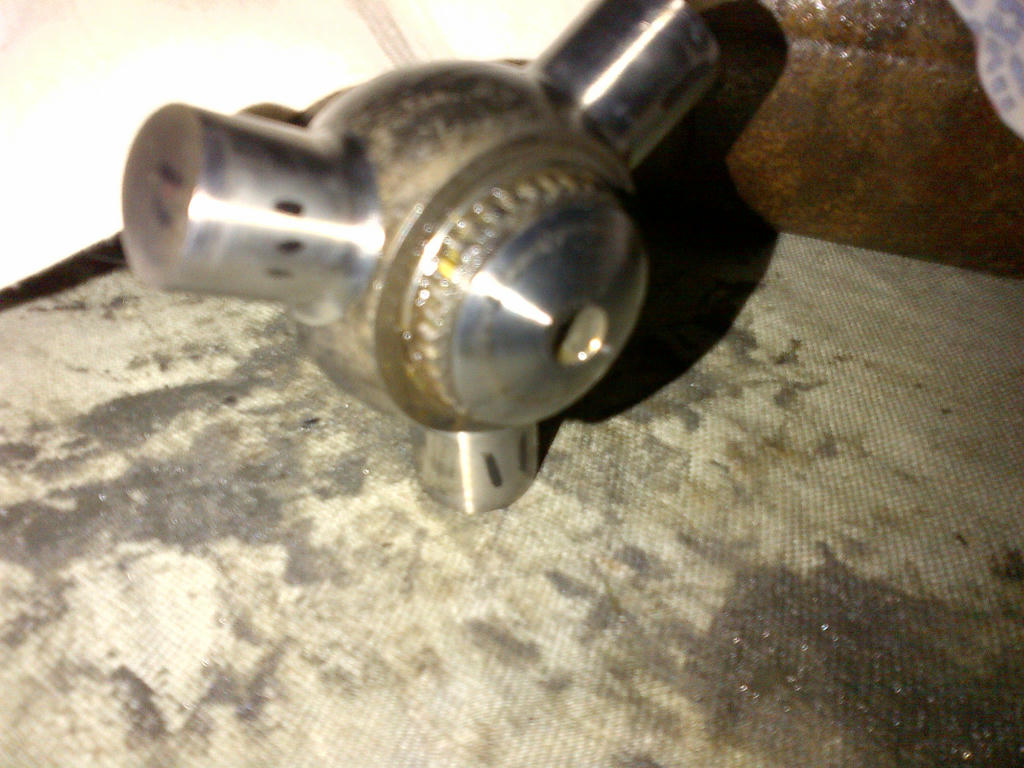
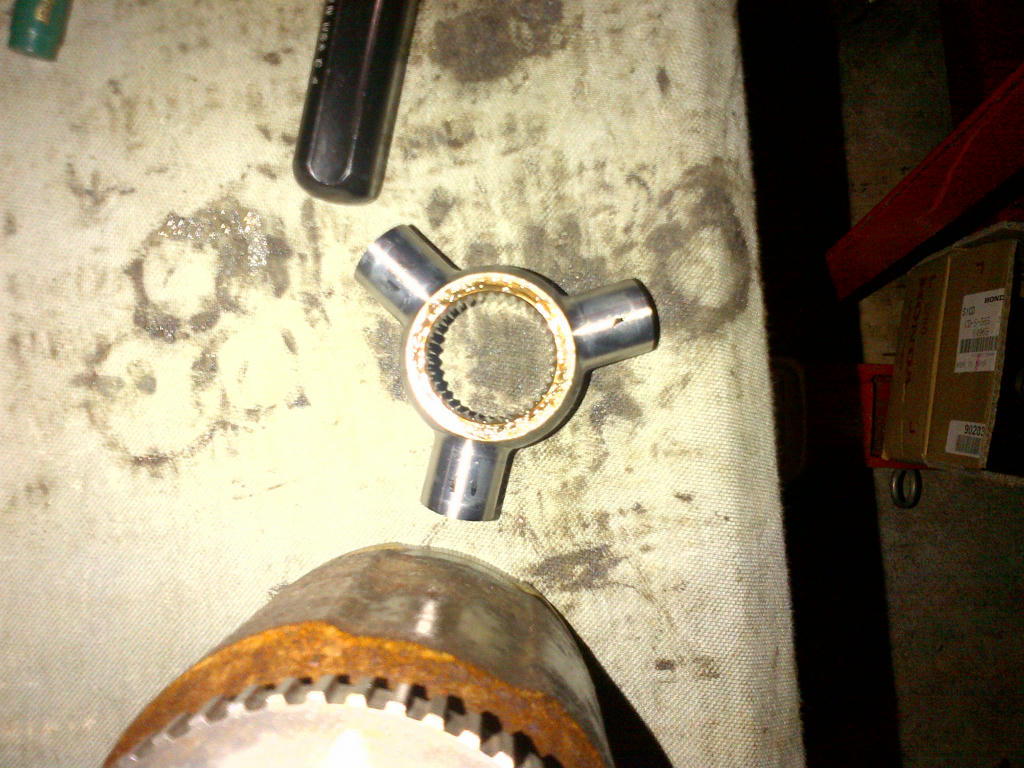
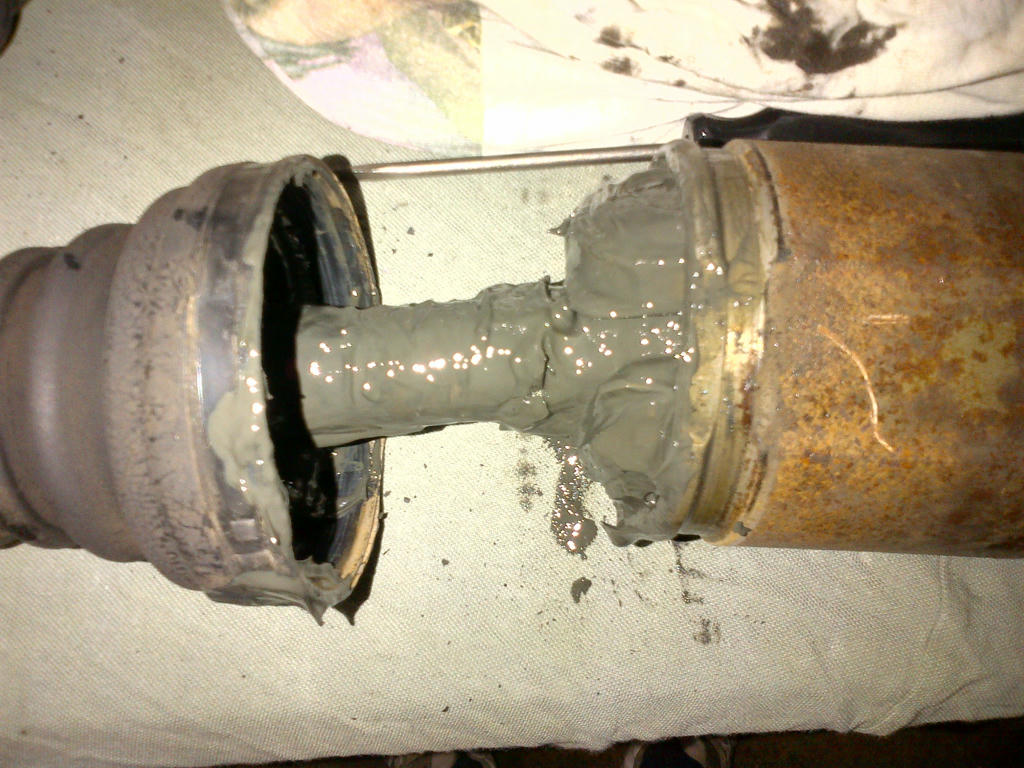
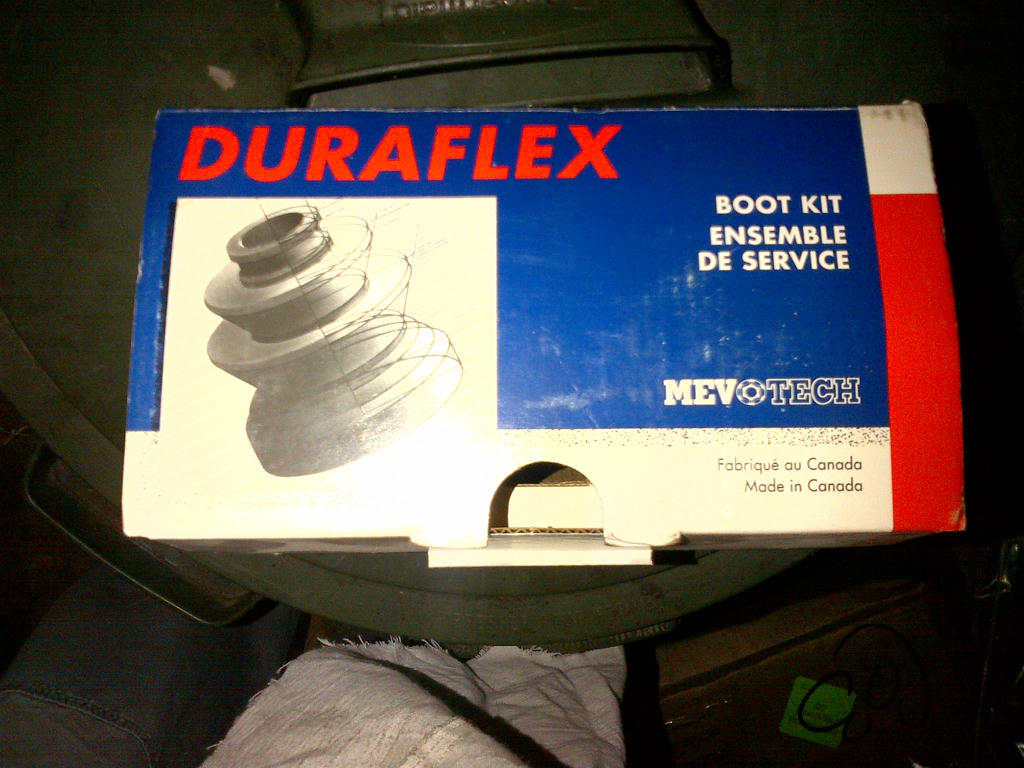
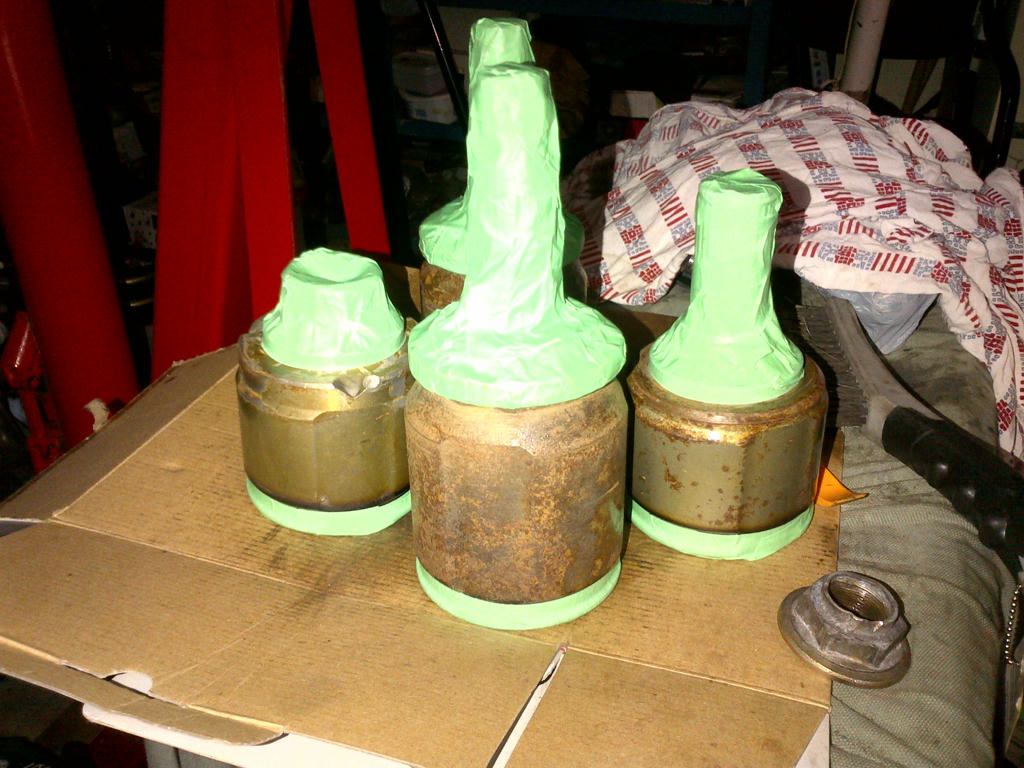
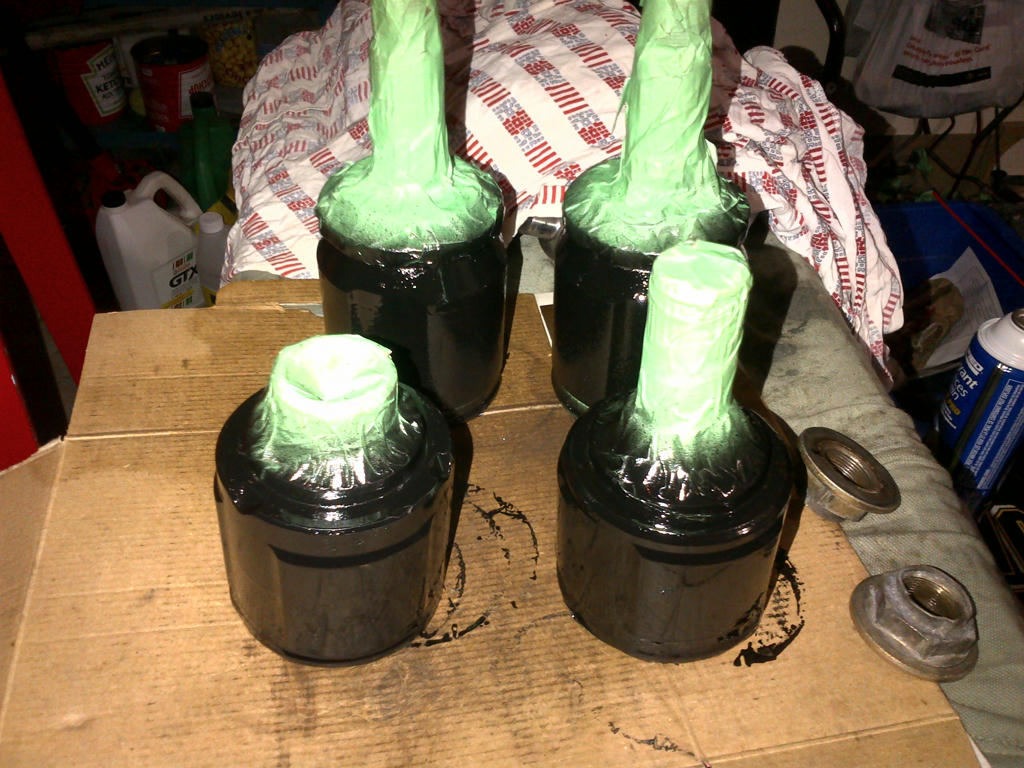
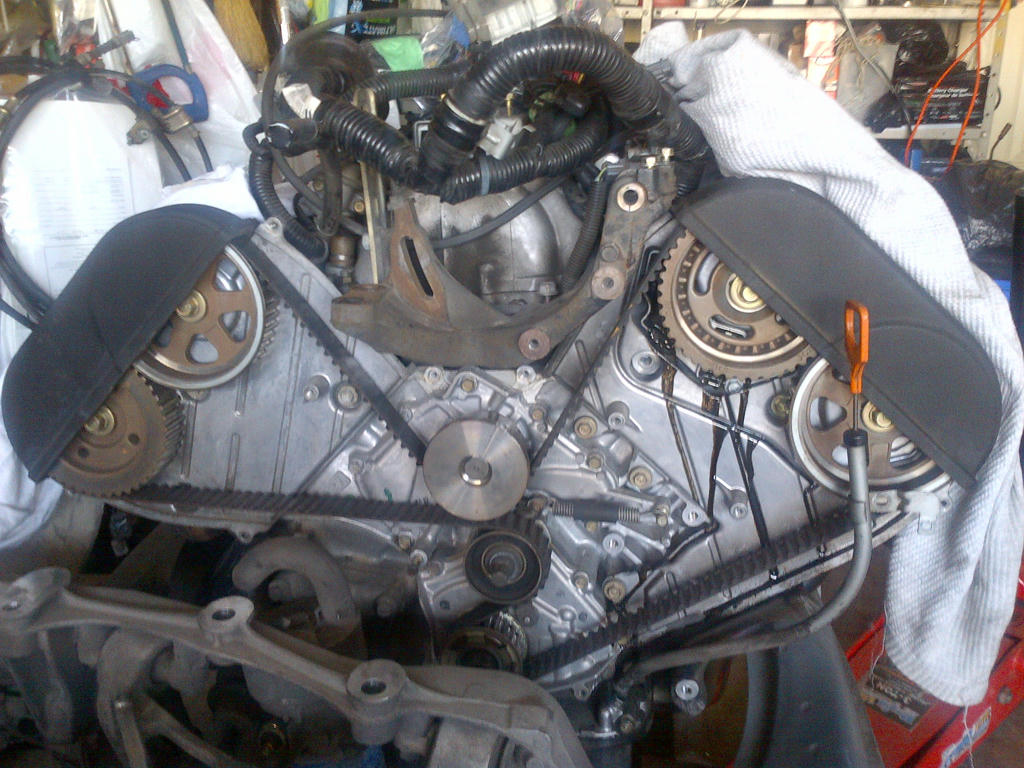
Starting in on engine maintenance:
26d64c2c81807249c351d53f517b938eeafa2032ba9310aa835590c30cabc83d6g.jpg
 
Last edited:
nice project....the nsx engine has a pretty small block....but big heads,almost all head.....
 
nice that your bringing her back to life.

at the end you will feel like she is part of you. trust me I feel a piece of me goes with every one I build.

goodluck keep up the good work.
 
nice project....the nsx engine has a pretty small block....but big heads,almost all head.....

Thanks docjohn Yes... its all head lol

nice that your bringing her back to life.

at the end you will feel like she is part of you. trust me I feel a piece of me goes with every one I build.

goodluck keep up the good work.

Hey Shawn thanks man lots of work ahead in the coming weeks, yes I felt that way before my car was sacrificed to help resurrect and bring another back to life.

Awesome thread, can't wait to see the car finished! Best of luck!

Thanks haven't had the chance to post anything till now, been too busy working on the project. But there will be more pics & info coming as I go keep tuned.

I'm curious, what is that liquid coming down from one of the cam wheels???

Common problem in almost every NSX engine its melted sealant from the CRK/CYL behind TB Covers. I removed most of it already lucky for me it dripped clear of anything important nothing to really worry about if you find it inside your engine just make sure its not getting on the timing belt or tensioner.

See:
http://www.nsxprime.com/forum/showthread.php?t=161716
 
You know your Black 1991 NSX is one of my favorite NSX ans inspired me to get one!

good luck with the project!

Thats awesome man! Thanks maybe I will inspire with the new build once again :wink:

Some more pics:

Front Bay Almost Striped Clean:
bb534f00ba2e2bef6e2fa787b21ebacc64cb1439e18bcf2b5a0dad29e90ca2da6g.jpg


Picked up a Mishimoto Rad decided to maybe replace the OEM no signs of leaking OEM looks pretty good still :
8de91f9f389dd0588b450a1eba8c675ce1d112e636d0d731a8c9ad5950a395bc6g.jpg


Looks like the leaking crank sensor made it all the way down the A/C compressor too:
7b2396a0a03acf48b0fa45a86fab7f1b7e313fc965ee03ad61f97af1454fcb726g.jpg


Closeup of leaking sensor:
d02012da6bcd047376c817fc30f576ba68ac278760d52073e1a671fdbf5f582d6g.jpg


Gas Tank Pulled:
0e4bb4b5ef96d12c52944140e068f29a784c7f3813ae0c8fb8d869ad370faef16g.jpg


Door removed and striped down for future re-paint:
5bdea0b618c3e47bc1fc0739df5627121b9e322a0992fafae8168faf38d148e96g.jpg


Tearing down rear sub frame & suspension, general cleaning & pulling CV shafts for overhaul. Before Cleaning:
fb0a9ee085d303a227cebe8b9f456e80709a4645e358305f7a6f21cb32a0c7ae6g.jpg


dd2adcba74057a25ffc4cd216149cd83ab5978df996cb900270558540aea55f56g.jpg


926f4e32c144b94a38a67dd92fa957c1dccb53bced0944b657264fa03bc3c7006g.jpg


2c8bb64636691b27fc1bd9fd0c8858407aa1ae044137542d95545cc3c4ee3df06g.jpg


d43170ebd3419611ac01bc1a244787d6566af6534065268275b600f6eae4c19f6g.jpg


After cleaning with some Simple Green & pressure washer. Black stuff still remaining is the factory undercoating:
357a38db1ee85d02cee2c968140388939af46c4c4c995e1df2c49f06e6cdb7456g.jpg


9bef2de50cdda00ef52d32665c500aadbbdf6c63cc883e9f31a775eca8fc79956g.jpg


3faf0d66d3316323f5b7dc96f6cebe21e47f71a306faa763e9cc1b4f17b33f0d6g.jpg


Calipers removed for inspection & service, will be sending out for powdercoat shortly:
e15f5bbe6db4e5ea2e8cb7811da7b36a05df08c7170bba8a4f0ee326cdf3ac306g.jpg
 
Last edited:
Enjoying this so far and looking forward to future updates! Good luck!

I've got some more progress for weeks prior:

Scrubbing dirty front suspension with Simple Green, a parts cleaning brush, and power washed they came out pretty good after cleaning:

Before:
27d61b15ab421b5575de0d8b9ef2fc304468043fd3826f250be18140ecf174596g.jpg


fc454042caa18ce2733a773b7d66e683f83ff6f755e9652a072da58db9b013576g.jpg


After, sorry poor lighting was getting dark outside and crappy cell phone pics don't help either:
95d4b84b6b2087bbff93fc5684e5ed2052137ef4357653b80c12880d70ccd37e6g.jpg


e225be078d00e04204aa040256ca88f53f8a2c15c57f93c8cda99d043b79cc636g.jpg


OEM replacement/rebuild parts from Curry Acura showed up. Love Curry they are great helped me tons getting me going and man this stuff ads up quick a few snaps of some parts there are many more:
bdbf5a2ada2cc01b6e3f2096bab59a43c3b0f1a5117d4da4231cd7e8441a7c406g.jpg


b265c6493bdb028a37ecf0be4046e4973aa5ba71811572b8460b38e3e6be9c796g.jpg


a3732bd8f9816282af3d3c1194f3feb815fd4bf25f3fe822bf97bced6e80fd6d6g.jpg


86552d18a69364eb4c307802a76bb73a44baca005b1a27554d365cb33fc2173e6g.jpg


917207211a16a0835d1a81598d43ca0bab36cce50bad3f85cdb96d459696cbb16g.jpg


3f15904e10ccdb8fdaedc2b674b930a9f8c148896b1c132a5fafd0ddf4fc5ccd6g.jpg


a28ade0a5d200373dcd73e3437e6e902c43d4480f134fcb1eea771c5de812f486g.jpg


SOS Package free T-Shirt, LMA, and Oil Pressure kits:
f0cfa640ee7b7c35d86ef9e8671bc4dc451c985526e0a25d12461d0f943d029e6g.jpg
 
Last edited:
You should repaint the car a different color while it's all torn down! Perfect time to do so

Yes I've already got plans are to repaint the entire chassis on the outside, and then the entire car body pannels.

Here are some more progress pics:

Forwarding throught the removal of the coils, valve covers, etc to get to the old LMA spring/lifter removal to install SOS's new springs and shims:

Getting ready to remove holders, cams, and rockers to access the LMA replacing cam seals & plugs while its all out. Amazingly the motor is pretty clean inside:
22989669fcda910706f289ee34b11a9b211ebd339d5ad8152f2b83362cdf433e6g.jpg


cf5f2d4154634a69f35c466f9e3266b5e23cde2ea4bc6fa4968f1111c0c6255e6g.jpg


Factory black coating still on the cams pretty amazing to see its still there after 20+ years:
2058b89e8f4e92b4e814315176c219493f954bde4409eec5ca3fd21157cc14bf6g.jpg


Some gunky looking oil in the bore, nice and clean now:
27b4b16db20ae719de3180800dff25de1883da40ac7a00e95e3aab8d486c52d86g.jpg


New SOS LMA spring and shim lubed & installed, as far as I know '00+ NSX's are all new spring design. No more clicking after this, valves will be adjusted after reassembly:
6c3138f1ad8f18552ef0b20ad2b945bba19759daddde3ad485bc2e6d1b1d7dec6g.jpg


Install of SOS Oil Pressure upgrade, my original was acting up sometimes reading nothing and sometimes working. Figure lets get it done and over with now, so much easier working on the motor on the ground:
d1f17e15ab04ea1d37427f775e07f546fc1859de7c0fa0e67b20f330c533f8b66g.jpg


New Tensioner, bolt, washer, spring, crank/oil pump seal etc for refresh tb job:
3b92186f057e10eab3db9e80c62e5a08c73fc0e64601dc7367b8d38fcf09d7bc6g.jpg


Removing the old tb belt, unfortunately when my car was involved in the accident years ago firefighters smashed all glass out, and some wound up in my timing belt cover contaminated it:
b5deff3fc5366b216e3e8083ae863e2763d284b7cbf6e80d1eeedd2647a7d8ef6g.jpg


Old crank/oil pump seal actually looks good still will replace based on age:
77934c02bec602b9bf09d1b73138c6b5a3be5db3b25debce766a2db0757aefb86g.jpg


Drilled a small hole & drove a small screw threw to extract the oil seal:
a444c81dd7988f5bb76887371cd691ce8cb05d2a36f0cd4580a50a32a24d670d6g.jpg


Seal removed:
b09f4195a82f1e0aaa95ece22f237c1e05bbf76a381eb89b74e6a5455433034a6g.jpg


Missed a pic but new seal pressed in with a large socket wew Seal in, crank gear re-installed, new tensioner, bolt/washer, spring installed:
14e9d1eaccad7f557aea6de0fca32c068ec8f9ed2cd873f1ff021d96bb6fe08e6g.jpg


Tada! Tb back in and tension set man so much easier when she is on the ground like this no parallax error seeing the marks on the cams/crank etc everything lined up:
36acbeffde1787d4dc2b49707a3badcb158a98dfc0ebe1da1e9fbeee9ed93bb76g.jpg


Transmission CV shaft seal replaced:
80aa84af3ce0474ba1c36cc87f50220983be9f2de1353d2242c74886968fcc9d6g.jpg
 
Last edited:
Intermediate shaft pending removal to replace CV shaft seal:
a87254af1ae5603d39f9645766e6139f22cd989bd78d40dbda263bd38c8f50936g.jpg


Removed:
b8597a04a9fd3cd4f2a09f3f5176c1771a097e9f980591a506e3d1ab79bf7f1c6g.jpg


Seal removed by prying it out:
930d6004ed857471d08253440b8556c4950dc9bd6dc51385a5e1cb52c5d07b9e6g.jpg


Old and New Seal:
a0686aea5e119bd044a261b328a055822549438c55832bb3e9930e7c5bfabba06g.jpg


New seal pressed in gently with a large socket:
951f94dfca3ce5da7b2f199c8f4bebb017807f2dbea8a5c40a7349d9b99193576g.jpg


Oil cooler removed, new figure '8' seal installed, all coolant hoses on motor replaced what a pain but way easier like this motor out on the ground:
4f73e553277a83e78c08e990f4e2f983428be39fee2245784577e75e8f3abd776g.jpg


b237bdbc44b7bcffb7d09b560843109b5f2c72564c4a882522e11c53a36d7c636g.jpg


New oil cooler hoses going in, fair amount of oil down this side looks like a leaky rear valve cover gasket and VTEC spool valve gaskets:
1dd5300fe21b5ec566861eac42c3574b6c1d8f498fd7d62b5b276178199e634d6g.jpg


Thermostat housing looks pretty clean no signs of corrosion new thermostat going in & all new hoses:
d0ee5e978251a0024dc482f5286cdbf5e8cf26a71dd0d5ee0d97558f0cd1a6d36g.jpg


c0730b29b75ffd619917c9d68b6c5802ad47f6994e9a89cd469b89e6fc9365446g.jpg


51f0d15d3079c192872512809e65c4cce743d6a7c6cba922c3fa1954a1f9bac26g.jpg


655d5f951b538e171ead3f906df1aec06c89e03b7a7a0e1927a4e997cc73112c6g.jpg


4b04205737b4a510d6cb699e2d8aba533c4ae3ae1a68dd9507347d1f163a81566g.jpg


VTEC Spool valve cleaned and internal/external seals being replaced with new:
42fa2d65eeca4541e8f755de69ecb43a873bd9280de6cc62561c094817daaf556g.jpg


Rear bank cleaned and reinstalled:
a67147c7c003ec8e7c78775d374bf4844d55674ac39d128d2c3eccc4cf9ca8856g.jpg


Front bank Cleaned and reinstalled & all new coolant hoses:
545b90fa89c296960e74754265efd5414188e4429171b150fdd21f4a447c2e096g.jpg


Inspection of the intake butterflies using an inspection scope. Double checking the swidging of the screws, both sides look great. Took a while to check each one but well worth it, if one of these comes loose and falls in I can only imagine what would happen. Inspection of this should be part of the tb service for every motor especially the older cars:
1e606a62dc2390ef1c840a9365b2447e590b4740016de6eb7c6b181ffa16f22b6g.jpg


213d98afc27b95c23a31e9c0aecbdda5b8cac2eebbe72148f4be2a75128f92586g.jpg
 
Last edited:
Amazing thread and amazing patience. You will have 1st hand experience on these cars in the end. Experience most of us never will with the exception of Shawn:wink:. Do you plan on getting all the suspension parts looking new? Save your recipts, I'd like to see the end cost of this. You are a patient, patient man.
 
Very Nice Richie...keep the pixs coming.


Bram

I'm acutally behind on posting pics and ahead on the work... or at least I hope so gotta meet the Oct deadline. More pics to come shortly.

Amazing thread and amazing patience. You will have 1st hand experience on these cars in the end. Experience most of us never will with the exception of Shawn:wink:. Do you plan on getting all the suspension parts looking new? Save your recipts, I'd like to see the end cost of this. You are a patient, patient man.

Thanks David, I've got 12month deadline and counting down to Oct. So hopefully I will have the car re-assembled chassis will be painted, but maybe not the body to save time or at least get it to the point of meeting the inspection requirements.

I'm behind on pics but slowly posting more as time allows, suspension I just cleaned up with Simple green they came out nice. Been doing full maintenance/refresh on everything I can get my hands with the time I have. Getting to know every nook & cranny of the NSX pretty much a full frame restoration which teaches you so much especially how detailed the assembly process from factory was. As for cost I've been tracking it.... I'll tell you it more of a labour of love than the cost of building it.
 
Last edited:
Best of luck on your project! Glad to see one more NSX getting restored.
I just read all the threads on your accident from 2007 and noticed you mentioned the injuries were minor but mentioned some possible nerve damage in your neck. Were you able to fully recover from that? I know sometimes that can linger indefinitely.
I hope you are well and keep updating us on the progress.

Thanks so far she is coming along nicely. Yes I was hurt in the accident, spent over a year in chiro/rehab/physio I do have some lingering damage that I will have to live. I always have shoulder/back pain now some days better than others. Trying to stay active and working out helps out a lot, but some days are better than others.
 
Last edited:
Ok some more updates:

Front & Rear Callipers removed pistons checked for proper operation. Disassembled being sent out for powder coating for a freshened up look:

6b157187f4c31e0647728b1ecb29aa6127655f9532cf03d67267ce944c11a5d06g.jpg


8e388de727b66f6ccaa4901cb39bc53a6aeaca8b6b1f45cbfbcfabfd07ba97136g.jpg


d3870e76740df5b719d43b8695fb8d263163638442e102e3d01daa8fa475a3da6g.jpg


Next Attack the CV Drive shafts for a general overhaul. Removing the boot clamp:

29811058aaeffb201f6020f96b99890408881939d5325df21c61f82980b9b9336g.jpg


Cleaning process begins, rollers removed and cleaned noting the position of each holder and in/out board joints:

cd54370b4737e4149a92c3a756aac691091589b6d4ac1e21d248893c484a9ad56g.jpg


d2bbc460680409e8282e986da7cb4ab10e095aa84487007b0ee6dc79a72714ec6g.jpg


Spider assy:
95842001aa4632eccad673d10f0fca8cefc5f2e87b1bb5bf4570131f8f12301f6g.jpg


Spider Removed:
62e7bafcb751d8f652f240b48955e19d84120922bd32231a37e527699df3de696g.jpg


Grease is breaking down a nasty custard colour, from what I understand should be yellow:
1052924be3c710c5cacbe3ccd59e8902064b7116786f6c77d5dcd93160cfbb5a6g.jpg


def9fdb486519825caa6f6ac6449ecf9a1cbeb91cbd937a0474296208f4d1cb56g.jpg


New Boot Installation, spider assembly removed:
1412c01c0aeb51ede34ba68ed55192c39795da08047cdcba80b8a3a9fa9499156g.jpg


Roller disassembly inspection and reassembly, 10pins per roller x 12 rollers = 120pins. I didn't take all of them apart after inspection seeing almost no wear I cleaned to the point where new grease can jammed in:
1b293013d1578fd65fcabf32321f8a1a6e174839f9b05c7756af23ebb3f5a7736g.jpg


Duraflex Rebuild kit, not OEM I know I've had very good luck with these kits in the past high quality and best of all Made in Canada eh! lol:

e5186dca4dd8e52295029f0004953ae6dcb6dce1bd6b04277c86ce36b7c7bfa36g.jpg


Reassembly beings:
d3d1b09047d87c31bbff9723869996c89f50f7990171aee42147bb1b424ef19e6g.jpg


Cleaning & Masking up for a fresh coat of rust paint:

5d4086f77a5db55ed195cff4ad463241e10060f6201f5f1cfcd184595bd1f77a6g.jpg


About 3~4 coats of fresh paint:
bac0cccc1f6877f6c835f9b05c2f902a48341eff6db99161f8d963277436e6336g.jpg


7b7cb27bd174c4950e8dc828284ca21625e970ee4cef2d4a27b4eb9a587d881a6g.jpg


35ec30d25e24ebba985520b72edbba34500b263f66ebbb1ff746046837260e426g.jpg


All reassembled, kit came with standard crimp style CV band clams hopefully they clear everything once reinstalled on the car:


Before:

d43170ebd3419611ac01bc1a244787d6566af6534065268275b600f6eae4c19f6g.jpg


After:
d6c82a6d4f5546cabfa5fe3247f8765977659aed43c28bf37cd551d9f4c8de0b6g.jpg
 
Been super busy here is some more stuff done:

My brother was failing e-test (smog) here in Ontario, Canada he cleaned and then passed. AIT sensor cleaned: More info in this thread http://www.nsxprime.com/forum/showthread.php?t=159564

20b71eaea1440e4543353624f1c6467f72e451787b2657cba2c09ea8935d8e846g.jpg


GT-Spec bars showed up:

562b20df387f384952b9ff6736575c437c83bce4309d09b082d705a6c49da7c56g.jpg


Great news from my body shop. Had the frame looked over repaired and back to factory specs. First coats of paint going on. I was only allowed in there for a quick couple pics and told to get out so I didn't contaminate the booth. Can anyone guess what the colour is hint is it is a true NSX colour and no its not berlina black?

First few layers of paint:

83ad66b7f6c050962a529f31af1c008906dd5f652436b8cd1947816770b9e0766g.jpg


649a4aa62e5024158ddadaaa43dafd174a8bdc93aea053d39cb18ffc0716de156g.jpg


Clear being applied:

fff50794fd23a0b43338d833605d0e8c79fcfb691c9c0f254be532243a55792e6g.jpg


9986dc995f1888725cad144962db955a227ecbffaeabde4be062e03c240979b56g.jpg
 
Dark Charcoal, paint code NH-629M?

Looks awesome. How did you get the GT Spec bars in that dark gray? I thought they only came in whatever color they were using at the time (orange, blue, etc)?
 
Dark Charcoal, paint code NH-629M?

Looks awesome. How did you get the GT Spec bars in that dark gray? I thought they only came in whatever color they were using at the time (orange, blue, etc)?

Thanks man its turning out great so far, and nope its not NH-629M.

The bars are nasty pearl/goldish blue just like GT-Spec advertised, I think they look semi gray from the flash in semi darkness. I wanted to re-paint or powdercoat them another colour but pressed for time I will install as is for now.


That gray is beautiful

Thanks a bit darker than I expected but it, I really like how its turning out so far.

kaiser silver?

Good guess but nope its not NH-546M - Kaiser Silver.
 
Oooo, you're right. Just checked out their web site and man, that color does look pretty nasty in some of the photos. Why can't they just make their bars a nice neutral color like black?
 
Back
Top