• Protip: Profile posts are public! Use Conversations to message other members privately. Everyone can see the content of a profile post.

91 NSX Rejuvenation build

Joined
13 October 2009
Messages
786
Location
Fredericton NB
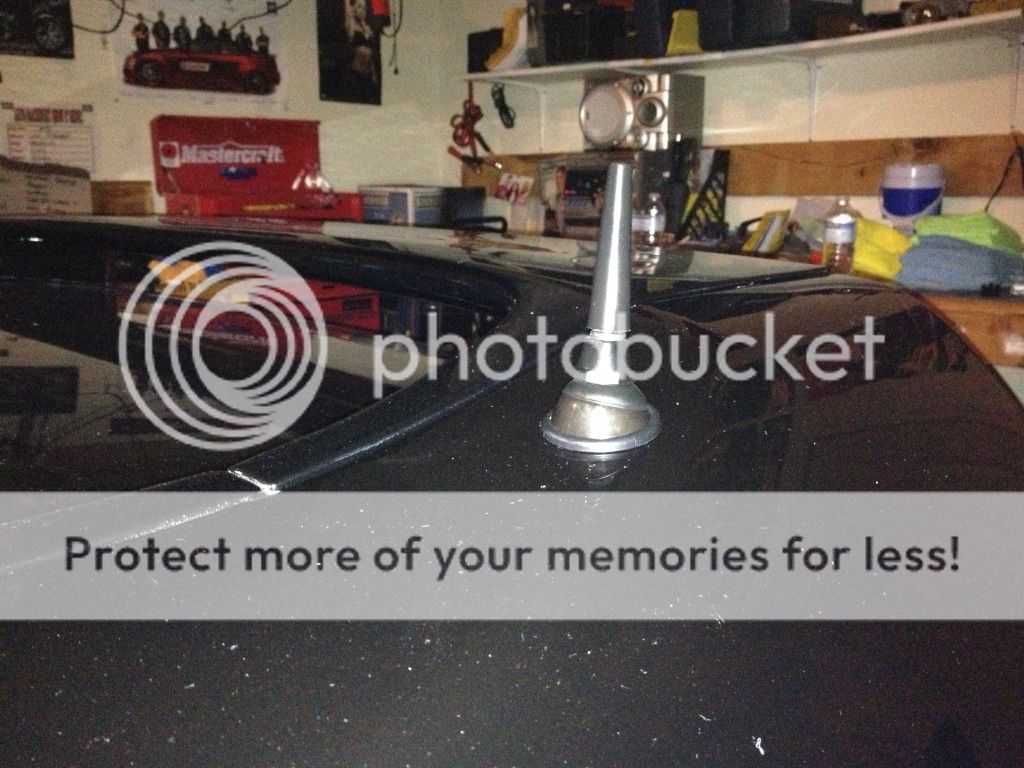
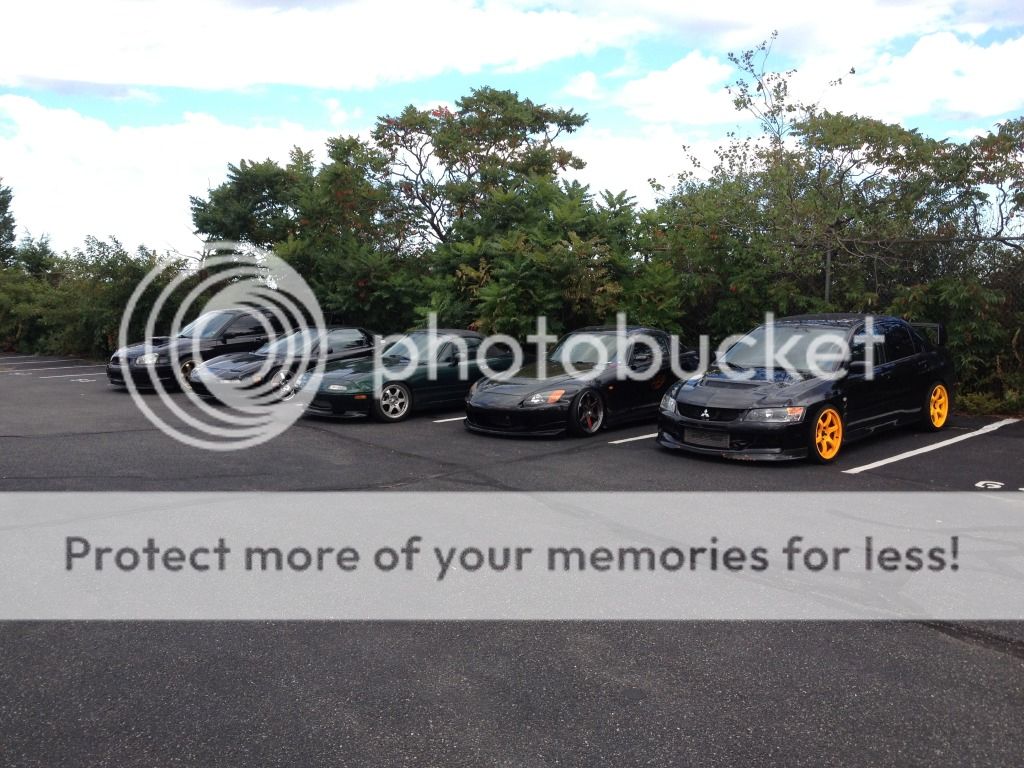
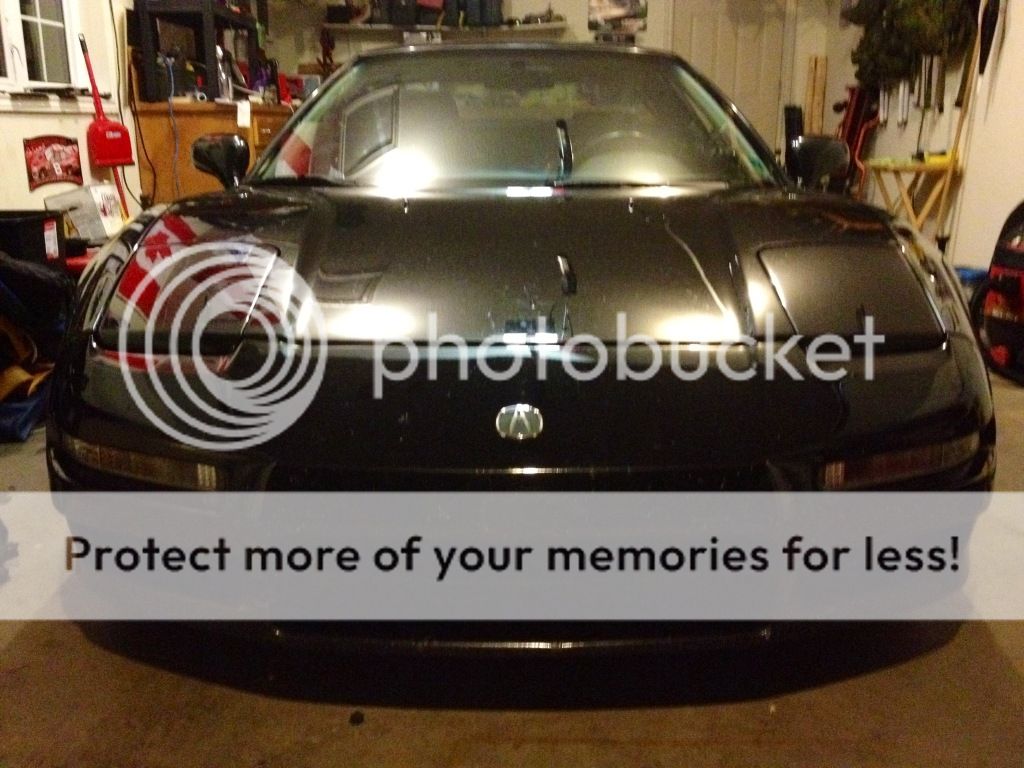
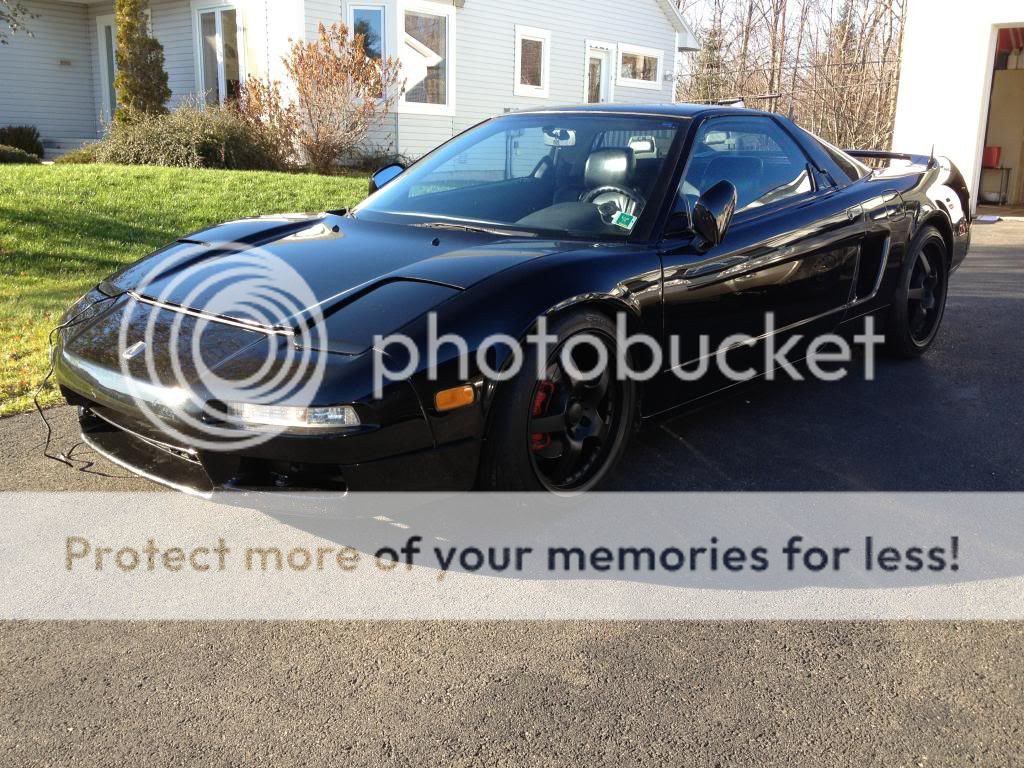
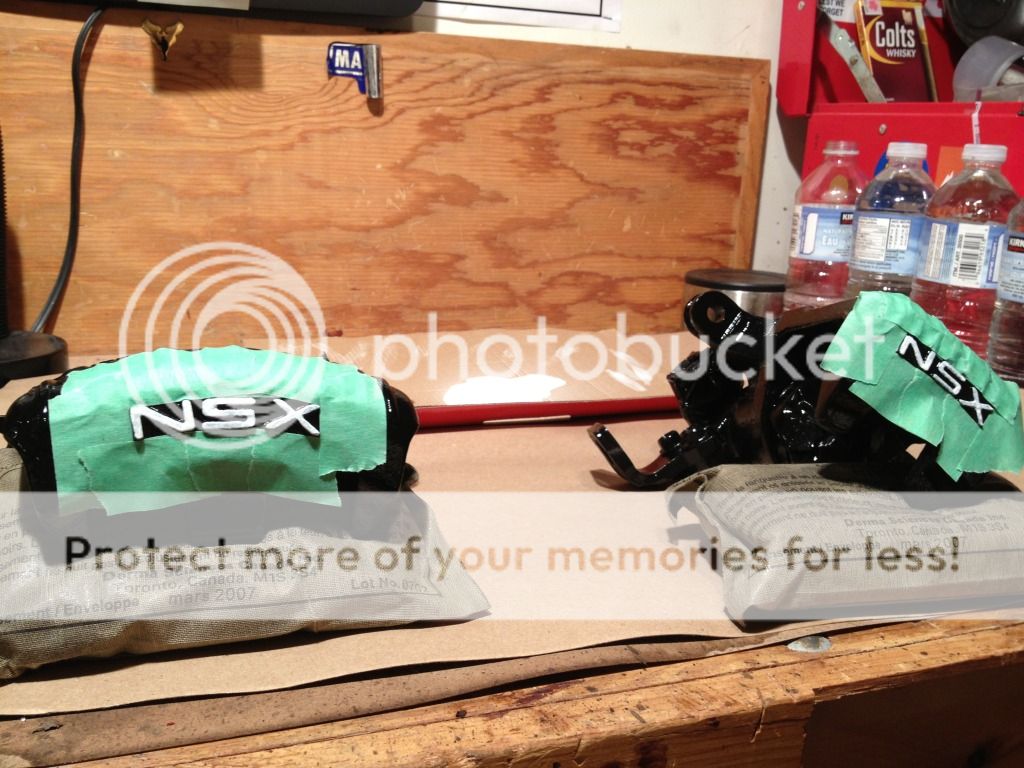
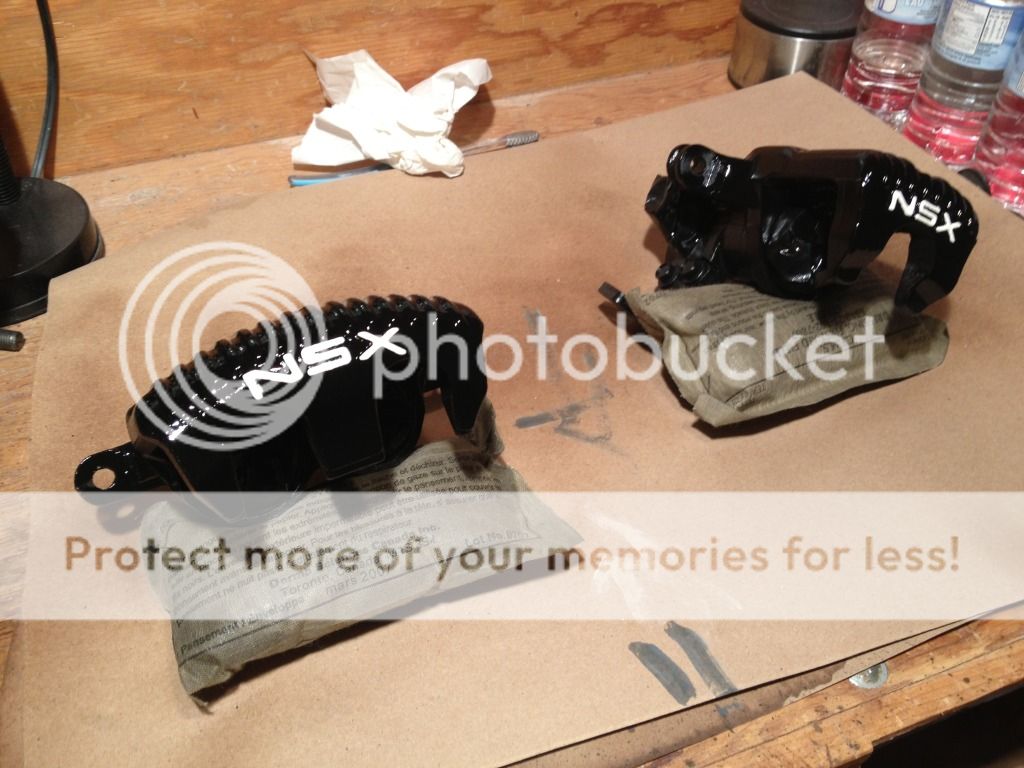
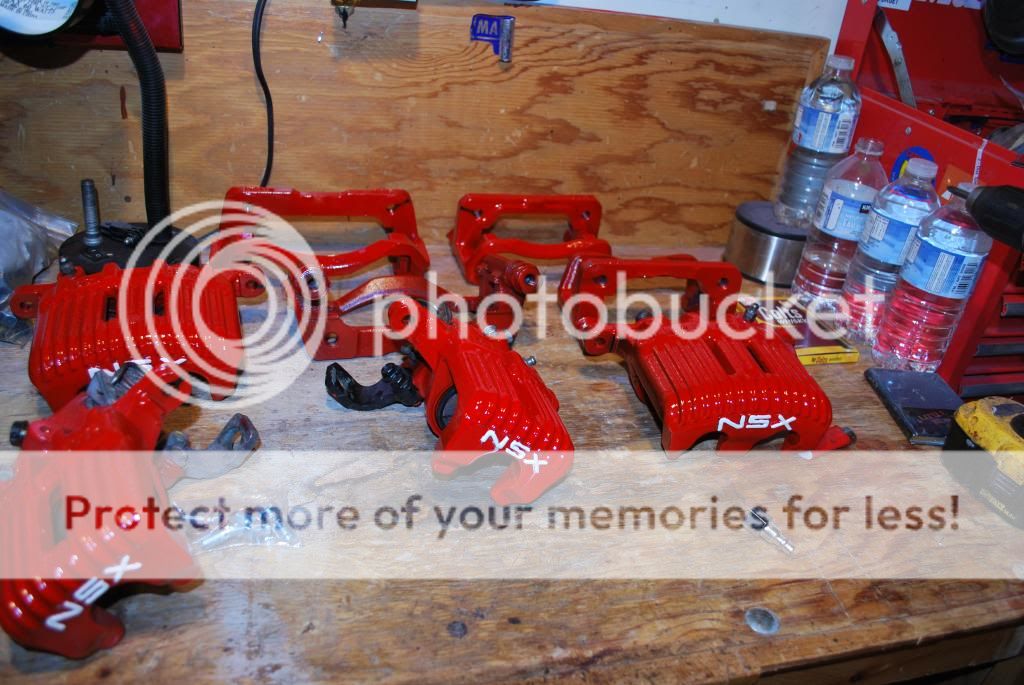
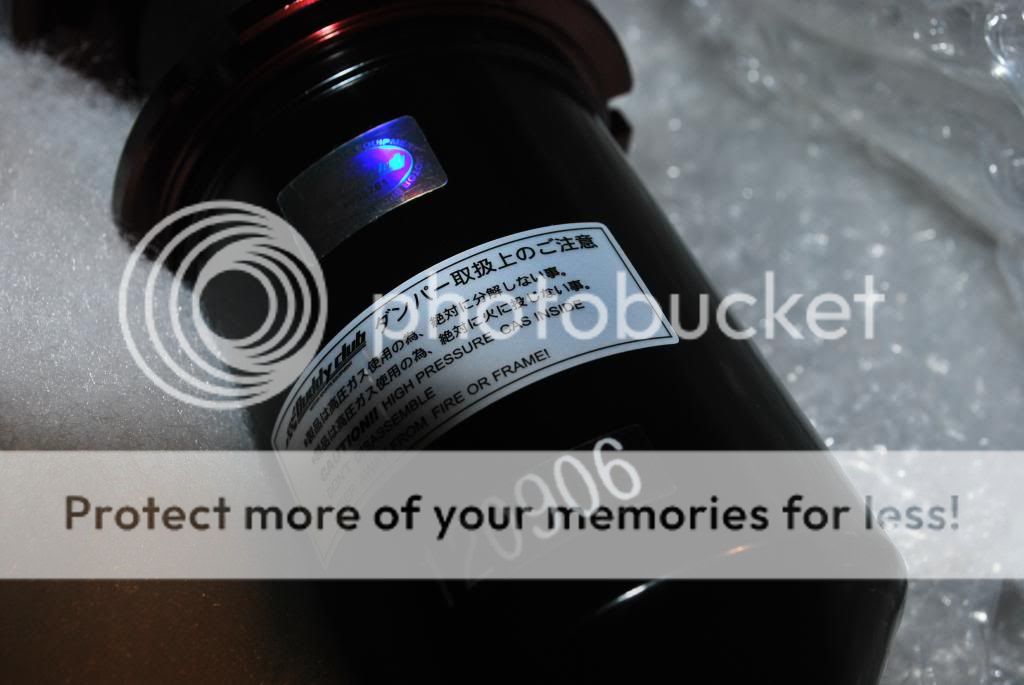
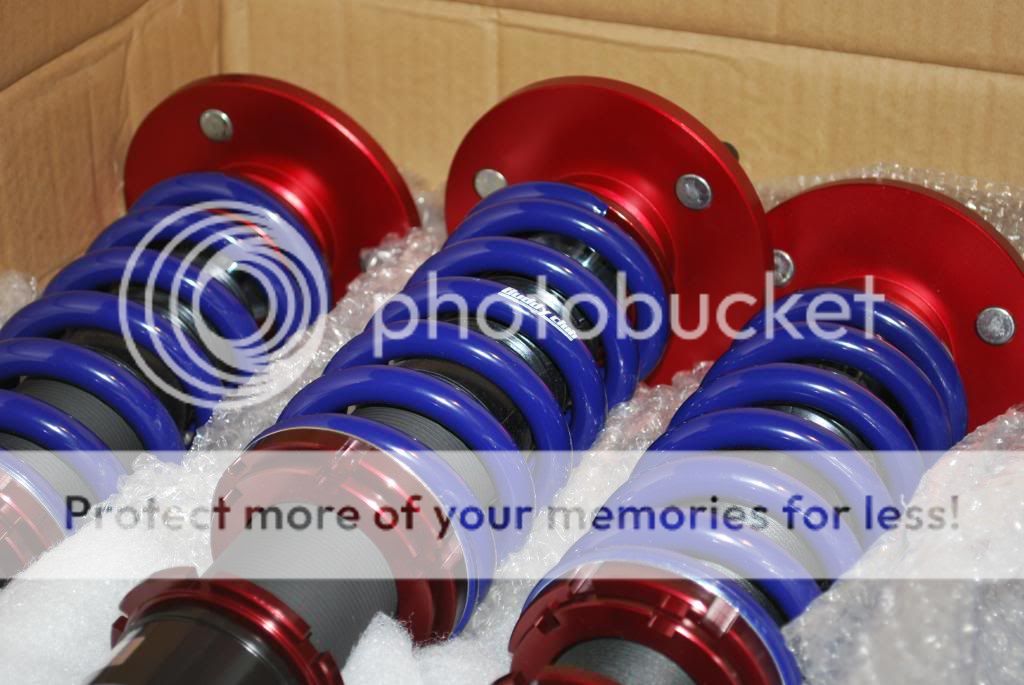
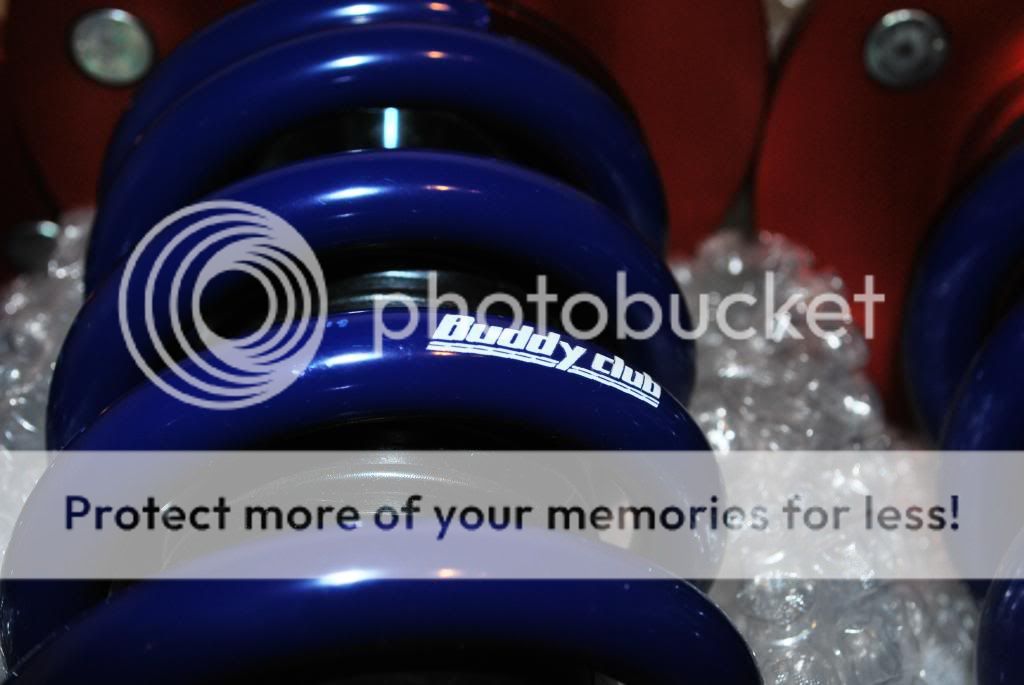
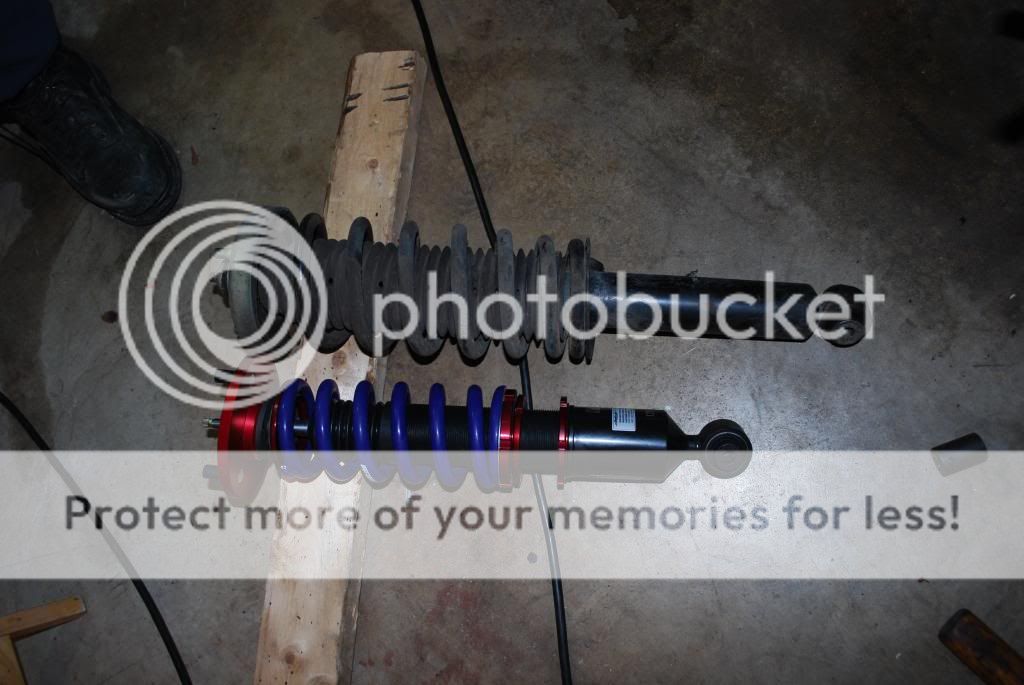
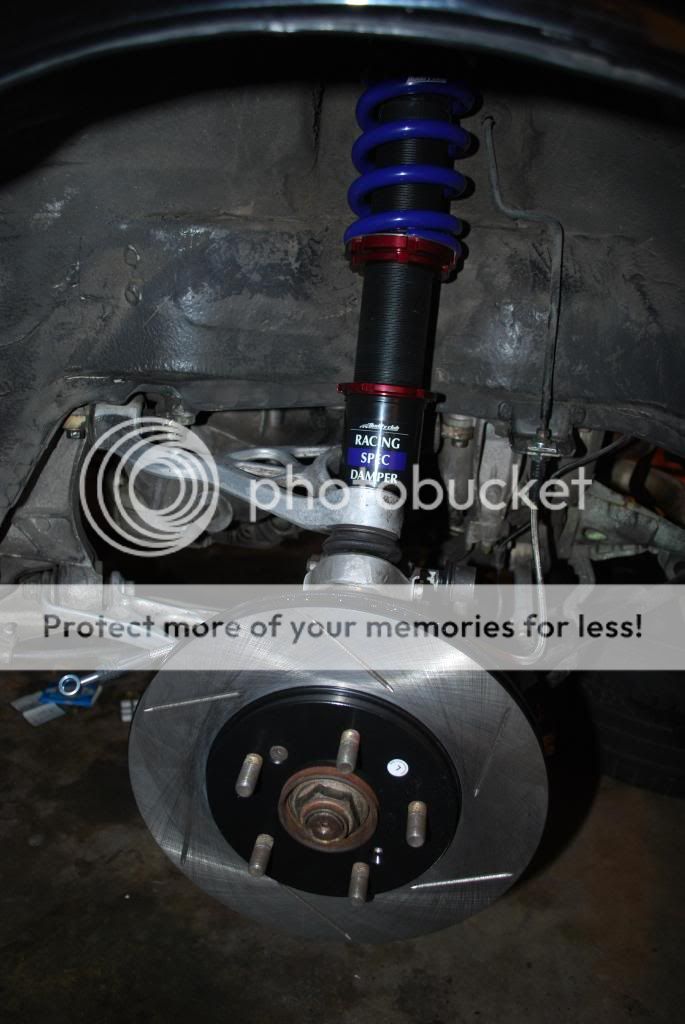
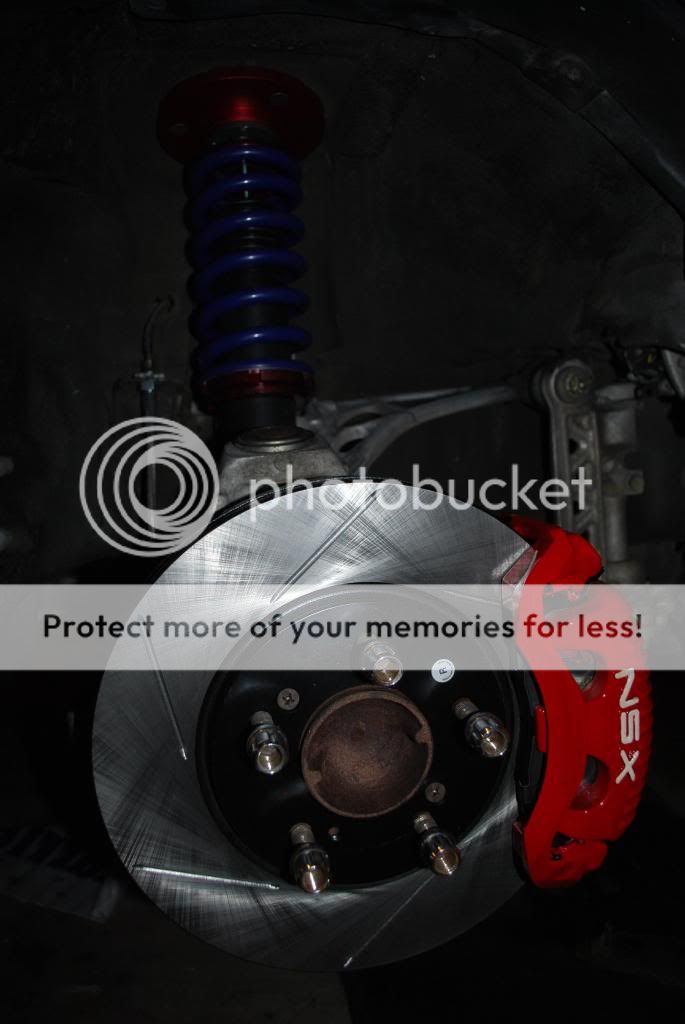
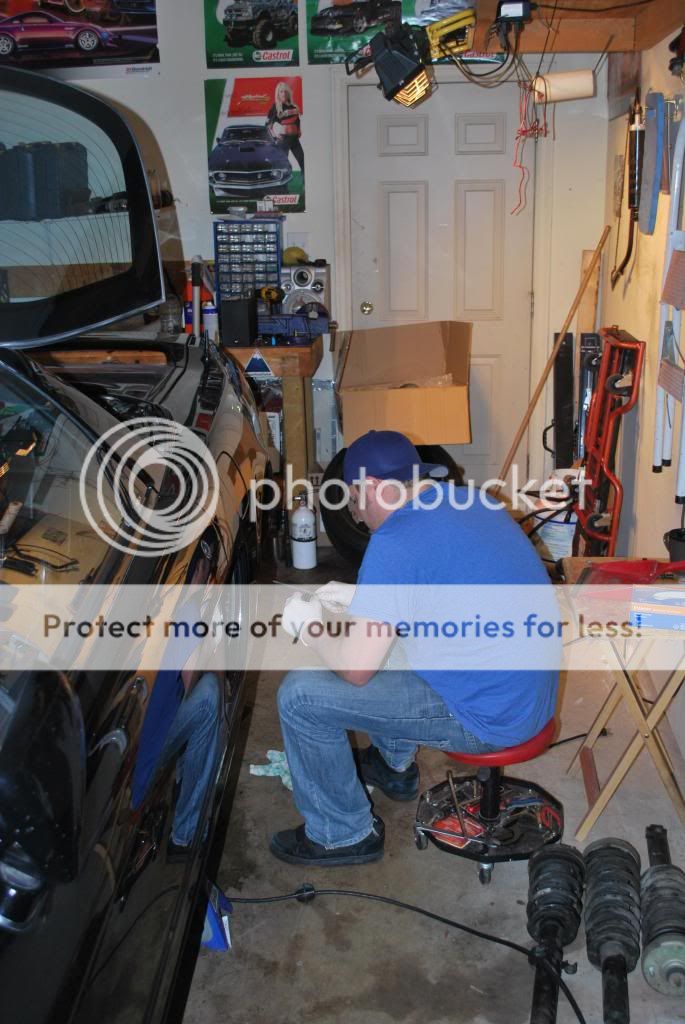
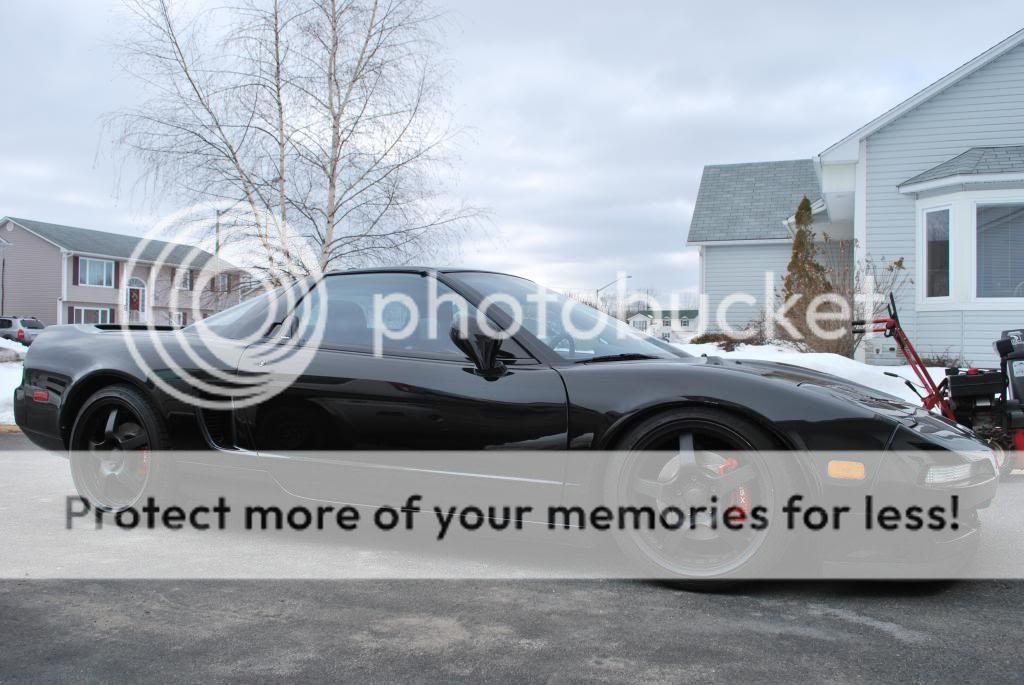
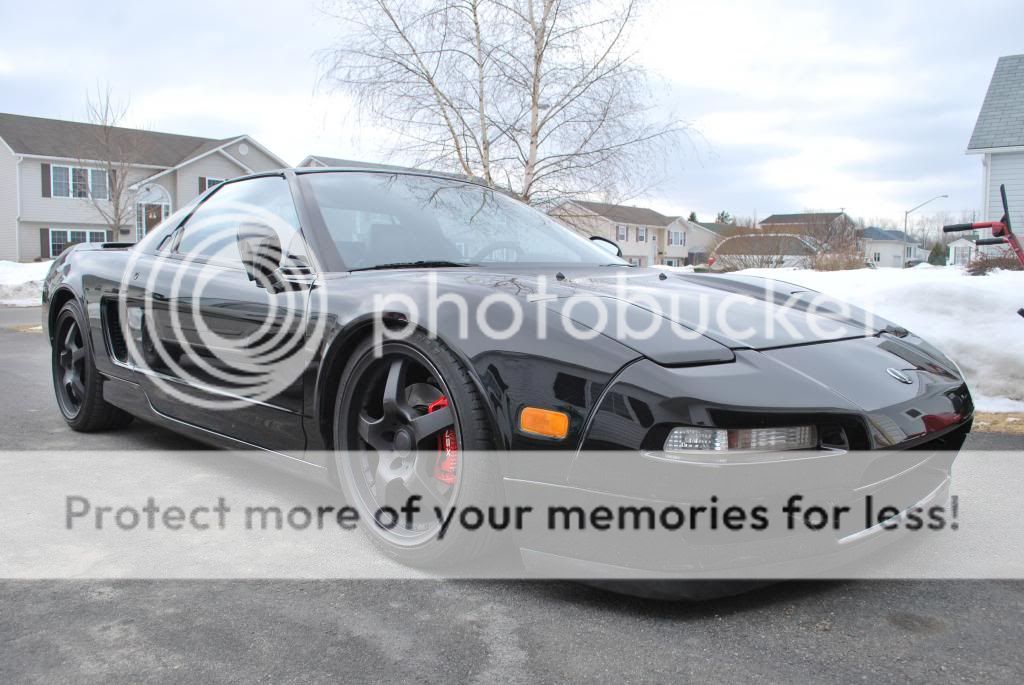
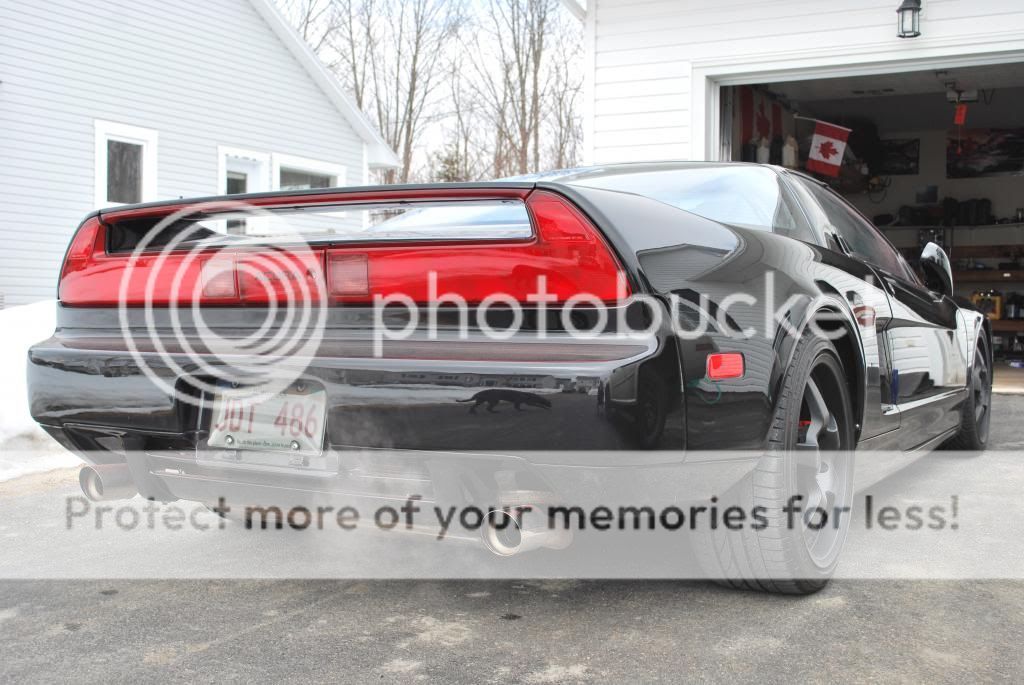
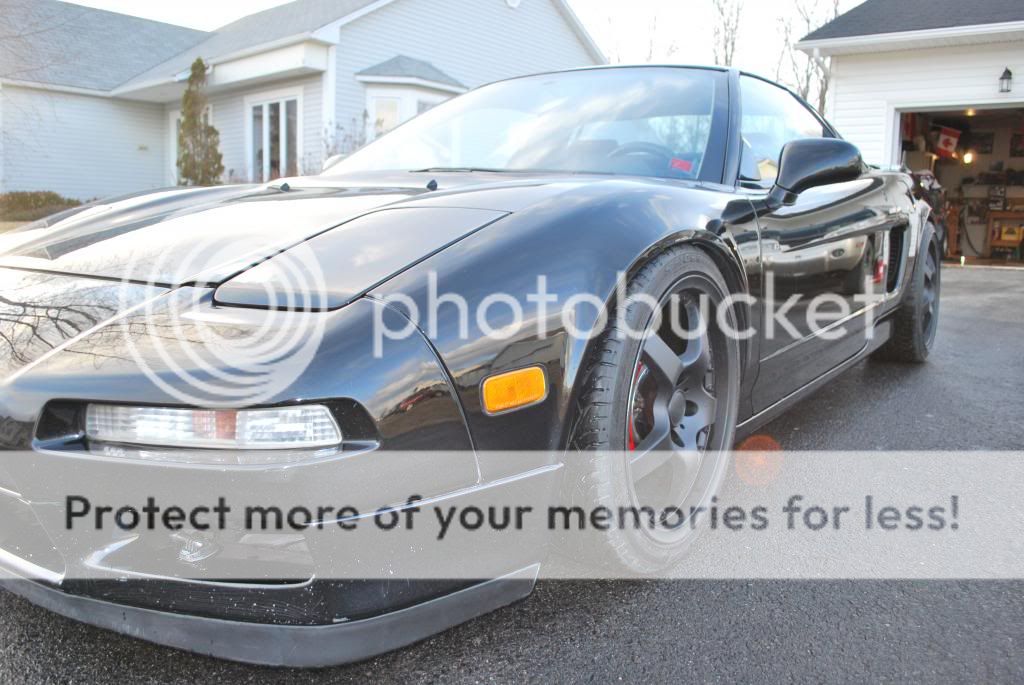
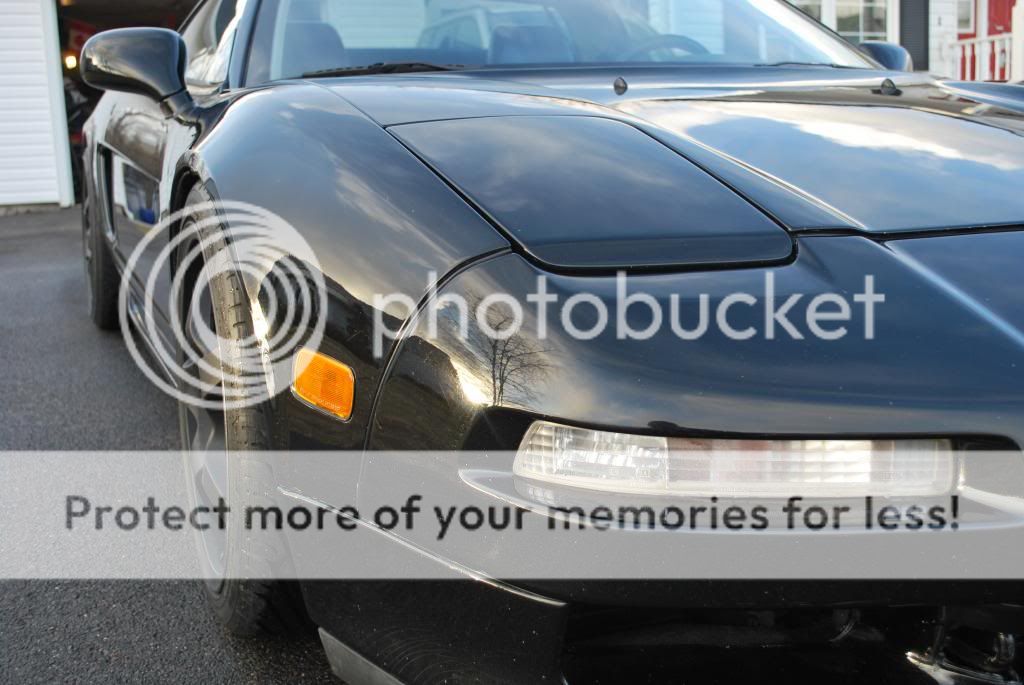
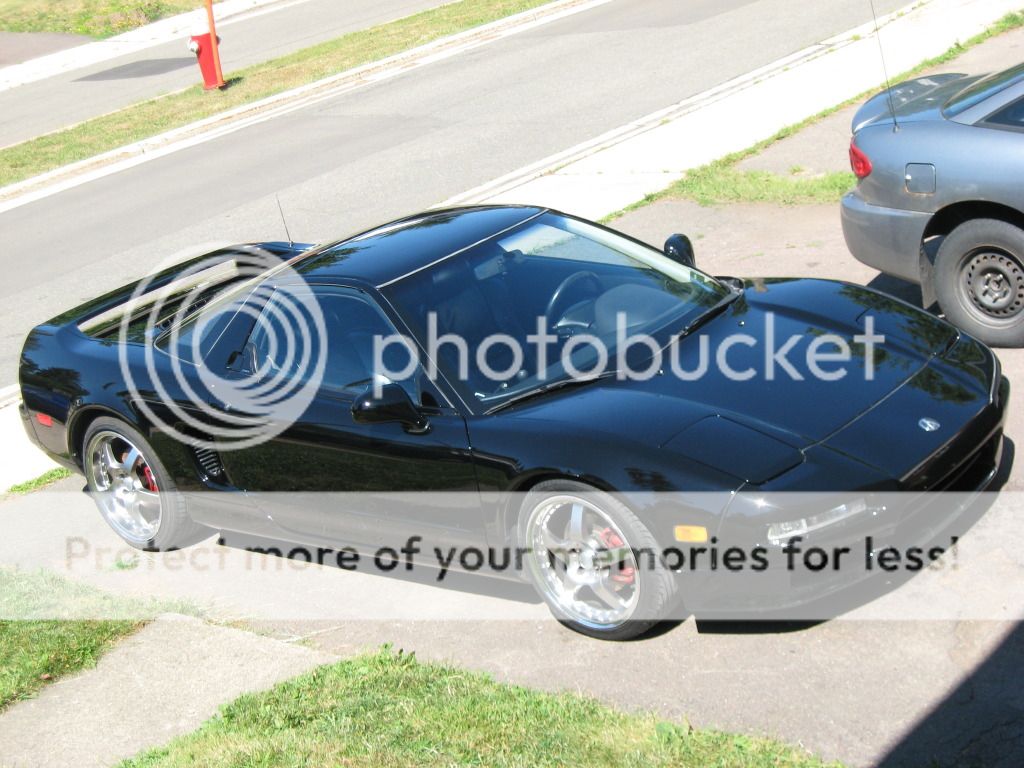
Well I figure its about time a put together a thread for the NSX. I have nothing crazy planed for her other then some well deserved mechanical and cosmetic maintenence and maybe a few bolt on.

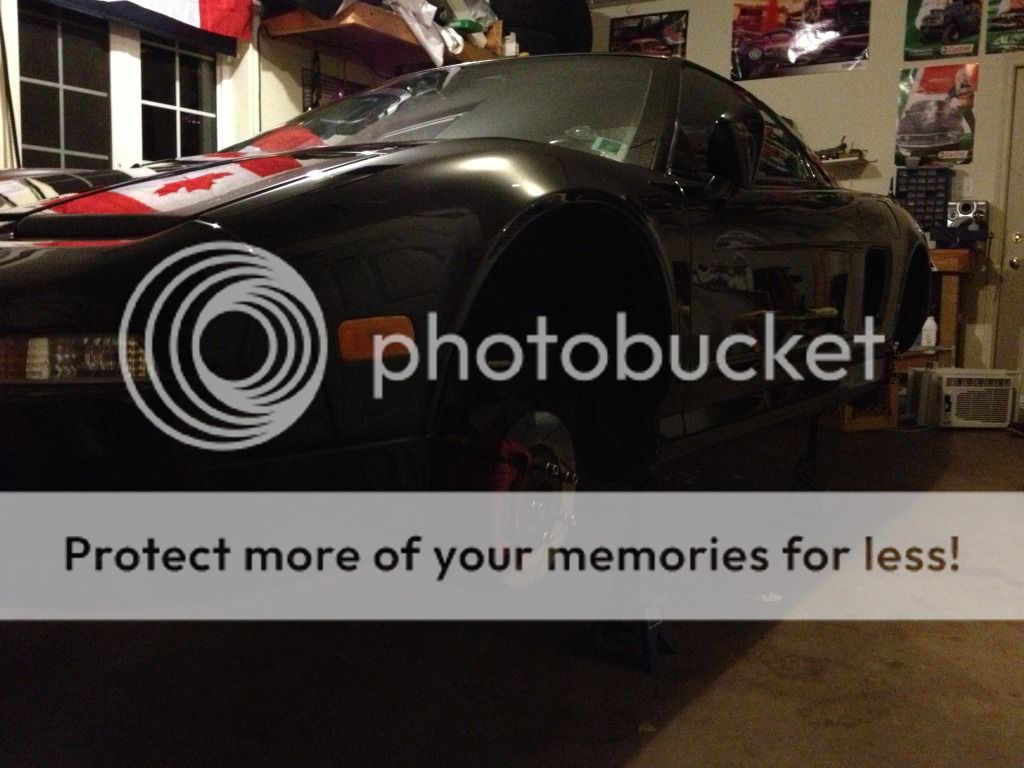
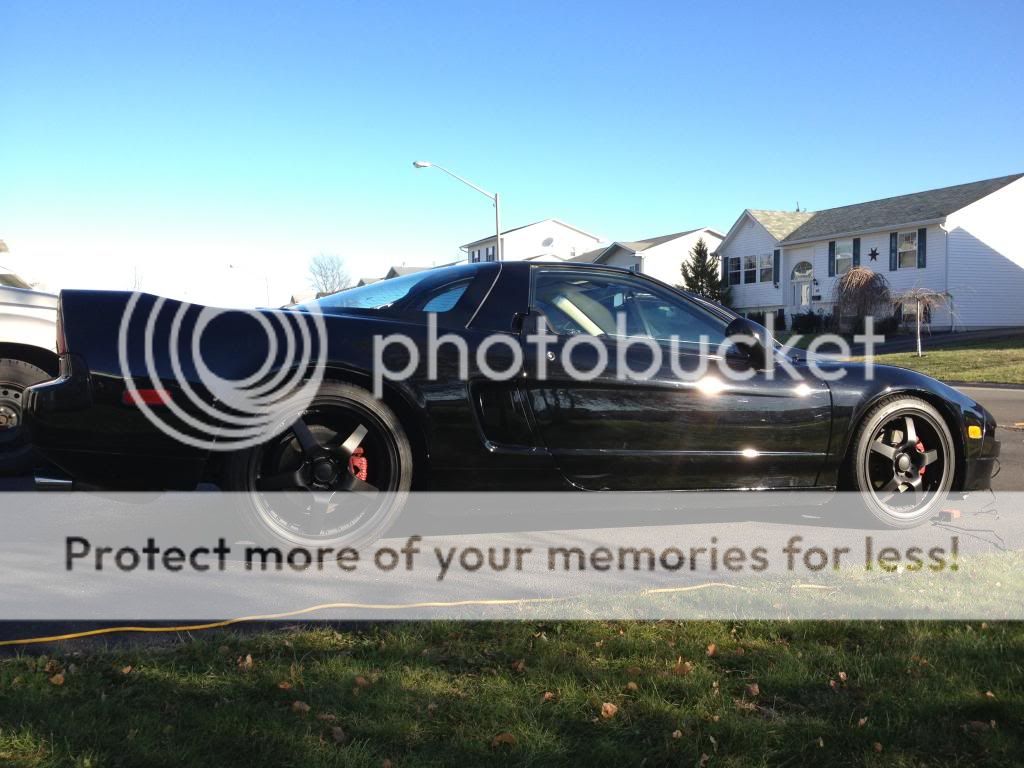
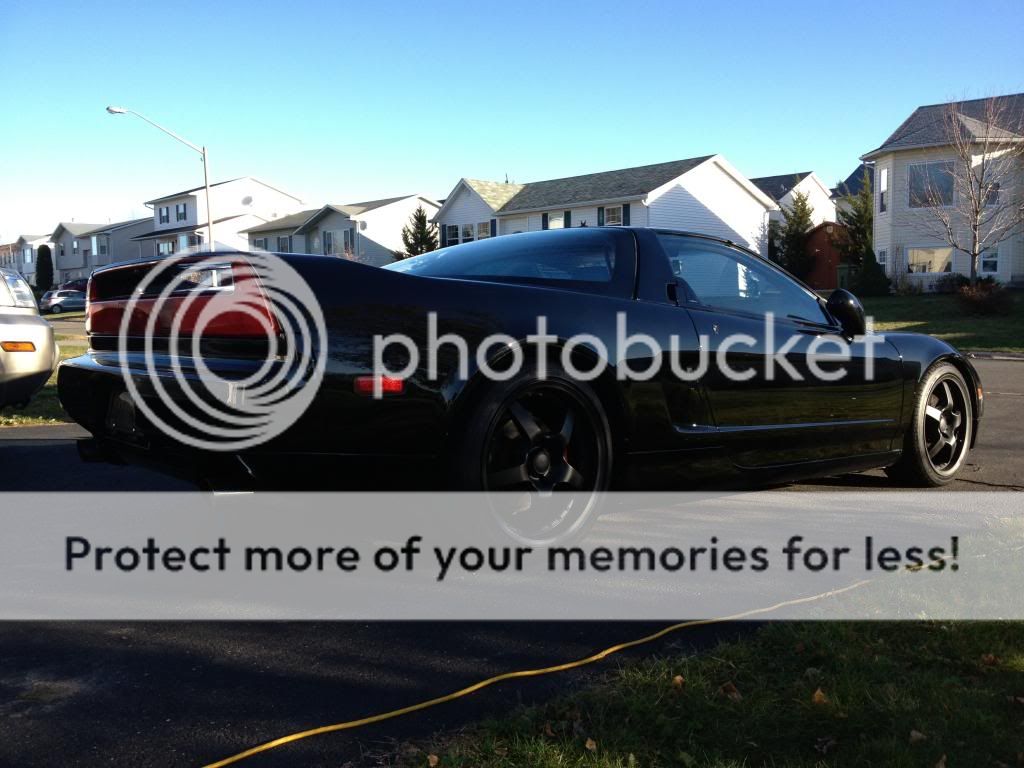
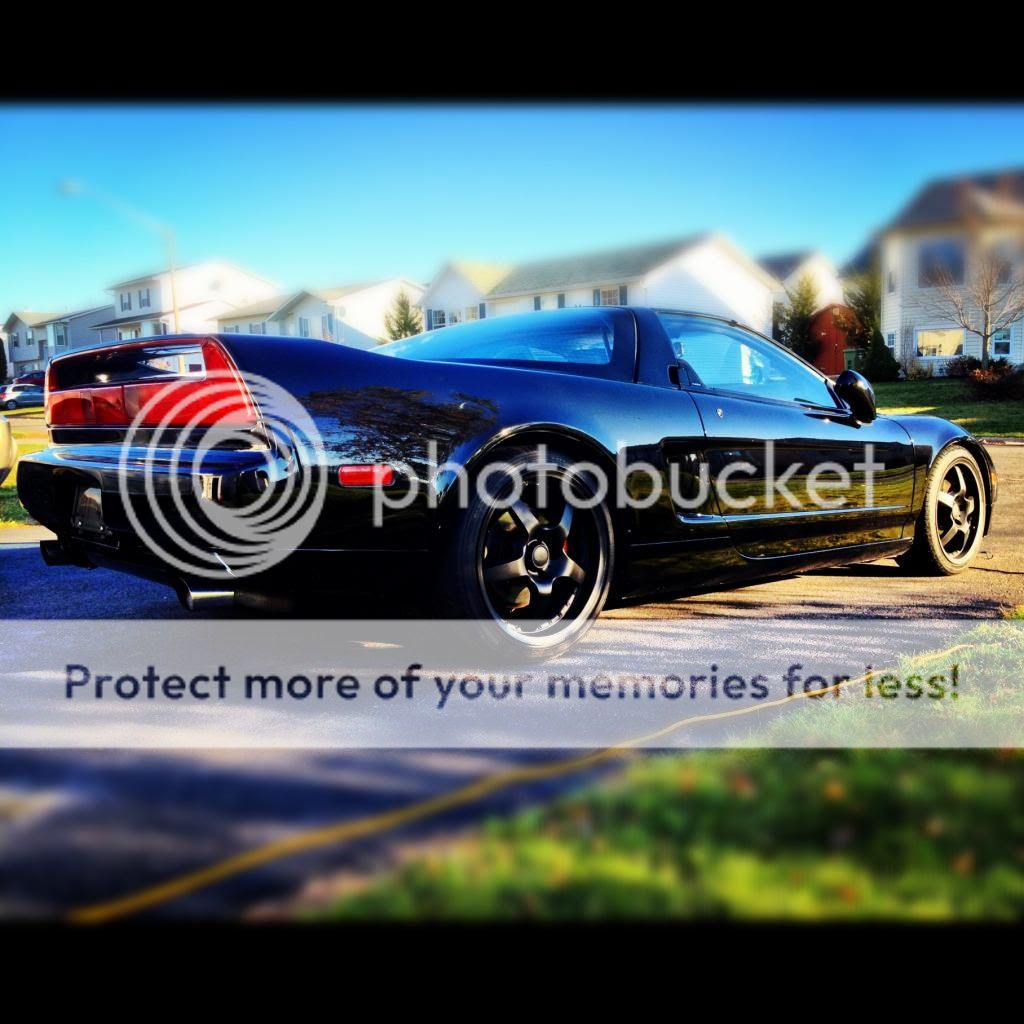
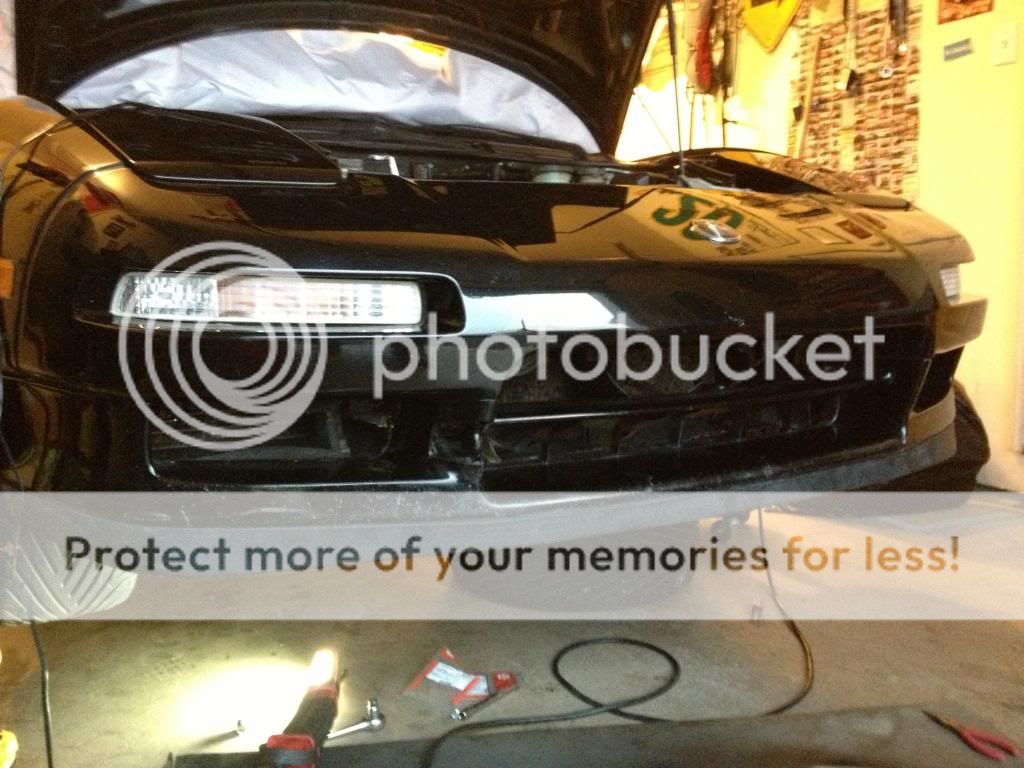
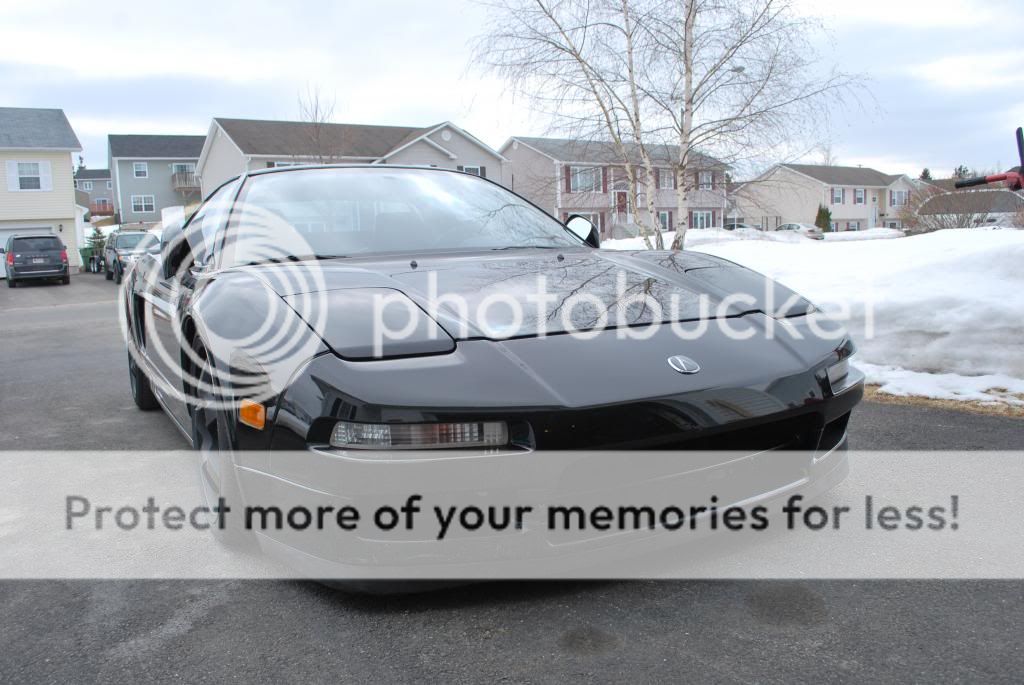
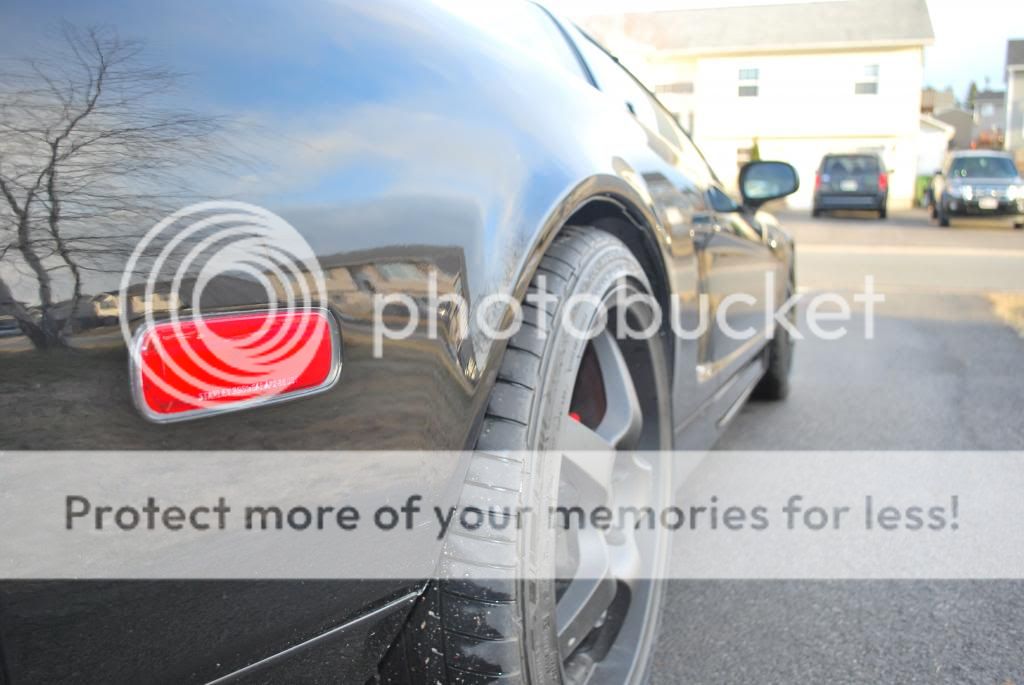
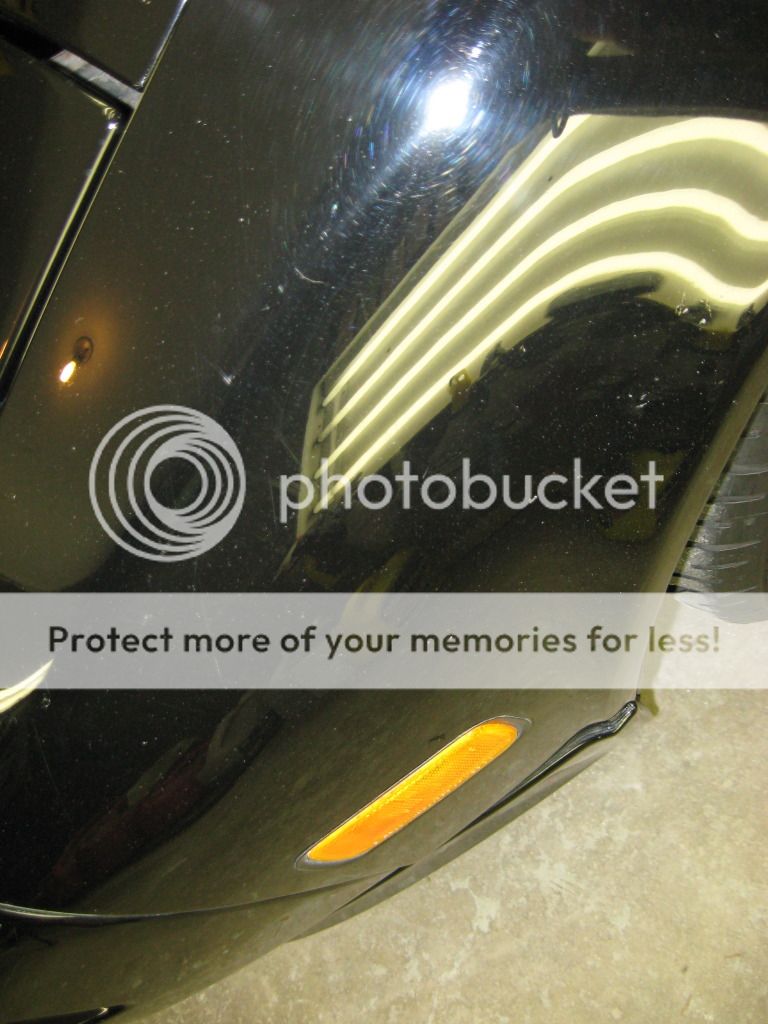
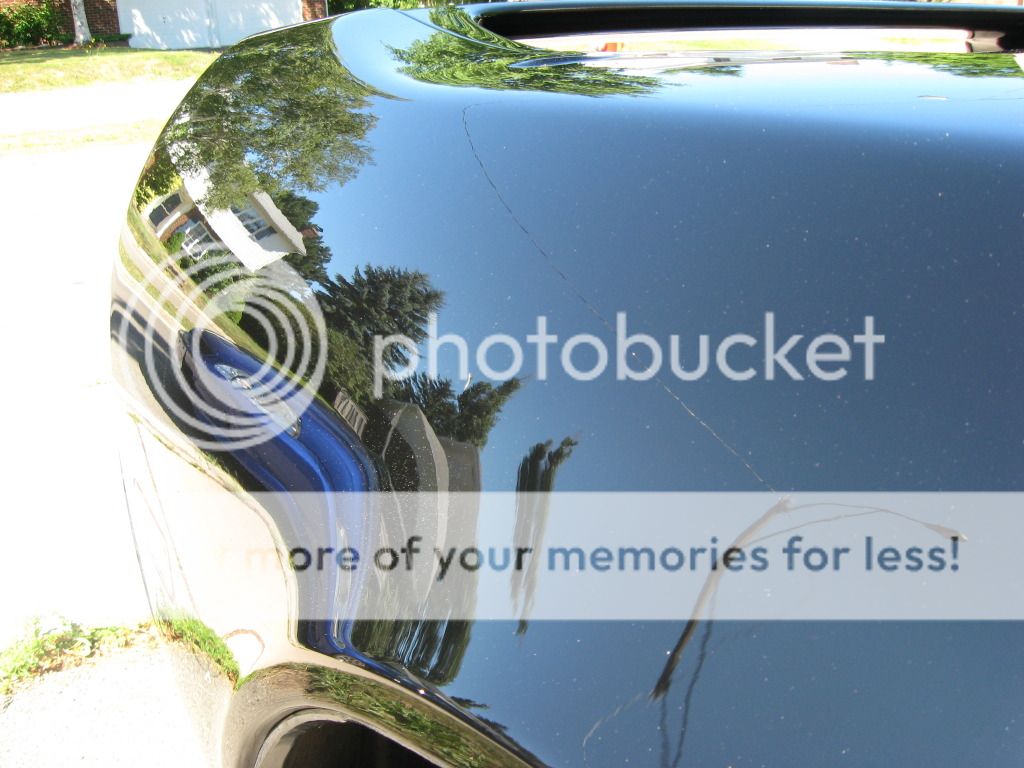
As soon as I picked up the car the paint looked horrible. So I knew it needed to go to Envious Finishes to get a 3 step. Plus it worked out that the detail was auctioned off from the Stance East meet.

620447_10150993100823671_625731544_o.jpg


IMG_0666.jpg


IMG_0718.jpg


IMG_0719.jpg


IMG_0723.jpg


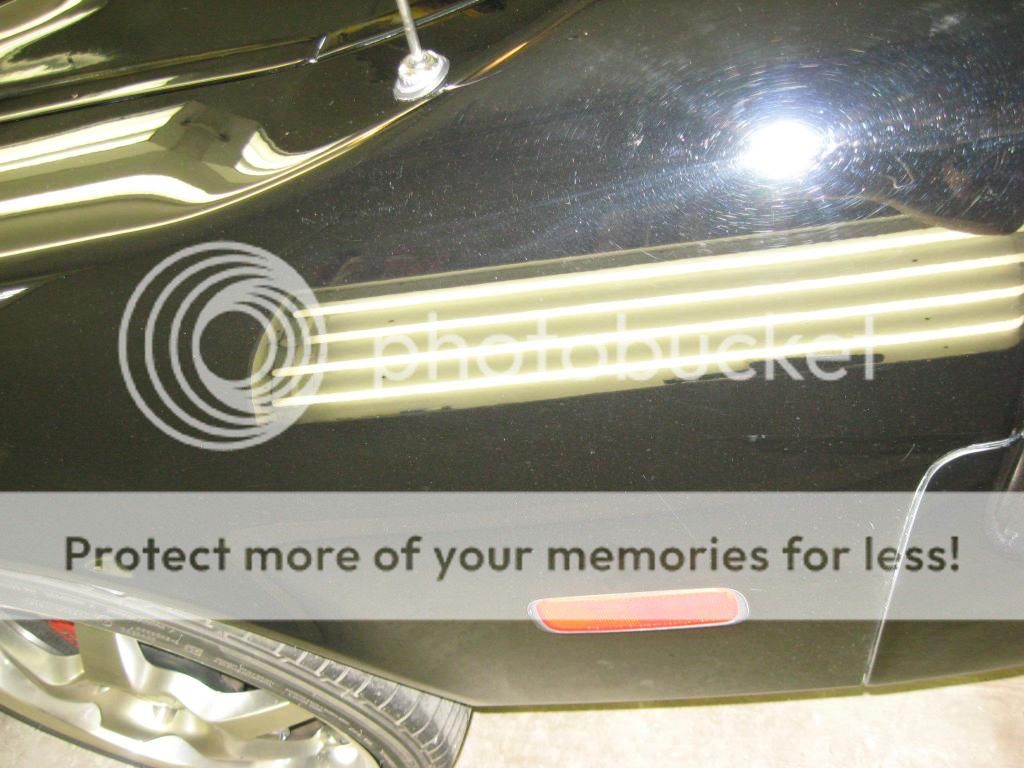
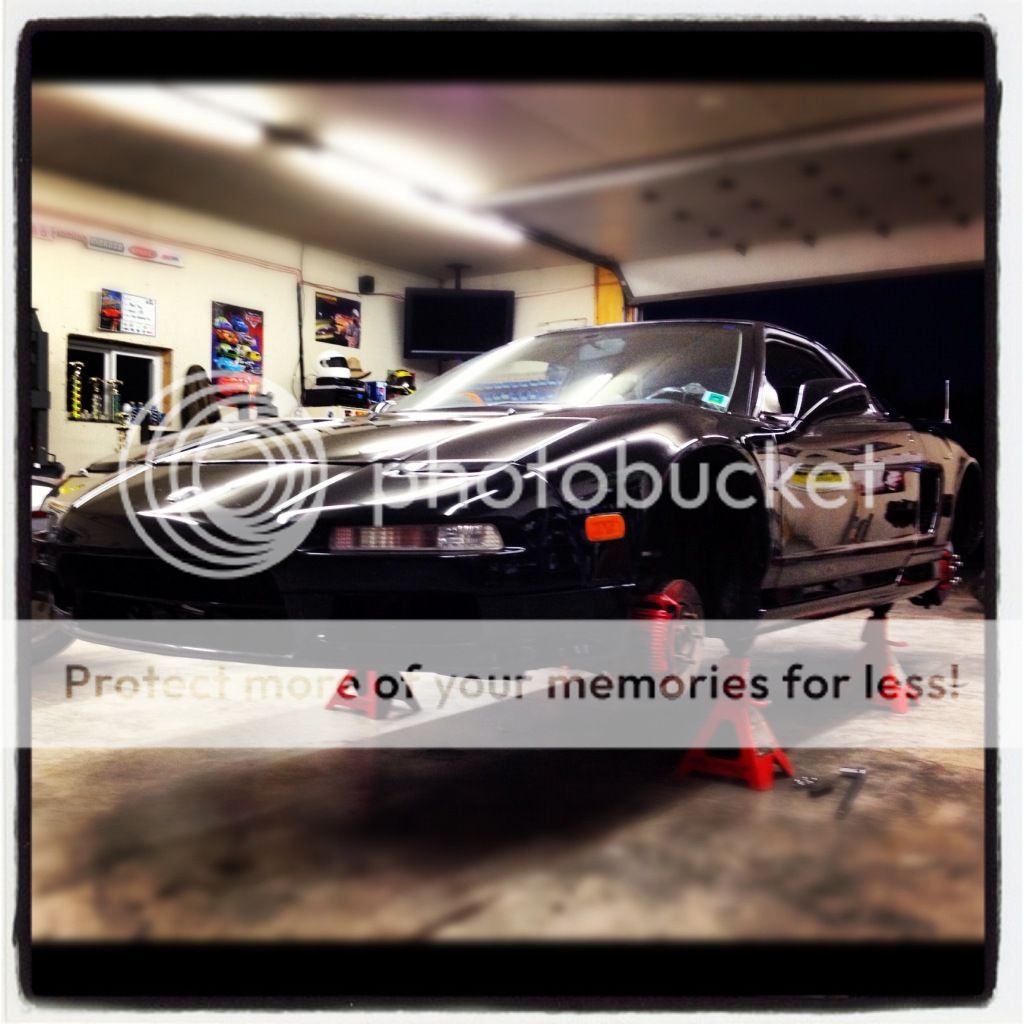
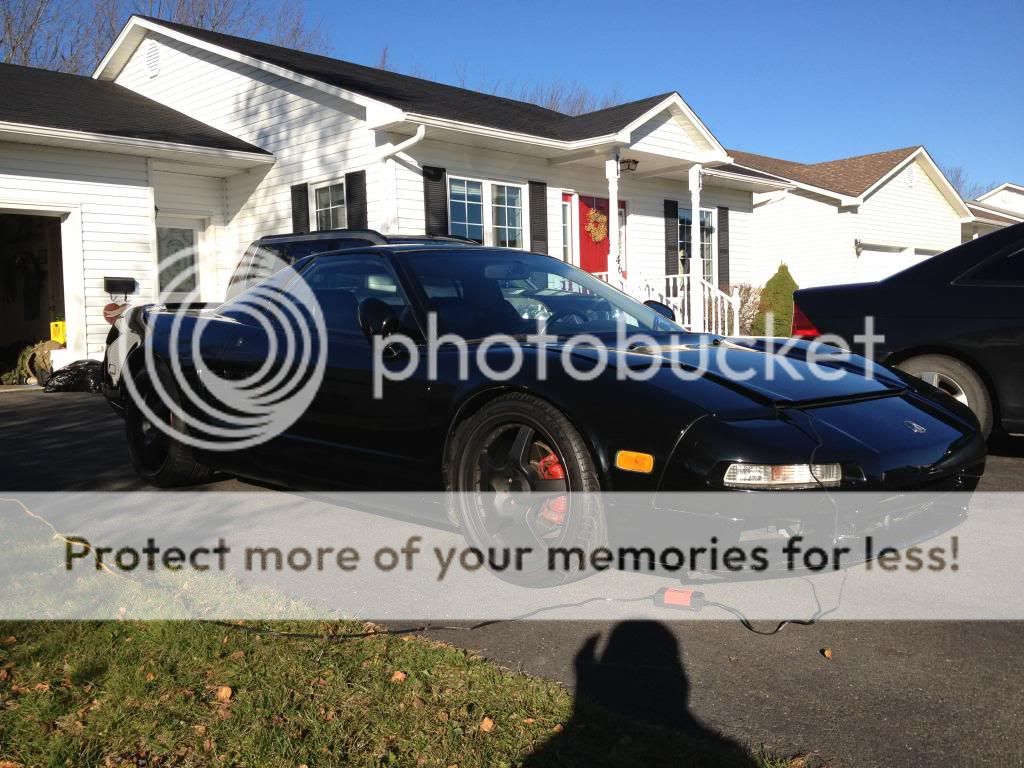
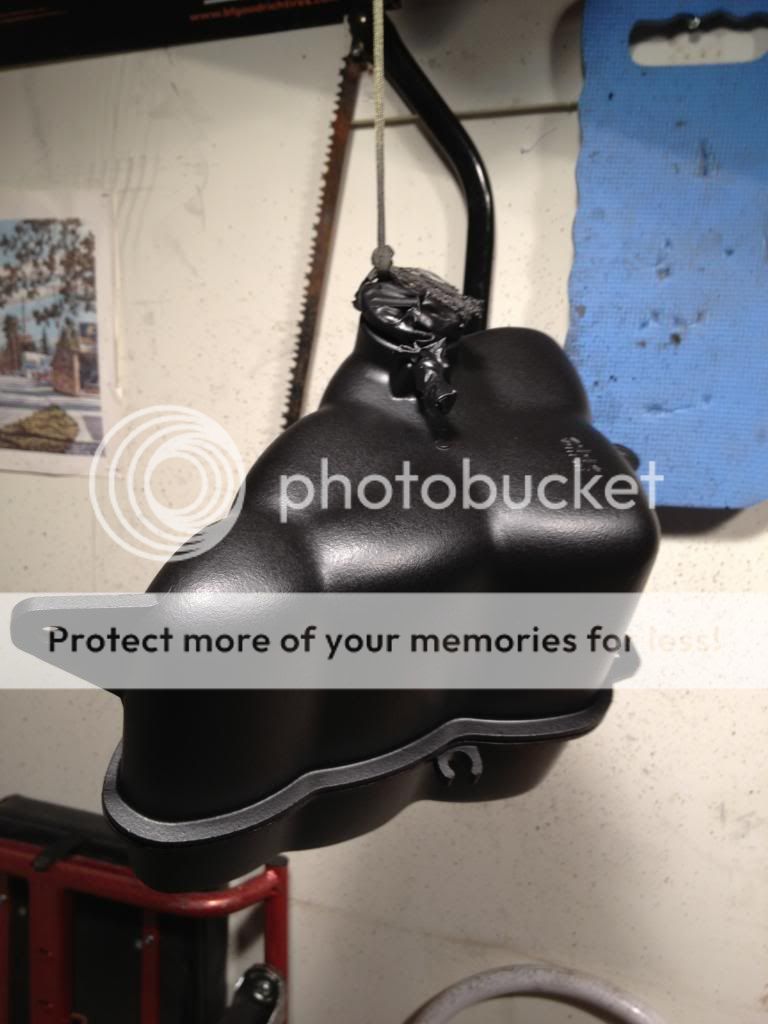
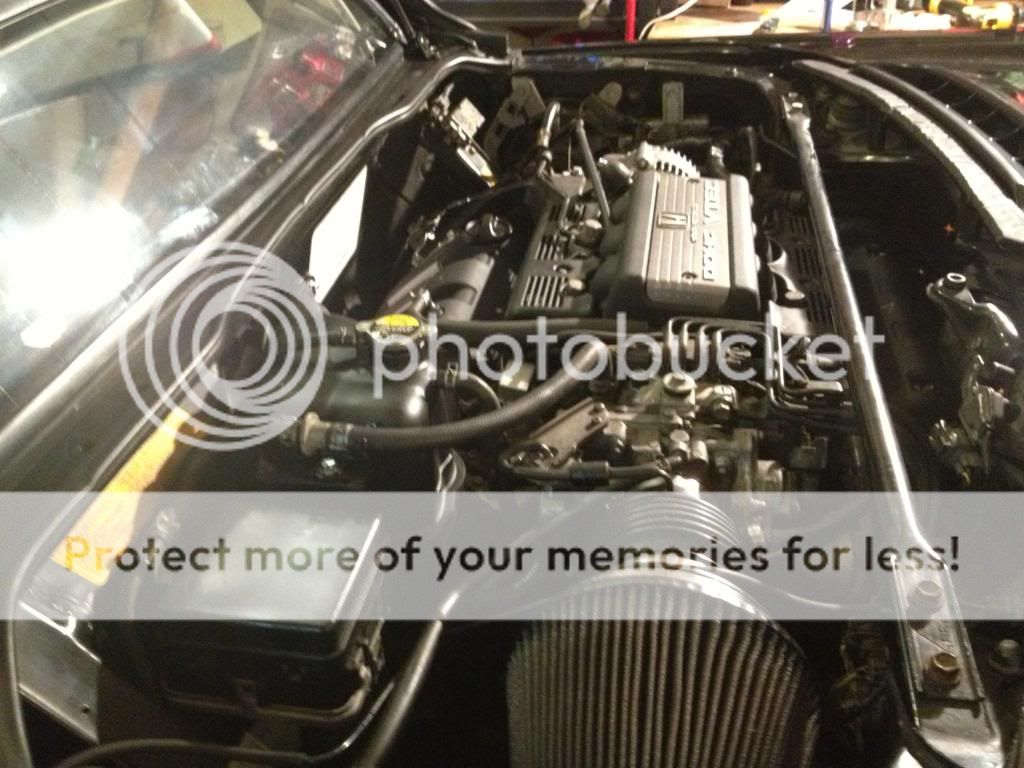
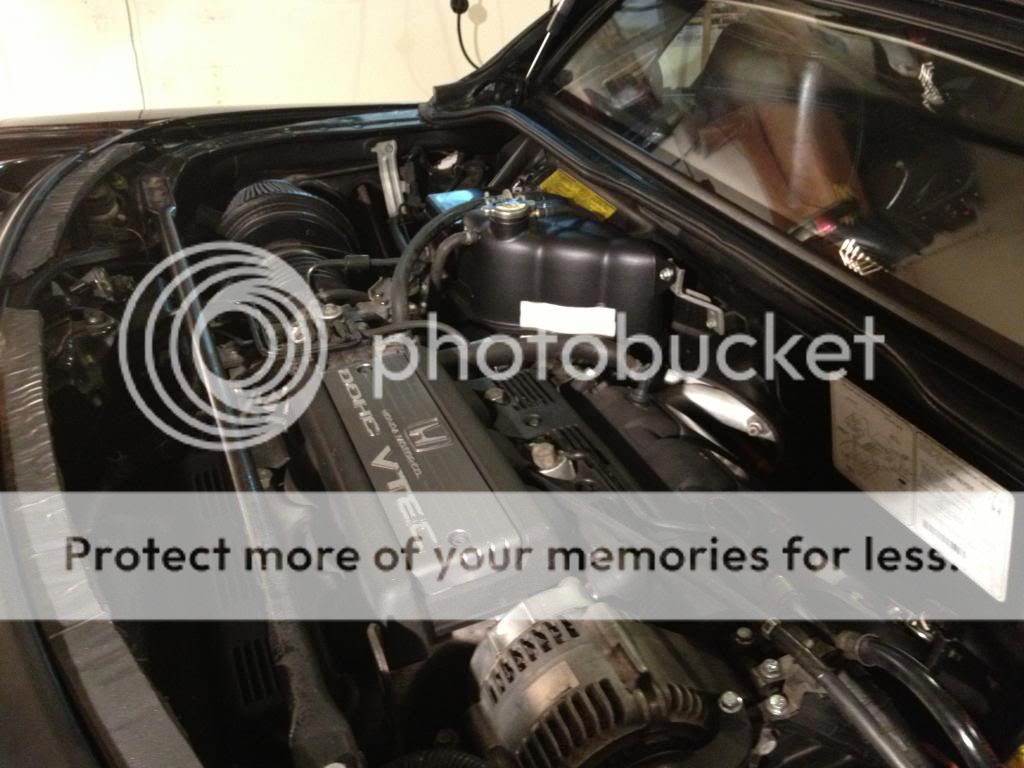
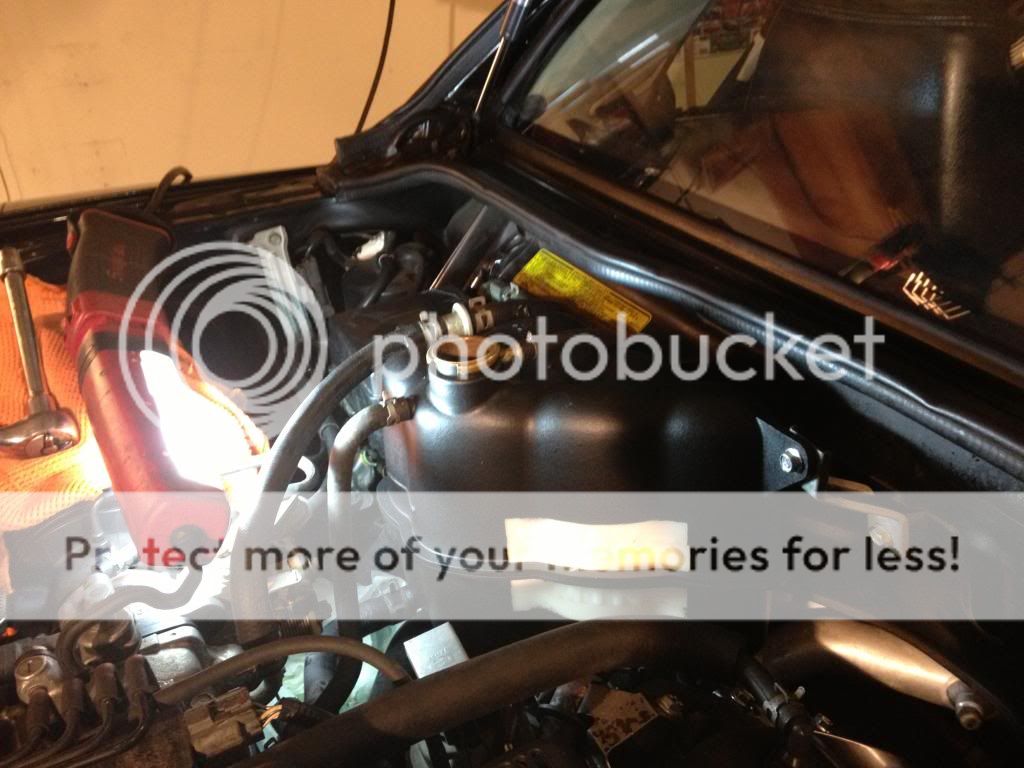
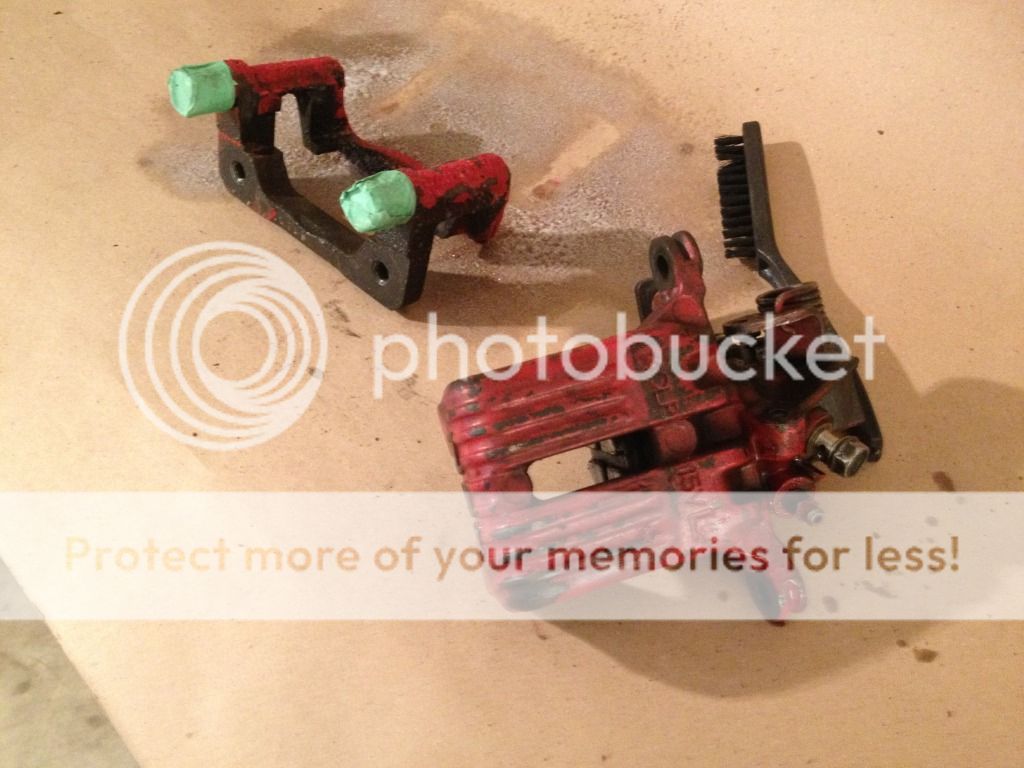
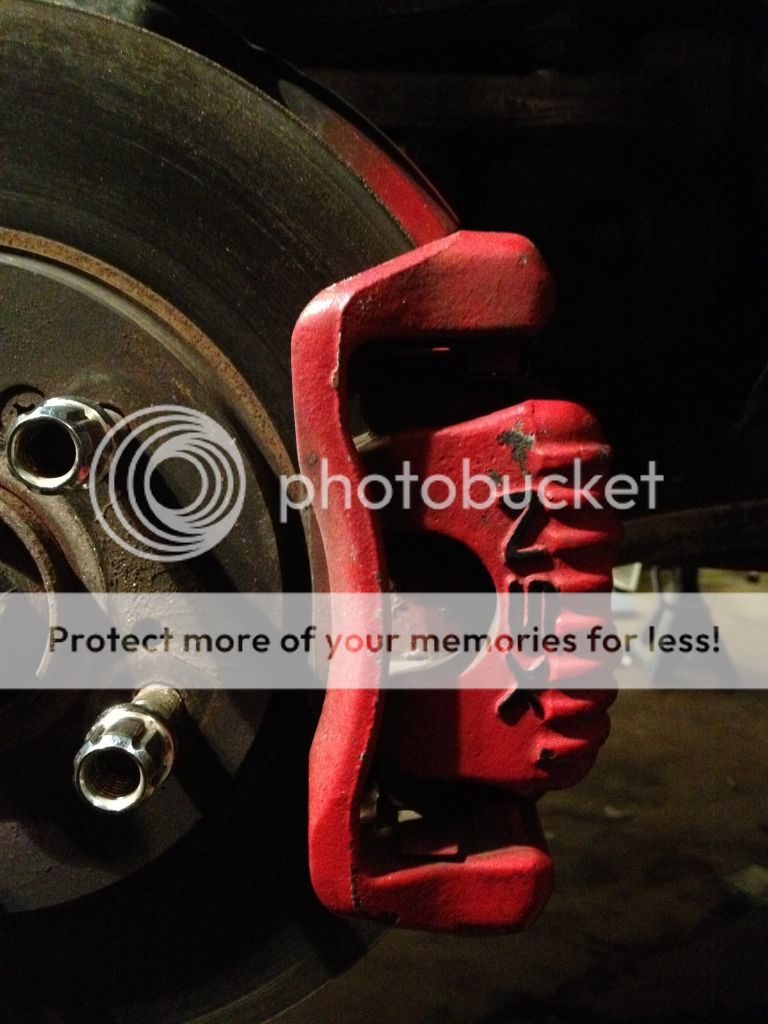
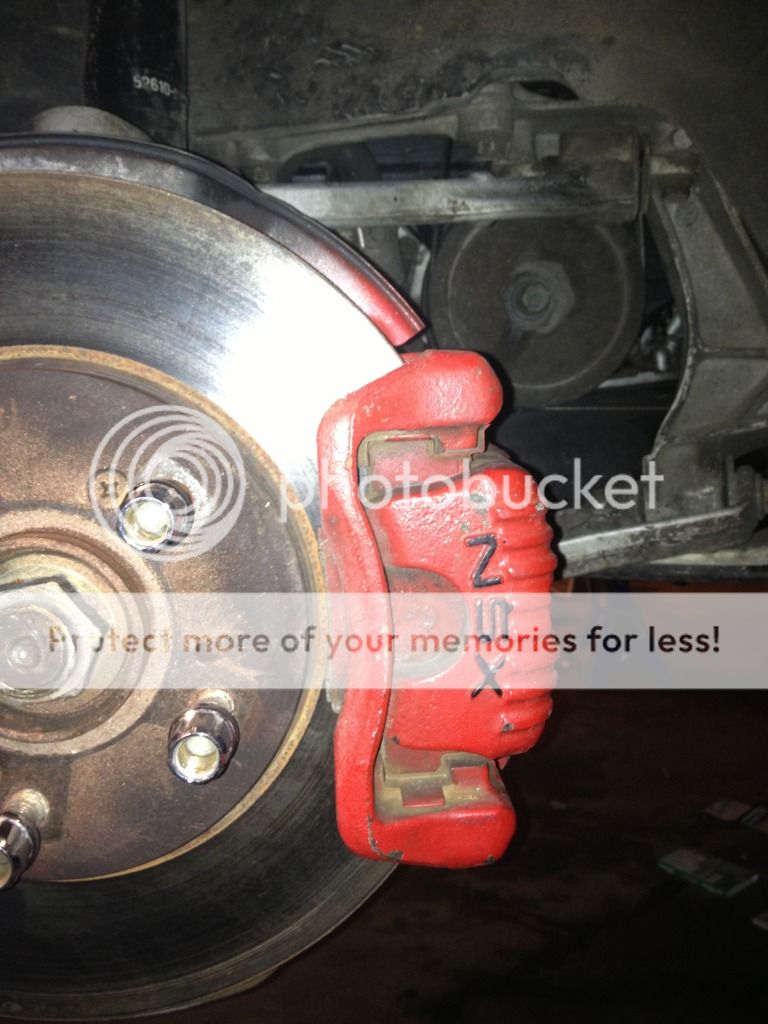
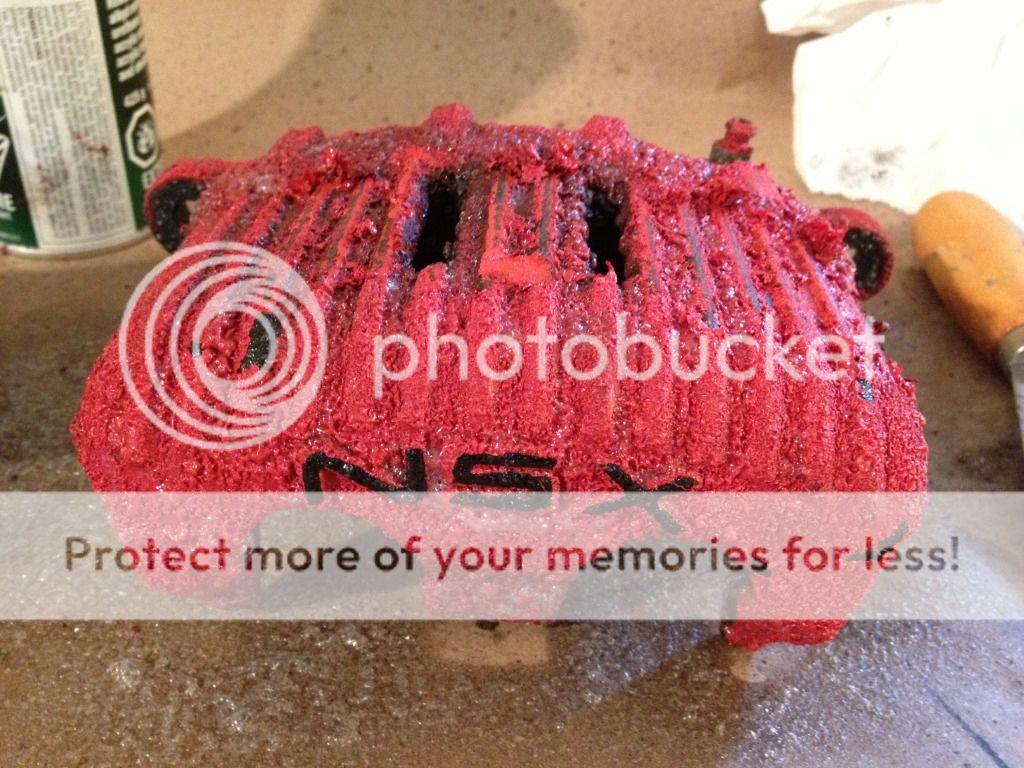
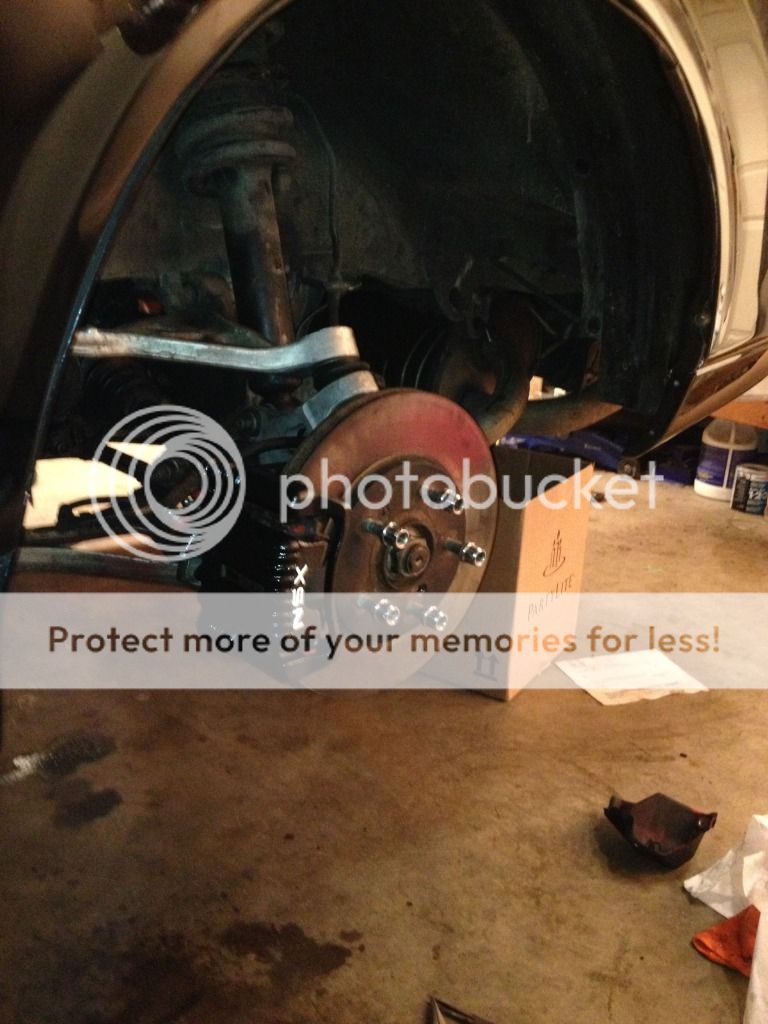
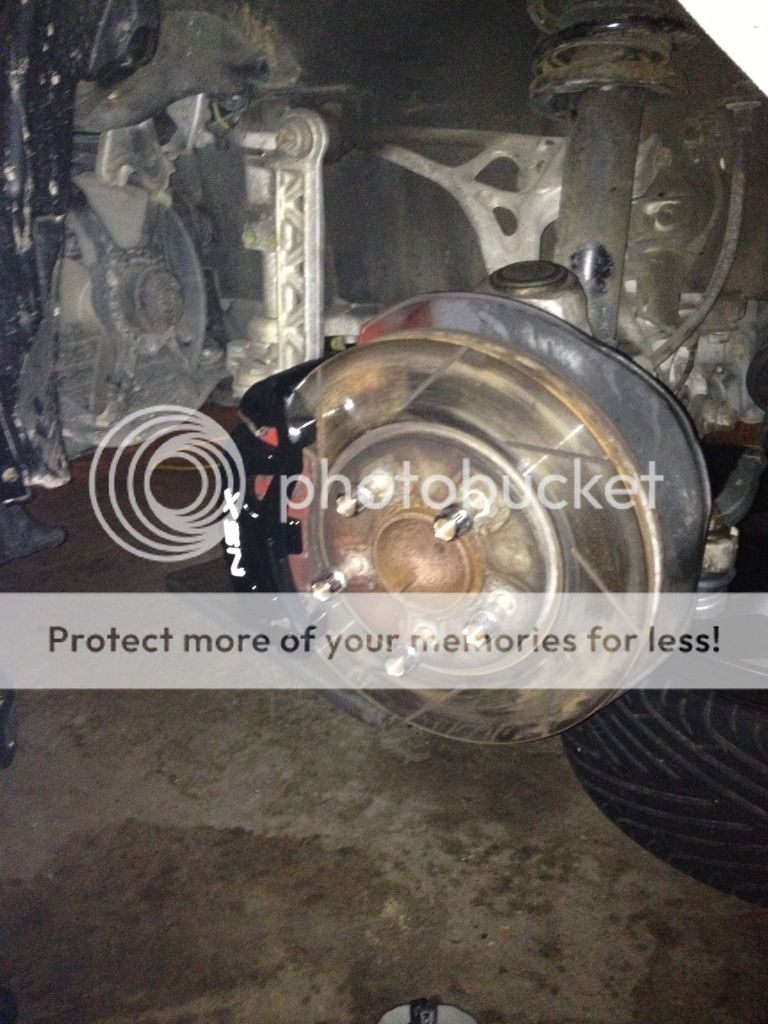
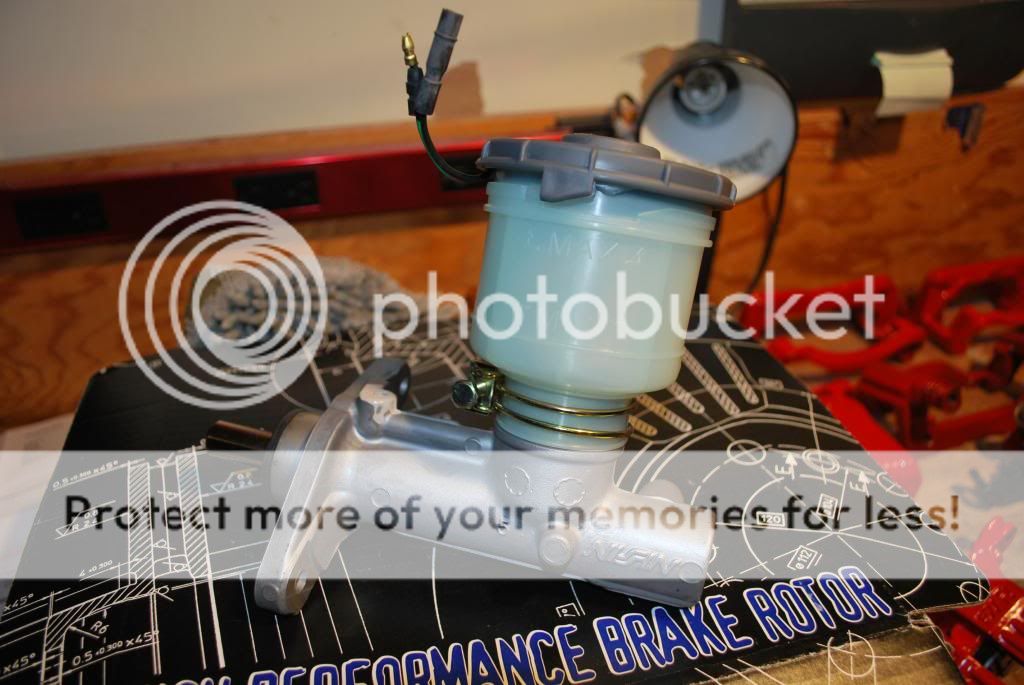
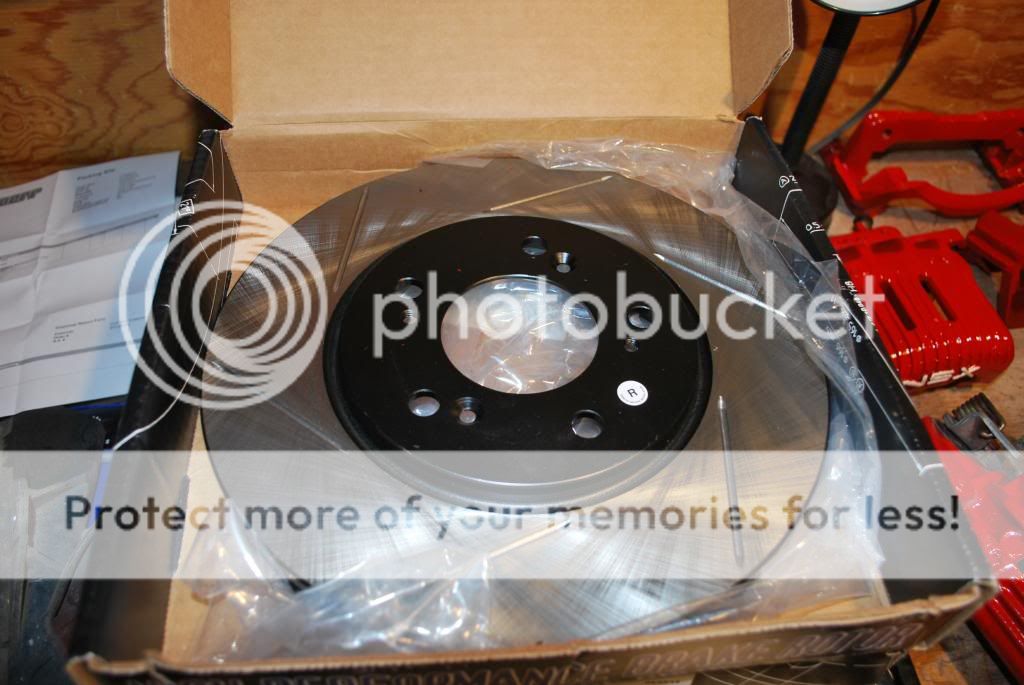
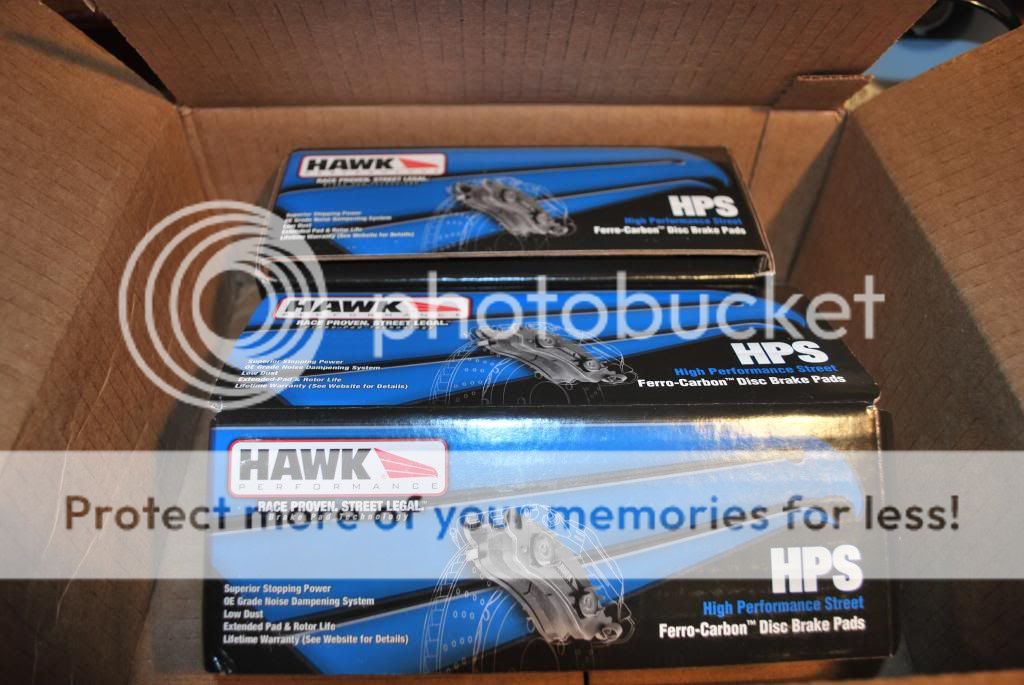
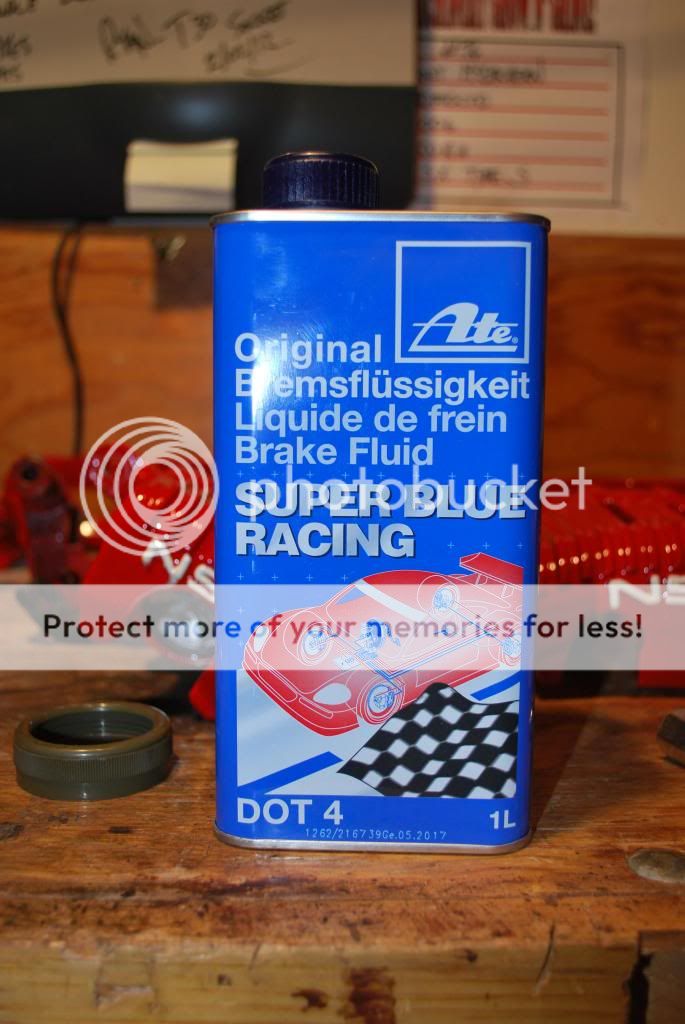
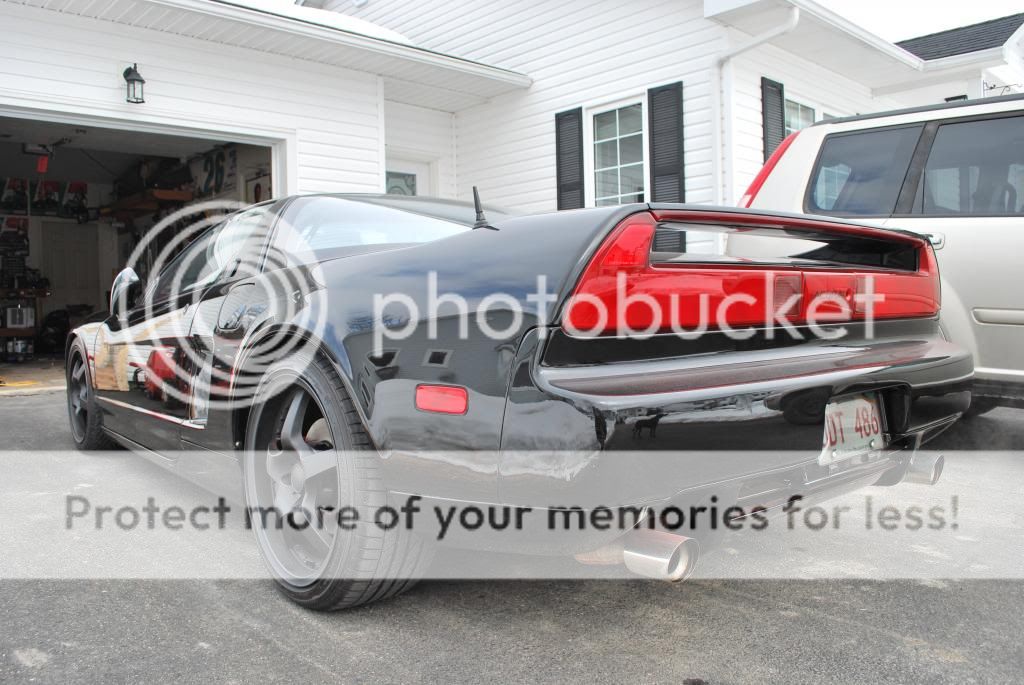
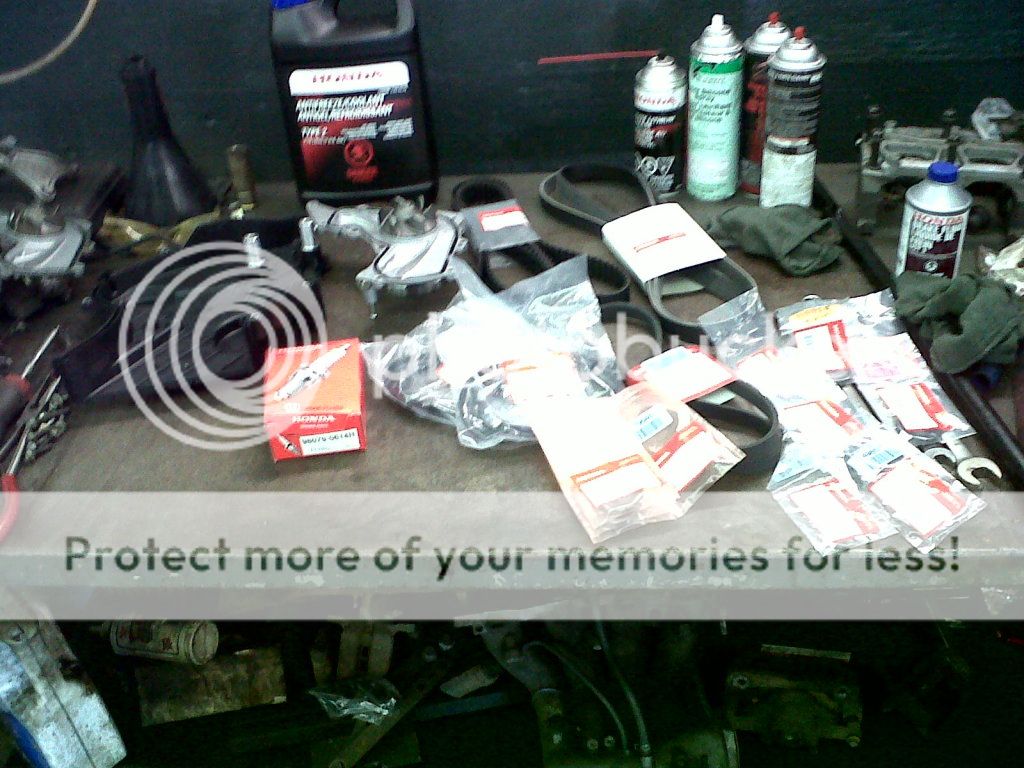
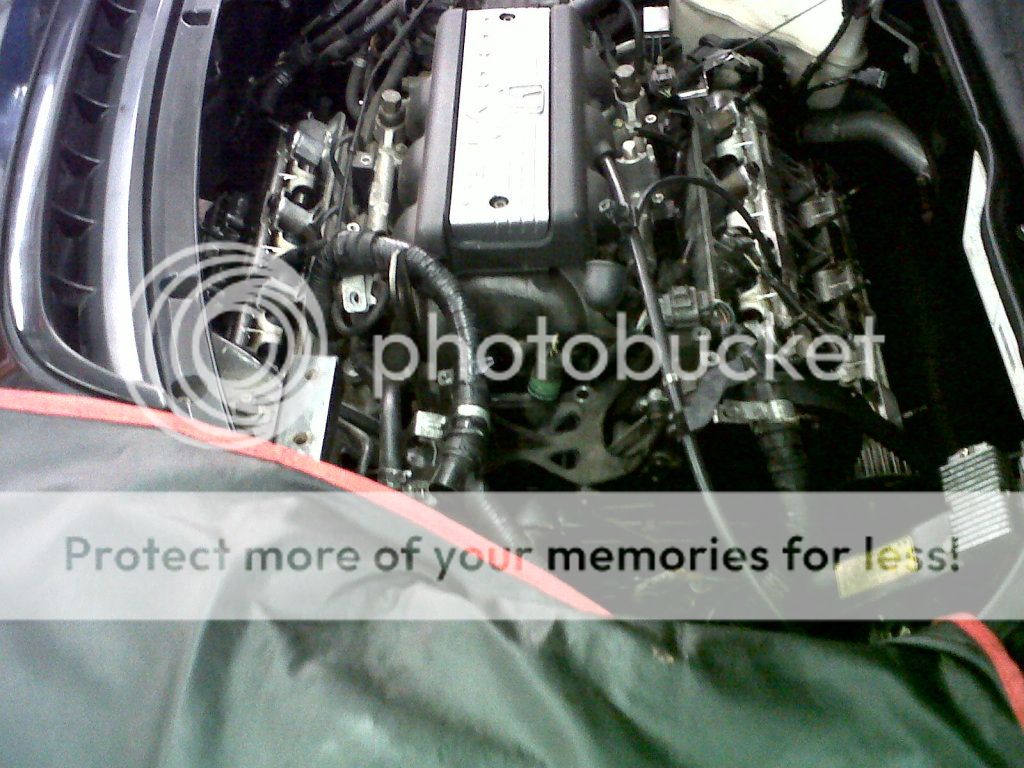
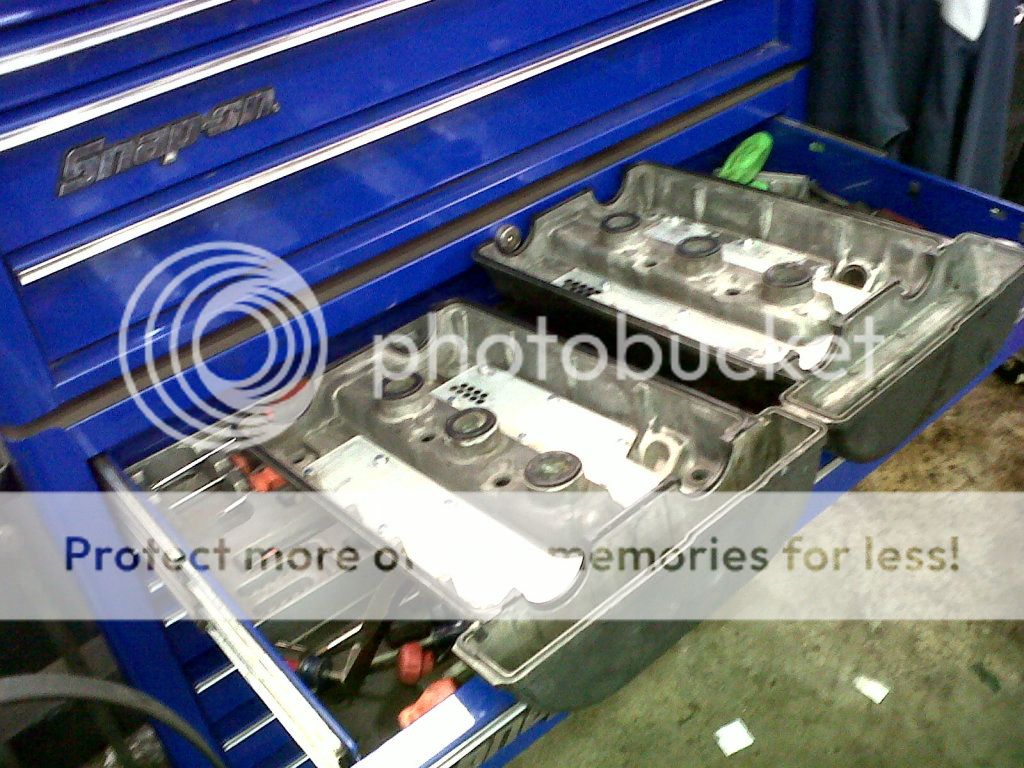
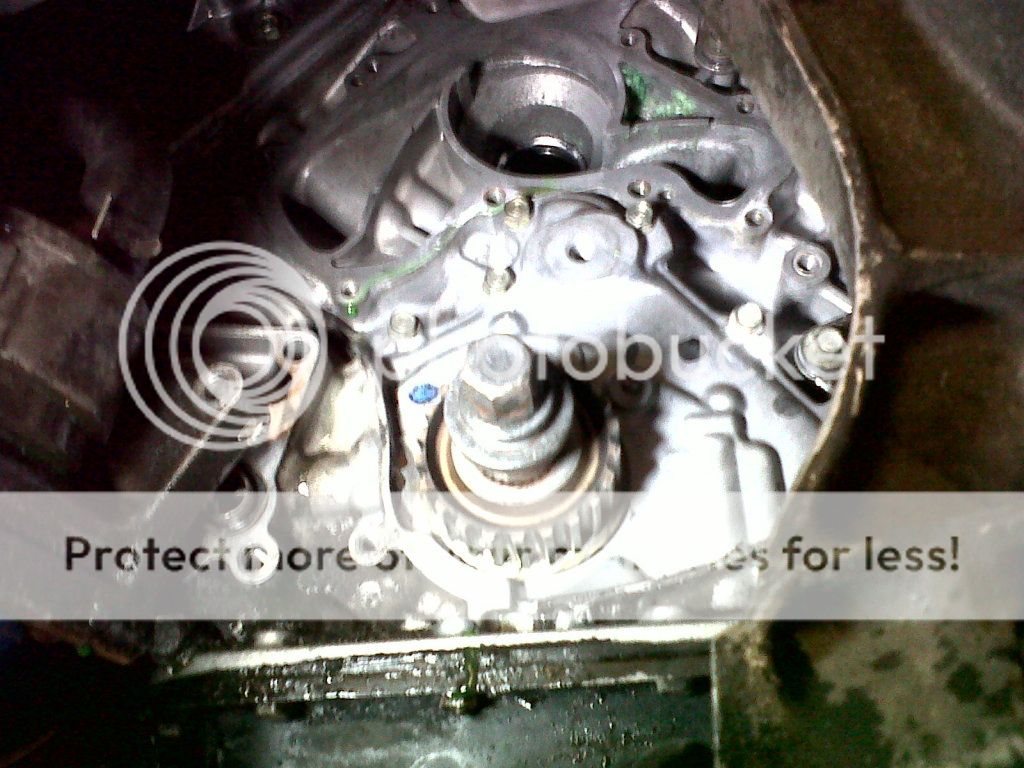
After the detail it was off to Acura for her 90k maintenence which consisted of a new timing belt, water pump, spark plugs, valve adjustment, coolent flush, tranny flush, and brake flush. I also had the Alternator. and AC belts changed.

IMG_0142.jpg


IMG_0141.jpg


IMG_0140.jpg


IMG_0143.jpg


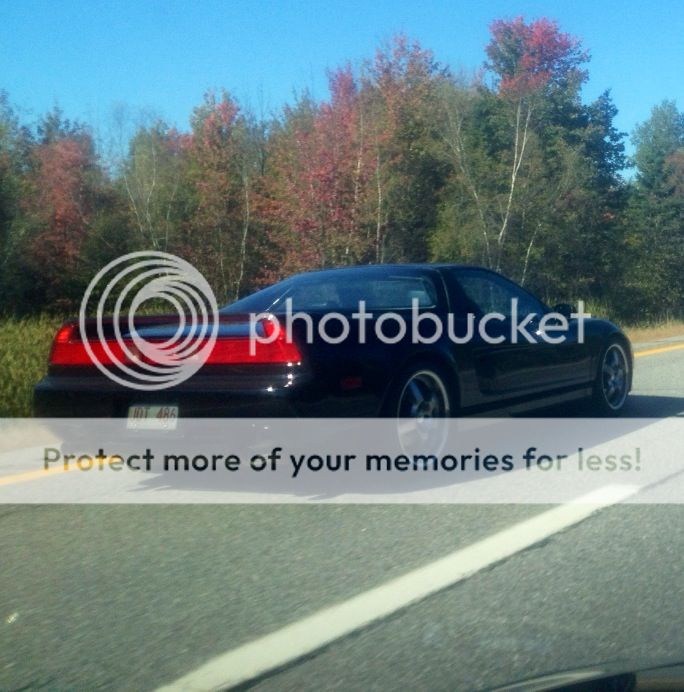
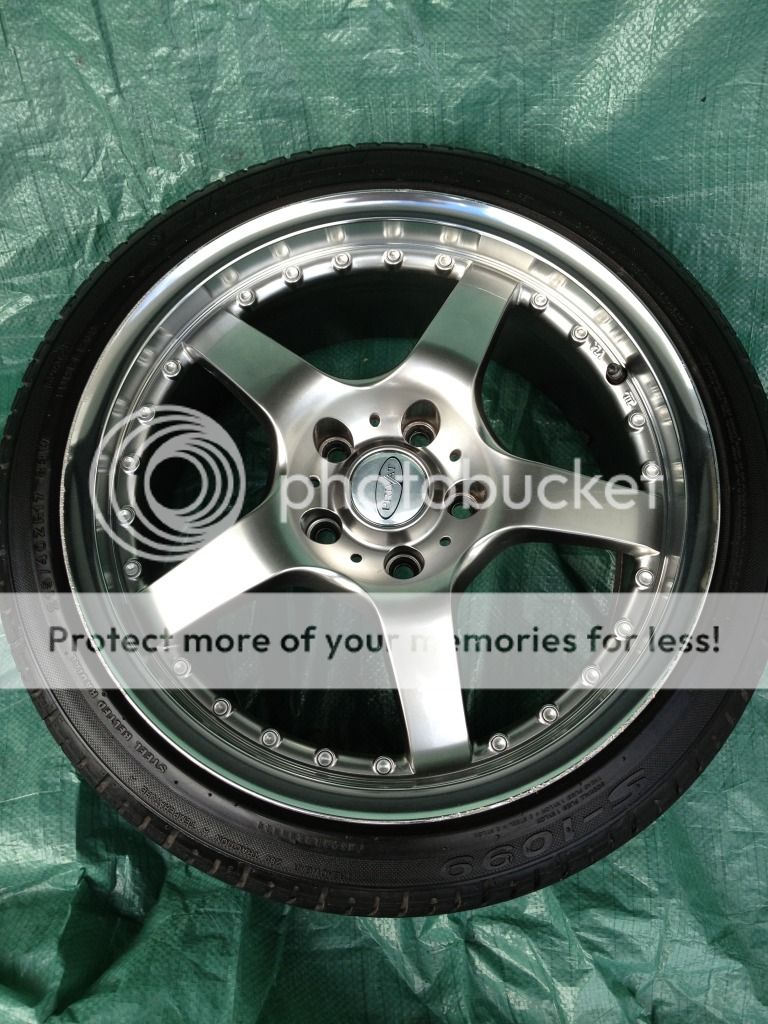
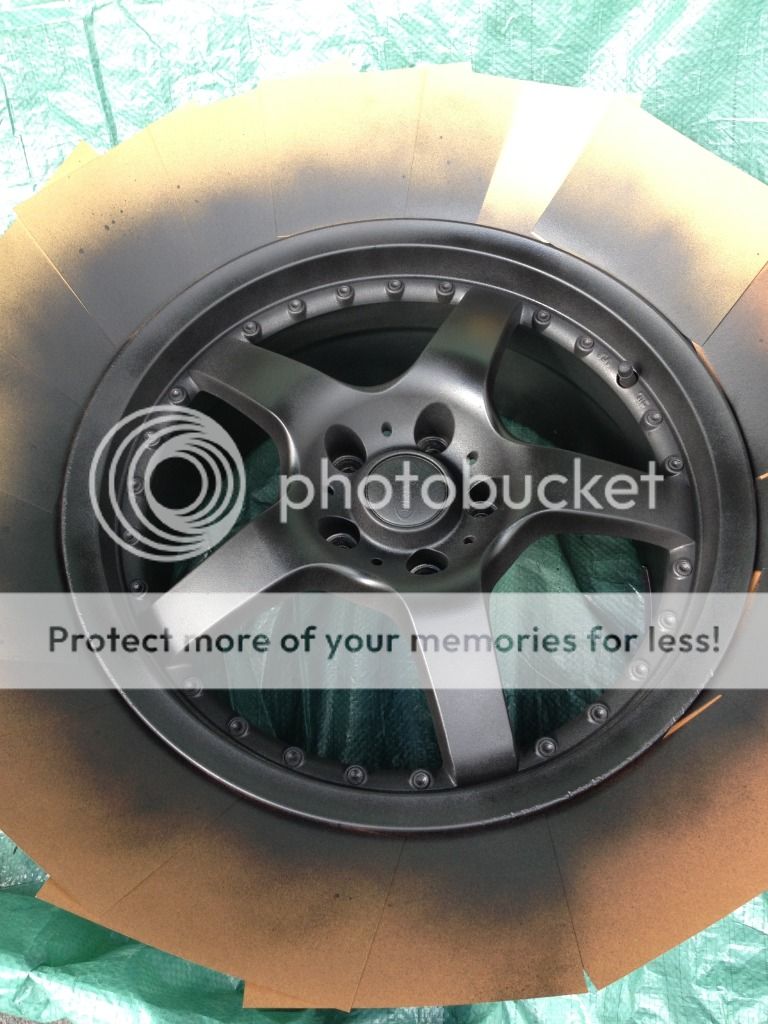
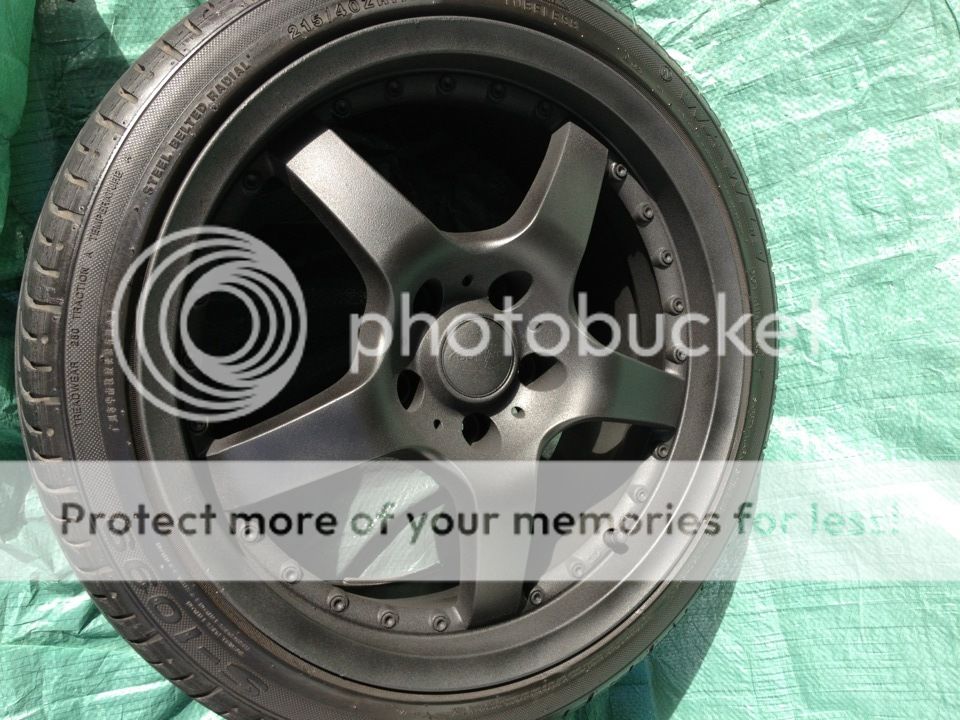
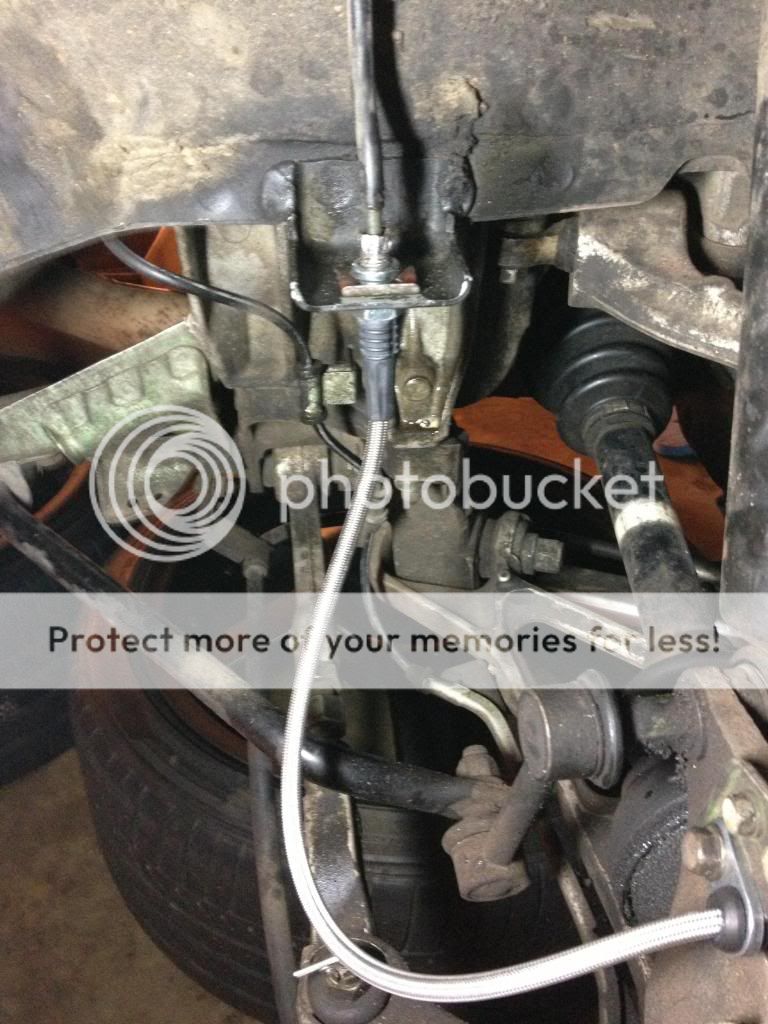
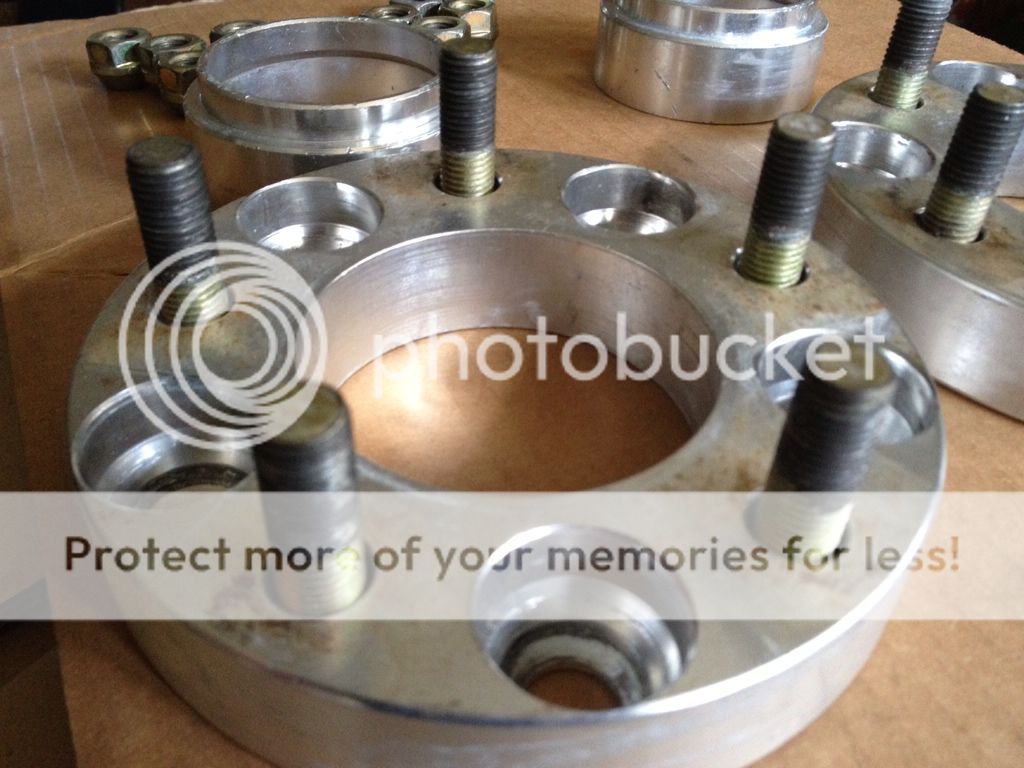
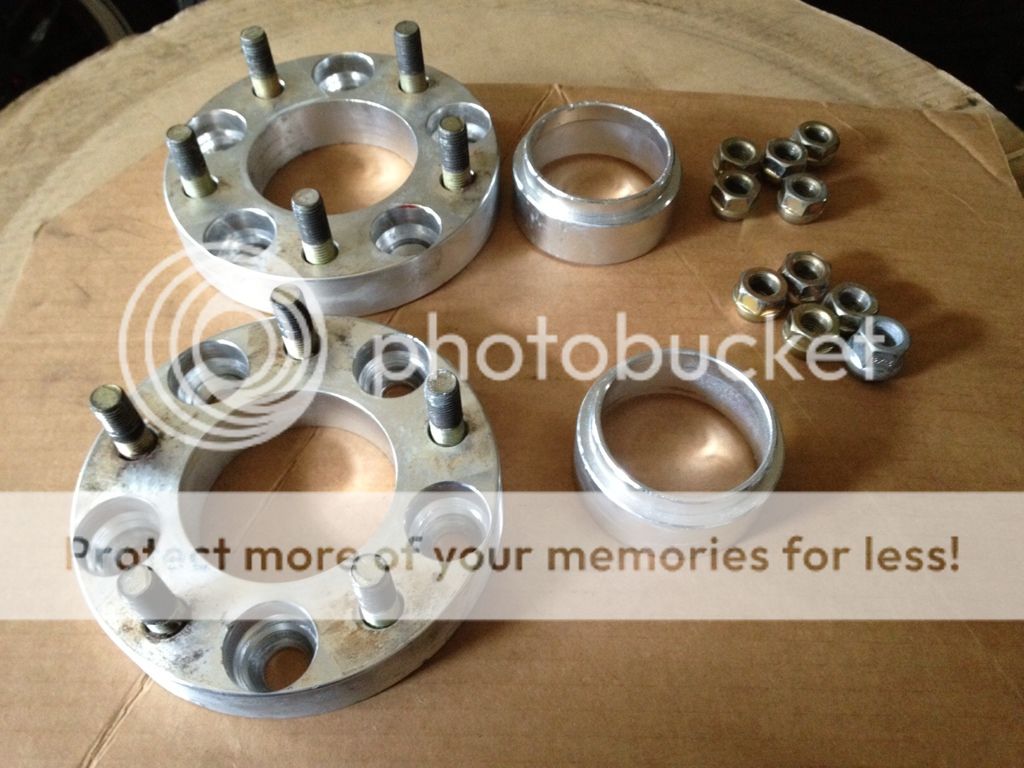
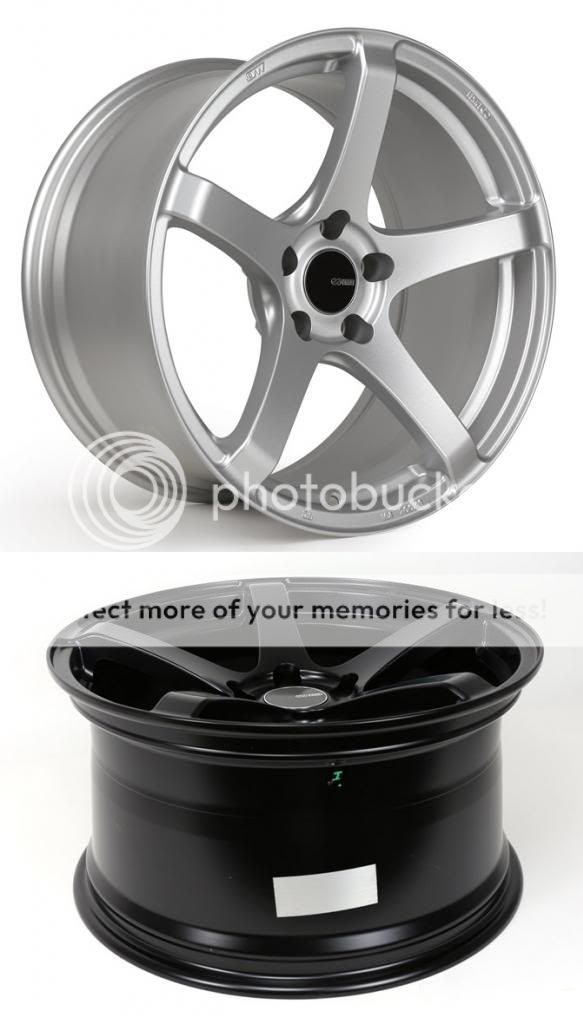
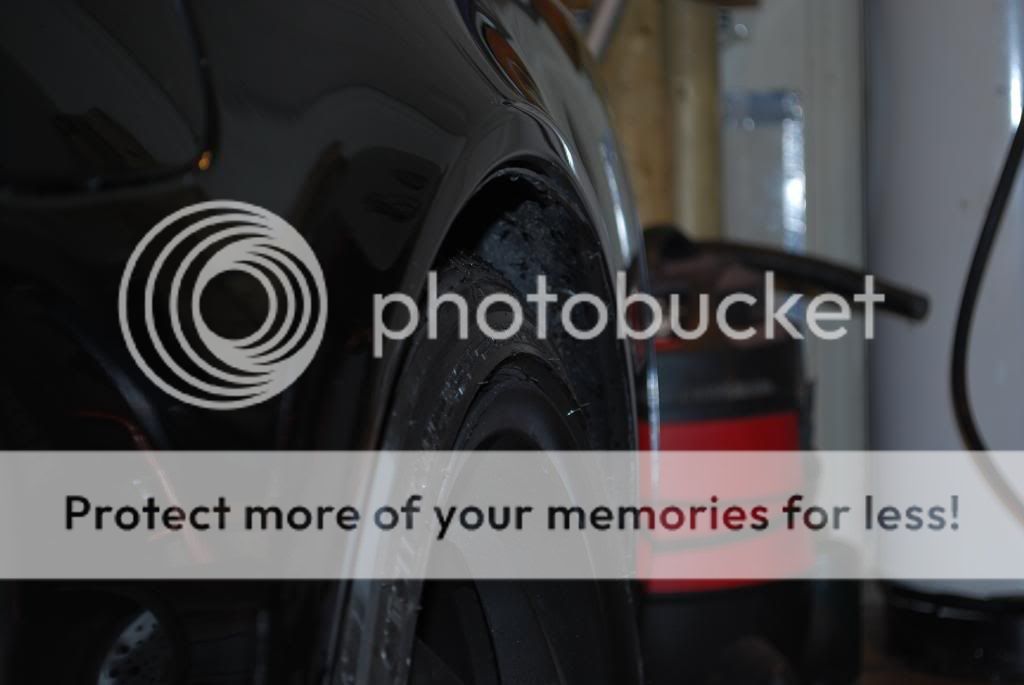
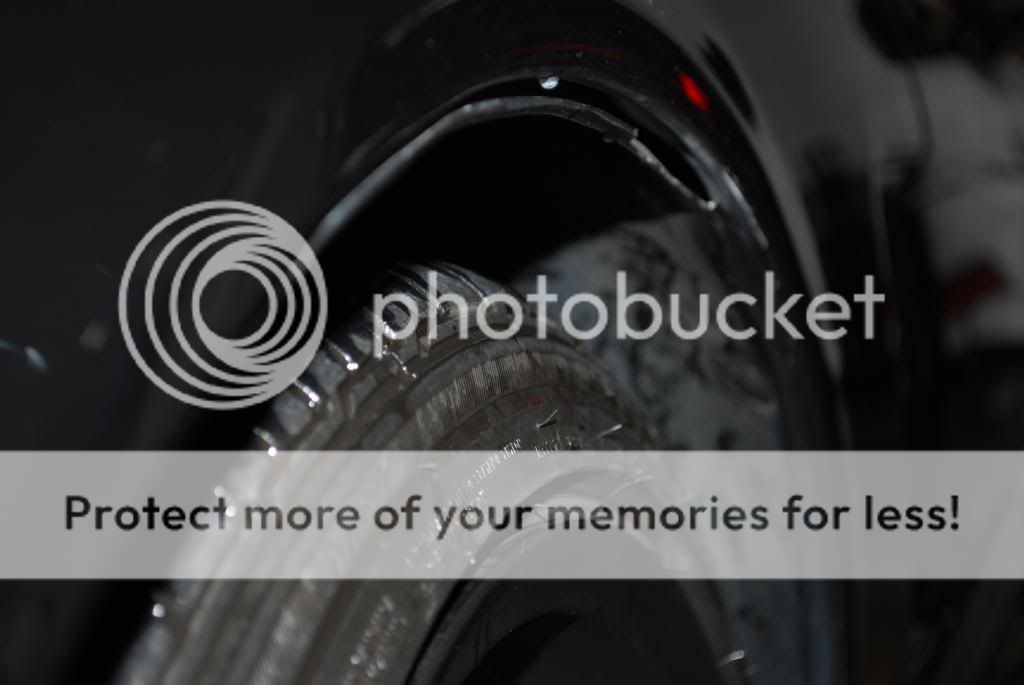
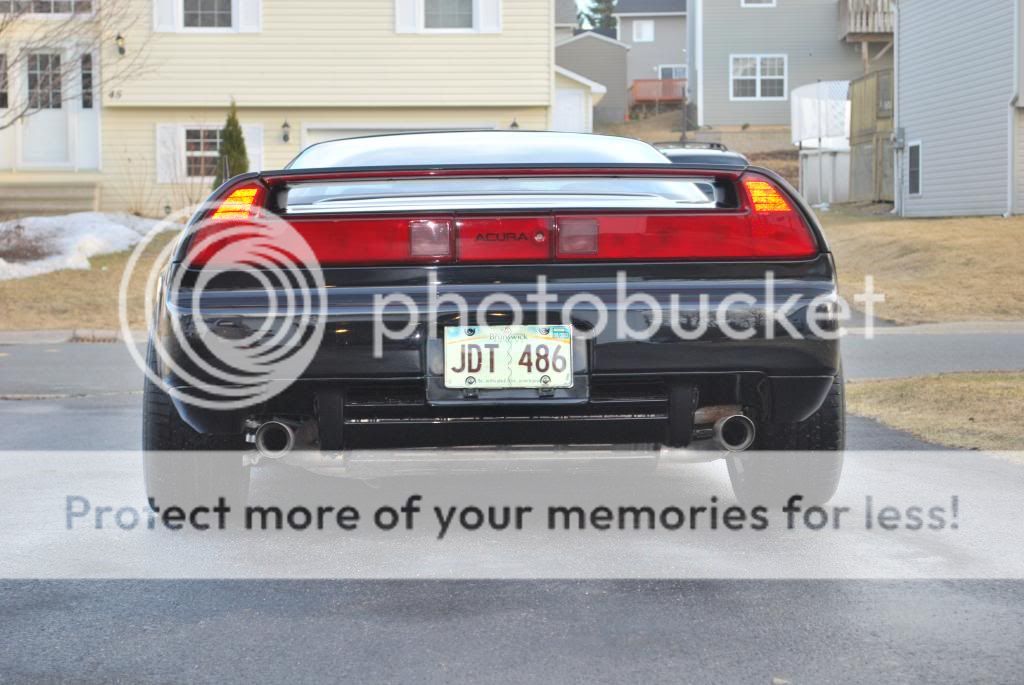
Next up is to just drive it for the summer and enjoy it. I still have a couple leaks that have to get looked at and am also looking for a front OEM lip and OEM wheels.
 
Last edited:
Re: 91' NSX Rejuvenation build

Hahaha, typo. Alternator and AC belts.
 
Re: 91' NSX Rejuvenation build

Bit of an update. Since getting the maintanence done the car has been running really good. The speedometer was going wonky so I replace the sensor which took care of the problem.

I also replaced the monstrosity of an antenna that came on the car. When the radio was on it must have reached upwards to 6 feet. I replaced it with a stubby.

5_zps95b2d2ff.jpg


Then I was preparing her for her first long distance trek to Boston. She ran pretty good other then swaying all over the road. Every rut in the road the car wanted to follow. So we jacked her up and figured out the problem was a bad front left side outter tie rod end and left rear outter ball joint.

12_zps4149cb4f.jpg


11_zpsf875c1f7.jpg


9_zps113bb114.jpg


8_zps147b5b43.jpg


And after 1500+kms this is how she looked once she got to sleep for the night.

10_zps12e48c05.jpg


So the car once again sits up on jack stands and awaits removal and the send off of the knuckle to get a new ball joint installed. Acura doesnt just sell a ball joint, you have to replace the whole knucle/ball joint assembly.


So since the car is up on jack stands

6_zps67f10a55.jpg


7_zpsc0221662.jpg


I decided to change up the wheels a bit. About 10 coats of plastidip later and this is the result.

4_zpsed8a15c8.jpg


1_zpsc13c45f1.jpg


3_zpse4d197b5.jpg


2_zps3aeb45cf.jpg


And here was one taken from DT Fredericton. One of my favorites so far for sure.

264028_10151078882128440_1410904100_n.jpg
 
Re: 91' NSX Rejuvenation build

I would use the glossifier plastidip on the wheels( 3 - 4 coats)
 
Re: 91' NSX Rejuvenation build

I'm a fan of the flat look.
 
Bit of an update. Car is now parked for a long 6 months of hibernation. I replaced the rear wheel bearing, removed the front tie rod end and rear control arm end and ordered up their replacments. Although I am having a bitch of a time getting that metal spacer off the front tie rod end.

I did get to snap some photos with the wheels plastidipped.

IMG_2183.jpg


IMG_2184.jpg


IMG_2185.jpg


IMG_2187.jpg


A little instagram photo editing magic.

IMG_2192.jpg


So over the next 5 months I plan of getting the front bumper repainted and picking up a set of BC Racing coilovers.
 
Last edited:
Any luck w/ the lip? Your car looked like mine when i first got it, looked higher than everyone elses till someone told me my front lip was missing. I picked one up and installed it meself (I know that doesnt say much) for ~$100
 
Any luck w/ the lip? Your car looked like mine when i first got it, looked higher than everyone elses till someone told me my front lip was missing. I picked one up and installed it meself (I know that doesnt say much) for ~$100

Actually I installed my lip yesterday, OEM lip. HAd to go out to Napa and pick up some mounting hardware, but I only had to pay for shipping for the lip. Ill post a pic up soon.
 
Small little update. I decided to plstidip my old yellow/white faded coolent tank. I also removed the interior paneling and cleaned it up a bit.


IMG_2360_zpse6edb4e5.jpg


IMG_2366_zps3e626609.jpg


IMG_2367_zpsa7d28b2c.jpg


IMG_2365_zps519d6a35.jpg


Front lip installed


IMG_2291_zps21d73469.jpg
 
Bit of an update. Decided to redo the brakes as they were chipping, dirty and looked horrible. The PO just spray painted everywhere and there is so much overspray on just about every component in teh wheel well. I feel they turned out "alright" Ill keep them as is for a bit. I may repaint them back to red eventually. On with the pics.

IMG_2531.jpg


IMG_2582.jpg


Aftter a few coats of Aircraft paint stripper.

IMG_2581.jpg


IMG_2534.jpg


IMG_2567.jpg


IMG_2578.jpg


IMG_2580.jpg


IMG_2586.jpg


IMG_2588.jpg


Ive decided to not go ahead with the coilovers yet and upgrade my rotors, pads, fluid, and SS lines.
 
Bit of an update.

I received my Brake Master Cylinder from A.S. Motorsport and my Brake upgrade from Machine-Motorsports last week. PowerSlot Rotors, Hawk HPS Pads, ATE Blue Fluid. I also ordered up a set of Stainless Steel lines off of Ebay.

I also ordered BuddyClub's Race Spec Coilover system. I will post pics of those once they arrive on Tuesday.

On with the pics.

DSC_0921_zps6ed4c56f.jpg


DSC_0919_zps44fb6ca4.jpg


DSC_0917_zpsc8195929.jpg


DSC_0916_zps532e29d2.jpg


IMG_2739_zps7e8495f3.jpg


I decided that I didnt like the calipers in black, so I started all over again and repainted them red. Im much happier now.
DSC_0918_zps526ec29b.jpg
 
Last edited:
Pics of the coils as promised. The quality seem great. Only problem is that the instructions are in Japenease.

DSC_0922_zpsd3f3238c.jpg


DSC_0924_zps4f85561f.jpg


DSC_0931_zpsaf3ec6cd.jpg


DSC_0926_zps109e8e94.jpg
 
Got everything in and hooked up...... for the most part. The front coils are giving me some troubles. They are super close to the control arms. Im hoping after the car is lowered then they will clear with more room.

On with the pics.

DSC_0969_zps54eea007.jpg


DSC_0970_zps73b04d51.jpg


DSC_0971_zpsf25488d1.jpg


DSC_0972_zps0b0d62fb.jpg


DSC_0973_zpsadc655a3.jpg


DSC_0974_zps37c07f1c.jpg


DSC_0975_zps77f2ac17.jpg
 
Update. Took the car for its first drive of the year. All of 500 meters or so. We got the suspension installed on the car, however its not dialed in yet. Next is hopefully new wheels and tires, and have a good 4 months of driving before the big move. to Germany

On with a few pics.

DSC_0148_zpsf9627206.jpg


DSC_0146_zpsc0cbc312.jpg


DSC_0145_zps5b66965e.jpg


DSC_0150_zpsa1658d39.jpg


DSC_0149_zps6b9f76c0.jpg
 
Bit of a small update.
After a lot of research there are not a lot of tire options remaining in NSX sizes (without setting off ABS/TCS lights). I have decided to just purchase a set of front tires for the time being, seeing how my rears are still in great shape. I went with the Yokohama S. Drives. I read some great reviews and seeing how they are fairly priced I decided to pick them up. They also make the size I want for the rear 265/35/18, so that will be good for when its time to order rears.
I also picked up a new right side front tie rod end and a set of 25mm spacers to hold me off until my rims reach state side for me to purchase. I decided to go with Enkei's new release for 2013. The Kojin in 17x8 +35, and 18x9.5 +30.
That's it for now. Hopefully inspection early next week and I'll be driving it once the snow all melts up.
D1012C40-C23A-4AEE-AD2B-E4229F14B089-15362-0000043FB8D5999B_zps1e6b70cb.jpg

5E1992E7-E04E-4BE9-AB11-C8C9A297A2B8-15362-0000043FAA3BD067_zps8538bfd7.jpg

s_drive_zpsed8cdd7e.jpg

kojin-silver-black_zps6ba2f5b1.jpg
 
Added the 25mm spacers in the rear and 15mm spacers in the front last night. Also installed the new tie rod end. Just waiting for the alignment tomorrow and then shes ready for SpeedSport and summer.

I still think the rear has to come down a bit and maybe the front end up a bit.

Pics!

Before:
DSC_0548_zpsa585ec2a.jpg


DSC_0551_zps4dc44e7f.jpg


DSC_0552_zps1cd76205.jpg


DSC_0553_zpsd4441d20.jpg


After:

DSC_0560_zpsde9454dc.jpg


DSC_0562_zpscc443e7e.jpg


DSC_0564_zpsc7969a37.jpg


DSC_0557_zps88518819.jpg
 
Back
Top