• Protip: Profile posts are public! Use Conversations to message other members privately. Everyone can see the content of a profile post.

This is how I want my "ish" build thread 1997 NSX

The install was a major pain in my ass.. but, the sound is terrific despite what others report to as the nsx being horrifically designed for sound. My system sounds great inside the car, it just doesnt shake the block from outside... which.. in my opinion is a great thing. I ran the speaker wires and remote power through the grommet located passenger outside shoulder area. The power comes from the fuse box in the engine bay.


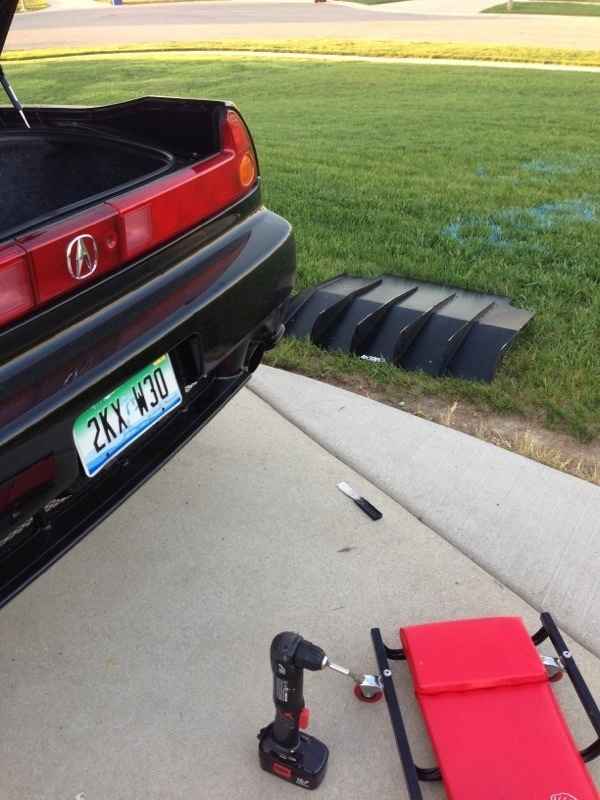
Okay, the Seibon rear valance support brace project has begun.

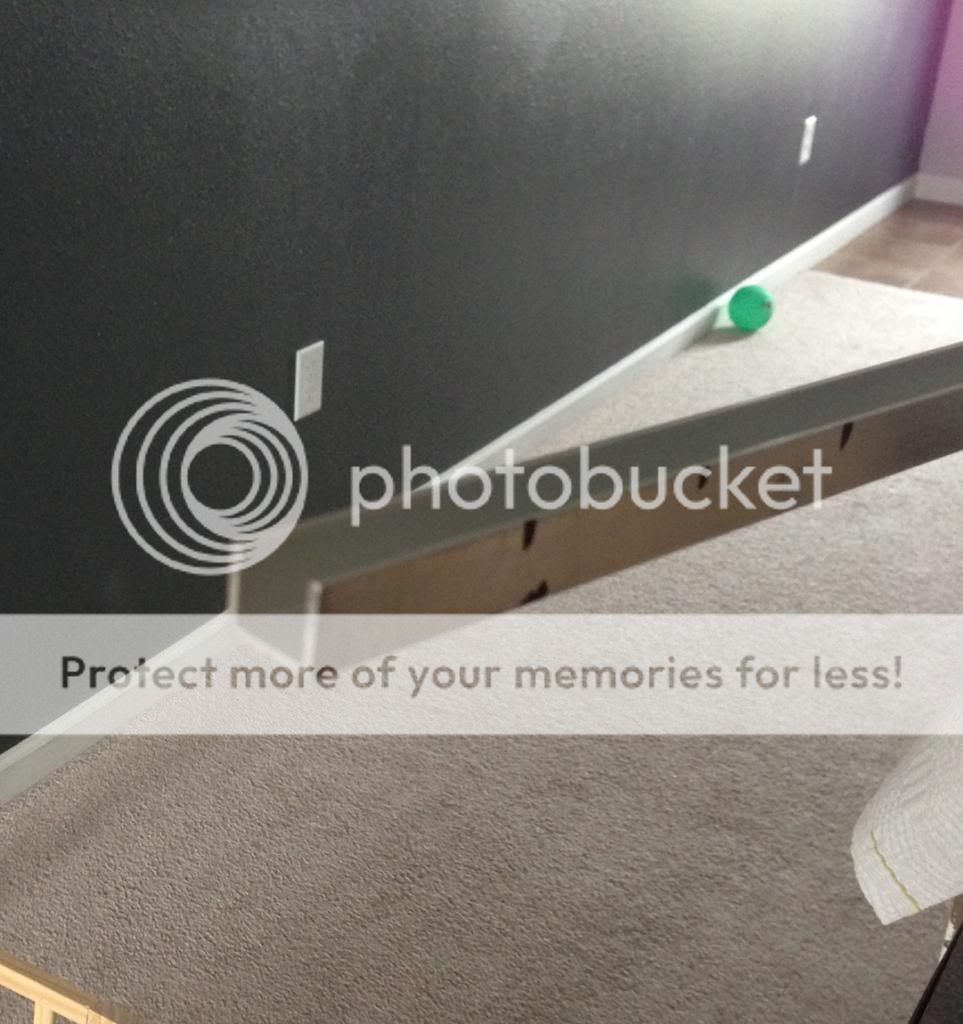
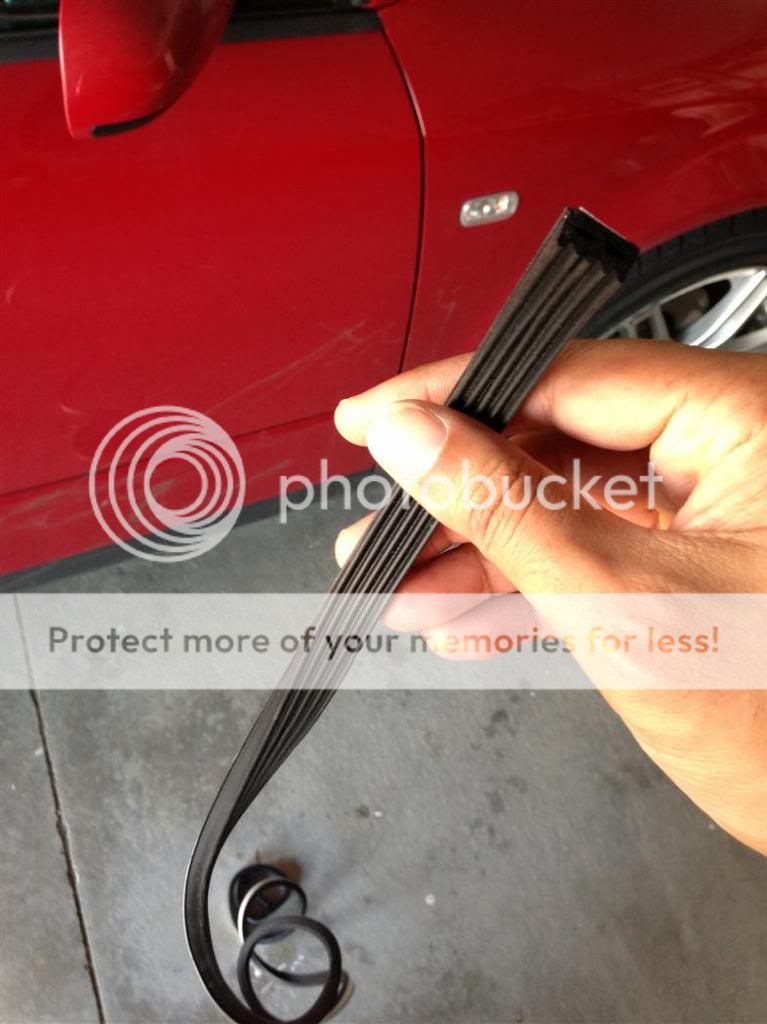
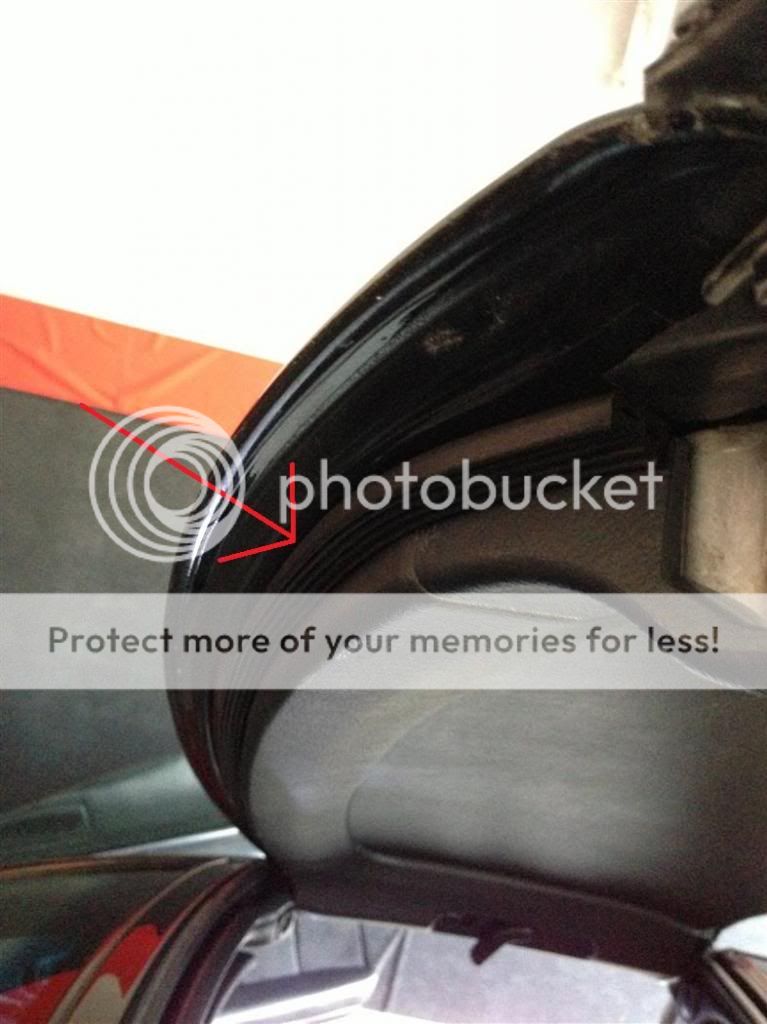
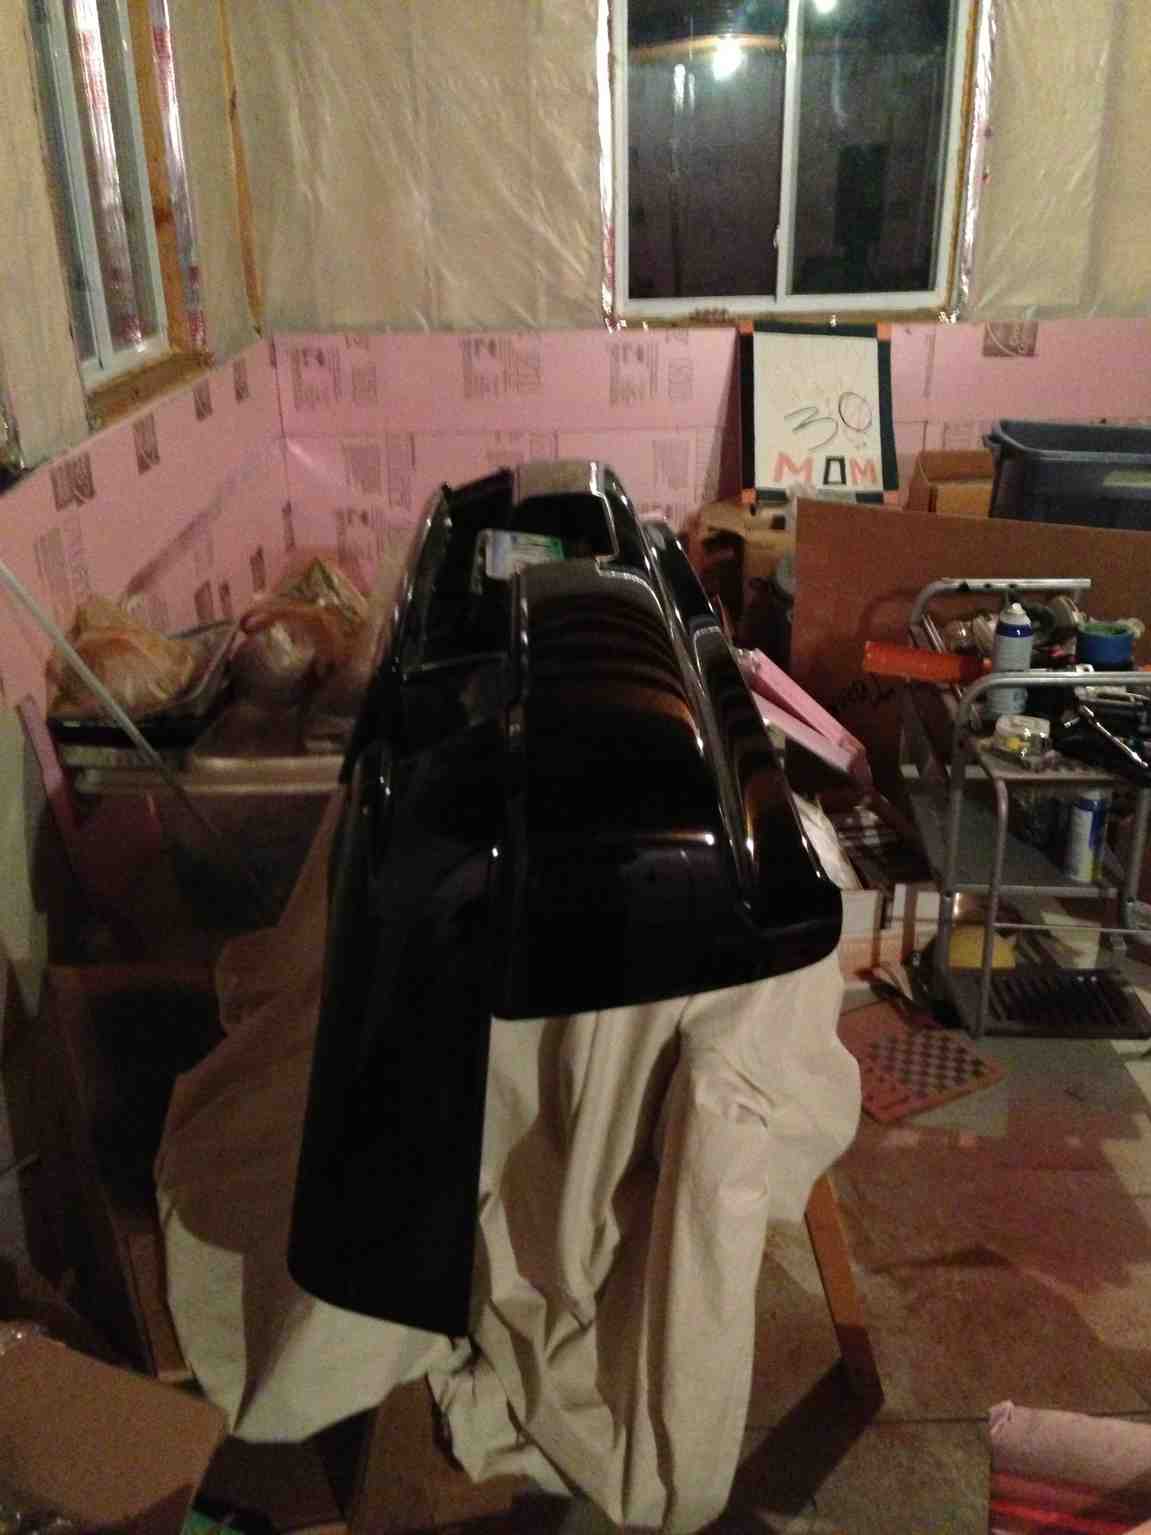
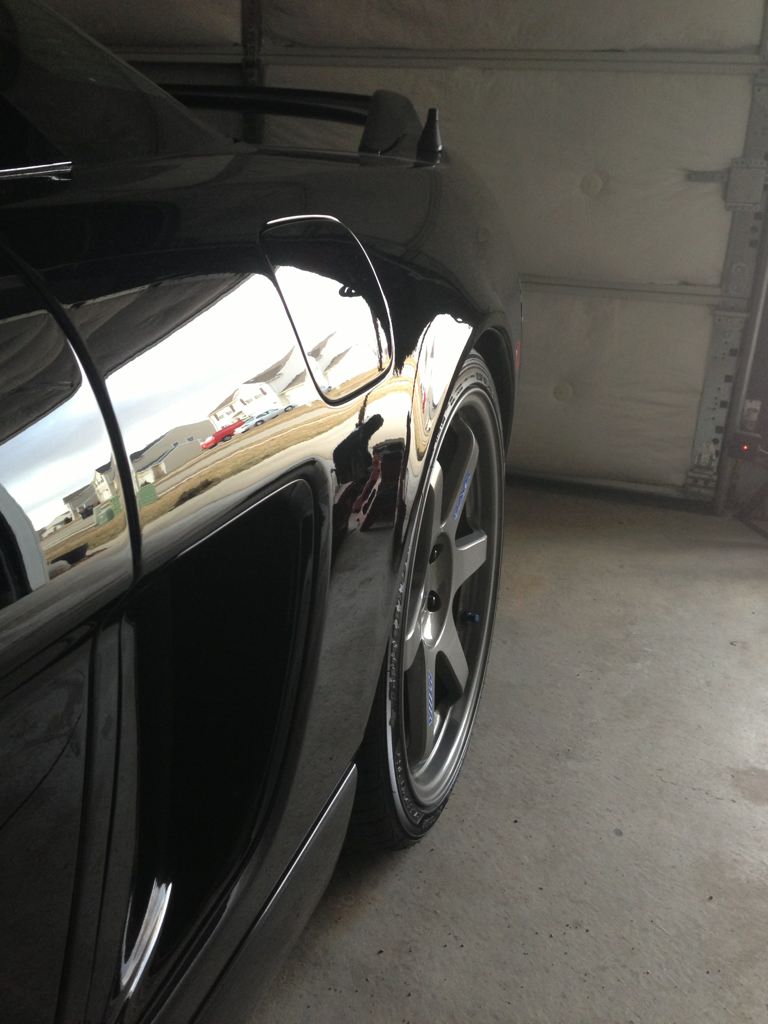
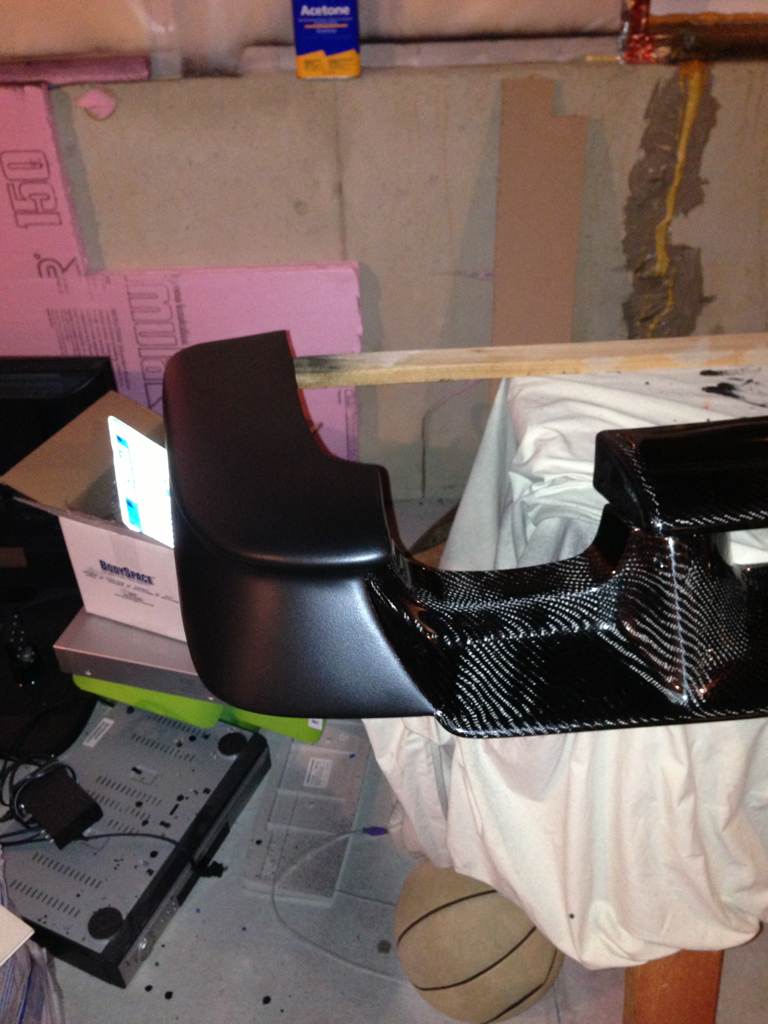
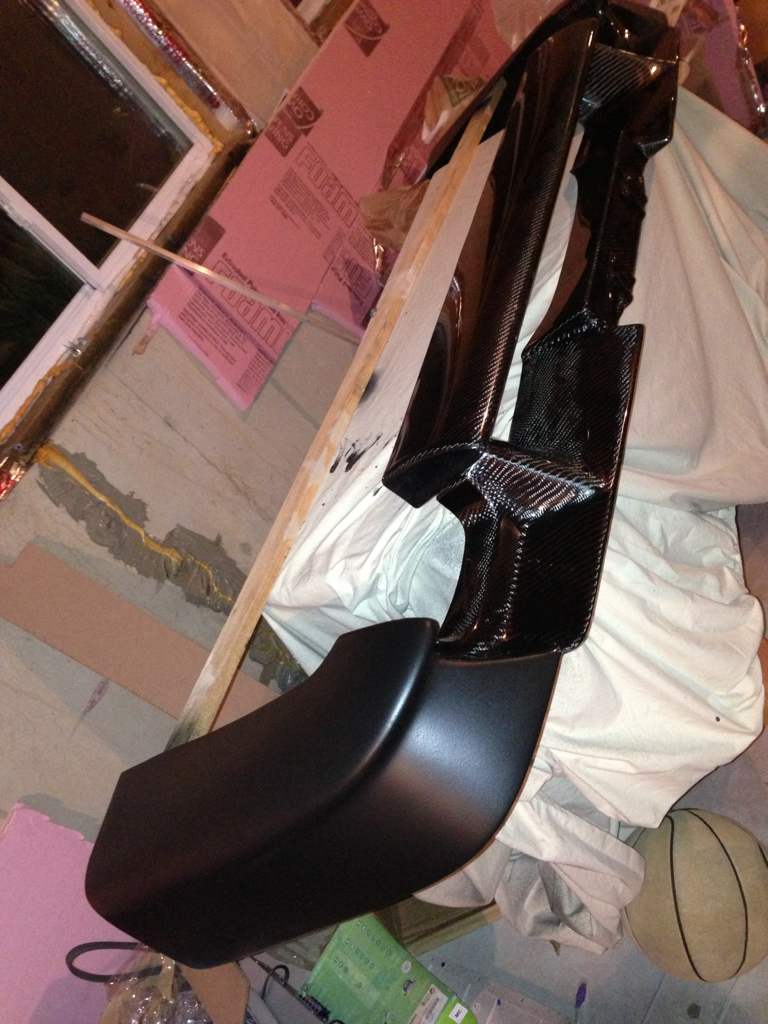
As advertised, the Seibon rear valance isn't a perfect anything.. it is however very pretty to look at in the sunlight.
7F40E594-A39F-48C3-965E-B3F2D9D65486-3345-00000485B1E6C69A_zpsfc8934e4.jpg

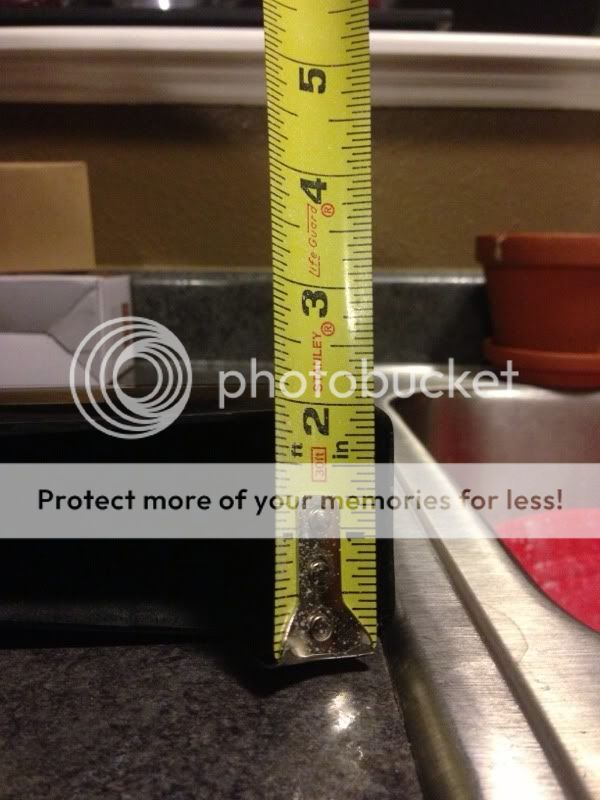
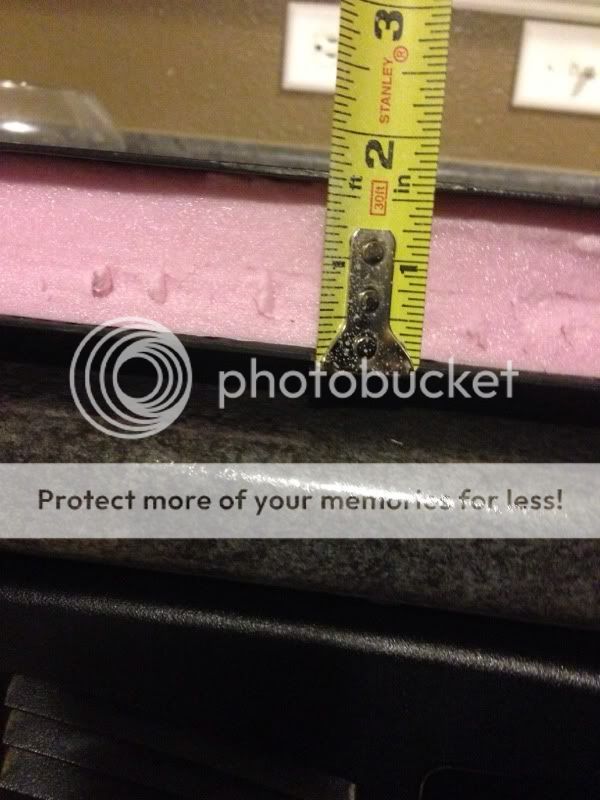
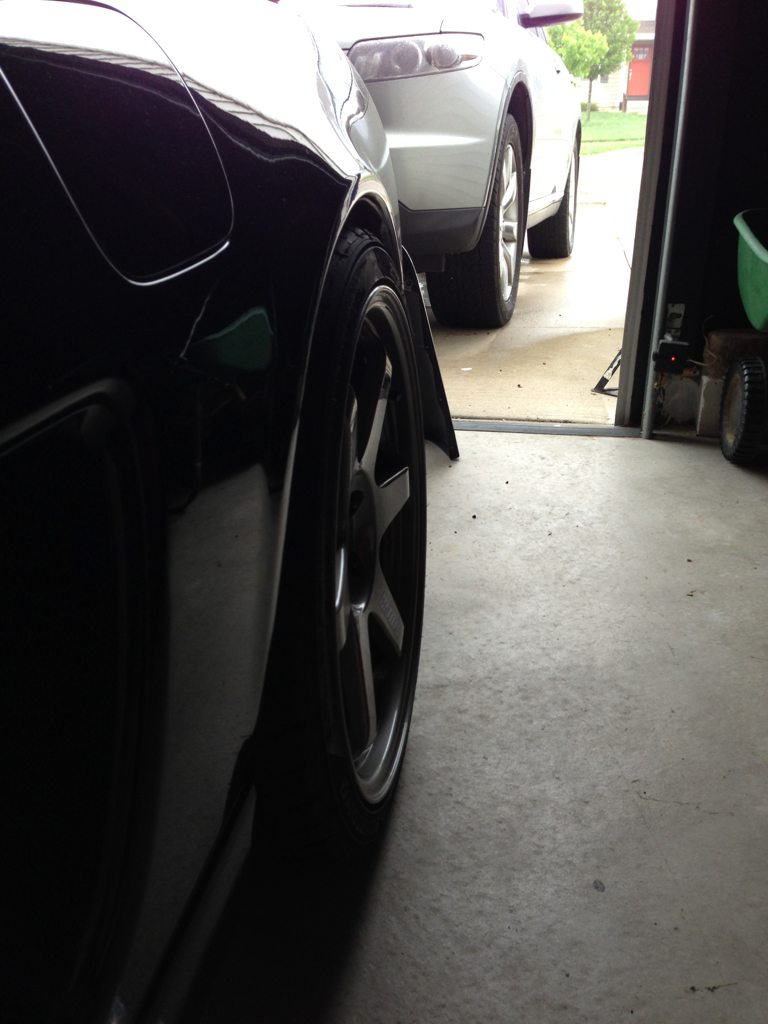
There is a 2" gap on the edges, but the middle drops to about 1". After poking around the house looking for something to even out the sag from the mould, a light bulb went on.

4D4B425D-0833-47BD-A474-B10FBC8C8070-3345-00000485B4286C22_zps487bd026.jpg

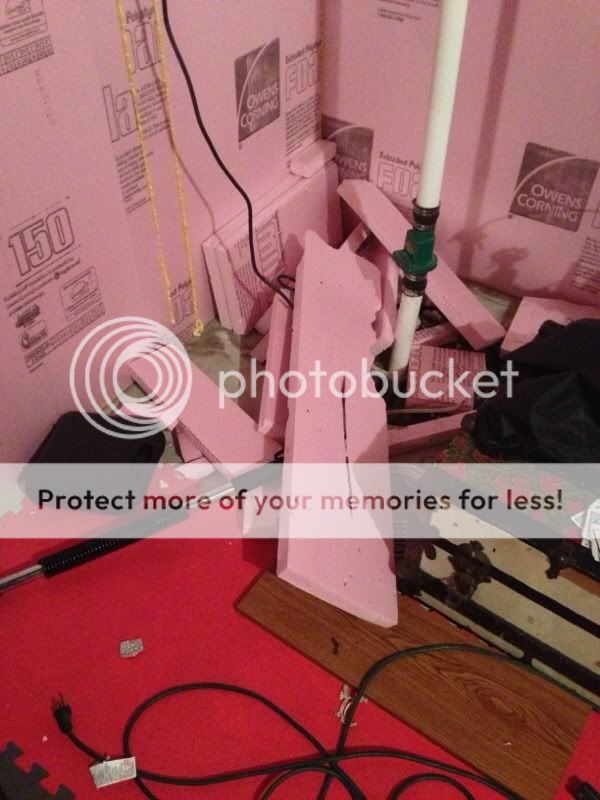
Hey, I have lots of scrap 2" foam insulation board in the basement. I bet that would fit the gap perfect..

C7E74F6F-237E-4F82-8B70-D0EC5574BC0D-3345-00000485B48F36C8_zpsa2bf21d3.jpg

Well, it didnt quite fill the gap up but it did trigger another idea...

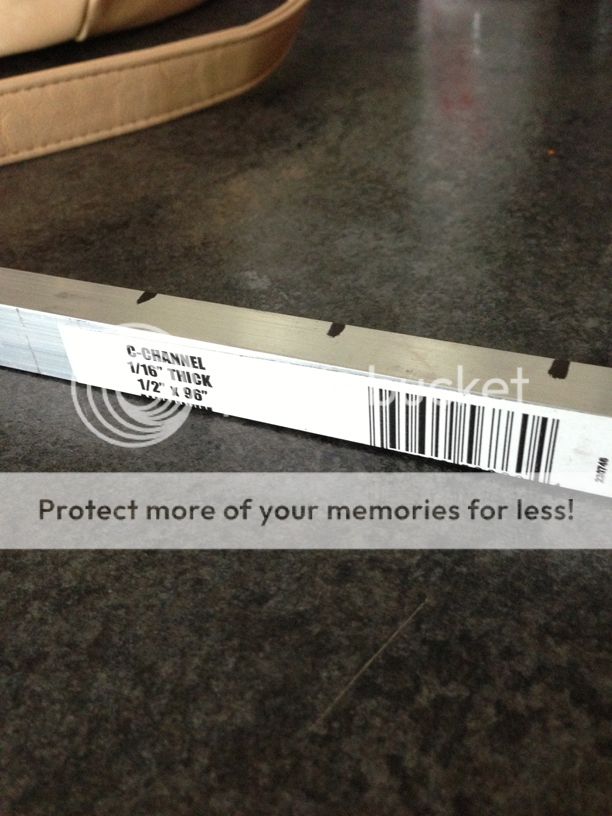
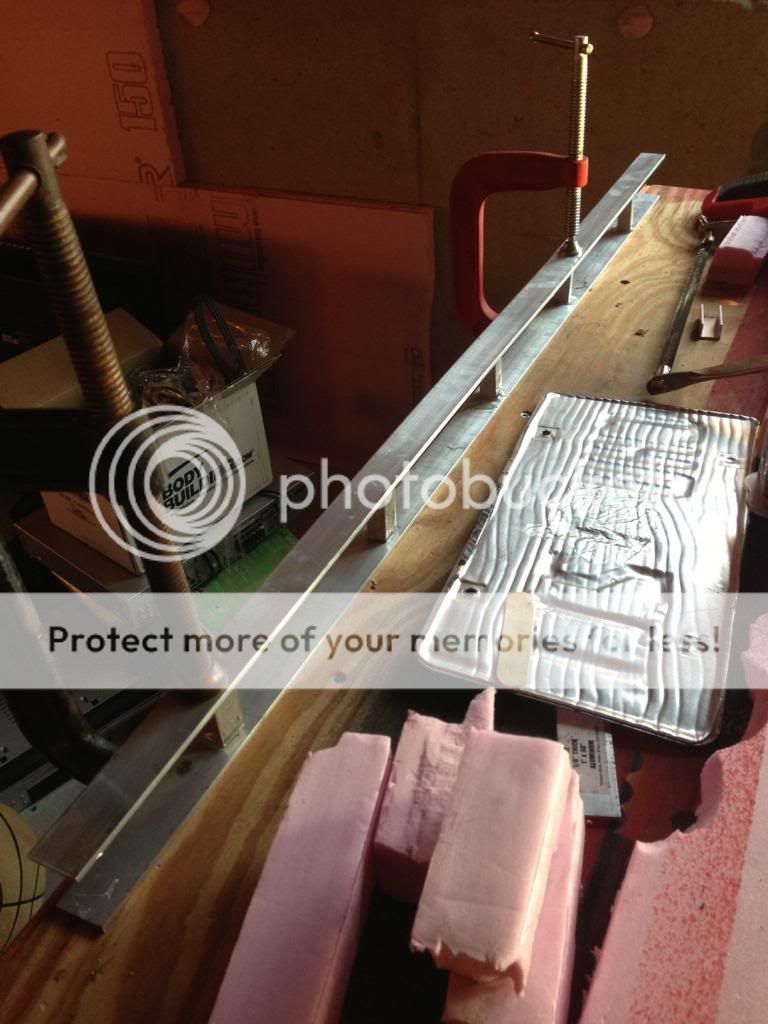
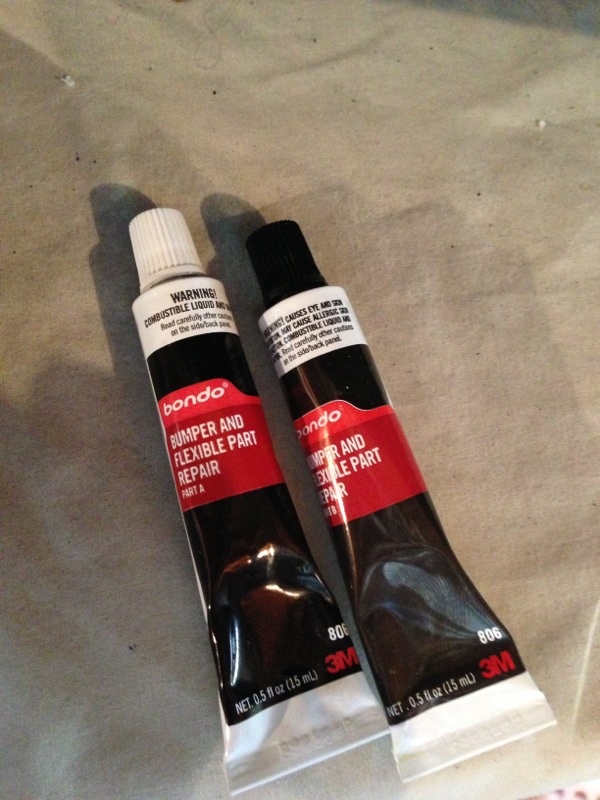
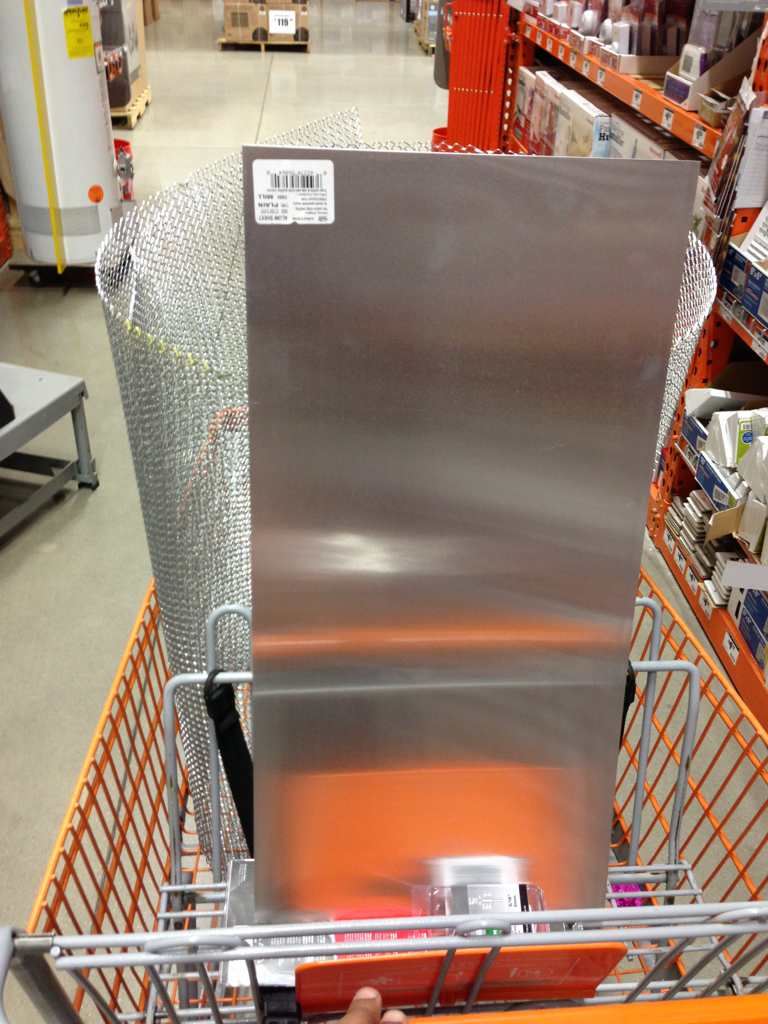
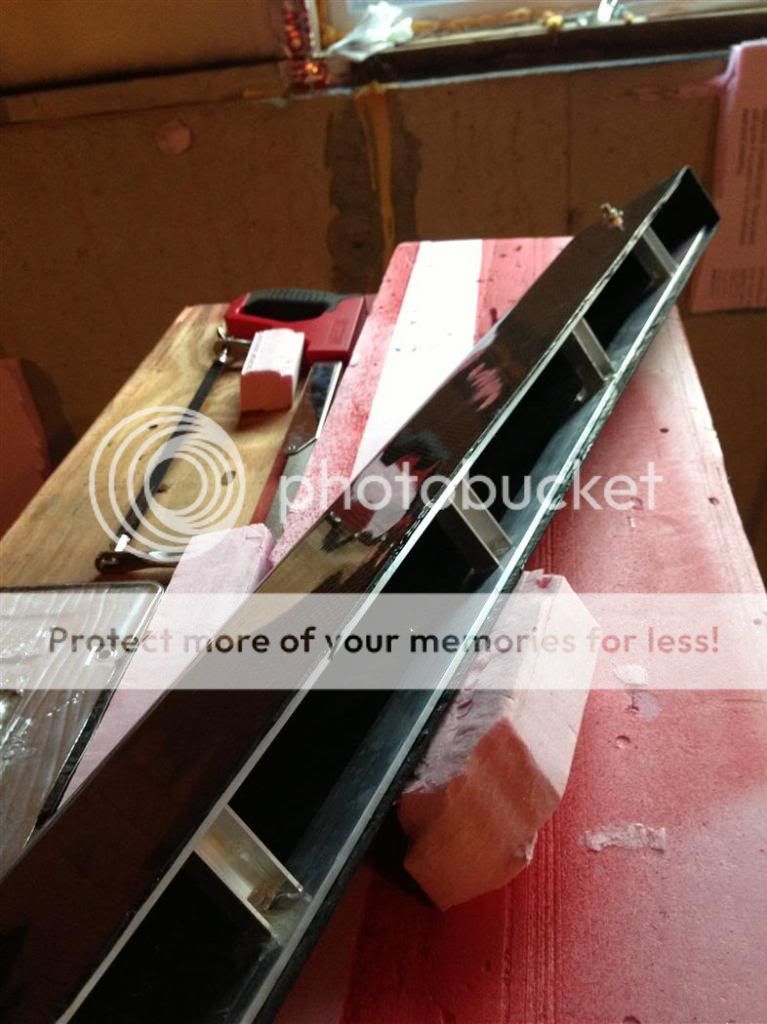
Sourced are some aluminum from Home Depot. After walking back and forth between isles for an hour or so, I decided to go with a C-Channel 1/16" x 96" aluminum rod, and a couple 4 feet 1" wide aluminum strips. Also used some Gorilla Glue epoxy. I cut the strips down to size, these will be the top and bottom of the brace support. The C-Channel aluminum was cut down to several 1.5" pieces. Also included is my lovely and very limited one bench workshop. :) I do what I can with what I have.
IMG_6093_zpsc3bd252e.jpg
IMG_6089_zpsd3e52a8e.jpg

IMG_6091_zps888f8712.jpg
IMG_6094_zpsc286b5d6.jpg

IMG_6092_zpsa0fba840.jpg

IMG_6096_zpsf48b7012.jpg

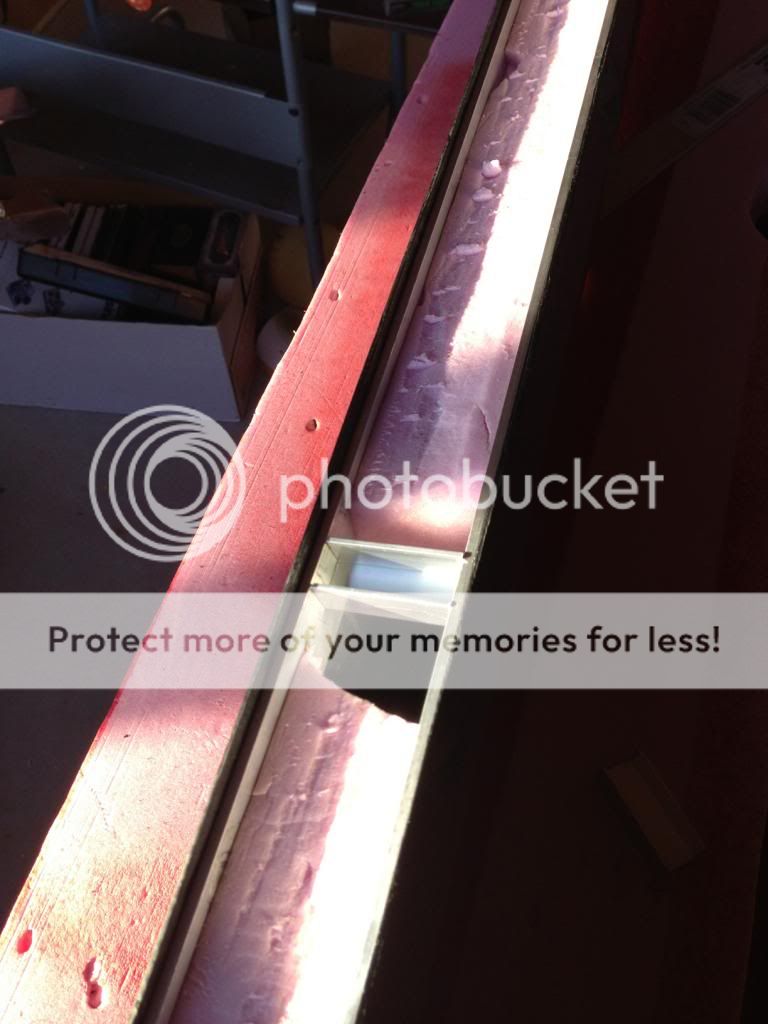
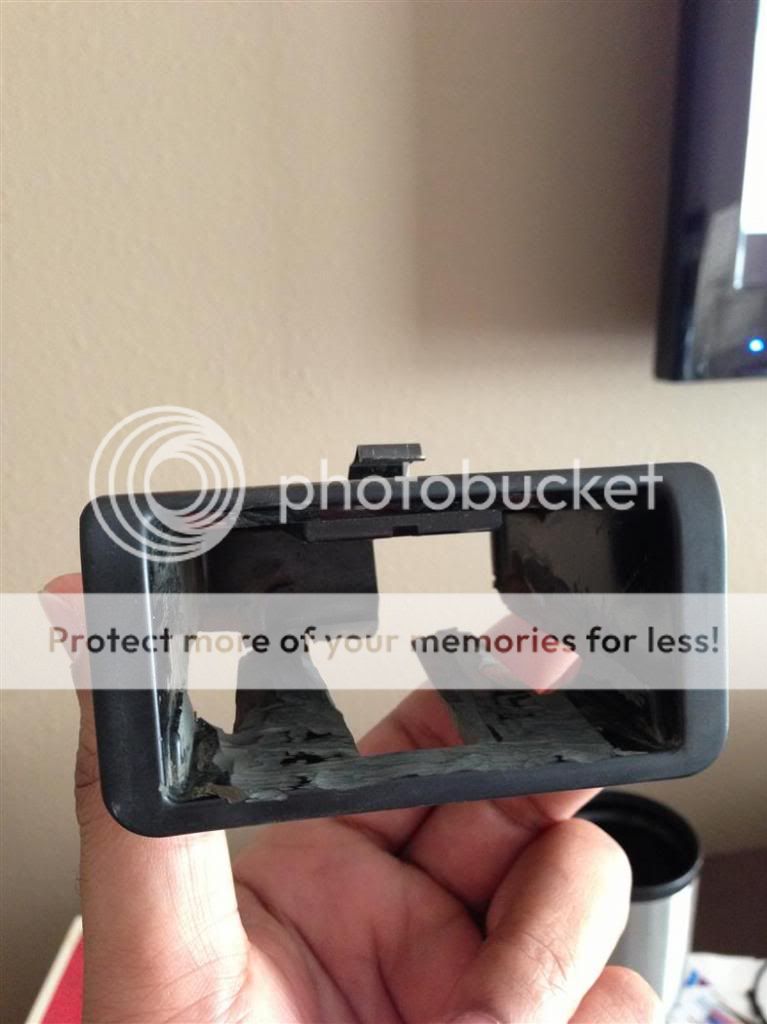
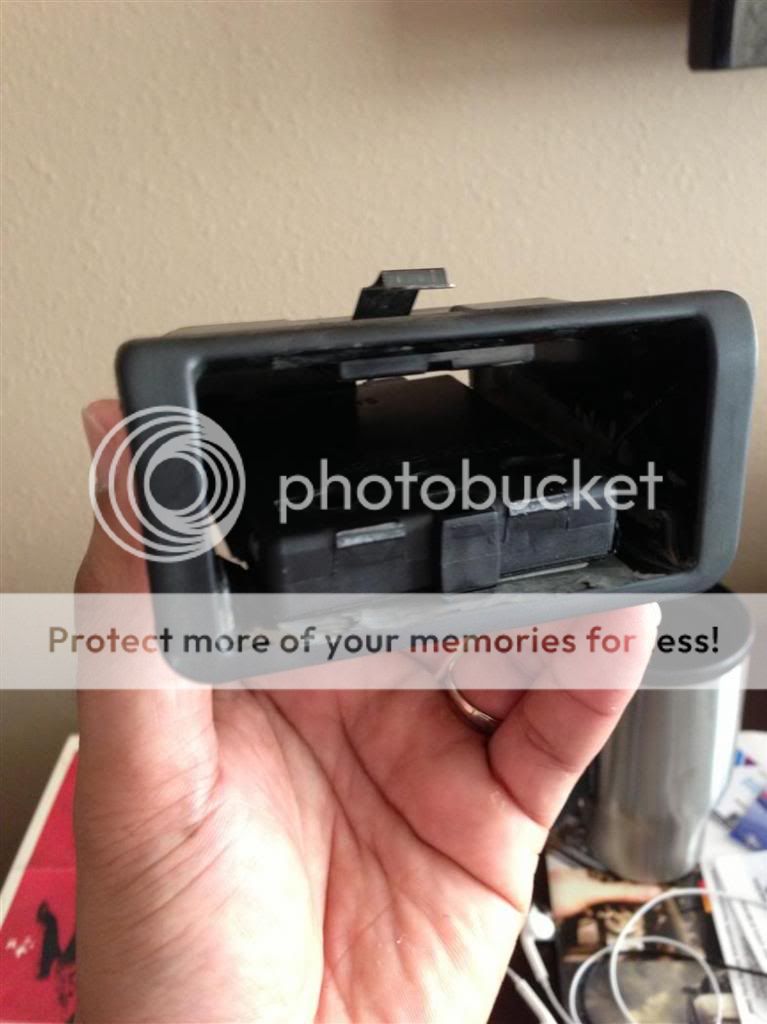
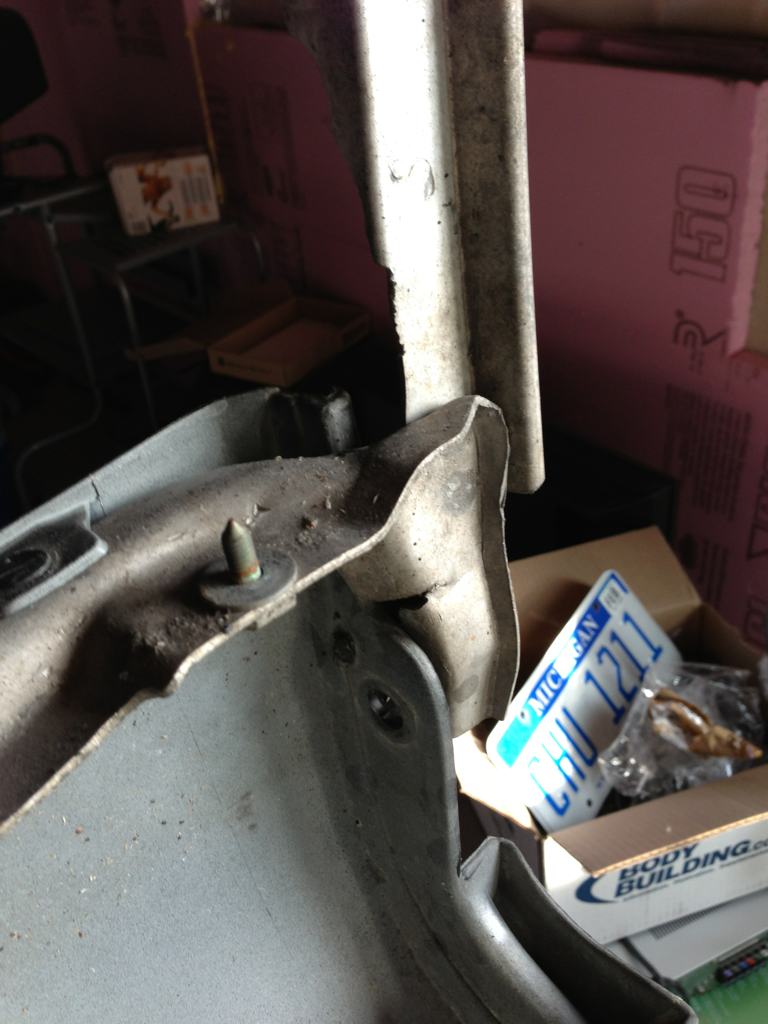
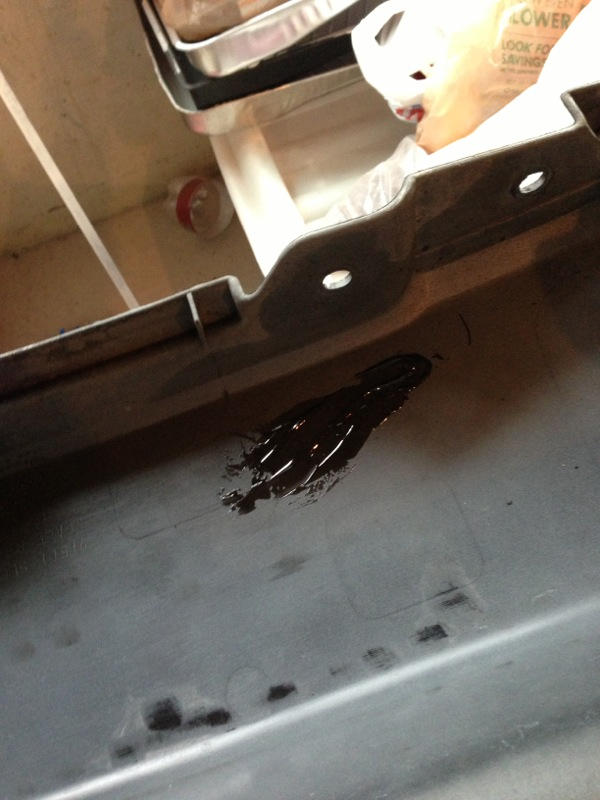
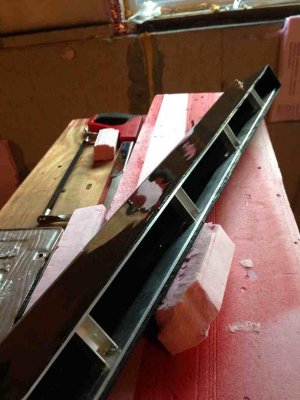
This is just a test fitment for the supporting columns.

IMG_6098_zpsc01f166f.jpg

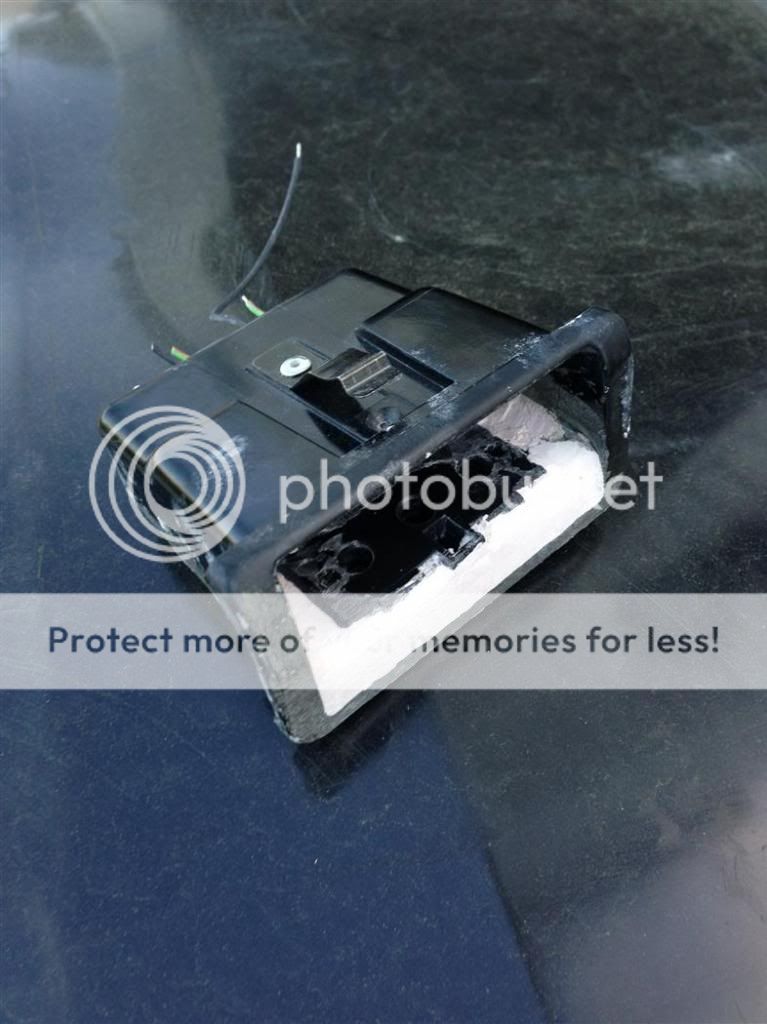
columns in place, epoxy added, now braced until tomorrow. The aluminum brace is very light weight and definitely will add rigidity to the lower part of the lower valance.

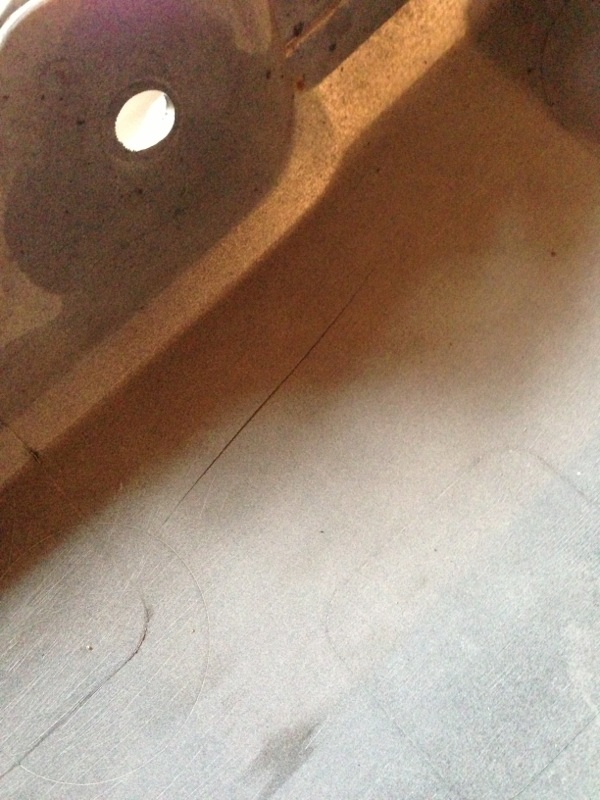
It should be a very tight fit already, but I hope to lace the outsides of the brace with more epoxy. If I am lucky, I can do one side and it should be sufficient.
 
Since this is part of my build, I will post it here too..but its also now a post in the DIY forum because it worked

*Important to note: My targa does not leak when driving or washing the vehicle. This is not intended to be a replacement for a leaky targa top, though it MIGHT work depending on how bad your front targa seal thingy is.

I didnt want to spend $1000 for an entirely new front targa seal but I could hear the wind noise coming from the passenger side when speeds were greater than 80mph. :mad:
Looking at the OEM seal, it didnt look bad, just smashed down a bit over time.
IMG_6125_zpsb864695e.jpg


Resourceful as I am, I figured why not spend a few bucks on some weather seal first? If it didnt work, then $6 from Home Depot down the drain.
IMG_6123_zpsb50a0cd1.jpg

IMG_6124_zps22e70b32.jpg


This stuff does have some adhesiveness but its not very strong. You might want to buy some liquid gasket or something to help support this effort and make sure to clean your targa contact point very well which also helps. I did not use any additional adhesive because at the time of application, I wasn't sure it was going to work. :biggrin:

But it did, it works great.. I can go 120+ without the same noises coming from the top. How does this work? It creates a secondary seal w/o impeding on the OEM targa seal. :cool:

IMG_6126_zps09085467.jpg
 
Okay, back on the task at hand... home link integration. Time to make use of that ashtray right? Borrowed a buddy's dremel and went to town. I am not much of a fabricator but as you can see from other projects, I don't mind jumping in... gotta learn somehow. I was going to outsource this project to professionals... but,...my car my build right?

My plan is to piggy back the cigarette lighter (+) and (-). Then I will be able to use the OEM harness and blammo. This project like many will require a lot of modification to make it work.. beginning with hacking up the ashtray. Then taking the buttons and cover off the home link unit, grinding the heck out of the ashtray more and more and more... In order to make this work, I had to cut out the backside of the ashtray (right facing). I also had to do the same to the entire cluster that holds the ashtray. This means unfortunately I will have to hack away the right facing mounting hole inside the NSX guts :eek:

Here is my progress so far... again, its not winning any beauty contests yet... but dont give up on me. This is also my first ever attempt at playing with bondo. The first batched was unuseable after like 3 minutes so i had to start over again. Did not expect it to get that hard that fast. I know I know..thats what she said.
IMG_6168_zps3f805ed8.jpg
IMG_6169_zpsa8ad8c18.jpg

IMG_6170_zpsc964ca5e.jpg
IMG_6171_zps239f6dc7.jpg

IMG_6177_zps58c8d90c.jpg


Already hit it with some black plastidip..not pictured yet. :cool:
 
Homelink installed and programmed... I will wait before posting any photos because the control unit is in bad need of cosmetic repair... in plain terms, its quite ugly right now. At least it is housed behind the ashtray door.


However... last night I did remove my rear bumper and will start working on installing the Seibon lower valence. My first order of business is to remove the 02 lower valence and start lining up the holes where I will need to drill into the Seibon.

With regard to my 02 valance, I am now 100% sure I can cosmetically repair the small damage on one of the posts. However, I am also 100% sure I will still be selling it as I cannot afford to keep both the 02 valance and Seibon CF one.

Also, it took me well over an hour to remove the rear bumper while others have suggested it takes them 15 minutes. Well, I feel confident at this point should I have to remove it again, I could do it in 15 minutes tops. My challenge was losing sunlight and the 02 valance has these mud guard looking things that hide behind it, two bolts on each side. 80% of my time was spent trying to find out where else I needed to unbolt the bumper before I discovered my missing bolts behind the flaps. :D

So let the fun begin.. Plan is to plasti-dip the sides of the Seibon valence after I drill the holes. I also just pulled the trigger this morning on a rear view camera and the triangular F1 LED brake light, both from eBay. Might as well do all of those things while I have the bumper off and the element of a decent working angle.

hape7uhy.jpg

genehuru.jpg

qane7aju.jpg
 
Broken parts revealed ... check out brace
asasy2aj.jpg

crinkled at bottom, entire lower half of tall brace outer is broken off


Sent from my iPhone using Tapatalk 2
 
Fixing inside of passenger bumper crack with black bondo, will have outside refinished
a6ugeqyr.jpg
uhyvuvat.jpg
py3y3eve.jpg

Yes, I made sure it was even across before applying bondo

Sent from my iPhone using Tapatalk 2
 
Okay, so my 25mm rear spacers arrived for my 19x9.5 +43 TE's. I mounted one on the drivers side last night and took a photo this morning on my way to work looking straight down. I think it looks good, but not sure if its a tad too wide or not. This photo is looking straight down.

25mm.jpg
 
Before and after
u6udy6a3.jpg


a7u8ydy8.jpg

Looks like the spacers adjusted the camber, could be optical illusion though


Sent from my iPhone using Tapatalk 2
 
Last edited:
Looks perfect and MUCH Better!! Damn I'm good!! haha

Glad they worked out!
 
Bought some screen at HD but it wasnt wide enough :(

enagamuz.jpg


So I went back and this is what I ended with :D it's too much but that's better than not enough. While I was at it, I bought some aluminum panel, rivet gun and rivets. More is better than less because sometimes we want more less stuff but our parents won't let you.

9ysu7eru.jpg


Sent from my iPhone using Tapatalk 2
 
Back
Top