• Protip: Profile posts are public! Use Conversations to message other members privately. Everyone can see the content of a profile post.

My refresh/maintenance/preventative maintenance build

Joined
20 August 2012
Messages
21
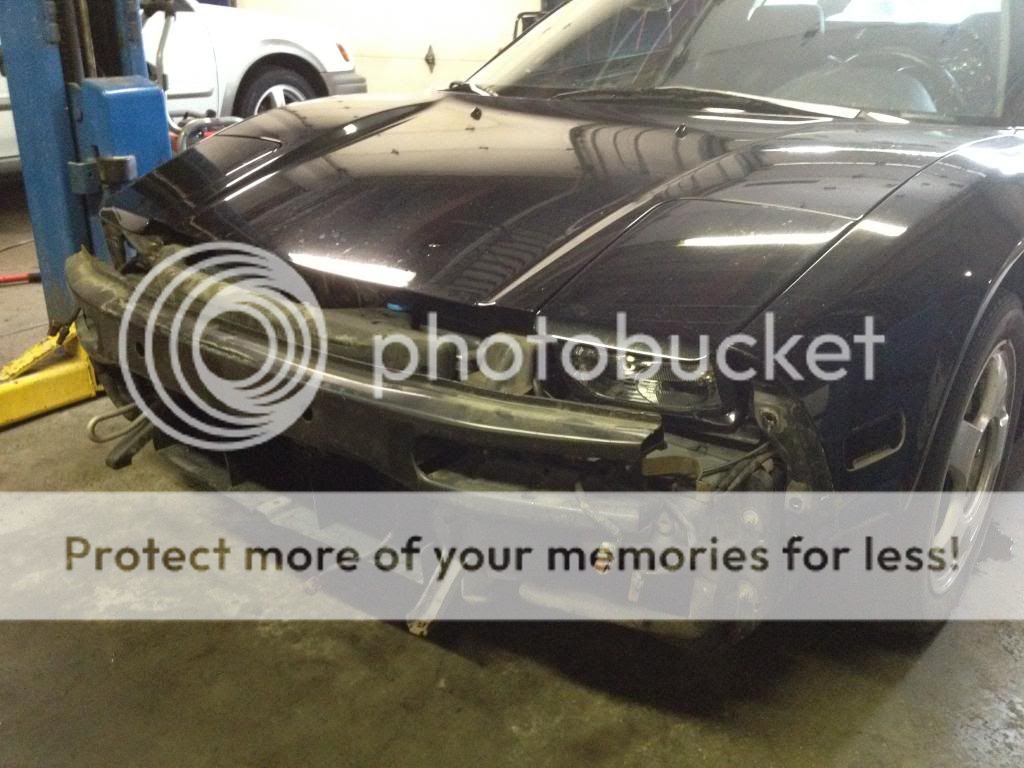
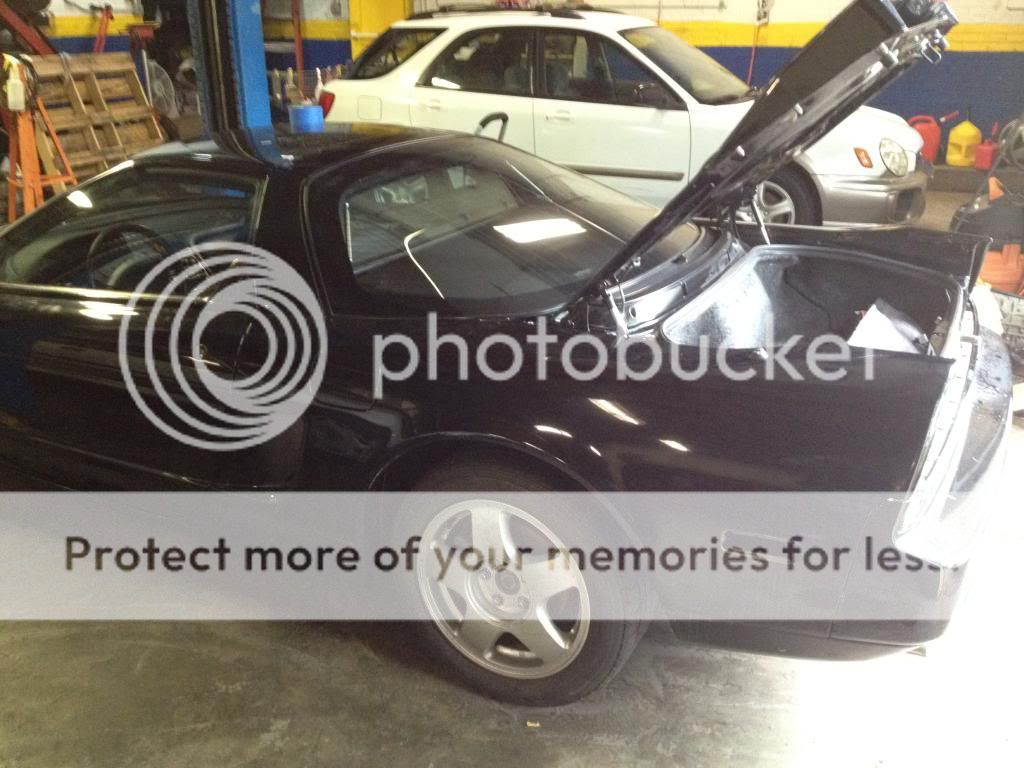
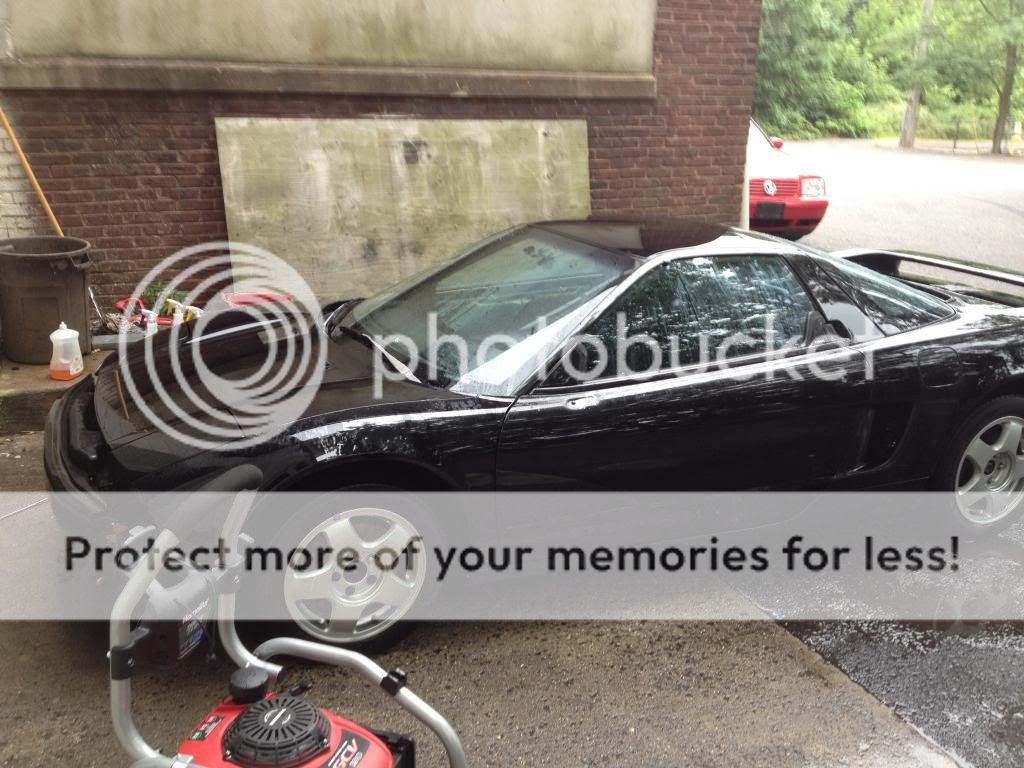
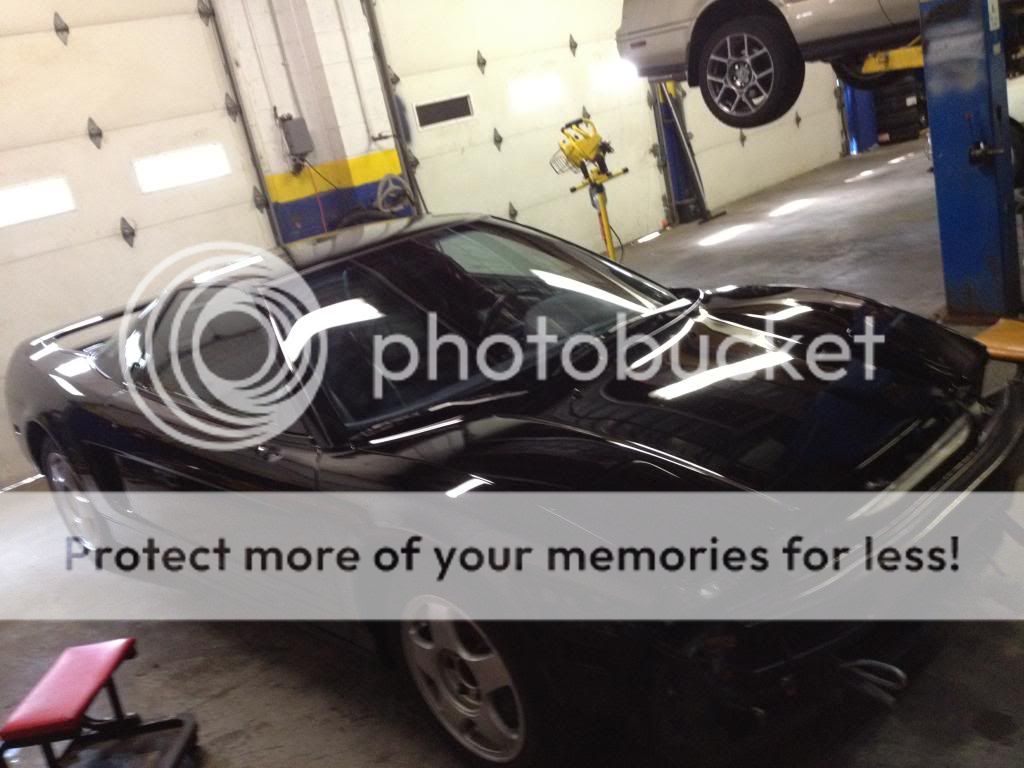
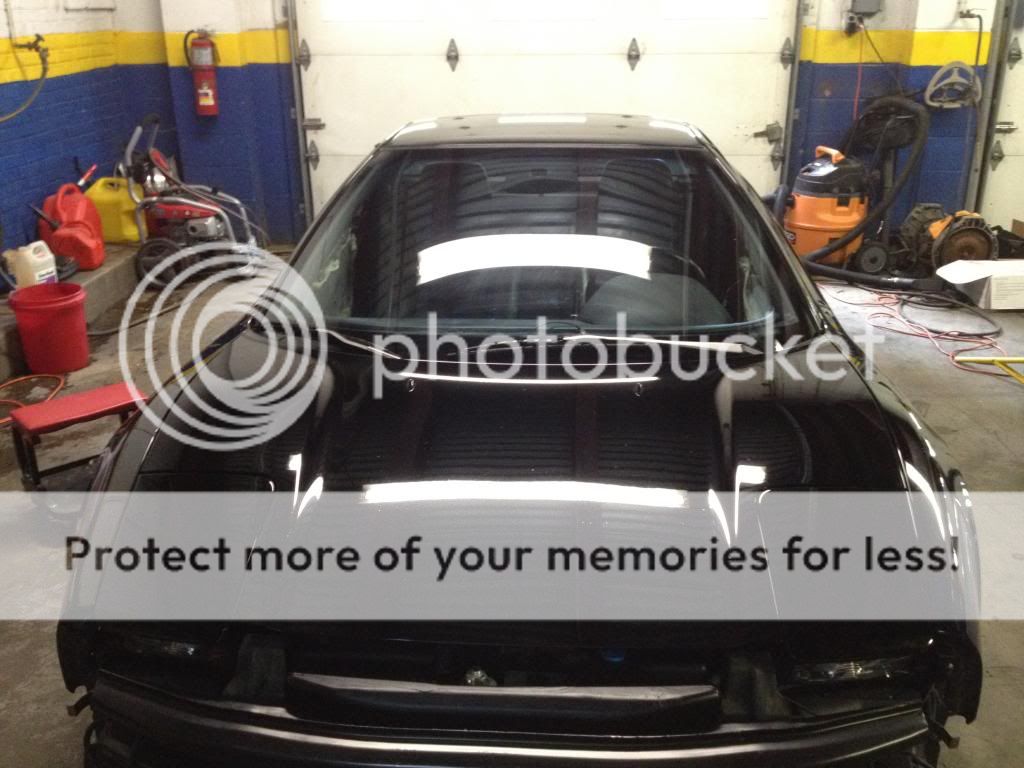
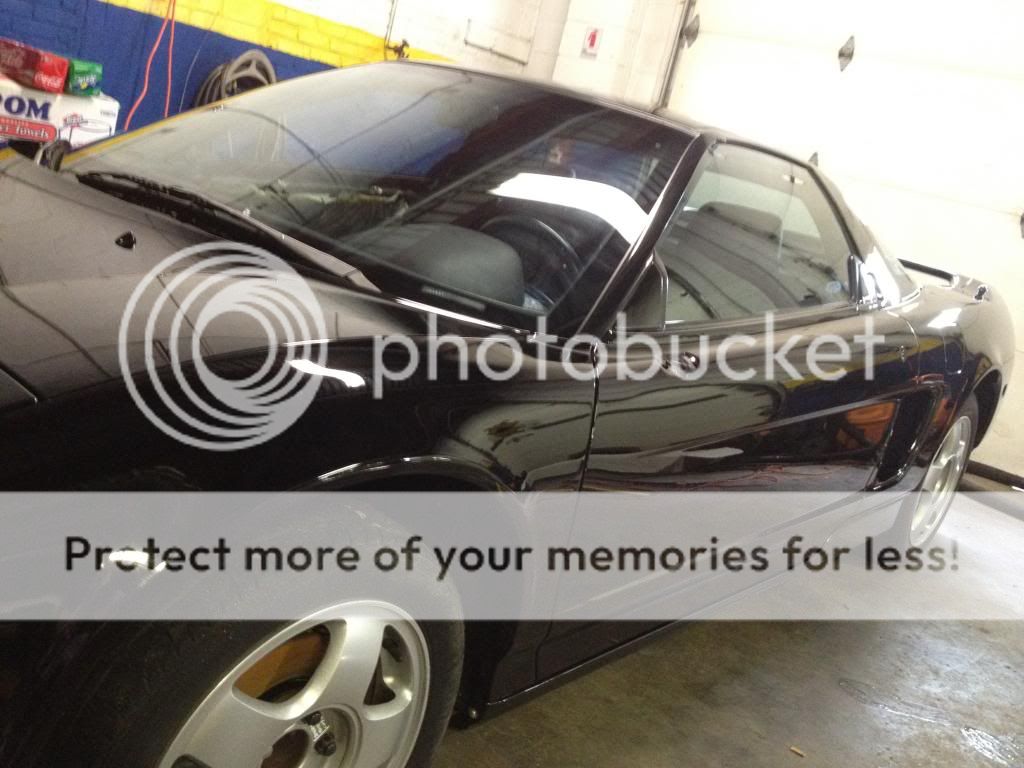
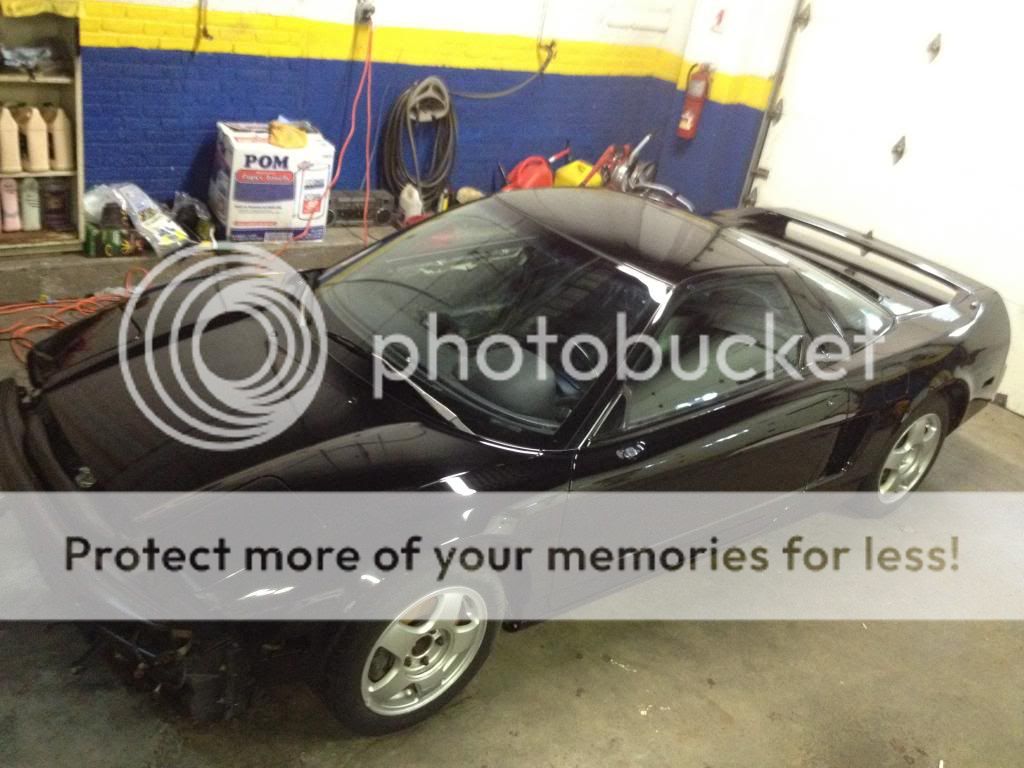
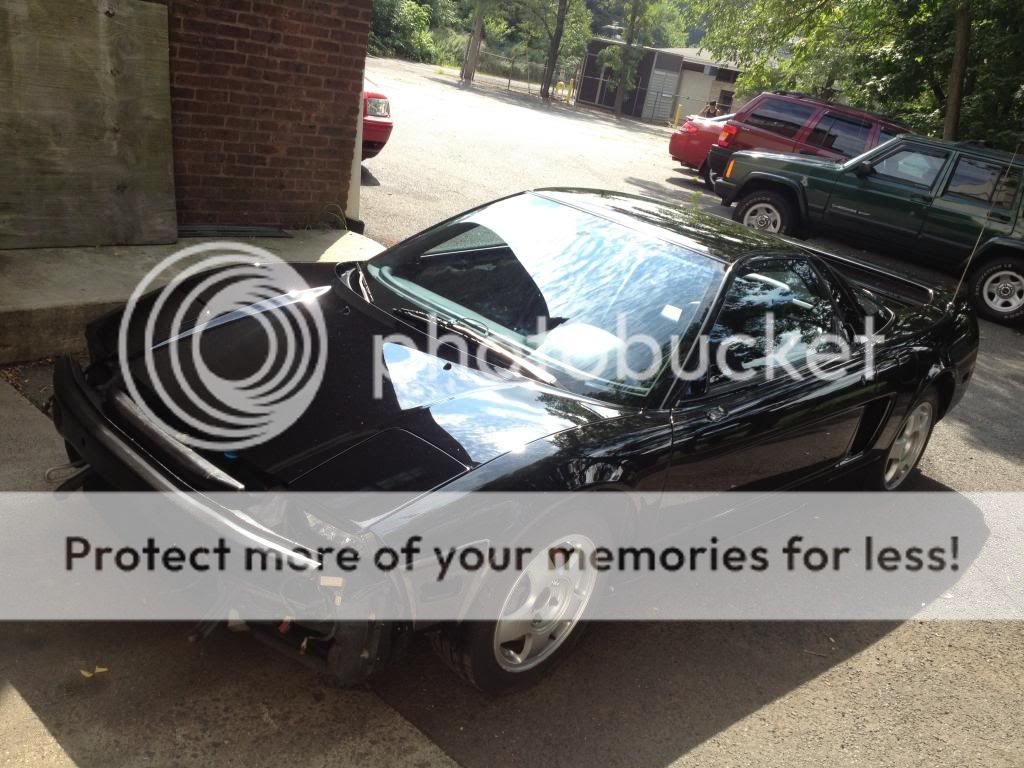
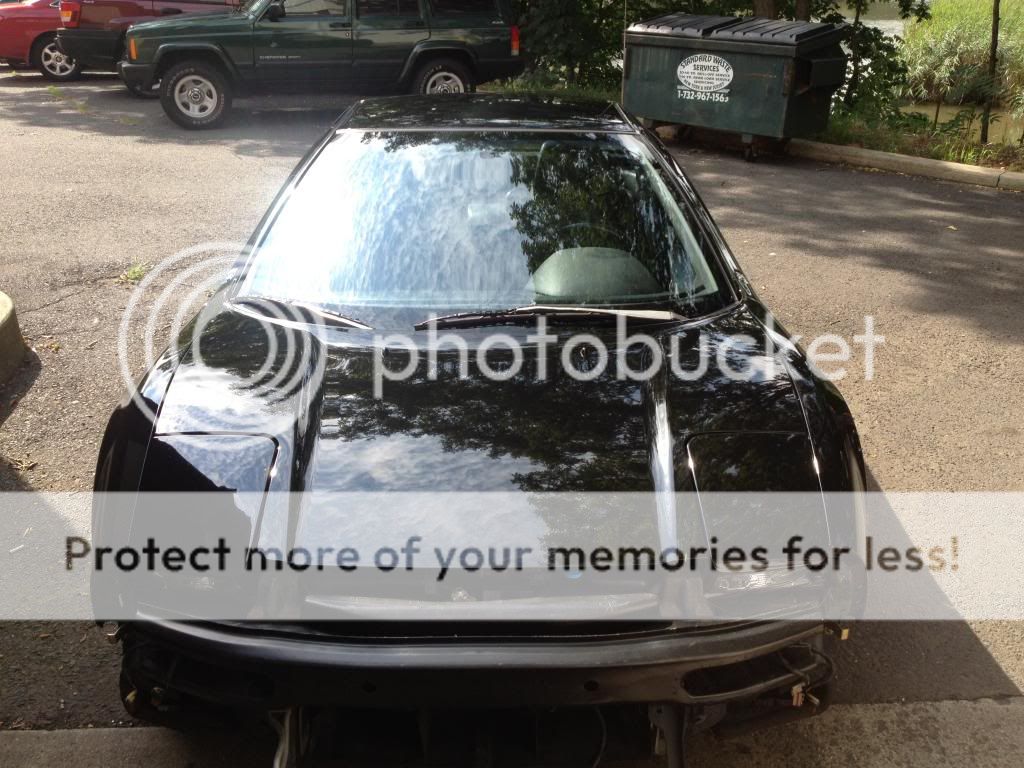
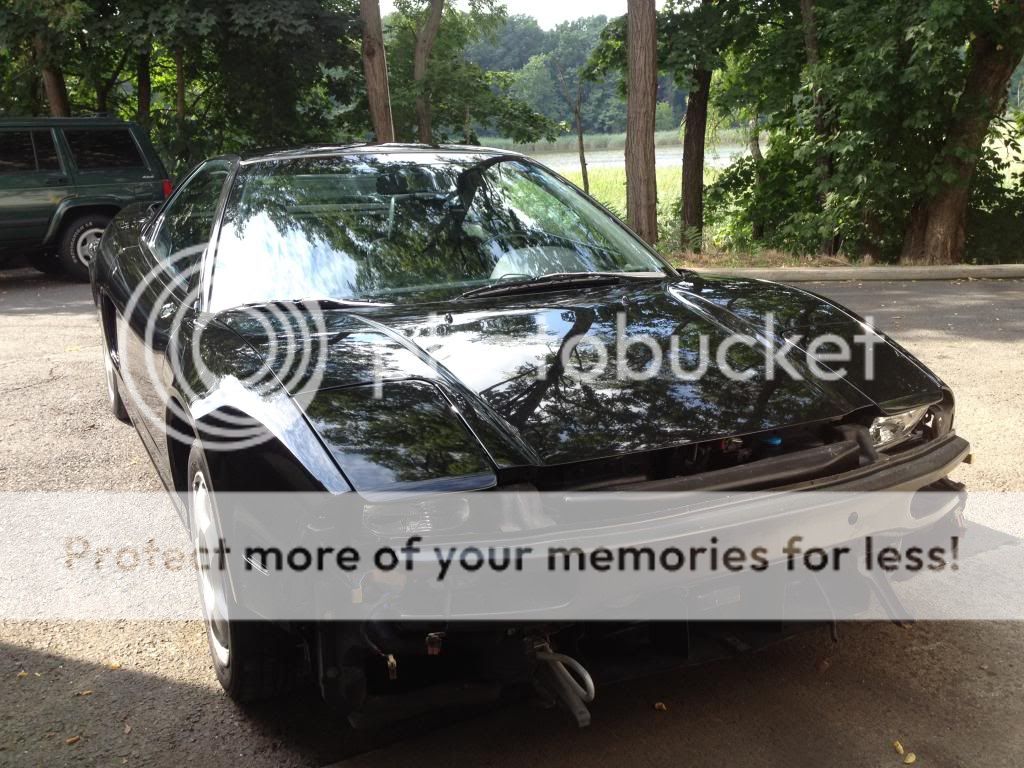
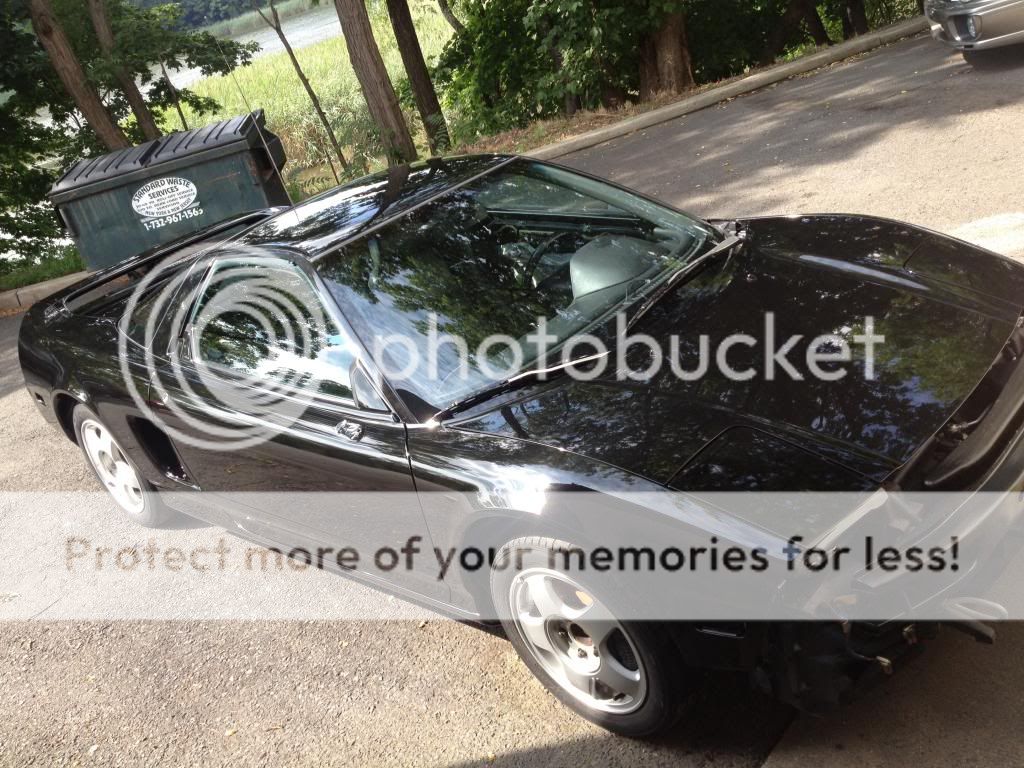
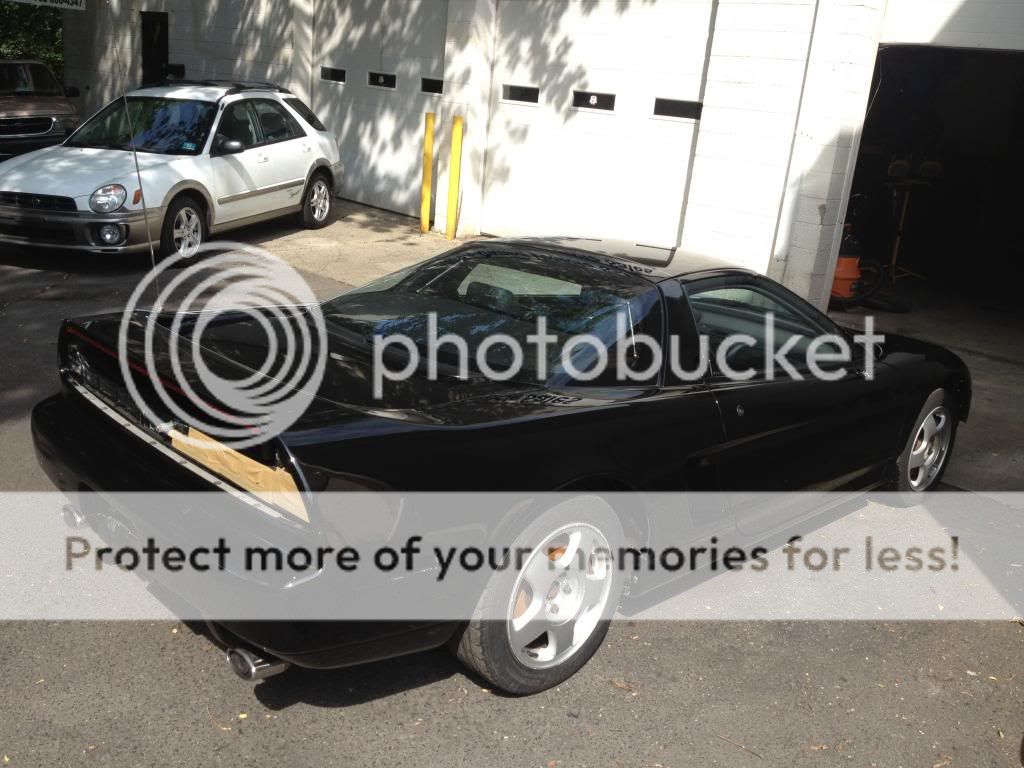
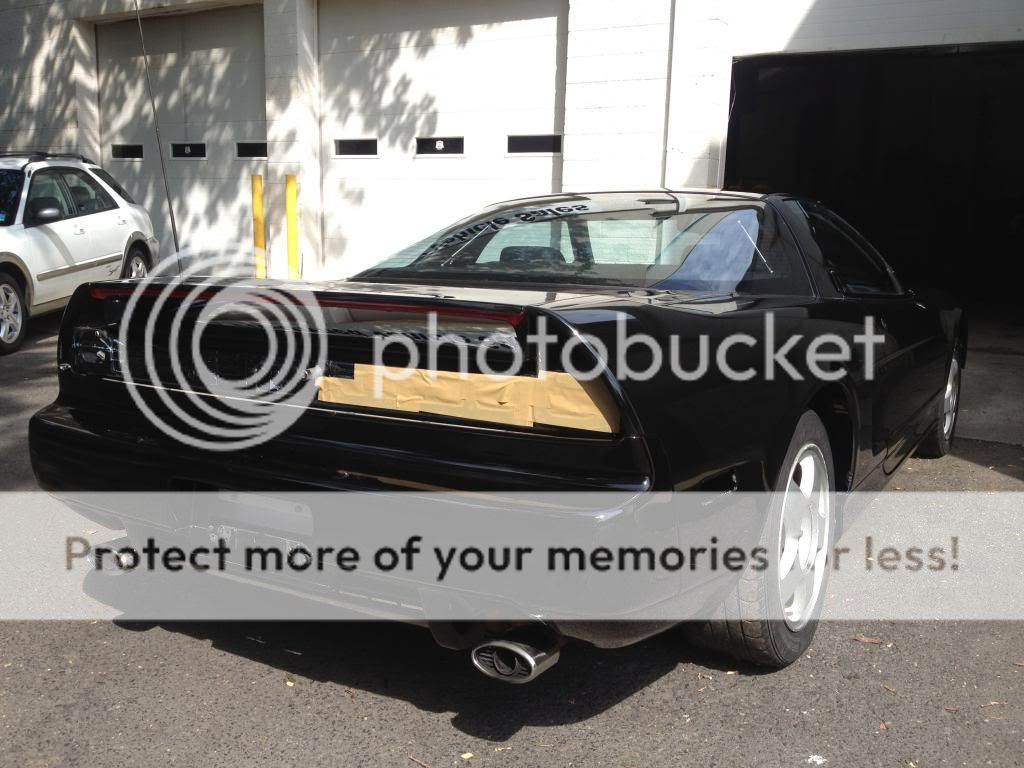
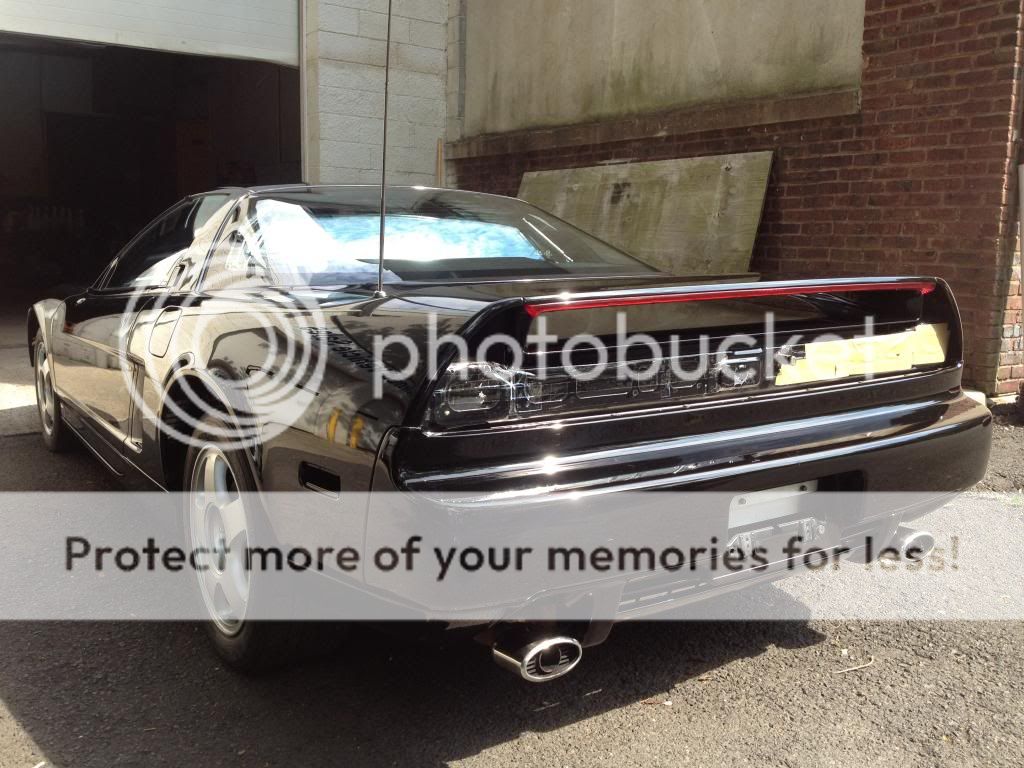
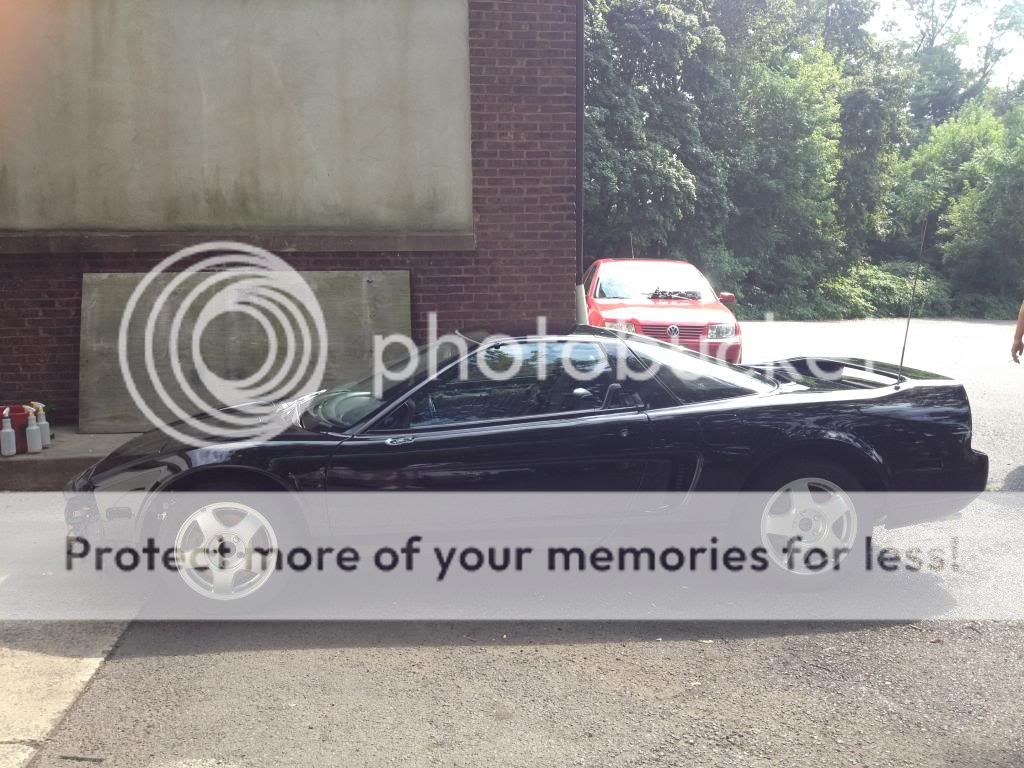
Hey guys, this is my first post ever here on Prime, but have always been a huge fan and look forward to many posts from here on out. Let me start out by saying I purchased a Berlina Black/Black 91' 5 speed from Matt, a fellow member here on prime, u00mem91. I purchased the car from him with 168k miles out in Ohio and drove it back here to NJ with the intent to ship it overseas and keep it there at my beach house. Since then, I have decided to keep it here and restore it back to showroom shape. Well, as close as possible I should say. When I picked up the car, it was in this condition.
http://www.nsxprime.com/forum/showthread.php?t=164592
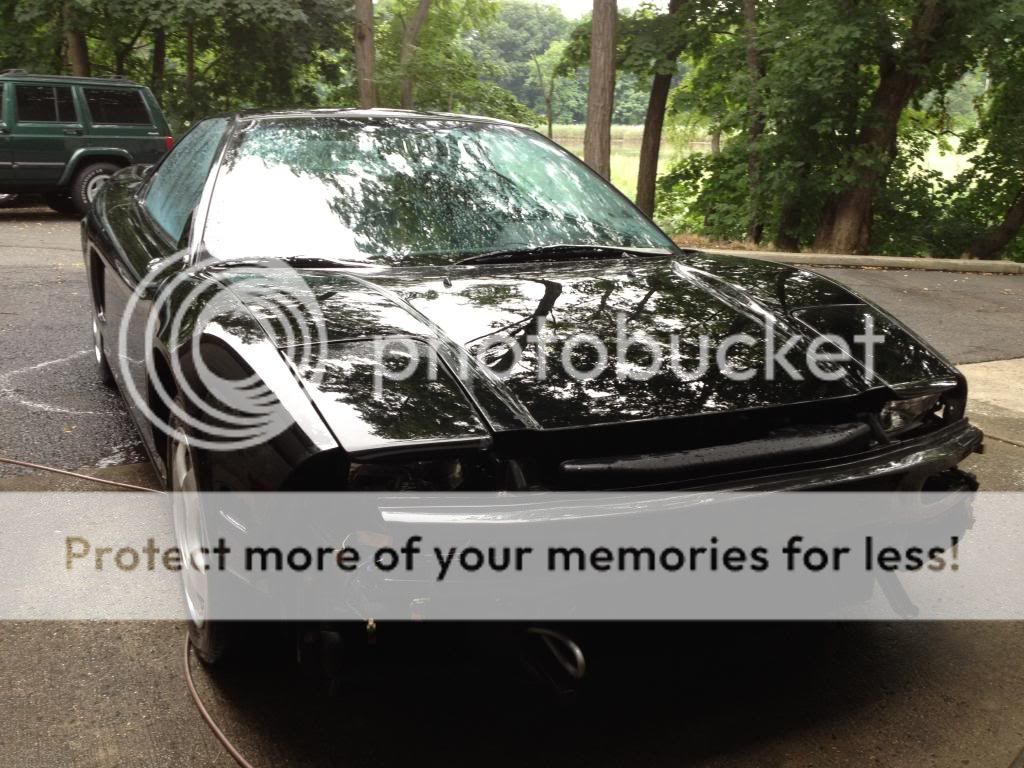
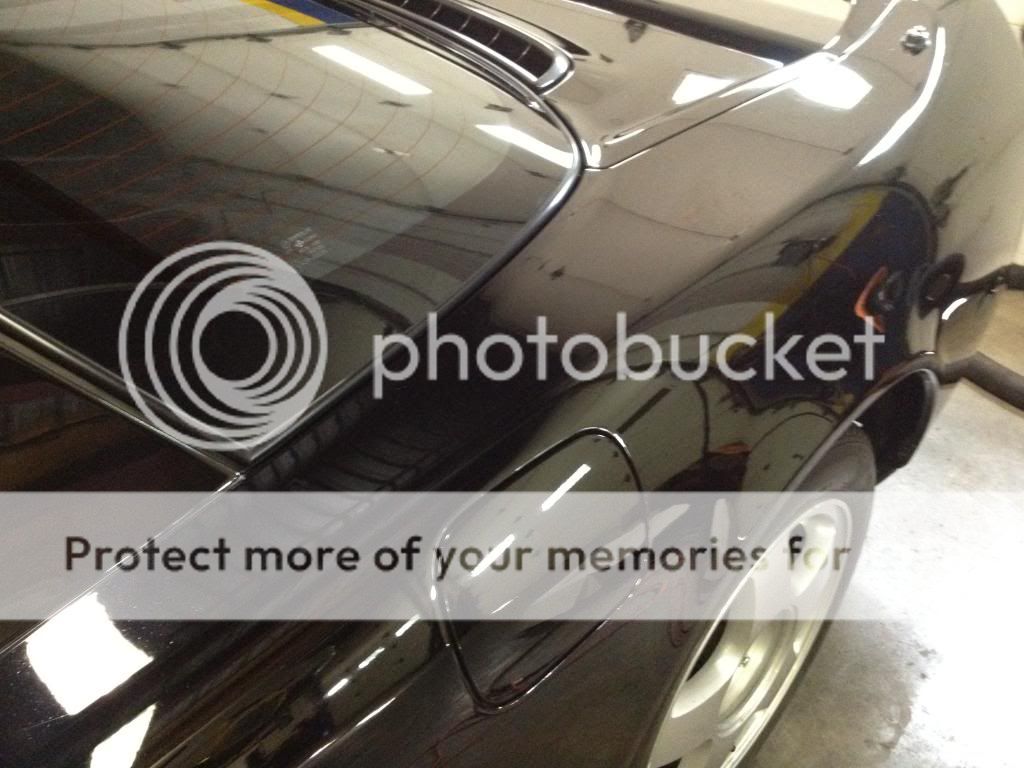
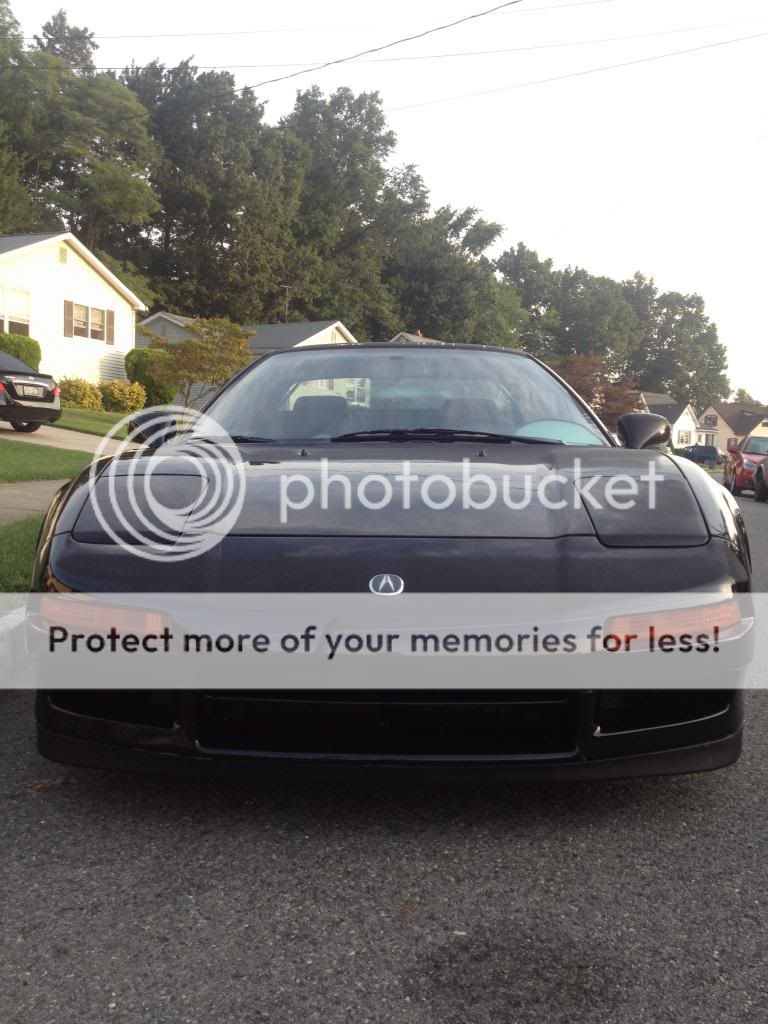
Matt drove this car daily and maintained it properly with many service records, but the paint was in poor condition even though he garage kept it. The front bumper needed paint, and so did the two side mirrors, but other than that, the rest of the paint is original and needed a good amount of tlc. Motor-wise, all of the major services were taken care of at 105k (timing belt, water pump, etc.) but it had minor leaks (oil pan gasket mostly and rear valve cover gasket). This is what the car looked like before I took ownership.
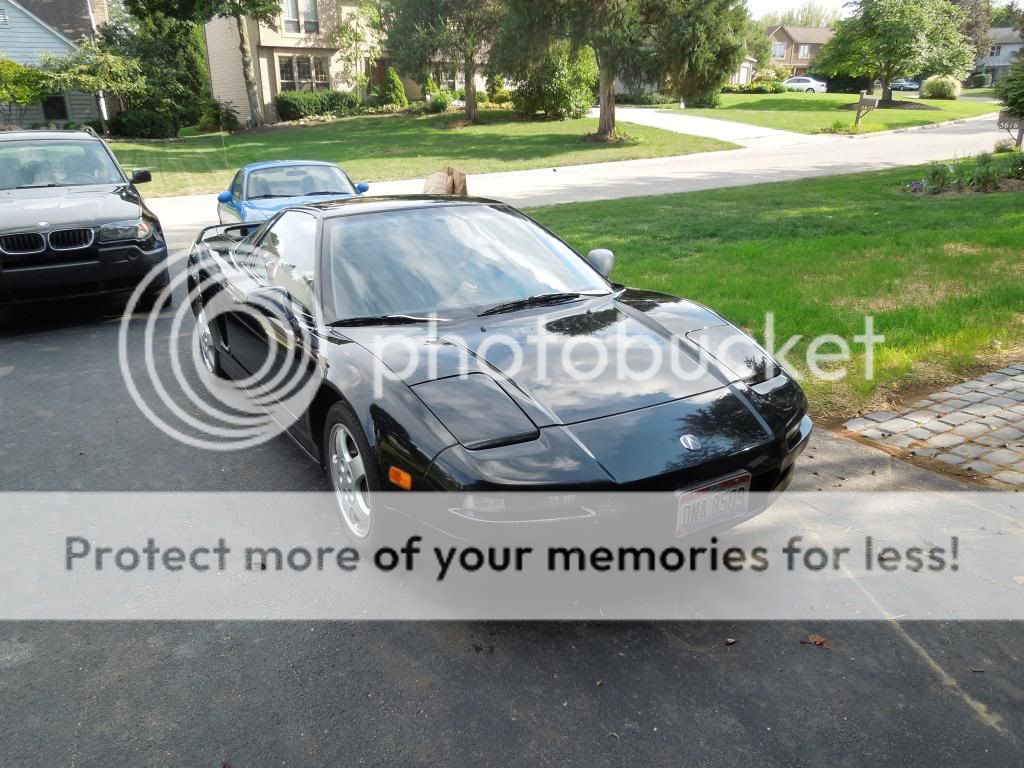
Nsxbeforehand_zps83b39e2d.jpg

Upon getting the car back to my shop, I immediately began stripping it apart and preparing to fully detail the car while sending the front bumper and mirrors to get painted. I even removed all of the wheel wells.
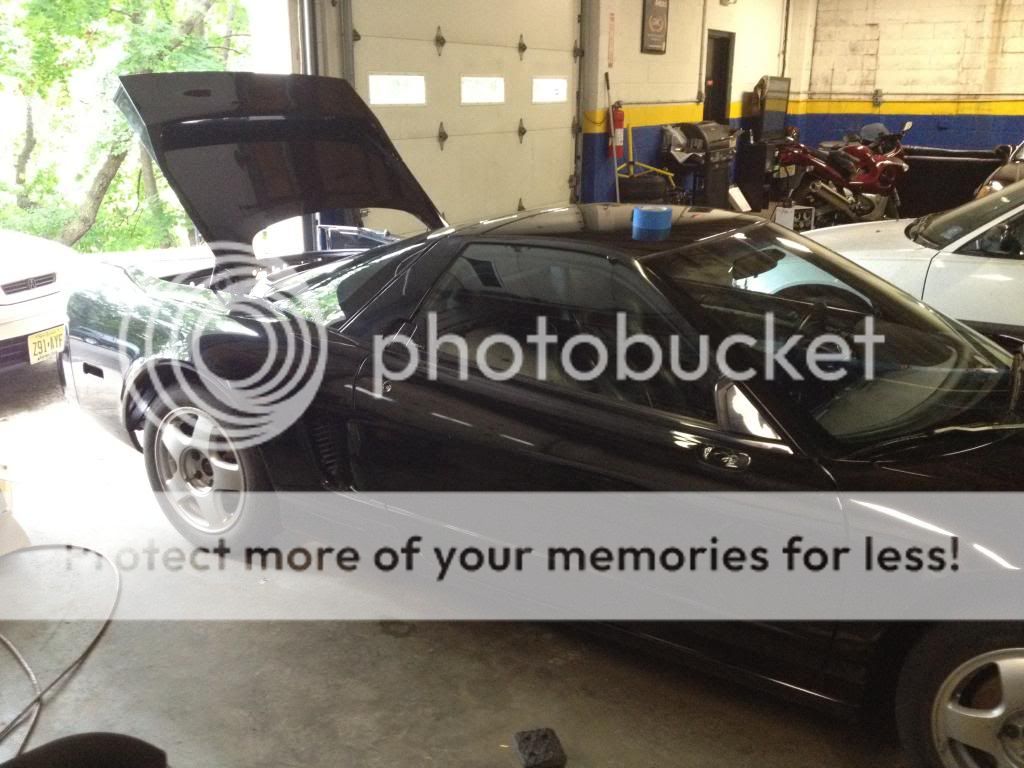
IMG_2216_zps14ad1cd2.jpg

IMG_2215_zps73e14a6e.jpg

IMG_2214_zpsc3729de1.jpg

IMG_2213_zps3be2a262.jpg

IMG_2212_zps76e54835.jpg

IMG_2211_zps7f7876d3.jpg

IMG_2210_zpsa1d932c4.jpg

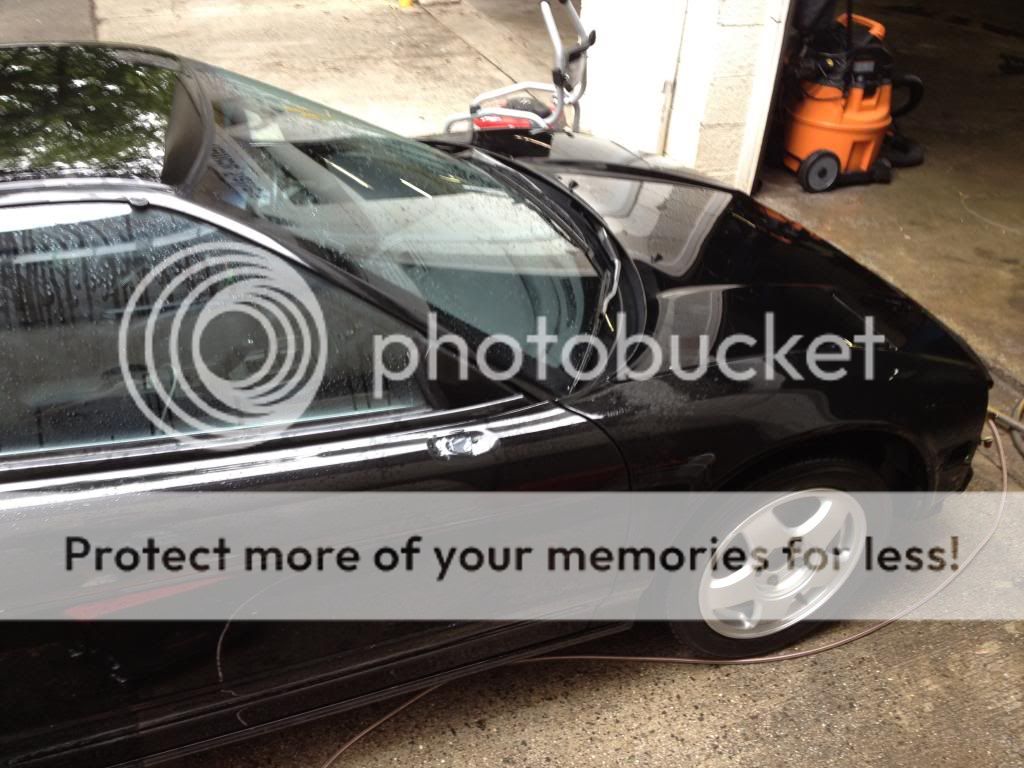
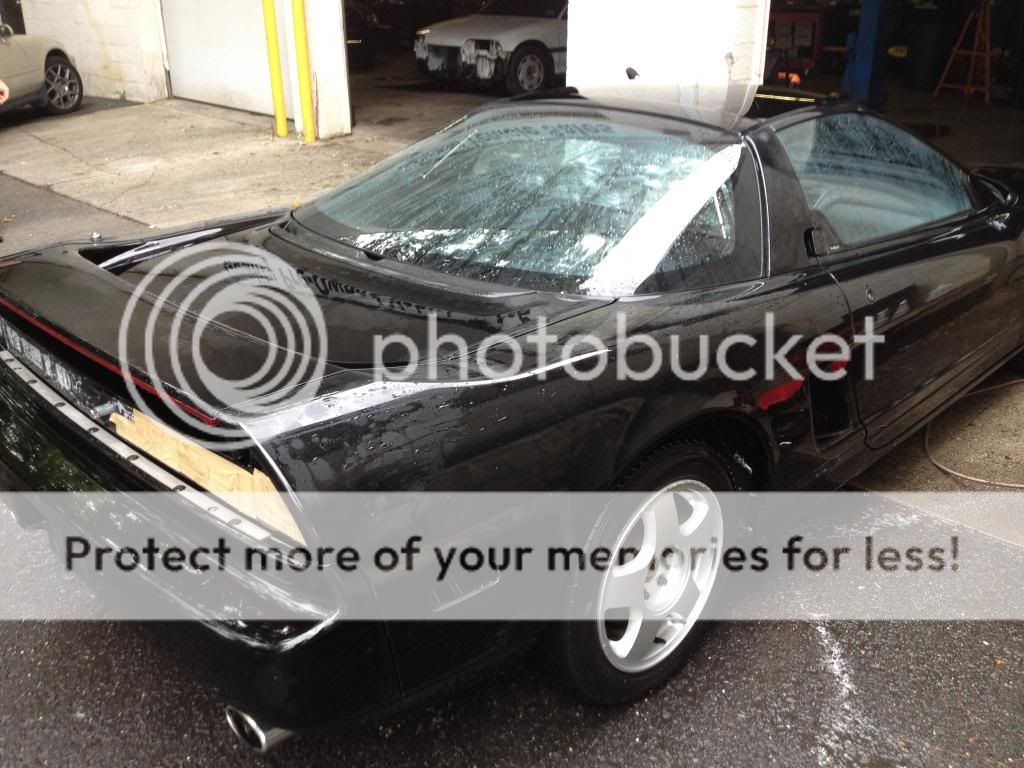
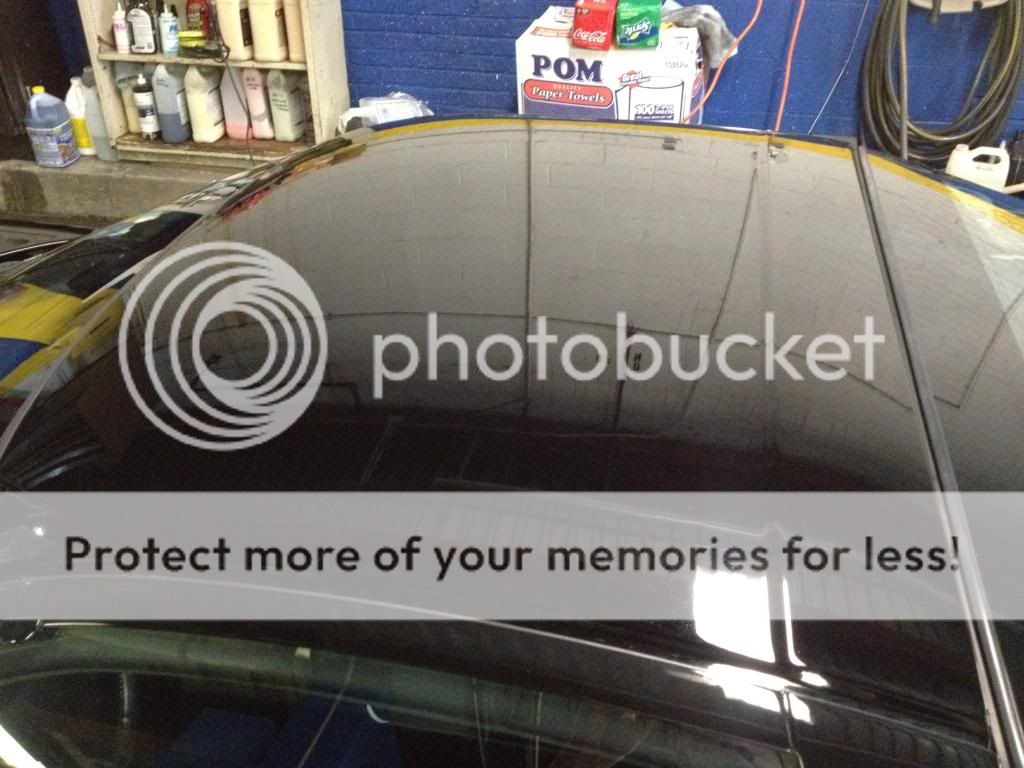
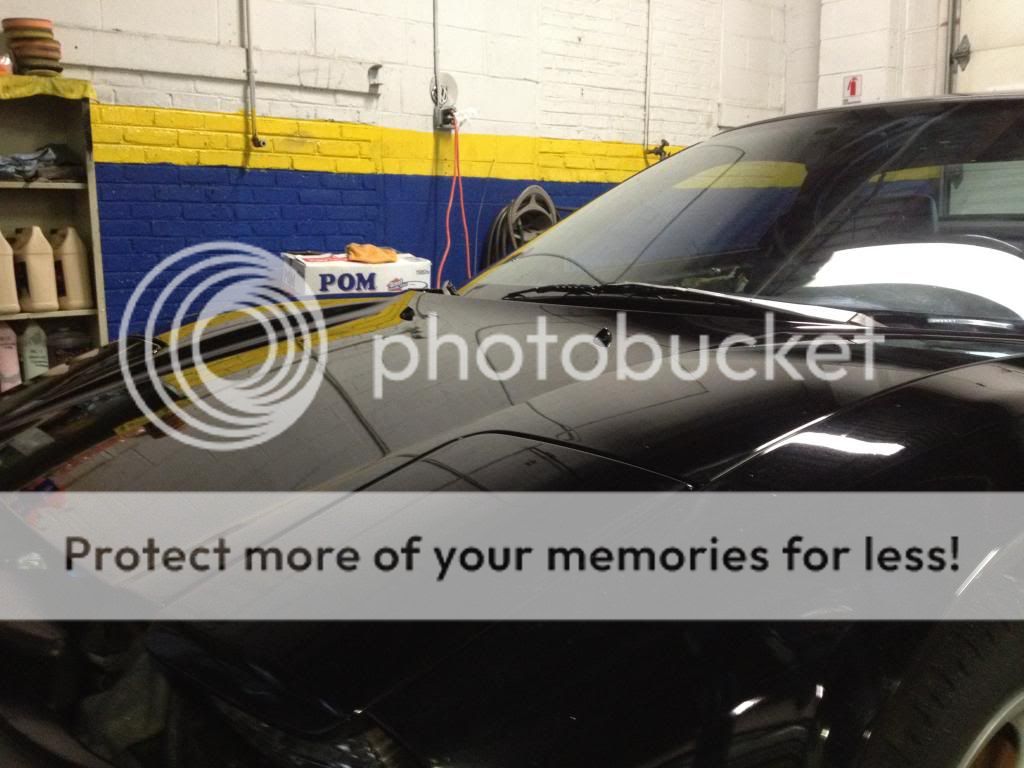
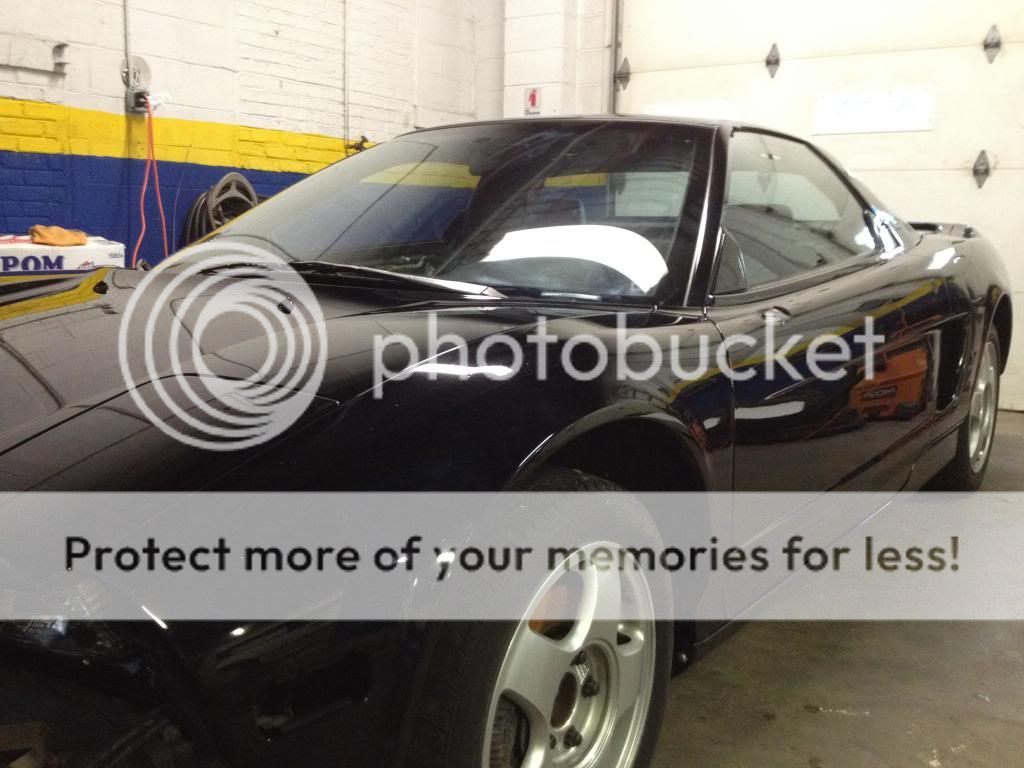
I power-washed the whole car, stripped it from all of it's previous waxes with detergent, and clay barred it
IMG_2218_zps80f6fc1e.jpg

IMG_2217_zps4a7479ab.jpg

IMG_2223_zpsce426ad6.jpg

IMG_2222_zps922362ab.jpg

IMG_2221_zps0da5898f.jpg

IMG_2220_zps542df08e.jpg

IMG_2219_zps35d9b1ef.jpg

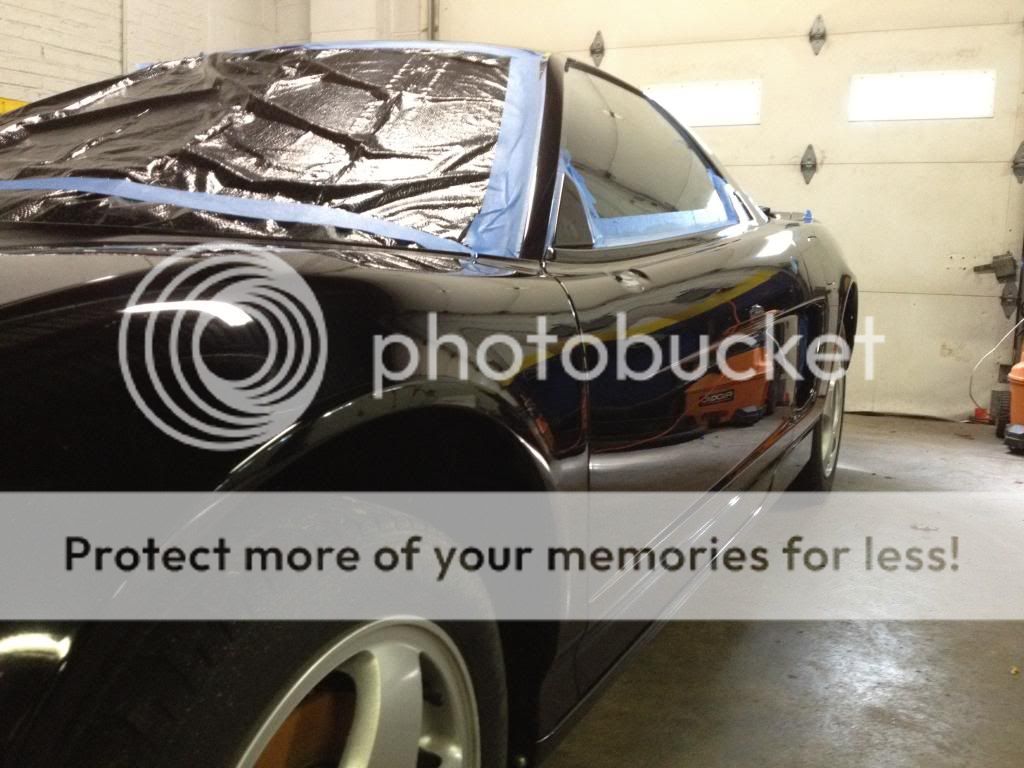
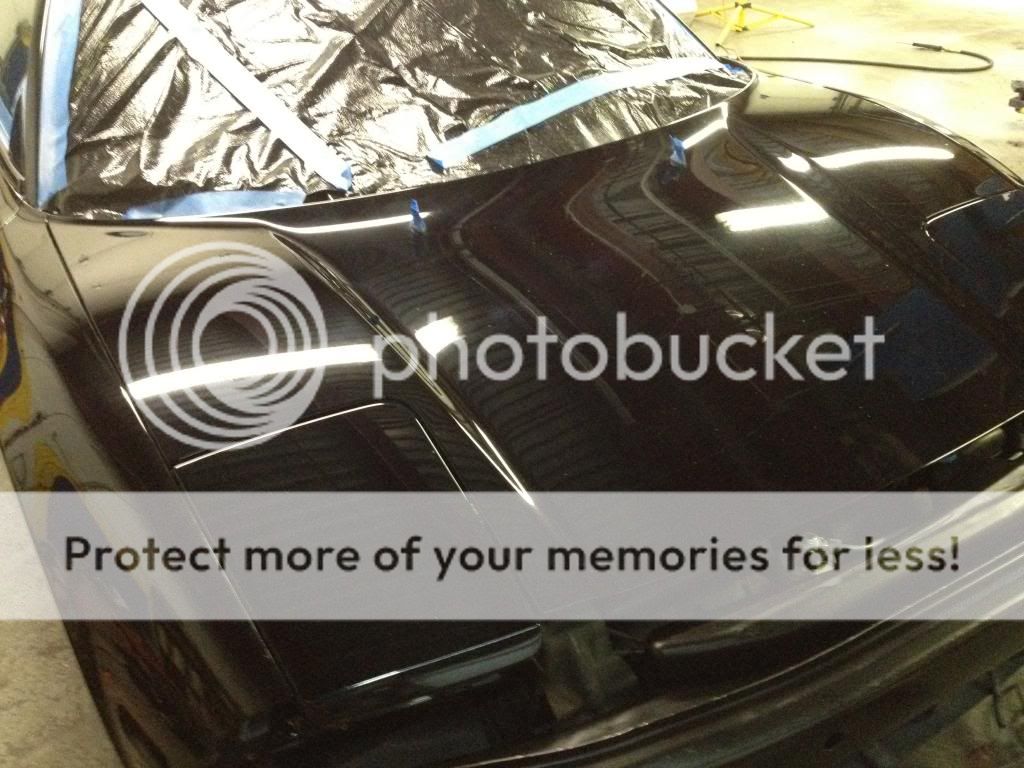
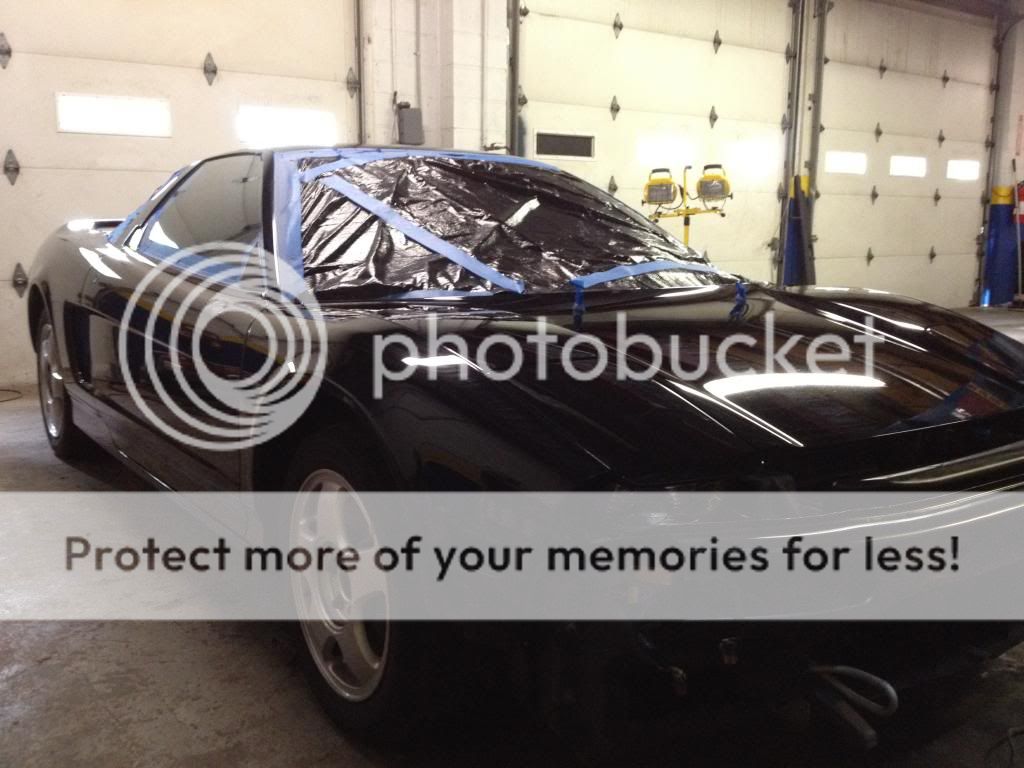
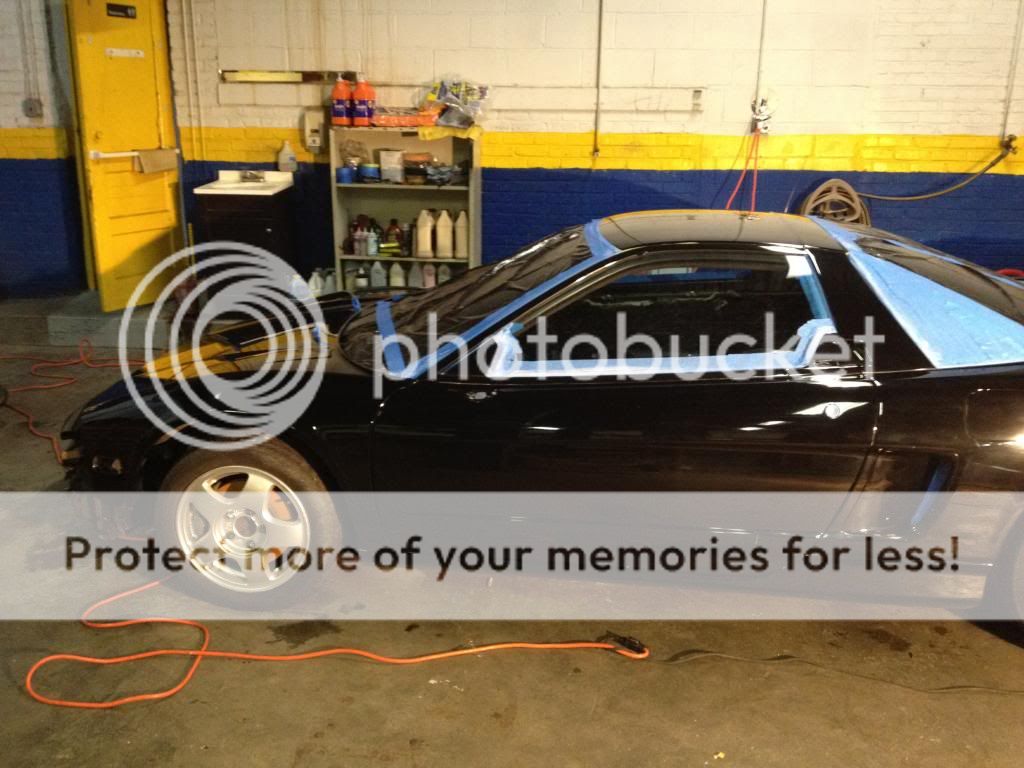
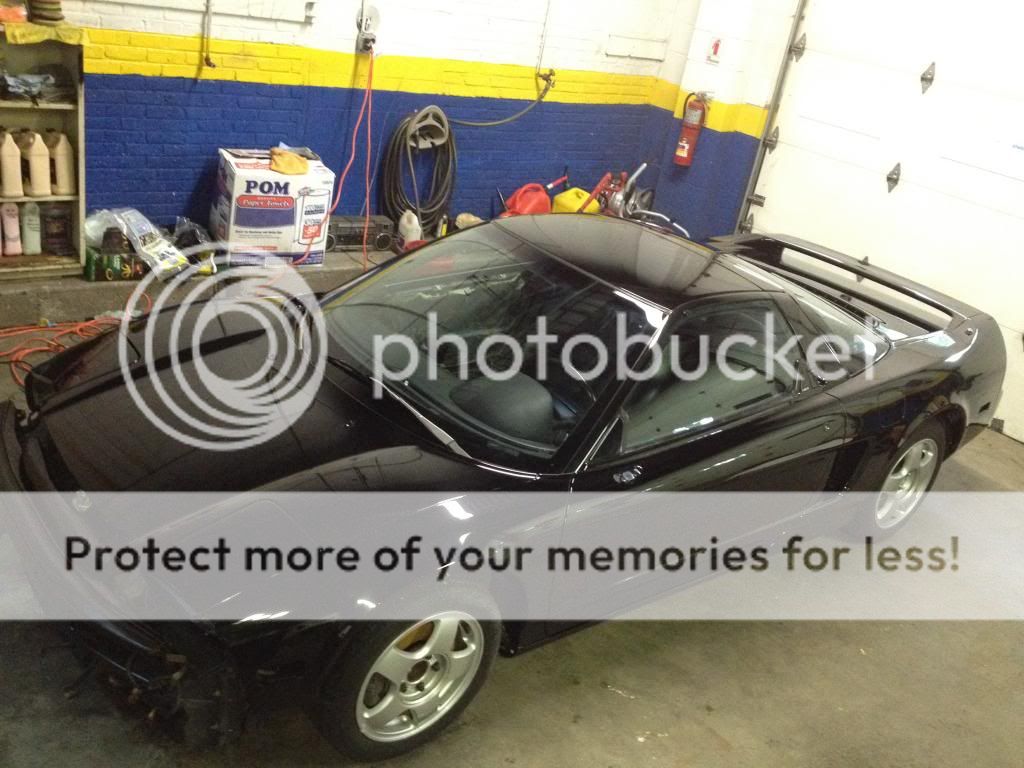
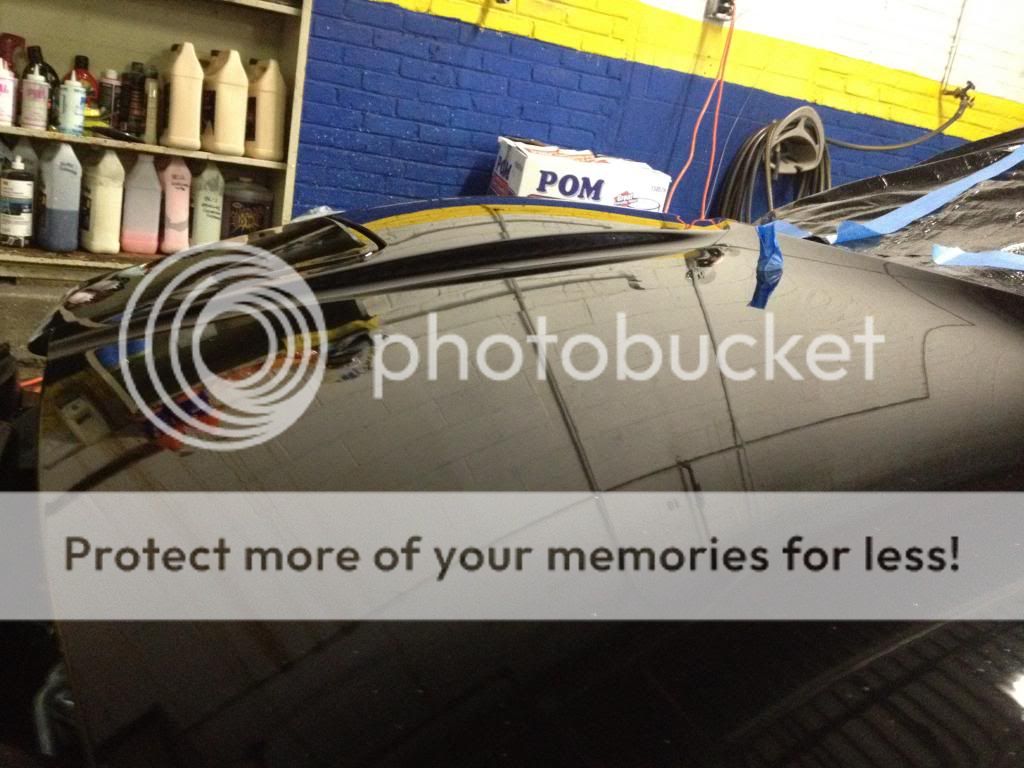
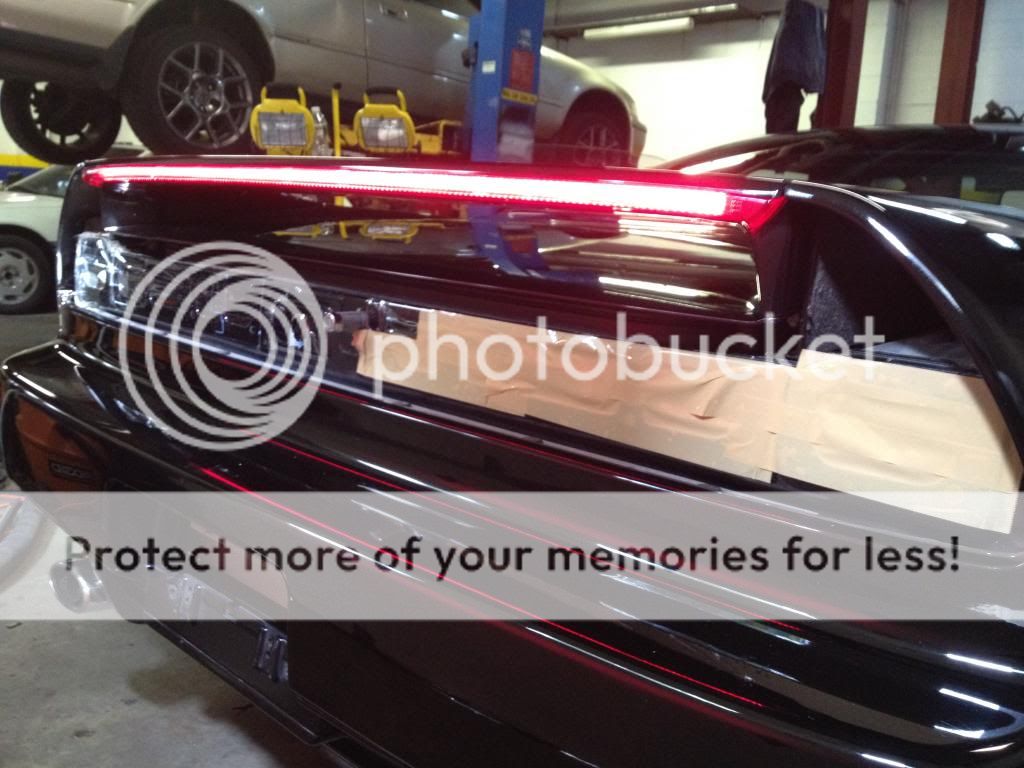
I then began to tape up all of the windows, trim, etc.
IMG_2223_zpsce426ad6.jpg

IMG_2222_zps922362ab.jpg

IMG_2221_zps0da5898f.jpg

IMG_2220_zps542df08e.jpg

IMG_2219_zps35d9b1ef.jpg

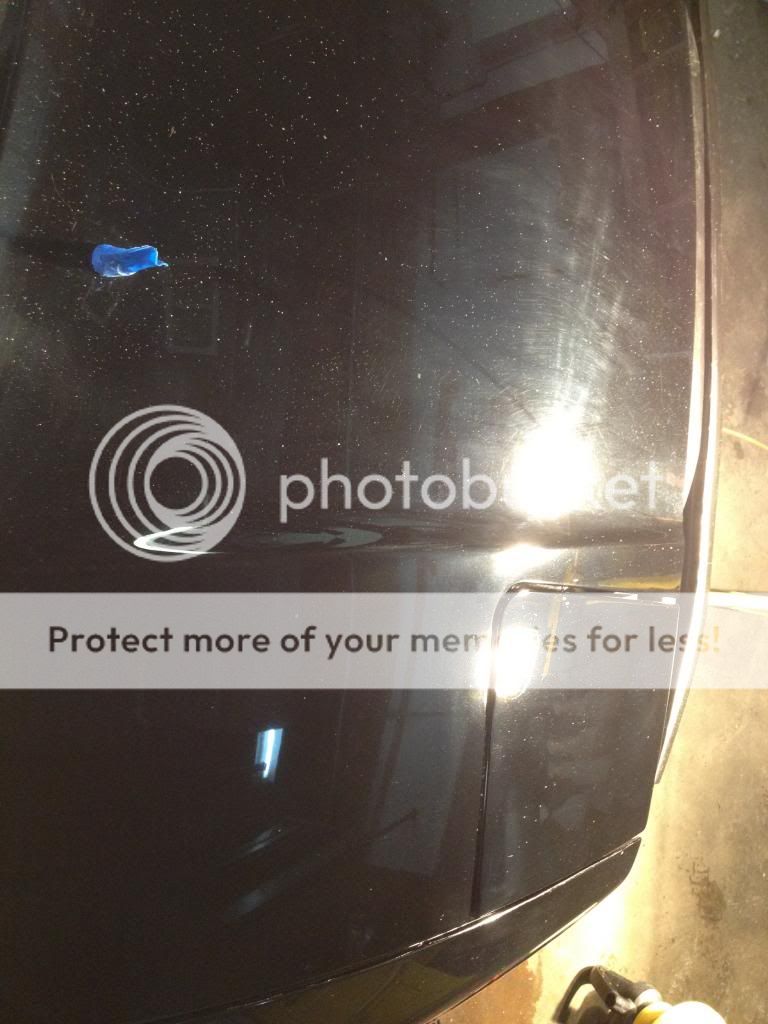
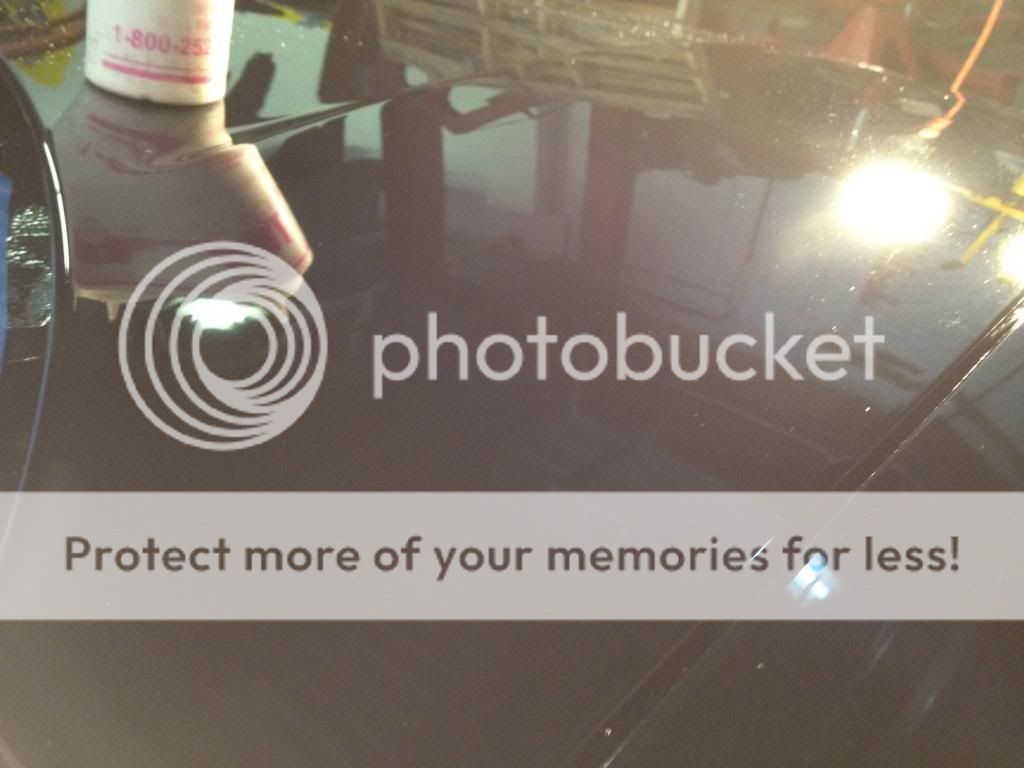
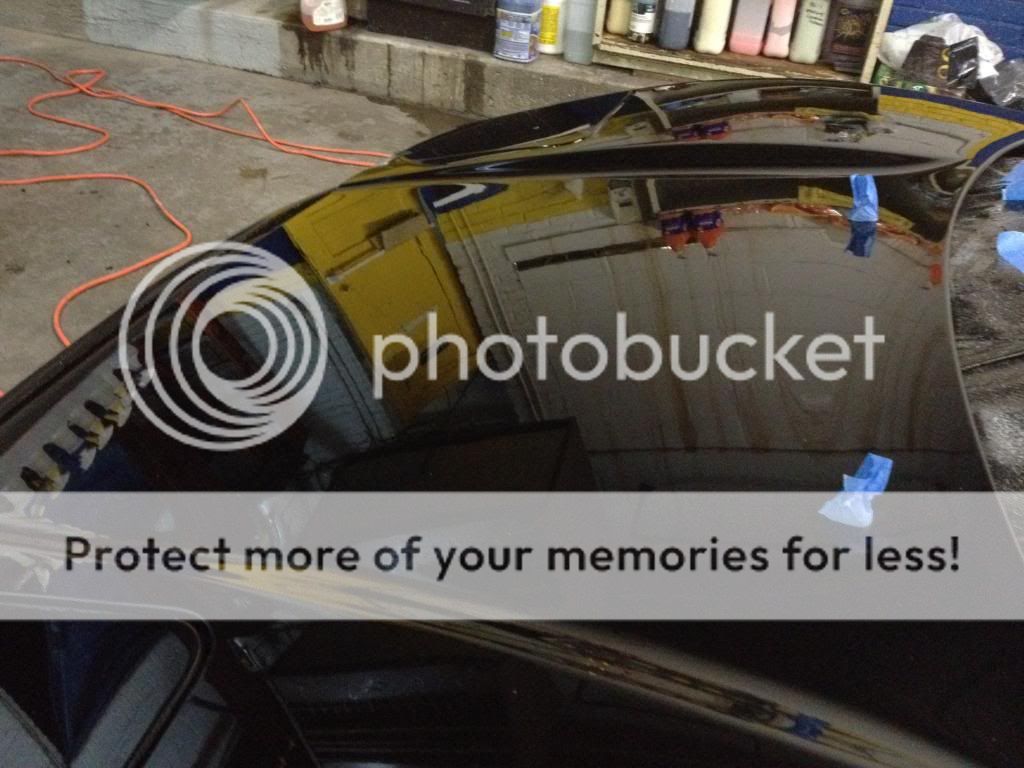
The following are up-close pictures of the condition of the paint before the compound. YUCK!
IMG_2234_zpscc2a5de0.jpg

IMG_2233_zps1535b10c.jpg

IMG_2232_zpsf0a550c6.jpg

IMG_2231_zps05077ff5.jpg

On to the compounding.....
IMG_2246_zpsb64c5959.jpg

IMG_2245_zps7f1b371a.jpg

IMG_2244_zpsdf6a246e.jpg

IMG_2243_zpsadb7f99c.jpg

IMG_2242_zpsd0d698a0.jpg

IMG_2241_zpsb1427cda.jpg

IMG_2240_zps4c4ae63d.jpg

IMG_2239_zps8266ed54.jpg

IMG_2238_zpsc71fbe4f.jpg

IMG_2237_zps2f58cffc.jpg

IMG_2236_zps327fc0a9.jpg

IMG_2235_zps2958460d.jpg

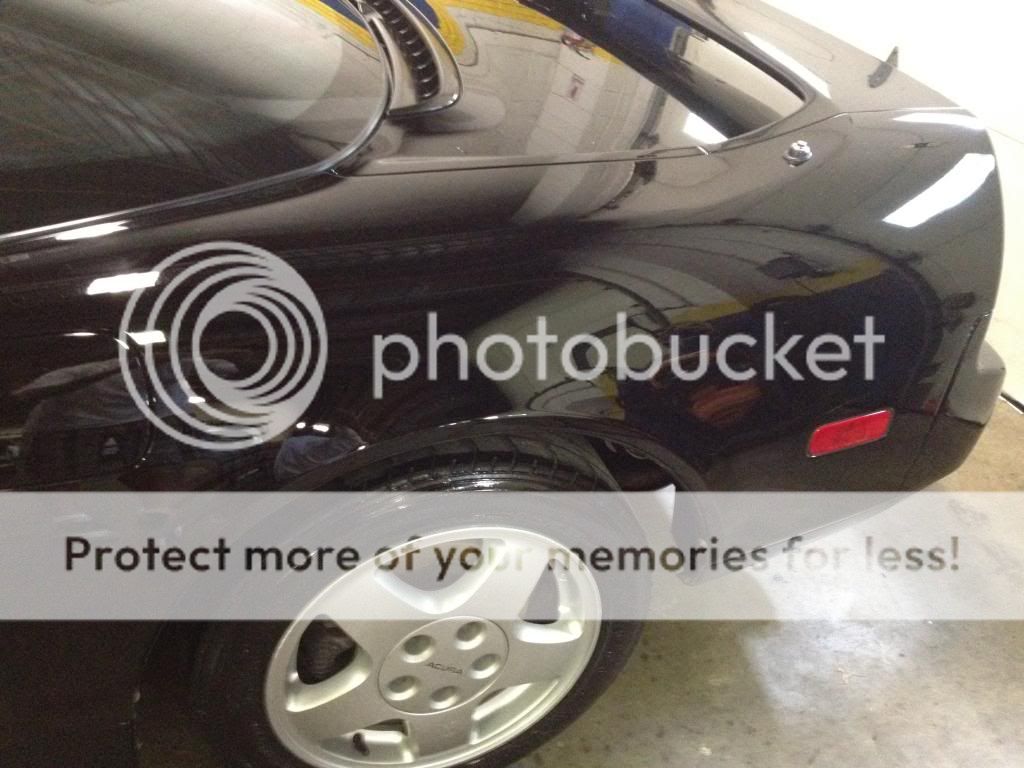
And the polish....
IMG_2264_zps9d760139.jpg

IMG_2263_zps7c3c54db.jpg

IMG_2262_zpsea68f49c.jpg

IMG_2261_zps7174aa65.jpg

IMG_2260_zpsb287aec4.jpg

IMG_2258_zps983d9dee.jpg

IMG_2257_zpse0a9c988.jpg

IMG_2256_zps22d8a38c.jpg

IMG_2255_zps8c83f747.jpg

IMG_2254_zpsbe9f3c4d.jpg

IMG_2253_zpscc357b42.jpg

IMG_2252_zps5c47b52d.jpg

IMG_2251_zpsb93e8163.jpg

IMG_2250_zps5e6dbc5d.jpg

IMG_2249_zps752af751.jpg

IMG_2248_zps326f462a.jpg

IMG_2247_zps50358914.jpg

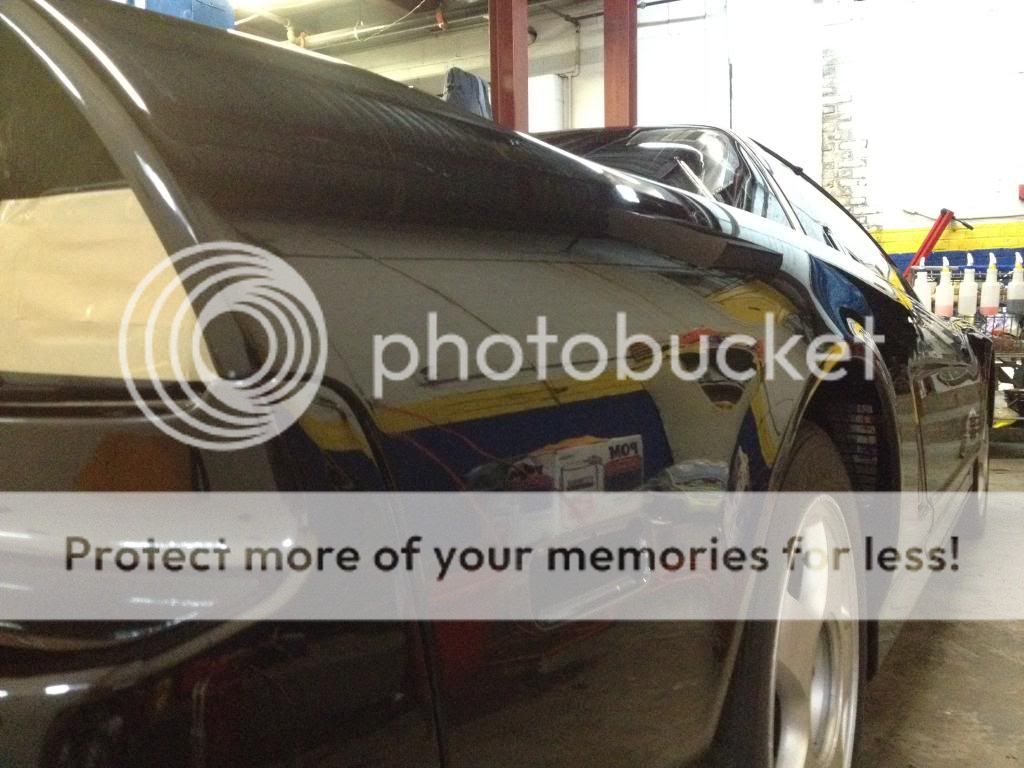
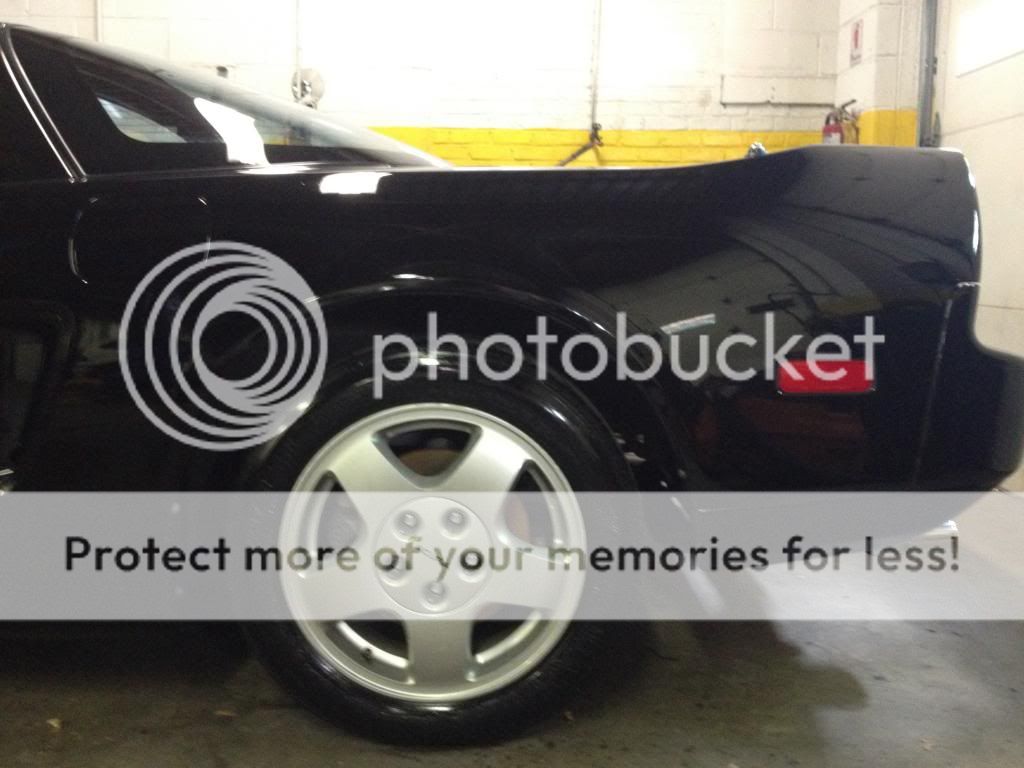
Then comes the wax... I use a Meguiar's DA and Meguiar's compund/polish/wax for everything by the way! I detail cars for a living and swear by this stuff.
IMG_2287_zpsda1a3e01.jpg

IMG_2280_zps743079e4.jpg

IMG_2279_zps320d6860.jpg

IMG_2278_zps6f06975f.jpg

IMG_2273_zps82408c5a.jpg

IMG_2272_zps003f876f.jpg

IMG_2271_zpsaa448218.jpg

IMG_2270_zpsb65e0053.jpg

IMG_2269_zps655ef577.jpg

IMG_2268_zpscb052b0c.jpg

IMG_2267_zps402fd997.jpg

IMG_2266_zps1234e04f.jpg

IMG_2265_zps1630d918.jpg

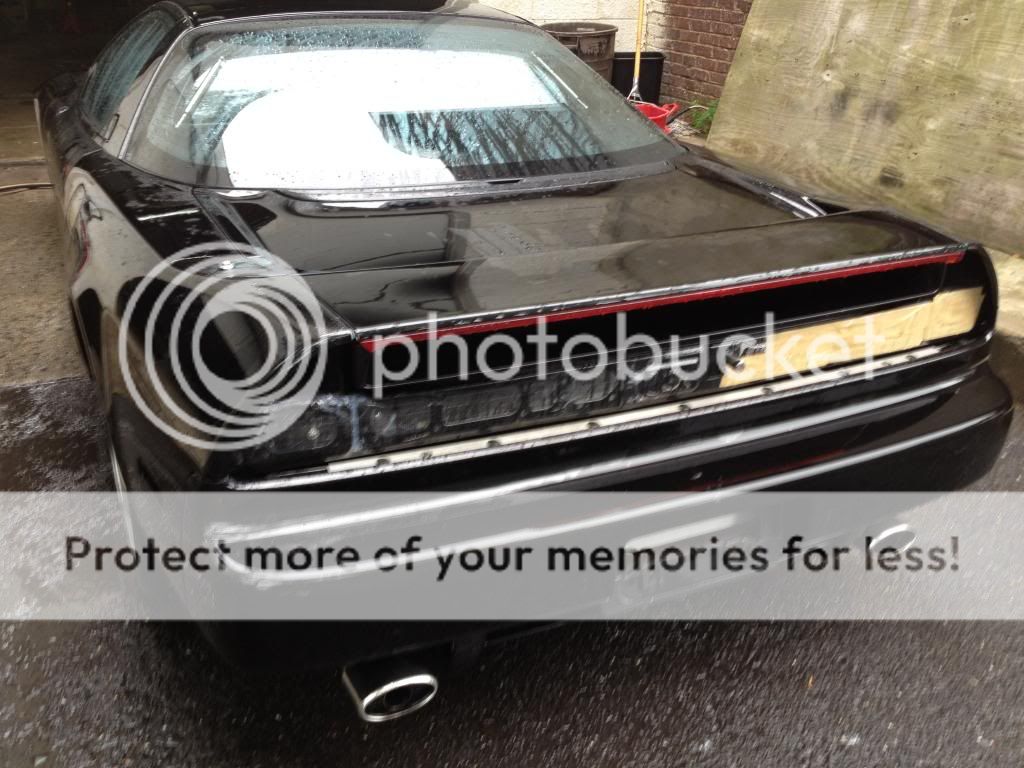
After what felt like forever, the bumper, mirrors, and tail light gaskets came in...YAYYY :biggrin::biggrin:
IMG_2303_zps29ce8565.jpg

IMG_2300_zpsf4d3eda6.jpg

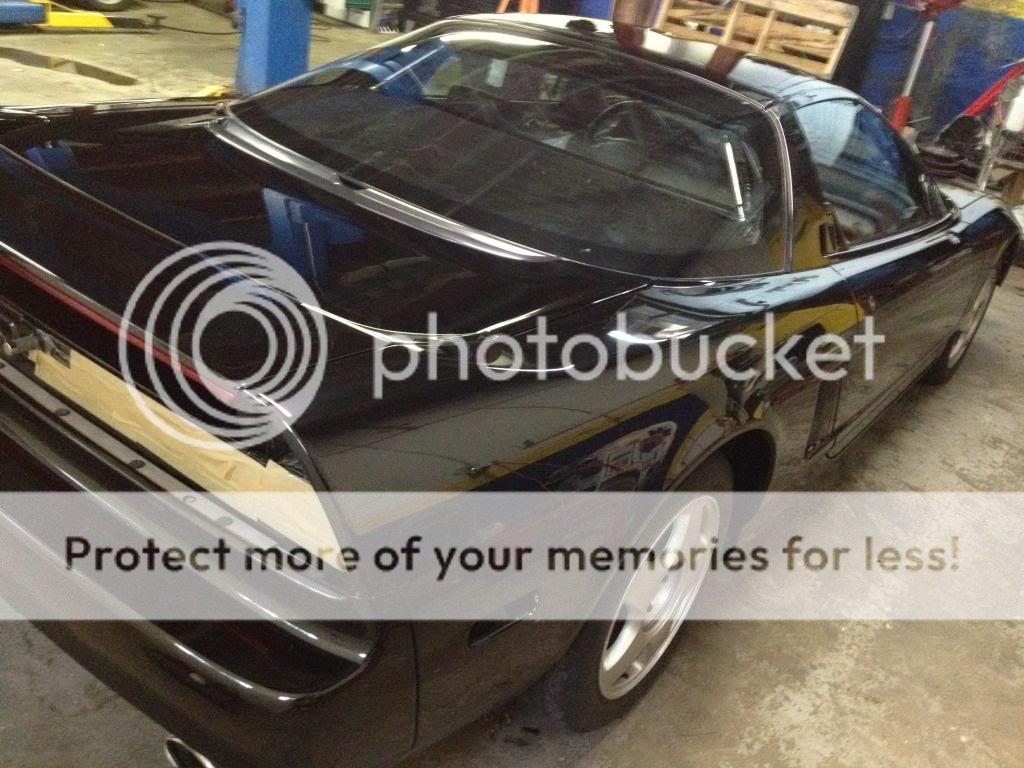
And that pretty much sums up the detail part of my build. I was extremely satisfied with the results!
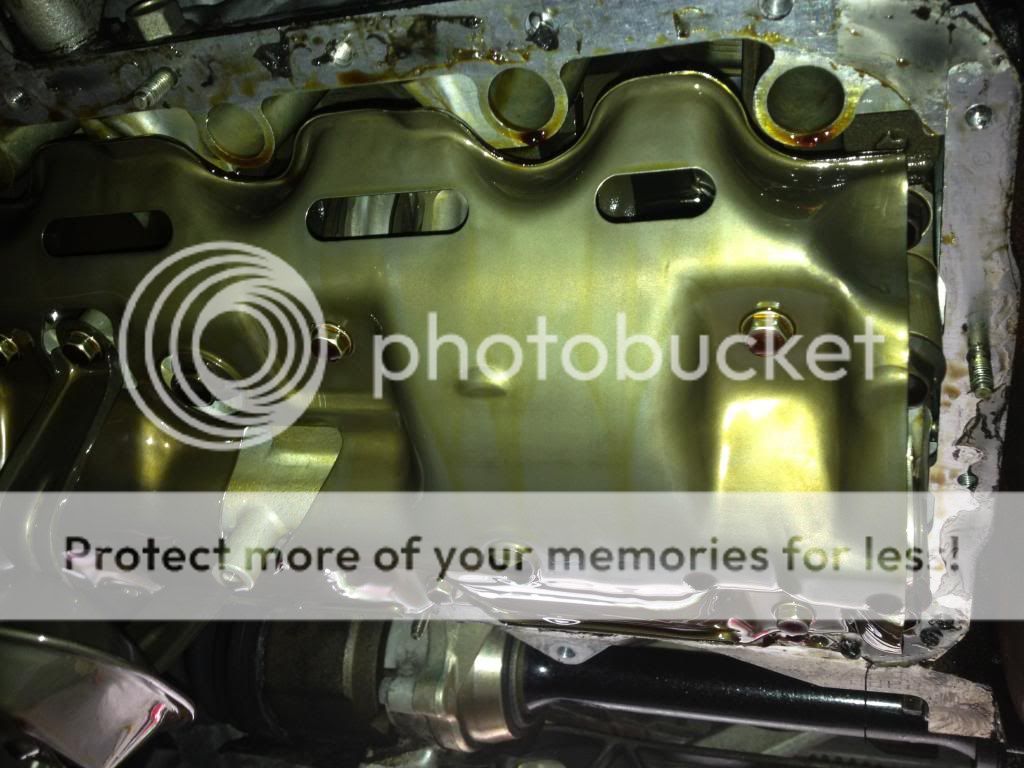
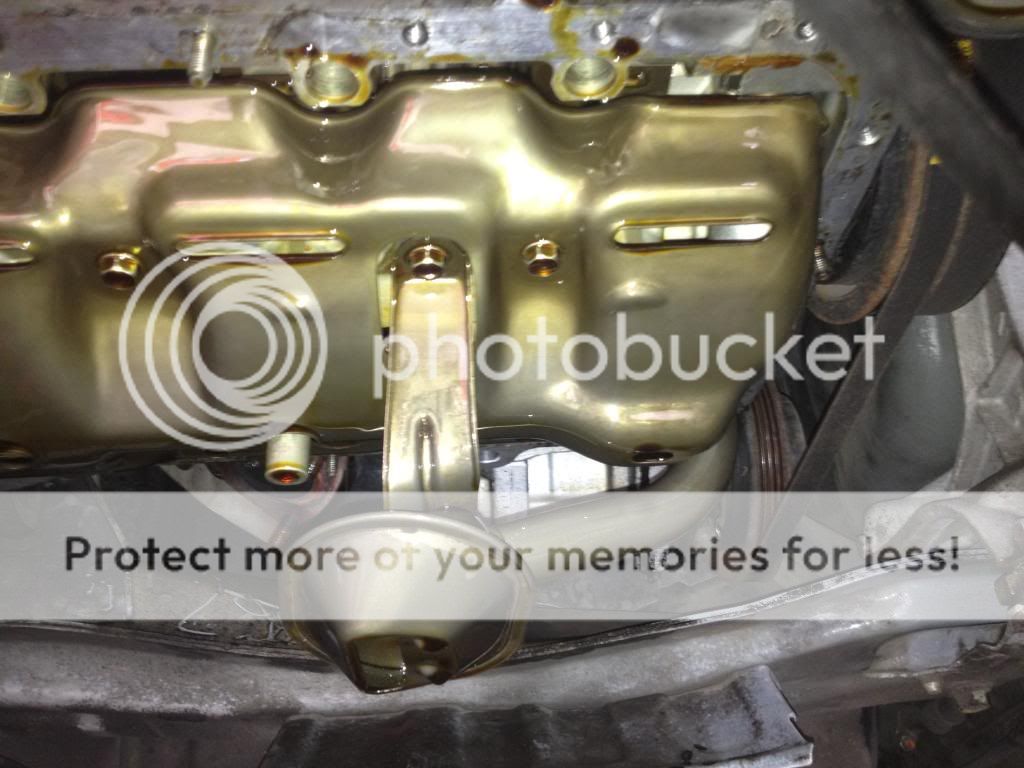
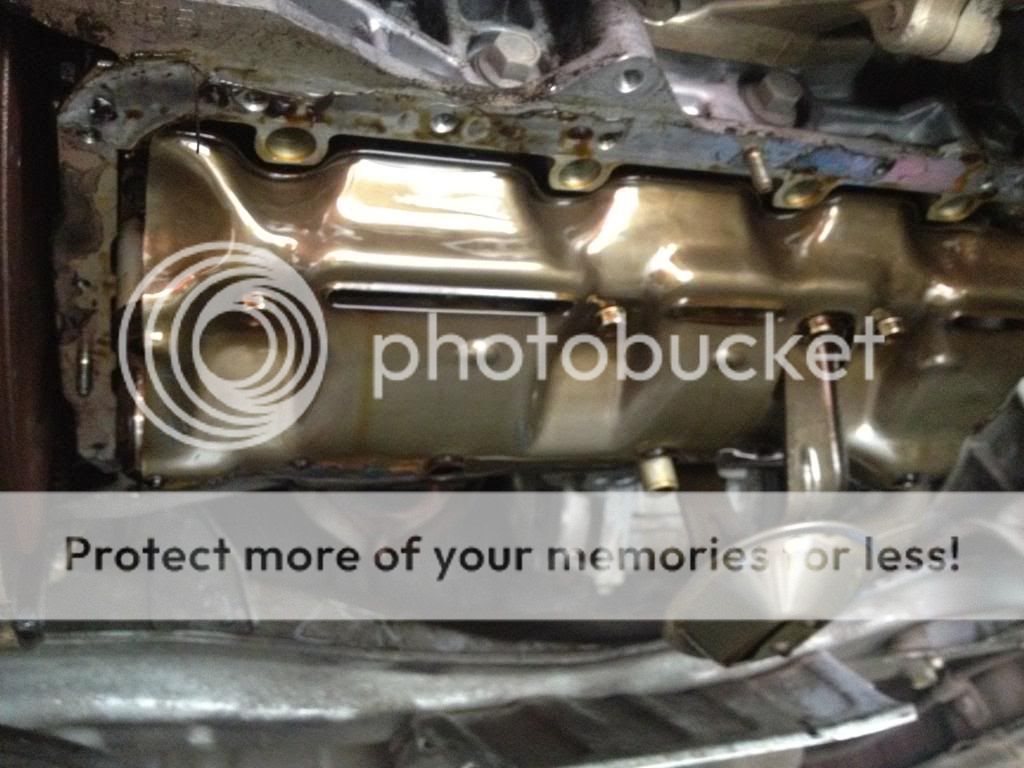
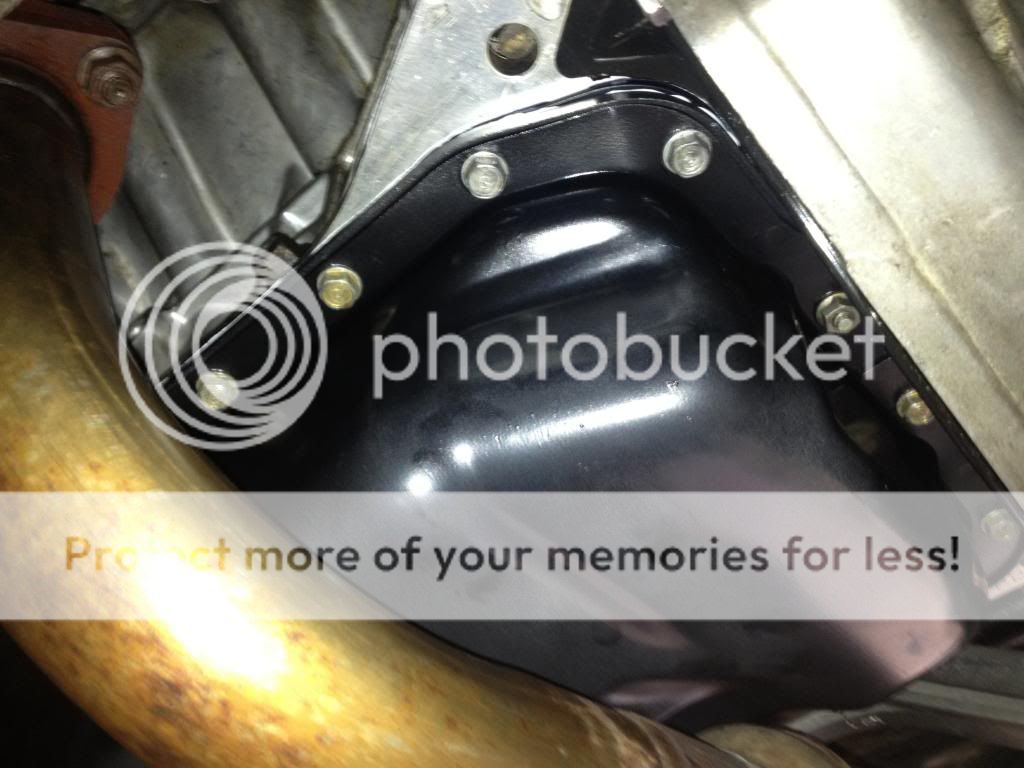
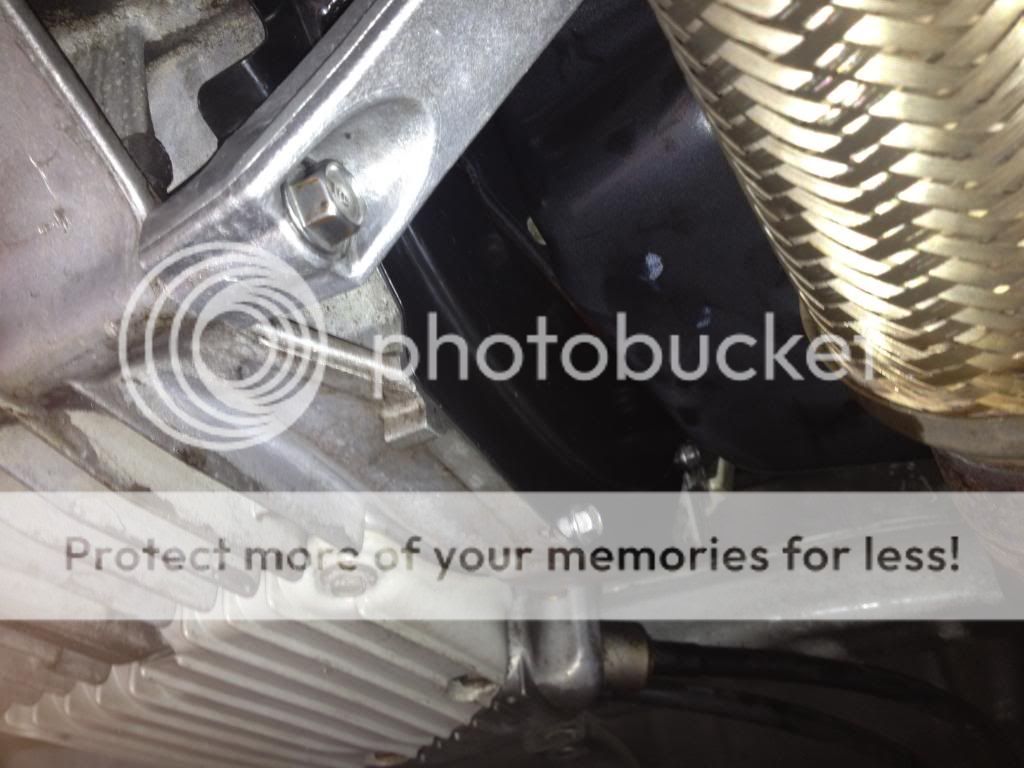
A few weeks later, I put the car on the lift to address the oil pan leak... Upon removal of the pan, I was extremely surprised at how clean the pick-up was. Not a single bit of evidence of sludge anywhere!!!!
IMG_2321_zps1015e2ee.jpg

IMG_2319_zps92a2ad5a.jpg

IMG_2318_zpsdd550e57.jpg

IMG_2317_zps8069f89a.jpg

The rear main seal was also bone dry.
IMG_2320_zps88344dd1.jpg

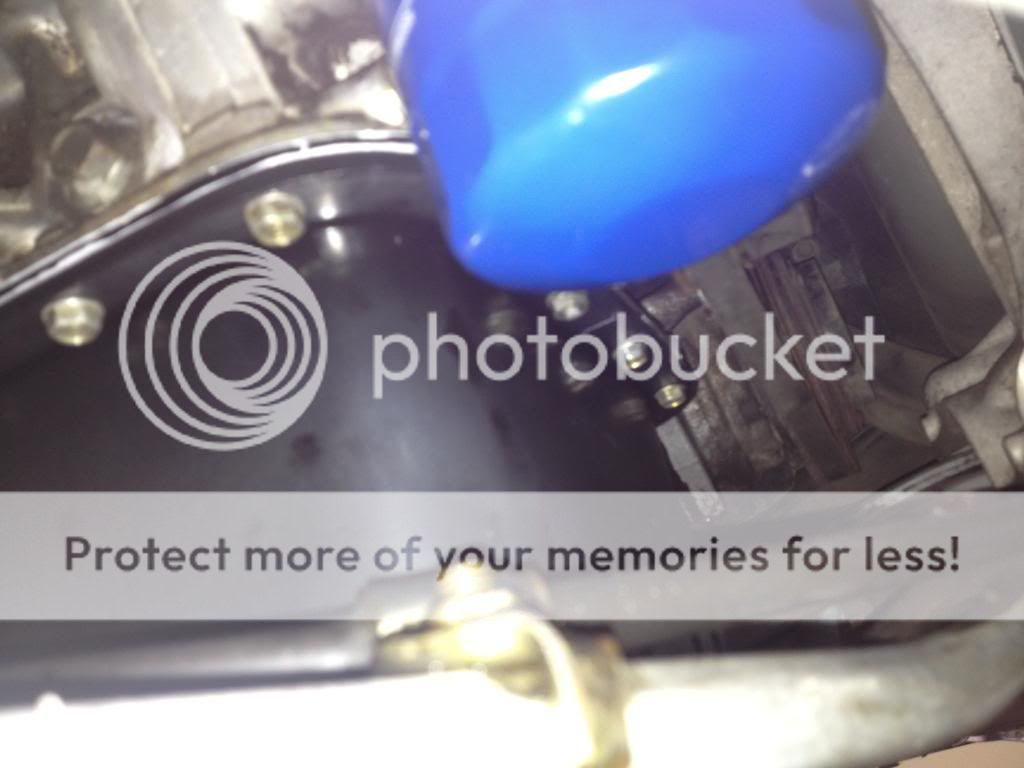
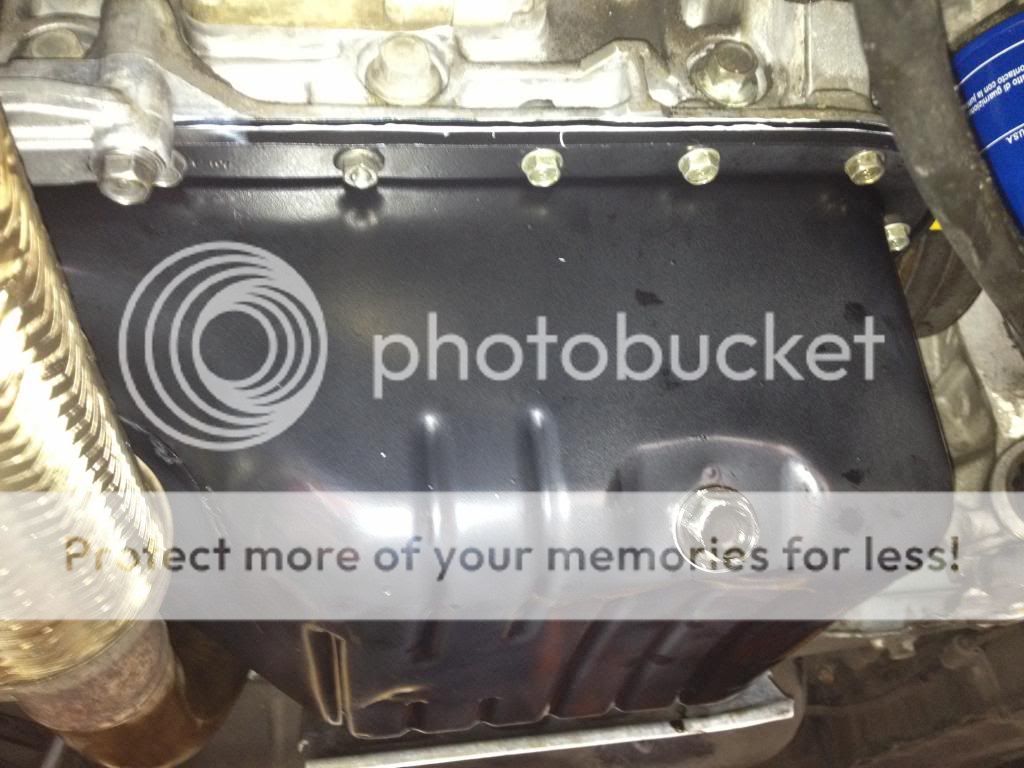
So I changed the gasket along with a fresh motor oil + filter change, and since I had my hands in the mud already, I also changed the transmission fluid with the Factory Honda MTF...
IMG_2329_zpsbfc5a0ff.jpg

IMG_2328_zps0133f94d.jpg

IMG_2327_zps6542d01e.jpg

IMG_2326_zps46f5f10c.jpg

IMG_2325_zps367e0d9e.jpg

IMG_2324_zps1a0fc5a1.jpg

IMG_2323_zps0f44b06a.jpg

IMG_2322_zpscc1ef0a1.jpg

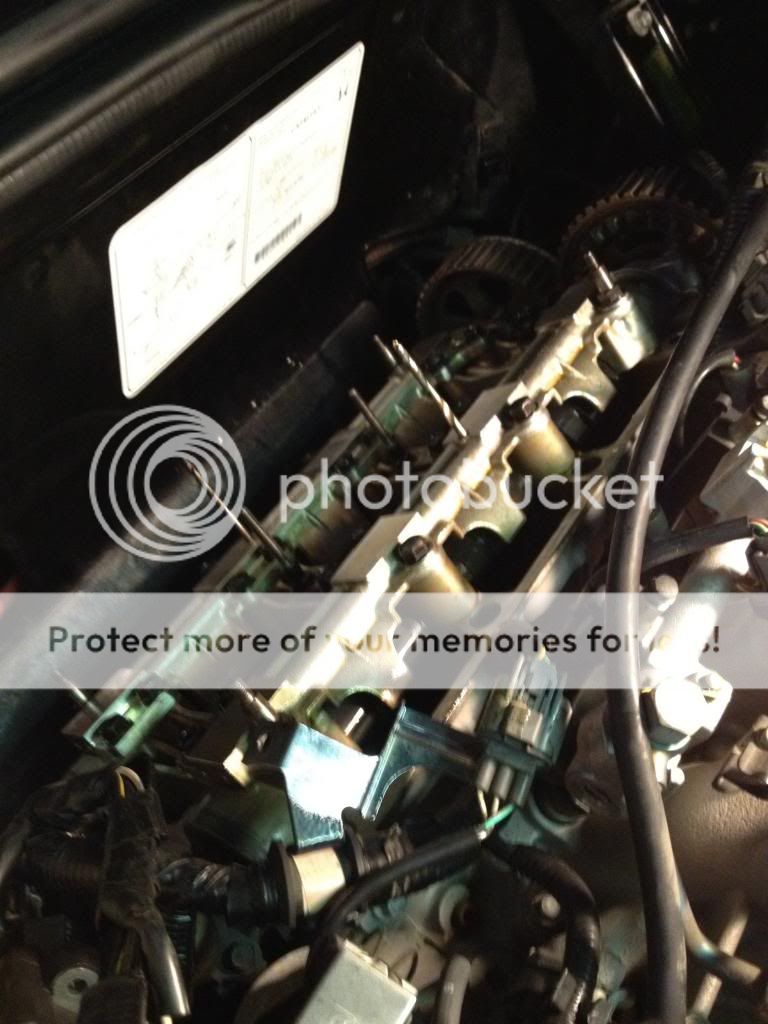
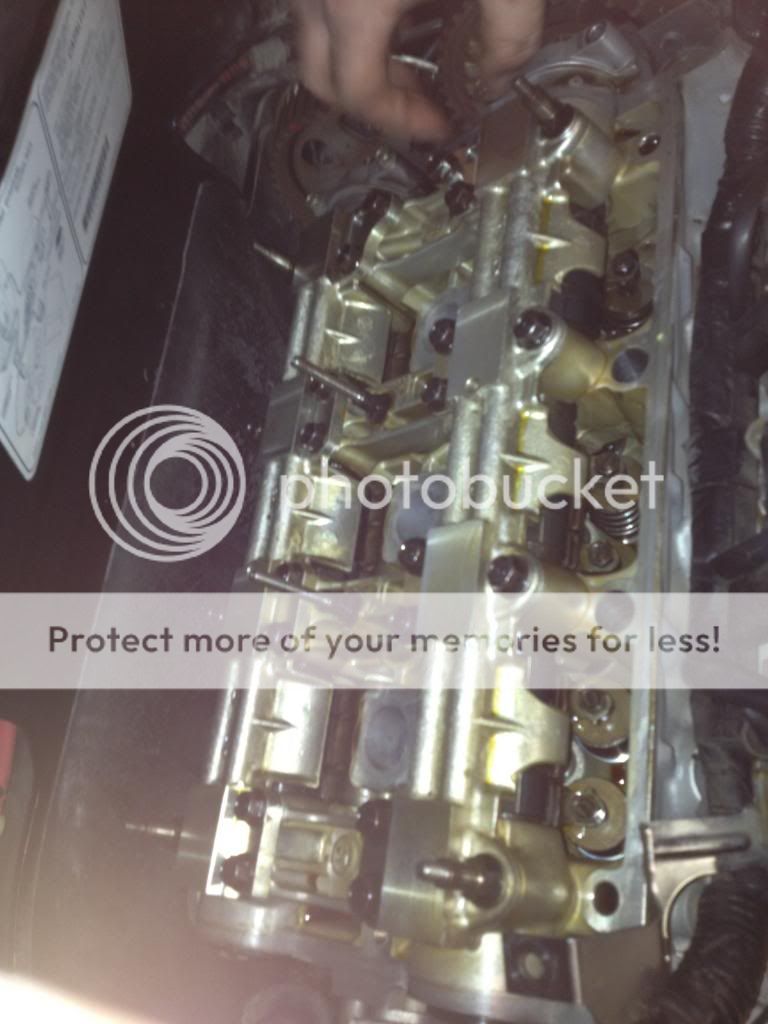
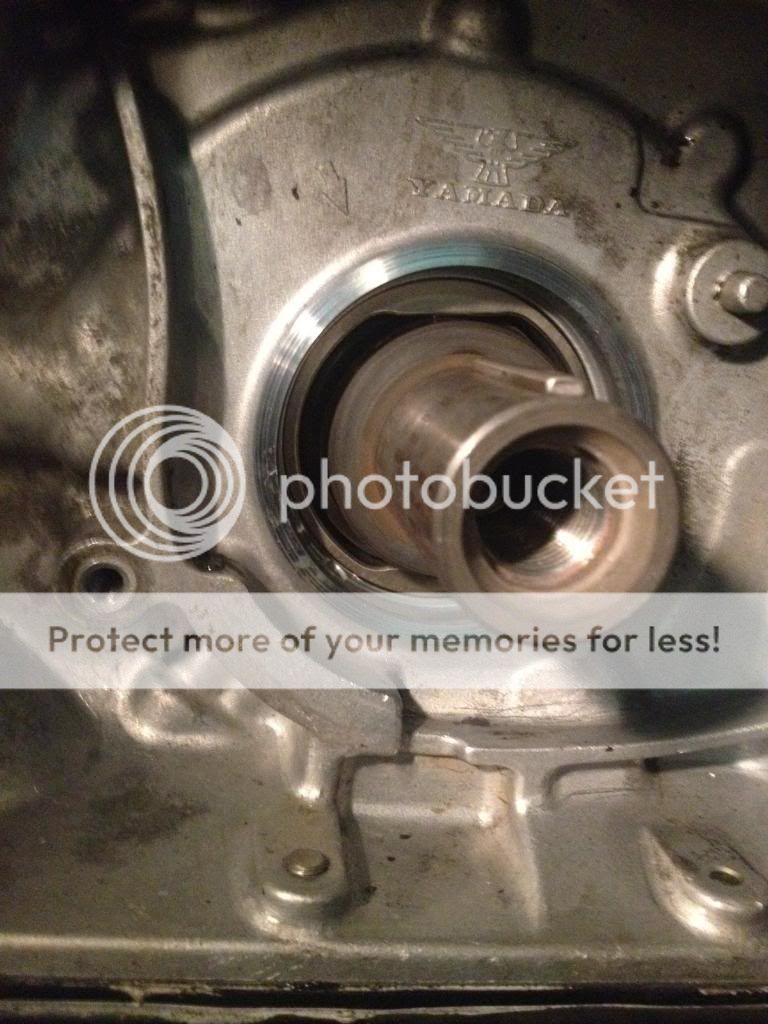
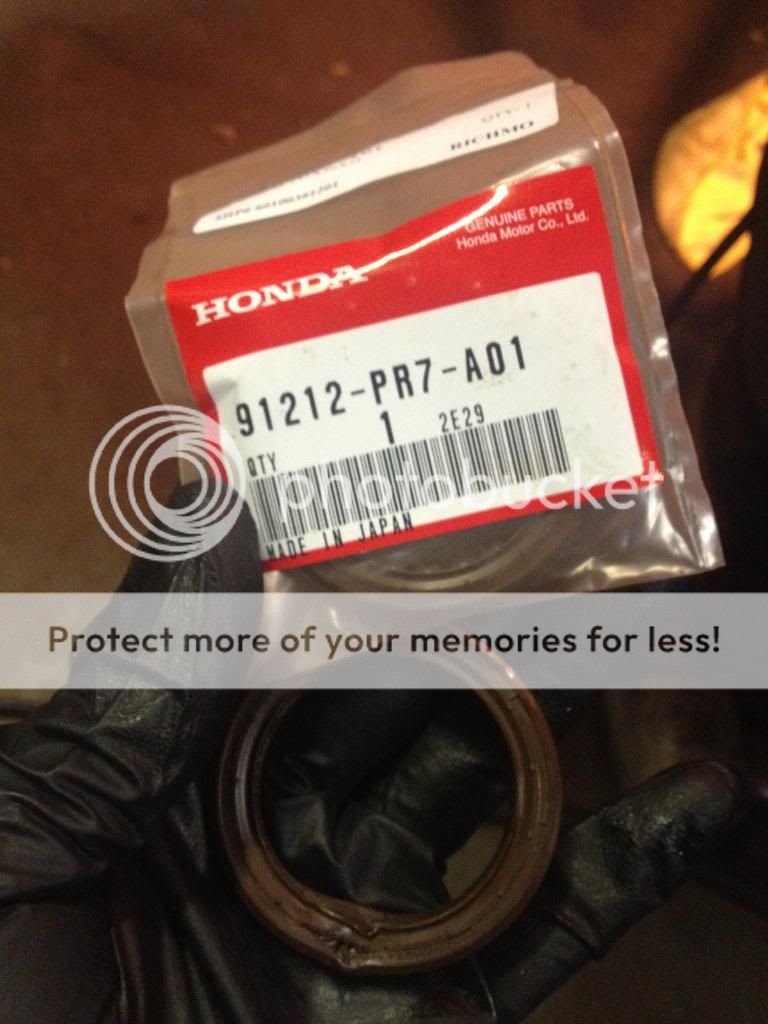
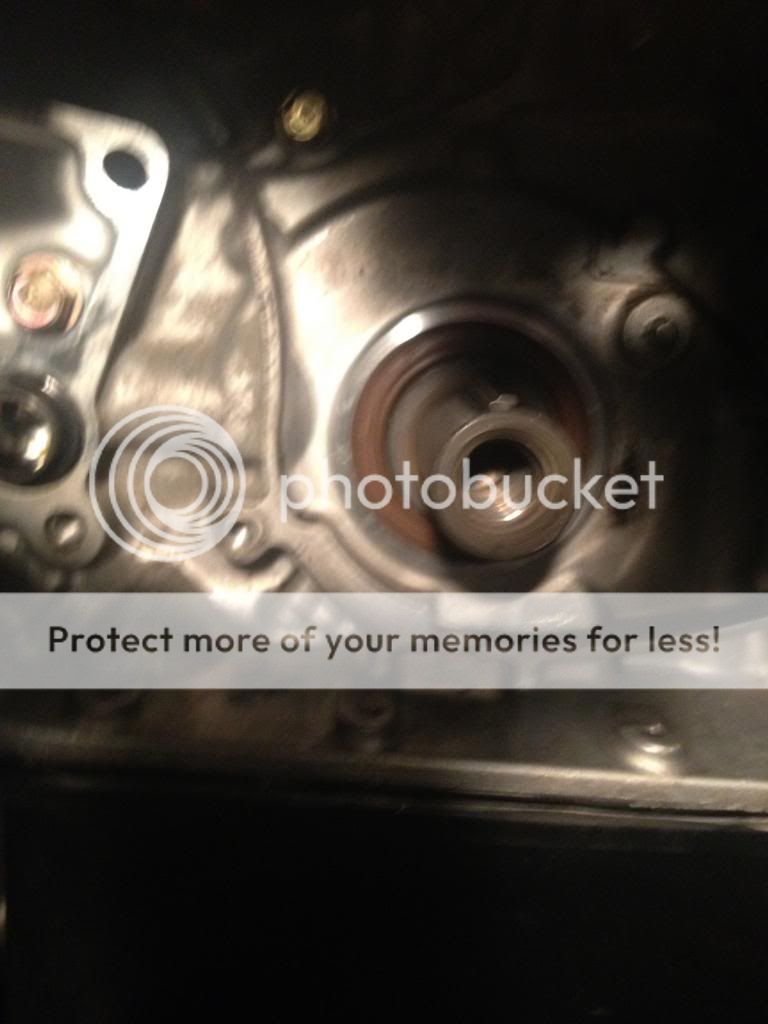
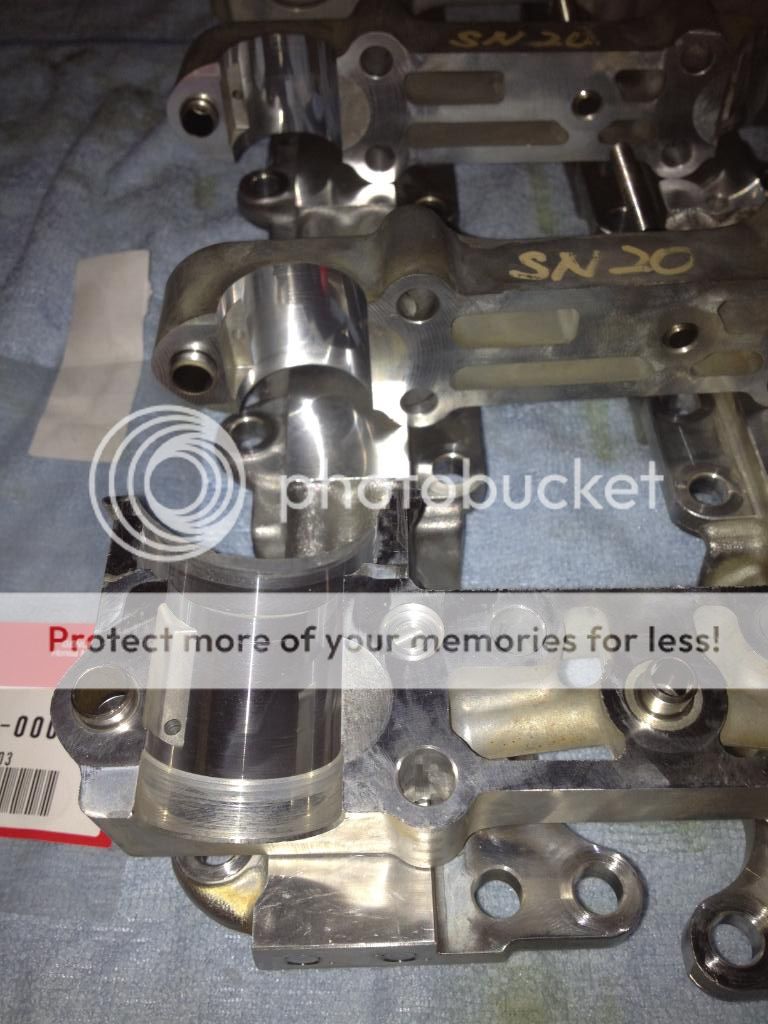
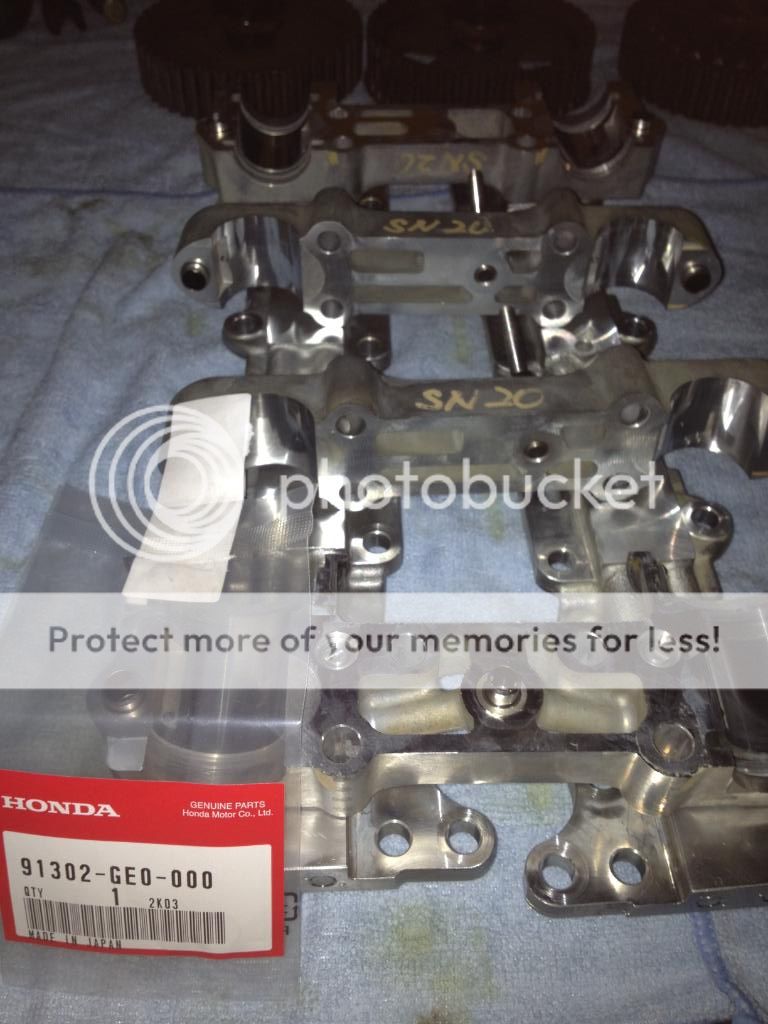
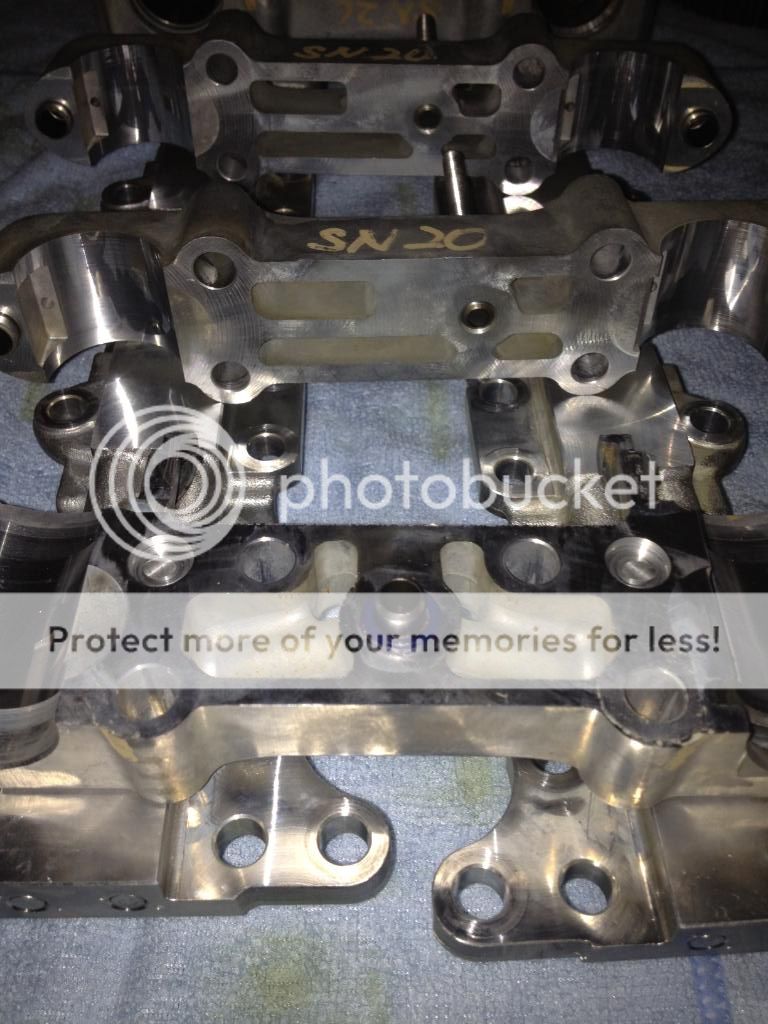
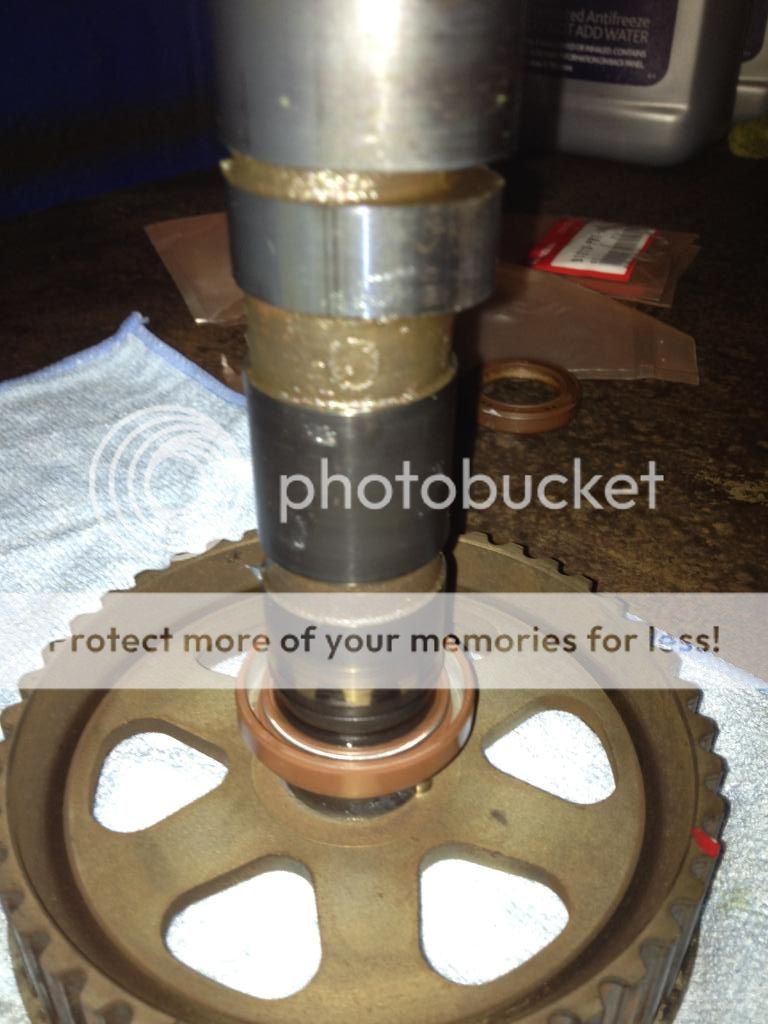
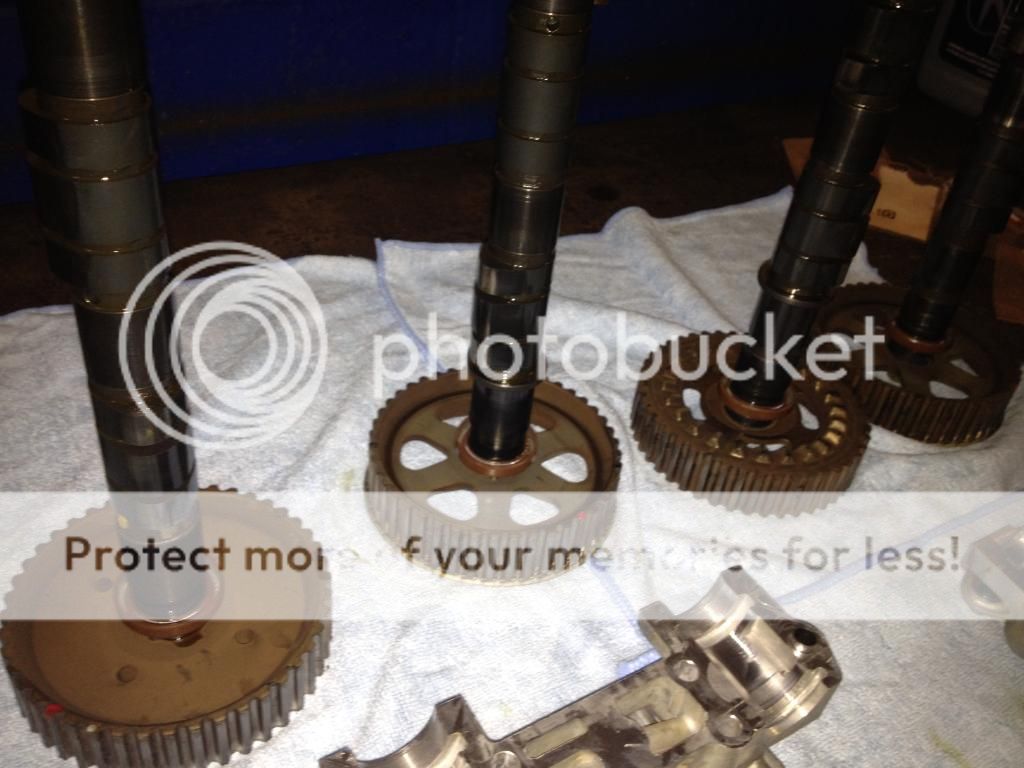
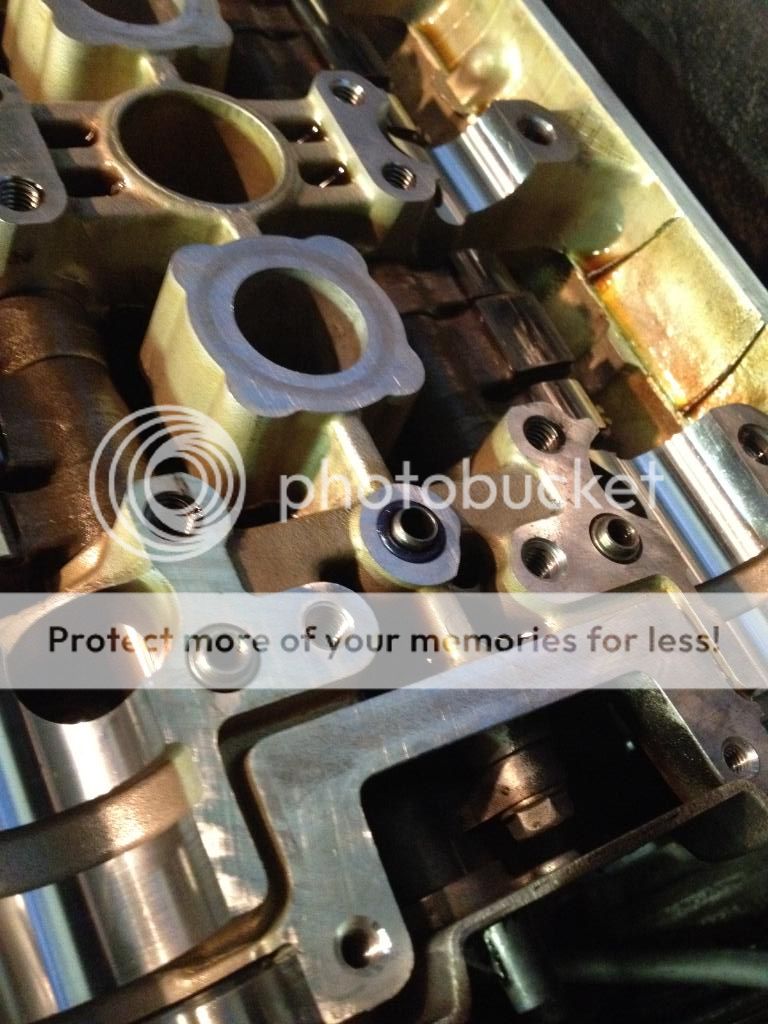
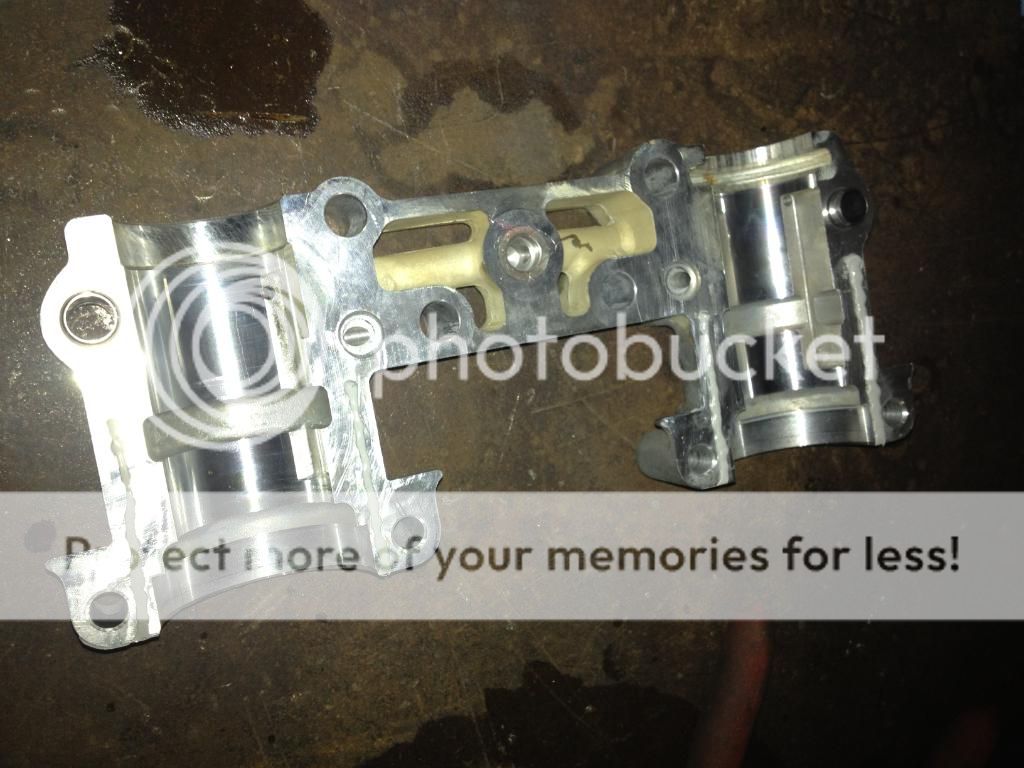
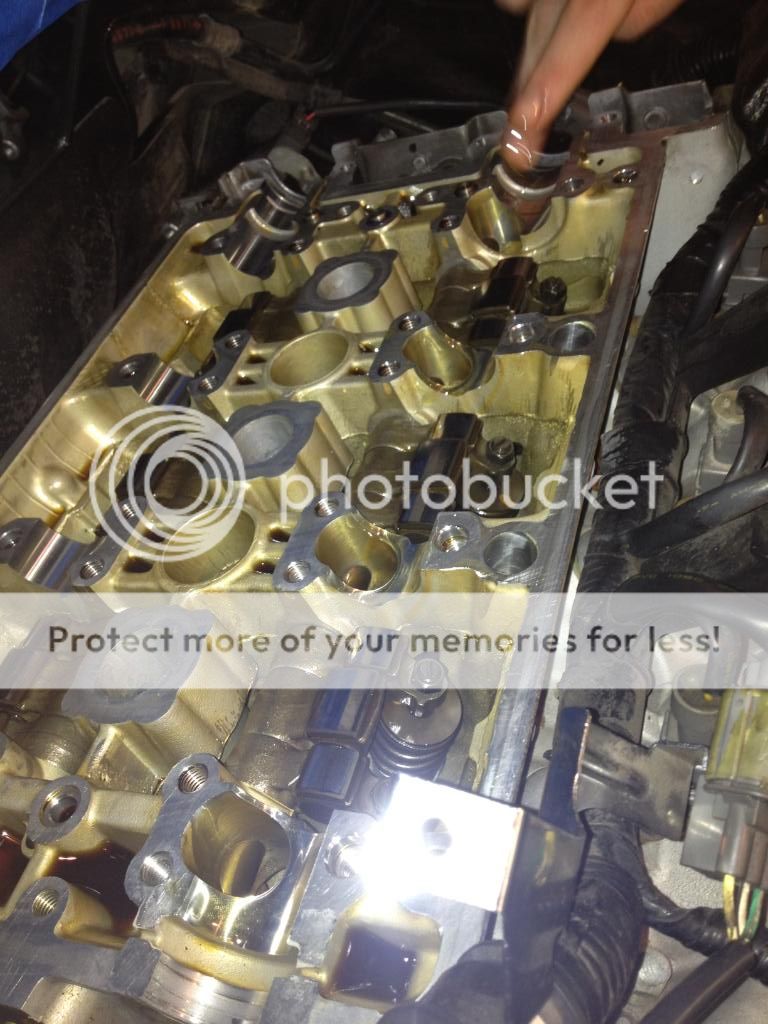
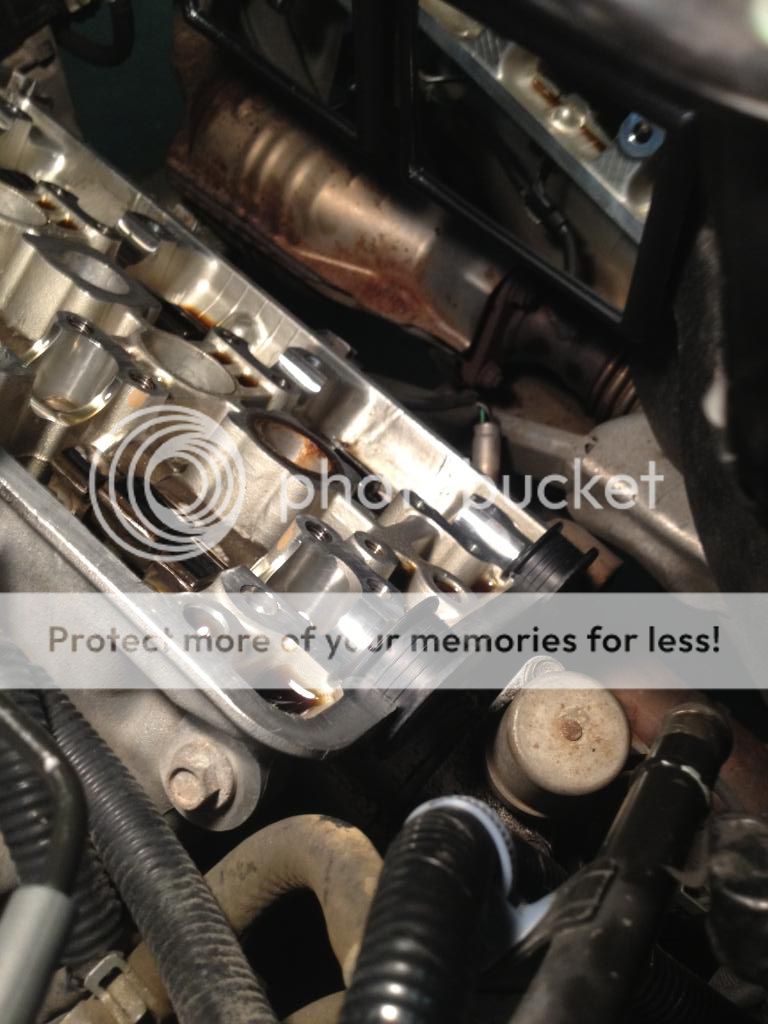
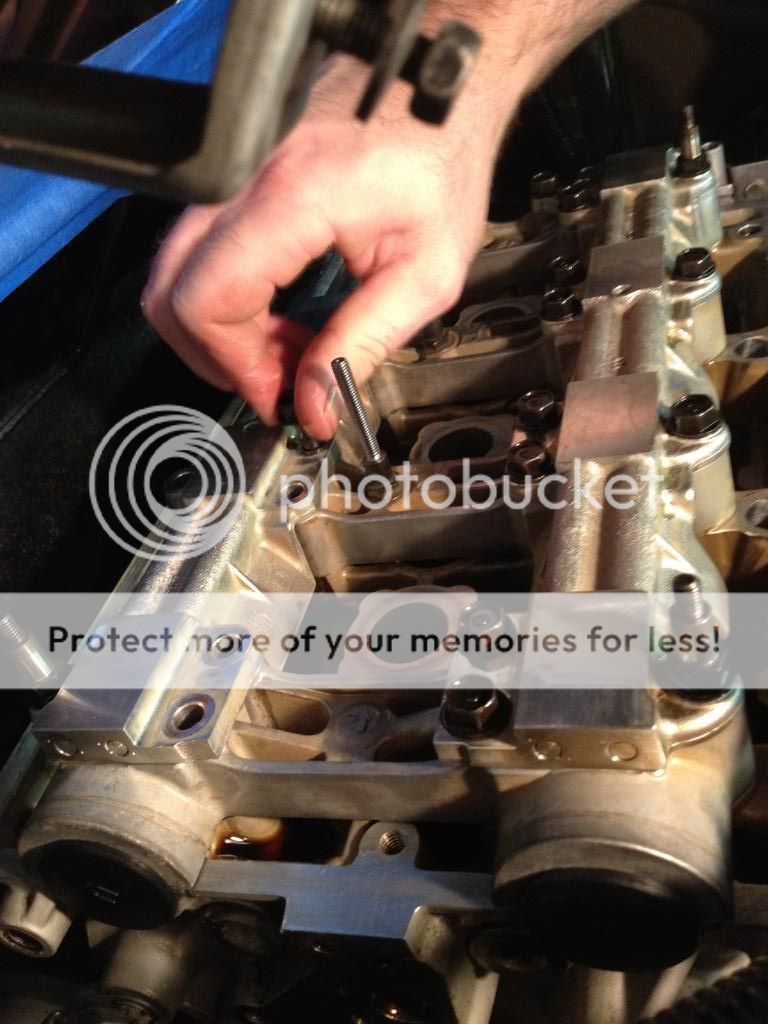
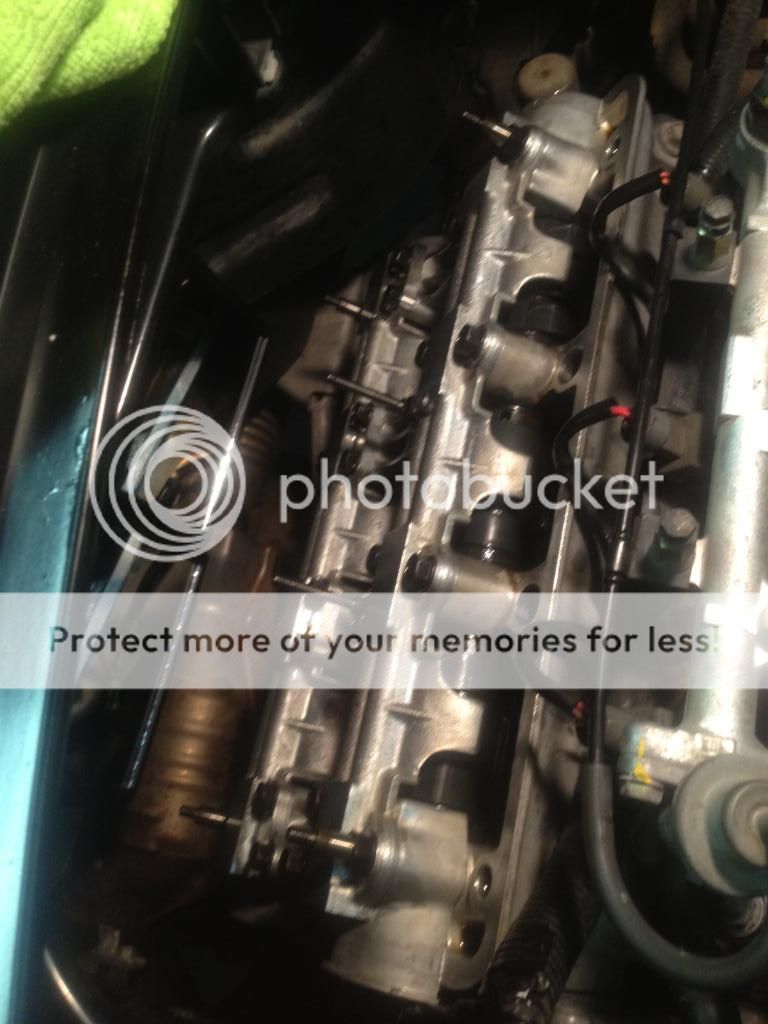
So approximately a week ago, I began my latest engine maintenance/preventative maintenance project. I Literally purchased over $2,000 worth of gaskets, oil seals, including the timing belt, water pump, fuel filter, etc. I started by removing the valve cover gaskets and intake manifold cover, and I sent them over to a local powder-coating shop(G.S.D. in Keyport, NJ) to get them done in NSX-R wrinkle red :biggrin:. I haven't received the head covers yet, but I've seen their work before and am pretty confident that I'll be satisfied with the results. Since then I have removed the old belt (which was still in "like new" condition!), removed all of the cams, replaced the water pump, replaced the crank seal (which had no signs of leakage), cleaned both heads to prepare it for the hondabond and new seals, and I also cleaned out all of the cam holders and bridges.
Here are some pics of the valve covers off..
IMG_2389_zpse32b0c54.jpg

IMG_2388_zps0d8a6a5b.jpg

Engine at TDC and belt marked, then taken off
IMG_2393_zpsfd5dcd12.jpg

IMG_2392_zps3774cc2a.jpg

IMG_2391_zps792234b1.jpg

IMG_2390_zps956de82f.jpg

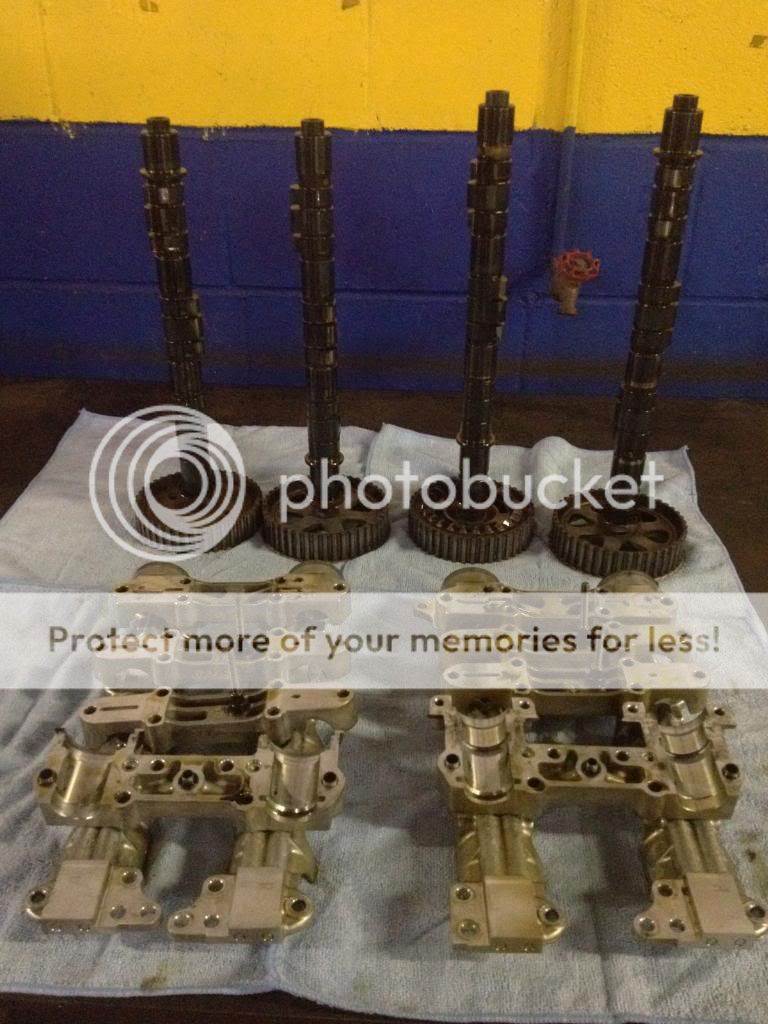
Cams off..
IMG_2397_zps8e336676.jpg

IMG_2394_zps5c53ec29.jpg

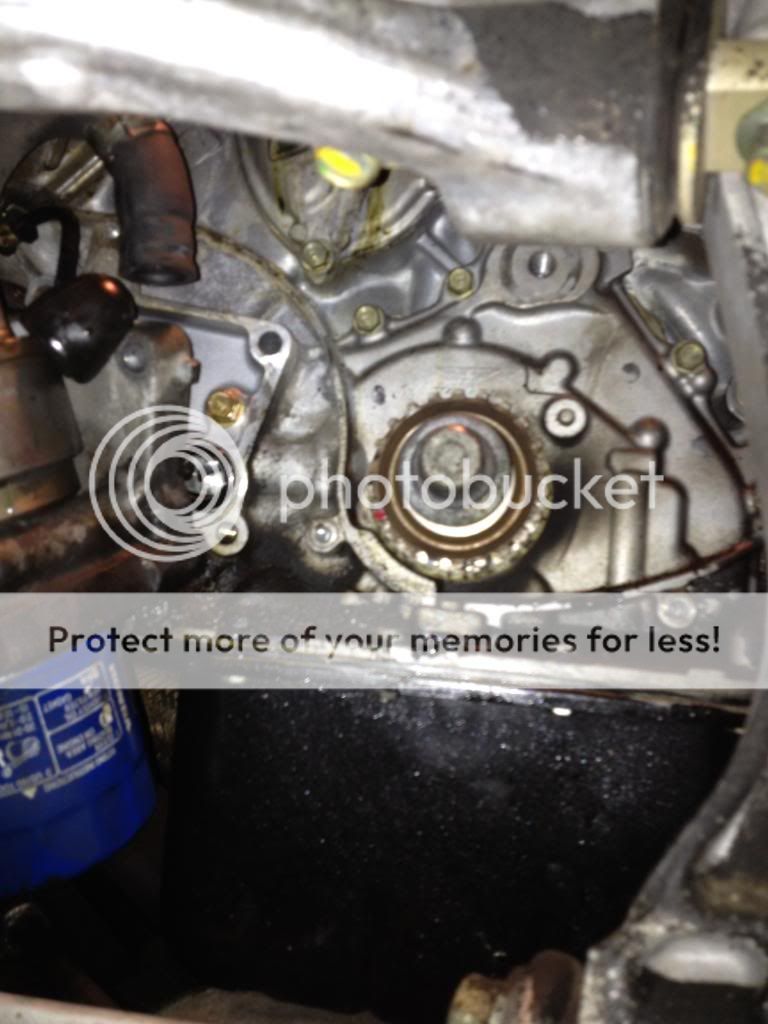
Old crank seal off...
IMG_2404_zpsfcedfa79.jpg

IMG_2403_zps6e4a9921.jpg

New crank seal installed...
IMG_2405_zps72e9a736.jpg

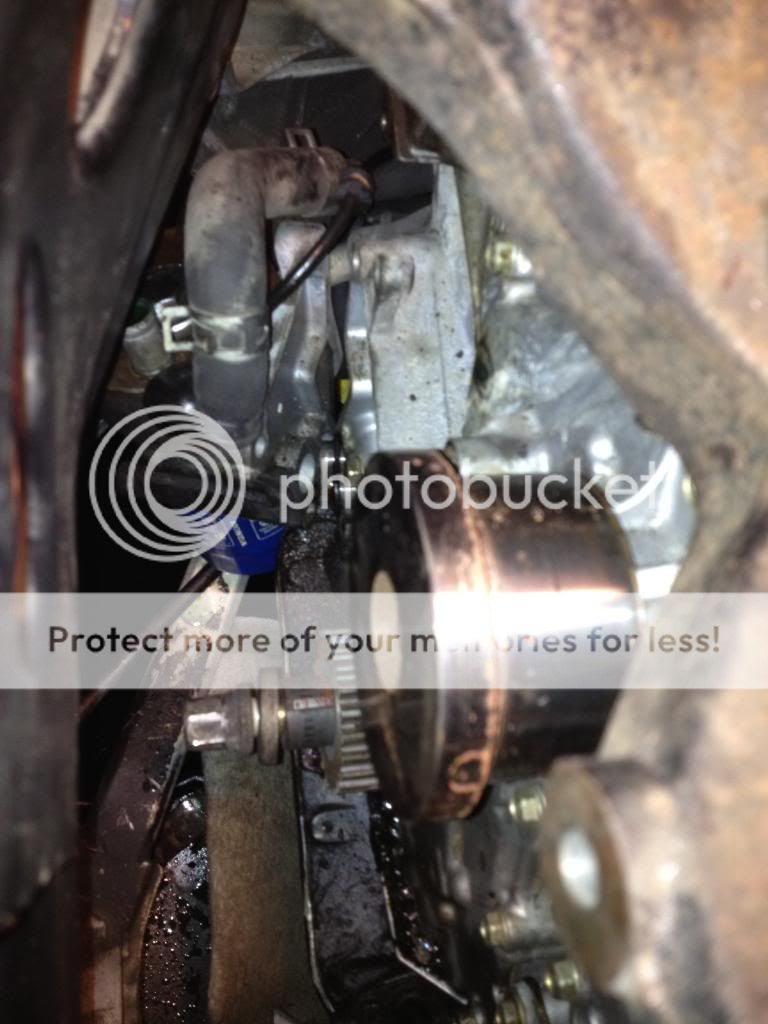
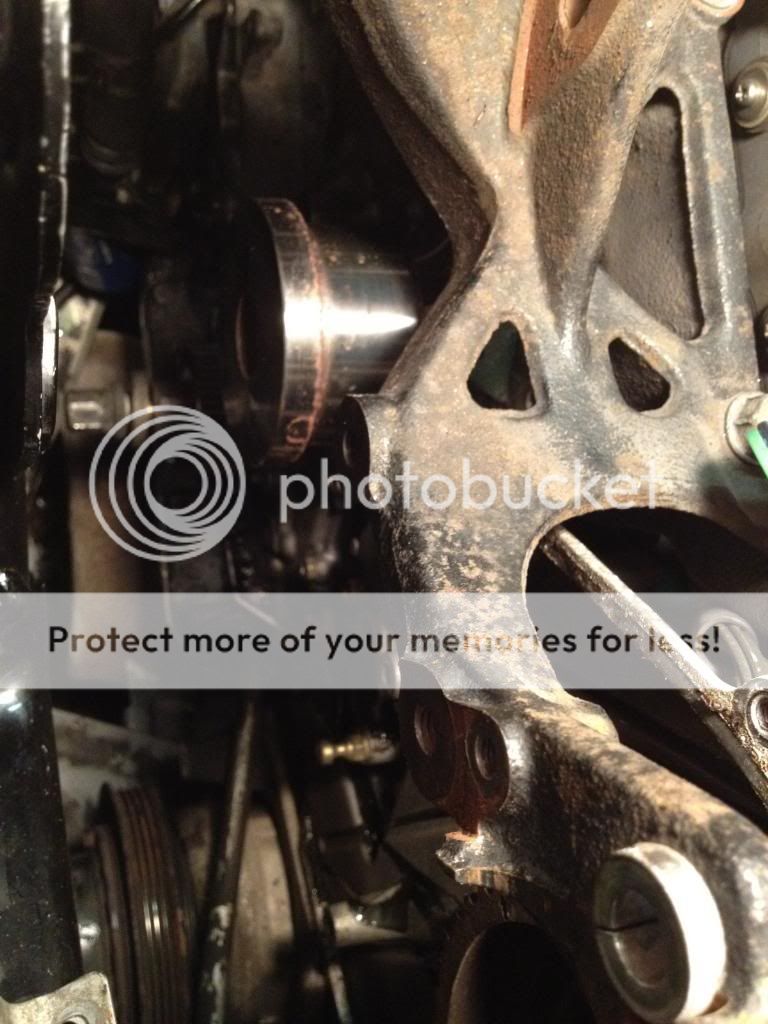
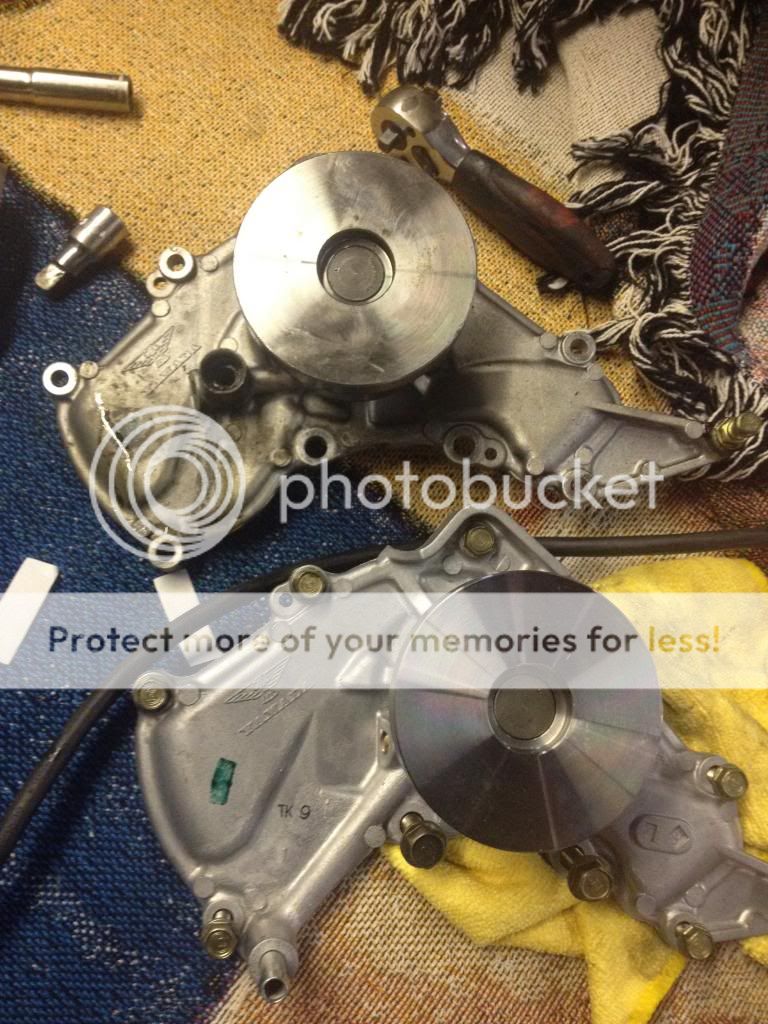
Old water pump off, and comparison to the newer style water pump with the relocated weep hole.
IMG_2408_zps0ce4ab49.jpg

IMG_2406_zpsabf0bf44.jpg

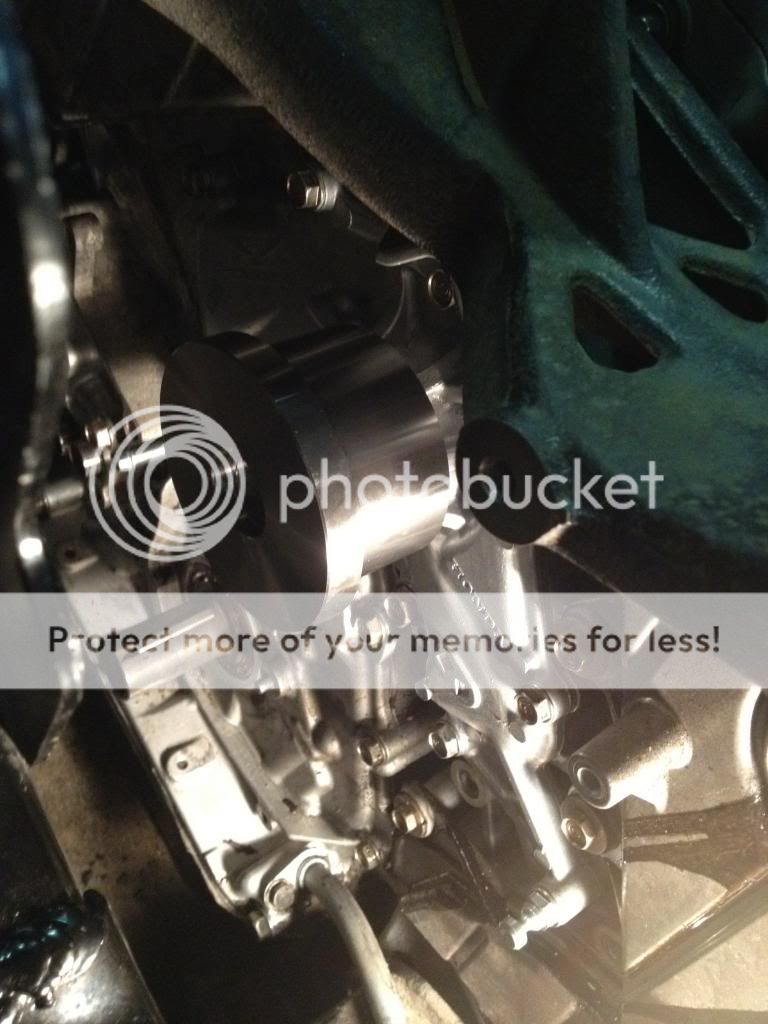
and the water pump installed..
IMG_2409_zps7684ad51.jpg

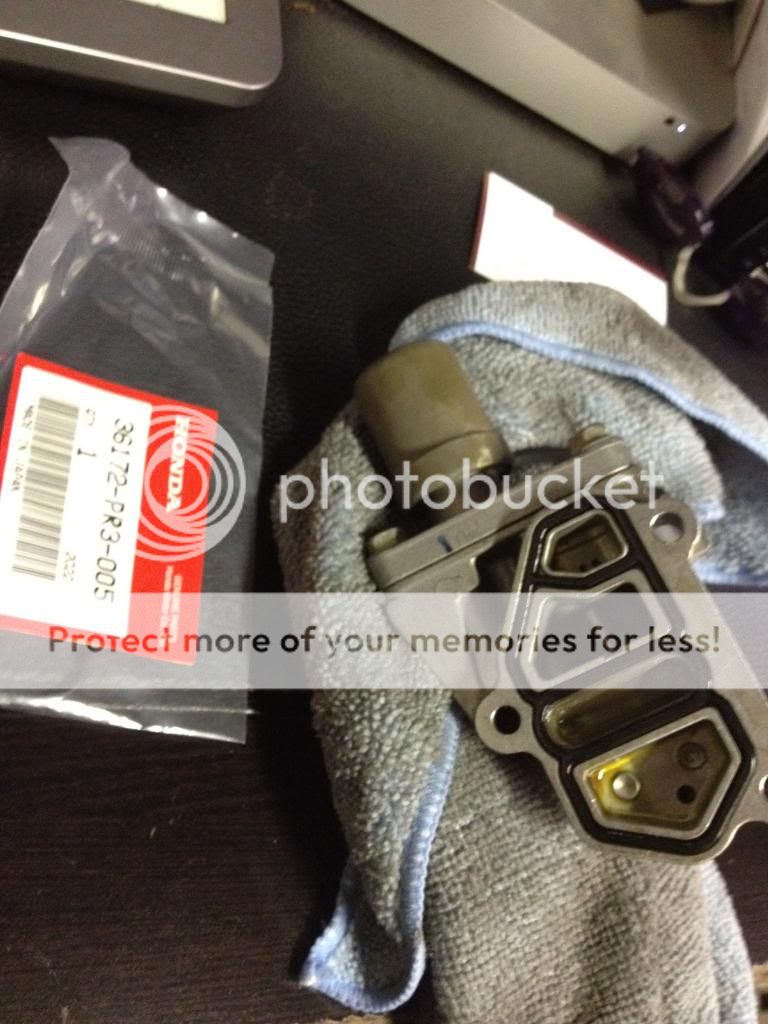
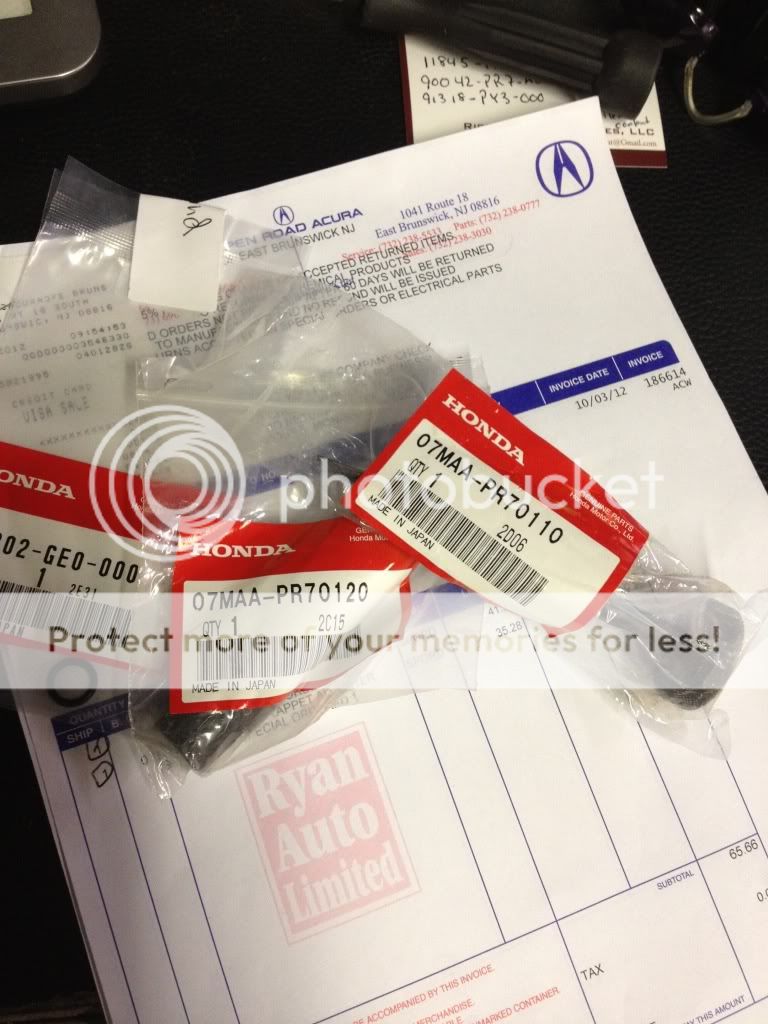
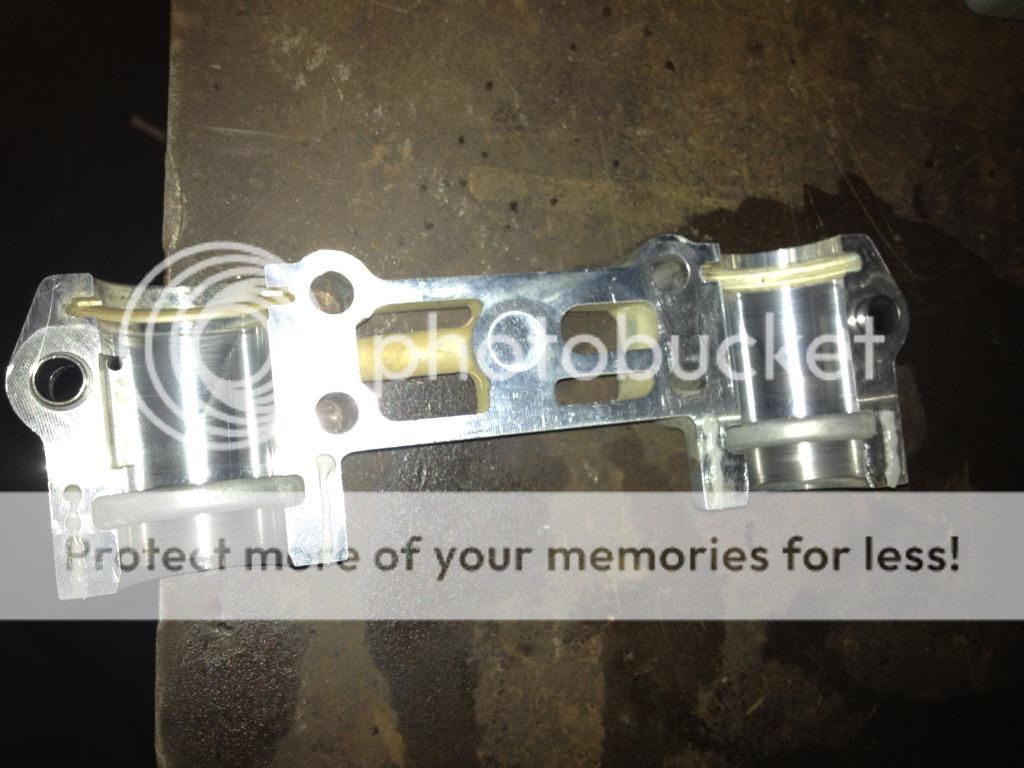
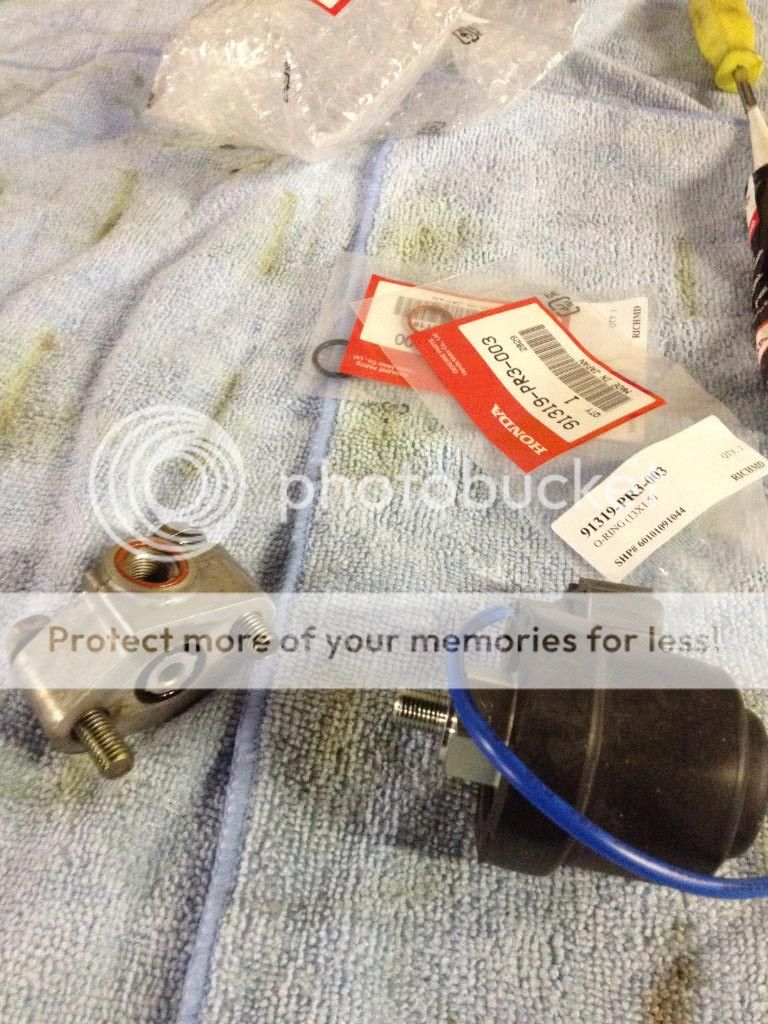
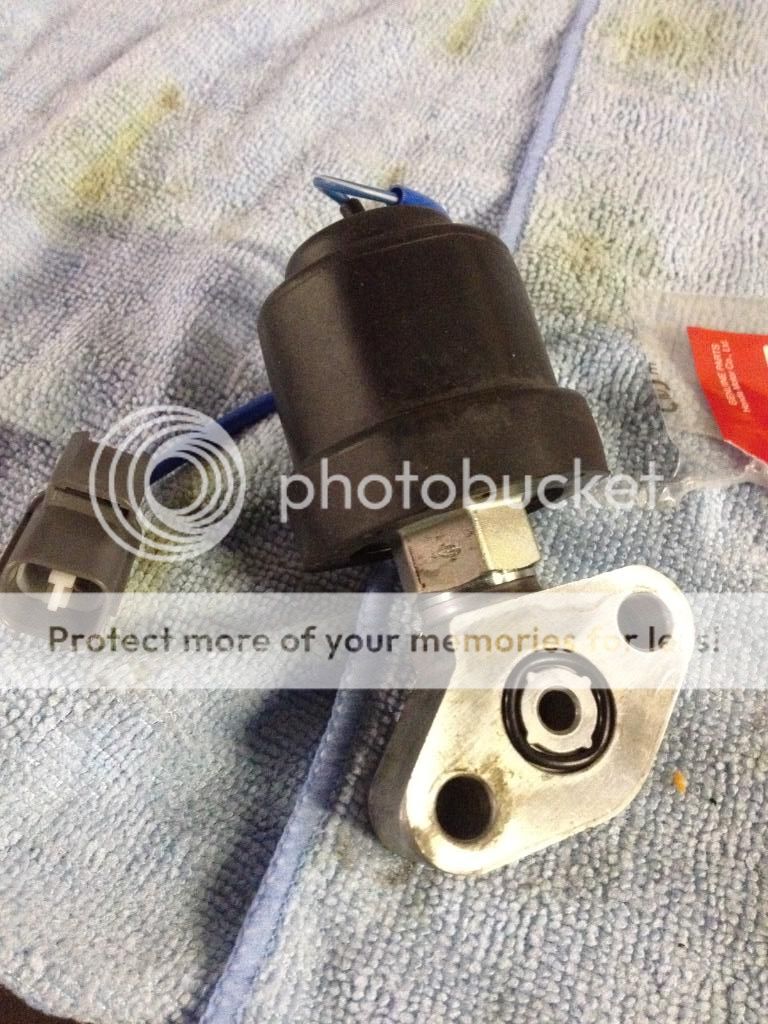
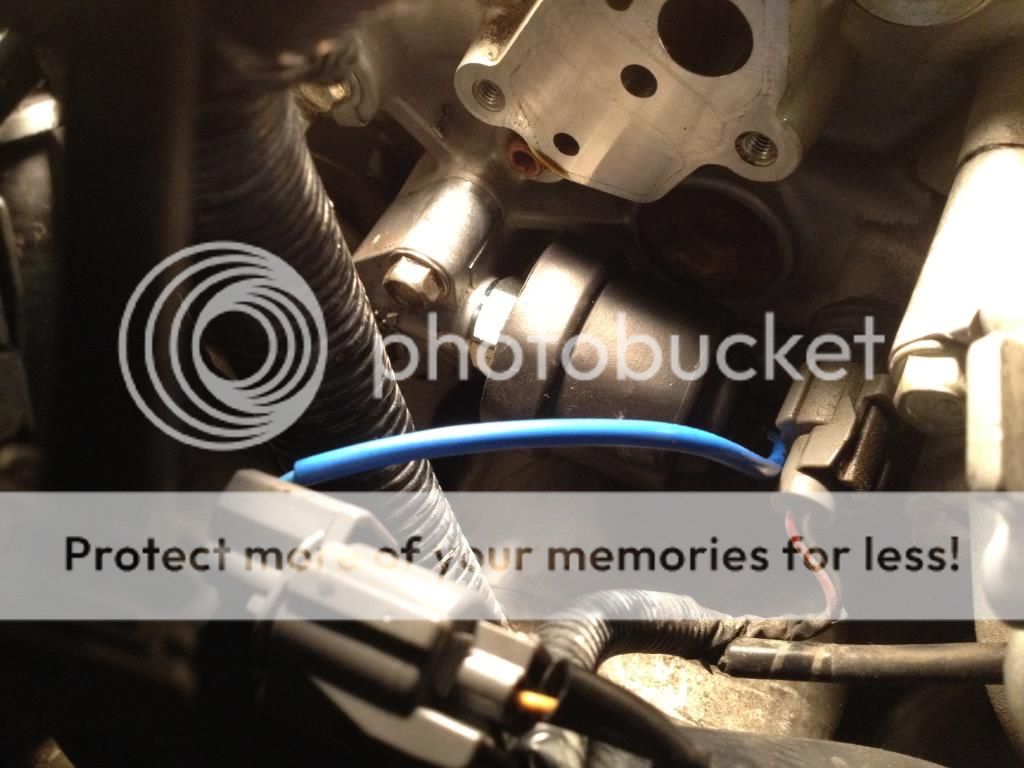
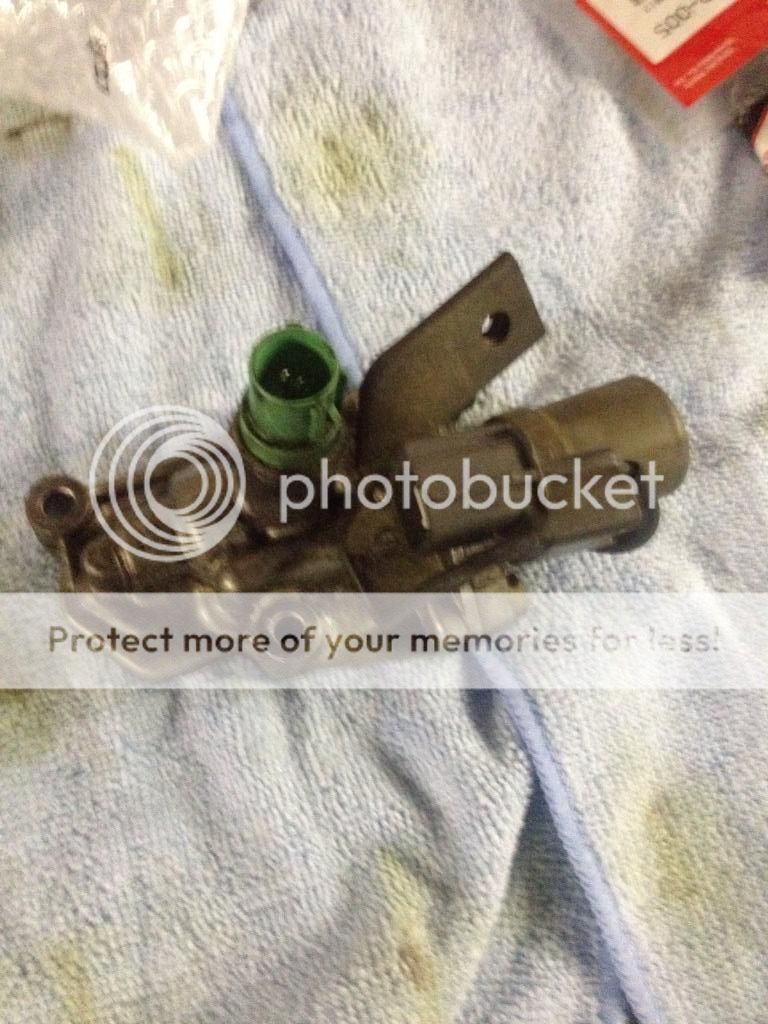
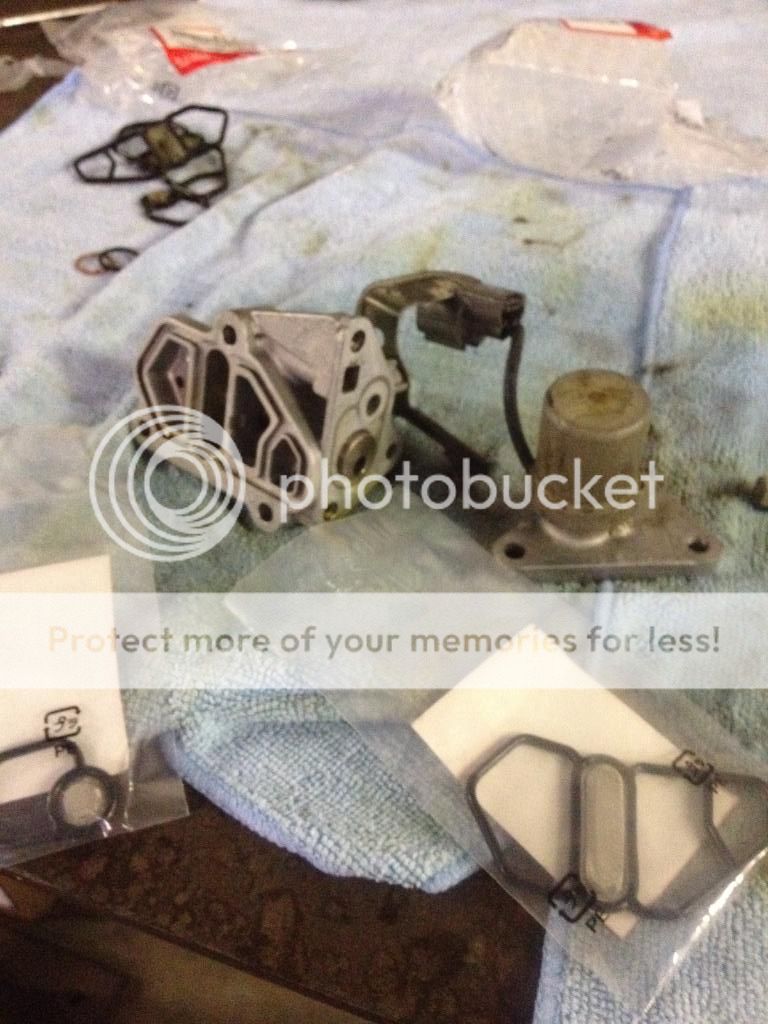
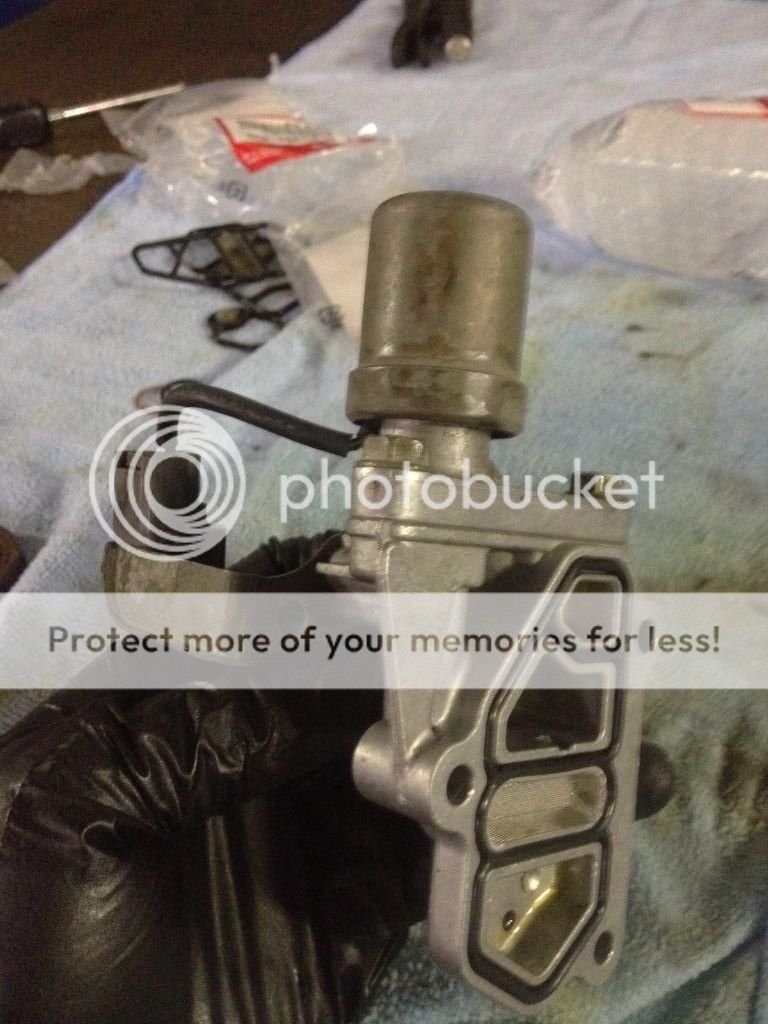
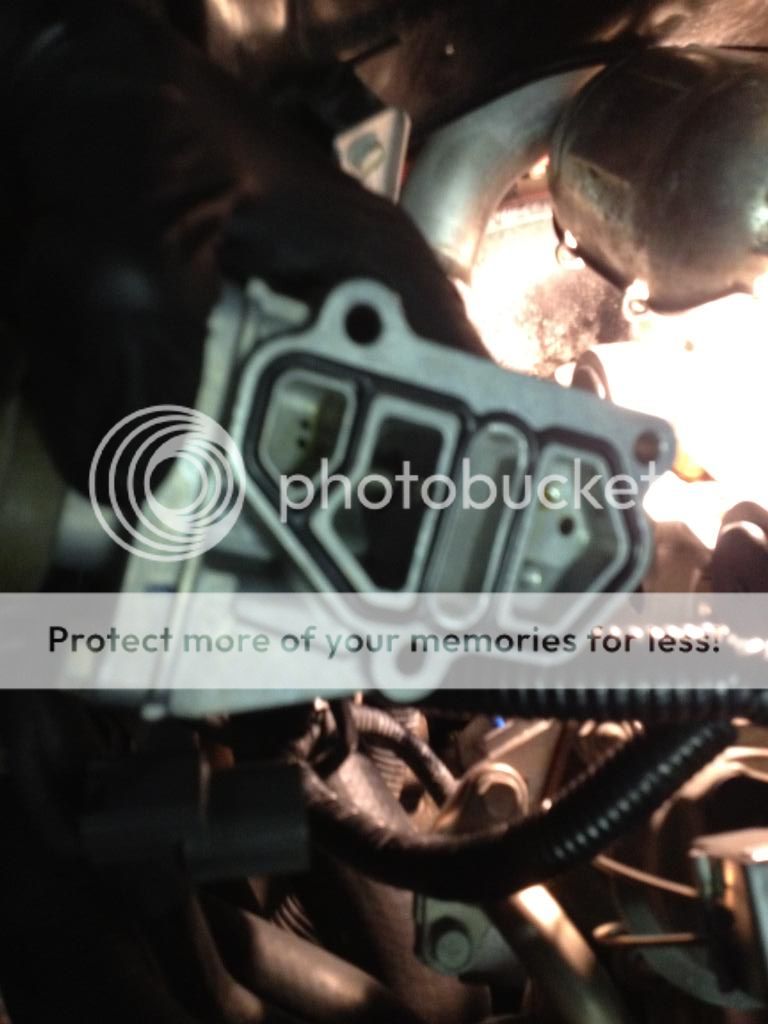
I am currently awaiting on some o-rings from acura to re-install the cams, a new oil pressure sender, and also the valve adjustment tools should be arriving sometime this week.. I was bored today so I took off the spool valves, and replaced the inner o-ring/filter.
IMG_2411_zpsee544bdc.jpg

IMG_2410_zps561afb2e.jpg

And this is how she sits as of now. I will try to keep documenting my build, but this is my first time ever doing something like this, so please have patience with me:redface:!!!
 
+1

amazing work thus far.

Hey guys, this is my first post ever here on Prime, but have always been a huge fan and look forward to many posts from here on out. Let me start out by saying I purchased a Berlina Black/Black 91' 5 speed from Matt, a fellow member here on prime, u00mem91. I purchased the car from him with 168k miles out in Ohio and drove it back here to NJ with the intent to ship it overseas and keep it there at my beach house. Since then, I have decided to keep it here and restore it back to showroom shape. Well, as close as possible I should say. When I picked up the car, it was in this condition.
http://www.nsxprime.com/forum/showthread.php?t=164592
Matt drove this car daily and maintained it properly with many service records, but the paint was in poor condition even though he garage kept it. The front bumper needed paint, and so did the two side mirrors, but other than that, the rest of the paint is original and needed a good amount of tlc. Motor-wise, all of the major services were taken care of at 105k (timing belt, water pump, etc.) but it had minor leaks (oil pan gasket mostly and rear valve cover gasket). This is what the car looked like before I took ownership.
Nsxbeforehand_zps83b39e2d.jpg

Upon getting the car back to my shop, I immediately began stripping it apart and preparing to fully detail the car while sending the front bumper and mirrors to get painted. I even removed all of the wheel wells.
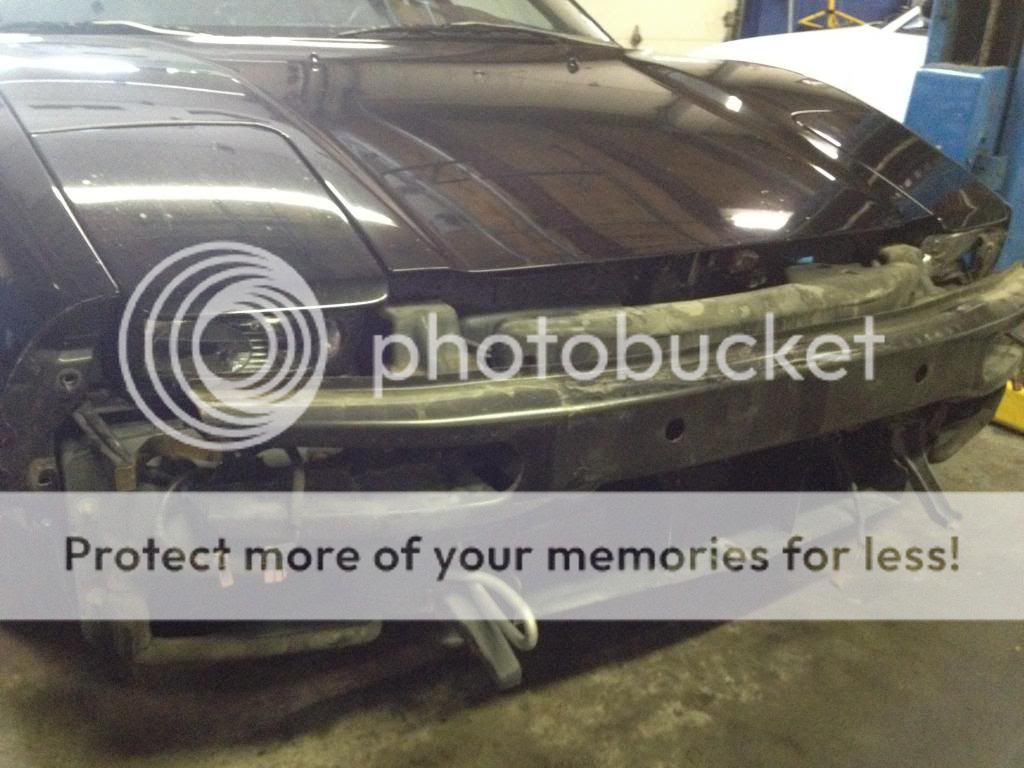
IMG_2216_zps14ad1cd2.jpg

IMG_2215_zps73e14a6e.jpg

IMG_2214_zpsc3729de1.jpg

IMG_2213_zps3be2a262.jpg

IMG_2212_zps76e54835.jpg

IMG_2211_zps7f7876d3.jpg

IMG_2210_zpsa1d932c4.jpg

I power-washed the whole car, stripped it from all of it's previous waxes with detergent, and clay barred it
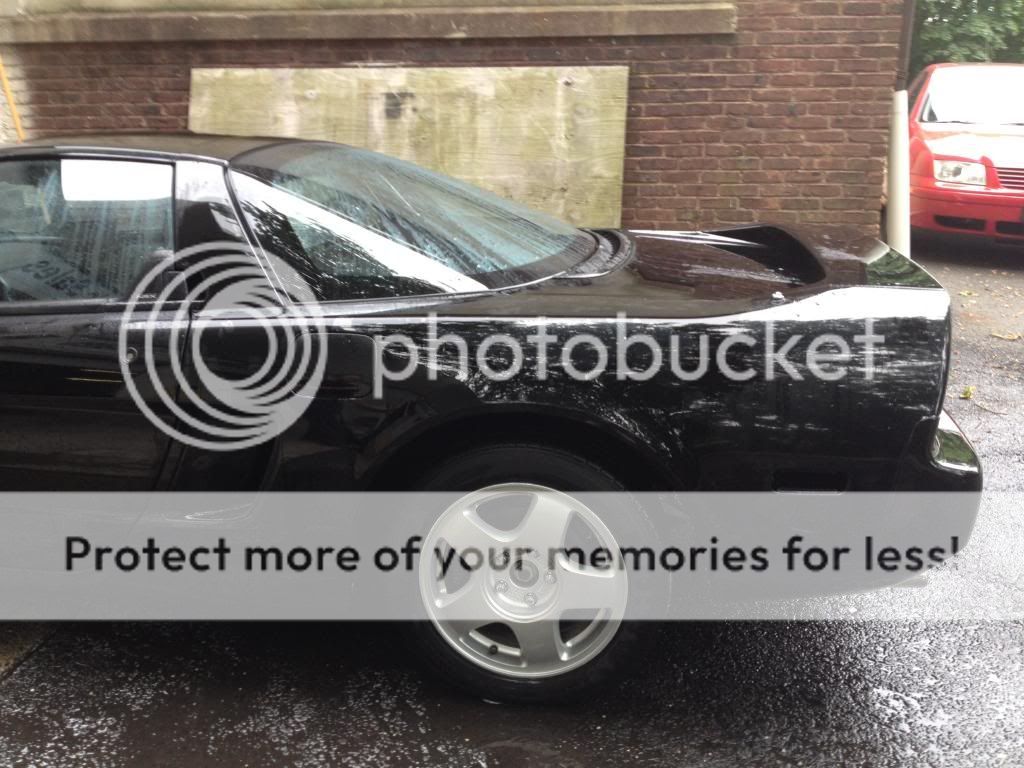
IMG_2218_zps80f6fc1e.jpg

IMG_2217_zps4a7479ab.jpg

IMG_2223_zpsce426ad6.jpg

IMG_2222_zps922362ab.jpg

IMG_2221_zps0da5898f.jpg

IMG_2220_zps542df08e.jpg

IMG_2219_zps35d9b1ef.jpg

I then began to tape up all of the windows, trim, etc.
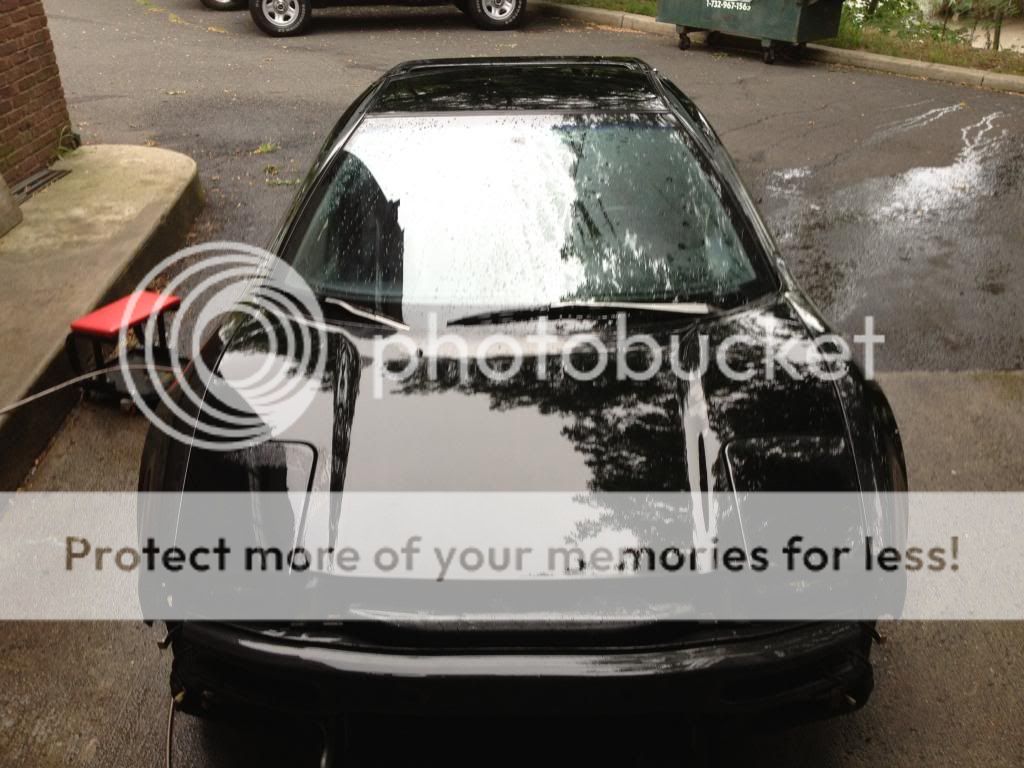
IMG_2223_zpsce426ad6.jpg

IMG_2222_zps922362ab.jpg

IMG_2221_zps0da5898f.jpg

IMG_2220_zps542df08e.jpg

IMG_2219_zps35d9b1ef.jpg

The following are up-close pictures of the condition of the paint before the compound. YUCK!

IMG_2234_zpscc2a5de0.jpg

IMG_2233_zps1535b10c.jpg

IMG_2232_zpsf0a550c6.jpg

IMG_2231_zps05077ff5.jpg

On to the compounding.....
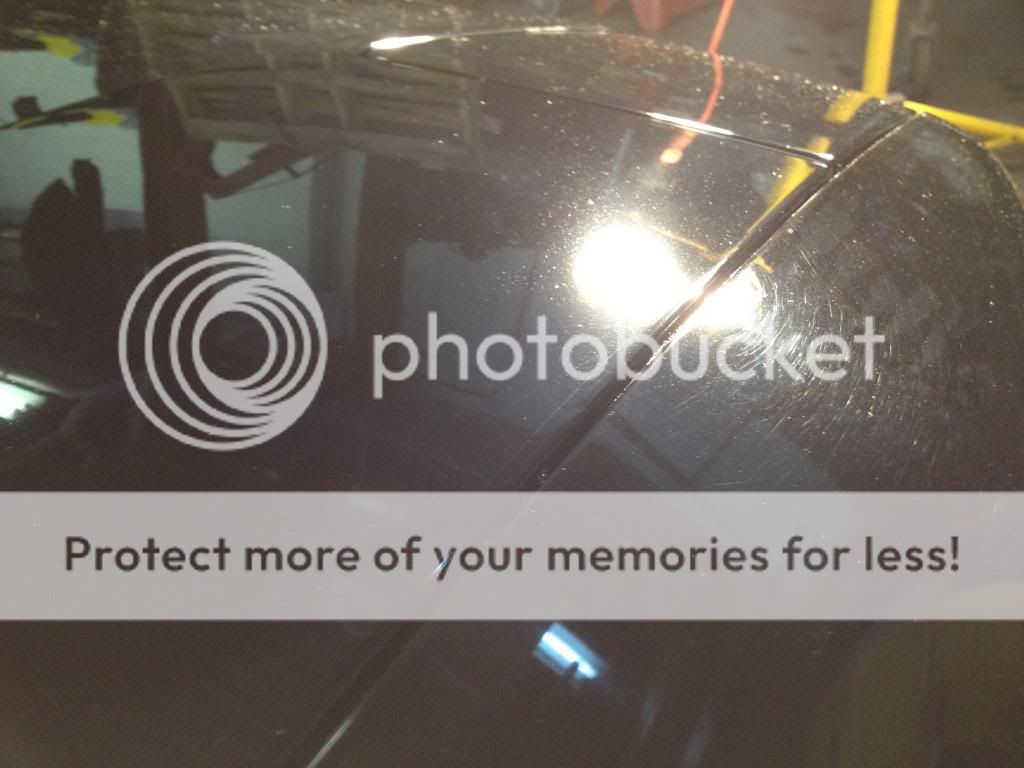
IMG_2246_zpsb64c5959.jpg

IMG_2245_zps7f1b371a.jpg

IMG_2244_zpsdf6a246e.jpg

IMG_2243_zpsadb7f99c.jpg

IMG_2242_zpsd0d698a0.jpg

IMG_2241_zpsb1427cda.jpg

IMG_2240_zps4c4ae63d.jpg

IMG_2239_zps8266ed54.jpg

IMG_2238_zpsc71fbe4f.jpg

IMG_2237_zps2f58cffc.jpg

IMG_2236_zps327fc0a9.jpg

IMG_2235_zps2958460d.jpg

And the polish....
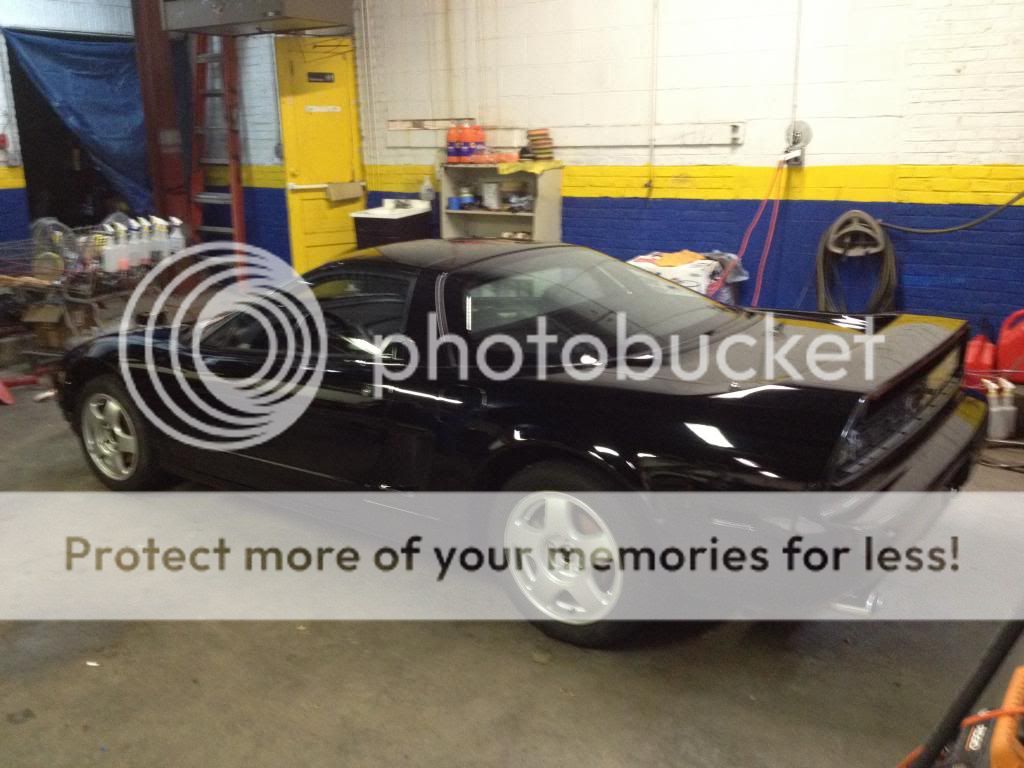
IMG_2264_zps9d760139.jpg

IMG_2263_zps7c3c54db.jpg

IMG_2262_zpsea68f49c.jpg

IMG_2261_zps7174aa65.jpg

IMG_2260_zpsb287aec4.jpg

IMG_2258_zps983d9dee.jpg

IMG_2257_zpse0a9c988.jpg

IMG_2256_zps22d8a38c.jpg

IMG_2255_zps8c83f747.jpg

IMG_2254_zpsbe9f3c4d.jpg

IMG_2253_zpscc357b42.jpg

IMG_2252_zps5c47b52d.jpg

IMG_2251_zpsb93e8163.jpg

IMG_2250_zps5e6dbc5d.jpg

IMG_2249_zps752af751.jpg

IMG_2248_zps326f462a.jpg

IMG_2247_zps50358914.jpg

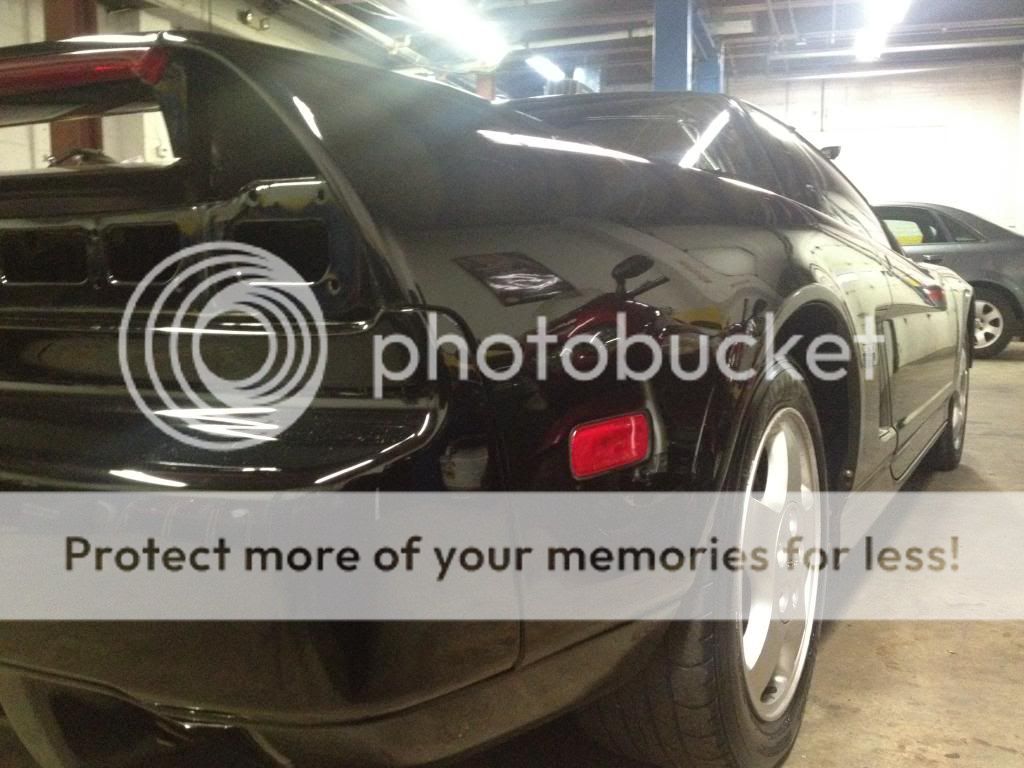
Then comes the wax... I use a Meguiar's DA and Meguiar's compund/polish/wax for everything by the way! I detail cars for a living and swear by this stuff.
IMG_2287_zpsda1a3e01.jpg

IMG_2280_zps743079e4.jpg

IMG_2279_zps320d6860.jpg

IMG_2278_zps6f06975f.jpg

IMG_2273_zps82408c5a.jpg

IMG_2272_zps003f876f.jpg

IMG_2271_zpsaa448218.jpg

IMG_2270_zpsb65e0053.jpg

IMG_2269_zps655ef577.jpg

IMG_2268_zpscb052b0c.jpg

IMG_2267_zps402fd997.jpg

IMG_2266_zps1234e04f.jpg

IMG_2265_zps1630d918.jpg

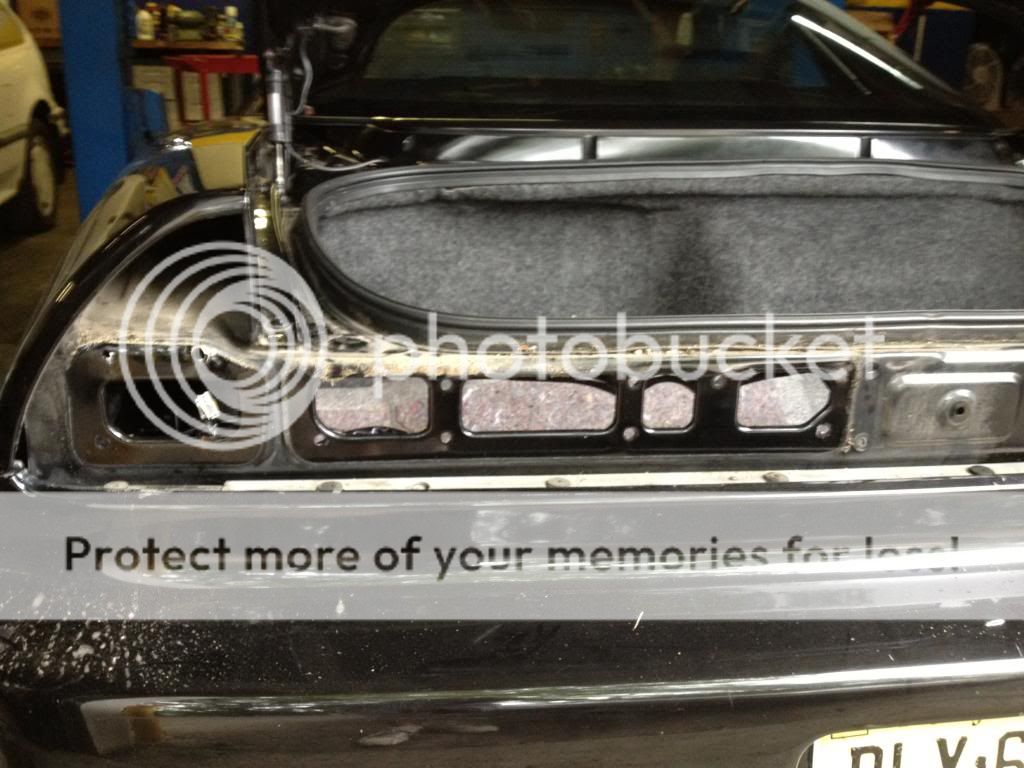
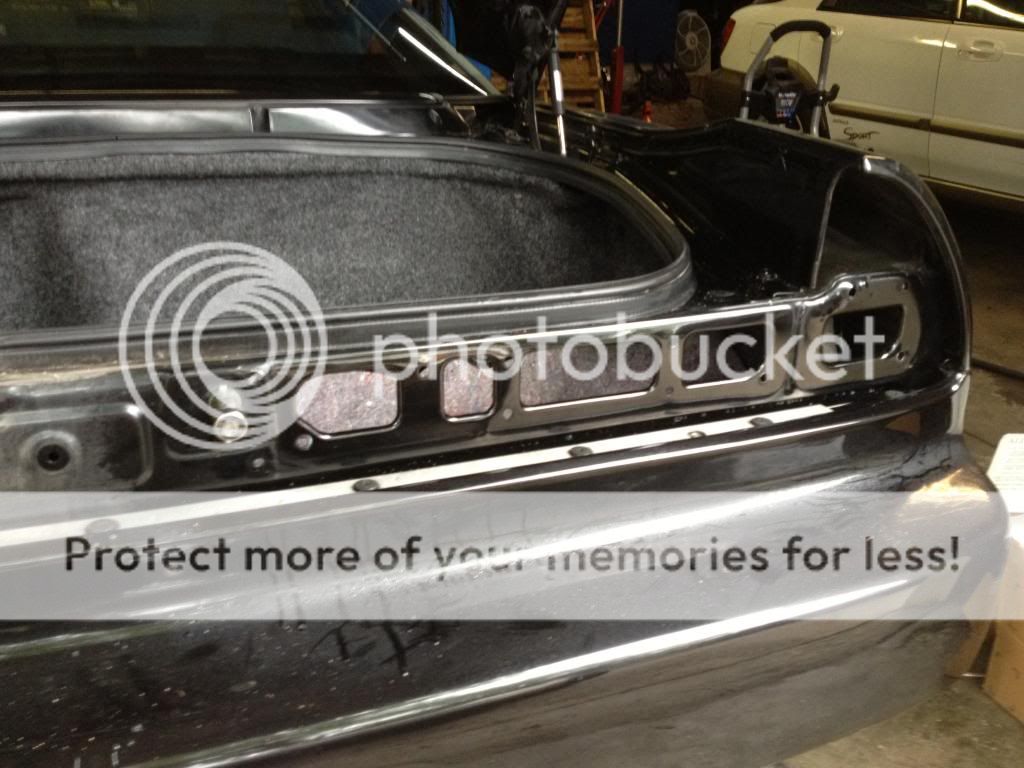
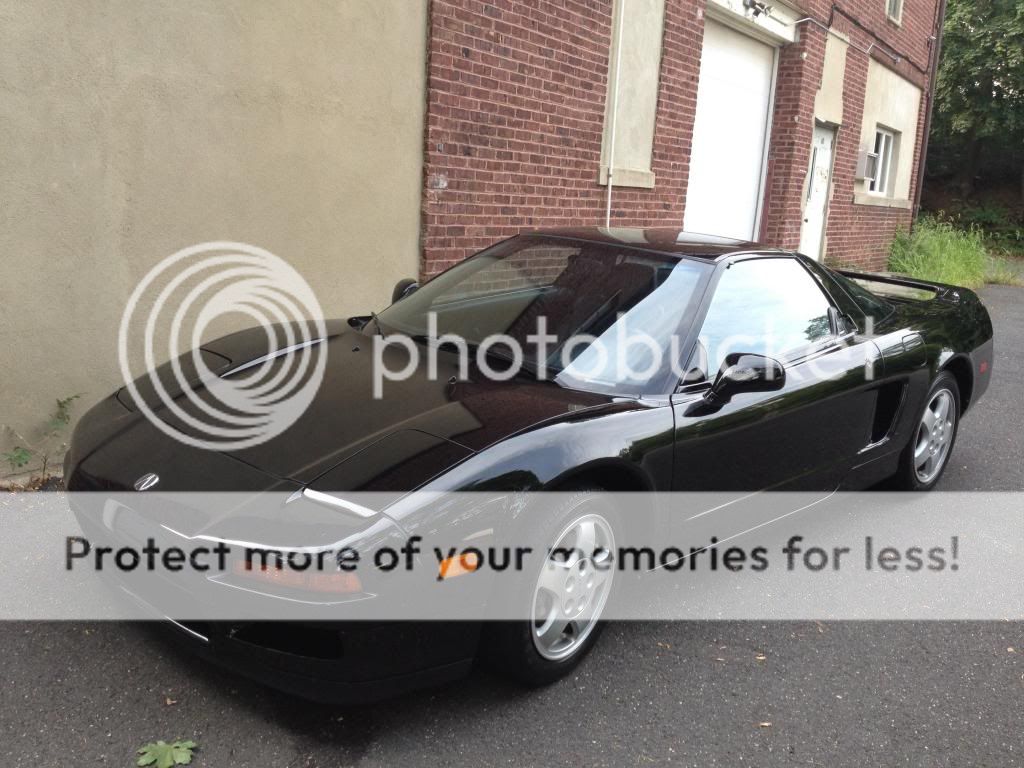
After what felt like forever, the bumper, mirrors, and tail light gaskets came in...YAYYY :biggrin::biggrin:
IMG_2303_zps29ce8565.jpg

IMG_2300_zpsf4d3eda6.jpg

And that pretty much sums up the detail part of my build. I was extremely satisfied with the results!
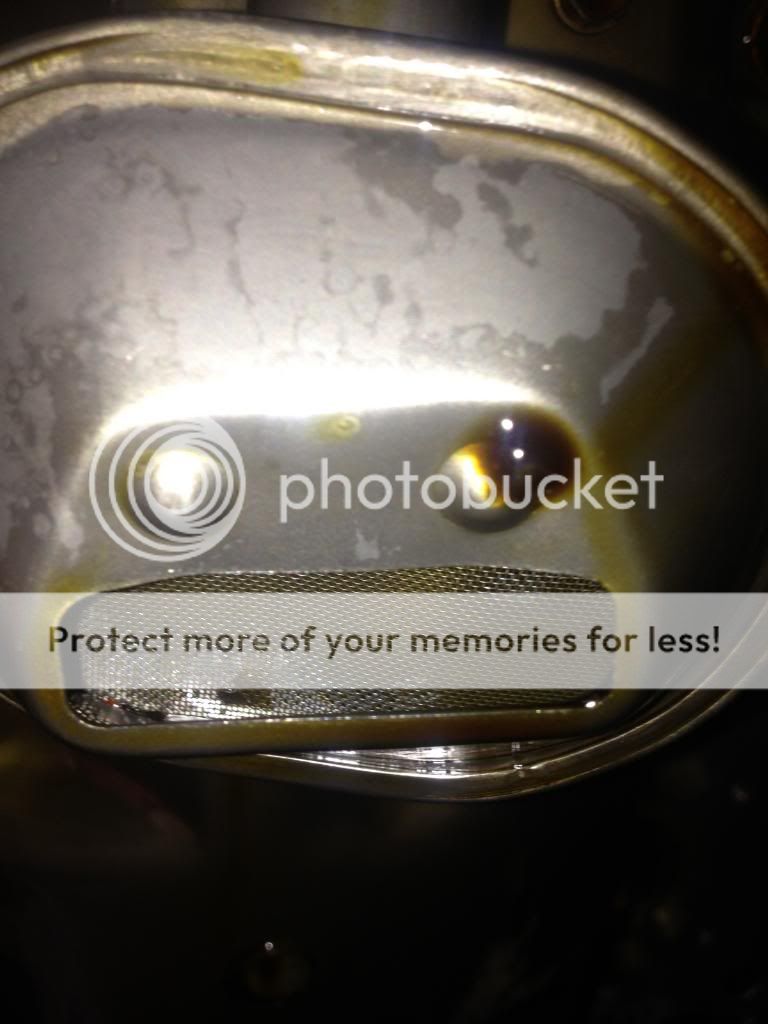
A few weeks later, I put the car on the lift to address the oil pan leak... Upon removal of the pan, I was extremely surprised at how clean the pick-up was. Not a single bit of evidence of sludge anywhere!!!!
IMG_2321_zps1015e2ee.jpg

IMG_2319_zps92a2ad5a.jpg

IMG_2318_zpsdd550e57.jpg

IMG_2317_zps8069f89a.jpg

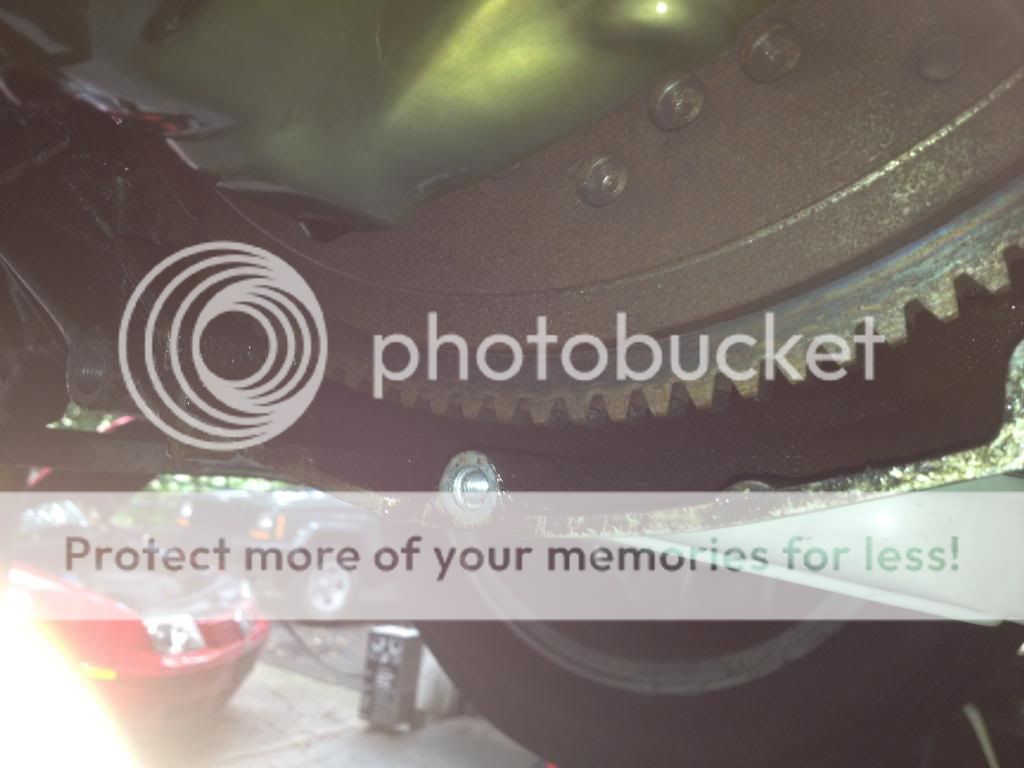
The rear main seal was also bone dry.
IMG_2320_zps88344dd1.jpg

So I changed the gasket along with a fresh motor oil + filter change, and since I had my hands in the mud already, I also changed the transmission fluid with the Factory Honda MTF...

IMG_2329_zpsbfc5a0ff.jpg

IMG_2328_zps0133f94d.jpg

IMG_2327_zps6542d01e.jpg

IMG_2326_zps46f5f10c.jpg

IMG_2325_zps367e0d9e.jpg

IMG_2324_zps1a0fc5a1.jpg

IMG_2323_zps0f44b06a.jpg

IMG_2322_zpscc1ef0a1.jpg

So approximately a week ago, I began my latest engine maintenance/preventative maintenance project. I Literally purchased over $2,000 worth of gaskets, oil seals, including the timing belt, water pump, fuel filter, etc. I started by removing the valve cover gaskets and intake manifold cover, and I sent them over to a local powder-coating shop(G.S.D. in Keyport, NJ) to get them done in NSX-R wrinkle red :biggrin:. I haven't received the head covers yet, but I've seen their work before and am pretty confident that I'll be satisfied with the results. Since then I have removed the old belt (which was still in "like new" condition!), removed all of the cams, replaced the water pump, replaced the crank seal (which had no signs of leakage), cleaned both heads to prepare it for the hondabond and new seals, and I also cleaned out all of the cam holders and bridges.
Here are some pics of the valve covers off..
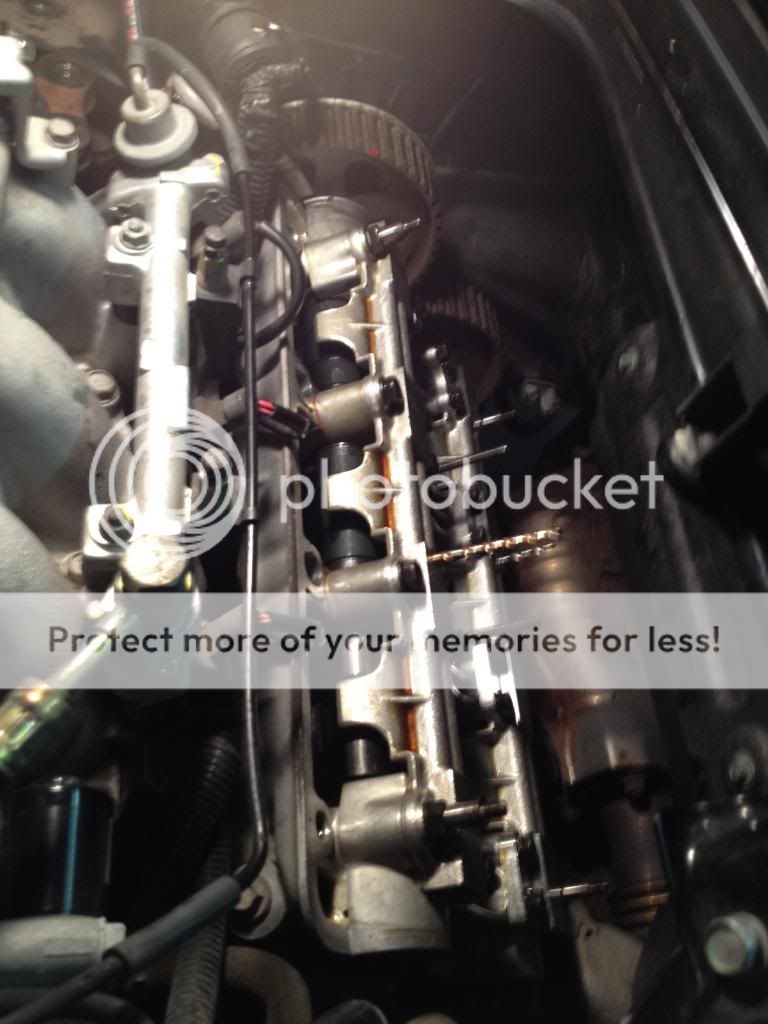
IMG_2389_zpse32b0c54.jpg

IMG_2388_zps0d8a6a5b.jpg

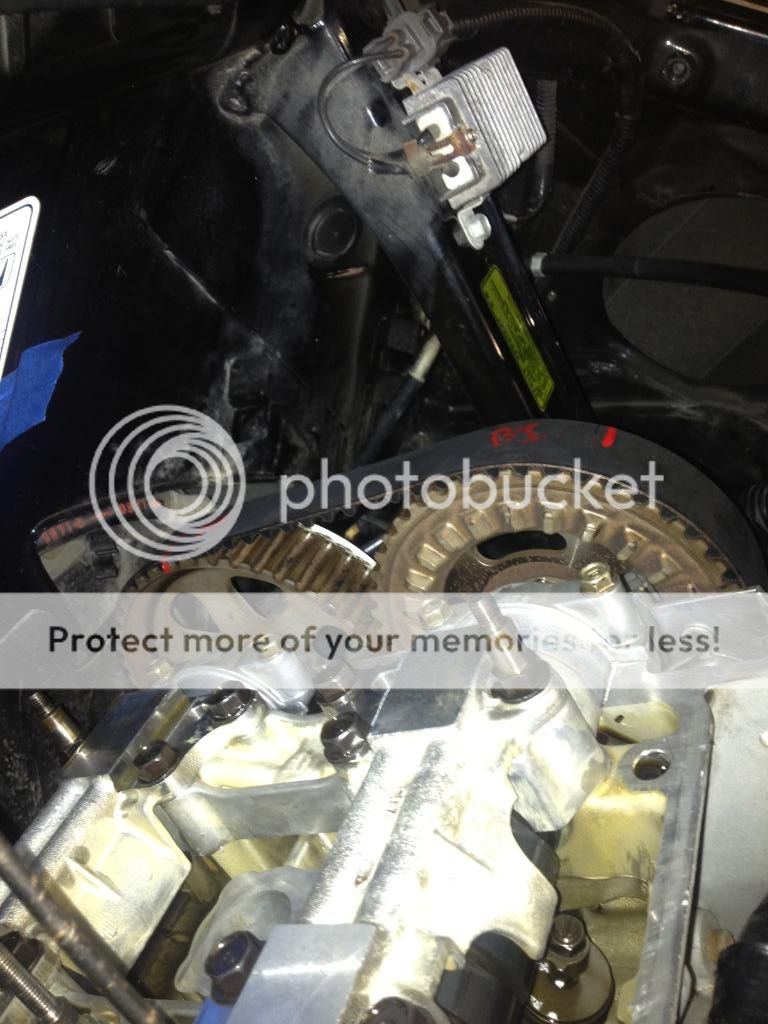
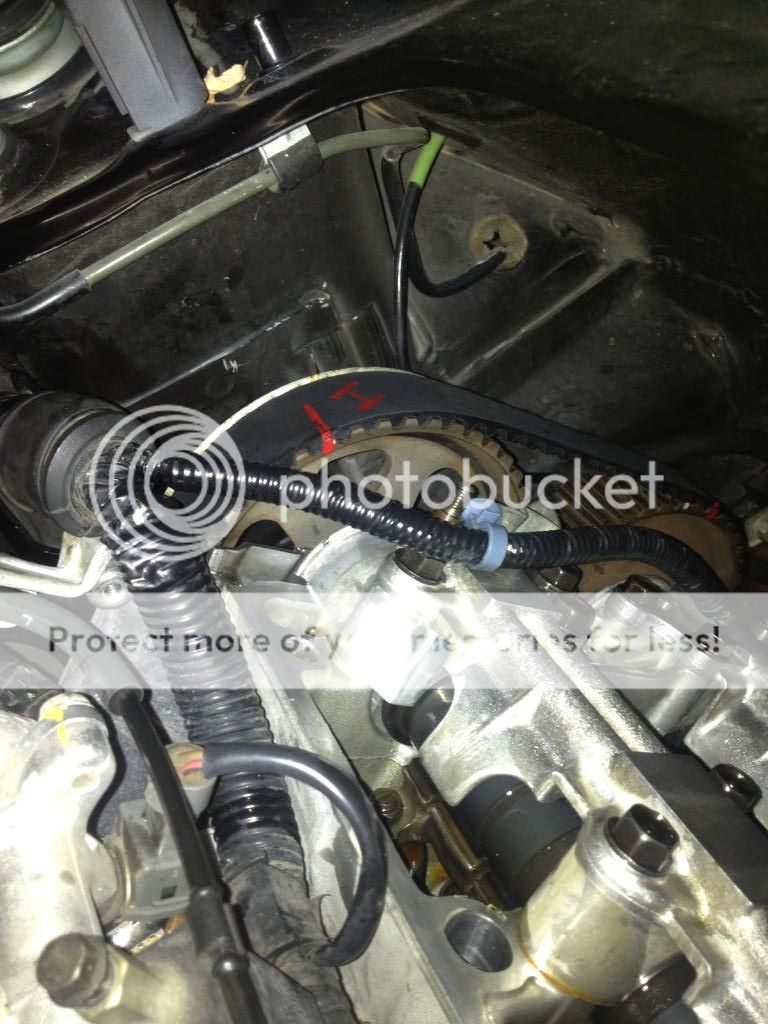
Engine at TDC and belt marked, then taken off
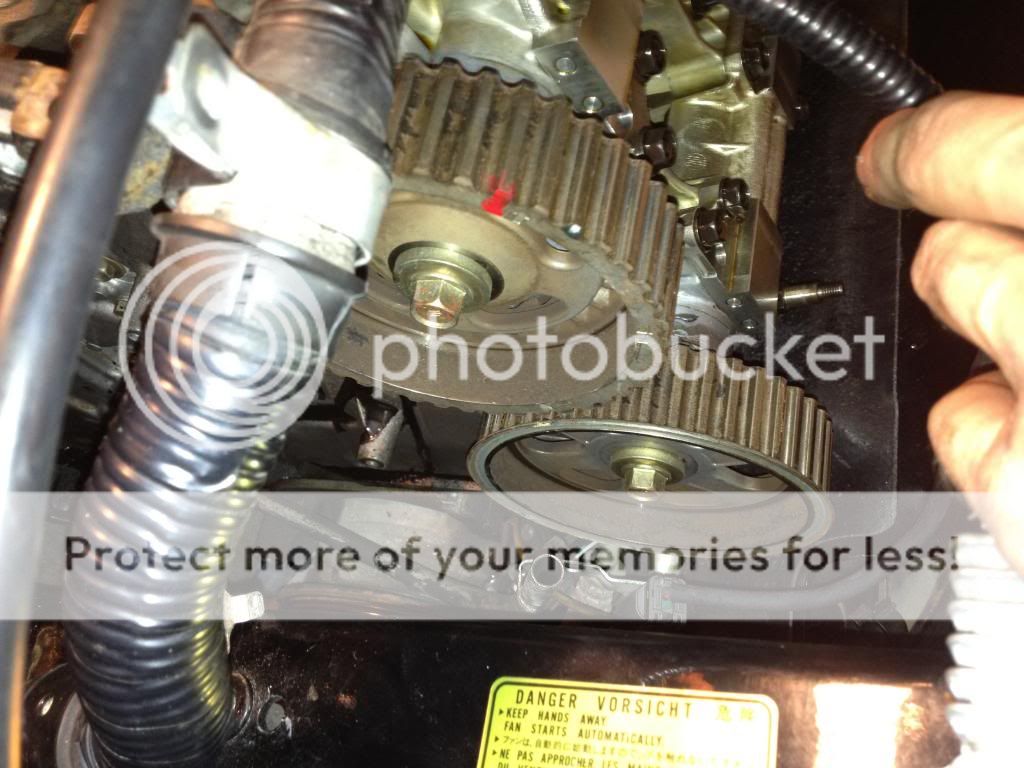
IMG_2393_zpsfd5dcd12.jpg

IMG_2392_zps3774cc2a.jpg

IMG_2391_zps792234b1.jpg

IMG_2390_zps956de82f.jpg

Cams off..
IMG_2397_zps8e336676.jpg

IMG_2394_zps5c53ec29.jpg

Old crank seal off...
IMG_2404_zpsfcedfa79.jpg

IMG_2403_zps6e4a9921.jpg

New crank seal installed...
IMG_2405_zps72e9a736.jpg

Old water pump off, and comparison to the newer style water pump with the relocated weep hole.
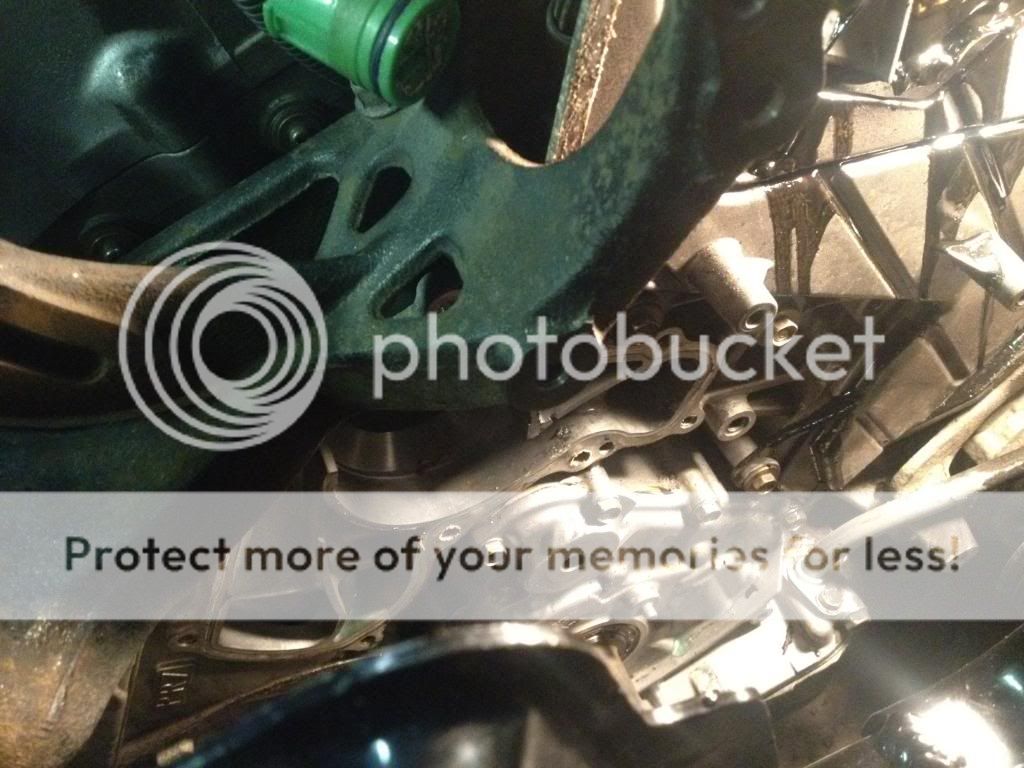
IMG_2408_zps0ce4ab49.jpg

IMG_2406_zpsabf0bf44.jpg

and the water pump installed..
IMG_2409_zps7684ad51.jpg

I am currently awaiting on some o-rings from acura to re-install the cams, a new oil pressure sender, and also the valve adjustment tools should be arriving sometime this week.. I was bored today so I took off the spool valves, and replaced the inner o-ring/filter.
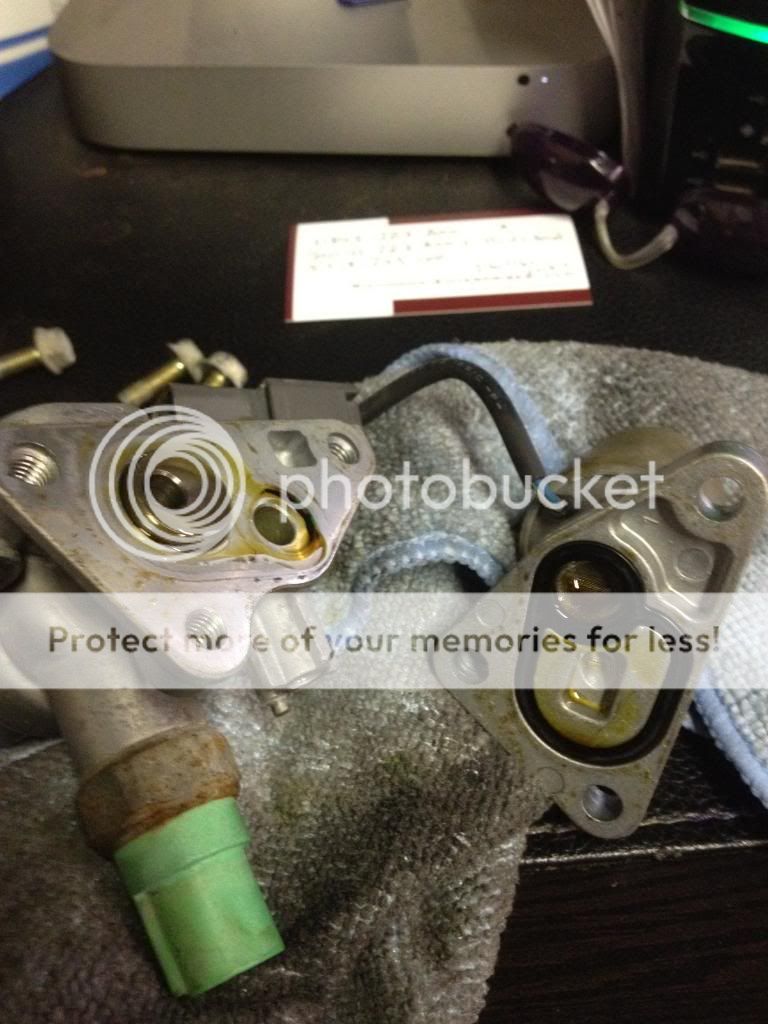
IMG_2411_zpsee544bdc.jpg

IMG_2410_zps561afb2e.jpg

And this is how she sits as of now. I will try to keep documenting my build, but this is my first time ever doing something like this, so please have patience with me:redface:!!!
 
Nice work! And great job documenting. Very impressive, I love projects like these too.
 
Wish I was as handy as you, congrats that black is beautiful
 
Welcome and I hope you consider joining the NSXCA. There's a really terrific group of folks here in the NE. Hope to meet you. Joe


BTW.......
+1

amazing work thus far.

Did you really have to copy his entire thread with all the photos AGAIN just to give the above comment? It really makes it hard to follow the thread when you have to shuffle through all the photos TWICE when it doesn't really add anything to the thread.:wink:
 
Thanks guys! I appreciate all the support! When I took all of those pictures, I wasn't exactly planning on sharing them, they were just for my own keepsake... Plus, I was dreading the amount of time it would take to upload all of them and explain what they were exactly, but I'm glad I did. So that being said I'll do my best to get much more (and clearer) pictures to share my work. I always envied those who did threads like this and I hope you guys enjoy mine.
Joe, how do I join the NSXCA? I'd love to meet everyone and go to exotic meets and such.
And oh btw, I stopped at my local Acura dealer to pick up those o-rings, and my tappet locknut/adjuster tools finally came in. These should make the valve adjustment a breeze... It was a real PITA to loosen them all with a 10mm and flathead screwdriver..
NSXParts.jpg

We're gonna try to get the cams/timing belt/covers on today if I get a chance...
 
were you thinking about replacing the harmonic damper too while you're at it? considering the age of the car and you already have the old one out, might as well get this one?
http://www.scienceofspeed.com/products/engine_performance_products/NSX/ATI/Super_Damper/

there are threads in the past bout how the oem one broke apart and end up killing the engine. just something to look into.


I just read this as I was installing my lower belt cover, and you brought up a good point, so I inspected the original one and it seems like its still in good shape. I didn't see any cracks or significant damage on the rubber anywhere, but it's no biggie to change. The next time I change out my accessary belts I'll order that one up and swap em' out..
 
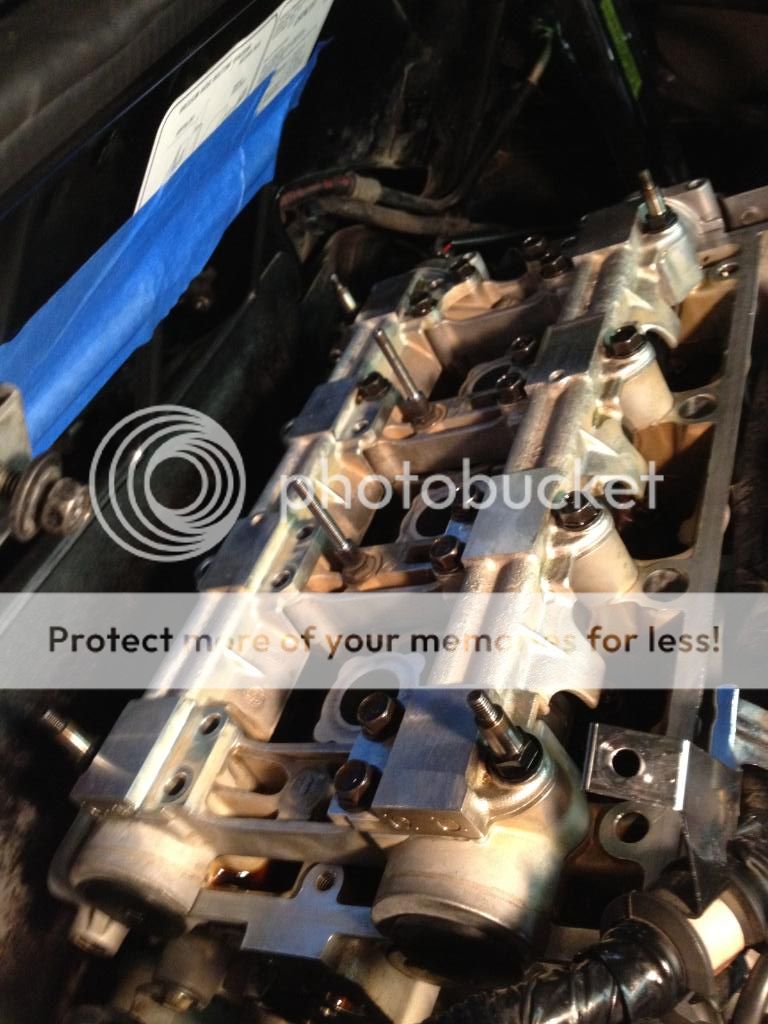
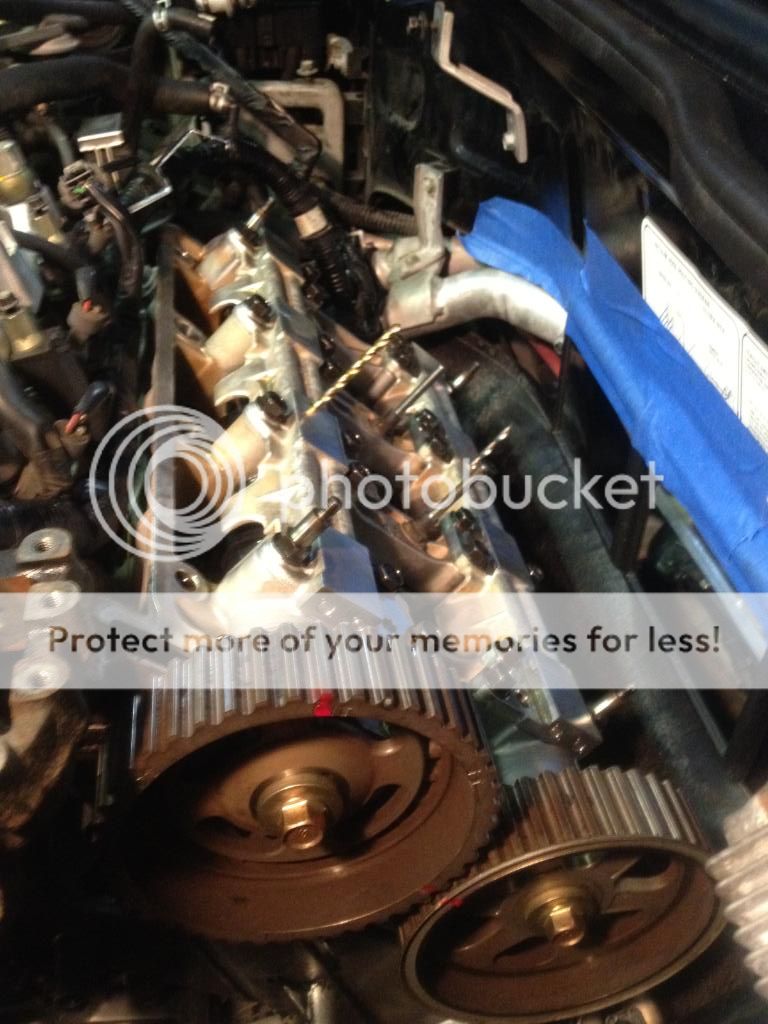
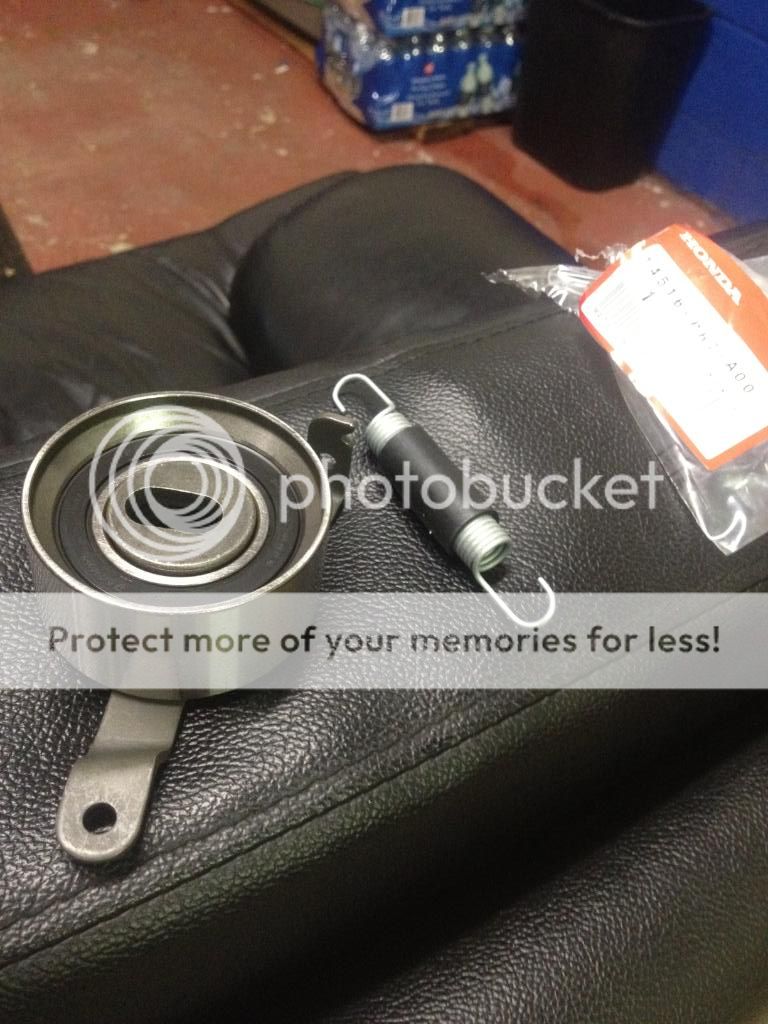
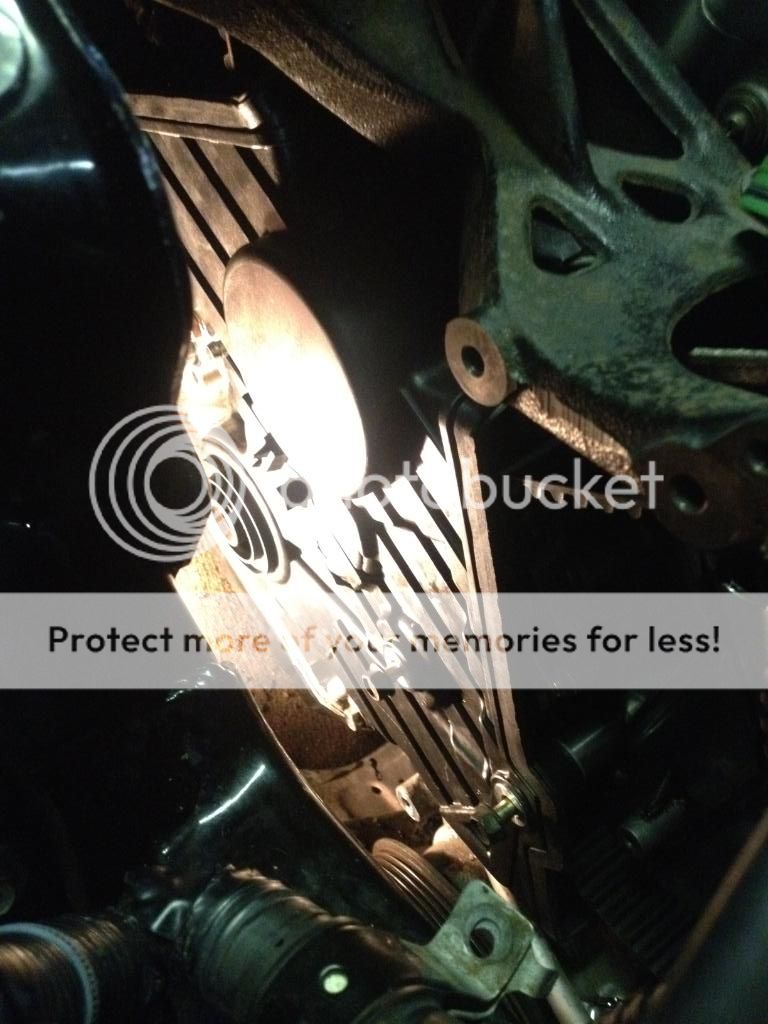
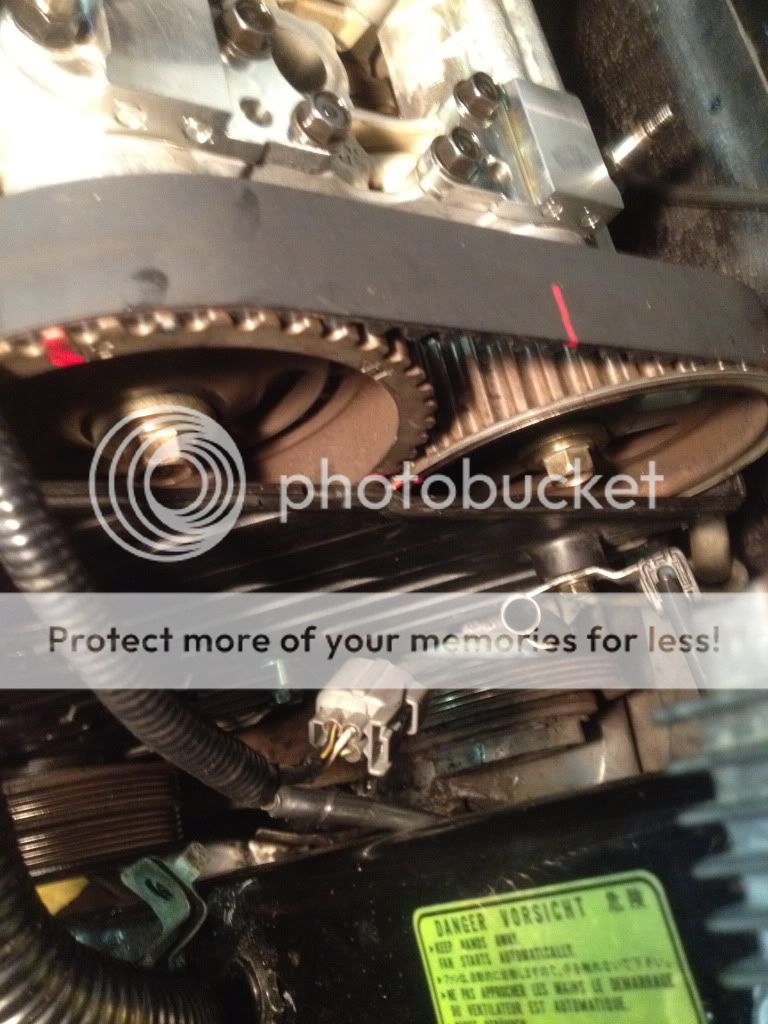
We went ahead and put in the cams along with all of the new seals + cam plugs, and installed the new timing belt along with the new tensioner + spring. I buttoned up the new lower timing belt cover with its new gasket ($80 gasket lol), installed the crank pulley (after I inspected it, thanks Iwantnsx) moved the pulley to the blue line, and followed the procedure by re-loosening the tensioner again by 180 degrees so that it tightens up some more, then torqued it down 31 ft. Lbs. Here are a bunch of photos I took along the way. Paul and I will be adjusting the valves next.
IMG_2413.jpg

IMG_2414.jpg

IMG_2415.jpg

IMG_2416.jpg

IMG_2418.jpg

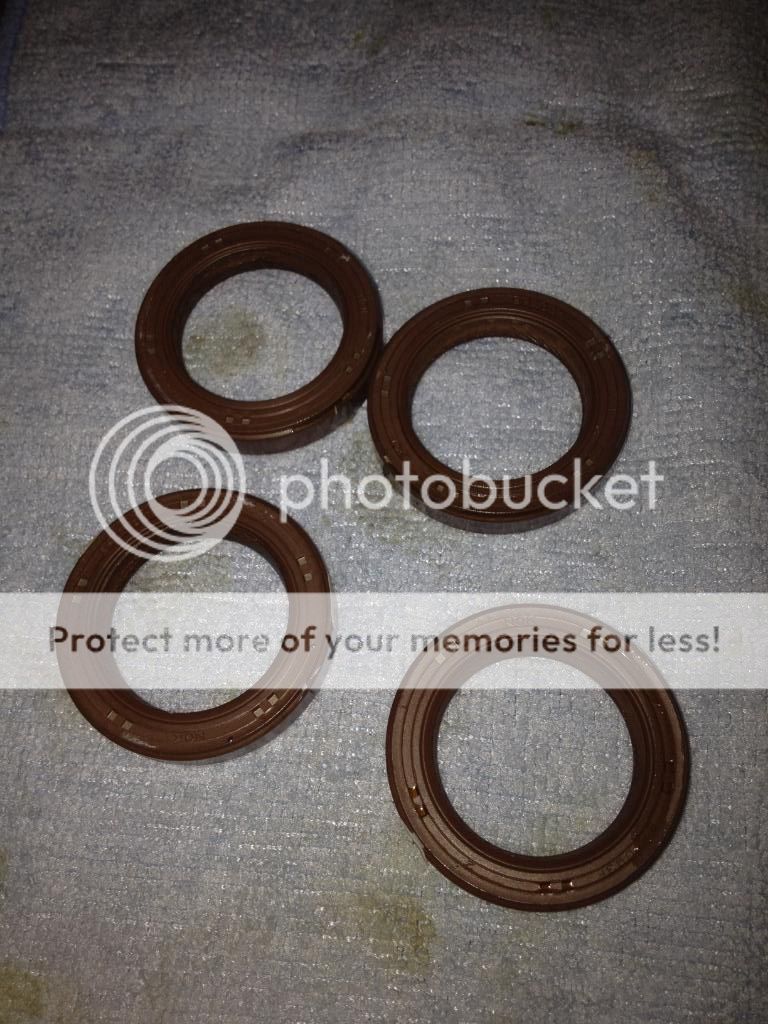
These were the old cam seals, they still looked great for being original!!
IMG_2417.jpg

Popped in the dowel pins with the new o-rings, lubed up the head, applied hondabond in the specified locations... and dropped in the cams
IMG_2420.jpg

IMG_2421.jpg

IMG_2422.jpg

IMG_2423.jpg

IMG_2428.jpg

Dropped in the cam holders and torqed em down
IMG_2424.jpg

IMG_2425.jpg

IMG_2429.jpg

Then installed the cam gears, tb, and tb cover
IMG_2427.jpg

IMG_2430.jpg

IMG_2431.jpg

IMG_2432.jpg

IMG_2433.jpg

IMG_2434.jpg

IMG_2435.jpg

more pics to come later tonight hopefully...
 
I love this thread! I love the pics and the care being put into this beautiful Berlina Black NSX. But, I don't love the copied strings of pictures making this thread impossible to view and taking forever to load even on my high-speed connection. Boo!! :mad:
 
Thanks Honcho! And yeah, I feel you guys on the quoted post lol, I'm sure Myw means well, maybe he did it by accident? idk haha
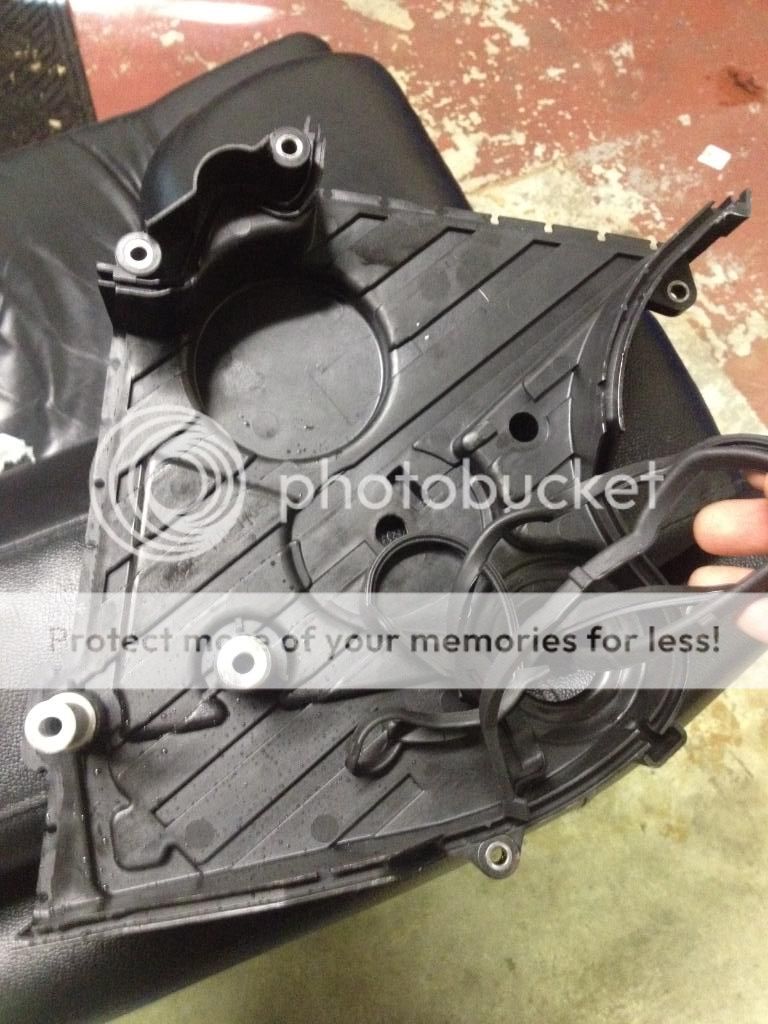
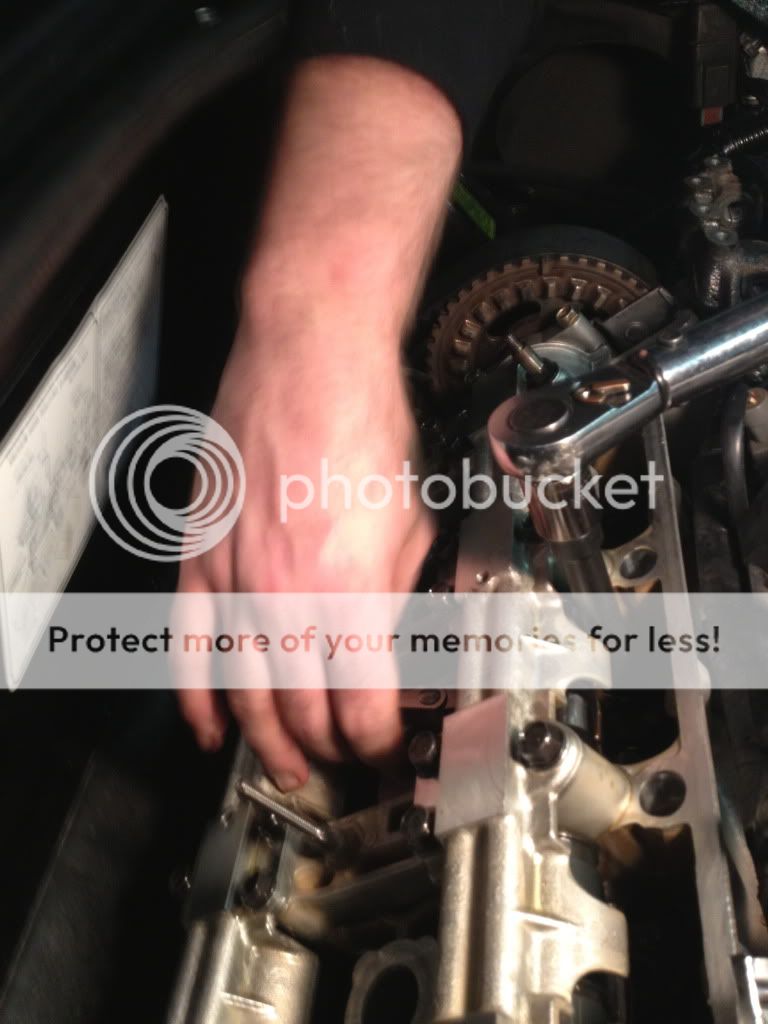
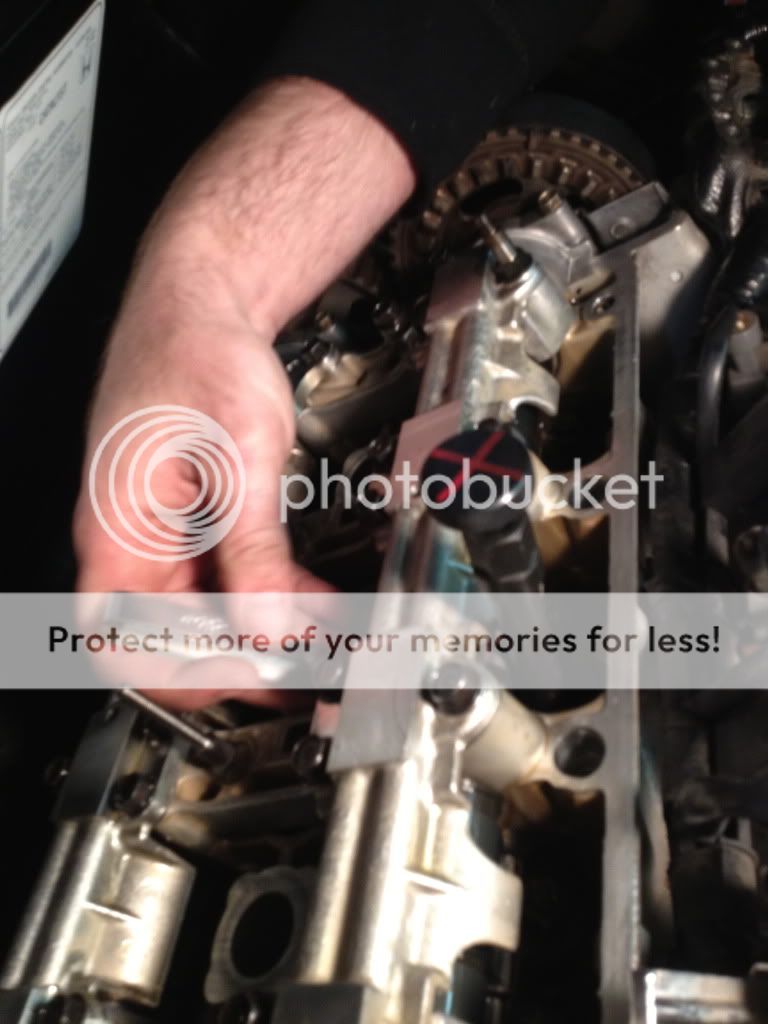
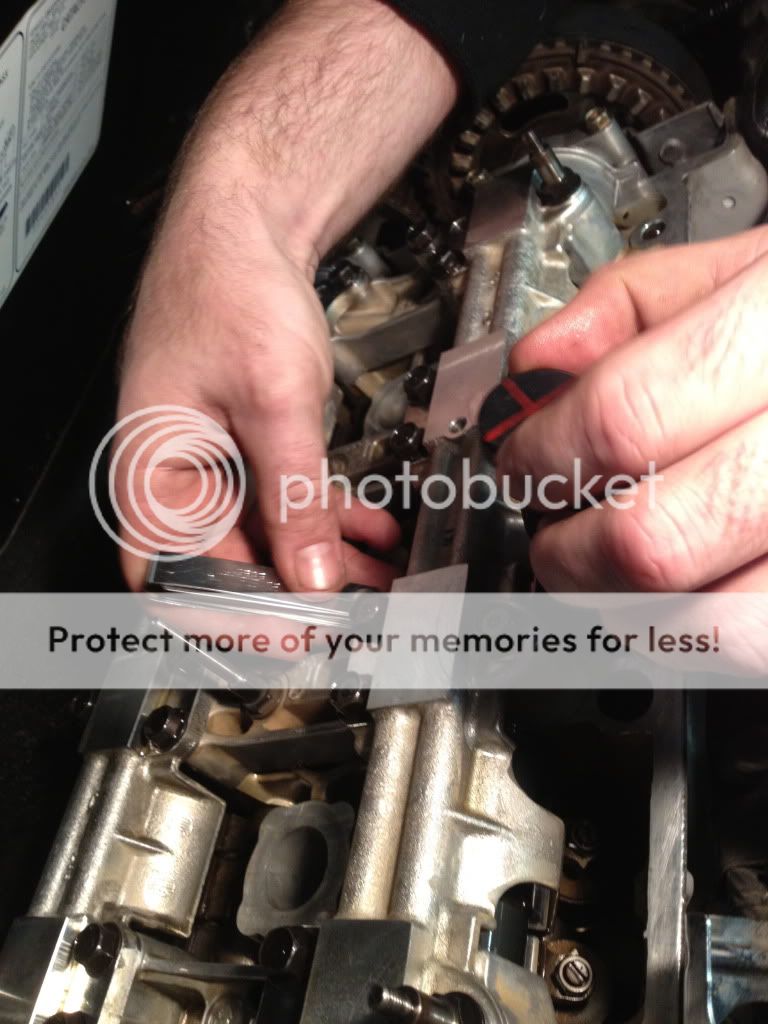
Anyways, I just got home and boy am I beat... I have to give a ton of credit to my business partner/master-mechanic/fabricator/best friend Paul for helping me with a ton of the work I've done to the car so far. For instance, he adjusted all of the valves for me while I was with a customer, I snapped a few pics when i had a free moment. After all of the valves were adjusted, I put the last two tb covers on.... and boy was that a pain, especially with all the new gaskets on them, the bolts holes were extremely hard to line up, but thanks to my skinny arms and tons of patience I got them both on, WITHOUT skipping out on the hard-to-reach bolts. I'm extremely anal, I even made sure to put that oil sender wire bracket through the furthest bolt on the rear cover. I was beginning to wonder why we hadn't just dropped the motor today... Oh well... here are some pics
IMG_2442.jpg

IMG_2437.jpg

IMG_2438.jpg

IMG_2439.jpg

IMG_2440.jpg

IMG_2441.jpg
 
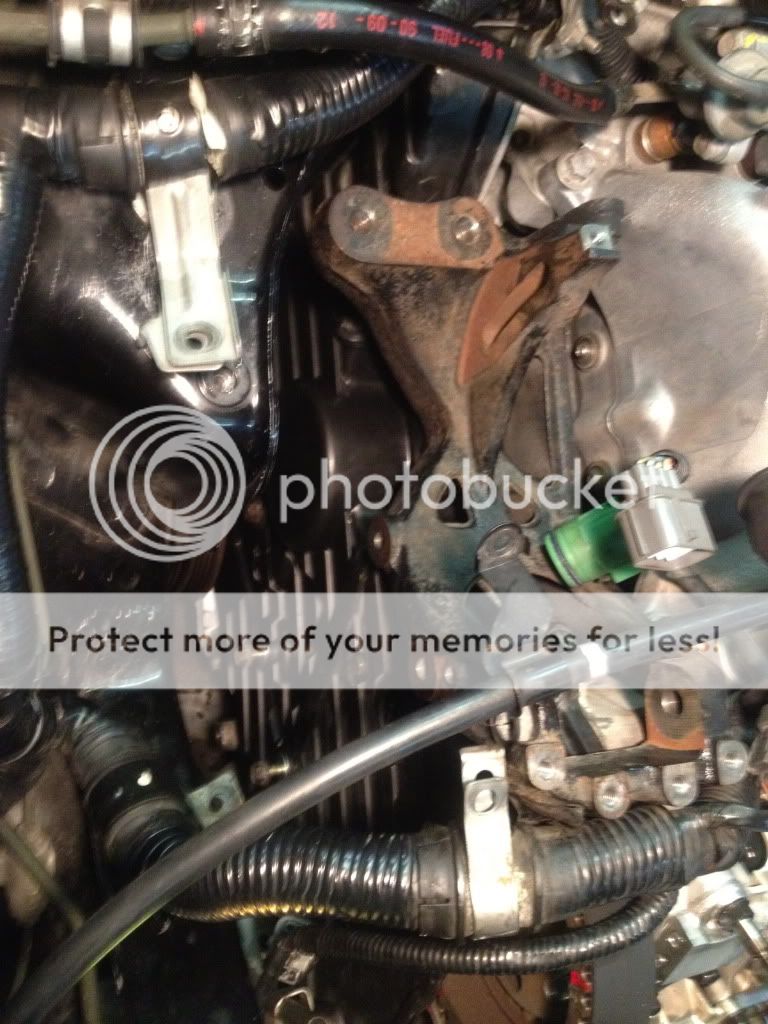
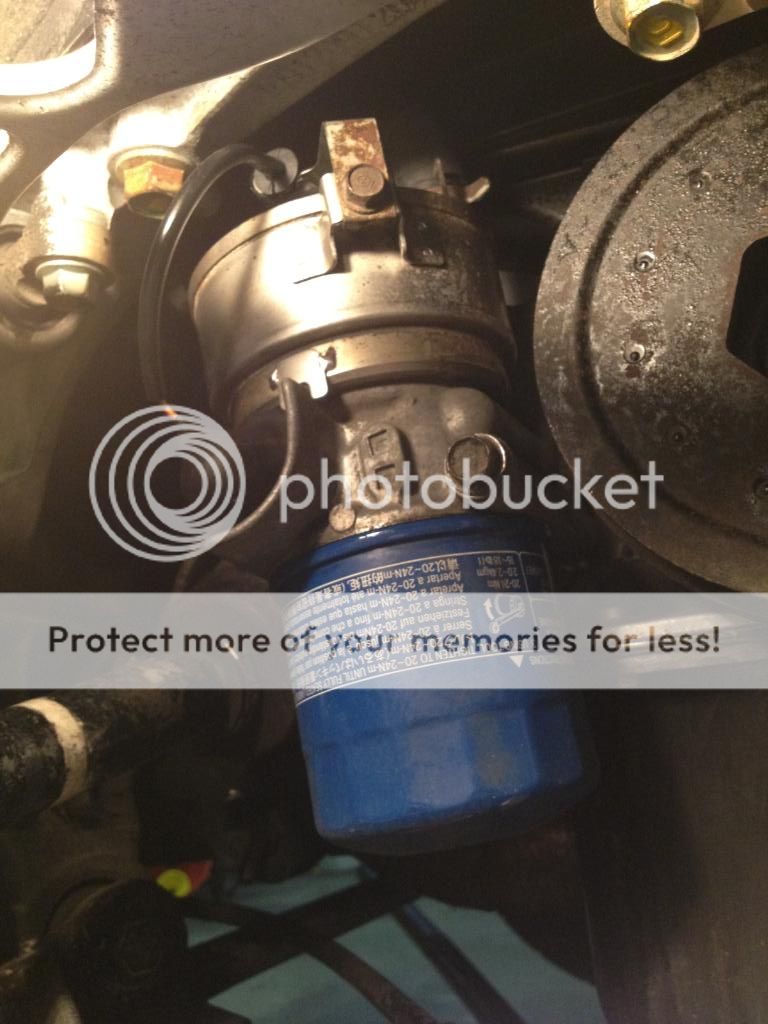
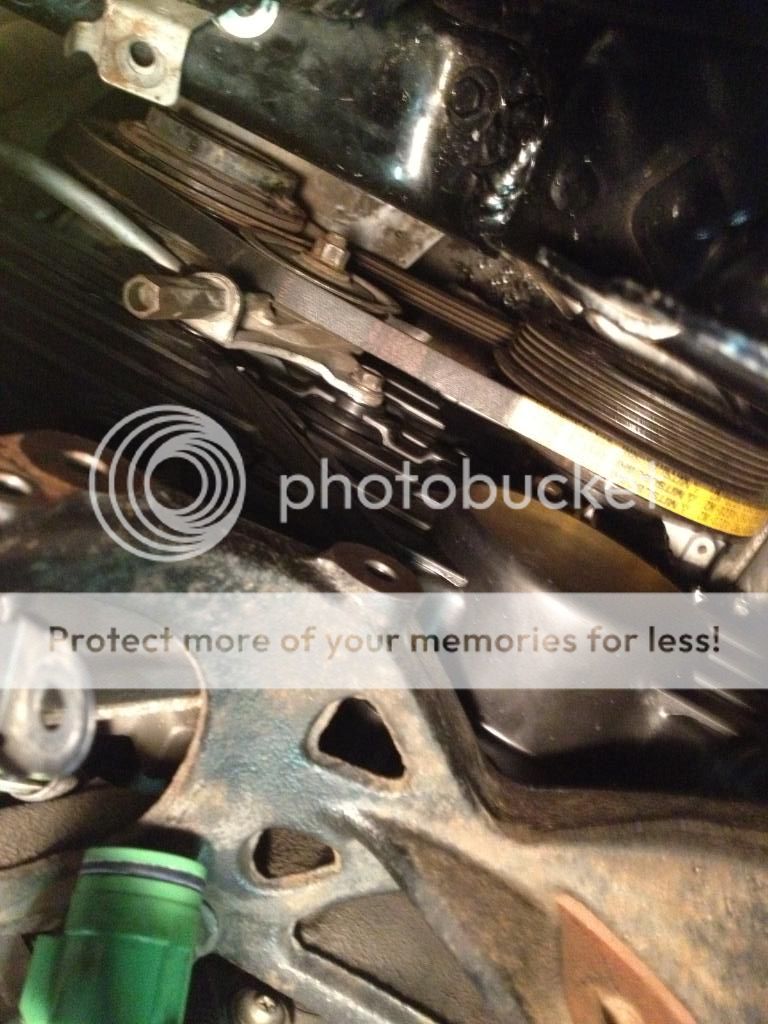
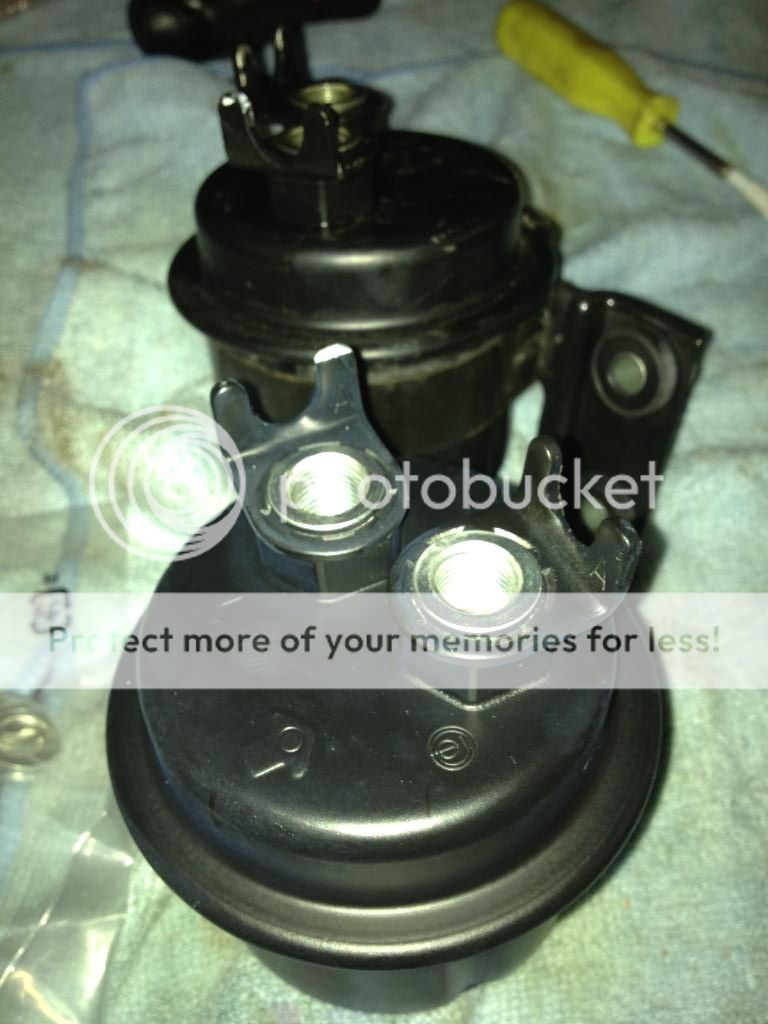
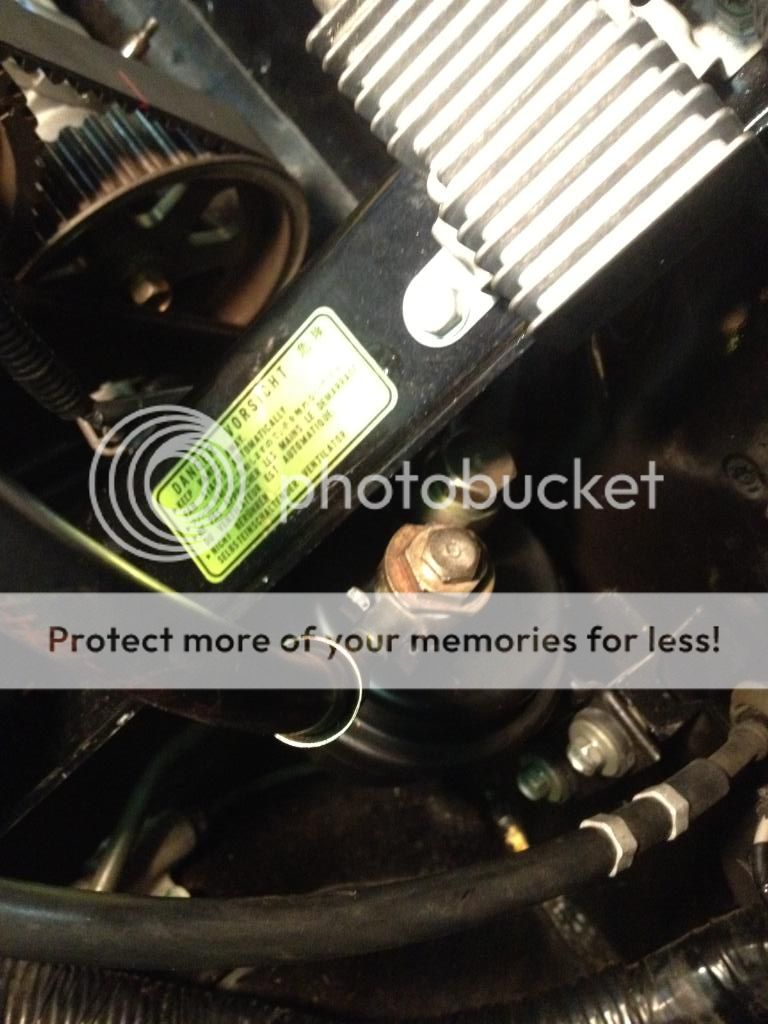
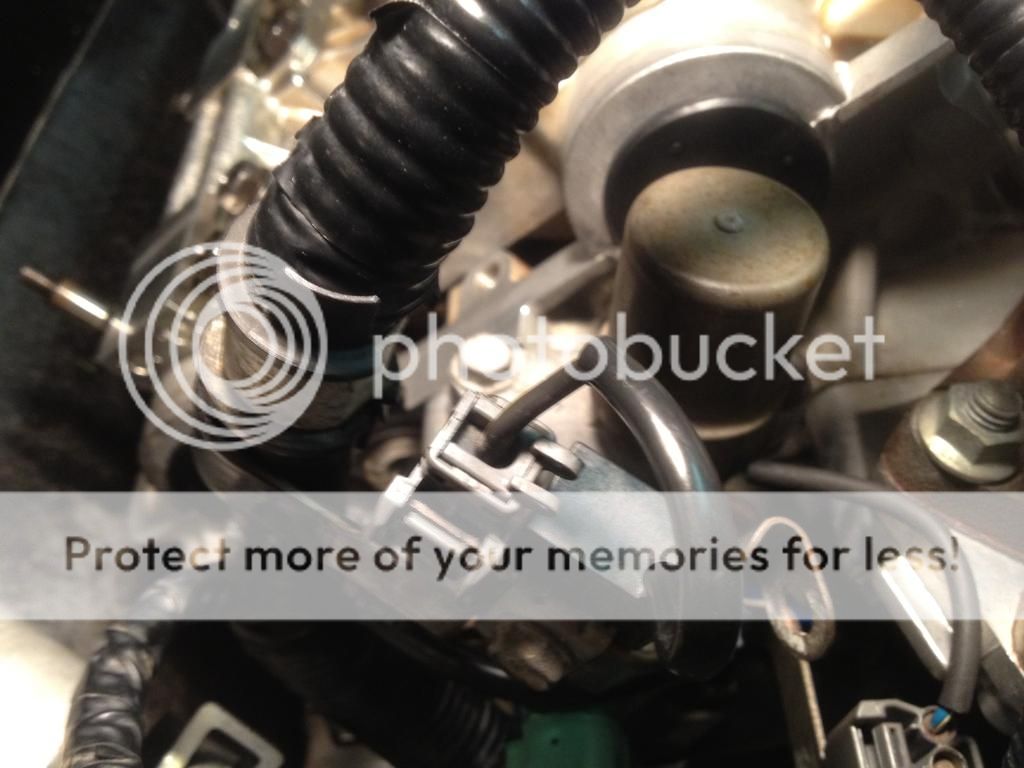
Got the oil pressure sender in this morning along with both o-rings for it so I buttoned that up, I replaced all of the gaskets on both v-tec solenoids and bolted those up as well. After that, I re-installed the oil cooler with a new 8 shaped o-ring and hondabonded the top bolts. I put on both belts along with the alternator followed by bolting up both sides of the motor mounts. Then I replaced the fuel filter along with the new crush washers. I just filled the coolant reservoir with the bleeders open. The front two were filled to the top, but the rear ones I had to fill until they started to overflow. Now I'm just waiting on my valve covers which should be in tomorrow! I can't wait!
IMG_2445.jpg

IMG_2446.jpg

IMG_2447.jpg

IMG_2448.jpg

IMG_2449.jpg

IMG_2450.jpg

IMG_2451.jpg

IMG_2452.jpg

IMG_2453.jpg

IMG_2454.jpg

IMG_2455.jpg

IMG_2457.jpg

IMG_2458.jpg

IMG_2459.jpg

IMG_2460.jpg

IMG_2461.jpg
 
BTW.......

Did you really have to copy his entire thread with all the photos AGAIN just to give the above comment? It really makes it hard to follow the thread when you have to shuffle through all the photos TWICE when it doesn't really add anything to the thread.:wink:
He's nominated for the most silly quoted message on prime for this year. In two months we'll know if he has won. :wink:
 
Great refresh going on lots of great work congrats. I see you opted for OEM oil pressure sending unit. I wound up giving up on the OEM style and switched over to the SOS firewall mounted one for my project build.
 
Thanks NSXcessive, I 've been trying to stay as oem as possible for my car.. What exactly is the benefit of having the SOS one? I don't plan on any FI, maybe just custom headers, exhaust, and rdx injector/flash over the winter.. Do the oem ones go bad that quickly? I know they had a tsb on them going bad, but I thought the newer ones were ok? Idk
 
Last edited:
And btw, I browsed through your build the other day and it looks fantastic, I can't wait to see it when it all done, should be soon no?
 
Thanks NSXcessive, I 've been trying to stay as oem as possible for my car.. What exactly is the benefit of having the SOS one? I don't plan on any FI, maybe just custom headers, exhaust, and rdx injector/flash over the winter.. Do the oem ones go bad that quickly? I know they had a tsb on them going bad, but I thought the newer ones were ok? Idk

I also changed to the SOS sender during my refresh last winter. The oil gauge issue is kind of a crap shoot. Both the sender and gauge can be bad. Most of the time it is the sender because the design is poor. It is mounted directly to the head and is subject to all of the heat and vibration during normal operation. This will eventually make it go bad. The SOS kit fixes this issue by moving the sender away from the engine.

However, the gauge itself can be bad too. After installing the SOS sender, my gauge still reads low. It is below 0 at idle and normal temp and only gets to slightly below 4 under max throttle and rpm. I tested the pressure at the head with a mechanical gauge per the service manual method and it is fine. That means my gauge was bad all along and my OEM sender probably was just fine lol.

The general advice is the OEM gauge is so variable and slow that it is not a reliable indicator of your oil pressure at any speed. Instead, as long as it is moving, you are probably ok. The real one to pay attention to is your red oil light. If that comes on, cut the engine IMMEDIATELY. Most people who track install a real mechanical gauge on the center console. That is on my eventual mod list.
 
Thanks NSXcessive, I 've been trying to stay as oem as possible for my car.. What exactly is the benefit of having the SOS one? I don't plan on any FI, maybe just custom headers, exhaust, and rdx injector/flash over the winter.. Do the oem ones go bad that quickly? I know they had a tsb on them going bad, but I thought the newer ones were ok? Idk

And btw, I browsed through your build the other day and it looks fantastic, I can't wait to see it when it all done, should be soon no?


Basically what Honcho said... I should add my '00 NSX never had a problem with the OEM sending unit/gauge readings at all. I do believe Honda revised it making it better than the earlier year ones moving it away from the motor to the firewall away from vibration. Figure you can't go wrong when I weighed out the replacement options based on the cost its less than the OEM sensor. My gauge in the car is operating correctly since the upgrade.

Thanks the build is pretty much nearing its end now finishing up some details, I have another batch of pics to upload soon. I also did the Prospeed RDX injector upgrade haven't driven the car more than a few miles yet but its running good thus far.
 
Now that I look at it, I probably should have gone with the SOS sender kit, I shied away from it because I believed I had to drill holes in the firewall to mount it. I didn't realize it mounts to the factory coolant expansion tank hole. Oh well! :redface:
Anyways, A little update...
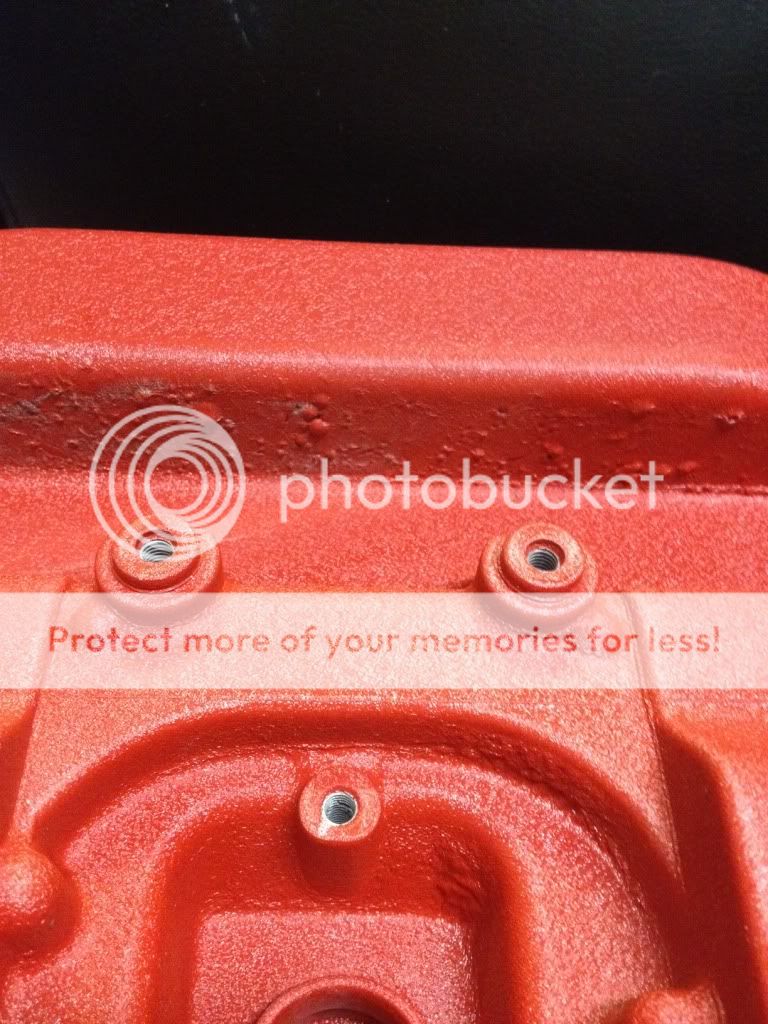
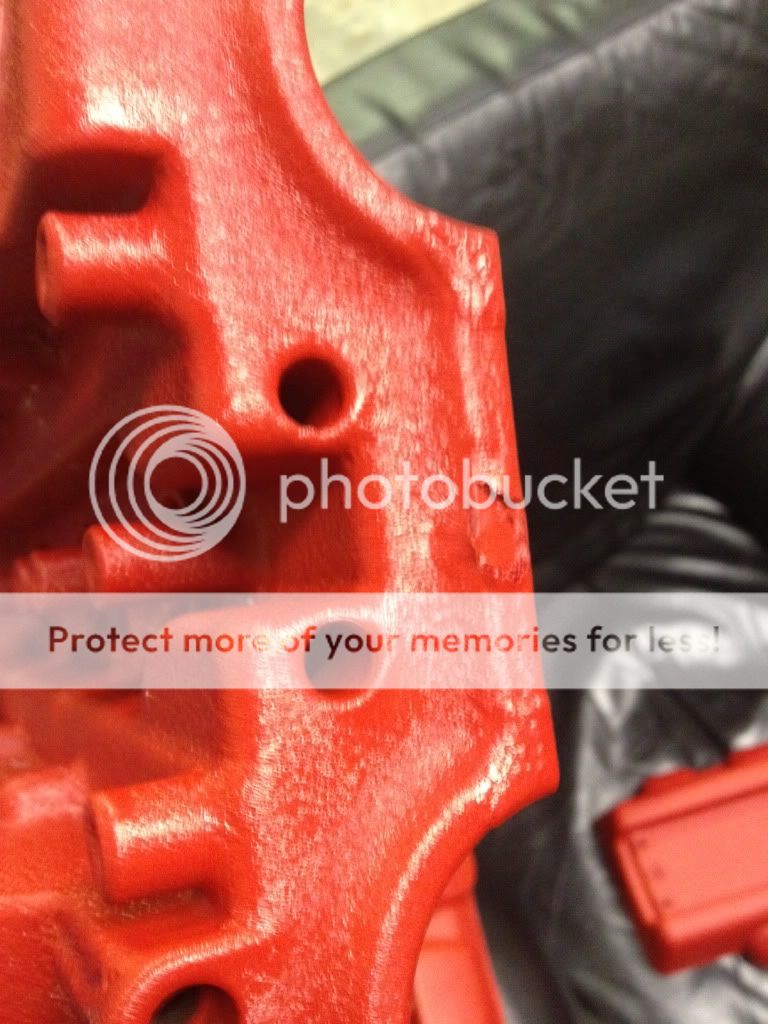
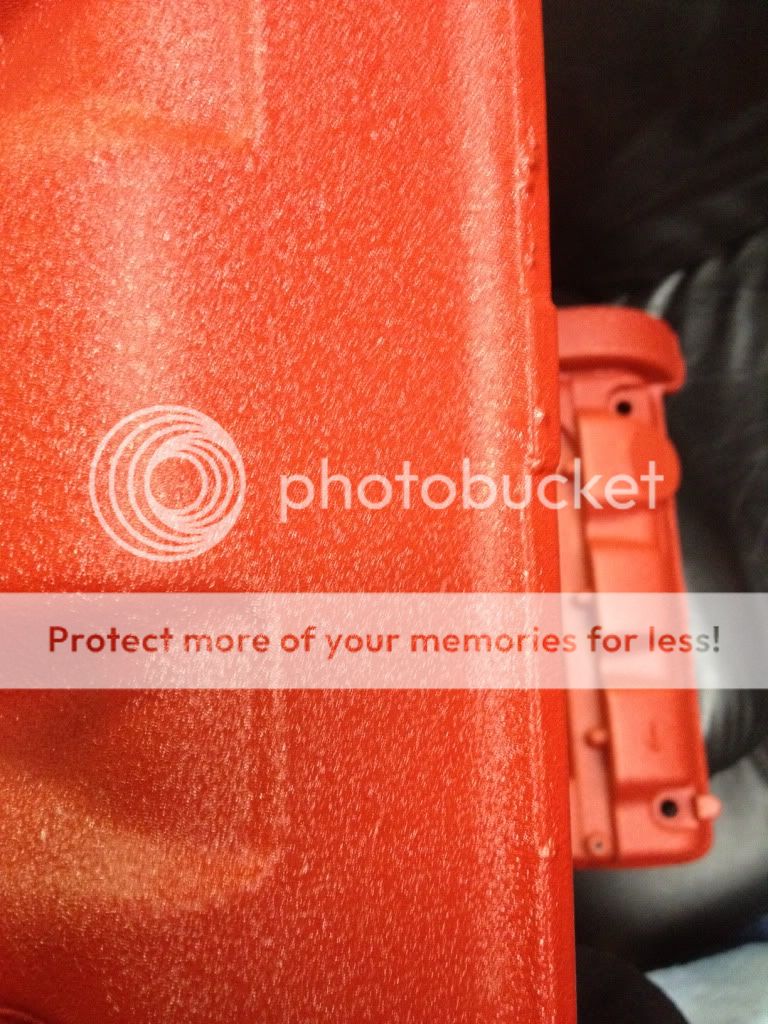
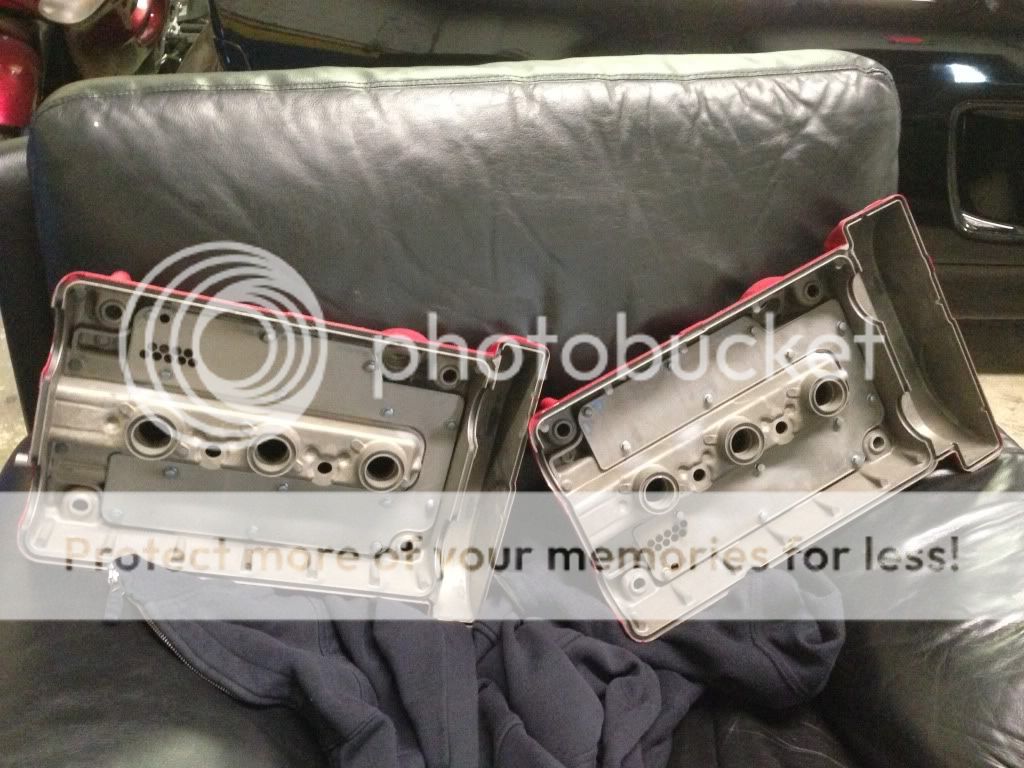
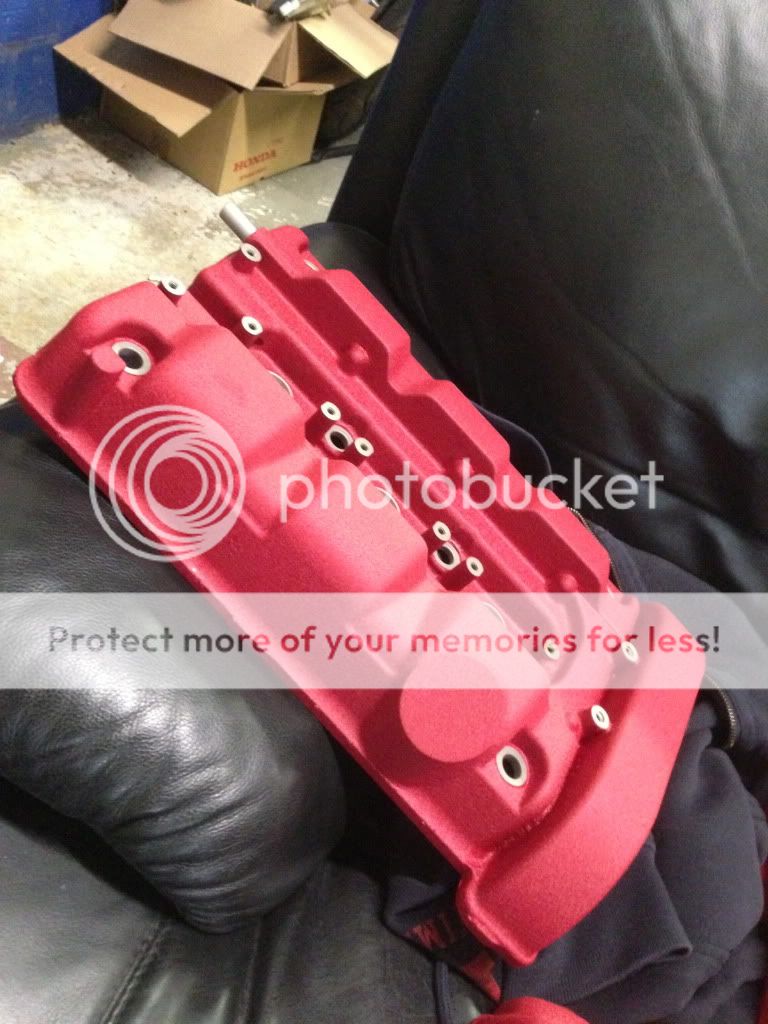
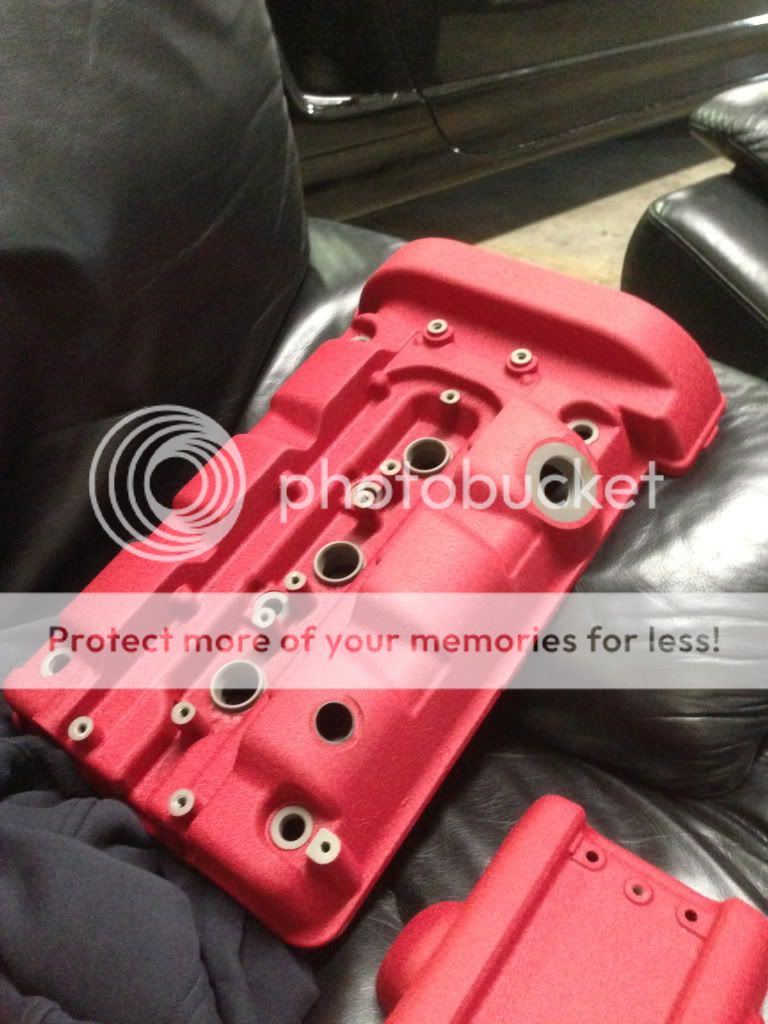
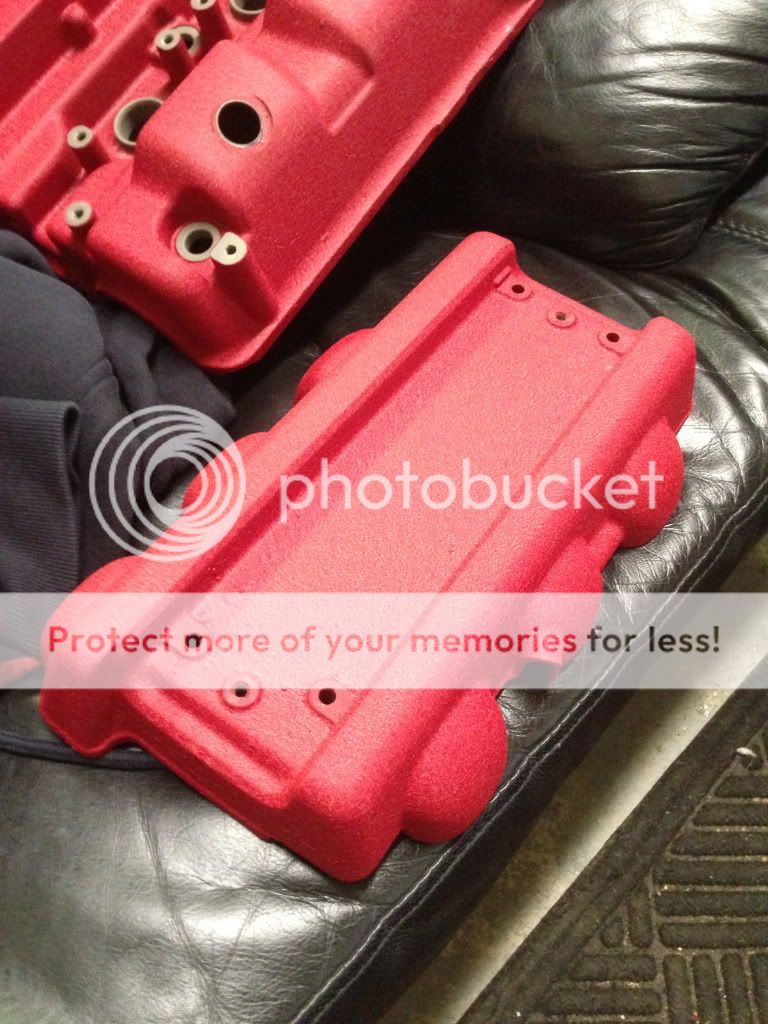
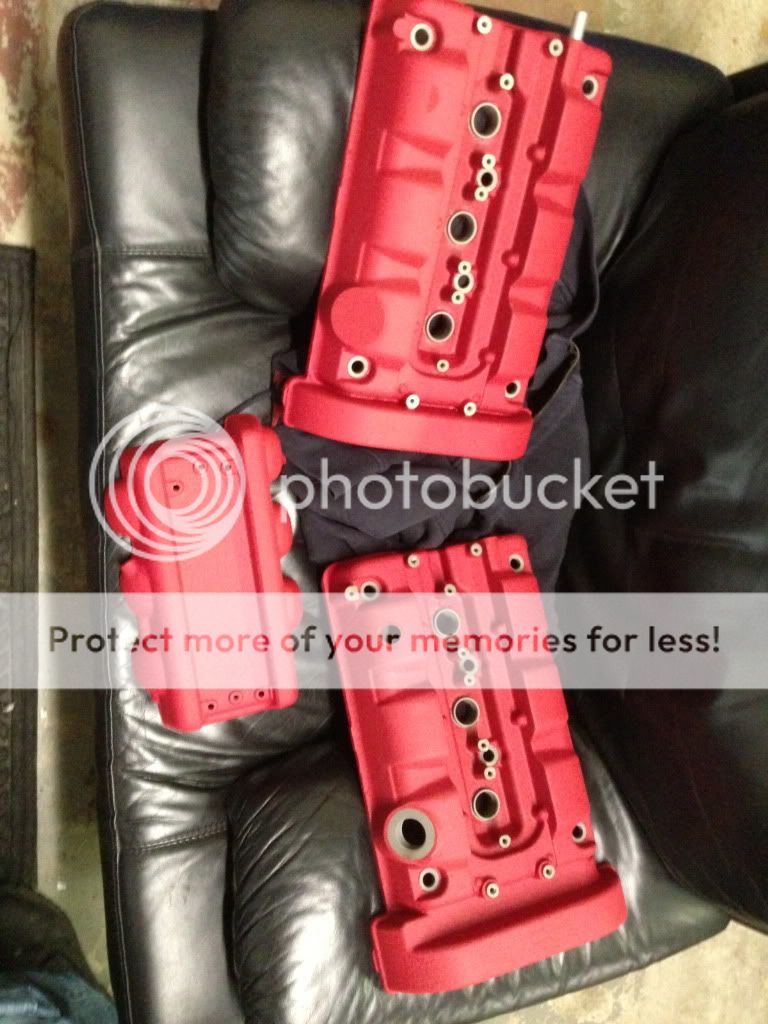
I had gotten my valve covers back, and this is how I received them..
photo1.jpg

photo2.jpg

photo3.jpg

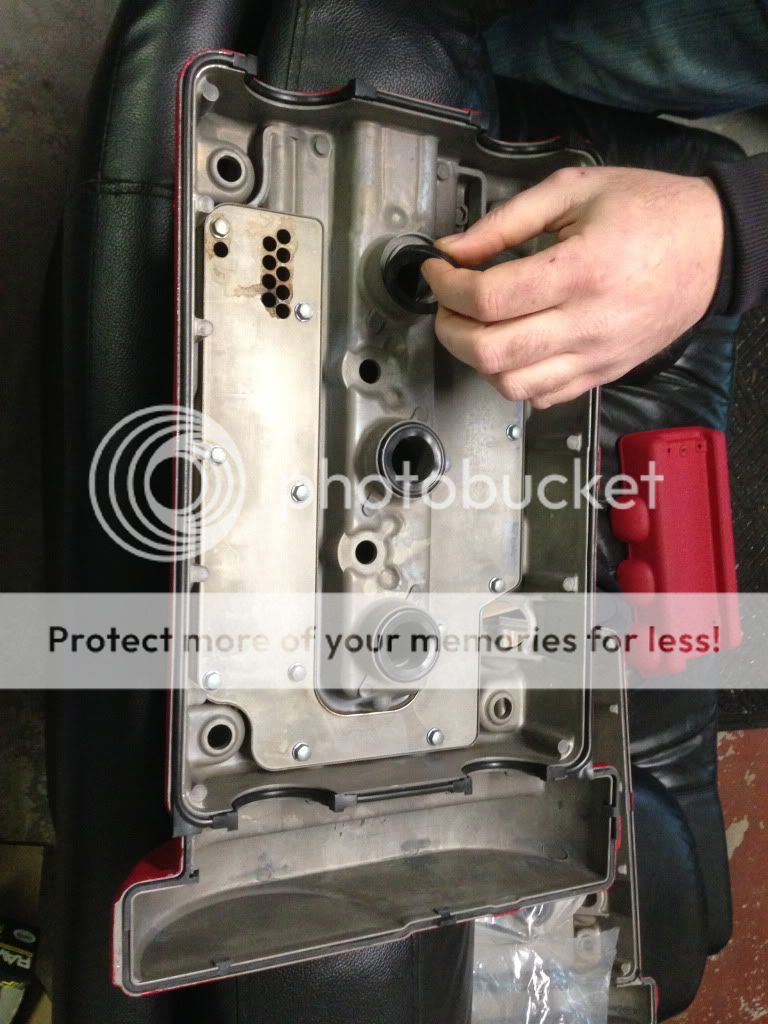
Not only did they come out looking terrible, but they didn't mask ANYTHING at all and sprayed the whole underneath as well. I immediately took them back to the Powder Coat shop and at least they gave me my money back but I had to argue with them a little bit. They expected me to install the head covers the way they gave it to me with paint all over the oem no-spray zones. Any idiot knows that the gaskets would never seal with paint everywhere, and not to mention all of the paint flaking off and getting into my engine. I wouldn't put something like that on a SOHC civic much less an expensive NSX engine. So, I sent my covers out to Lithiumus to get done the correct way, and while I wait for them I may drop the oil pan again and have Paul weld in the SOS oil pan baffle to prevent oil starvation and also weld on some "wings" to hold another quart of oil like the Dali-racing style pan.
 
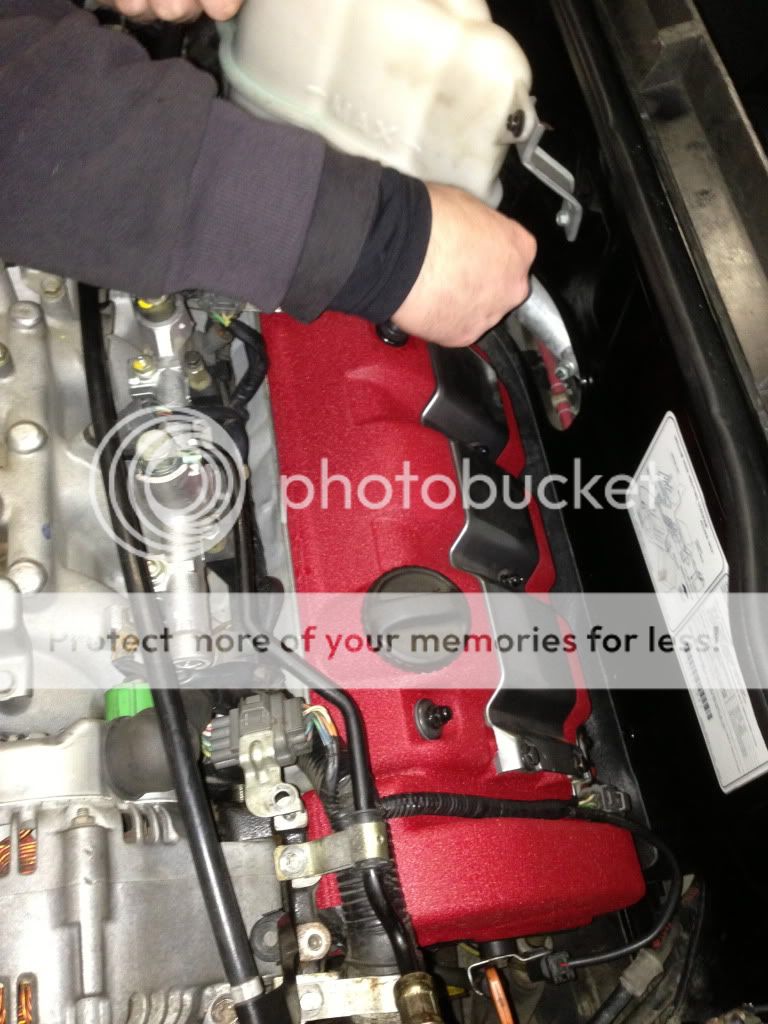
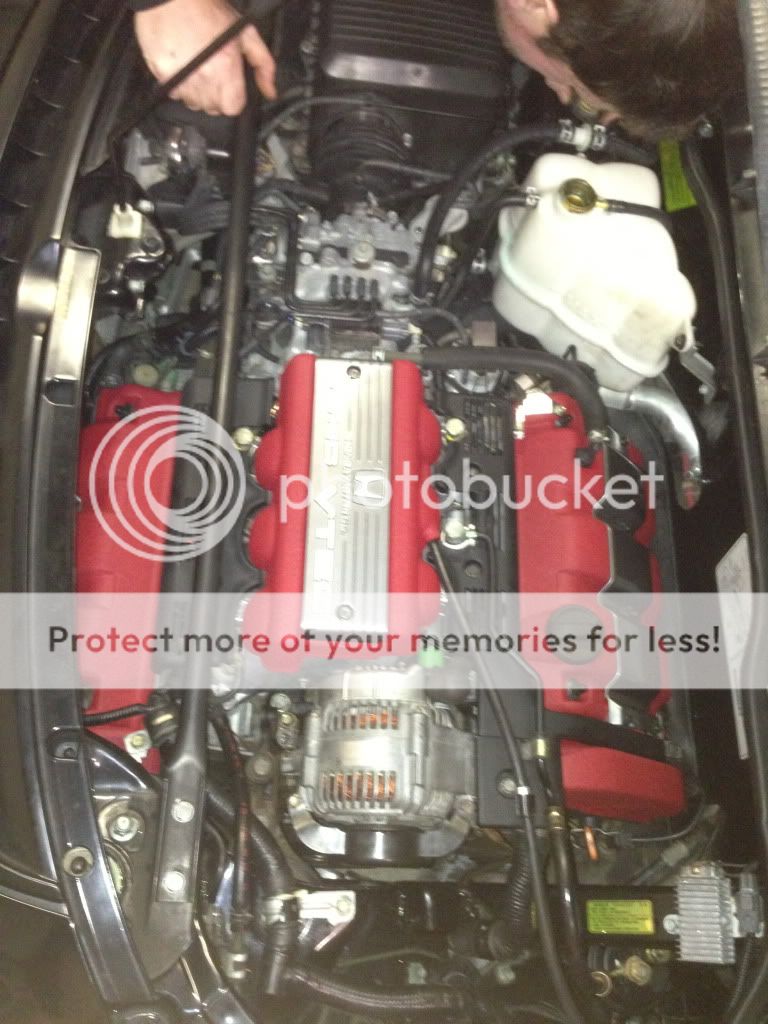
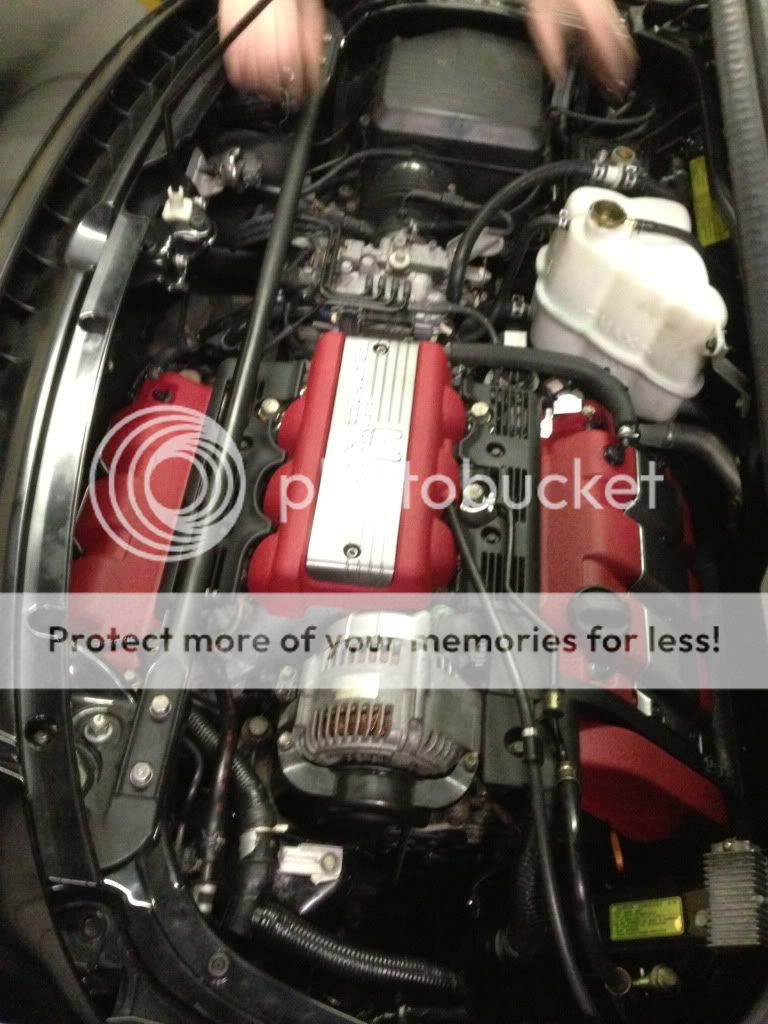
So I finally got my valve covers back from Lithiumus. It took about 4 months but it was well worth the wait. The color is dead on, and the covers were totally clean on all of the oem no-spray zones. Here are some pics of when I received and unwrapped them. I felt like I was 9 years old again on christmas opening up my Sega Genesis box. :tongue:
IMG_2809.jpg

IMG_2808.jpg

IMG_2807.jpg

IMG_2806.jpg

IMG_2805.jpg

Installing the gaskets and bolting the covers in...
IMG_2810.jpg
IMG_2811.jpg

IMG_2813.jpg

IMG_2812.jpg


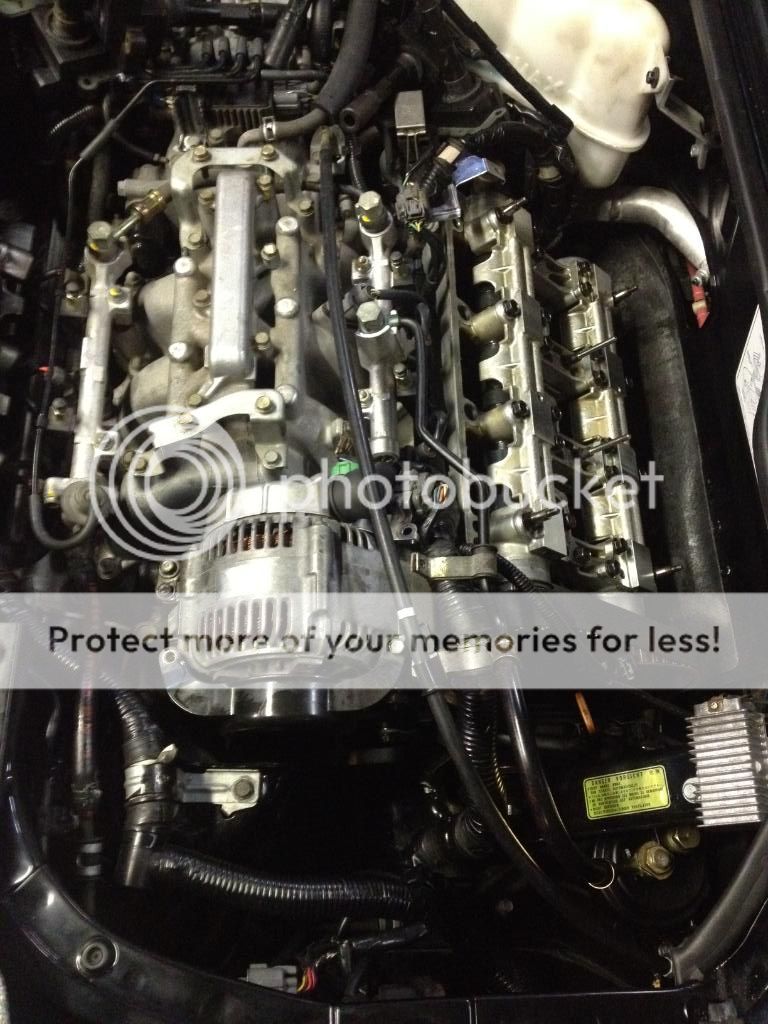
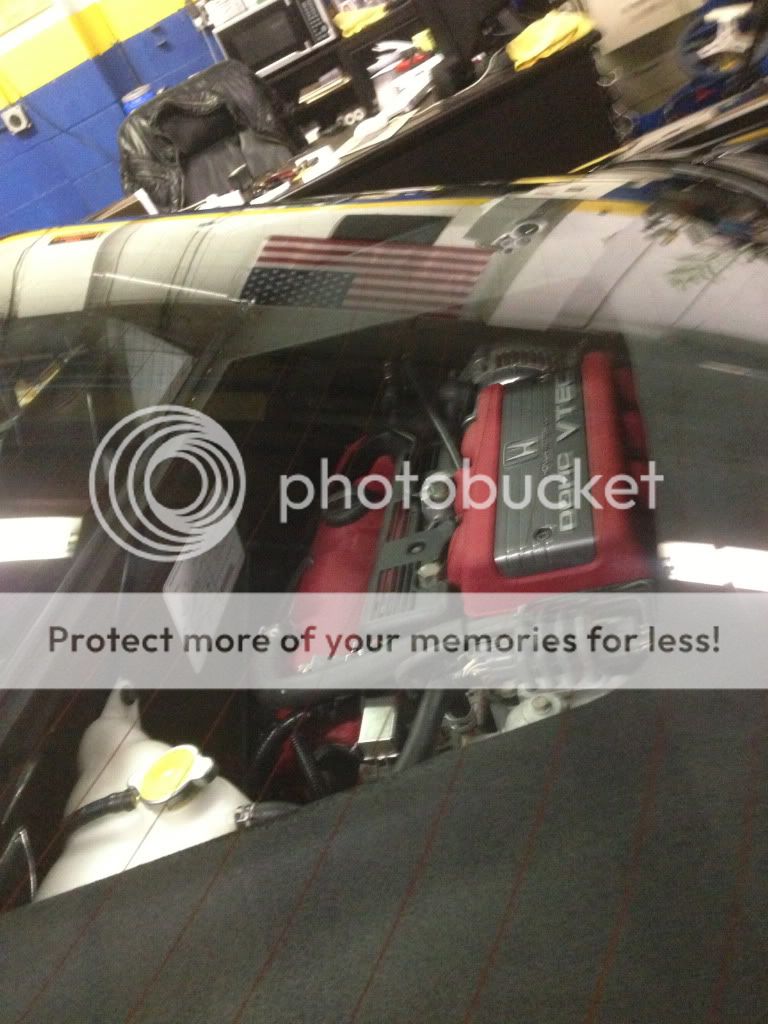
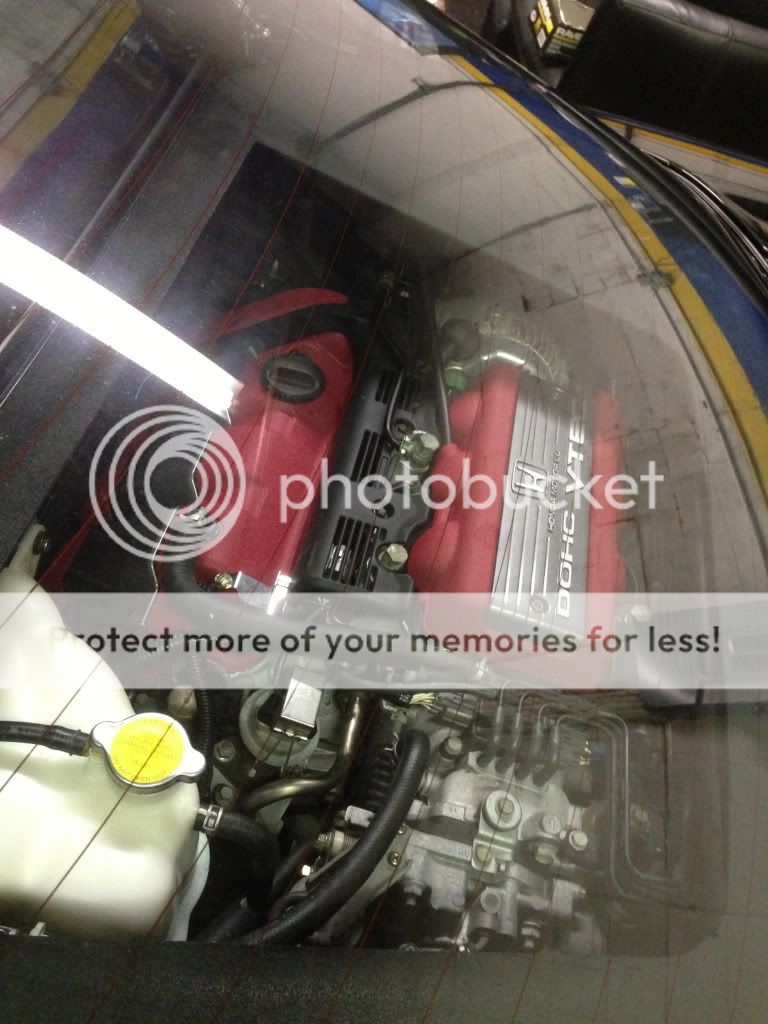
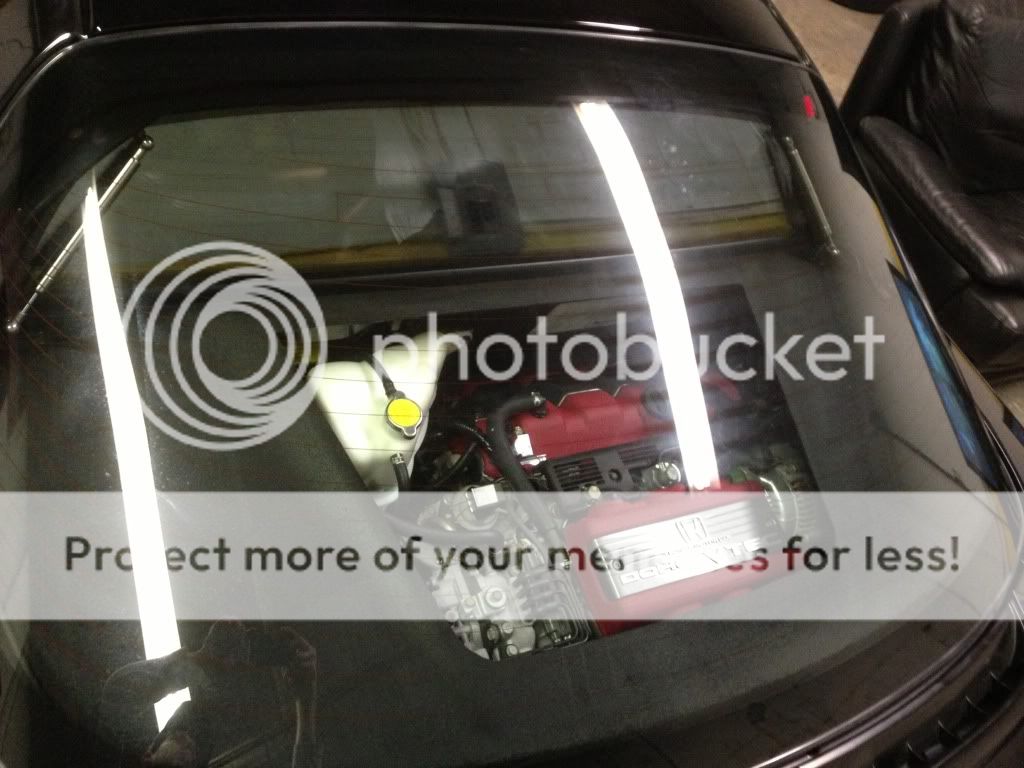
Oh, and I forgot to mention I made my own custom engine cover out of the oem one. I cut out a hole in the center so you can see the engine, Let me know what you guys think....
IMG_2817.jpg

IMG_2815.jpg

IMG_2814.jpg

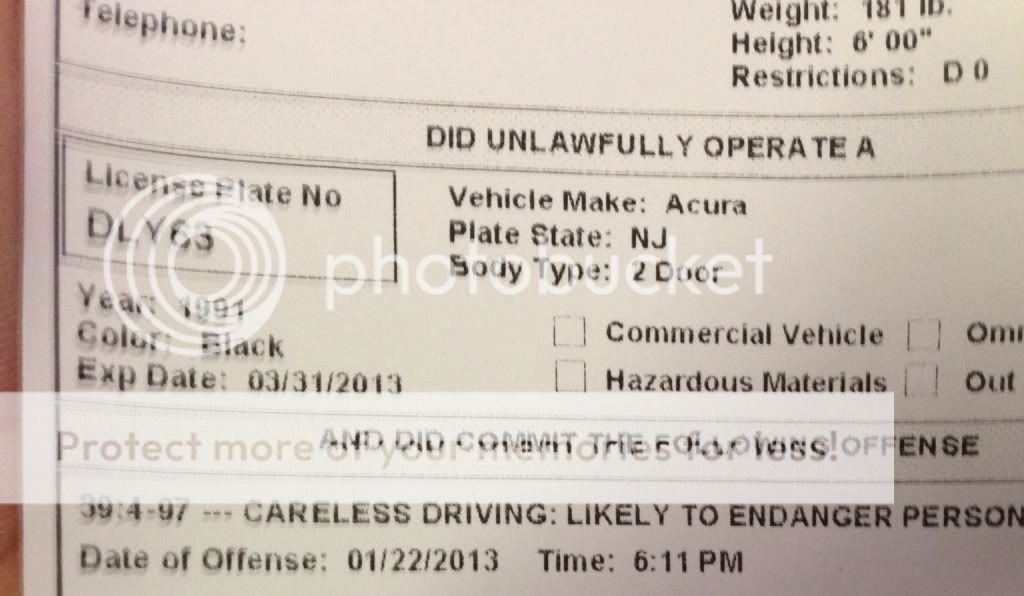
So I start the car and leave it running for about an hour to make sure there were no leaks, and to make sure the coolant was bled properly, etc. And I decided to take the car for a quick joy ride before I put it back in the garage for winter storage, and I'm not exaggerating when I say I was on the road for 2 minutes when this happened!
img_2816.jpg

Just my luck! The first two lane highway I got onto I gave her all she had and I spotted the cop only upon reaching 100 in a 35 mph zone, so naturally I got stopped. I explained to the officer that I had just done a bunch of maintenance to the car and was just "testing" it out to make sure it was ok, which wasn't far from the truth but I really didn't have to be going that fast. He cut me a break and gave me a careless instead of reckless driving and speeding tickets. Ah well, happens to the best of us I guess! lol
 
Last edited:
I really like the orange blinkers up front? Did you just apply an orange film to the lens?

re: the careless driving ticket. Just be happy you didnt get arrested :eek:
 
Last edited:
I really like the orange blinkers up front? Did you just apply an orange film to the lens?

re: the careless driving ticket. Just be happy you didnt get arrested :eek:

Thanks, when I sent the front bumper to get painted I sprayed them with Amber lens paint. I was never a huge fan of the clear, I feel like the amber makes the car look more 1991-ish (if that makes any sense lol) and fits the car better. As far as the ticket goes I'm not complaining, I def got lucky. It could have been way worse.
 
awesome thread!!

how do you properly drain, fill and bleed your coolant?

what can potentially happen if you do not bleed it correctly or effectively?

thanks,
 
After the coolant is drained you refill the tank until it is to the max line with the front and engine bay bleeder open. Then you start the car and keep the coolant tank full. With the car running you go back and forth from the engine bay and front radiator bleeders capping one off and opening the other until pure coolant runs out. You will get about 3/4 of the way done until the car reaches the center mark on the temp gauge and begins to overheat. You need to have the fan kick on and thermostat open. You then shut the car off and let it cool for about 15 mins. Keeping the coolant tank on the max line restart the car and keep opening the bleeders until you get a solid bubble free flow of hot coolant.

You are done when you can crack the front and rear bleeders and get nothing but hot coolant and no bubbles and the temp guage shows right at operating temp. If it begins to overheat you still have air in the system and need to continue the bleeding.

It is always necessary to have coolant in the tank so that you don't introduce more air into the system.

It is also normal to have hot ass coolant spewing out of the tank while you are doing this. It is a really messy job. DO NOT have any animals around and do this in your drive way not in the garage.

You may think it is going all wrong when there is a huge coolant cloud coming from the engine bay and coolant spewing out of the tank. keep a rag over the funnel to keep it from splashing you.

Keep in mind you are done and only done once the car will idle forever(figuratively) and not overheat.
 
Back
Top