I just finished a Nexus 7 install on my car. I have been searching for a solution that can provide a nice display, navigation, and stream music without having to break my wallet. The navpod was out of the question since it was $400 piece of plastic and did not expose the necessary buttons for the Nexus 7.
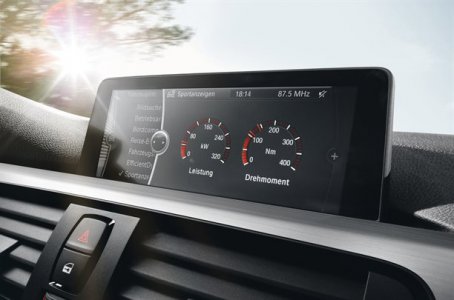
I got my inspiration from my friend's new BMW 328i F30, just have a display sticking out of the dash without any cover. Here is the goal I was aiming for:

I had a few extra requirements of my own:
1) the tablet must be easily removable - having a tablet in the beating sun can cook and destroy it. I left my ipod in the sun once and the display exploded. Also, I didn't buy a $200 tablet just for the car; I wanted to take it with me sometimes and be on the go.
2) the tablet must be secured onto the car during hard acceleration and turns
3) the tablet must be charged while secured on the car. I wanted something easy and quick; didn't want to manually plug in the USB cable into the tablet every time I wanted to use it.
4) must play music thru the OEM NSX stereo - this meant buying a Grom Android USB adapter
5) must be a clean look
This meant off the shelf tablet car mounts were out of the question. I test fitted the Nexus and it fit perfectly into the NSX OEM vent. There was a slight gap on the sides but was resolved by putting the Nexus into a case. The OEM clock needed to be removed; no problem, I can set a clock on the Nexus.

Next, how to secure the tablet yet have it easily removable? Magnets. Very strong magnets. http://www.ebay.com/itm/10PCS-25mm-...166?pt=LH_DefaultDomain_0&hash=item3a741c7106

I went to a local metal shop and bought a 4in x 5in metal plate. Bent it and secured it onto the OEM NSX vent. There are 4 holes at the back of the vent. Just drilled 2 holes into the metal and secured it with a nut and bolt. The NSX vent is plastic and to avoid it cracking, I place a big yet thin washer on the bottom side. The 5 inch wide plate will still expose the 2 screw holes necessary for securing the vent back onto the dash.

There is a sensitive spot on the Nexus that is used to trigger the display via a magnet. That area is the bottom right corner. I used a smaller magnet for that corner. http://dx.com/p/super-strong-rare-earth-re-magnets-15mm-x-1mm-10-pack-10303

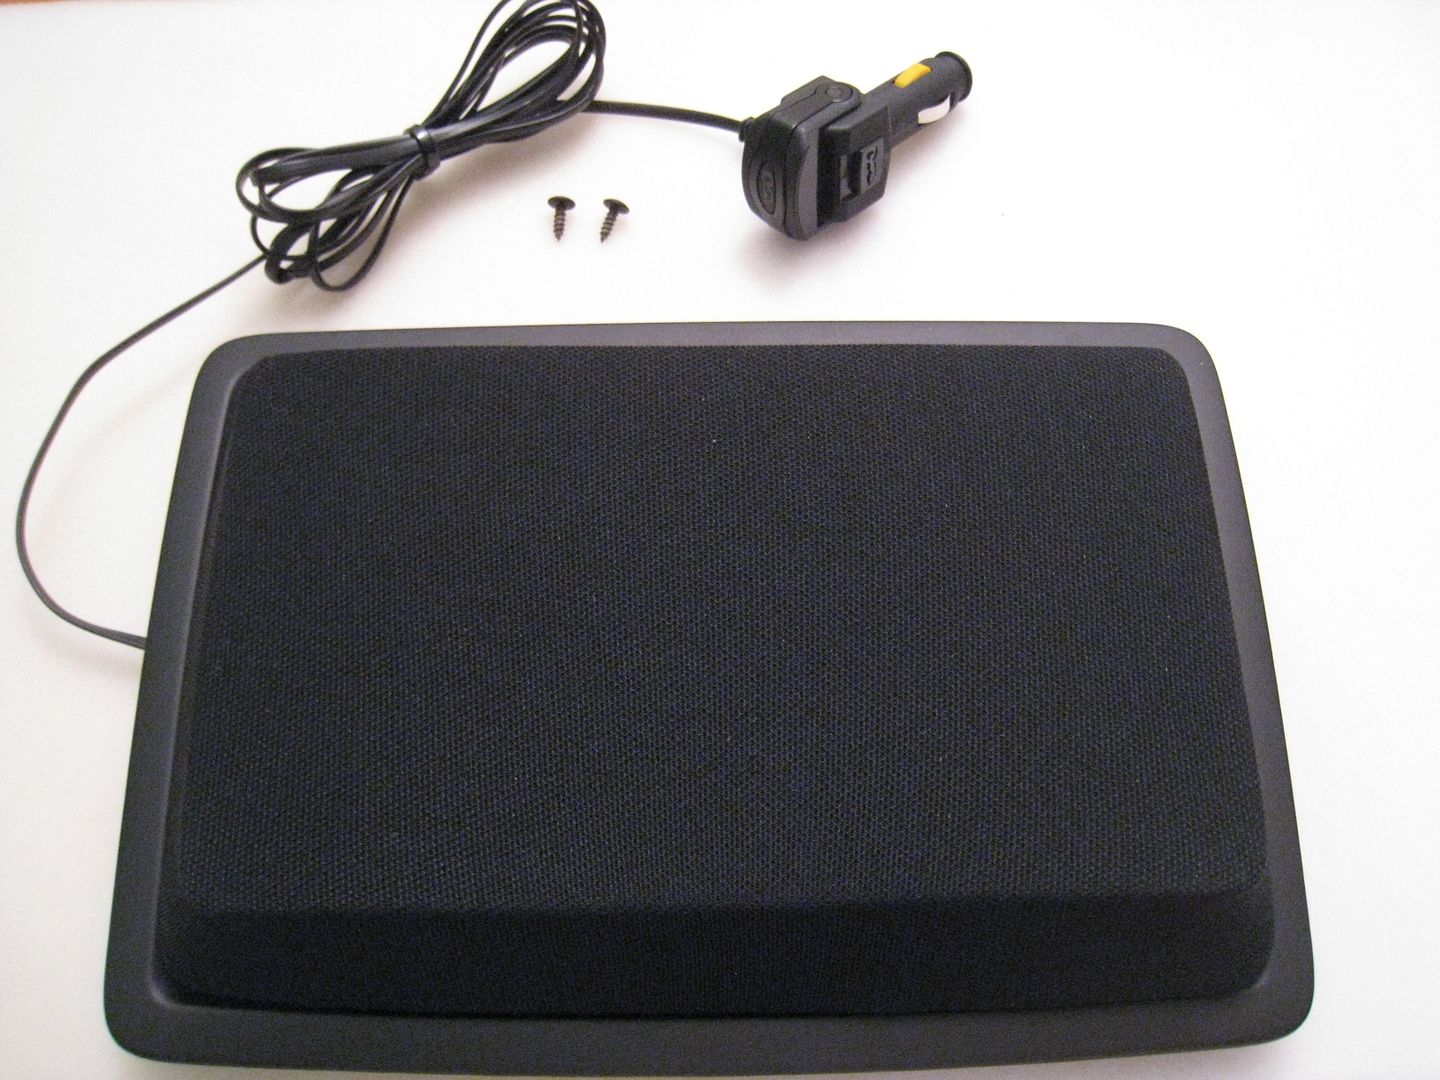
How to charge the tablet while it is secured on the car? Conduct electricity through the magnets onto the back cover.


Bolt everything back up and we're good to go. I also bought an android app to automatically turn on and off the Nexus to save battery. https://play.google.com/store/apps/details?id=ch.gridvision.ppam.androidautomagic&hl=en
I made 2 conditions:
1) when power is off, turn on airplane mode (turns off wifi), disable GPS, and turn off the screen.
2) when power is on, turn off airplane mode (turn on wifi), enable GPS, and turn on the screen.
Also, for streaming music to the Grom adapter, download https://play.google.com/store/apps/details?id=com.gromaudio.aalinq&hl=en
For offline GPS support, download NavFree https://play.google.com/store/apps/details?id=com.navfree.android.OSM.ALL&hl=en
For online GPS support, use Google navigation with live traffic
Here are the final pics:


Total Cost:
Nexus 7 Tablet - $200
Grom Android USB Adapter with HON-92 harness - $100
Magnets - $15 Big ones Small ones
Micro USB right angle cable - $2
Nexus 7 case - $6
Nexus 7 screen protector - $3
Metal Plate - $5
Nuts and bolts from Home Depot - $2
4 brass paper fasteners from Staples - pennies
Automagic android app - $4
Total: less than $350
Next project, rear view camera via USB webcam to the Nexus 7
I got my inspiration from my friend's new BMW 328i F30, just have a display sticking out of the dash without any cover. Here is the goal I was aiming for:

I had a few extra requirements of my own:
1) the tablet must be easily removable - having a tablet in the beating sun can cook and destroy it. I left my ipod in the sun once and the display exploded. Also, I didn't buy a $200 tablet just for the car; I wanted to take it with me sometimes and be on the go.
2) the tablet must be secured onto the car during hard acceleration and turns
3) the tablet must be charged while secured on the car. I wanted something easy and quick; didn't want to manually plug in the USB cable into the tablet every time I wanted to use it.
4) must play music thru the OEM NSX stereo - this meant buying a Grom Android USB adapter
5) must be a clean look
This meant off the shelf tablet car mounts were out of the question. I test fitted the Nexus and it fit perfectly into the NSX OEM vent. There was a slight gap on the sides but was resolved by putting the Nexus into a case. The OEM clock needed to be removed; no problem, I can set a clock on the Nexus.
Next, how to secure the tablet yet have it easily removable? Magnets. Very strong magnets. http://www.ebay.com/itm/10PCS-25mm-...166?pt=LH_DefaultDomain_0&hash=item3a741c7106
I went to a local metal shop and bought a 4in x 5in metal plate. Bent it and secured it onto the OEM NSX vent. There are 4 holes at the back of the vent. Just drilled 2 holes into the metal and secured it with a nut and bolt. The NSX vent is plastic and to avoid it cracking, I place a big yet thin washer on the bottom side. The 5 inch wide plate will still expose the 2 screw holes necessary for securing the vent back onto the dash.
There is a sensitive spot on the Nexus that is used to trigger the display via a magnet. That area is the bottom right corner. I used a smaller magnet for that corner. http://dx.com/p/super-strong-rare-earth-re-magnets-15mm-x-1mm-10-pack-10303
How to charge the tablet while it is secured on the car? Conduct electricity through the magnets onto the back cover.
Bolt everything back up and we're good to go. I also bought an android app to automatically turn on and off the Nexus to save battery. https://play.google.com/store/apps/details?id=ch.gridvision.ppam.androidautomagic&hl=en
I made 2 conditions:
1) when power is off, turn on airplane mode (turns off wifi), disable GPS, and turn off the screen.
2) when power is on, turn off airplane mode (turn on wifi), enable GPS, and turn on the screen.
Also, for streaming music to the Grom adapter, download https://play.google.com/store/apps/details?id=com.gromaudio.aalinq&hl=en
For offline GPS support, download NavFree https://play.google.com/store/apps/details?id=com.navfree.android.OSM.ALL&hl=en
For online GPS support, use Google navigation with live traffic
Here are the final pics:
Total Cost:
Nexus 7 Tablet - $200
Grom Android USB Adapter with HON-92 harness - $100
Magnets - $15 Big ones Small ones
Micro USB right angle cable - $2
Nexus 7 case - $6
Nexus 7 screen protector - $3
Metal Plate - $5
Nuts and bolts from Home Depot - $2
4 brass paper fasteners from Staples - pennies
Automagic android app - $4
Total: less than $350
Next project, rear view camera via USB webcam to the Nexus 7
Last edited:


