Hey guys, just started to do some work and turned out to be a bunch of work so I decided to start a thread to document it.
Here's my intro thread; http://www.nsxprime.com/forum/showthread.php/173996-I-got-me-one!!!!-BB-96!/page2
Within the first few weeks of owning the car, I had the TB/WP repair done with a bunch of other things (valve adjustment, valve cover gaskets, etc.). I also changed out the radio volume knob cuz it was worn out. Oil pressure gauge is inop. Tried to diagnose it as per the shop manual. No results. So I bought the SoS oil pressure sensor upgrade kit but that did absolutely nothing. I'll try diagnosing again. Perhaps I didnt have a good ground?? Also had Frank from Strutwise rebiuld the trunk and glass hatch struts. I dropped em off at his shop since he's nearby.
I bought a set of Swift springs on '04 struts from hearttohateu a while back and decided to install them last week. Reading the manual and NOT searching on Prime first, led me to "rookie" mistakes. I was a certified Mercedes mechanic for 2 years so Im definitely mechanically inclined but FAR from a master tech. The inner cv boot of the passenger side axle was leaking grease so I ordered the boot and decided to do it all at once. I dove in and got at it but made the mistake of popping out the lower control arm ball joint!!! EEEEEKKKK!! On BOTH SIDES!!!
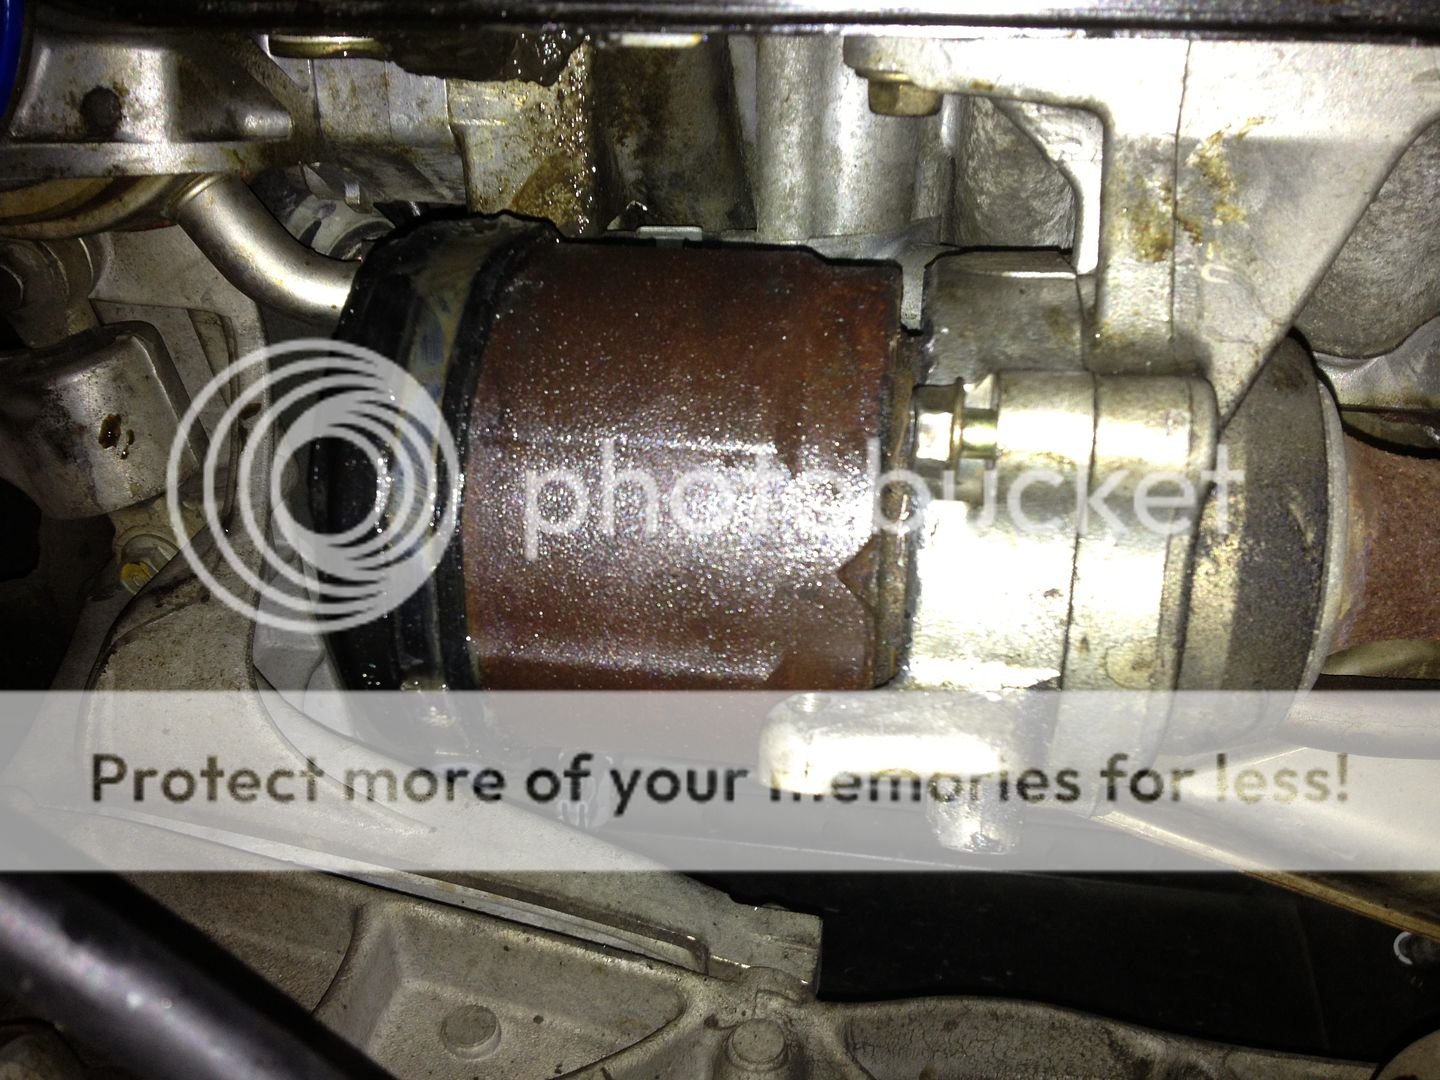
I got the outer axle shaft out of the wheel hub but the inner one connected to the intermediate shaft was a BITCH! After trying the manual's suggested method (big screwdriver and pry) and LarryB's suggested method (two pry bars/screwdrivers and pry on opposite sides) AND Shawn's suggested method (pry bars) and failing miserably, I felt like a needed a boost in morale, something to make me feel like Im making progress so I cut the boot and pulled the axle off leaving the inner carrier still stuck to the transmission.
Not quite the way to do it but oh well. Still prying, no luck. I thought Id turn my attention to something else as to not get so stressed over it. So I went over to the driver side to get the strut out and overzealously undid THAT lower control arm ball joint! *FACEPALM* Moving right along, I got the strut out and just stopped there.
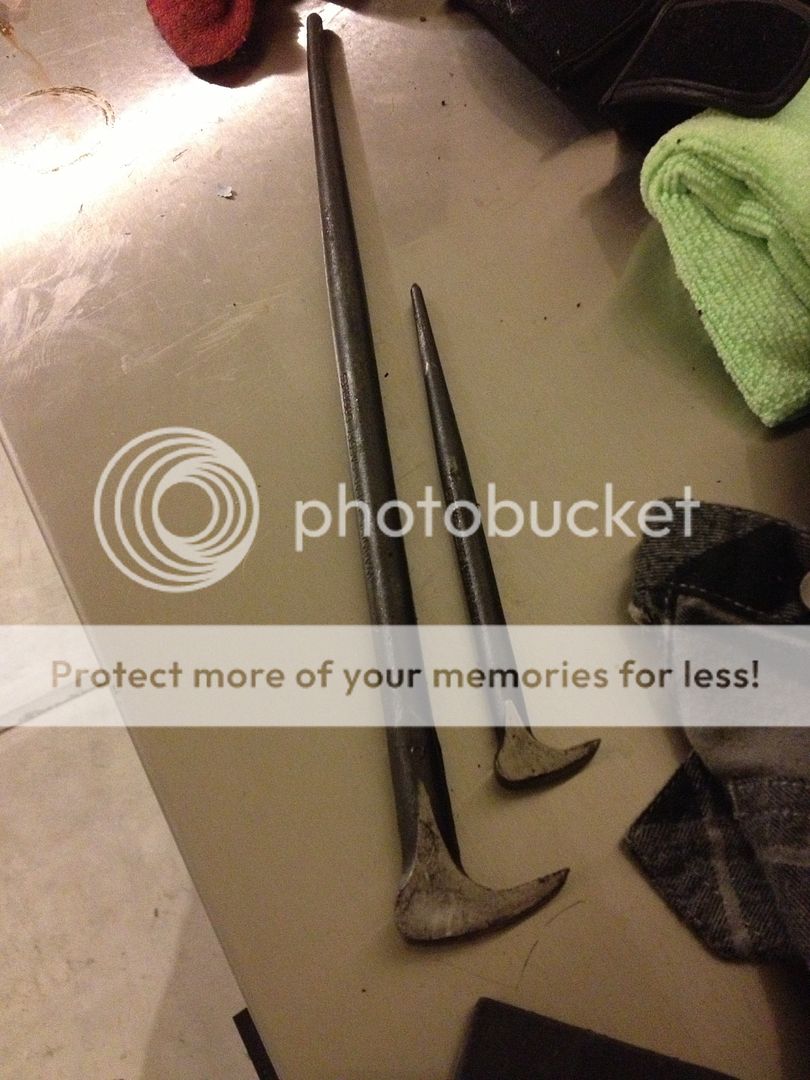
I gave up for a few days, plus I had to work. I come back to it the other night and I rummage through my tools and thought Id try these on the carrier still stuck in the tranny....
they worked!!! Not the typical method tho. I put the small one like this...
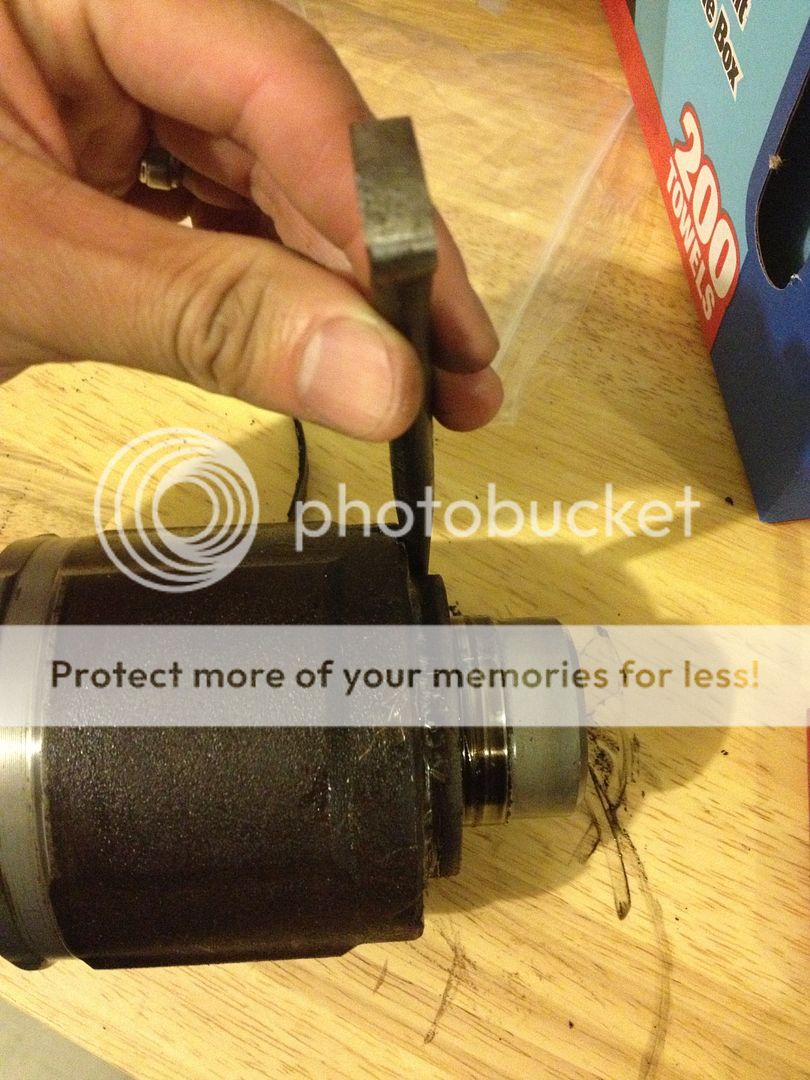
and tapped it in with a rubber mallet and then it jammed in there. I put the larger one in and did the same thing, hit it a few times and they both fell out. I looked up and VOILA!!! THERES A GAP!! So I took a big screwdriver and used it to pry it out the rest of the way. SUCCESS!!!
At this point, not knowing what to do with the ball joint and how to get them back in, with the suggestions from LarryB and Shawn, I thought Id try to take them out and rm and try to get it back in the control arm. So I take out the hub and both control arms. This morning, I finally got some time to mess with it again. I put the whole wheel assembly on my bench and held the lower control arm to the bushing and smacked it a few times with my trusty rubber mallet and it went in enough to get the beefy washer and nut onto it and use my air ratchet to get it back on. AWESOME!!!
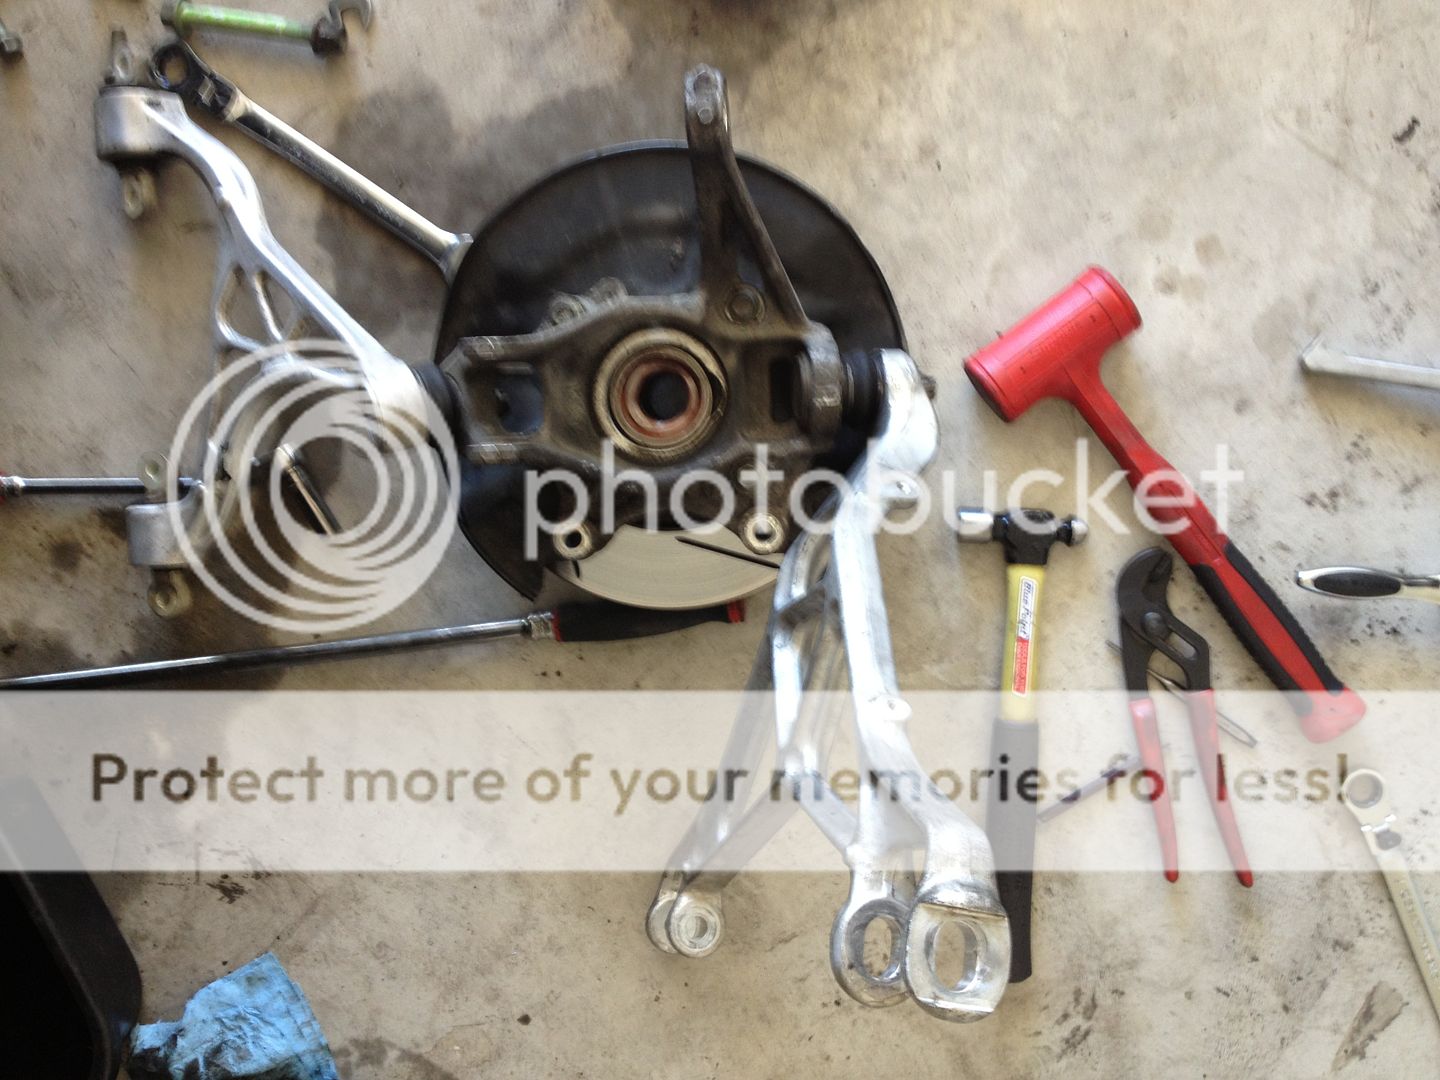
Did it to both sides. While I was at it, I decided to spray some brake cleaner on some towels and wipes/scrubbed away the dirt on the arms. So this is how it sits now, awaiting parts.
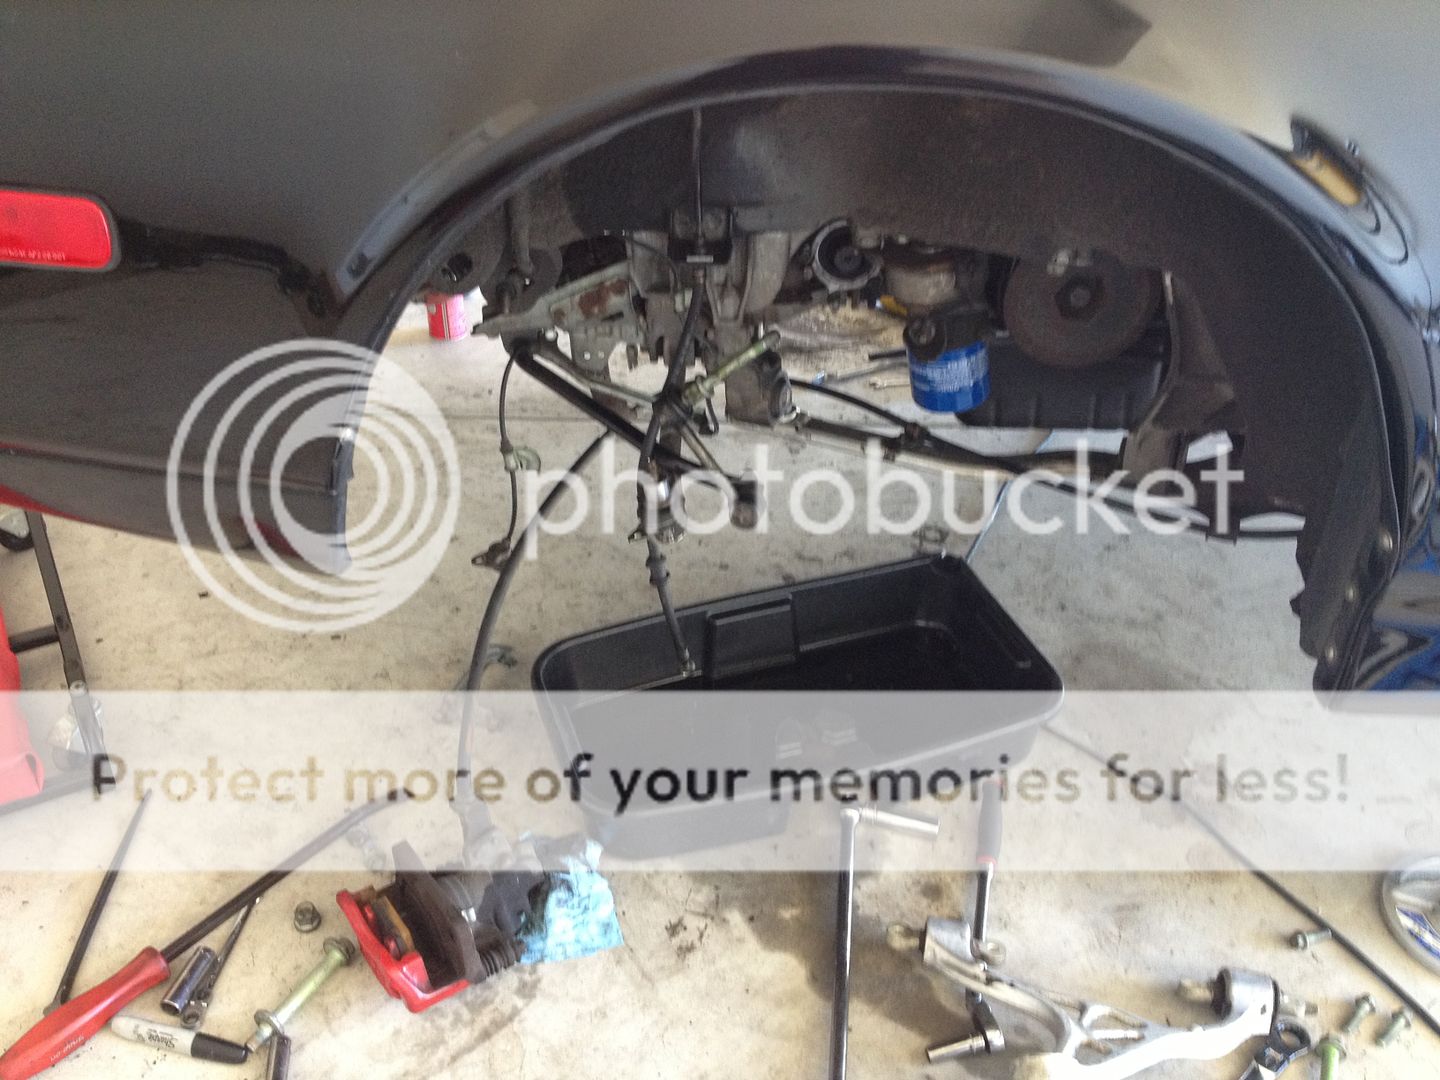
On order are all the coolant hoses and transmission oil seals and cv boots for the driver side axle. While I already have the driver side wheel assembly out, I figure I might as well do the axle boots on that side too.
So on order are;
Spark plugs
All coolant hoses
CV boots
Fuel filter
Thermostat
Radiator cap
The little "figure 8" gasket
VTEC solenoid gaskets
Im gonna try to save the coolant seeing that its barely 2 months old and I have to wait for the hoses to come in before I put the passenger side axle in so I can access the oil cooler hoses easier. Please feel free to offer any advice for the coolant hose replacement! Thanks for reading. Thanks Shawn and LarryB for all the help and time out of their busy schedule. Love this forum.
:smile:
- - - Updated - - -
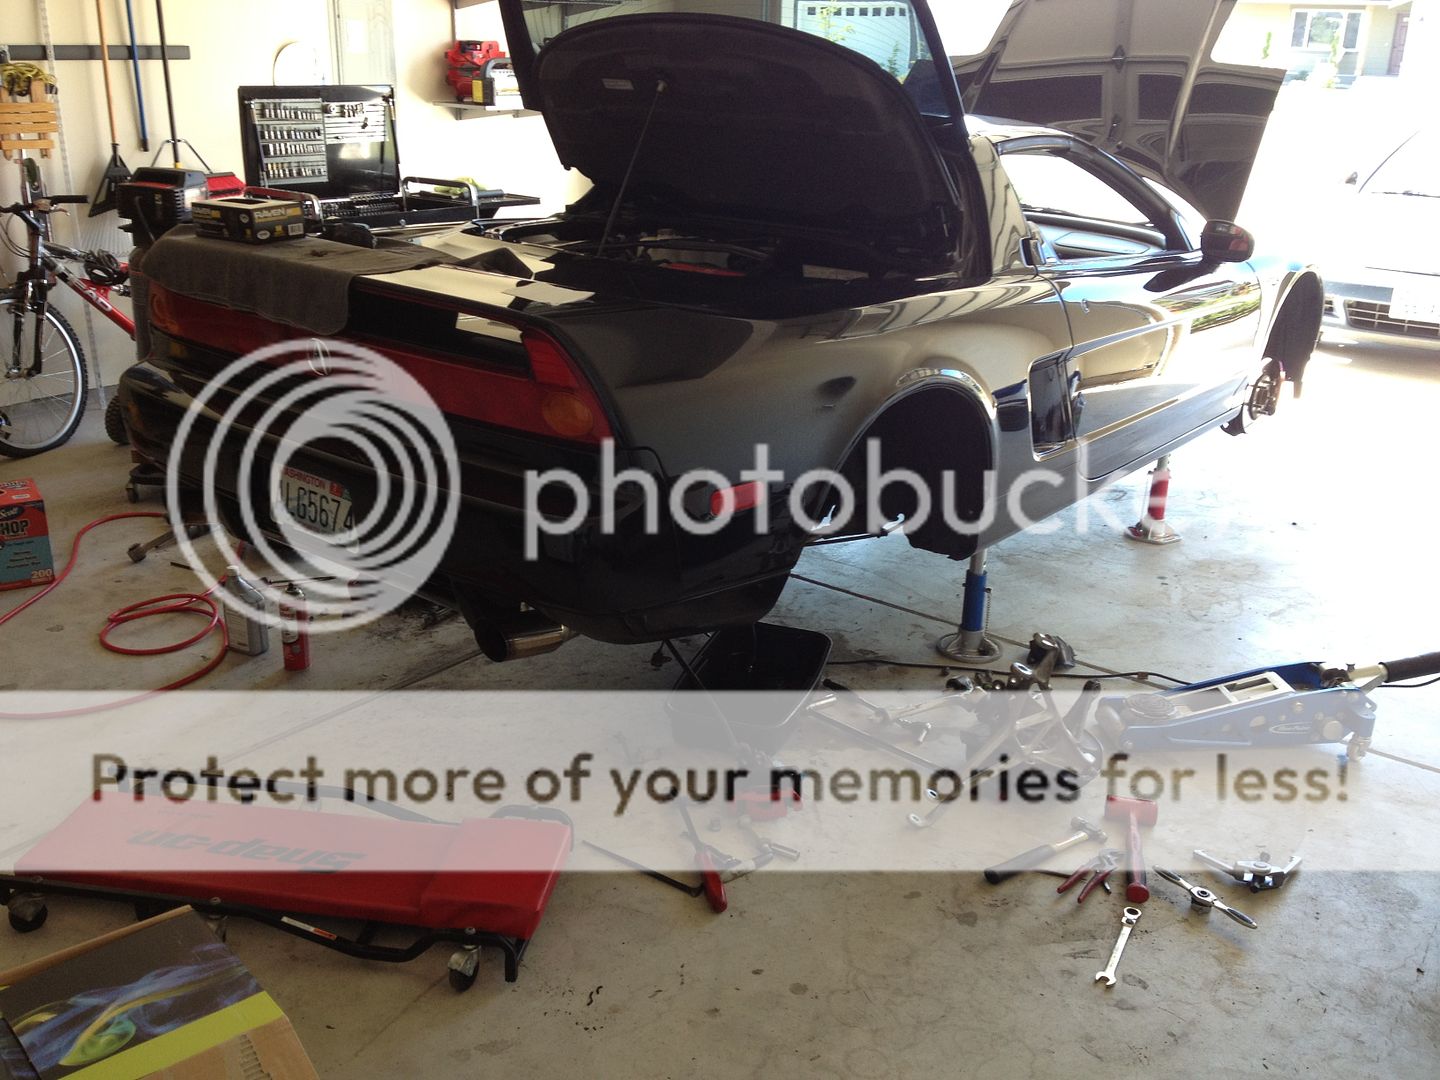
As she lies......
Here's my intro thread; http://www.nsxprime.com/forum/showthread.php/173996-I-got-me-one!!!!-BB-96!/page2
Within the first few weeks of owning the car, I had the TB/WP repair done with a bunch of other things (valve adjustment, valve cover gaskets, etc.). I also changed out the radio volume knob cuz it was worn out. Oil pressure gauge is inop. Tried to diagnose it as per the shop manual. No results. So I bought the SoS oil pressure sensor upgrade kit but that did absolutely nothing. I'll try diagnosing again. Perhaps I didnt have a good ground?? Also had Frank from Strutwise rebiuld the trunk and glass hatch struts. I dropped em off at his shop since he's nearby.
I bought a set of Swift springs on '04 struts from hearttohateu a while back and decided to install them last week. Reading the manual and NOT searching on Prime first, led me to "rookie" mistakes. I was a certified Mercedes mechanic for 2 years so Im definitely mechanically inclined but FAR from a master tech. The inner cv boot of the passenger side axle was leaking grease so I ordered the boot and decided to do it all at once. I dove in and got at it but made the mistake of popping out the lower control arm ball joint!!! EEEEEKKKK!! On BOTH SIDES!!!
I got the outer axle shaft out of the wheel hub but the inner one connected to the intermediate shaft was a BITCH! After trying the manual's suggested method (big screwdriver and pry) and LarryB's suggested method (two pry bars/screwdrivers and pry on opposite sides) AND Shawn's suggested method (pry bars) and failing miserably, I felt like a needed a boost in morale, something to make me feel like Im making progress so I cut the boot and pulled the axle off leaving the inner carrier still stuck to the transmission.

Not quite the way to do it but oh well. Still prying, no luck. I thought Id turn my attention to something else as to not get so stressed over it. So I went over to the driver side to get the strut out and overzealously undid THAT lower control arm ball joint! *FACEPALM* Moving right along, I got the strut out and just stopped there.
I gave up for a few days, plus I had to work. I come back to it the other night and I rummage through my tools and thought Id try these on the carrier still stuck in the tranny....

they worked!!! Not the typical method tho. I put the small one like this...

and tapped it in with a rubber mallet and then it jammed in there. I put the larger one in and did the same thing, hit it a few times and they both fell out. I looked up and VOILA!!! THERES A GAP!! So I took a big screwdriver and used it to pry it out the rest of the way. SUCCESS!!!
At this point, not knowing what to do with the ball joint and how to get them back in, with the suggestions from LarryB and Shawn, I thought Id try to take them out and rm and try to get it back in the control arm. So I take out the hub and both control arms. This morning, I finally got some time to mess with it again. I put the whole wheel assembly on my bench and held the lower control arm to the bushing and smacked it a few times with my trusty rubber mallet and it went in enough to get the beefy washer and nut onto it and use my air ratchet to get it back on. AWESOME!!!

Did it to both sides. While I was at it, I decided to spray some brake cleaner on some towels and wipes/scrubbed away the dirt on the arms. So this is how it sits now, awaiting parts.

On order are all the coolant hoses and transmission oil seals and cv boots for the driver side axle. While I already have the driver side wheel assembly out, I figure I might as well do the axle boots on that side too.
So on order are;
Spark plugs
All coolant hoses
CV boots
Fuel filter
Thermostat
Radiator cap
The little "figure 8" gasket
VTEC solenoid gaskets
Im gonna try to save the coolant seeing that its barely 2 months old and I have to wait for the hoses to come in before I put the passenger side axle in so I can access the oil cooler hoses easier. Please feel free to offer any advice for the coolant hose replacement! Thanks for reading. Thanks Shawn and LarryB for all the help and time out of their busy schedule. Love this forum.
:smile:
- - - Updated - - -
As she lies......

Last edited:


")


