• Protip: Profile posts are public! Use Conversations to message other members privately. Everyone can see the content of a profile post.

My BB 96 build/repair/upgrade thread

Excellent work and great documentation.
The picture that worried me the most was the Thermostat, not only wasn't it OEM, but as you can see close up, there were lots of rubber gasket pieces missing. Do you know where those are now? If you're lucky, they are stuck somewhere in the radiator and not doing much damage...if you're unlucky, they could be clogging up some really small water jackets somewhere else in the engine or manifold. Important to change that thermostat every 2 years in my opinion, its easy and cheap.


Very good point. Havent had any issues with the cooling system, but you bring up valid points.

- - - Updated - - -

WOW. Love the Ce28n. How do the rears fit? Looks spot on.

Rears fit PERFECTLY. I dont think the rears rub at all actually. I havent messed with my suspension settings but I could probably tune it towards 'HARDER" if it was rubbing.

- - - Updated - - -

Installed a USB Port in my dash few days ago because I was tired of not being able to charge my phone while driving.

Here's the thread I posted.

http://www.nsxprime.com/forum/showthread.php/188274-DIY-USB-outlets-ports-in-center-console?p=1841625#post1841625
 
I recently had a photo session with Cullen Cheung. Anyone can take decent photos but he really has an eye for this stuff. Great work.


Anyway, enough of that, lol.

To be continued....
 
Thanks @94710.

A few weeks ago, I miraculously found a used front half bumper. I say miraculous because Ive never seen anyone with this kit in the U.S. and also because it was in Japan, lol. Hopefully Im the only NSX in the U.S. with this kit. I had to order the sides straight from the company (I's Impact) in Japan. When I looked into the sides that I's offered, I thought one was a bit much (think of a more aggressive Stacy's side) and this one was a lil too timid but when it was all said and done, these sides are AMAZING. They are flush with the sides and are not the usual side with a little scoop towards the rear that most people have (not bashing, just saying :) ) I wanted Stacy's forever but Im really glad I held out.

The front half bumper is great cuz its sleek with a hint of aggression. I contemplated adding canards to it but my car isnt crazy enough for those. Since Im not very experienced with body work, I had my buddy, Stephane, from Circuit Garage (a local shop in BC) mount the sides for me and prep the pieces for paint. If I could, Id do it all myself. The stock sides are a BITCH to mess with. If you ever choose to remove them for any reason, just look on the parts list/map and order a new set of clips cuz if you've never taken them off before, most likely they're old and STUCK in there so you're gonna break them regardless. VERY tricky. I told Stephane I wanted the stock mounting points to still be intact in case I ever choose to put the stock sides back on. He riveted the sides to the supplied brackets. Theyre pretty damn flush and pretty solid. The stock driver-side side was sticking INwards towards the back and not flush with the body. The I's is the same because of whatever caused it but Stephane got it to sit a little closer to the body. Anyway! Turned out great and Im VERY pleased.

The half lip came used, as I mentioned, so there was a little bit of damage but that was fixed and reinforced and prepped and then painted.


Test fit....


Side brackets....


Sorry, dont mind the misalignment, we just slapped em on to see how they'd look. These pics were BEFORE he fully mounted them properly.


Gon try to get another session with Cullen soon for the updated look. :)


Latest install were these bolts. Just thought Id dress it up a bit. I thought it was a nice touch. I originally ordered from BallerBolts.com but those bastards took my money (all $40 of it, lol) and ran. Never replied to emails, NOTHING.

Got these bad boys off Amazon and are the PERFECT length (which is suprisingly hard to find) for the NSX-R horn button ring.


Thanks for reading.
 
Last edited:
Hello again.

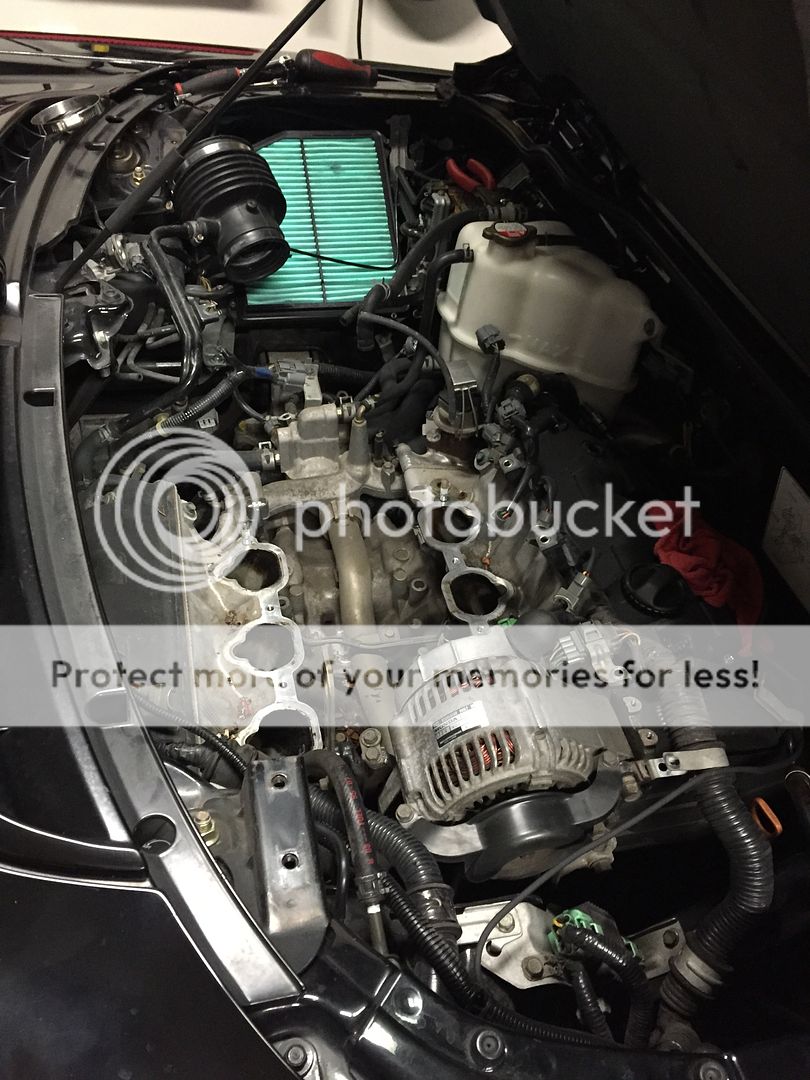
Im planning on driving down the coast with a friend for my long wknd next wknd. He asked me if everything was good to go and I said I will change the oil as it gets closer to the wknd. Ive been meaning to check out the screws on the plates in the VVIS. So I figured why not and just jumped right in. I posted on FB to see if I could get the torque values and someone linked me to the manual on Prime which, for some reason, didn't work for me before. I started taking it apart and it was much simpler than I expected. It fools me EVERY time - being that its an NSX. Whenever I work on it, its becomes so apparent that its "just a Honda engine". So easy to work on, I love it.

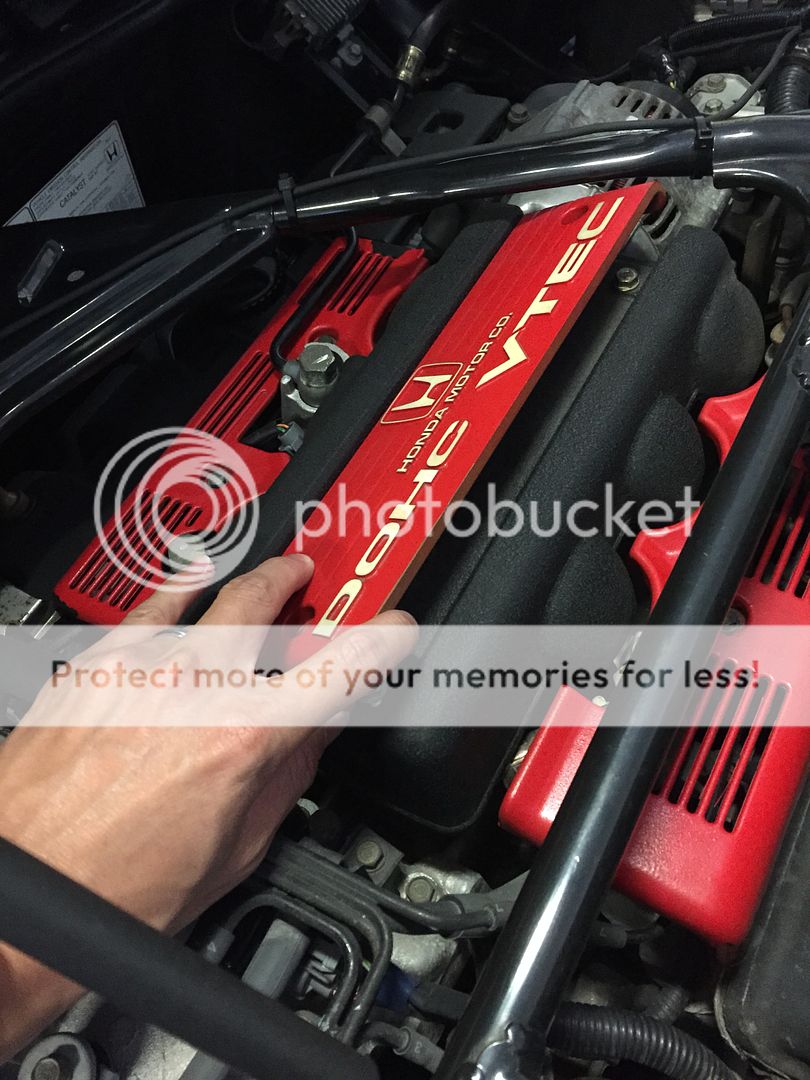
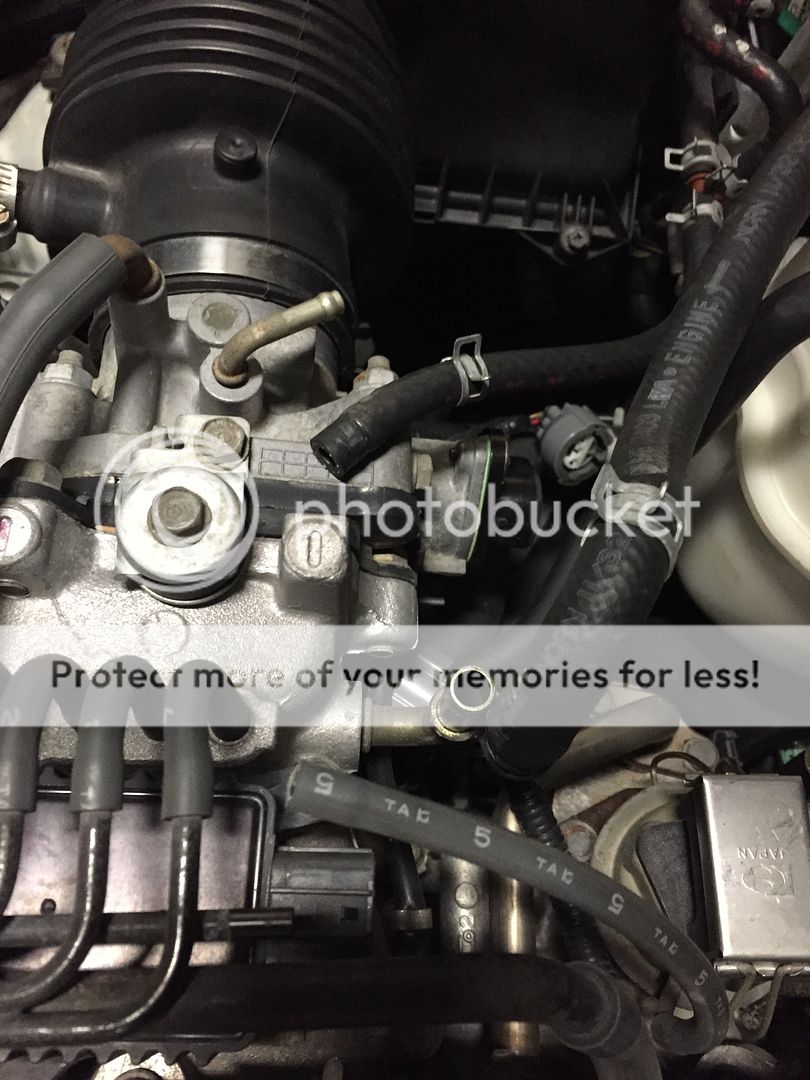
I started with the cover......excuse the orrid, fugly red spraypaint. I assure you, it wasn't my idea, lol.


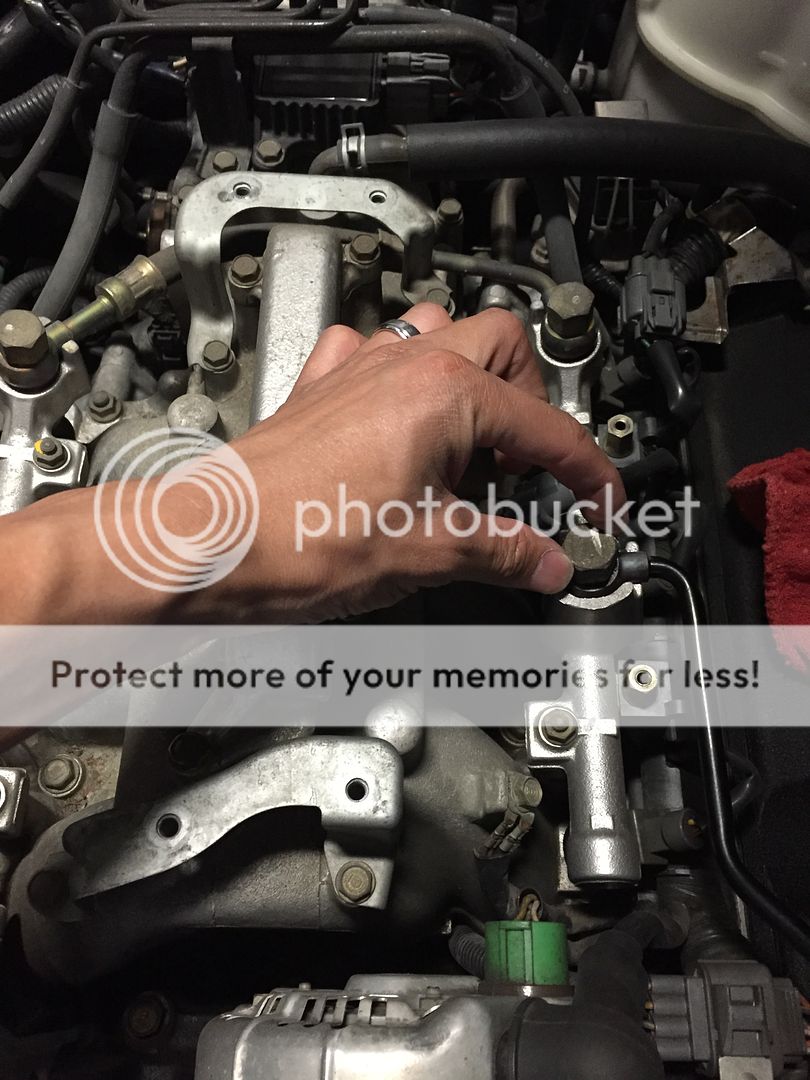
Removed the fuel line....
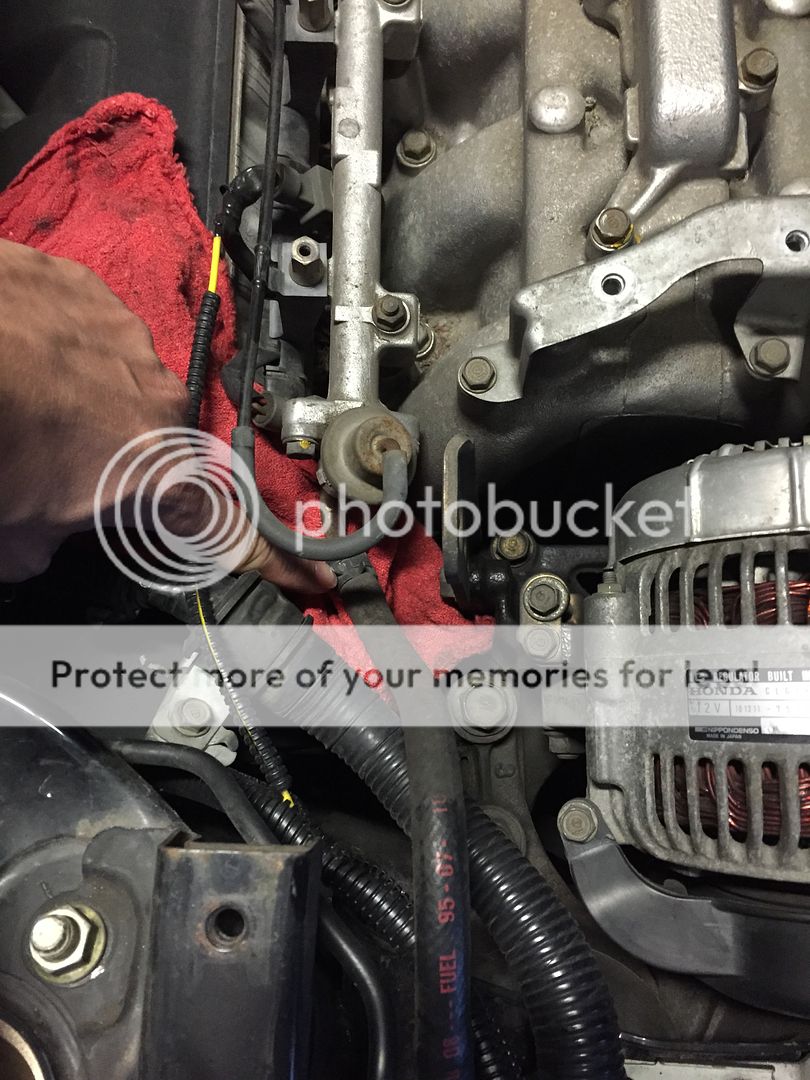
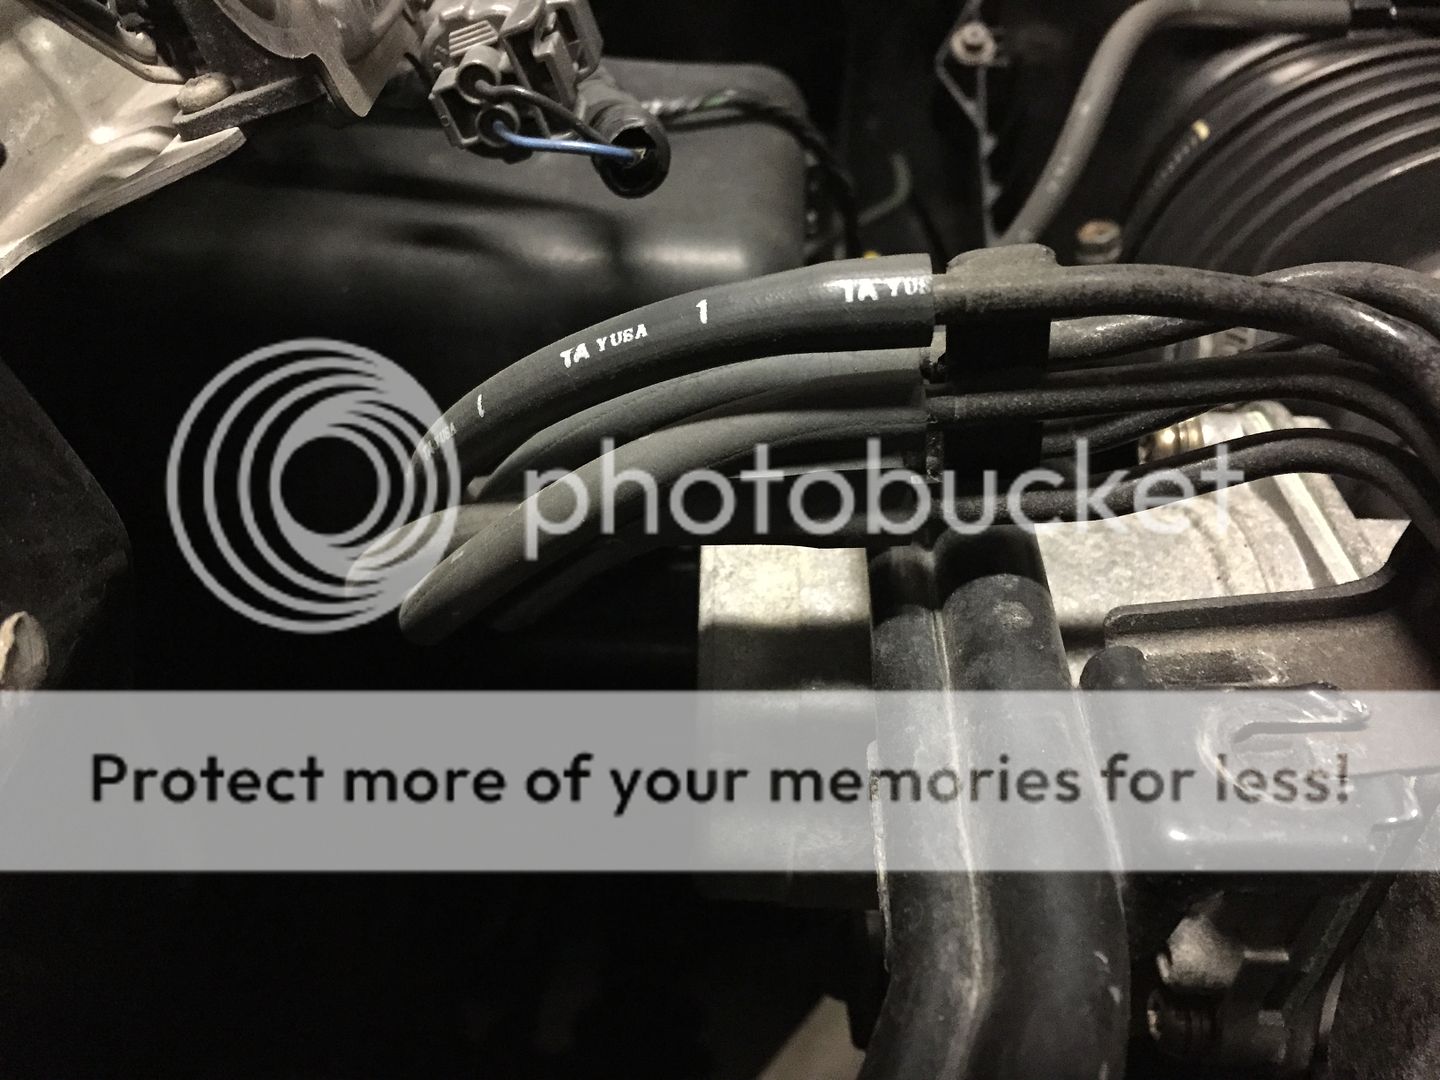

Vacuum lines....


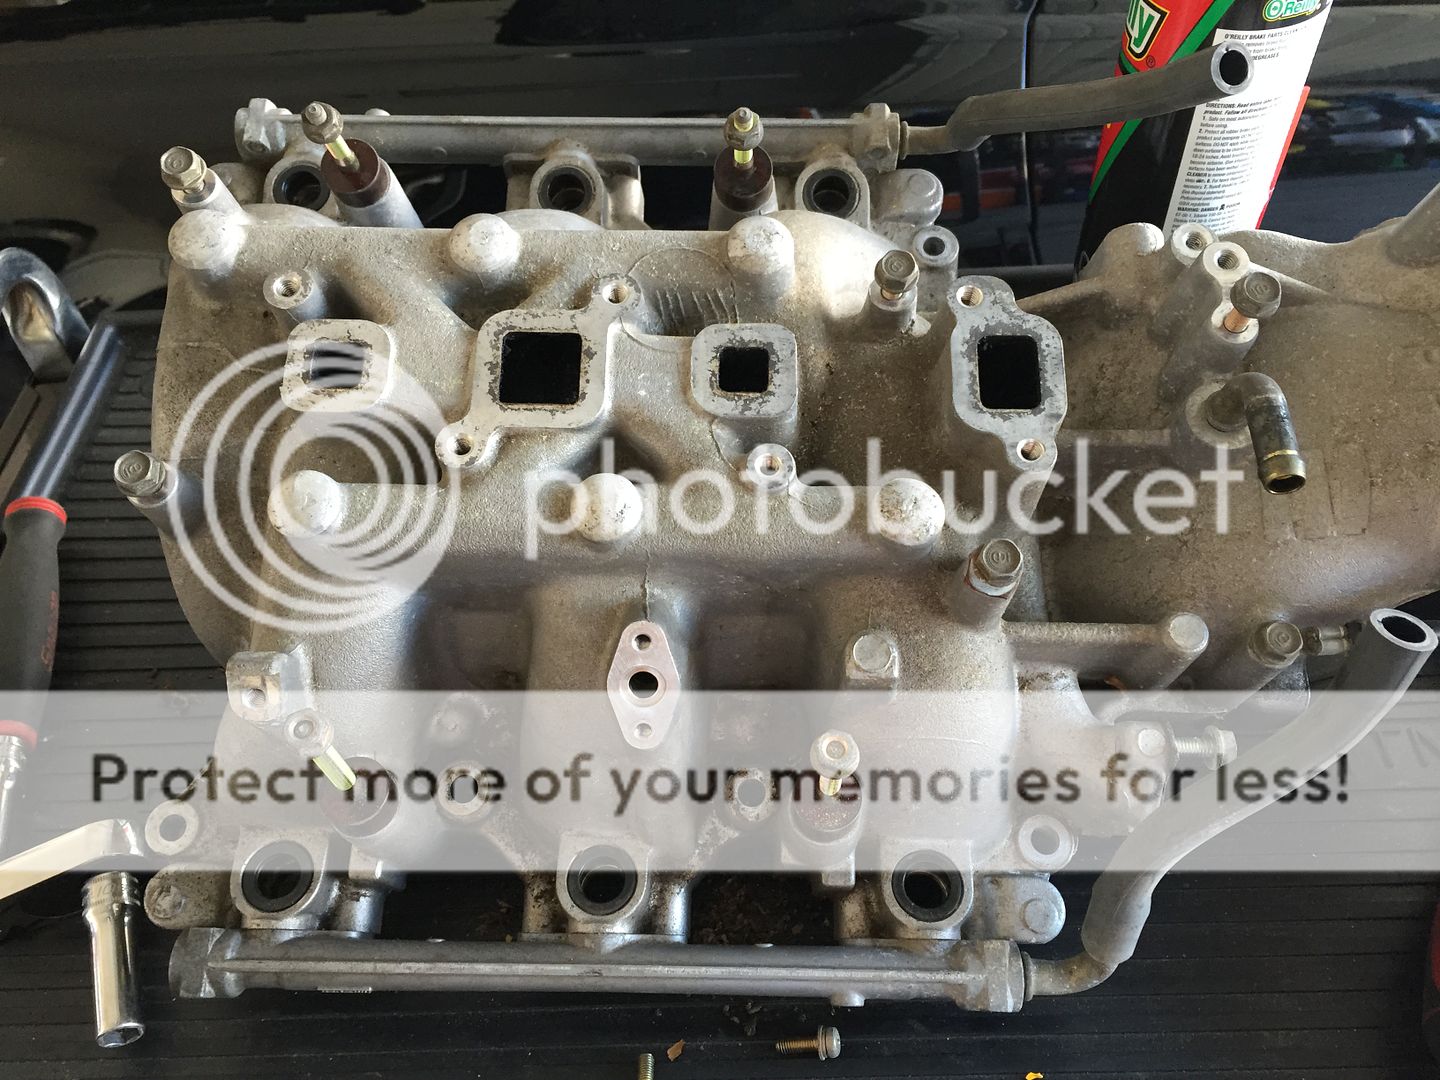
I didn't really follow any manuals so the removal process was a bit out of order. Here, I unbolted the manifold. You could go either way, I didn't think I would be removing the fuel rail but I ended up doing so, more on that later.


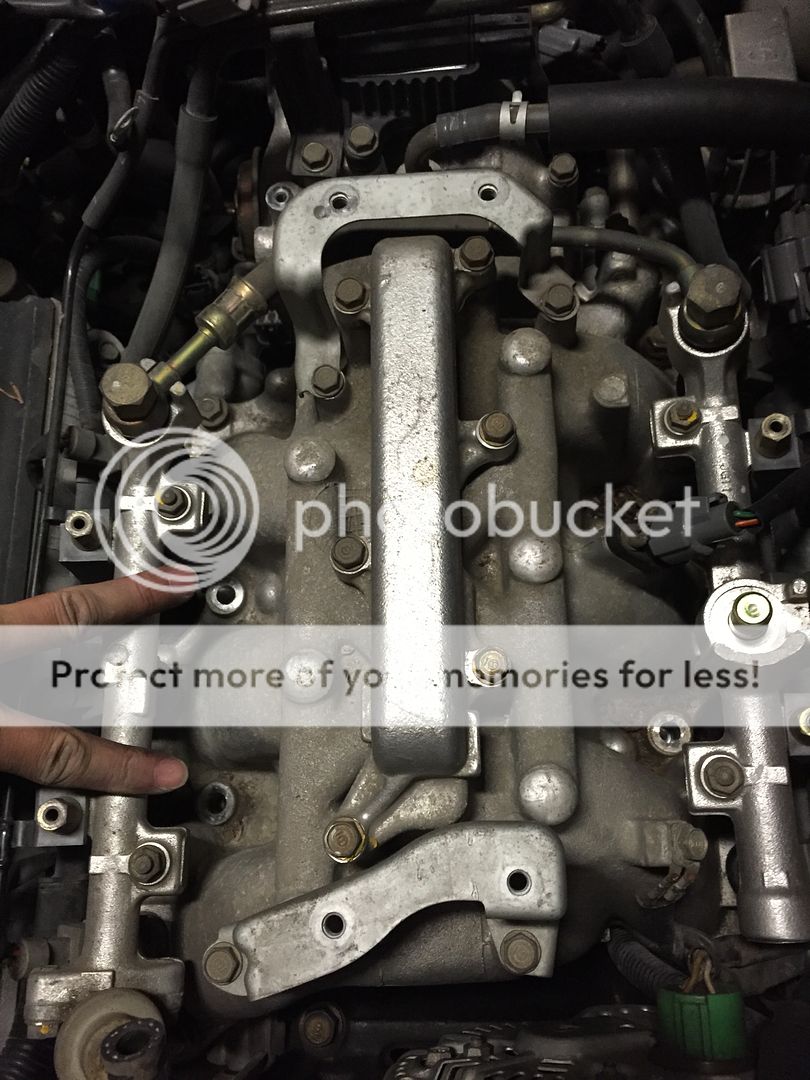
This cap, I didn't really need to remove either but Im glad I did cuz its a good idea to replace that gasket.


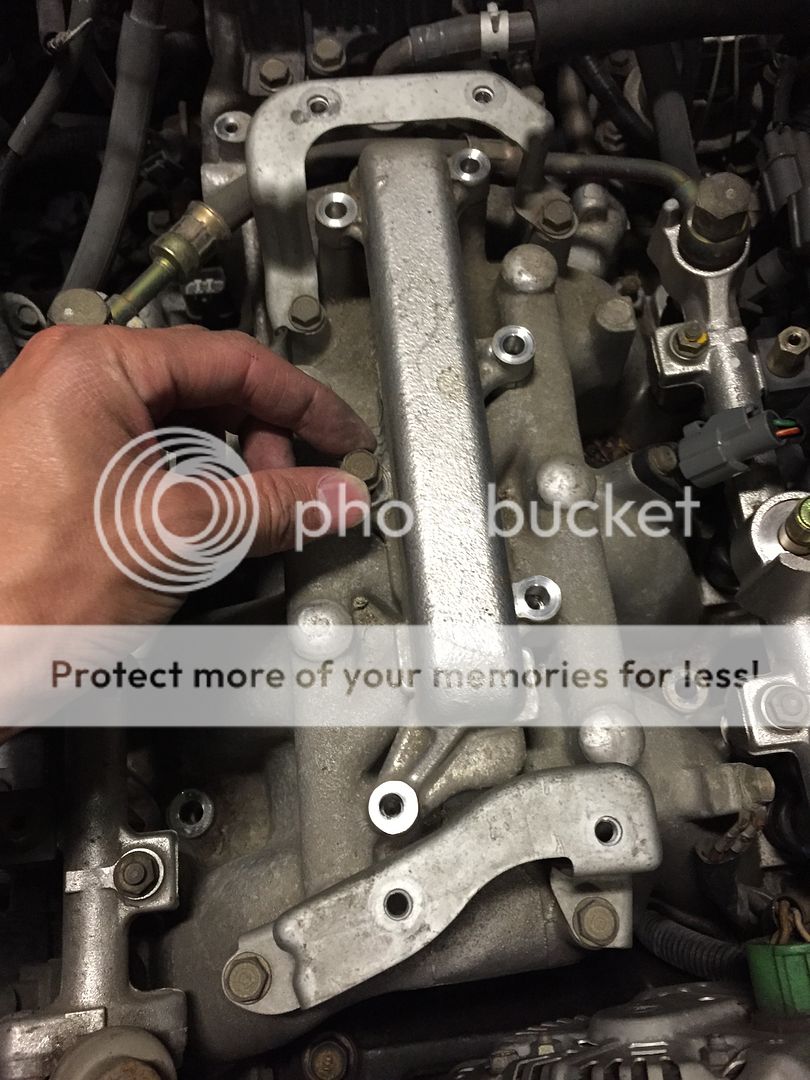
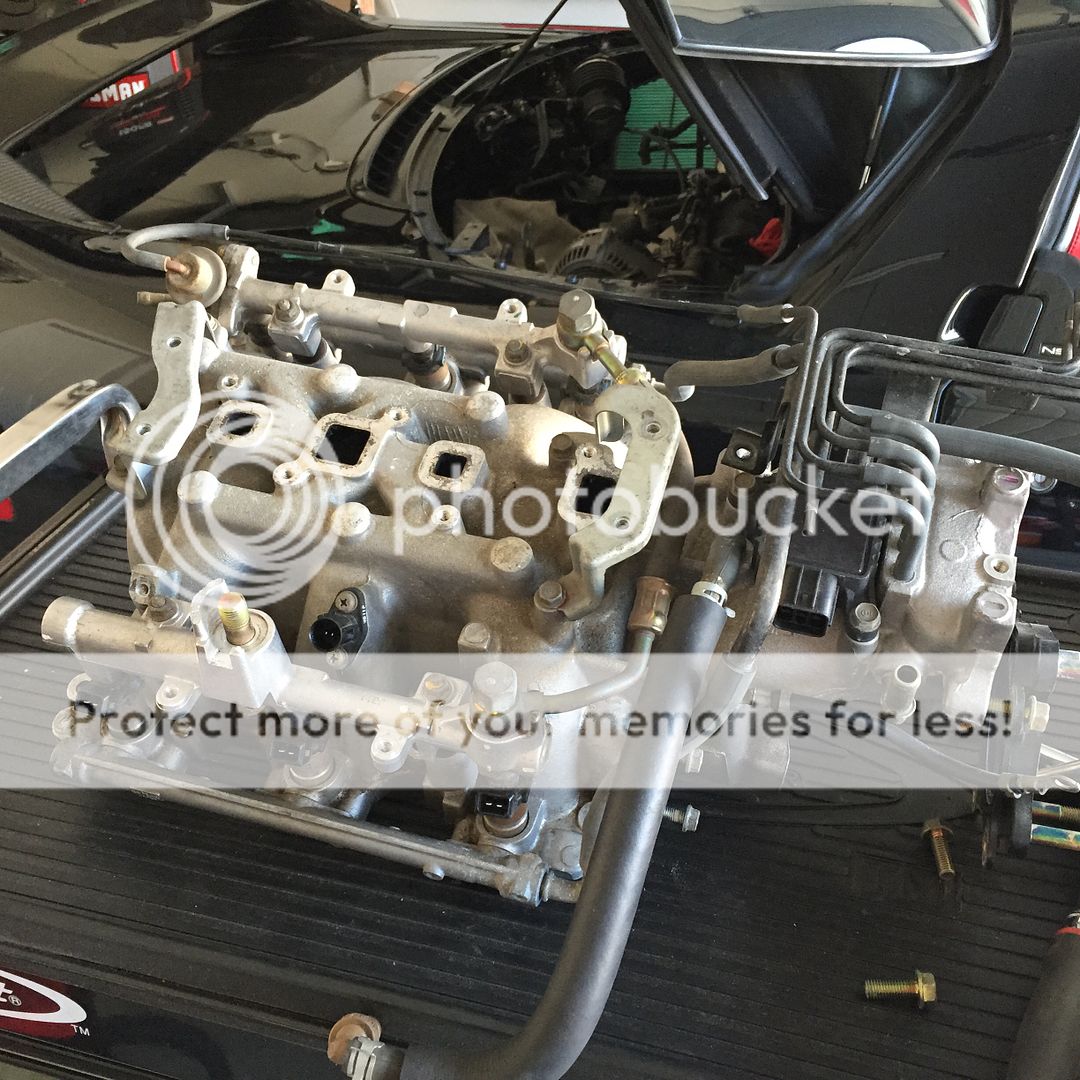
Make sure ALL connectors are disconnected, the fuel line from the filter is disconnected (forgive me, Ive been out of the field for ahile but I believe its called a banjo bolt). It seems heavy but Im only 120ish and was able to lift it out fairly easy. Two people wouldn't be a bad idea.


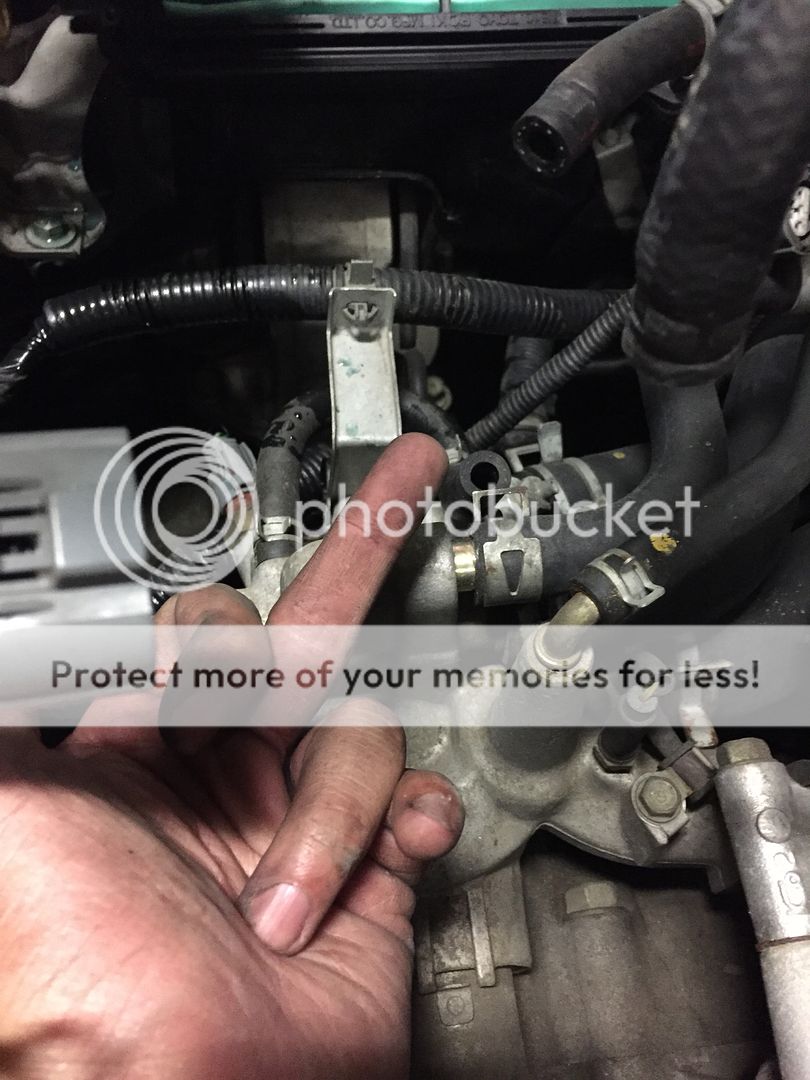
This little bastard here was the only thing hanging onto the manifold when I lifted it out (the hose to the right of my finger there). It was underneath so it was hidden.


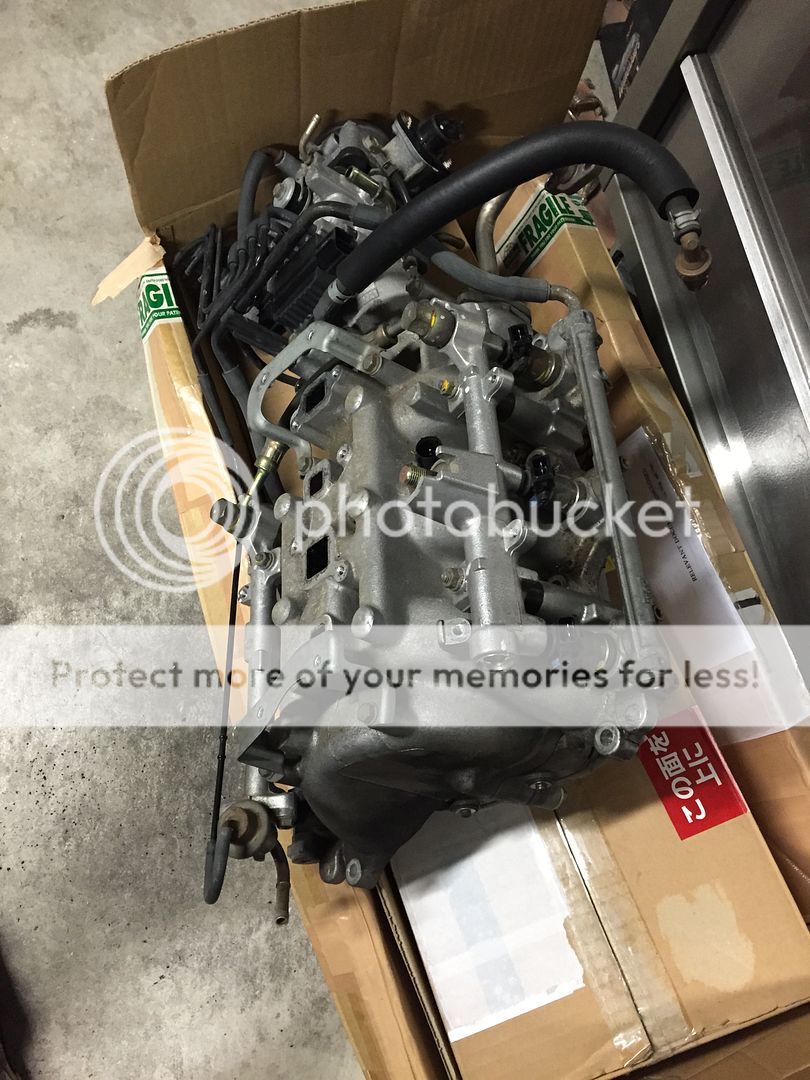
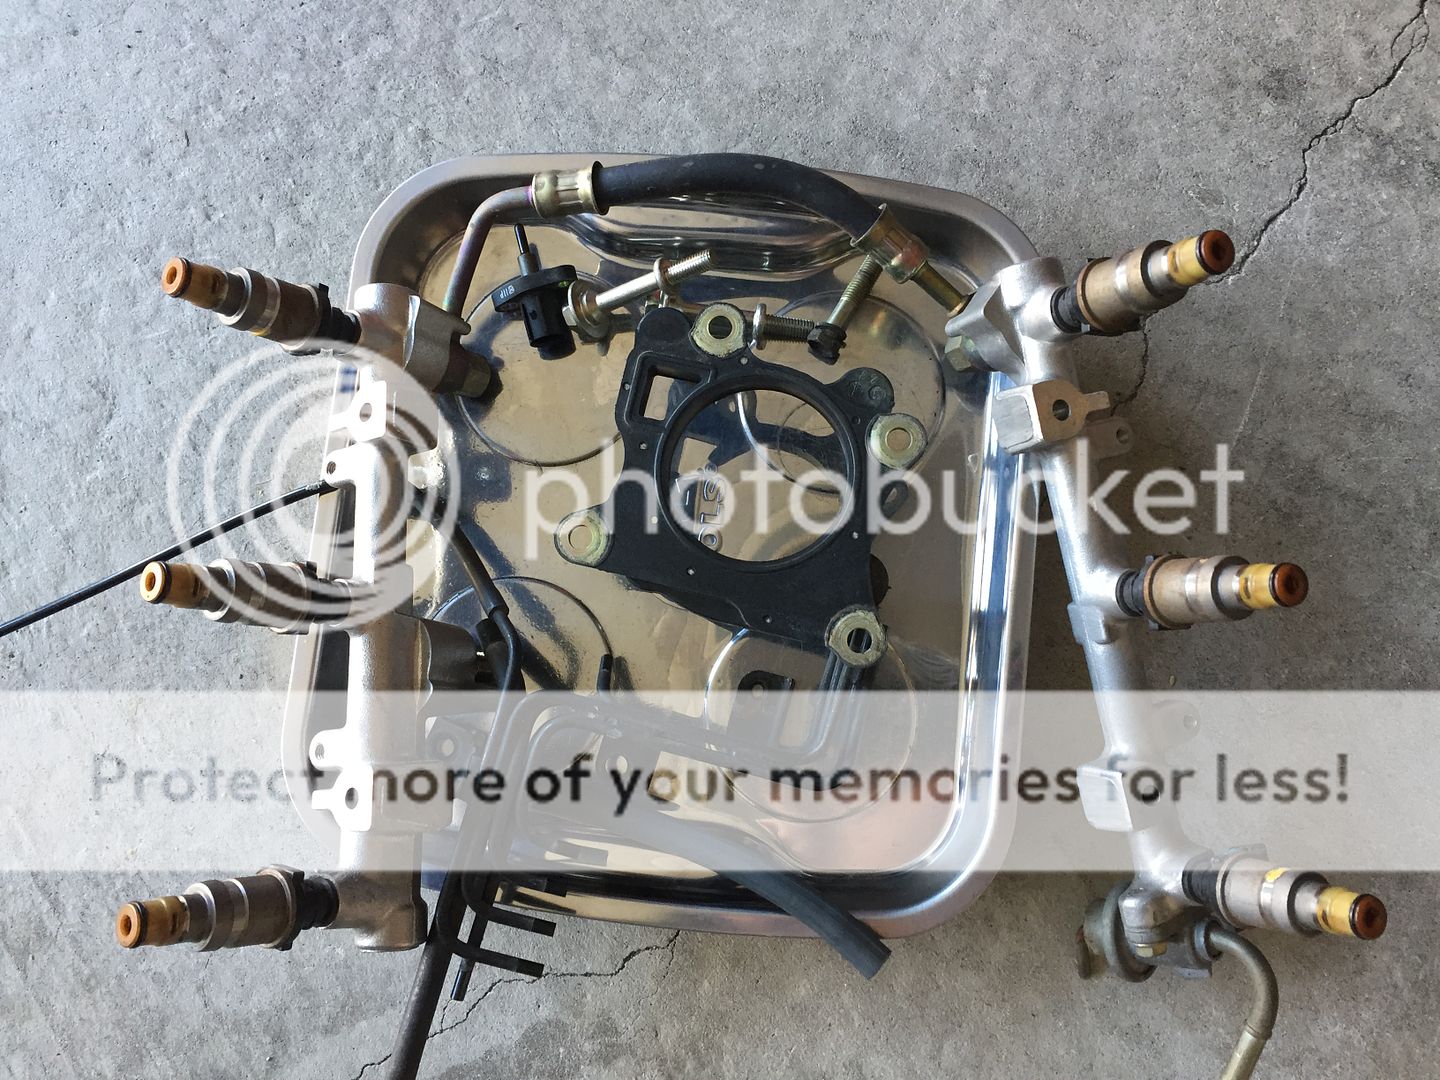
You can get an idea of what all I disconnected/removed.


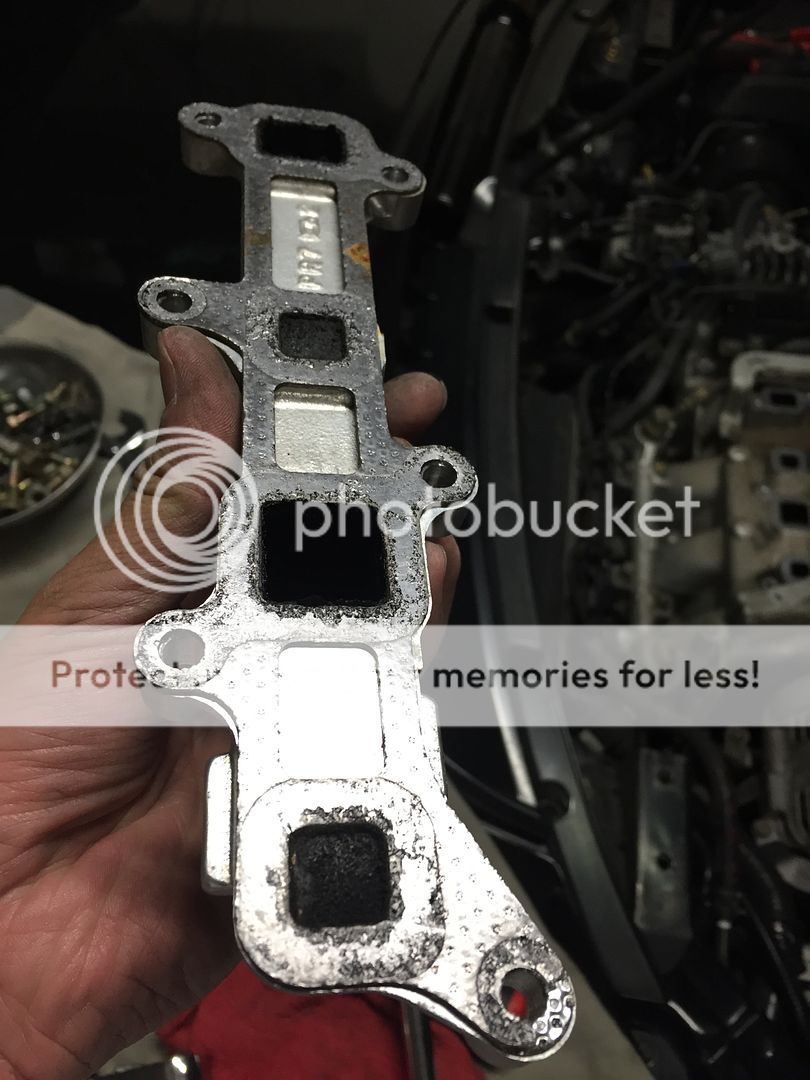
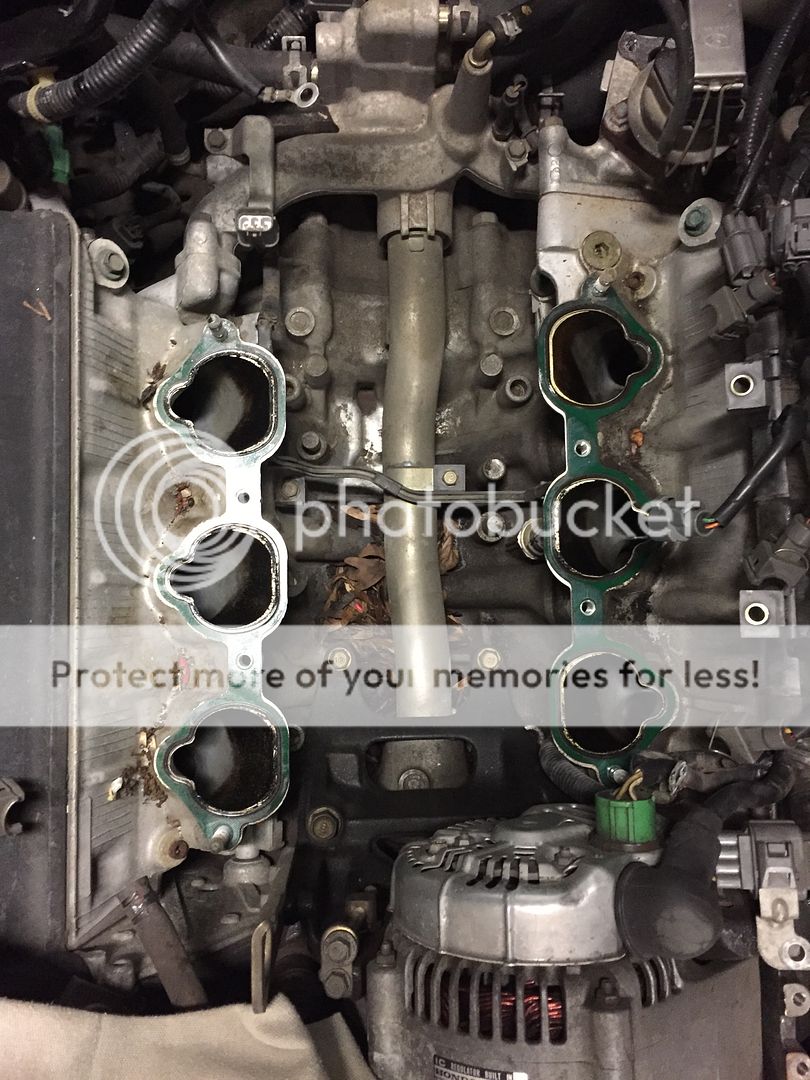
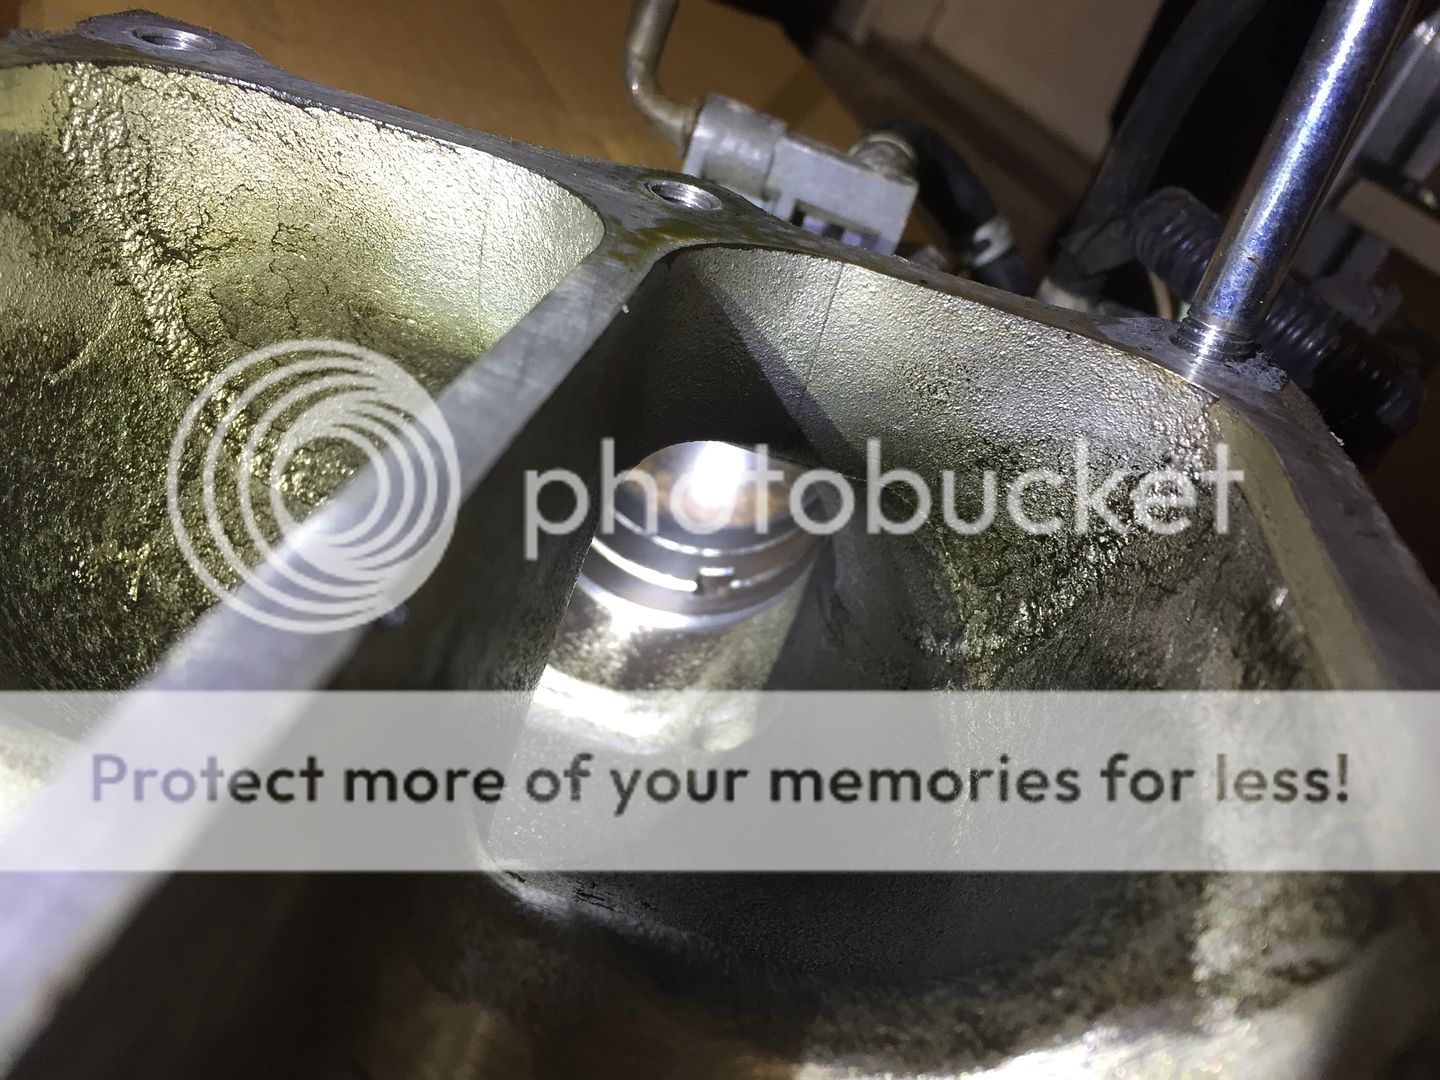
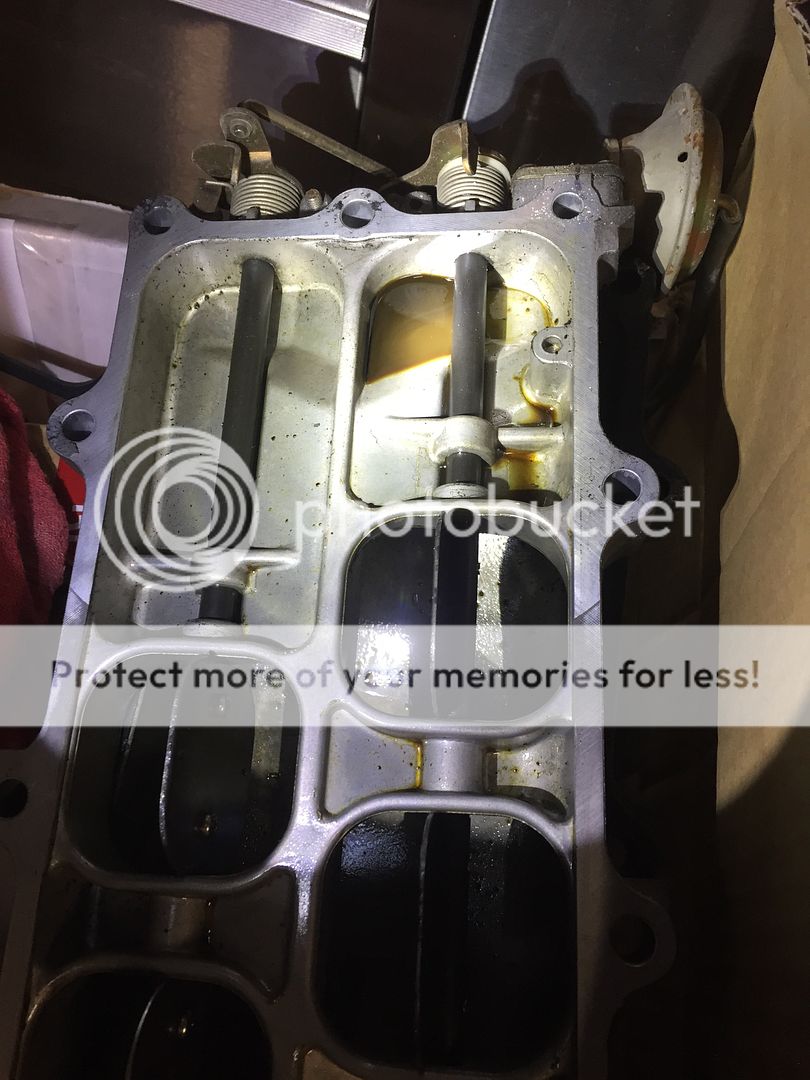
Last oil change, when I poured the used oil out, it was less than 5 qts and I don't seem to have any leaks so I wasn't sure what was going on. I don't have a cause for concern yet. When I saw THIS, I figured this might be the culprit but I haven't tried to figure out the routing of oil in this area too much. One of the gaskets between the manifold and the VVIS unit was kinda oily but again, the only thing I can think of right now is the PCV valve (which Im replacing). The bottom of that puddle was a lil sludgy so its been there awhile.

Puddle in the upper right hand corner.


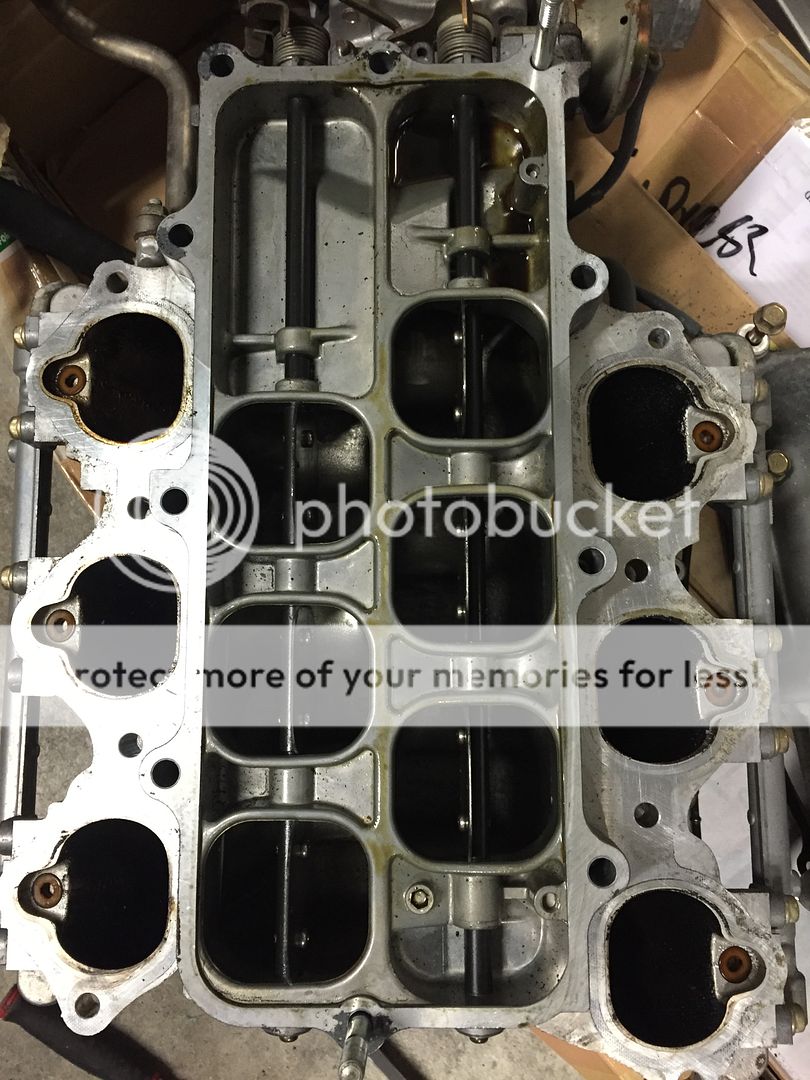
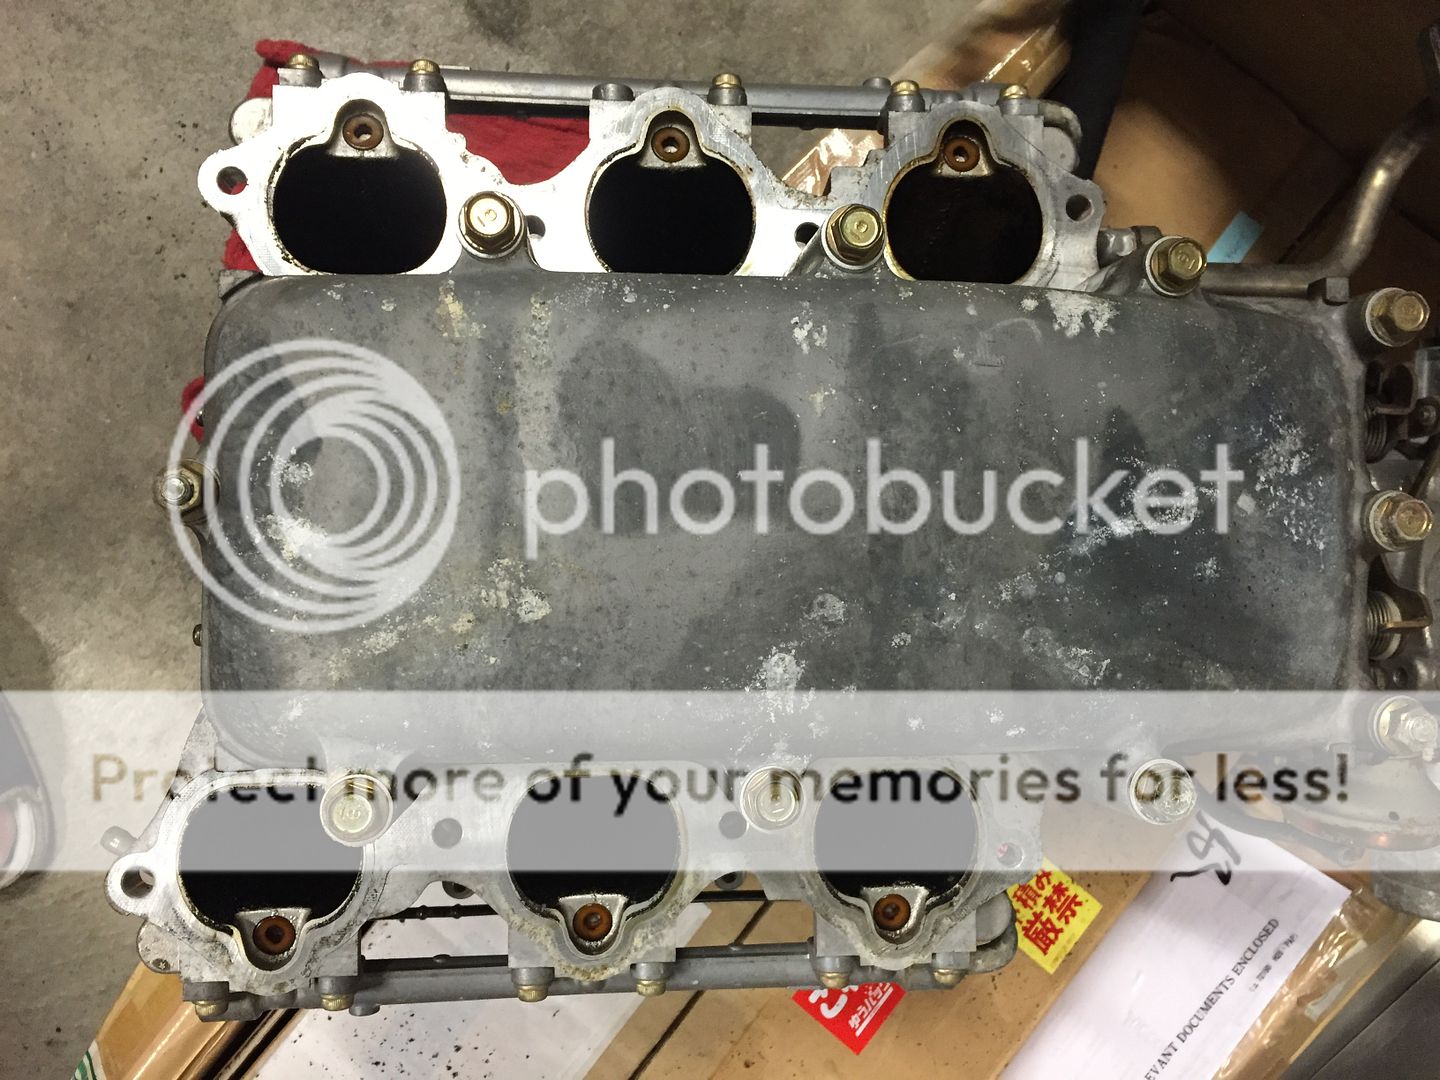
Manifold before cleaning..
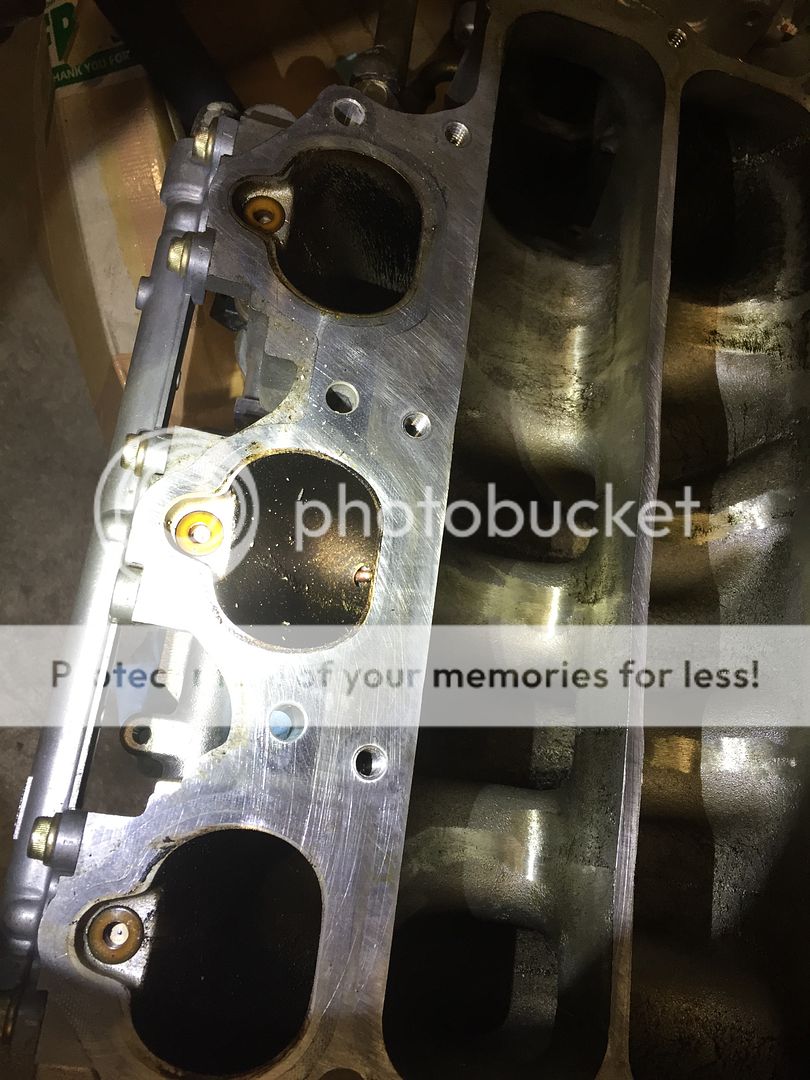


The puddle again...


Time to clean...


I removed the fuel rail just to make room to clean the manifold and to not contaminate them somehow with the cleaning solutions.


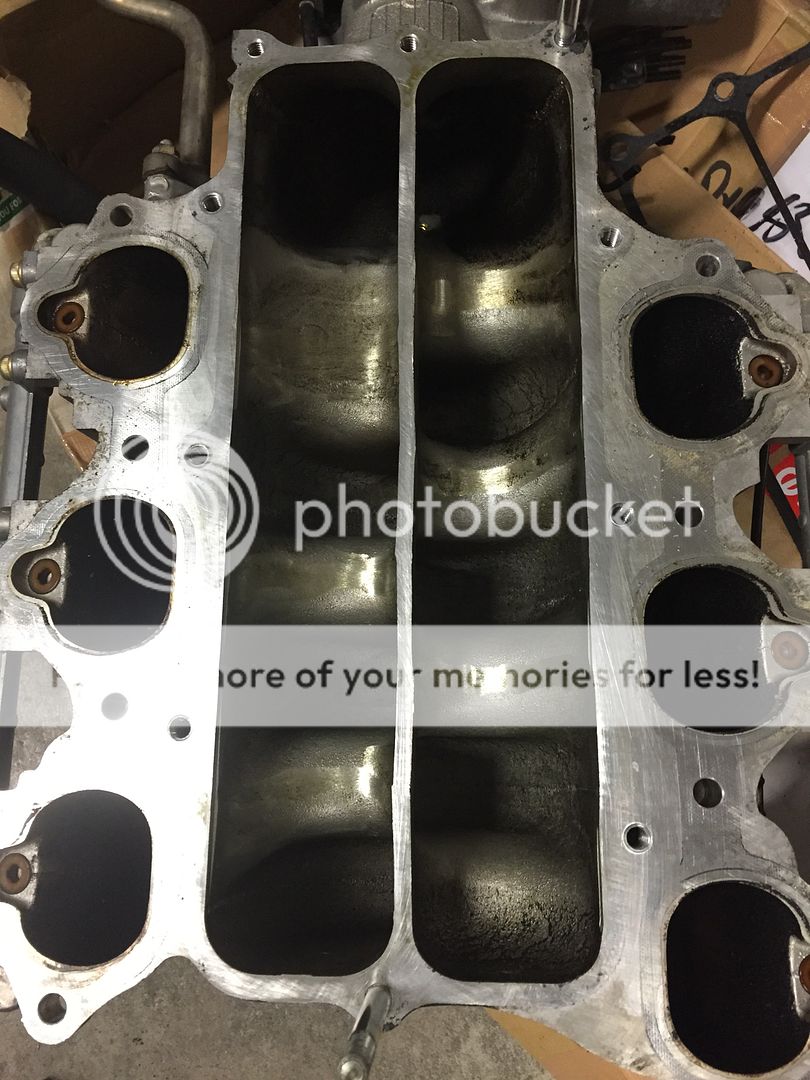
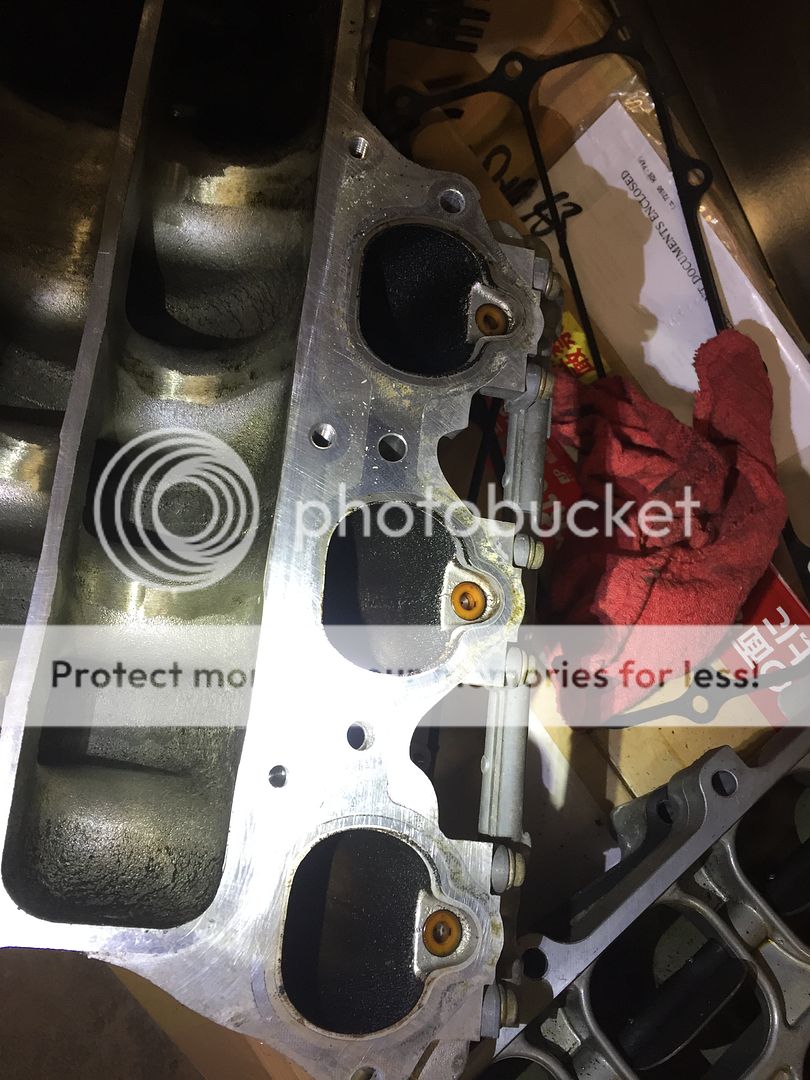
And finally all cleaned up...


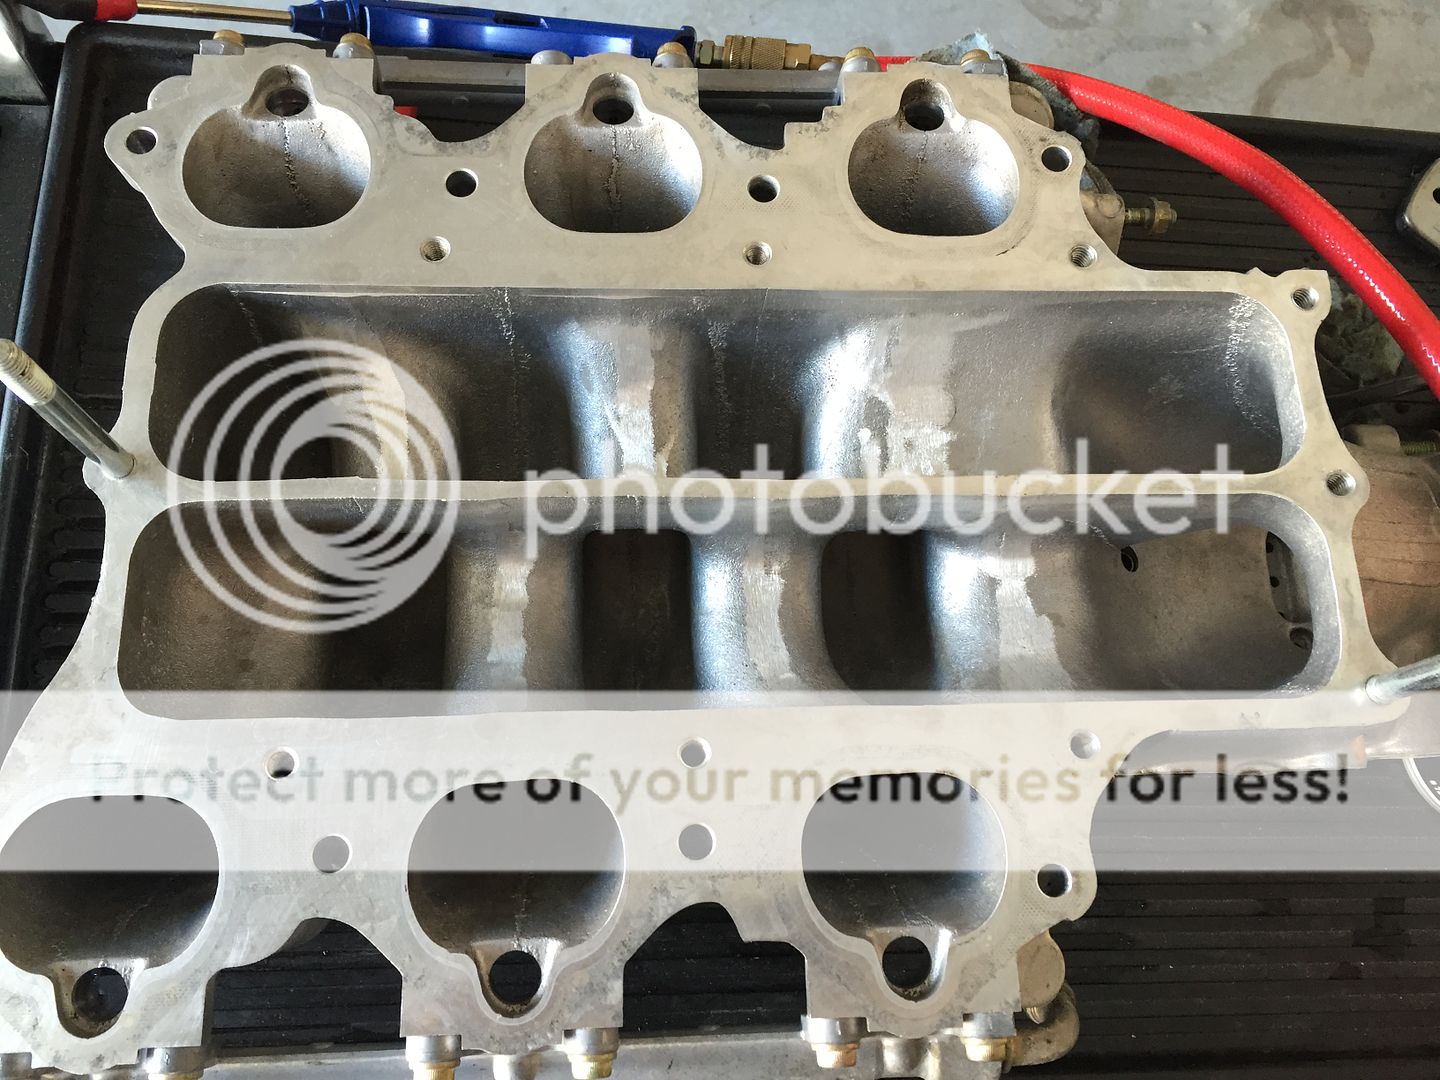
And vacuumed up the loose debris and hosed down the area a bit and scrubbed/wiped and vacuumed/blew out the rest.


Now if only I had the time and a dolly to drop the engine so I could clean it.:)

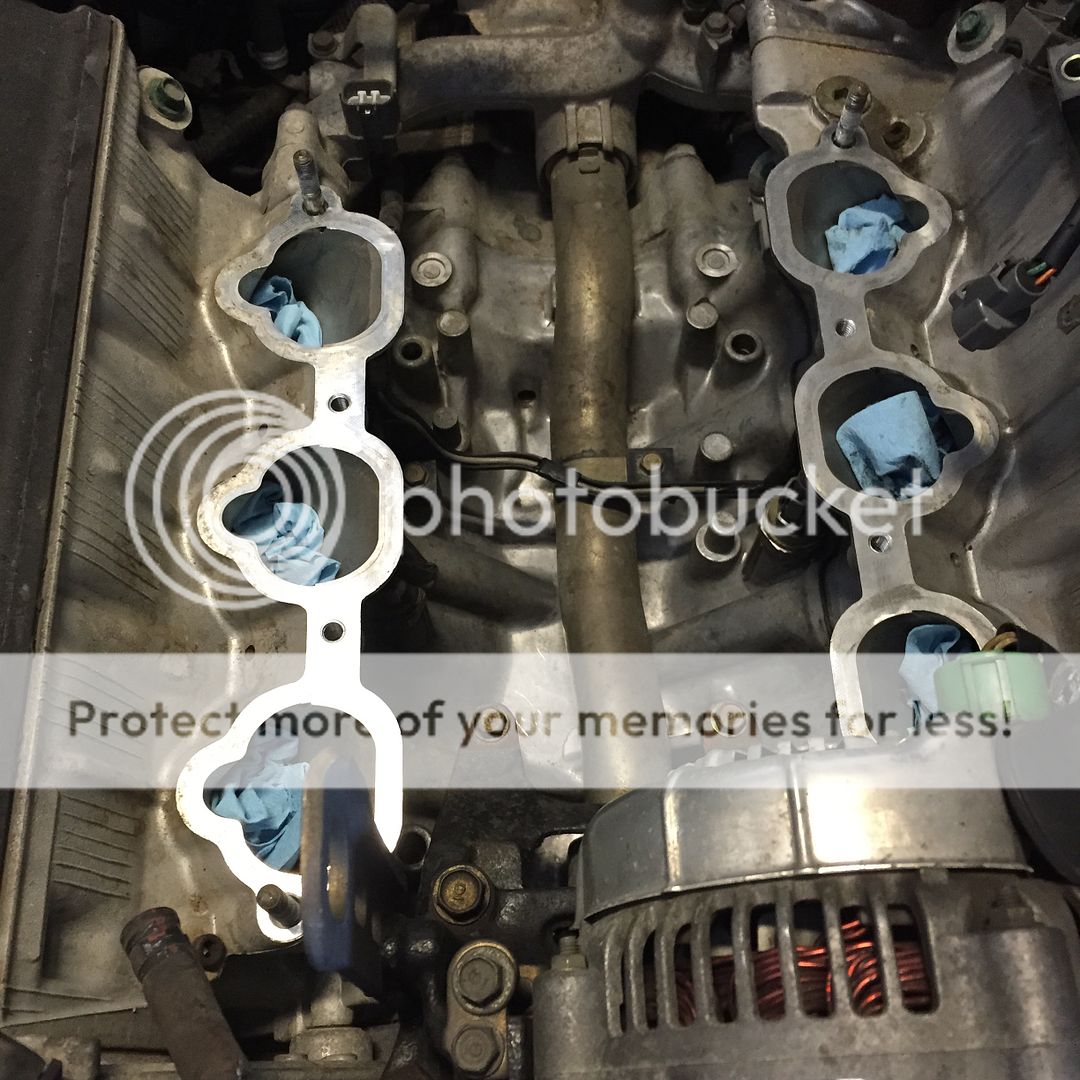
I ordered new parts (gaskets, etc.) from OEMAcuraParts.com so just waiting on those so I can put it all back together. Hopefully cleaning out all that buildup in the runners and in the ports will help it breathe a tad bit better. Anxious to see/feel the results. HOPEFULLY the parts will be here by Tuesday or else my trip might be fucked. Lol. *fingers crossed*. I emailed them to see if I'll get em in time. Their parts department is AWESOME. Great service! Very punctual with replies. Plus it doesn't hurt that they give a Prime Member discount. :)

OH! So about the screws - only one of the flaps had loose screws. I was scraping off caked on residue with my nail and the flap was a little wobbly. I was dumb and didn't think to wiggle them until then. I just looked to see if the screws were still staked, which they were. So make sure you verify with touch, not just by sight. Thanks for reading.
 
Wow Richard!! You have done so damn much to the car since your purchase in 2013. I am very surprised I am just now stumbling across your build thread but I have surely been following your progress on instagram :)

Your nsx is very very lucky to have you as it's new owner, being that you have the patience and know how to get down and dirty lol. Looks to me like prev owner half assed all the maintenance and really didnt care to keep her in top condition, what a shame. Glad you are slowly bringing her back to top condition. Sucks I will not be in town for Labor Day Weekend but hope we can meet soon.
 
Yeah man, its been a lil bit. Its very interesting what you come across when you just do random things on your car. Its great when you replace things too. Makes it feel all fresh, lol.
 
Well, I got everything back together with the parts delivered the morning OF my trip. All without a hitch! Great drive down the coast. Redwood Highway is INCREDIBLE. So incredible that I got a ticket, lol. Freshly paved roads, too tempting. Here's a few pics from the Avenue of the Giants along that highway. Awesome place.


And here's a few from my most recent shoot with Cullen Cheung...


Last edited:
Just a small update; I just changed out the center JDM taillight piece for another JDM piece but with a black "H". Also, while cleaning my wheels off the car, prepping for a sale that fell through, I noticed a lot of grease on the inside of the barrel of the right rear wheel. Took a look and the outer CV boot was the culprit. Slung the grease around. Given that I JUST did this repair three years ago, I came to the conclusion that my scrawny ass didn't tighten the band enough. I looked in the manual (with the insistence of Brian Barnfield, lol) and found the proper procedure to get it to the recommended tightness. Since its been 3 years and the car was on jackstands anyway, I decided to change out the transmission fluid. The fluid was clear.

Because I did it before, the axle came out pretty easily. As LarryB advises all the time, I just undid the lower control arm bolts and then used that as a lever to pull out and the pulled the axle out, very easy stuff.

I sold my front wheels because they were a BITCH to drive with (18x.5+35) so I found some 17s and installed brand new fender liners cuz they were eaten UP. Gotta decide what color to paint the wheels now. I'll probably try to match my rears. Not cool enough to go with bold colors.
 
Last edited:
Wow, been almost a year. Ive totally neglected this thread. Let me see if I can remember what Ive done. I think it was during the end of summer that I finally decided to replace my battery cable. If you search back to the beginning of this thread, you'll see that I couldn't get the positive cable off the battery post cuz of the corrosion on the clamp. So to sum THAT up, I had to drop the gas tank because the cable goes from the battery, in between the body and the steering rack then above the coolant lines in the tunnel and up in between the wall behind the seats and the tank then through the firewall and to the engine compartment. Even as skinny as I am, I still had to drop the gas tank to get to the 2 10mm bolts holding the cable in place on the wall behind the seats. There's an access panel behind the trim though. Its really easy. The worst part about the whole procedure is the 10mm bolts RIGHT above the steering rack. What a BITCH. I don't know why but I thought the fuel tank was gonna be REALLY heavy so I put a jack under it to support and lower it. There's two straps that you need to remove. I removed them completely to make things easier. I ended up lowering it on the jackstand and resting it on the ground. It was then that Inoticed that the damn tank is only like 15 pounds. Horrible. I didn’t need toremove it completely out from under the car because it was plenty of room forme to access everything I needed to after that. The fuel drain bolt is a 17mm Ibelieve. Do NOT forget to tighten it back up!


In July, I found some CF Downforce side scoops and I decided to paint a thin layer of black over it just light enough so the CF can still be seen through the paint. The protrusion of the scoops took me a bit to get used to but now I really like em, they go well with my I's Impact kit.

It hit around 30k mark since the last major service I did so in September, I replaced all the fluids (brake, diff, clutch, MTF), fuel filter, air filter, thermostat and coolant. I FINALLY applied the Shinetsu grease to all the seals and stuff too.

Then in February of this year, my clutch was on its last leg and was starting to shudder quite a bit upon engagement and I really wanted to install it myself but it was hard to find time with 2 young kids and I got a great hookup at a local shop so I had them do it. Quick and painless.

Last month, since, the brake pedal feel was off and the clutch pedal seemed WAY too easy to kick down, I replaced the brake master cylinder, the clutch master cylinder and the clutch slave cylinder. Pretty simple stuff, bleed all the fluid out, remove and replace the cylinders and then fill and bleed!! Both pedals were different and the clutch seemed still way too easy to kick down but after driving for awhile, it was back to normal and probably all in my head. The clutch feel is still very light but engagement and everything is great.

I got my hands on one of Rick's angled double DIN center consoles from EuroBoutique and got rid of mine and installed it.


I had to modify it a bit with sanding and dremeling some pieces to fit my deck. Its still actually smaller than the opening but I colored in the spaces that shone through the spaces as to appear black and "filled" I guess. On my SOS center console, I had a Defi CR oil pressure gauge because my stock one never worked since Ive owned the car. I could never find the gauge for the OEM cluster. Everywhere I looked it said it was DISCONTINUED. So I gave up and installed the Defi. In came TheNSXShop to the rescue!! I didnt think I needed any OEM items so I never cared to look at his site but I was bored at work and lo and behold, the OEM DISCONTINUED OIL PRESSURE GAUGE is there!!!!! For $60!!!!!!! And here it is in all its glory!!! What a beautiful sight!!
Cant thank TheNSXShop enough!! What a freakin lifesaver! So I ordered the SOS oil pressure SENSOR relocation kit. And I had to order the OEM oil pressure sensor because I was stupid and threw away my old one thinking I would never need it again and of course, I NEED IT AGAIN because I need the harness clip. So currently waiting on that. Once that comes in, I'll be installing everything else.


Along with these little miracles, my luck just kept getting better, I was in the mindset of getting more power through natural aspiration so I went shopping for headers and there's not much out there other than SOS...in terms of brand new ones. I looked here and saw a REALLY old ad for Cantrell Concepts headers and took a shot in the dark and PMed the seller and he SOMEHOW STILL HAD EM IN STORAGE! Im talkin like OLD ad....like 3-4 years ago! What a miracle. He NEVER installed the headers! Pic below. INCREDIBLE condition, INCREDIBLY lucky find. LOVE IT. Cant wait to install these bad boys either. I ordered an oil pan gasket also since I'll be in that area when Im installing the headers too! Cant WAIT!! Thanks for reading guys!! Sorry this past year didnt result in pics to help you out on your similar ventures. I'll take some in these next series of mods/replacements.


Last edited:
Just to quickly update while I have a minute. I began to hear a slight whining noise that increases with the revs and a rotational scraping noise. Culprit appears to be the timing belt tensioner. Very weird. I will post pics later but parts were ordered and just arrived coincidentally right as I got back from a week vacation but i haven't had time to go to UPS to pick em up. I contemplated changing out the timing belt and water pump as its BORDERLINE wasteful but Im also really contemplating selling the car soon (after next summer) so that'll be a bonus for the next owner. Stay tuned. Also got new CE28SLs, mmmmmmmmmmmmmmm. :)
 
Back
Top