
Wow huge job!
-
Protip: Profile posts are public! Use Conversations to message other members privately. Everyone can see the content of a profile post.
You are using an out of date browser. It may not display this or other websites correctly.
You should upgrade or use an alternative browser.
You should upgrade or use an alternative browser.
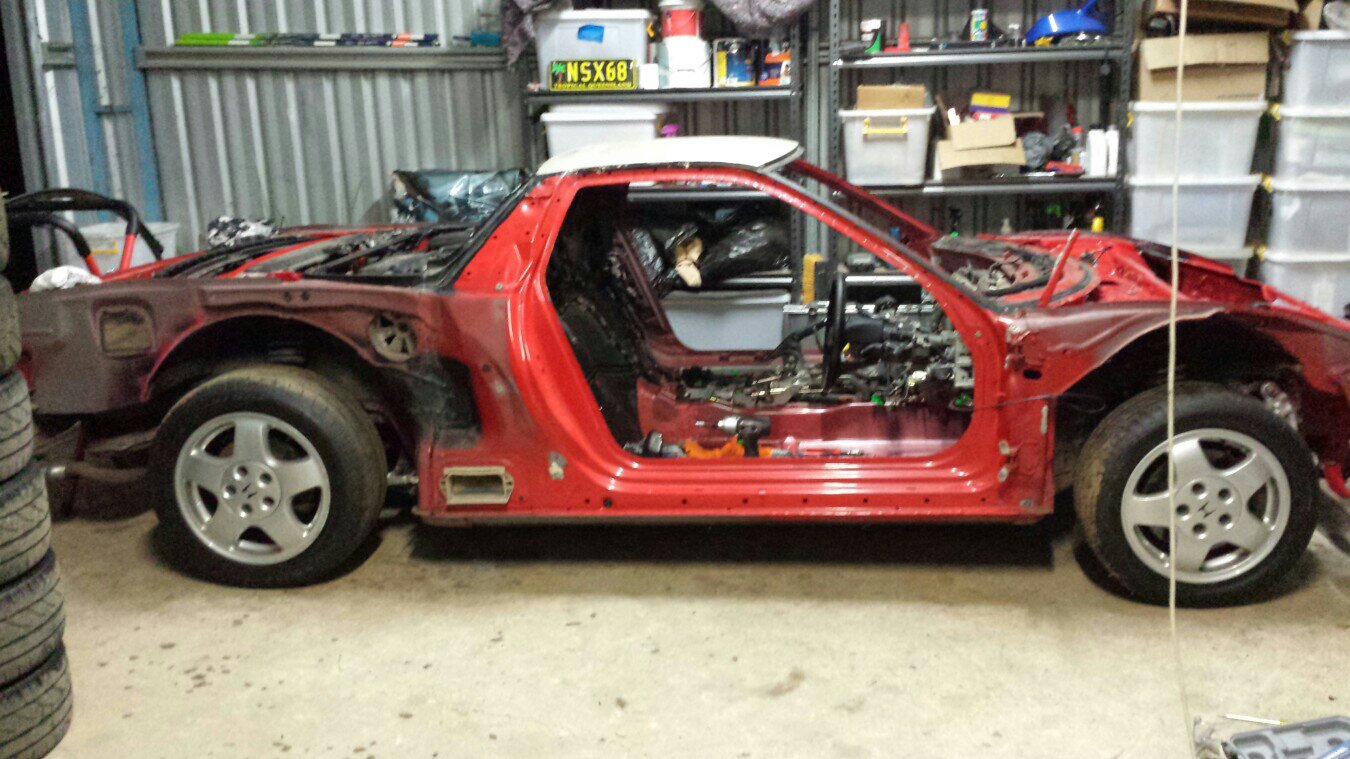
Cambo's '91 Formula Red Refresh Build from Oz
- Thread starter Cambo
- Start date
Great job. Can't wait to see this painted.
Thanks for the compliments guys ")
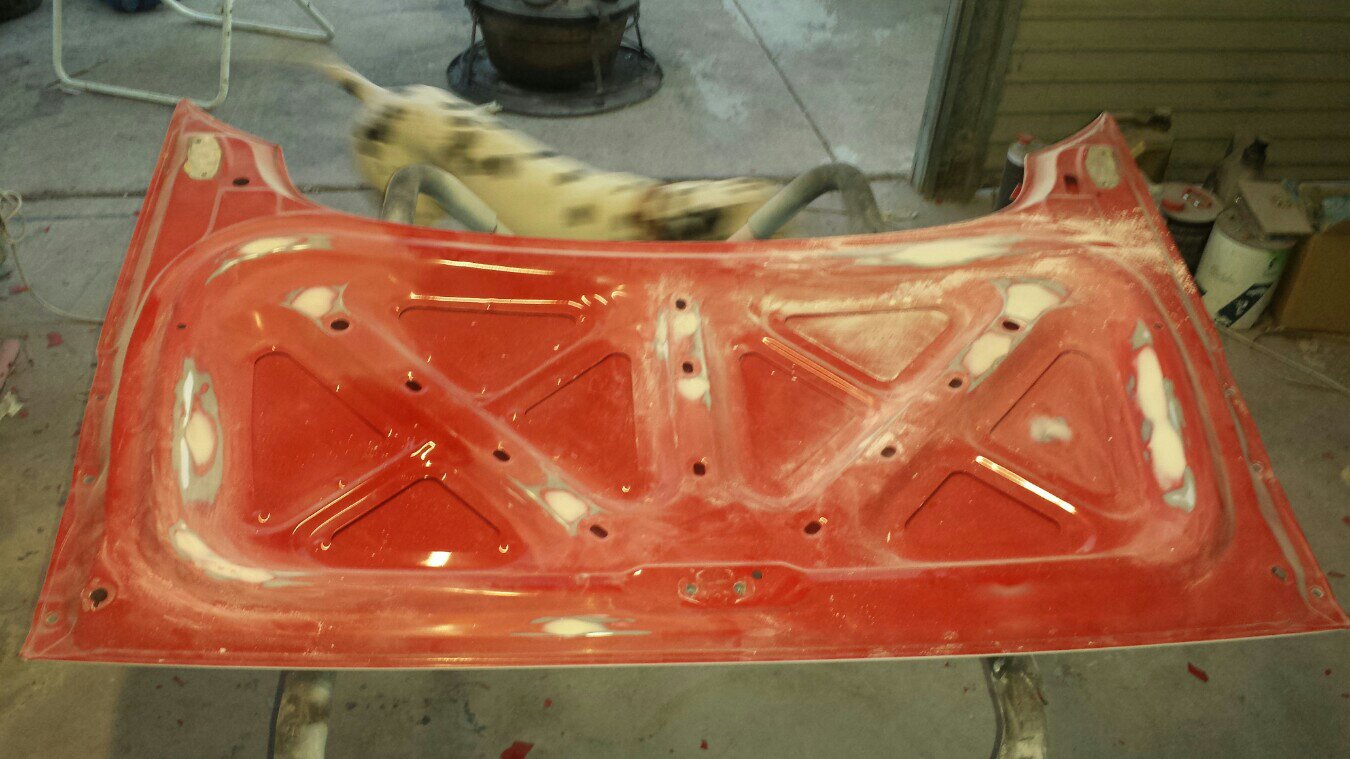
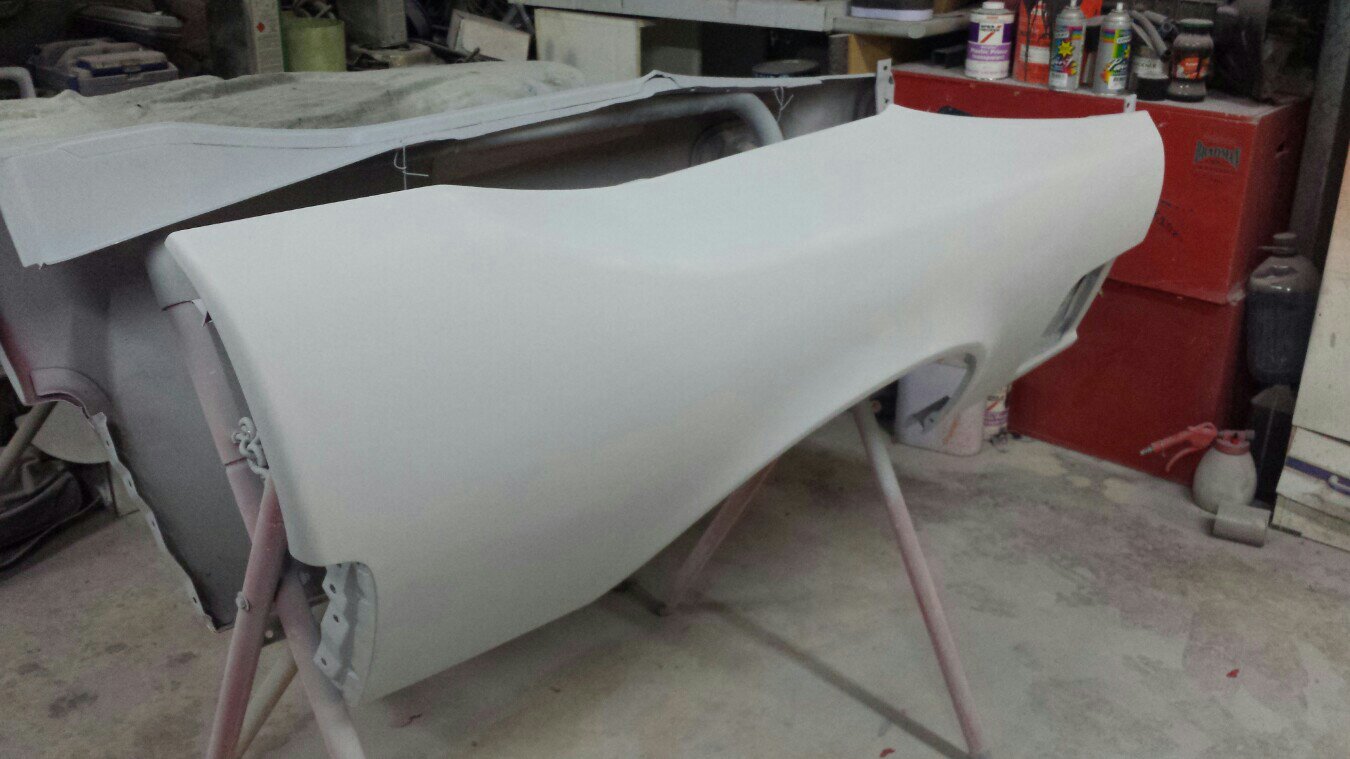
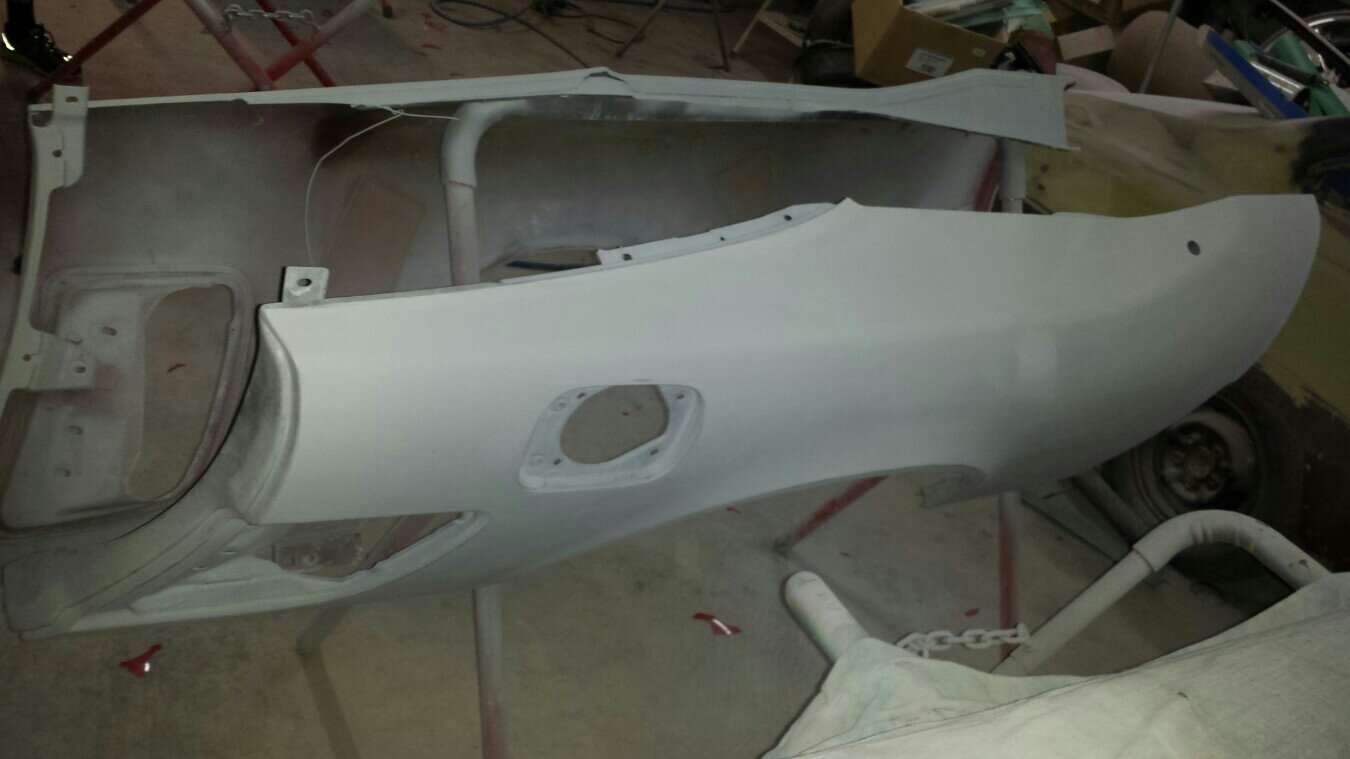
Did some more cleaning. This area is being painted too but needs to be clean before prepping of course.
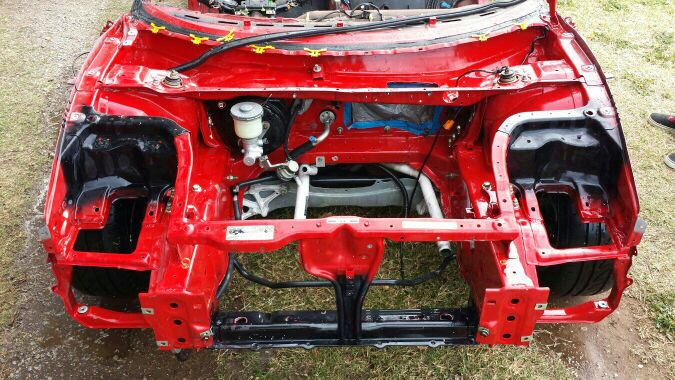
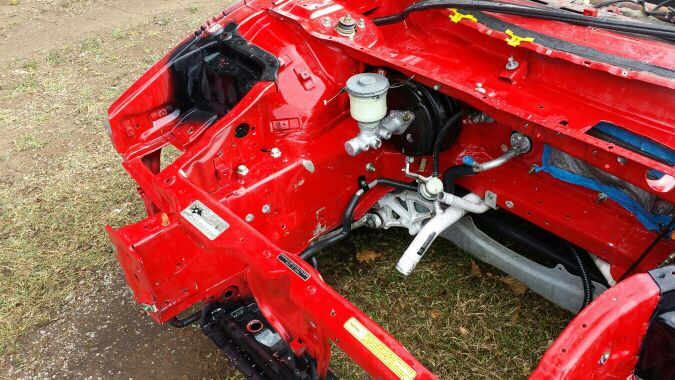
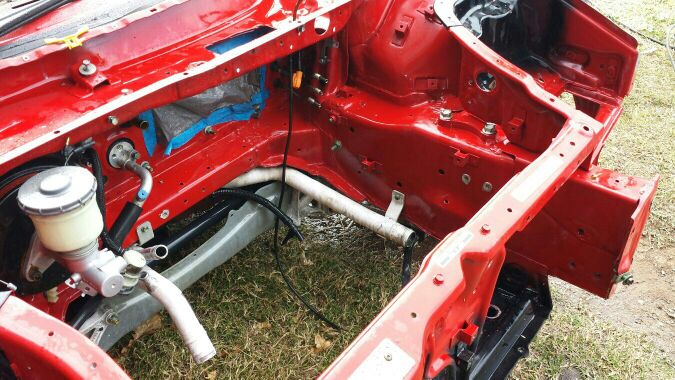
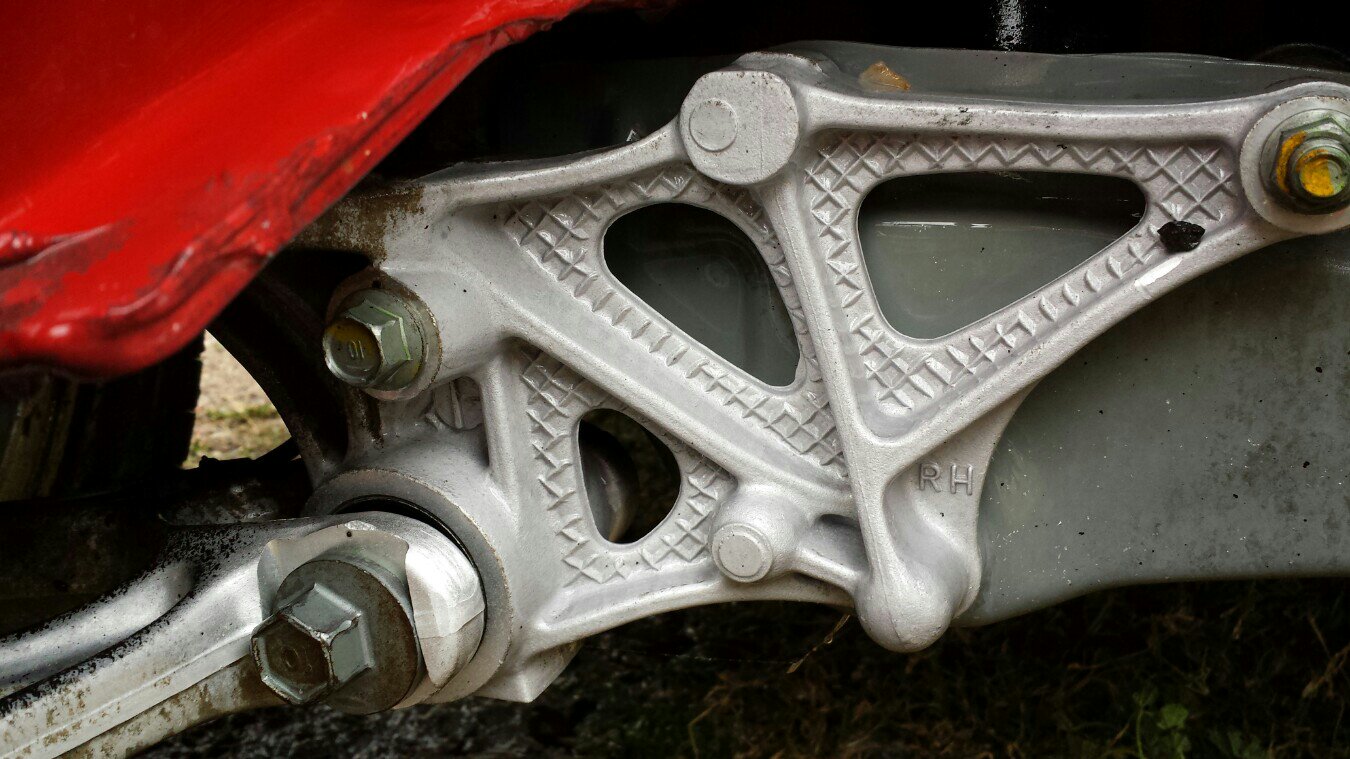
I love these alloy components.
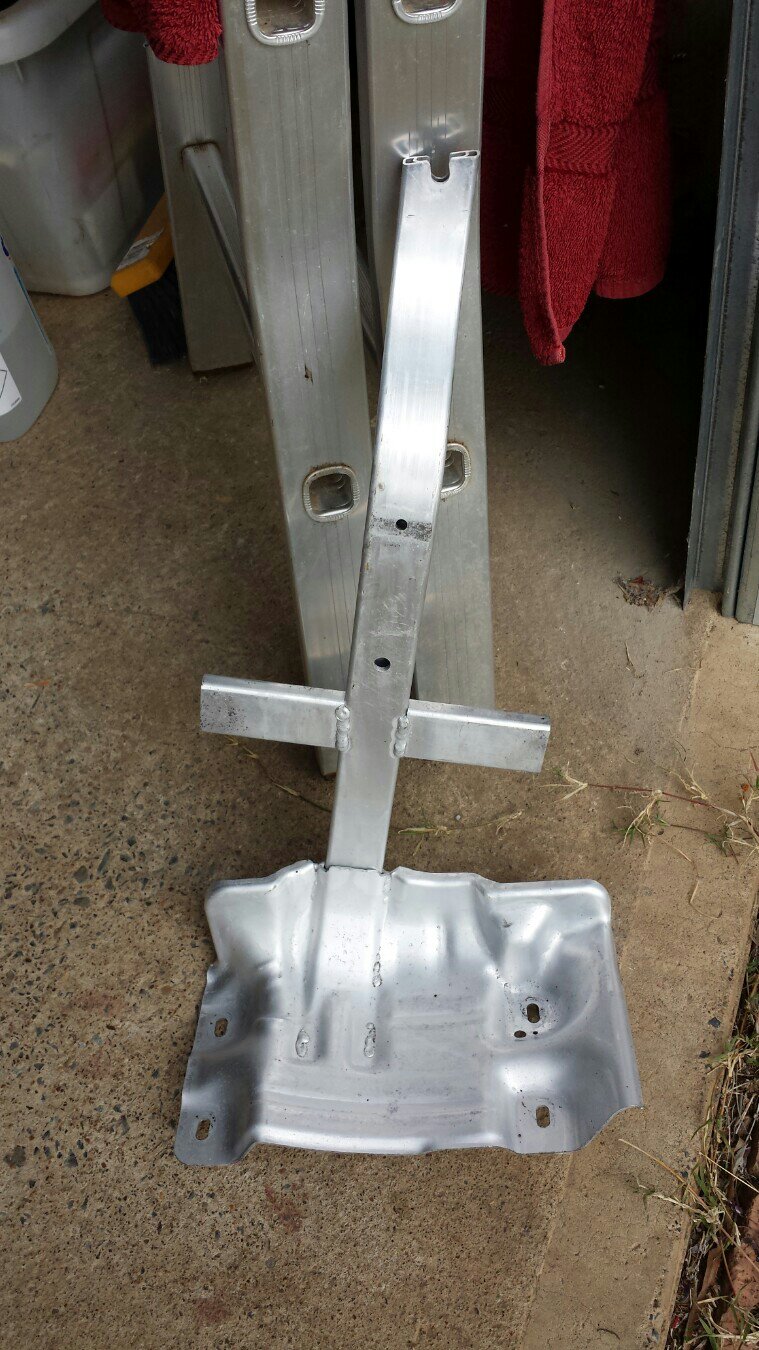
Cleaned up the spare wheel bracket a little bit too.
Before:
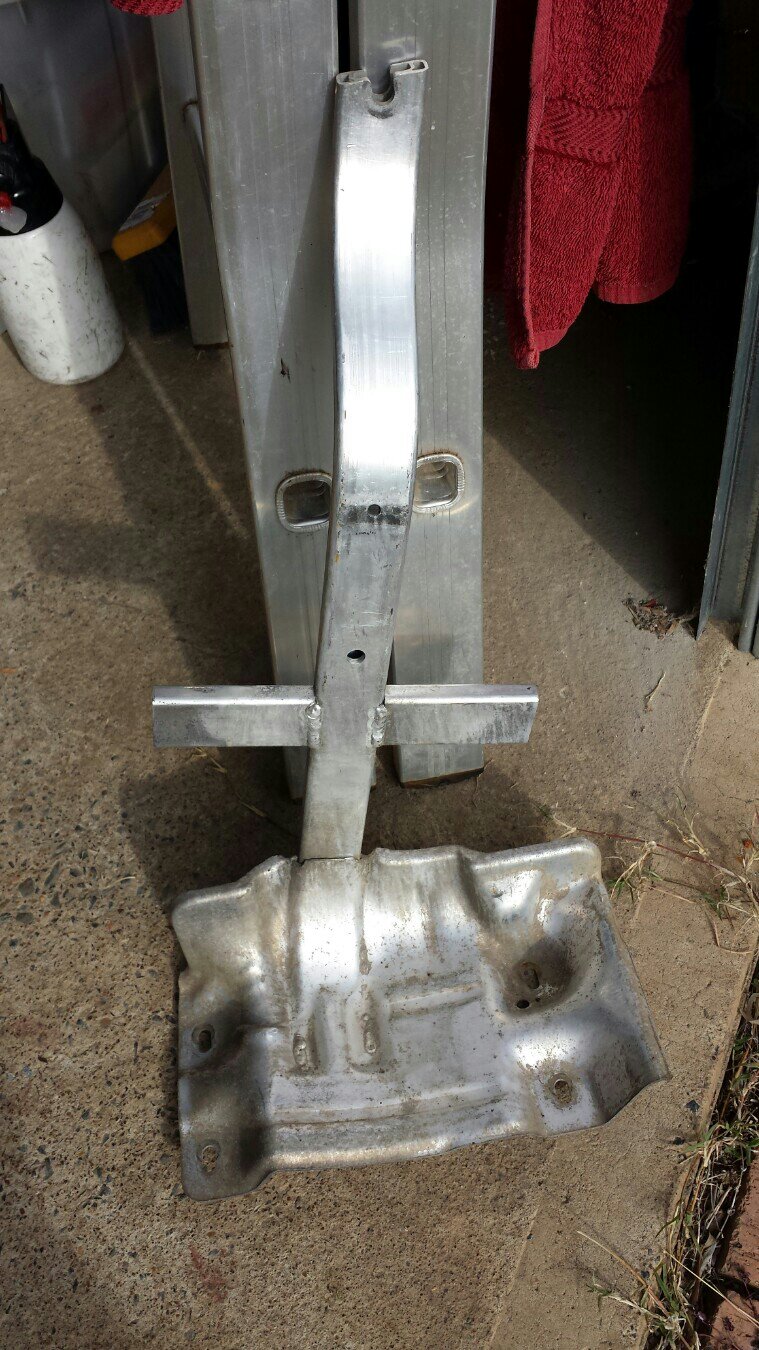
After:
Did some more cleaning. This area is being painted too but needs to be clean before prepping of course.
I love these alloy components.
Cleaned up the spare wheel bracket a little bit too.
Before:
After:
Subscribed. Are you spraying the car yourself? So far so good!
I'm working with a good friend of mine who is a spraypainter by trade. He's doing all the actual 'work', I'm basically just being his assistant and doing whatever he says! haha
amazing! Thanks for sharing pics!
I've actually never seen nsx panels stripped to the bare metal before
I hadn't either until I poured paint stripper on them - and the only pictures I'd seen were the ones from the Honda factory in Tochigi. The photos don't really do the bare metal look justice, it's really quite beautiful to look at.
I'm eager to see how this turns out.
I'm quite eager also! Eager may be a slight understatement from my perspective... I just want to have it back on the road!
yes it is a tedious job, unnecessary, but tedious no doubt. i have been a autobody tech for dealerships most my life. and the only time a dealer will strip a panel is if its a peeler or has some kind of contamination in the paint from the factory. for dents and repairs, its just repaired and painted and blended. no stripping. even new factory panels dont come bare. nice skills you got there, should look like glass when its done. mine has a shity re-shoot on it, and it looks like shit.
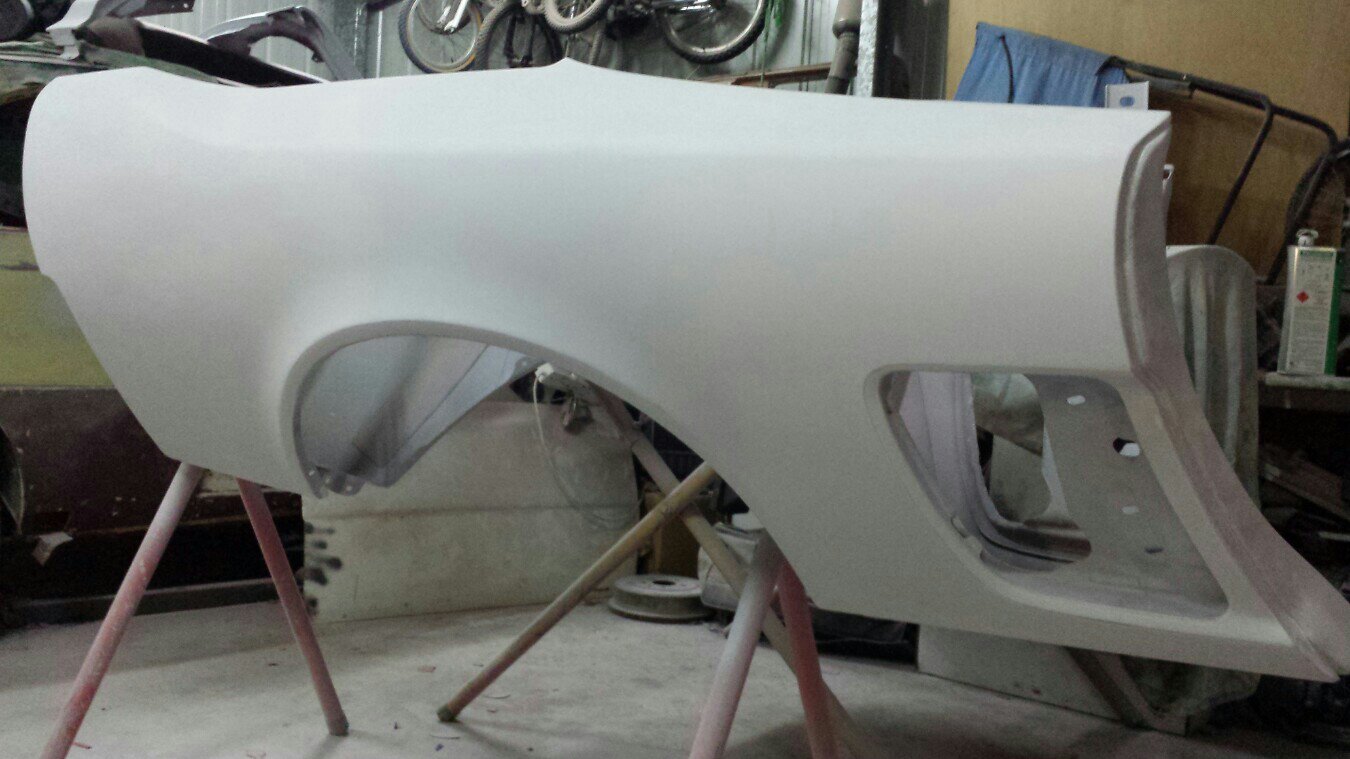
As mine had a paint job of unknown quality and unknown repairs I wanted to start again from scratch. Factory panels come with a black coated finish to prevent corrosion. Not sure in the case of new NSX panels, has anyone bought them?
The advantage of this is that any filler can be bonded directly to the bare metal, meaning far less chance of it presenting any issues down the track. As it turns out the repairs required were very minor and most small dints were able to be pushed out. The NSX alloy panels are incredibly dent resistant, far more so than steel panels. This goes both ways though - it means small dents are incredibly hard to push out compared to steel panels!
Cheers guys.
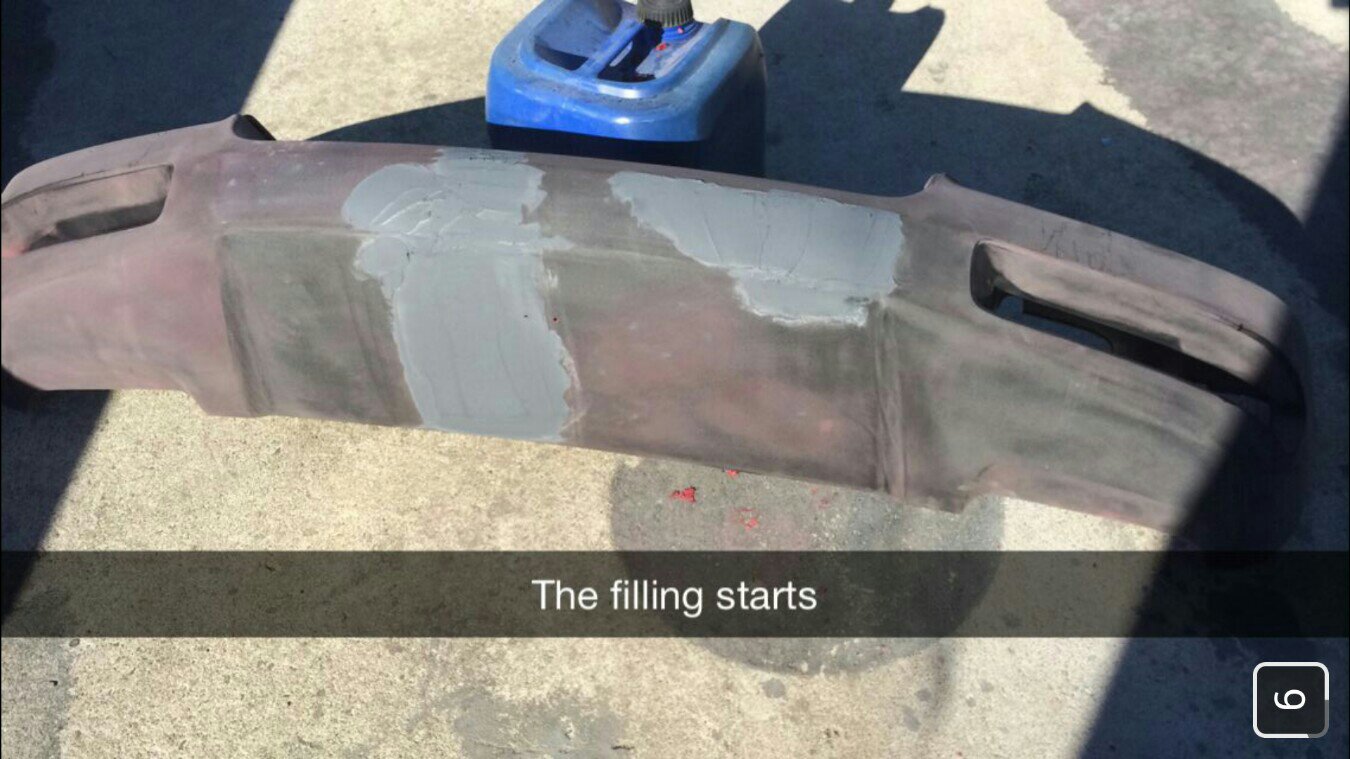
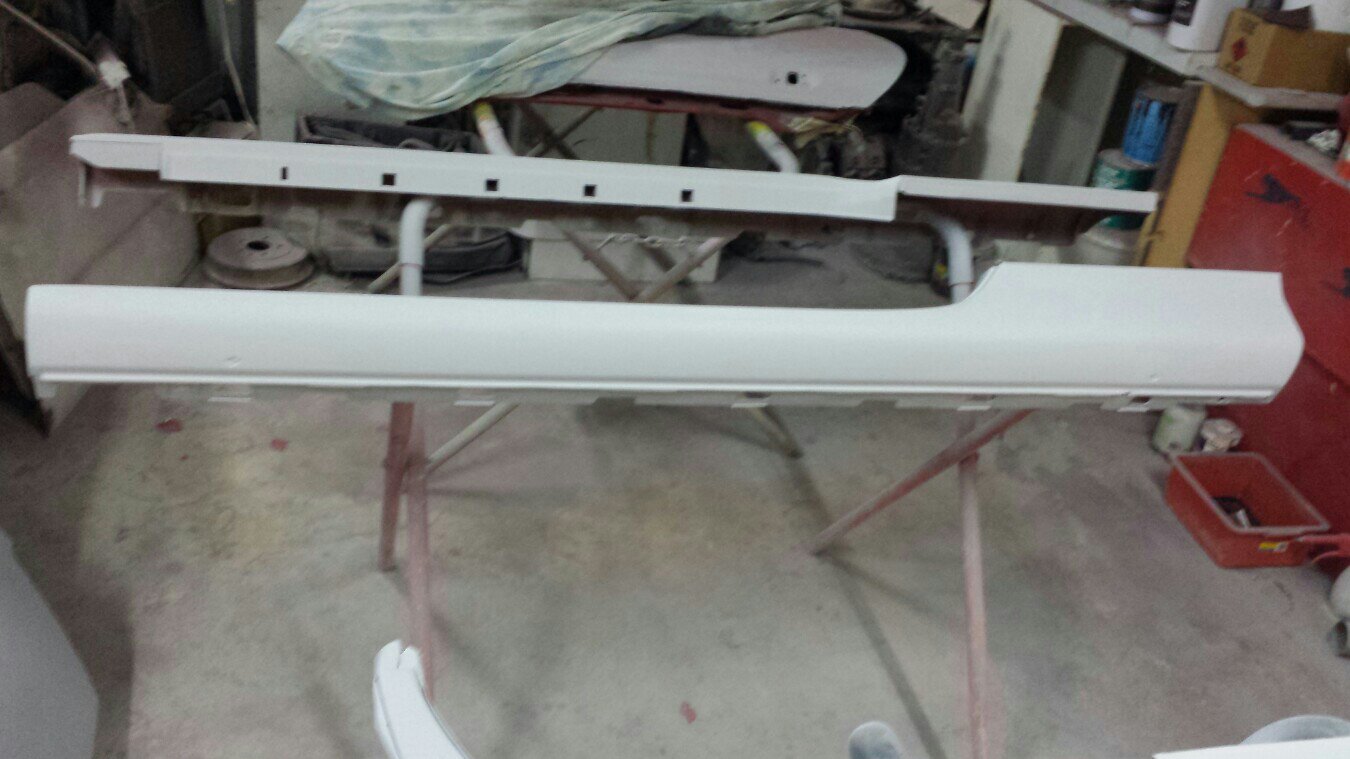
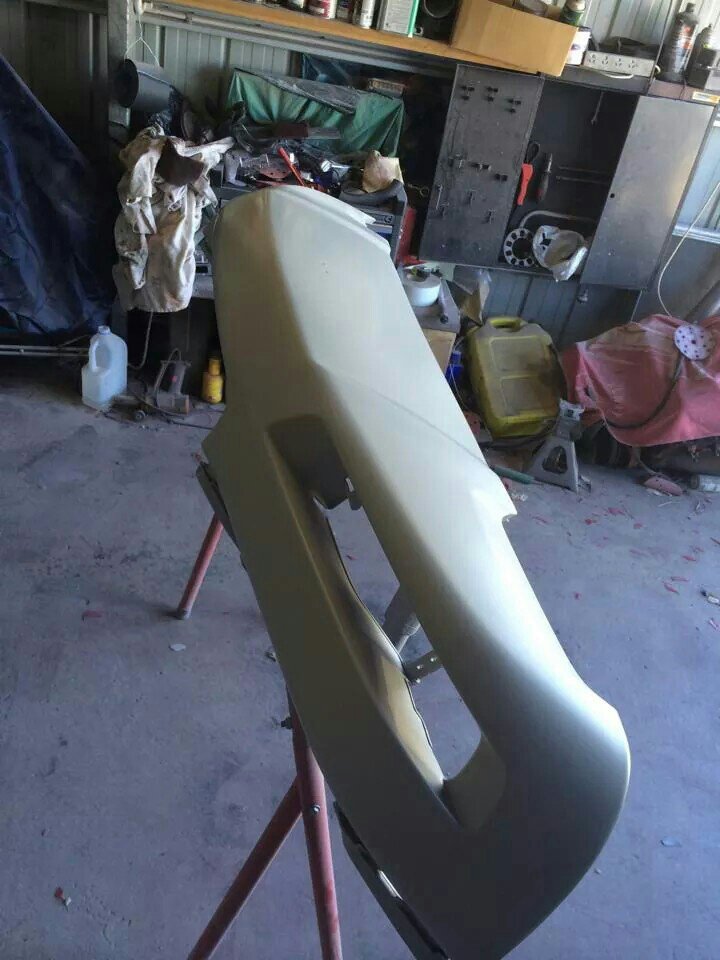
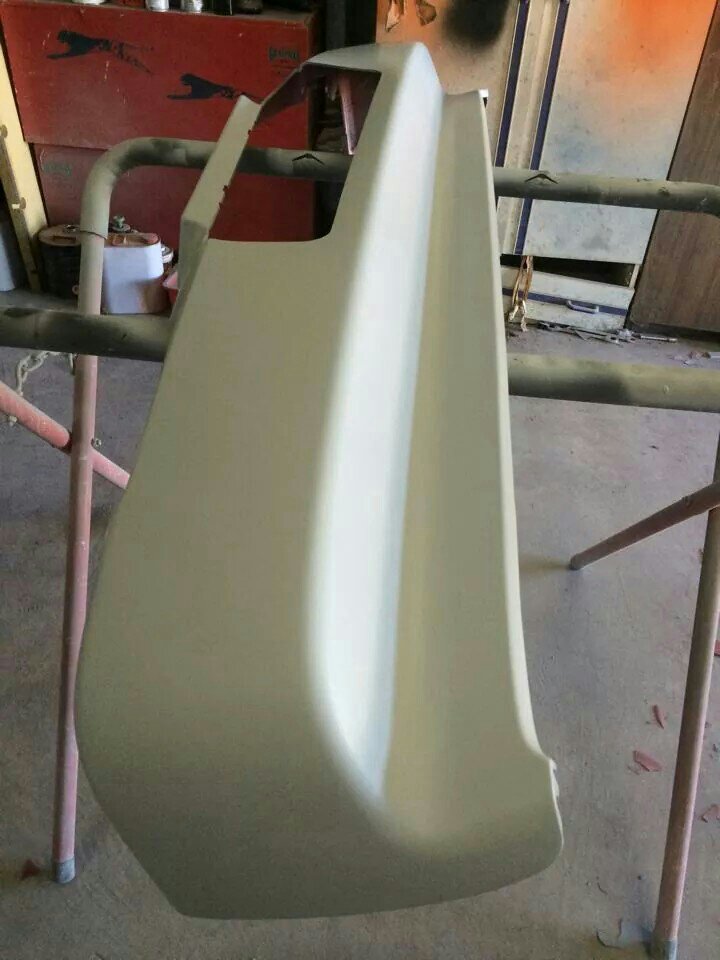
Bumper preparation. Removing all paint is always the best way if possible to avoid the paint cracking later from excess buildup of paint thickness.
Bumpers blasted with gernie removed much of the paint.
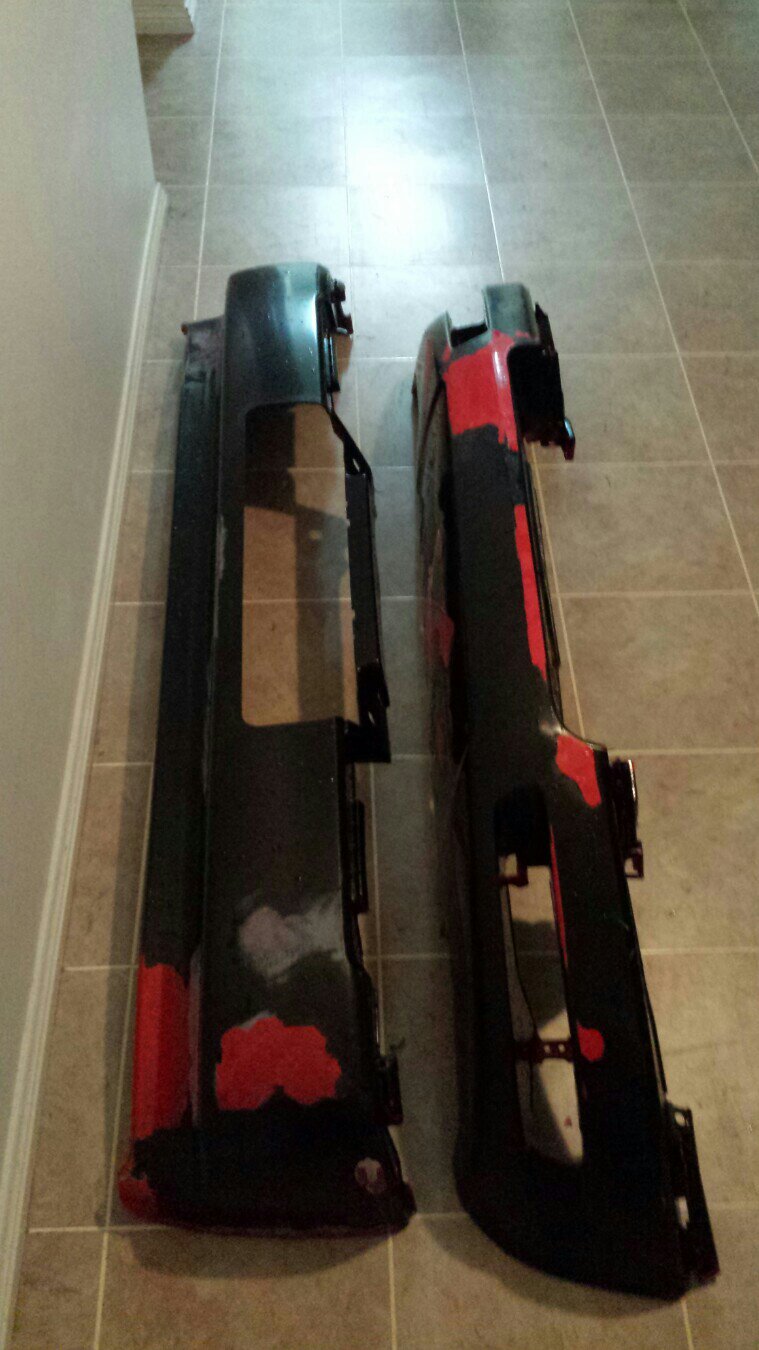
Front bumper had a previous repair which will be redone properly to correct a low spot. Flexible plastic filler will be used instead of conventional body filler.
I'll probably replace this bumper eventually but the timeframe and cost doesn't allow this to happen right now. (New OEM bumper is around $2k!)
- - - Updated - - -
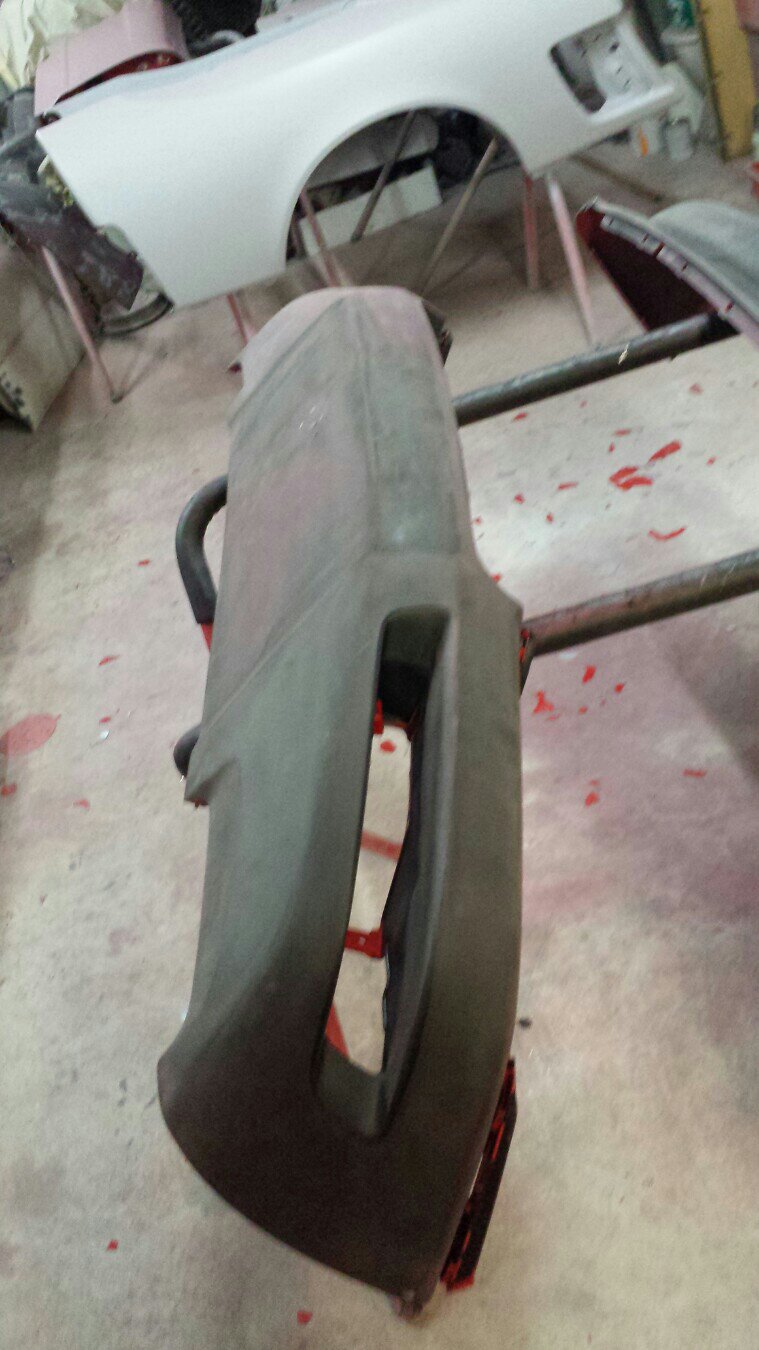
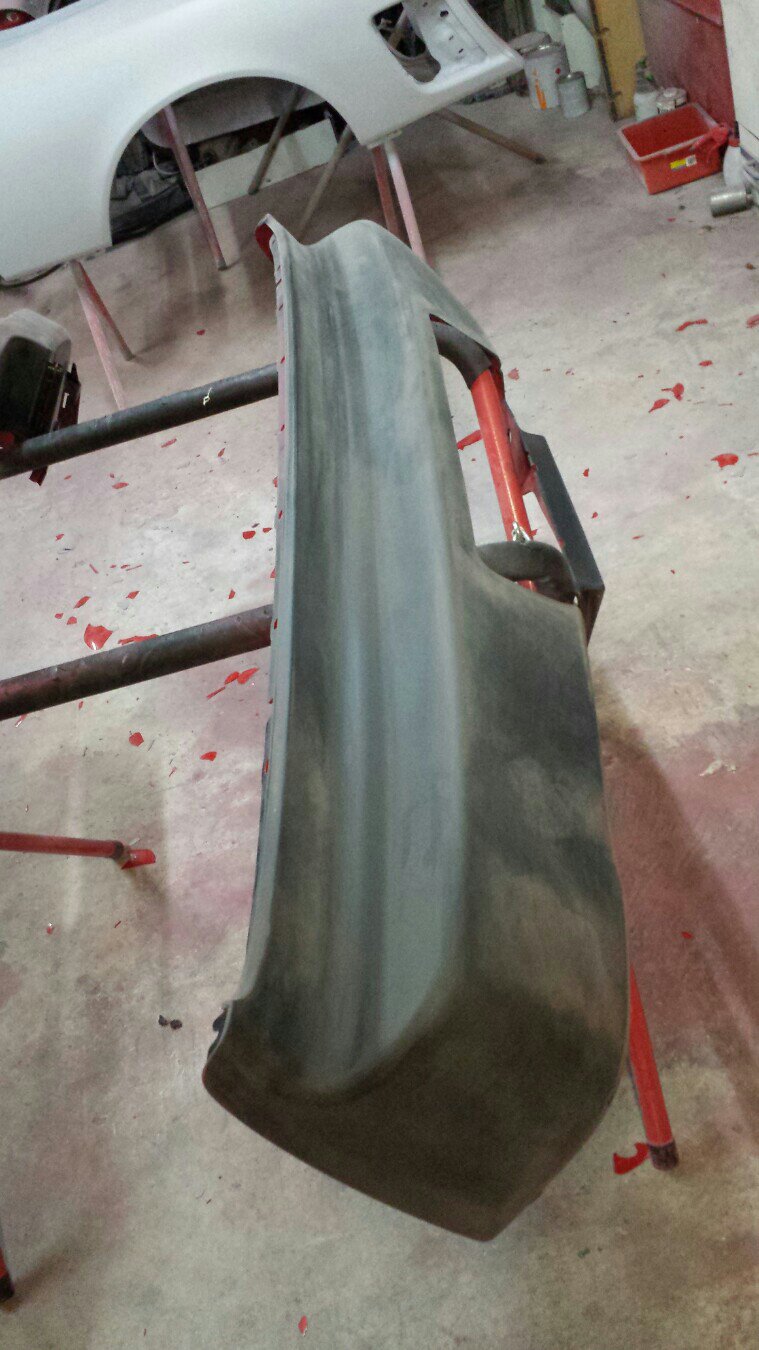
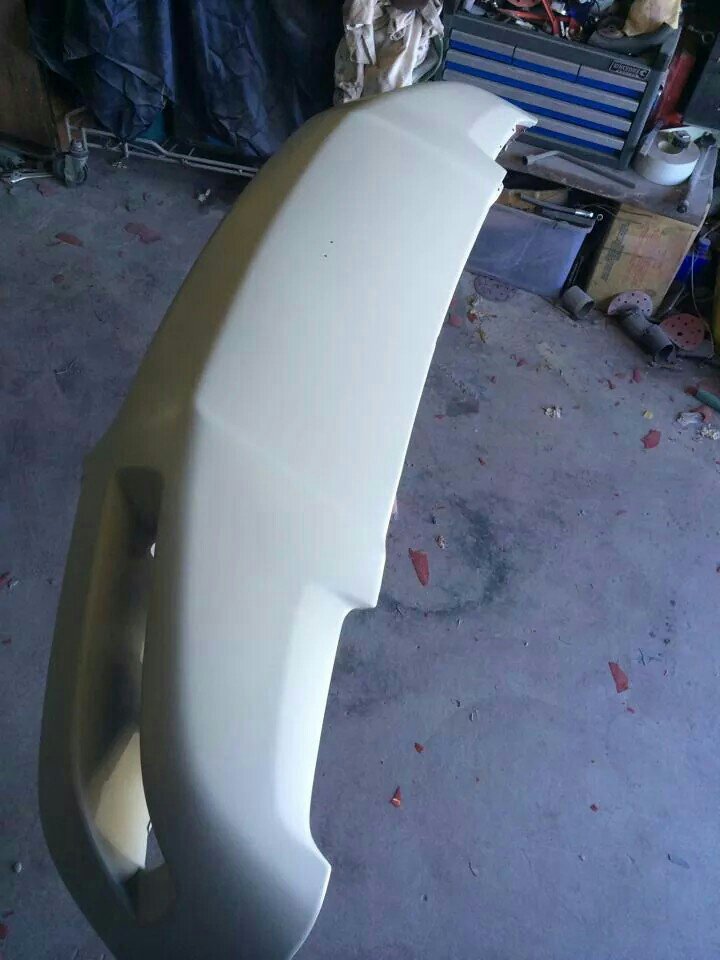
Repair in front bumper looking super smooth!
Bumpers blasted with gernie removed much of the paint.
Front bumper had a previous repair which will be redone properly to correct a low spot. Flexible plastic filler will be used instead of conventional body filler.
I'll probably replace this bumper eventually but the timeframe and cost doesn't allow this to happen right now. (New OEM bumper is around $2k!)
- - - Updated - - -
Repair in front bumper looking super smooth!
Great work, looking forward to seeing it on the HSCCA National run in December!!!
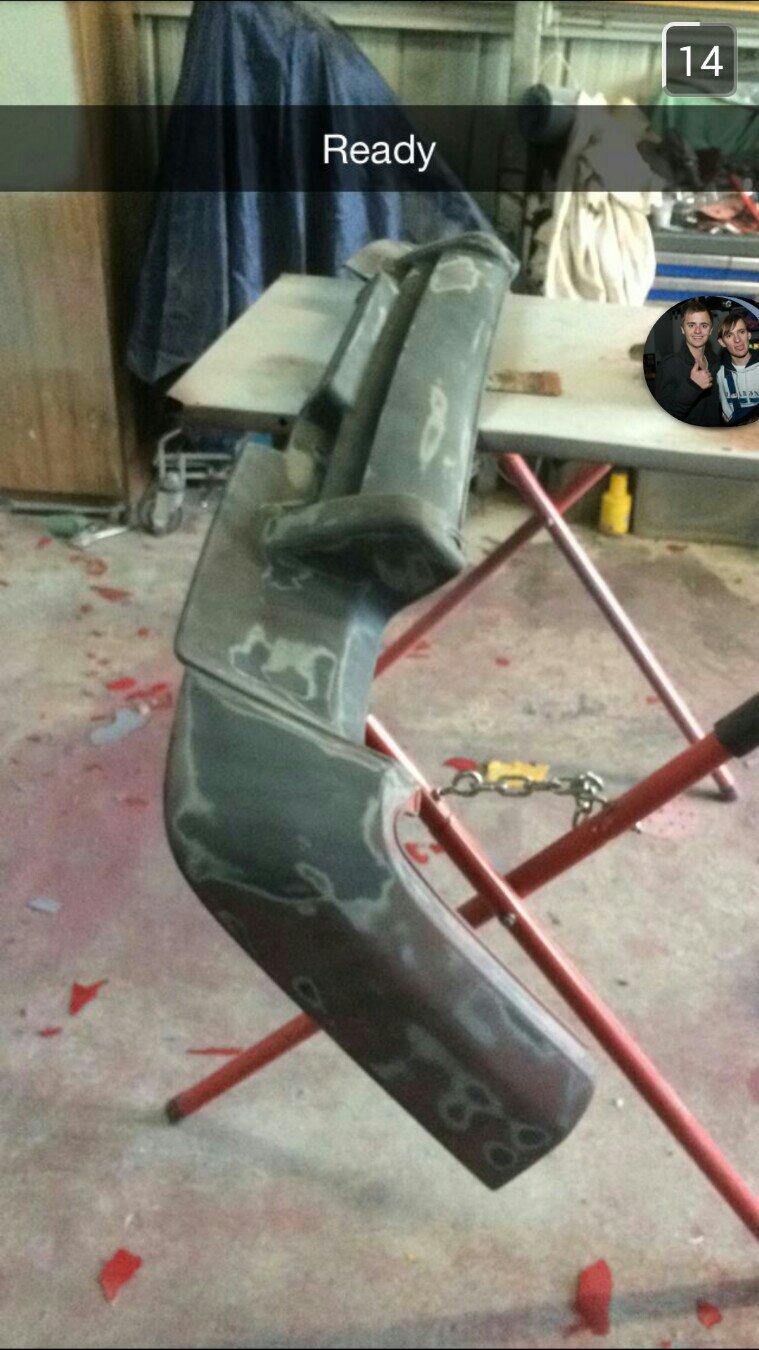
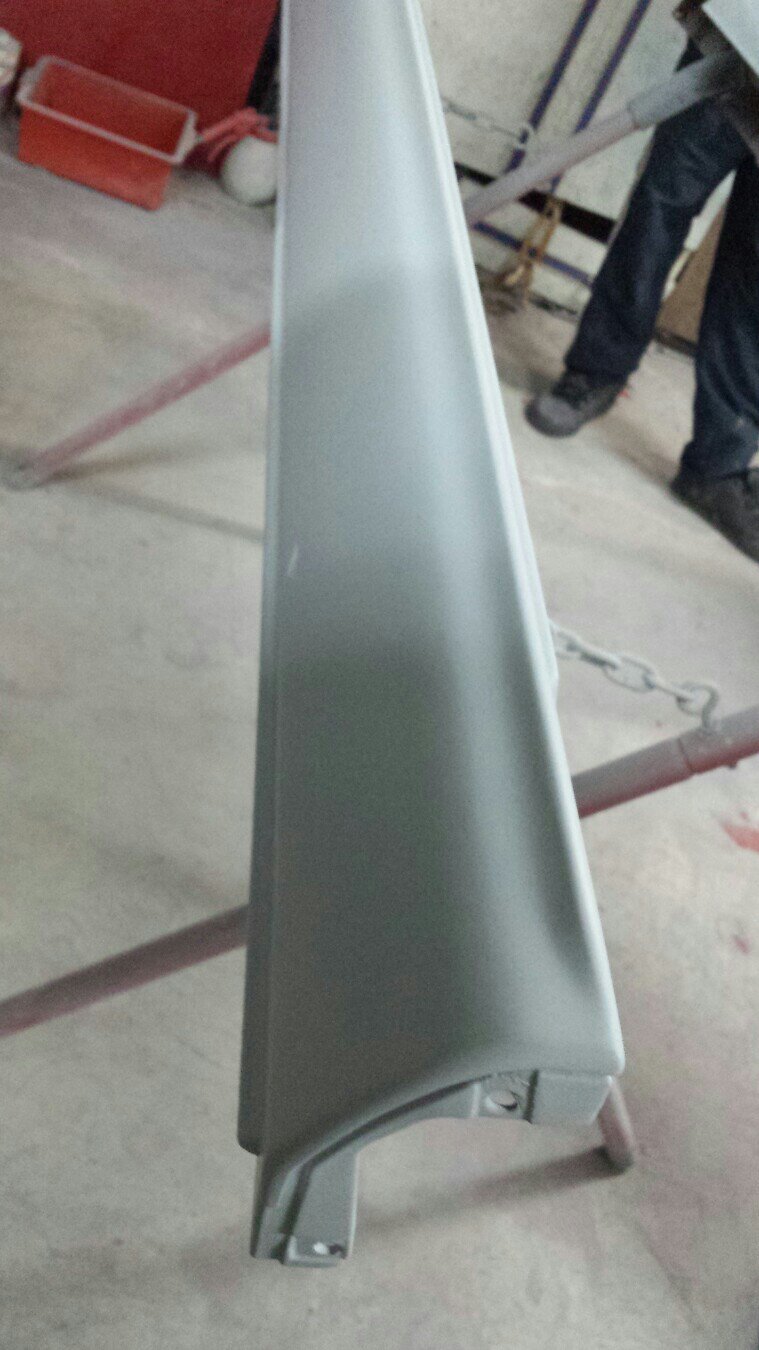
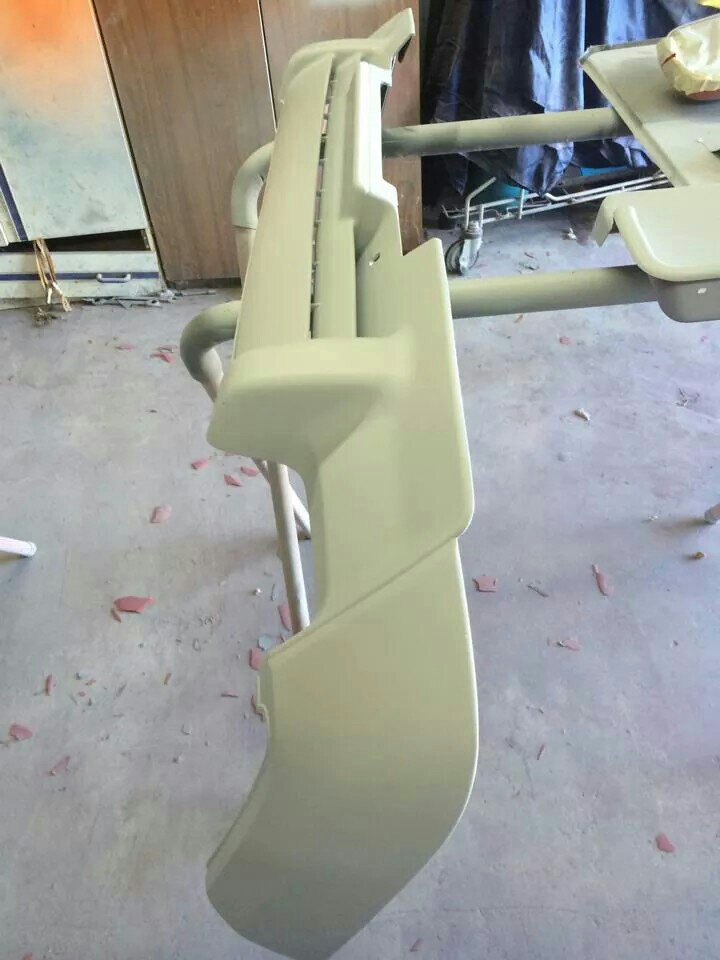
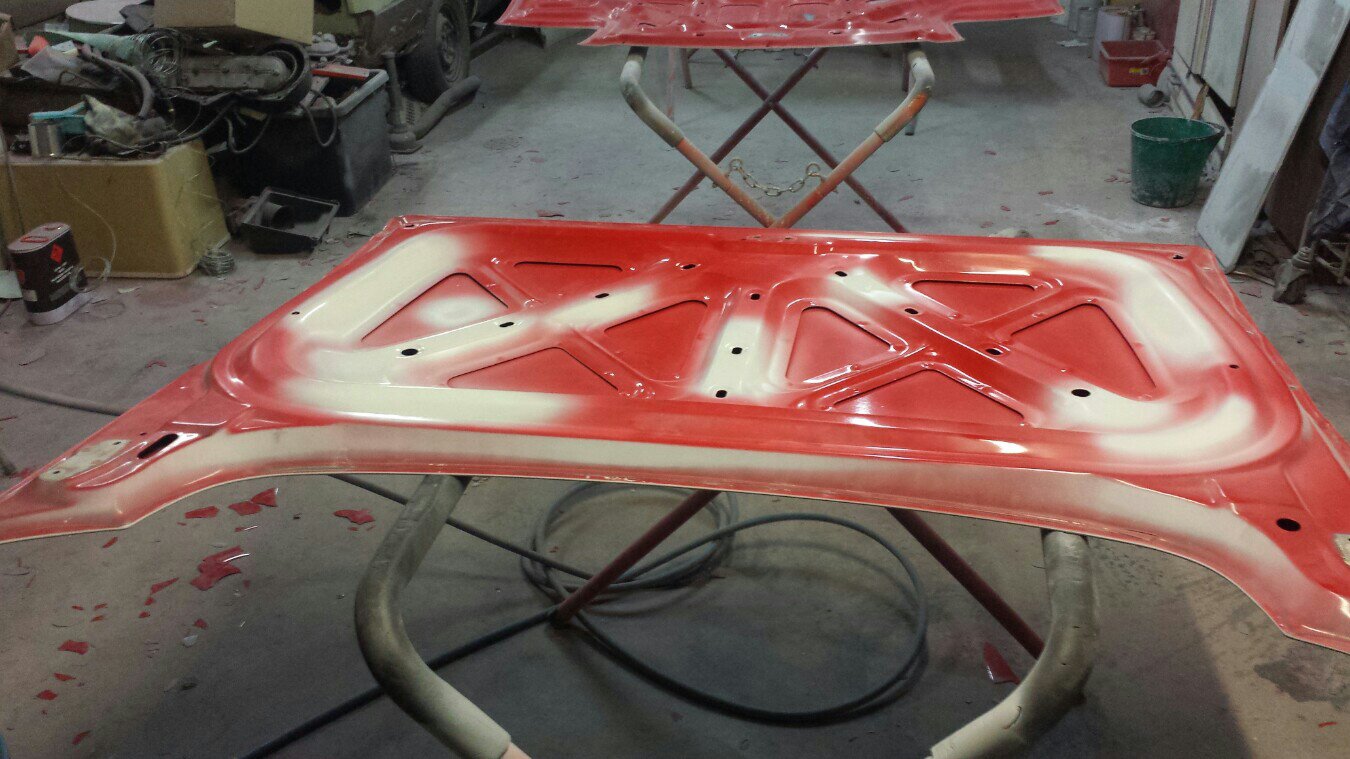
More parts primed up!
Great work, looking forward to seeing it on the HSCCA National run in December!!!
Thanks Scott! I've got a lot of work ahead!
- - - Updated - - -
Bumpers in primer today! Front bumper repair turned out amazingly well.
Because you can't have little dints in the underside of your boot lid! (trunk lid for most of you guys haha)
Repaired:
And primed up.
Repaired:
And primed up.
Last edited:
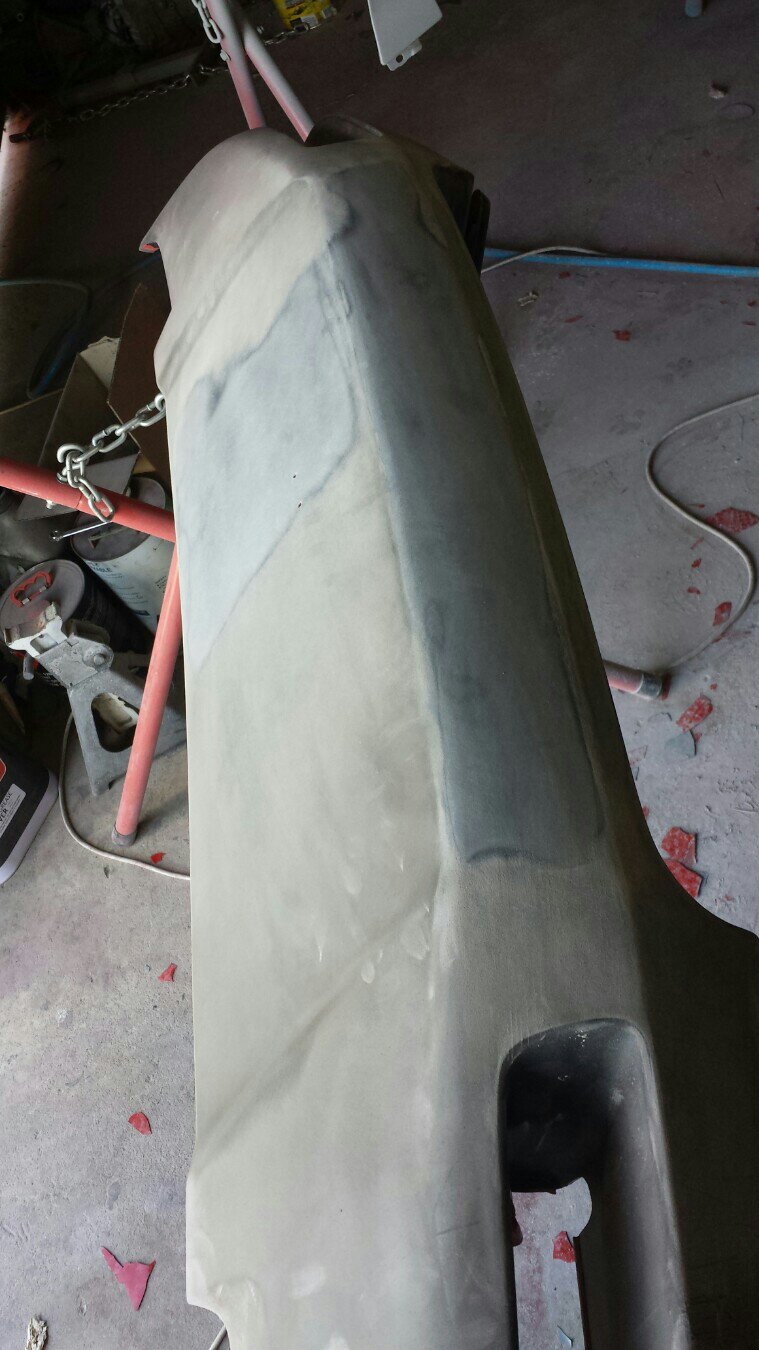
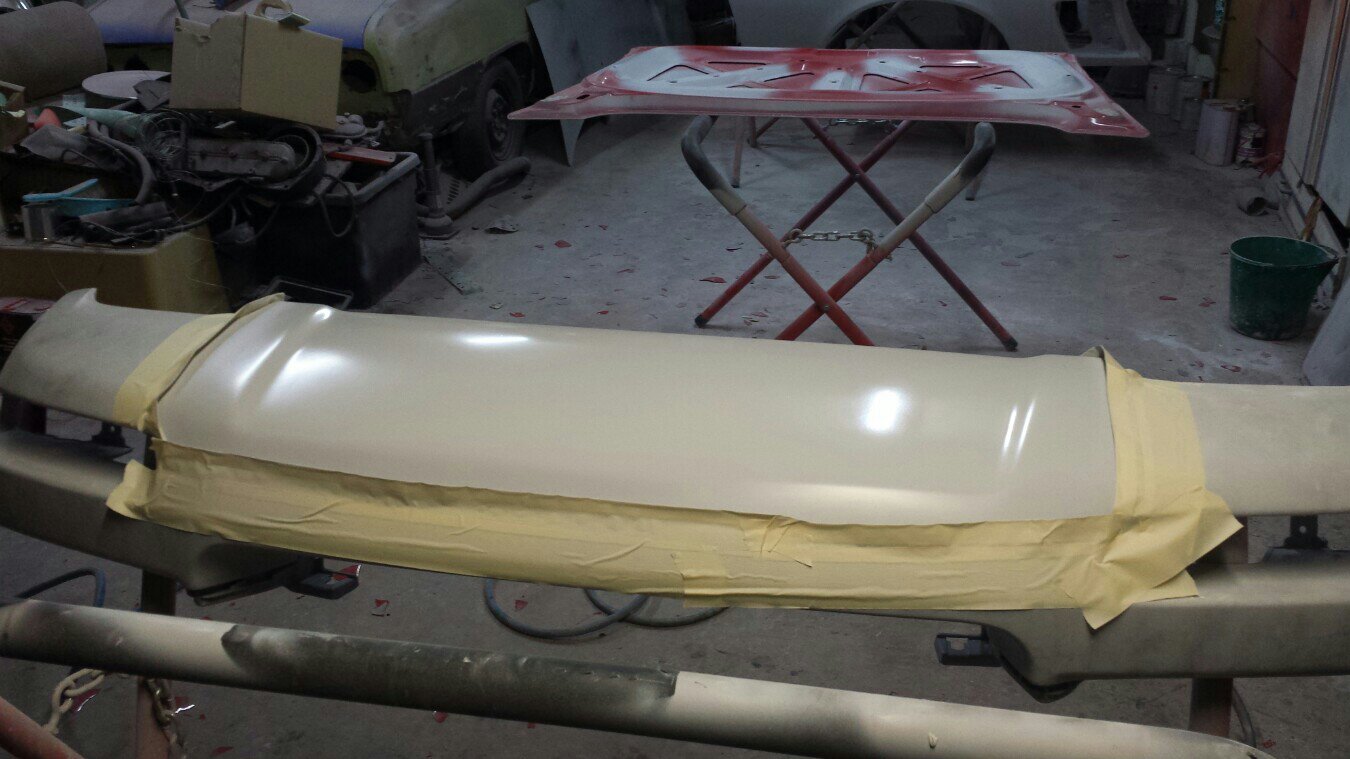
Brett has done some amazing quality work on getting this bumper perfectly straight.
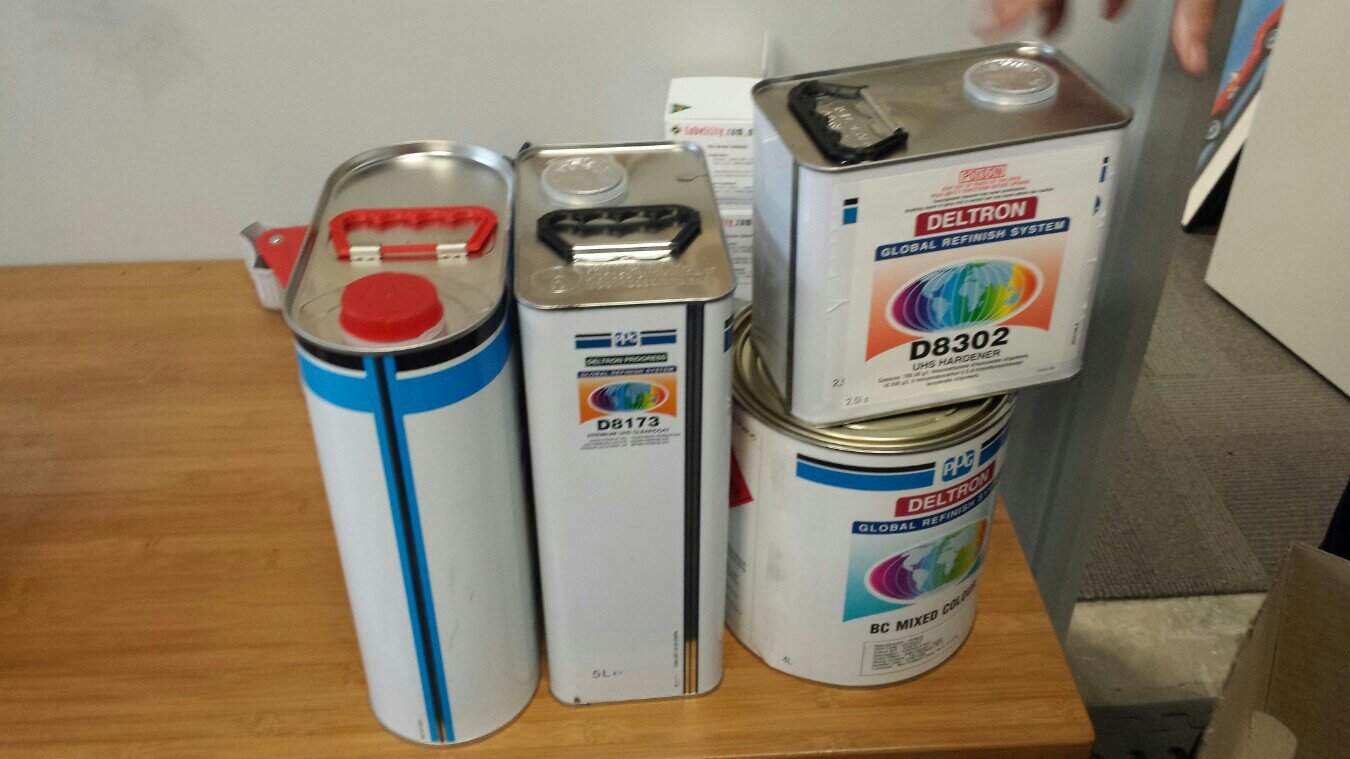
PPG basecoat, clearcoat, thinners and hardener. Many dollars.
Brett has started blocking down the primed panels in prep for the booth which is looking like next week at this stage. Looking super smooth!
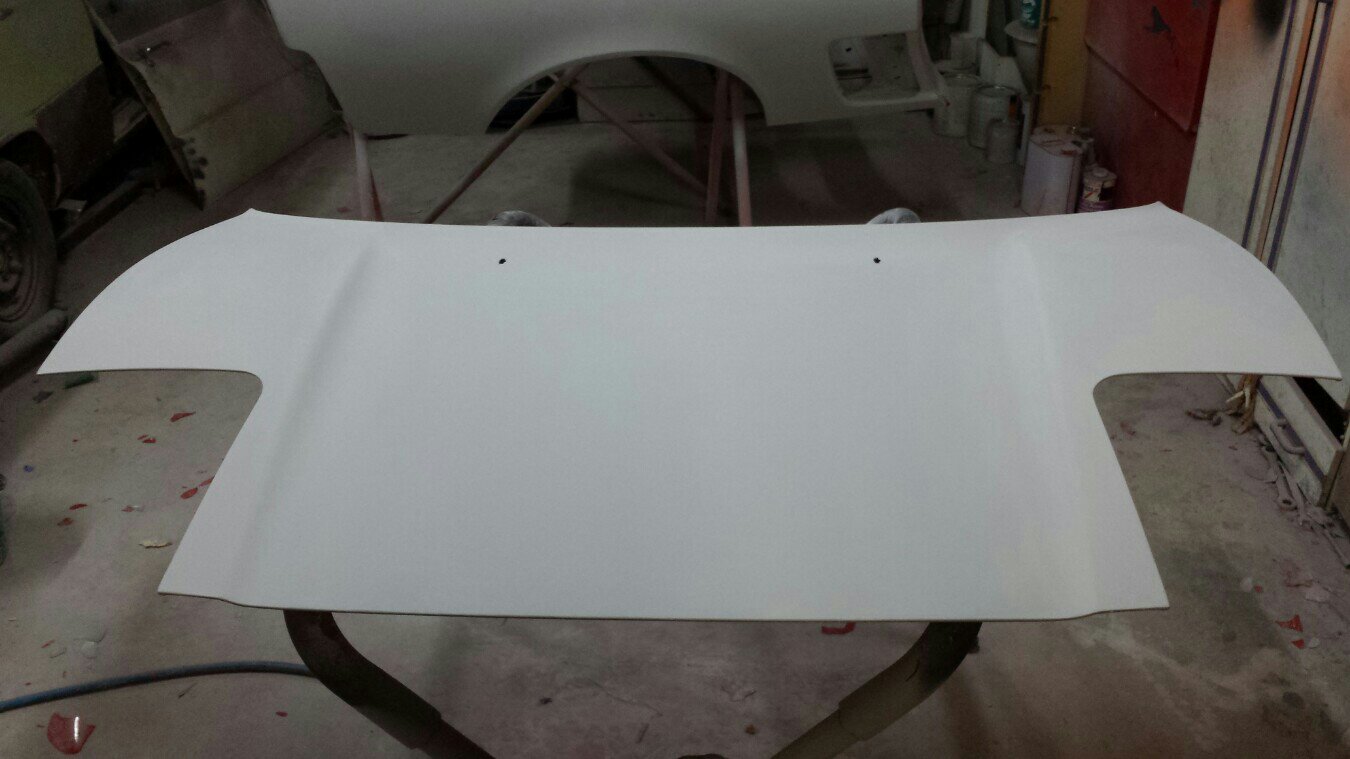
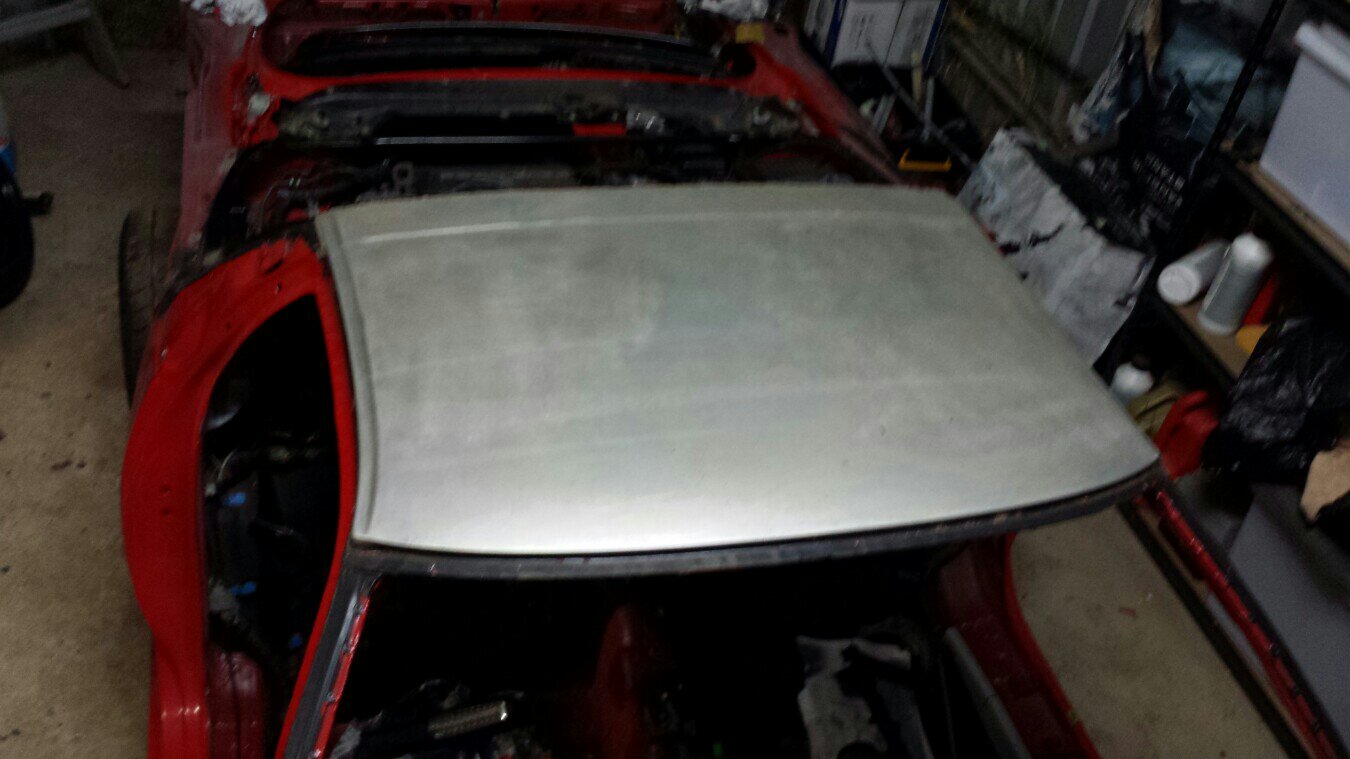
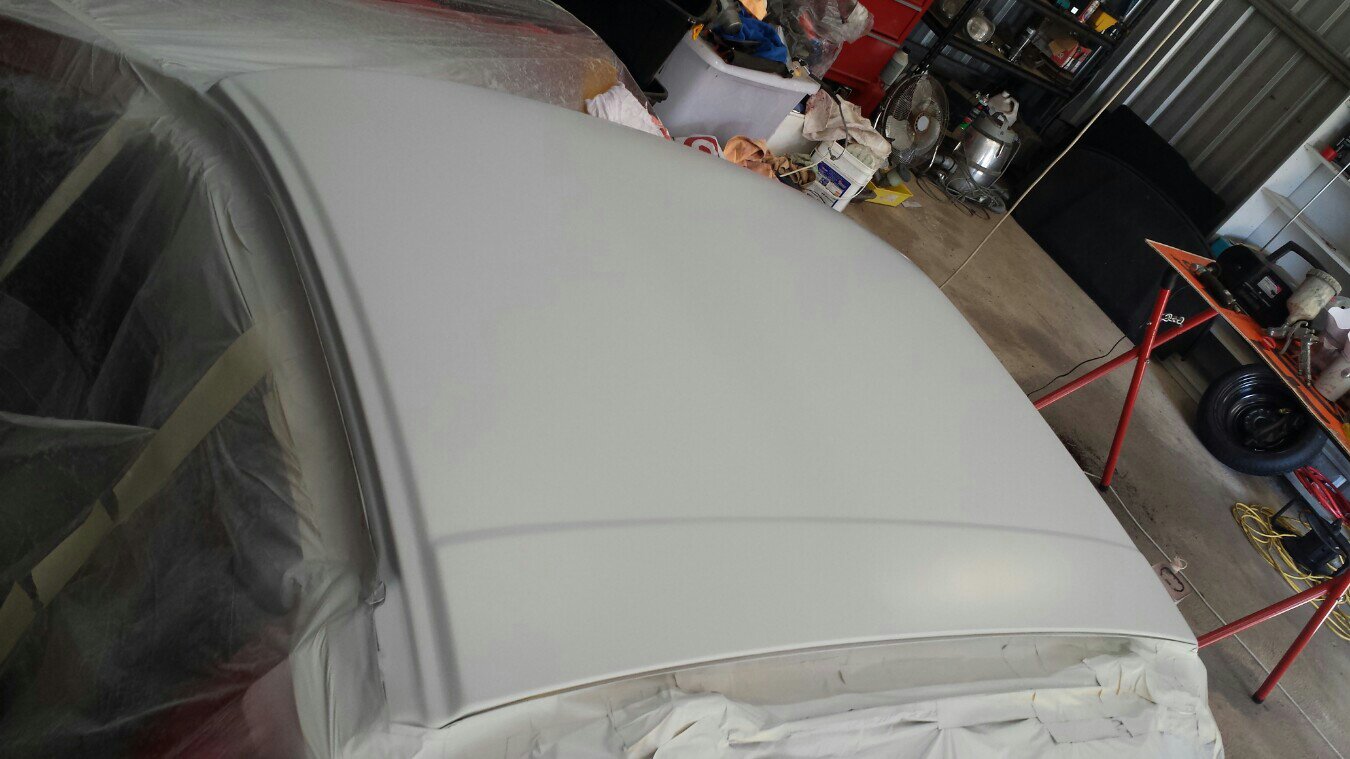
Roof and chassis prep/prime begins today!
- - - Updated - - -
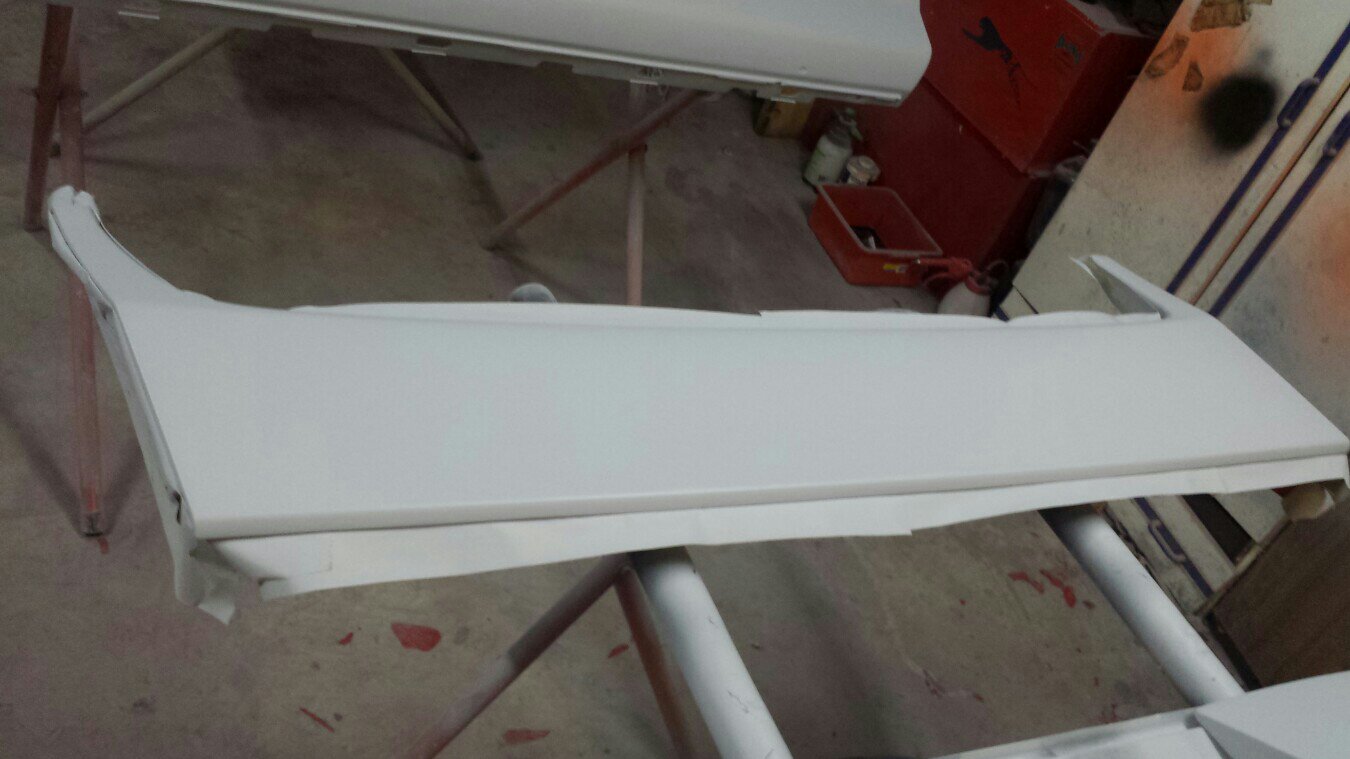
Roof preparation! The last of the bare aluminium to paint.
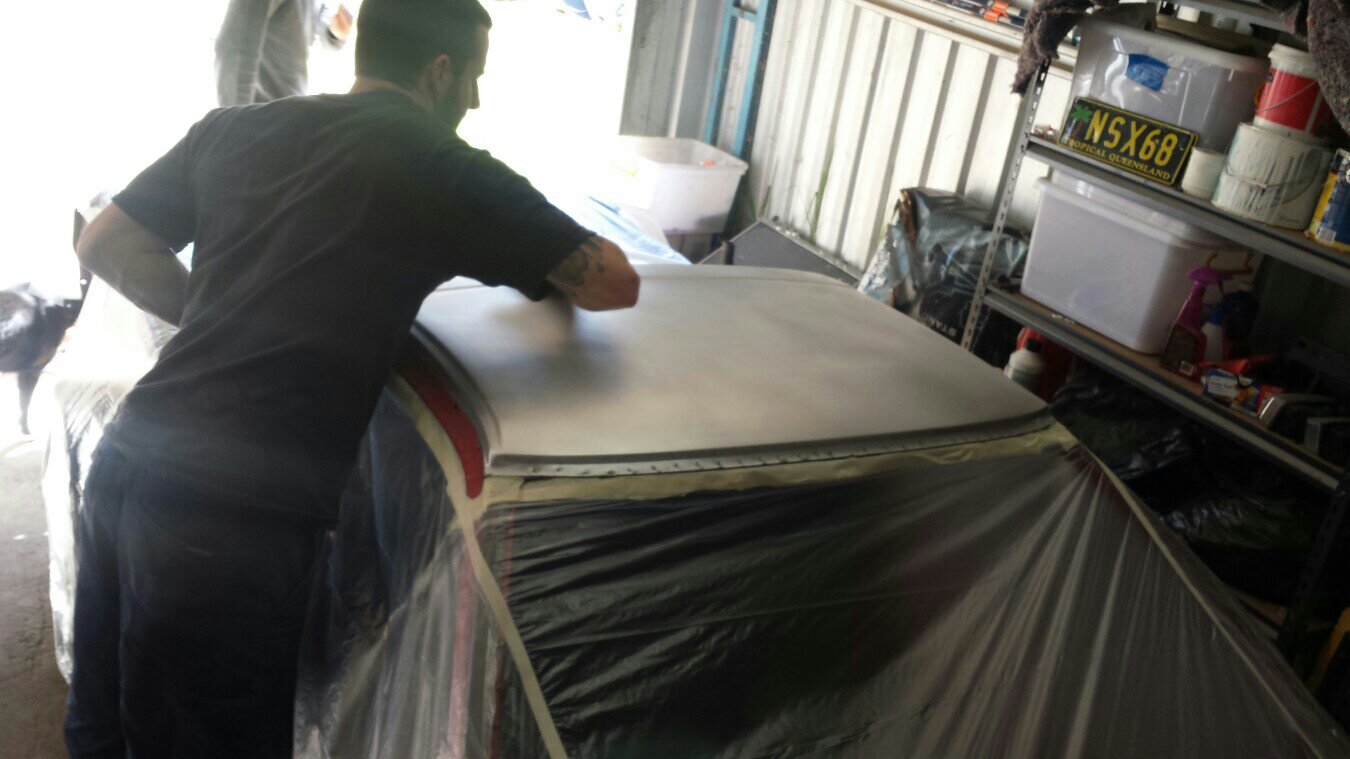
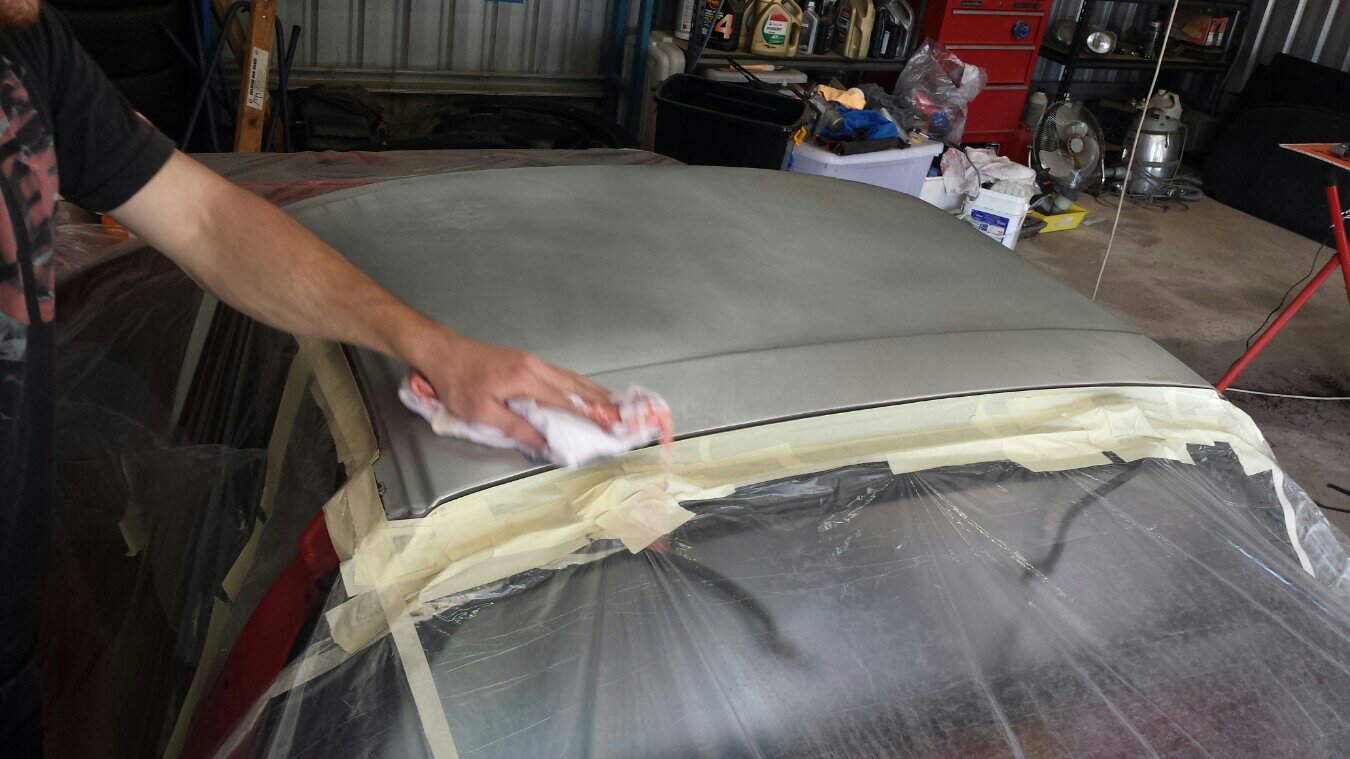
Etch primer sprayed:
Then primer:
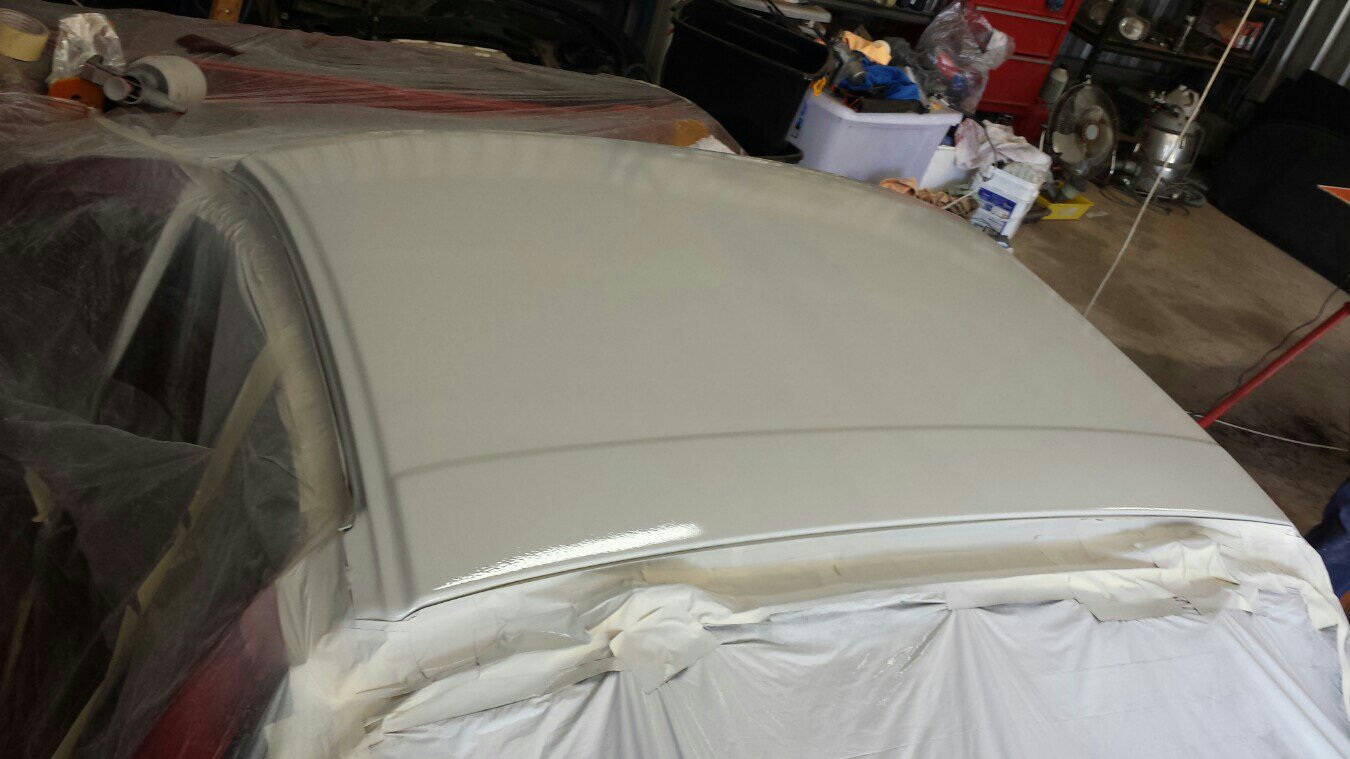
First coat dry:
PPG basecoat, clearcoat, thinners and hardener. Many dollars.
Brett has started blocking down the primed panels in prep for the booth which is looking like next week at this stage. Looking super smooth!
Roof and chassis prep/prime begins today!
- - - Updated - - -
Roof preparation! The last of the bare aluminium to paint.
Etch primer sprayed:
Then primer:
First coat dry:
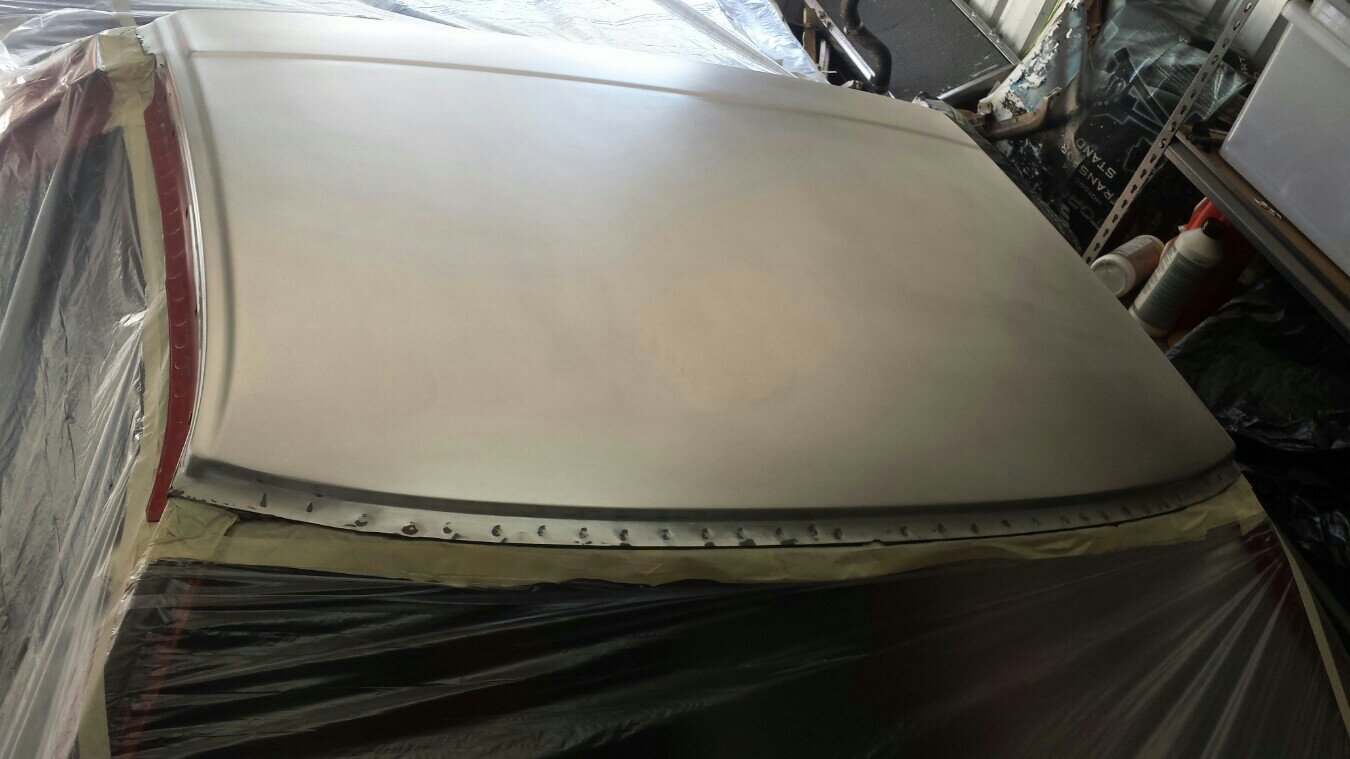
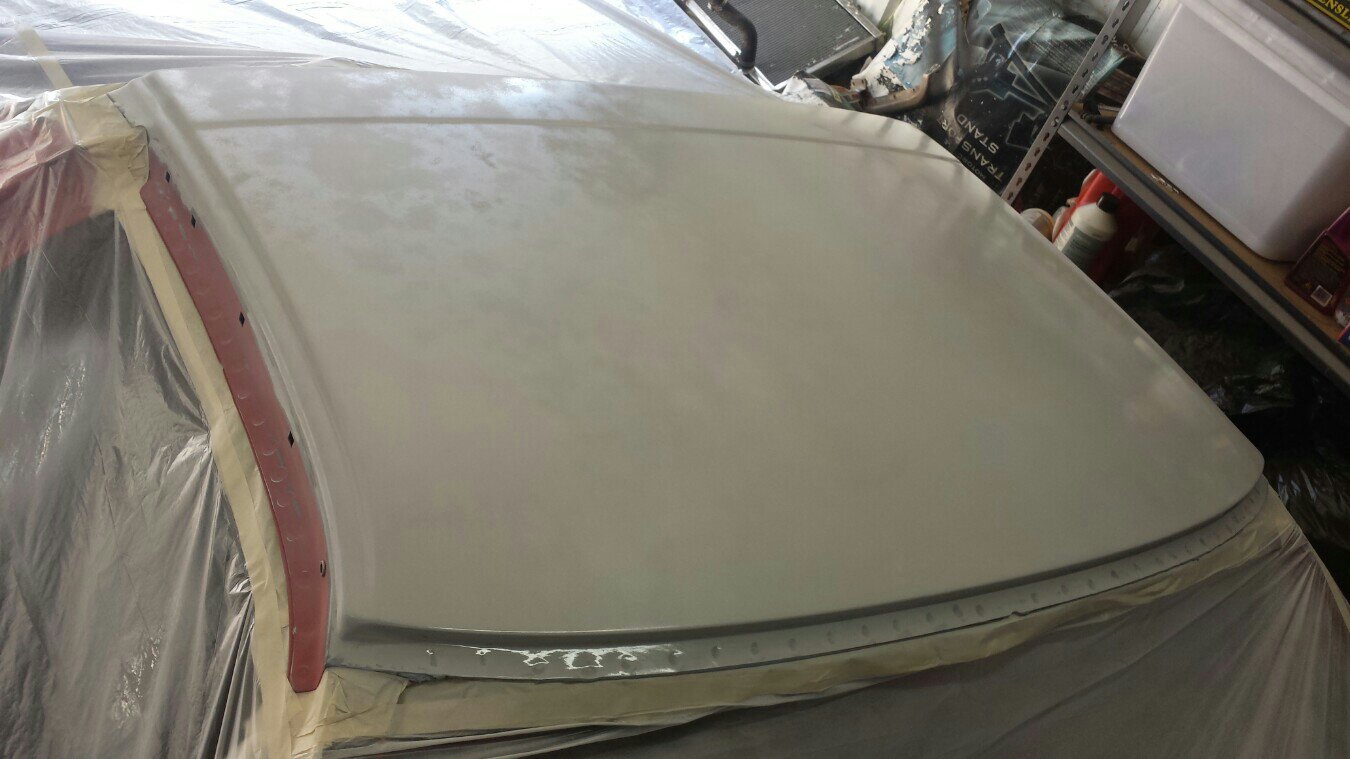
So this weekend we got most of the final wet rubbing done on the rest of the panels, using 800 grit wet&dry.
Basically the final inspection to ensure we haven't missed any dints or imperfections in the panels. They look amazing just in primer whilst wet (it's just water).
Booth is organised for Saturday! I'll be sure to post some pics of actual paint then!!


Basically the final inspection to ensure we haven't missed any dints or imperfections in the panels. They look amazing just in primer whilst wet (it's just water).
Booth is organised for Saturday! I'll be sure to post some pics of actual paint then!!
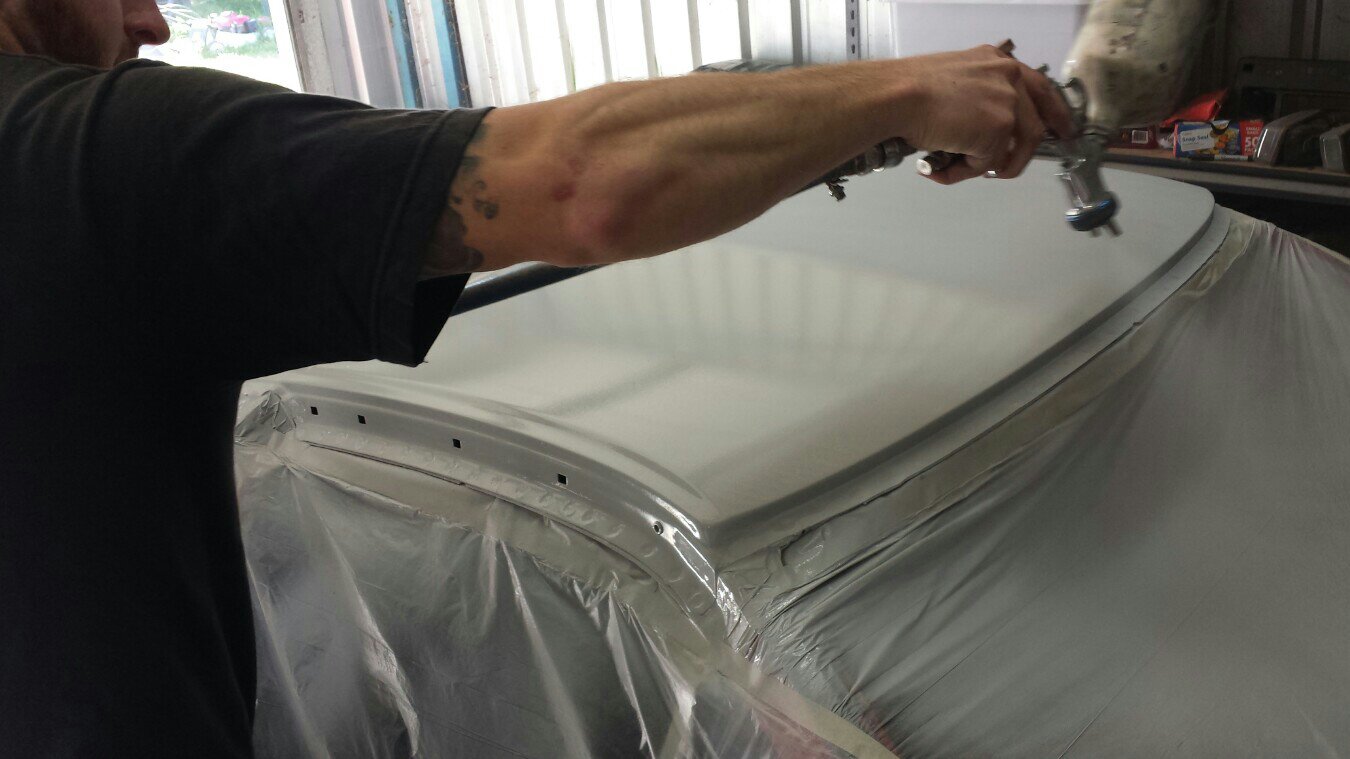
So today was a pretty big day for the car.

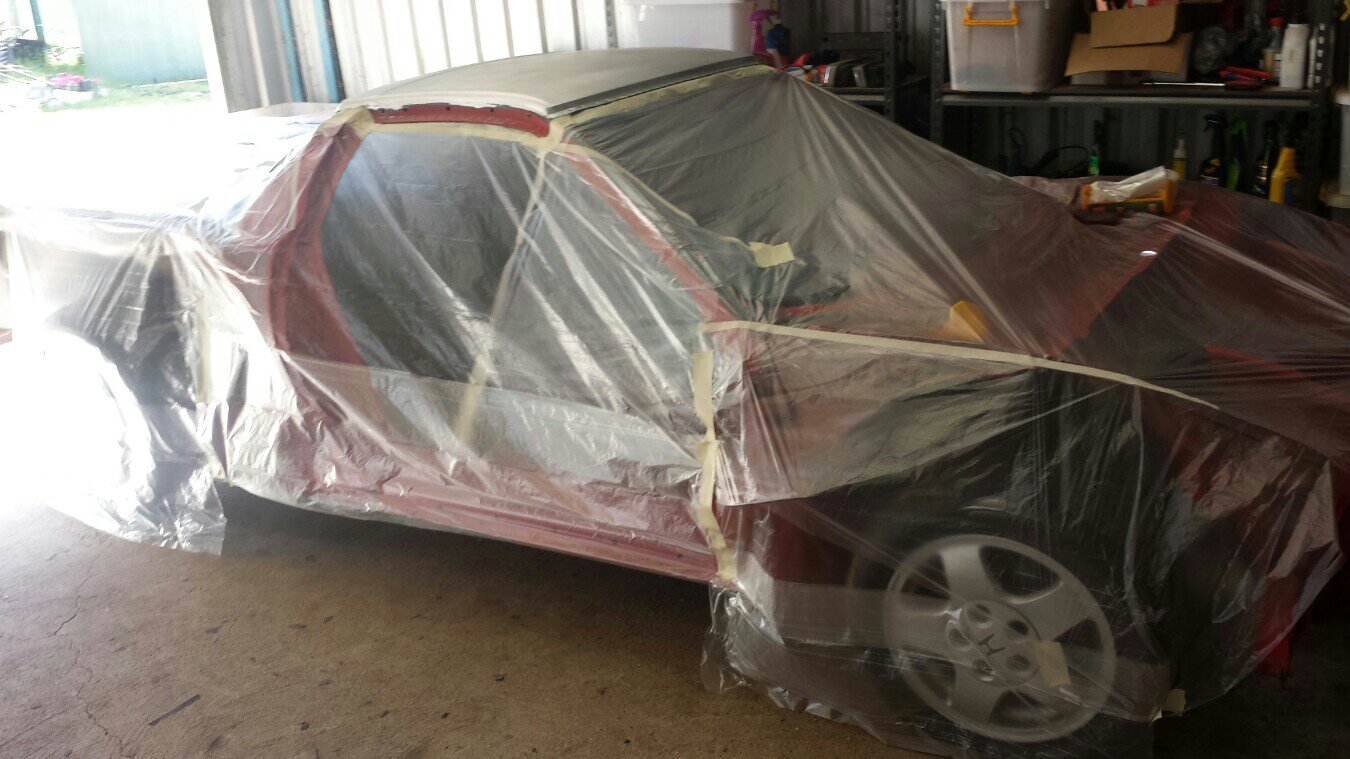
Tedious masking job!

Masked off the areas that will be red so the black basecoat could be sprayed.

Black areas sprayed

Along with misc black parts

More tedious masking!

Then cover the roof so the red can be sprayed.


Unmask it all so clear can be sprayed!

First coat of clear

After 2nd coat. So flat and glossy. My painter, Brett, does an incredible job.


The rest of the panels will be sprayed tomorrow!
Tedious masking job!
Masked off the areas that will be red so the black basecoat could be sprayed.
Black areas sprayed
Along with misc black parts
More tedious masking!
Then cover the roof so the red can be sprayed.
Unmask it all so clear can be sprayed!
First coat of clear
After 2nd coat. So flat and glossy. My painter, Brett, does an incredible job.
The rest of the panels will be sprayed tomorrow!
- Joined
- 27 December 2011
- Messages
- 8
Amazing!
What a huge day! I'm so excited about the results that Brett has achieved with this job. It's truly incredible quality and the phone pics just don't do it justice at all.
Unmasked the car and got it out of the booth

Obligatory reflection shot of Riley

Underside of the bootlid looking awesome and even better than OEM.

Booth load of parts

And it begins! First coat of base.


4 coats were required to get full coverage. This meant we ran short of paint and will need to buy more to paint the remaining bumper parts! Oh well. We couldn't fit them in the booth today anyhow.
Clear coat stage. The exciting bit where the flat red turns into its glossy wet looking finished product.


End results!


Incredible gloss straight off the gun. No orange peel here!


And that's it for today folks!
Unmasked the car and got it out of the booth
Obligatory reflection shot of Riley
Underside of the bootlid looking awesome and even better than OEM.
Booth load of parts
And it begins! First coat of base.
4 coats were required to get full coverage. This meant we ran short of paint and will need to buy more to paint the remaining bumper parts! Oh well. We couldn't fit them in the booth today anyhow.
Clear coat stage. The exciting bit where the flat red turns into its glossy wet looking finished product.
End results!
Incredible gloss straight off the gun. No orange peel here!
And that's it for today folks!
Amazing!
Hi,
i can't find any other than "incredible" to describe your work abd attention to detail.
one thing though, on the headlight buckets, i think that there are parts that are matte black, just as with the engine bay top surroundings
Nuno
i can't find any other than "incredible" to describe your work abd attention to detail.
one thing though, on the headlight buckets, i think that there are parts that are matte black, just as with the engine bay top surroundings
Nuno
Hi,
i can't find any other than "incredible" to describe your work abd attention to detail.
one thing though, on the headlight buckets, i think that there are parts that are matte black, just as with the engine bay top surroundings
Nuno
Thank you for your compliments!
Yes those parts will be painted in seperately around the headlights at a later stage, I won't be leaving them red don't worry
I took detailed photos of the area before it was painted, I think we may do it slightly neater than the factory does!
This was the 'before' of the area -

Amazing! Keep the pictures coming.
Keep the pictures coming.pure awesomeness
Snapped this from my phone last night in the garage. I wish I wasn't at work so I could work on this...

Hey guys! Sorry I've been slack updating but nothing much exciting has been happening with the build due to waiting for parts and being busy with other car things... like hillclimbing etc!
Anyway yesterday some parts arrived finally for my ABS retrofit so here they are...


Mounted in the bay

ABS module in place.

Now it's time to get the lines all in place and run the wiring harness.
Anyway yesterday some parts arrived finally for my ABS retrofit so here they are...
Mounted in the bay
ABS module in place.
Now it's time to get the lines all in place and run the wiring harness.
Definitely subscribing to this one!
Keep up the good work!
Keep up the good work!
Similar threads
- Replies
- 2
- Views
- 420