- Joined
- 9 October 2012
- Messages
- 1,953
"solidol" 94 BB: maintenance/build
After close to two years of making small tweaks and changes as well as few more to come up very soon - I figured it's finally worth to post under the build section. I have always been "OEM is the way to go" kind of person. Never chased horsepower and will always take balance and liveliness over it. And with NSX it's the same. Great platform and excellent engineering by Honda folks. Yet there are few things I wanted to change to make it close to what I feel NA NSX should be.
I'm huge fan of light cars and coming from S2000 I felt like I need to drop some weight here and there. This is still ongoing as quite few things are just plain overpriced for what they are.
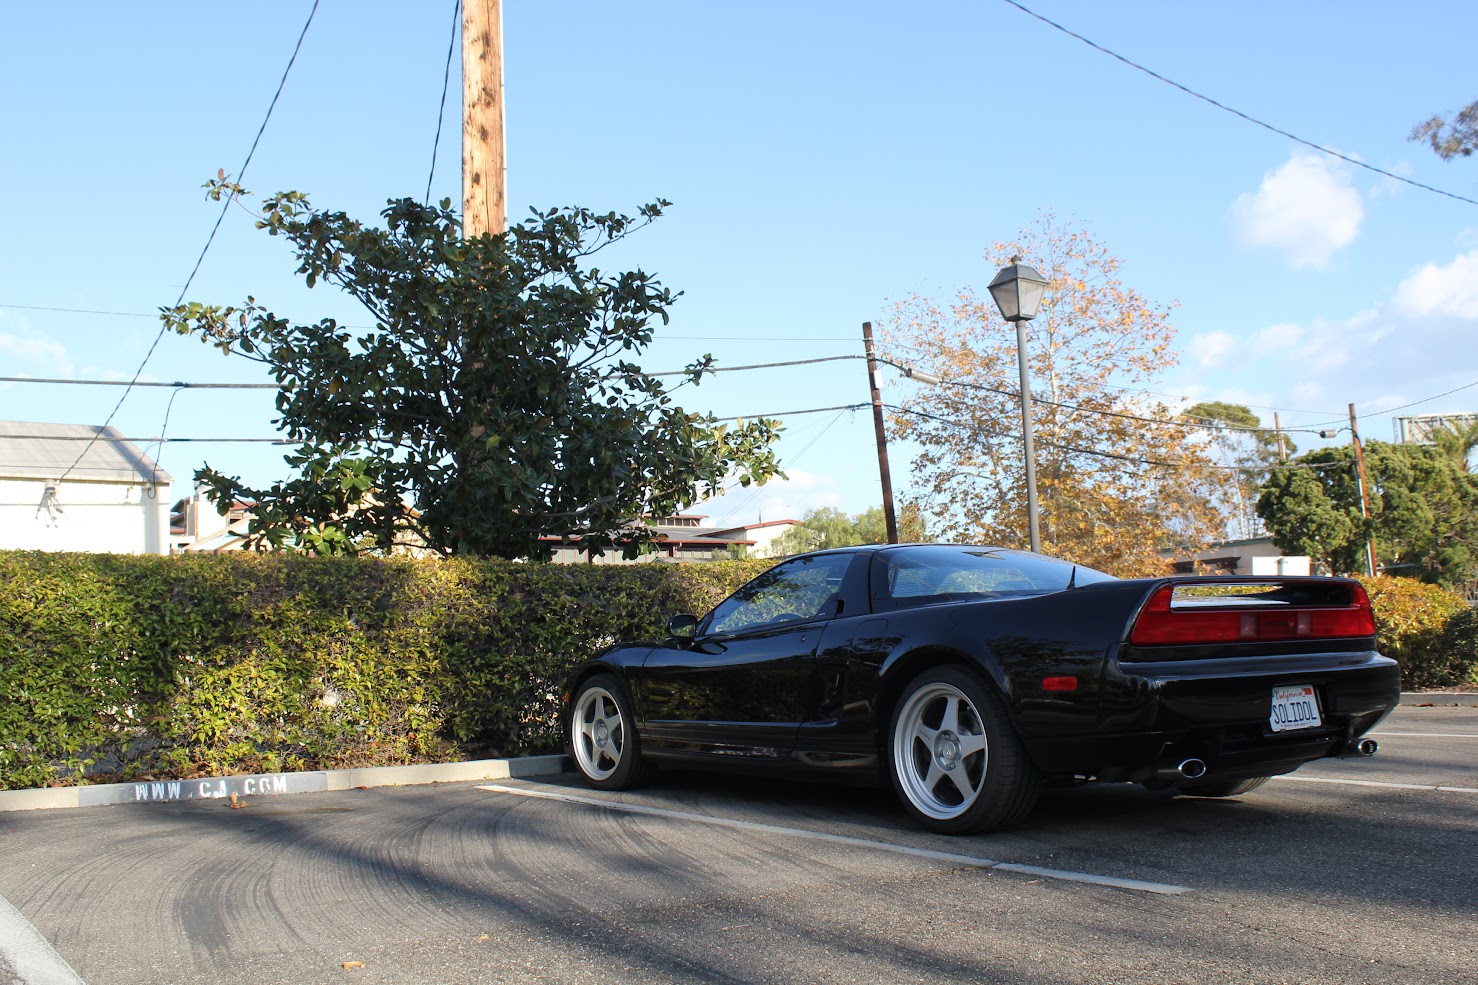
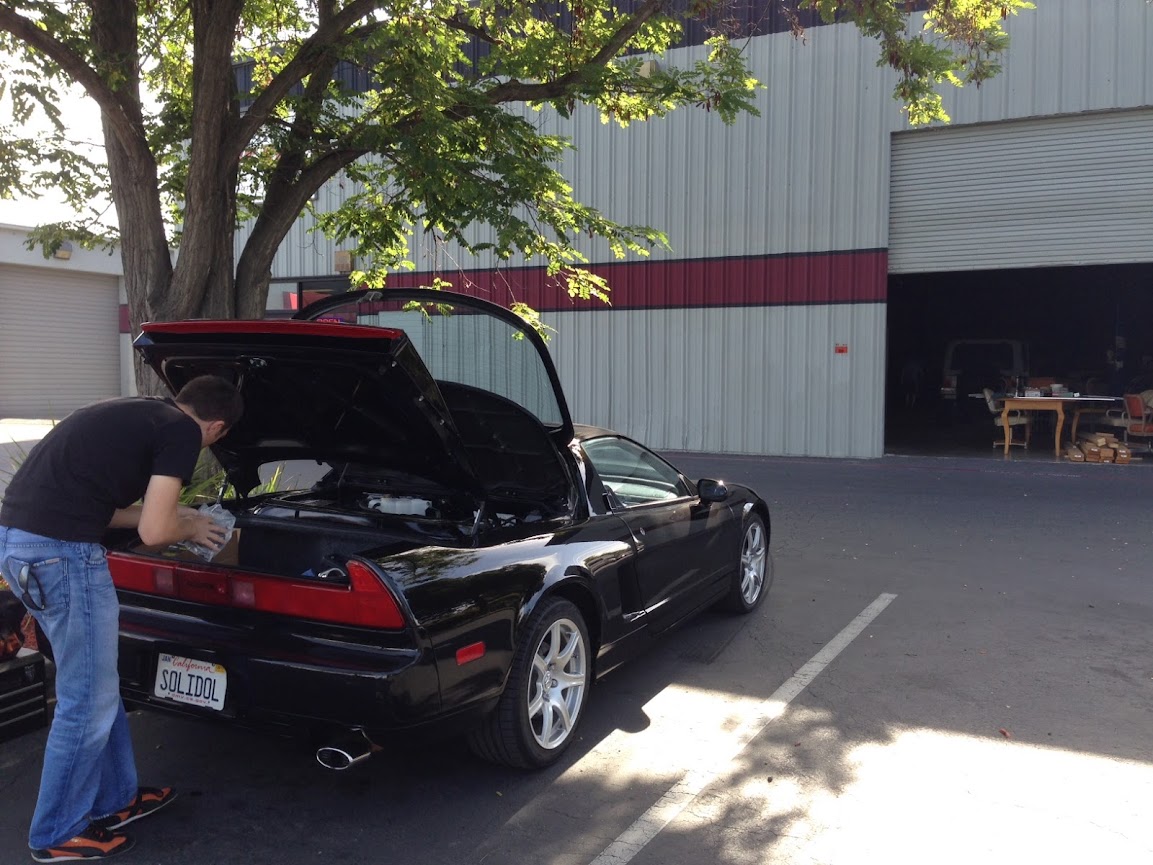
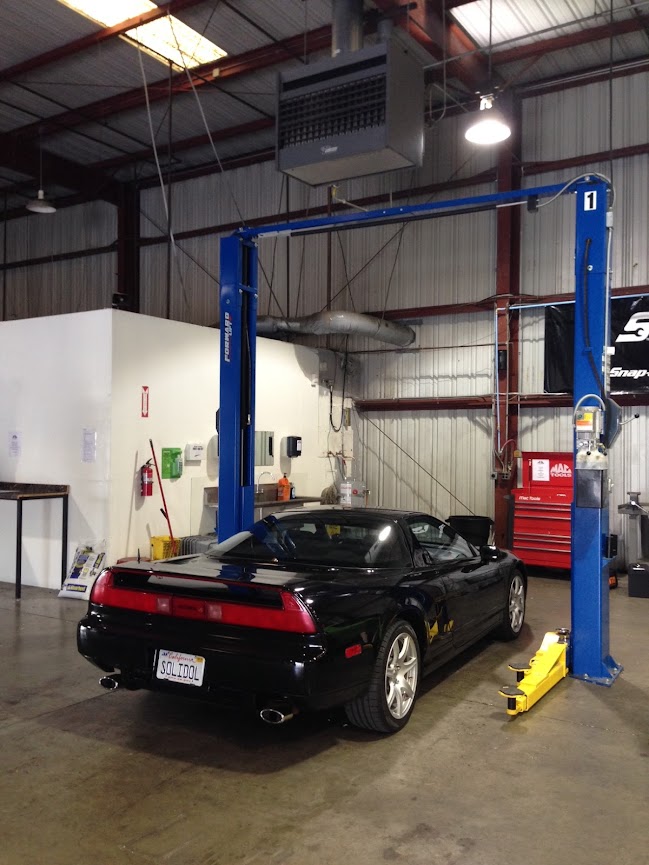
This is the first picture when we brought it home

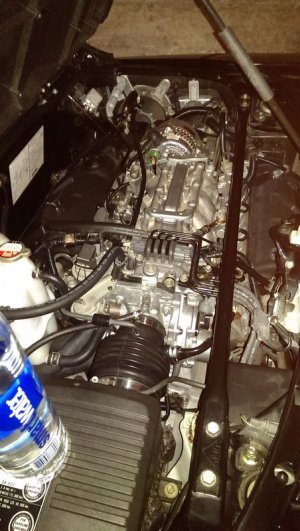
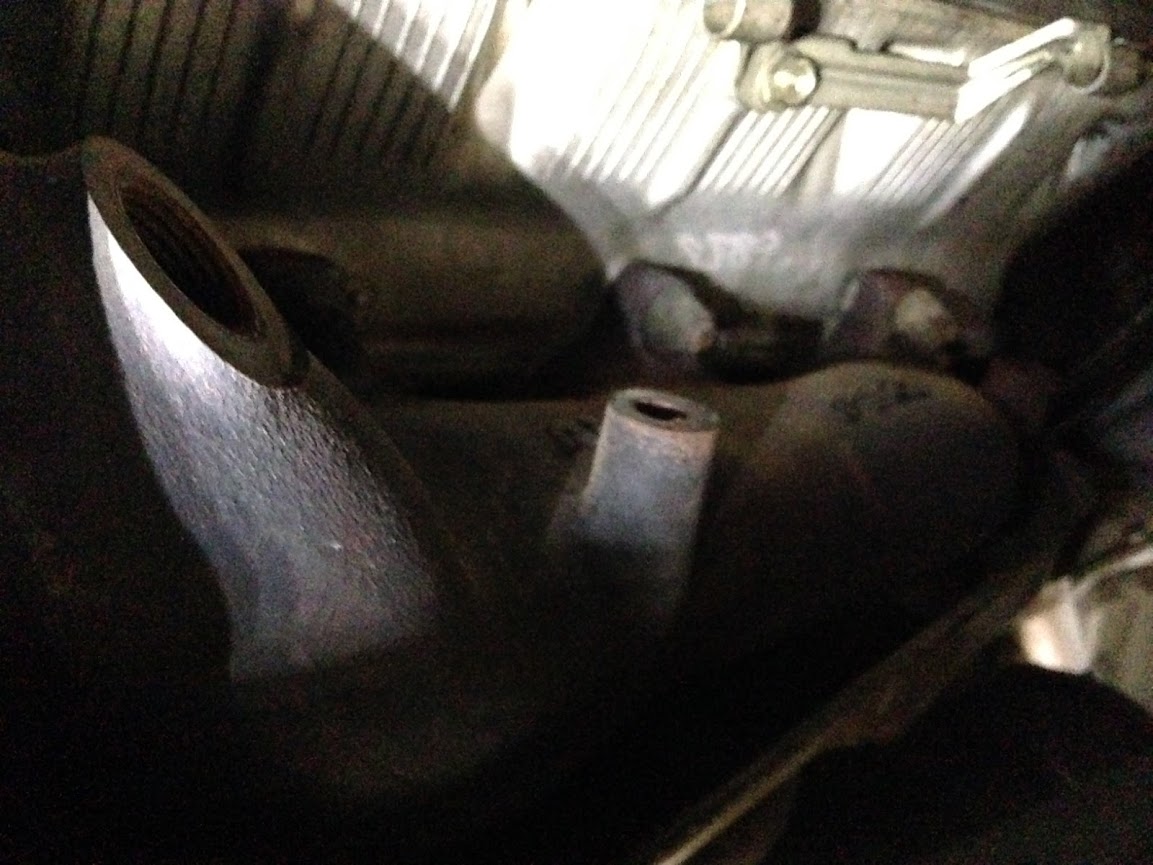
I have anticipated few fixes to be done right away and there were no surprises with the shape of the car. Well maybe except mice poop on the intake manifold.
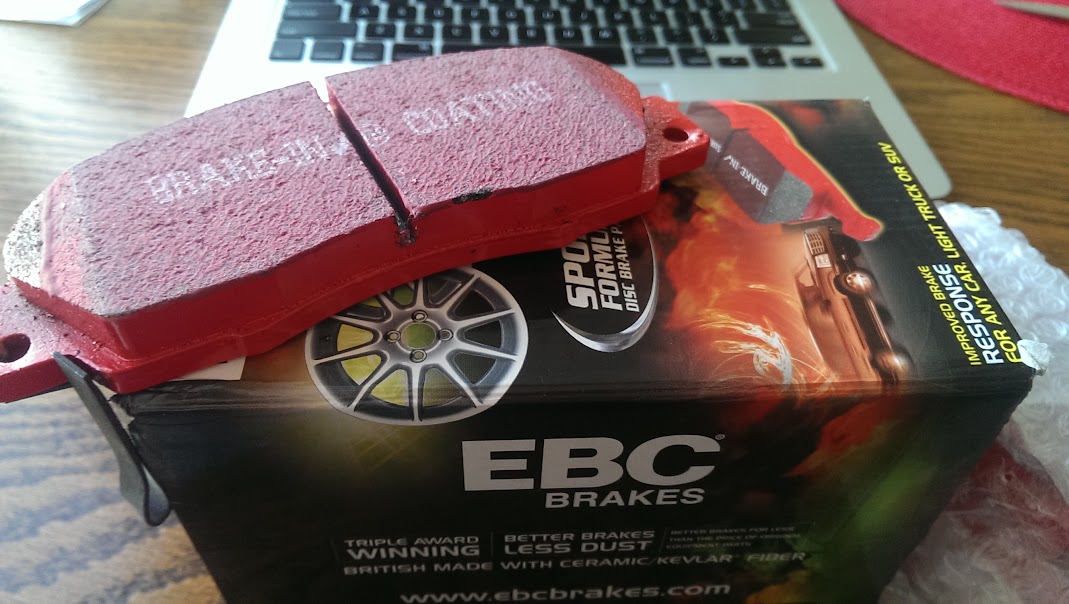
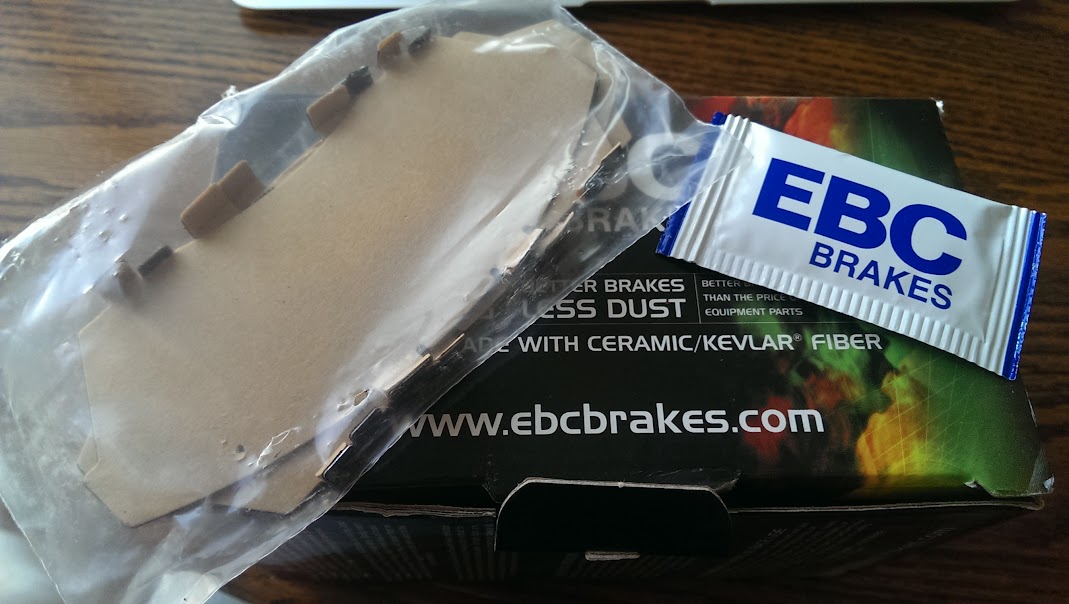
First I had to fix brakes. Bought a set of PowerSlot rotors and Hawk HPS pads. That would suffice for now (street/canyon runs);


Also set of Bilsteins and Street anti-sway bars from Dali were next. Don't have a bench and had to do it on the garage floor. Also never mind rusty hub - it was cleaned later


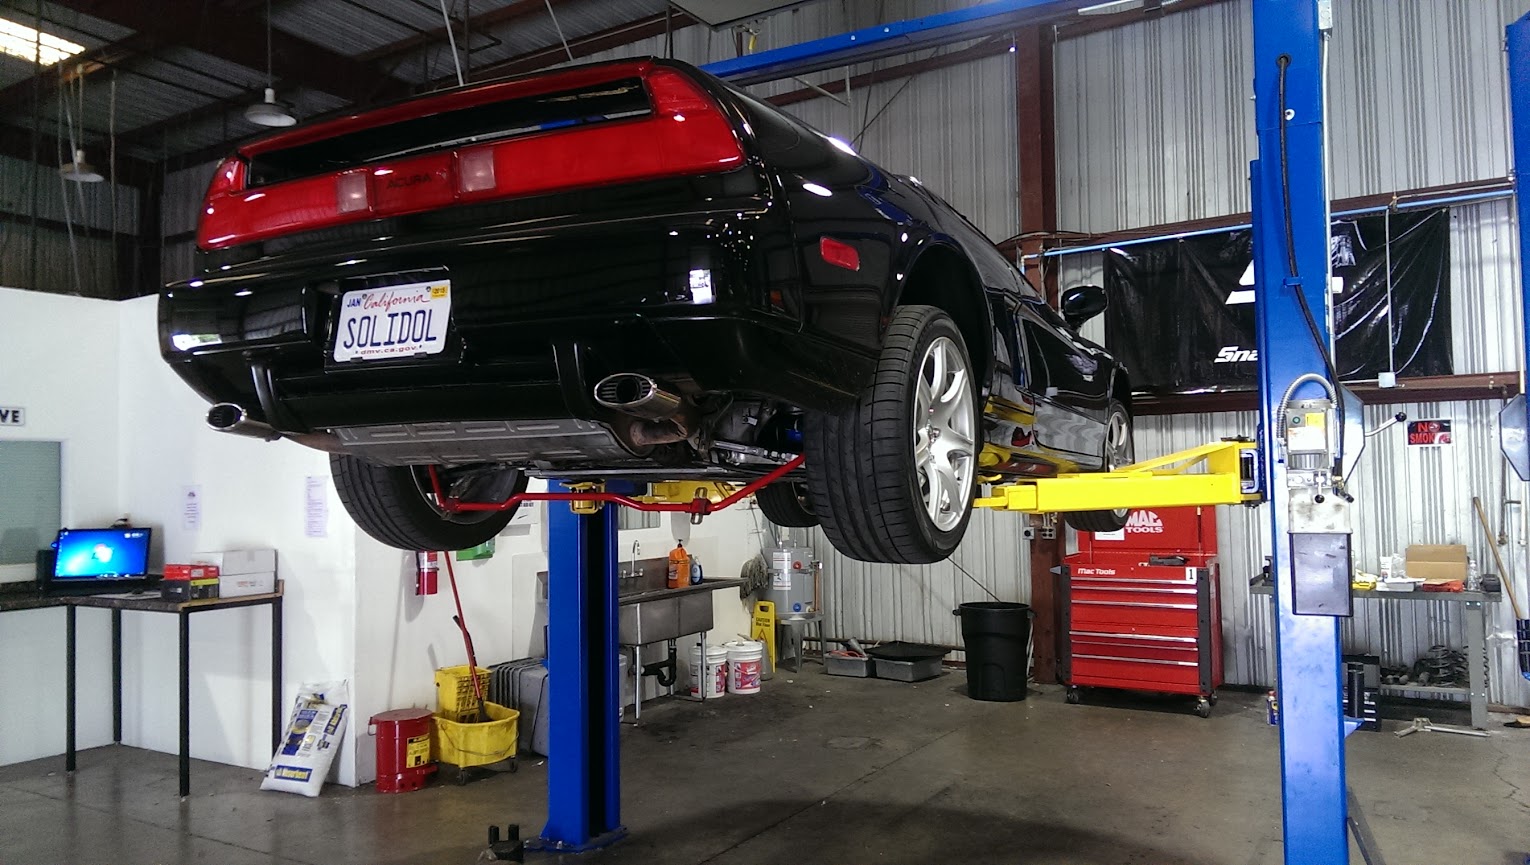
After ditching stock wheels I picked up set of Regamasters 17/18 and this is how I drove it for next 4-5 thousand miles
Alternator belt was too tight and apparently killed the bearing. Bought rebuilt denso from amazon


I also put battery quick disconnect

There was desperate need to reduce mass of inertia but I could not find anything that would work with stock clutch (Tilton was not available); And so I went with SOS 275. Lighter flywheel makes it more alive and rev happy. But not to the extreme point when rotation speed drops too quickly. Old clutch wasn't too bad. But springs were tired and few were loose.


I wanted to go to back to 91 and see how it handled with 91-93 wheels. Front suspension became more responsive for sure


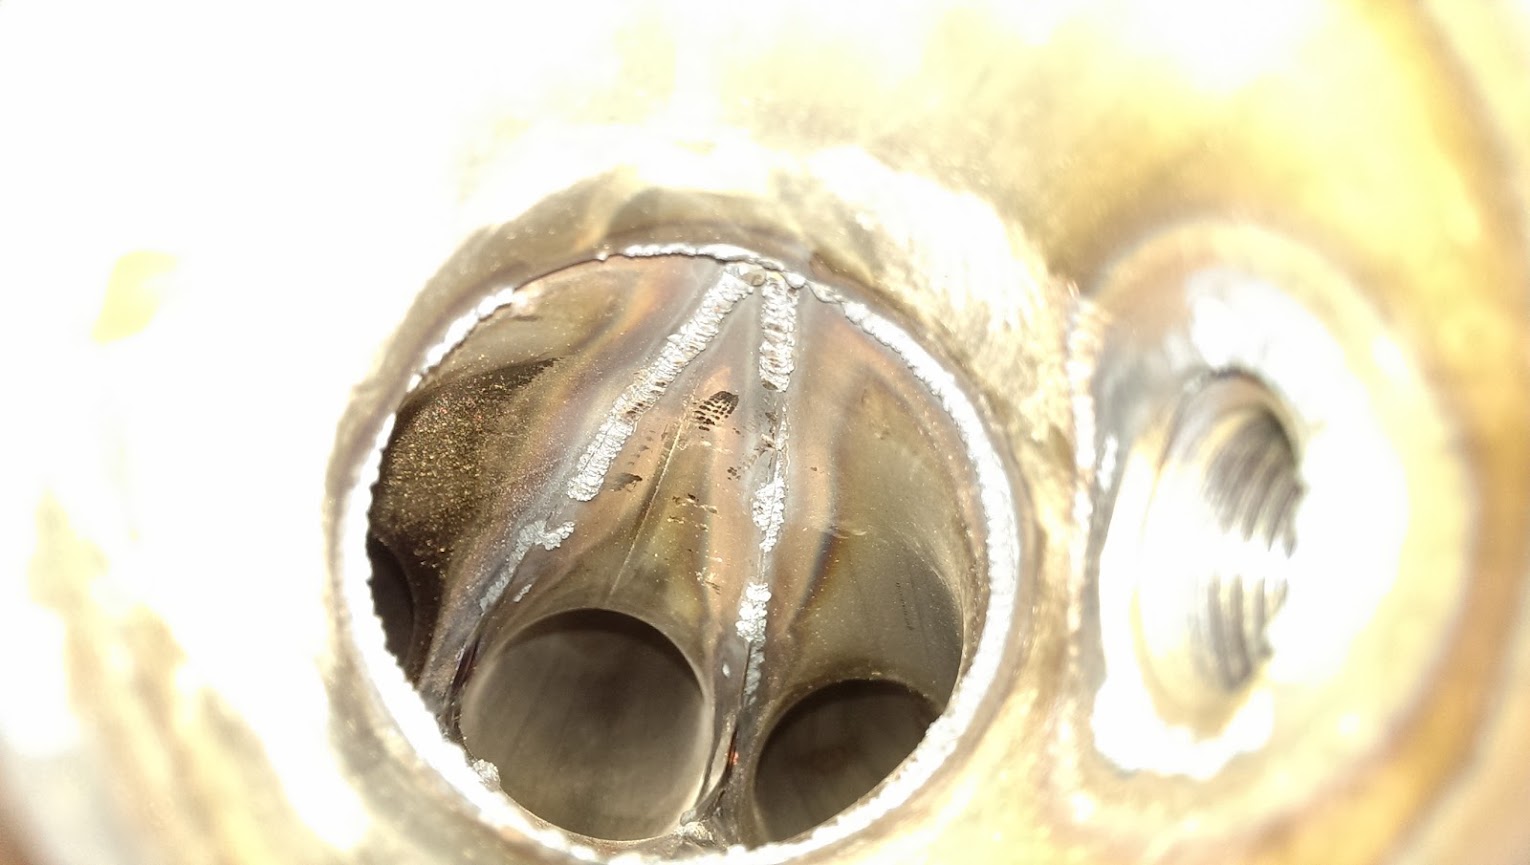
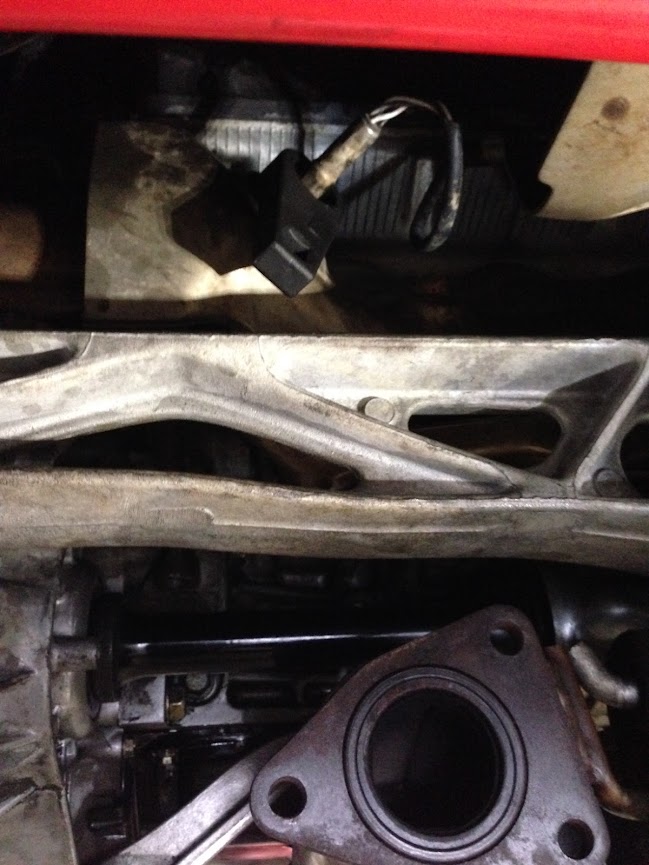
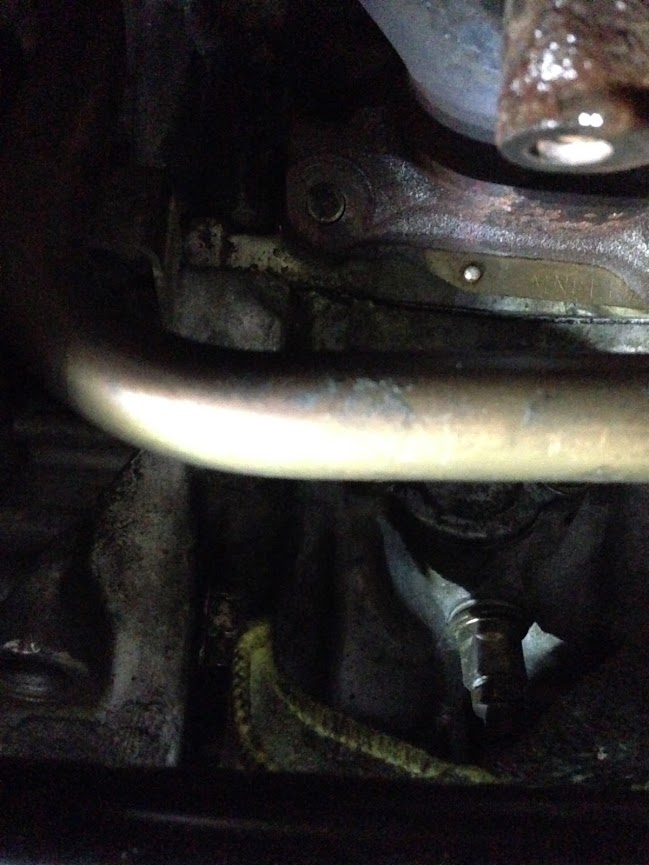
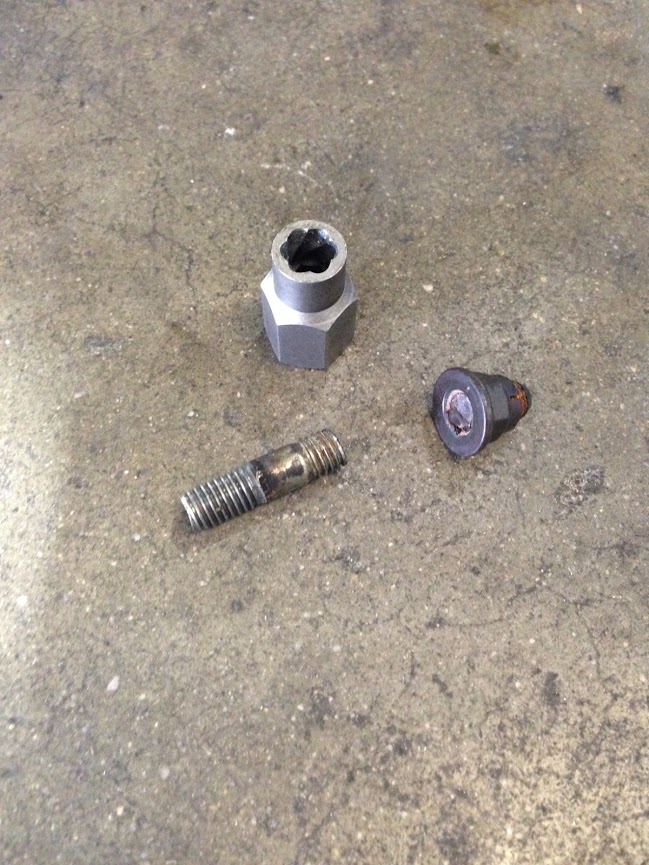
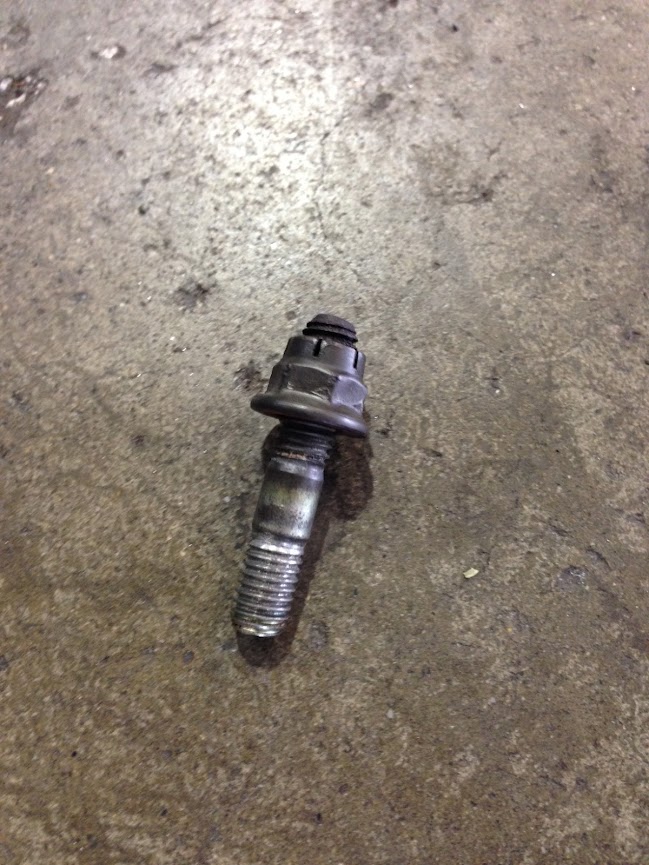
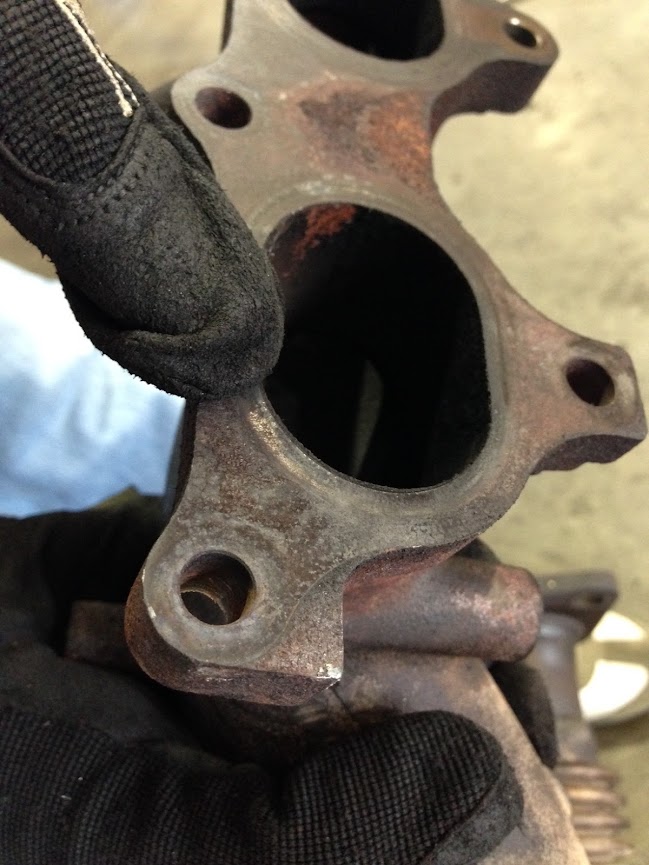
I was hearing flapping noise on deceleration and decided to check VVIS. Two screws were loose enough to cause free play for two valves. I decided not to put it back in and bought shorter bolts from SOS to get rid of VVIS. I will put it back when time permits as I don't have plans to boost it.


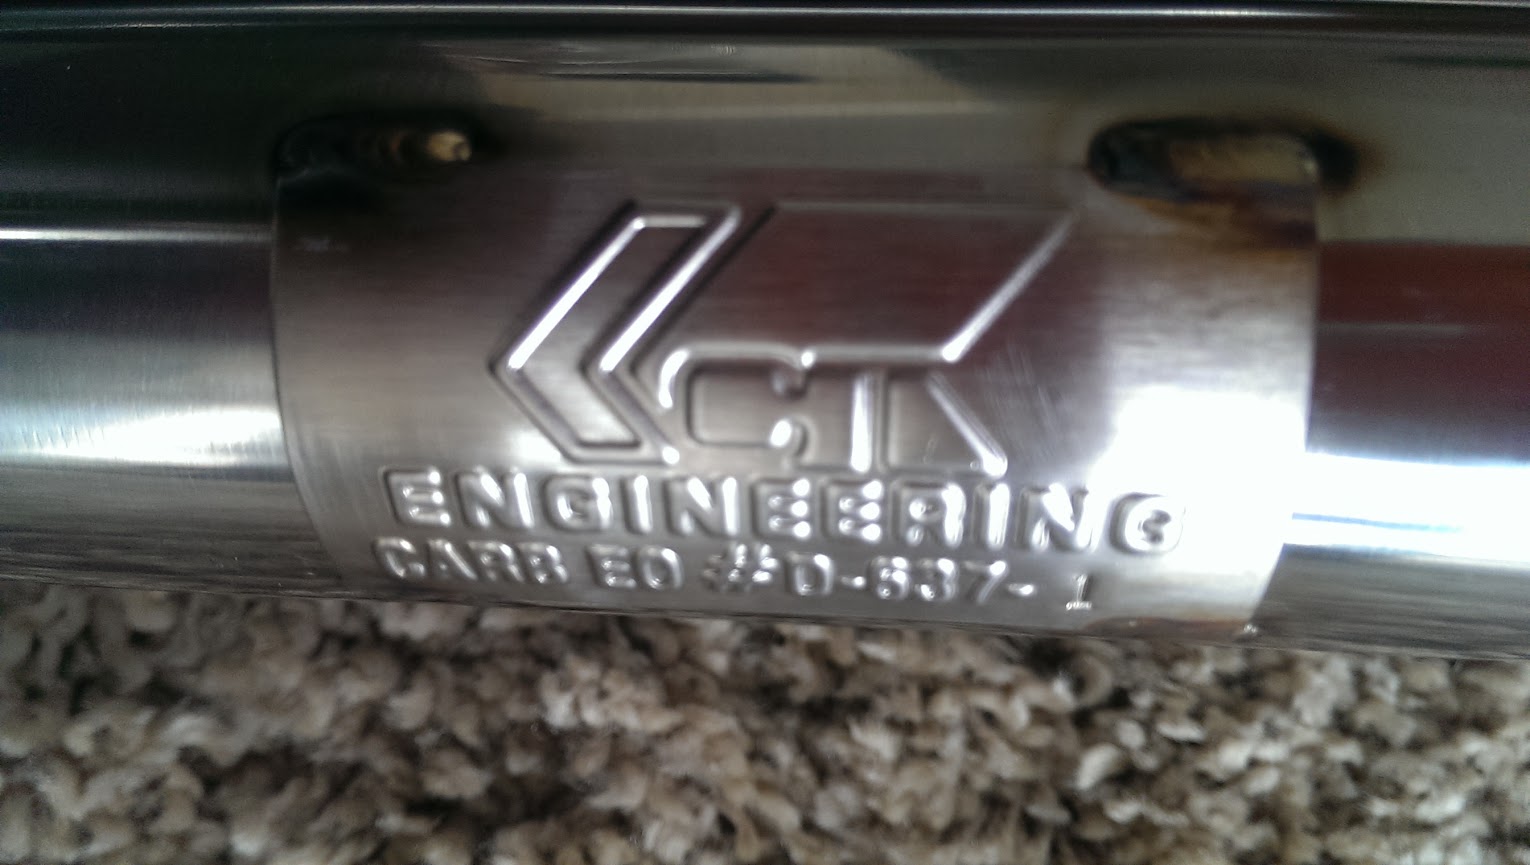
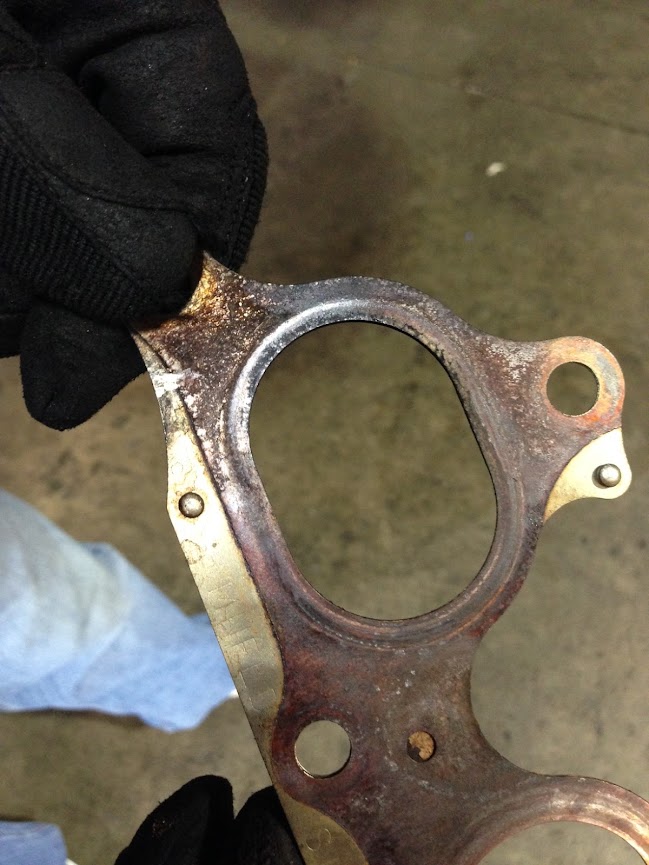
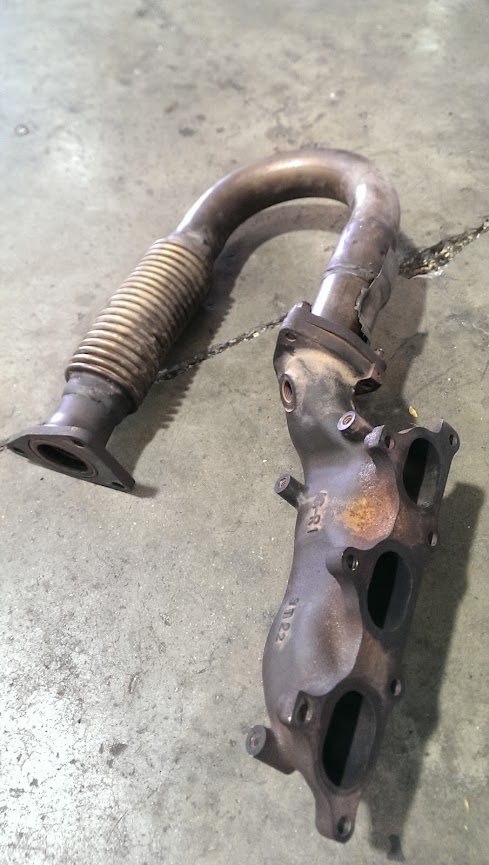
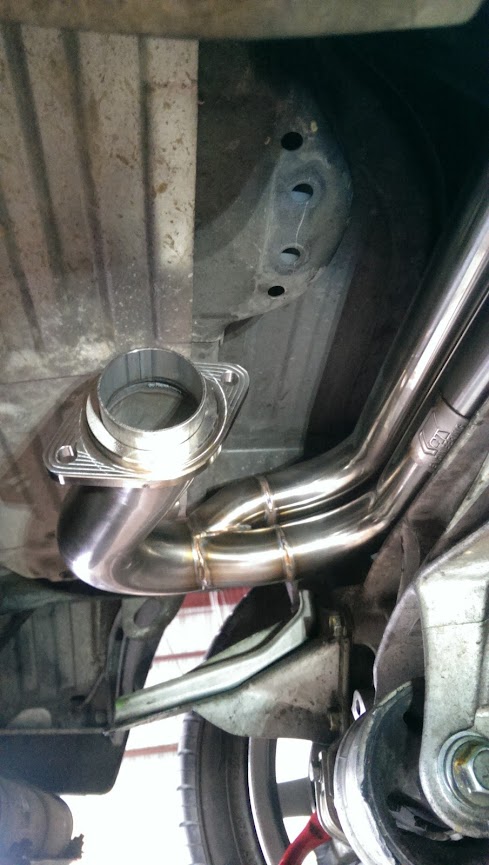
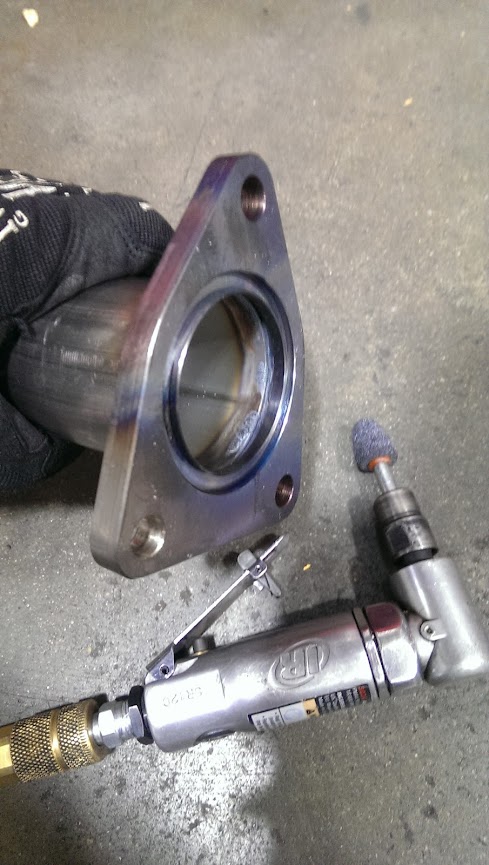
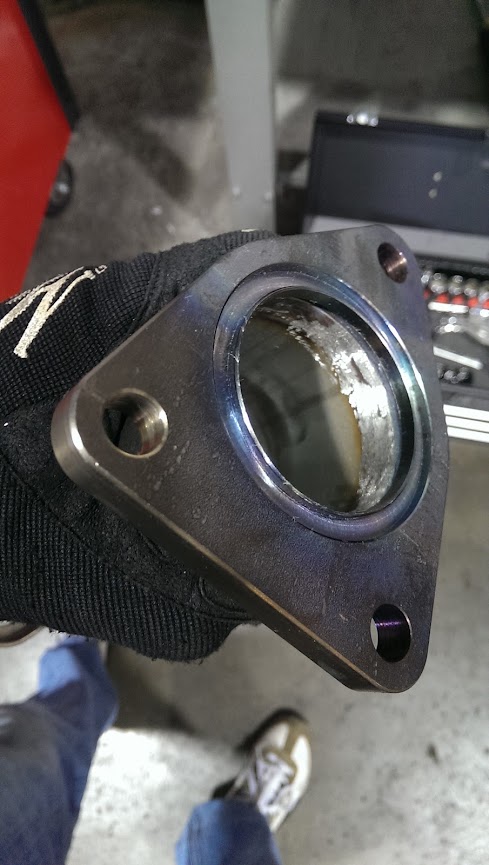
I was trying to get rid of heavy exhaust and decided to try Pride V2. Loved the sound but it was too much drone so I sold it and back to stock for now


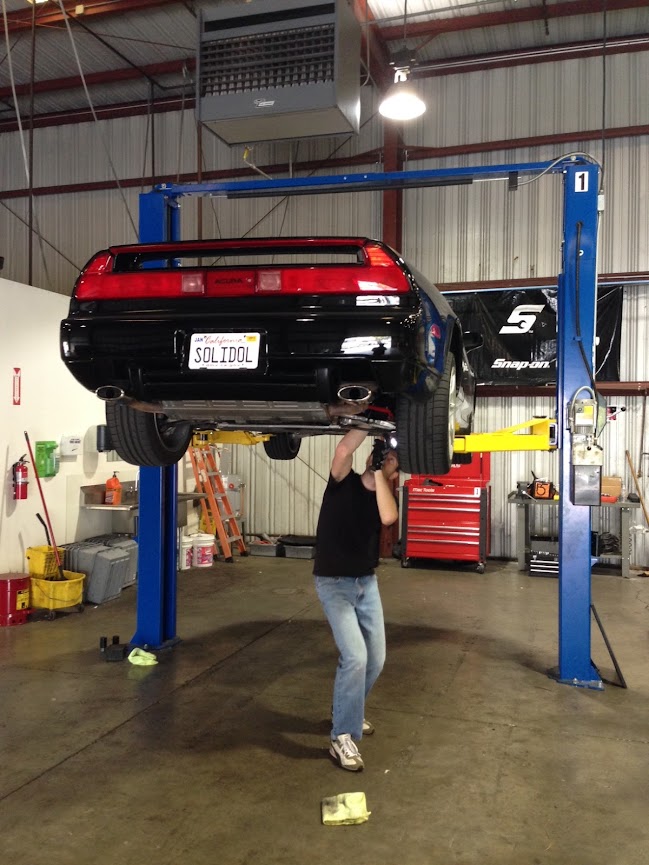
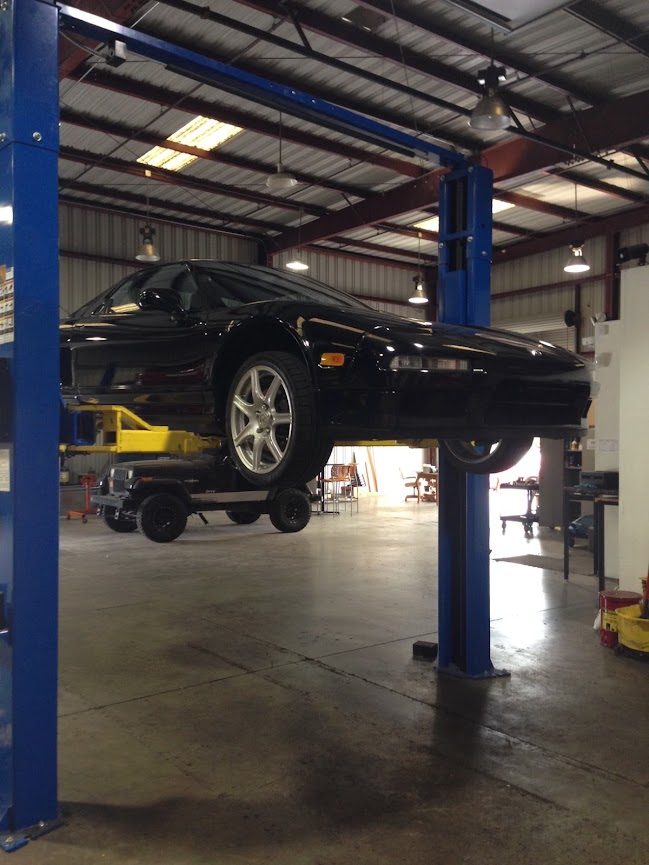
WhiteNSX kit installed. It does not look blue in reality. It's probably just bad camera work

I wanted to try Carbon6 clamps and after 2-3k miles I'm definitely not coming back. No need for heavy track load even on the street it makes a difference. Never mind scratched anti-sway bar - it was clear coated after hitting brake duct for some time


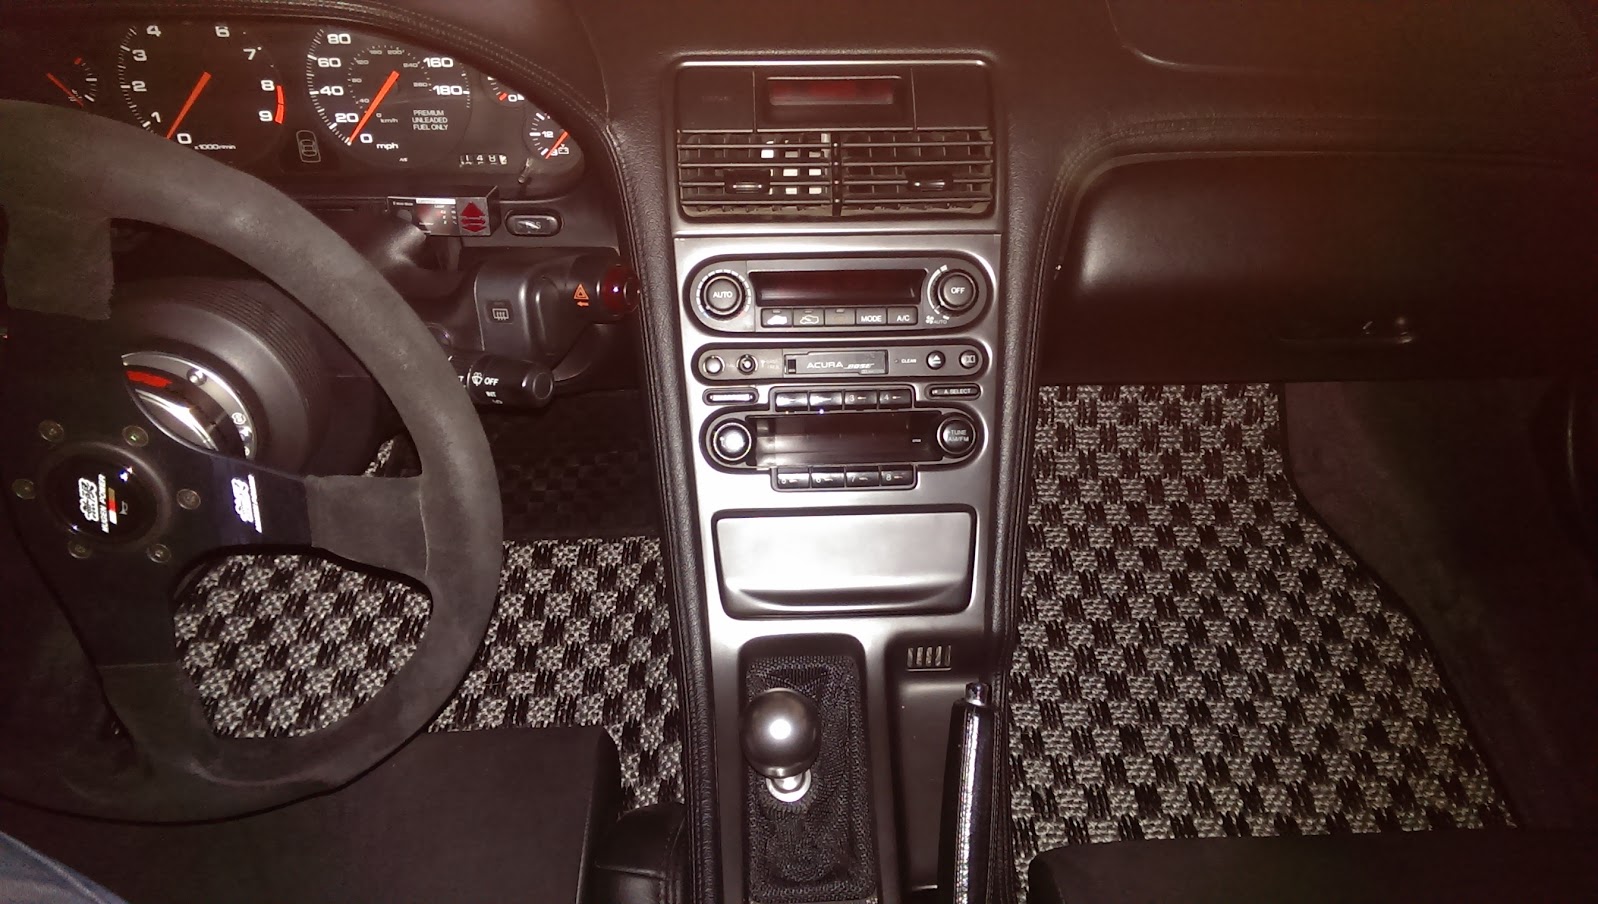
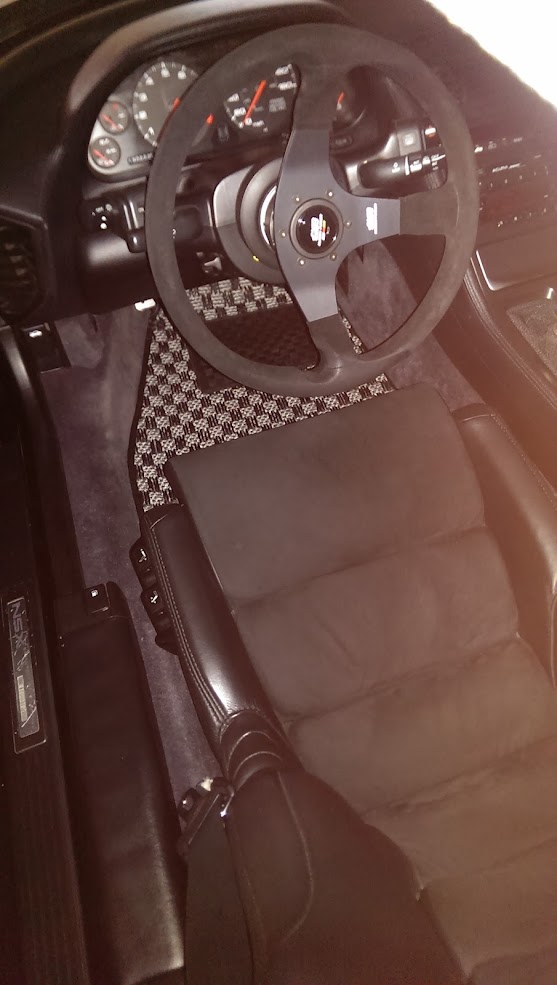
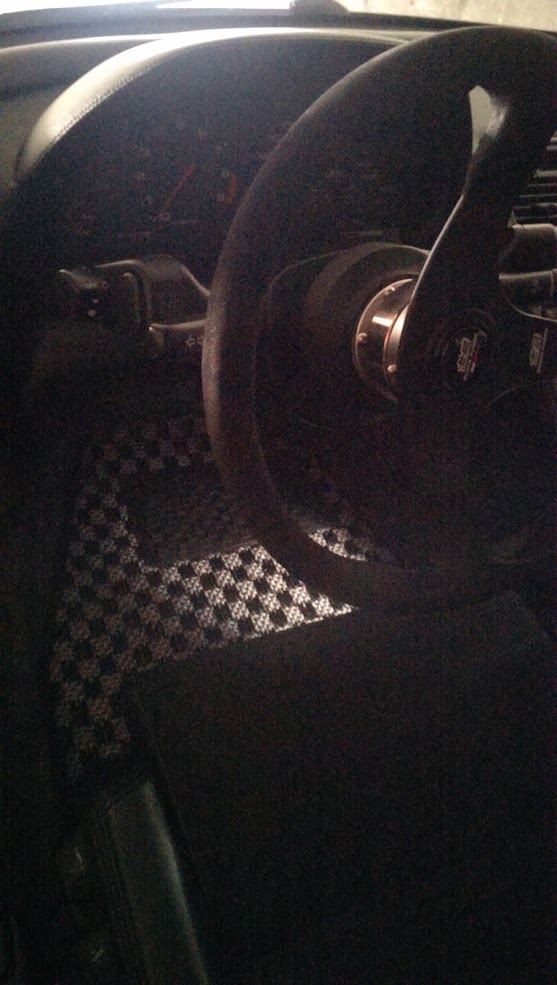
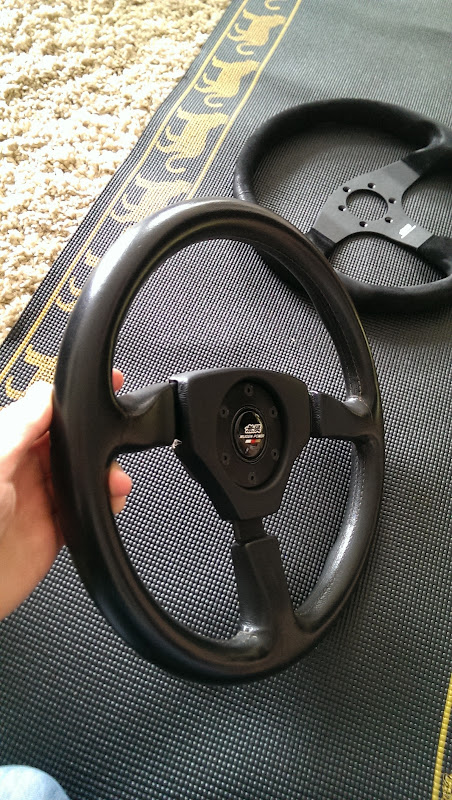
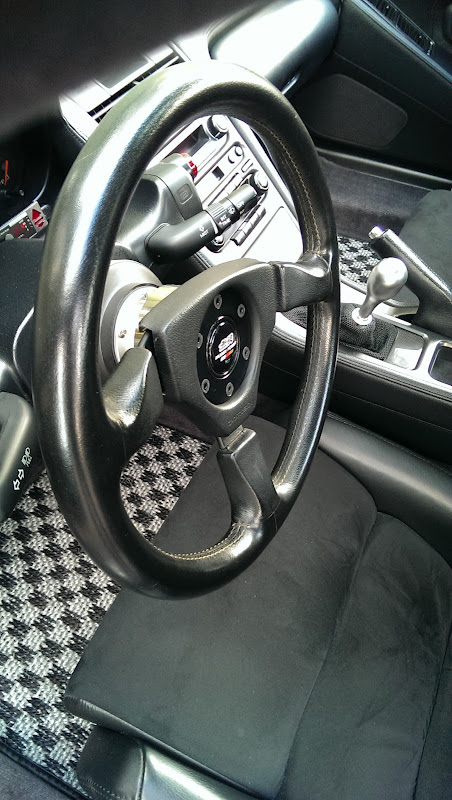
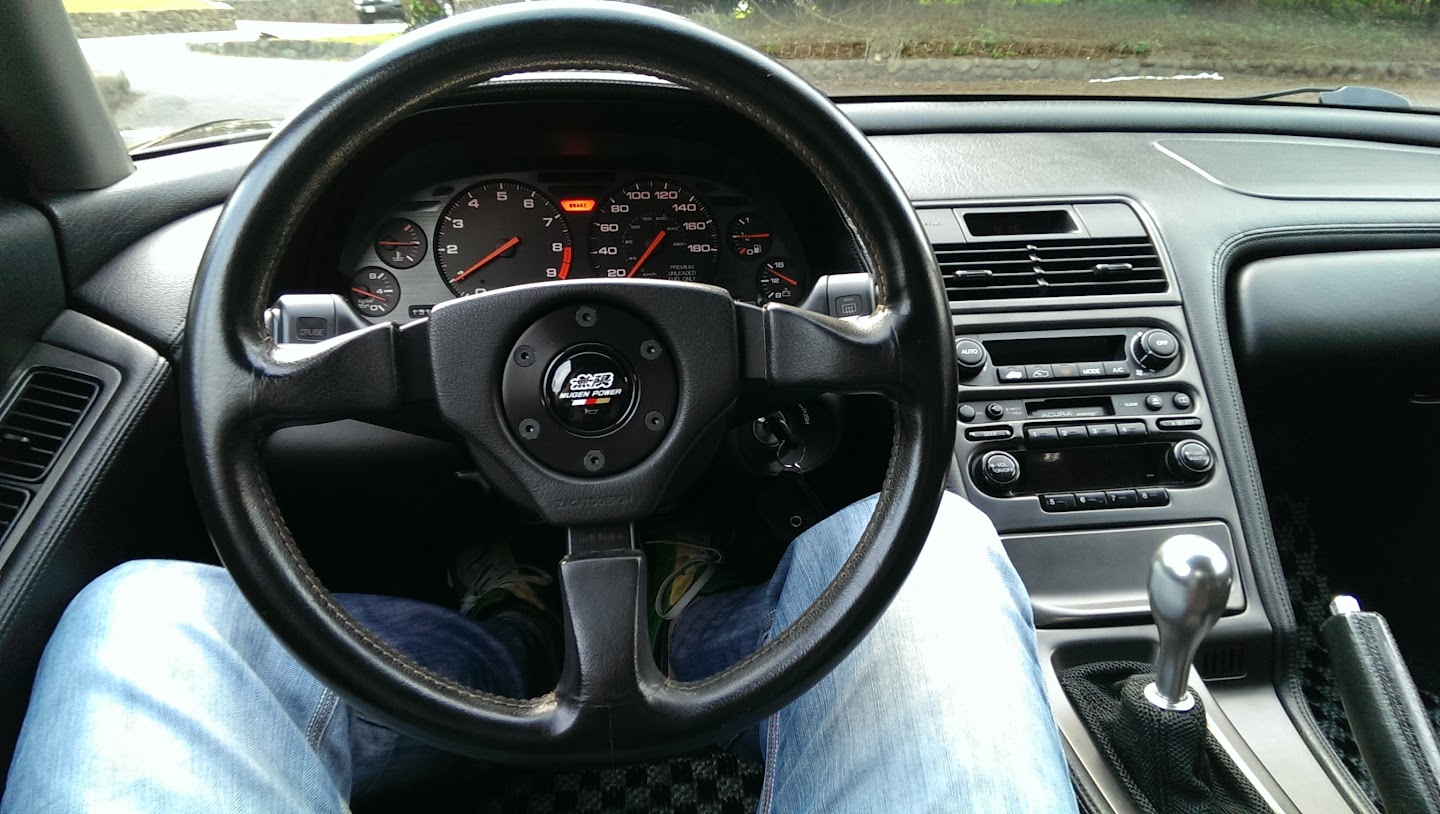
I never liked OEM steering wheel. It wasn't good feeling to ditch the airbag but this Mugen indeed transformed the feel

More to come as I try to make it lighter and more responsive.
After close to two years of making small tweaks and changes as well as few more to come up very soon - I figured it's finally worth to post under the build section. I have always been "OEM is the way to go" kind of person. Never chased horsepower and will always take balance and liveliness over it. And with NSX it's the same. Great platform and excellent engineering by Honda folks. Yet there are few things I wanted to change to make it close to what I feel NA NSX should be.
I'm huge fan of light cars and coming from S2000 I felt like I need to drop some weight here and there. This is still ongoing as quite few things are just plain overpriced for what they are.
This is the first picture when we brought it home
I have anticipated few fixes to be done right away and there were no surprises with the shape of the car. Well maybe except mice poop on the intake manifold.
First I had to fix brakes. Bought a set of PowerSlot rotors and Hawk HPS pads. That would suffice for now (street/canyon runs);
Also set of Bilsteins and Street anti-sway bars from Dali were next. Don't have a bench and had to do it on the garage floor. Also never mind rusty hub - it was cleaned later
After ditching stock wheels I picked up set of Regamasters 17/18 and this is how I drove it for next 4-5 thousand miles
Alternator belt was too tight and apparently killed the bearing. Bought rebuilt denso from amazon
I also put battery quick disconnect
There was desperate need to reduce mass of inertia but I could not find anything that would work with stock clutch (Tilton was not available); And so I went with SOS 275. Lighter flywheel makes it more alive and rev happy. But not to the extreme point when rotation speed drops too quickly. Old clutch wasn't too bad. But springs were tired and few were loose.
I wanted to go to back to 91 and see how it handled with 91-93 wheels. Front suspension became more responsive for sure
I was hearing flapping noise on deceleration and decided to check VVIS. Two screws were loose enough to cause free play for two valves. I decided not to put it back in and bought shorter bolts from SOS to get rid of VVIS. I will put it back when time permits as I don't have plans to boost it.
I was trying to get rid of heavy exhaust and decided to try Pride V2. Loved the sound but it was too much drone so I sold it and back to stock for now
WhiteNSX kit installed. It does not look blue in reality. It's probably just bad camera work
I wanted to try Carbon6 clamps and after 2-3k miles I'm definitely not coming back. No need for heavy track load even on the street it makes a difference. Never mind scratched anti-sway bar - it was clear coated after hitting brake duct for some time
I never liked OEM steering wheel. It wasn't good feeling to ditch the airbag but this Mugen indeed transformed the feel
More to come as I try to make it lighter and more responsive.
Last edited:
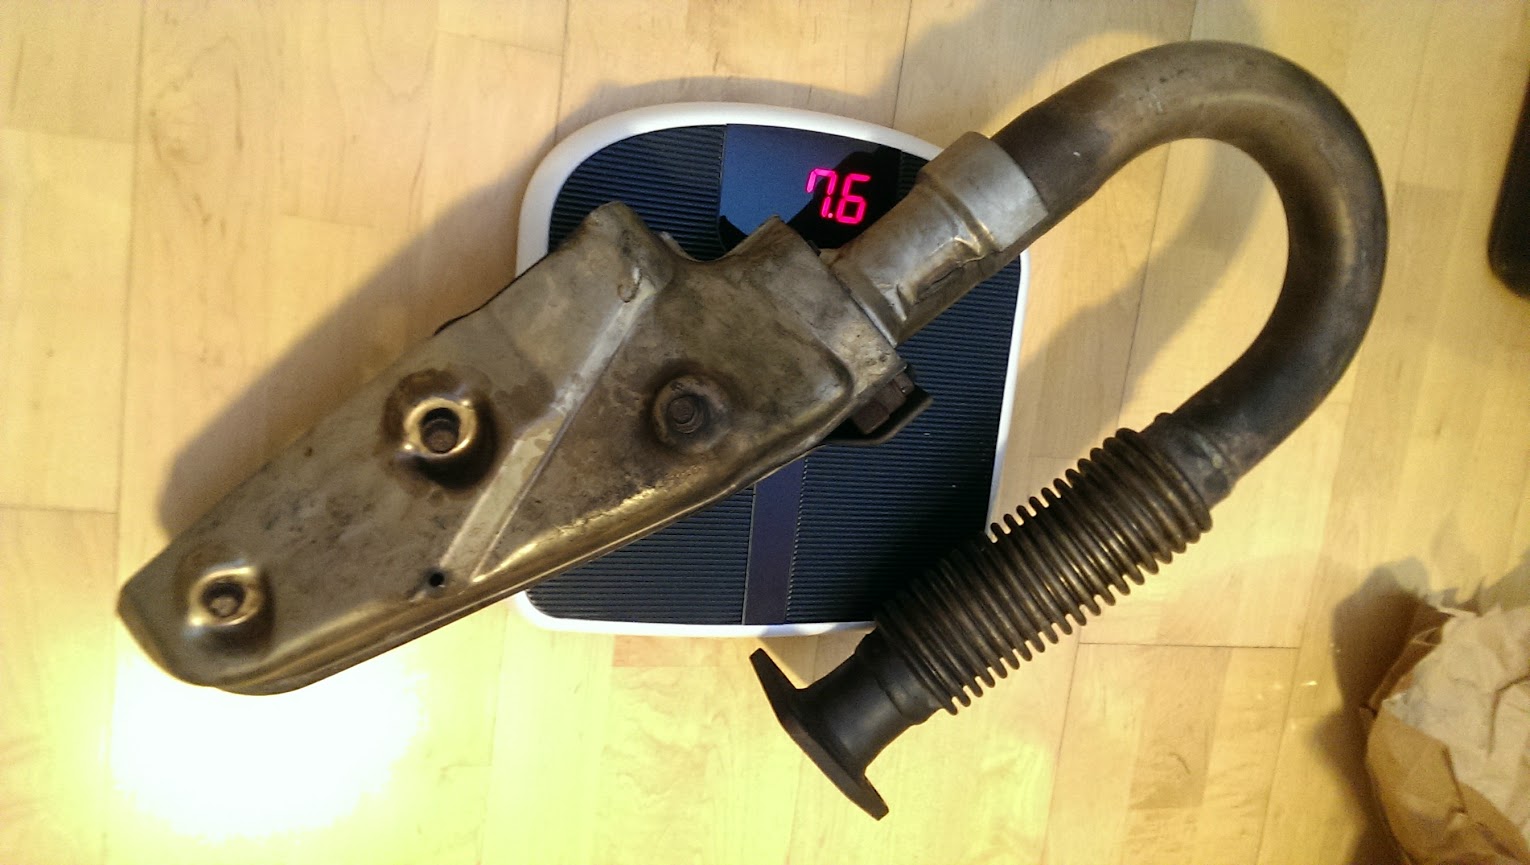


") ~3lb more than oem
~3lb more than oem