Hello everyone,
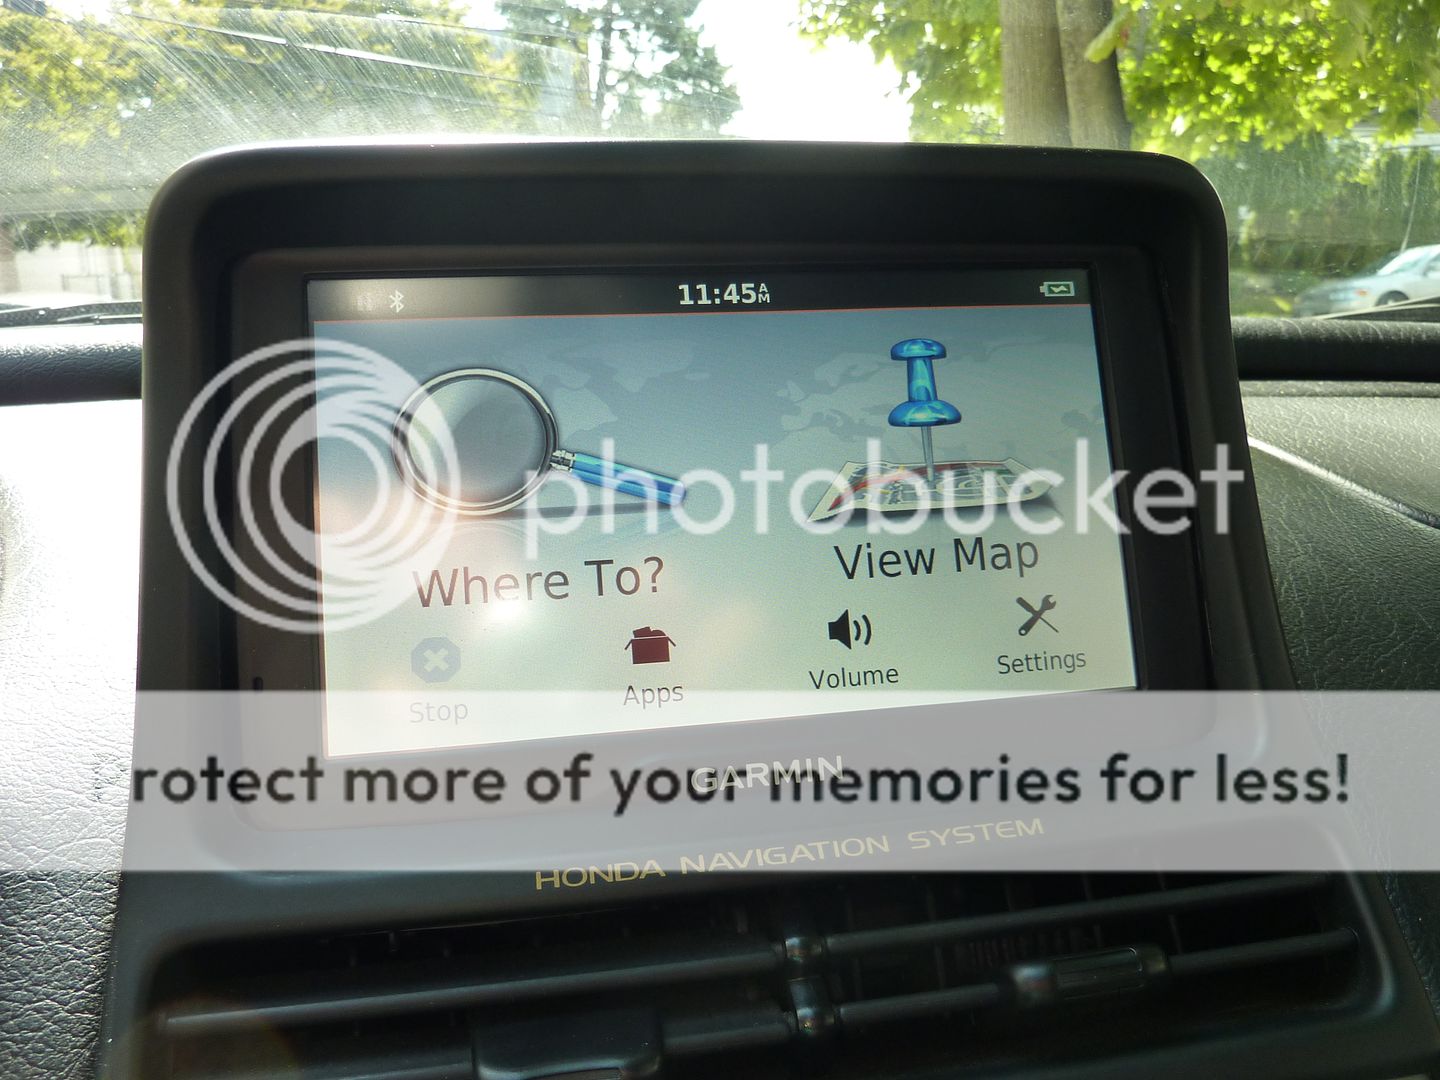
My old Pioneer DVD GPS system just doesn’t meet today’s need and speed. I’ve been thinking of changing this but have not found something that fits my purpose. My must haves are backup camera capability but the ease of installation, size, lifetime map & traffic, etc. With the new Garmin 2798LMT 7" with Wireless Backup Camera, I began my project.
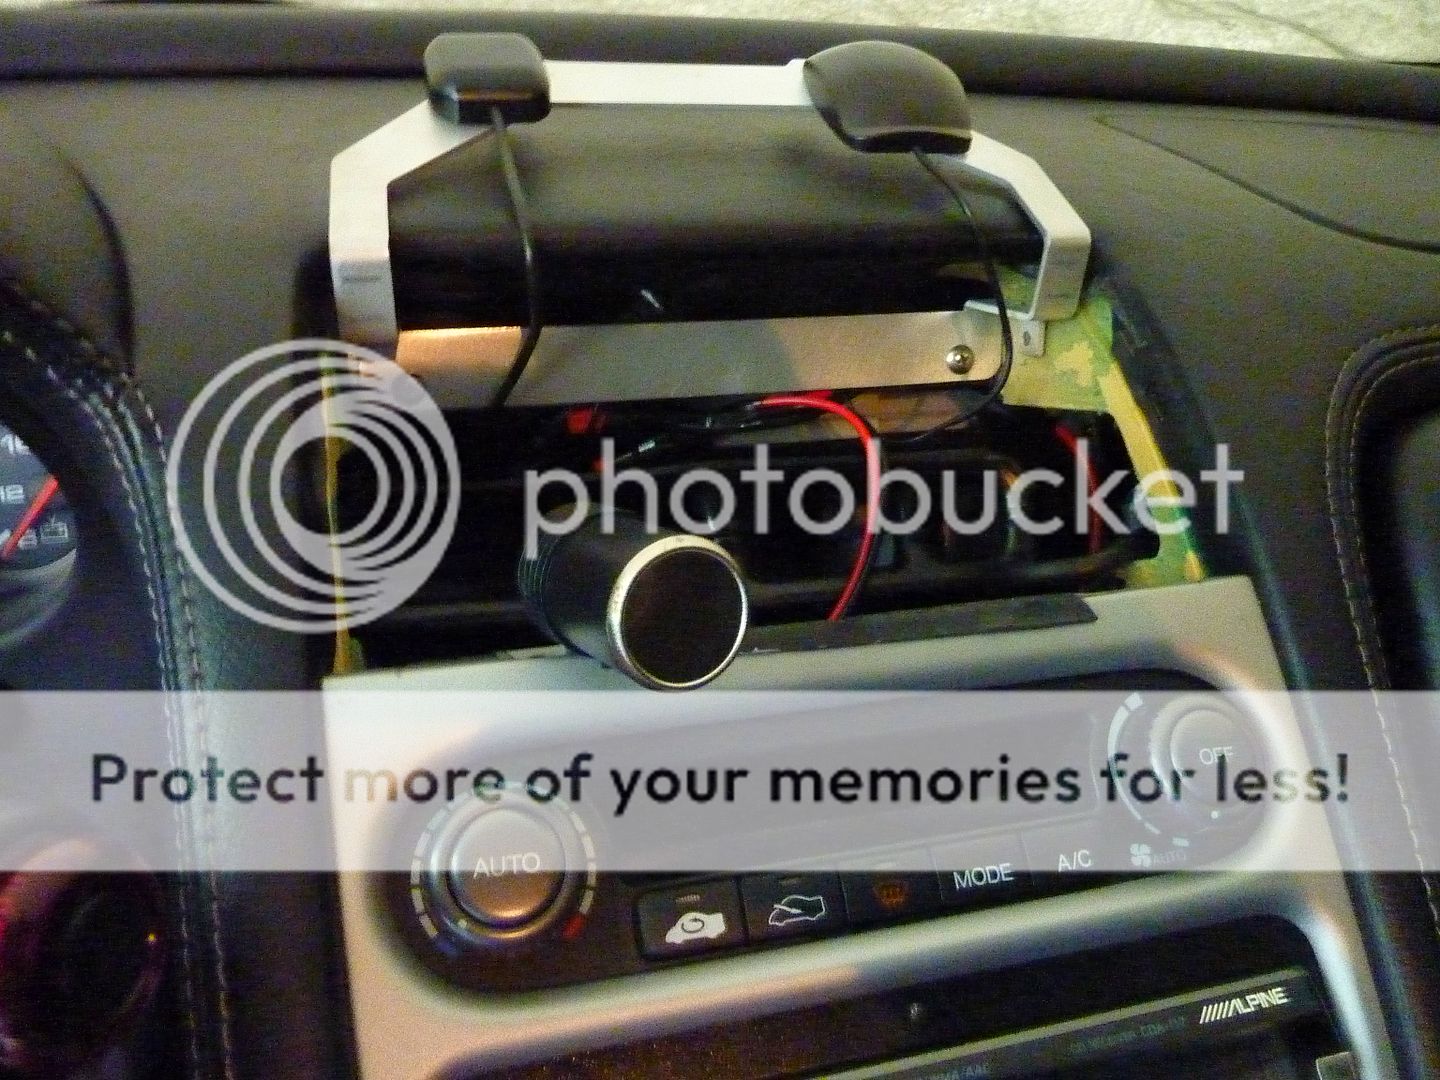
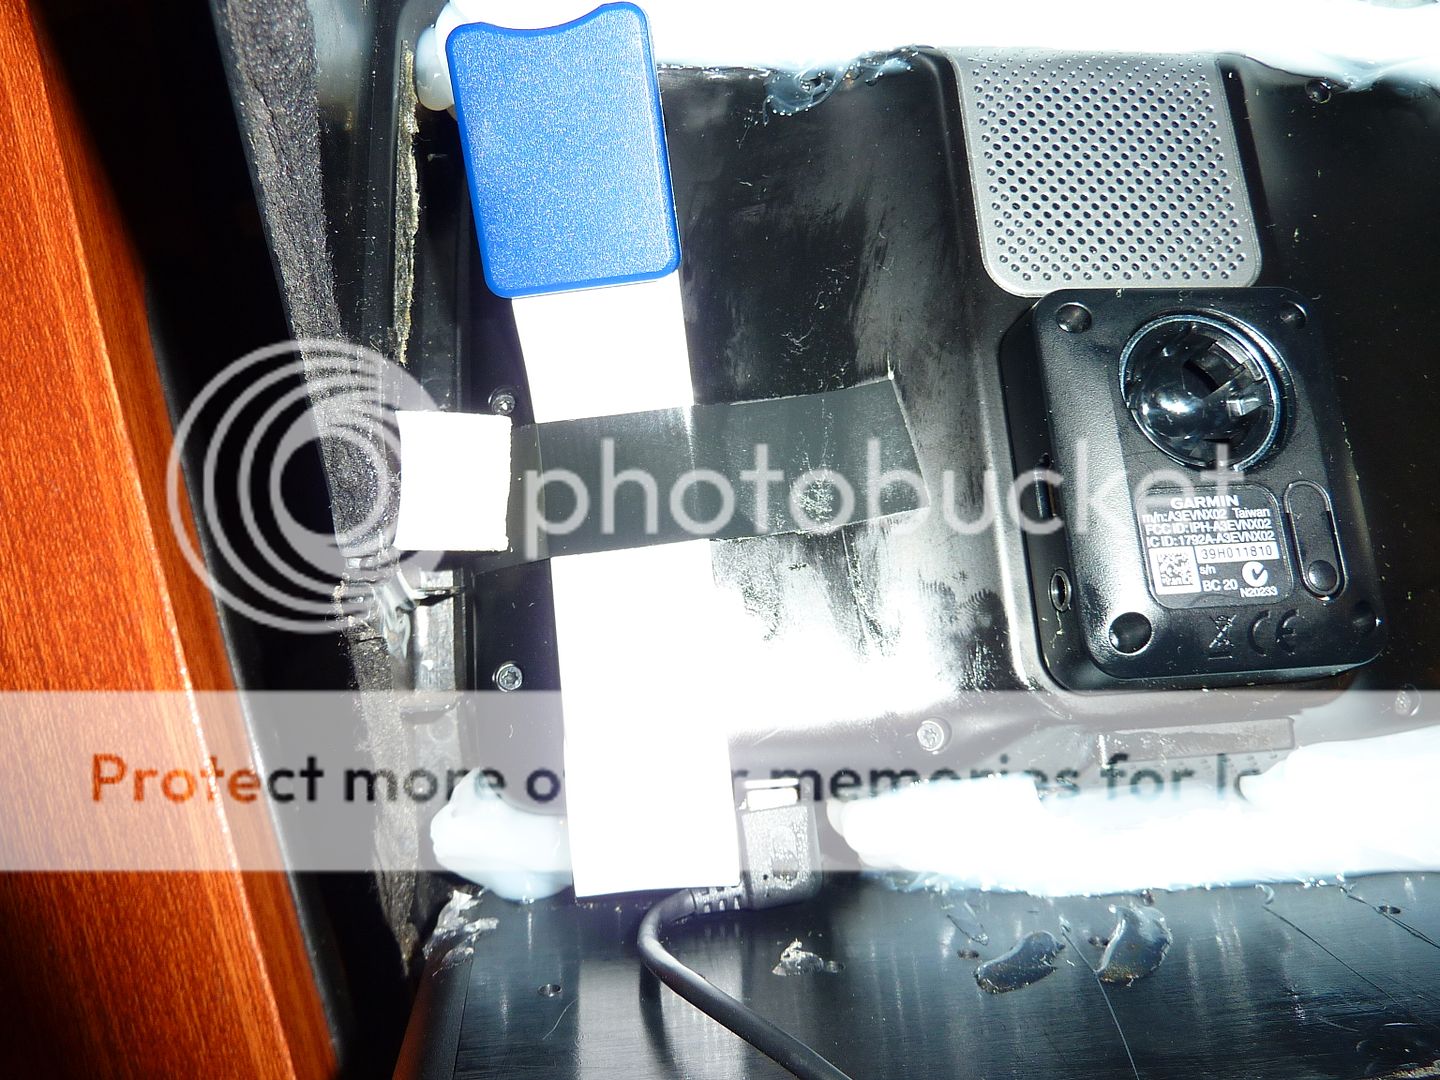
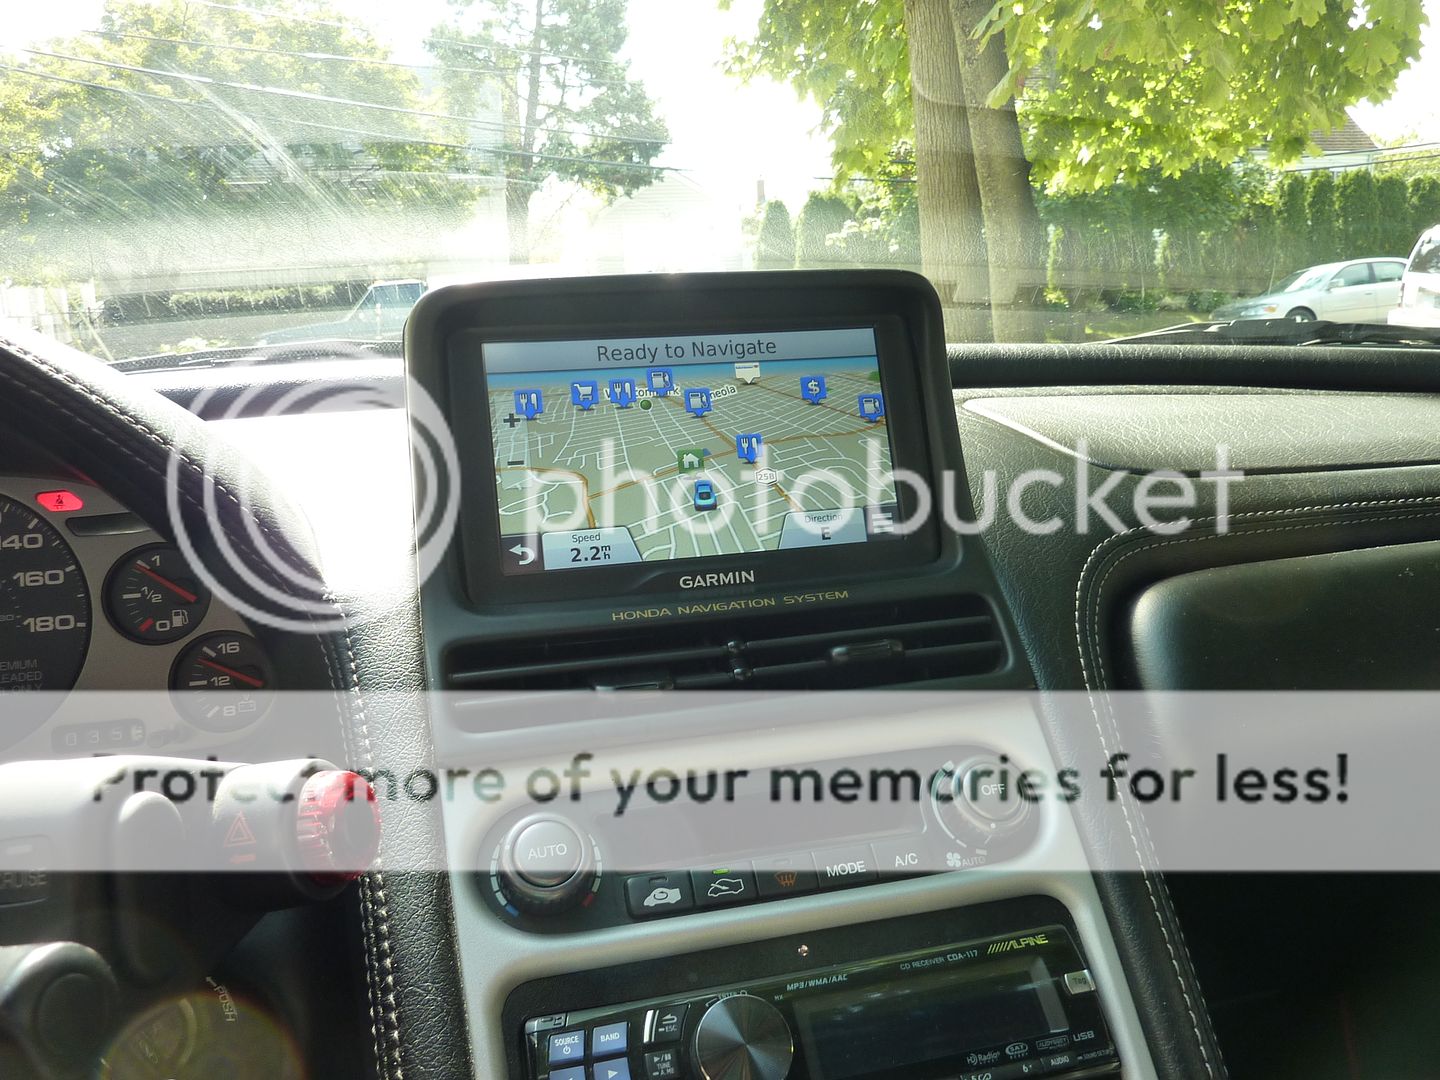
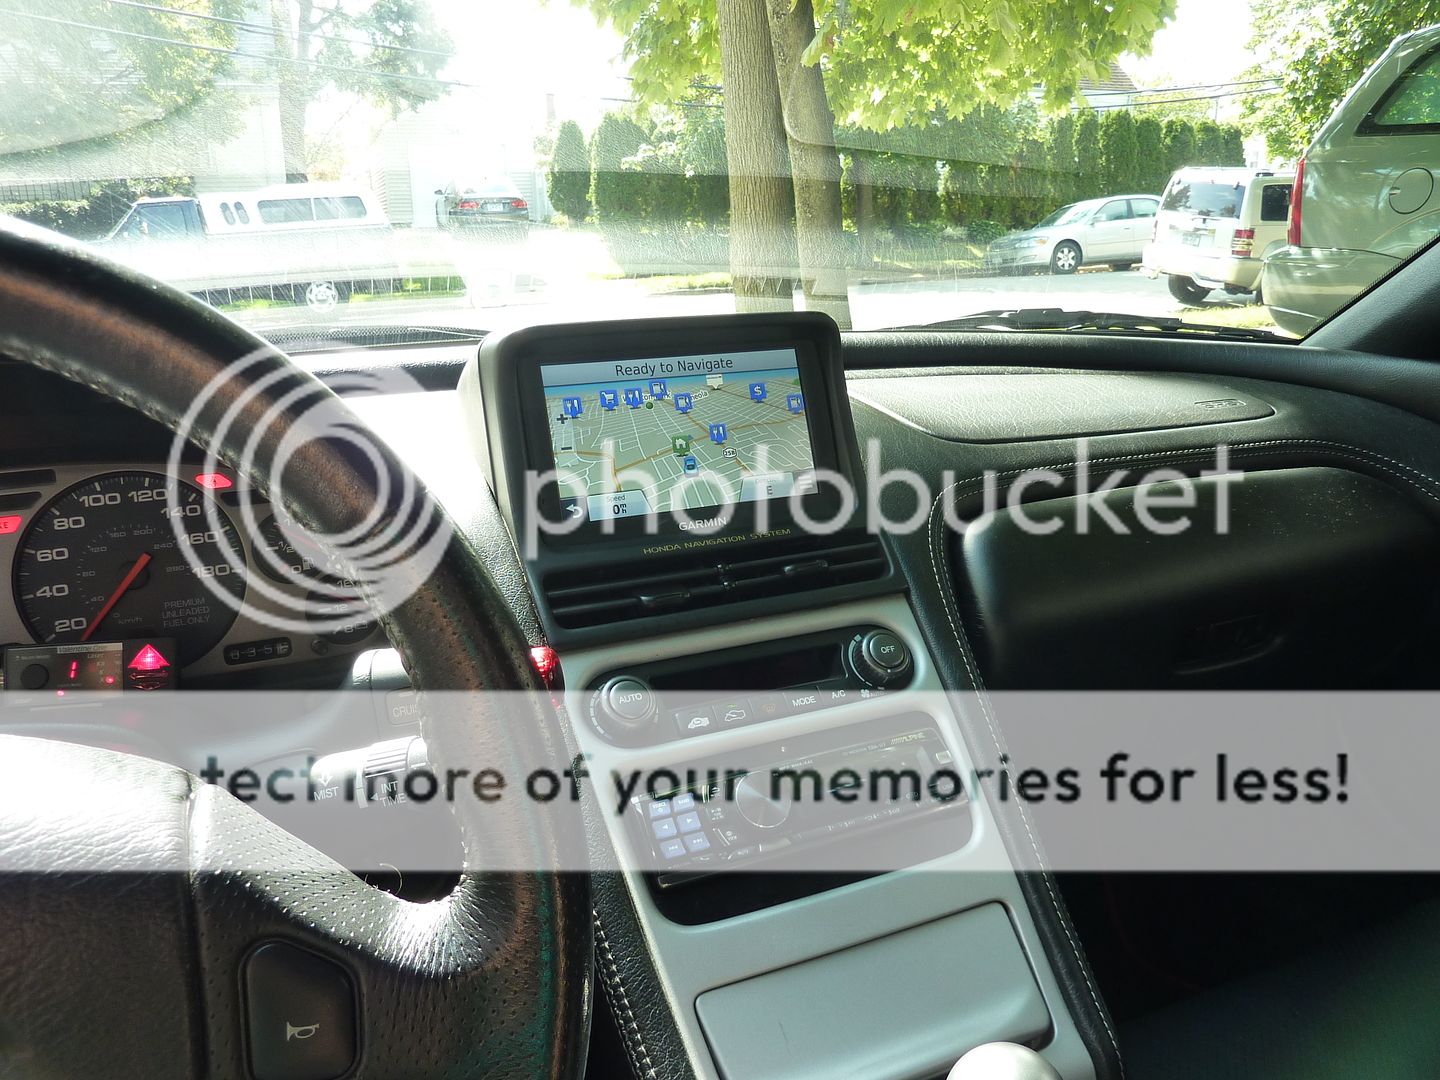
I had a few obstacles, making sure I can run a separate cigarette outlet from the c911 outlet. Thanks to all the DIY’er, I was able to get this done with ease. Next was to ensure I can get good map signal. I tested the Garmin behind the NavPod and was able to get great reception. Another was to be able to get traffic signal, which did not work well. I went and purchased a traffic signal extender which work great. So there are the capability of enlarge storage with MicroSDHC, another extension was purchased. And of course, the USB connection for map updates, well, yes, another extension. With these extension, I now able to update the map without removing the Navpod but in order to add MicroSDHC, I will still need to remove the NavPod but that probably will not happen too often.
What I thought to be the most difficult turn out to be the easiest, the backup camera. This Garmin camera was the easiest I’ve ever seen. I don't need to go through all the grommet to get through the firewall, that might be easy for someone else but I just didn't want to go through that process. The wireless camera, although not as clear as solid connection but it beats having to put in so much work and I'm happy with the resoluiton of the output. Install the camera at the license plate spot then run the wire through the hole I have pictured. Then make sure to caulk it well so no water leak. Then all you have to do is tap into the live feed on the reverse lamp and ground the other wire to any screw that’s attached to the raw body. Connect the wireless transmitter and then place the transmitter next to the rear lamps snuggly or tape it if you want, mine was nice and snugged. Put all the carpet back and done! Note, don’t expect the backup camera going to be HD sharp, it’s not but it does server the job.
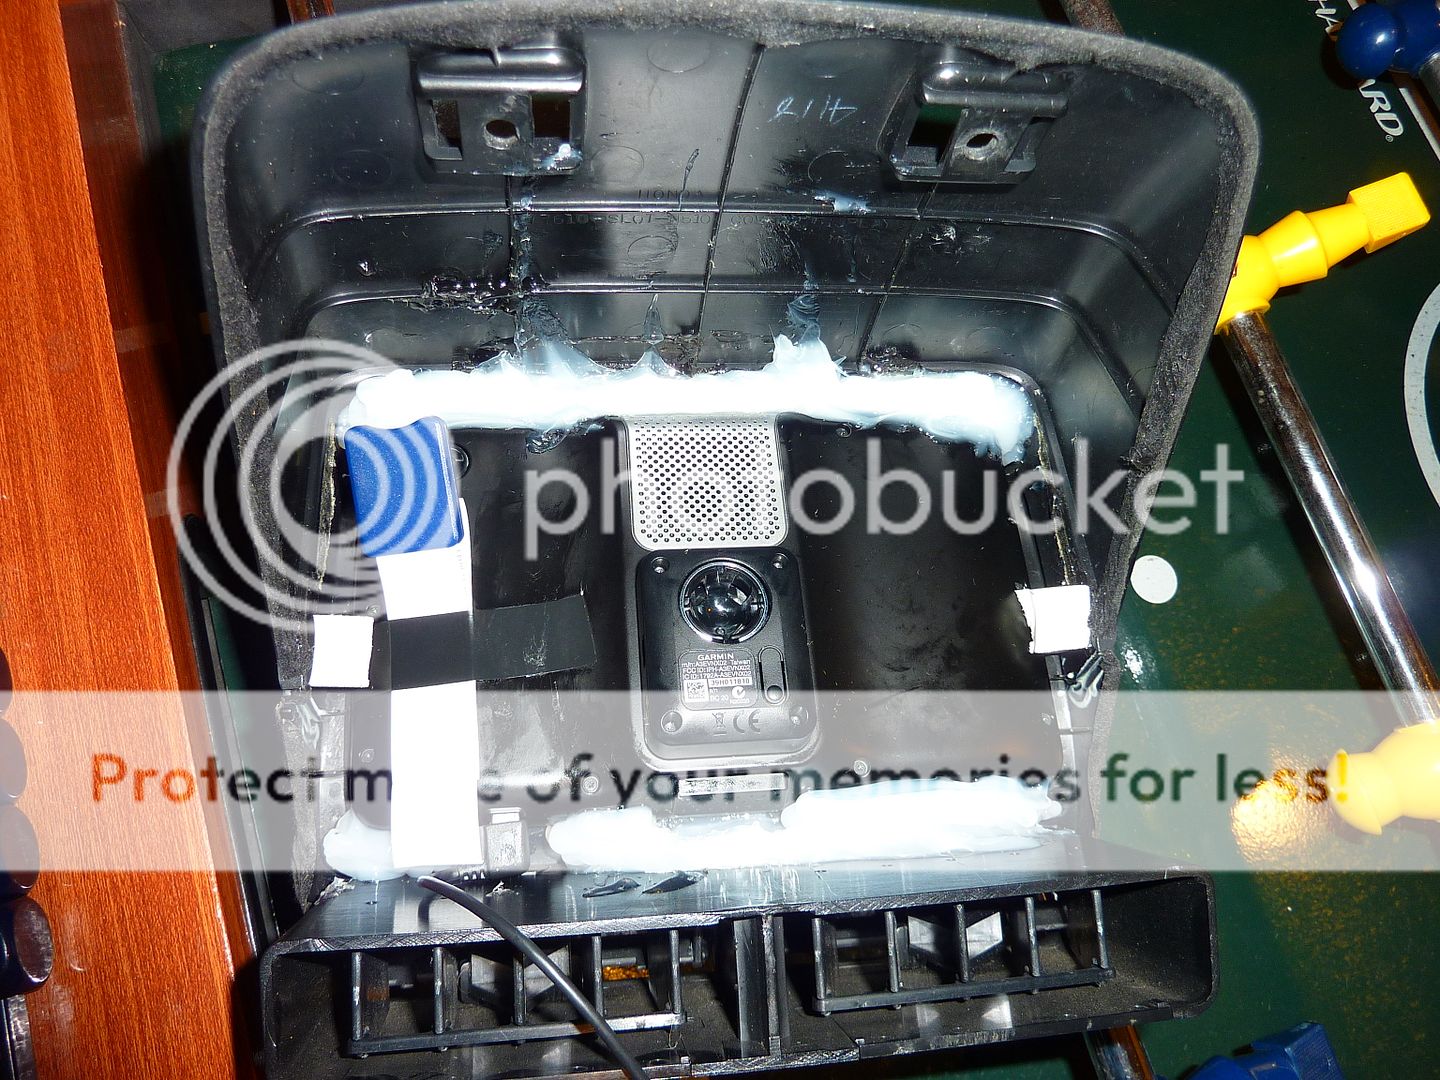
So with all these consideration, I began my assembly. Literally caulk everything together slowly. I’m no perfection so as long as it’s stable, I’m a happy camper! Here are all the pictures of my project and while I had the trunk open, I had hidden my amp on the side of the trunk so its stealth.
Enjoy!
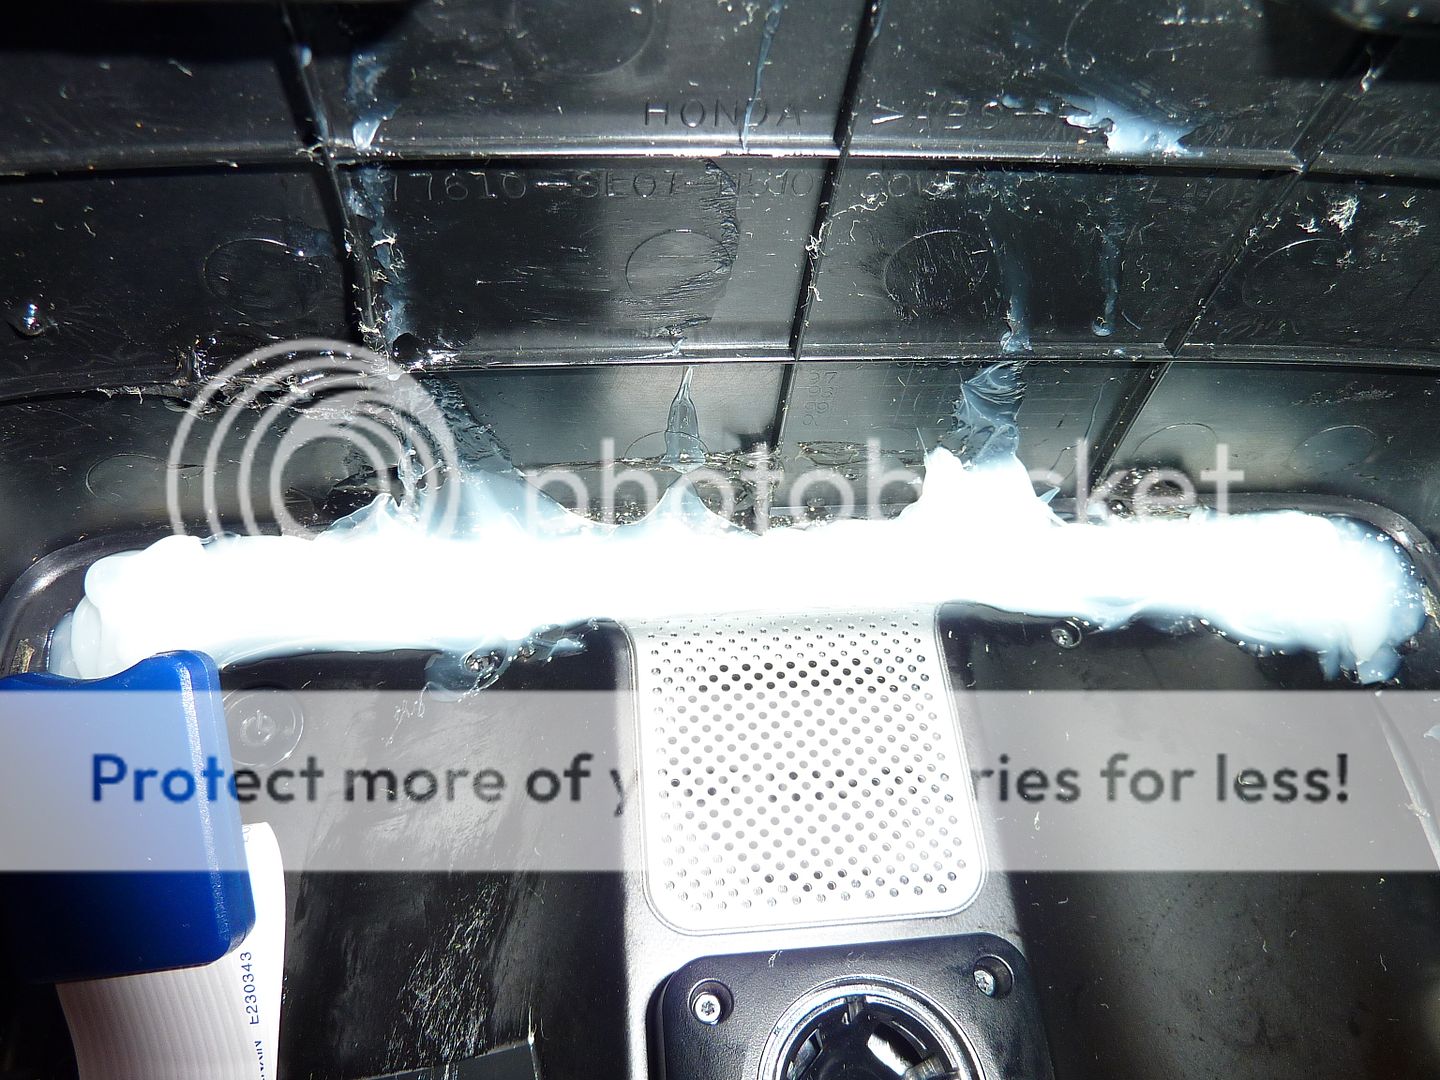
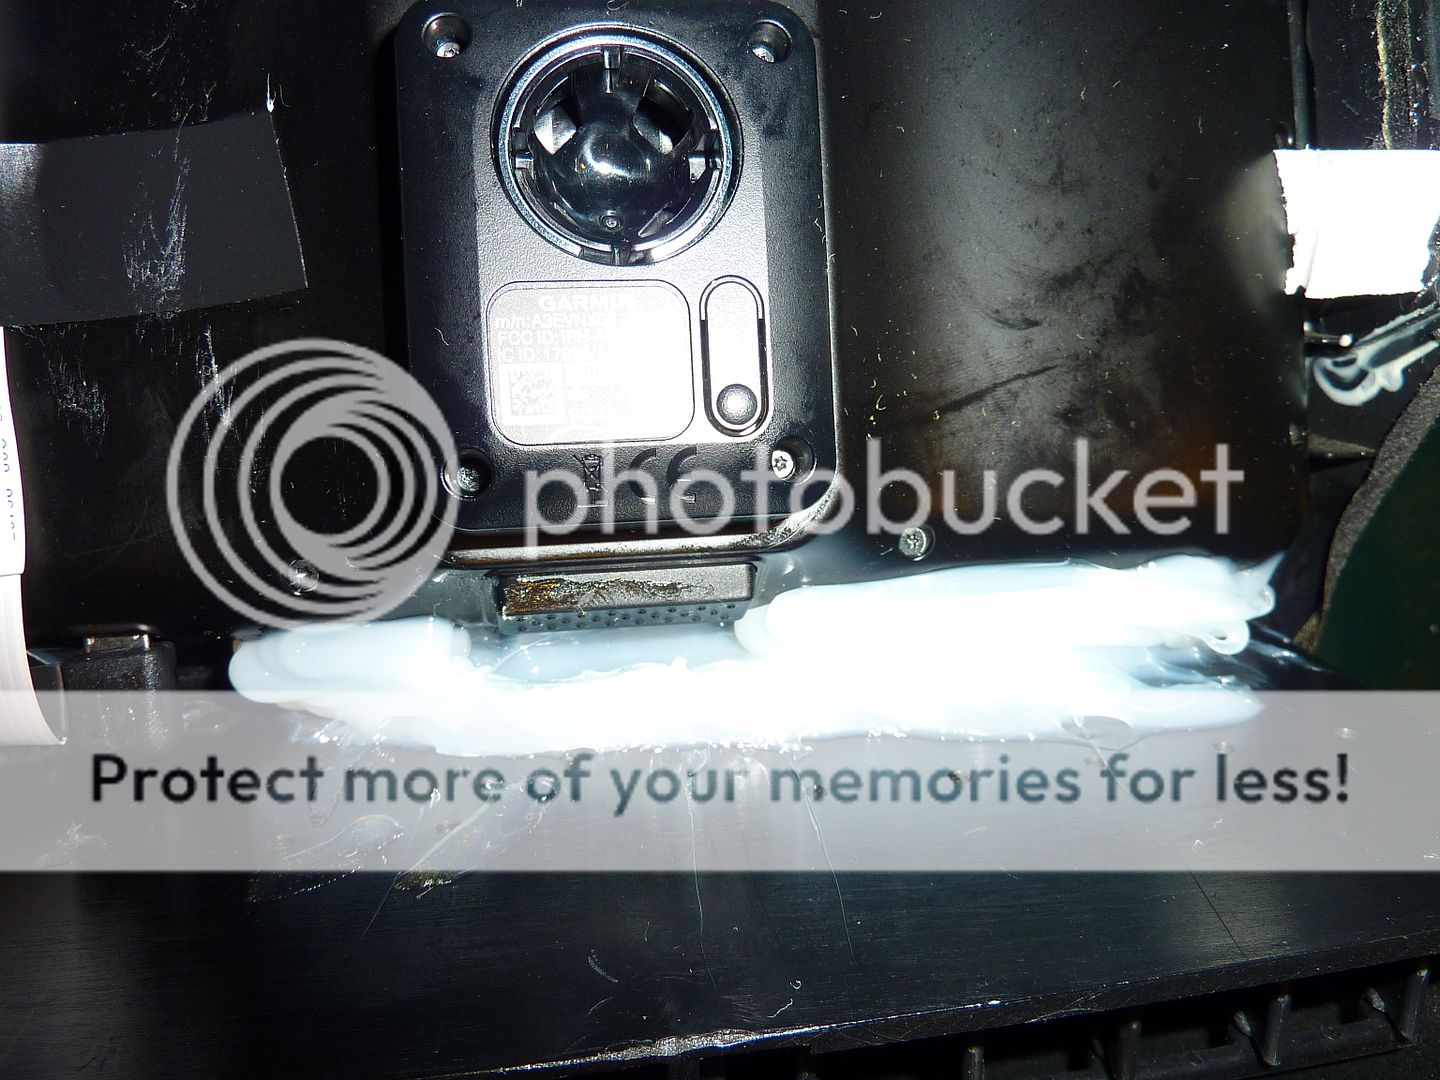
Amazing what caulking can do!

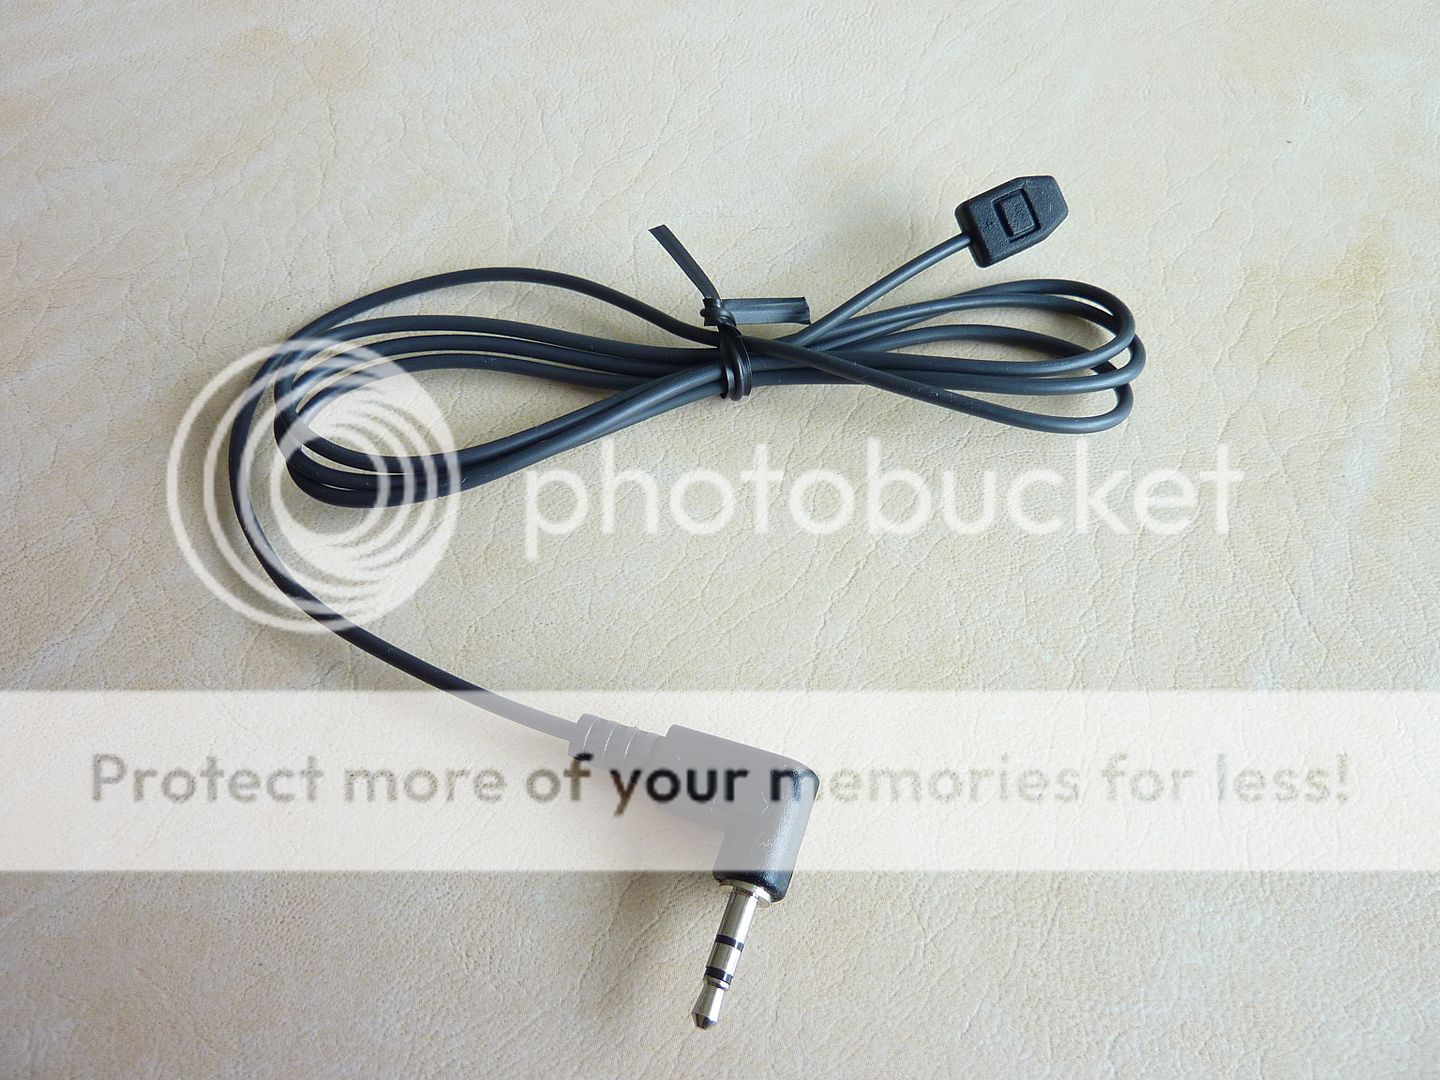
Traffice signal extension
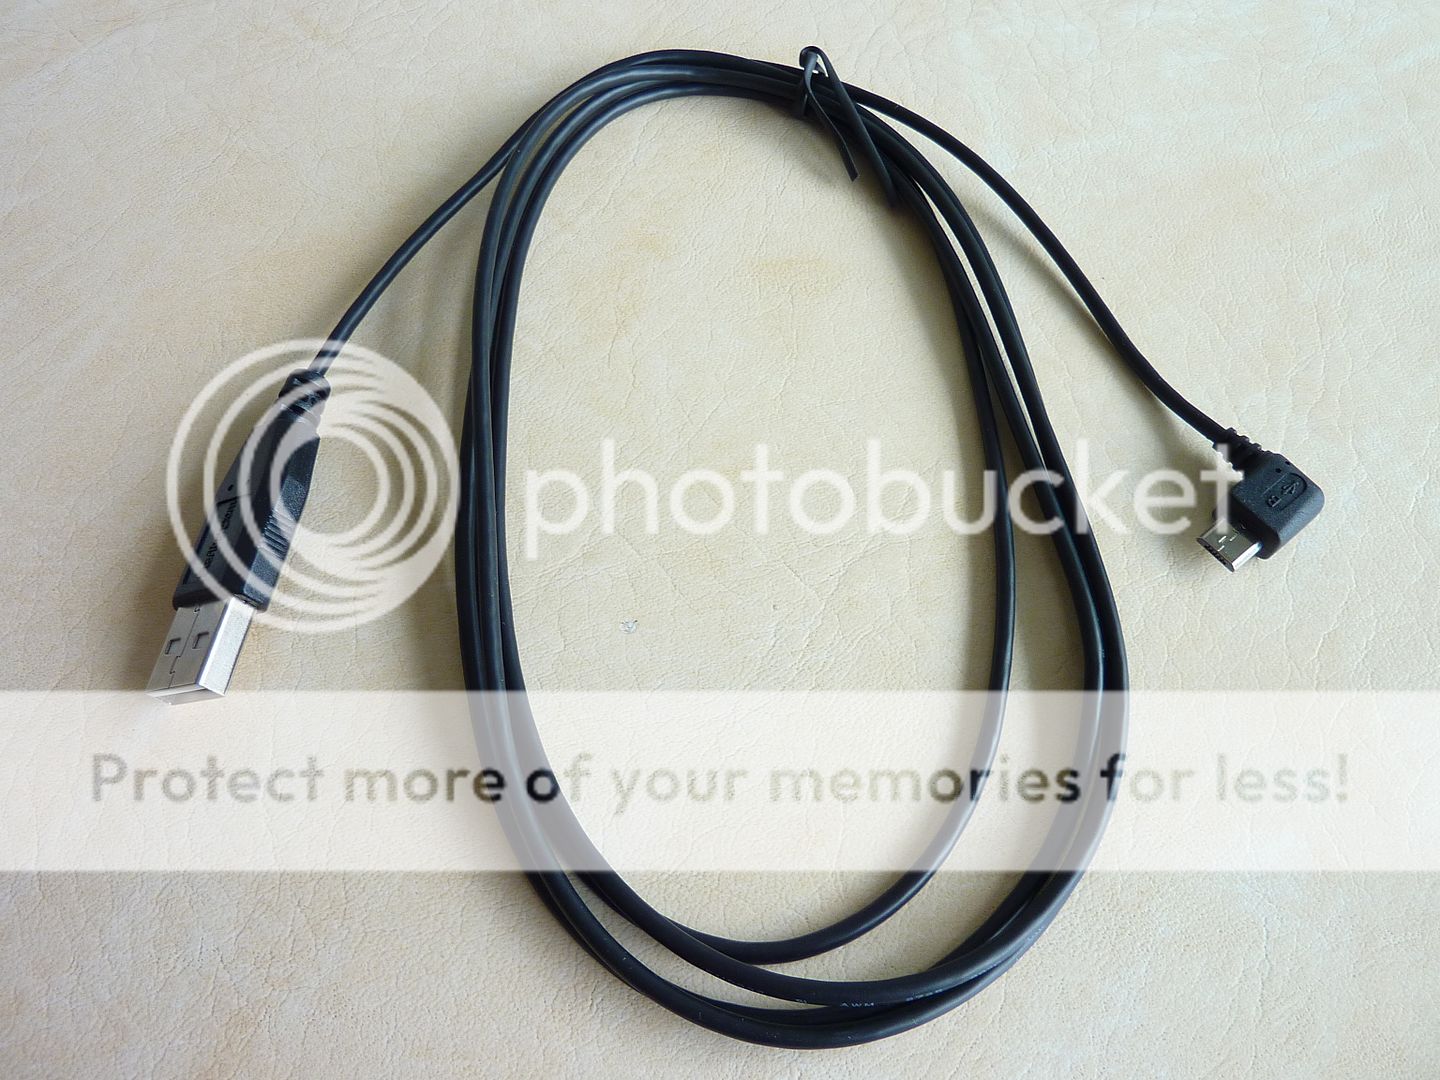
90 degree angle USB connector
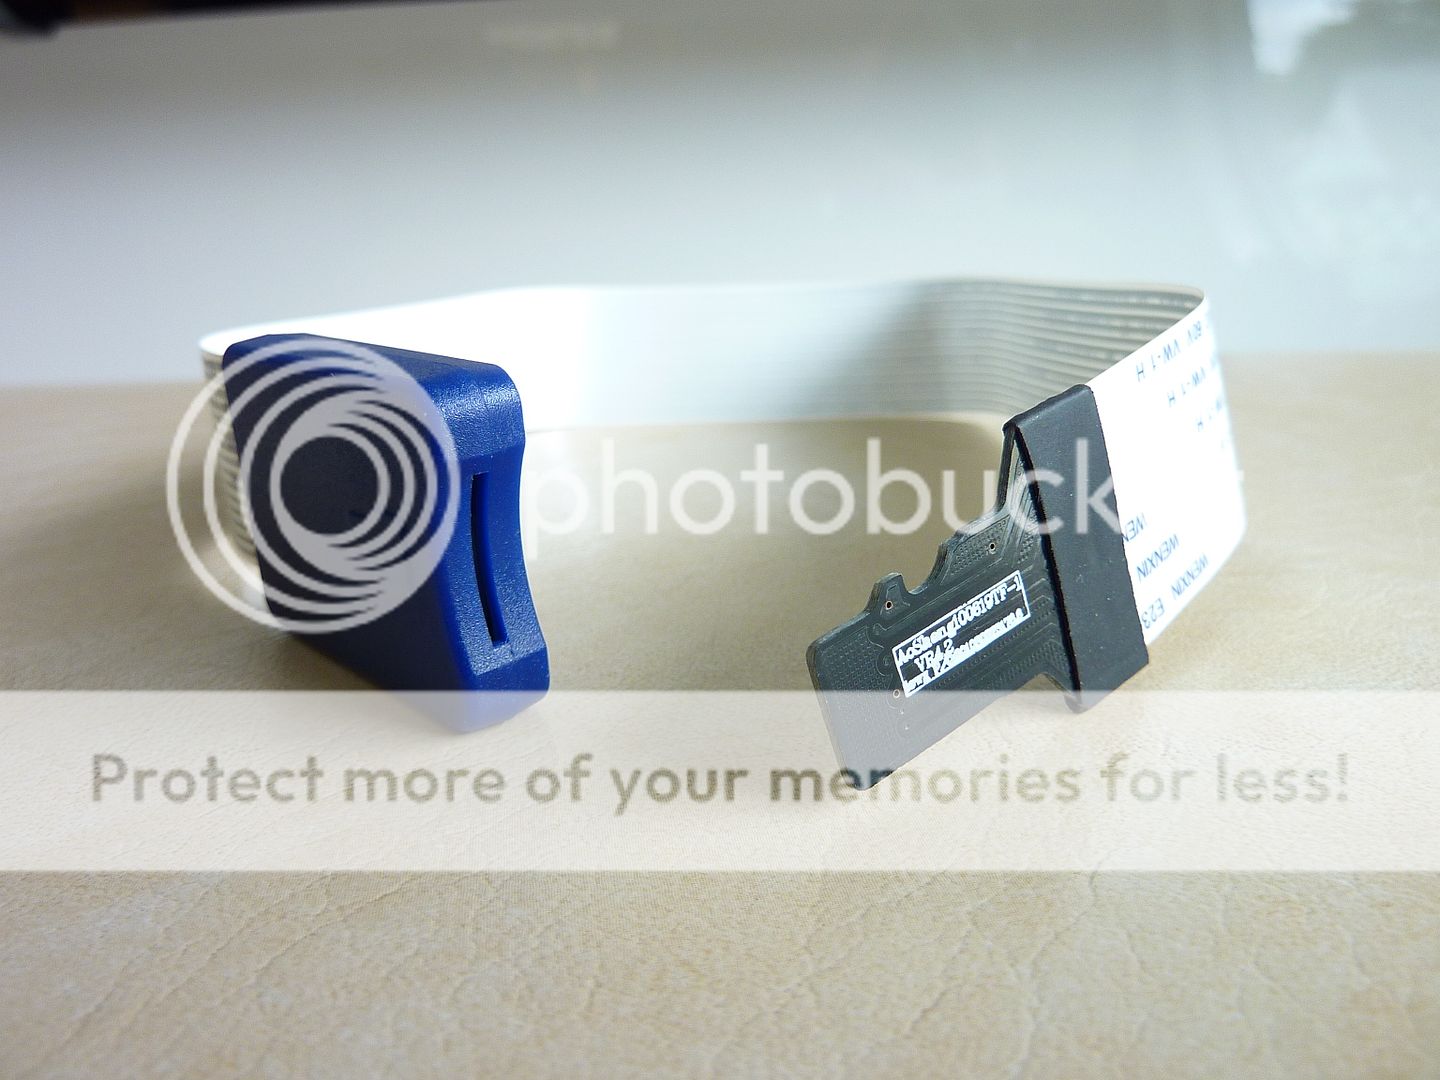
MicroSDHC extension
Extra cigarette lighter connection from C911 fuse under dash
Here's how I used the magic of caulking. It doesn't look neat actually looks pretty ugly but it does the job very well and it gives so it's not stiff.
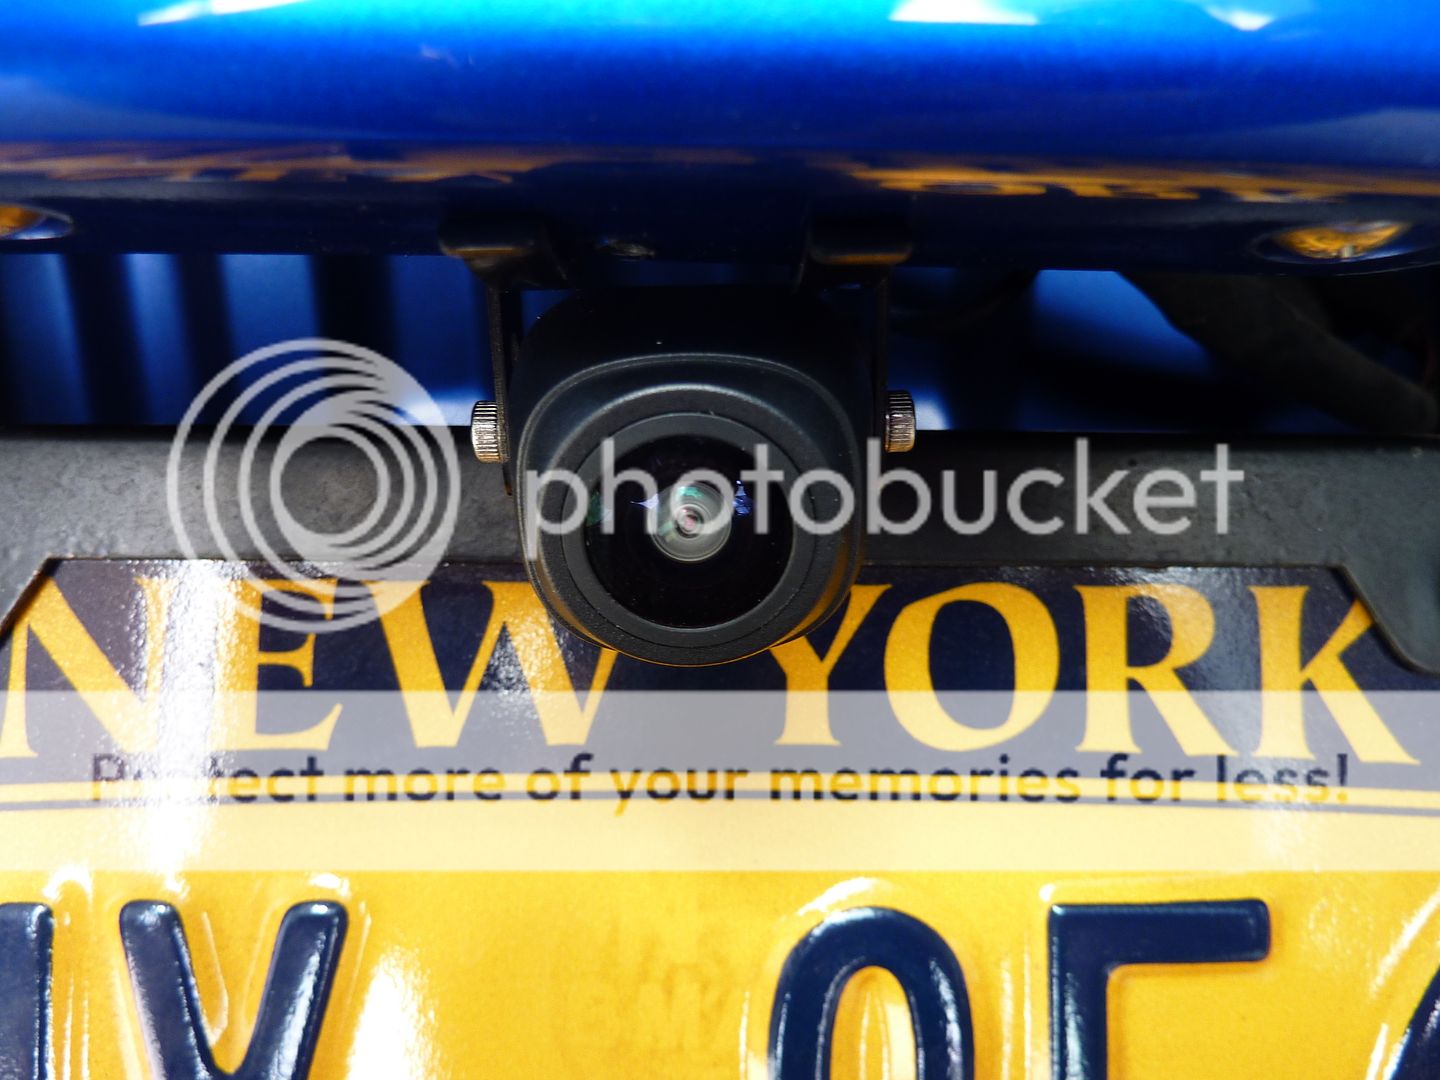
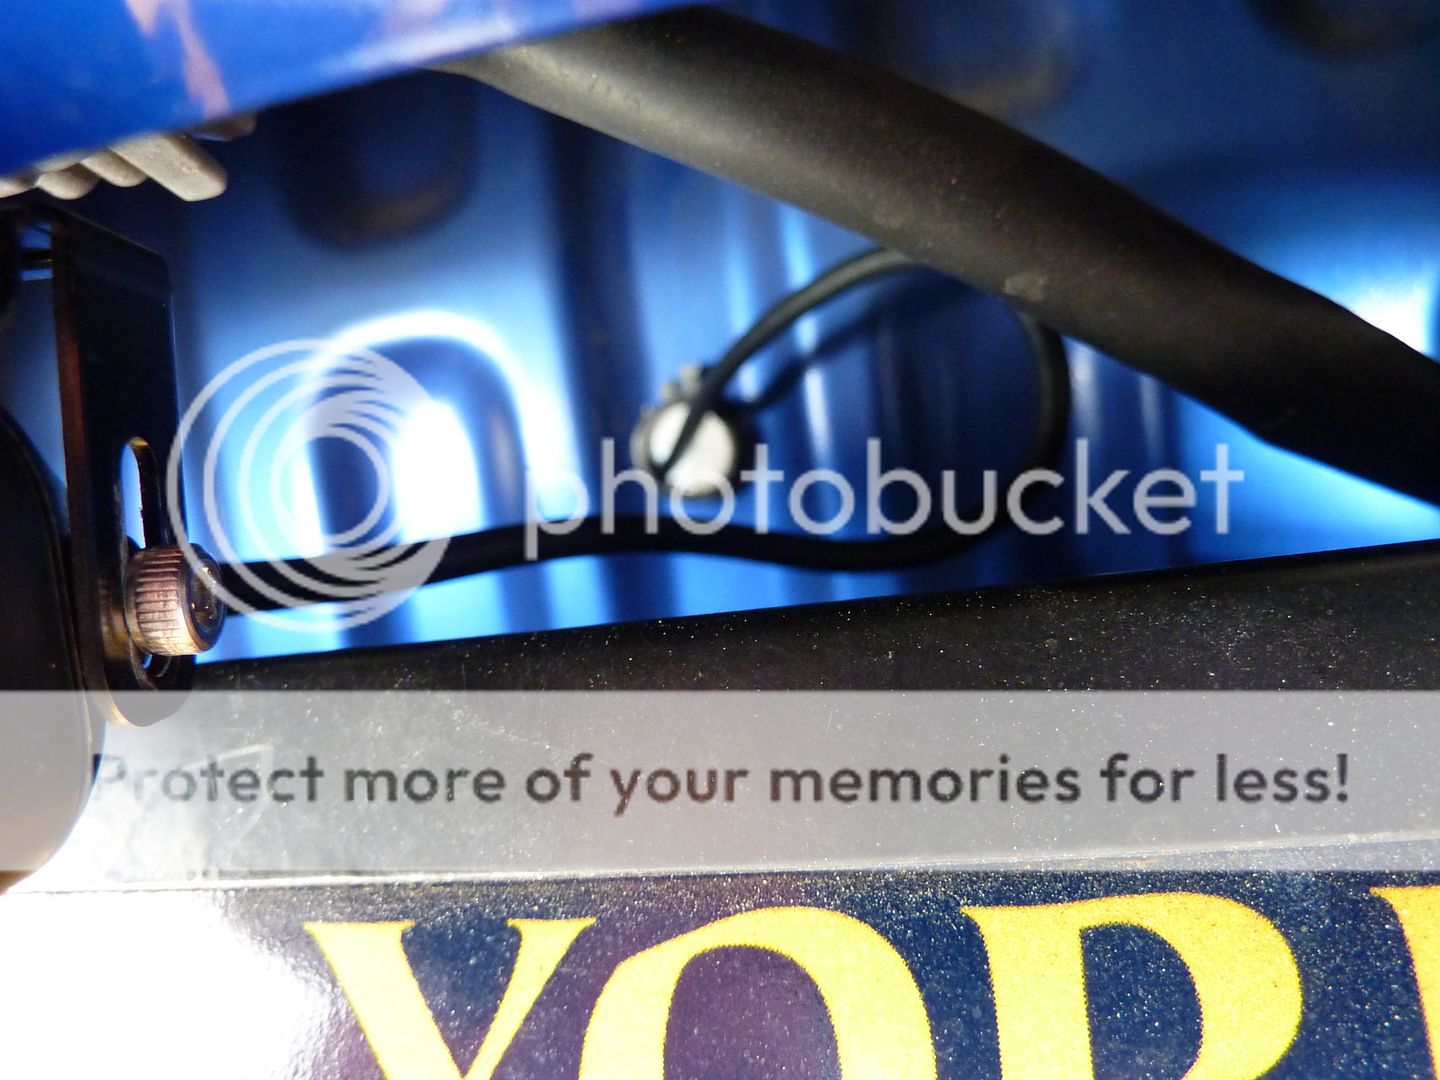
Wireless camera mounted around license plate area
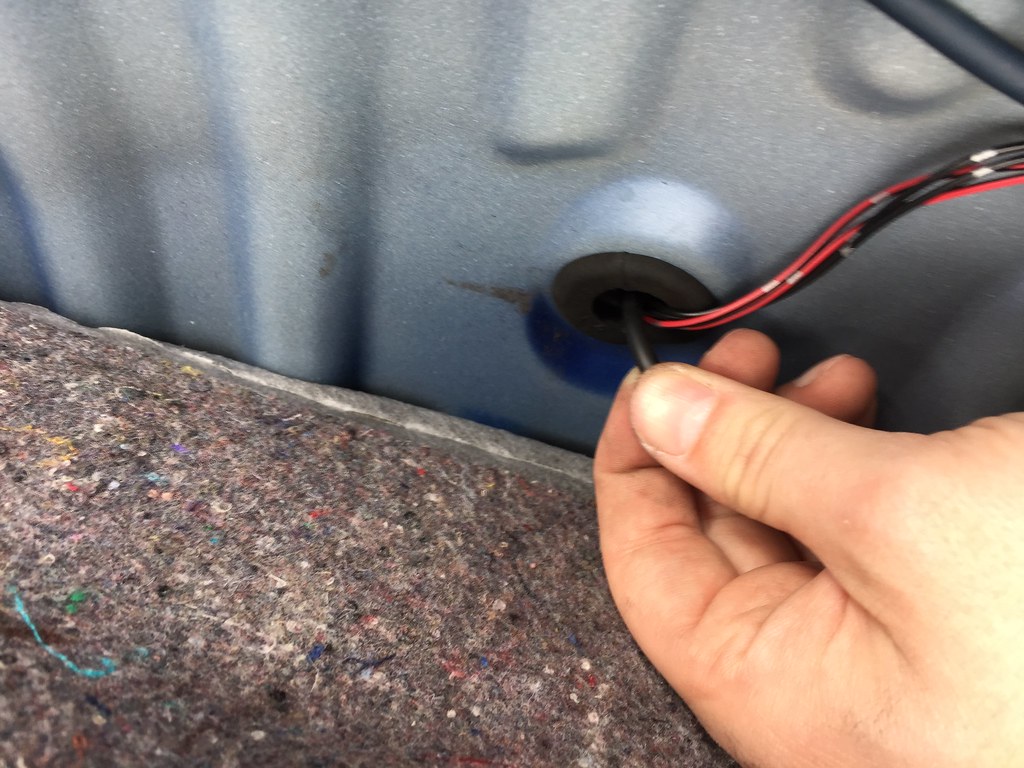
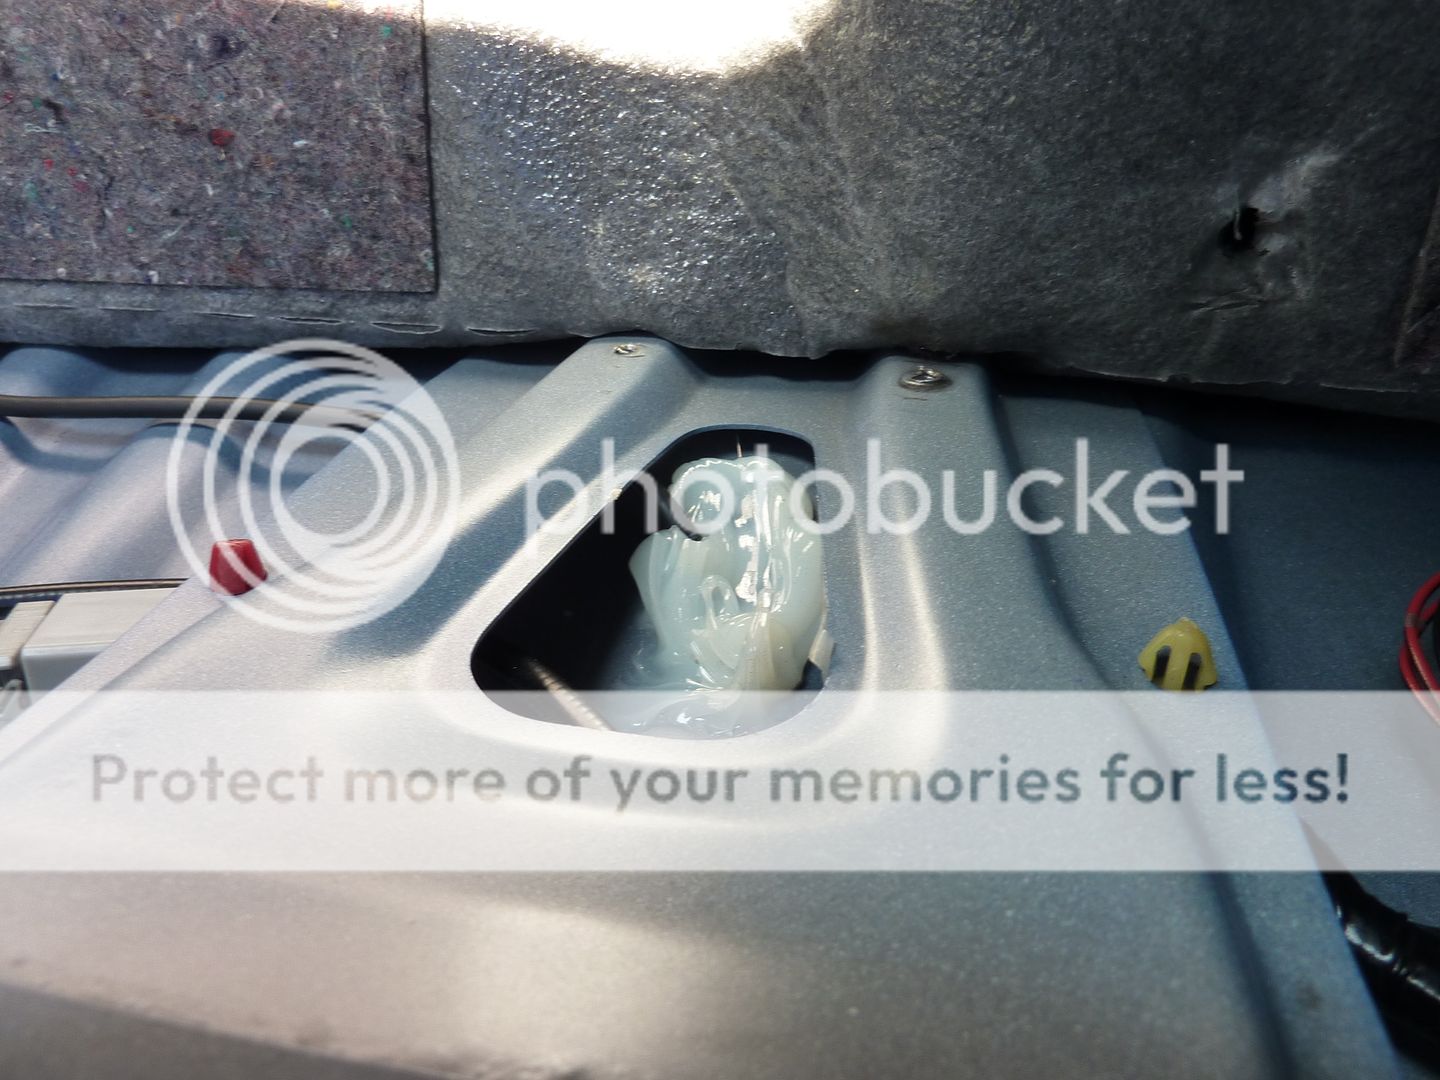
Pass through hole from rear, remember to caulk it
Wire coming in from inside trunk
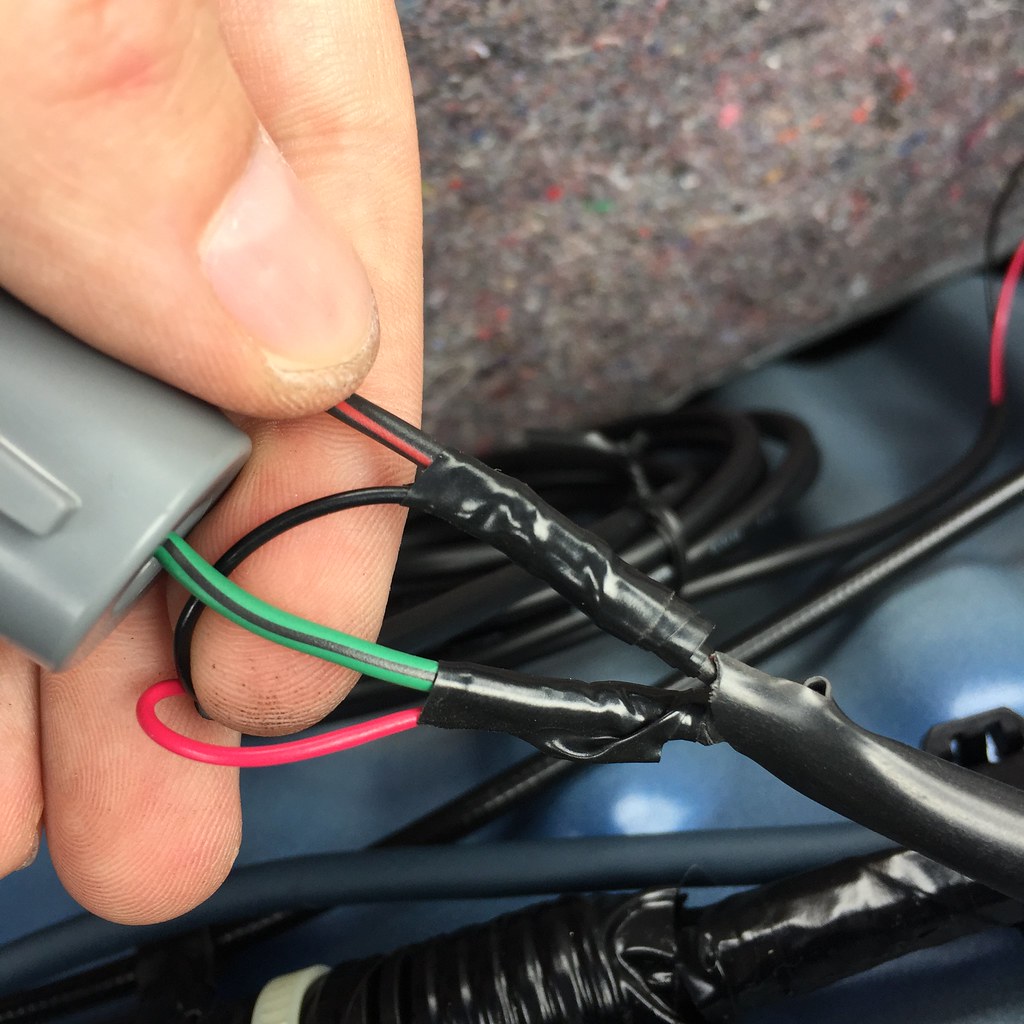
Power from reverse light and make sure to ground
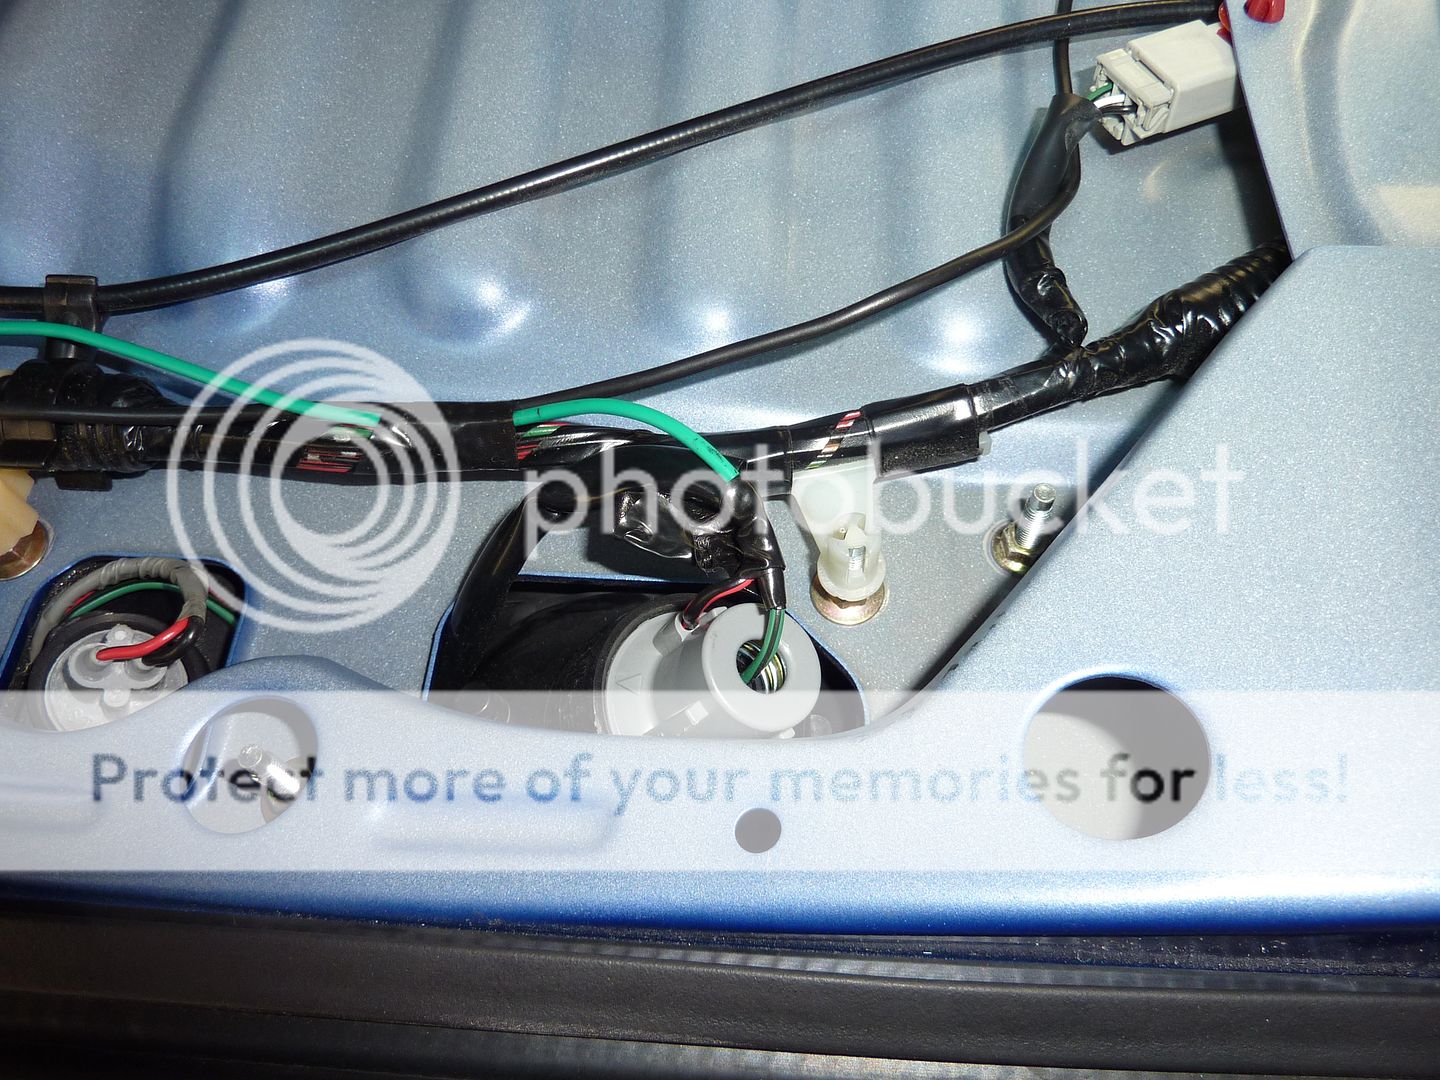
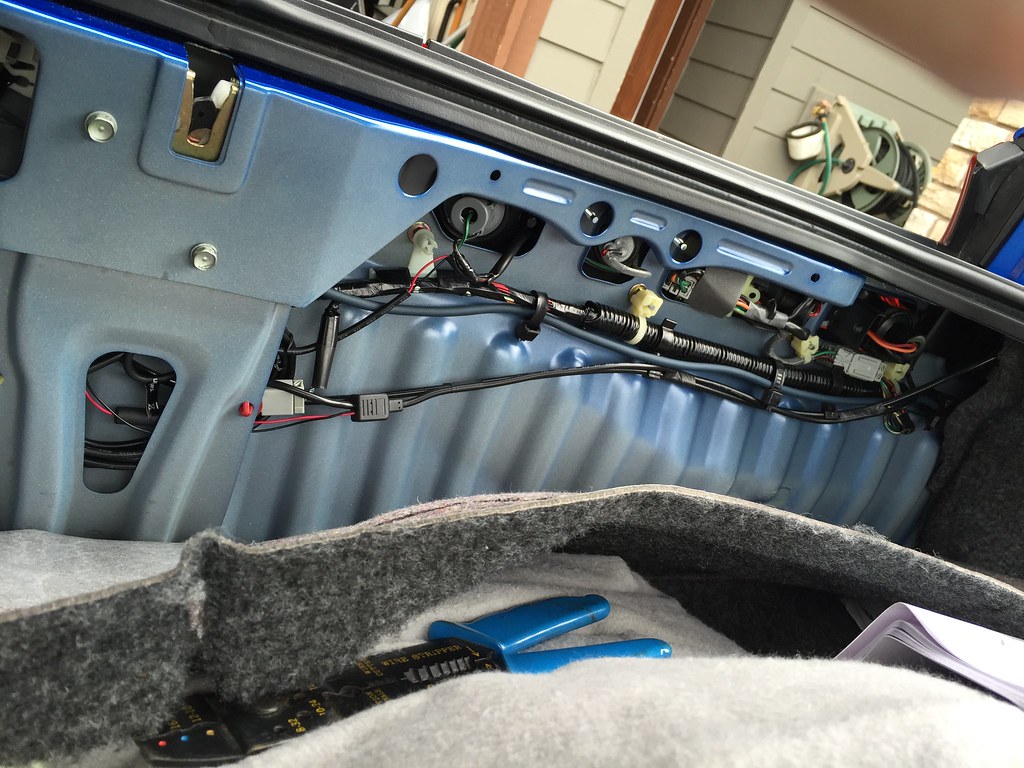
Connect the wireless transmitter and mount to rear panel, mine just fit snuggly without any taping. See ground screw to raw metal.
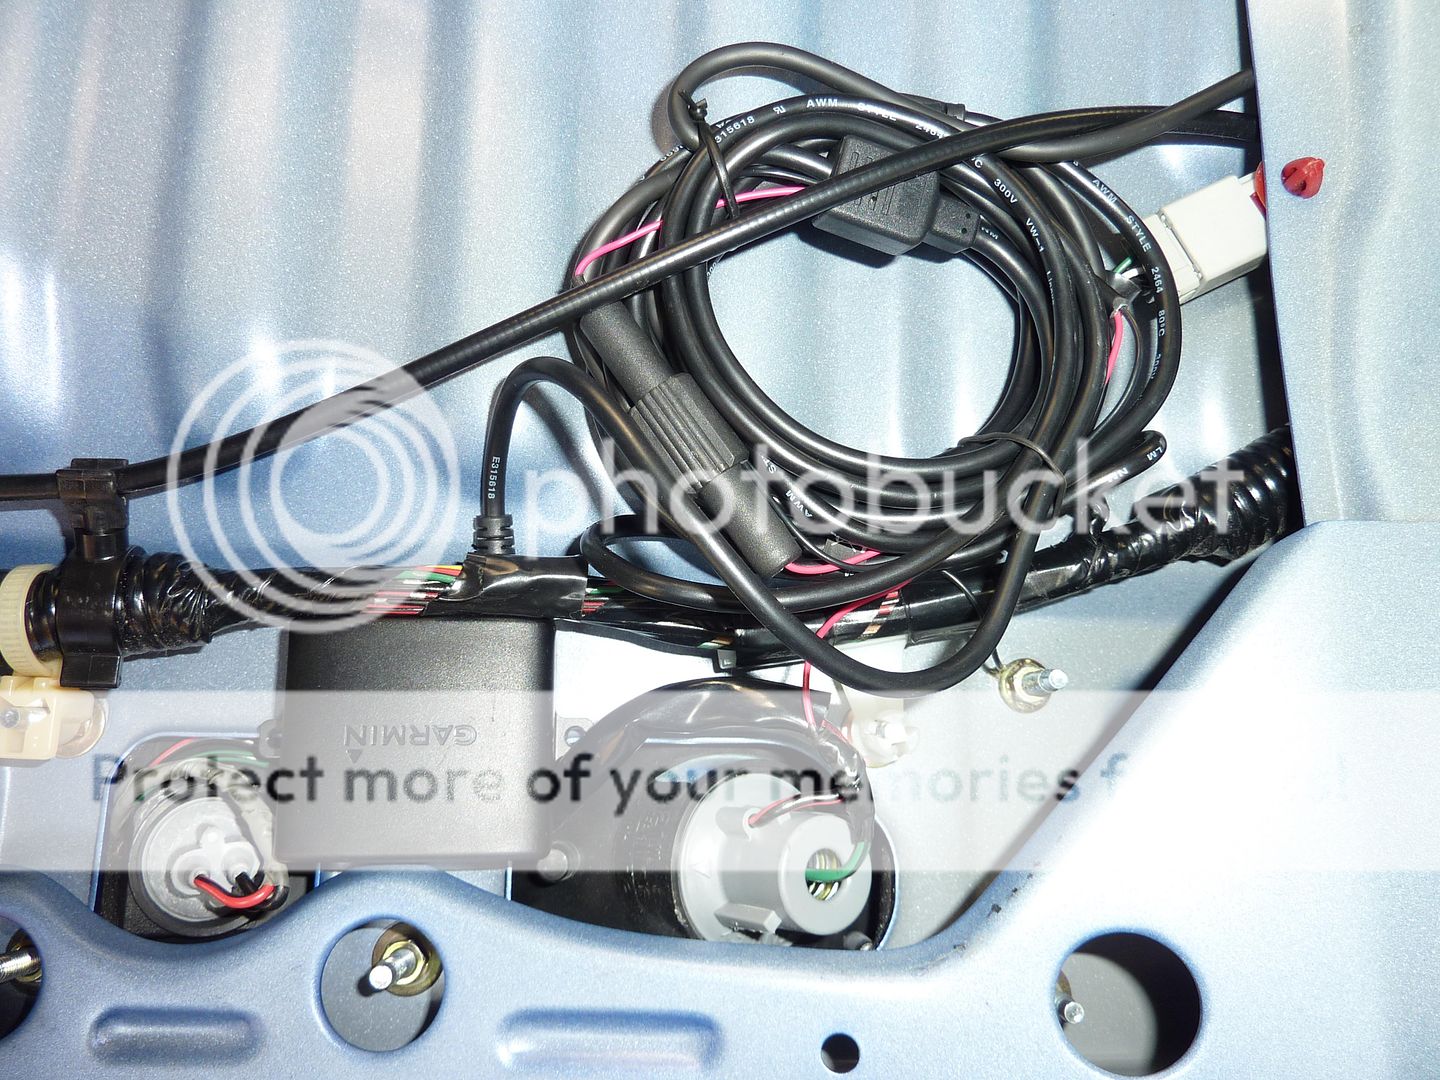
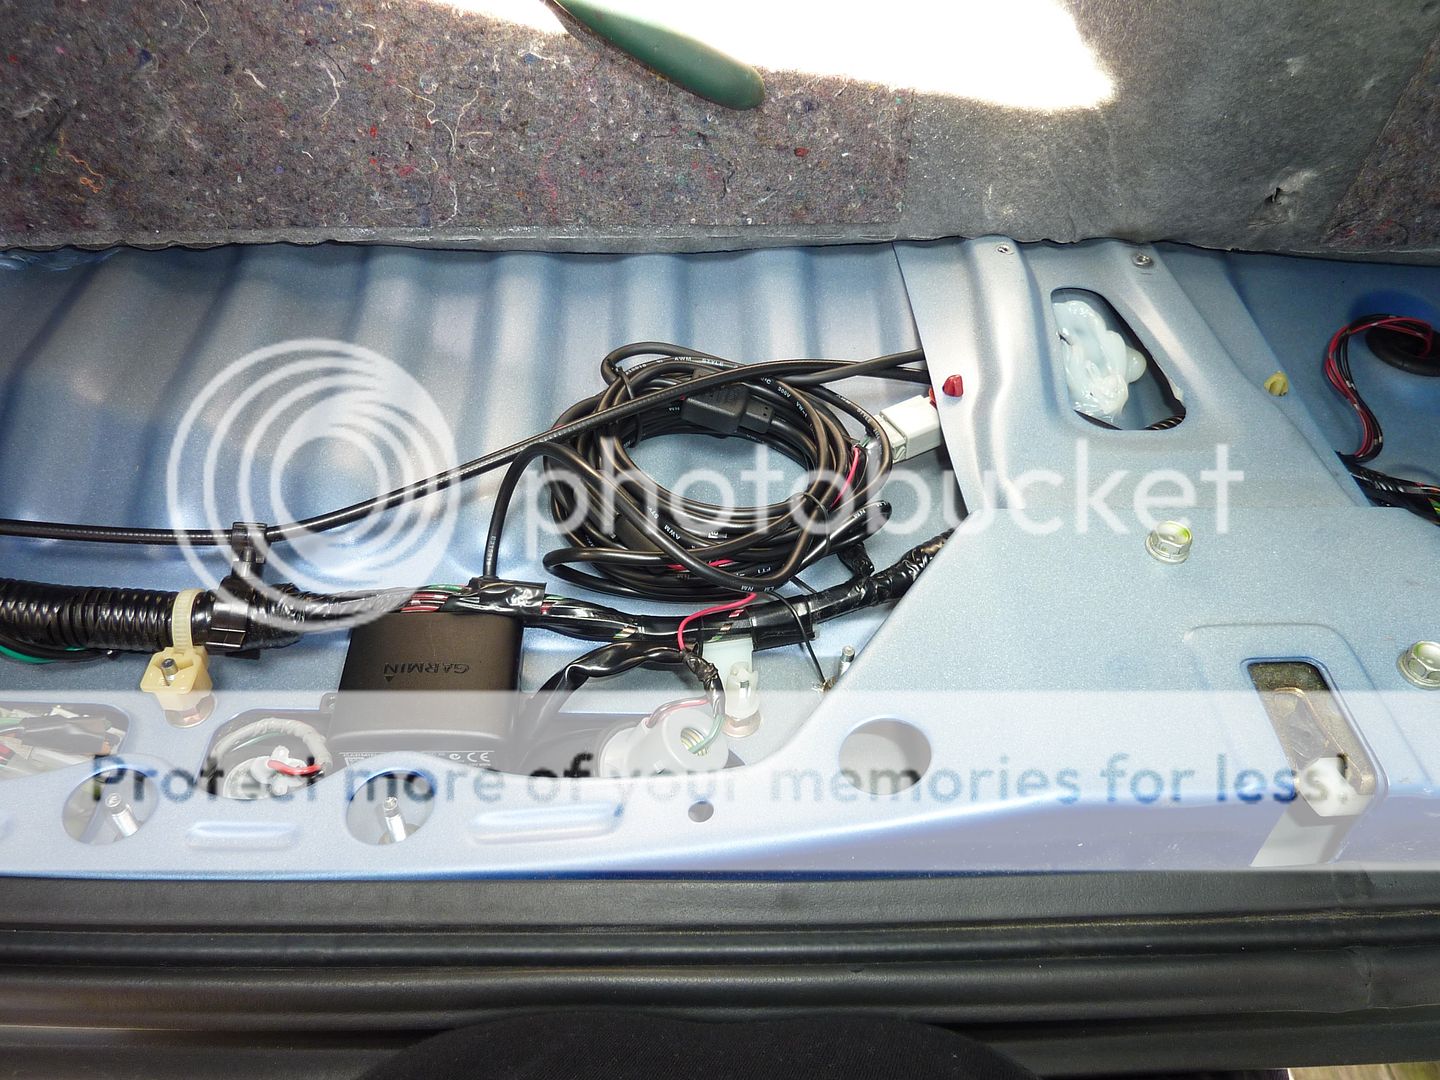
While I have the rear all opened, I move the amp so it hidden behind the carpet

Finish project!
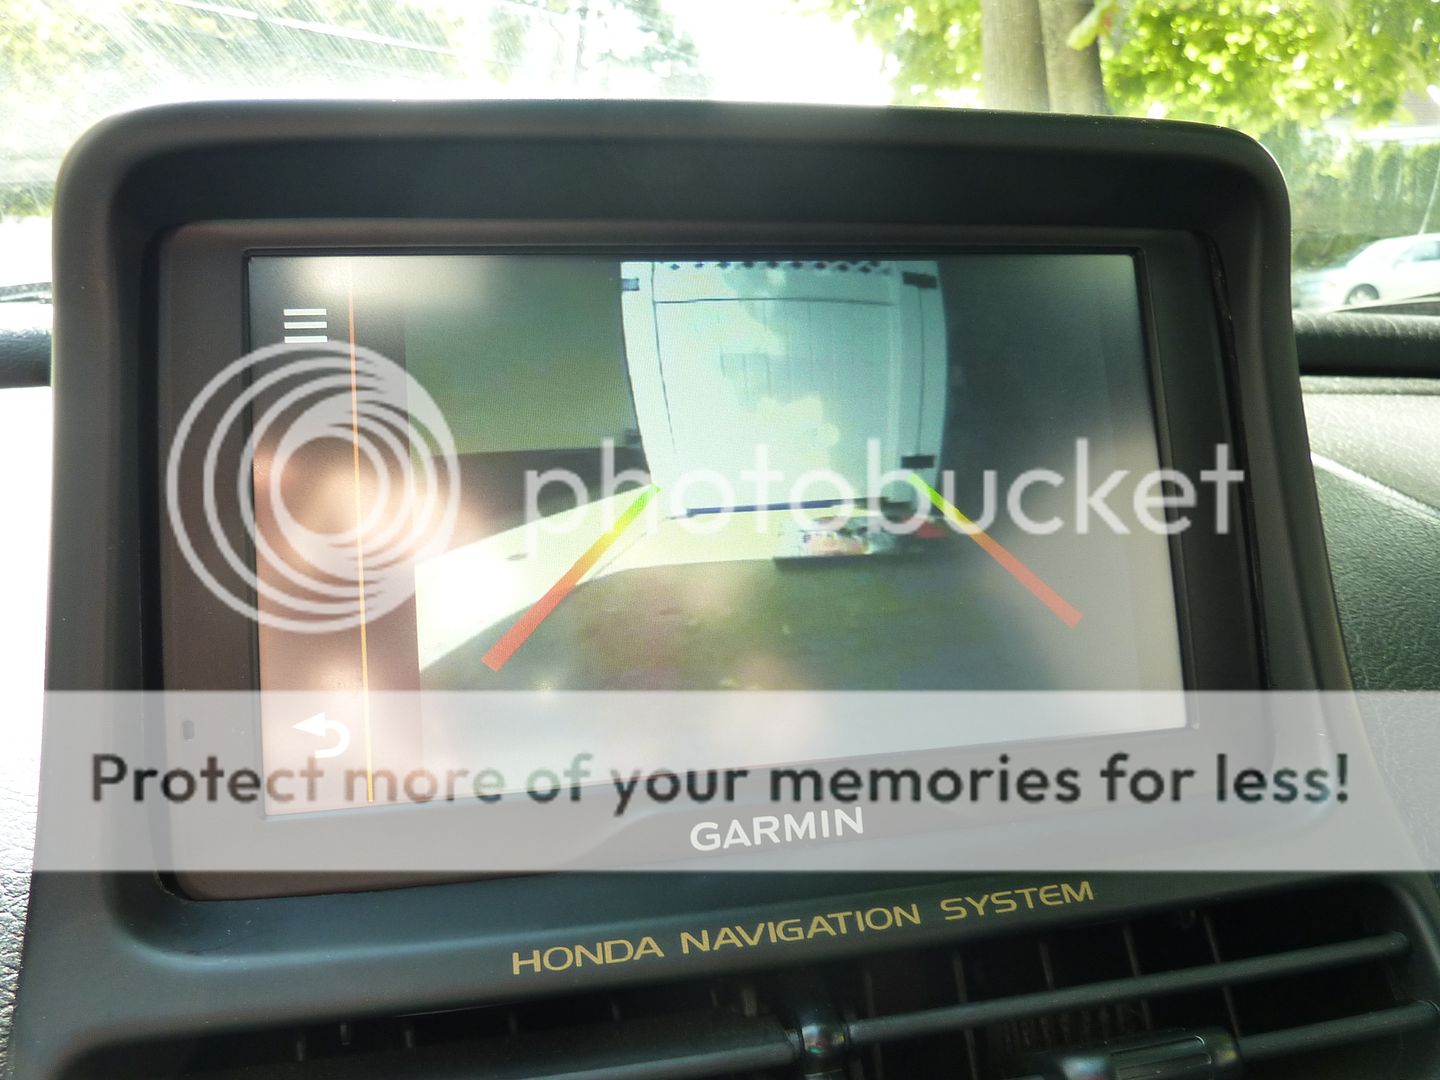
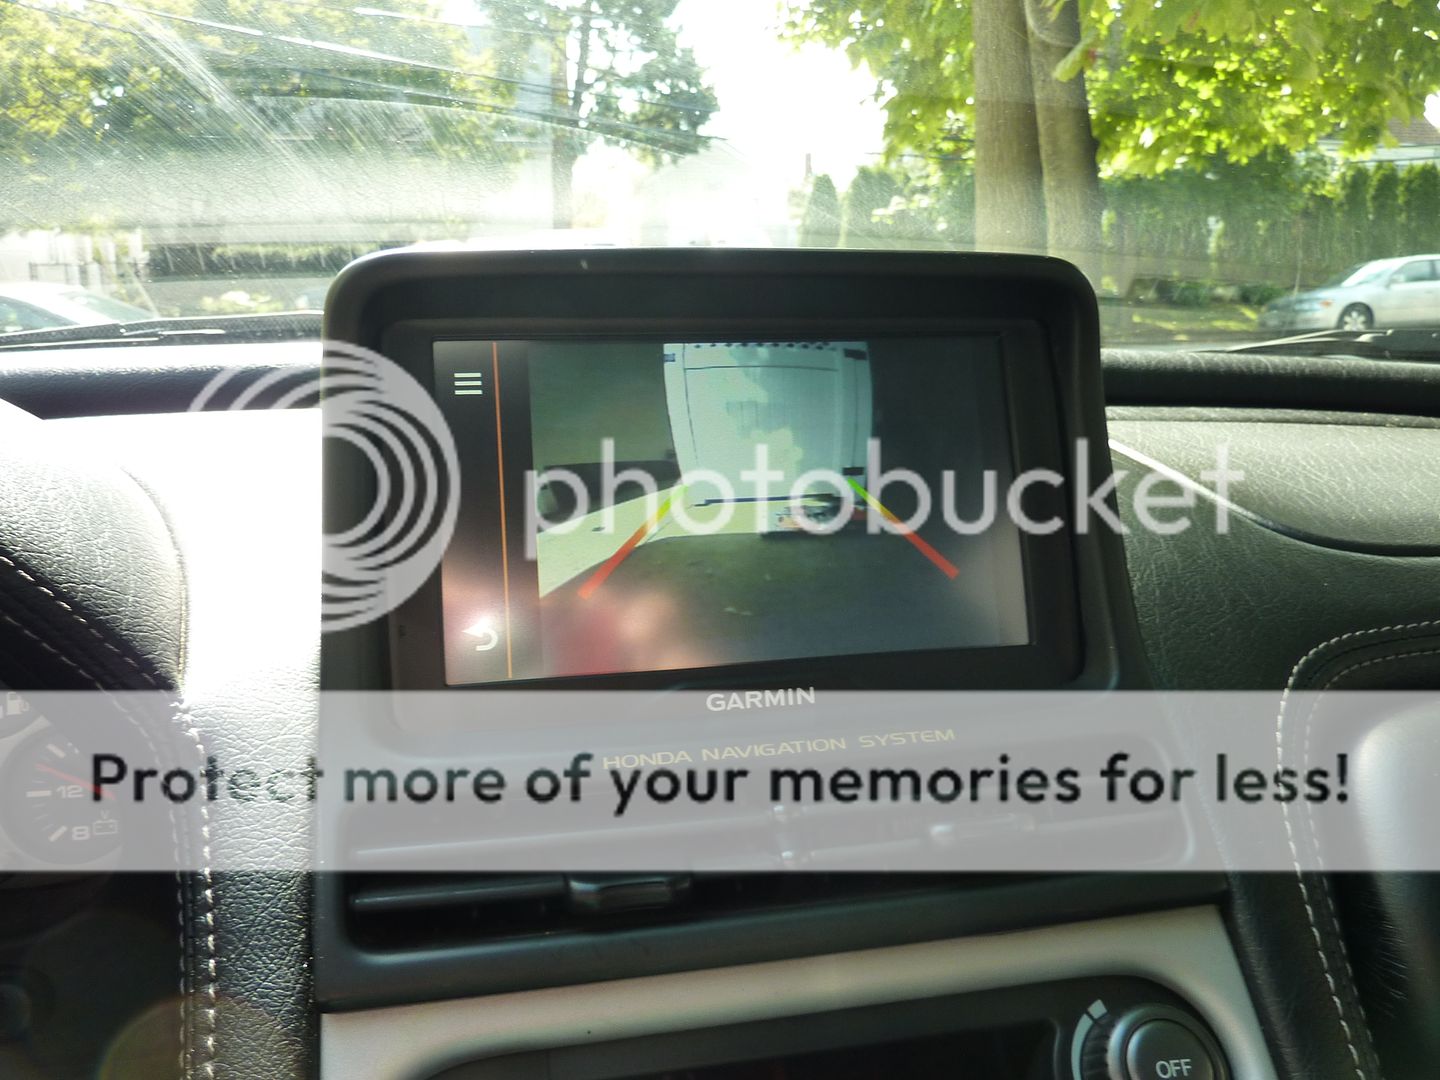
Revese automatically switch to backup camera
I guess this is the lazy man's way of getting something very difficult done in an easy way.
My old Pioneer DVD GPS system just doesn’t meet today’s need and speed. I’ve been thinking of changing this but have not found something that fits my purpose. My must haves are backup camera capability but the ease of installation, size, lifetime map & traffic, etc. With the new Garmin 2798LMT 7" with Wireless Backup Camera, I began my project.
I had a few obstacles, making sure I can run a separate cigarette outlet from the c911 outlet. Thanks to all the DIY’er, I was able to get this done with ease. Next was to ensure I can get good map signal. I tested the Garmin behind the NavPod and was able to get great reception. Another was to be able to get traffic signal, which did not work well. I went and purchased a traffic signal extender which work great. So there are the capability of enlarge storage with MicroSDHC, another extension was purchased. And of course, the USB connection for map updates, well, yes, another extension. With these extension, I now able to update the map without removing the Navpod but in order to add MicroSDHC, I will still need to remove the NavPod but that probably will not happen too often.
What I thought to be the most difficult turn out to be the easiest, the backup camera. This Garmin camera was the easiest I’ve ever seen. I don't need to go through all the grommet to get through the firewall, that might be easy for someone else but I just didn't want to go through that process. The wireless camera, although not as clear as solid connection but it beats having to put in so much work and I'm happy with the resoluiton of the output. Install the camera at the license plate spot then run the wire through the hole I have pictured. Then make sure to caulk it well so no water leak. Then all you have to do is tap into the live feed on the reverse lamp and ground the other wire to any screw that’s attached to the raw body. Connect the wireless transmitter and then place the transmitter next to the rear lamps snuggly or tape it if you want, mine was nice and snugged. Put all the carpet back and done! Note, don’t expect the backup camera going to be HD sharp, it’s not but it does server the job.
So with all these consideration, I began my assembly. Literally caulk everything together slowly. I’m no perfection so as long as it’s stable, I’m a happy camper! Here are all the pictures of my project and while I had the trunk open, I had hidden my amp on the side of the trunk so its stealth.
Enjoy!
Amazing what caulking can do!
Traffice signal extension
90 degree angle USB connector
MicroSDHC extension
Extra cigarette lighter connection from C911 fuse under dash
Here's how I used the magic of caulking. It doesn't look neat actually looks pretty ugly but it does the job very well and it gives so it's not stiff.
Wireless camera mounted around license plate area
Pass through hole from rear, remember to caulk it
Wire coming in from inside trunk
Power from reverse light and make sure to ground
Connect the wireless transmitter and mount to rear panel, mine just fit snuggly without any taping. See ground screw to raw metal.
While I have the rear all opened, I move the amp so it hidden behind the carpet
Finish project!
Revese automatically switch to backup camera
I guess this is the lazy man's way of getting something very difficult done in an easy way.
Last edited:
")