• Protip: Profile posts are public! Use Conversations to message other members privately. Everyone can see the content of a profile post.

Consigliere's 2004 Unbuild

Joined
4 September 2015
Messages
33
Location
Boise, Idaho
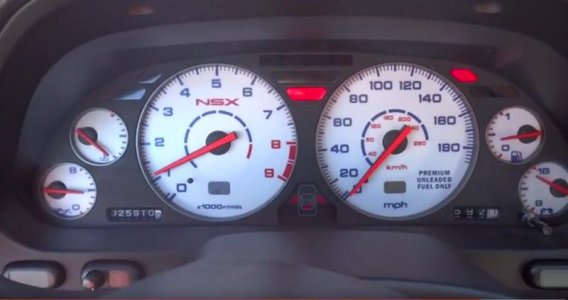
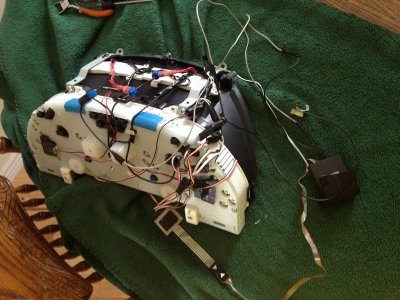
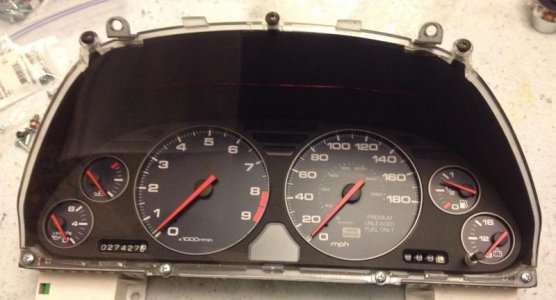
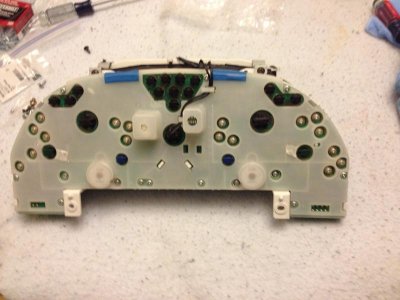
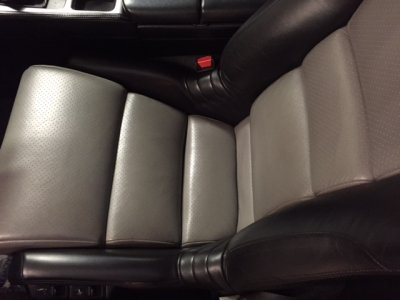
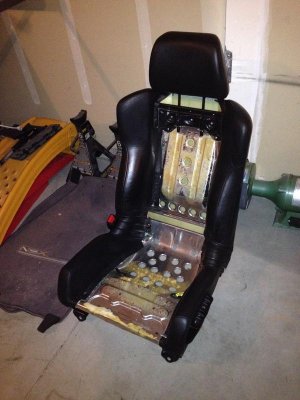
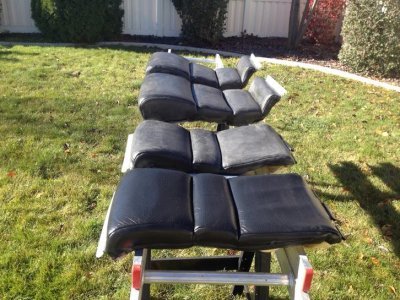
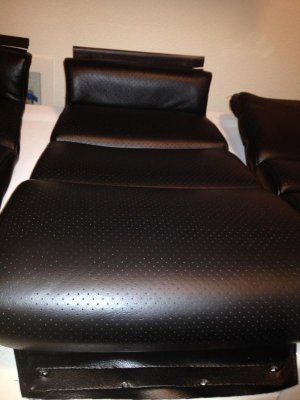
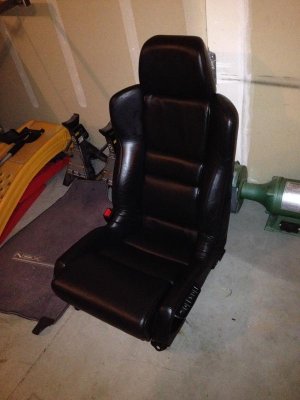
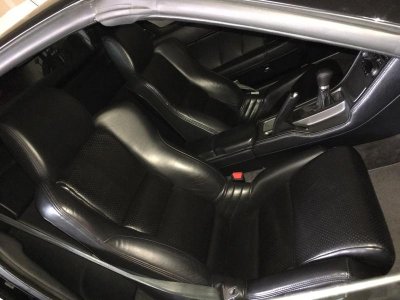
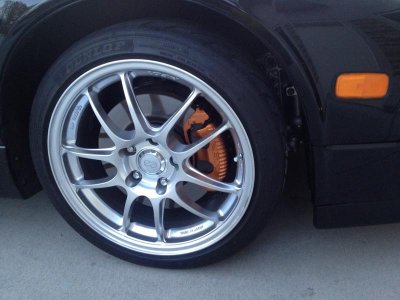
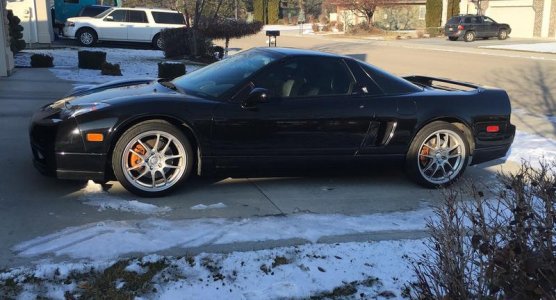
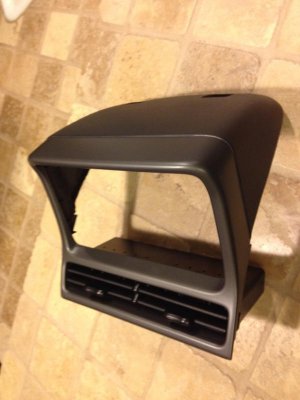
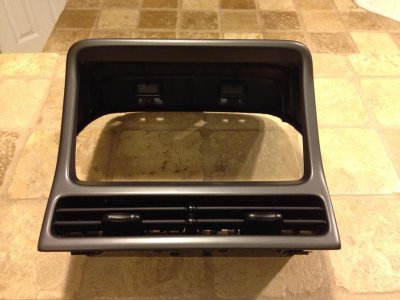
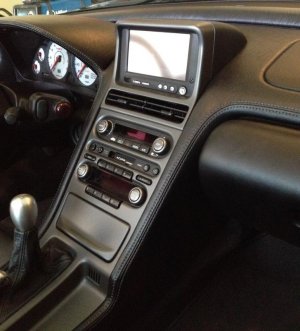
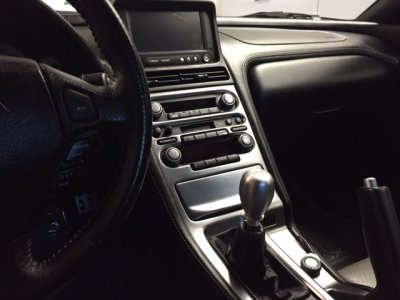
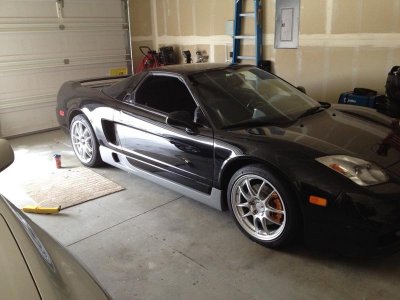
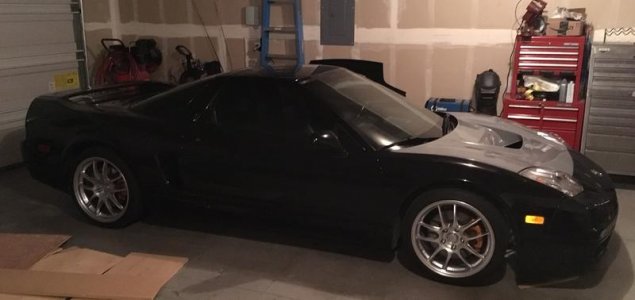
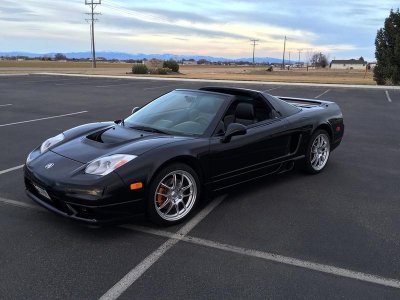
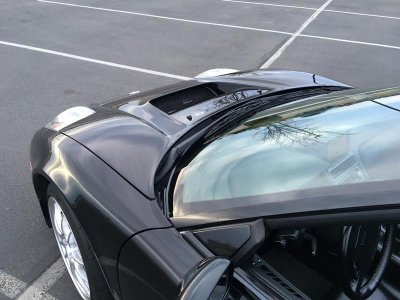
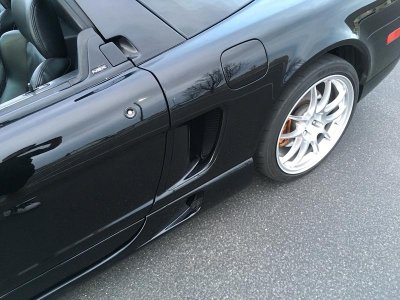
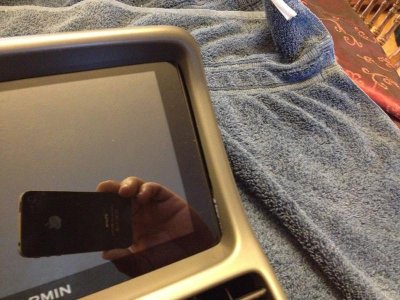
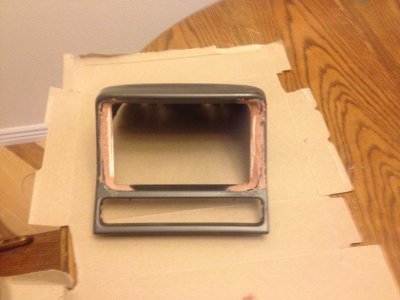
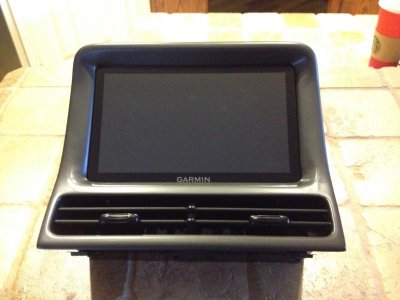
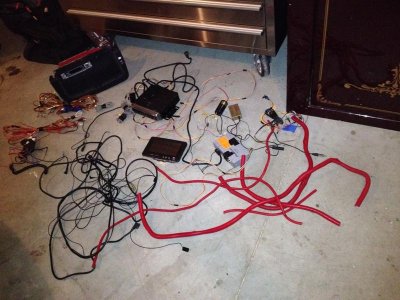
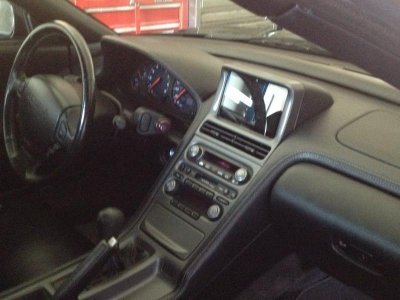
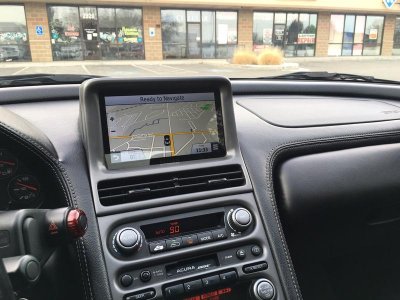
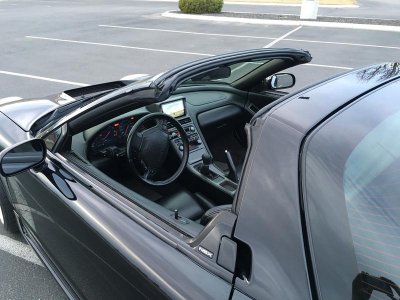
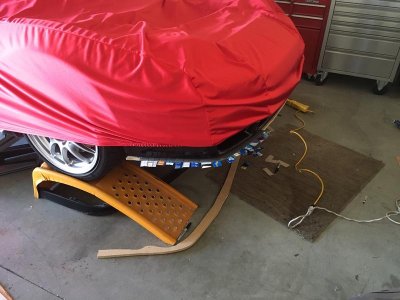
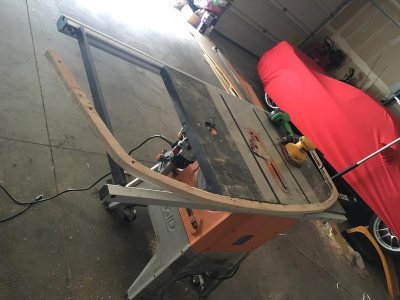
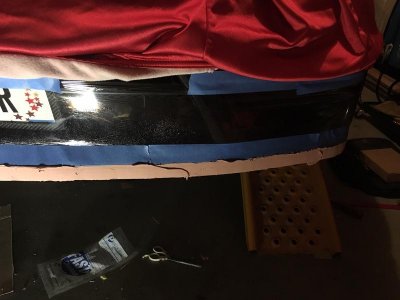
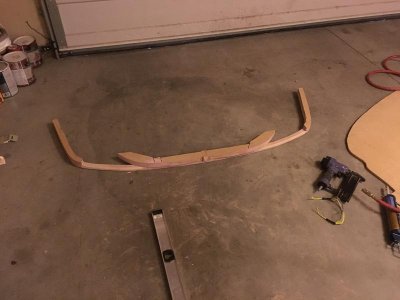
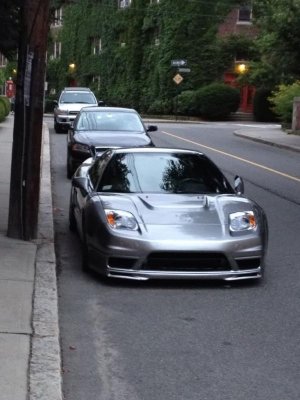
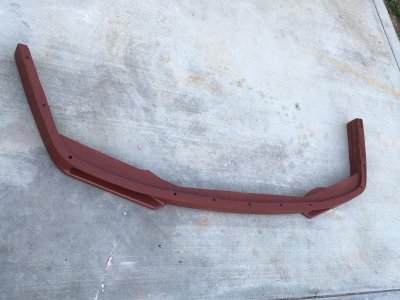
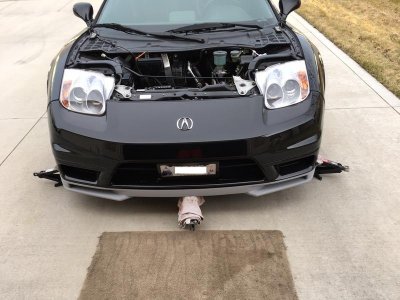
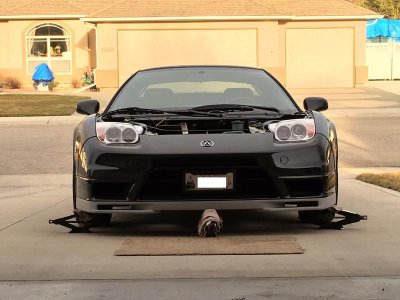
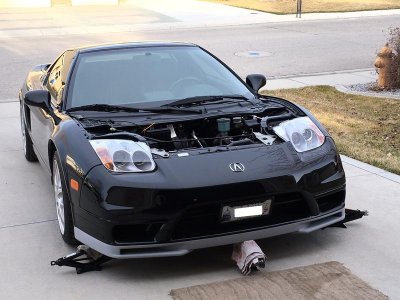
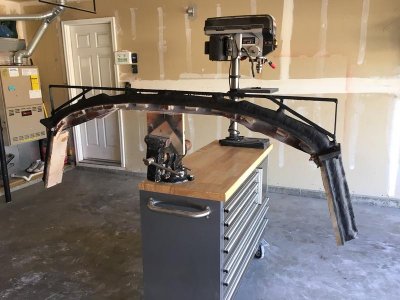
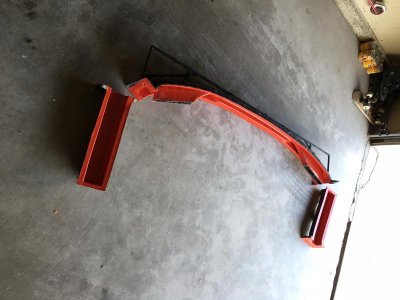
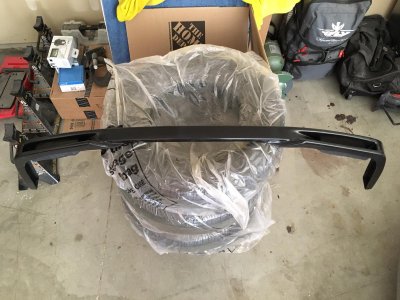
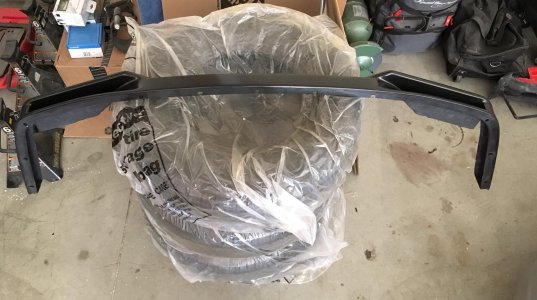
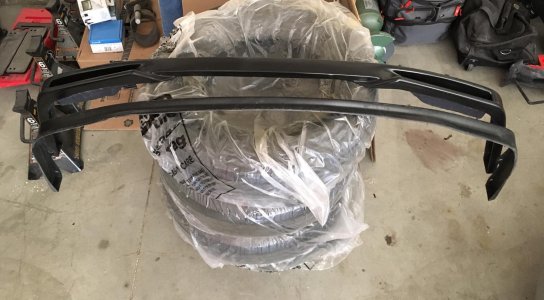
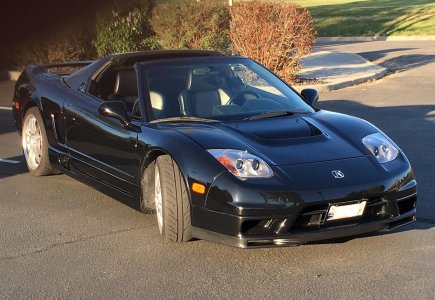
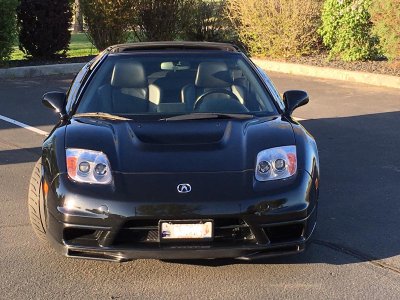
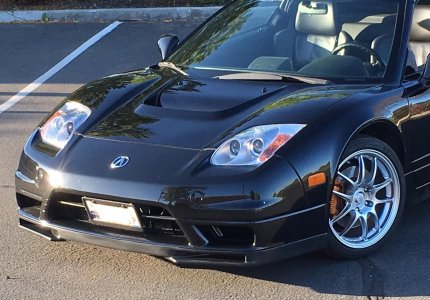
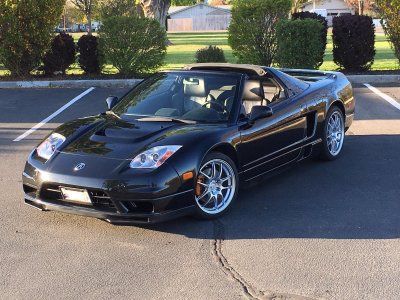
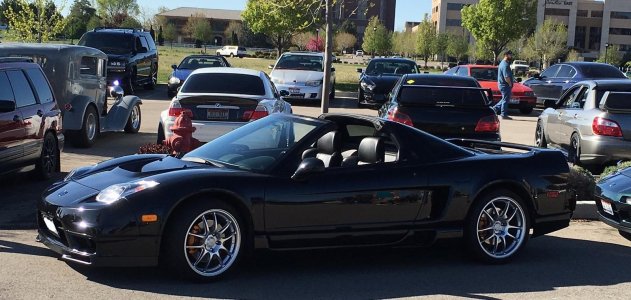
After months of searching for a black on black NA2 I ended up purchasing BLAZEDNSX's 2004 Acura NSX-T. The car was in impeccable condition, however, one of the previous owners had performed some minor "racer boy" cosmetic modifications that I wasn't particularly fond of. This included reverse glow gauges, smoked marker lights, grey seat centers, aftermarket shift knob and other various modifications. The rest of the car was completely stock. I like mods just like anyone else, but I was specifically looking for an "unmolested" car that I could personalize to my own taste. I subsequently set out to return these items back to stock"ish" and will try to document this transformation as I go along.
 
Last edited:
Gauges

I probably would have left the white gauges alone, however, the whole instrument cluster turned bright blue at night which didn't match the rest of the red controls in the car. I was fortunate to find the white gauge faces weren't a complete replacement, but instead overlays on top of the original gauges. The second pic shows all the wiring related to the reverse glow gauges/backlighting that needed to be removed.

attachment.php
attachment.php
attachment.php
attachment.php
 

Attachments

  • Gauges Before.jpg
    Gauges Before.jpg
    32.1 KB · Views: 1,707
  • Dash Back Before.jpg
    Dash Back Before.jpg
    85.3 KB · Views: 1,712
  • Dash Front After.jpg
    Dash Front After.jpg
    44.9 KB · Views: 1,712
  • Dash Back After.jpg
    Dash Back After.jpg
    50.1 KB · Views: 1,699
Last edited:
Seats

Did you have to remove all the needles?

No, the overlays had just enough room to remove without taking off the needles. That being said, as careful as I was - and I was extremely careful - I still ended up breaking off the fuel gauge needle and had to purchase a new fuel/volt cluster. Learn from my mistake and be aware the needles in the instrument cluster are VERY fragile.


Since the seat centers were still in excellent condition I decided to dye them instead of having them reupholstered. I used Leatherique (rejuvenator oil/pristine clean/prepping agent/dye) which is what they use on a number of Ferrari and Rolls Royce restorations. The complete process took approximately one week, but the color and sheen turned out perfect.


attachment.php

attachment.php

attachment.php

attachment.php

attachment.php

attachment.php
 

Attachments

  • Reno 10.JPG
    Reno 10.JPG
    81.1 KB · Views: 1,668
  • Seats Before 2.jpg
    Seats Before 2.jpg
    59.3 KB · Views: 1,672
  • Seats Before 3.jpg
    Seats Before 3.jpg
    99.7 KB · Views: 1,663
  • Seats After 1.jpg
    Seats After 1.jpg
    47 KB · Views: 1,658
  • Seats After 2.jpg
    Seats After 2.jpg
    44.8 KB · Views: 1,657
  • Interior.jpg
    Interior.jpg
    55.8 KB · Views: 1,197
Last edited:
Calipers

Looks great so far, are you planning on doing something with the brake calipers and finding OEM wheels?

Thanks. I did refinish the brake calipers and am still on the hunt for a set of stock rims. One of the prior owners had hand painted the calipers red while they were still on the car. There were portions of all four calipers that weren't painted, while other components (rotors, hoses, etc.) had various red brush marks and/or drip marks. I cleaned off the excess paint, sandblasted all four calipers and then painted them a burnt orange metallic. I realize this is slightly off from the OEM gold, but it provides a really good contrast against the black car IMHO. You'll notice in the third and fifth pics that I also removed the tint from the marker lights and buffed them back to a like-new condition.

attachment.php

attachment.php
attachment.php
attachment.php


attachment.php
 

Attachments

  • Calipers Before 2.jpg
    Calipers Before 2.jpg
    51.8 KB · Views: 1,629
  • Calipers Before 1.jpg
    Calipers Before 1.jpg
    46 KB · Views: 1,630
  • Calipers 2.jpg
    Calipers 2.jpg
    55.8 KB · Views: 1,619
  • Calipers 3.jpg
    Calipers 3.jpg
    56 KB · Views: 1,624
  • Calipers 4.jpg
    Calipers 4.jpg
    68.9 KB · Views: 1,188
Last edited:
Nav Pod

One of the prior owners had added a JDM Navigation Pod that just seemed out of place. Don't get me wrong, the pod itself looked fine. However, it's matte black finish clashed with the 2004's existing silver trim and looked markedly aftermarket IMHO. Because of this, I took the pod down to a local body shop and had them paint the bezel surrounding the screen to match the rest of the trim in the car. Now the pod appears to "flow" into the rest of the center console as if it were a standard factory option.

attachment.php

attachment.php

attachment.php

attachment.php
 

Attachments

  • pod 2.jpg
    pod 2.jpg
    41.2 KB · Views: 1,587
  • Pod 1.jpg
    Pod 1.jpg
    51.8 KB · Views: 1,588
  • Pod 3.jpg
    Pod 3.jpg
    70.9 KB · Views: 1,590
  • Reno 8.JPG
    Reno 8.JPG
    87.9 KB · Views: 1,176
Last edited:
Great job reversing all those eBay mods....
Mine had white guages as well. After peeling them off, I found they were held on by adhesive which damaged the Oem faces. Finally, after a couple years, I just ponied up and bought a new cluster then finished them with billet trim rings.
Luckily for you ,it was just a fuel/volt meter that broke. That was the same one I broke removing the white gauges. Like a 60$ part from Acura. The speedometer or rpm gauge, 650$ each and on back order. Possibly discontinued.
After breaking my old meters, I found out that the needles are not glued onto the meter shaft. If you use a small screwdriver, you can pop them right off. Useless now, but maybe good for future viewers.
I love the black on black btw:wink:
 
Body Mods

Thanks JINKS, I'm glad it wasn't the $650 tach that broke.

My next step was to add some Downforce ground effects and an NSX-R style hood to give the car a more personalized feel. Both mods are easily reversible and I will hold onto all the original parts in the event I ever sell the car. Here are a few before and after pics.

On an aside, I found the prior owner had evidently lost a few of the side skirt sill clips that hold them into place (Acura# 71807-SL0-000). My local dealer wanted $11.08 each for these and even online they're still going for ~$8.00 each, so the cost for a few of these relatively insignificant fasteners adds up real quick. Before spending nearly $100 on a handful of plastic clips I decided to stop by our local Honda dealer to look at some similar body molding fasteners I found online (Honda# 91513-SM4-000). The Honda clips turned out to be identical to the Acura ones I needed, which I later verified with both calipers and by test fitting into my NSX. The white one on the left is the Honda part (~$2) and the black one on the right is the Acura part (~$11). I hope this helps others.


attachment.php

attachment.php

attachment.php


attachment.php

attachment.php

attachment.php

attachment.php
 

Attachments

  • Skirts 1.jpg
    Skirts 1.jpg
    58 KB · Views: 1,532
  • Honda Clip.jpg
    Honda Clip.jpg
    79.6 KB · Views: 1,524
  • Hood.jpg
    Hood.jpg
    31.5 KB · Views: 1,162
  • Paint 1.jpg
    Paint 1.jpg
    65.2 KB · Views: 880
  • Paint 3.jpg
    Paint 3.jpg
    82.5 KB · Views: 873
  • Paint 4.jpg
    Paint 4.jpg
    63.7 KB · Views: 870
  • Paint 5.jpg
    Paint 5.jpg
    80.8 KB · Views: 871
Last edited:
Nice work and your nav pod refresh really is excellent and one I'm sure you will see replicated by others ... Glw the lip build
 
Dumb question for you or whoever: What does the vent in the 'Stacy' skirts do? Does it go to the intake, brakes or??

It's just a dummy vent which is used to accentuate the Oem vent. Although, there is plenty of room in there to incorporate rear brake ducts.
 
Navigation

Up next in the "unbuild" was to update the navigation system and backup camera, as well as to remove a number of electronic goodies the previous owners had installed. I went back and forth between using a tablet to do this or simply using a standalone Garmin unit. Wiring in a tablet would have been relatively straightforward, however, I really didn't need all the bells and whistles that it offered and there were too many downsides (overheating, battery life, etc.), so I ended up going with a "glass front" Garmin 2789LMT with an integrated Garmin BC30 backup camera. LAMCHOP168 already did a really good write-up on a similar install (http://www.nsxprime.com/forum/showt...armin-GPS-with-Wireless-Backup-Camera-Project) using a 2798LMT so I won't bore you with the details. It should be noted, however, that the 2789LMT and 2798LMT both leave a gap of approximately 1/32" on either side of a standard navigation pod (see first pic). This is hardly noticeable to most, but I'm anal about these types of things and ended up fusing two pieces of plastic inside the bezel of the nav pod and then blending it in with epoxy and Bondo. The end result came out looking factory IMHO which has been the theme of this entire unbuild. On an aside, the last pic shows all the electronics and wiring I pulled out of the car. This included a monitor, hide-away unit, two DVDs (...you never know when you may get the sudden urge to watch X-Men while you're driving down the freeway), Bluetooth hands-free system, modulator, backup camera and various other miscellaneous components. I'm sure these were all state of the art in their day, but I wanted to return the car to stock and the Garmin does most of this already (Nav, Bluetooth, camera, etc.). You'll notice in the fourth pic that the aftermarket gearshift knob was also replaced at this time.
attachment.php
attachment.php
attachment.php
attachment.php
attachment.php
attachment.php
attachment.php
attachment.php
 

Attachments

  • Nav 1.jpg
    Nav 1.jpg
    79.4 KB · Views: 1,308
  • Nav 2.jpg
    Nav 2.jpg
    79.5 KB · Views: 1,311
  • Nav 4.jpg
    Nav 4.jpg
    41.9 KB · Views: 1,311
  • Nav 5.jpg
    Nav 5.jpg
    45.7 KB · Views: 1,307
  • Nav 7.jpg
    Nav 7.jpg
    77.1 KB · Views: 1,303
  • Nav 8.jpg
    Nav 8.jpg
    56 KB · Views: 1,312
  • GPS 2.jpg
    GPS 2.jpg
    73.9 KB · Views: 1,175
  • DVD.jpg
    DVD.jpg
    70.5 KB · Views: 867
Last edited:
Front Spoiler

I want to add a front lip to the car and really like the style with the two ducts in the bottom like TURBO2GO used to have on his silverstone (see top pic). However, the manufacturer of this spoiler apparently went out of business some time ago and I haven't been able to find anything similar for the 2002+ cars. As such, I purchased the materials to fabricate my own. Here are a few pics of the project to date. I realize it looks pretty rough so far, but it's slowly but surely coming together and I'm hoping to have it completed within the next couple of weeks. Once I have it as perfect as I can get it, I'll take it down to the body shop and let them do the final finish work and then make a fiberglass mold so I can make a couple of spares in the event I ever lose a fight with a speed bump.

attachment.php

attachment.php

attachment.php

attachment.php

attachment.php

attachment.php

attachment.php

attachment.php

attachment.php
 

Attachments

  • Spoiler 1.jpg
    Spoiler 1.jpg
    58 KB · Views: 1,140
  • Spoiler 2.jpg
    Spoiler 2.jpg
    56.3 KB · Views: 1,138
  • Spoiler 3.jpg
    Spoiler 3.jpg
    45.1 KB · Views: 1,137
  • Spoiler 4.jpg
    Spoiler 4.jpg
    41.9 KB · Views: 1,142
  • 2002 Front Lip.jpg
    2002 Front Lip.jpg
    60.9 KB · Views: 1,172
  • spoiler 6.jpg
    spoiler 6.jpg
    54 KB · Views: 1,117
  • Spoiler 5.jpg
    Spoiler 5.jpg
    48.3 KB · Views: 1,105
  • Spoiler 7.jpg
    Spoiler 7.jpg
    30.5 KB · Views: 1,007
  • Spoiler 8.jpg
    Spoiler 8.jpg
    61.5 KB · Views: 1,000
Last edited:
Thanks JWMELVIN. You're right, I am fabricating it primarily out of MDF with a couple of layers of 1/8" plywood sandwiched in between for rigidity. Once the finish work is completed I will make the mold myself and then knock out a couple of fiberglass copies.
 
Thanks MYW, it's a work in progress. Here are a few more pics.


attachment.php

attachment.php

attachment.php
 

Attachments

  • Spoiler 11 2.jpg
    Spoiler 11 2.jpg
    69.4 KB · Views: 962
  • Spoiler 13 2.jpg
    Spoiler 13 2.jpg
    60.7 KB · Views: 959
  • Spoiler 12 2.jpg
    Spoiler 12 2.jpg
    74.5 KB · Views: 961
Last edited:
Wow. Really digging the custom lip spoiler. I think you'll most certainly have prime folks asking to purchase them so save the mold buddy.

- - - Updated - - -

I still cannot believe someone did the gauge cluster modification to a 2004. They should be beaten and whipped.
 
Yeah. I am glad we got over the while white reverse glow gauge thing. It seems like every one was doing this mod 15 years ago.
 
Consigliere,
Great job! Love the navi pod finishing touches. Really makes a difference. It's the little details that make all the difference. Nice!
Acuman
 
Here are a few more pics of my spoiler project to date. I finally started fabricating the mold for it this week. Prior to gelcoating and glassing the mold I sanded it down with 1200 grit sandpaper, waxed it approximately a dozen times with mold release and then sprayed it with PVA to help promote separation once completed....I'm not sure how we ever accomplished anything before YouTube instructional videos were born.

I wasn't able to make a one-piece mold like I intended because of the draft angle, so it will end up being a three-piece mold connected by flanges at the corners. Despite this, the assembled mold should still be able to produce nearly seamless copies due to the tight tolerances I've been able to maintain so far (the third pic is a good closeup of one of the gelcoated flanges). I'm really pleased with how this project is coming together, although it seams like it is taking forever. I suppose if I knew what I was doing this would have been done a long time ago, but where's the fun in that? Anyway, this gives me a good opportunity to work on new swear words.


attachment.php

attachment.php

attachment.php

attachment.php

attachment.php

attachment.php
 

Attachments

  • Spoiler 15.jpg
    Spoiler 15.jpg
    82.1 KB · Views: 842
  • Spoiler 16.jpg
    Spoiler 16.jpg
    66.8 KB · Views: 843
  • Spoiler 17.jpg
    Spoiler 17.jpg
    33.8 KB · Views: 835
  • Spoiler 18.jpg
    Spoiler 18.jpg
    48 KB · Views: 834
  • Spoiler 19.jpg
    Spoiler 19.jpg
    67 KB · Views: 753
  • Spoiler 20.jpg
    Spoiler 20.jpg
    53.8 KB · Views: 754
Last edited:
Well I finally finished my spoiler this evening and got it mounted on the car...just in time for tomorrow's Cars & Coffee spring opener. Everything lined up like it should and all in all I'm happy with how it turned out. I will eventually have it painted to match the car and add mesh to the back of the air intakes which will complete the look. However, since this sits about an inch lower than stock (see third pic) I wanted to drive it around for a couple of weeks with just the gelcoat to make sure I wouldn't have any issues with dips or speed bumps. So far so good.


attachment.php
attachment.php
attachment.php
attachment.php
attachment.php
attachment.php
attachment.php
attachment.php
 

Attachments

  • Spoiler 21.jpg
    Spoiler 21.jpg
    229.4 KB · Views: 761
  • Spoiler 22.jpg
    Spoiler 22.jpg
    178.1 KB · Views: 756
  • Spoiler 23.jpg
    Spoiler 23.jpg
    172.9 KB · Views: 747
  • Spoiler 24 2.jpg
    Spoiler 24 2.jpg
    280.2 KB · Views: 756
  • Spoiler 25 2.jpg
    Spoiler 25 2.jpg
    304.4 KB · Views: 757
  • Spoiler 26 2.jpg
    Spoiler 26 2.jpg
    230.4 KB · Views: 752
  • Spoiler 27 2.jpg
    Spoiler 27 2.jpg
    378.7 KB · Views: 751
  • C&C 2 2 4-16-16.jpg
    C&C 2 2 4-16-16.jpg
    210.8 KB · Views: 693
Last edited:
Back
Top