
The NSX is my dream car. I went through the Honda ranks over the past 10 years and experienced the EP3, DC5, AP1, and finally an NA1.
I bought my 91 Sebring NSX in July 2014, with 94000 miles. Since then, I've been on a mission to make the car fully functional and reliable. Mostly OEM replacements for the old or worn out bits, and some modest modifications to suit my needs.
NSX Prime is such an amazing place to share our ideas and styles with other Honda enthusiasts around the world. In my short stay, I've met some great people and have learned so much about the NSX. I would like to begin to share my own experiences and ideas with all of you, and hopefully contribute to the collective knowledge of Prime.
--
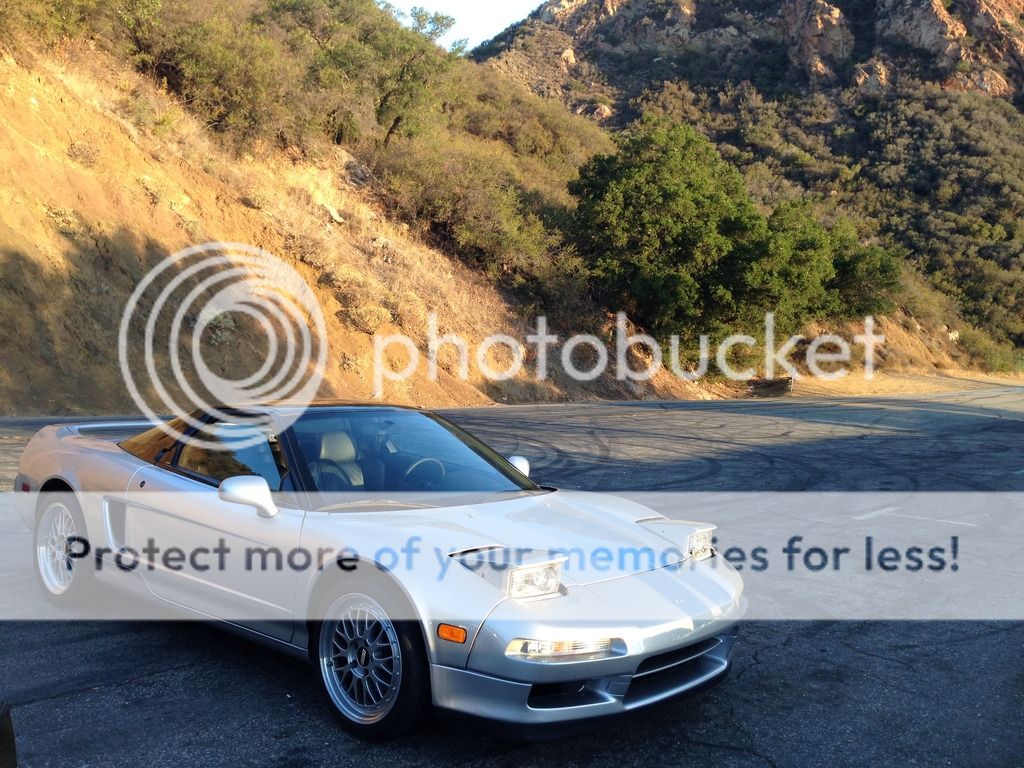
A lot has happened in the past 17 months of ownership, so I will try to focus on the key moments. Here is the NSX on day one; bone stock and in need of some maintenance.
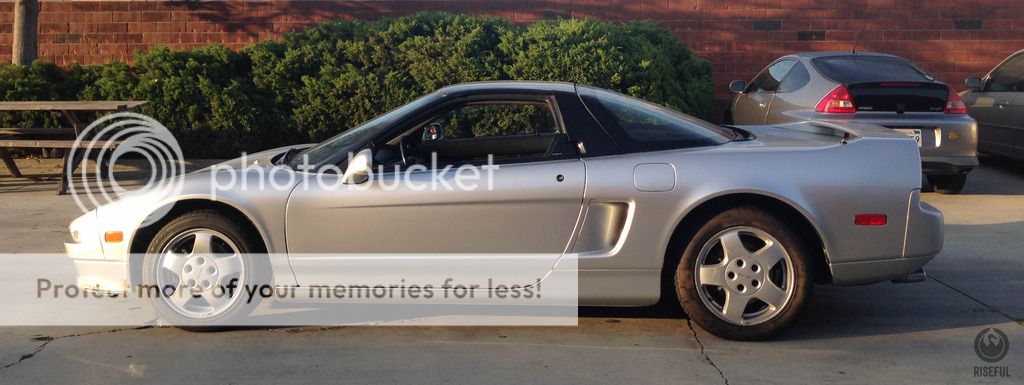
Mostly standard stuff. All fluid change, oil pan and valve cover gaskets, axel boots, spark plugs, fuel filter, engine and trunk lid struts. The front was missing the lip and some fender liners. The horns didn’t work (bad connection) and the half lip was curbed, so I had it repainted.
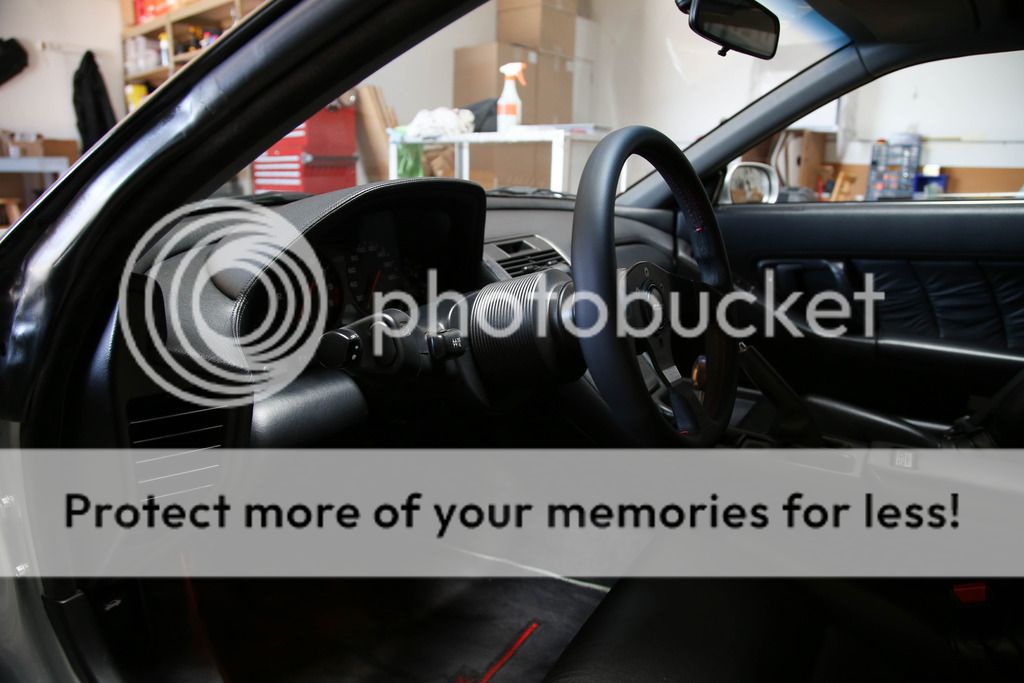
I wanted the steering wheel to be smaller and closer than the OE position, so swapped in a Works Bell hub, quick release, and Momo steering wheel. The turn signal operation is a bit of stretch, but I’ve since gotten used to it.
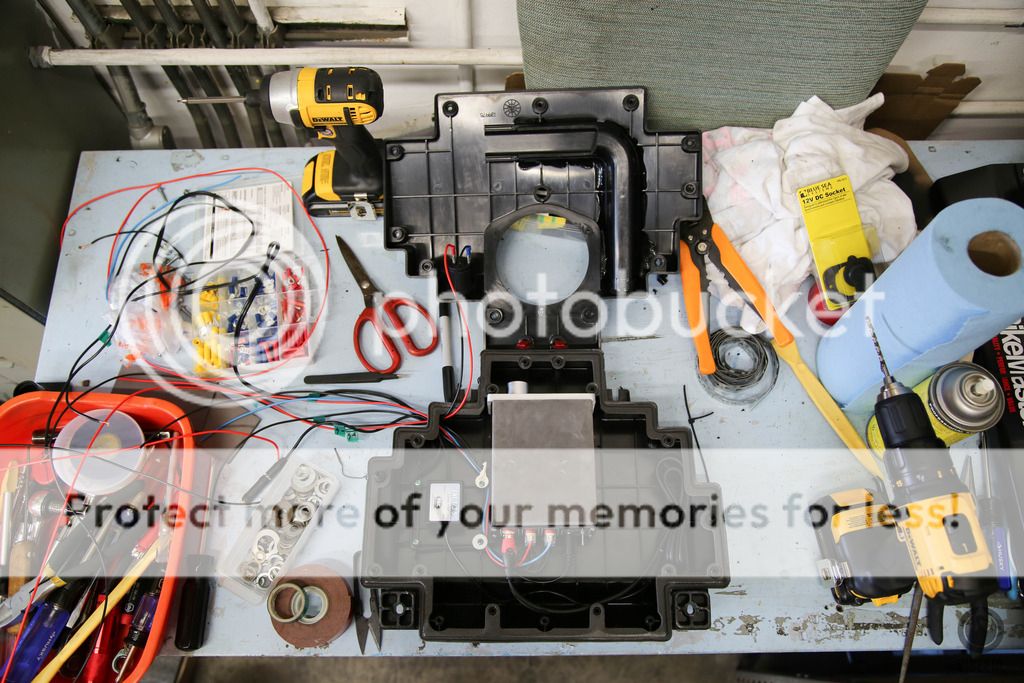
The radio was malfunctioning, so I disconnected the unit and installed a stand alone mini amp to power the speakers directly, using a bluetooth receiver to play music wirelessly from my phone. The main bits are housed in the OE subwoofer housing with some slight modification to fit everything.
Step one of the refresh was complete. We celebrated with a little NSX party.

Malibu sunrise canyon runs were a weekly norm.
Then tragedy struck on a hot Sunday in Malibu. The coolant hose closest to the front cylinder head ruptured. I happened to be GoPro filming at the time and reviewed footage of the coolant temp gauge rising. Once it maxed out, it took me a full 5 minutes to realize what had happened. By the time I stopped, the coolant tank was empty and any coolant from the rupture had evaporated.
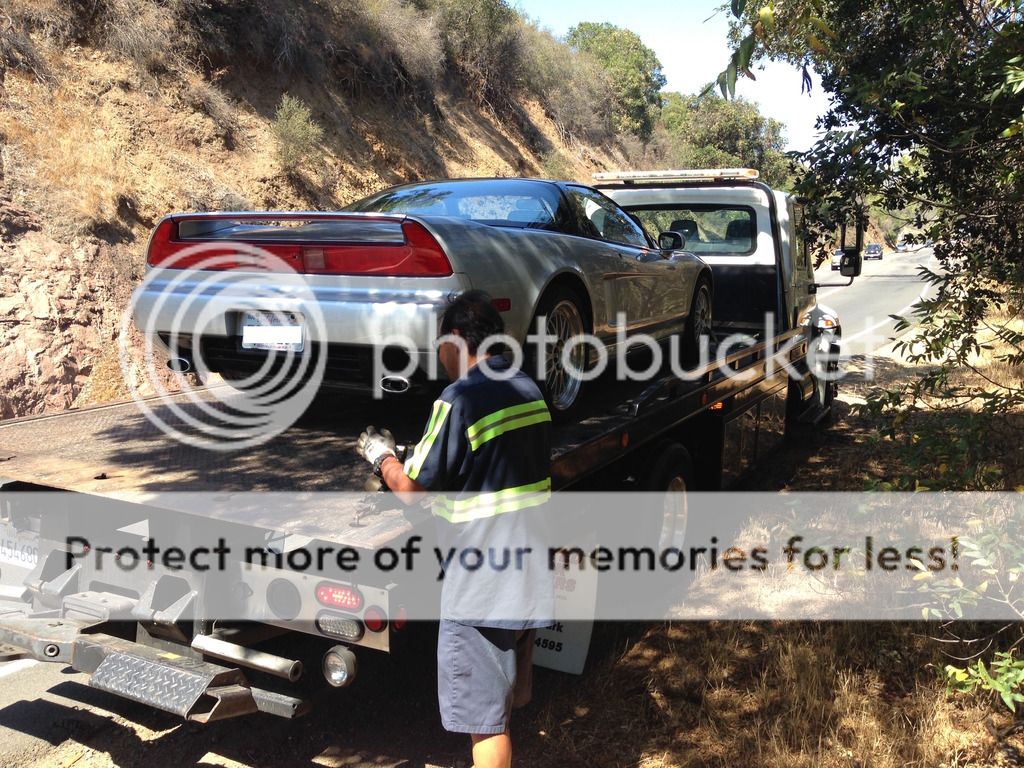
I hoped for the best, but assumed the worse. A leakdown showed 27% leak at one cylinder, which meant a blown head gasket. The NSX sat for 6 months, cold and lonely.
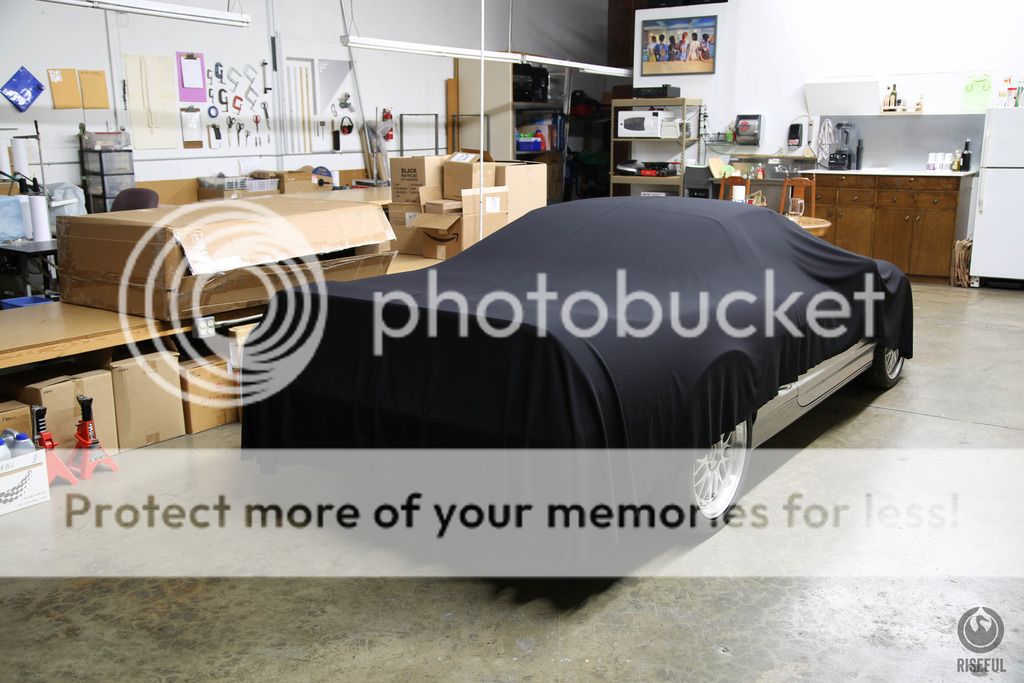
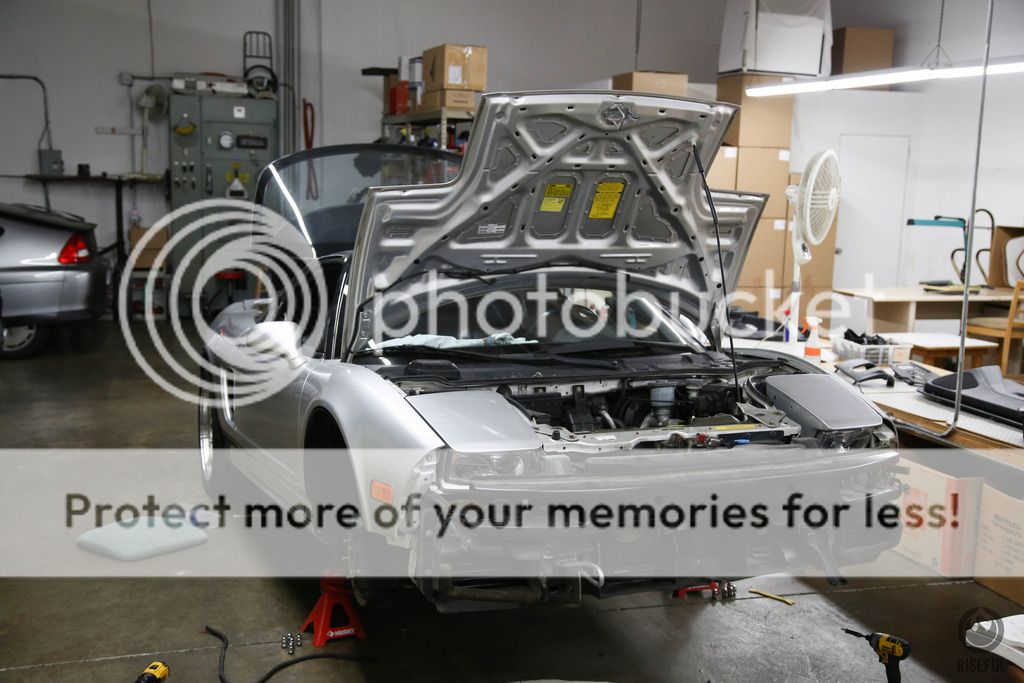
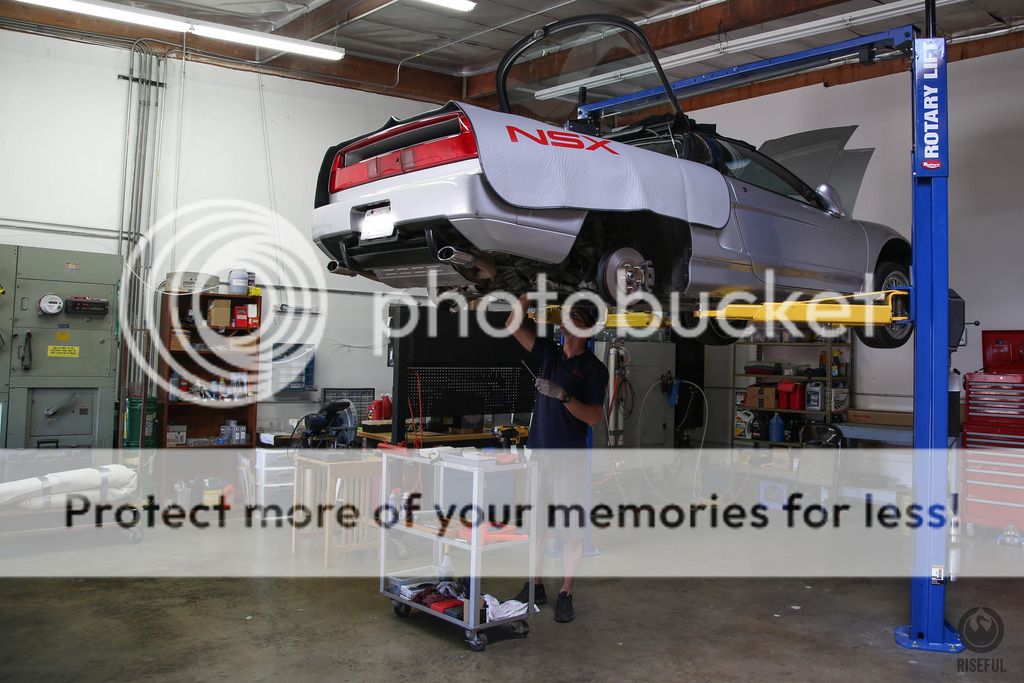
$6000+ was the estimate for parts and labor to replace the head gaskets and other bits that came along with dropping the motor, and that’s only if it went smoothly. I made the decision to invest in a lift and complete the repair myself. Never having dropped a motor, it would be quite the adventure. Armed with the service manual and NSX Prime, I began.
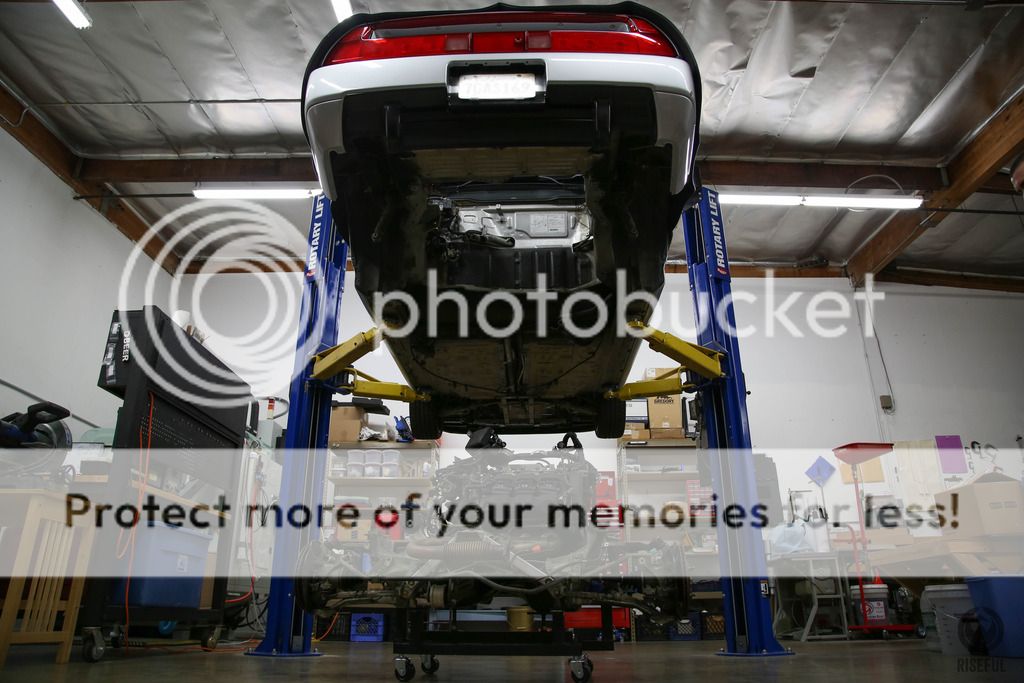
To be continued…
Mike B
I bought my 91 Sebring NSX in July 2014, with 94000 miles. Since then, I've been on a mission to make the car fully functional and reliable. Mostly OEM replacements for the old or worn out bits, and some modest modifications to suit my needs.
NSX Prime is such an amazing place to share our ideas and styles with other Honda enthusiasts around the world. In my short stay, I've met some great people and have learned so much about the NSX. I would like to begin to share my own experiences and ideas with all of you, and hopefully contribute to the collective knowledge of Prime.
--
A lot has happened in the past 17 months of ownership, so I will try to focus on the key moments. Here is the NSX on day one; bone stock and in need of some maintenance.

Mostly standard stuff. All fluid change, oil pan and valve cover gaskets, axel boots, spark plugs, fuel filter, engine and trunk lid struts. The front was missing the lip and some fender liners. The horns didn’t work (bad connection) and the half lip was curbed, so I had it repainted.

I wanted the steering wheel to be smaller and closer than the OE position, so swapped in a Works Bell hub, quick release, and Momo steering wheel. The turn signal operation is a bit of stretch, but I’ve since gotten used to it.

The radio was malfunctioning, so I disconnected the unit and installed a stand alone mini amp to power the speakers directly, using a bluetooth receiver to play music wirelessly from my phone. The main bits are housed in the OE subwoofer housing with some slight modification to fit everything.

Step one of the refresh was complete. We celebrated with a little NSX party.

Malibu sunrise canyon runs were a weekly norm.

Then tragedy struck on a hot Sunday in Malibu. The coolant hose closest to the front cylinder head ruptured. I happened to be GoPro filming at the time and reviewed footage of the coolant temp gauge rising. Once it maxed out, it took me a full 5 minutes to realize what had happened. By the time I stopped, the coolant tank was empty and any coolant from the rupture had evaporated.

I hoped for the best, but assumed the worse. A leakdown showed 27% leak at one cylinder, which meant a blown head gasket. The NSX sat for 6 months, cold and lonely.

$6000+ was the estimate for parts and labor to replace the head gaskets and other bits that came along with dropping the motor, and that’s only if it went smoothly. I made the decision to invest in a lift and complete the repair myself. Never having dropped a motor, it would be quite the adventure. Armed with the service manual and NSX Prime, I began.


To be continued…
Mike B
Last edited:


")


