Alright everyone, this is my attempt to consolidate things into a single build thread. In retrospect, I should have taken more pics, oh well. To make this build a little different…I will attempt to help others by walking people through my thought process in the decisions I made with my NSX.
Also, I want to point people to the specific threads and other forum members I drew inspiration and assistance. After lots of research on prime, I have found it to be full of knowledge and experts. However as a new owner, it was often overwhelming and I found that I could not read enough and couldn’t hope to learn enough quickly enough along the way. Hindsight is 20/20 and you don’t know what you don’t know until after doing things…so here we go.
Pursuit of Childhood Dream Car
Initially my sports car search began with the new C7. Rented one for the weekend and loved it. In the back of my mind though, I figured while an awesome car, it would be too common for my taste and I really didn’t want to eat the depreciation. Next, I looked at used BMW 1-series and S2K. I almost pulled the trigger on both. But something was still missing. Then the light bulb finally came on. As a child of the 80’s and of video games like Gran Turismo, the car I dreamed about was the NSX.
At this point it is important to do your typical market research and hit up the forums. I also knew before going any further. I needed to see, feel, and drive one first hand. As I am 6’1” and 215 lb. It was important to know that I could fit comfortably and that I would not be let down by meeting my idol. Hence the craigslist search for nearby NSXs and test drive. This little bit of time spent upfront, convinced me to move forward with my search. Full steam ahead!
Next, it was important to set the ethos of my purchase and determine my fixed parameters of my search.
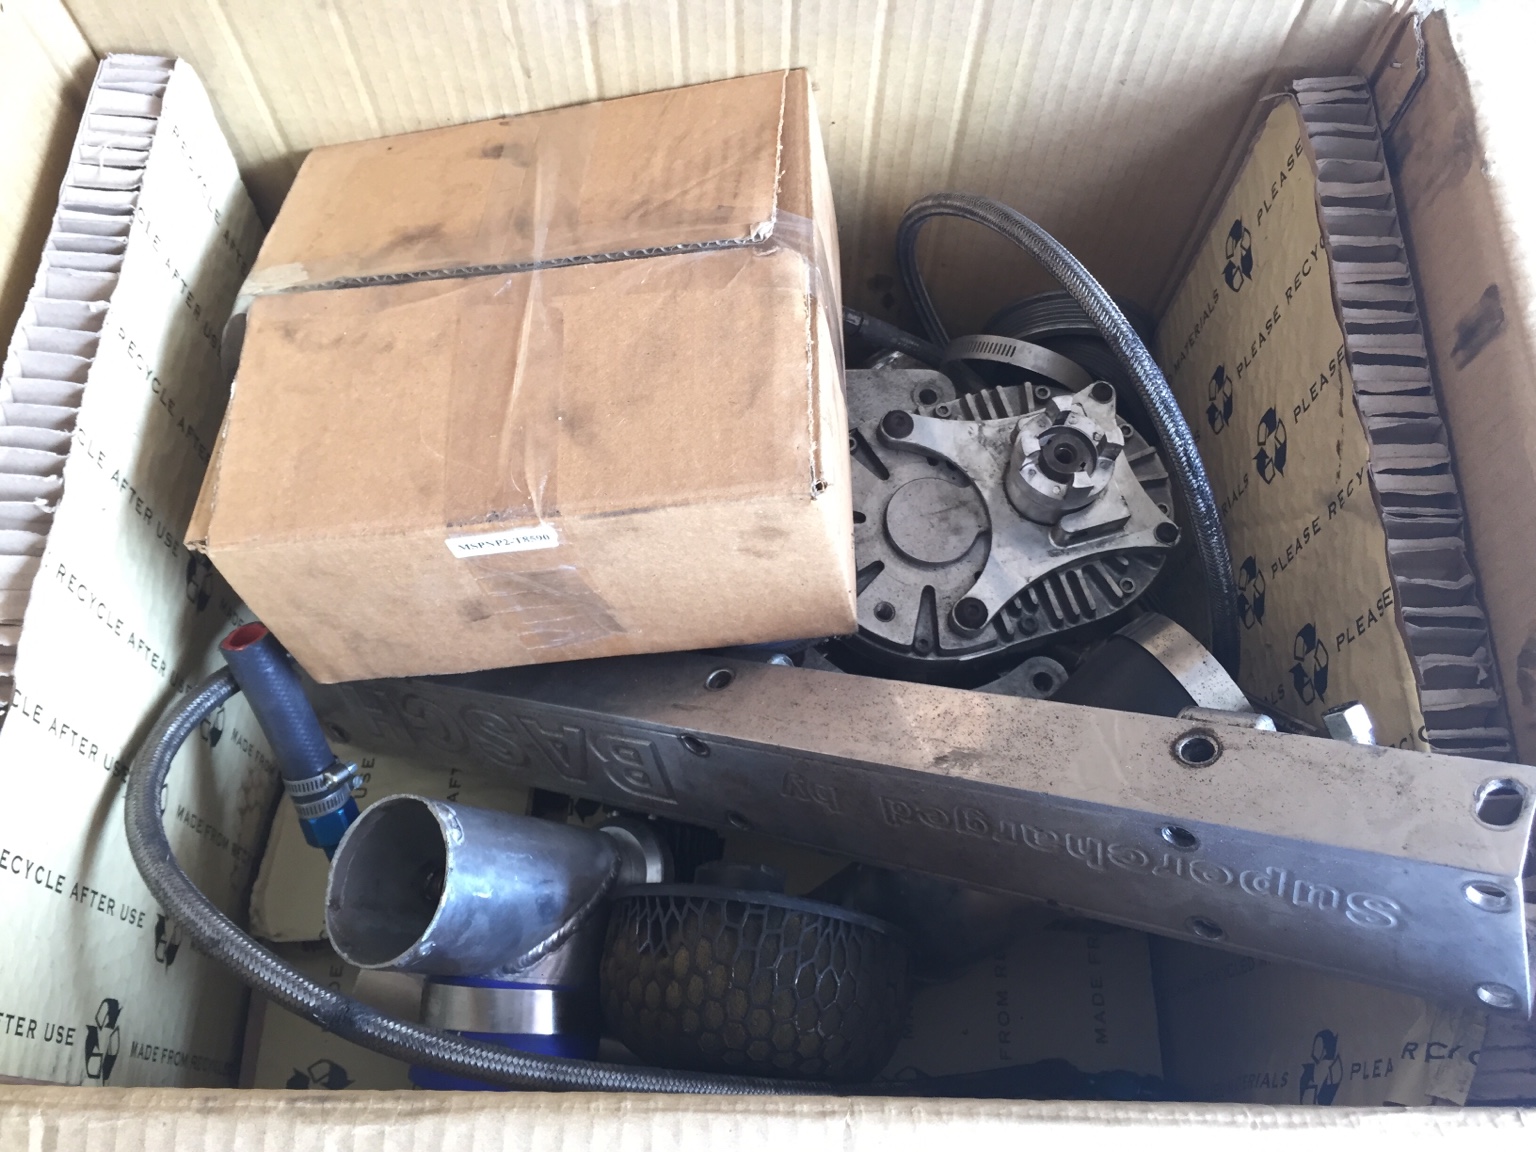
Ethos: Buy the best condition, clean titled, well documented original car I could afford. I knew I was not looking for a track car, daily driver or salvage. I also would accept modified like SC, but I did not want anything too drastic or irreversible and original parts had to be included. Also I was pretty flexible on color. Personally, I did not mind spending more upfront and having to save up to do personalizing down the road piece by piece. I wanted the best starting point.
Fixed parameters: 97-01 as I wanted those sweet pop up lights, targa and NA2.
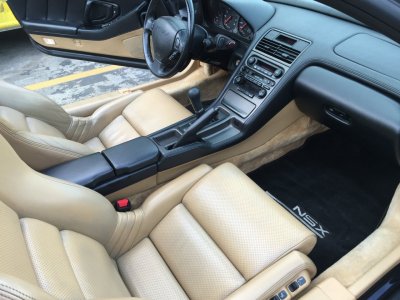
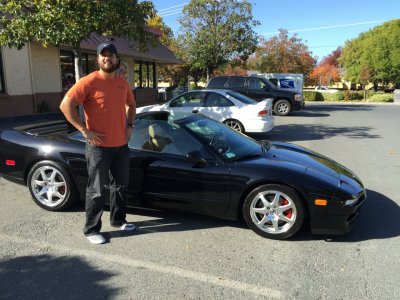
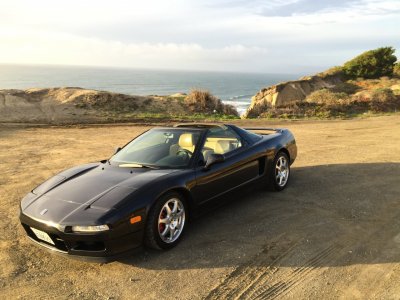
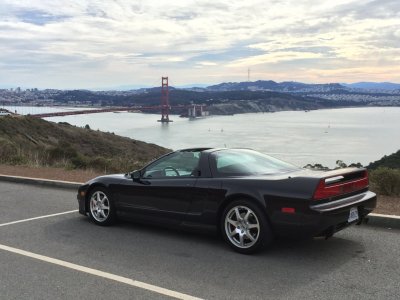
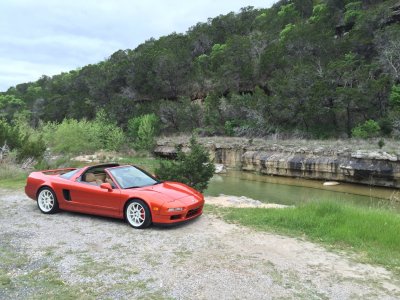
After searching for an unbelievably short 2 weeks, a car came up in California that fit the bill, 2000 NSX-T. Apparently that is crazy rare time frame wise. Most people search for months or years to find the right car. So have your $ ready to go and be ready to close a deal and travel at a drop of a hat. I was ready, flew out there, checked the car out, bought it and had it transported home via enclosed transport back to Texas.
Transport – There are plenty of transport companies, but when you are shipping something for the first time, I figured I would save myself the grief and not worry about a few dollars extra and use a bigger name company. If you can’t trust Hagerty to sort out reputable companies then how the heck would I do it myself?
http://www.hagerty.com/articles-vide...g-your-classic
A few pics from picking the car up.


Sorting the car out
Maintenance was well documented with the 2 big items (water pump and timing belt) already completed by previous owner. So I found my area’s local Houston NSX guru for a full inspection and came away with a clean bill of health.
C&M Honda – ask for Carl (NSX guru)
http://www.cmcarspecialist.com/
Next, I wanted to get the car fully OEM. My car was really close already with the only non-OEM parts being improvements:
Bilstein struts on lower perch
25mm spacer on rear hubs
HID headlights
SOS stealth license plate bracket
So all I needed to do was fill the missing small details:
Targa Plugs - ordered from Acura
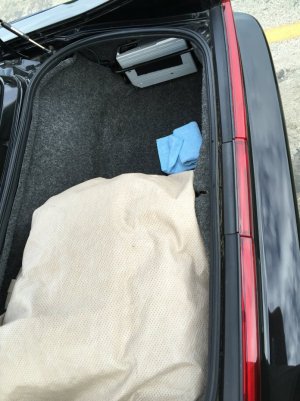
Trunk Mat - took a year of searching till a fellow Primer put one for sale
Toolbox – missing screwdriver and pressure gauge (ordered from Acura)
Personalization
I did my best not rush into mods and tried to research and see what other have done to inspire my build. While I still think there is more I want to do, below is a quick summary of my current mods in the rough order I proceeded:
Taillight fix to prevent condensation
Repair OEM Bose amps and speakers
Zublin Smartenna
Grom
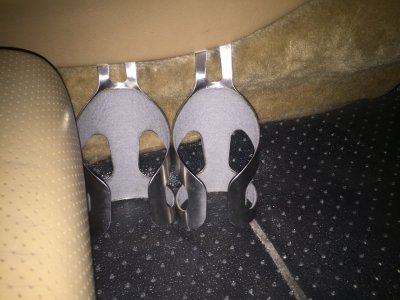
Cupholders
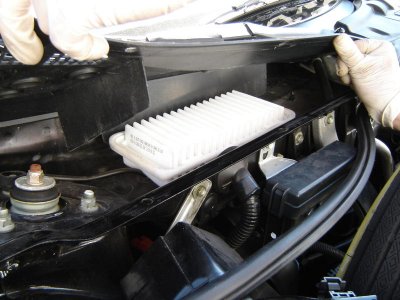
Cabin Air Filter
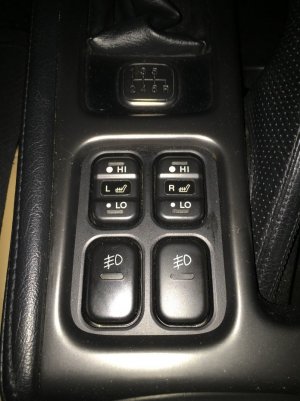
JDM Switch Panel
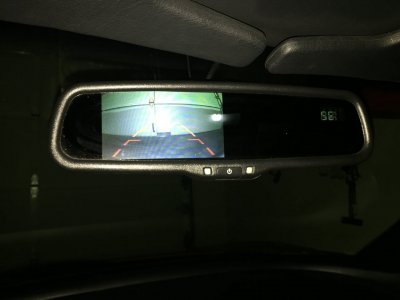
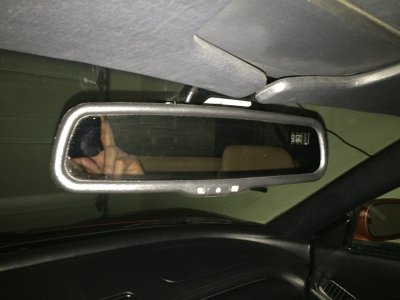
Rydeen Mirror + Cameras
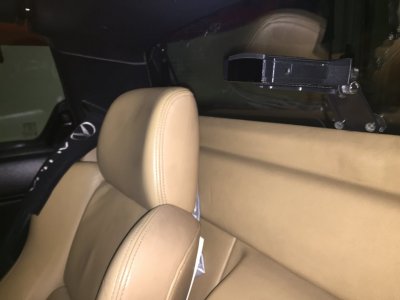
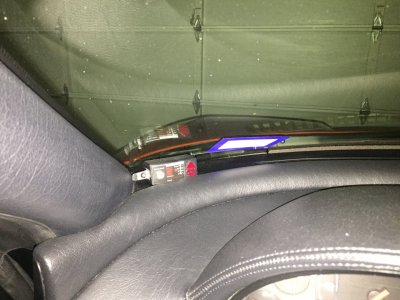
Valentine 1
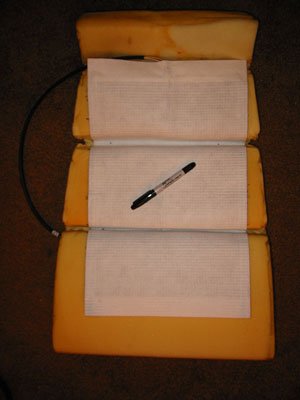
Heated Seats + shave seat cushion for tall driver
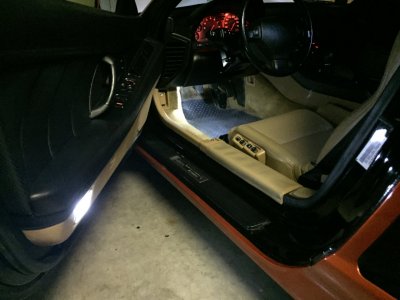
LED Light Kit from Ikonikled (Interior/Exterior)
Secret Switch
Window Auto-Up
Hugo’s Window Fix
Fiery Orange Wrap
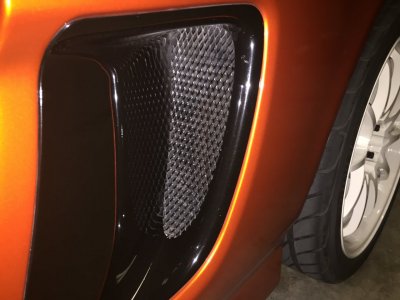
Engine Intake Grills
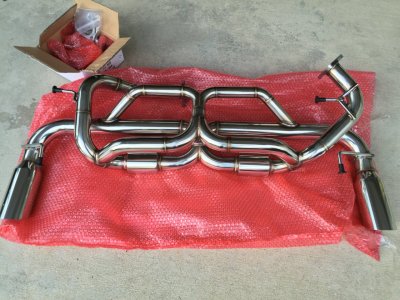
Pride V2 RFL Exhaust
Engine Cover Removal
Targa Top Storage
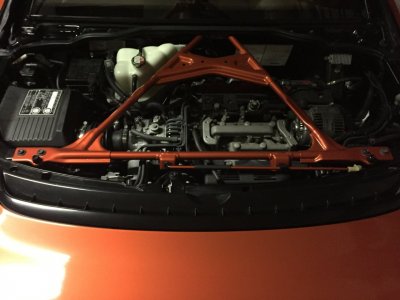
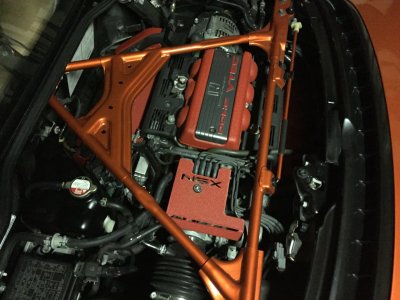
Chassis Reinforcement – NSX-R Front Upper & Lower Bars
Fire Extinguisher + Mount
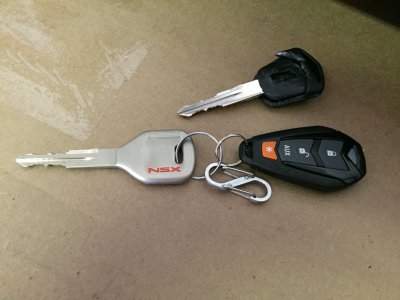
“Titanium” Monel Key
Volk CE28N in 17/18 - White
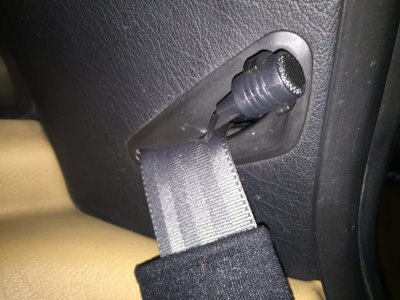
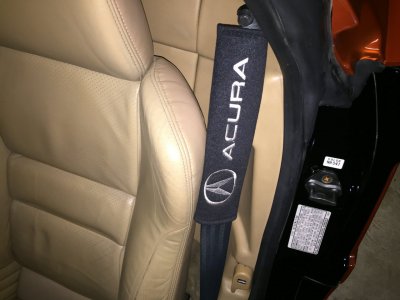
Seatbelt "Acura" Cushions
Throttle Body Cover
Front Lip – Wingswest
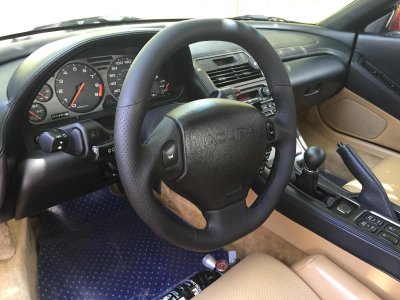
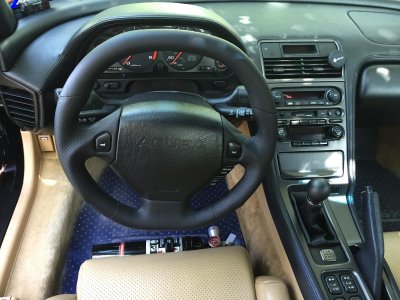
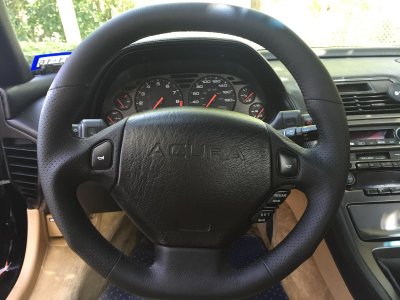
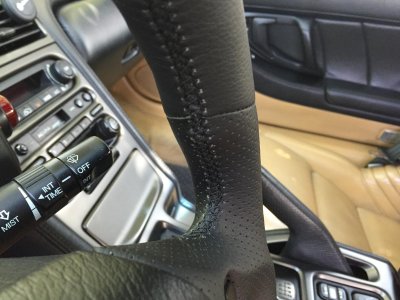
Steering Wheel
TBD...$$$
More details on each of the above mods will in posts below.
So after 1.5 years of ownership I am just as much in love with my car as when I bought it. In fact, I appreciate it more now as a marvel of engineering and timeless design. This will be a car I hand down to my kids. Not sure what I will do next, but I will let the next mod find me.
Also, I want to say thank you to all the Primers who gave advice to a newb and had the patience to help me find my way. We all have such a passion for these cars and it really shows thru the strength of the community. I feel fortunate to have met a lot of great new people thru the community and hope to help out as my knowledge grows.
Adios,
Javier
Also, I want to point people to the specific threads and other forum members I drew inspiration and assistance. After lots of research on prime, I have found it to be full of knowledge and experts. However as a new owner, it was often overwhelming and I found that I could not read enough and couldn’t hope to learn enough quickly enough along the way. Hindsight is 20/20 and you don’t know what you don’t know until after doing things…so here we go.
Pursuit of Childhood Dream Car
Initially my sports car search began with the new C7. Rented one for the weekend and loved it. In the back of my mind though, I figured while an awesome car, it would be too common for my taste and I really didn’t want to eat the depreciation. Next, I looked at used BMW 1-series and S2K. I almost pulled the trigger on both. But something was still missing. Then the light bulb finally came on. As a child of the 80’s and of video games like Gran Turismo, the car I dreamed about was the NSX.
At this point it is important to do your typical market research and hit up the forums. I also knew before going any further. I needed to see, feel, and drive one first hand. As I am 6’1” and 215 lb. It was important to know that I could fit comfortably and that I would not be let down by meeting my idol. Hence the craigslist search for nearby NSXs and test drive. This little bit of time spent upfront, convinced me to move forward with my search. Full steam ahead!
Next, it was important to set the ethos of my purchase and determine my fixed parameters of my search.
Ethos: Buy the best condition, clean titled, well documented original car I could afford. I knew I was not looking for a track car, daily driver or salvage. I also would accept modified like SC, but I did not want anything too drastic or irreversible and original parts had to be included. Also I was pretty flexible on color. Personally, I did not mind spending more upfront and having to save up to do personalizing down the road piece by piece. I wanted the best starting point.
Fixed parameters: 97-01 as I wanted those sweet pop up lights, targa and NA2.
After searching for an unbelievably short 2 weeks, a car came up in California that fit the bill, 2000 NSX-T. Apparently that is crazy rare time frame wise. Most people search for months or years to find the right car. So have your $ ready to go and be ready to close a deal and travel at a drop of a hat. I was ready, flew out there, checked the car out, bought it and had it transported home via enclosed transport back to Texas.
Transport – There are plenty of transport companies, but when you are shipping something for the first time, I figured I would save myself the grief and not worry about a few dollars extra and use a bigger name company. If you can’t trust Hagerty to sort out reputable companies then how the heck would I do it myself?
http://www.hagerty.com/articles-vide...g-your-classic
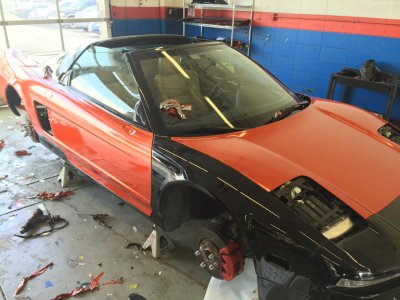
A few pics from picking the car up.
Sorting the car out
Maintenance was well documented with the 2 big items (water pump and timing belt) already completed by previous owner. So I found my area’s local Houston NSX guru for a full inspection and came away with a clean bill of health.
C&M Honda – ask for Carl (NSX guru)
http://www.cmcarspecialist.com/
Next, I wanted to get the car fully OEM. My car was really close already with the only non-OEM parts being improvements:
Bilstein struts on lower perch
25mm spacer on rear hubs
HID headlights
SOS stealth license plate bracket
So all I needed to do was fill the missing small details:
Targa Plugs - ordered from Acura
Trunk Mat - took a year of searching till a fellow Primer put one for sale
Toolbox – missing screwdriver and pressure gauge (ordered from Acura)
Personalization
I did my best not rush into mods and tried to research and see what other have done to inspire my build. While I still think there is more I want to do, below is a quick summary of my current mods in the rough order I proceeded:
Taillight fix to prevent condensation
Repair OEM Bose amps and speakers
Zublin Smartenna
Grom
Cupholders
Cabin Air Filter
JDM Switch Panel
Rydeen Mirror + Cameras
Valentine 1
Heated Seats + shave seat cushion for tall driver
LED Light Kit from Ikonikled (Interior/Exterior)
Secret Switch
Window Auto-Up
Hugo’s Window Fix
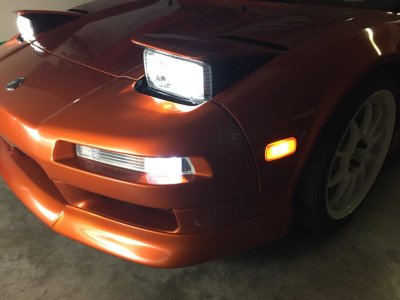
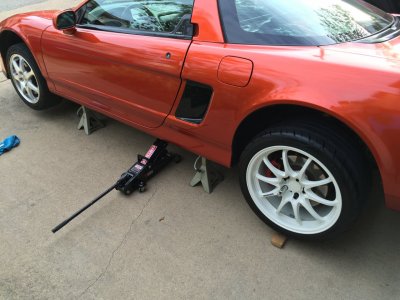
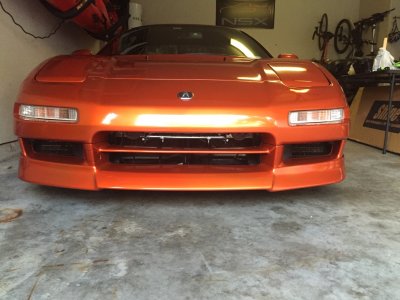
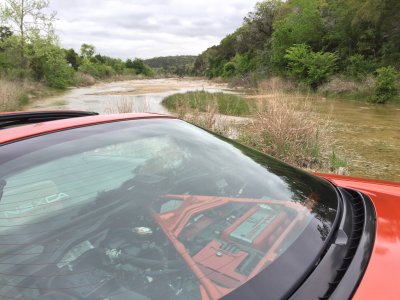
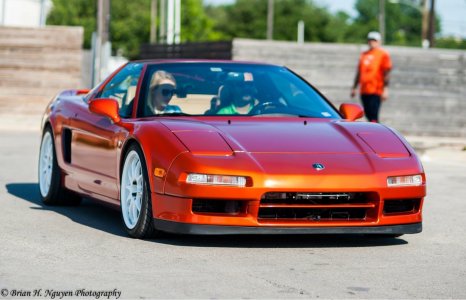
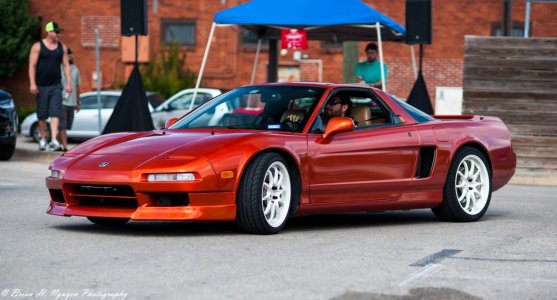
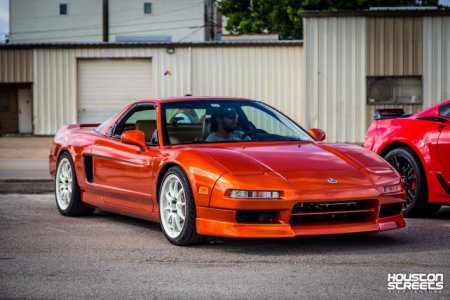
Fiery Orange Wrap
Engine Intake Grills
Pride V2 RFL Exhaust
Engine Cover Removal
Targa Top Storage
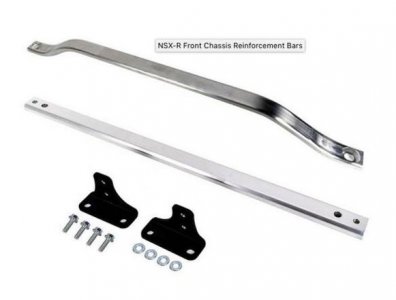
Chassis Reinforcement – NSX-R Front Upper & Lower Bars
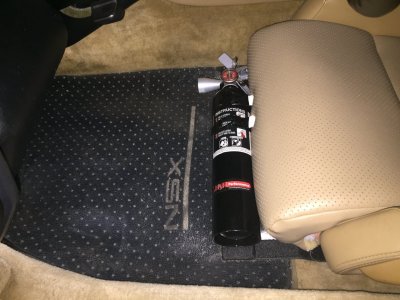
Fire Extinguisher + Mount
“Titanium” Monel Key
Volk CE28N in 17/18 - White
Seatbelt "Acura" Cushions
Throttle Body Cover
Front Lip – Wingswest
Steering Wheel
TBD...$$$
More details on each of the above mods will in posts below.
So after 1.5 years of ownership I am just as much in love with my car as when I bought it. In fact, I appreciate it more now as a marvel of engineering and timeless design. This will be a car I hand down to my kids. Not sure what I will do next, but I will let the next mod find me.
Also, I want to say thank you to all the Primers who gave advice to a newb and had the patience to help me find my way. We all have such a passion for these cars and it really shows thru the strength of the community. I feel fortunate to have met a lot of great new people thru the community and hope to help out as my knowledge grows.
Adios,
Javier
Attachments
Last edited:
")
![C7FLATTOP-546x497[1].jpg](/data/attachments/101/101139-c0aec4a48691c6d831255052d973df4a.jpg)


![smarte8[1].jpg](/data/attachments/103/103383-77d99581e3a23b0263f16bdebb2b70b1.jpg)
![thumb[6].jpg](/data/attachments/103/103651-3aadb3aaddc35a7e5fcb9e1a131a6a0a.jpg)