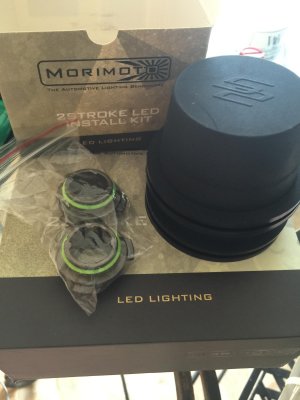
So I've always been interested in how much "better or worse" an LED bulb is in comparison to an HID bulb in headlights. I went out on a limb and bought a Morimoto 2 Stroke LED 9006 kit from Valiants Racing in Savannah, GA.
I referenced Jason's HID DIY for disassembly/assembly of the headlights.


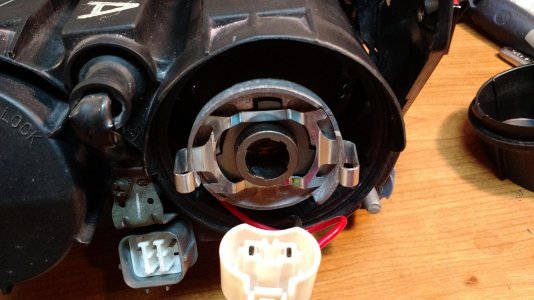
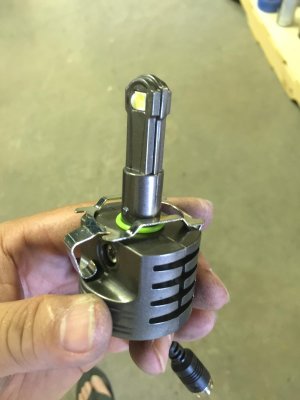
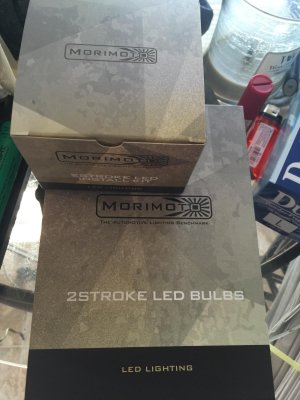
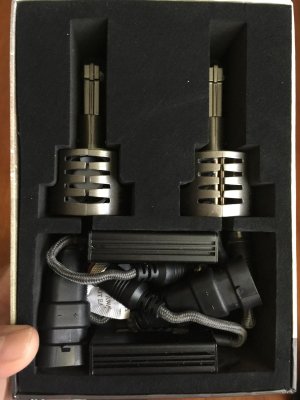
So I received the headlights and I was satisfied with the product and packaging. I was a little worried because there are only 2 LEDs (SMD's) per bulb. I think it's interesting that it's a universal bulb but comes with a twist lock base (dependent on what kind of bulb you are installing). I also like the fact that the ballast box is much smaller than with HID kits I've installed in the past. You do have to install the locking collars for the bulb before you mount the 9006 base to the bulb.

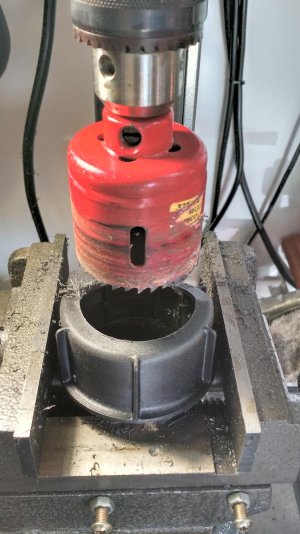
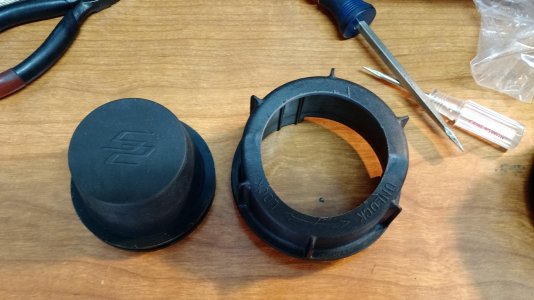
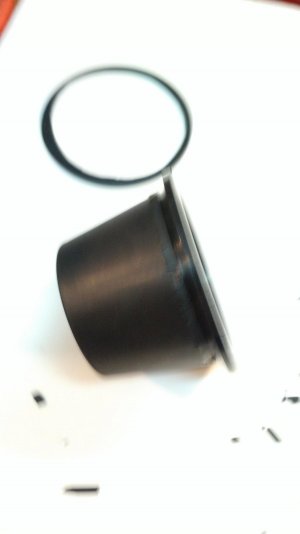
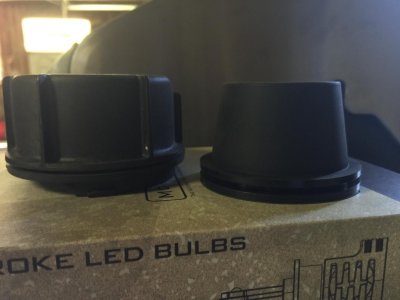
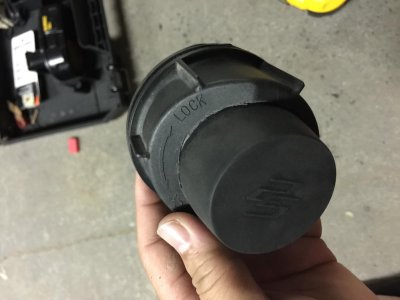
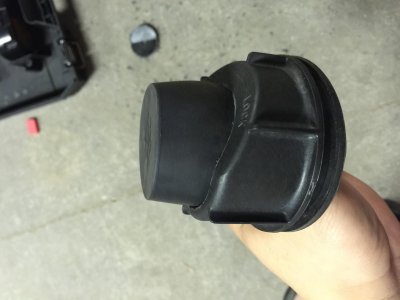
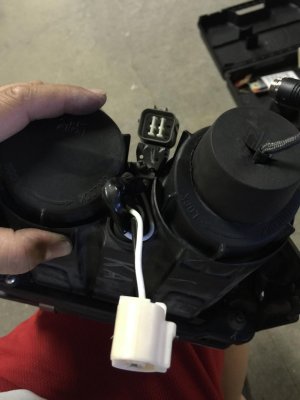
The installation kit come with new dust caps that are smaller than the OEM covers. Also the OEM covers are too shallow because the new headlight has a bigger base to accomodate for the cooling fan and heat sink.


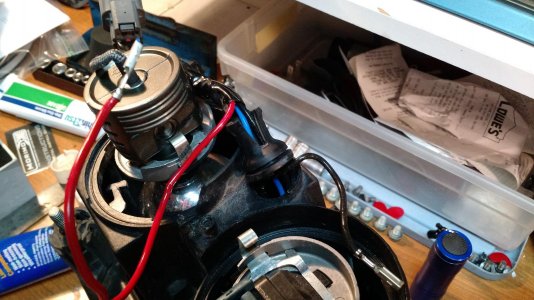
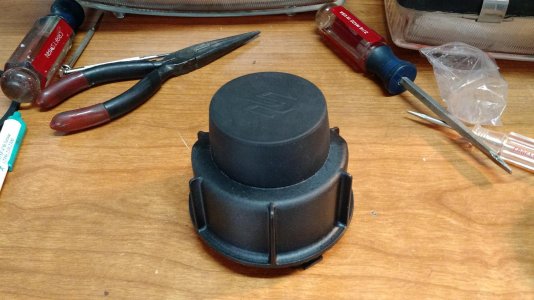
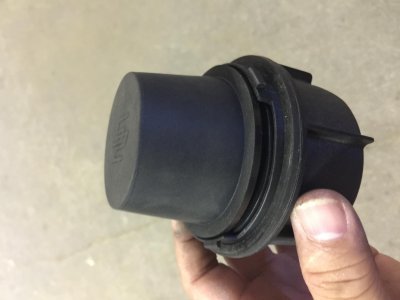
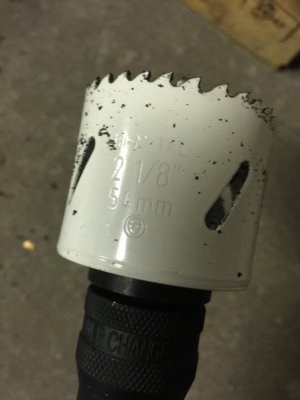
After some research and a few trips to Home Depot, I decided to drill a hole in the OEM cap and push the cap that came with the kit through to give the bulb the clearance it needs. I used a 2-1/8" hole saw to solve the issue. the hole is drilled slightly off center because the bulb doesn't sit exactly in the middle of the headlight opening.


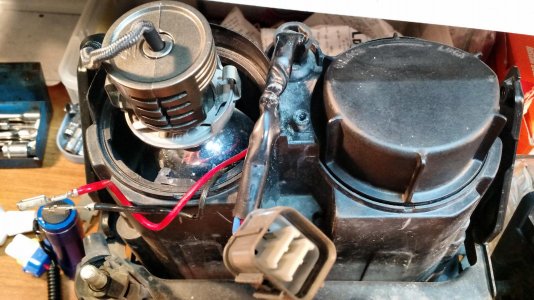
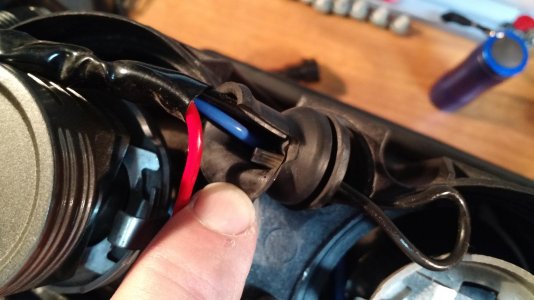
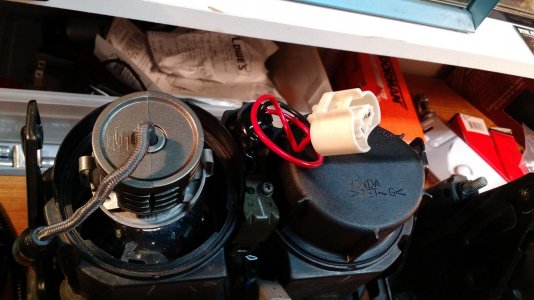
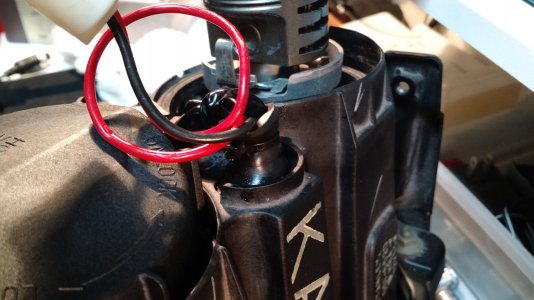
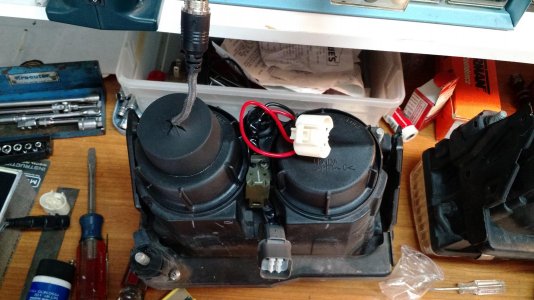
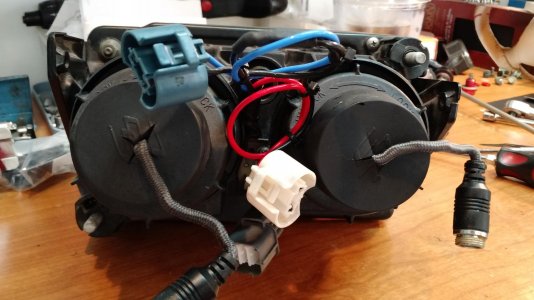
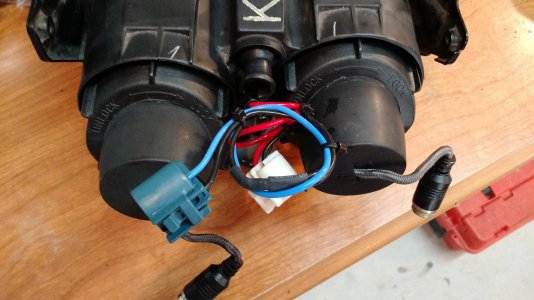
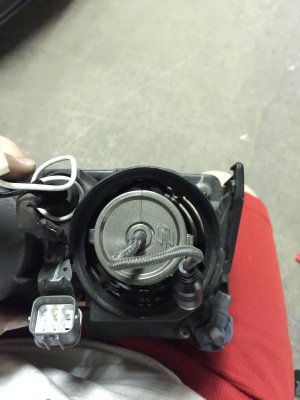
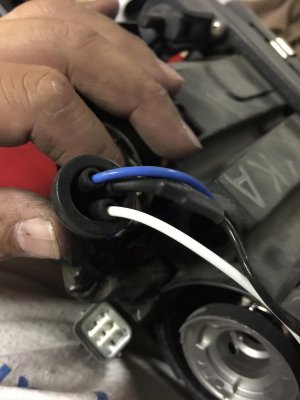
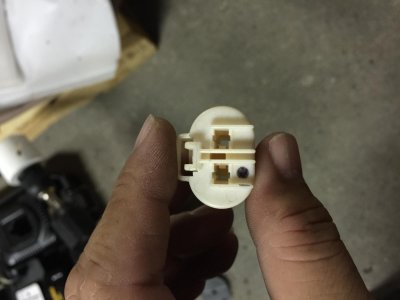
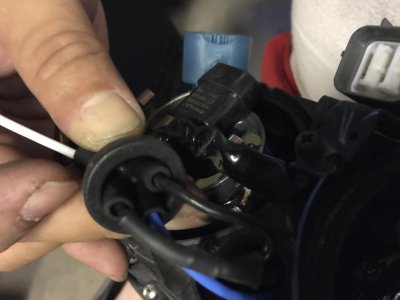
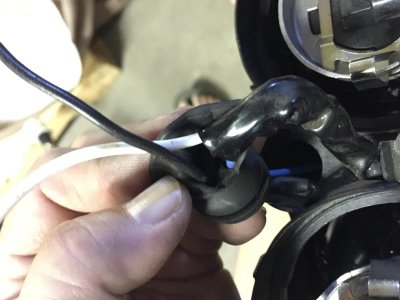
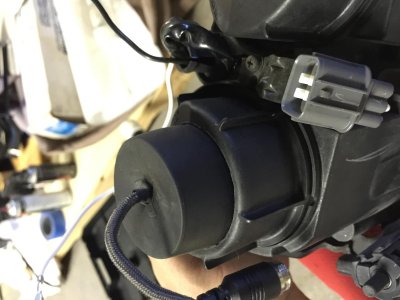
It's a pretty tight seal, but you should probably add a bead of silicon all around to help completely seal it off. So since the new cap is tapered, there isn't enough room for the 9006 plug to remain under the cap with the bulb. There wasn't enough wire to run it anywhere, so I depinned and rerouted the plug. (I marked the ground wire with a black dot)


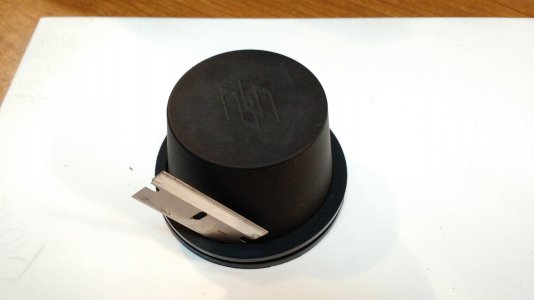
So the I decided to run the power wire (white) back through the oem grommet, then the negative wire (black), out the same hole so there wouldn't be any open holes in the grommet. I then repinned the plug, then cut a small x in the new rubber cap to feed the wire for the bulb out and finished plugging in the rest of the kit.


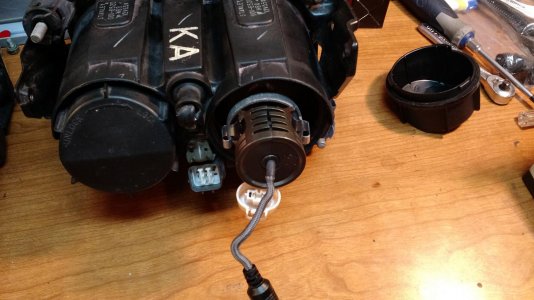
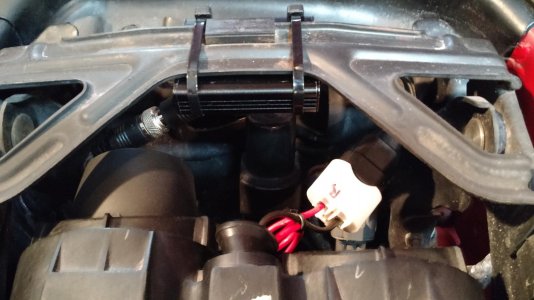
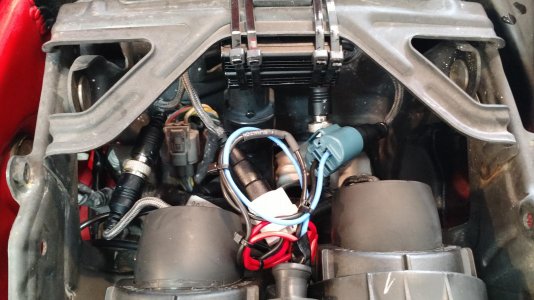
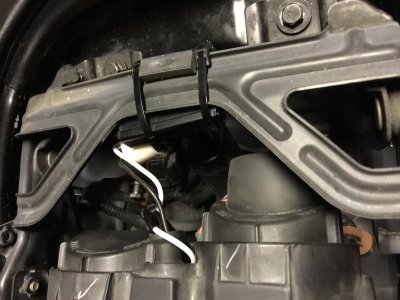
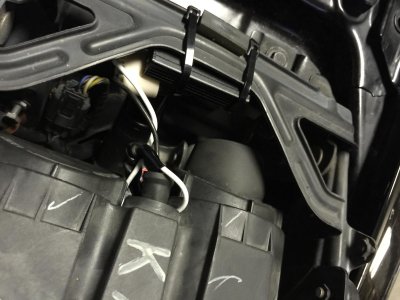
The ballast mounts in the same location with plenty of extra wiring available for clearance.


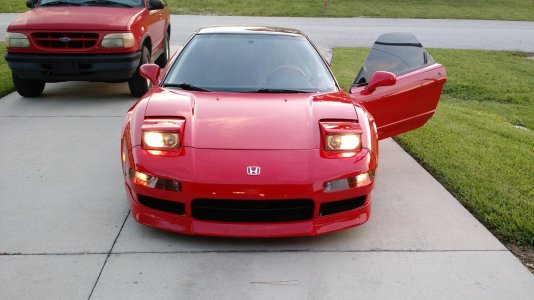
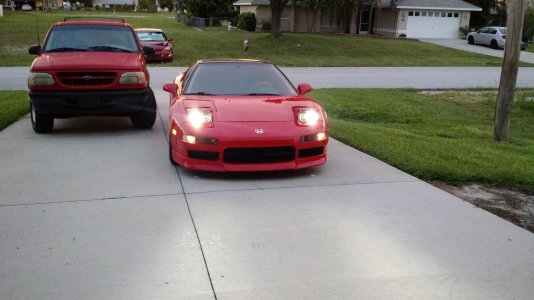
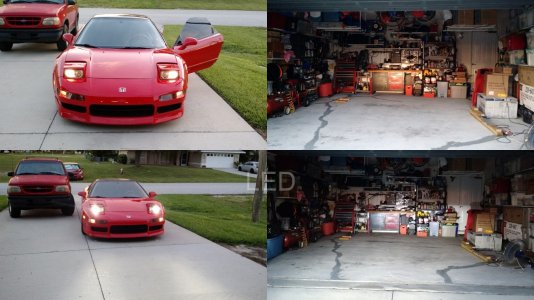
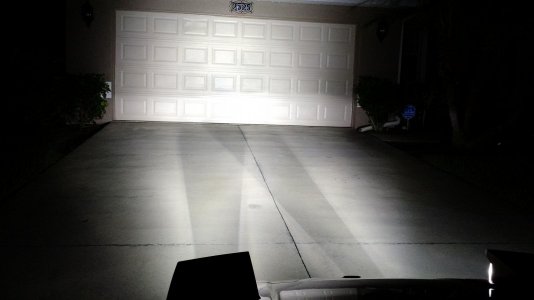
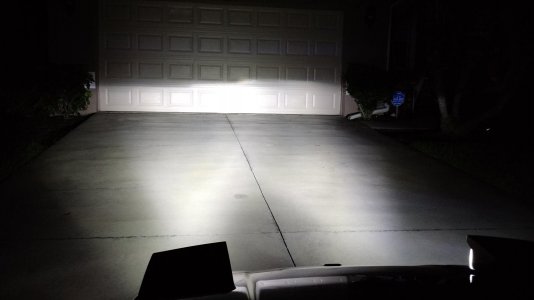
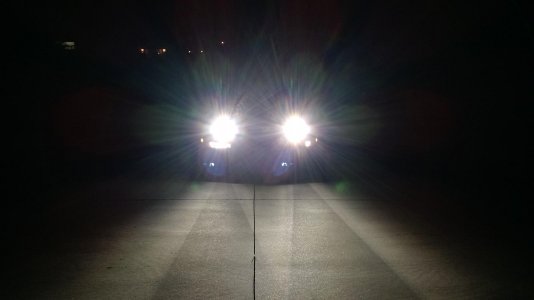
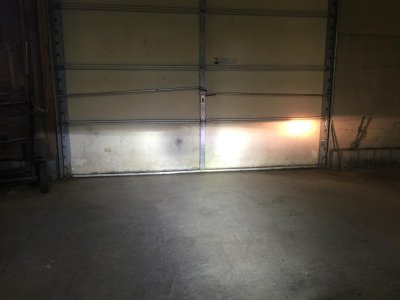
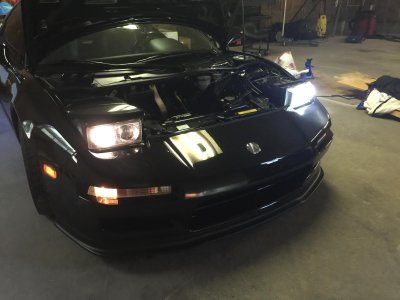
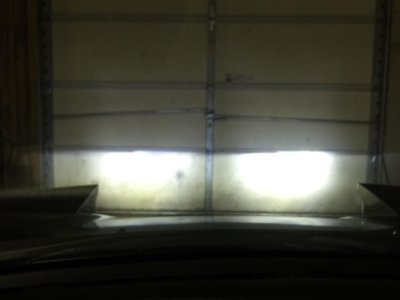
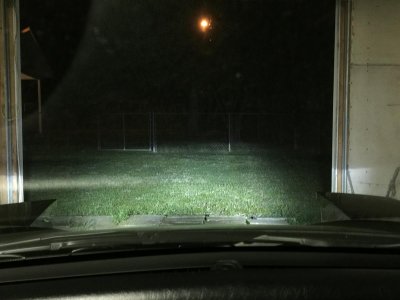
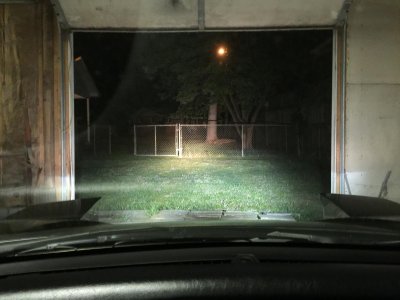
And the finished product (compared to a halogen bulb).

Both completed.


Shout out to Joe G. in Florida. Thanks for being someone I could spitball ideas with.
I referenced Jason's HID DIY for disassembly/assembly of the headlights.
So I received the headlights and I was satisfied with the product and packaging. I was a little worried because there are only 2 LEDs (SMD's) per bulb. I think it's interesting that it's a universal bulb but comes with a twist lock base (dependent on what kind of bulb you are installing). I also like the fact that the ballast box is much smaller than with HID kits I've installed in the past. You do have to install the locking collars for the bulb before you mount the 9006 base to the bulb.
The installation kit come with new dust caps that are smaller than the OEM covers. Also the OEM covers are too shallow because the new headlight has a bigger base to accomodate for the cooling fan and heat sink.
After some research and a few trips to Home Depot, I decided to drill a hole in the OEM cap and push the cap that came with the kit through to give the bulb the clearance it needs. I used a 2-1/8" hole saw to solve the issue. the hole is drilled slightly off center because the bulb doesn't sit exactly in the middle of the headlight opening.
It's a pretty tight seal, but you should probably add a bead of silicon all around to help completely seal it off. So since the new cap is tapered, there isn't enough room for the 9006 plug to remain under the cap with the bulb. There wasn't enough wire to run it anywhere, so I depinned and rerouted the plug. (I marked the ground wire with a black dot)
So the I decided to run the power wire (white) back through the oem grommet, then the negative wire (black), out the same hole so there wouldn't be any open holes in the grommet. I then repinned the plug, then cut a small x in the new rubber cap to feed the wire for the bulb out and finished plugging in the rest of the kit.
The ballast mounts in the same location with plenty of extra wiring available for clearance.
And the finished product (compared to a halogen bulb).
Both completed.
Shout out to Joe G. in Florida. Thanks for being someone I could spitball ideas with.
Attachments
-
 IMG_8316.jpg105.2 KB · Views: 2,693
 -
 IMG_8309.jpg178.3 KB · Views: 3,451
 -
 IMG_8310.jpg131 KB · Views: 611
 -
 IMG_8308.jpg167.7 KB · Views: 2,689
 -
 IMG_8318.jpg116.4 KB · Views: 2,670
 -
 IMG_8317.jpg89.6 KB · Views: 2,671
 -
 IMG_8352.jpg97 KB · Views: 2,771
 -
 IMG_8353.jpg111.9 KB · Views: 2,679
 -
 IMG_8355.jpg110.6 KB · Views: 2,672
 -
 IMG_8358.jpg111.8 KB · Views: 2,665
 -
 IMG_8375.jpg147.4 KB · Views: 2,669
 -
 IMG_8372.jpg122.7 KB · Views: 2,648
 -
 IMG_8359.jpg101 KB · Views: 2,654
 -
 IMG_8361.jpg116.6 KB · Views: 2,641
 -
 IMG_8362.jpg106.2 KB · Views: 2,649
 -
 IMG_8363.jpg145.4 KB · Views: 601
 -
 IMG_8367.jpg103 KB · Views: 2,627
 -
 IMG_8366.jpg138.9 KB · Views: 2,636
 -
 IMG_8369.jpg180.8 KB · Views: 2,629
 -
 IMG_8371.jpg163.1 KB · Views: 2,623
 -
 IMG_8312.jpg118.8 KB · Views: 2,635
 -
 IMG_8314.jpg135.2 KB · Views: 646
 -
 IMG_8380.jpg65.7 KB · Views: 2,622
 -
 IMG_8379.jpg135 KB · Views: 2,595
 -
 IMG_8378.jpg162.3 KB · Views: 2,615
Last edited: