• Protip: Profile posts are public! Use Conversations to message other members privately. Everyone can see the content of a profile post.

Just another j32 swap + 6-speed

Not sure if you still have the 5speed transmission, but I am in the process of compiling all the information and measurements for all Honda v6 manual transmissions.

I figured out some things pertaining to the CL-S transmission, and was able to confirm them today. If you still have your 5speed trans, I might be interested in purchasing it. even if it were trashed. I mostly need it to record some measurements.

I have figured out some ways to get better gearing out of the J trans. Hoping to do the same with NSX trans.
 
Man. Y'all need to hit me up. There's a much easier way for the mounts and the shifter. Lemme confirm some things.
 
I think I saw the op sell his tranny on prime the other day. Everyone missed out on that great deal
 
Yes the old tranny is sold. I'm open to any input you guys have. I never did swap like that so it's try and error for me. If anyone have better idea please let me know.

I'll try to update first post with all the things needed for this swap. I just realized that I needed the right side engine harness too but having parts car helps a lot.

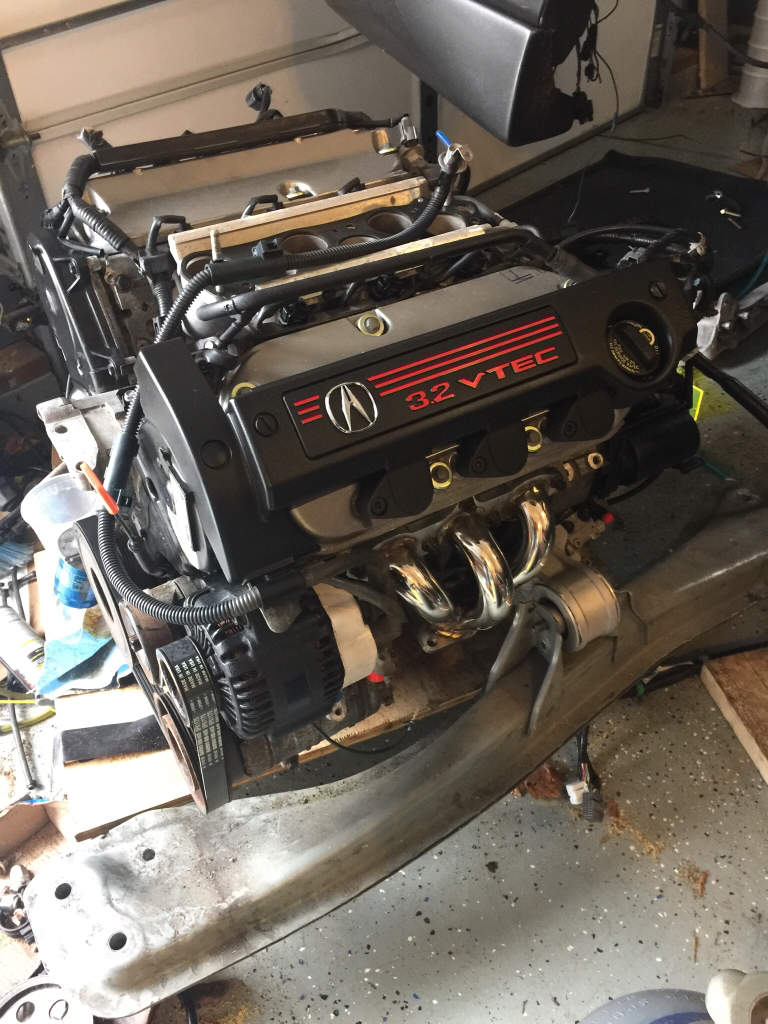
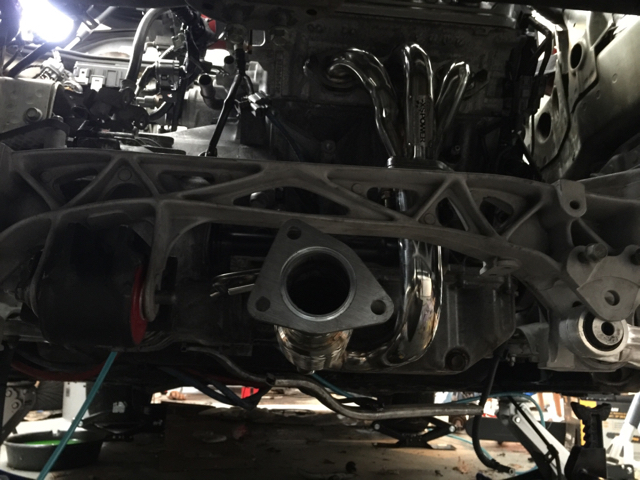
CL headers fit right in with out any issues:)
05aa20b494c6211878cb8d2556af49a0.jpg


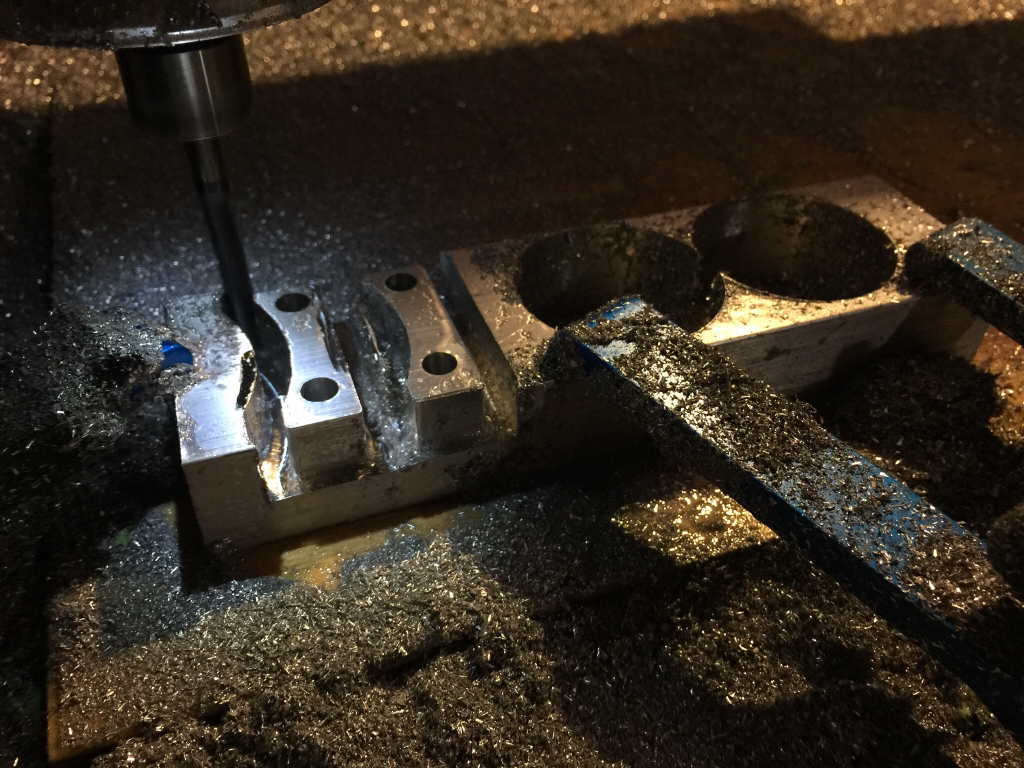
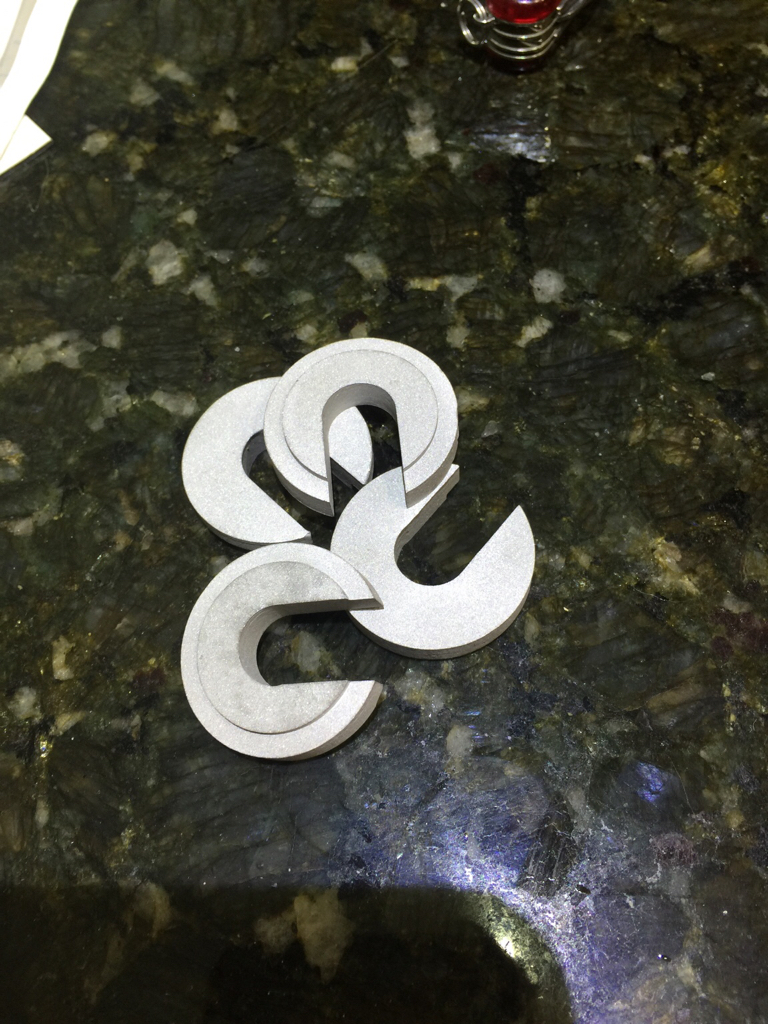
Making the throttle adapter. Had to make couple did not know what will look better installed. Lol. It moves the throttle cable 1inch back. Had to route the throttle cable on driver side. But it fits pretty good.
0b8859f8617231a16d8b7a6af9498d1f.jpg


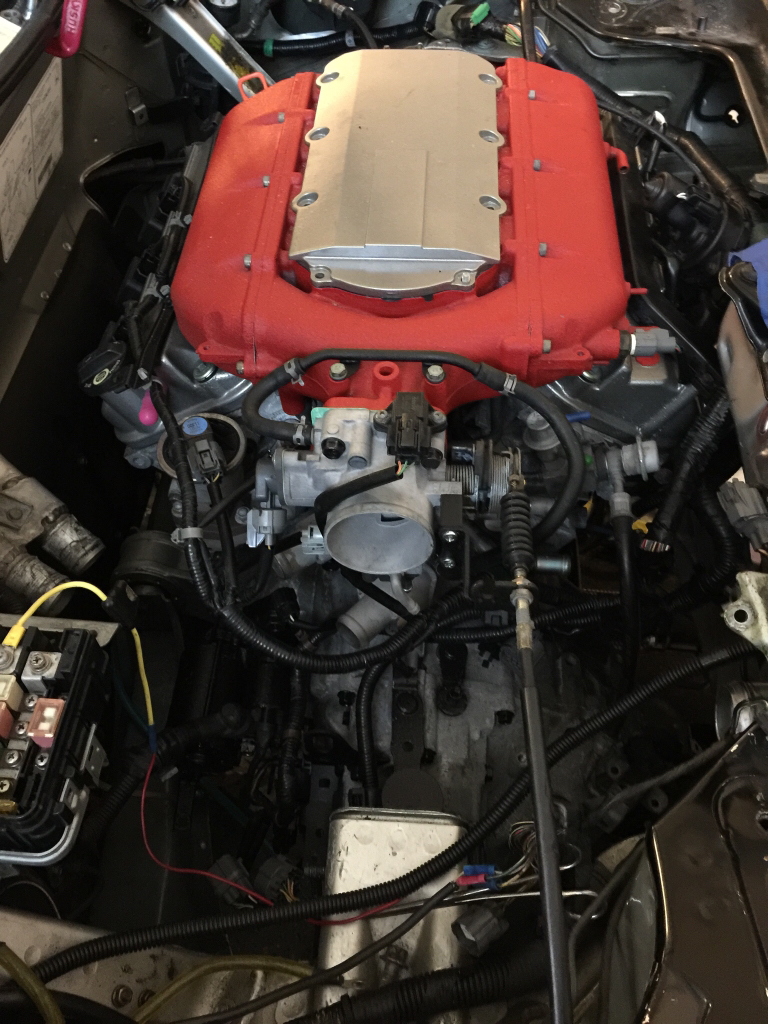
Here is the throttle adapter installed. There is still some room for the intake rubber to be inserted on throttle body.
afafefdf0d074783b910b6d08f19e7b4.jpg


Ordered some 4AN fuel hoses and fittings to route it to the rear of the engine as I did not flip the fuel rails to make it closer to firewall. Wanted to keep the fuel rails in oem orientation at list for now. Hope to start the engine in the next new weeks.

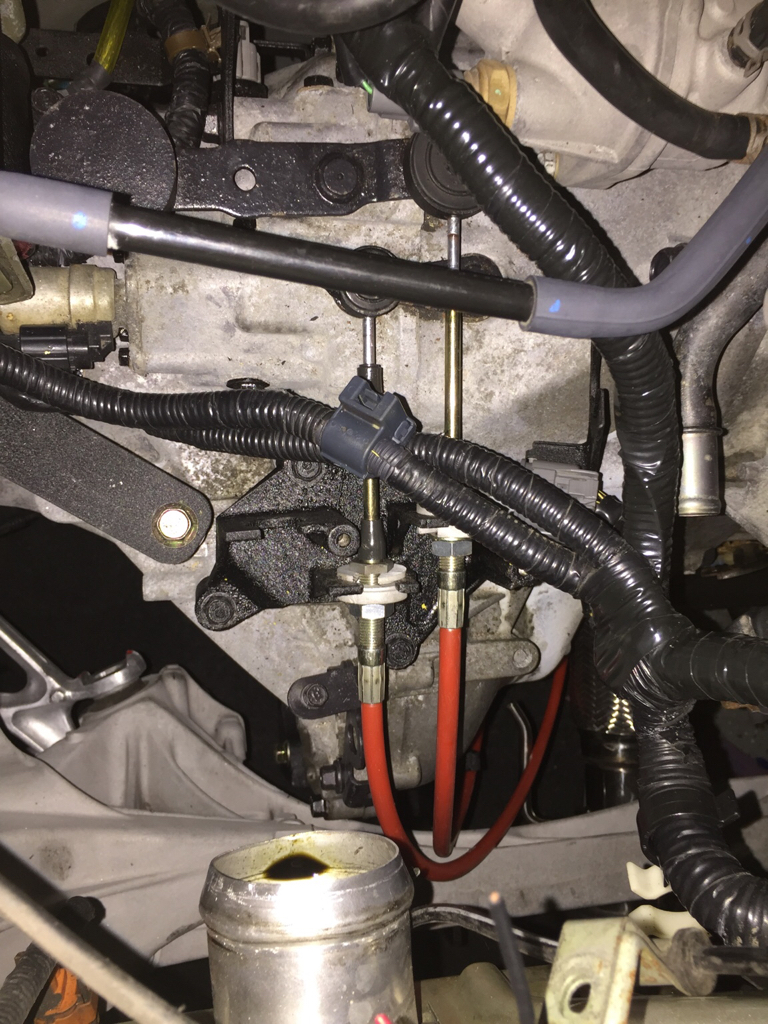
Shifter cables def need to be customized. Oem are about 4feel long but I think I'll need like 6feel of shifter cable to get it on the top of the tranny.

Sent from my iPhone using Tapatalk
 
Last edited:
Yes the old tranny is sold. I'm open to any input you guys have. I never did swap like that so it's try and error for me. If anyone have better idea please let me know.

I've figured some wild things figured out with the J-series trans very recently...
 
What did you figure out. And why do you need the old trans. ? Trying to test fit gears in there ?
 
It's already the same bolt pattern as your j series gearbox so a clutch sit-up is just required to suit the different crank offset. J series (some) like yours and c series are the same bolt pattern
 
SOS is offering a J series engine swap solution while reusing the NSX transmission, and it has been done before. OP is utilizing the J series transmission which has better matching gear ratios.
 
It's great to hear that SOS will be providing a kit too, but my goal was to use the 6speed from CL. Hopefully they will also have p&p harness. Wiring is always a pain. Lol.
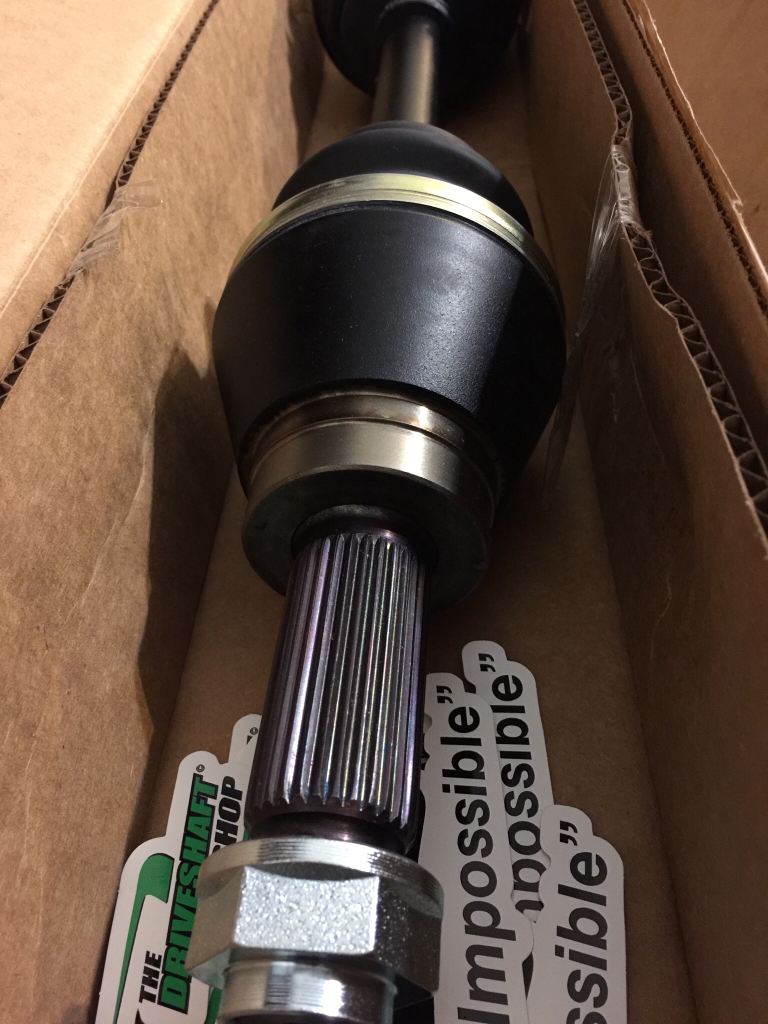
On a sad note I got quote for custom axles with my dimensions and it little over $1,300. Way more then I could imagine. I'm too far down not to continue but it's def arm and a leg for two axles.

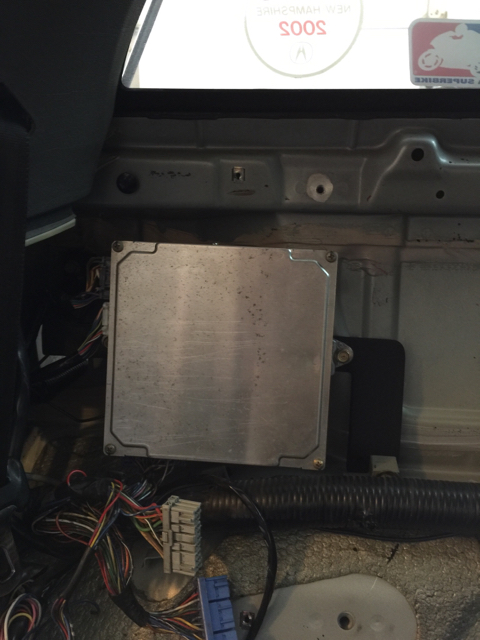
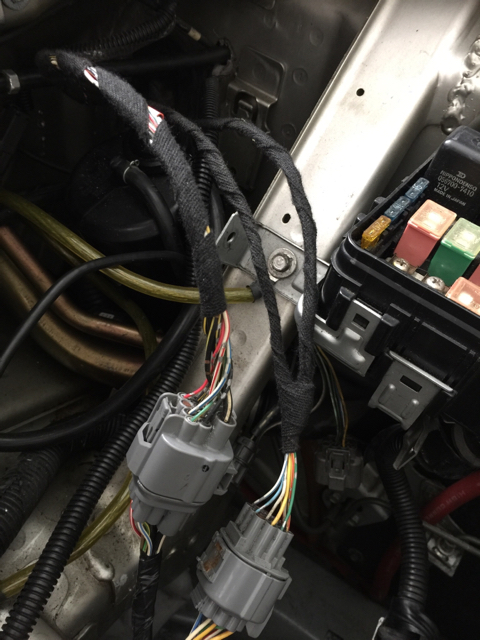
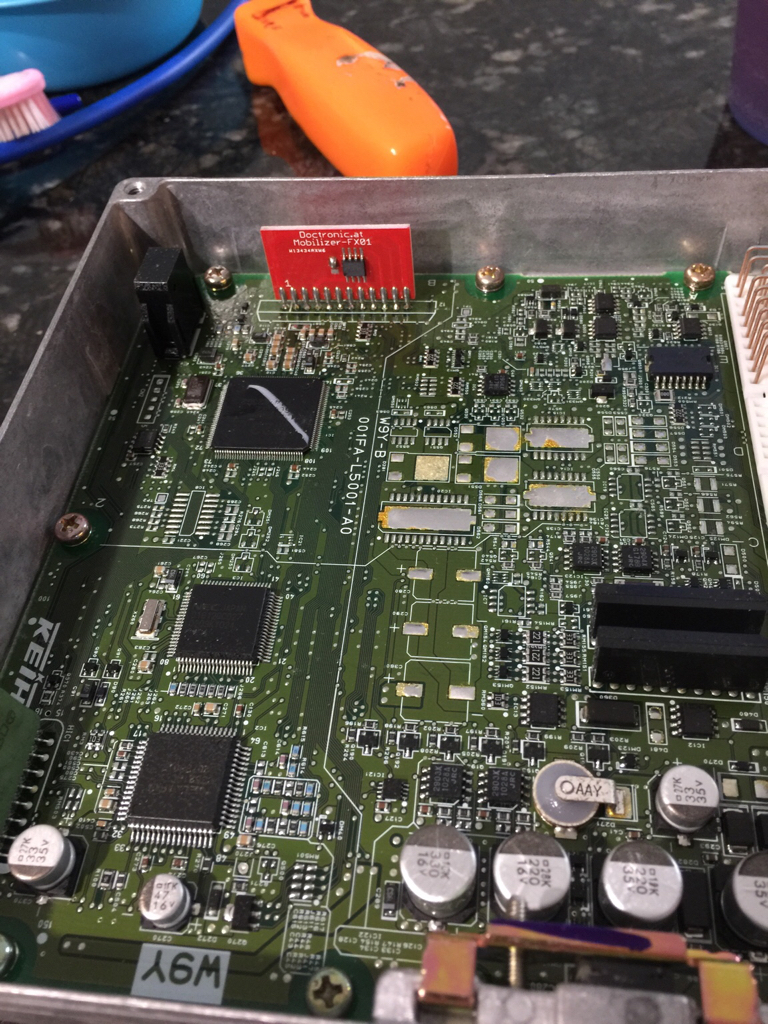
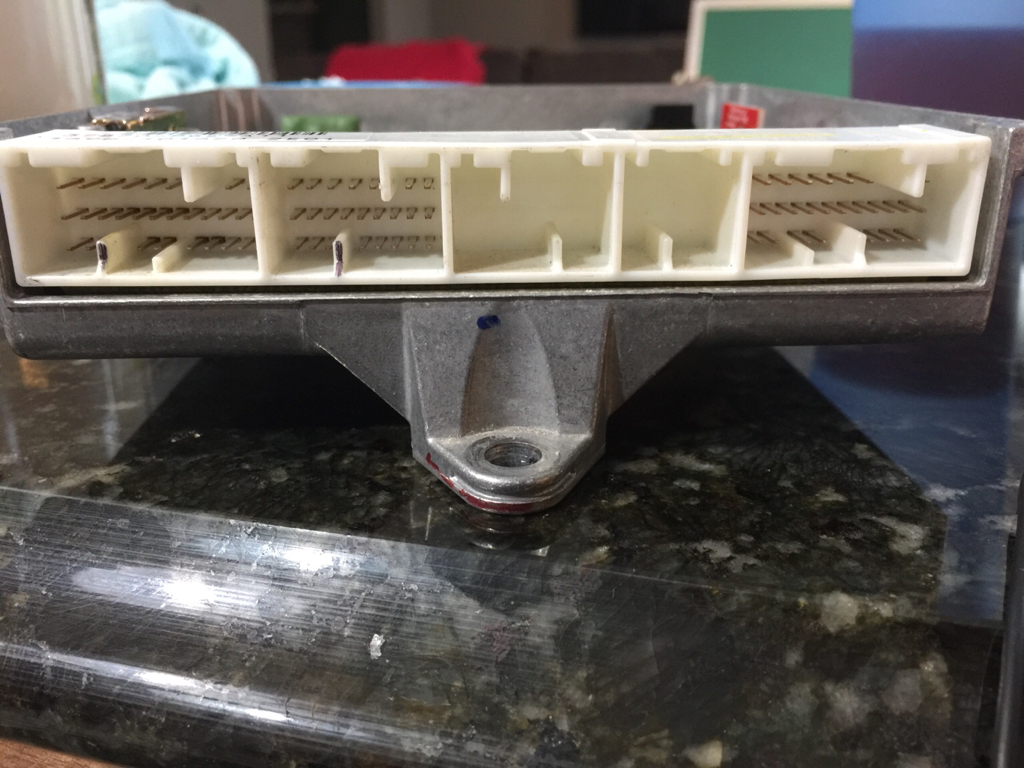
Moving on to wiring right now. Good thing with manual CL engine harness that the first two plugs just plug in with out any cutting. Plug A and B just plug in from CL harness to PCM. Plug E has some interaction with car but it's not that bad. I send out the pcm for immo delete but working on plug E and the c101 and c102 plugs. But since the car was manual not auto the engine CL harness does not need modding.

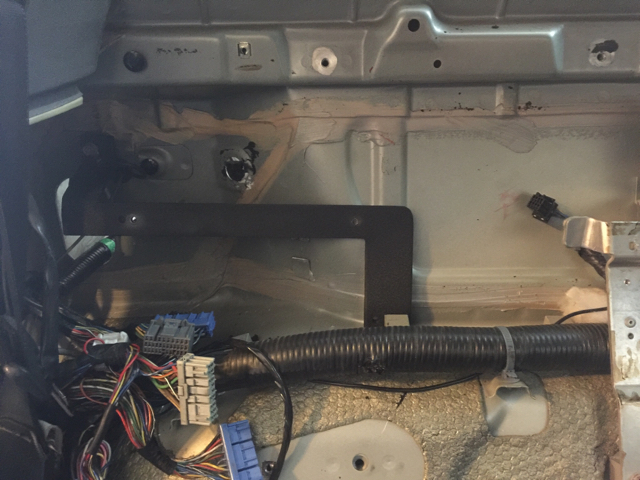
Created bracket for pcm. I install it as close to the side as I could so I don't need to extend the harness and still have some slack to work on it.
398bd216116f877acb96f5851e3b4f1d.jpg

3a3c892567f1d2038a0dda668a1791ab.jpg


I'm using VW soft tape to tape the cables.
527ab92fed422b087bbf359b2f202b37.jpg


The headers fit fine but when I test fit the bottom brace there is almost no space. So I'll have to do something about that later.
c58ff2976572a63bd664fa6786af9a15.jpg


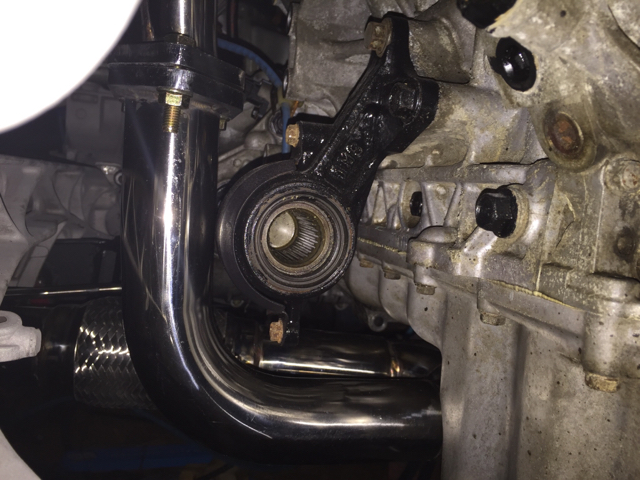
The headers are clearing the intermediate shaft.
aaa40deda7383beb9d3165751b995709.jpg


Still waiting on fuel hoses. Noticed an4 is too small so moving to an6 hose instead for fuel feed.


Sent from my iPhone using Tapatalk
 
Trying to figure out the wires and it's little harder then I thought. I'll need some help from you guys if I'm on the right track. Below link is editable spreadsheet for anyone so you can make corrections or additions to it. Plug A and B from manual CL engine harness plugs right in. I only need to get Plug E and two plugs C101 and C102.

LINK

Thanks!

**update 5/9/17
I bought CL and NSX electrical troubleshooting books, now things are looking much better :) Marking cables "done" as I go on this spreadsheet. Hope this helps someone so they don't have to got through this pain...

I also got my immo chip done. Can't wait to start it but I got the wrong fuel fittings then AN hoses so I hope I got the right ones now so I can start it already.

f1294c82b7dcfb0660f5d2725303e34b.jpg
69a5997b72a9da7d5efce54b9bb9de66.jpg


Manual CL ecm does not have any pins for plug C and D and is missing all the chips on the board to control auto tranny.
 
Last edited:
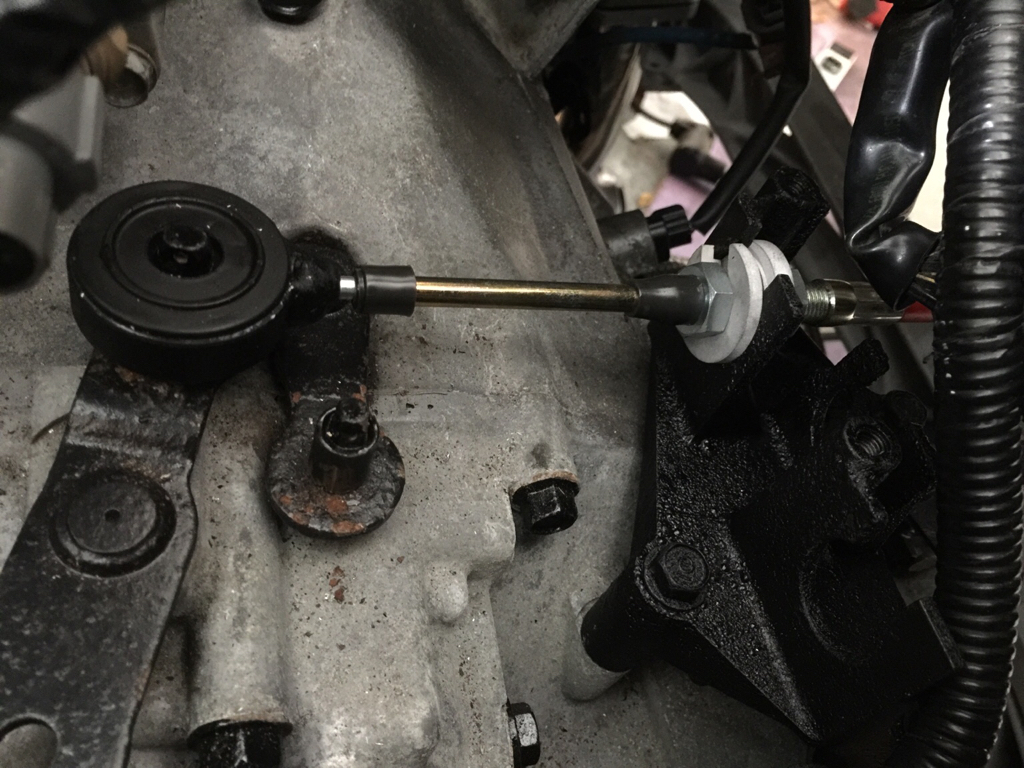
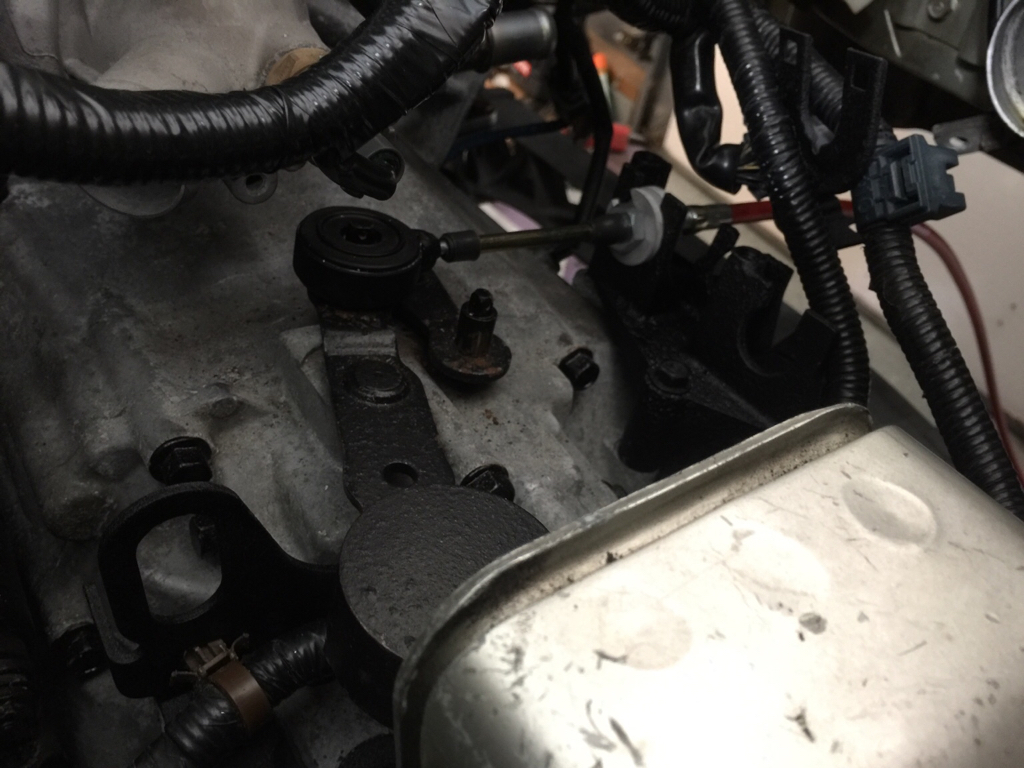
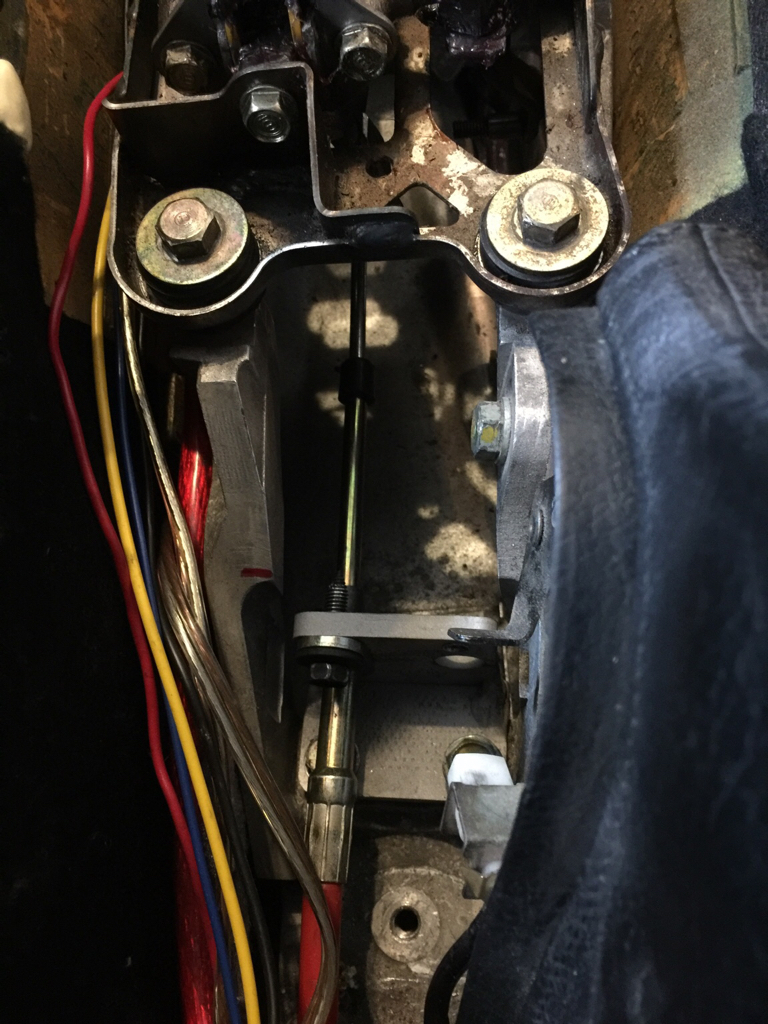
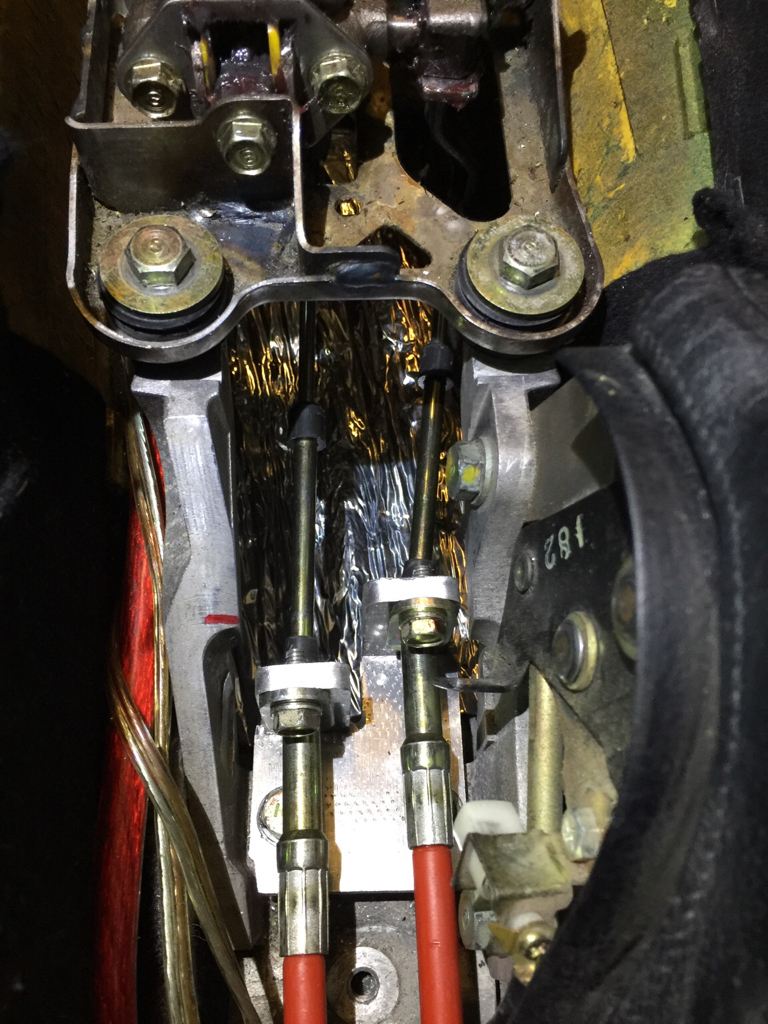
Another day another task completed. The shifter cables were easier to do then I thought. Initially I wanted to run the cable through the rear firewall over the gas tank. It's the shortest distance but reverses the orientation of the throws. Then I try CL shifter assembly. It's plastic so it would be easy to mod but the left to right motion is on top of the shifter not bottom and would be too much work to get it working. Last option was to get long shifter cable and that work fine. I got 8 foot shifter cable then created some adapter plates and it shifts !! It feels very smooth :)

Spacers to CL shifter cable bracket to keep cable centered.
4ba1384b8ae37b91b44719c79025b52a.jpg


The shifter cable rod was little too long has to cut about 1/2 inch.
80bce27fa70726990b9cba43848f897d.jpg

8ab597959454eb070ae74fac111cc525.jpg


L shape bracket to hold the cable in place. Took about 3 tries to get the right length but this final bracket keeps it in line with the shifter. Now just need to create another one.
8437c44a979bc3d1cb03797d0b657018.jpg


Sent from my iPhone using Tapatalk Pro
 
The wait time on axles is up to 5 weeks so working on improving what I have so far.

The shift linkage is done had to readjust the bracket next to shifter. I think because the oem leverage on the shifter those gears are so short to shift. It feels like short, short shifter installed lol. They engage smooth but very short throws. I'm using oem CL clutch and after bleeding the system it feels so light my wife will have no problems driving now. When I had RPS clutch installed before, my wife could not stand how hard the clutch pedal felt.

I prime the fuel pump and the pressure holds. 24h later the pressure is at 15psi so it went down from like 45 but I bet it's thought the pump. I have the walbro 255 fuel pump not the oem.

Second attempt for the shift linkage bracket. It work:)
66767afd245a4fb2d6e4ed70637b6347.jpg

a69133eb61ed2e97ff54e43d16a0a111.jpg


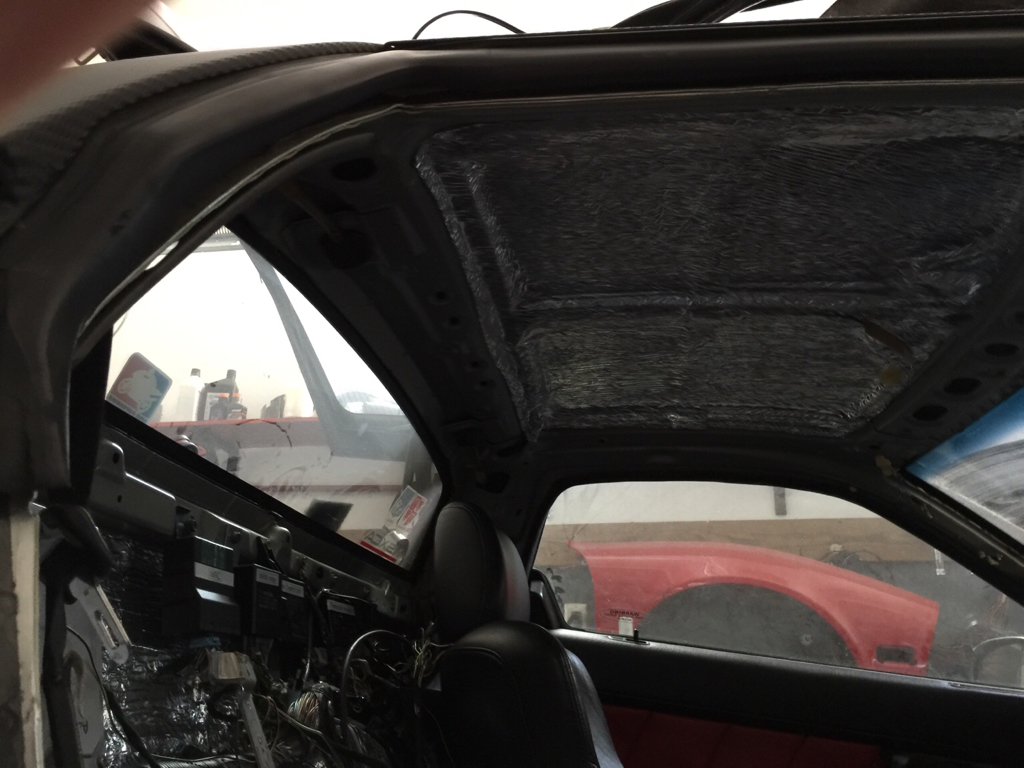
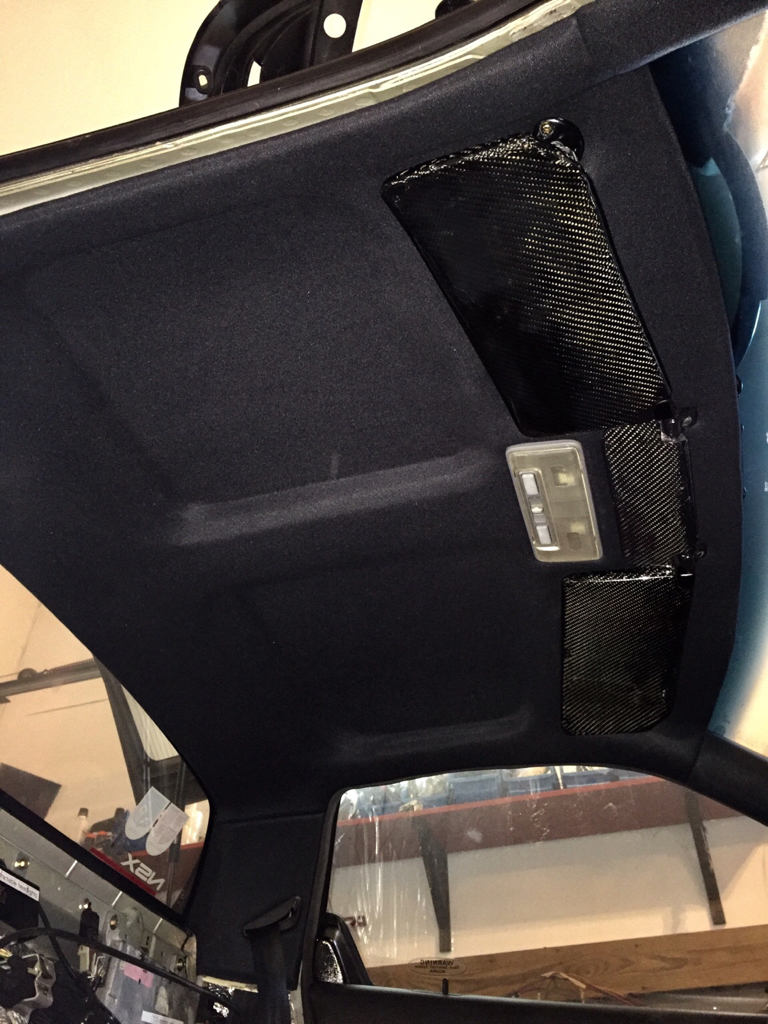
With some down time I started sound proofing the interior and redoing the headliner in black. Will be taking out the dash this weekend to install the matts behind it.
13f9e5959850b29f8e33728d1f2e5d82.jpg


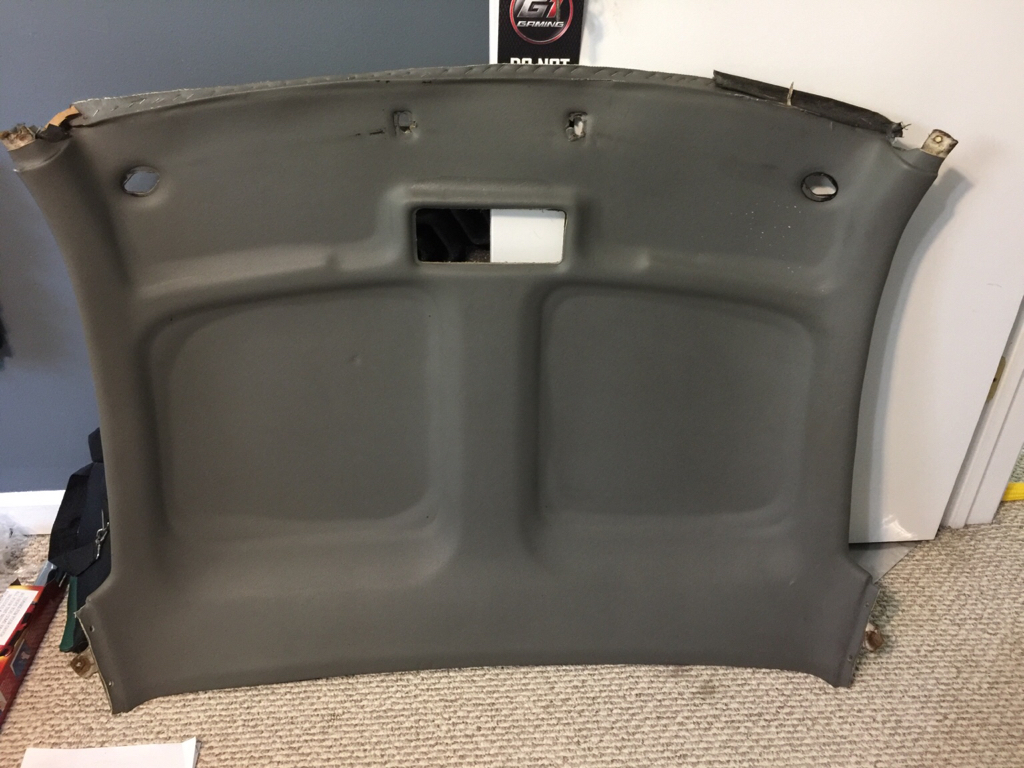
Here is before shot
adecb05ebc1d73467909d93ec3e9a928.jpg


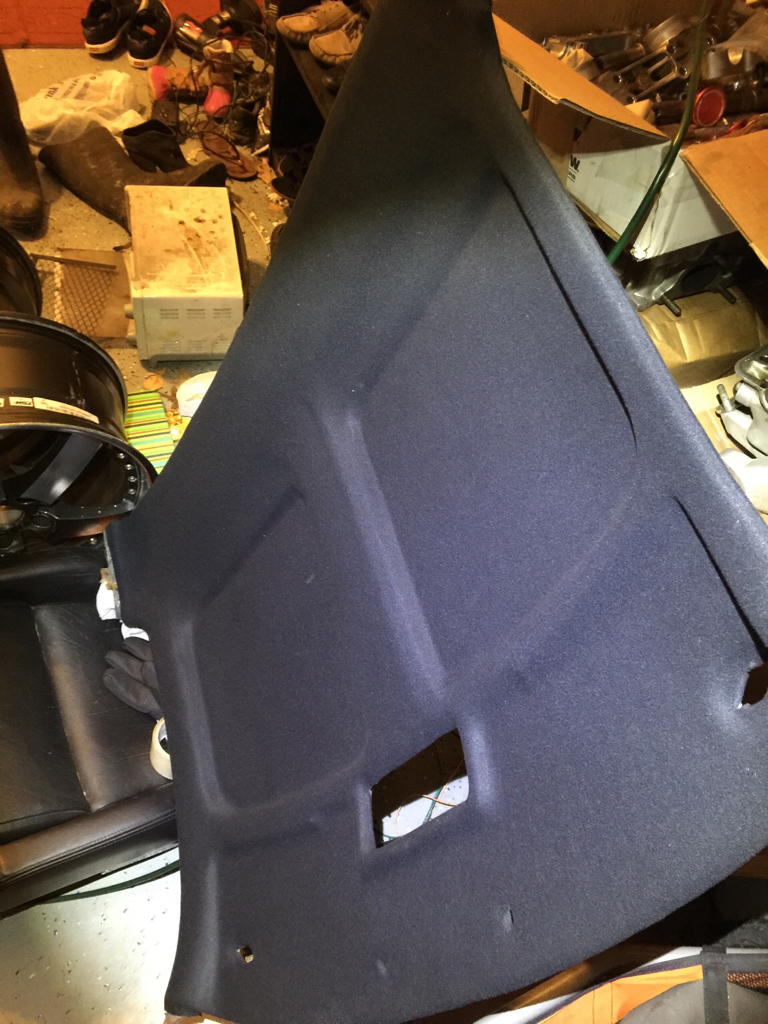
And here is after shot. This headliner is from ebay like $14 for liner foot but pretty good stuff. Easy to work very forgiving.
c5c04dfef76ce60bb47fd76d66266e7d.jpg


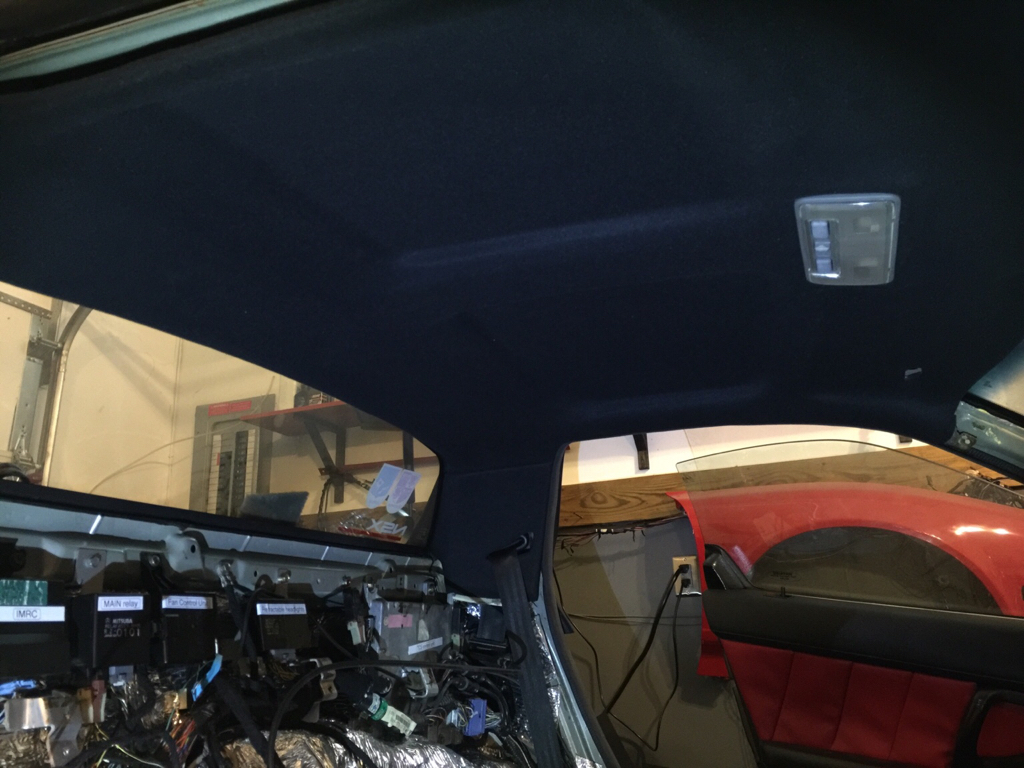
Here it is installed
f6e206b85b764c45df4252dae5ba53ab.jpg


Sent from my iPhone using Tapatalk Pro
 
You're working pretty quickly. Everything looks great.

Do you have the name of the seller for the headliner on ebay please? I'd like to redo mine. Thanks.
 
You're working pretty quickly. Everything looks great.

Do you have the name of the seller for the headliner on ebay please? I'd like to redo mine. Thanks.

Thanks, yea been spending few hours daily on this project :)
I send you PM with the link to the ebay seller. If I had larger budget I would go with alcantara but that gets pricy quick. Here is a good tutorial that I watch before attempting to install my headliner for the first time. A lot of good tips.

Link

I used 3M spray glue #77 . It holds very good and cleans with paint thinner easily in areas that the glue gets on by accident. Now it begs to match the sun visors in the same material but I don't think I can use sawing machine to create packets to slide in visors in cleanly. I might just do CF overlay or 3M Di-Noc on sun visors.
 
Still waiting for axles so working on few other things. Did the sun visors in cf overlay.
313a0f6b7a49c372493afba49ae37c44.jpg


Finally triple check all the connections and attempted to start. And it fired with out any hesitation. Noticed oil light flashing so I turn it off but it must be because I didn't connect the oil sensor. The stock nsx oil gauge was showing good pressure.

No exhaust just headers. It's little loud.
https://youtu.be/6Alk9Rjf72A


Sent from my iPhone using Tapatalk Pro
 
I can just imagine the smile on your face when the engine fired for the first time!
Congratulations to you.
 
I can just imagine the smile on your face when the engine fired for the first time!
Congratulations to you.

Thanks, yea I was waiting for something to blowup or not work with my luck but when it started I was jumping joy in my head. Oh, the little things in life that make people happy:) Later I show my daughter that it runs now, but she is only 2 1/2 year old and she got scared and run out of garage. I know I need to work on the exhaust next, found this top speed dual canister exhaust that I'll most likely to get as it fits the bill.
 
Fantastic build. Subscribed for progress. Would be amazing to have a J-swap option that utilizes the 6sp from the CL!
[MENTION=6927]nsxmugen[/MENTION], where are you located?
 
Haha awww... that's so cute with the daughter. It doesn't sound that loud in the video but I'm glad everything fired up.

The headliner looks pretty good. How does that adhesive hold up to high temps?

Does anyone make CF sun visors for the NSX?

SOS really saved our butts with that J series announcement. I wonder how much these packages will cost.
 
Wow. How exciting. Man I'm excited for you. That's probably the sweetest sound since the last time you started the c30. All smiles I bet. Congrats and we all appreciate you sharing that moment with us.
 
Thanks all. It's a shot of motivation to get if finished now that it starts. Still a lot of small loose ends to finish but so far so good. I'll update as I go. Also it's great to hear that vendor like SOS is working on a p&p kit. Let's hope they will have CL 6speed support. This tranny is butter smooth to shift. I just notice that Honda is offering v6 accord in manual 6 speed for 2017. I'm just wondering if the housing is the same on it? They could only improve it over the years. What's disappointing is that any part that says nsx it's double of triple of what's it's worth. I was shocked how cheep the parts are for normal Honda engine parts. Lol

The adhesive on headliner holds very strong but the car was not in any heat outside. Time will tell if it's going to last but from what I tested on sample it's dam strong glue.

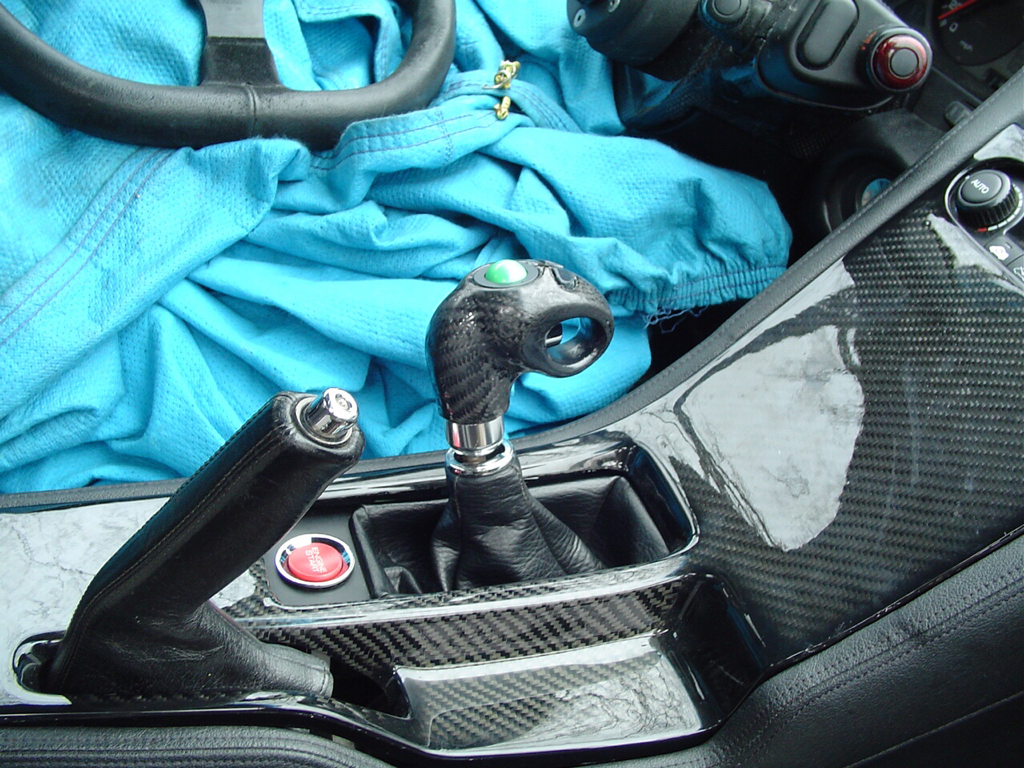
Don't know if anyone makes any sun visors in cf overlay but oCarbon will overlay anything you send him. Just keep communications engaged once you ship ur parts. I had friend that he took 3 months to finish trim for Jetta but quality was excellent. I learn to make my own CF overlay over the years. Just can't find my self paying for something that just needs elbow grease. It's just a lot of clear coats and sanding. After I was done with sun visor I could not unlock my iPhone my finger print was almost gone from sand paper lol there is ton of vids on web how to overlay CF. back in 2004 I did track ball shift knob for my mini pc setup to display AEM gauges on LCD screen in nsx. But I'm over it now and like oem.
e1b2a4d3336bdf2e72067ff1ceb5123c.jpg


Sent from my iPhone using Tapatalk Pro
 
Last edited:
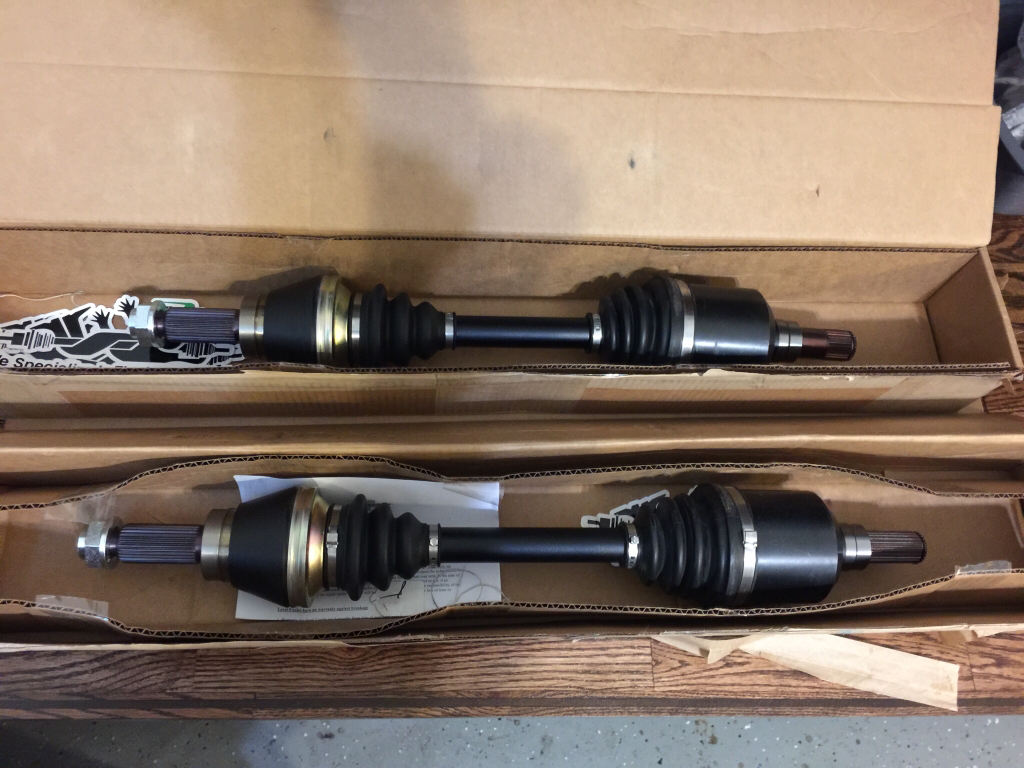
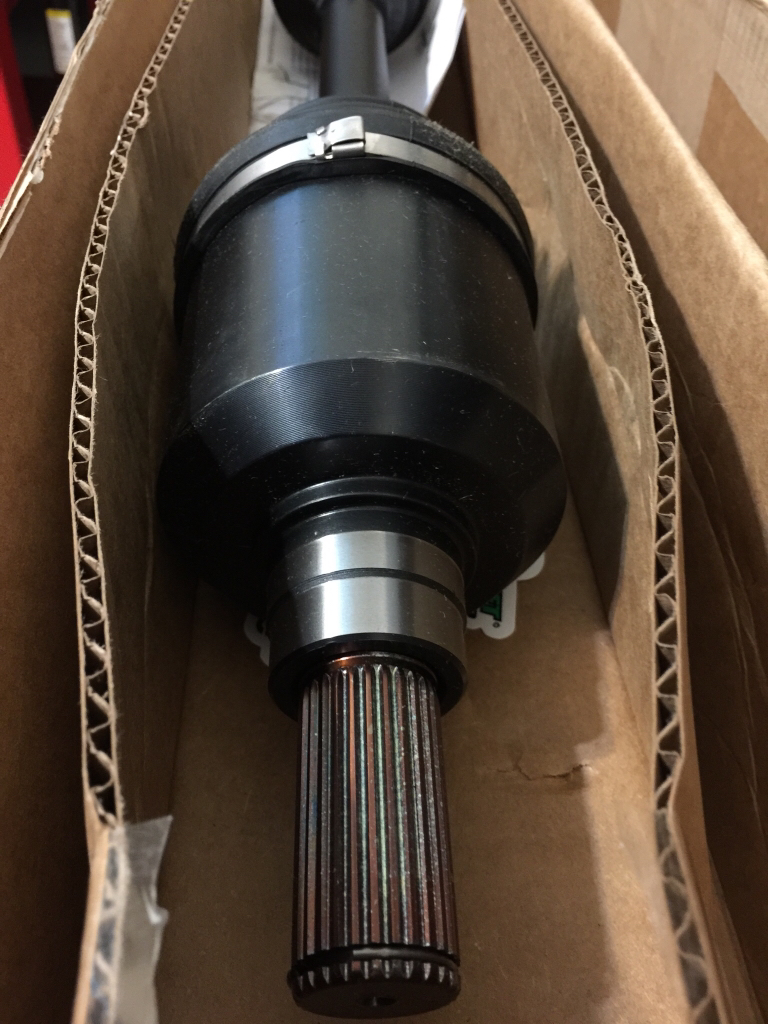
The axles got here today :) now I just can't wait to install them but will not get any time until the weekend. They do look very well done. More then I will ever need.

a2fb4111cdc16d406aafbd45ca0b9d4f.jpg

41e384d4ef8b9d500a2e0244356b2ed8.jpg

a0bd0ac944a26771f747667a6361c4cd.jpg


Sent from my iPhone using Tapatalk Pro
 
Back
Top