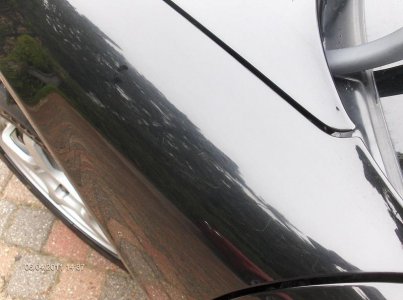
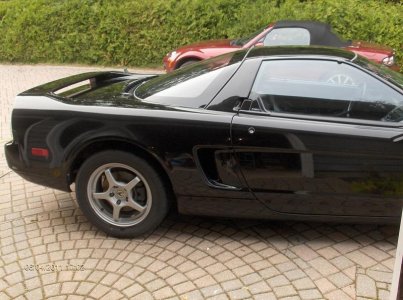
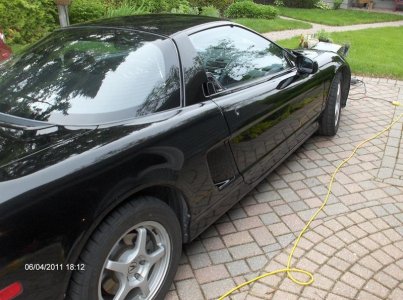
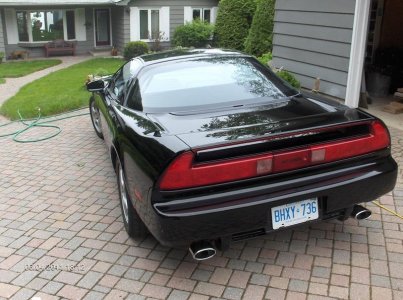
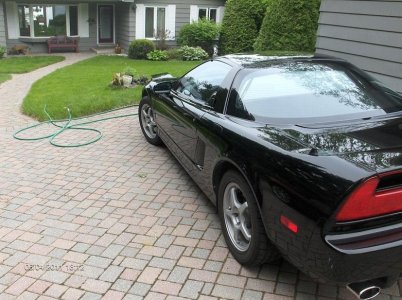
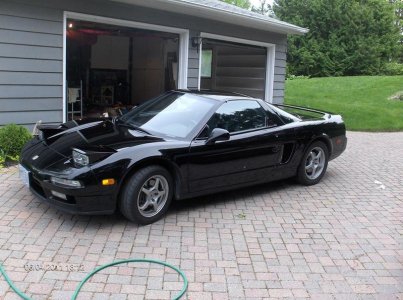
The paint on my '91 was covered with small scratches and swirl marks making it look more charcoal-grey than black in places. I searched Prime (what a great resource!), watched youtube videos and read what's available on the Auto-geek website (and others) to get ideas about how to clean it up, but what inspired me most and set the standard was lunchman's "Detailing my 91" post.
The problem is, I live in a condo and don't have access to water or power where I park so my options are limited. I tried a few polishes, but wasn't happy with the results applied by hand. I also noticed they wash off quickly. Somebody on Prime mentioned Finish First products so I gave them a try. I was very pleased with the results applied by hand and the shine really lasted, but it didn't do much to help the scratches and swirl marks. Researching some more, I realized I'd have to buy a polisher to get the results I hoped for.
Having no experience detailing cars I wanted to be careful to do no harm. Everything I read suggested an orbital polisher was the way to go so I bought a Porter Cable 7424 XP with a Lake Country Tri-Density Backing Plate and some Lake Country pads. The next problem was water and power, fortunately my father-in-law offered the use of his place (thanks Ken). With that I had almost everything I needed.
Selecting the right products for the job seemed really important. Lunchman's results set the standard I'd like to achieve, but I didn't have his experience and I didn't have the time he put into the job, so I looked for shortcuts. In the end I decided to claybar the car, use Zaino Z-PC to the remove swirl marks and scratches, Finish First Prep to remove any old wax residue and Finish First polish to bring out the shine. Because I was new at this and concerned about removing too much paint (Z-PC is abrasive) I only used enough Z-PC to remove 90% of the scratches - I didn't totally correct the paint. Now that I have a better idea what I'm doing I'll go back when the weather is nicer and get the rest of the scratches out.
Here are the steps I followed:
- wash
- rinse
- clay bar with touch-up spay for lubricant
- wash
- rinse (pics below start here)
- Zaino Z-PC applied with Porter Cable (5 on tool, orange pad)
- Wipe down
- Finish First Prep applied with the Porter Cable (5 on tool, white pad)
- Finish First Polish applied with the Porter Cable (4 on tool, black pad)
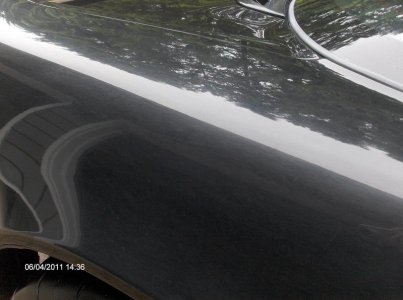
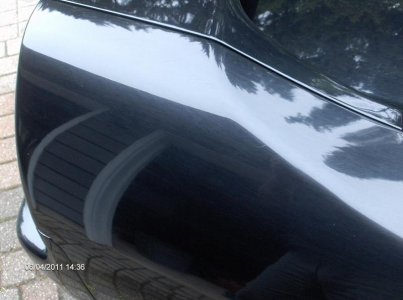
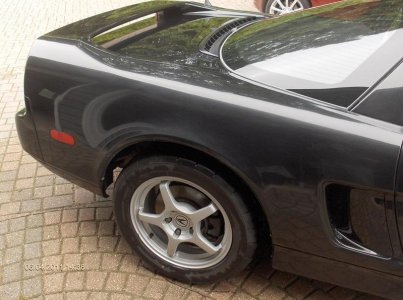
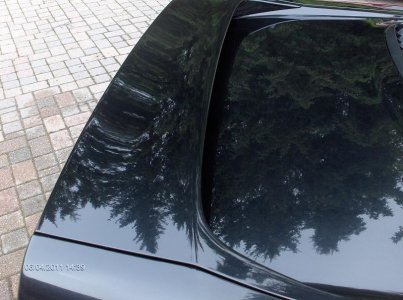
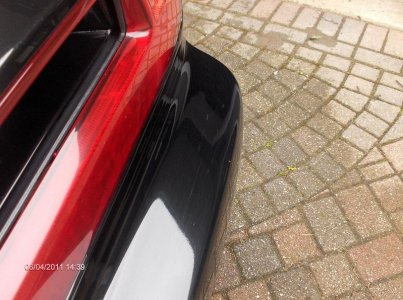
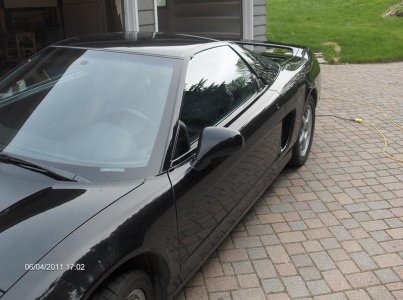
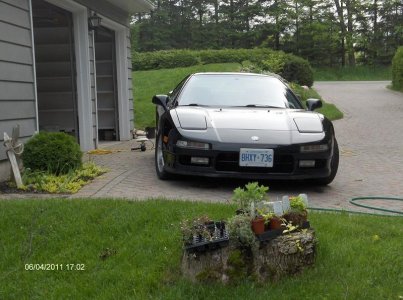
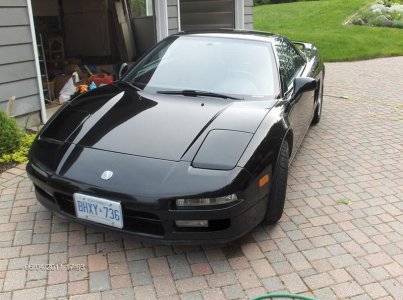
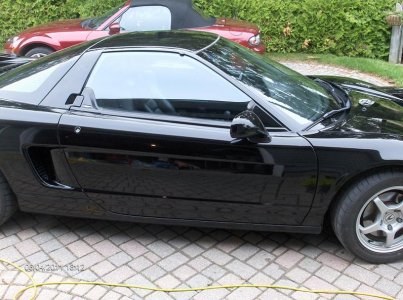
Below are pics of the detail. I didn't do as good a job of documenting the steps as I hoped because I really got into it and forgot to take pictures, but I think you'll get the idea.
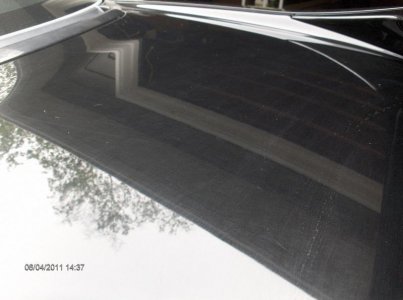
Pics 20 - 31 are the "before" pictures (but after clay baring).
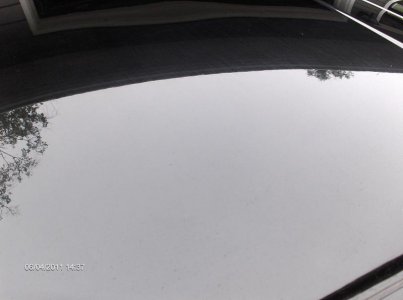
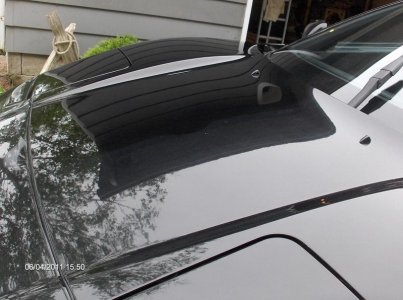
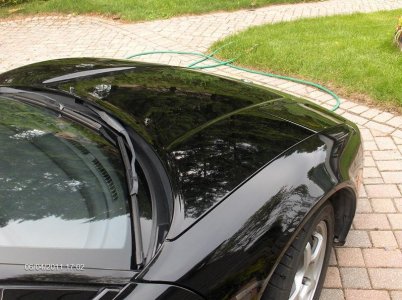
Pics 32 - 34 are the "during" pics (note the hood in pic 32, the left side had been Zaino Z-PC'd, the right side hadn't been done yet).
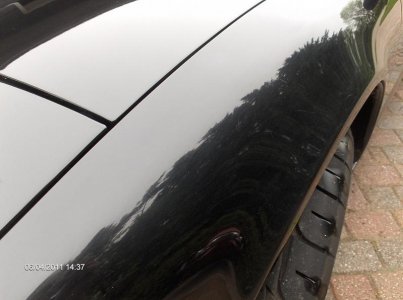
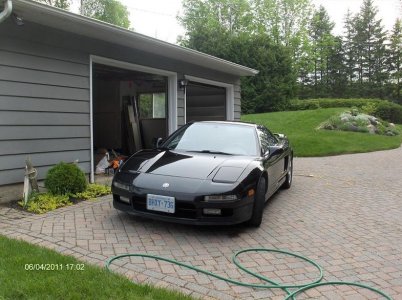
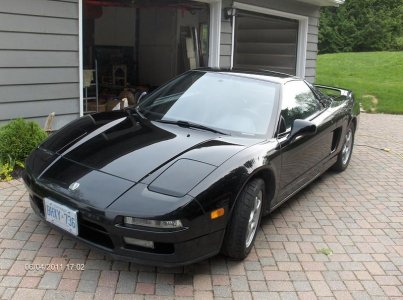
Pics 35 - 45 are the "after" pics.
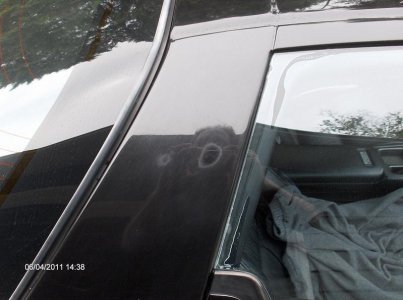
It was a somewhat overcast day so the lighting wasn't very good for taking pictures, but that made it comfortable to work outside and the paint didn't get too hot in the sun. I'm looking forward to finishing up when the weather is nicer. I didn't do anything with the black trim, or tires, so that's still on the list of things to do and I'll need to use some more Zaino Z-PC to get the rest of the scratches out (unfortunately that won't help the clear coat failure on the passenger-side B-pillar). My car is a daily driver so I don't think I'll be able to maintain the finish that lunchman has achieved, but I'm still pleased with the results.
I'm open to any and all suggestions to make this process better, faster and easier.
The problem is, I live in a condo and don't have access to water or power where I park so my options are limited. I tried a few polishes, but wasn't happy with the results applied by hand. I also noticed they wash off quickly. Somebody on Prime mentioned Finish First products so I gave them a try. I was very pleased with the results applied by hand and the shine really lasted, but it didn't do much to help the scratches and swirl marks. Researching some more, I realized I'd have to buy a polisher to get the results I hoped for.
Having no experience detailing cars I wanted to be careful to do no harm. Everything I read suggested an orbital polisher was the way to go so I bought a Porter Cable 7424 XP with a Lake Country Tri-Density Backing Plate and some Lake Country pads. The next problem was water and power, fortunately my father-in-law offered the use of his place (thanks Ken). With that I had almost everything I needed.
Selecting the right products for the job seemed really important. Lunchman's results set the standard I'd like to achieve, but I didn't have his experience and I didn't have the time he put into the job, so I looked for shortcuts. In the end I decided to claybar the car, use Zaino Z-PC to the remove swirl marks and scratches, Finish First Prep to remove any old wax residue and Finish First polish to bring out the shine. Because I was new at this and concerned about removing too much paint (Z-PC is abrasive) I only used enough Z-PC to remove 90% of the scratches - I didn't totally correct the paint. Now that I have a better idea what I'm doing I'll go back when the weather is nicer and get the rest of the scratches out.
Here are the steps I followed:
- wash
- rinse
- clay bar with touch-up spay for lubricant
- wash
- rinse (pics below start here)
- Zaino Z-PC applied with Porter Cable (5 on tool, orange pad)
- Wipe down
- Finish First Prep applied with the Porter Cable (5 on tool, white pad)
- Finish First Polish applied with the Porter Cable (4 on tool, black pad)
Below are pics of the detail. I didn't do as good a job of documenting the steps as I hoped because I really got into it and forgot to take pictures, but I think you'll get the idea.
Pics 20 - 31 are the "before" pictures (but after clay baring).
Pics 32 - 34 are the "during" pics (note the hood in pic 32, the left side had been Zaino Z-PC'd, the right side hadn't been done yet).
Pics 35 - 45 are the "after" pics.
It was a somewhat overcast day so the lighting wasn't very good for taking pictures, but that made it comfortable to work outside and the paint didn't get too hot in the sun. I'm looking forward to finishing up when the weather is nicer. I didn't do anything with the black trim, or tires, so that's still on the list of things to do and I'll need to use some more Zaino Z-PC to get the rest of the scratches out (unfortunately that won't help the clear coat failure on the passenger-side B-pillar). My car is a daily driver so I don't think I'll be able to maintain the finish that lunchman has achieved, but I'm still pleased with the results.
I'm open to any and all suggestions to make this process better, faster and easier.
Attachments
-
 HPIM2120sml.jpg52.2 KB · Views: 184
 -
 HPIM2121sml.jpg47.8 KB · Views: 168
 -
 HPIM2123sml.jpg44 KB · Views: 150
 -
 HPIM2124sml.jpg28 KB · Views: 144
 -
 HPIM2125sml.jpg55.5 KB · Views: 127
 -
 HPIM2126sml.jpg46.9 KB · Views: 131
 -
 HPIM2127sml.jpg67.2 KB · Views: 132
 -
 HPIM2128sml.jpg54.8 KB · Views: 141
 -
 HPIM2129sml.jpg75.9 KB · Views: 135
 -
 HPIM2130sml.jpg76.4 KB · Views: 133
 -
 HPIM2131sml.jpg90.7 KB · Views: 132
 -
 HPIM2132sml.jpg69 KB · Views: 174
 -
 HPIM2133sml.jpg83.5 KB · Views: 150
 -
 HPIM2134sml.jpg97.8 KB · Views: 129
 -
 HPIM2135sml.jpg97.8 KB · Views: 132
 -
 HPIM2136sml.jpg82.7 KB · Views: 124
 -
 HPIM2137sml.jpg71.7 KB · Views: 117
 -
 HPIM2138sml.jpg88.5 KB · Views: 121
 -
 HPIM2139sml.jpg83.8 KB · Views: 135
 -
 HPIM2140sml.jpg97.6 KB · Views: 150
 -
 HPIM2141sml.jpg95.6 KB · Views: 140
 -
 HPIM2142sml.jpg92 KB · Views: 137
 -
 HPIM2143sml.jpg98.1 KB · Views: 128
 -
 HPIM2144sml.jpg92.1 KB · Views: 164
 -
 HPIM2145sml.jpg97.2 KB · Views: 166
Last edited: