• Protip: Profile posts are public! Use Conversations to message other members privately. Everyone can see the content of a profile post.

Big McLargeHuge’s 1990 JDM NSX Adventure Thread

Minor Parts Hoarding Updates & Shows

Quick update for the peoples.

Attending Caffeine & Exotics at AMP back in October but I never posted it. Great day and good times were had, plus a few parade laps on the track which felt a bit odd after the NSXPO track day here the previous month.
PXL_20231021_163439745.jpg

Yeaaaah buddy. I still have a bunch of tire rubber stains to remove from the paint that will require some clay bar action.
PXL_20231021_162421085.jpg

Parts and maintenance time post-track day. Much needed engine oil and transmission fluid changes.

Swapping from the Torco MTF back to OEM Honda seems to have helped with the shifting issues I was experiencing with the Torco, which definitely seemed to hold up better on track as I never had any issues with the trans as things heated up. However, it seemed to hurt my synchro grinding into 5th issue, and was starting to affect 4th at higher speeds too, plus the differential was noisy in tight, slow turns.

With the Honda MTF swap, all of the above issues are notably better, and I can normally shift into 4th and 5th up to about 60 MPH now without issues which is what I like for street driving. Fortunately no expensive bits were found in the trans fluid strainer either.
PXL_20231124_232716888.jpg

Much needed engine air filter change.
PXL_20231124_232645402.jpg

VVIS butterfly screw boroscope inspection also shows all systems green. These will be tack-welded during the next big drivetrain service.
20231124184847072.jpg

Now for the fun stuff. I've been comtemplating the NSX-R interior trim pieces for a long while and seeing the Brooklands Green NSX-R at NSXPO was the final straw.
A6zmgl3.jpg

Pictured below are the NA1 NSX-R center console, ashtray cover, 3-piece steering wheel covers, center vent, and door trim covers, all for a reasonable price from ol' reliable Amayama. I will miss my repainted original pieces that I spent forever stripping & painting, but they were never quite perfect and didn't look as good in the sunlight.
PXL_20231123_041106270.jpg

Honestly, I expected the part numbers I ordered to be the flat matte black ones in the NSX-R I saw, but they're actually a different finish that's a bit darker with a lot of glittery flecks in the finish that almost makes it look like the pieces are flocked (easier to see zoomed in). They look flat black in darker lighting but lighter and glittery in direct light, supposedly to match the alcantara fabrics all over the NSX-R. Not quite what I was expecting but I think I like it even more.

I also ordered a roll of black perforated Alcantara from Carbon 6 Composites to use on the door card inserts and replace the gathered leather, which is a bit worn & faded in my car. This is the beginning of a pretty deep rabbit hole but I'm taking the interior refresh one step (or several) at a time.
Blk_ALC_Perf2.jpeg

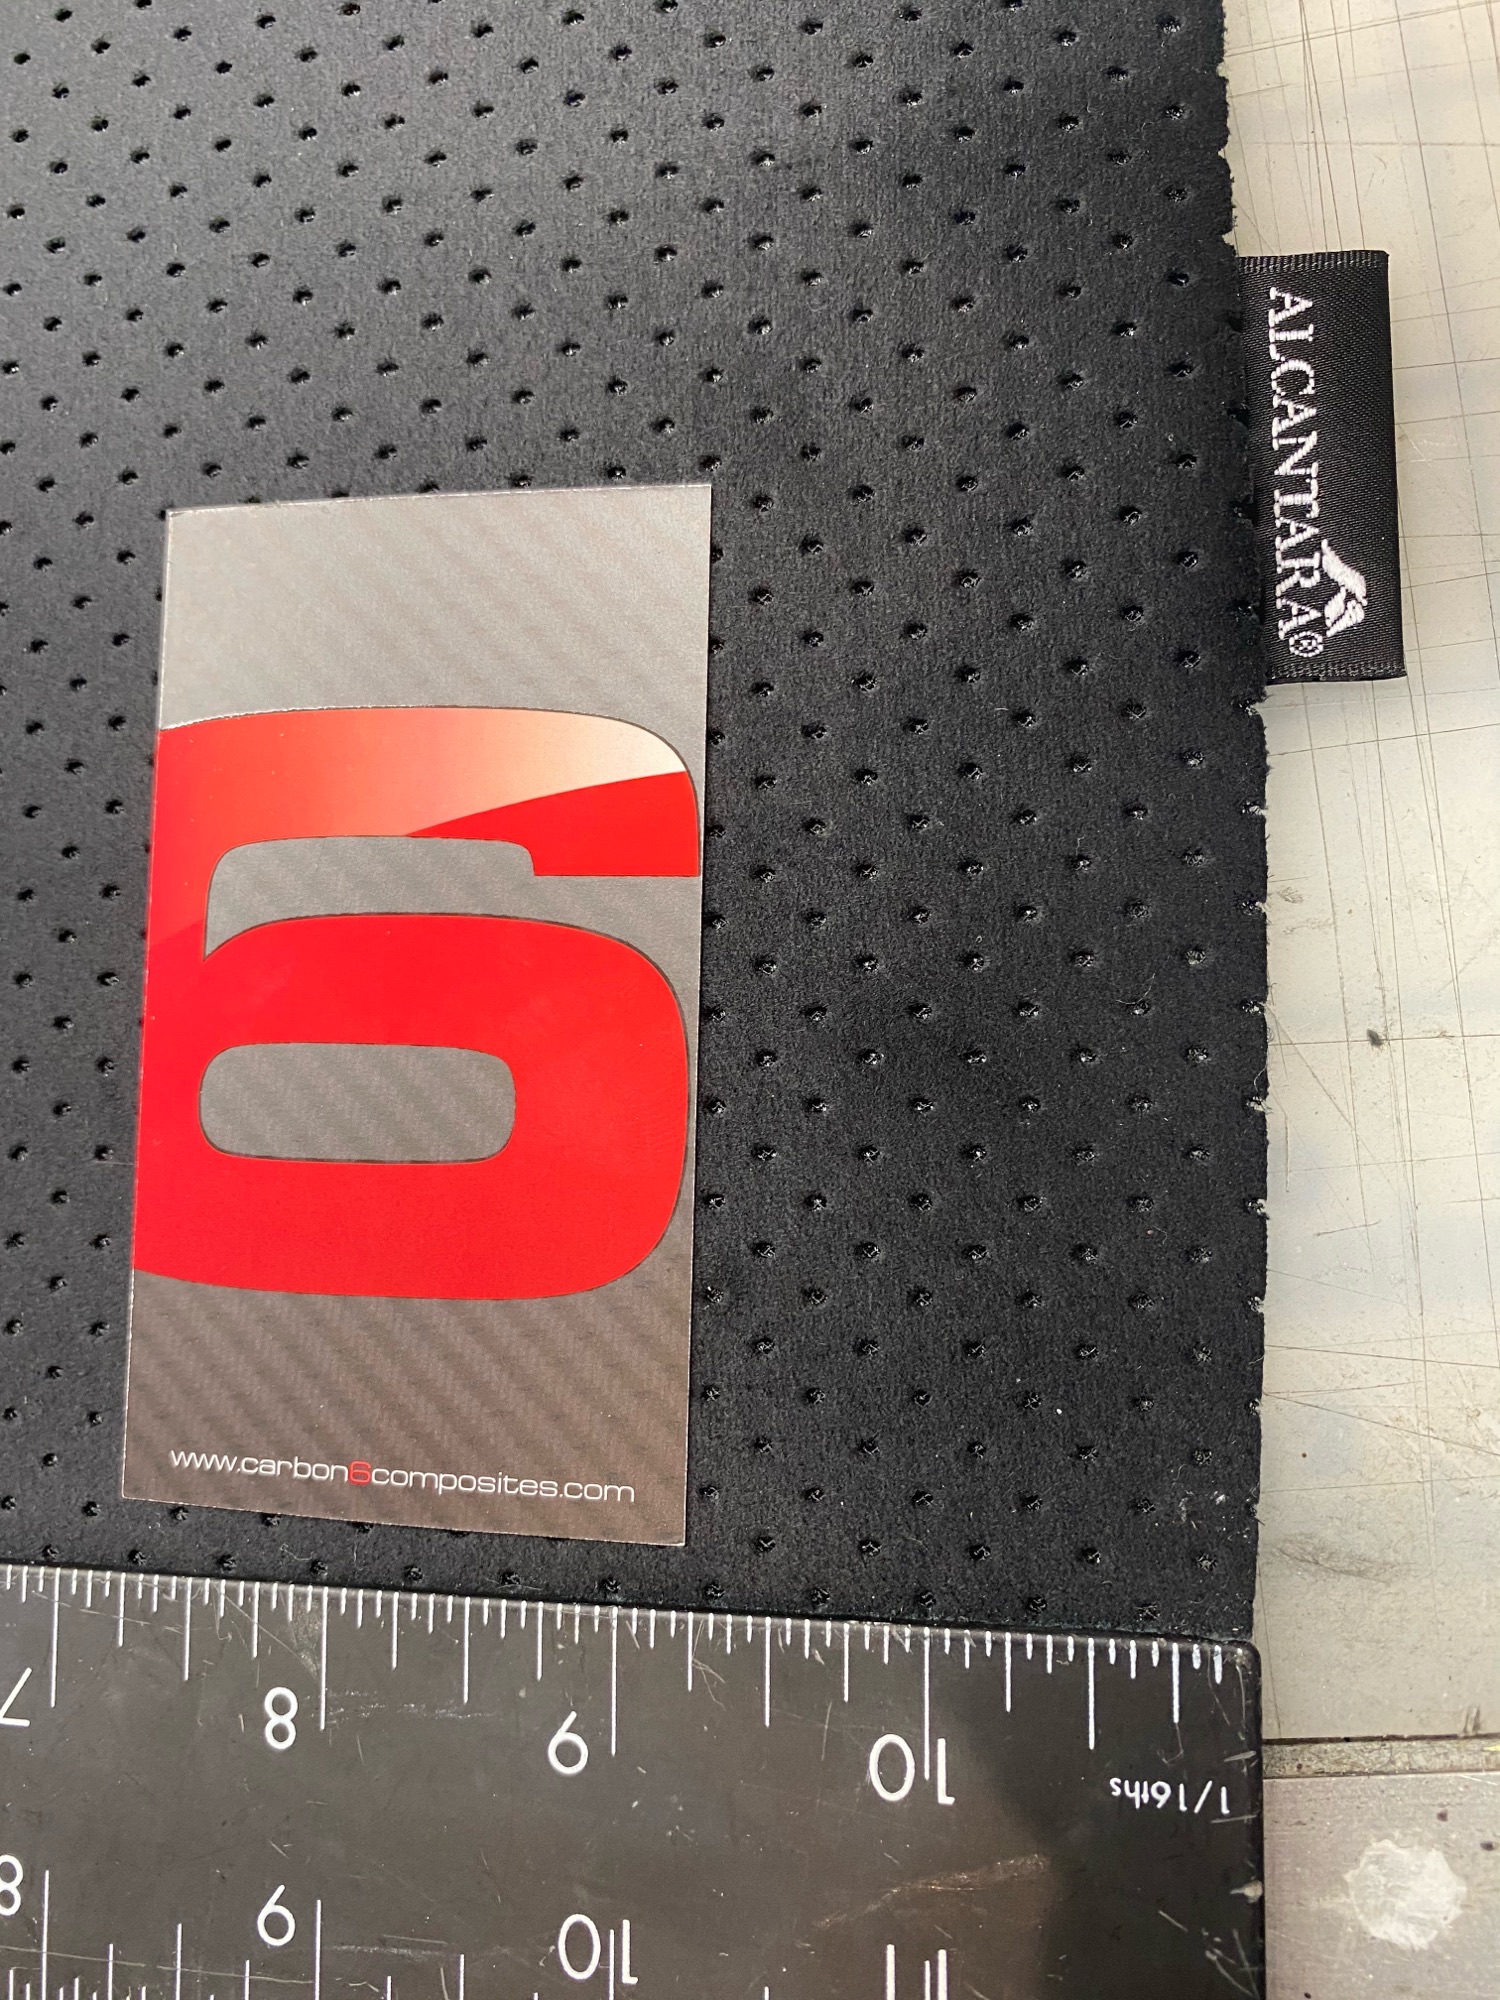
(image directly from C6C @ https://www.carbon6composites.com/product_info.php/cPath/3/products_id/51)

Finally, here's a mockup of the steering wheel solution I went with. Really just the stock NA1 NSX-R look but with a bit of spice thrown in with the Works Bell Rapfix GTC Hybrid wheel hub and Works Bell short boss adapter. It's not a quick-disconnect hub but a flip-up version for "quick driver changes" in a race, but I just think it's neat.
Nothing wrong with the recovered OEM wheel I had (plus the airbag...), but the look was wearing a bit old on me and honestly the red baseball stiching made the grip a bit uncomfortable.
PXL_20231125_043238652.jpg

I like the period-correctness and look of the Momo Tuner wheel, this one is not the OEM NSX-R part but functionally the same for much less money as most people are wont to do. The horn button is also the El-Cheapo eBay knockoff, but if it works it works. The horn ring is the replica version from Kuya Auto (from RJ in-person at NSXPO :D) and the countersunk ring retaining bolts are from Dress Up Bolts, polished titanium in M5 x 0.8 x 15mm.

The Works Bell hub solution will be nice to have considering that the install is easier than the OEM hub and it retains the clock spring, which means the horn wiring is also plug-and-play. I bought two small stainless-steel momentary buttons to act as the cruise control buttons like other Prime members have done on the steering covers.

There is something to be said about the OEM NSX-R hub structural design with the included crumple zone and the risk tolerance of using an aftermarket billet solution, yet there has been just as much engineering, materials design and patents in the Momo and Works products for failure modes in the event of an accident that I feel comfortable using them. I could always get a motorcycle license instead ;).

That's enough rambling, the other good news is that I will *for real* be moving back to my home base in GA at the end of this year, and therefore will have much more time to spend with the car in 2024. Big plans in store 🤩
 
Last edited:
Back in the ATL

Hullo everyone, quick update time.

I found the time to install most of the interior bits from my last post except for the door card stuff. There's at least 5+ different minor projects I want to do with the door cards off (NSX-R trim, door lock pins, alcantara re-trimming, professional armrest reupholstering, maybe SoS aluminum door handles, new door seals) so that will wait until all the stars are aligned.

For now, here's a quick runthrough of the center console and steering wheel work. Below is in the midst of transferring the center console ashtray, switches, and shift boot to the new NSX-R console.
PXL_20240103_223108936.jpg

Comparing the old and new. No, the NSX-R console is not bigger :). I also blanked-off the extra front fog light switch that came with the car for no apparent reason. I'll save the final install picture for last since it'll spoil the steering wheel.
PXL_20240103_224917298.jpg

Then, in goes the NSX-R-like steering wheel setup. The first step was to drill two holes into my perfect new NSX-R steering wheel cover which was painful, but allowed me to use Joe G.'s very nice cruise control relocation wiring harness kit shown below. I routed the kit's wires to two stainless steel momentary switches to serve as the new RESUME & SET buttons. They're very satisfying to press (an Amazon reviewer compared them to a "clicky hotel elevator button").
PXL_20240104_194905701.jpg

Here's where the relocation harness sits underneath the driver's knee bolster. Just plugs right in. I think the kit's yellow SRS connectors are 3D-printed or something since I remember that the bare SRS terminals can't be purchased new, so this is a great use case for a custom plastic part and they fit very well.
PXL_20240104_003418107.jpg

For some reason the new steering covers came with a new steel bracket too. It looks like a slightly different design than the original one but fits the same and has no rust so seems like a win to me.
PXL_20240104_002641425.jpg

And just like magic it's all done! There's really nothing to installing the Works Bell system besides making sure you have the right parts and screws. This was already covered in detail by Chris Lum at (
) so big thanks to him for doing the hard work. It's definitely easier than using the NSX-R hub and having to remove the clock spring.

My only addendum to the video is that Works Bell asks for a 30 N*m torque spec on the steering wheel nut instead of the OEM spec of 49 N*m (36 ft*lb) to avoid stressing or cracking the 290S hub. (Reference https://www.worksbell.co.jp/en/support/tightening-torque/, or 3 kg*M)
PXL_20240105_033511622.jpg

Here's a pretty poor picture of the cruise control buttons with the wheel tilted up. Still, they don't look out of place and the cruise control works just like it did originally.
PXL_20240105_033712760.jpg

And here's the final product. I'm not quite done with the interior yet and feel like this will probably snowball into re-covering the A & B pillars and headliner at some point, and for sure getting the seats reuphostered which has been on the project list since purchasing the car back in 2020.
PXL_20240105_033404690.jpg

Next up is most likely removing the EPS rack to send over to NSX Rack Repair once I receive the new inner tie rod components from Amayama. I'm hoping it'll be one of those things I wished I had done years ago ;).
 
New Challenger Approaching!

Something something not NSX related, so I'll keep these posts to a minimum. But I bought a Toyota Century :D. It's a 1998 G50 V12 model with around 74k miles, all original, one owner car.
PXL_20231222_222015604.jpg
(Starting the drive back home from VA to GA at the end of Dec 2023.)

This is definitely *not* going to be my new shared daily car, yet I've had my eyes peeled for one in this spec to pop up for much of 2023. Requirements were a 1997+ G50 model (with Japan's only production V12), wool seats, Serene Blue Mica paint, low mileage, original air suspension & wheels, fender mirrors, driver's seat heater, seat doily covers, and solid overall mechanical shape & appearance.

This one checked all the boxes save for the fender mirrors and driver's seat heater which will soon be rectified. I find it funny that I thought it had the seat heater at purchase but the switch for it on the driver's door was actually to control the RL passenger's heater. I should've expected that given the car's original use case.

Presently, I've done the following jobs:
  • Installed OEM fender mirrors from Amayama (of course). Toyota gets an A+++ in my book for keeping the wiring harnesses the same for every Century as far as I've seen, so the blank plugs for the mirror motors & heaters were already ready and waiting. Drilling two large holes into each fender makes the list of most painful automotive tasks I've ever done.
    • This also "forced ;)" me into buying my first 3D printer (Prusa MK4) to make custom door mirror blanking caps which I will then branch out to make any manner of random plastic bits I would ever need. Wish me luck
  • Rebuilt the factory 8" sub with foam that had disintegrated
  • Installed custom wood grain steering wheel & shift knob
  • Reinstalled factory seat doilies and rear power curtain
  • Added cruise control (no it's not standard) from a '98 LS400, plug & play to the clock spring connector
Still to do:
  • Exterior paint correction, fix fading trim/lenses and refinish wheels
  • Full sound system with Android Auto head unit in custom bezel
  • Brake system refresh, fuel filter, drivetrain fluids, bushings, etc.
  • Aftermarket seat heater kit for the driver's seat
I don't have my own interior pictures yet but here's the car before purchase, source included..
1998-toyota-century.jpg

As it currently sits.
PXL_20240119_041929585.jpg

I really like this thing. It's almost eery how quiet it is inside and how smooth the drive is. It's also hilariously out of place wherever you go which adds to the fun factor. Of course this also buries the lede of driving around a 25 gallon fuel tank being sucked down by a V12 that takes premium only, but you can't have everything.

There will still be much more NSX news to come, as I hope once I complete my relatively simple projects with this car that I'll be able to enjoy it close to its stock, reliable form. 🤞
 
Cool JDM Rolls/Bentley..
 
Congrats, have always loved that land yacht. And you know you got a good car since it came from Driver Motorsports. You bringing it to their Japanese Legends car show at ViR?
 
Congrats, have always loved that land yacht. And you know you got a good car since it came from Driver Motorsports. You bringing it to their Japanese Legends car show at ViR?
Thanks, they were one of the only places I was considering buying from. They made a good profit on the car for sure but they also did a surprising amount of maintenance and clean-up before putting it up for sale which was much appreciated. New tires, spark plugs, valve cover gaskets, power steering hose, repainting the hood & rear bumper, oil change, hood struts, battery, alternator, air filters, front trailing arm bushings, etc. which saved me a lot of work.

The show would be a fun road trip, I will be strongly considering it :) I do feel bad for the NSX though..

Nice Tyler- I remember you talking about the Century. Cool that you pulled the trigger. JDM V12...
Now I just need to find someone to drive me around everywhere 🤴
 
NSX EPS Rack Repair

This will probably be my last big project in my workshop home away from home since purchasing the car back in 2020 since I should be moving into my own garage with a house attached next month :).

I sent off my EPS rack to NSX Rack Repair about 2 weeks ago. This was a long time coming for one of the last major items to address on the car.

Here's NSXRR's video for the rack removal which is helpful to reference. Overall the removal was actually pretty easy.

And here's the state of my rack. Missing the terminal guard, wire grommets have fallen apart, one of the terminal surrounds is broken. The rack has never had functionality issues but had a slight "bump" feeling on-center when the assist would kick in, and just felt a bit worn with age. I think the Momo wheel setup highlighted the slop a bit more than the original steering wheel too since it translates the steering feel a bit clearer.
PXL_20240223_182205241.jpg

Taking off the two brackets for the lower radiator hose helps clear room to pull the rack out from the lower crossmember without removing it. The factory manual shows that you have to remove the crossmember, but it's definitely not needed and keeping it in place should help maintain the current alignment specs. Somebody has been here before it seems and given the radiator pipe a decent ding..
PXL_20240223_182905758.jpg

Four long bolts are all that holds the rack itself in place. Once the tie rod ends, electrical connectors, steering shaft, and lower covers are removed, the rack can be wiggled out. Very easy in terms of NSX projects.
PXL_20240223_192528715.jpg

Thar she blows.
PXL_20240223_192959434.jpg
Disassembling the tie rod ends for shipment. The original boots and inner ends did in fact already have grease inside per the service manual.
PXL_20240223_200336104.jpg

Constituent parts of the inner tie rods. All new parts ordered from Amayama as replacements.
PXL_20240223_201610837.jpg

Getting my workout done by pushing the car all the way from the lift back to my parking spot so that I don't take up the spot for 2 weeks. Not fun while the two front wheels were completely disconnected from the rack.
PXL_20240223_211252811.jpg

While waiting for the rack to return, I wanted to put my new 3D printer to use to try and make replacements for the original wire grommets that appear to be integral to the wire harness and can't be ordered separately. I measured what was left of the old caps and made a custom new one in Fusion 360 and prototyped in PLA.
PXL_20240225_190516019.jpg

Here's the final version finished printing in 95A hardness TPU, which is flexible enough to serve as a push-fit grommet. It snaps on the terminals very well but I could've made the crimped wire section longer as you'll see later.
PXL_20240307_003802461.jpg

I also threw together a custom model for the missing RHD terminal guard. Since I didn't have the original part to measure I just used the rack itself and the result is imperfect but does the job. Printed from ASA (ABS-like) for durability.
PXL_20240308_053529602.jpg

Here's all the new parts to put back on the car. Charles did a fantastic job with the rebuild, not just the important internal stuff but also sandblasting the crusty exterior and adding his own 3D-printed terminal surrounds to replace my broken one. Really above & beyond what would be expected for this job.
PXL_20240309_183224215.jpg

Here's a better look at the new terminal surrounds and the Science of Speed urethane bushing replacement kit finally getting installed after ordering it like 2 years ago.
PXL_20240309_192218762.jpg

Happy rebuilt rack to be installed with several custom parts, new bushings, and new tie rod components. I greased the insides of the boots as well with Amsoil Dominator grease that I had sitting around. The inner boot clamps were thankfully easy and intuitive to install as well.
PXL_20240309_204801829.jpg

Shoving the rack back into place was predictably more difficult than removal. I ended up having to use a lift table to shove the right end of the rack upwards and get the two bolt holes to line up well enough to avoid stripping them out.

You can also see the new terminal caps by me and the terminal surrounds by NSXRR. I did have to slice the caps at the top to be able to fit the huge wire terminals through.
PXL_20240309_222516589.MP.jpg

Back together again with the cut in the wire caps sealed up with some RTV and dielectric grease. I replicated the original slots where the OEM metal ring held onto but they're such a tight fit that it should not be necessary. A zip tie would work fine too.
PXL_20240309_223904748.jpg

All back together again. So shiny and new looking in contrast to the rest of the body :). Dry ice blasting will happen some day...
The worst part of the whole job I'd say was removing & reinstalling the steering yoke/joint in the footwell. Getting room to work on the lower bolt just sucks.
PXL_20240309_230355722.jpg

I set the two inner tie rod nuts to 11mm spacing per the service manual and ignored the marks I had made on my original rods. Then, I made use of the Tenhulzen Automotive alignment kit to try and DIY my front toe alignment and save the $150-250 professional alignment. After about 6 rounds of lift car/wheels off/tie rod adjust/wheels on/lower car/measure, I ended up with about 3/32" of total toe-out which is in the middle of the original '93 spec.
https://m.media-amazon.com/images/I/71PE5vJgdlL._AC_SL1500_.jpg

After I was happy with my DIY toe alignment, I went on a test drive and confirmed my steering wheel was straight and the wheels tracked straight, very happy not to have to go through that process again. I can't say enough how great of a job Charles @ NSXRR did with my EPS rack, great communication and turnaround time. The rack itself feels significantly better than before with a much tighter on-center feel, almost eliminated assist bump, and just feels more fun and confident to use. I'll mark this one up as a success 🤩 .
 
Strong work & (as always) excellent documentation; ++(y) to Charles as well.

You're probably right that someone was there before and dinged the rad pipe, maybe because they followed that video instead of the service manual?:unsure: (You can see them ding the rad pipe in the video as well.) With all that reefing in the video that could damage something unseen along with the coolant pipe, I really don't understand not just following the service manual and simply removing the crossmember. It's very light and so easy an old fart like me could do it and I don't even have a lift, just jack stands. Also goes back together pretty easily compared to your description. Maybe @Chris_Lum can do a follow-up video of Honda's way.

I think the effect on the alignment of transiently removing the cross-member will be miniscule compared to taking off the rod ends etc. I used the 11 mm from the SM as well, and it subjectively drove perfectly, but I couldn't see not doing a professional alignment after reinstalling a steering rack. I'll leave it to the experts to weigh in.

Nice work on the terminal guard. I was missing my terminal guard as well, but Charles found a LHD one for a fraction of the cost of drafting one myself. Now that you've drafted it, I hope you'll post the stl on the 3D-print repository in case others are missing it as well. Can you convert your RHD stl to LHD with a mirror command & post both? Agree: ASA or ABS over PET-G, definitely NOT PLA.

Strong work printing in TPU; that stuff is tricky to print! Is it also worth posting that boot stl for others who might need them (+/- an extension? :)) To insert them, could you clip 1 or 2 polarity tabs to add the boods without cutting & then just be VERY careful to get the polarity right? (My plastic tabs were toast and weren't replaced by Charles since he wasn't doing that back then, so I had to do the polarity manually. After marking my terminals umpteen ways and taking 12 pictures, I noticed it's cast in by Honda already...)

I was wondering how much modification would be required to your boot design to help out @YellowTwinTurbo with his alternator boot. It doesn't have those 3 polarity tabs sticking out.
 
Last edited:
Strong work & (as always) excellent documentation; ++(y) to Charles as well.

You're probably right that someone was there before and dinged the rad pipe, maybe because they followed that video instead of the service manual?:unsure: (You can see them ding the rad pipe in the video as well.) With all that reefing in the video that could damage something unseen along with the coolant pipe, I really don't understand not just following the service manual and simply removing the crossmember. It's very light and so easy an old fart like me could do it and I don't even have a lift, just jack stands. Also goes back together pretty easily compared to your description. Maybe @Chris_Lum can do a follow-up video of Honda's way.

I think the effect on the alignment of transiently removing the cross-member will be miniscule compared to taking off the rod ends etc. I used the 11 mm from the SM as well, and it subjectively drove perfectly, but I couldn't see not doing a professional alignment after reinstalling a steering rack. I'll leave it to the experts to weigh in.

Nice work on the terminal guard. I was missing my terminal guard as well, but Charles found a LHD one for a fraction of the cost of drafting one myself. Now that you've drafted it, I hope you'll post the stl on the 3D-print repository in case others are missing it as well. Can you convert your RHD stl to LHD with a mirror command & post both? Agree: ASA or ABS over PET-G, definitely NOT PLA.

Strong work printing in TPU; that stuff is tricky to print! Is it also worth posting that boot stl for others who might need them (+/- an extension? :)) To insert them, could you clip 1 or 2 polarity tabs to add the boods without cutting & then just be VERY careful to get the polarity right? (My plastic tabs were toast and weren't replaced by Charles since he wasn't doing that back then, so I had to do the polarity manually. After marking my terminals umpteen ways and taking 12 pictures, I noticed it's cast in by Honda already...)

I was wondering how much modification would be required to your boot design to help out @YellowTwinTurbo with his alternator boot. It doesn't have those 3 polarity tabs sticking out.

Thanks!

Getting the rack out was very easy for me just by taking off the rad pipe bracket bolts, I don't see how someone had so much trouble that they dented the pipe like that but 🤷‍♂️. Reinstallation was more difficult but it was only because it was more challenging to get the bolt holes lined up with the rack pressing against the steering joint grommet to the firewall.

With the base 11mm inner tie rod length I ended up with too much total toe out, between 1/2"-3/4" if I remember right. I've done the camber & toe a few times on both my cars and it seems to be working well enough, it's just very tedious without the professional lift setup. I try to make it work mostly because I spent the $200+ on the DIY alignment tool so feel like I have to get my ROI back :).

The terminal guard would take some redesign work before I'd be comfortable publishing it, the fitment with the rack on the ground was good but in place I couldn't get the upper bolt to line up with the terminal covers in place. I've been using ASA on pretty much any car part I print, it just takes some troubleshooting. I've had lots of bed adhesion issues from the prints shrinking during cooling, hence the glue stick on the satin metal sheet. I had more issues with fast-printing layers resulting in incomplete curing/partially melting which I fixed by turning the print fan on low speeds despite the filament instructions saying to keep the fan off.

TPU was working great until it jammed in my extruder gears and had to be pulled out. As long as it's coming out the nozzle normally it seems to print well. The wire opening is only 5mm on the caps and the ring terminal is probably 12-15mm; I didn't want to design that large of an opening into the cap. That design will also take a bit of rework before I'd want to publish to help with the wire fitment and try to come up with a better solution for installing on the harness. The alternator cap looks like a different design than the EPS rack, but looks like a simple shape that would be quick to design with the right measurements.
 
Back
Top