
- Joined
- 3 May 2020
- Messages
- 148
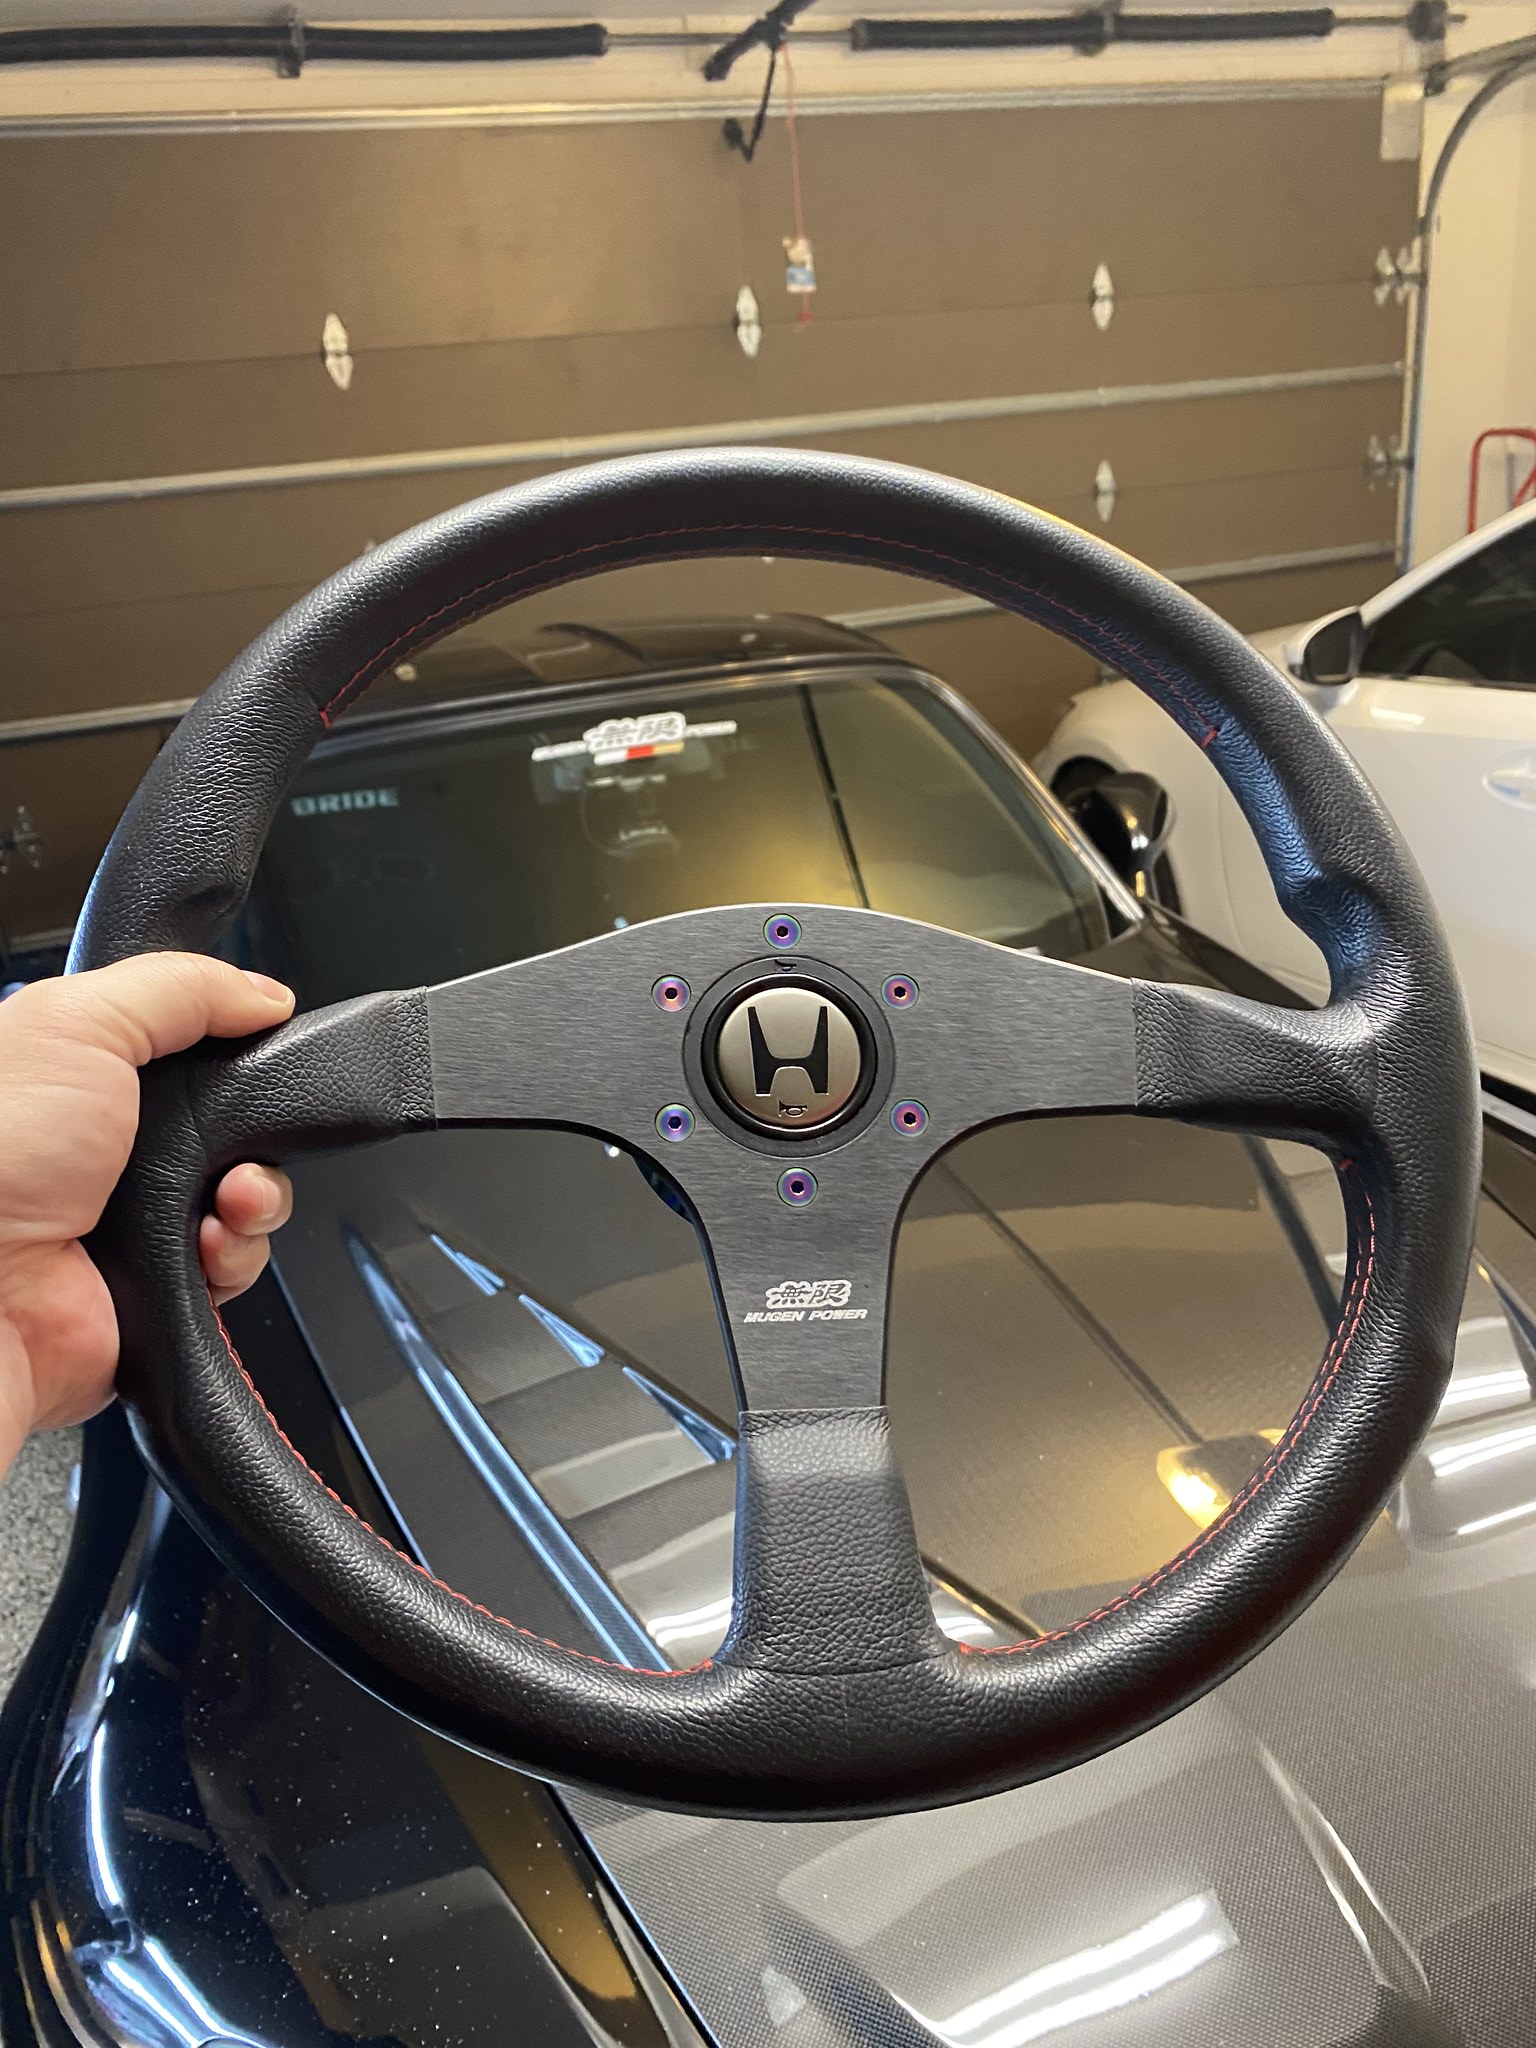
Edit: I originally posted this to S2ki. So I copied and pasted it here for Prime. I realize a lot of NSX owners like the OEM Momo ring from the R steering wheel, but I personally don't like how it protrudes out. So this mod is for those who feel the same way or just want a cleaner look.
Also recently made a YouTube video for it:
First off, big big thanks to @Forward_Momentum for the tips and tricks to this DIY. He did the flush mount swap on a normal MOMO button and we've been communicating a lot on IG which gave me the courage to attempt it on a couple OEM NSX buttons....because let's face it, flush mount looks 10000X better.

Also thanks to @mazdaspeed00 IG: SocalS2kParts for the buttons
Quick Summary:
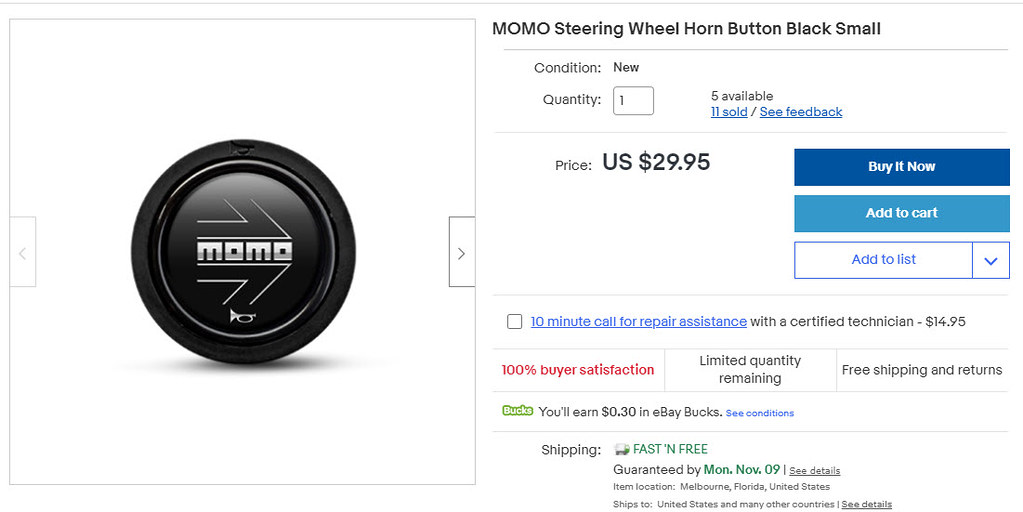
Step 1. Purchase flush mount MOMO button. There are plenty authentic MOMO buttons on eBay for $20-30.
Step 2. Disassemble both MOMO button & NSX button.
Step 3. Hybridize-- Use MOMO flush mount housing & Spring + NSX brass color dish & button. The black plastic button retention ring is the same between both, so you can use either one.
Step 4. Reassemble the button assembly.
Step 5. Cut aluminum retention ring down so it's flush with the hub.
Step 6. Install new button in the hub. Done!
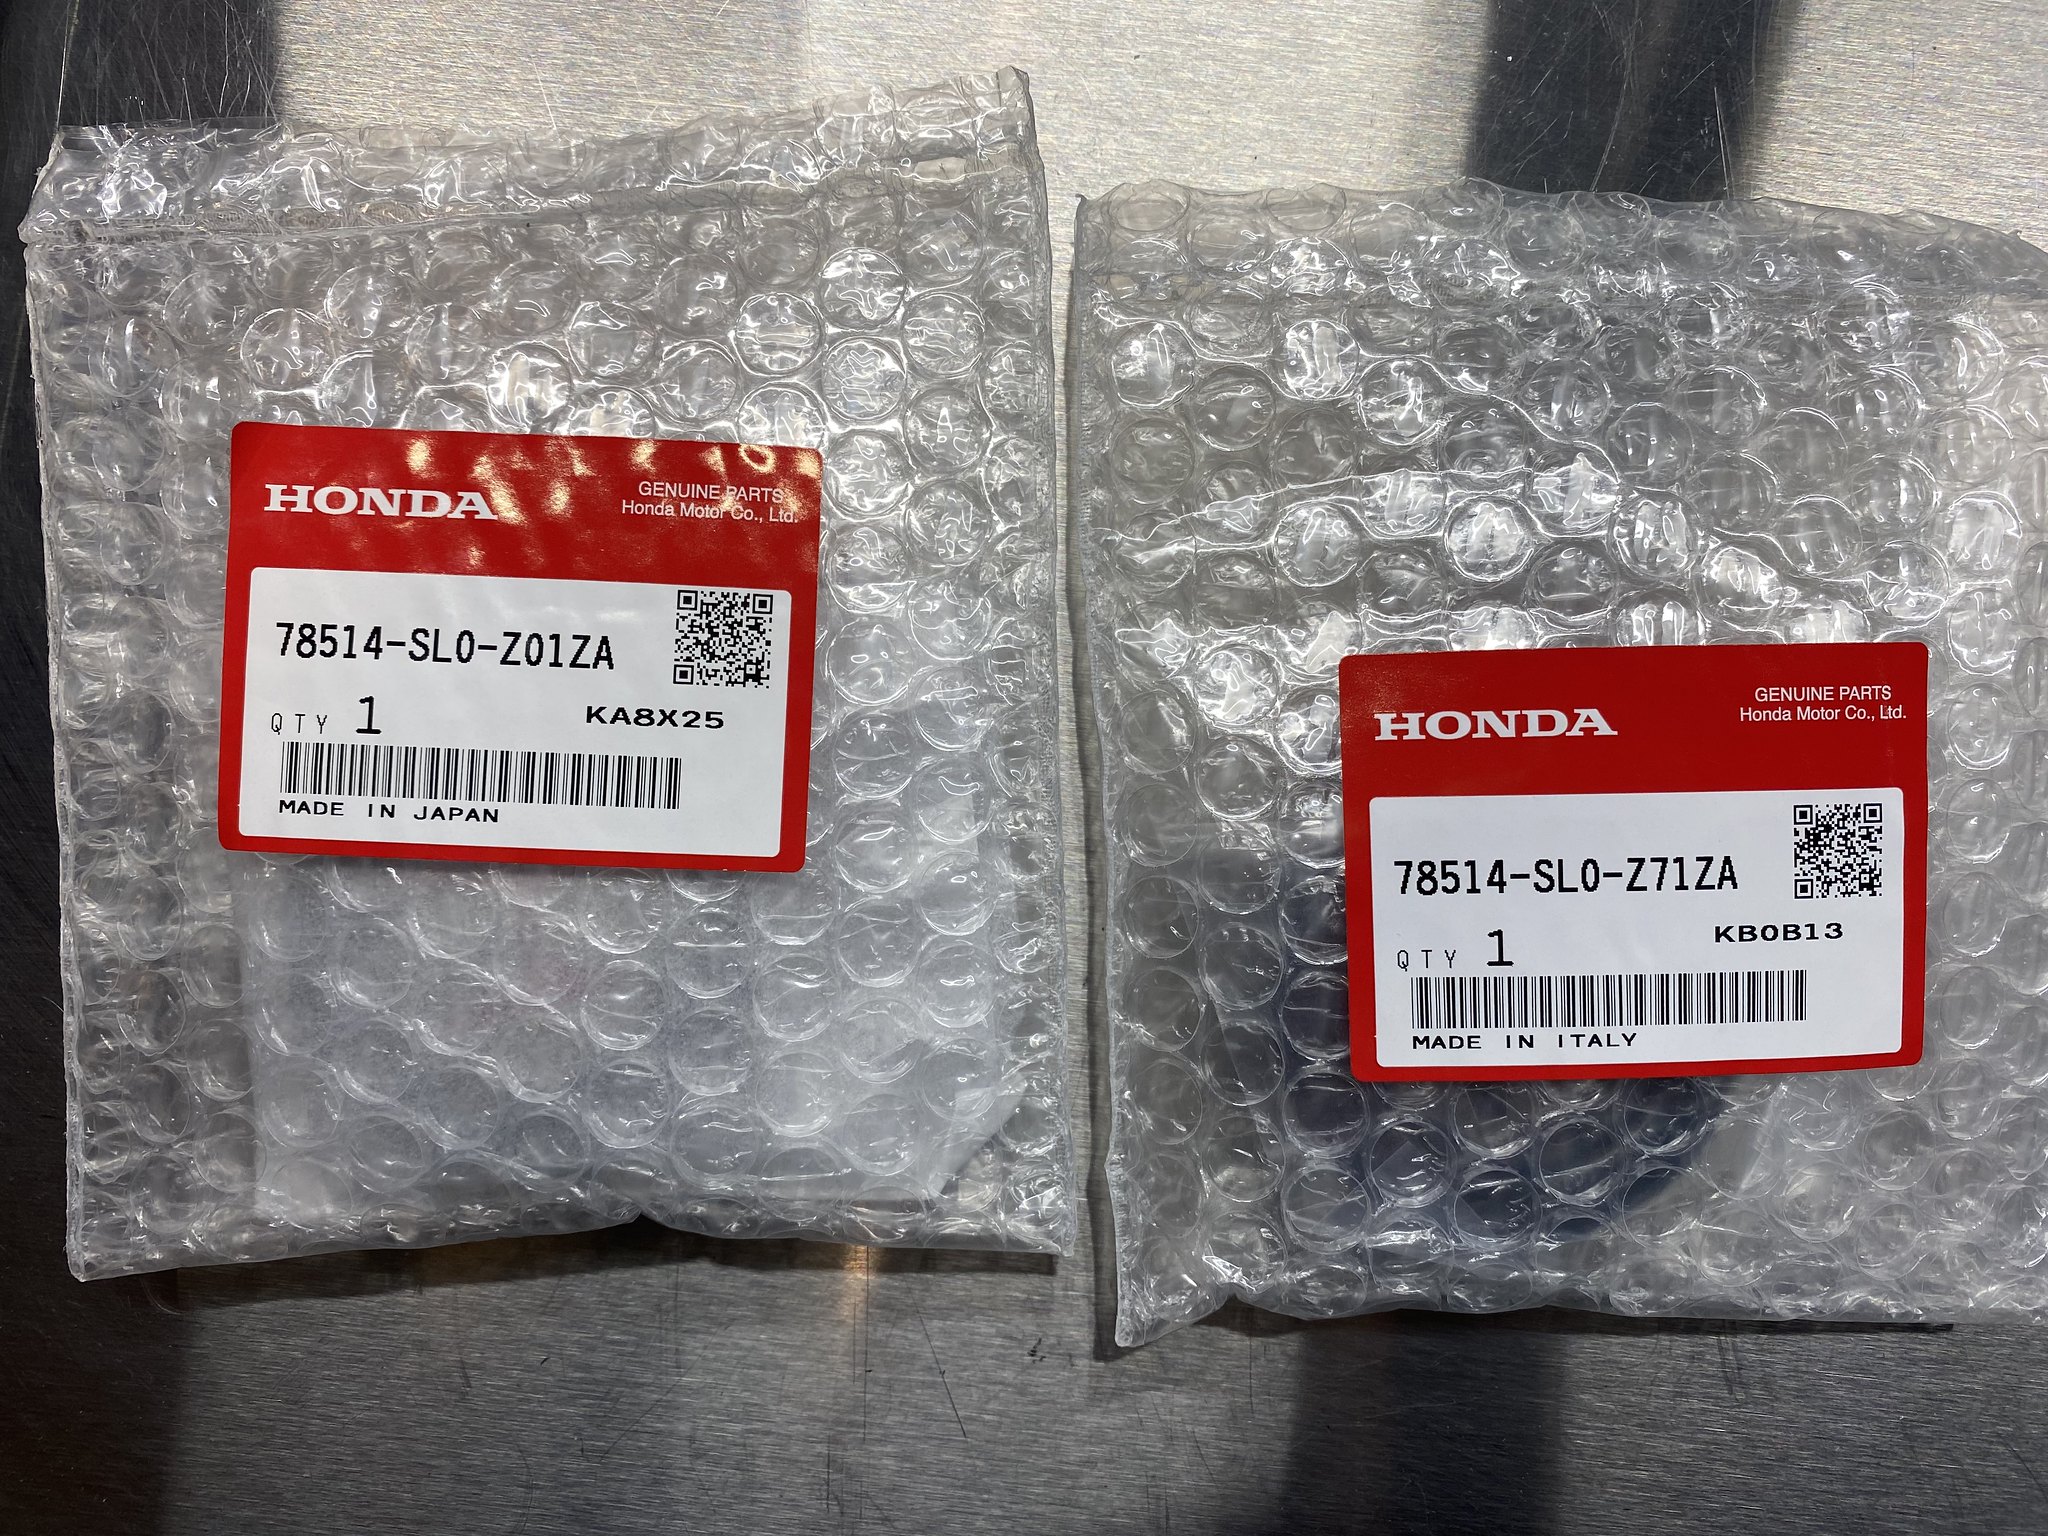
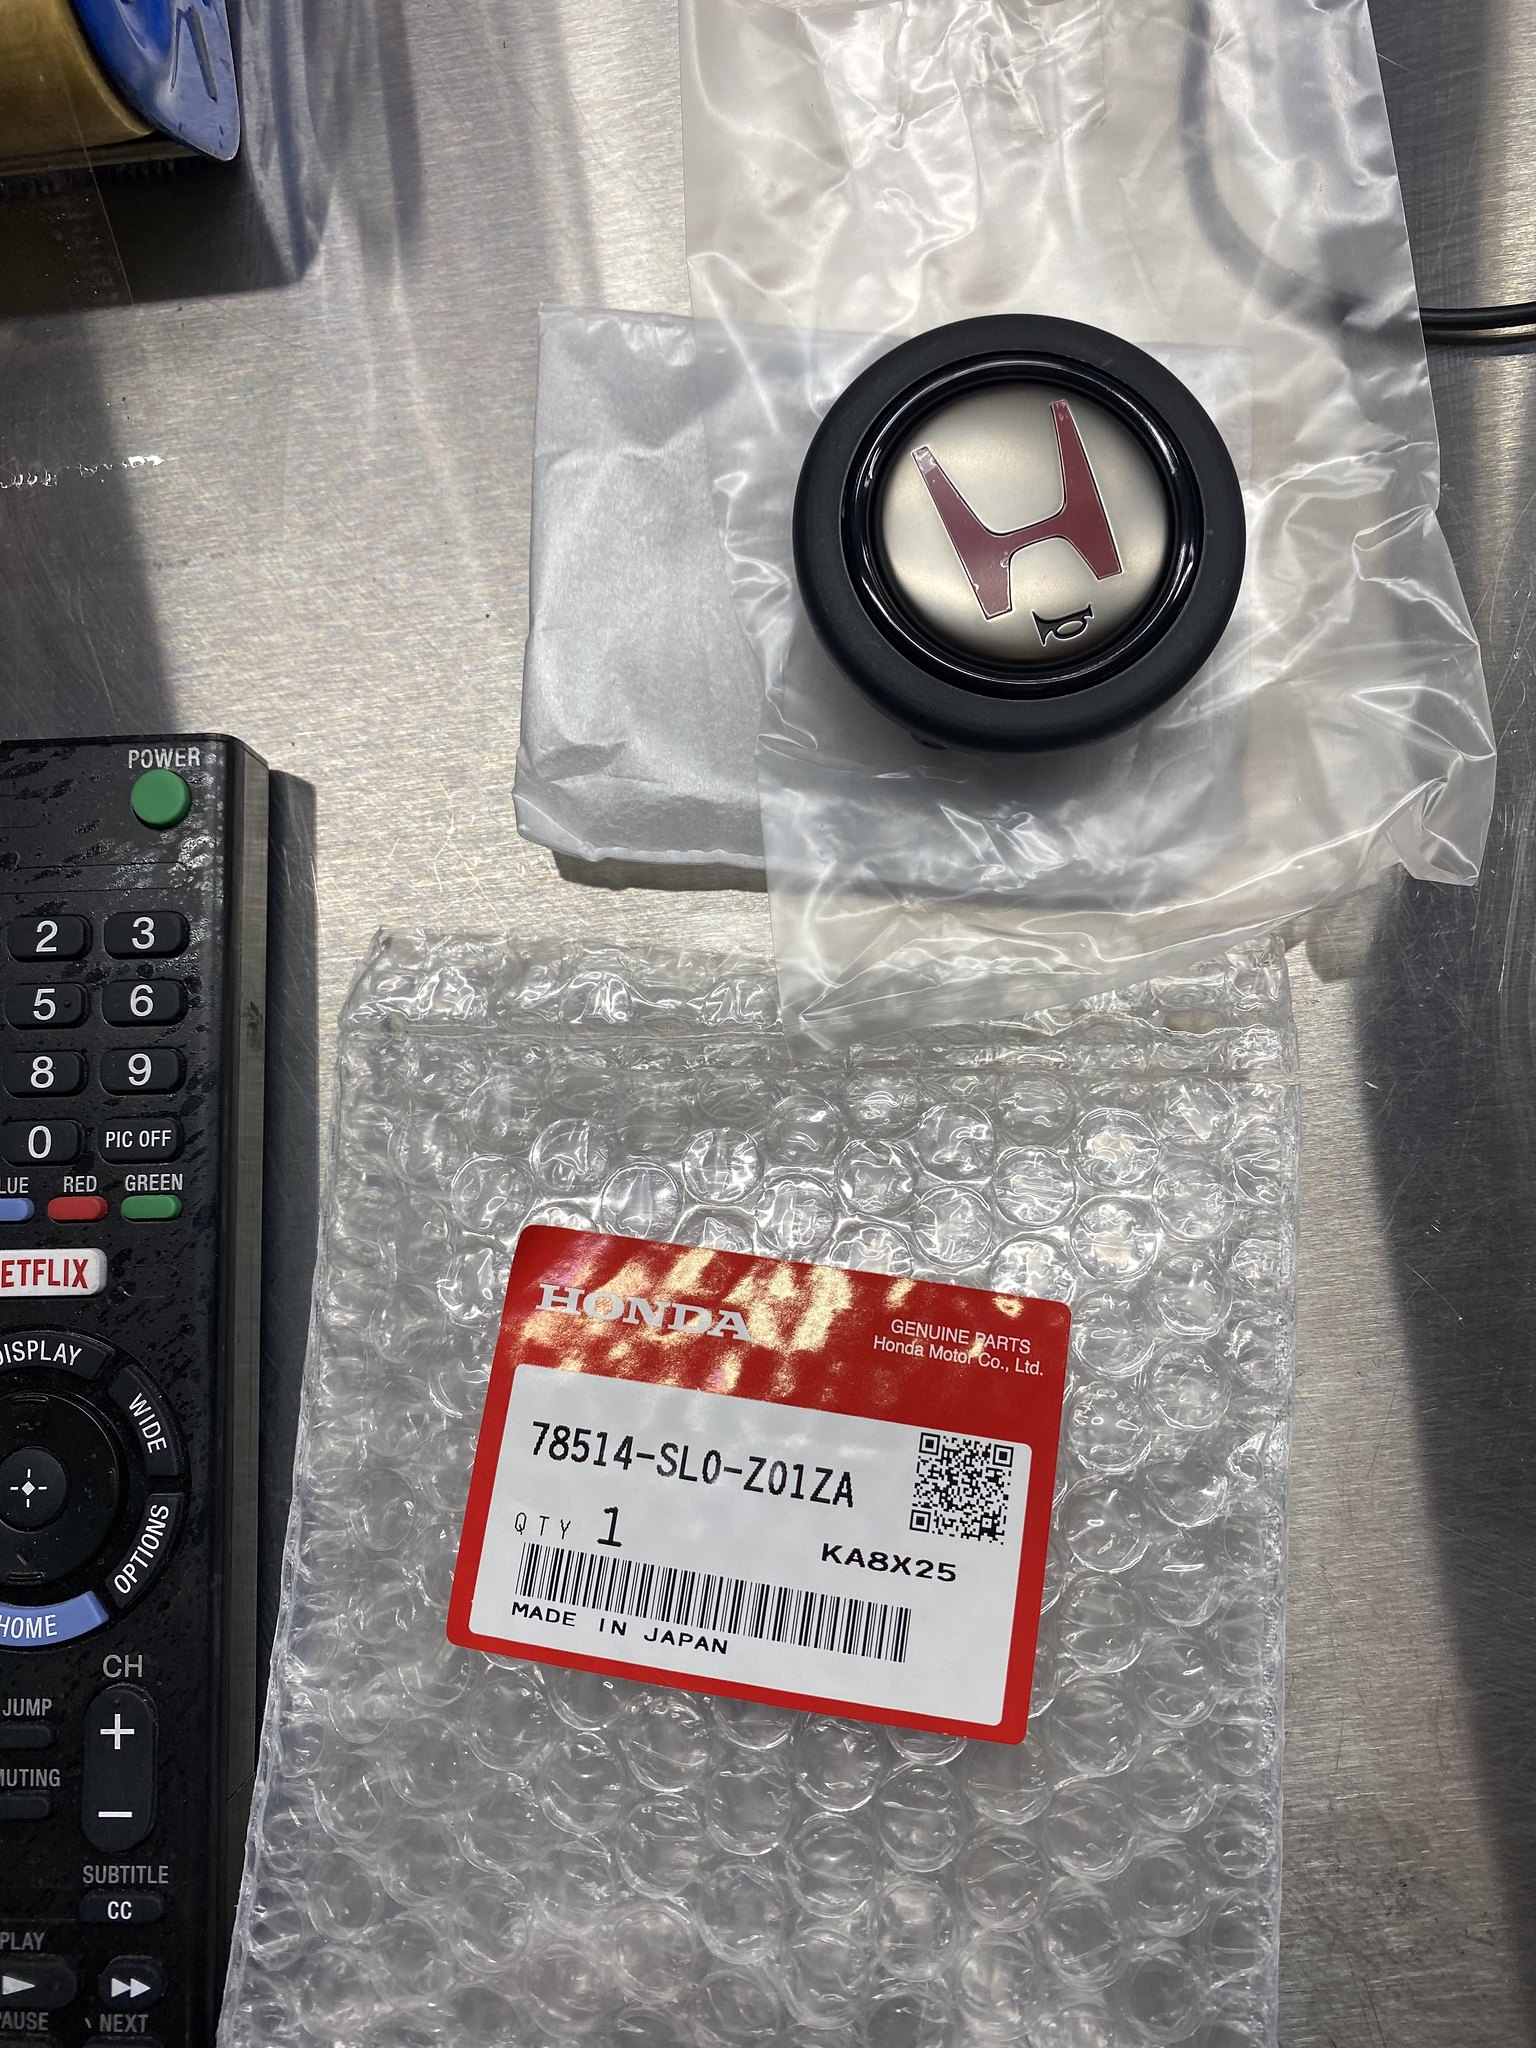
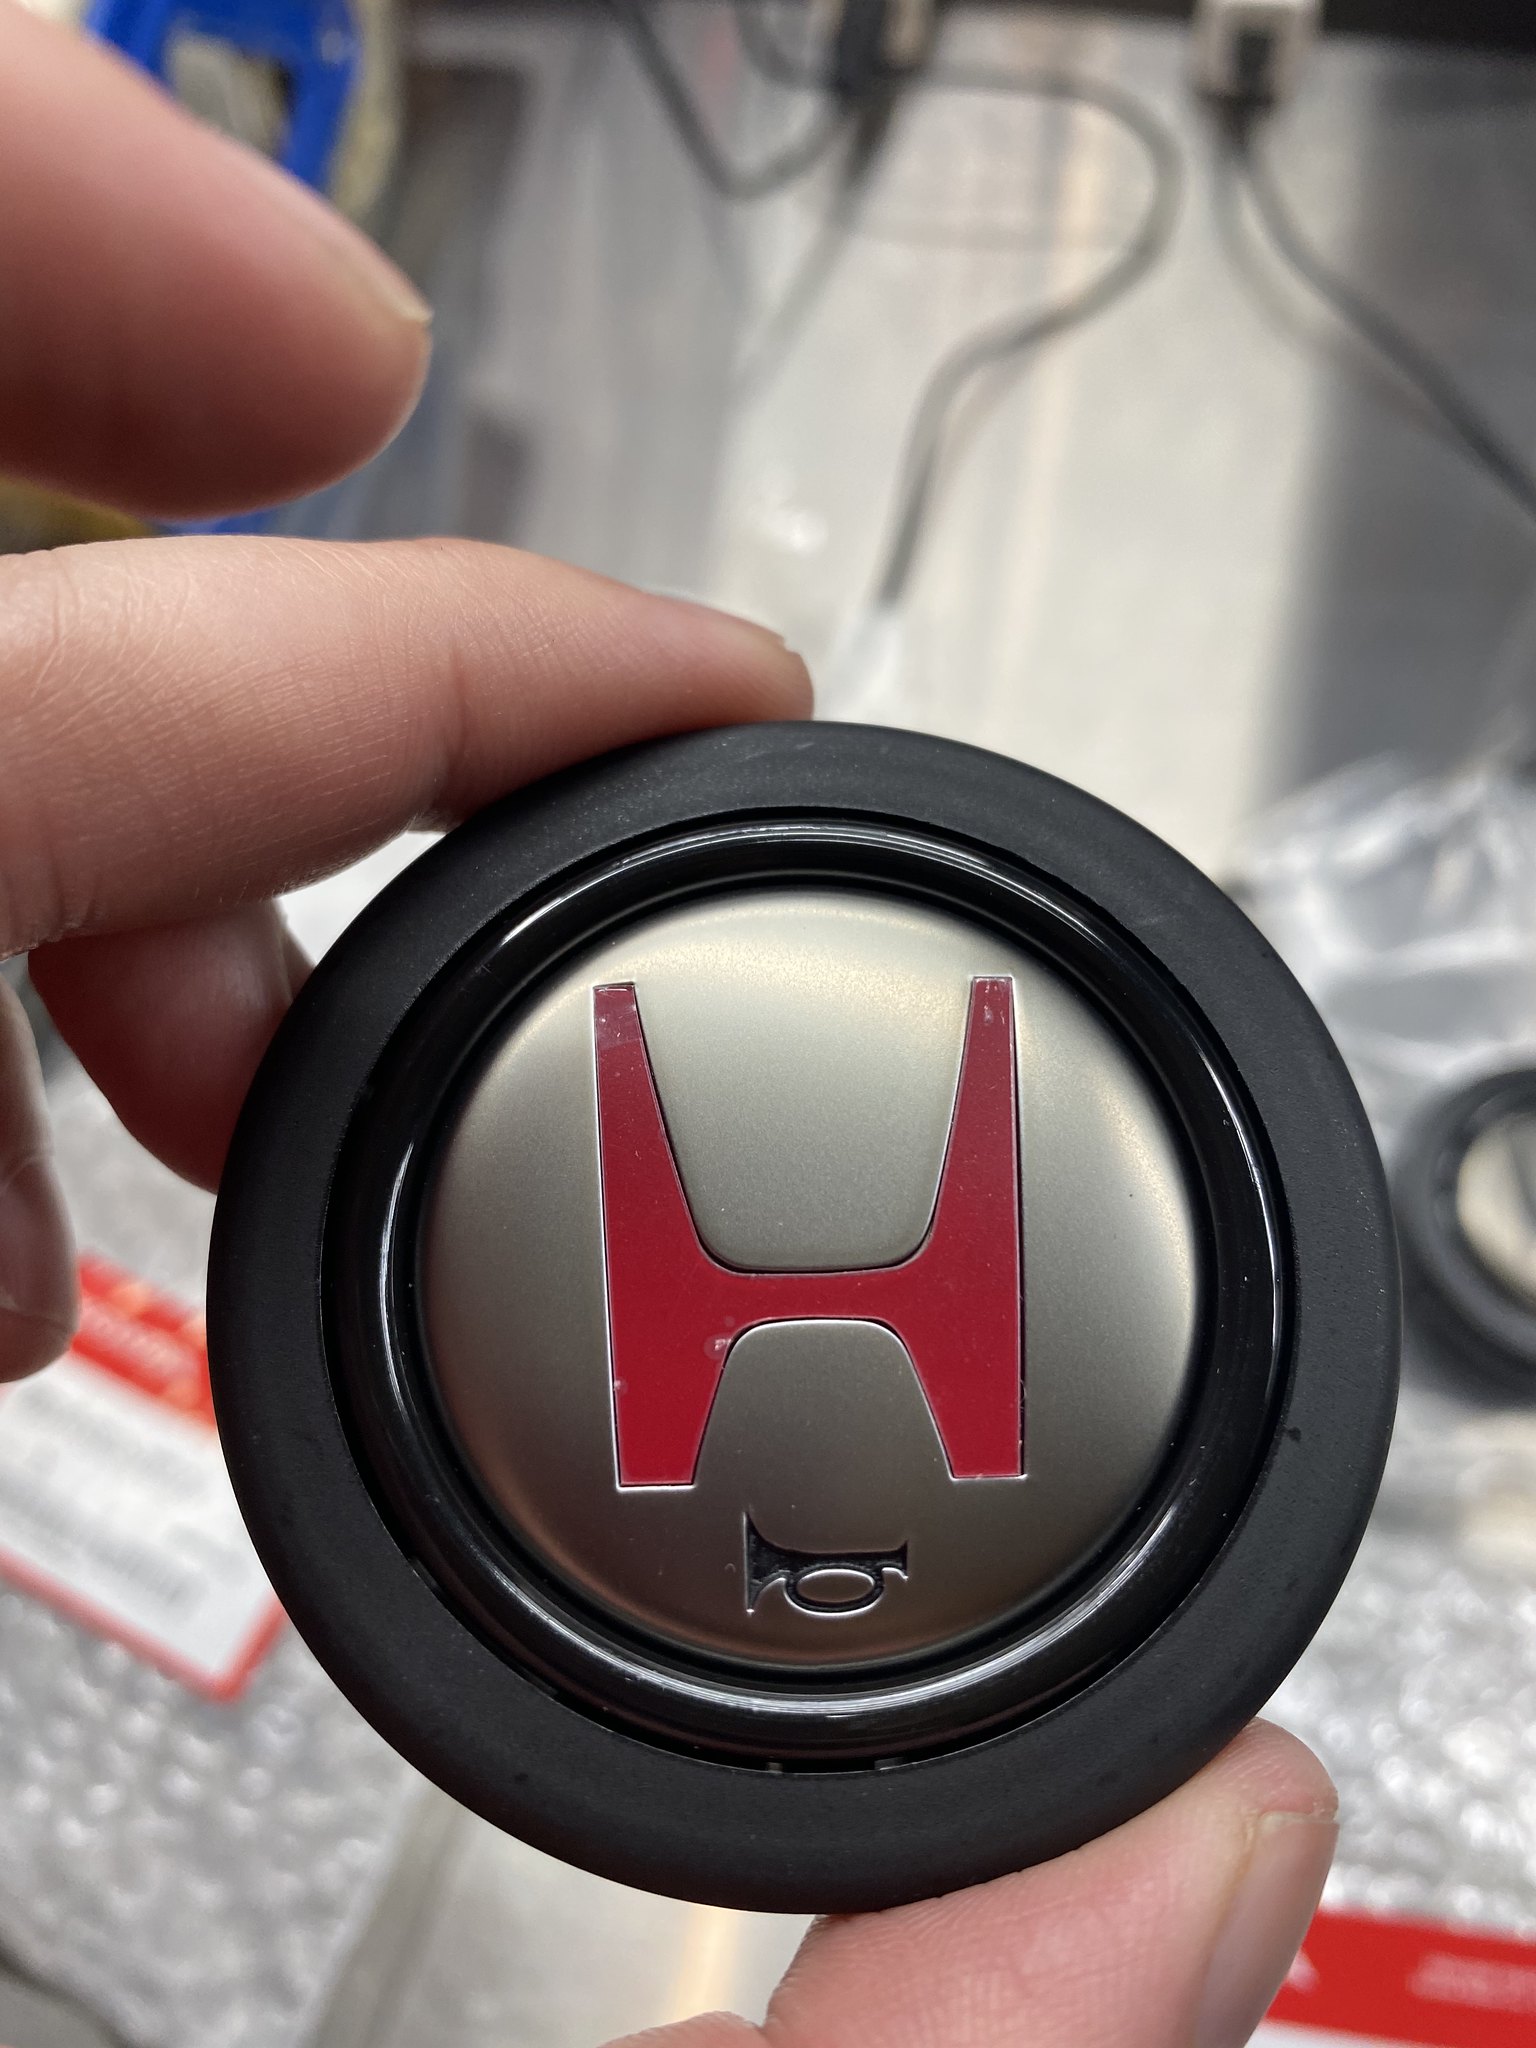
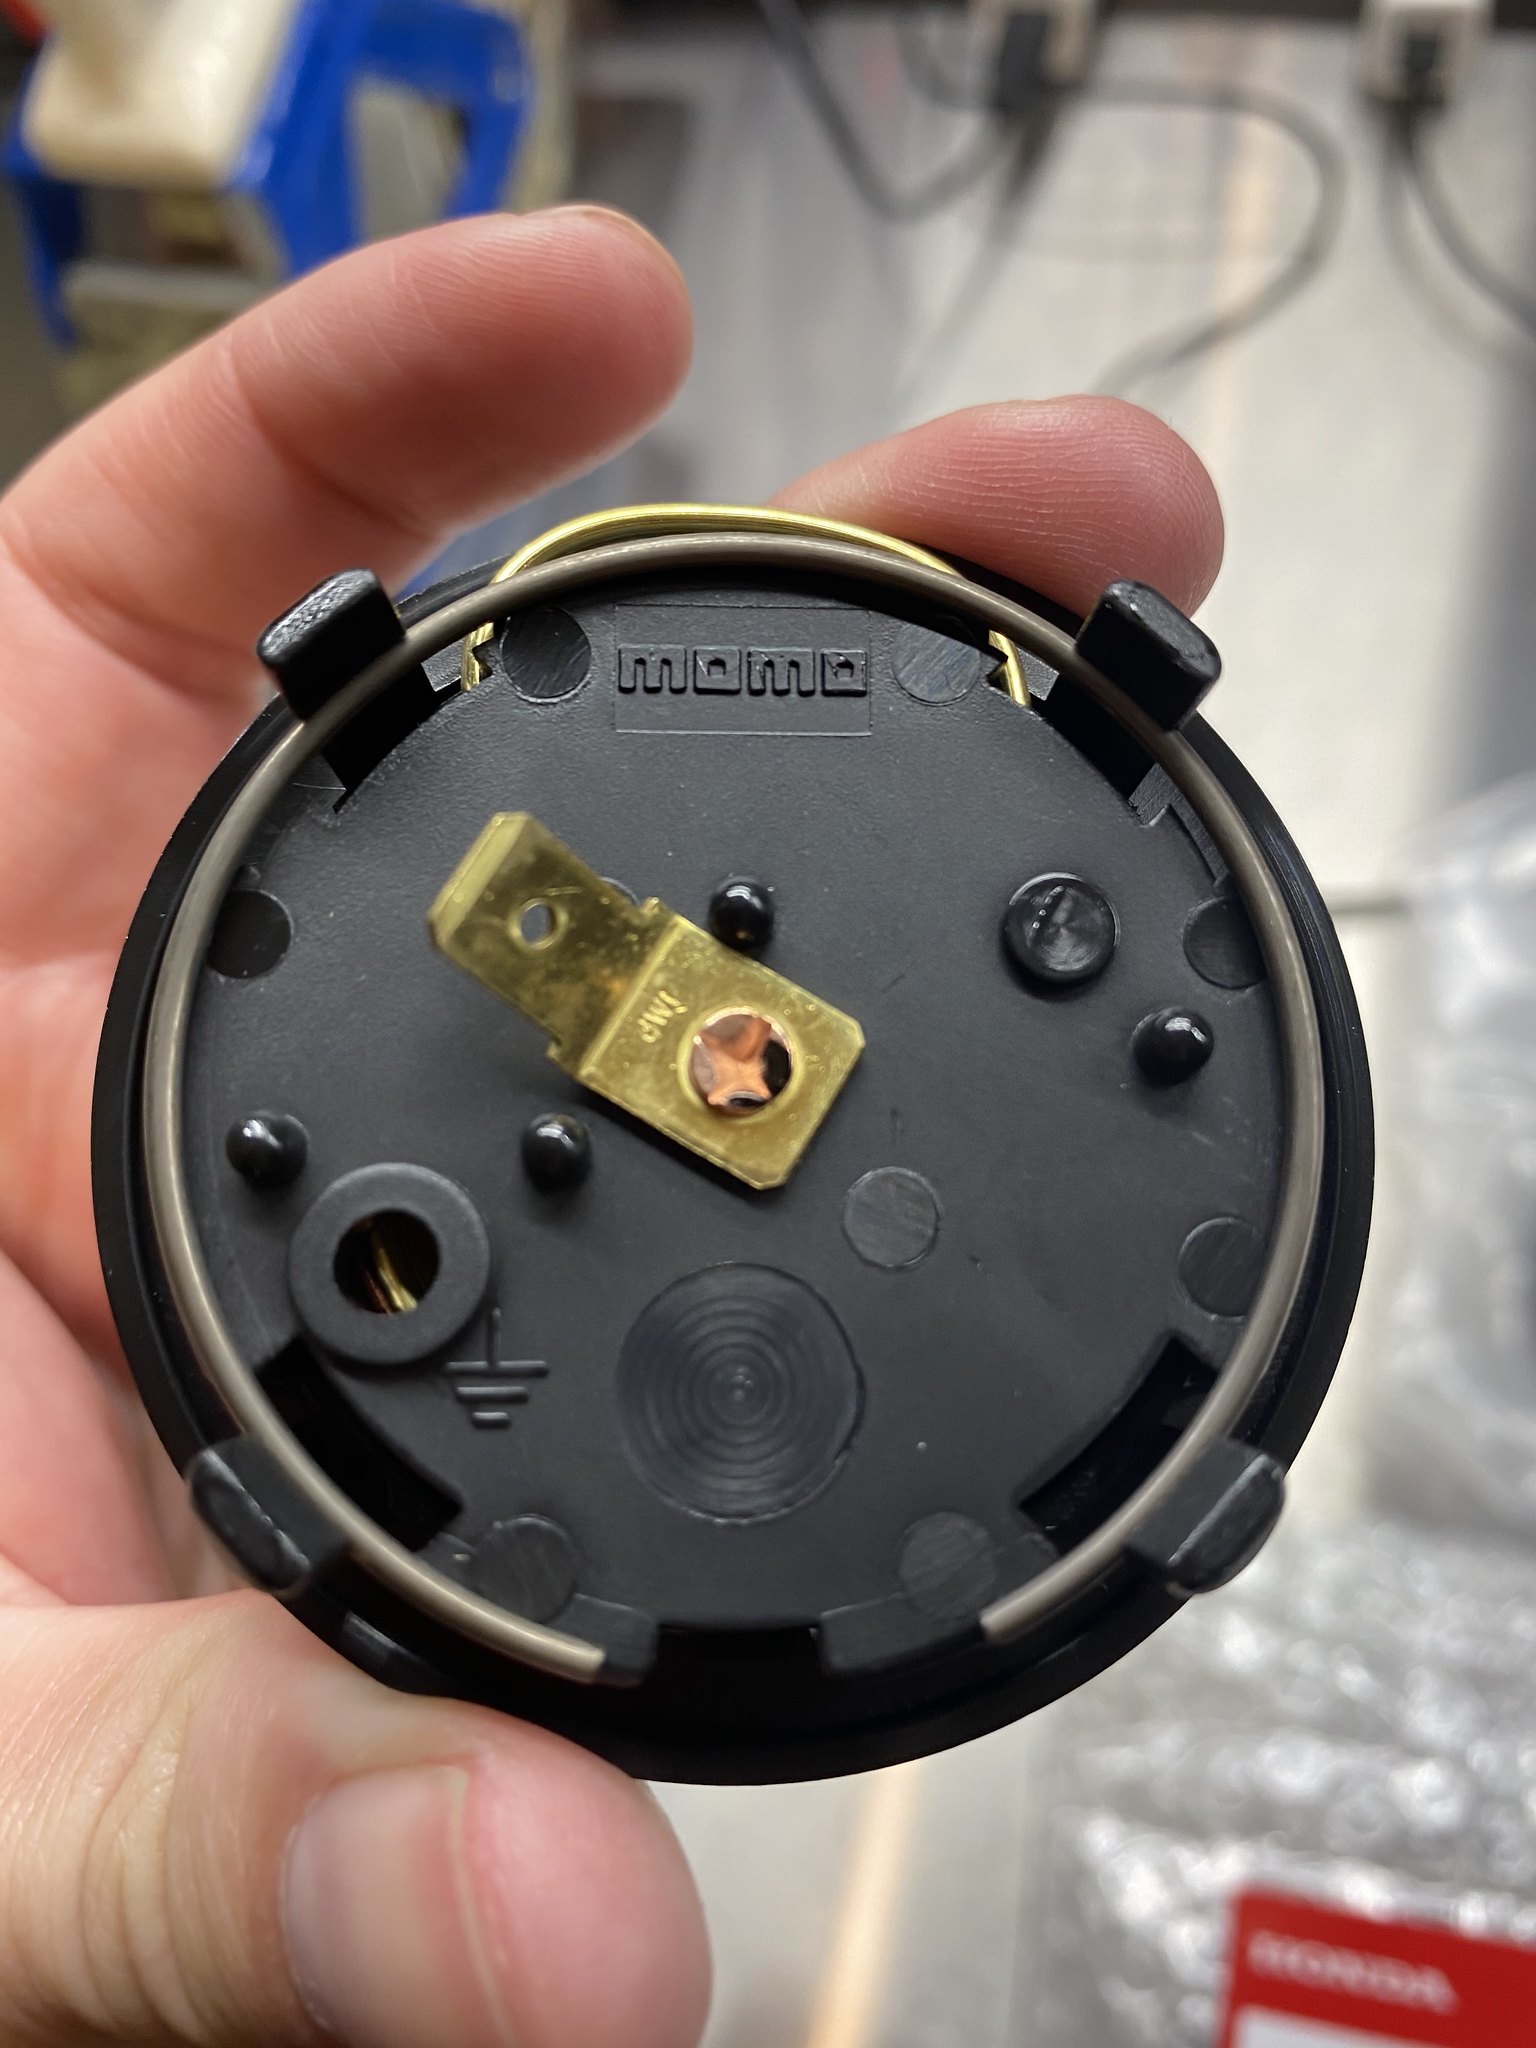
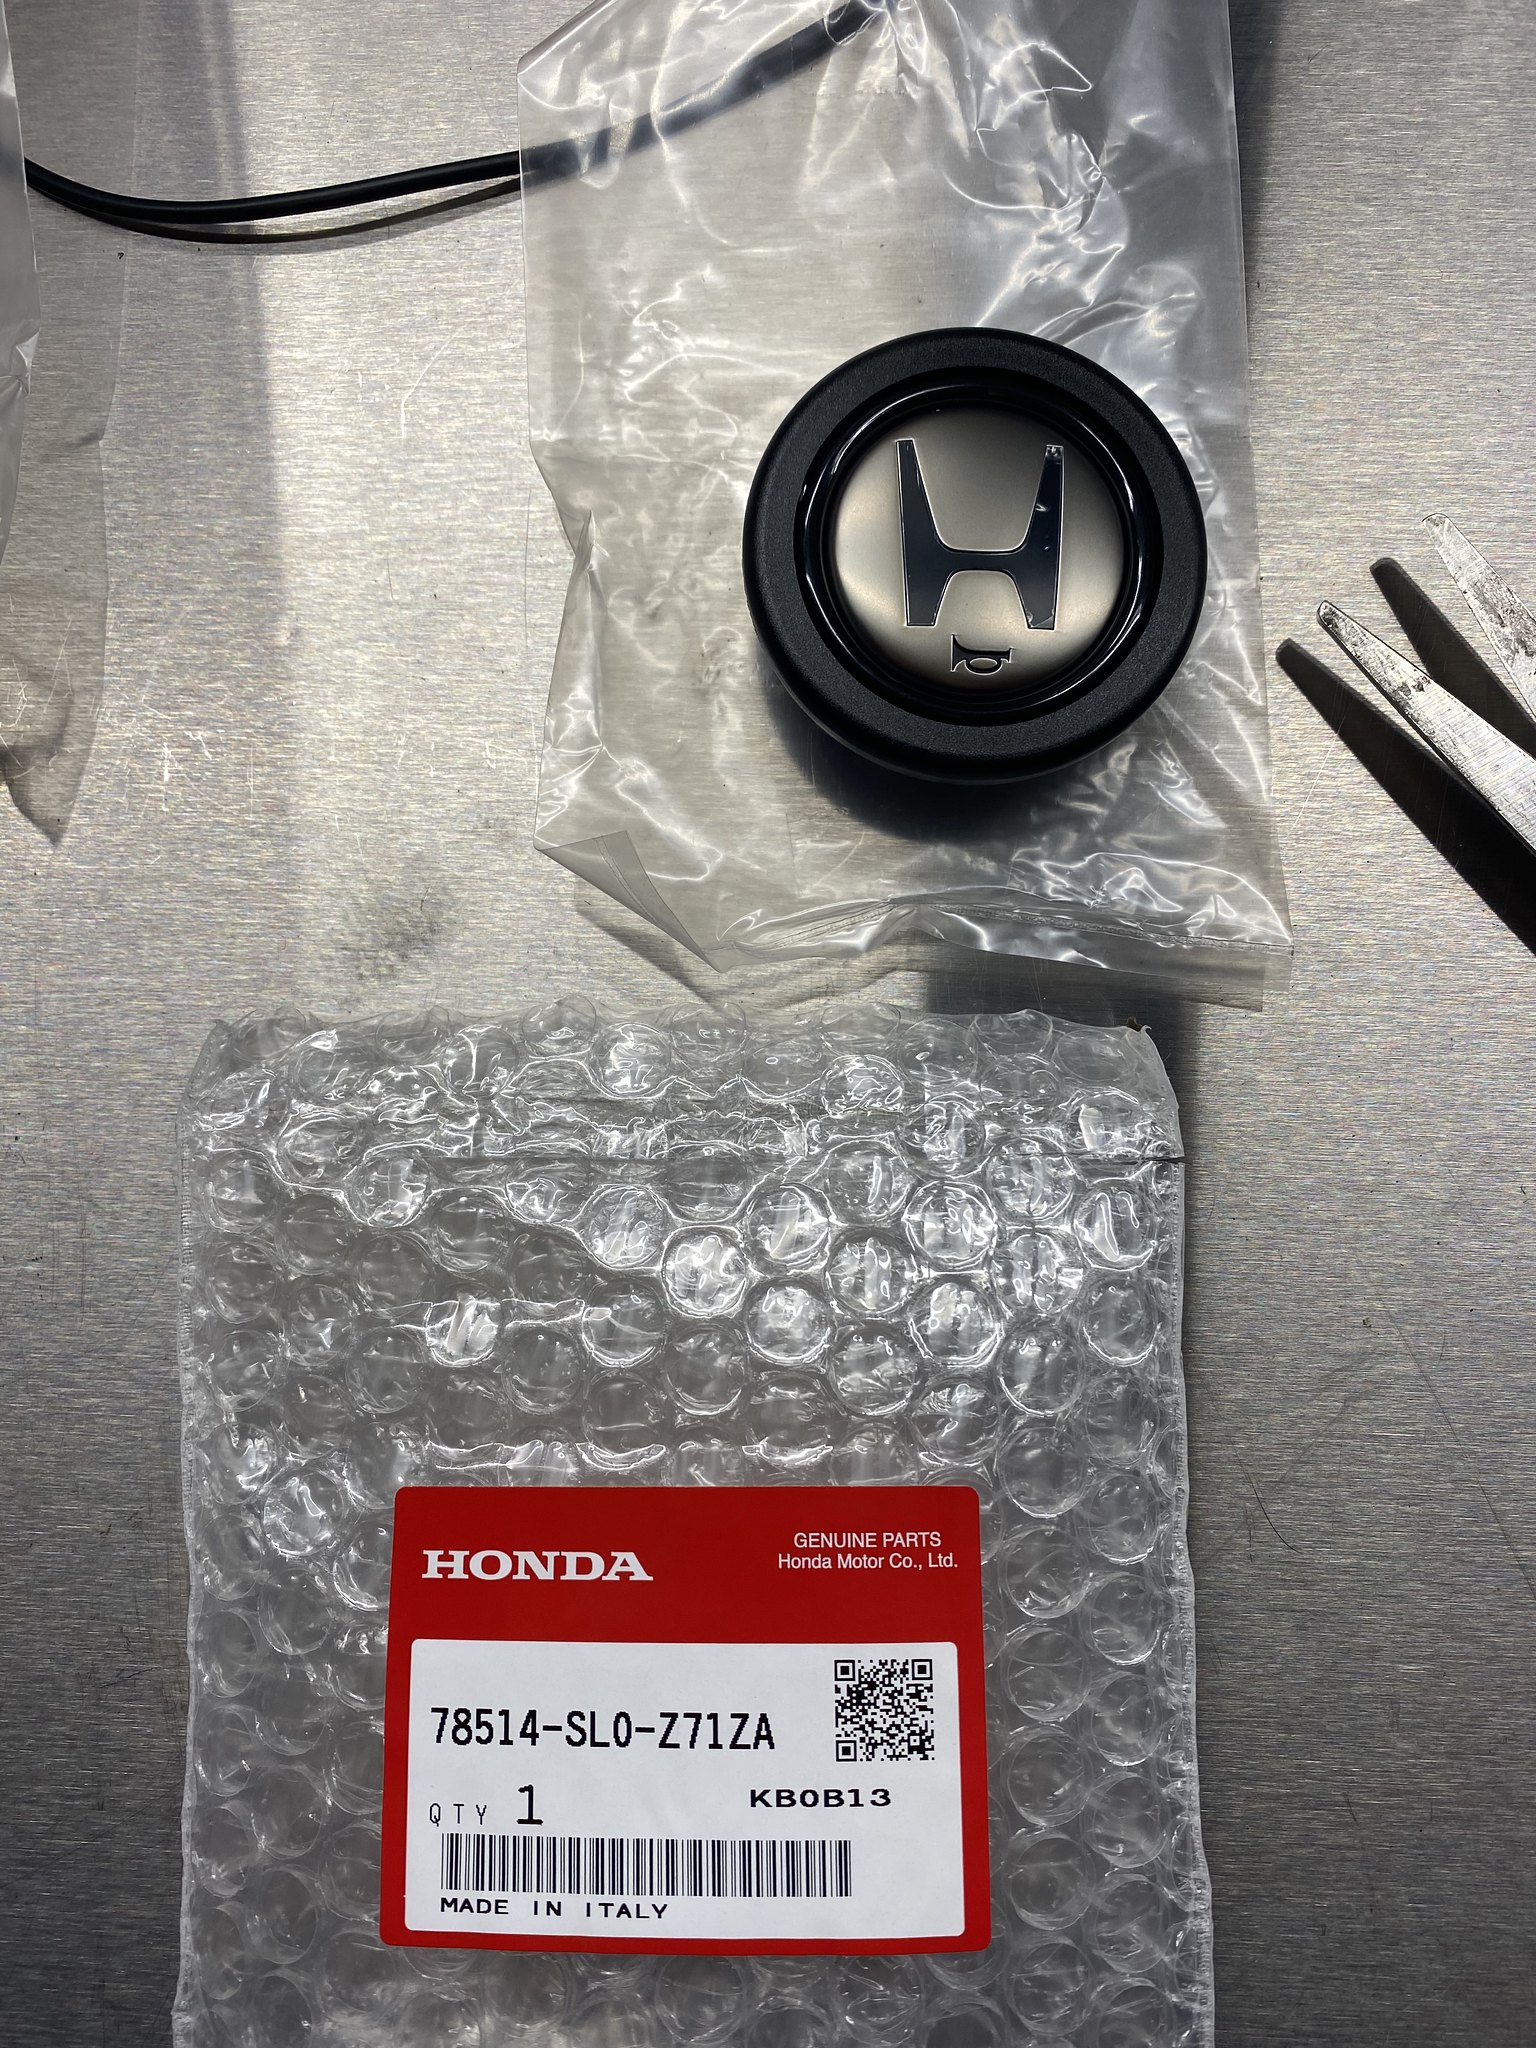
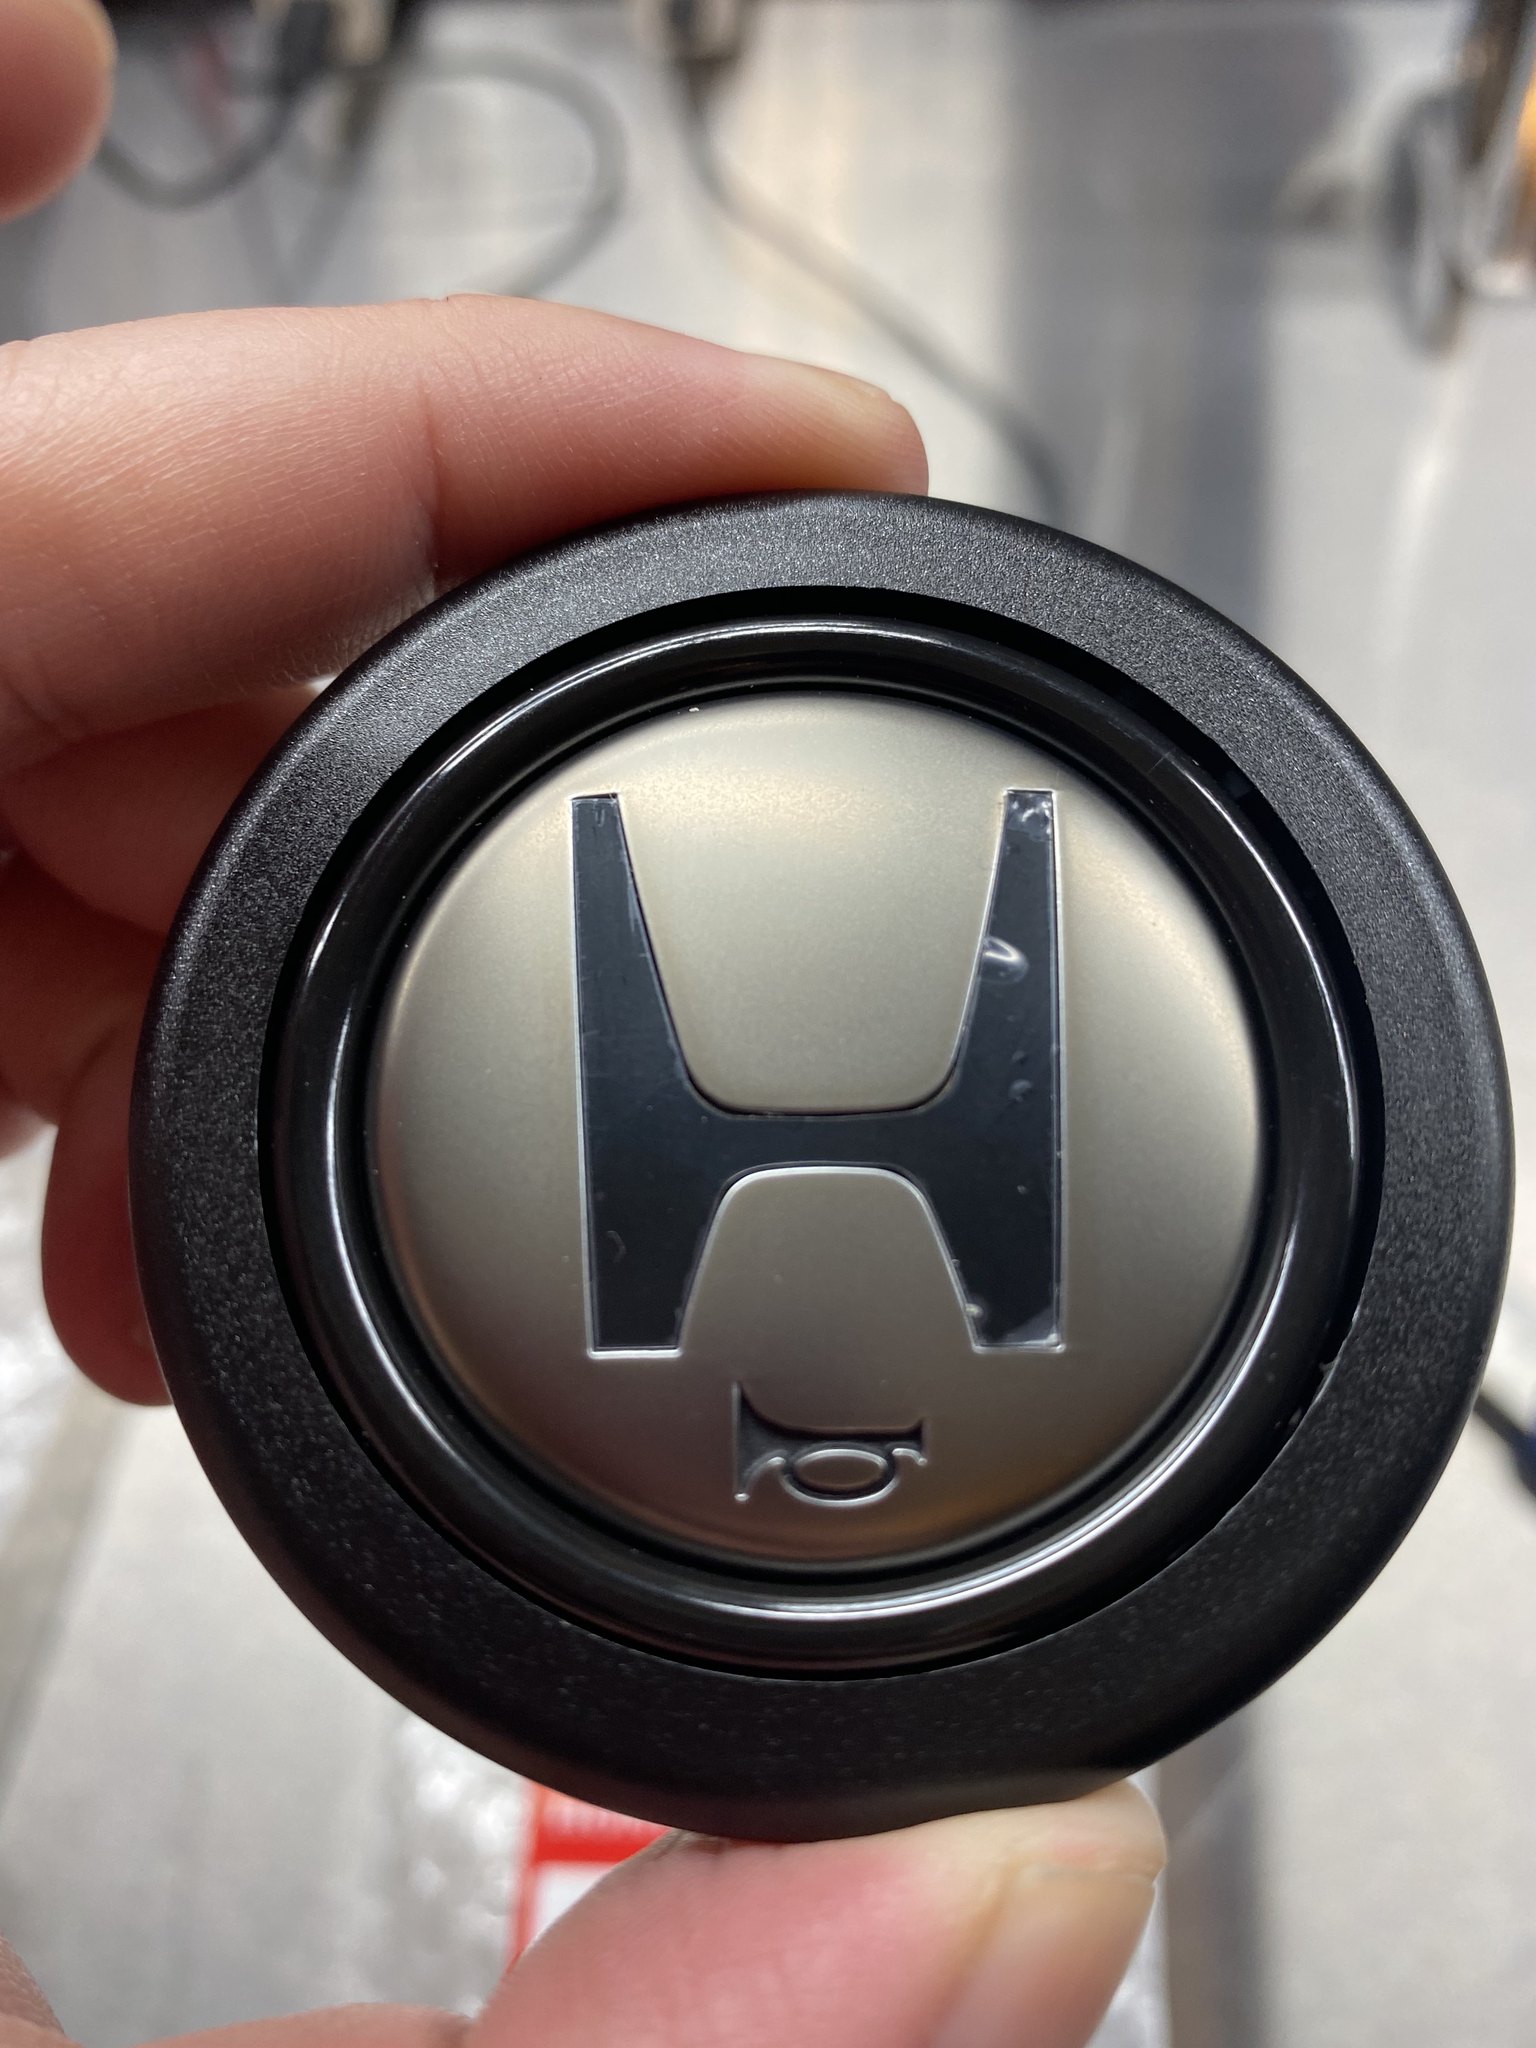
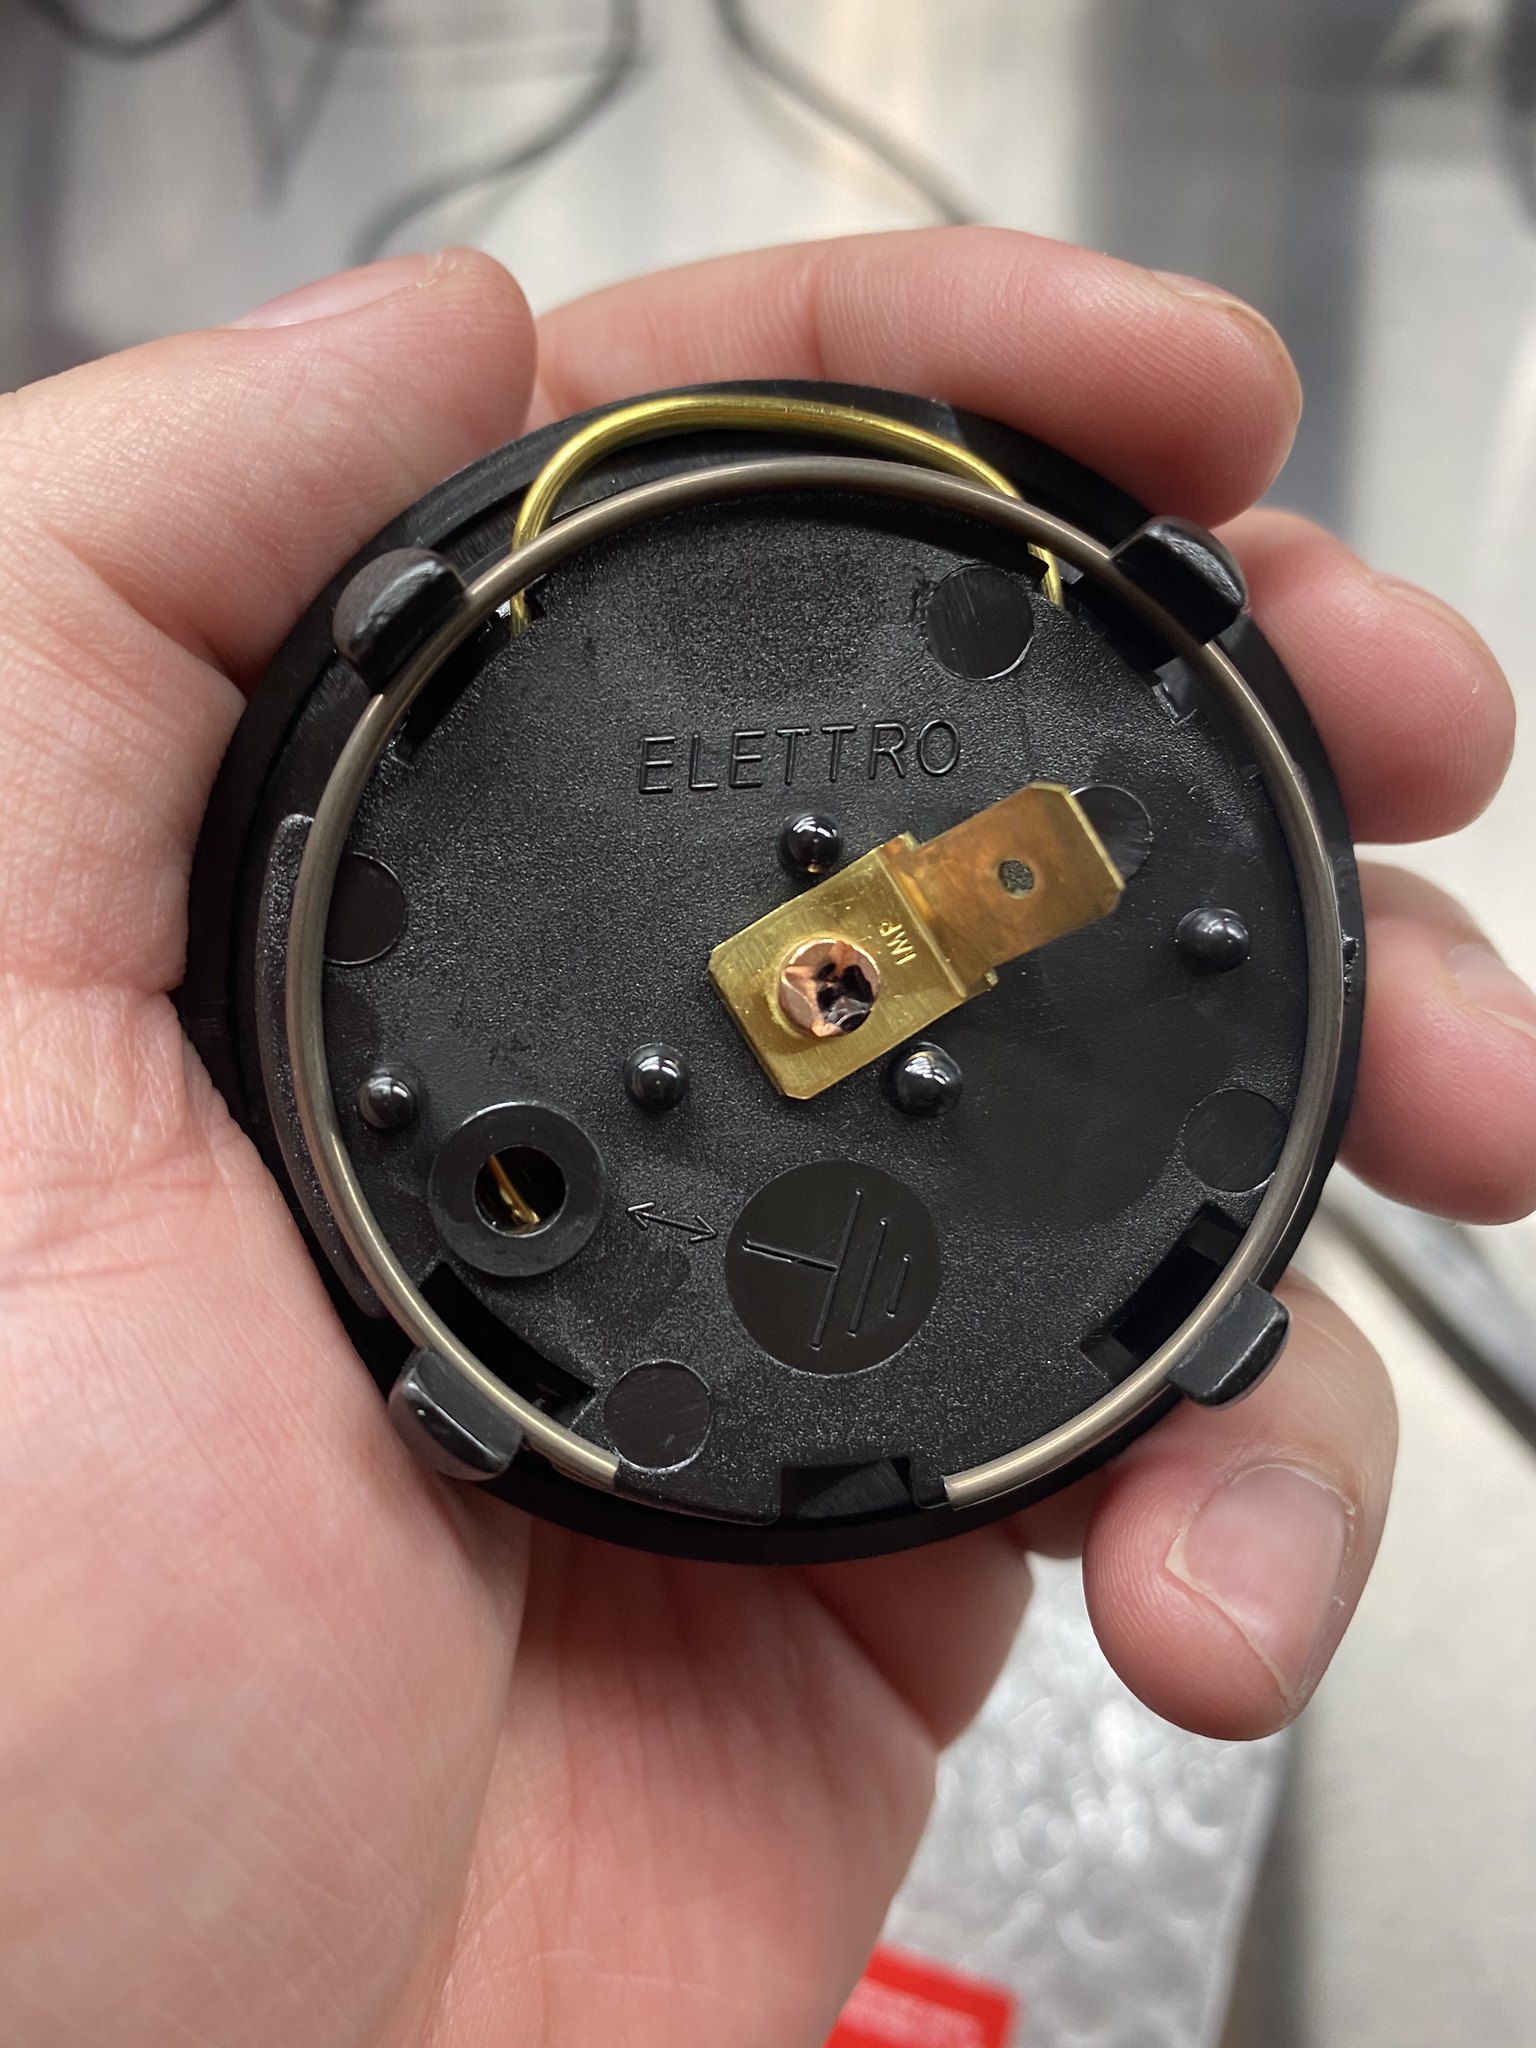
Quick pics of the OEM NSX-R and NSX-S buttons since there are a lot of fakes out there. NSX-R packaging shows made in Japan with MOMO on the back of the housing. NSX-S shows made in Italy with "ELETTRO" on the back.
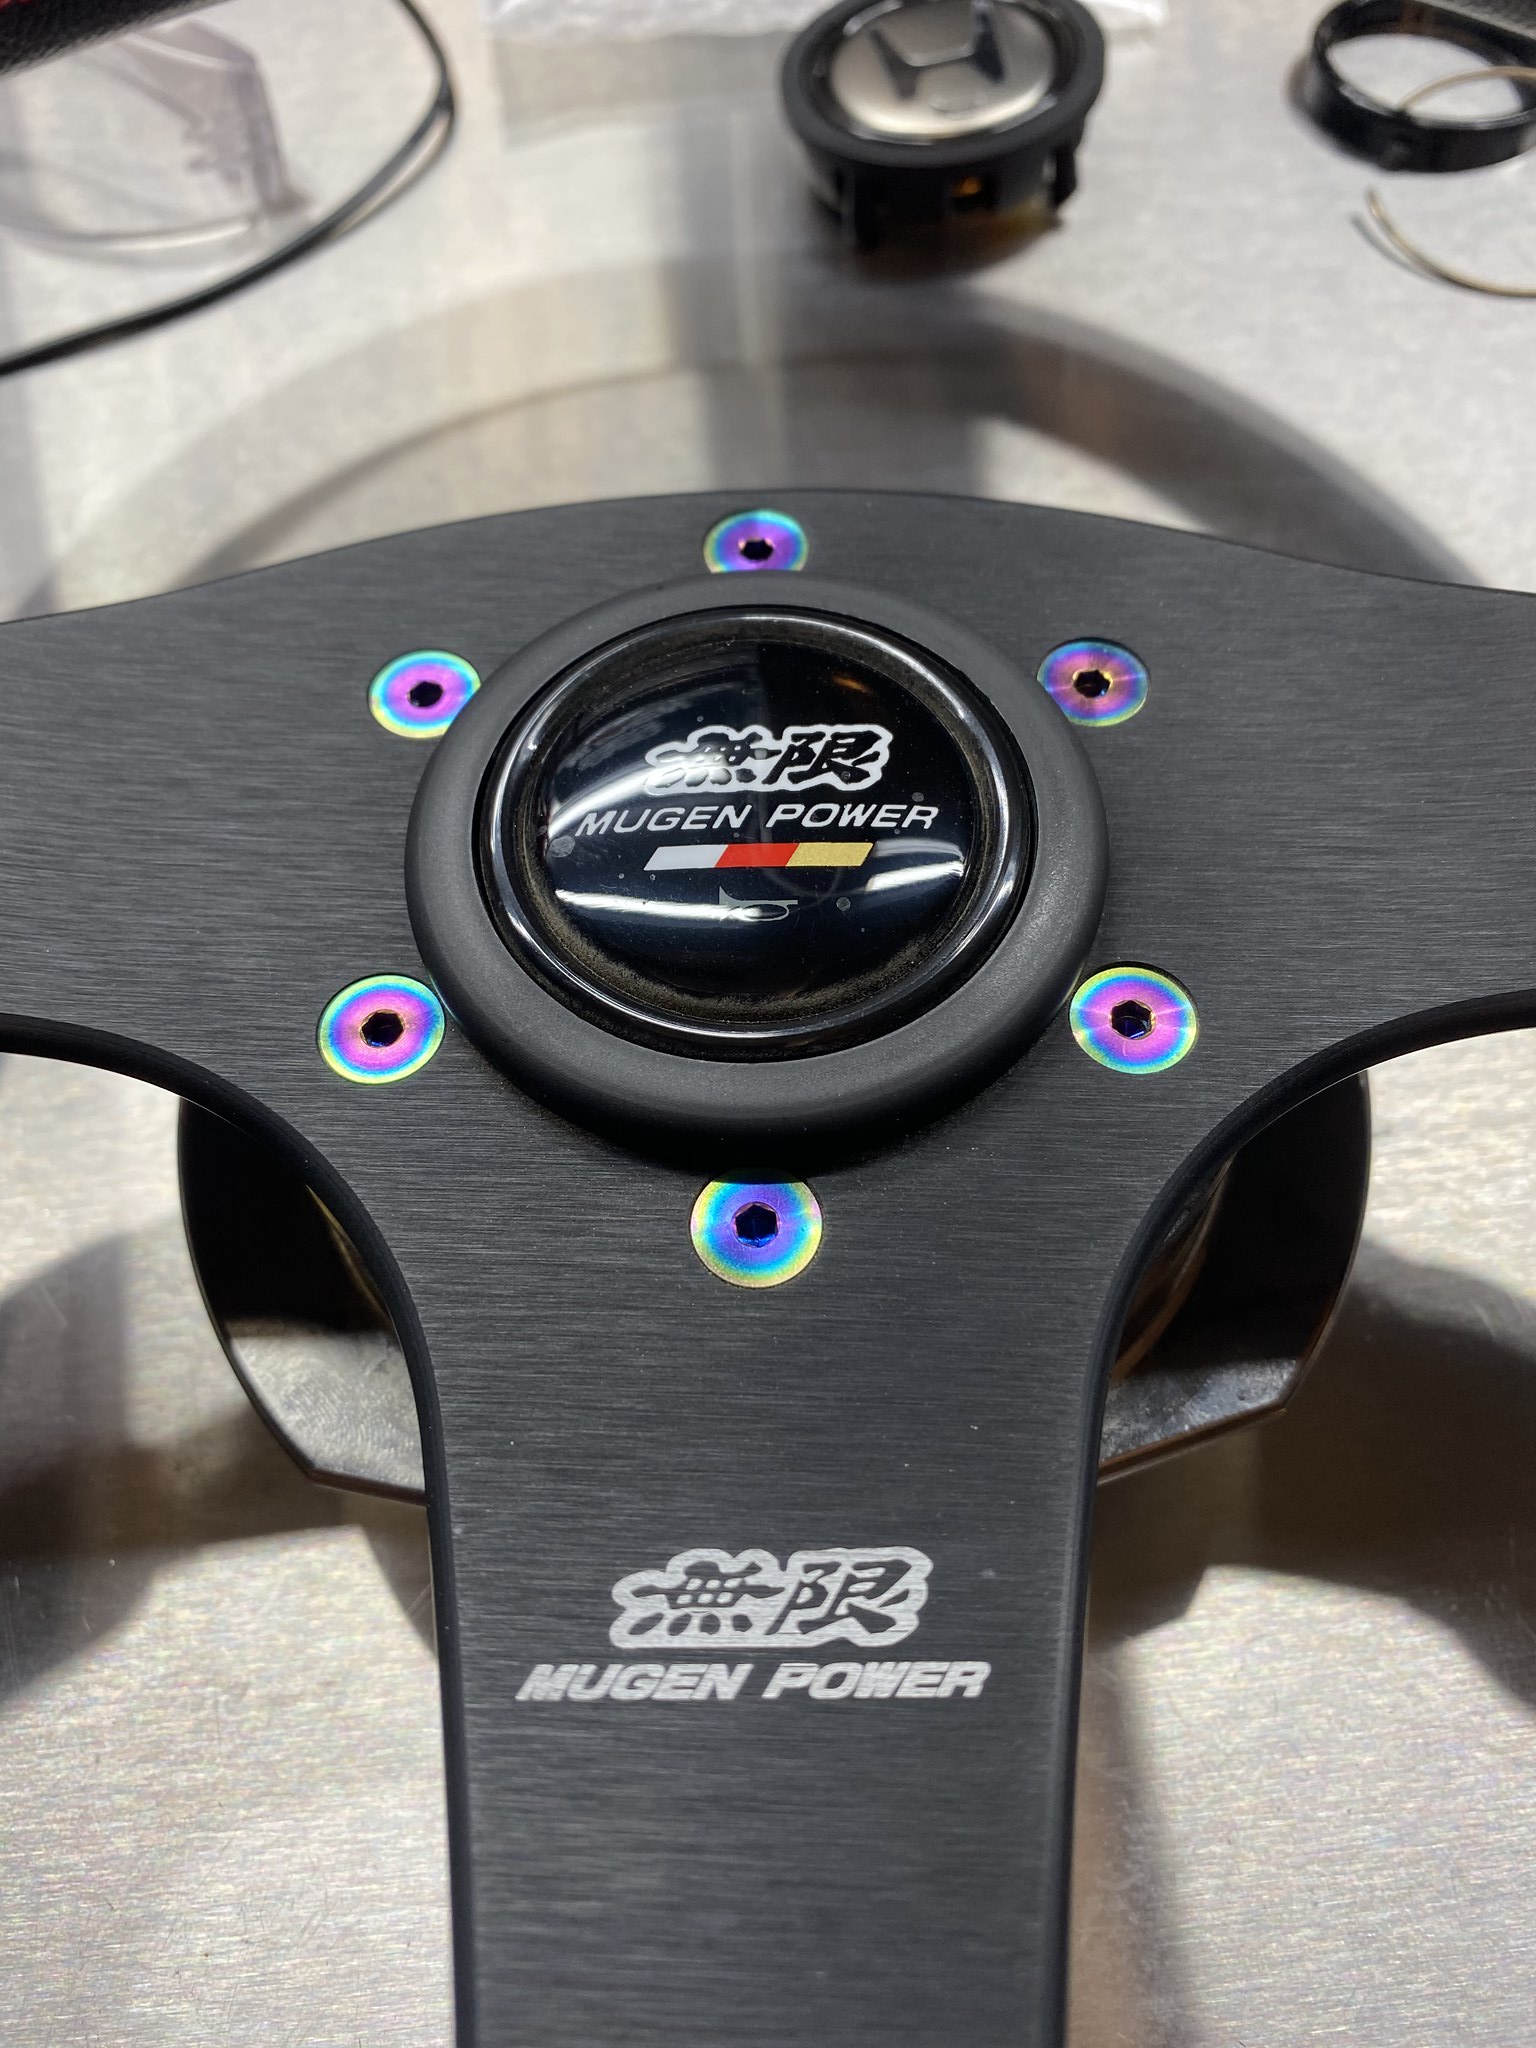
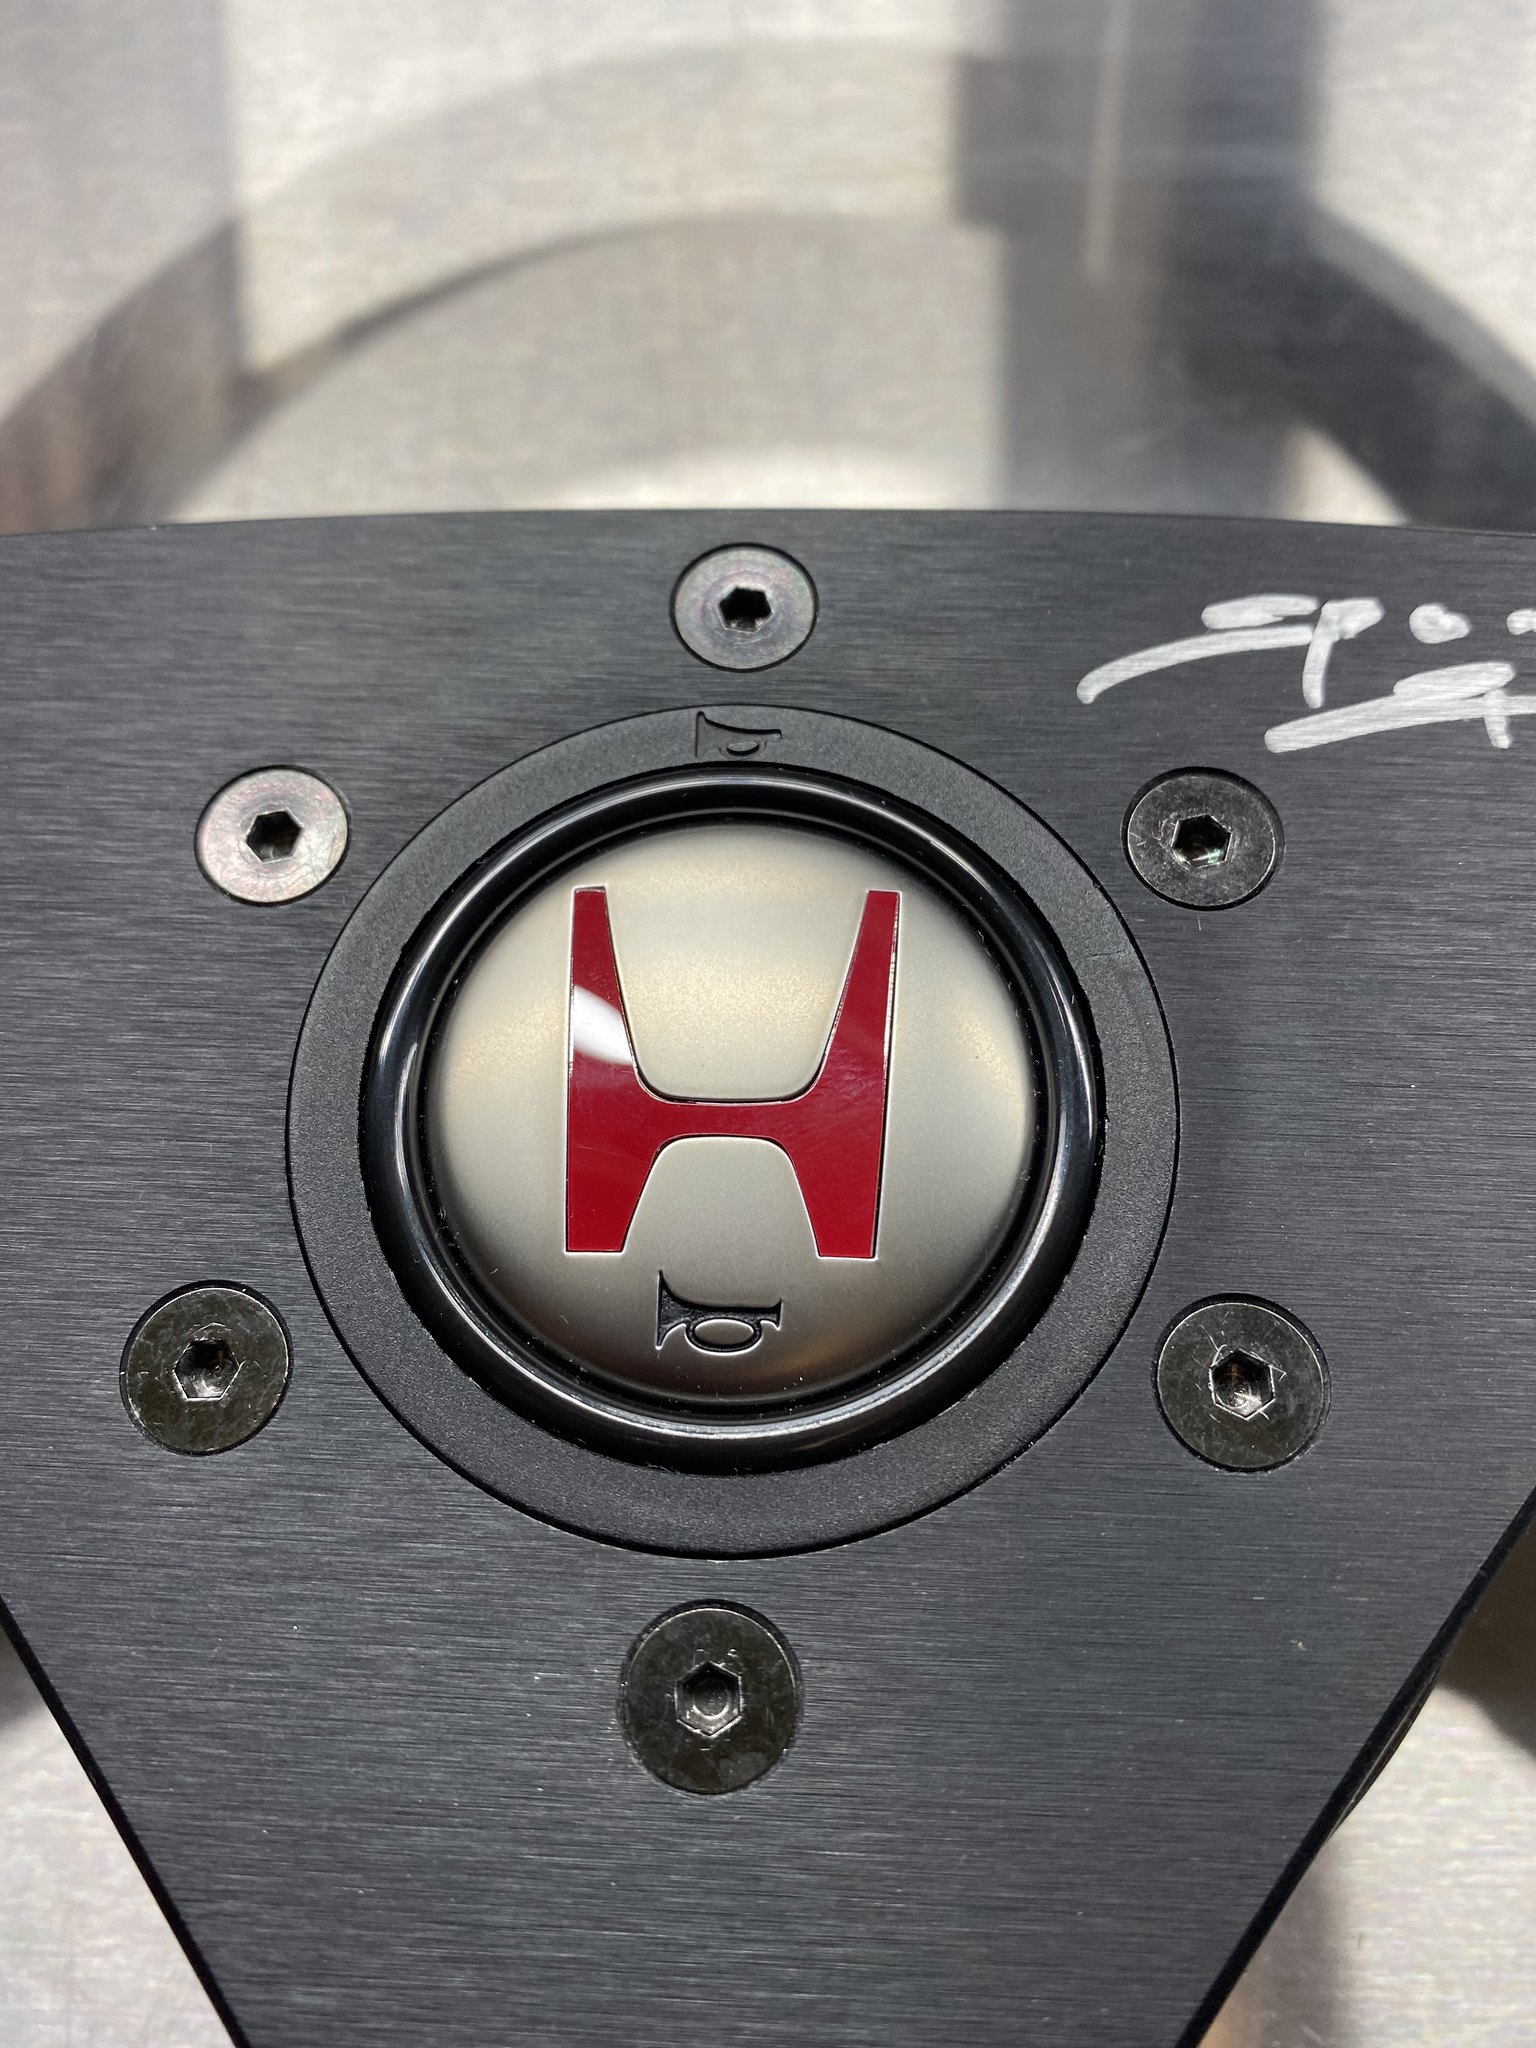
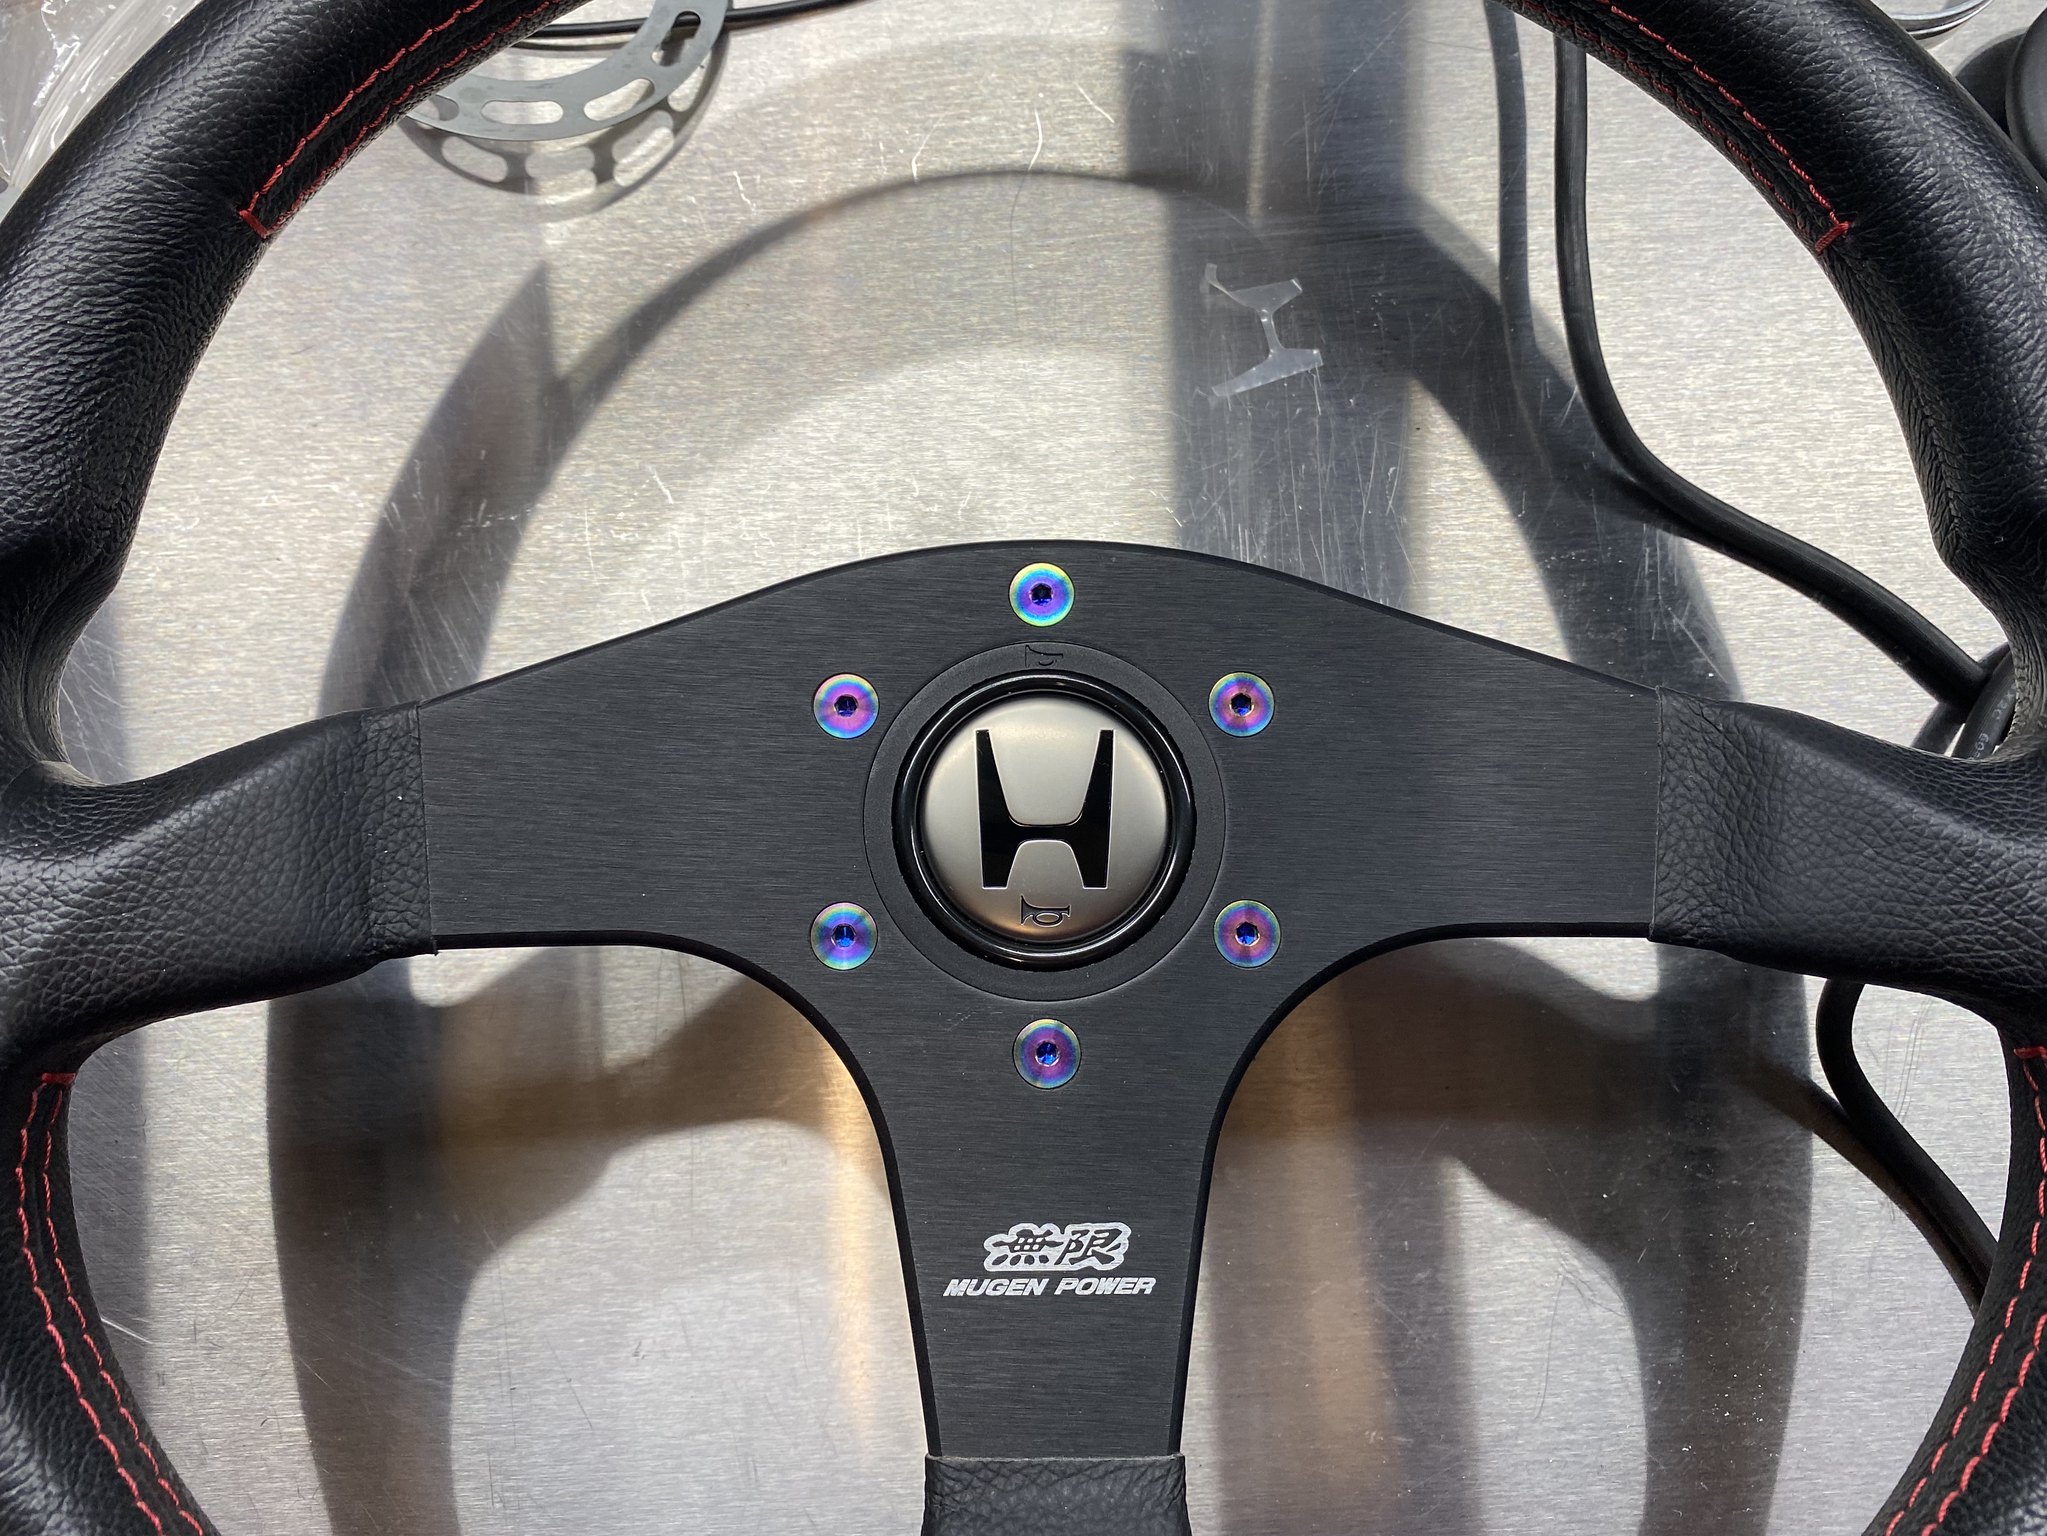
Ugly raised horn button that is commonplace (Spoon/Mugen/NSX) and easy target for theft.
***Note: The quick release and hub are Works Bell components unless otherwise noted***
Step 1. Purchase flush mount MOMO horn button.
Step 2. Disassemble the buttons.
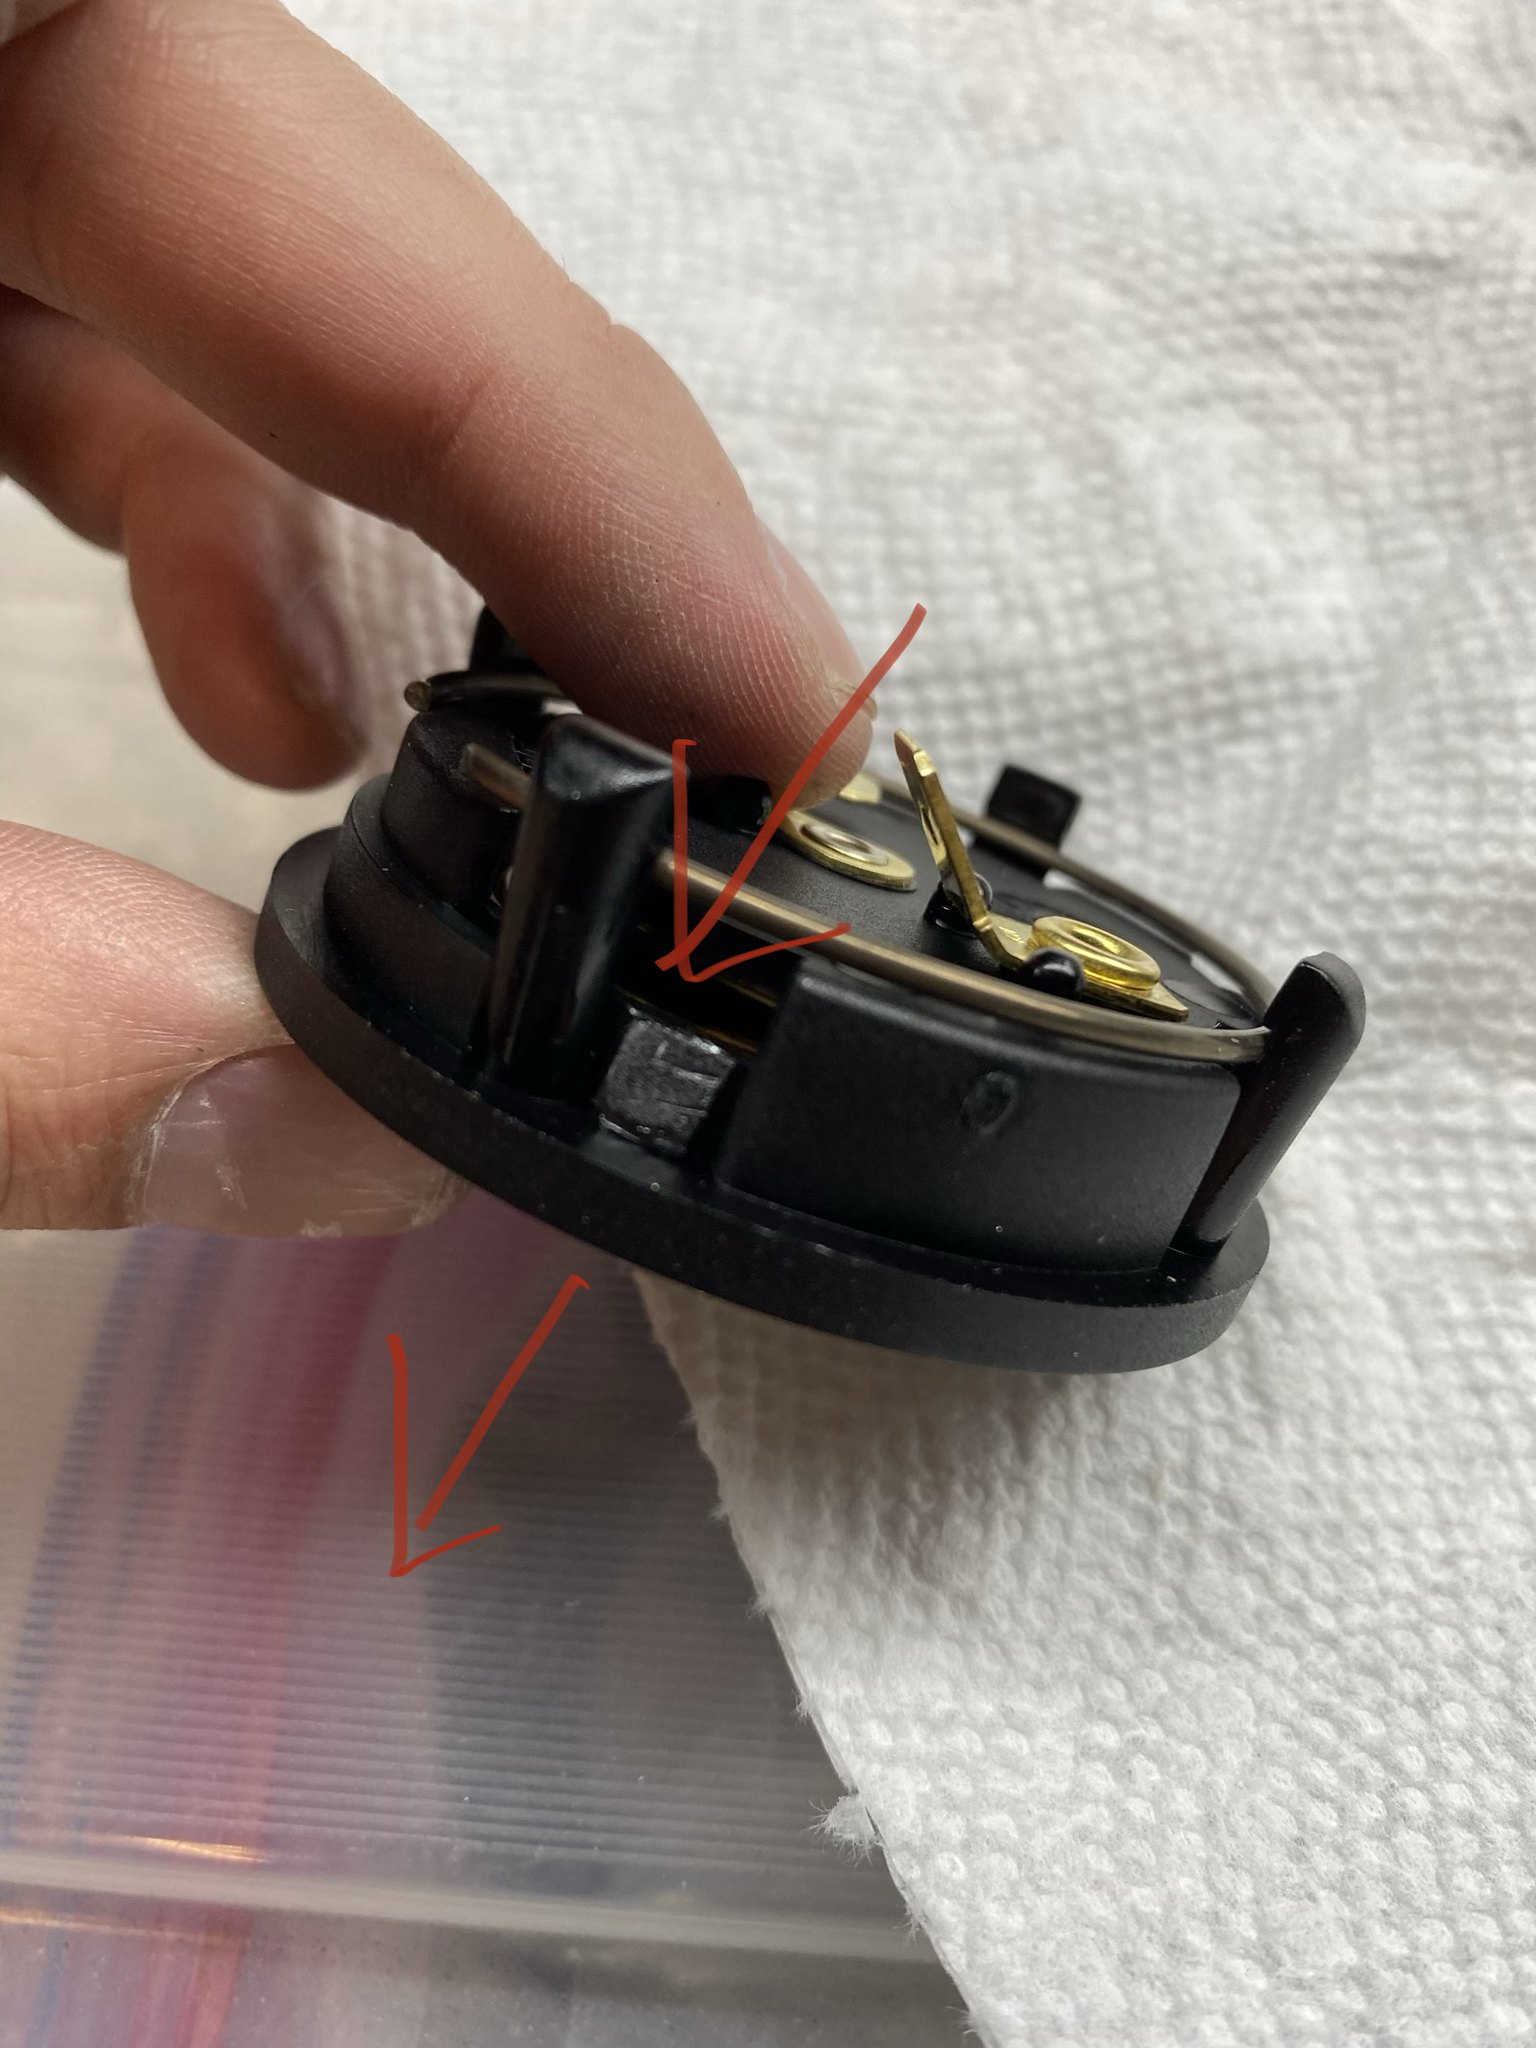
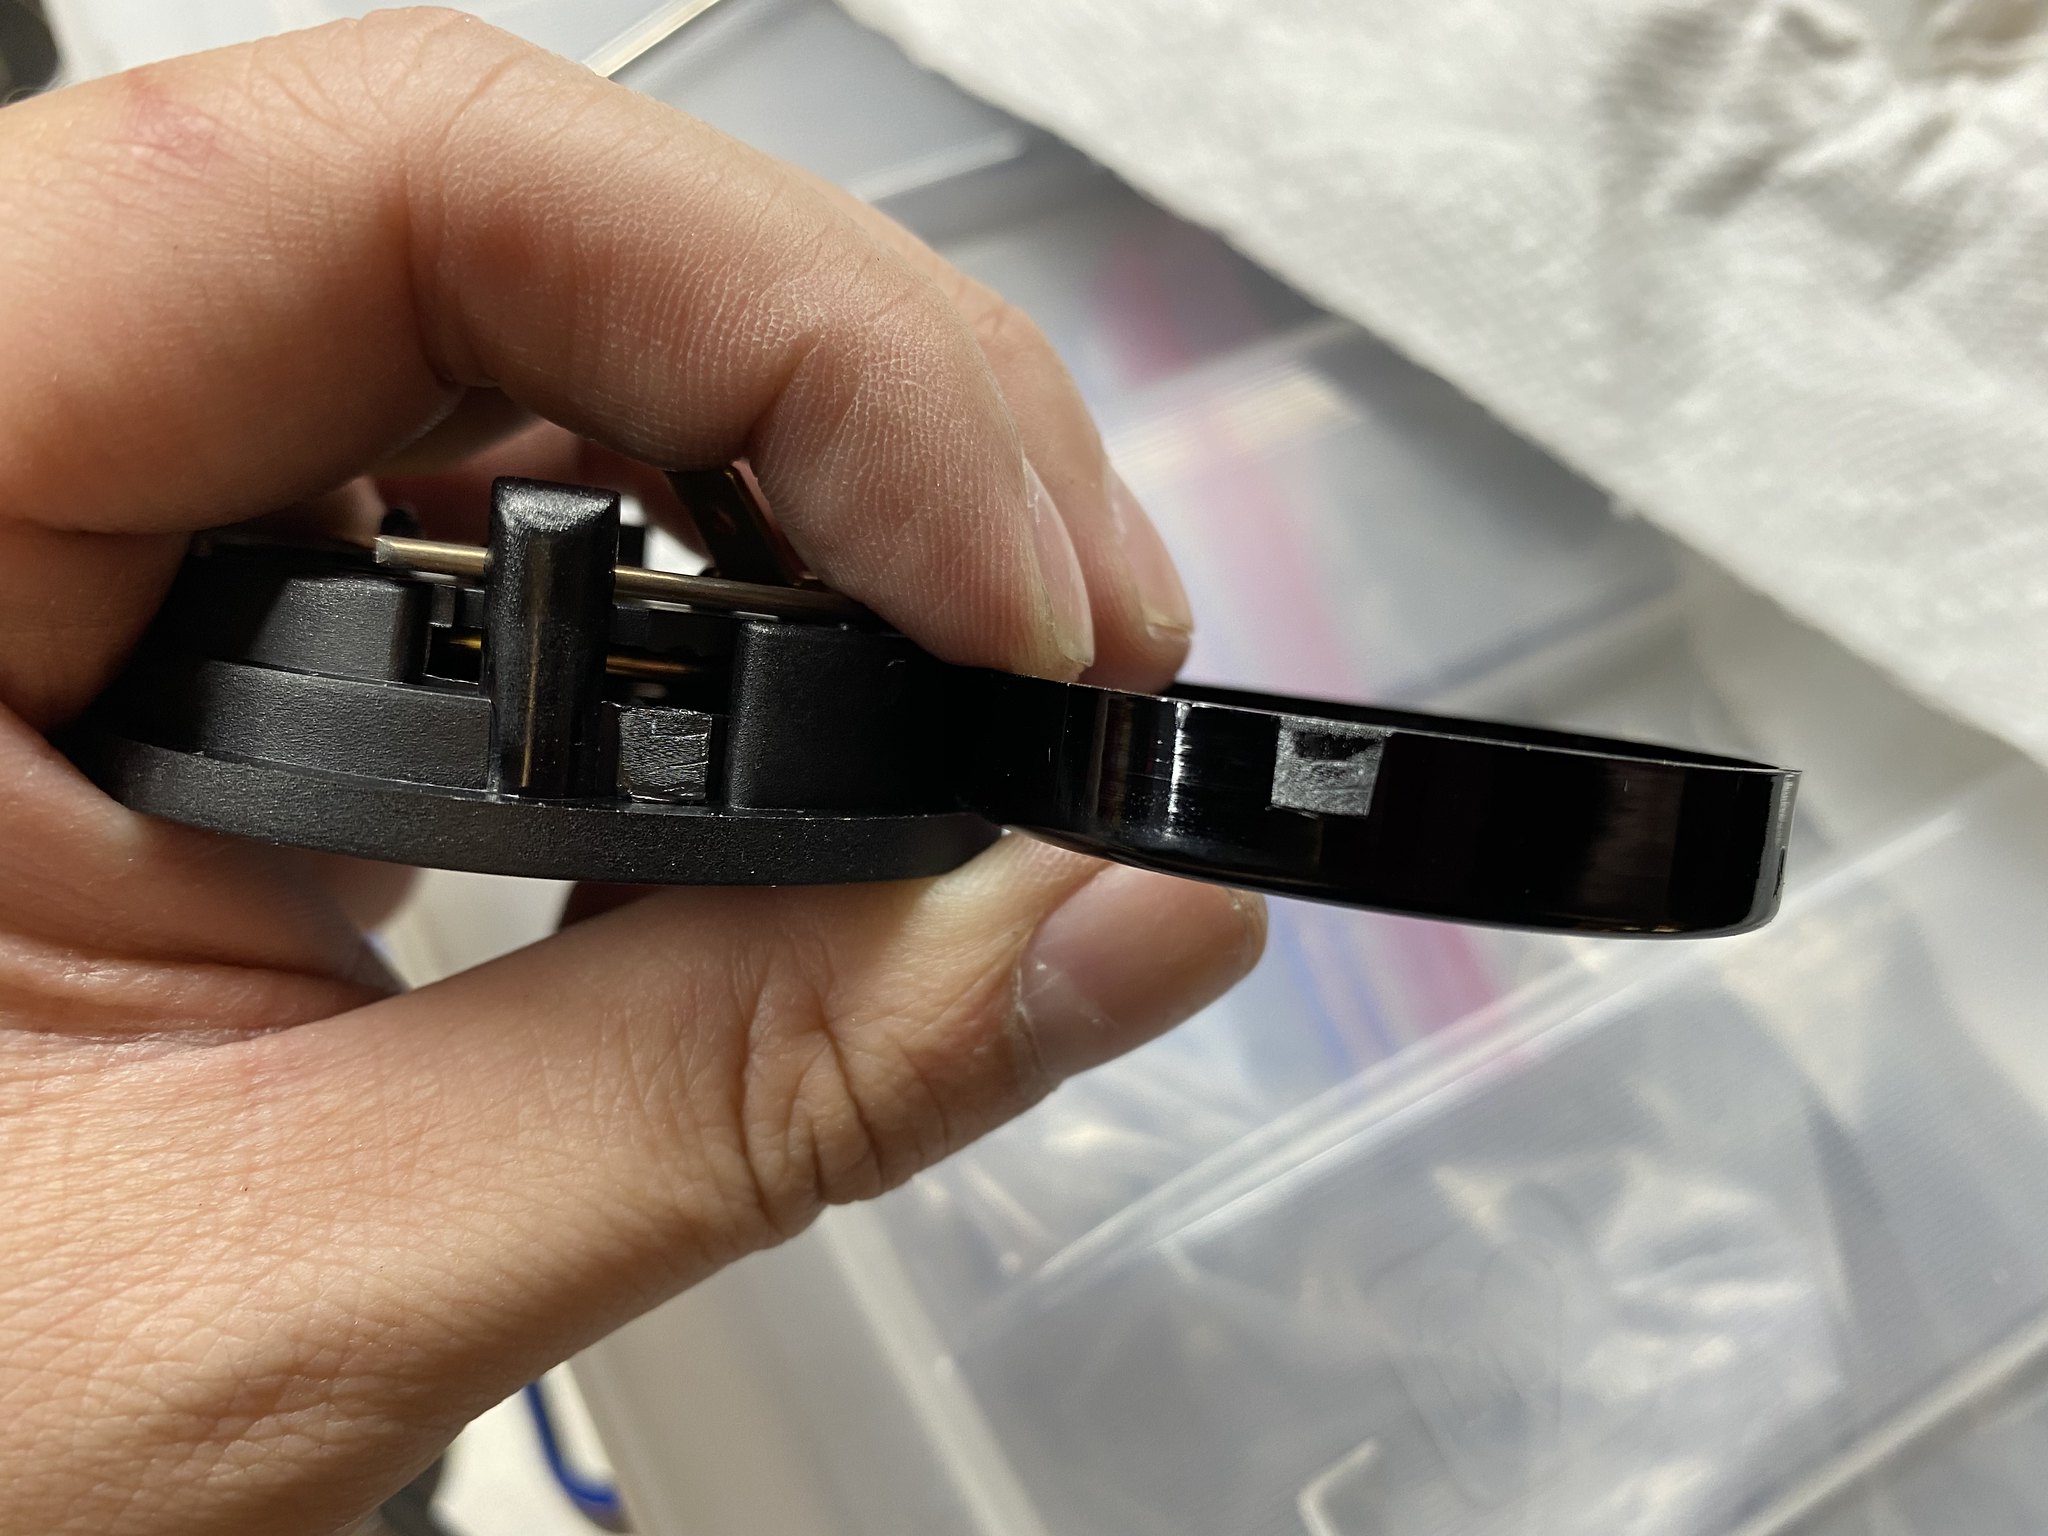
This takes force! You need to take a small flat head screwdriver and press on the 3 tabs one by one (noted by red arrow). Press and push in the direction of the red arrow to push the horn button out of the housing.
Step 3. After you disassemble both buttons, you need to use components of both.
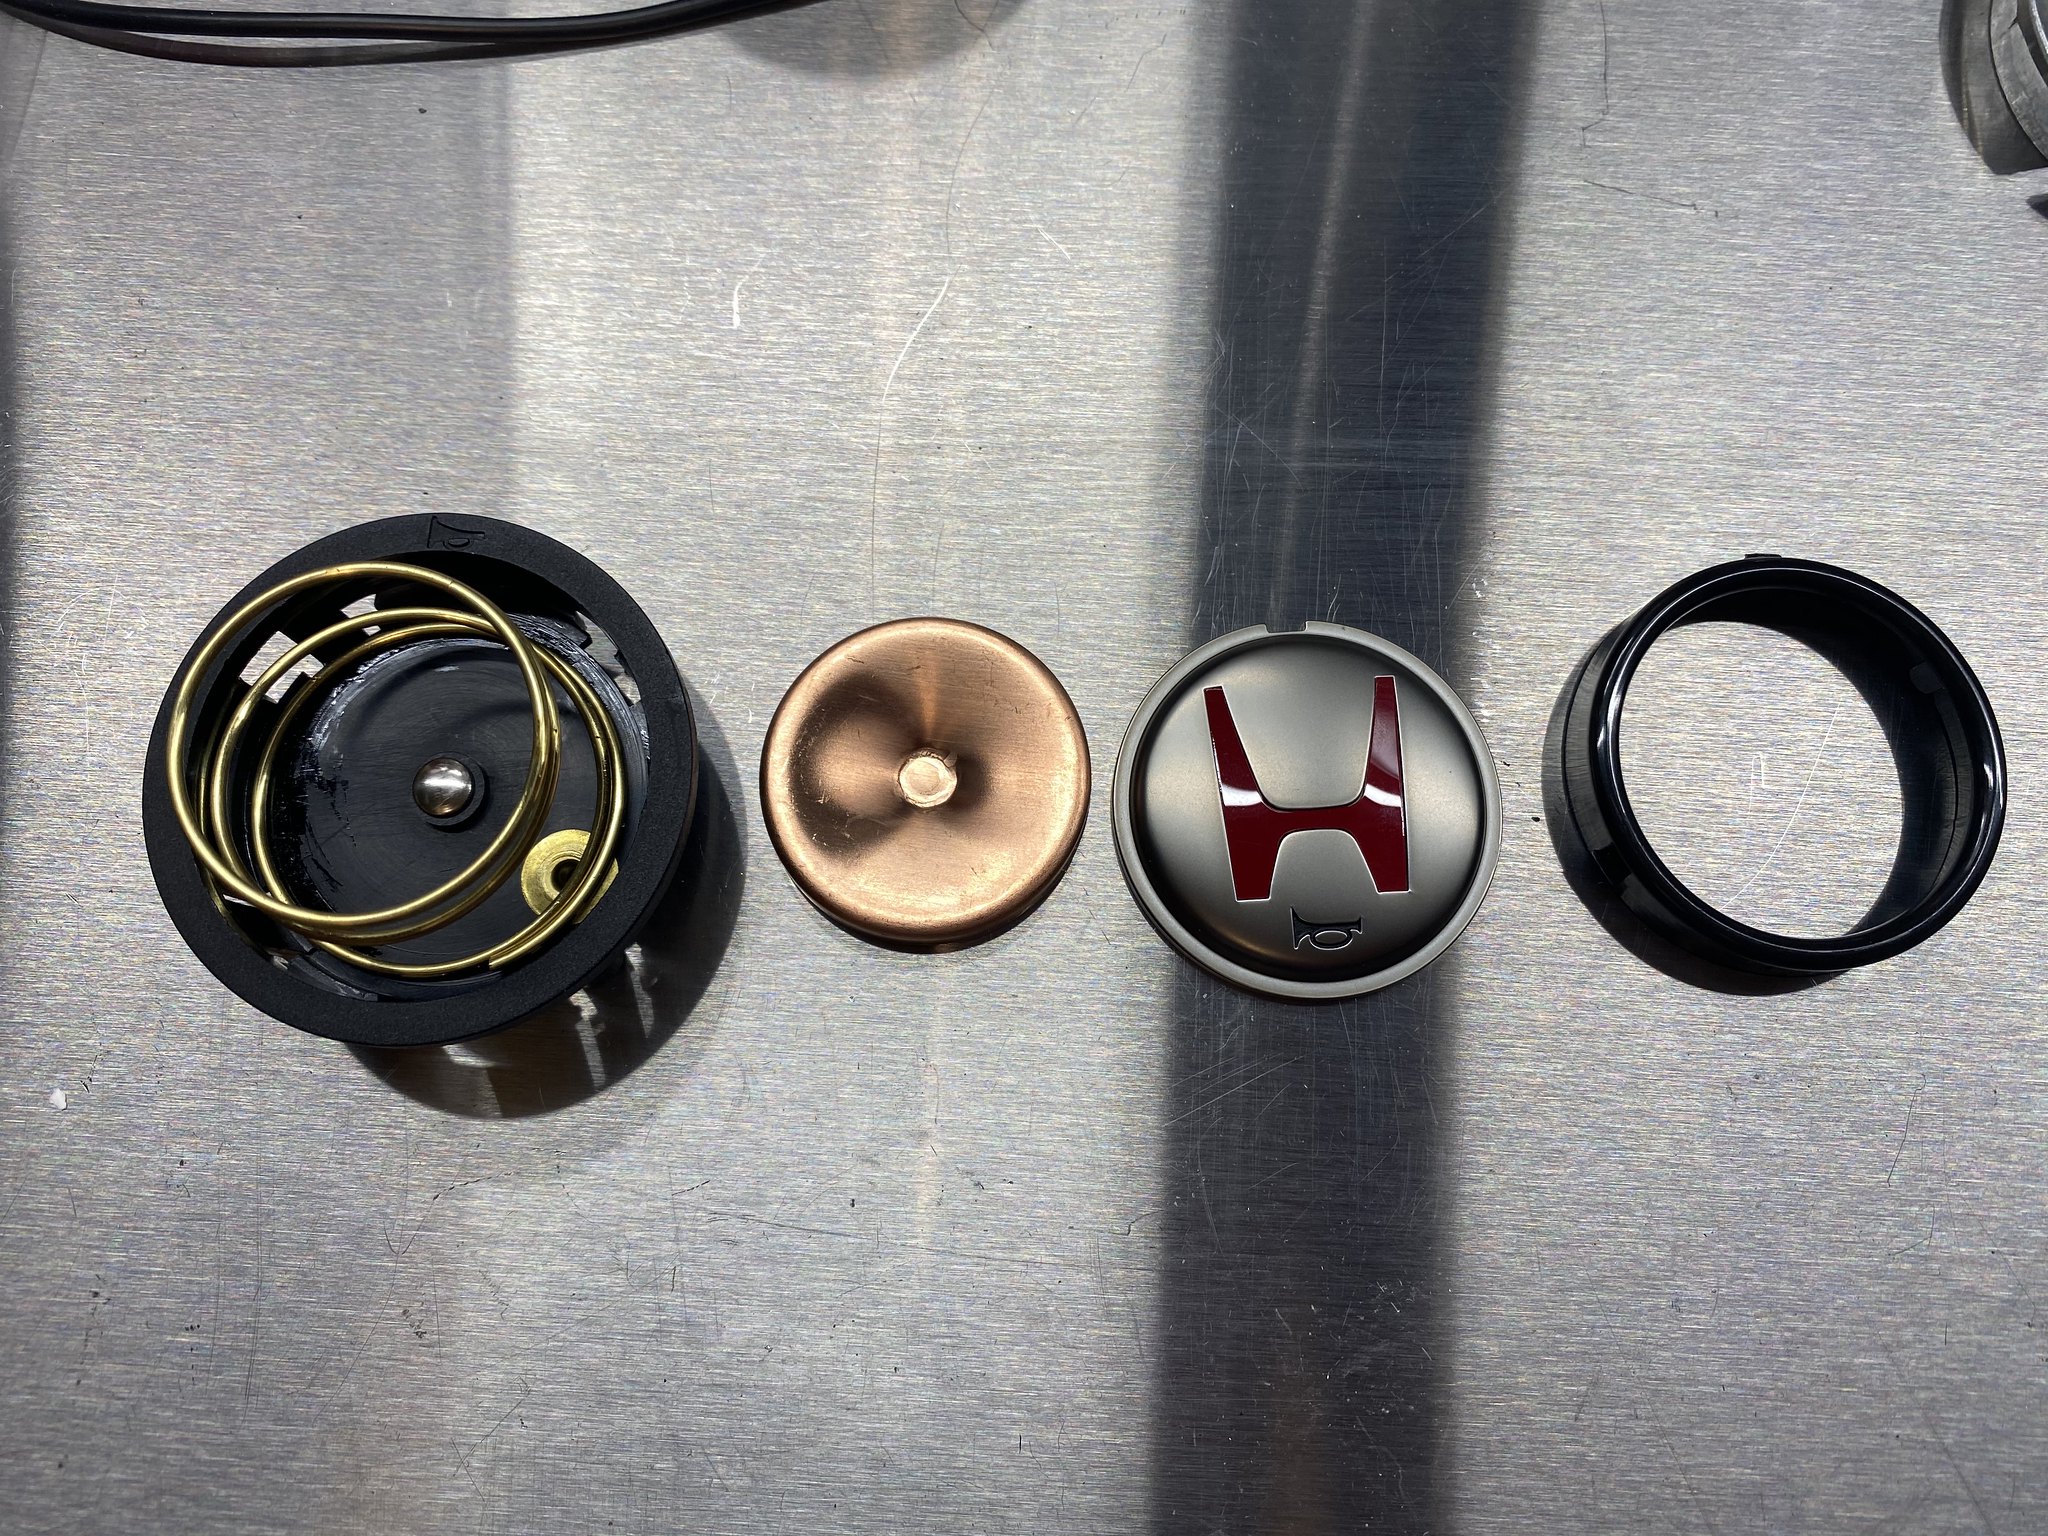
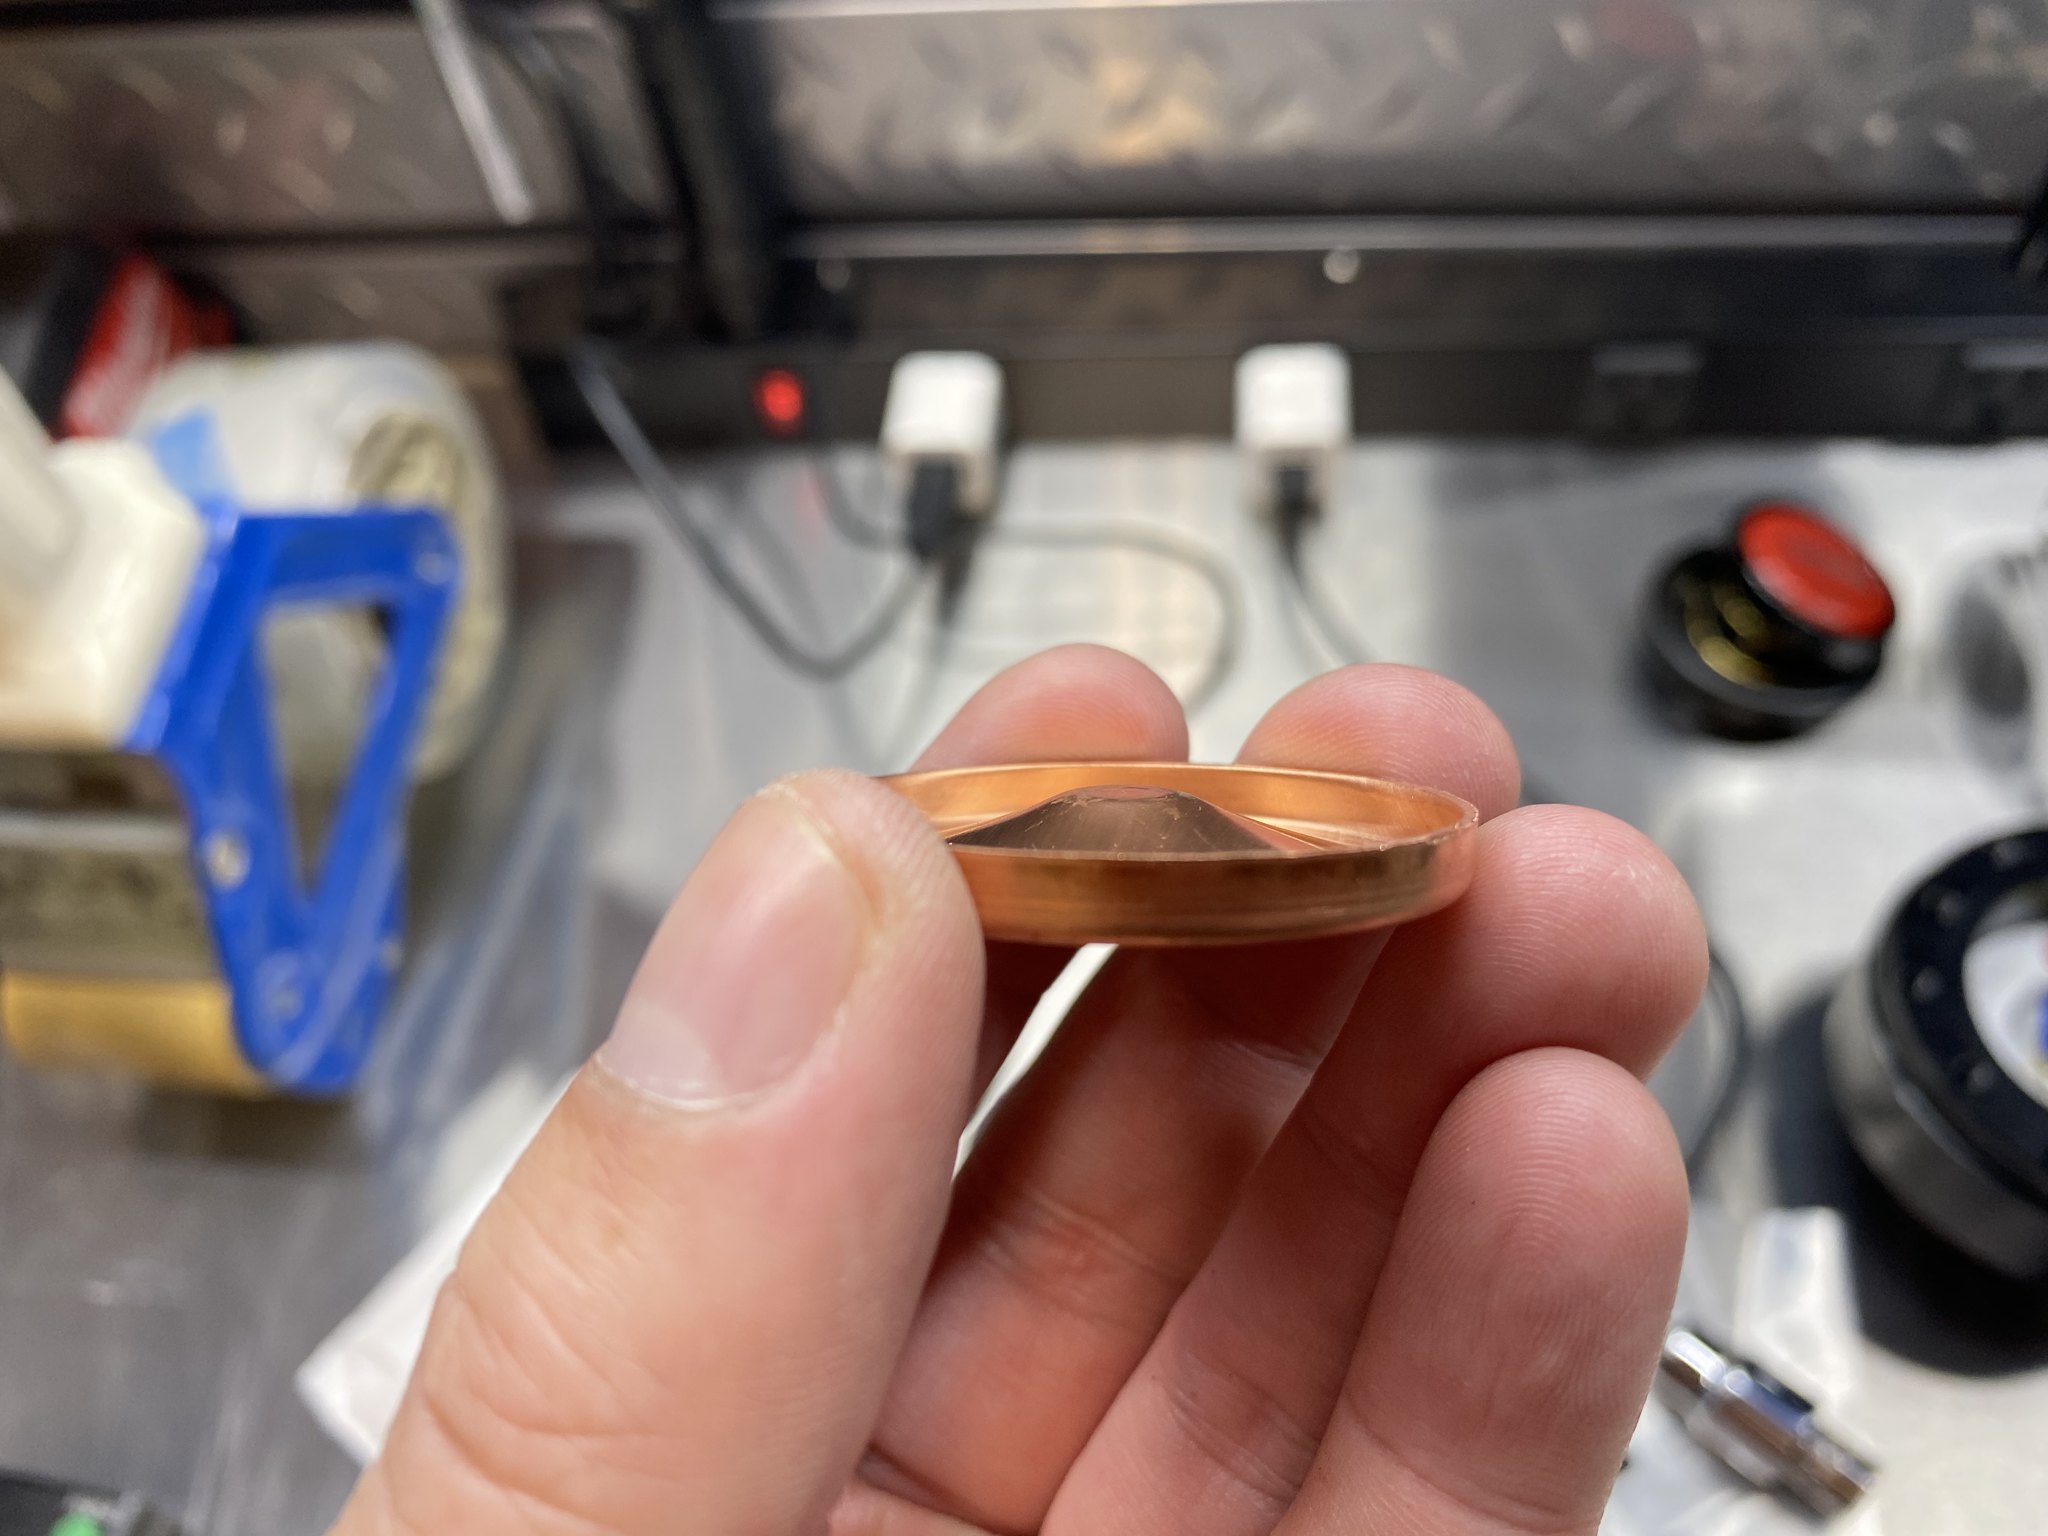
Use the Flush mount housing & spring + the NSX button & brass contact dish. The cone on the brass NSX contact dish is a different depth than the MOMO dish, so you need to use the NSX dish.
Step 4. Reassembly. This is pretty straight forward and self explanatory, The only thing I would point out is that the notch at the top of the NSX button is a centering notch. It lines up with a centering tab on the inside of the black plastic ring which allows the horn to be mounted 100% straight in the housing.
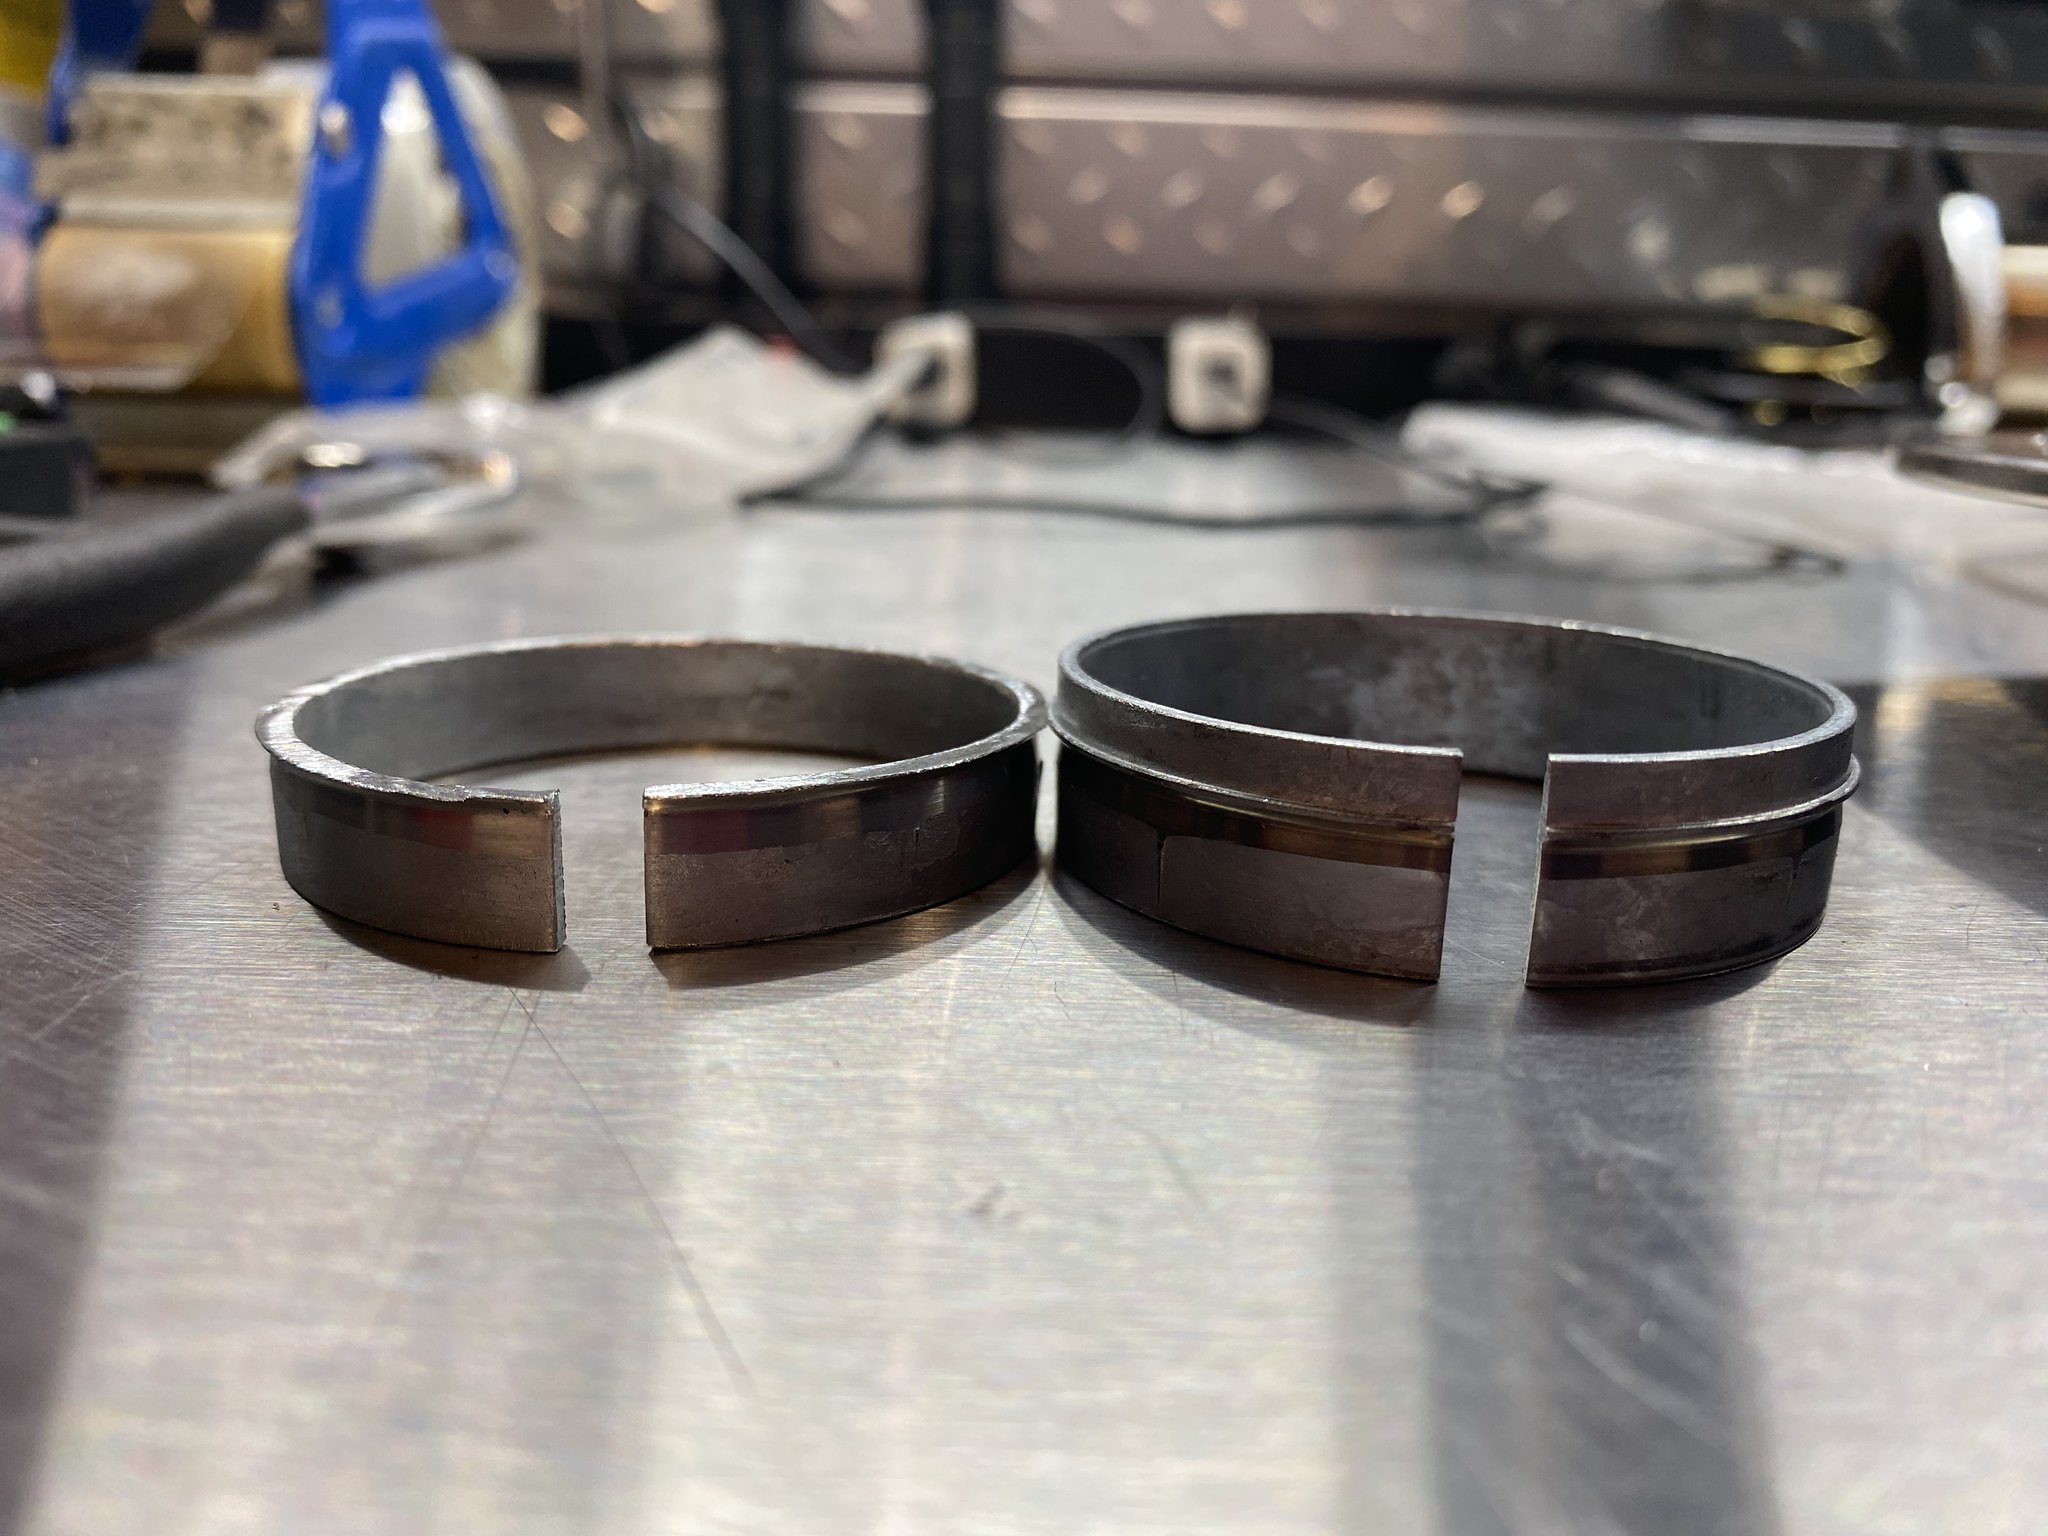
Step 5. Cut aluminum retention ring down so it's flush with the hub. This is the most annoying part, but completely necessary unless you ghetto rig some other type of retention ring to keep your horn in place. The aluminum ring is meant to take up the gap between the inner hub diameter and the horn tension pegs. Without the retention ring, the horn would not stay put.

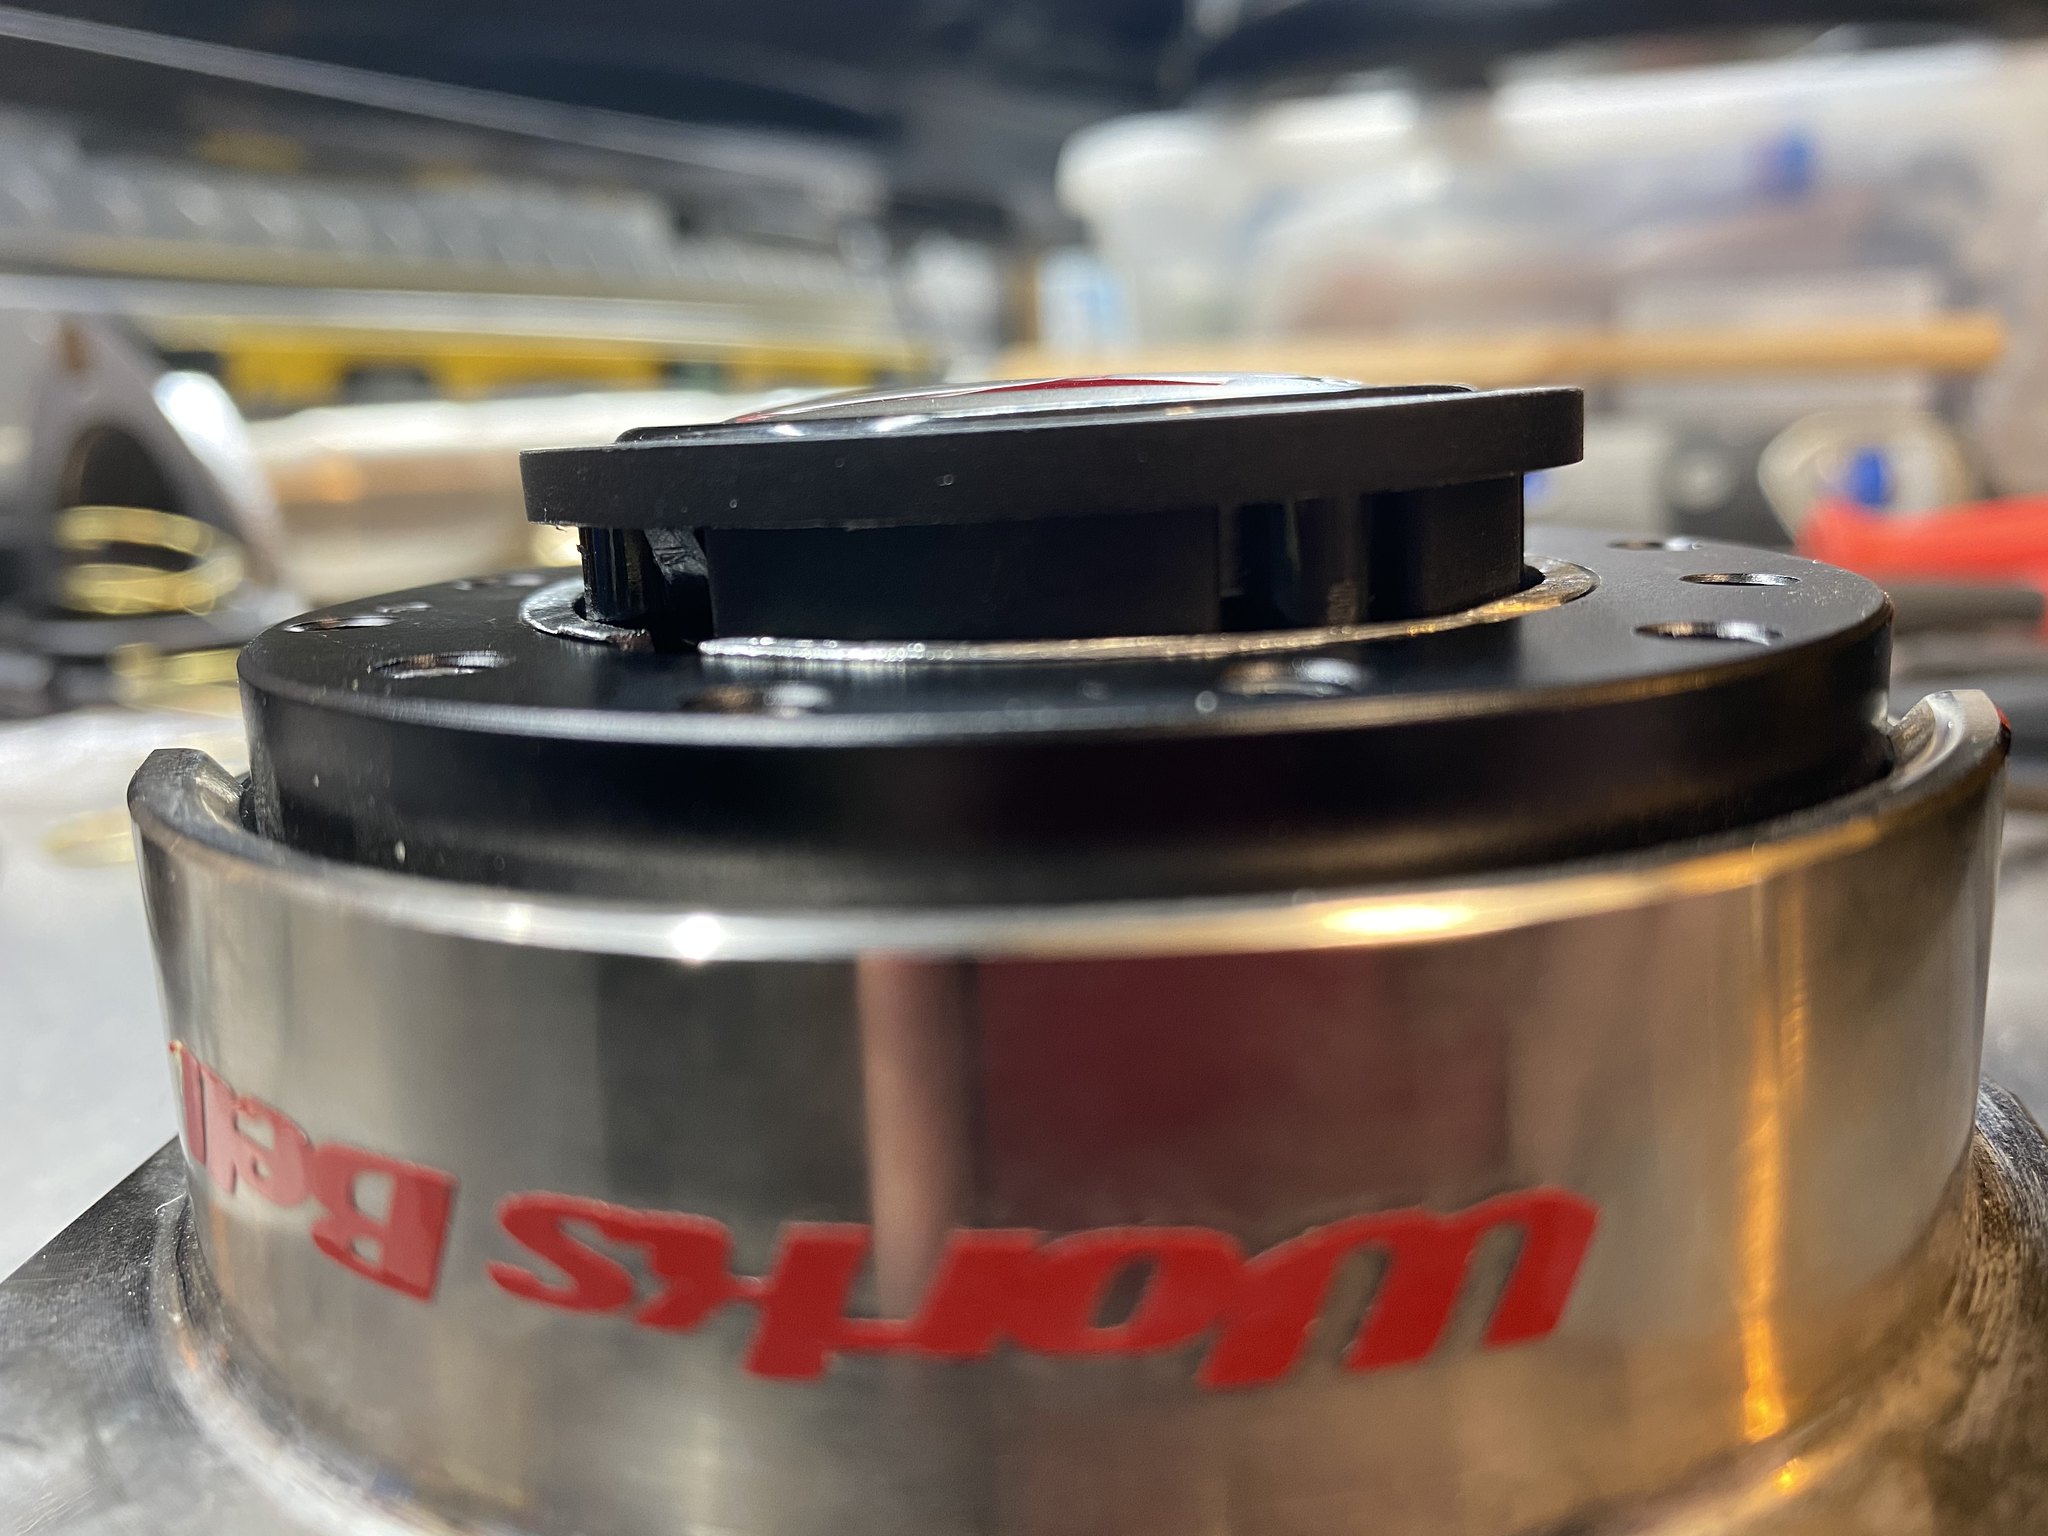
Picture with the wheel on. That aluminum horn retention ring is the main problem. It's not meant to be used with flush mount horn buttons--as you can see, it comes up almost flush with the face of the steering wheel, so it needs to be cut down in order for the flush mount button to sit recessed enough.
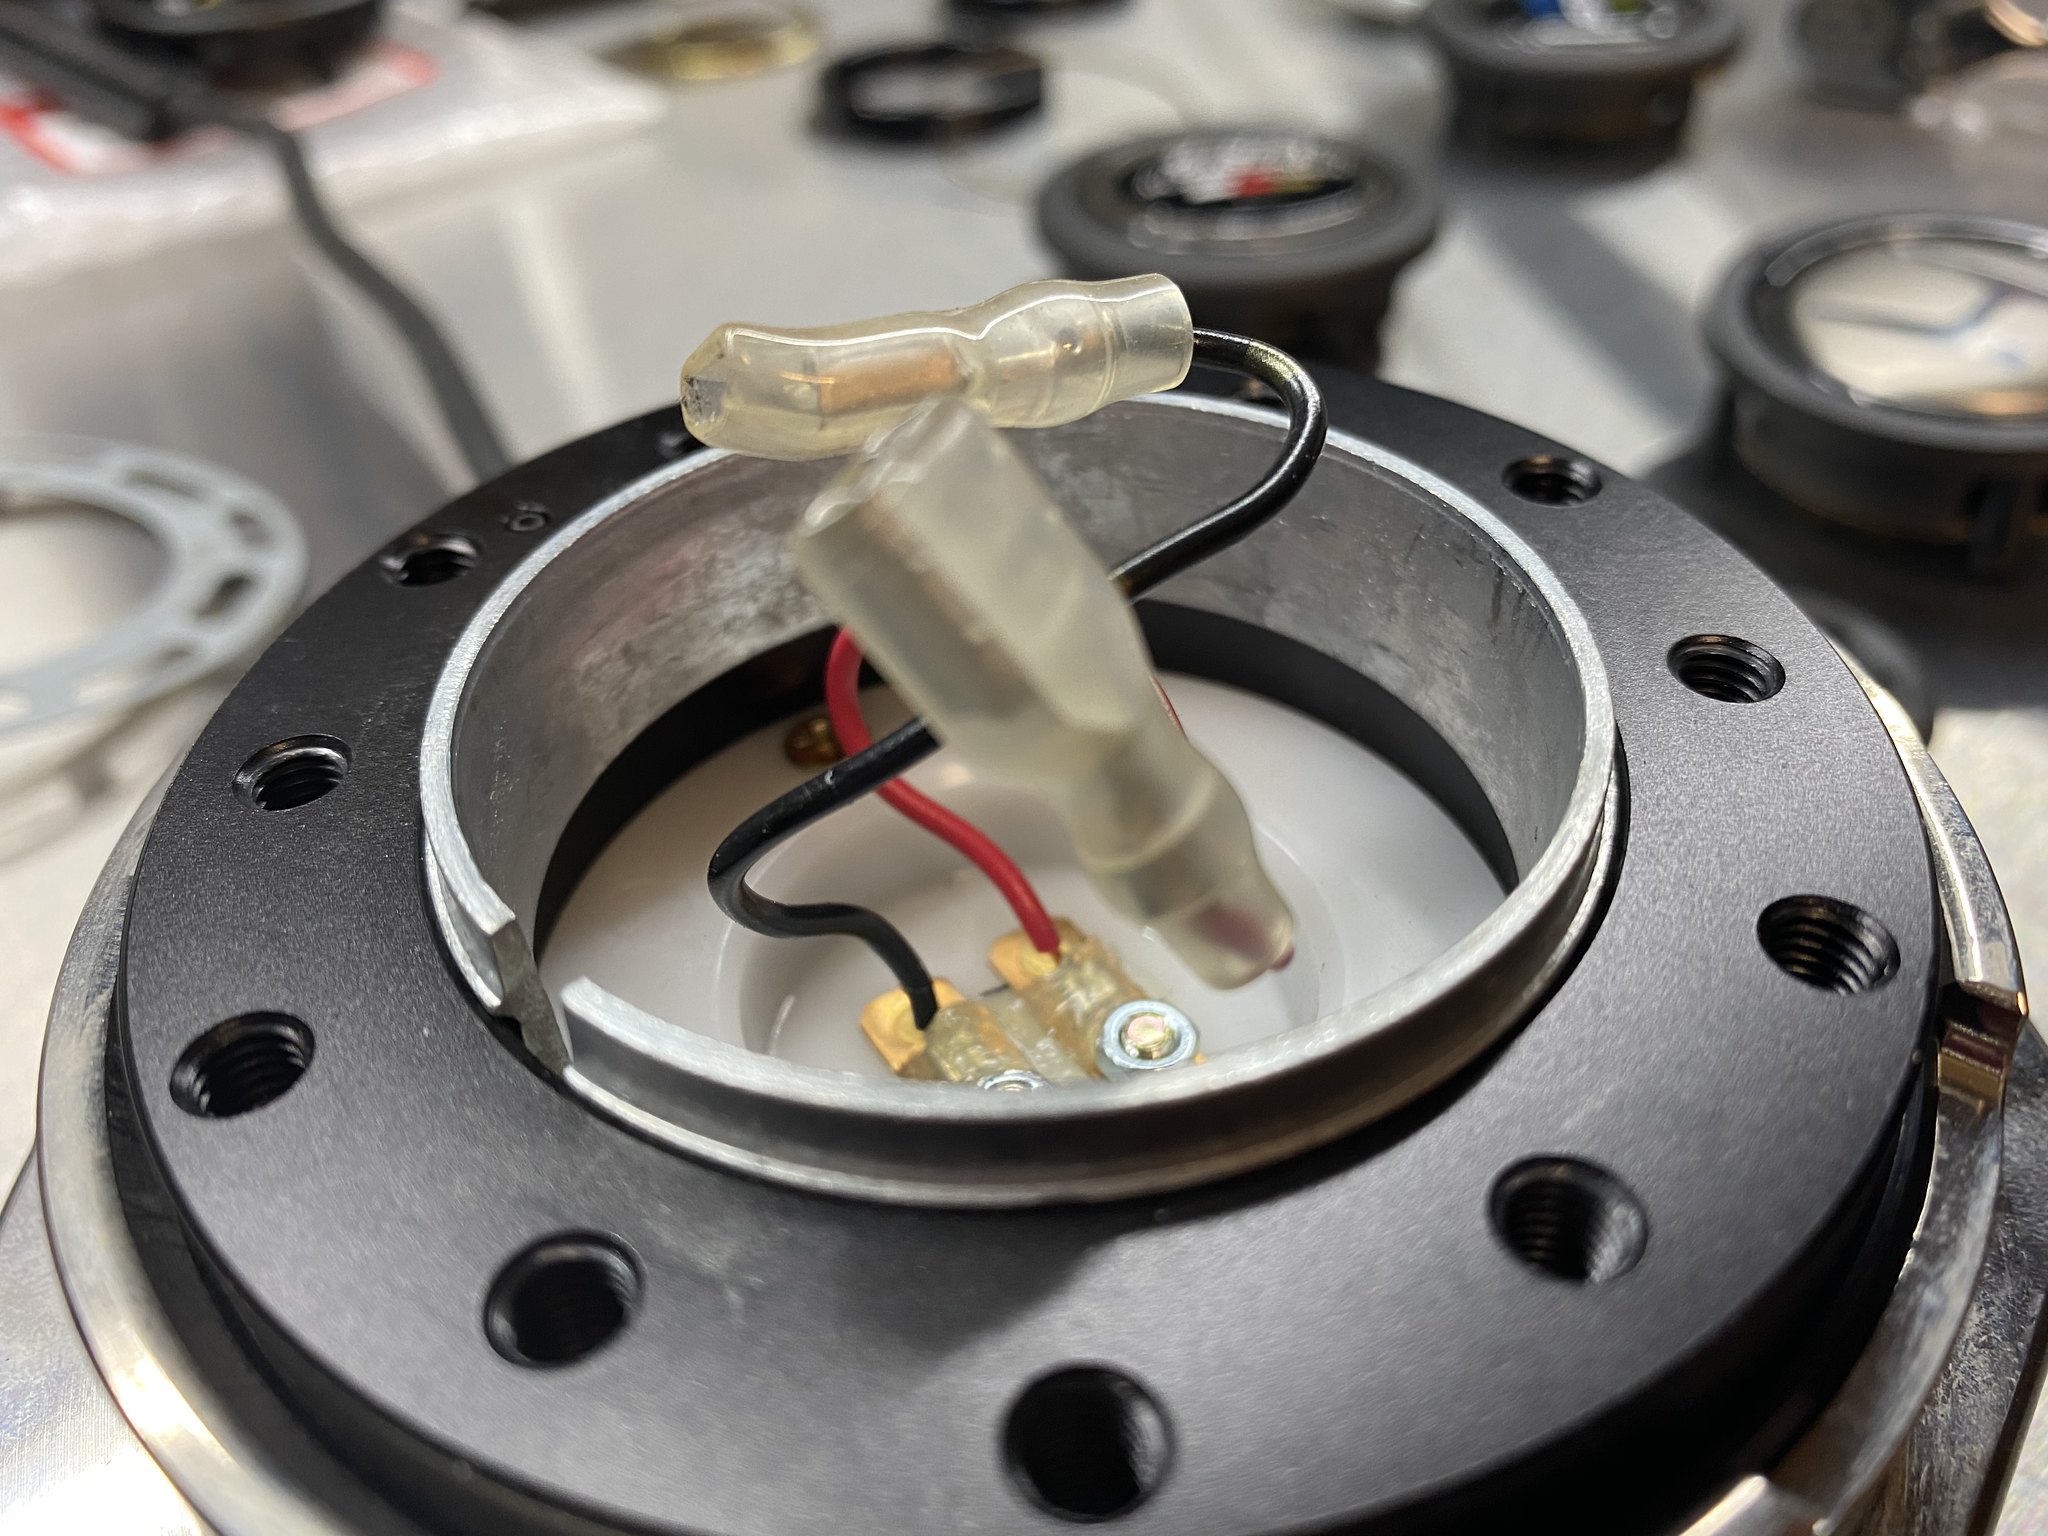
Picture with the wheel off. <s style="caret-color: rgb(0, 0, 0); color: rgb(0, 0, 0);">The entire portion of the aluminum retention ring that sticks up above the quick release needs to be cut down</s>. Edit: A portion of the aluminum ring needs to be shaved down to allow the horn button to sit recessed. The amount that needs to be shaved off will be different for everyone as it depends on the thickness of the steering wheel. Best thing to do is to test fit the recessed horn button BEFORE shaving the ring, then measure how much it's protruding outward. That is the amount you need to shave off. It's best to shave a bit at a time and constantly test fit the ring w/button so you can make sure you're shaving the ring evenly and that you don't shave too much off.
NOTE: If you shave too much off like i did, it's still easy fixable. All i did was line the inside of the aluminum ring with a single layer of masking tape so there is more tension when i insert the horn button in. Without the tape, i would end up recessing the horn button if I used my horn and smashed it too hard.

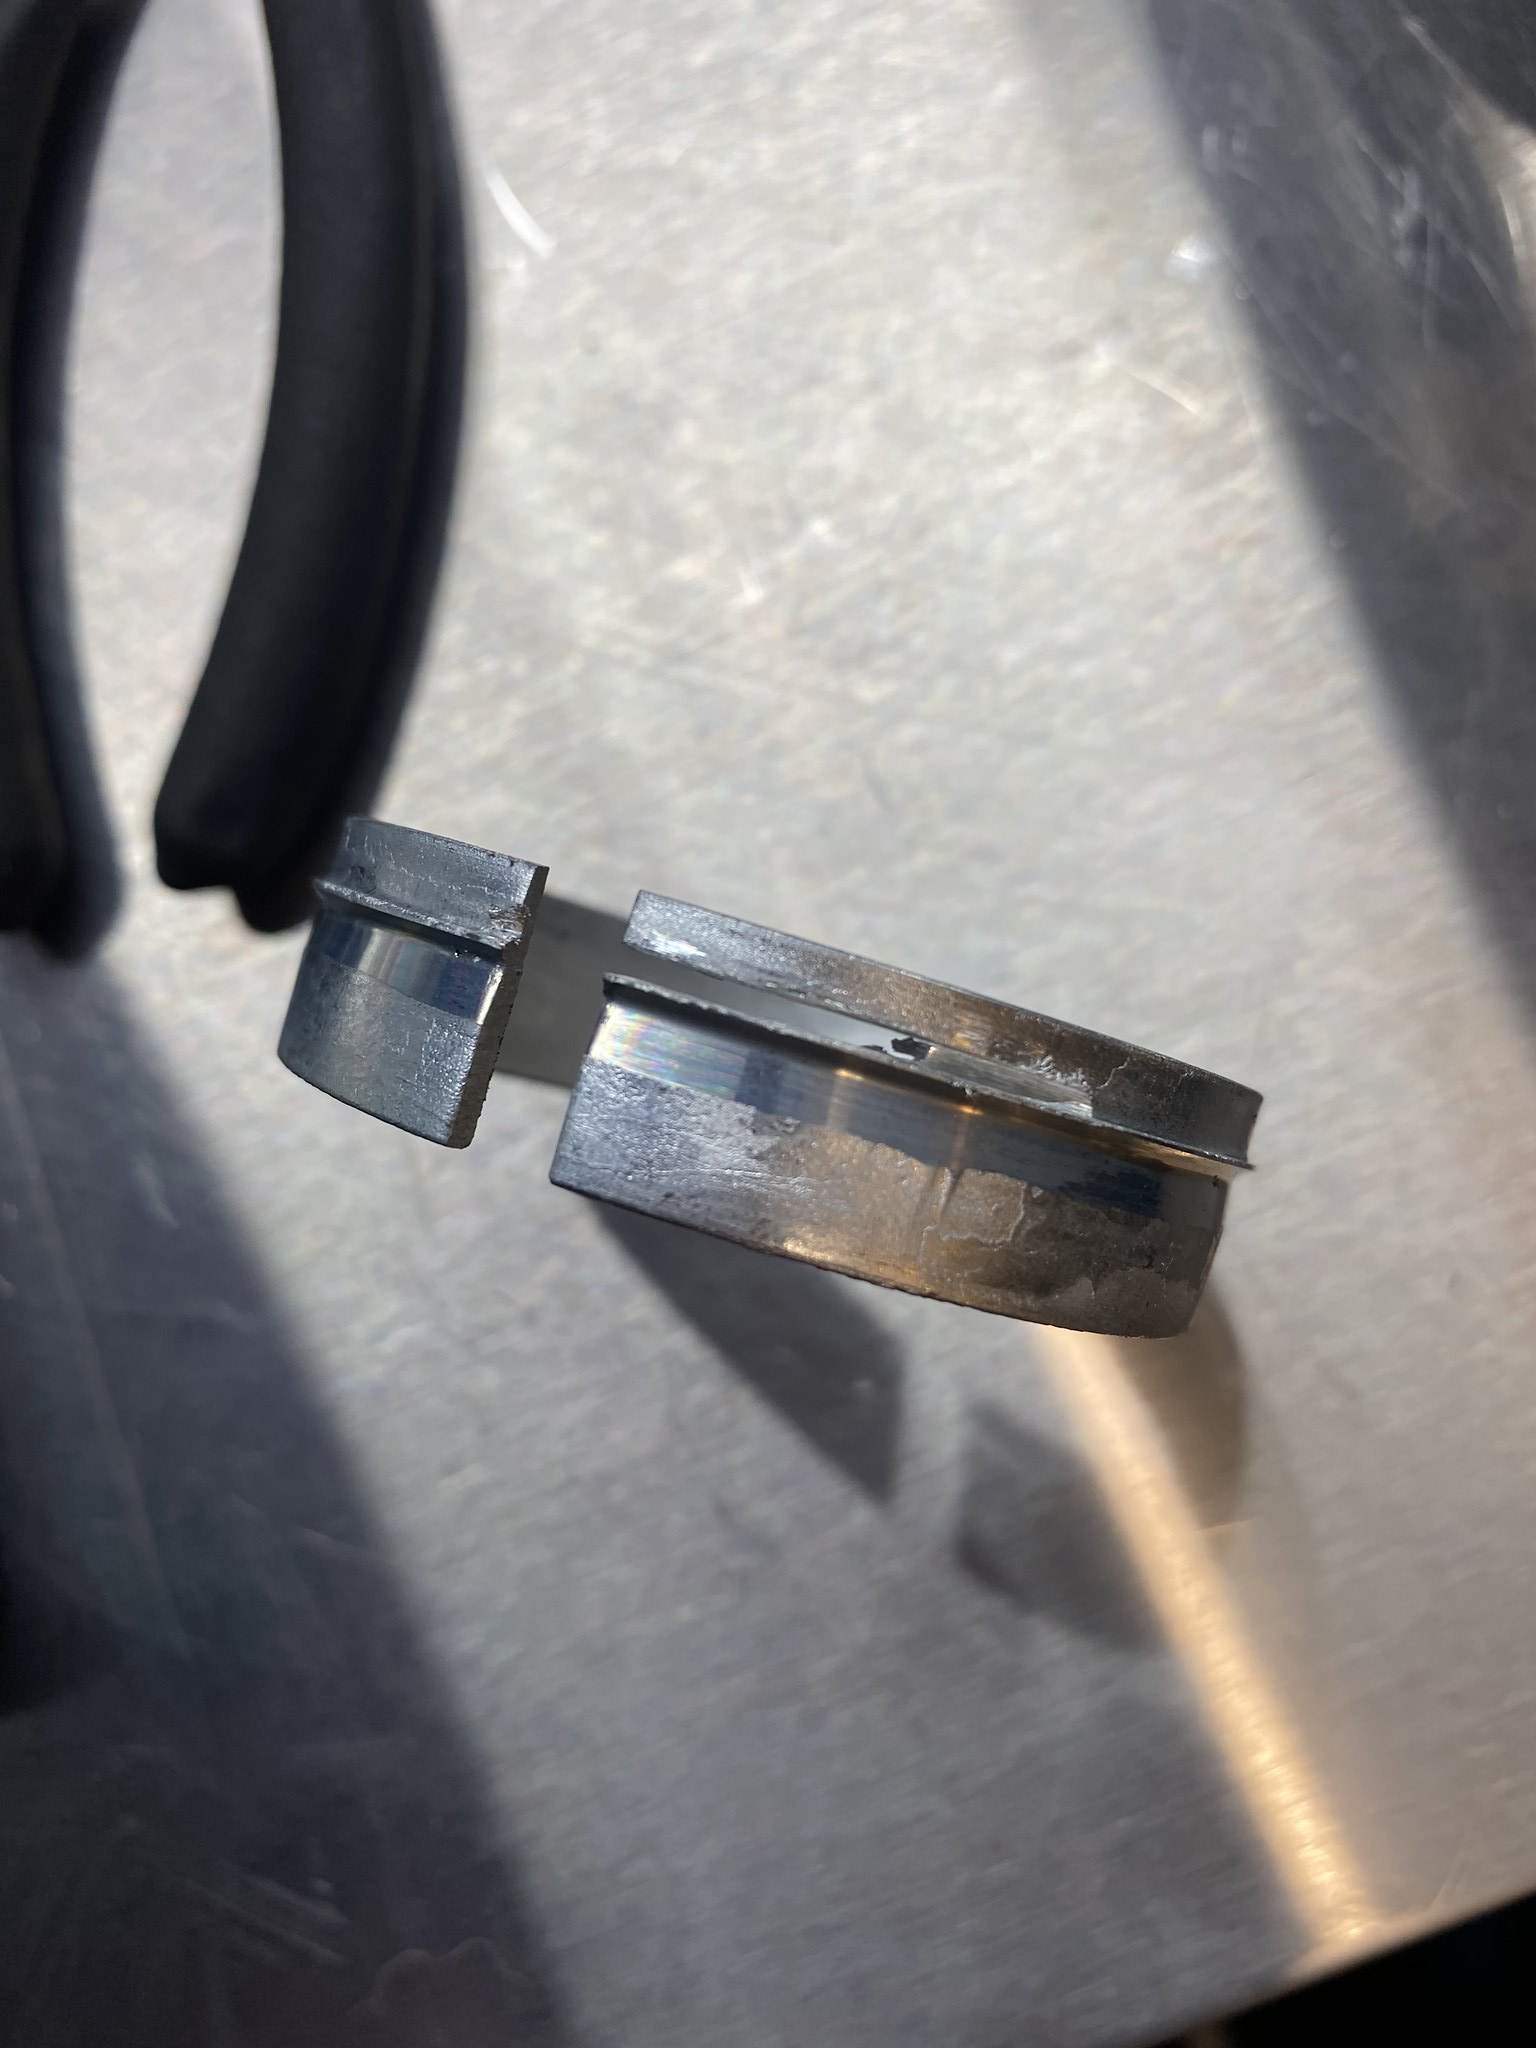
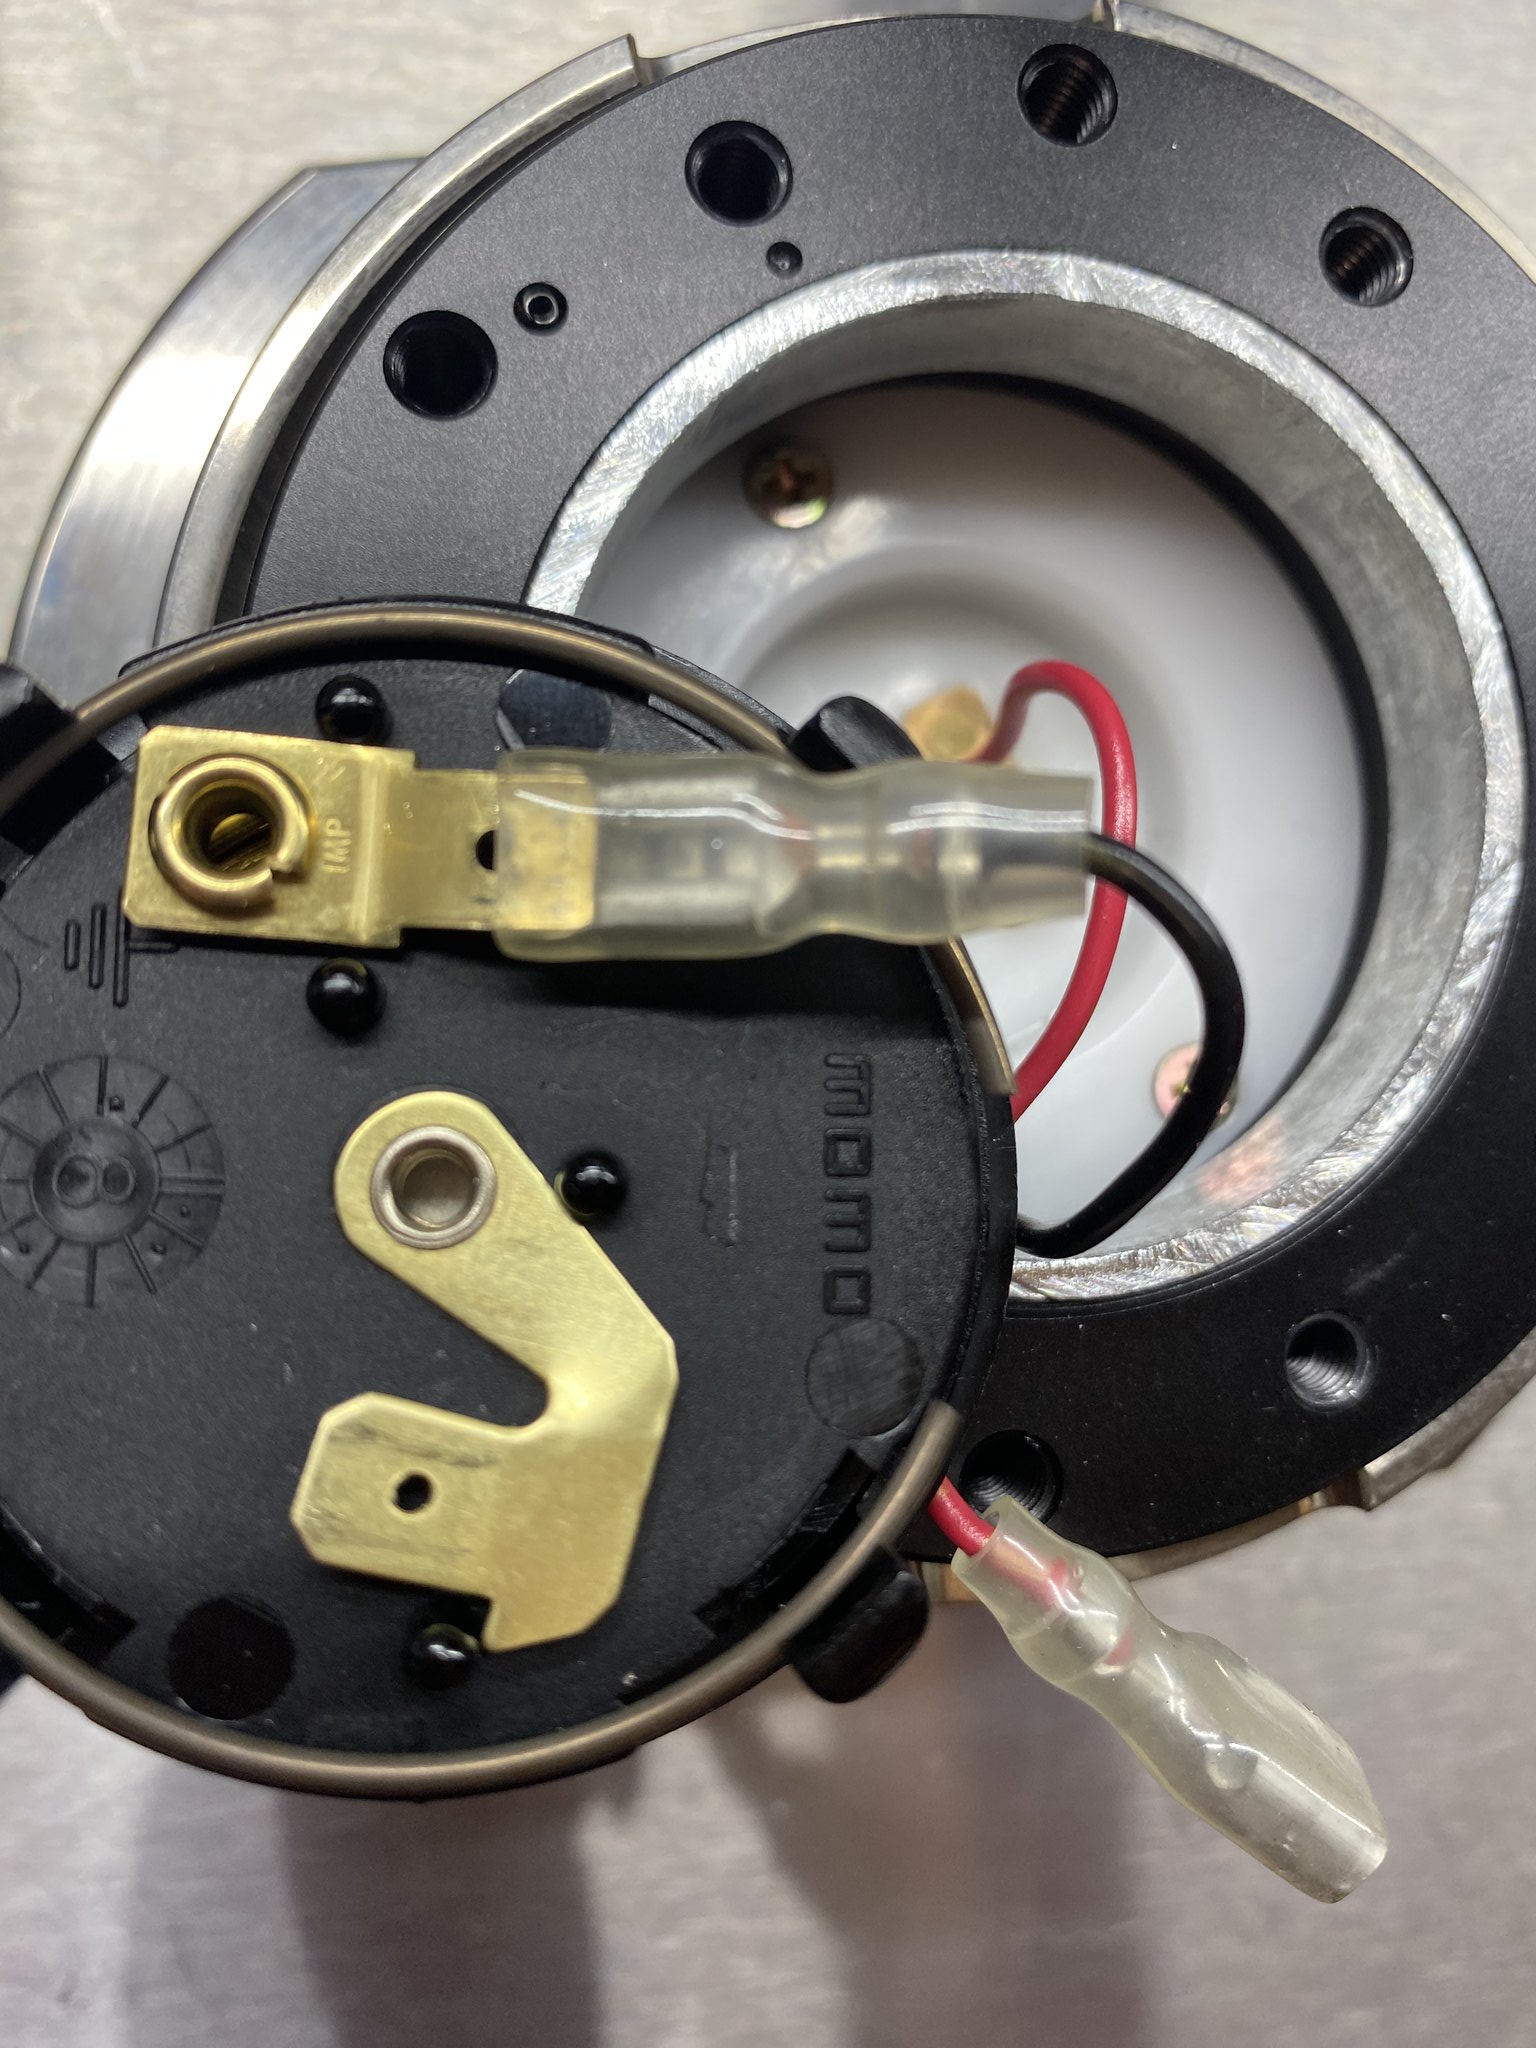
<s style="caret-color: rgb(0, 0, 0); color: rgb(0, 0, 0);">The top 1/3 needs to be cut off. The bottom 2/3 and the shoulder will be used</s>. Once it's cut down, you can connect the power and ground wires. Power (Red) is usually the center connection and ground (black) is the one on the side.
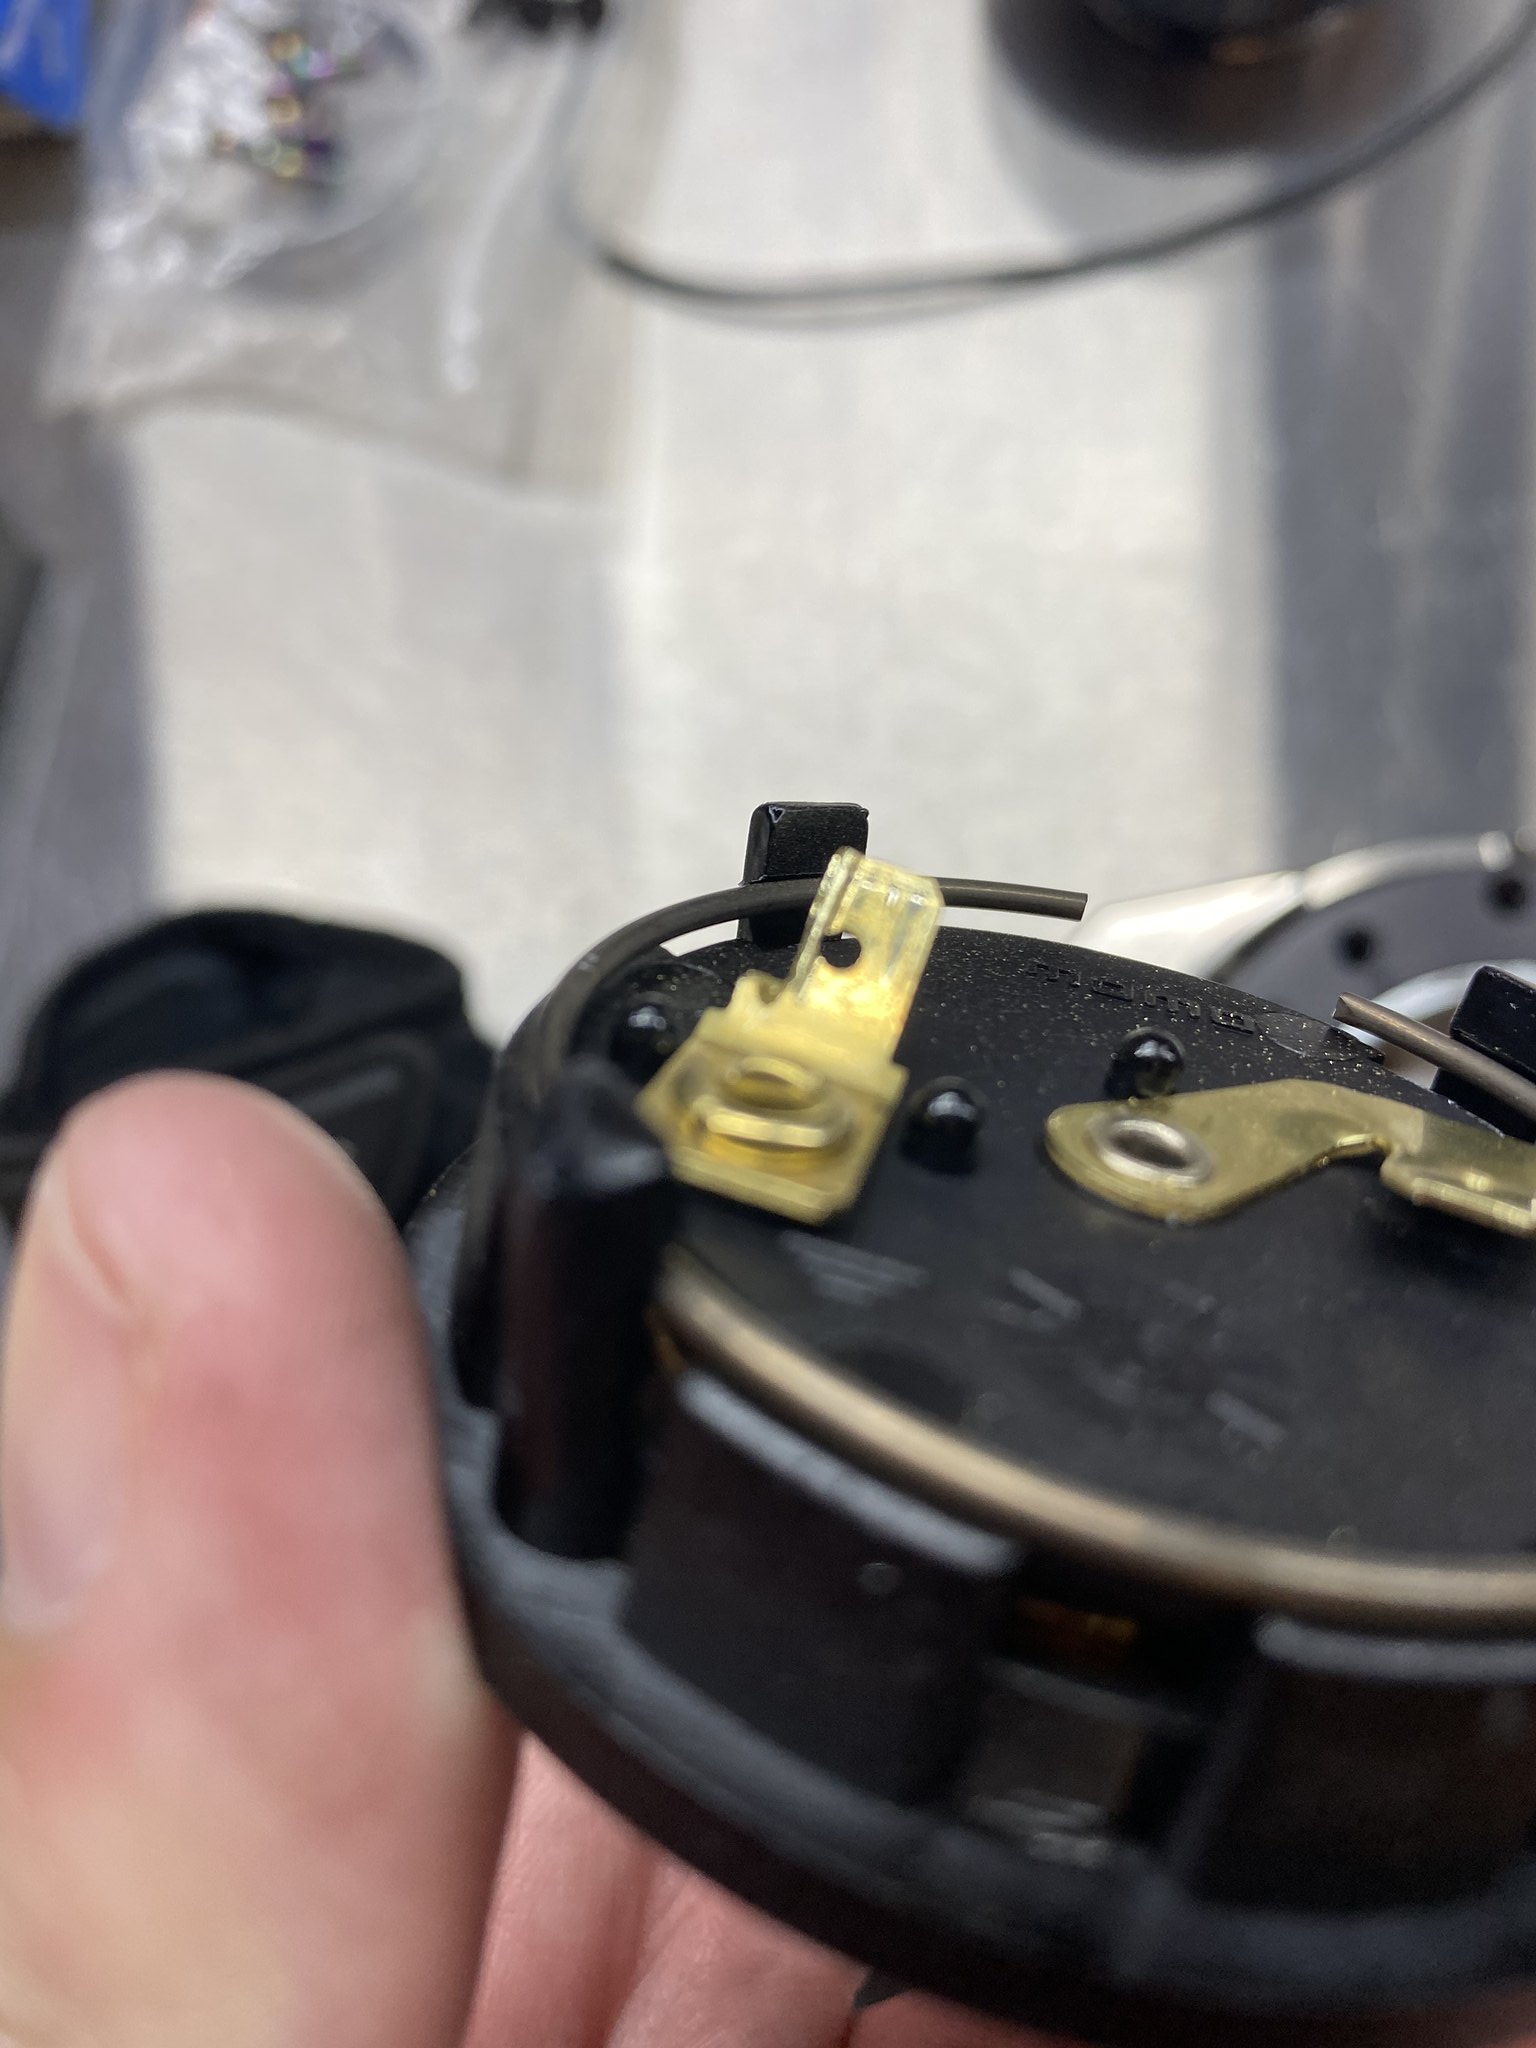
In my case the Works Bell grounding connector was too small for the grounding tab on the NSX button so i had to cut a small portion of the tab off.
Before (tab is too big):
Cut:
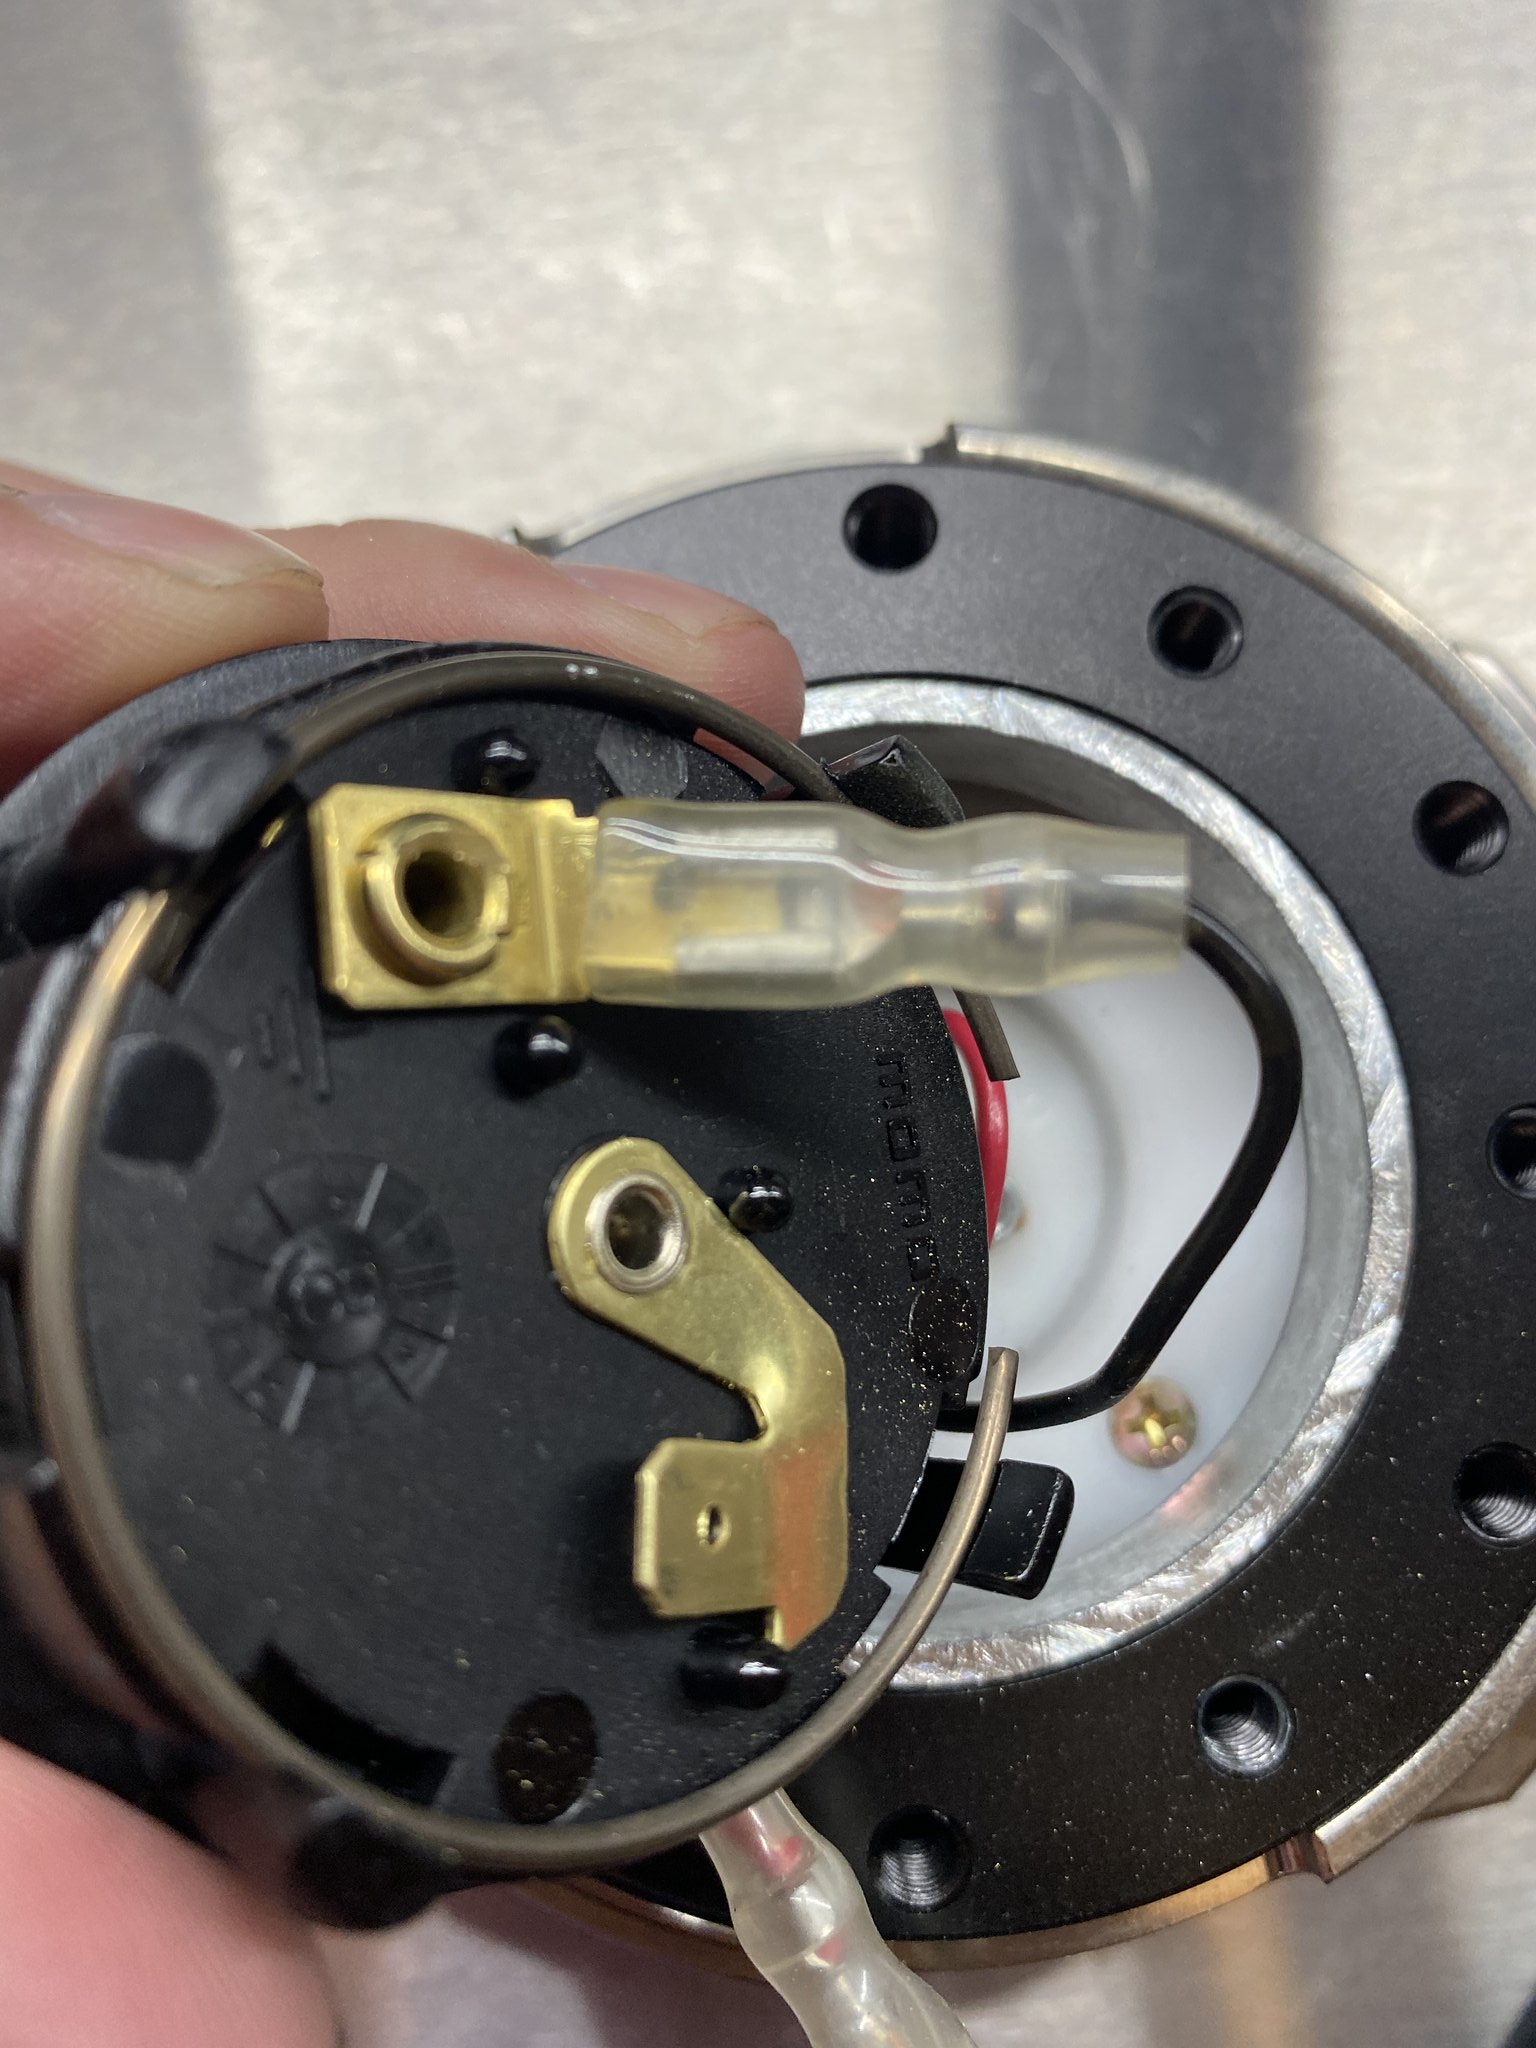
After (cut and connected):
Step 6. Install the button on the hub before putting the steering wheel on--line it up with the top (12 O'Clock) screw hole. The Works Bell quick release also has a small dimple next to the bolt hole that is at the top.
***IMPORTANT: Do NOT push the horn button all the way down otherwise it'll be sunken in too much. The best part about the flush button is also one of the worst when it comes to straightening out the button. Because it's flush, you have to remove the steering wheel to straighten it out, so make sure it's straight before mounting your wheel.***
Done!


Also recently made a YouTube video for it:
First off, big big thanks to @Forward_Momentum for the tips and tricks to this DIY. He did the flush mount swap on a normal MOMO button and we've been communicating a lot on IG which gave me the courage to attempt it on a couple OEM NSX buttons....because let's face it, flush mount looks 10000X better.
Also thanks to @mazdaspeed00 IG: SocalS2kParts for the buttons
Quick Summary:
Step 1. Purchase flush mount MOMO button. There are plenty authentic MOMO buttons on eBay for $20-30.
Step 2. Disassemble both MOMO button & NSX button.
Step 3. Hybridize-- Use MOMO flush mount housing & Spring + NSX brass color dish & button. The black plastic button retention ring is the same between both, so you can use either one.
Step 4. Reassemble the button assembly.
Step 5. Cut aluminum retention ring down so it's flush with the hub.
Step 6. Install new button in the hub. Done!
Quick pics of the OEM NSX-R and NSX-S buttons since there are a lot of fakes out there. NSX-R packaging shows made in Japan with MOMO on the back of the housing. NSX-S shows made in Italy with "ELETTRO" on the back.
Ugly raised horn button that is commonplace (Spoon/Mugen/NSX) and easy target for theft.
***Note: The quick release and hub are Works Bell components unless otherwise noted***
Step 1. Purchase flush mount MOMO horn button.
Step 2. Disassemble the buttons.
This takes force! You need to take a small flat head screwdriver and press on the 3 tabs one by one (noted by red arrow). Press and push in the direction of the red arrow to push the horn button out of the housing.
Step 3. After you disassemble both buttons, you need to use components of both.
Use the Flush mount housing & spring + the NSX button & brass contact dish. The cone on the brass NSX contact dish is a different depth than the MOMO dish, so you need to use the NSX dish.
Step 4. Reassembly. This is pretty straight forward and self explanatory, The only thing I would point out is that the notch at the top of the NSX button is a centering notch. It lines up with a centering tab on the inside of the black plastic ring which allows the horn to be mounted 100% straight in the housing.
Step 5. Cut aluminum retention ring down so it's flush with the hub. This is the most annoying part, but completely necessary unless you ghetto rig some other type of retention ring to keep your horn in place. The aluminum ring is meant to take up the gap between the inner hub diameter and the horn tension pegs. Without the retention ring, the horn would not stay put.
Picture with the wheel on. That aluminum horn retention ring is the main problem. It's not meant to be used with flush mount horn buttons--as you can see, it comes up almost flush with the face of the steering wheel, so it needs to be cut down in order for the flush mount button to sit recessed enough.
Picture with the wheel off. <s style="caret-color: rgb(0, 0, 0); color: rgb(0, 0, 0);">The entire portion of the aluminum retention ring that sticks up above the quick release needs to be cut down</s>. Edit: A portion of the aluminum ring needs to be shaved down to allow the horn button to sit recessed. The amount that needs to be shaved off will be different for everyone as it depends on the thickness of the steering wheel. Best thing to do is to test fit the recessed horn button BEFORE shaving the ring, then measure how much it's protruding outward. That is the amount you need to shave off. It's best to shave a bit at a time and constantly test fit the ring w/button so you can make sure you're shaving the ring evenly and that you don't shave too much off.
NOTE: If you shave too much off like i did, it's still easy fixable. All i did was line the inside of the aluminum ring with a single layer of masking tape so there is more tension when i insert the horn button in. Without the tape, i would end up recessing the horn button if I used my horn and smashed it too hard.
<s style="caret-color: rgb(0, 0, 0); color: rgb(0, 0, 0);">The top 1/3 needs to be cut off. The bottom 2/3 and the shoulder will be used</s>. Once it's cut down, you can connect the power and ground wires. Power (Red) is usually the center connection and ground (black) is the one on the side.
In my case the Works Bell grounding connector was too small for the grounding tab on the NSX button so i had to cut a small portion of the tab off.
Before (tab is too big):
Cut:
After (cut and connected):
Step 6. Install the button on the hub before putting the steering wheel on--line it up with the top (12 O'Clock) screw hole. The Works Bell quick release also has a small dimple next to the bolt hole that is at the top.
***IMPORTANT: Do NOT push the horn button all the way down otherwise it'll be sunken in too much. The best part about the flush button is also one of the worst when it comes to straightening out the button. Because it's flush, you have to remove the steering wheel to straighten it out, so make sure it's straight before mounting your wheel.***
Done!
Last edited:
