• Protip: Profile posts are public! Use Conversations to message other members privately. Everyone can see the content of a profile post.

Honcho's Long Road to Imola Type-S Zero

To start off, none of what I'm saying is theoretical, it's all based off of my own reverse engineering of the ECU firmware.

The closed loop algorithm is a per-bank global correction as you would expect, and it always chases lambda 1.0 or 14.7:1 AFR since it uses narrowband O2 sensors. It has voltage thresholds for what it considers to be rich and lean so you can bias it a little ways in either direction but at the end of the day its a narrowband closed loop system. Pretty standard.

It uses several factors to decide whether to use open or closed loop fueling, but the main ones are throttle position and pulsewidth. I agree, using an RPM vs MAP threshold seems more intuitive, but the Honda engineers who came up with this had to have had their reasons. I suspect emissions was one of them, as there are some transition delay parameters that will keep the ECU in closed loop even at high load for a specified amount of time before switching. I suspect this is why we didn't see the car transition to open loop in Honchos log, the default delay values are around 700ms and the conditions only seemed to be met for 500-600ms.

What Honcho is doing is driving around and using a feature of TunerPro to bin the fuel corrections being applied under various RPM and load conditions along the same break points as the factory fuel maps then averaging the values to get a crude idea of where to adjust the fuel maps before turning off closed loop altogether and dialing the fueling in using wideband AFR. In steady state operation, the fuel correction will constantly over and under correct so averaging the correction over time will get you close to the actual correction needed.

The value he is logging is the global fuel correction for one of the cylinder banks. It doesn't make sense to separate this value into long and short term as it's just more unnecessary and computationally heavy multiply and divide operations. In fact, the idea that the long term trim and short term trims both contribute to the final pulsewidth isn't really correct, the "long term trim" is simply a derived value that doesn't actually affect fueling in any way, it's purely an error detection mechanism like you said, and for tuning purposes this value is worthless.

As for the base pulsewidths, the fuel maps have 20 RPM breakpoints and 16 load (MAP) breakpoints, with each individual value being 16 bits. Every pulsewidth calculation interpolates the base pulsewidth from 4 cell values. For the most part, an engine tuned with manifold pressure as load will have a relatively smooth fuel map so keeping small trim values in steady state across the board is realistic.

Injectors are typically sized based on an engines fuel requirements at full load, in a car using a speed density type fuel system injector linearity doesn't matter a whole lot since it can be easily accounted for in the tune. It's common tuning knowledge that you can't just scale the fuel maps to change injectors and have the car run properly, different injectors have slightly different linearity characteristics so scaling can get you a starting point but it will never be completely correct.

The NSX ECU has a voltage vs injector latency table just like you'd see in any other ECU. But injector latency was never really the issue on the Prospeed tunes, latency is really only meaningful when voltage deviates substantially from "normal" voltage such as cold cranking, alternator failure, or abnormally high electrical load at low rpm, even voltage changes due to engine speed will end up being compensated for in the tune itself for better or worse. For example, my car will idle perfectly at 600rpm with RDX injectors and ITBs, the Prospeed tunes idled badly because they were bad tunes.
 
Seems like you have it sorted so I probably have nothing useful to add.
 
Alignment 2

Alignment, coolant, brake fluid, A/C


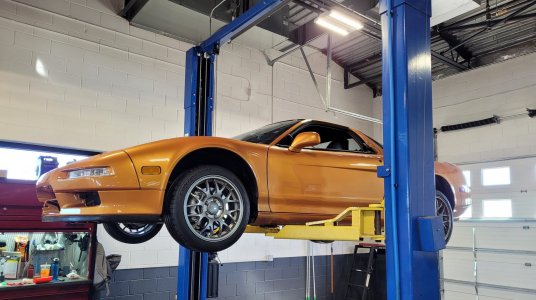
After the snow melted from the storm a few days ago, I was able to pick up the NSX from the alignment shop. They also used their industrial pressure bleeder to purge a little more air out of the brakes and charge the A/C, which is blowing ice cold. No leaks, so I did my job right. Finally, they torqued the rear head drain bolt to 22 lb/ft- the bleeder turned about 1/4turn so I was right- it wasn't tight enough. They were kind enough to allow me to inspect the undercarriage while the car was on the lift- they did very nice work!

The NSX will return here when it is time to install the revised MCS suspension. Next step is a full detail and PPF.

Driving the car home in the sun was GLORIOUS.

20230217_130734.jpg
 
I am totally jealous! I’ve only been following the thread the last few weeks, what an odyssey! As I cross 23 years of ownership (and over 30 since production), even routine wear and tear is beginning to make me think I need some type of overhaul such as yours.
I talked with Ramon at Niguel Motors last year and he commented the age of the cars are making routine maintenance a challenge.

My brother just purchased a 1965 Porsche 356 and while it is in great shape for 55+ years of age, it is a whole generation older than our NSXes. In some ways better, less plastic. But in other ways, even harder. I haven’t tuned a carburetor in 20 years, and finding a mechanic who can is hard to find.
Congratulations Paul.
 
I am totally jealous! I’ve only been following the thread the last few weeks, what an odyssey! As I cross 23 years of ownership (and over 30 since production), even routine wear and tear is beginning to make me think I need some type of overhaul such as yours.
I talked with Ramon at Niguel Motors last year and he commented the age of the cars are making routine maintenance a challenge.
My brother just purchased a 1965 Porsche 356 and while it is in great shape for 55+ years of age, it is a whole generation older than our NSXes. In some ways better, less plastic. But in other ways, even harder. I haven’t tuned a carburetor in 20 years, and finding a mechanic who can is hard to find.

Congratulations Paul.
Thank you!

The problem with the NSX now (even the 02+ cars at this point) is that all of these internal components are ageing out. Honda is going to start shutting off the parts chain around 2030, so I figure it's worth it to replace everything now while you can still get parts. Hopefully, my refresh service will gain me another 20-30 years of reliable driving. I'm also starting a list of maintenance items I need to gather to keep on the shelf to prepare for the post-2030 NSX world. Like another full engine refresh list, brake rebuilds, new clutch, new window regulators, radiator, etc.

My first car was a 1983 Mazda RX-7 that I bought for $100 because it didn't run. My dad and I figured out the carb was bad, so we bought a rebuild kit for $25 from Mazdaspeed (out of a paper mail-order catalog back then!), rebuilt the carb and viola! Tuning the carb on a 12A rotary was...interesting. ;) That car got me though all of high school and some of college- never hiccupped after that. I sold it for $2,000 to my buddy who turned it into a SCCA race car.
 
Re-Assembly 112

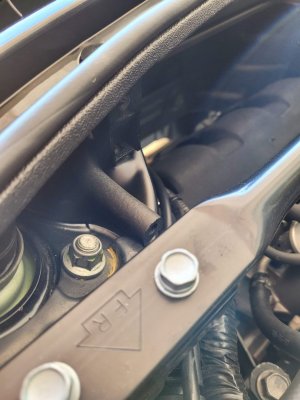
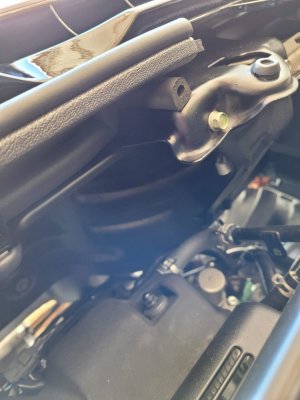
Cowl, coil guard


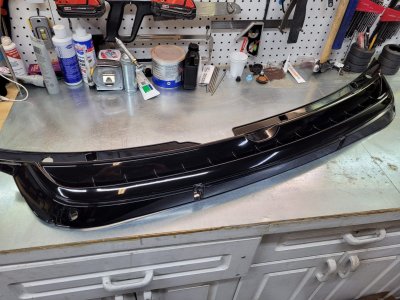
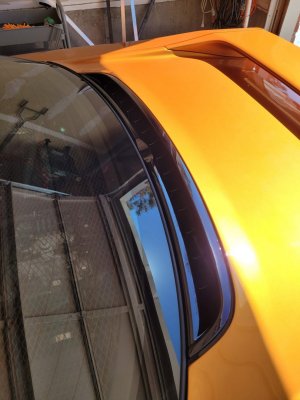
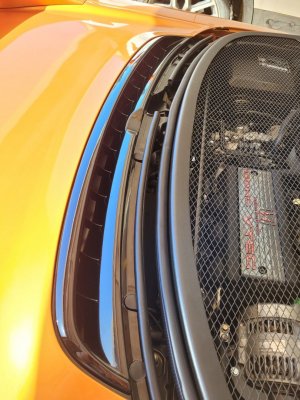
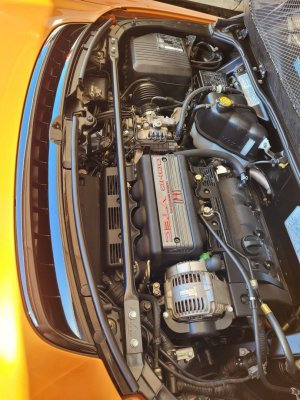
During final assembly, I realized I forgot to give the badly scratched and faded engine cowl to the painter years ago. It was buried under NSX parts in my basement, so I didn't even know. Thankfully, he was kind enough to re-paint it.

20230218_151521.jpg

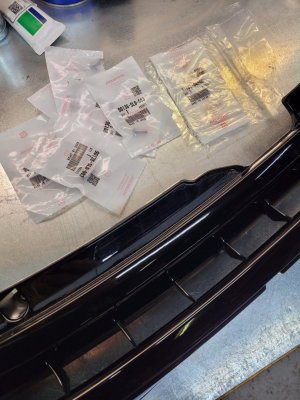
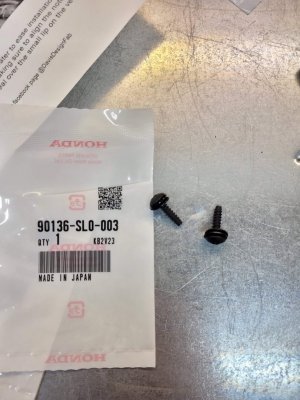
Given that I also lost the bag with the cowl screws, had to buy new ones from Honda. I bought the washers too, but it turns out you don't need them- they come on the screws.
20230218_151754.jpg
20230218_161040.jpg

Installed.

20230223_111001.jpg20230223_111035.jpg20230223_111213.jpg

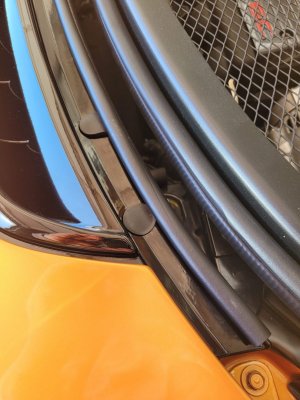
I also installed the coil guard kit from @comtec. Very well designed, but I struggled to get the upper barrier to "snap" onto the cowl. It more sort of folded on there. But, got it done.

20230223_111105.jpg20230223_111222.jpg20230223_111227.jpg

Next step is to warm up the car to do the compression test for final verification of the head gasket replacement. @Big McLargeHuge will be back this weekend to help with a full paint correction and detail in preparation for PPF. Turns out he was a detailer in college, so I'm taking advantage of his skill.

In the meantime, I will try to do some of the final tasks like installing the rest of the interior trim, the Type-S badge, etc. I also have to pick up the garage to finally prepare the third garage bay for the NSX. It will no longer be a work zone, but a parking spot. I also have to tear down the MCS suspension to send the dampers back for revisions. Lots to do, but we are in the final stages...
 
how will mcs add length to the damper?
 
so they are going to emulate the KW system?
 
Re-Assembly 113

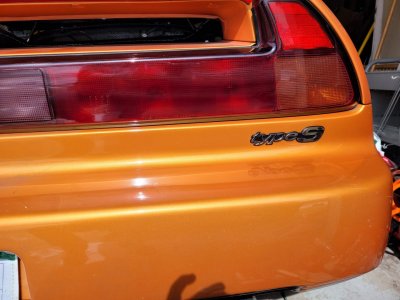
Type-S Badge


I'm drilling holes in my freshly painted NSX... :oops:

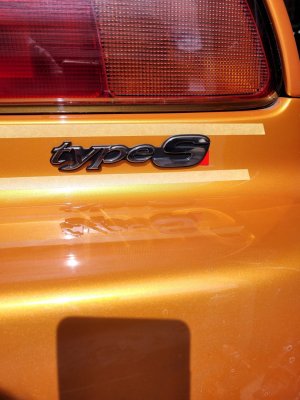
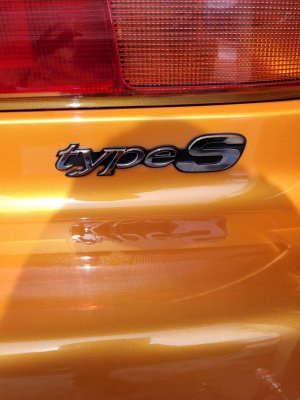
The final milestone is here: Type-S Zero. There is some more tweaking and tuning to do, but the car is effectively done. I said 4 years ago that placing the badge would be the last step. And here were are.

20230223_124022.jpg

Type-S Badge Guide

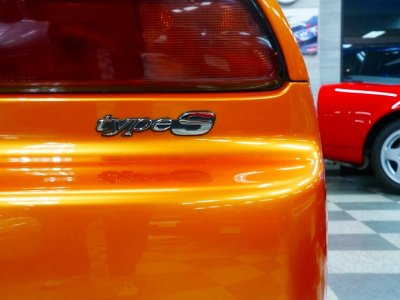
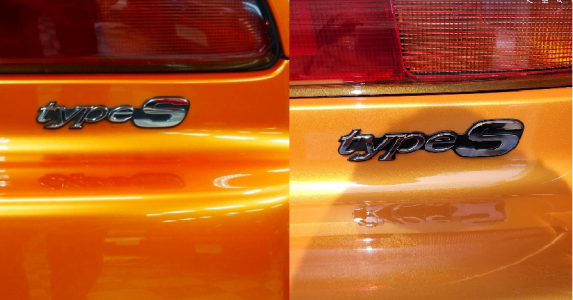
Hopefully this guide will help other owners. Here is a genuine 1-owner Imola Type-S for reference:

185_267471.jpg

As you can see, the top of the "S" is about 10mm from the upper lip of the bumper.
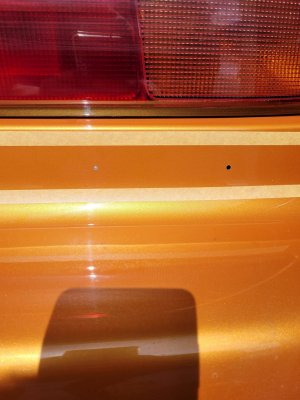
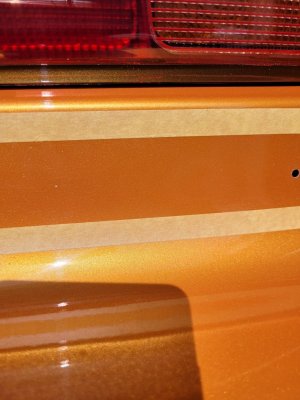
  1. Using automotive finishing tape, mark off the lines for even fitting and measure the distance.
  2. Once you have it right, line up the badge and mark the position of the right pin using some kind of removable marking on the tip of the pin. I found silver anti-seize to work perfectly. For once, the fact that it sticks to everything was a benefit!
  3. Use a center punch to tap a small hole so that the drill bit does not slip.
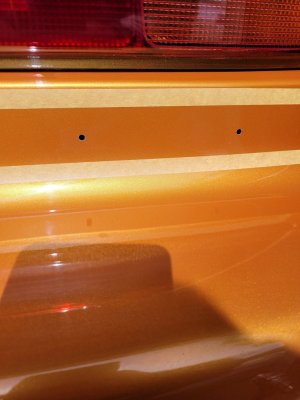
  4. Drill the hole with a 1/16" bit, then 7/64" and finally 9/64".
Now that you have your first hole, place the badge and use the other pin to mark the position of the left pin. Use the tape lines for reference to keep it even.

20230223_122835.jpg

Next, use the punch again to mark the hole for drilling and wipe away the excess.

20230223_122943.jpg

Drill the hole using the step method described above.

20230223_123159.jpg

Now, test fit the badge without removing the backing tape.

20230223_123233.jpg

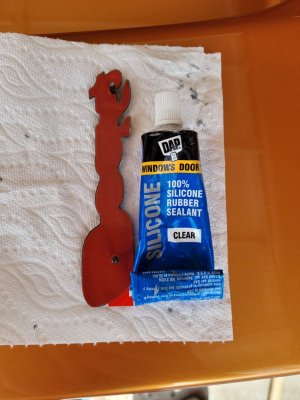
I chose to use some silicone sealant on the holes to keep water out and also provide some extra adhesive.

20230223_123535.jpg

Clean the area thoroughly with alcohol and a microfiber to ensure a good bond. Place the sealant in the holes. Using a heat gun, remove the backing tape and heat the adhesive until it is "finger-hot", but not so hot that you can't hold the badge (you don't want to melt the plastic.). Apply the badge to the bumper using good pressure.

20230223_124013.jpg

It's a pretty close match.

Type-S Comparo.png
 
They will have to cut new shock bodies- the threaded tubes. They may have to change the rod lengths too. Otherwise, all the other parts can be re-used.
Pretty standard procedure for Motorsports-based dampers.
 
Re-Assembly 113

Type-S Badge


I'm drilling holes in my freshly painted NSX... :oops:

The final milestone is here: Type-S Zero. There is some more tweaking and tuning to do, but the car is effectively done. I said 4 years ago that placing the badge would be the last step. And here were are.

<snip>
It's a pretty close match.

View attachment 178007

Your first post on this was 8/10/2018. In 4 years, 6 months and 2 weeks you hand-built an NSX - just WOW.
 
Sooo, now that you have lots of free time, what's your next project Honcho?
Ha! Even though the conversion/build process is over, there is still stuff left to do on the car. This list should get me through the spring:
  • Paint correct (remember there is an extra layer of clear that needs to be leveled and polished)
  • PPF
  • Touch ups at the paint shop (exposed fender bolts, chips, etc.)
  • MCS suspension
  • Engine ECU tuning
  • Exhaust fitting correction
Then, if I am able to make it to XPO this year, I'll need to do these items before driving the car 2,000 miles away from home base:
  • Rear lower ball joints (Steve Ghent)
  • Rear wheel bearings
  • Front right hub
For now, I still have some small items to finish:
  • Putting the rest of the side sill trim pieces
  • Hot gluing the Arduino pins and placing the rear upper trim piece
  • Set up the dash cam
  • Replace the seat belt buckles with the longer versions
  • Seal the ECU harness at the firewall with RTV
Don't worry, there will still be a lot of content here! ;)
Pretty standard procedure for Motorsports-based dampers.
Yeah, hopefully they can turn it around quickly.
Your first post on this was 8/10/2018. In 4 years, 6 months and 2 weeks you hand-built an NSX - just WOW.
What a journey- I'm going to do some kind of sappy slideshow that we can use at XPO maybe!
Thanks!
 
NSX Paint Correction

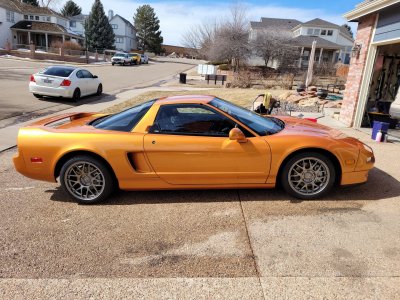
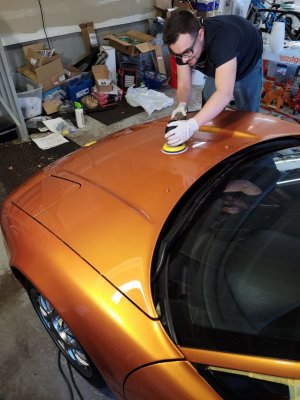
@Big McLargeHuge stopped by to apply his detailing skillz to the S-Zero. The clear coat was unfinished intentionally because we knew the car would be sitting in a garage for potentially years during reassembly. Now, it was time to wash all of that grime off of the paint and then level and polish the clearcoat to prepare for PPF. I also wanted to get some kind of paint sealant on the car to protect the paint until it can be wrapped.

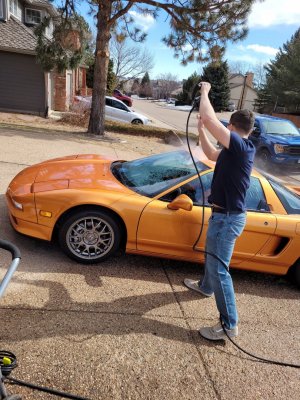
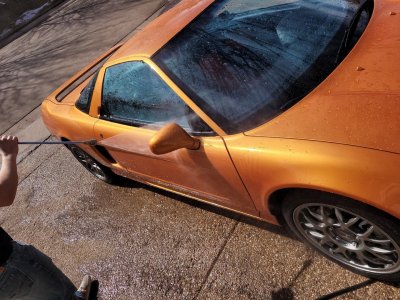
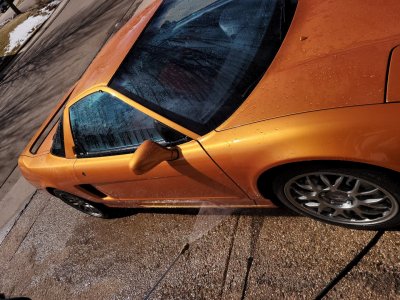
First wash in almost 5 years! I was a bit apprehensive about the pressure washer, since I had not really tested the door seals other than to pour a cup of water on them. Good news- no leaks! After the initial rinse, we hit it with the foam cannon.

20230226_113005.jpg20230226_113505.jpg20230226_113511.jpg

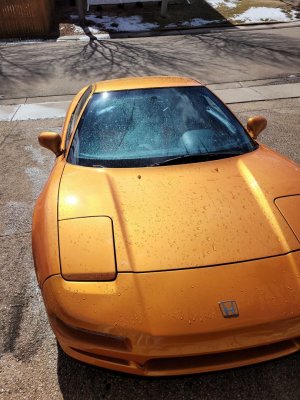
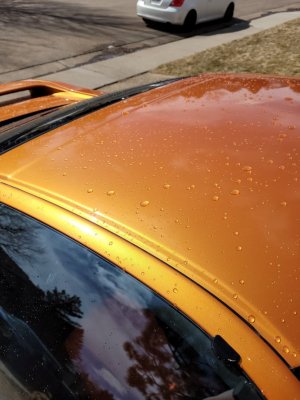
Finally. Clean. We could tell the clear coat was ROUGH because all of the water stuck to the paint in a sheet.

20230226_113401.jpg20230226_113417.jpg

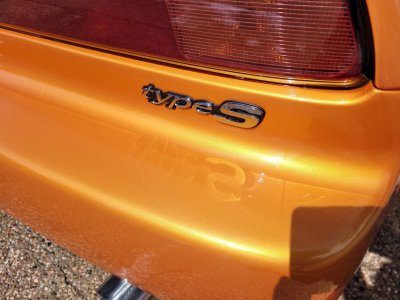
Yes, that is the Type S badge reflecting in the Imola Orange bumper. JDM overload!

20230226_120510.jpg

Dried...ish.

20230226_120538.jpg

Paint correction. Not many photos, but it took HOURS. Turns out my painter used a very hard clear coat. Great for longevity and scratch resistance. Bad for cutting. Even with a microfiber pad and compound, it took many, many passes to level the paint. We really needed a rotary buffer with a big wool pad, but the Porter Cable DA got the job done...eventually.20230226_172016 (1).jpg

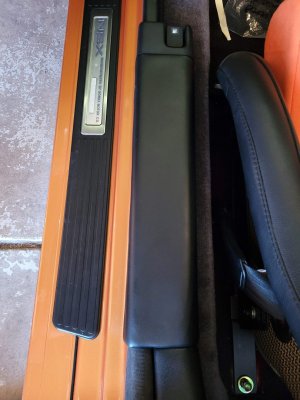
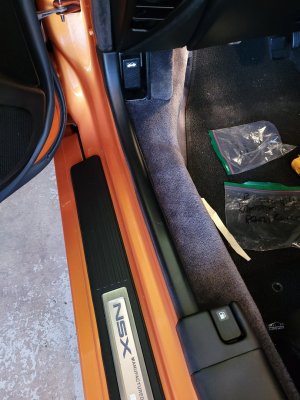
While Tyler worked the DA, I added the brand new side sill covers. Fresh out of the Honda parts box. New fuel door level too!

20230226_154903.jpg20230226_154909.jpg

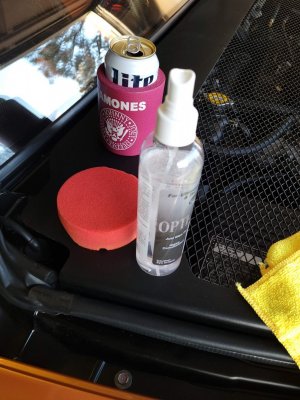
As Tyler cut and polished the paint, I followed behind with some Opti-Seal. While drinking a Miller Lite LOL.

20230226_172002.jpg

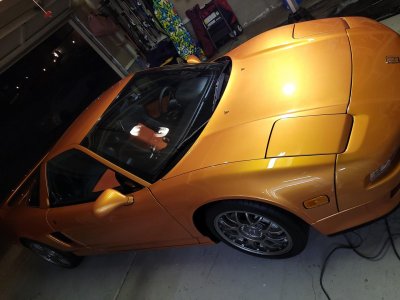
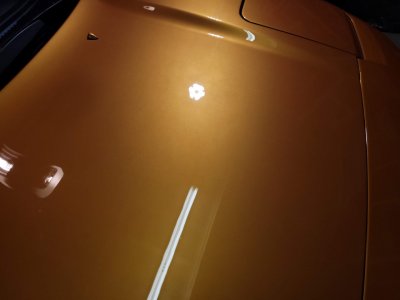
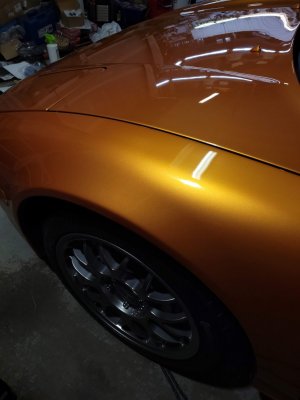
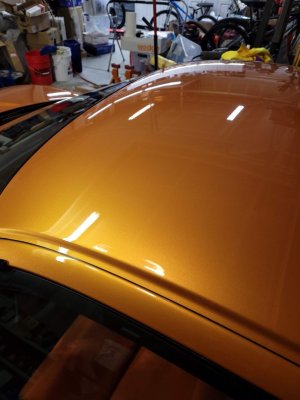
Final result late into the night. The car is just gleaming. It's ready for PPF!

20230226_202356.jpg20230226_202402.jpg20230226_202449.jpg20230226_202457.jpg
 
Test Drive 5

It was sunny and 55F today with dry roads, but snow is forecast from Wed-Fri. I just had to take the gleaming car out for a drive before the weather turned. My son tagged along for fun. This also gave me a chance to test out V1.1 of my tune, which adjusted the Map 1 values based on my STFT history logs. The car ran smoother- this NSX is considerably quicker than my 91. However, it looks like I pulled too much fuel in the idle range, since the car is now adding about 3-7% fuel at idle. I'll have to do some idle tuning and release a V1.2 with those changes. But man, was it fun. Even under 5,000 rpm, this NSX is QUICK.

*EDIT* Turns out my Blackvue was recording during our little drive. You get to hear my son's narration and observations, but it gives you an idea of the car too. :) Also, there are a few hiccups where the Blackvue thought I hit a car, but it's actually just the NSX-R suspension stiffness. LOL Kinda cool father and son discussion.

 
Last edited:
MCS Suspension

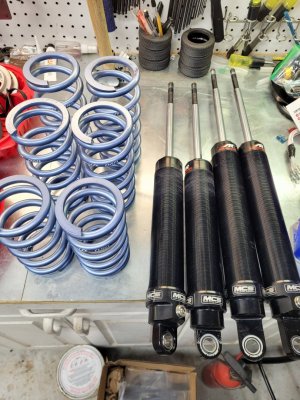
After some back and forth, the MCS dampers are on their way to Atlanta for revisions. Special thanks to @R13 @mwagner10702 @stuntman @RYU and @asylum for help on getting the dimensions.

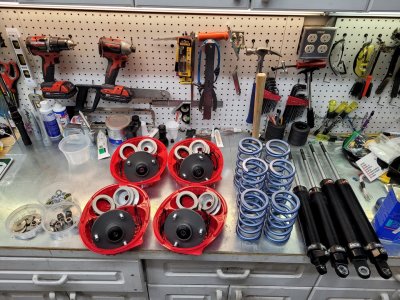
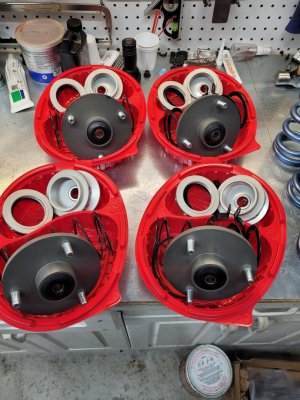
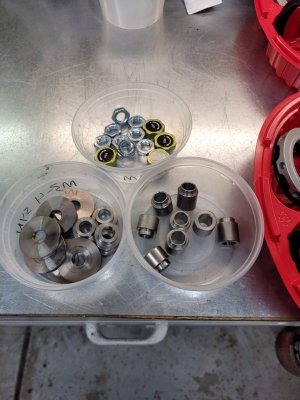
I might as well be my own suspension shop now- I am starting a spring collection LOL:

20230224_143000.jpg20230224_143008.jpg20230224_143013.jpg20230224_143017.jpg
 
All this hassle is going to be worth it in the end. You will definitely love the result.
 
THE reason I bought my 95 is to make memories with my kids. The last few years have been exactly that.

YOU appear to be making the same memories with your kids. Cherish them as you'll reflect fondly on them when they're adults.

Oh, and make the NSX be the first car your son drives (your clutch notwithstanding). Made my daughter a car girl forever.
This actually means more to me than the car. They've both asked to learn to drive manual on the NSX already LOL. My oldest will be driving in 4 years... :)
 
This actually means more to me than the car. They've both asked to learn to drive manual on the NSX already LOL. My oldest will be driving in 4 years... :)
It’s great they are even interested. Hard to find kids these days interested in cars. It helps you’ve immersed yourself in your NSX and it looks like it rubbed off on your kids.

One word of caution, both of my kids had accidents within the first six months of turning 16. Even our friends have experienced the same with their kid’s driving experience. Obviously the NSX is not going to be their first solo car, but whatever car that ends up being, make sure it is the safest, least expensive car you can put them into. I almost guarantee there will be a fender bender within their first year of solo driving.
 
I teach teen advanced driving for a charitable organization called B.R.A.K.E.S. The class is free (you place a $99 deposit to hold your place and it is refunded, if you want). We teach car control, skid control, accident avoidance and ABS activation and control besides classroom sessions. Plus upon graduation we offer a certificate that is recognized by several major insurance carriers for discount. I would strongly recommend this class for all young teens before bad habits are set.

As to a first vehicle, a 1974 F-150. Cheap, indestructable and relativly safe. Asl me how I know.
That sounds exactly like what I want them to take. I learned on a racetrack (dad raced SCCA), but car control, skid control, and threshold braking are important skills and have saved me many times. I always wondered if there was a course kids could take that puts them on a skidpad and lets them experience/practice departures from control in a safe environment.

It’s great they are even interested. Hard to find kids these days interested in cars. It helps you’ve immersed yourself in your NSX and it looks like it rubbed off on your kids.

One word of caution, both of my kids had accidents within the first six months of turning 16. Even our friends have experienced the same with their kid’s driving experience. Obviously the NSX is not going to be their first solo car, but whatever car that ends up being, make sure it is the safest, least expensive car you can put them into. I almost guarantee there will be a fender bender within their first year of solo driving.
Our criteria is safe, cheap, reliable and AWD (because our kids are skiers and will undoubtedly go up in the mountains during the winter). My list so far is (figure a 5 or 6 year old used car in 2027):

Subaru Crosstrek
Honda HR-V
Ford Ecosport
Mazda CX-3
 
Back
Top