
Although this information is almost 2 years old now, it occurred to me that I never got around to transferring this over from my build thread onto it's own thread. Someone on the NSX Prime facebook group was asking for some tips on installation and so I tried searching for it but my build thread doesn't pop up. Anyhow, here it is...
Genuine NSX-R lid install on targa!
First, I will preface by saying there are various options out there for parts, as well as several methods and techniques that will get the job done. If you're a targa owner like me, you know how difficult it is to find straight-forward information and the correct pieces needed to install the lid in the cleanest way possible (genuine r lid on targa will not install perfectly). This is how I did it and I think it came out fantastic.
Here are all the parts you will need:
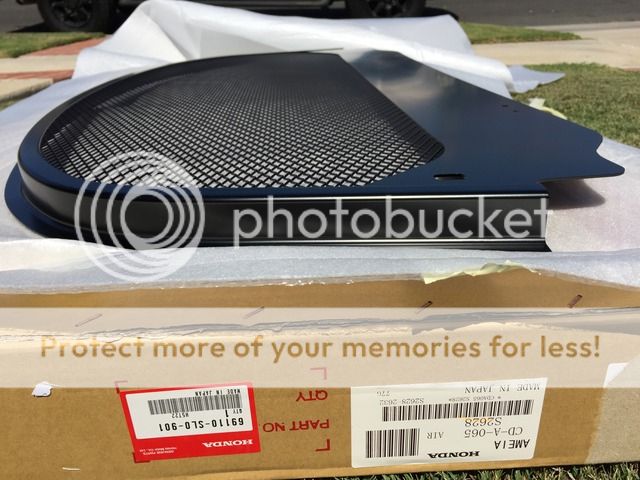
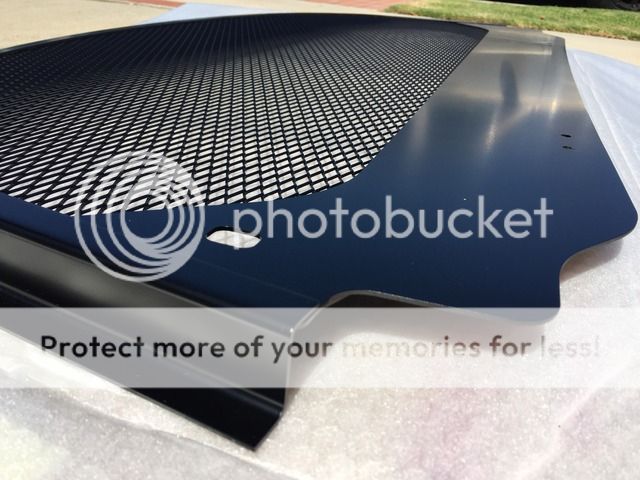
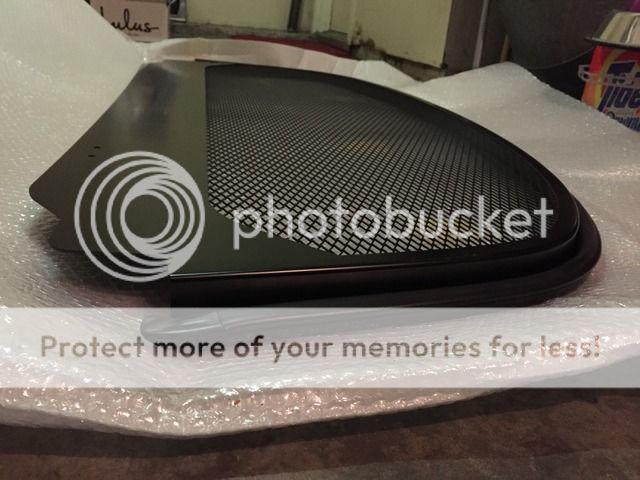
69110-SL0-901; qty. 1 ------------ NSX-R lid
74442-SL0-003; qty 1 ------------- Weather stripping *
69210-SL0-900; qty. 2 ------------ Hinges
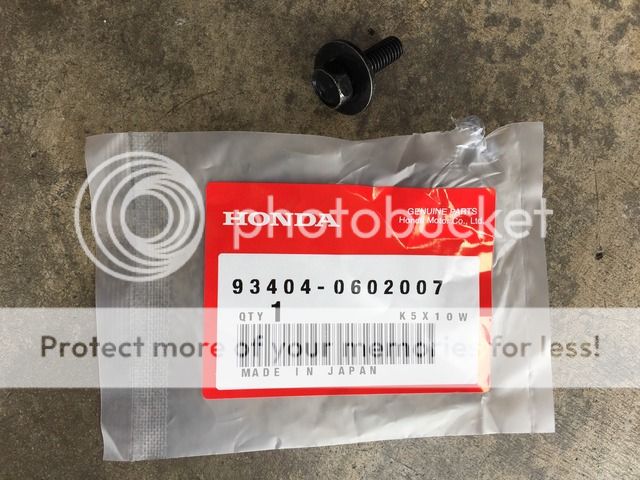
93404-0602007; qty. 4 ------------ M6x1.0 hex bolts w/ washer; mount hinges to chassis **
90151-SR2-000; qty. 4 ------------ M6x1.0 allen bolts; mount lid to hinges
74845-SL0-900; qty. 1 ------------ Prop rod
69112-SL0-900; qty. 1 ------------ Bracket; mount prop rod
91604-SD2-013; qty. 1 ----------- Grommet; prop rod bracket
90006-PT2-003; qty. 2 ------------ M6x1.0 hex bolts; mount prop rod bracket
32756-PBY-N51; qty. 1 ------------ Bracket; mount prop rod retainer clip
91503-SS0-003; qty. 1 ------------ Prop rod retainer clip
72142-SL0-000; qty. 2 ------------ Rubber stopper; engine lid rest (thanks to @BB for the info)
*: only necessary if current needs replacement
**: coupe only
A few things to note- your current targa or coupe engine lid weather stripping can be reused but if it needs replacing now would be a great time to do it. Also, this install is basically entirely bolt-on for coupe owners, so be sure to order those nice OEM bolts w/washers to mount your hinges to the chassis. For us targa owners, we will be using spacers here instead, which is why you dont need to buy those specific bolts (they will be too short).
I ended up staying up super late one night brainstorming ideas on how I would make my lid fit without making any irreversible modification. Unfortunately, drilling is required to mount the OEM prop rod bracket on both targa and coupe; check out @comtec’s solution if drilling two small holes scares you. I was fortunate enough to have a few local friends that had spacers lying around (thank you Jimmy @flexthatdx, Tony @S2k-Nsx and Chaddy) so I thought I was set to install the lid. Jimmy gave me a pair of Comptech billet spacers, provided in conjunction for installation of their CTSC targa bag and Tony gave me a pair of SOS spacers, used in between where the lid mounts onto the hinges. After a bit of research, I found out that Tom @socalx was using two CT spacers in between each of the mounting point where the hinges meet the chassis. He is one of the most secretive people I know, so I looked up an old Honda Tuning article on his NSX and low and behold there was a nice engine bay shot that captured his spacer set up within the frame. Because I only had 2 Comptech spacers, I searched high and low for another pair but to no avail. The SOS spacer route forces you to use aftermarket bolts (can no longer use OEM allen head bolts), cutting of the stock weather stripping underneath the lid where it hits and also, the complete kit does not utilize the OEM NSX-R hinges. Tom said he had no clearance issues with usage of 2 CT billet spacers at each mounting location whereas Nemo @nsxnemo showed me his SOS NSX-R lid installation kit mounted, and was forced to cut the weather stripping where the lid hits it on the underside upon closing. I measured the spacers and what I found was that the SOS spacer kit adds a total of 17mm of height on each side whereas the CT spacers added 24mm of height. I believe this difference of 7mm is why Tom had no issues closing his lid whereas Nemo was forced to cut. I had to figure out an alternative. I remembered back in my ricey civic days, owners would use hood spacers to create that menacing look in hopes that potential victims on the road would stay away from their scary d16y7 (promise I held myself back from doing this ). Turns out, the mounting points on a civic hood are equidistant to the engine cover mounting points on our NSXs, meaning I could order 22mm hood spacers off ebay and use it to install my genuine r lid. Sounds like sacrilege to have a near $2k part come in contact with such an inexpensive item off ebay, but there was no other option. Much to my surprise, this ended up being a very viable solution. The spacer I ordered even came with extended M6x1.0 hex bolts. Please be aware that adding spacers will require you to use a bit more force when shutting your hatch glass. The edges of the lid sit closer to the hatch glass, but as long as your weather stripping is intact, you will be fine and won’t cause damage to any components.
Another thing I did different on my install was utilizing the OEM NSX-R resistor bracket that also serves as the mounting point for the prop rod retainer clip. I had searched high and low on the forums for the damn part number, to see if anyone had used it, but was left in the dark. Many resort to a custom solution, which is fine and functions 100% but I really wanted to use that OEM bracket. I was determined the find the correct part number. I cross referenced Japanese part inventory with U.S. Acura part inventory. It was difficult to pin point which numbers refer to which components, as the diagrams and numbers are often very smudgy. Alas, I found the part number that looked most like the bracket I needed and this particular number was not in the U.S. Acura parts database. I figured if its not in the U.S. Acura parts database, this means higher chances of this part being the item I'm looking for since there is no such thing as a U.S. NSX-R. Many thanks go out to Marc @SpeedyPartsJapan for helping me throw the dice at this mystery bracket that I had not actually seen before. After a week or so of waiting for the part to arrive, I was beyond ecstatic when Marc sent me photos. It was in fact the correct bracket, with cut out for the prop rod retainer clip . Marc is a fellow NSX owner originally from Canada but currently living in Tokyo. He speaks fluent Japanese and English so it is super easy to go through him for special order JDM OEM and aftermarket parts; it’s a shame we didn't get to meet up during my trip to Japan for NSX Fiesta 2016.
The install itself is very straight forward once you have all necessary parts in front of you. Huge thank you to Nemo @nsxnemo for sourcing the lid for me, Louis @AdvansCPAP for ordering me all the nuts and bolts and last but not least, Marc @SpeedyPartsJapan for helping me order the mystery bracket.
First order of business, transfer that weather stripping!
Ebay spacer 22mm; qty. 1 (top left)
Comptech 24mm; qty. 2 (top right, only one pictured)
SOS spacer 17mm; qty. 2 (bottom)
One comptech spacer is way too short.
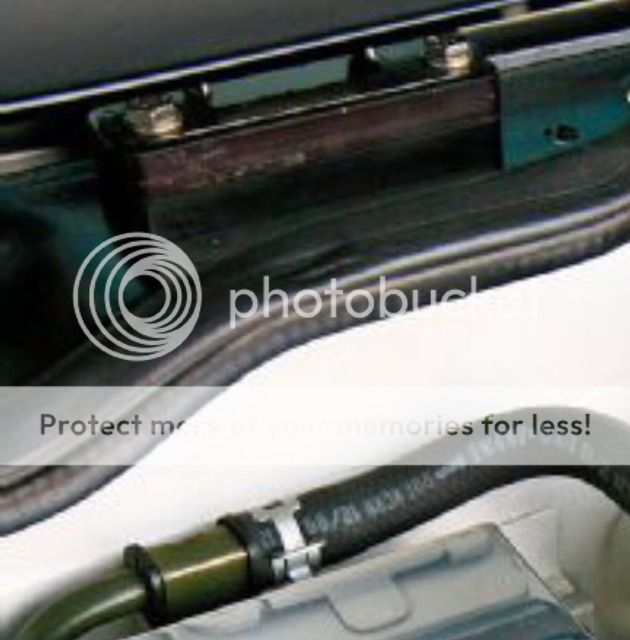
Here is Tom’s set up on his previous NSX. 2 Comptech billet spacers required.
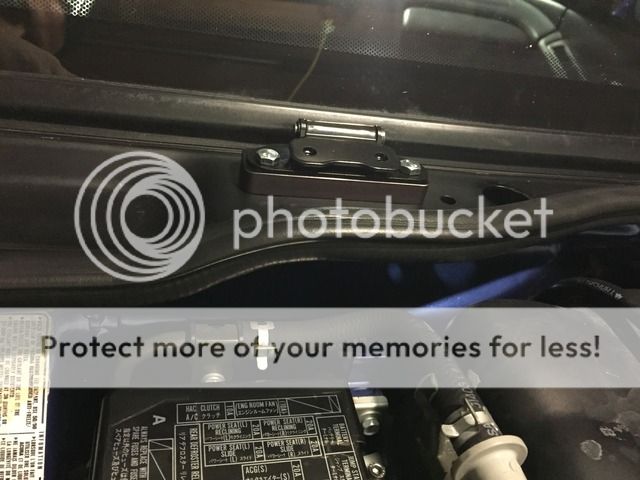
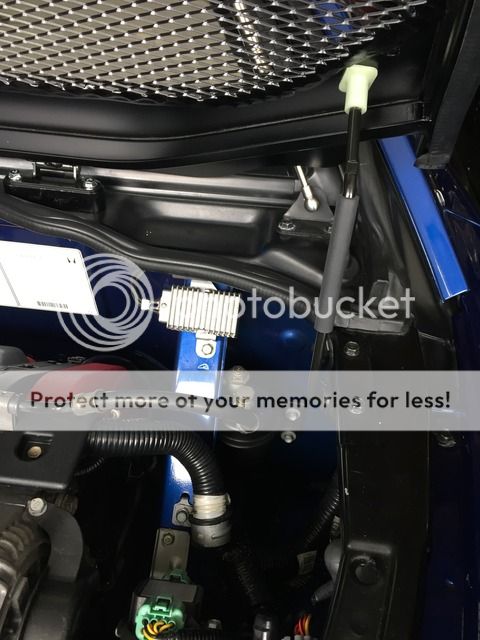
Ebay spacer mounted, need to paint it black asap. Brand is "God Snow"
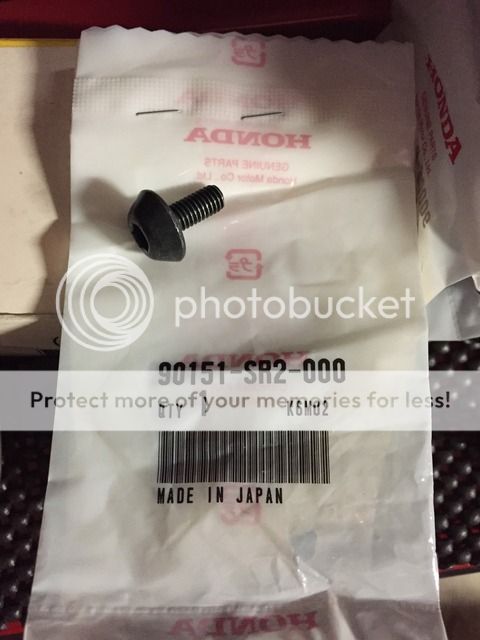
Beautiful OEM allen head bolts.
Coupe owners will want to use these to mount hinges to chassis.
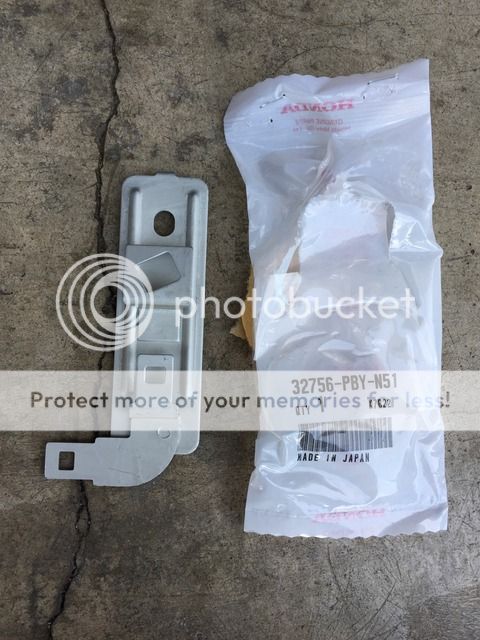
Mystery bracket in the flesh.
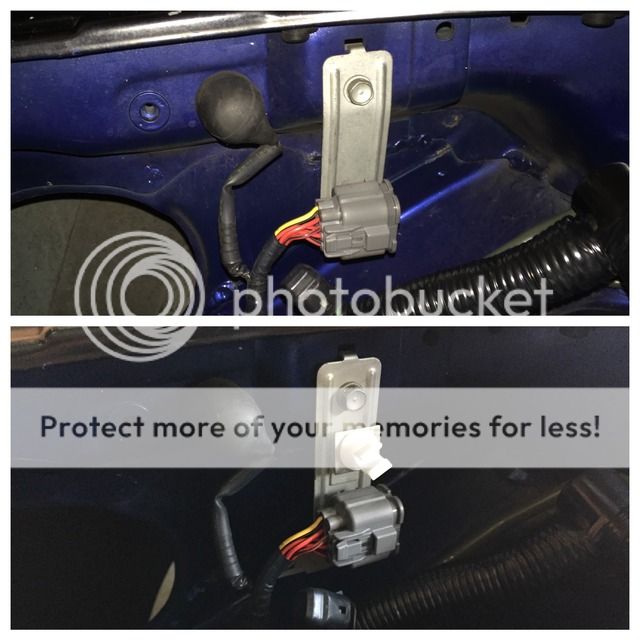
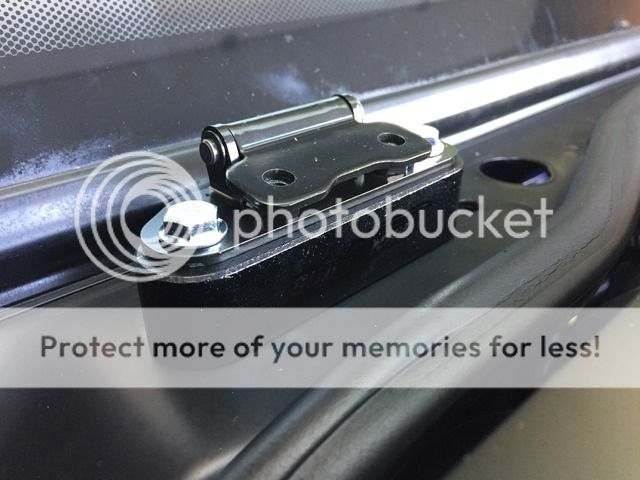
Installed this first to ensure perfect positioning for drilling points into chassis.
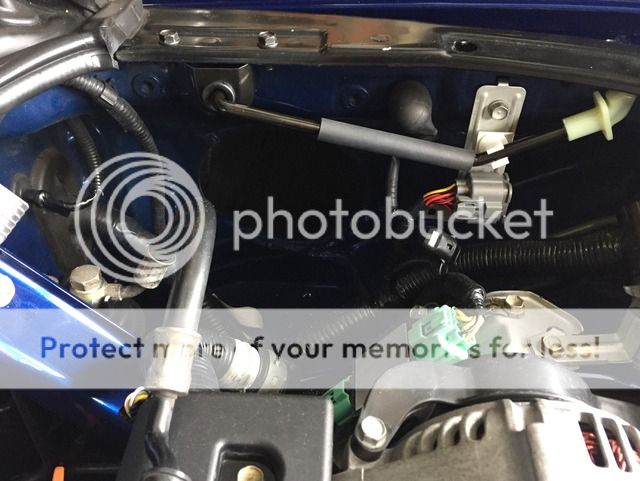
Drilled and prop rod bracket mounted.
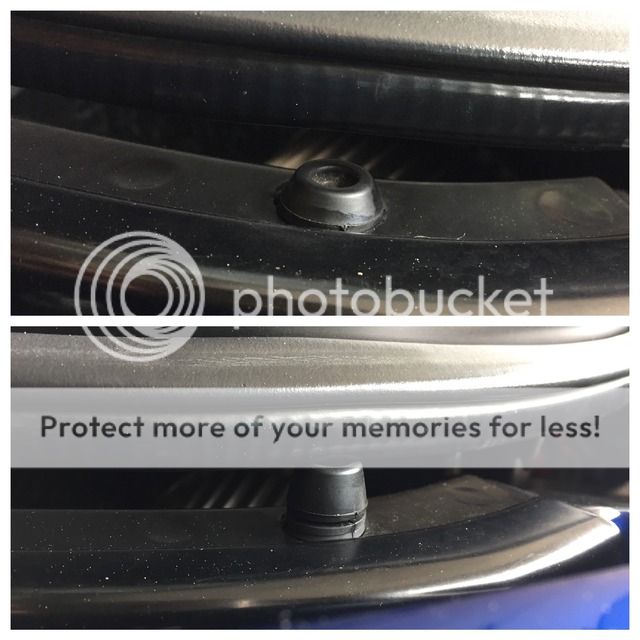
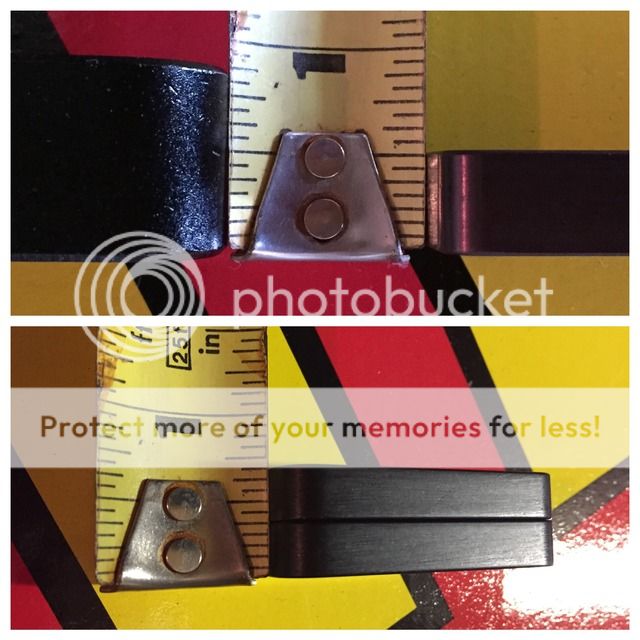
Before and after installing the correct size stopper.

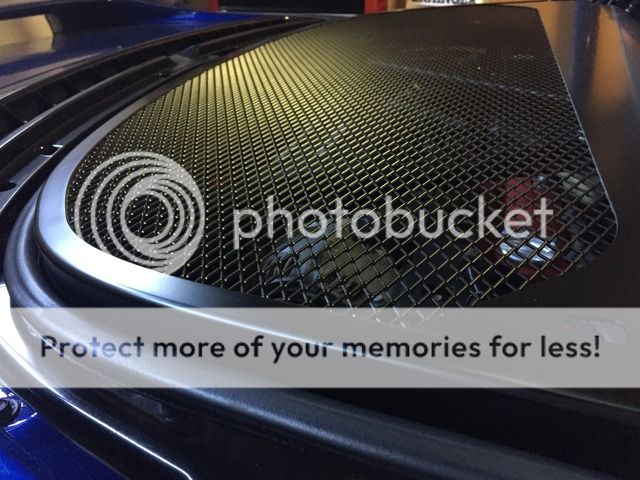
Lid closed after install, weather stripping is begging for mercy.

All done and installed.
Here are some honorable mentions, helped me tons with my research:
http://www.nsxprime.com/forum/showthread.php/195573-Genuine-NSX-R-engine-covers-are-available-again
http://www.nsxprime.com/forum/showthread.php/166956-NSX-R-Engine-Cover-Prop-Bar-Hole-Size
http://www.nsxcb.co.uk/showthread.php?4742-Type-R-Type-S-Owners-Help-Please
Genuine NSX-R lid install on targa!
First, I will preface by saying there are various options out there for parts, as well as several methods and techniques that will get the job done. If you're a targa owner like me, you know how difficult it is to find straight-forward information and the correct pieces needed to install the lid in the cleanest way possible (genuine r lid on targa will not install perfectly). This is how I did it and I think it came out fantastic.
Here are all the parts you will need:
69110-SL0-901; qty. 1 ------------ NSX-R lid
74442-SL0-003; qty 1 ------------- Weather stripping *
69210-SL0-900; qty. 2 ------------ Hinges
93404-0602007; qty. 4 ------------ M6x1.0 hex bolts w/ washer; mount hinges to chassis **
90151-SR2-000; qty. 4 ------------ M6x1.0 allen bolts; mount lid to hinges
74845-SL0-900; qty. 1 ------------ Prop rod
69112-SL0-900; qty. 1 ------------ Bracket; mount prop rod
91604-SD2-013; qty. 1 ----------- Grommet; prop rod bracket
90006-PT2-003; qty. 2 ------------ M6x1.0 hex bolts; mount prop rod bracket
32756-PBY-N51; qty. 1 ------------ Bracket; mount prop rod retainer clip
91503-SS0-003; qty. 1 ------------ Prop rod retainer clip
72142-SL0-000; qty. 2 ------------ Rubber stopper; engine lid rest (thanks to @BB for the info)
*: only necessary if current needs replacement
**: coupe only
A few things to note- your current targa or coupe engine lid weather stripping can be reused but if it needs replacing now would be a great time to do it. Also, this install is basically entirely bolt-on for coupe owners, so be sure to order those nice OEM bolts w/washers to mount your hinges to the chassis. For us targa owners, we will be using spacers here instead, which is why you dont need to buy those specific bolts (they will be too short).
I ended up staying up super late one night brainstorming ideas on how I would make my lid fit without making any irreversible modification. Unfortunately, drilling is required to mount the OEM prop rod bracket on both targa and coupe; check out @comtec’s solution if drilling two small holes scares you. I was fortunate enough to have a few local friends that had spacers lying around (thank you Jimmy @flexthatdx, Tony @S2k-Nsx and Chaddy) so I thought I was set to install the lid. Jimmy gave me a pair of Comptech billet spacers, provided in conjunction for installation of their CTSC targa bag and Tony gave me a pair of SOS spacers, used in between where the lid mounts onto the hinges. After a bit of research, I found out that Tom @socalx was using two CT spacers in between each of the mounting point where the hinges meet the chassis. He is one of the most secretive people I know, so I looked up an old Honda Tuning article on his NSX and low and behold there was a nice engine bay shot that captured his spacer set up within the frame. Because I only had 2 Comptech spacers, I searched high and low for another pair but to no avail. The SOS spacer route forces you to use aftermarket bolts (can no longer use OEM allen head bolts), cutting of the stock weather stripping underneath the lid where it hits and also, the complete kit does not utilize the OEM NSX-R hinges. Tom said he had no clearance issues with usage of 2 CT billet spacers at each mounting location whereas Nemo @nsxnemo showed me his SOS NSX-R lid installation kit mounted, and was forced to cut the weather stripping where the lid hits it on the underside upon closing. I measured the spacers and what I found was that the SOS spacer kit adds a total of 17mm of height on each side whereas the CT spacers added 24mm of height. I believe this difference of 7mm is why Tom had no issues closing his lid whereas Nemo was forced to cut. I had to figure out an alternative. I remembered back in my ricey civic days, owners would use hood spacers to create that menacing look in hopes that potential victims on the road would stay away from their scary d16y7 (promise I held myself back from doing this ). Turns out, the mounting points on a civic hood are equidistant to the engine cover mounting points on our NSXs, meaning I could order 22mm hood spacers off ebay and use it to install my genuine r lid. Sounds like sacrilege to have a near $2k part come in contact with such an inexpensive item off ebay, but there was no other option. Much to my surprise, this ended up being a very viable solution. The spacer I ordered even came with extended M6x1.0 hex bolts. Please be aware that adding spacers will require you to use a bit more force when shutting your hatch glass. The edges of the lid sit closer to the hatch glass, but as long as your weather stripping is intact, you will be fine and won’t cause damage to any components.
Another thing I did different on my install was utilizing the OEM NSX-R resistor bracket that also serves as the mounting point for the prop rod retainer clip. I had searched high and low on the forums for the damn part number, to see if anyone had used it, but was left in the dark. Many resort to a custom solution, which is fine and functions 100% but I really wanted to use that OEM bracket. I was determined the find the correct part number. I cross referenced Japanese part inventory with U.S. Acura part inventory. It was difficult to pin point which numbers refer to which components, as the diagrams and numbers are often very smudgy. Alas, I found the part number that looked most like the bracket I needed and this particular number was not in the U.S. Acura parts database. I figured if its not in the U.S. Acura parts database, this means higher chances of this part being the item I'm looking for since there is no such thing as a U.S. NSX-R. Many thanks go out to Marc @SpeedyPartsJapan for helping me throw the dice at this mystery bracket that I had not actually seen before. After a week or so of waiting for the part to arrive, I was beyond ecstatic when Marc sent me photos. It was in fact the correct bracket, with cut out for the prop rod retainer clip . Marc is a fellow NSX owner originally from Canada but currently living in Tokyo. He speaks fluent Japanese and English so it is super easy to go through him for special order JDM OEM and aftermarket parts; it’s a shame we didn't get to meet up during my trip to Japan for NSX Fiesta 2016.
The install itself is very straight forward once you have all necessary parts in front of you. Huge thank you to Nemo @nsxnemo for sourcing the lid for me, Louis @AdvansCPAP for ordering me all the nuts and bolts and last but not least, Marc @SpeedyPartsJapan for helping me order the mystery bracket.
HTML:
First order of business, transfer that weather stripping!
Ebay spacer 22mm; qty. 1 (top left)
Comptech 24mm; qty. 2 (top right, only one pictured)
SOS spacer 17mm; qty. 2 (bottom)
One comptech spacer is way too short.
Here is Tom’s set up on his previous NSX. 2 Comptech billet spacers required.
Ebay spacer mounted, need to paint it black asap. Brand is "God Snow"
Beautiful OEM allen head bolts.
Coupe owners will want to use these to mount hinges to chassis.
Mystery bracket in the flesh.
Installed this first to ensure perfect positioning for drilling points into chassis.
Drilled and prop rod bracket mounted.
Before and after installing the correct size stopper.
Lid closed after install, weather stripping is begging for mercy.
All done and installed.
Here are some honorable mentions, helped me tons with my research:
http://www.nsxprime.com/forum/showthread.php/195573-Genuine-NSX-R-engine-covers-are-available-again
http://www.nsxprime.com/forum/showthread.php/166956-NSX-R-Engine-Cover-Prop-Bar-Hole-Size
http://www.nsxcb.co.uk/showthread.php?4742-Type-R-Type-S-Owners-Help-Please

