Just in time for Christmas a huge package from the Netherlands arrived at my door, containing a whole set of NSX electronics waiting for recap and potentially repair.
One of the first items on the list were the speaker amplifiers.
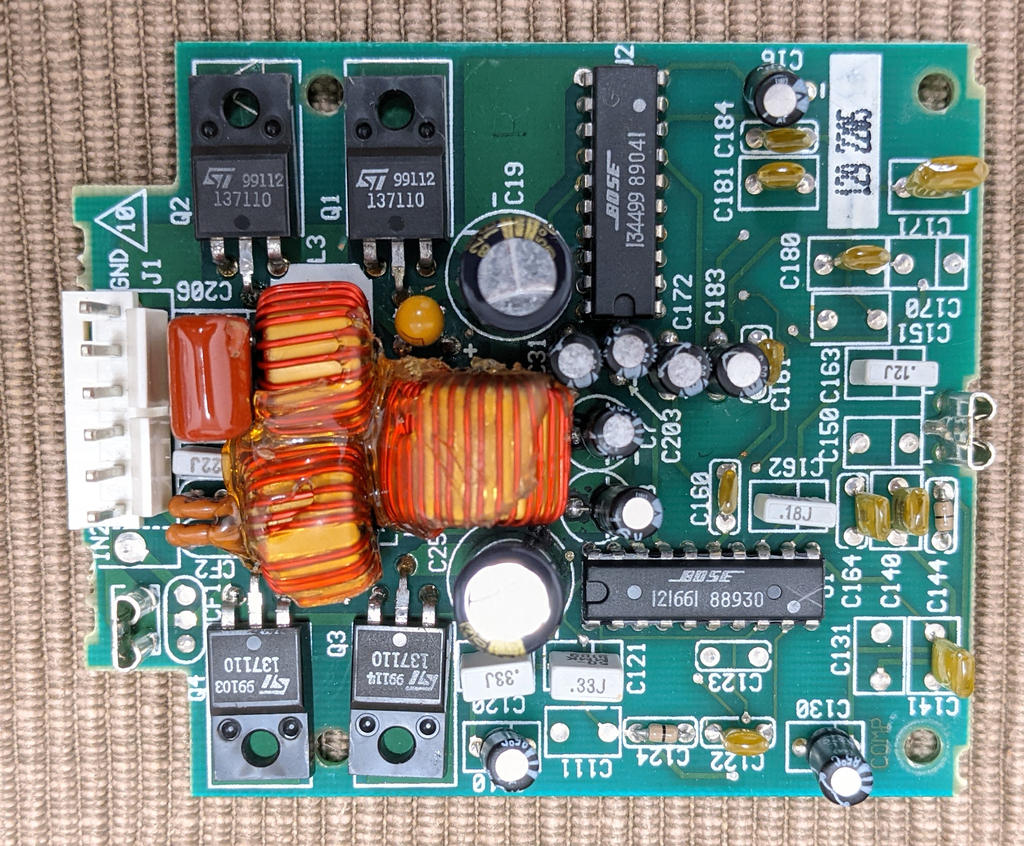
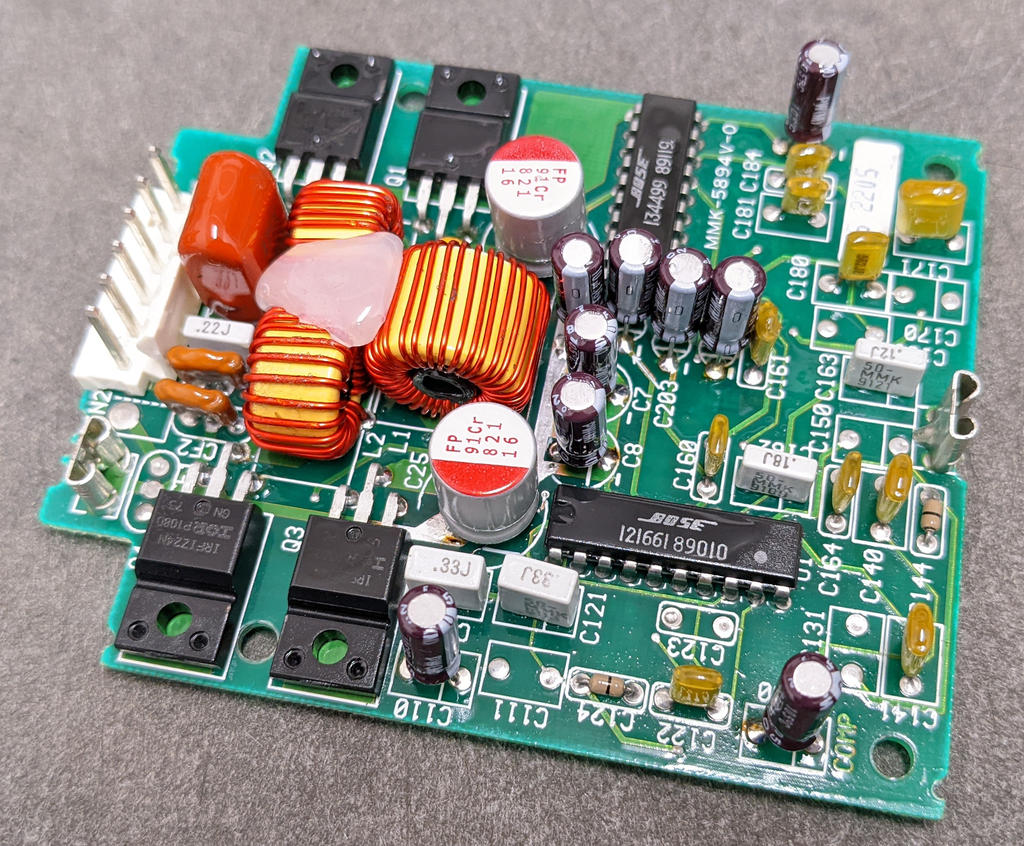
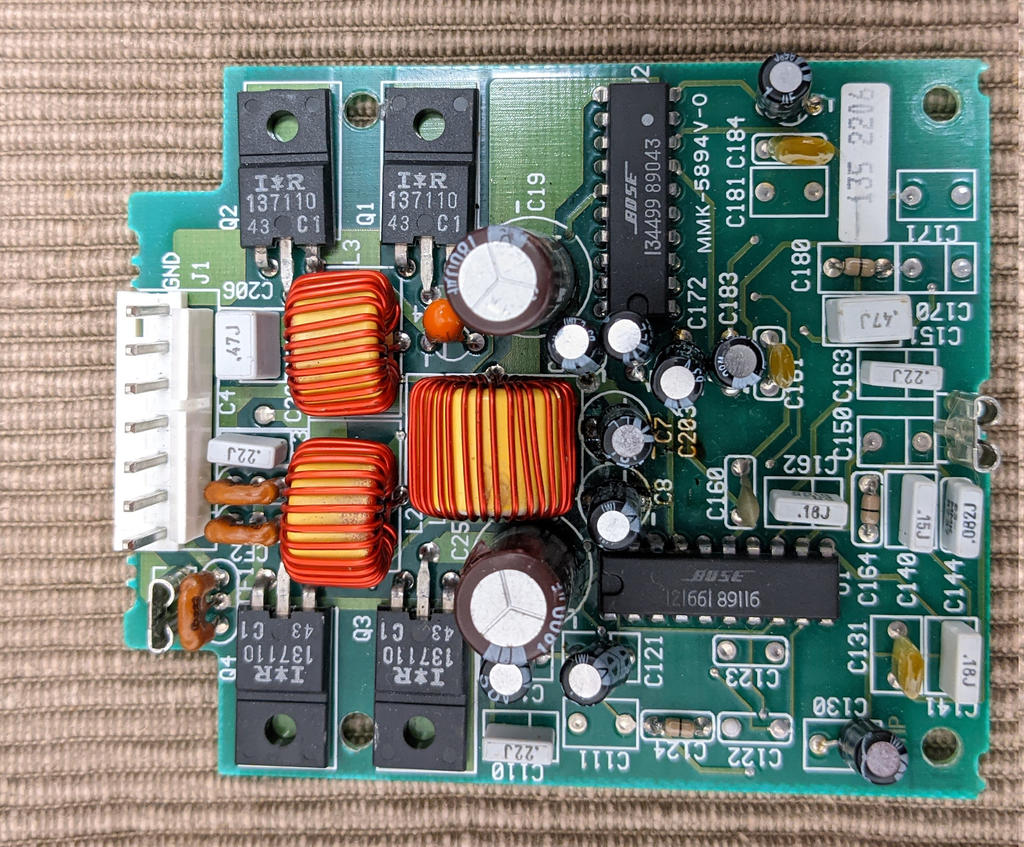
front left amplifier

It's easy to see that all three had been worked on in the past but without much care:
front left amplifier
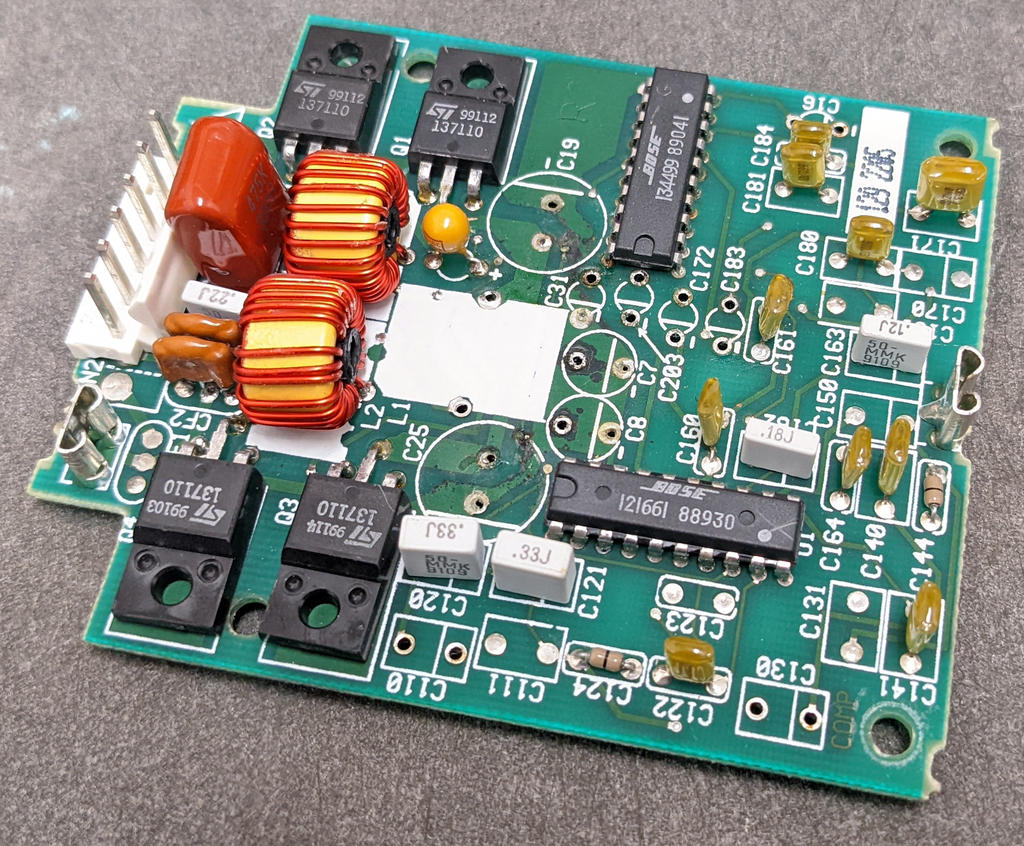
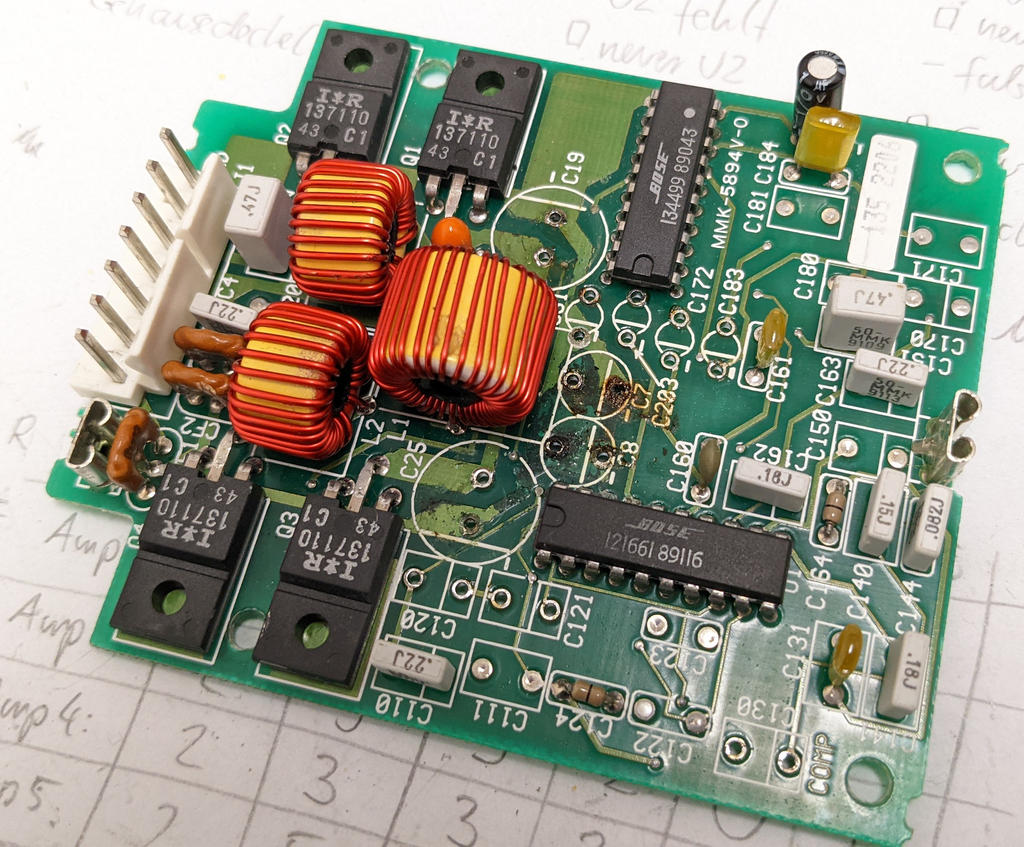
front right amplifier
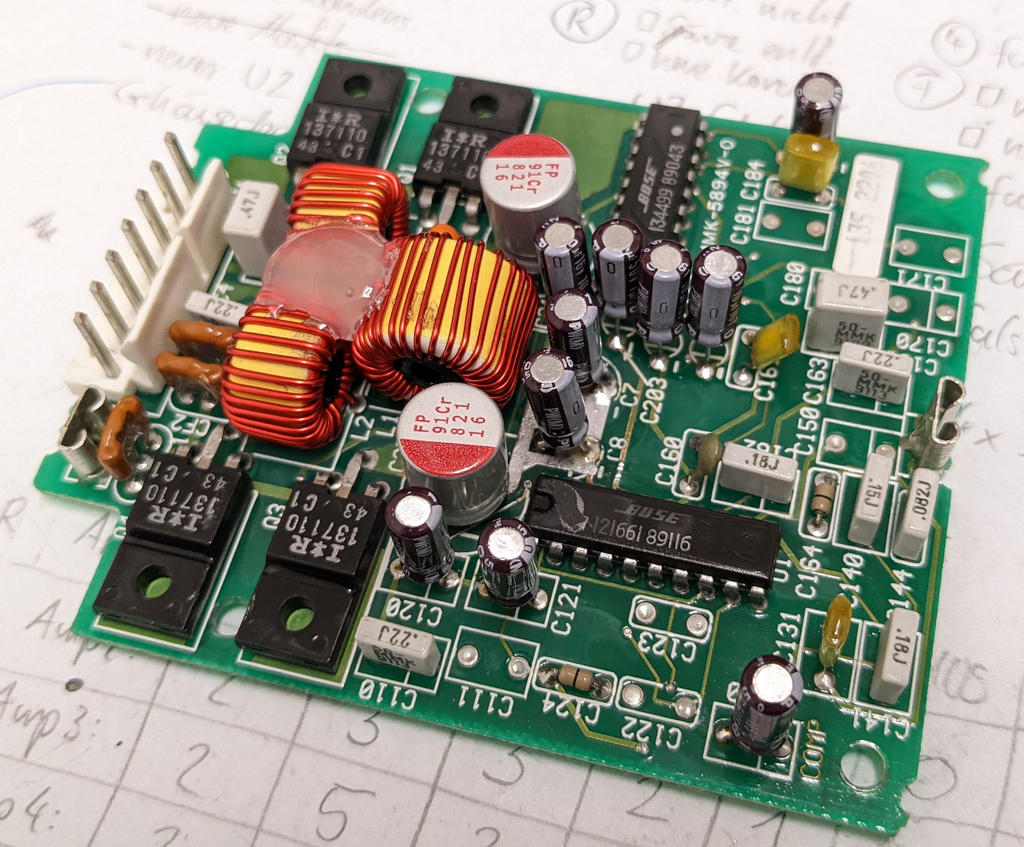
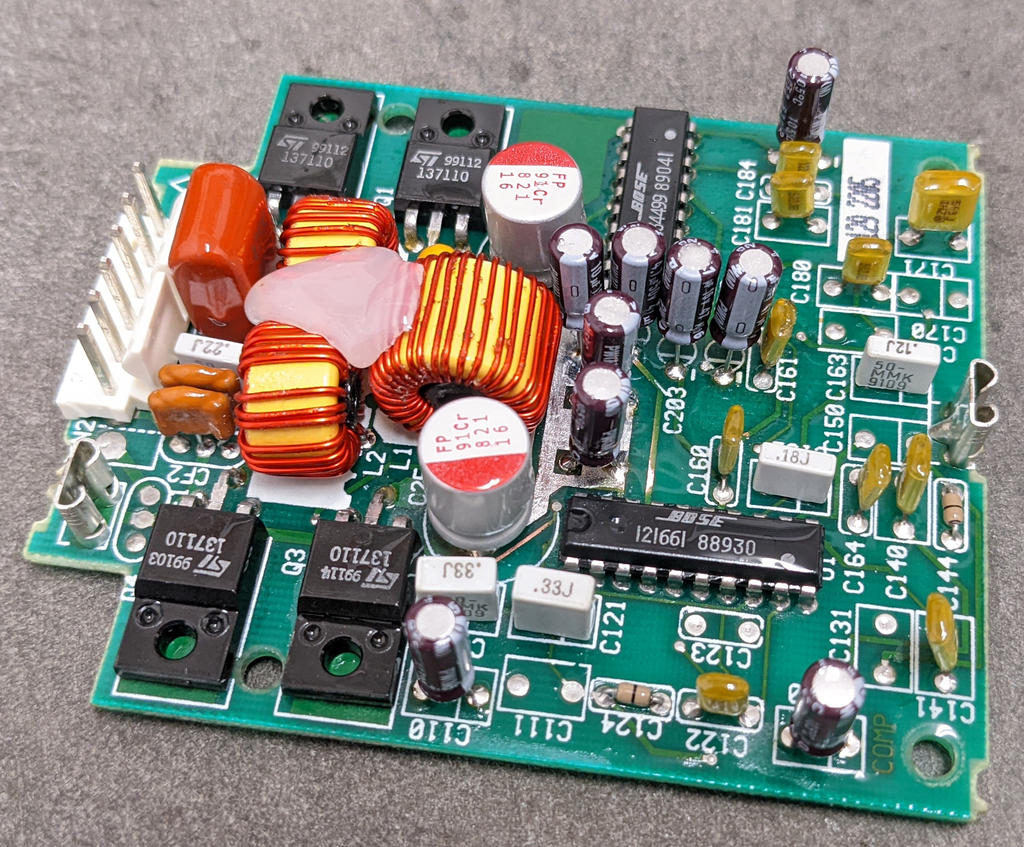
footwell amplifier
Together with the three working amplifiers came two half-complete footwell amps that served as a replacement parts supply at some time in the past.
Since it would be a shame to leave them in this poor state, they were completed and repaired.
One was missing the Bose U2 chip. It was replaced with a used part from Ali Express. The second one showed heavy distortions above a certain volume level. Reason was a broken connection from U2 to the bottom right transistor leading to a floating input. It took a while to find the root cause since such behaviour could have been a damaged U2 as well.
All transistors were replaced in the process and U1 as well as U2 were put on sockets to allow for quick and simple checks of suspicious parts in the future.
PCB cleaning was performed and new capacitors installed (one of the amplifiers was missing all it's caps, even one tantalum type, which is unusual).
Thanks to the owner who sold me these two surplus amps to be used as future comparison and test devices

PS: Information obtained from this work has been added to the corresponding blog pages on NSXCB.
One of the first items on the list were the speaker amplifiers.
front left amplifier
front right amplifier
footwell amplifier
footwell amplifier
It's easy to see that all three had been worked on in the past but without much care:
- All three had new capacitors of various quality installed.
- None had any acid removal done.
- Front right had the wrong capacitor value installed at place where it potentially affects the sound response.
The transistors were replaced with the wrong (non-insulated) type and covered with rubber buttons to avoid shorts when attaching the metal case. - Footwell got a new U2 (visible from the solder joints) and new capacitors but they didn't fit under the metal case so the centre holes were enlarged.
The glue between the coils preventing them from moving (and potentially breaking off) was missing.
front left amplifier
front right amplifier
footwell amplifier
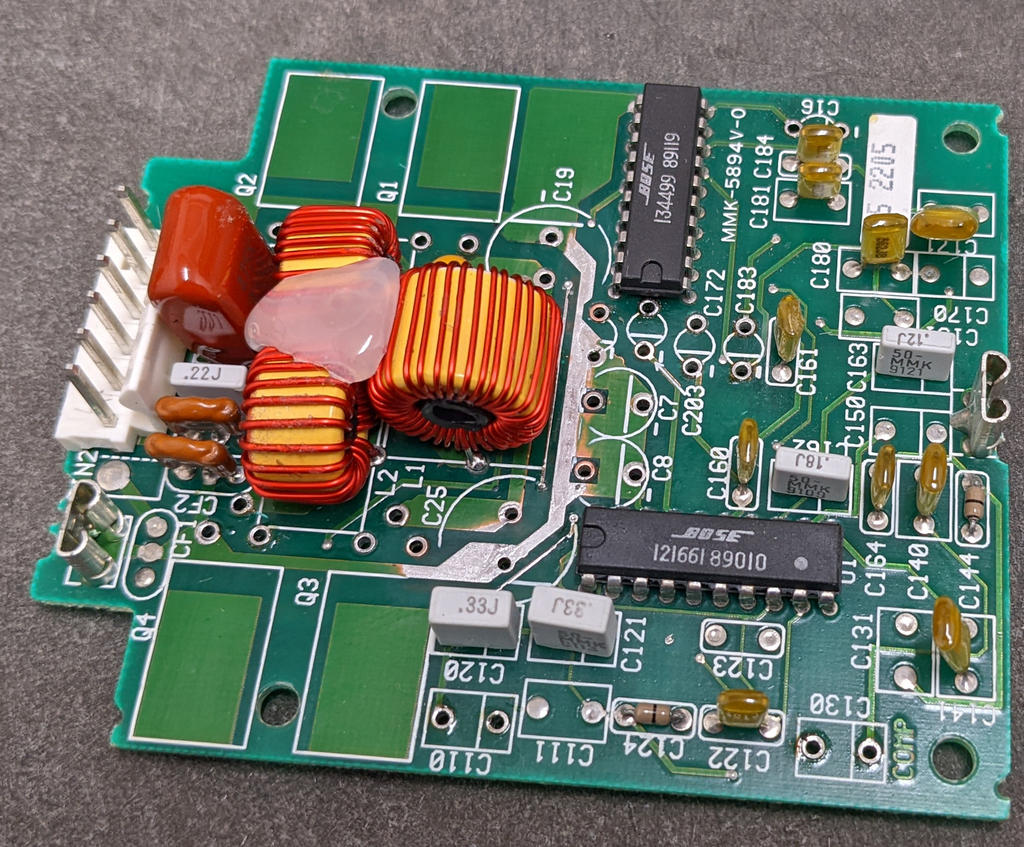
Together with the three working amplifiers came two half-complete footwell amps that served as a replacement parts supply at some time in the past.
Since it would be a shame to leave them in this poor state, they were completed and repaired.
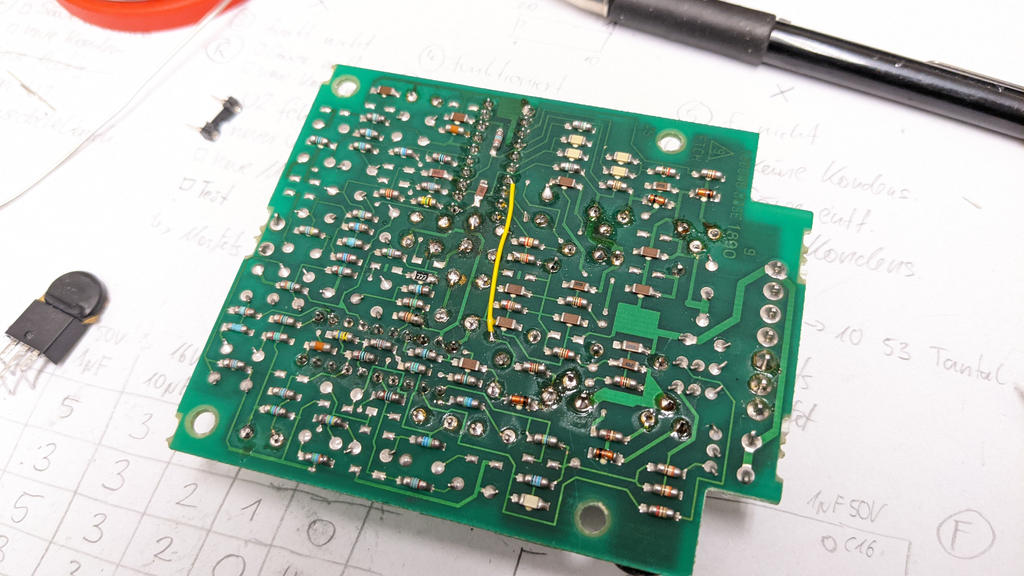
One was missing the Bose U2 chip. It was replaced with a used part from Ali Express. The second one showed heavy distortions above a certain volume level. Reason was a broken connection from U2 to the bottom right transistor leading to a floating input. It took a while to find the root cause since such behaviour could have been a damaged U2 as well.
corresponding repair wire
All transistors were replaced in the process and U1 as well as U2 were put on sockets to allow for quick and simple checks of suspicious parts in the future.
PCB cleaning was performed and new capacitors installed (one of the amplifiers was missing all it's caps, even one tantalum type, which is unusual).
Thanks to the owner who sold me these two surplus amps to be used as future comparison and test devices
PS: Information obtained from this work has been added to the corresponding blog pages on NSXCB.