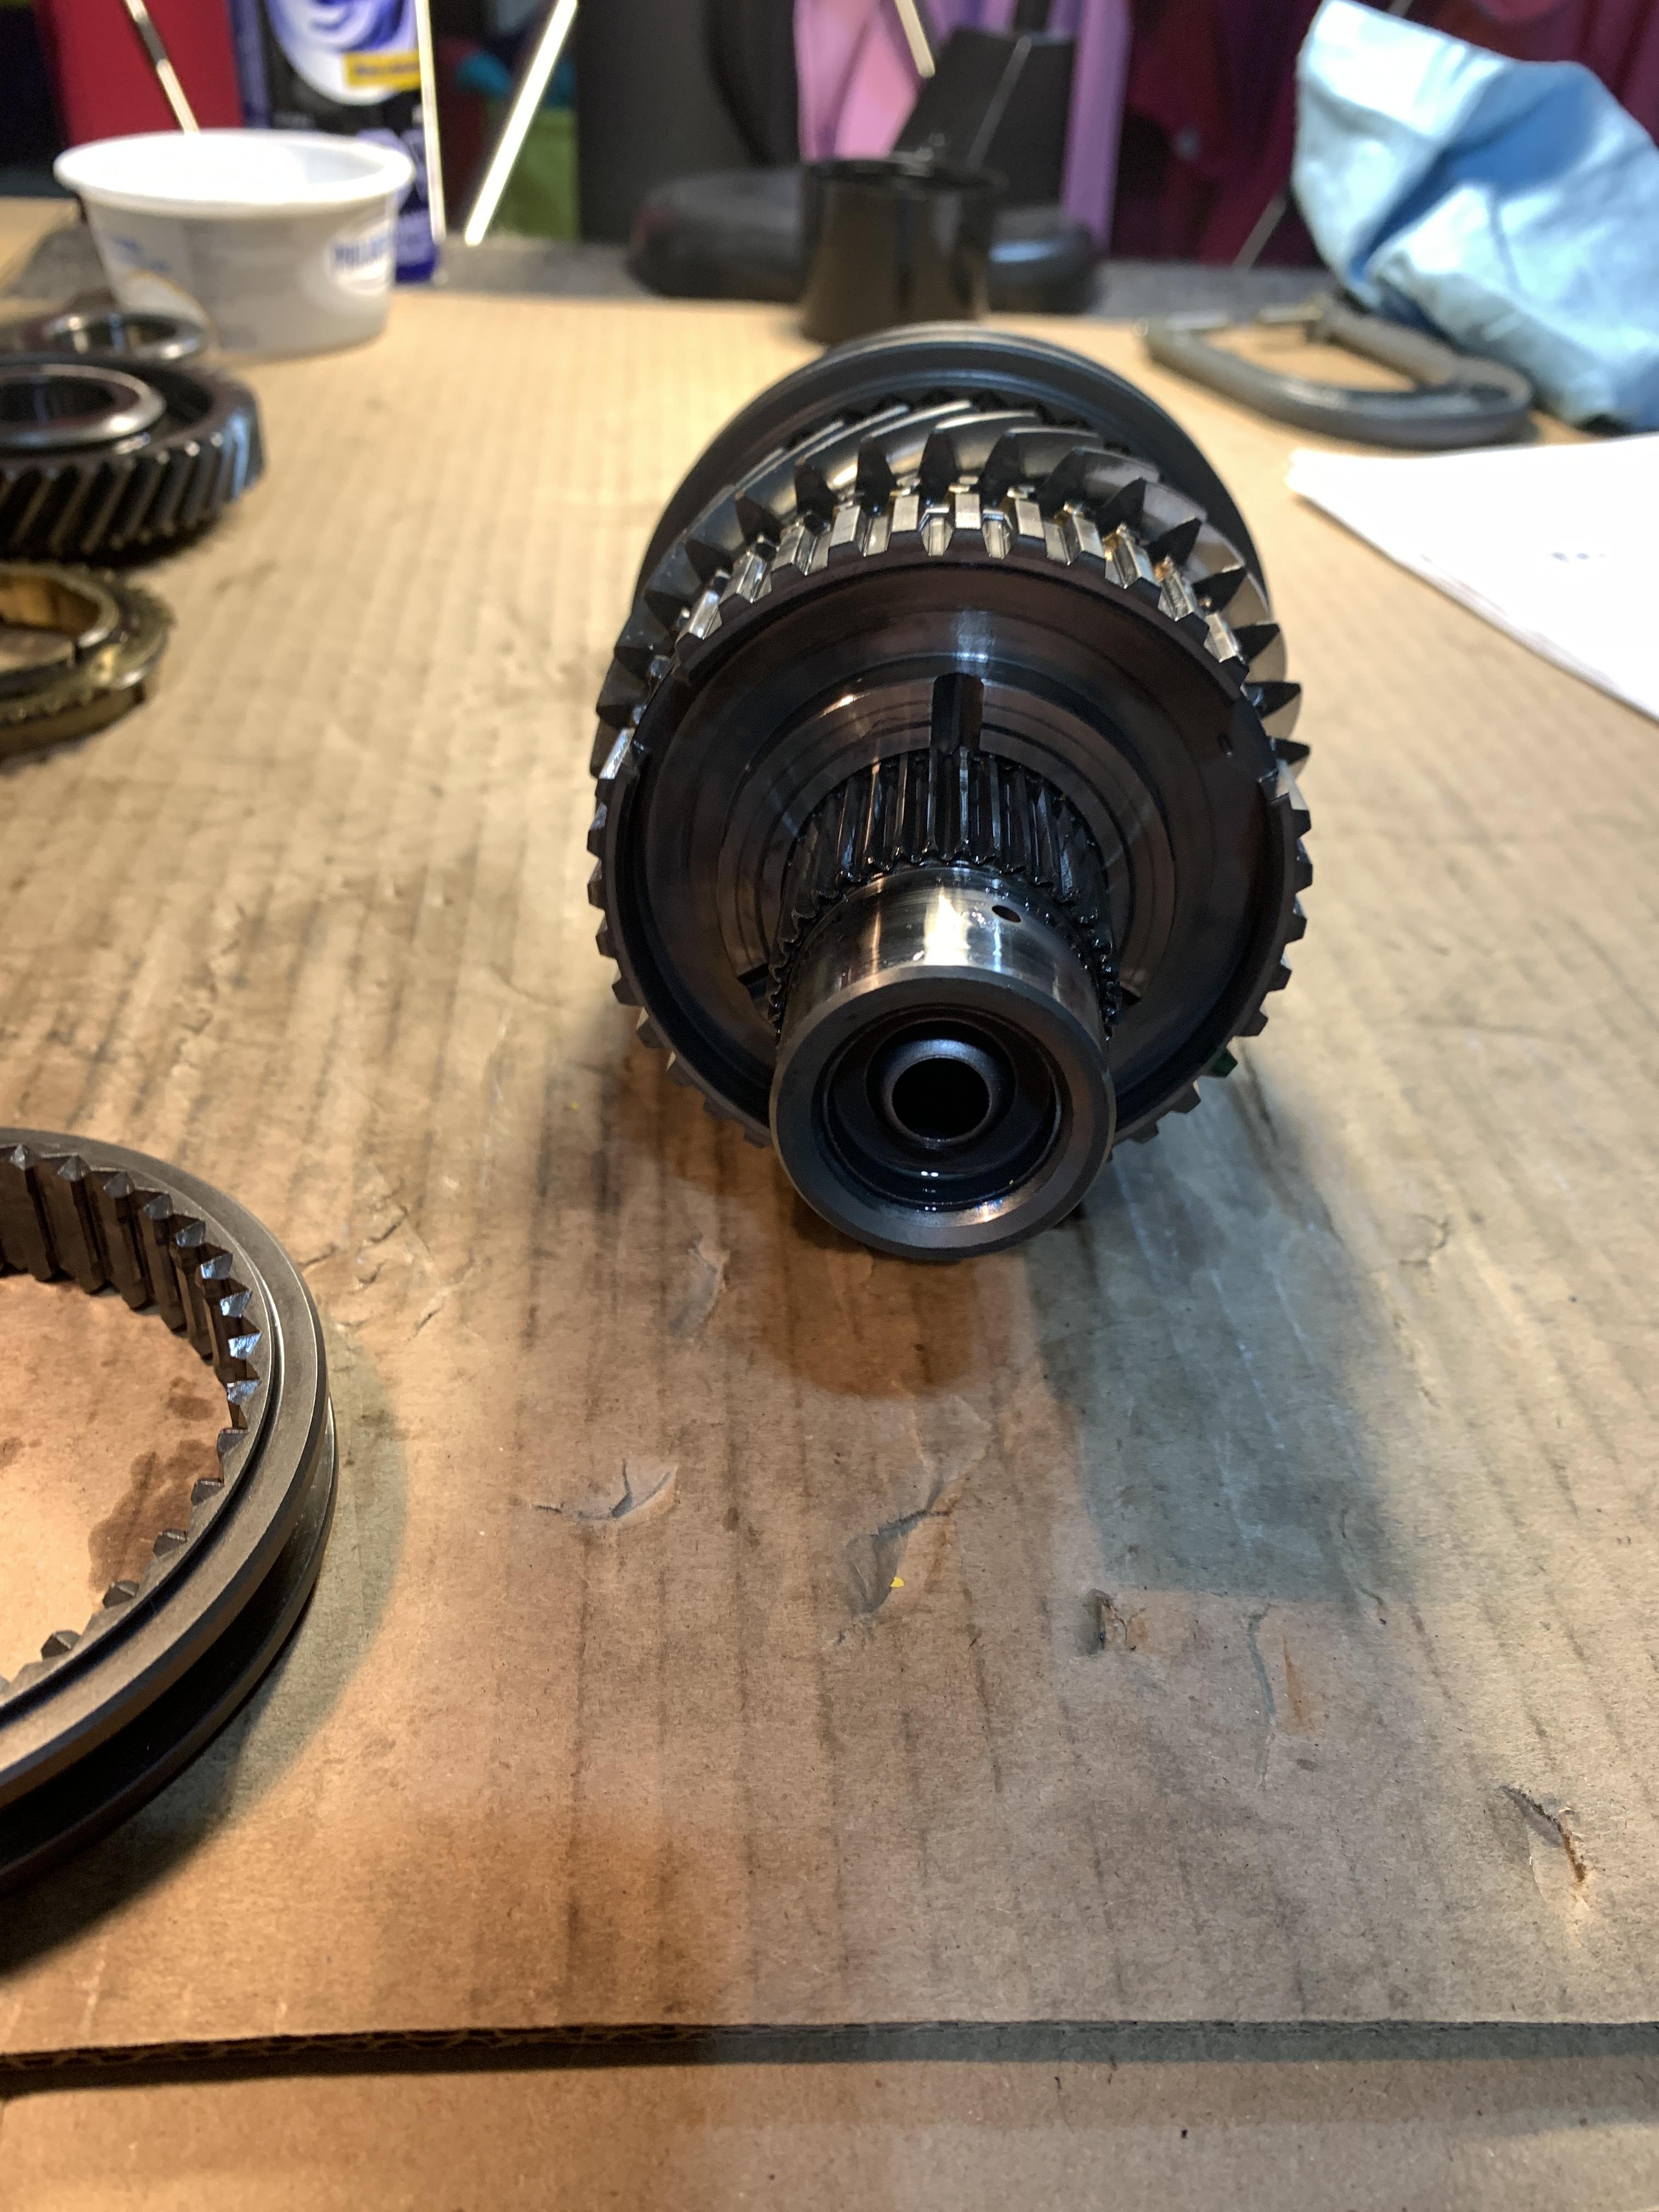
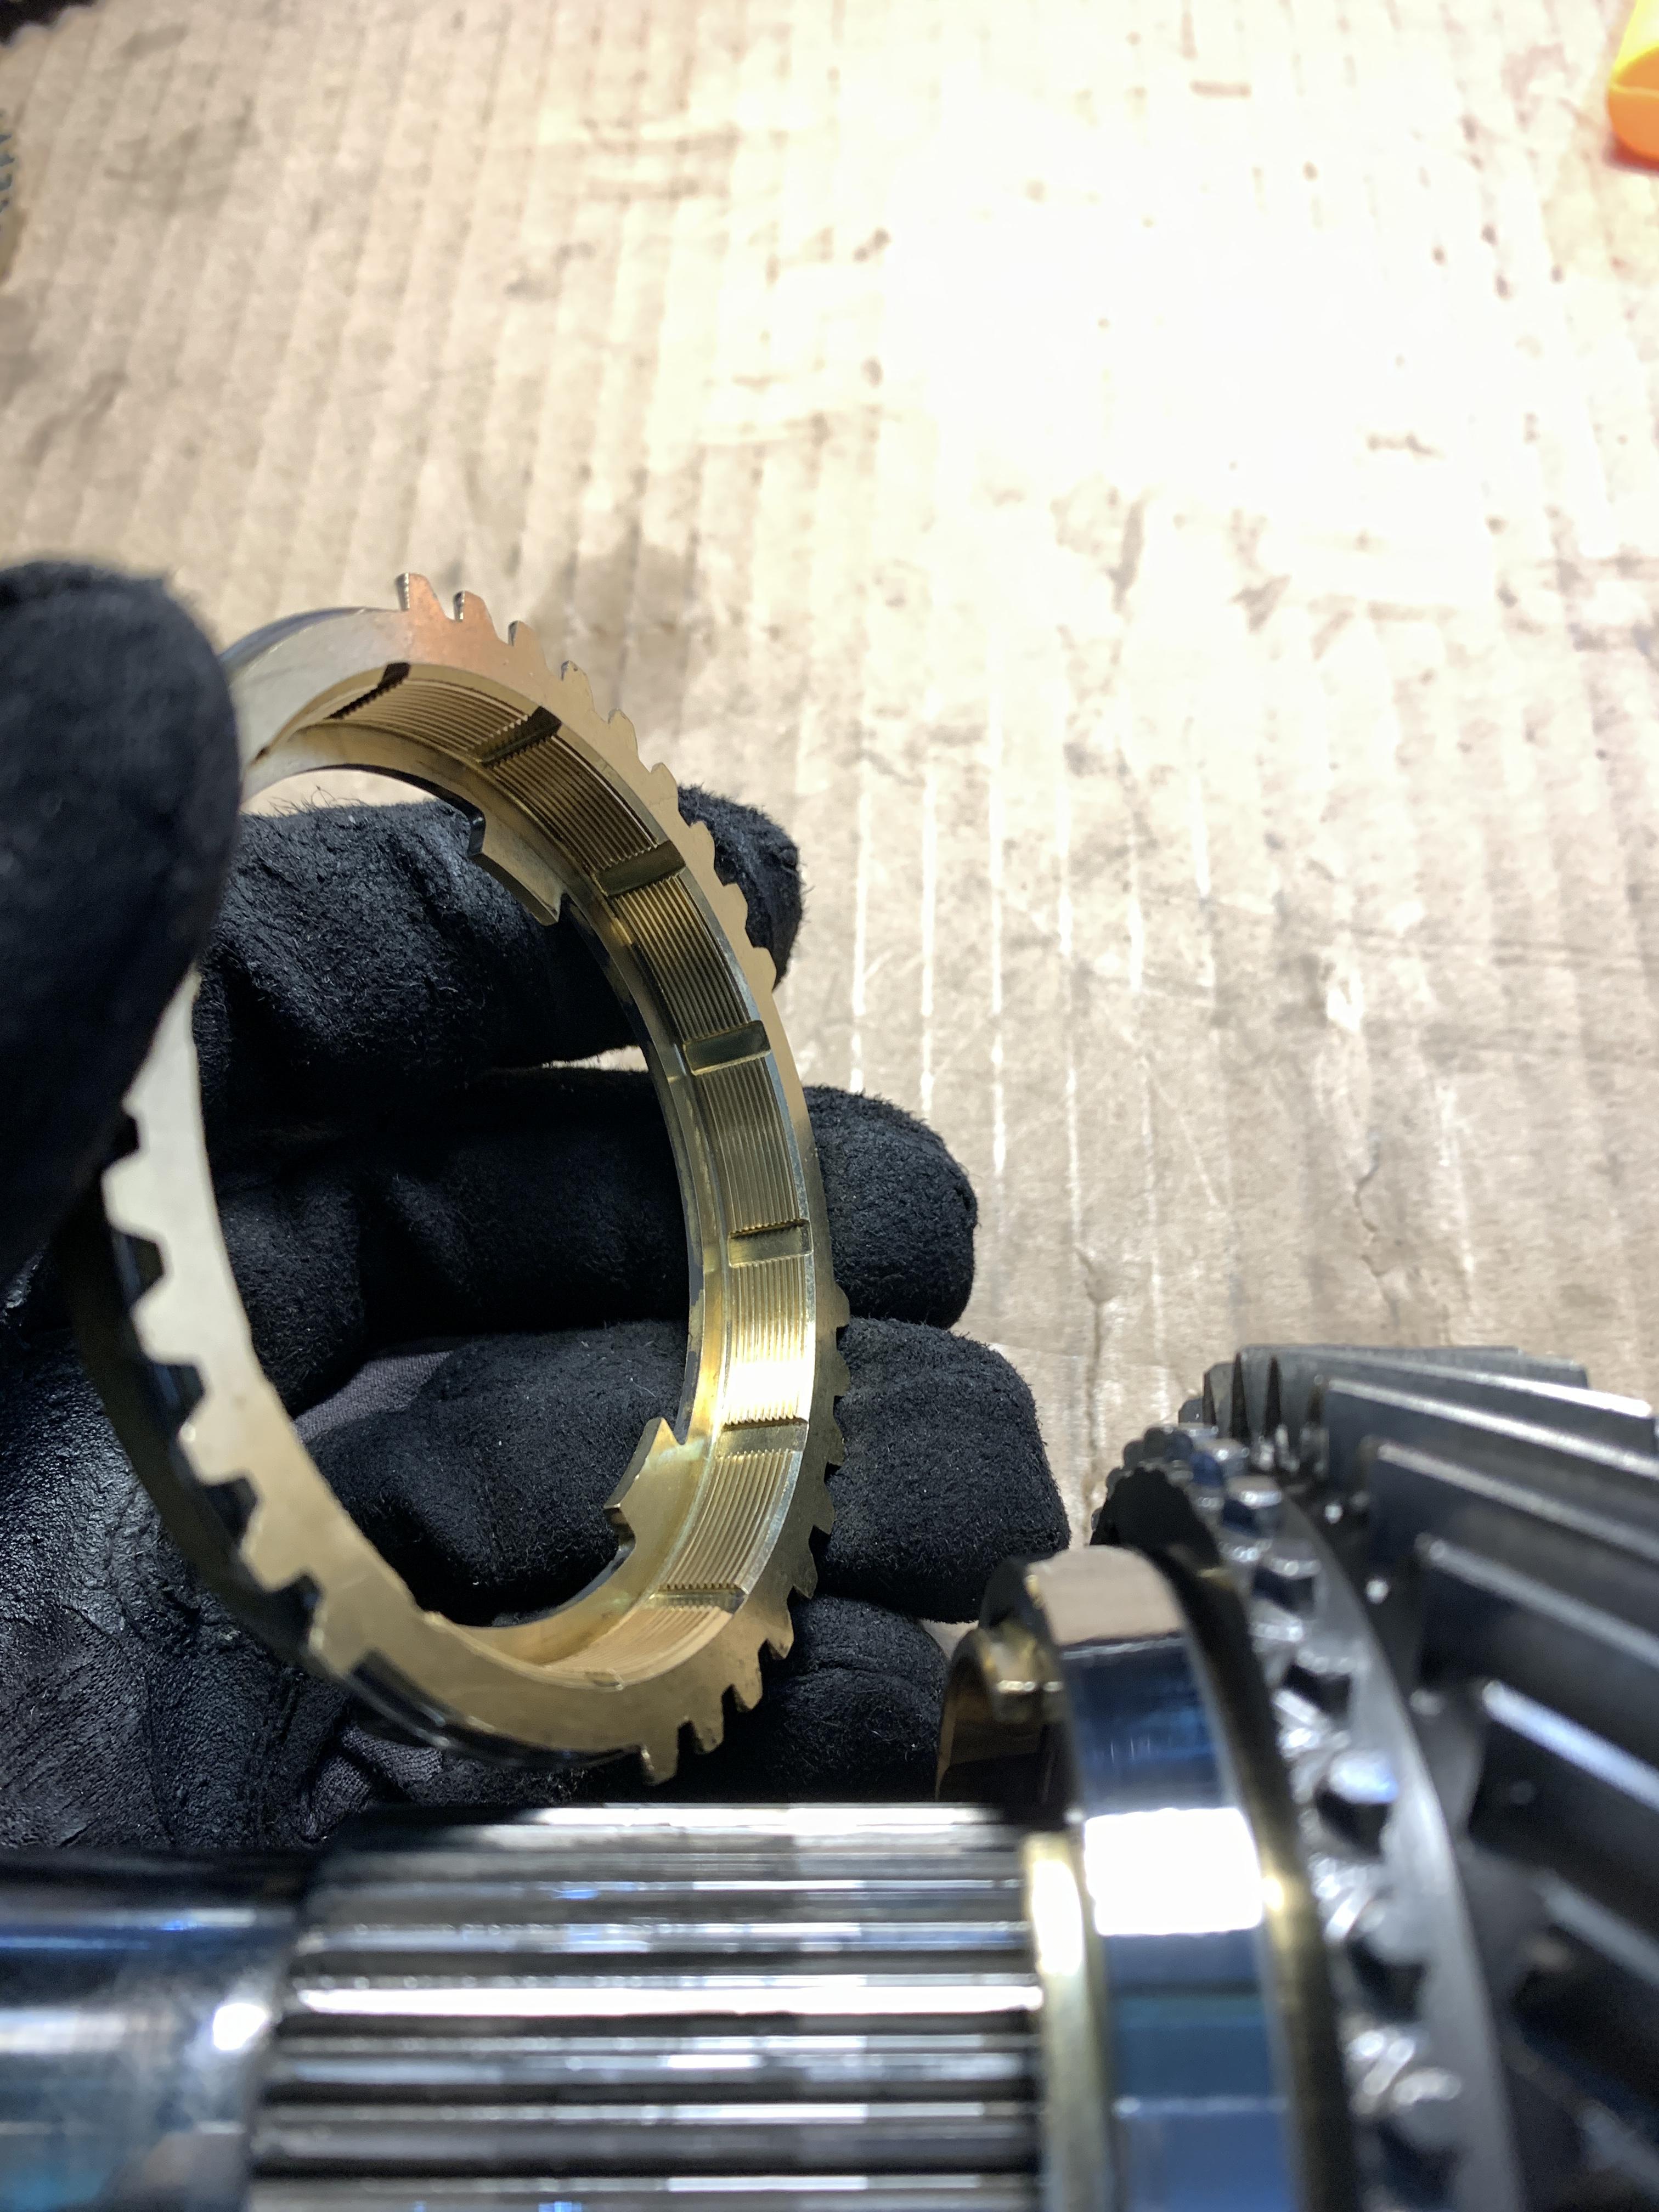
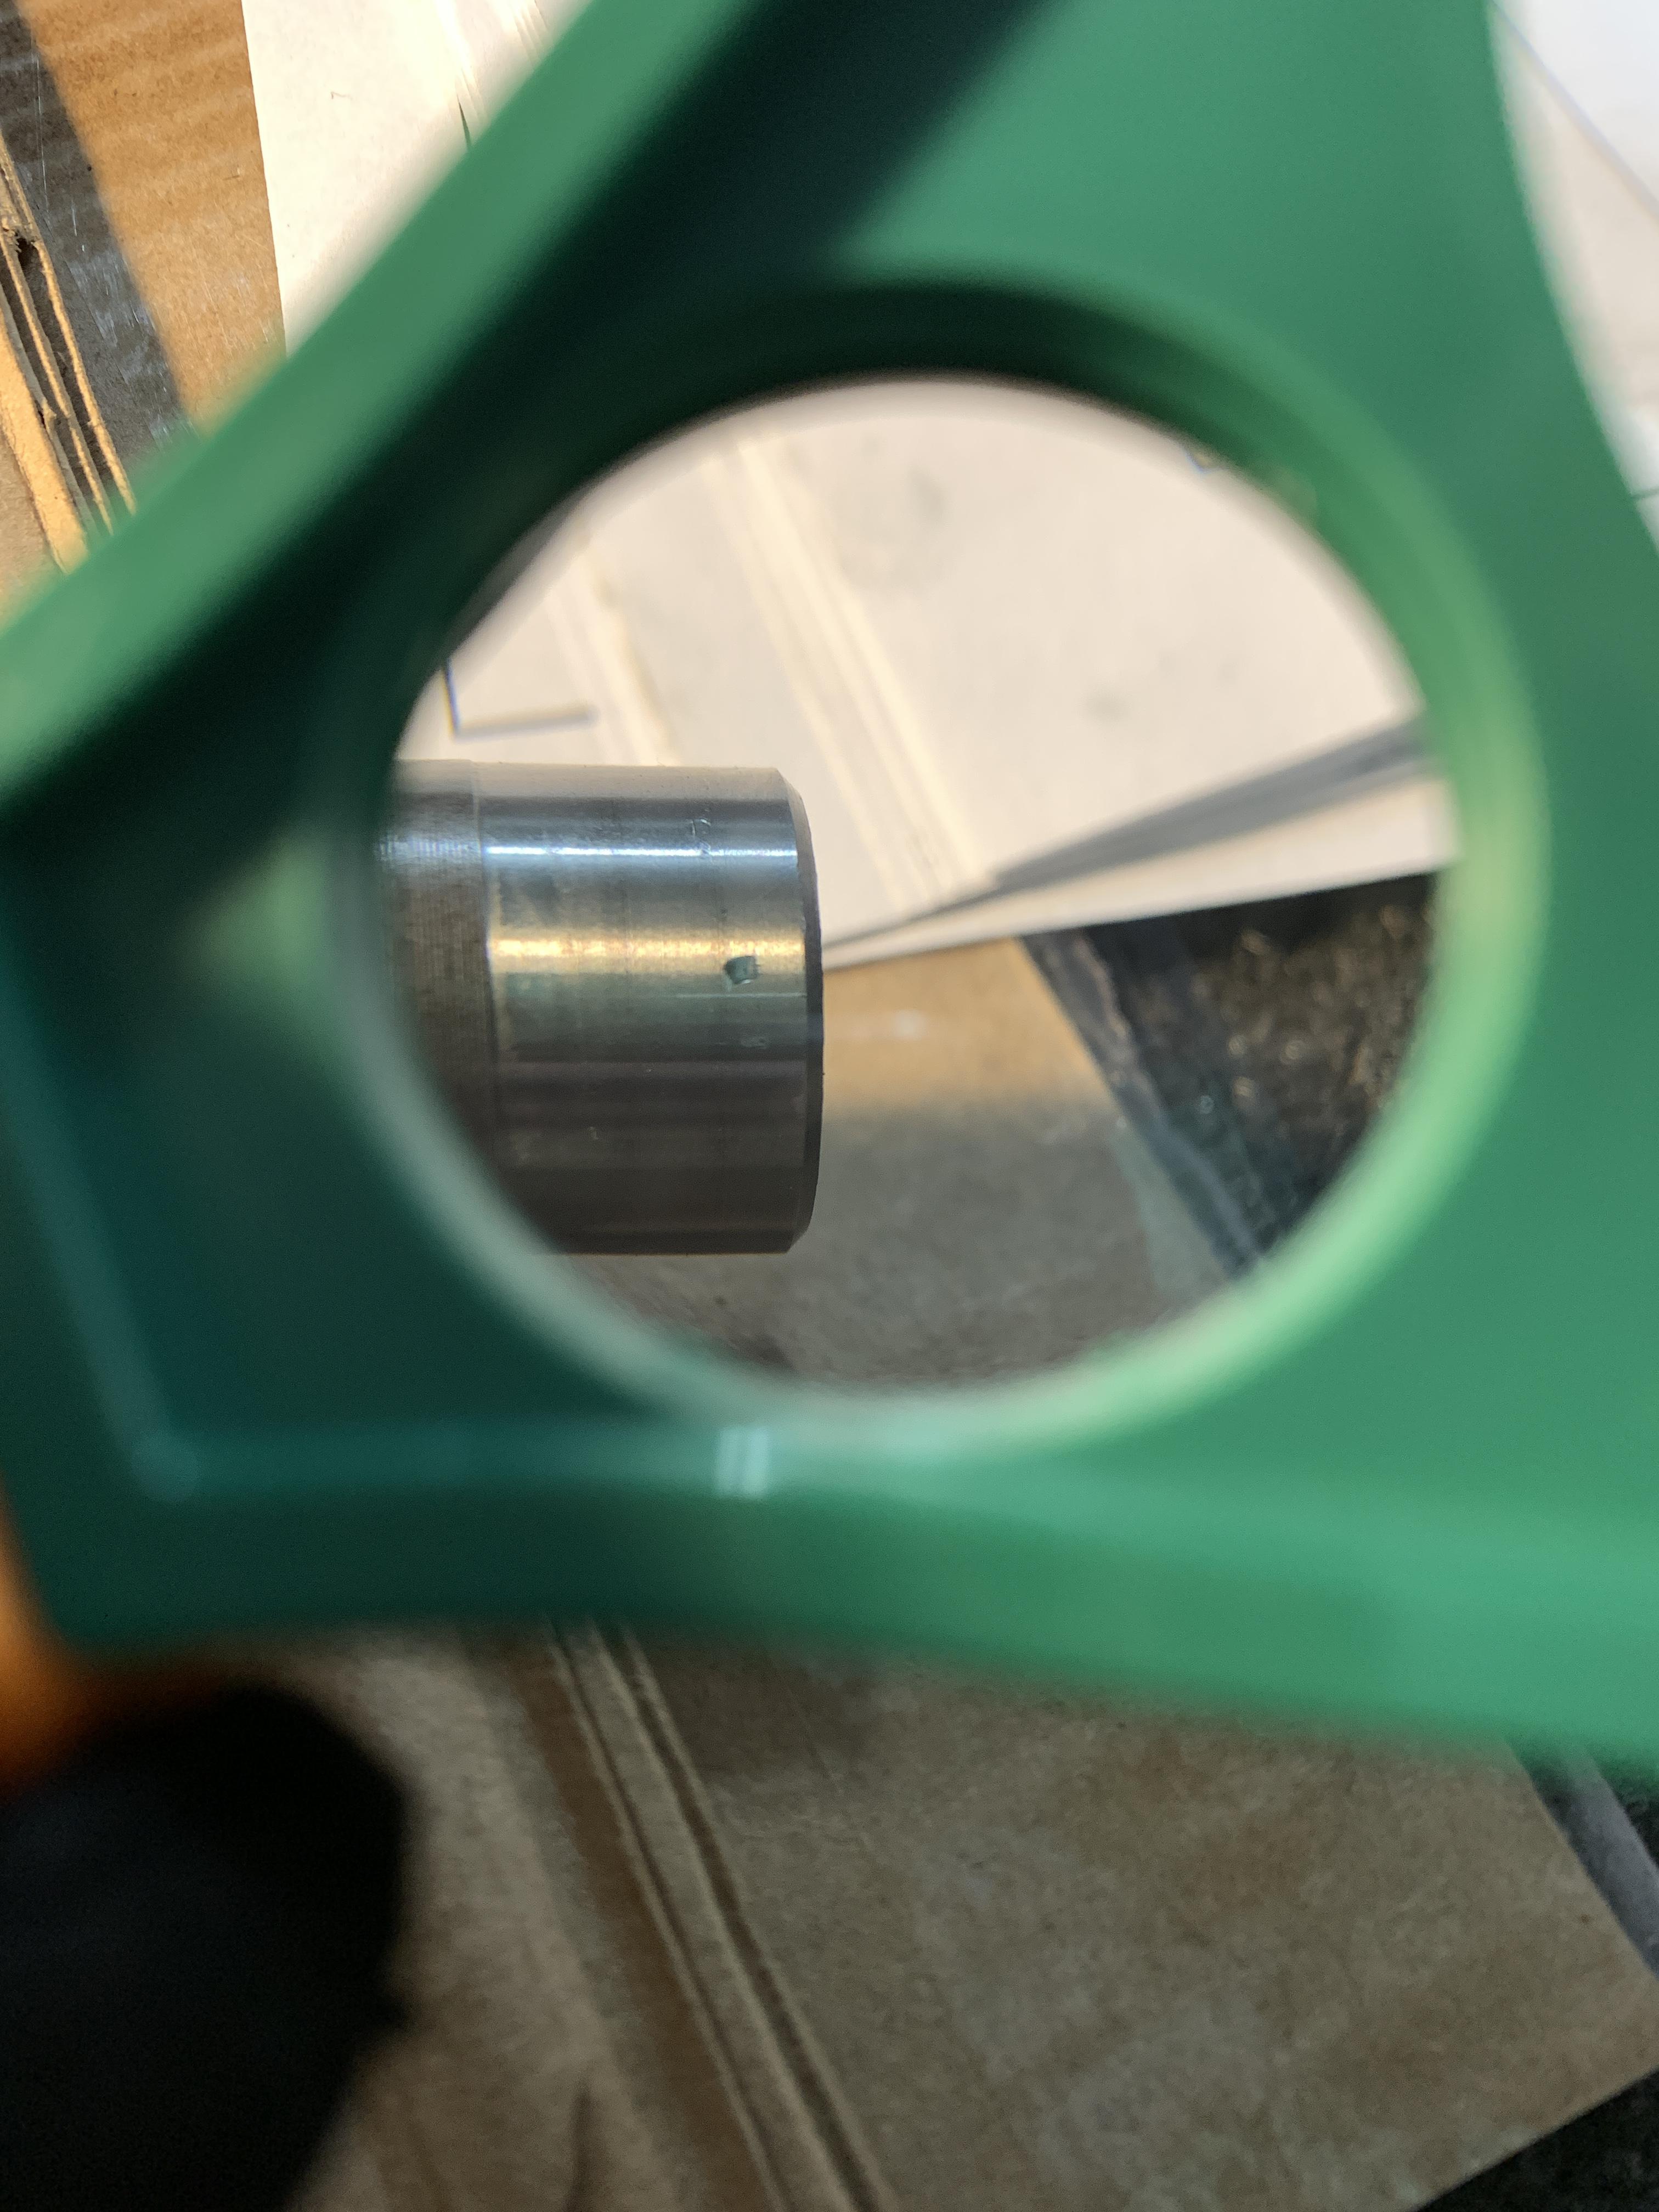
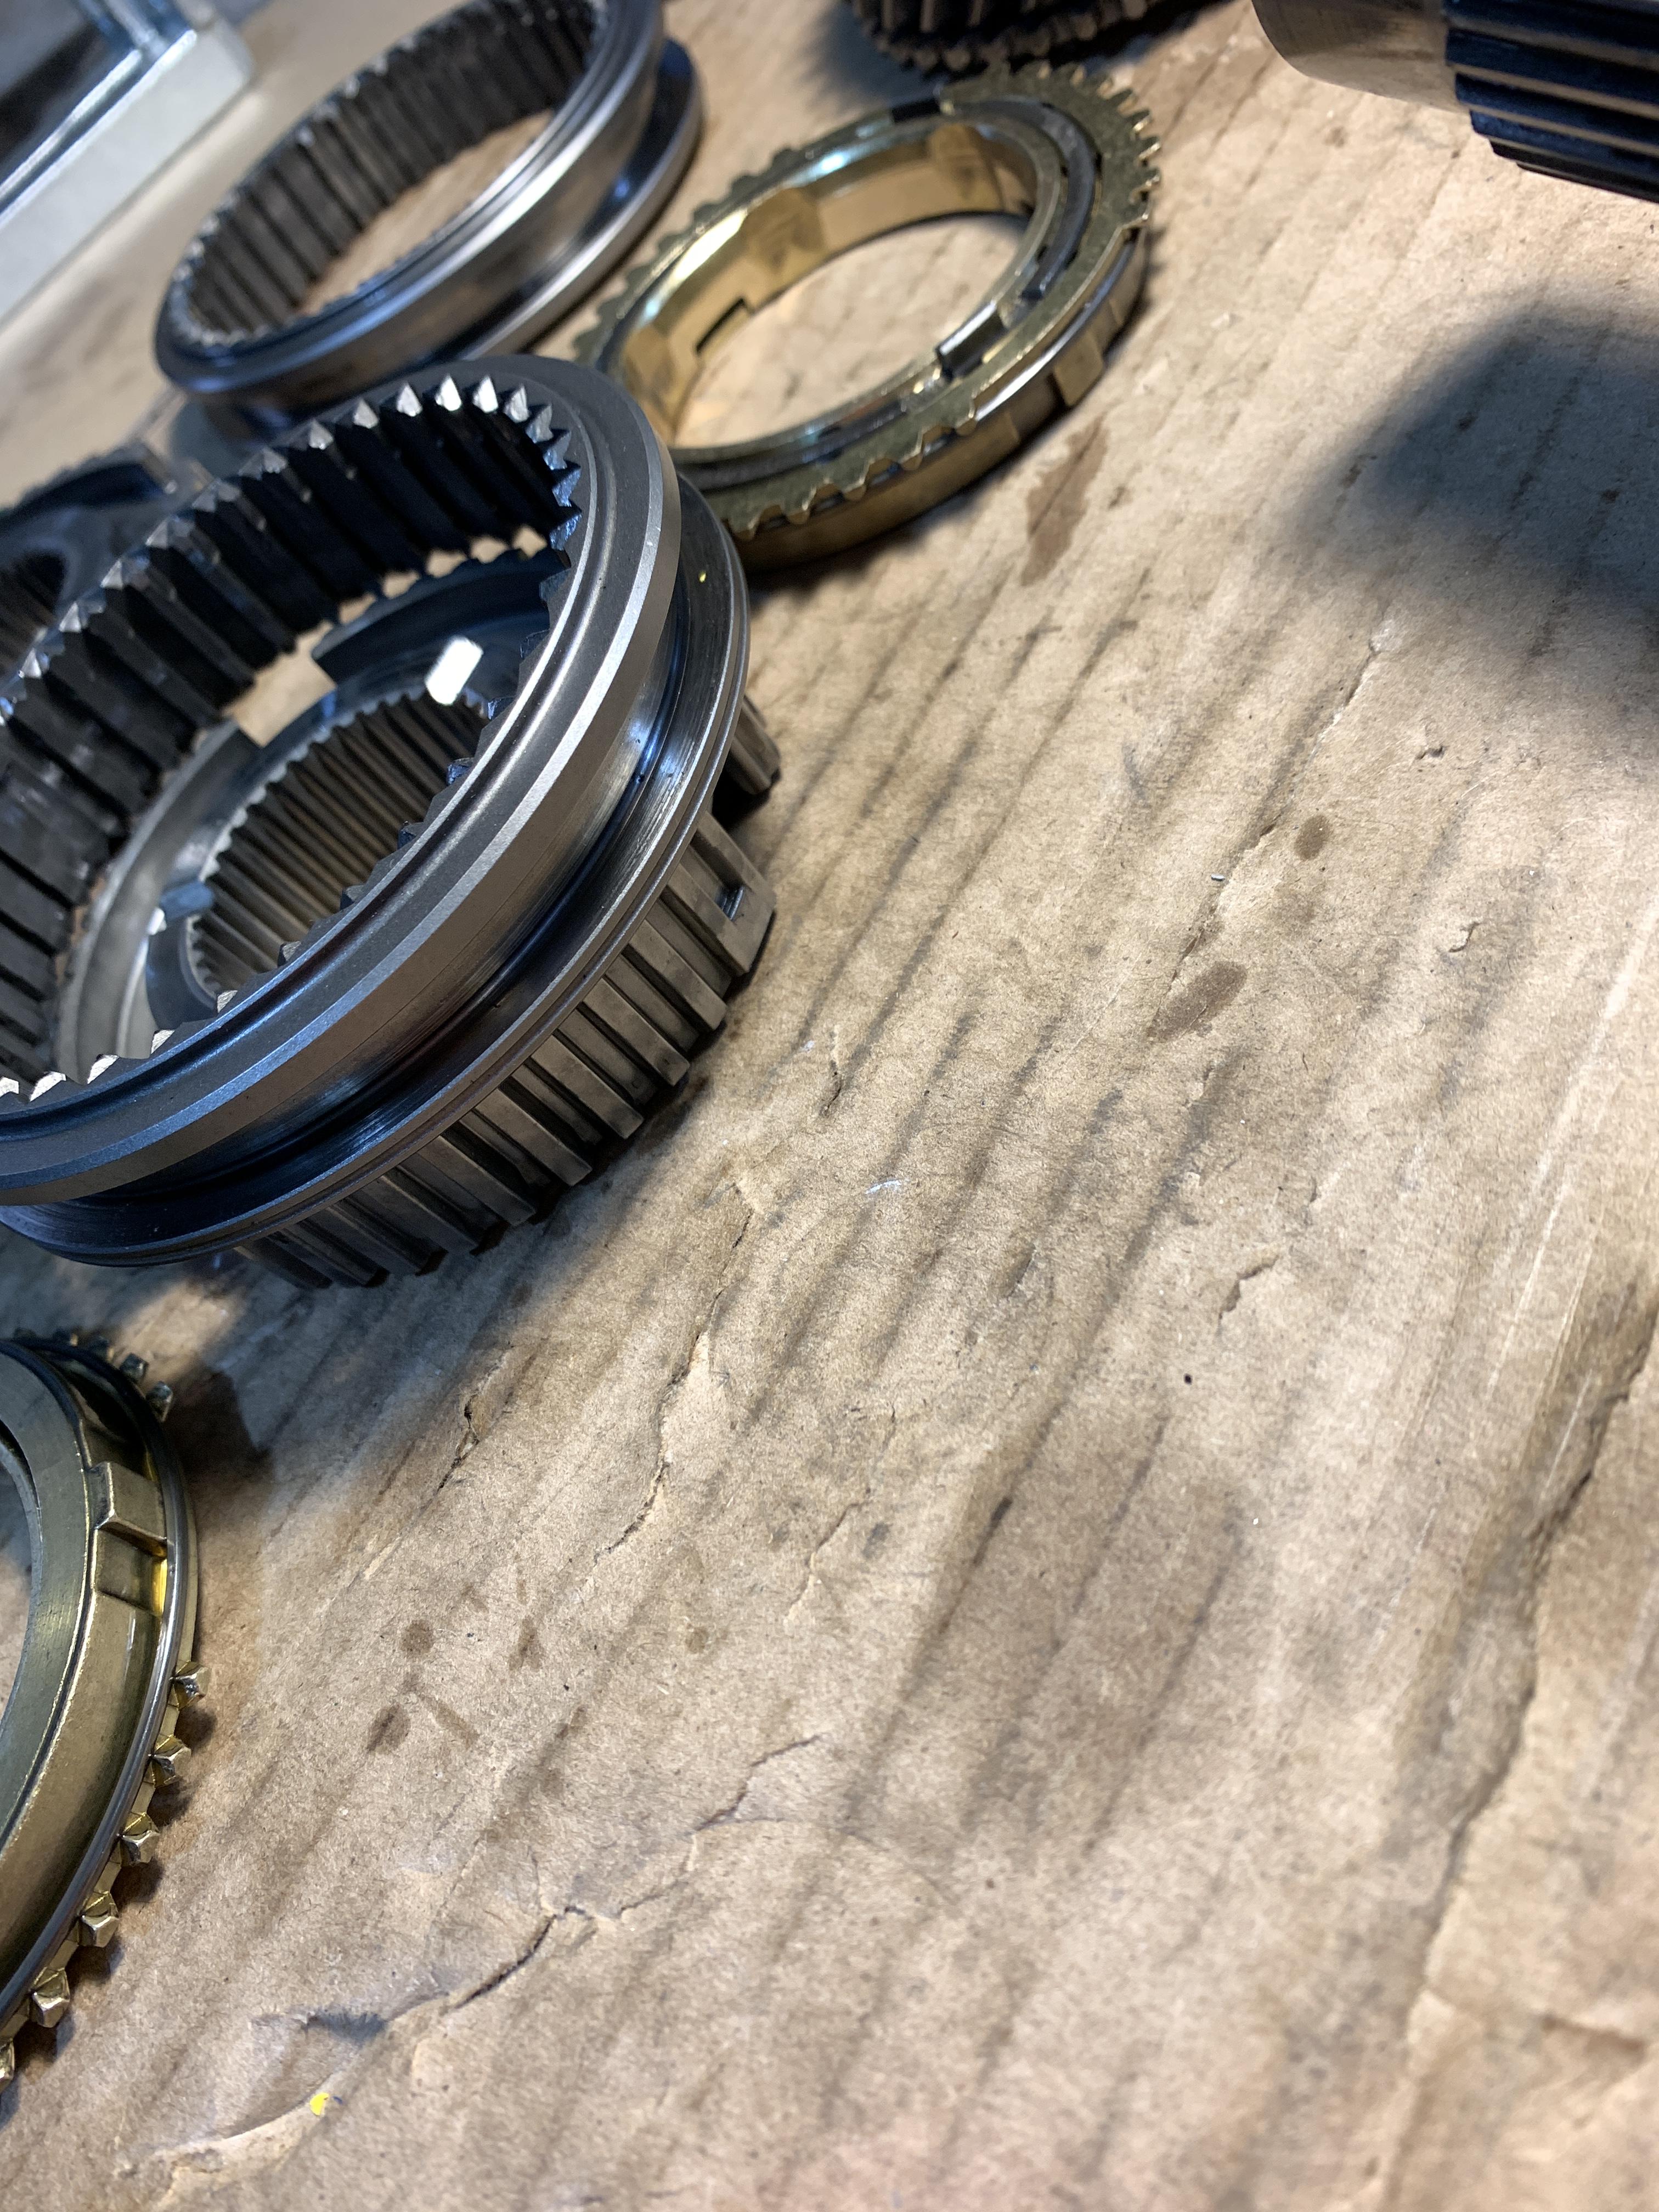
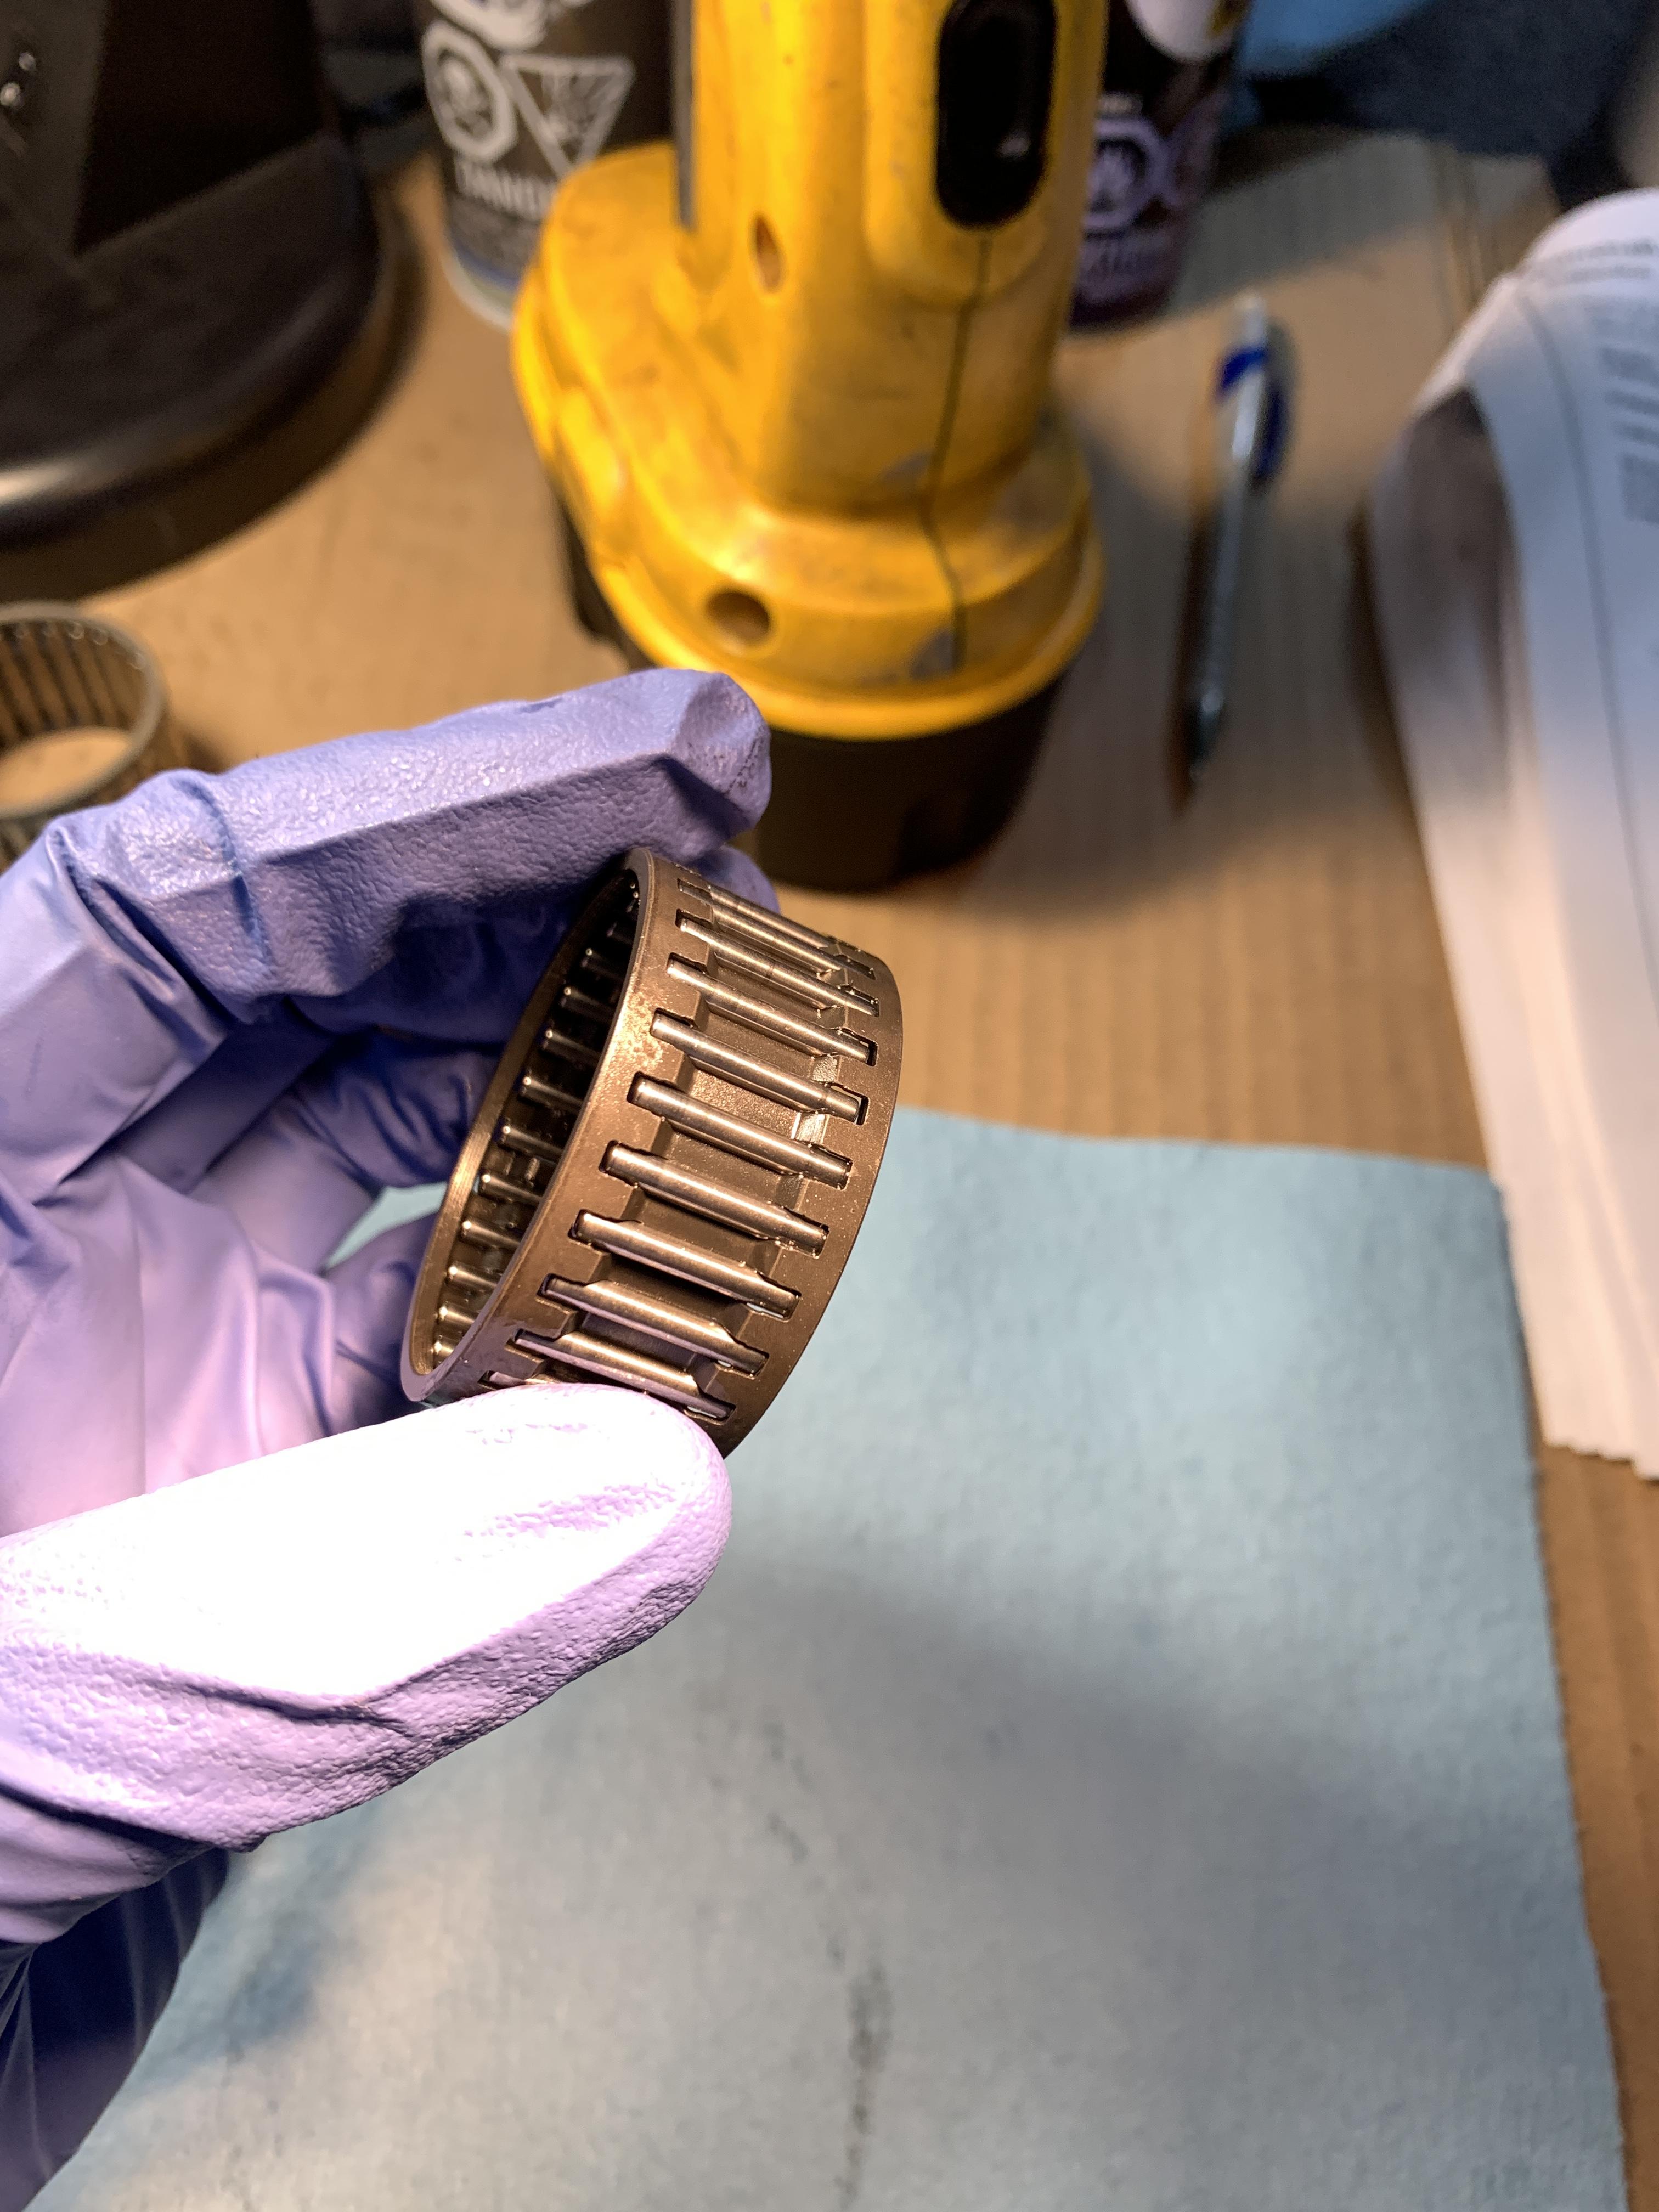
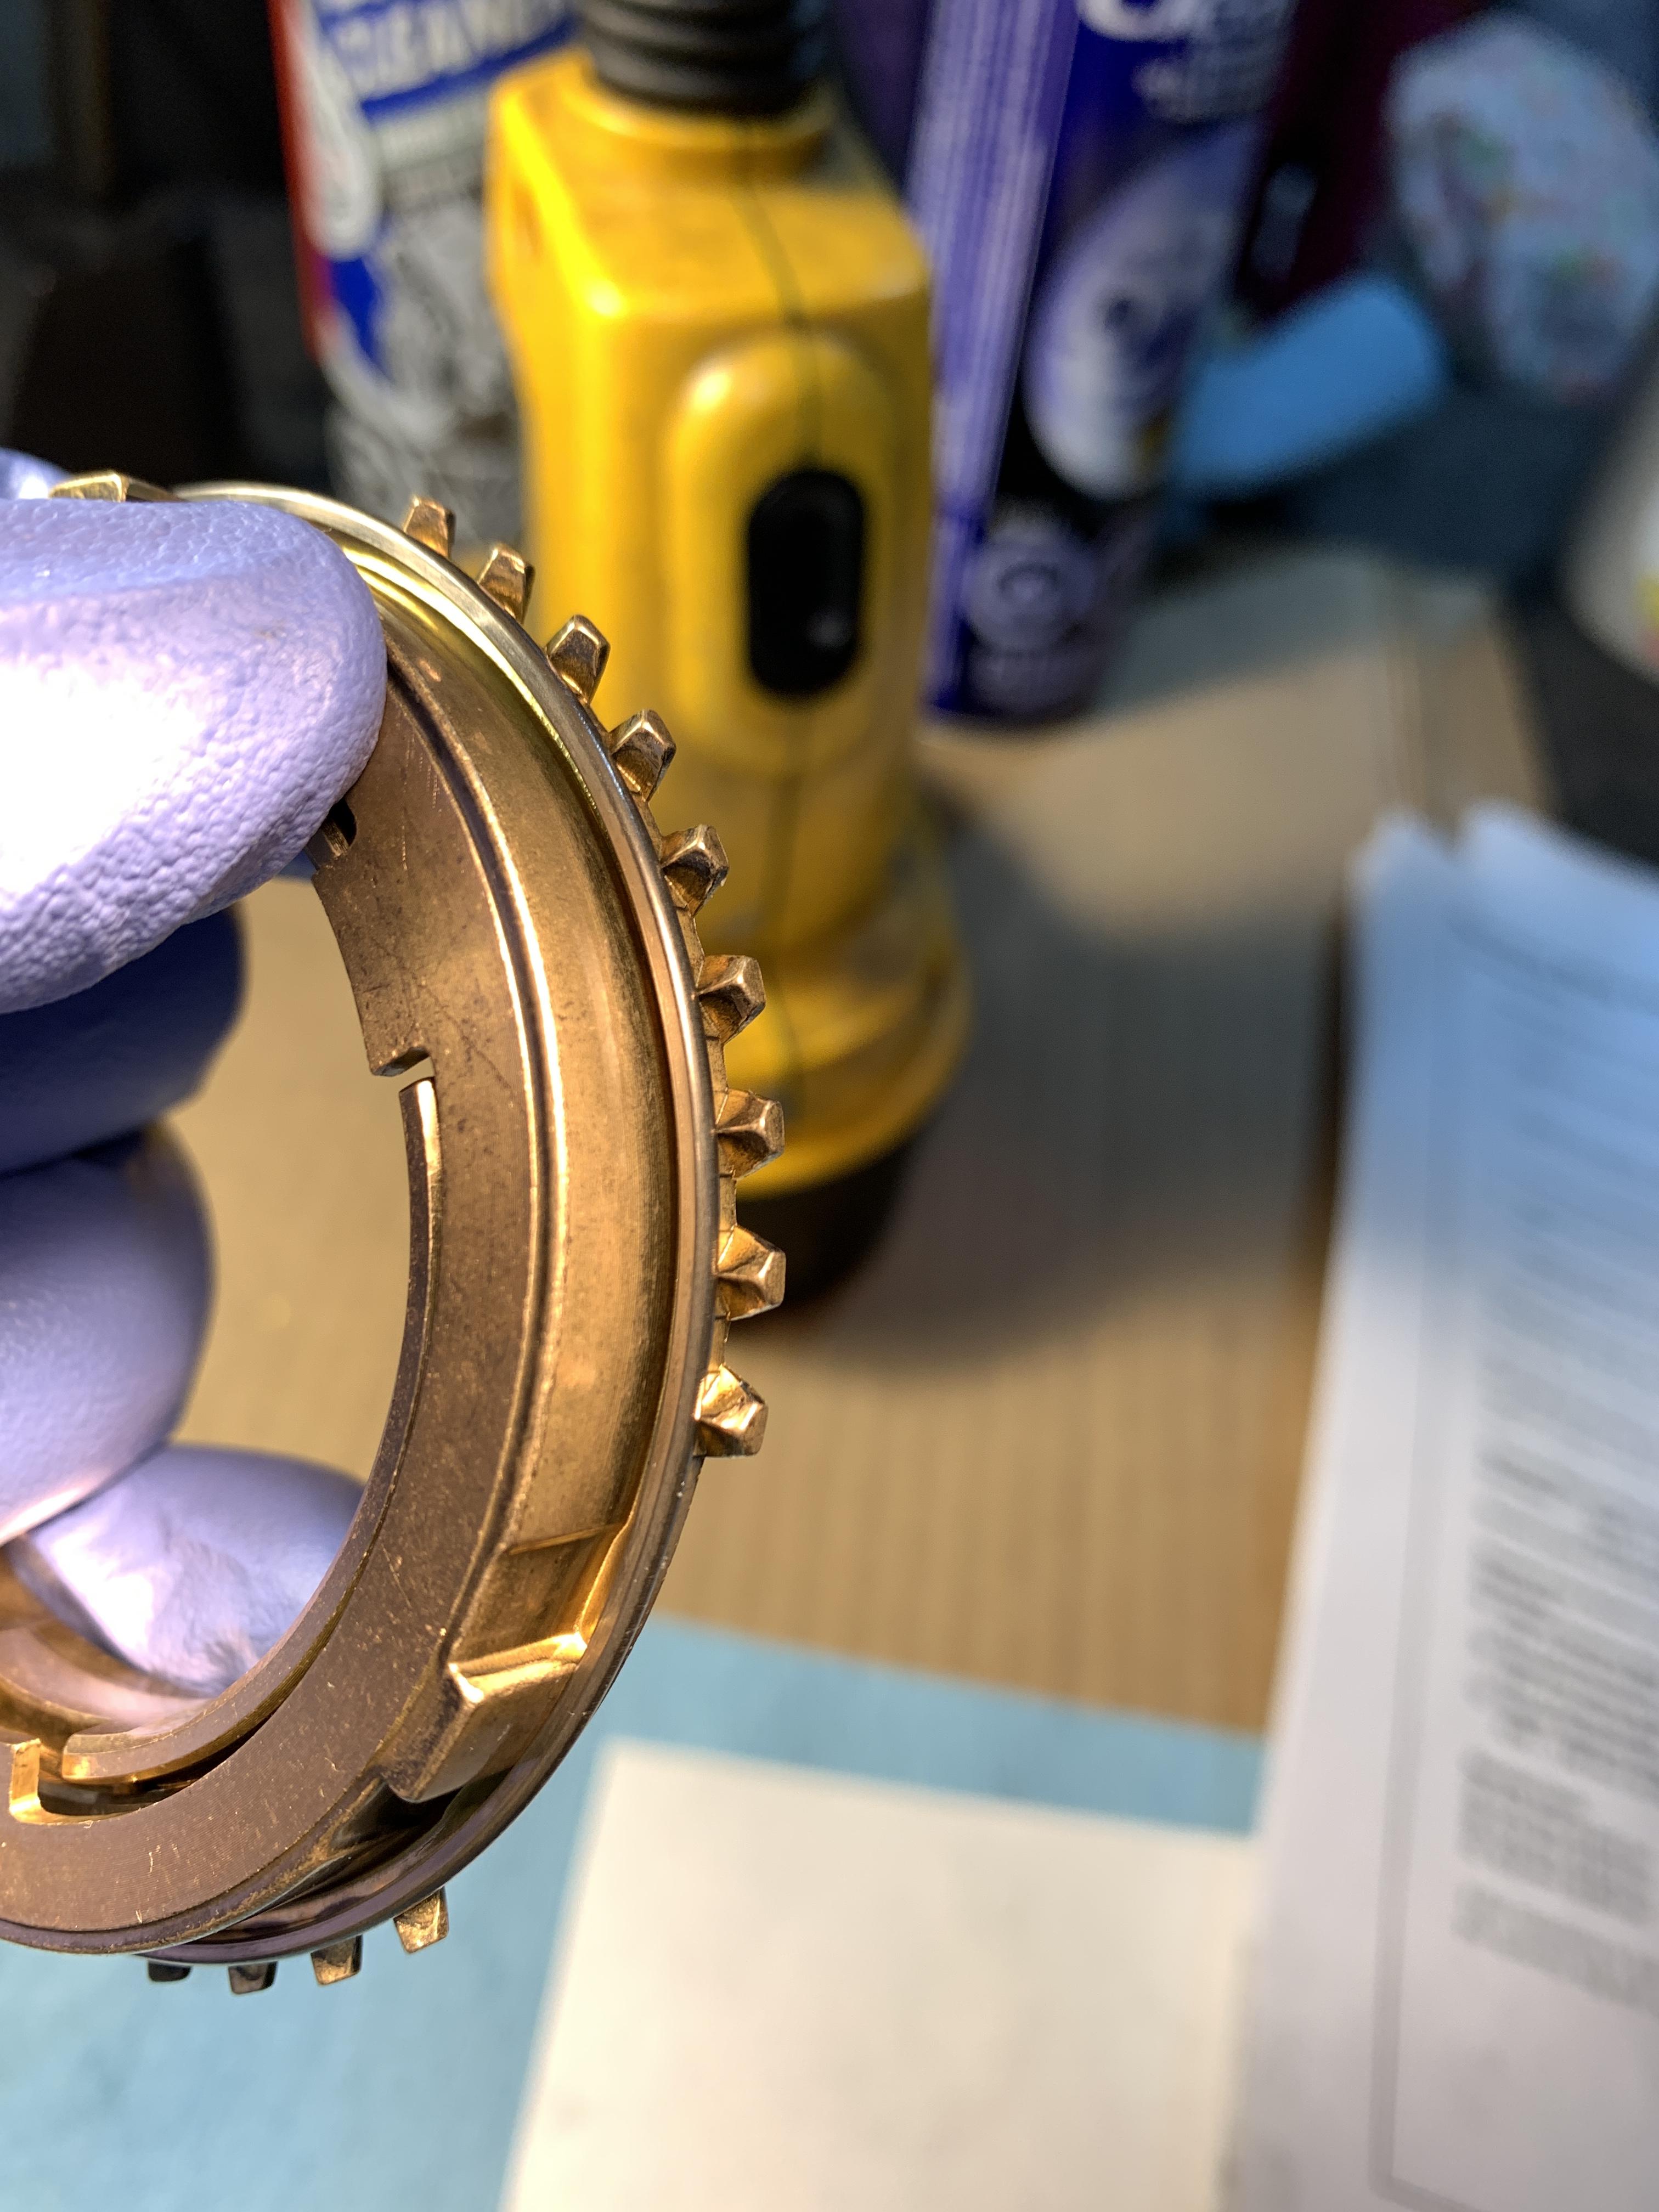
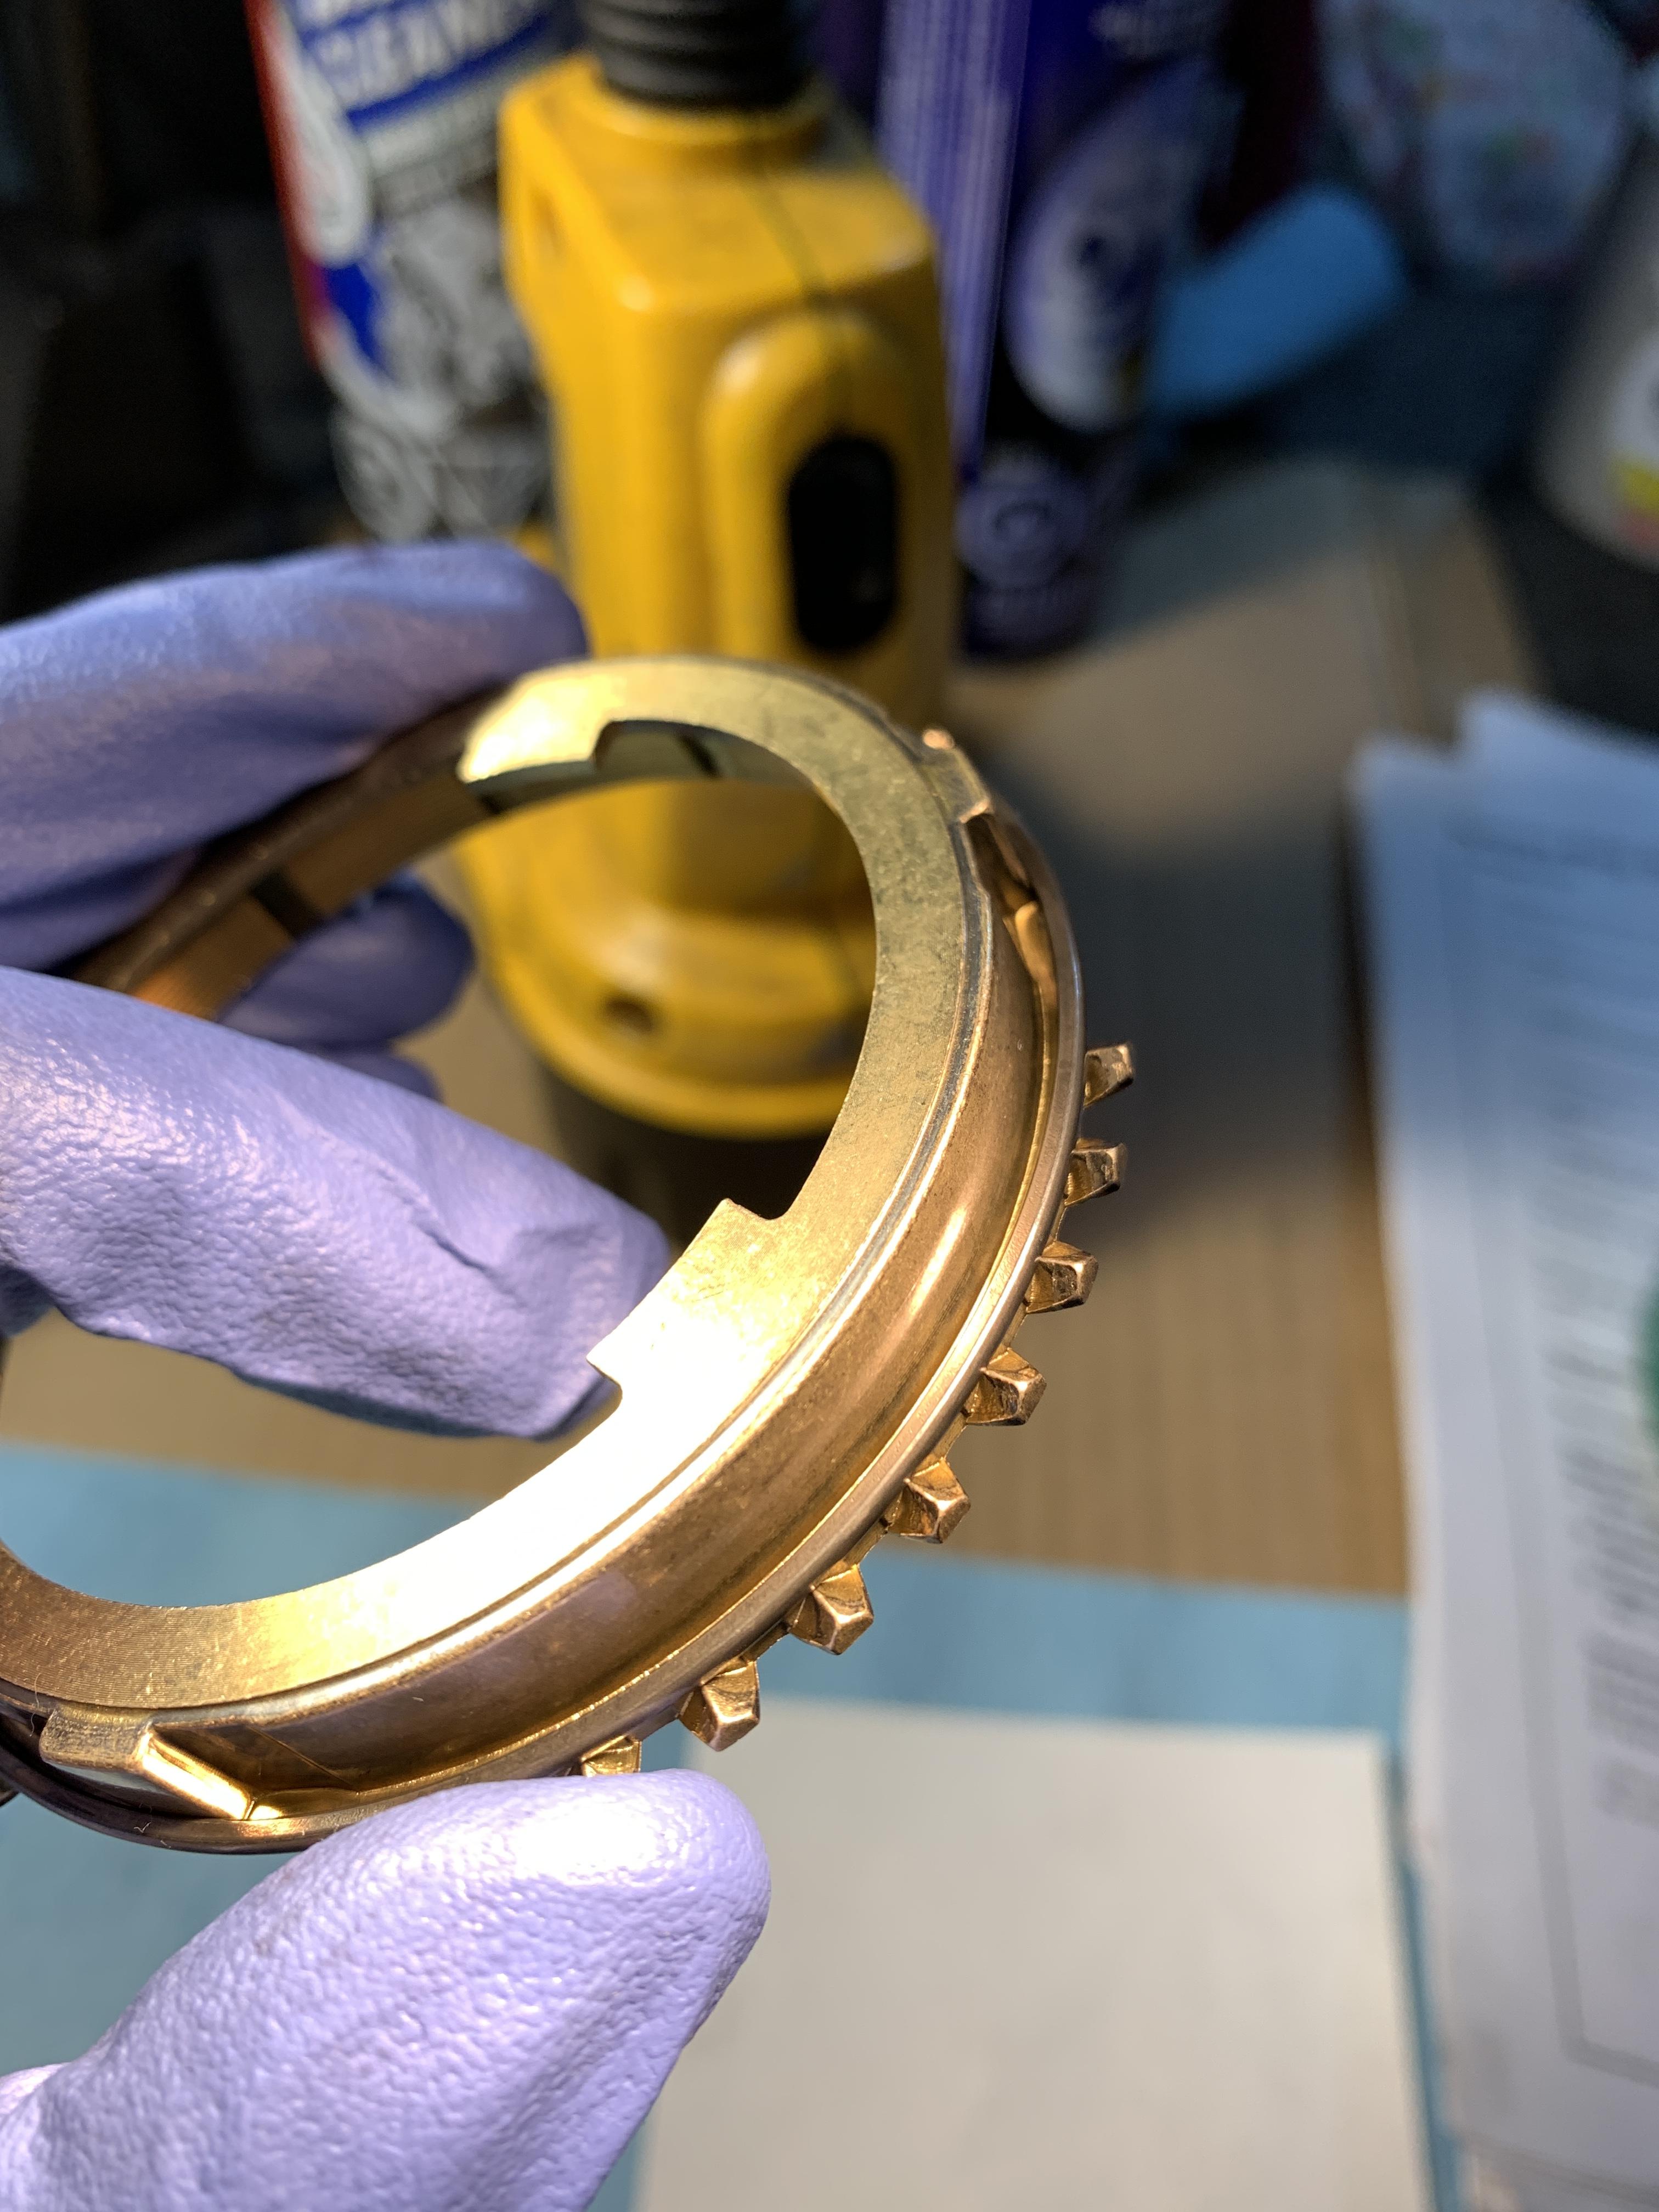
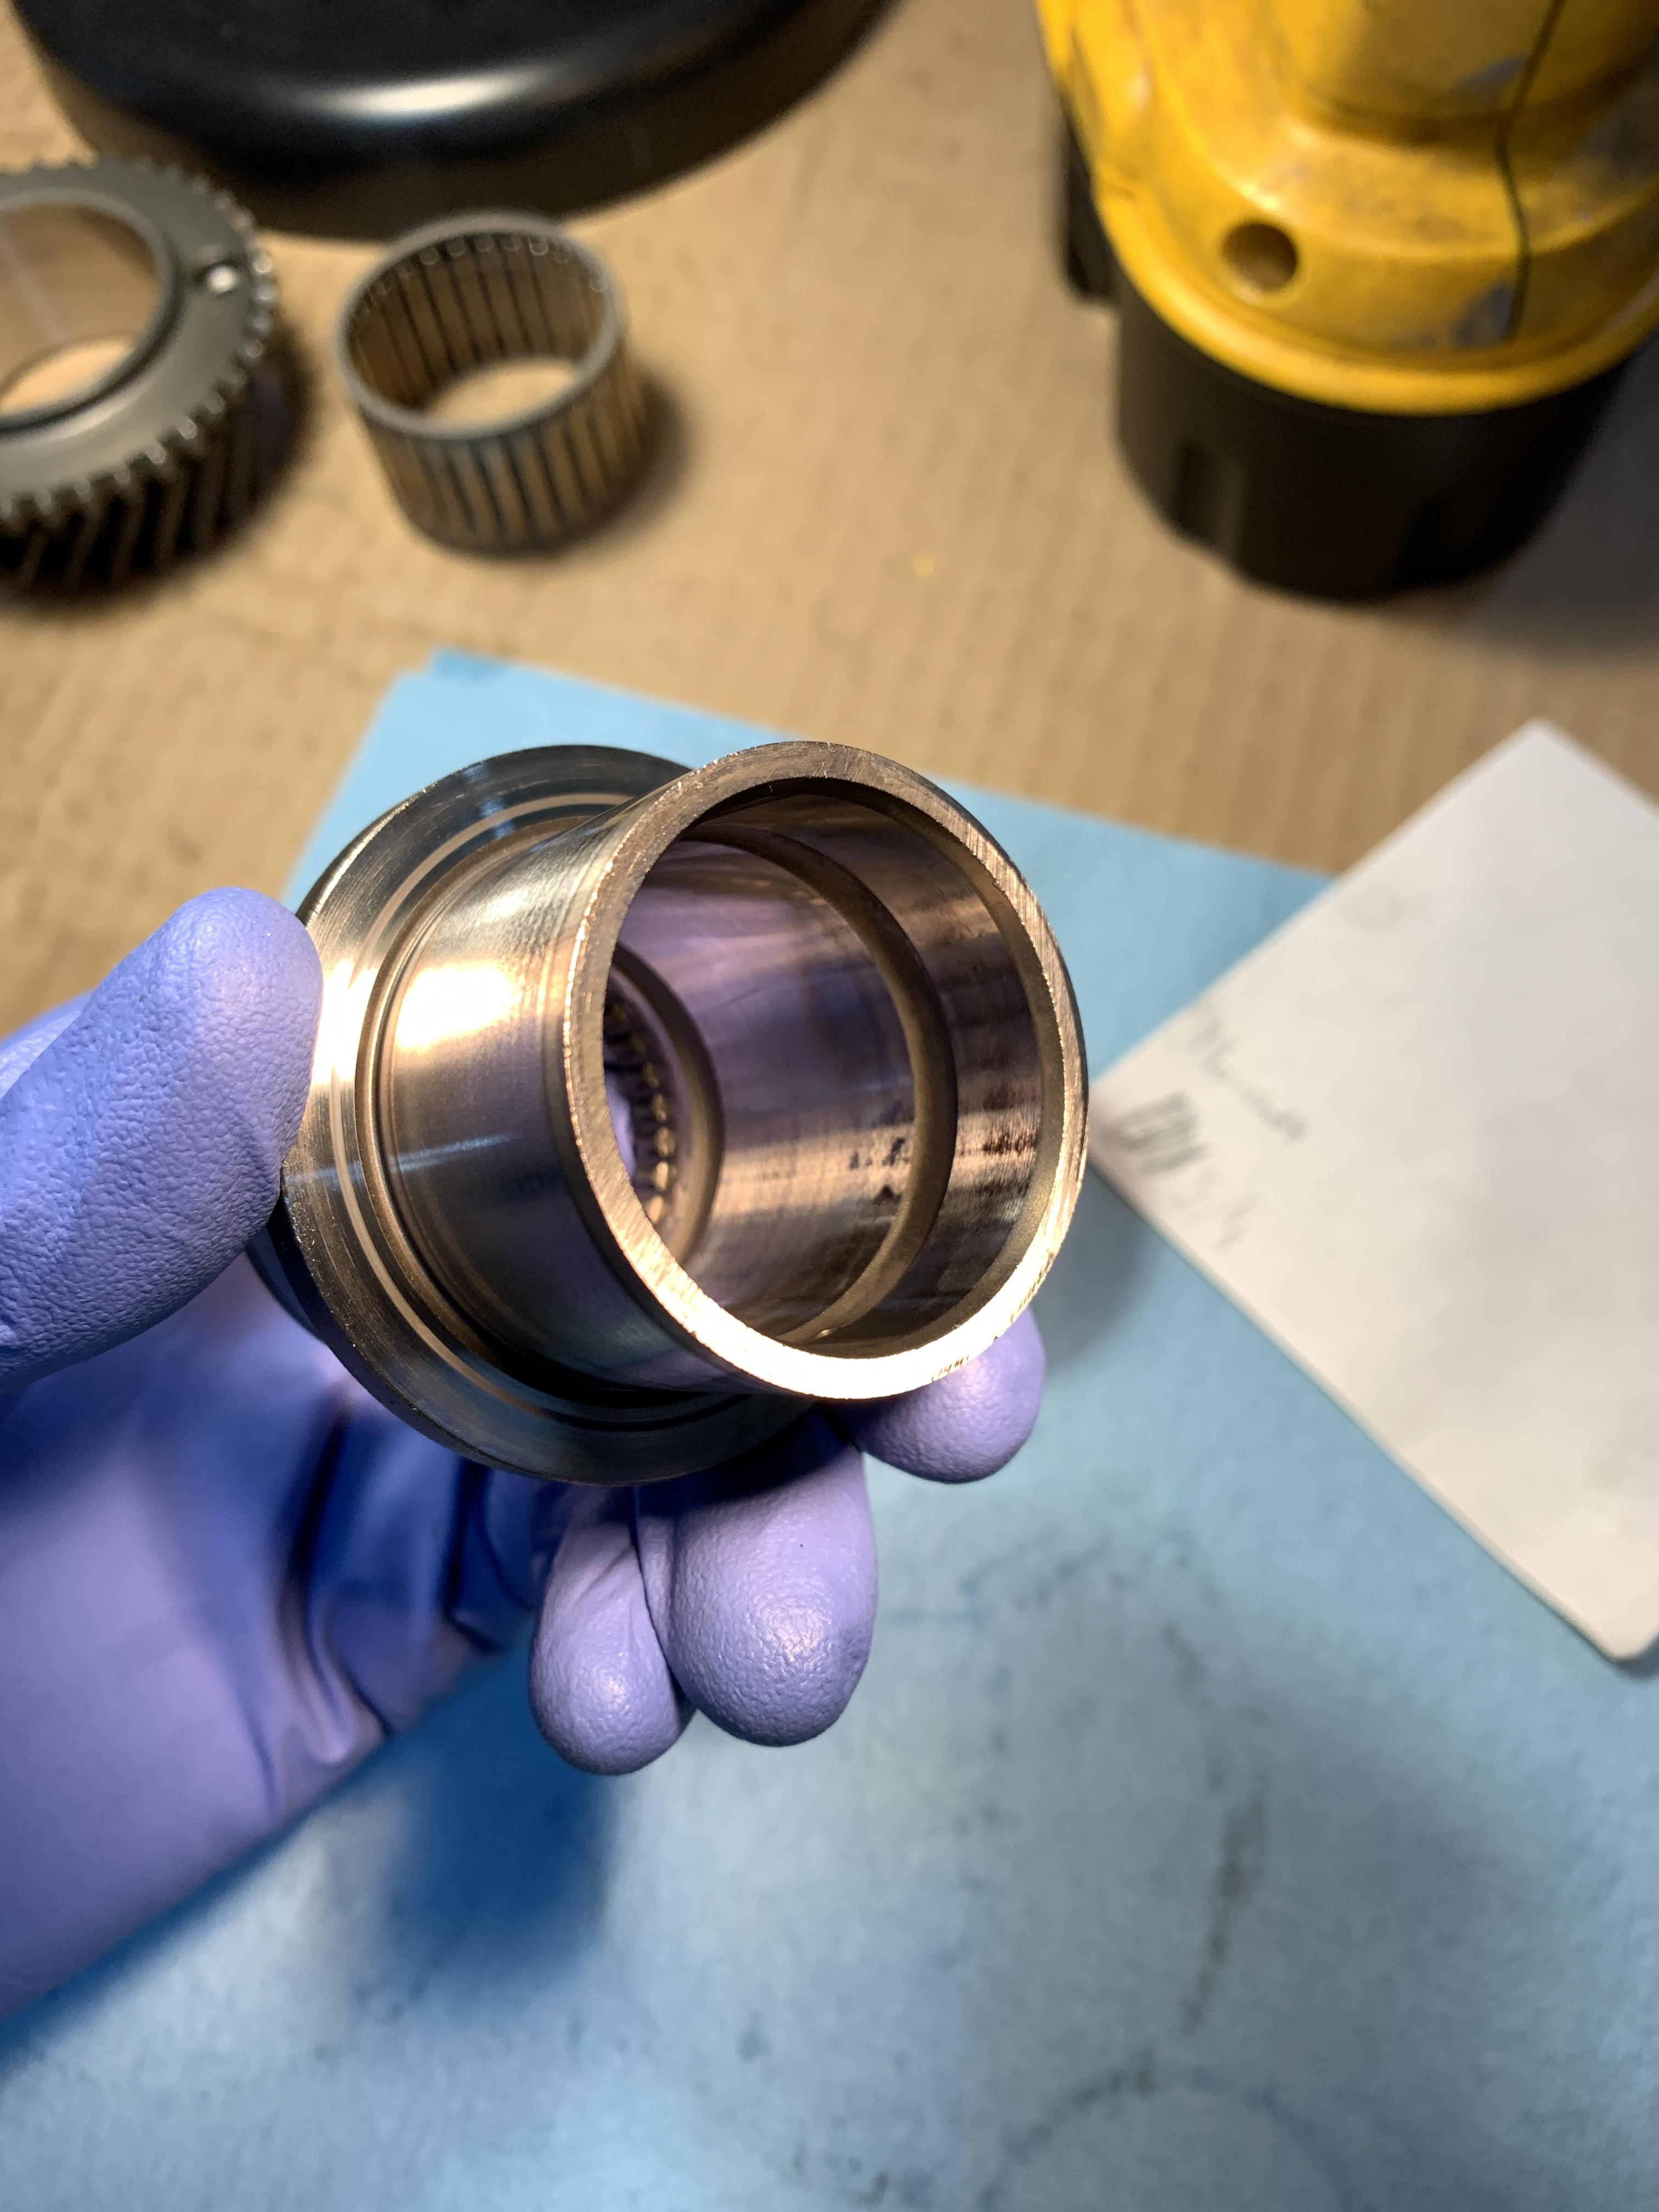
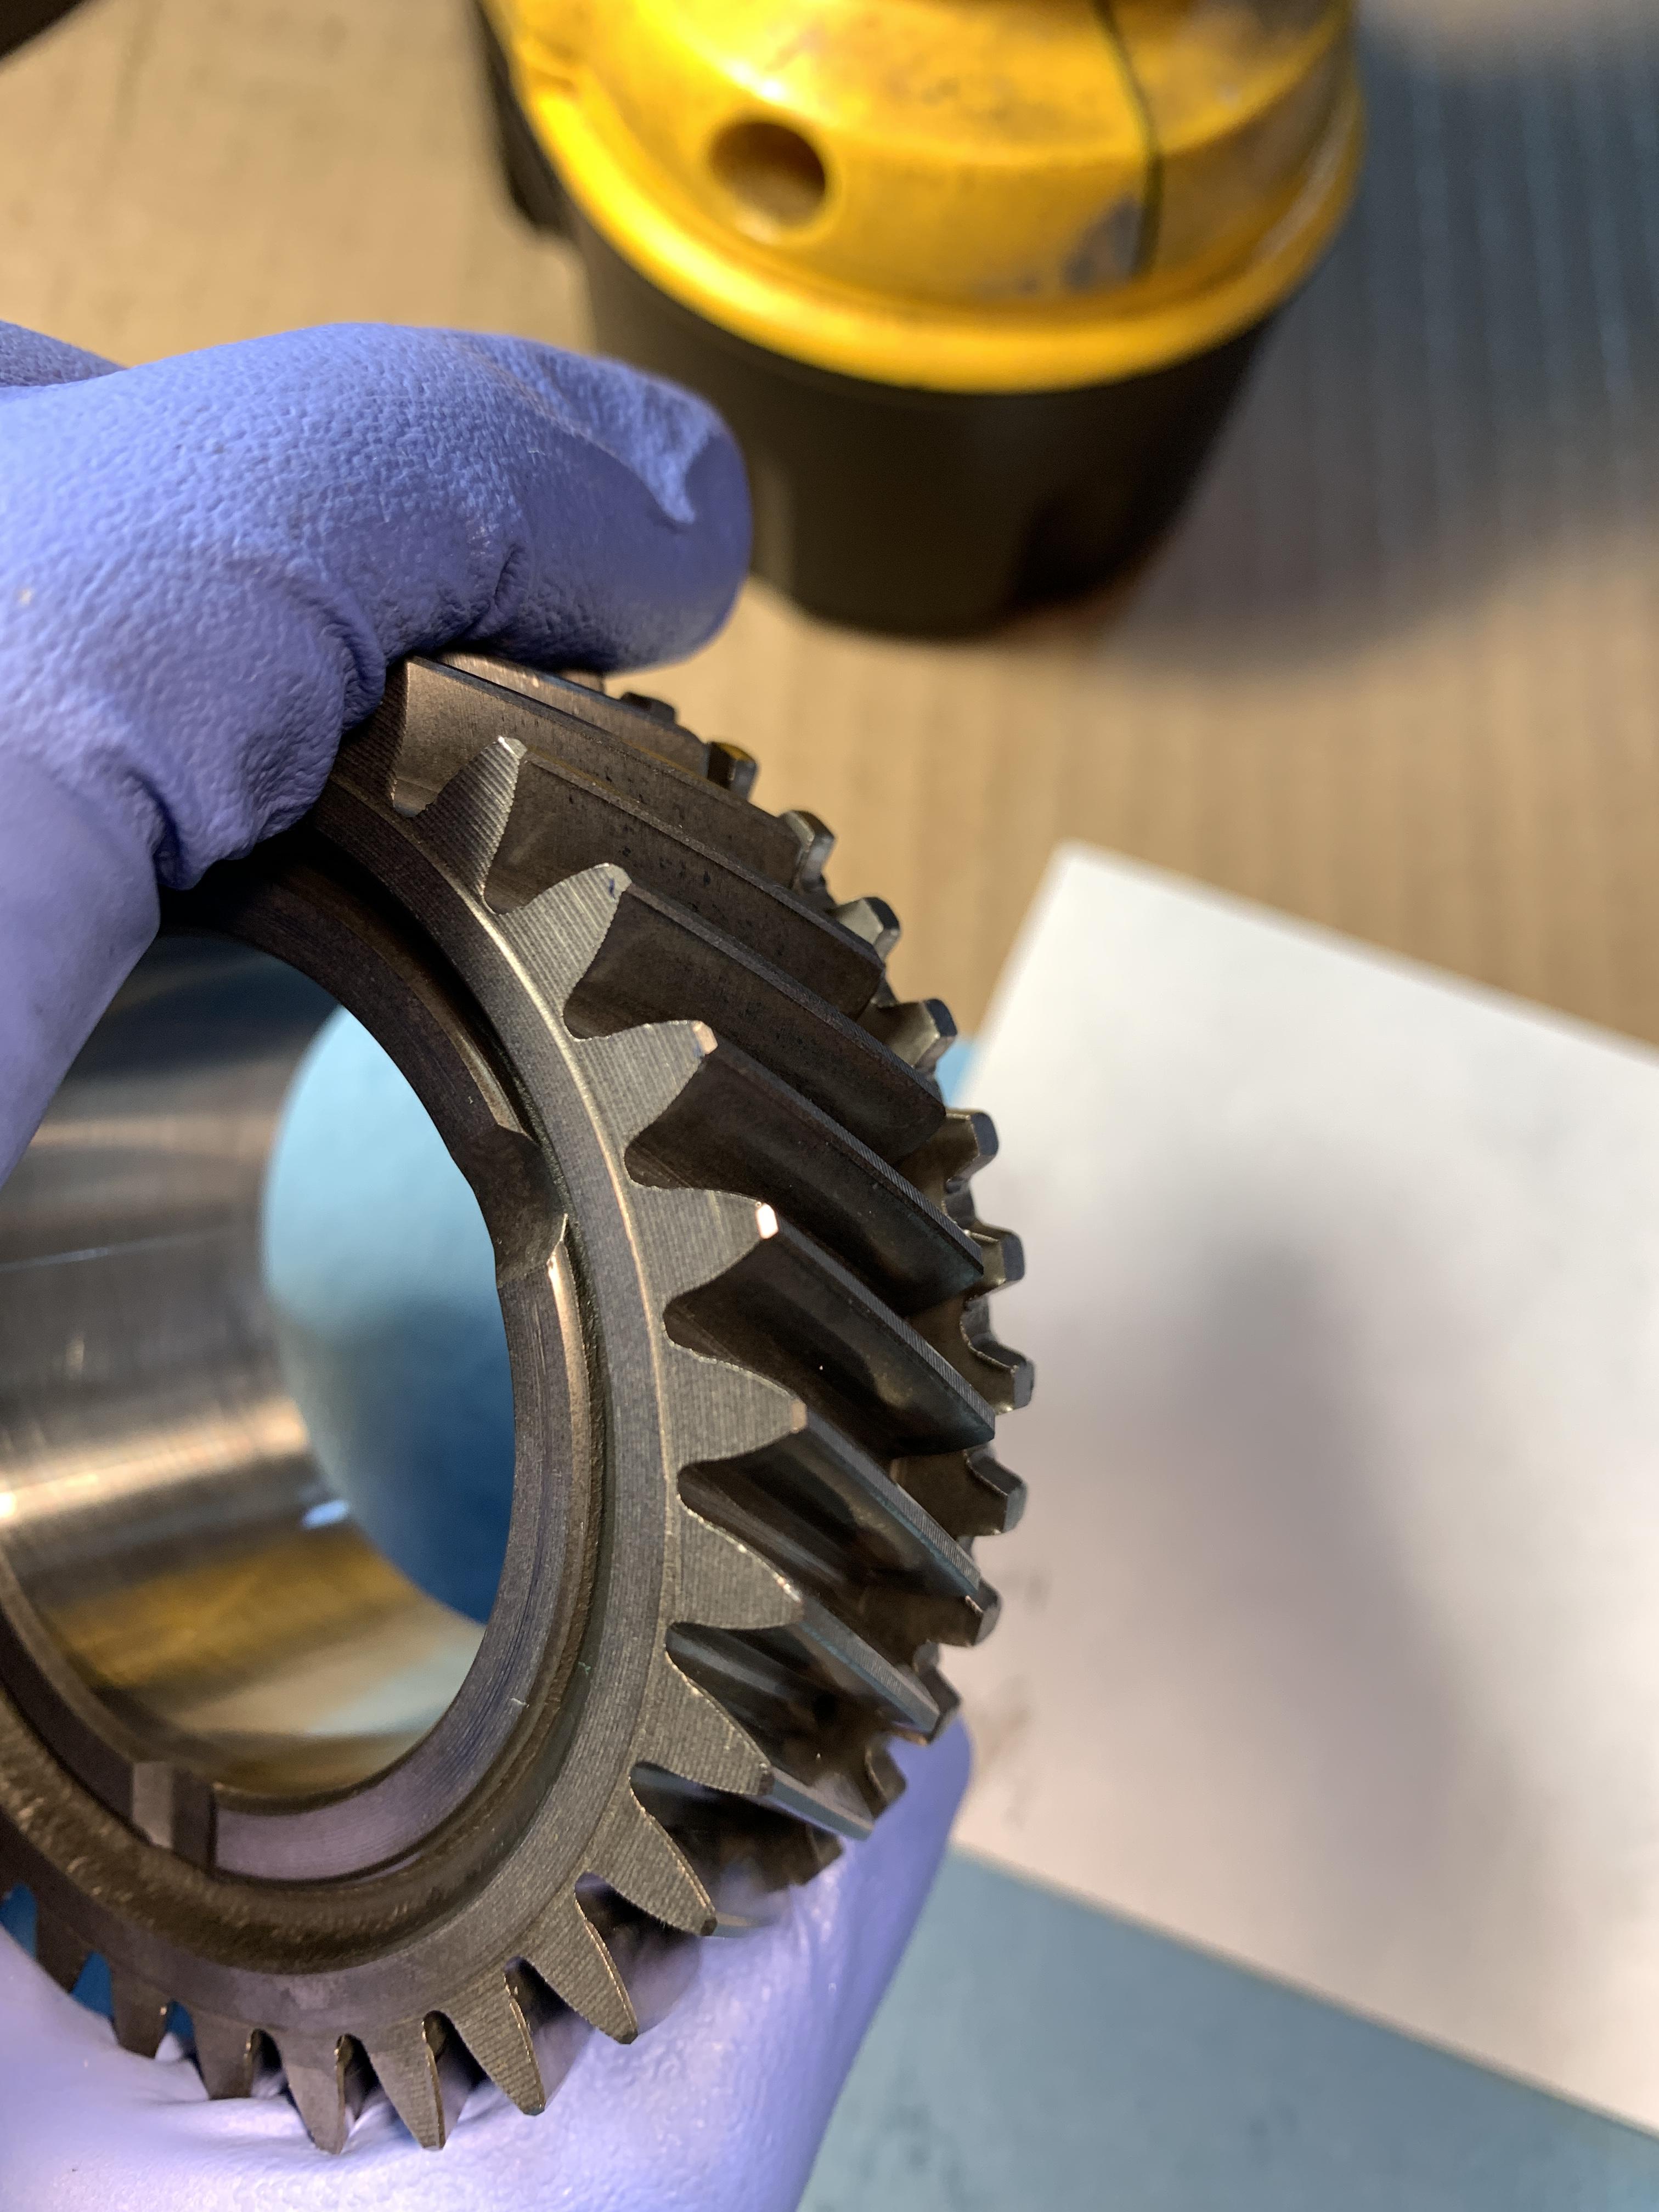
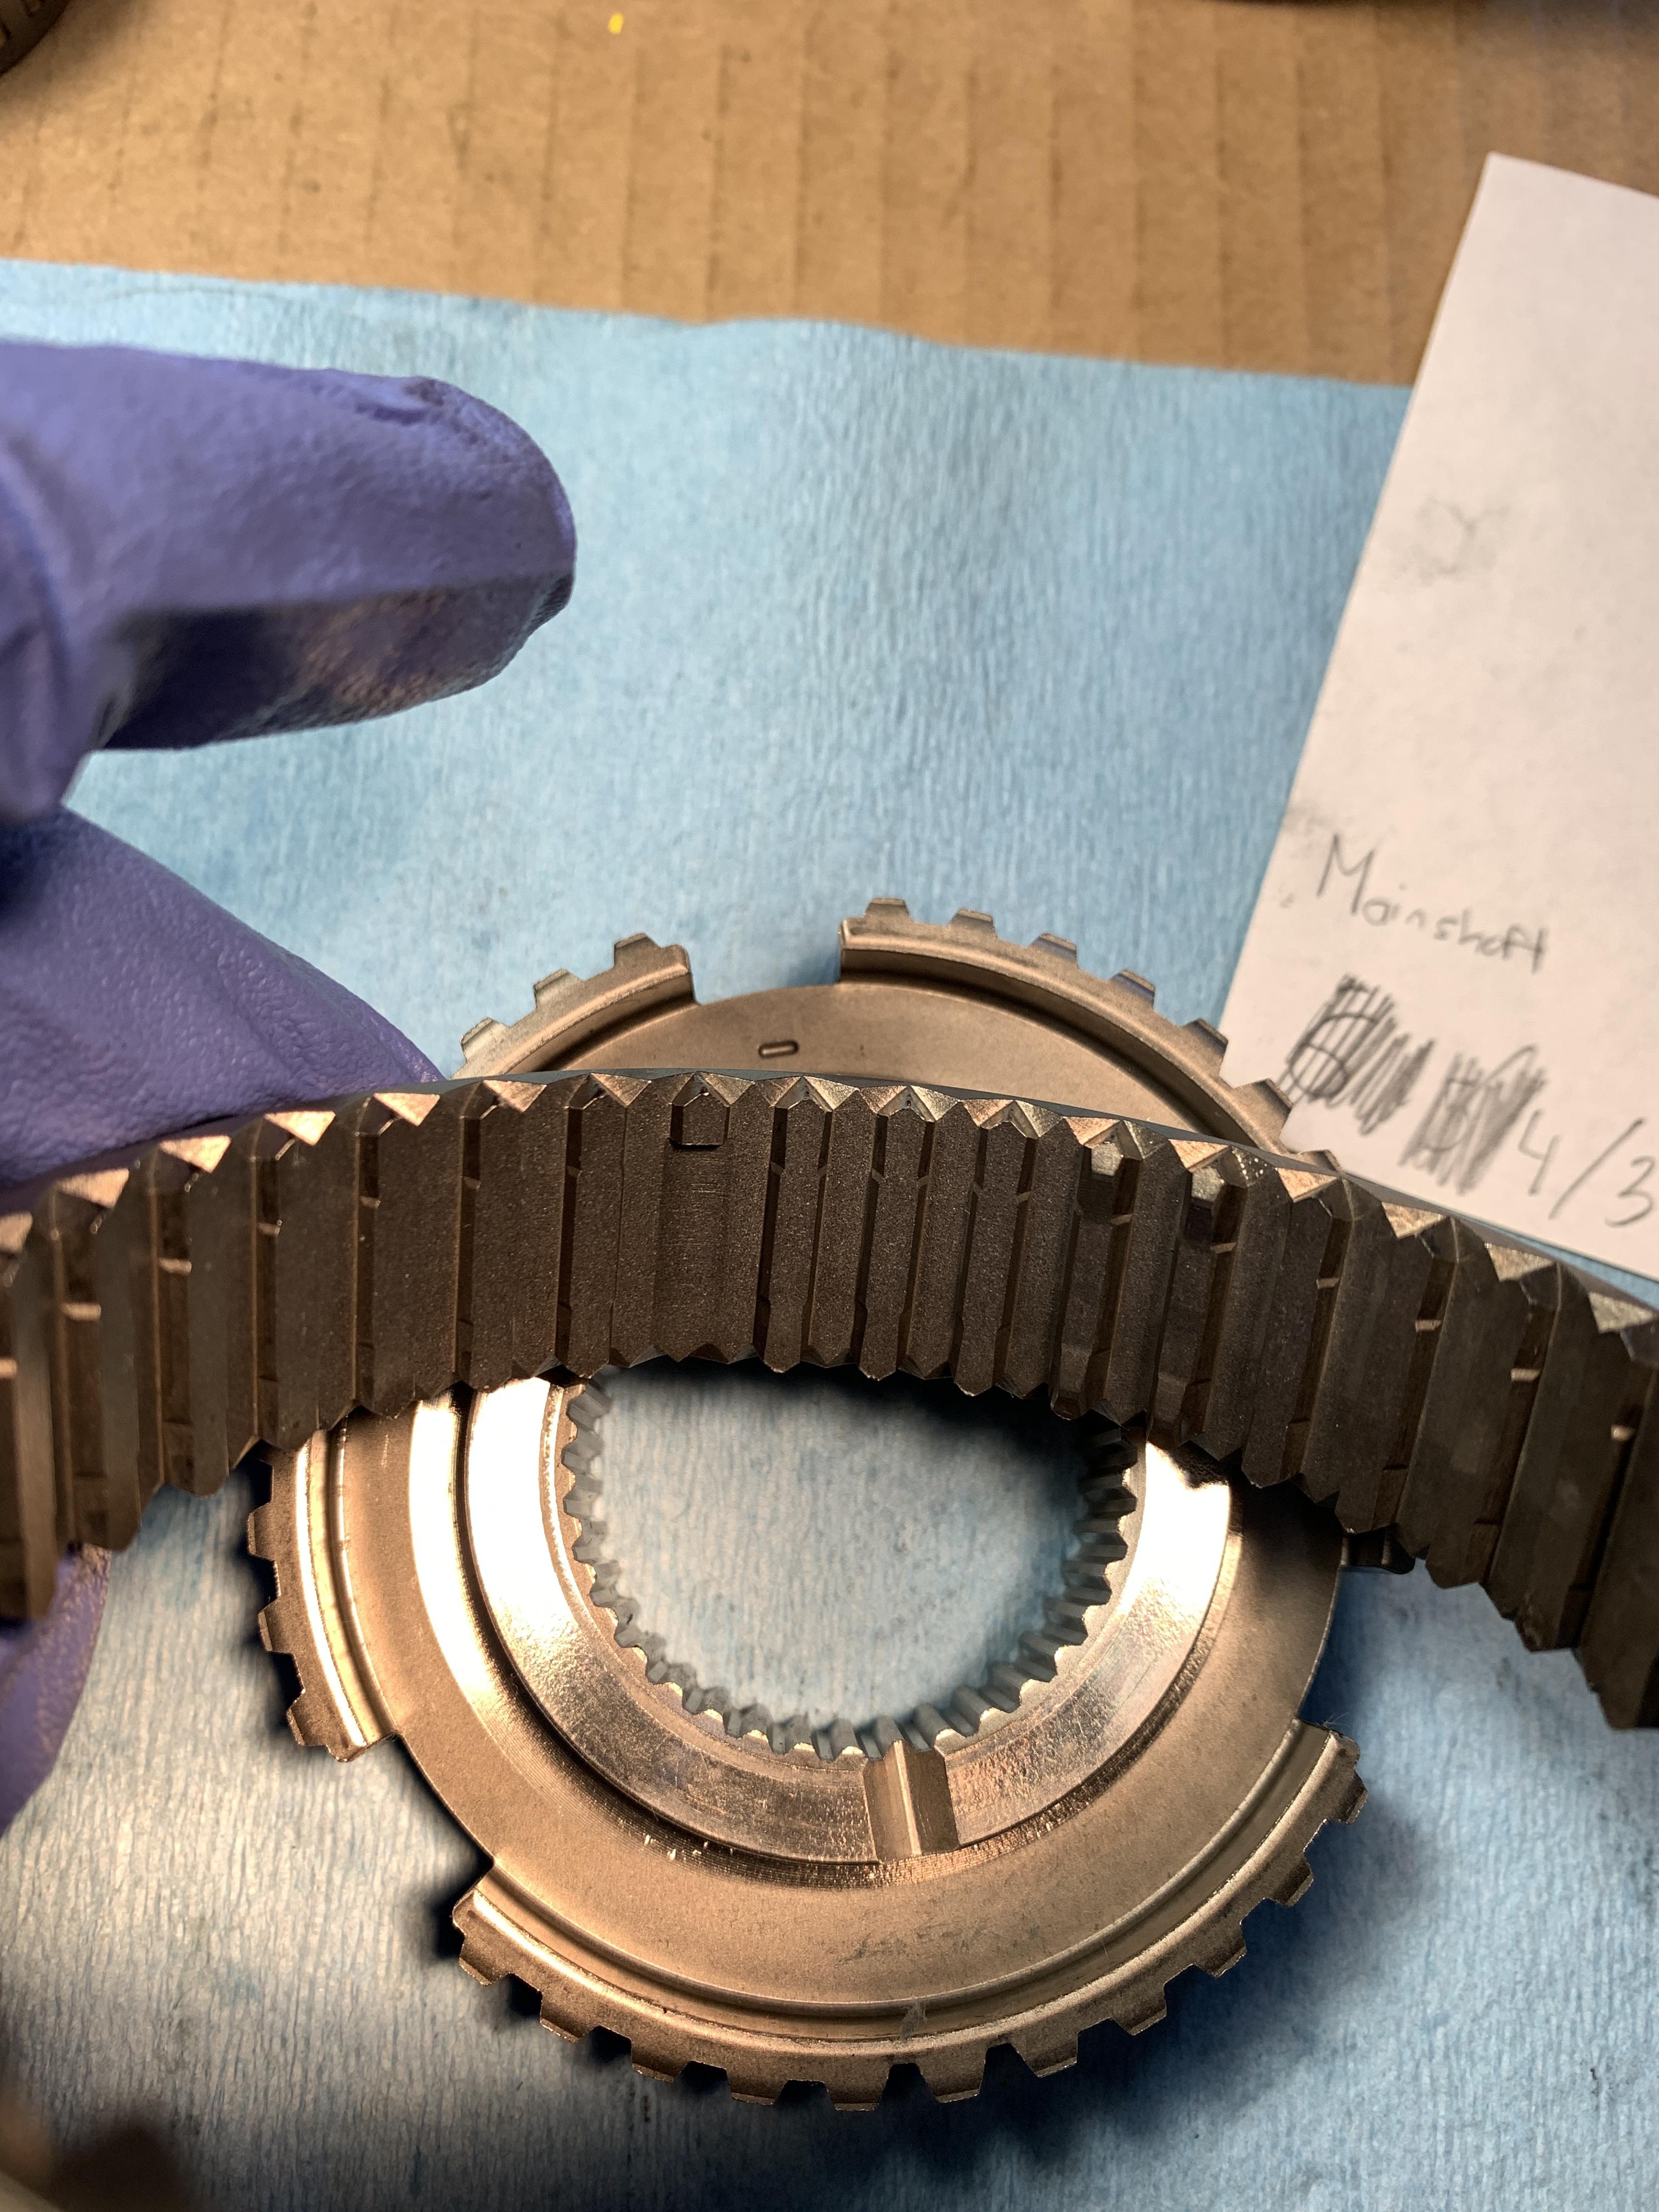
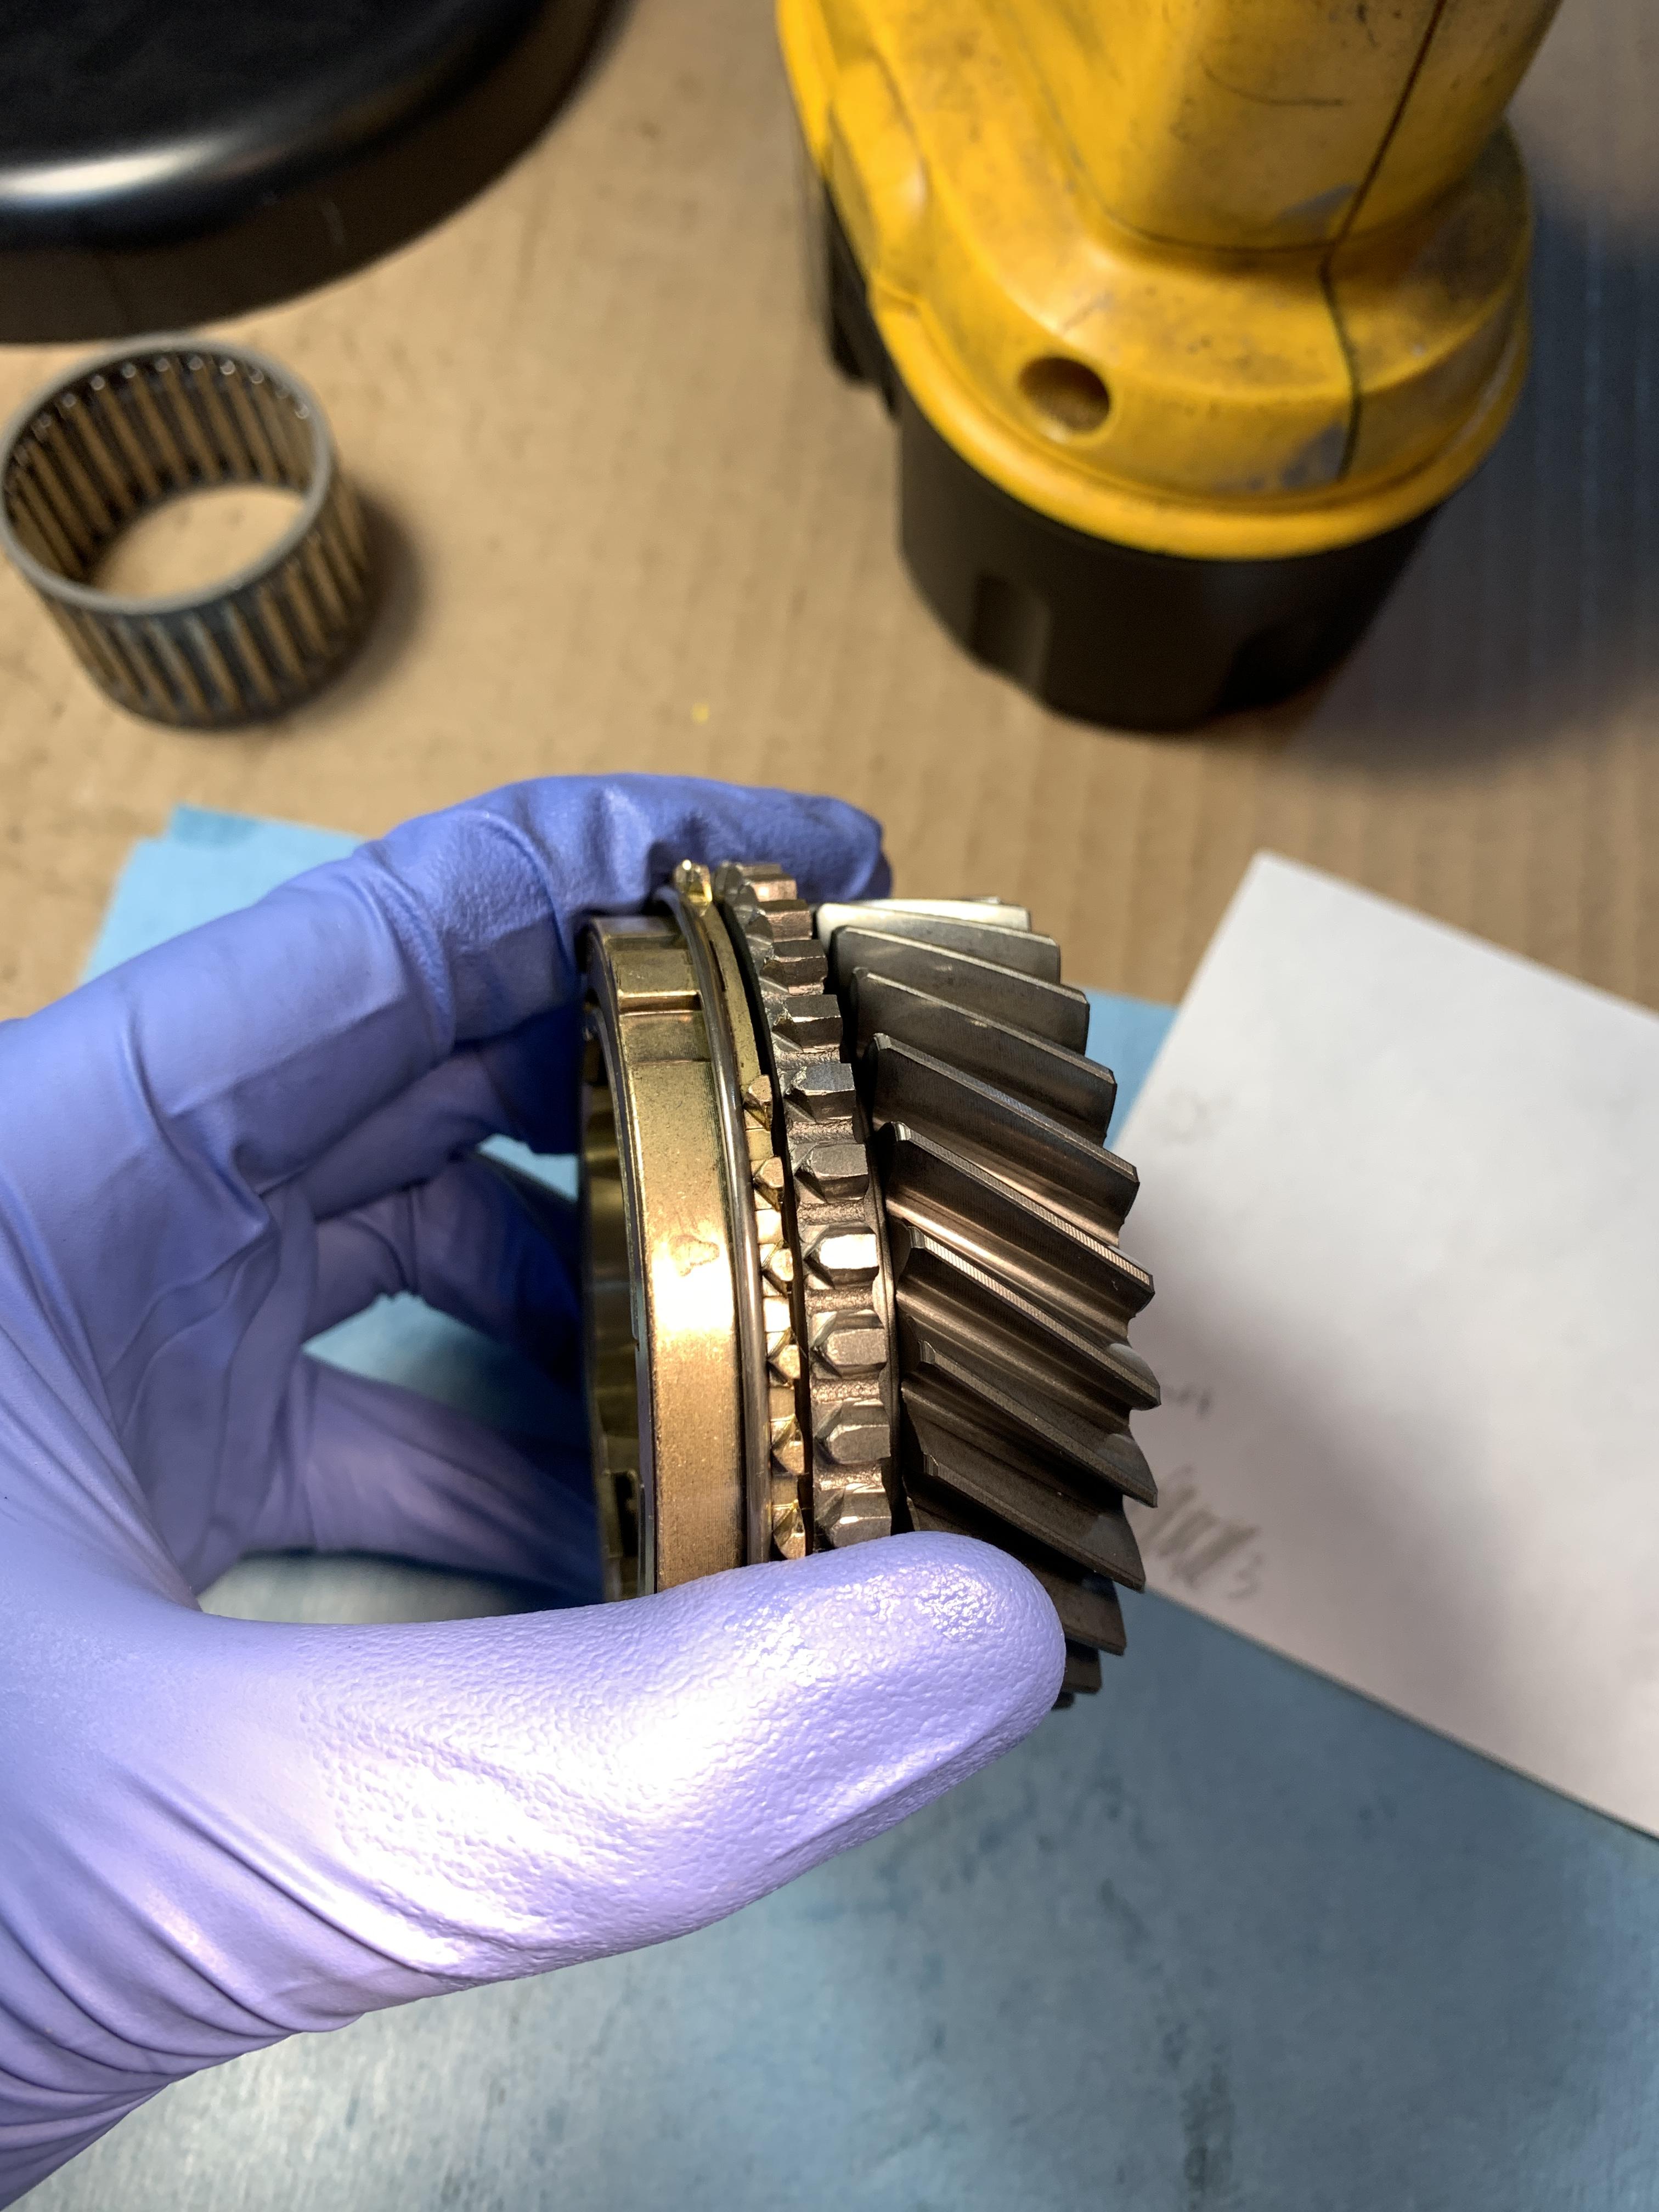
Close up of the 3rd/4th synchro sleeve.

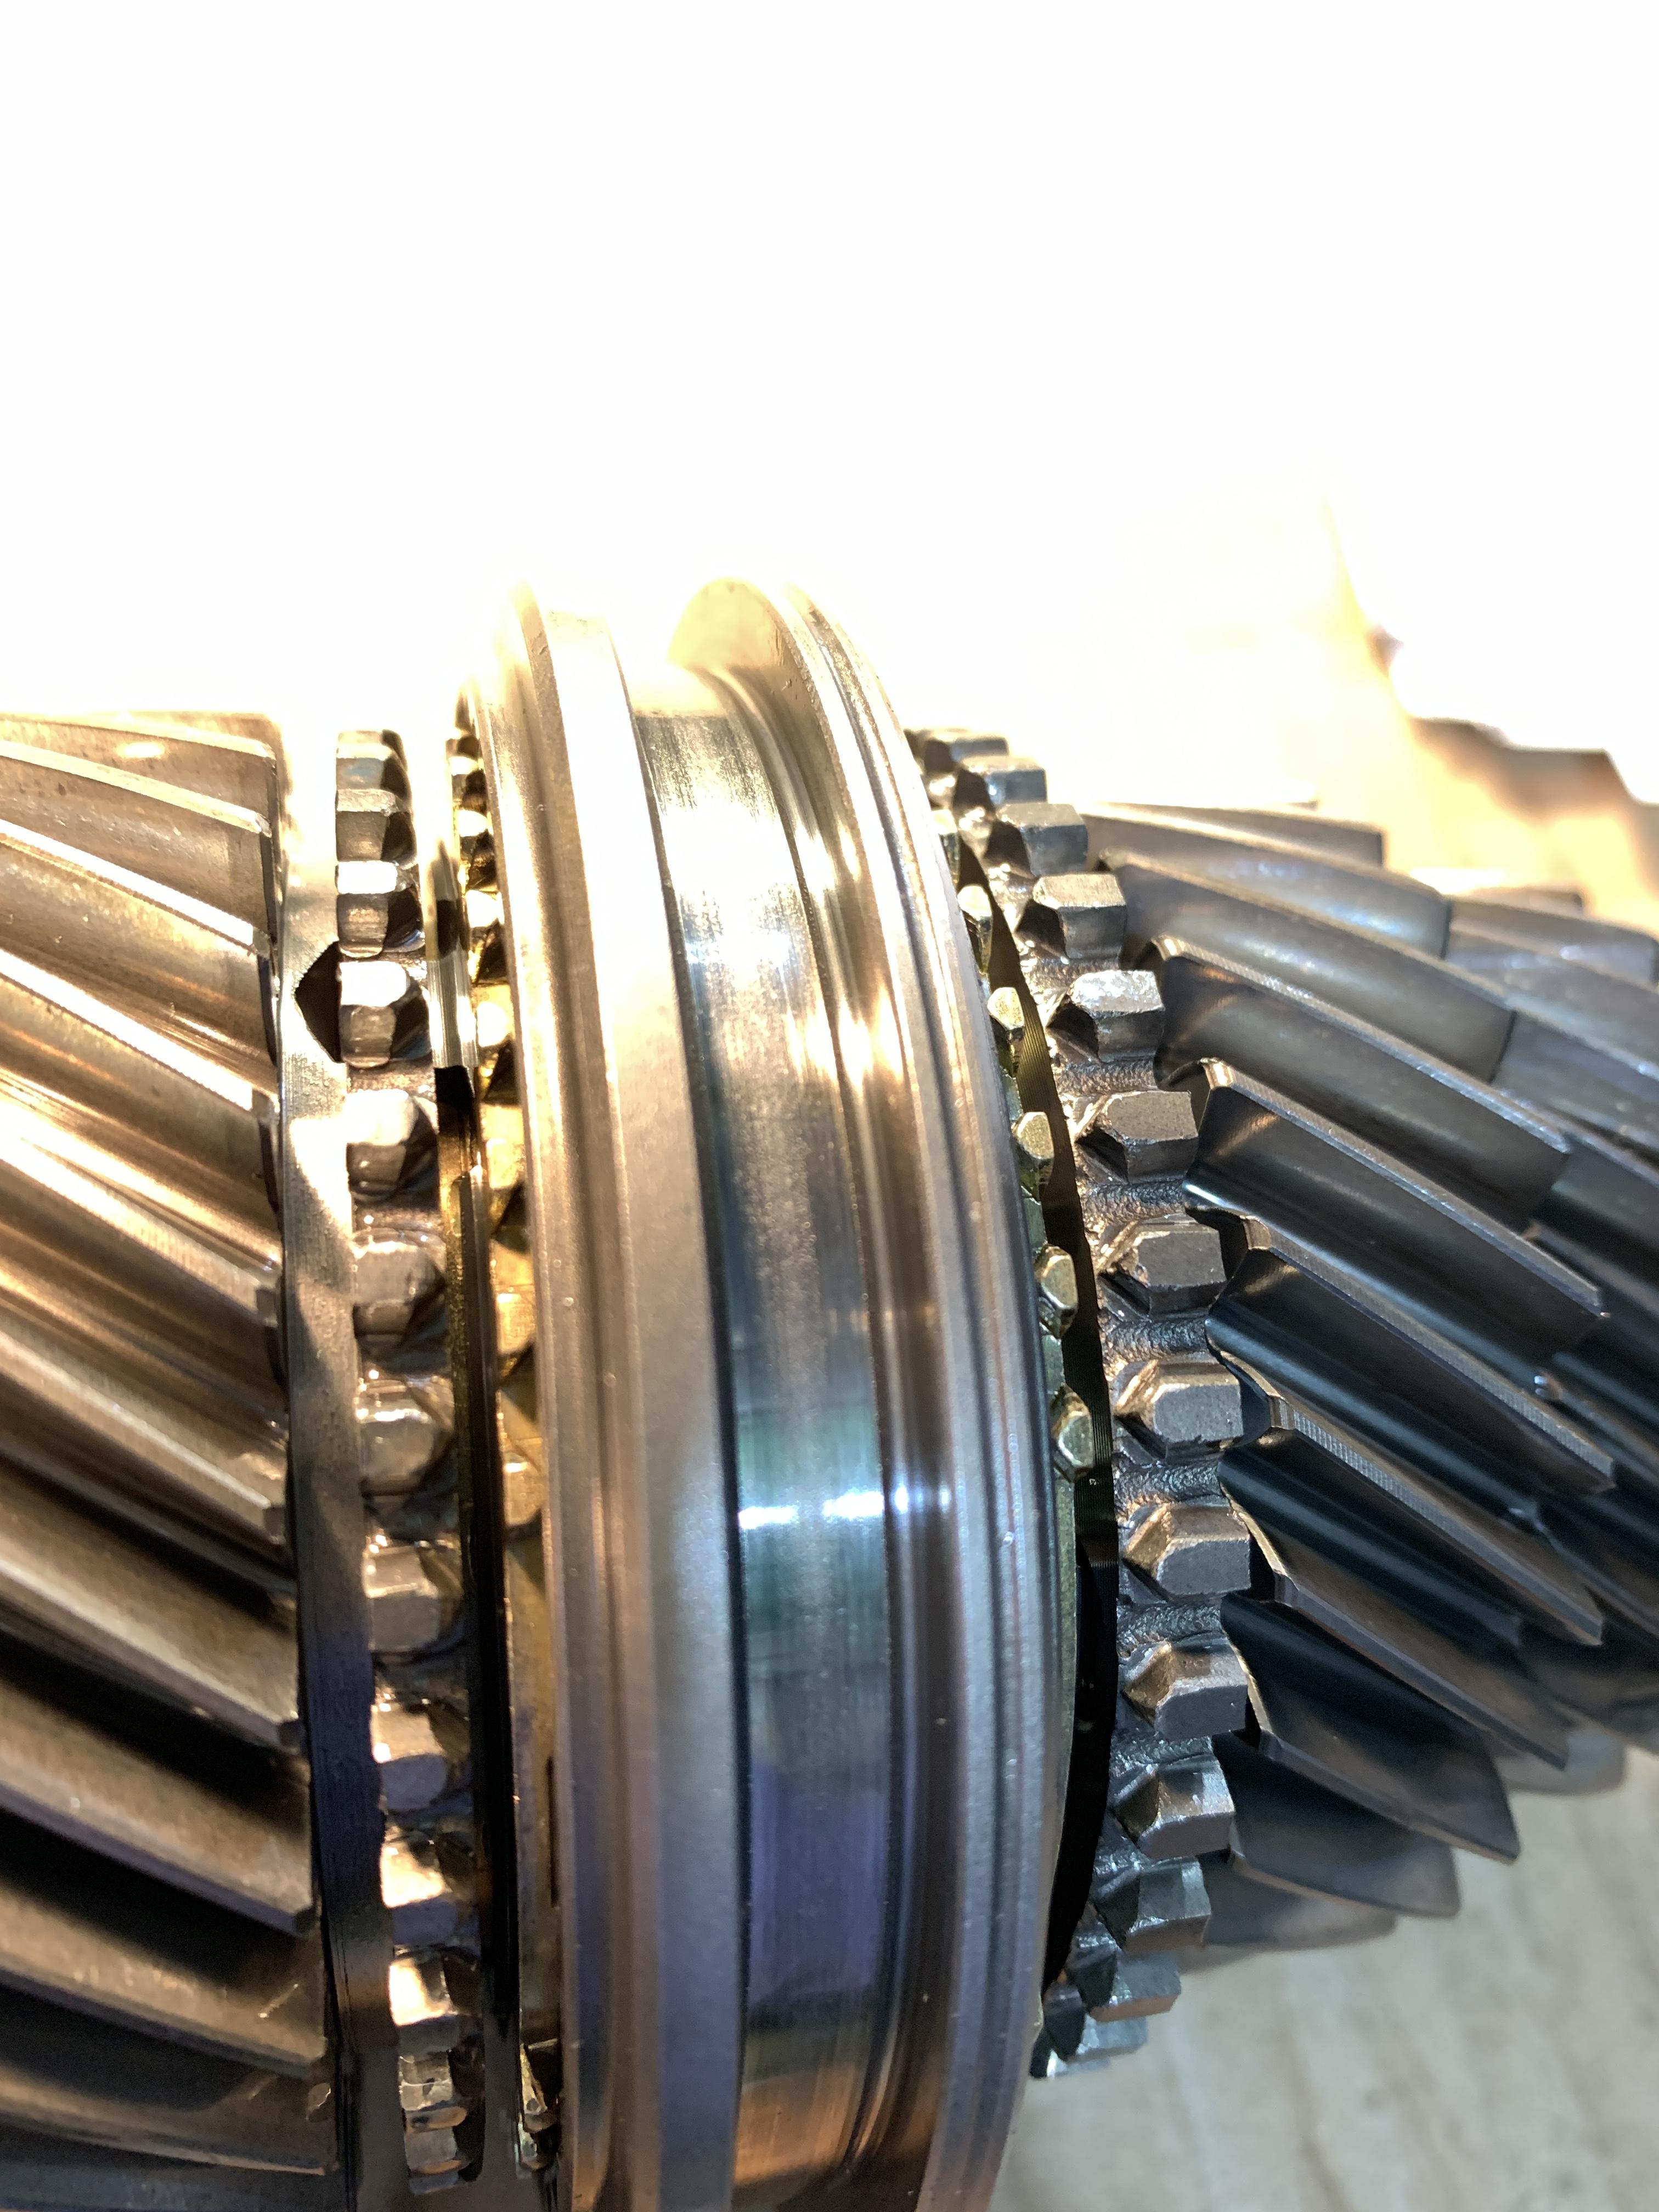
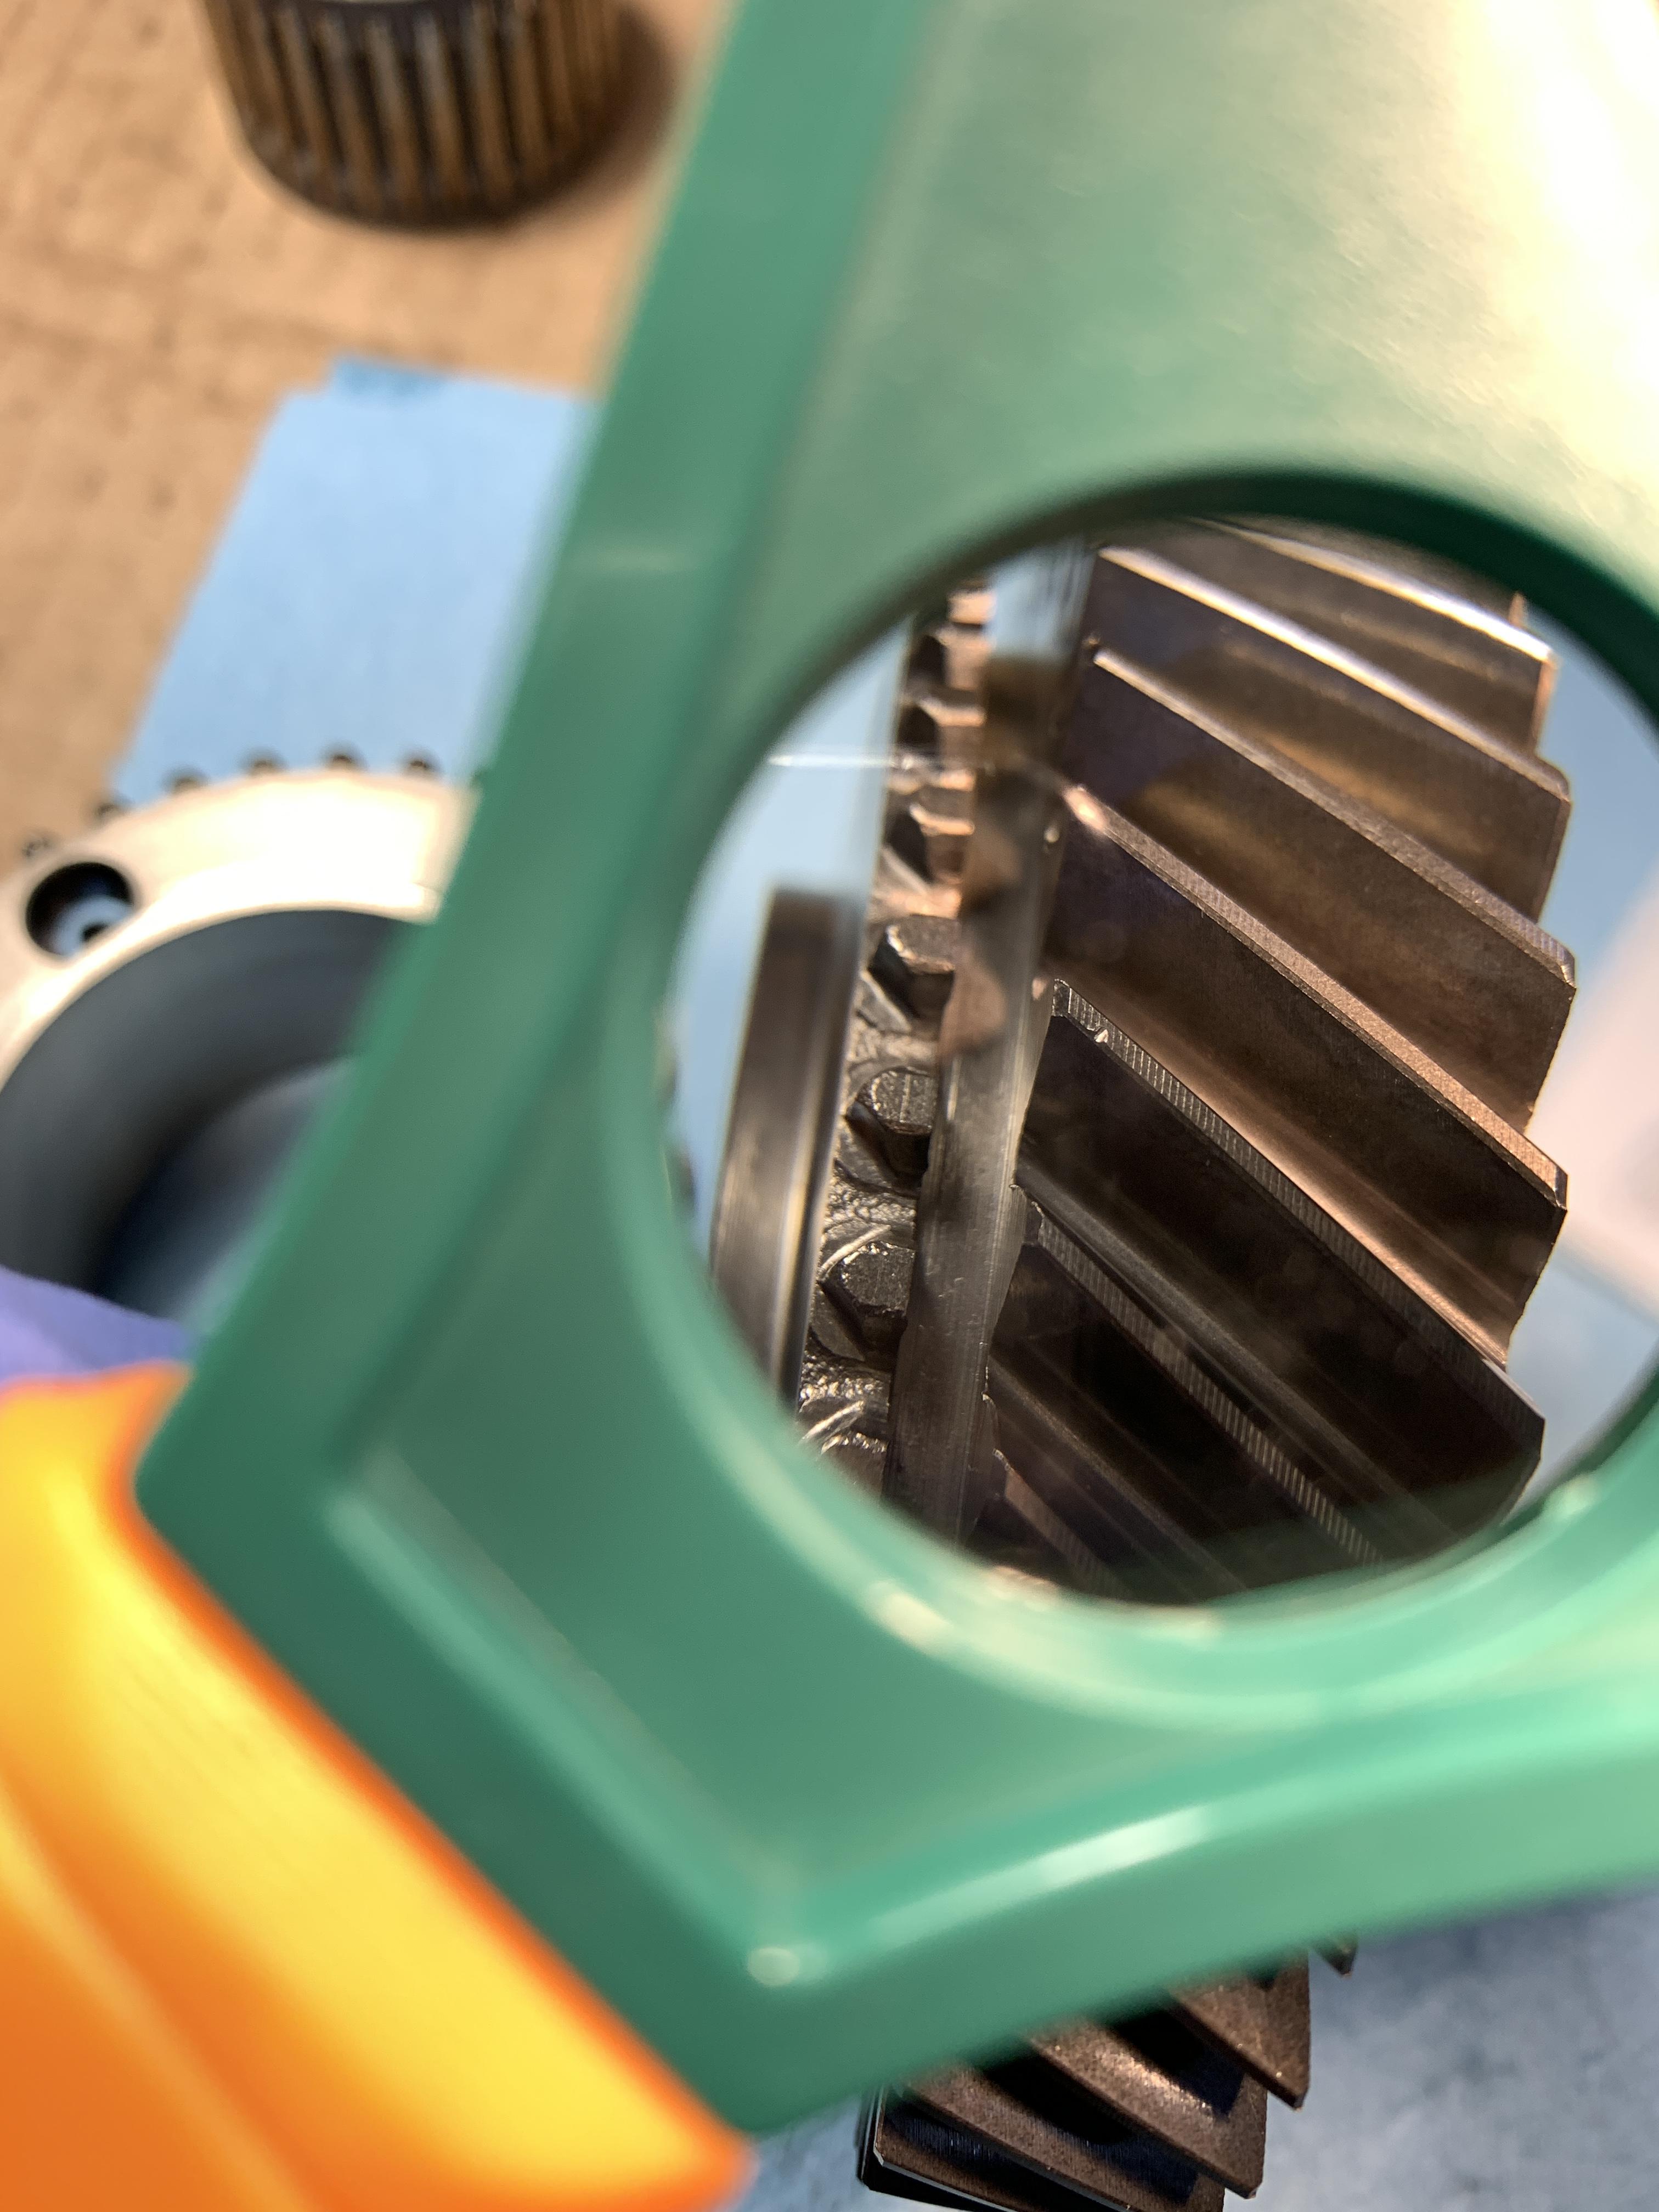
The green surround in the picture is the magnifying glass plastic.
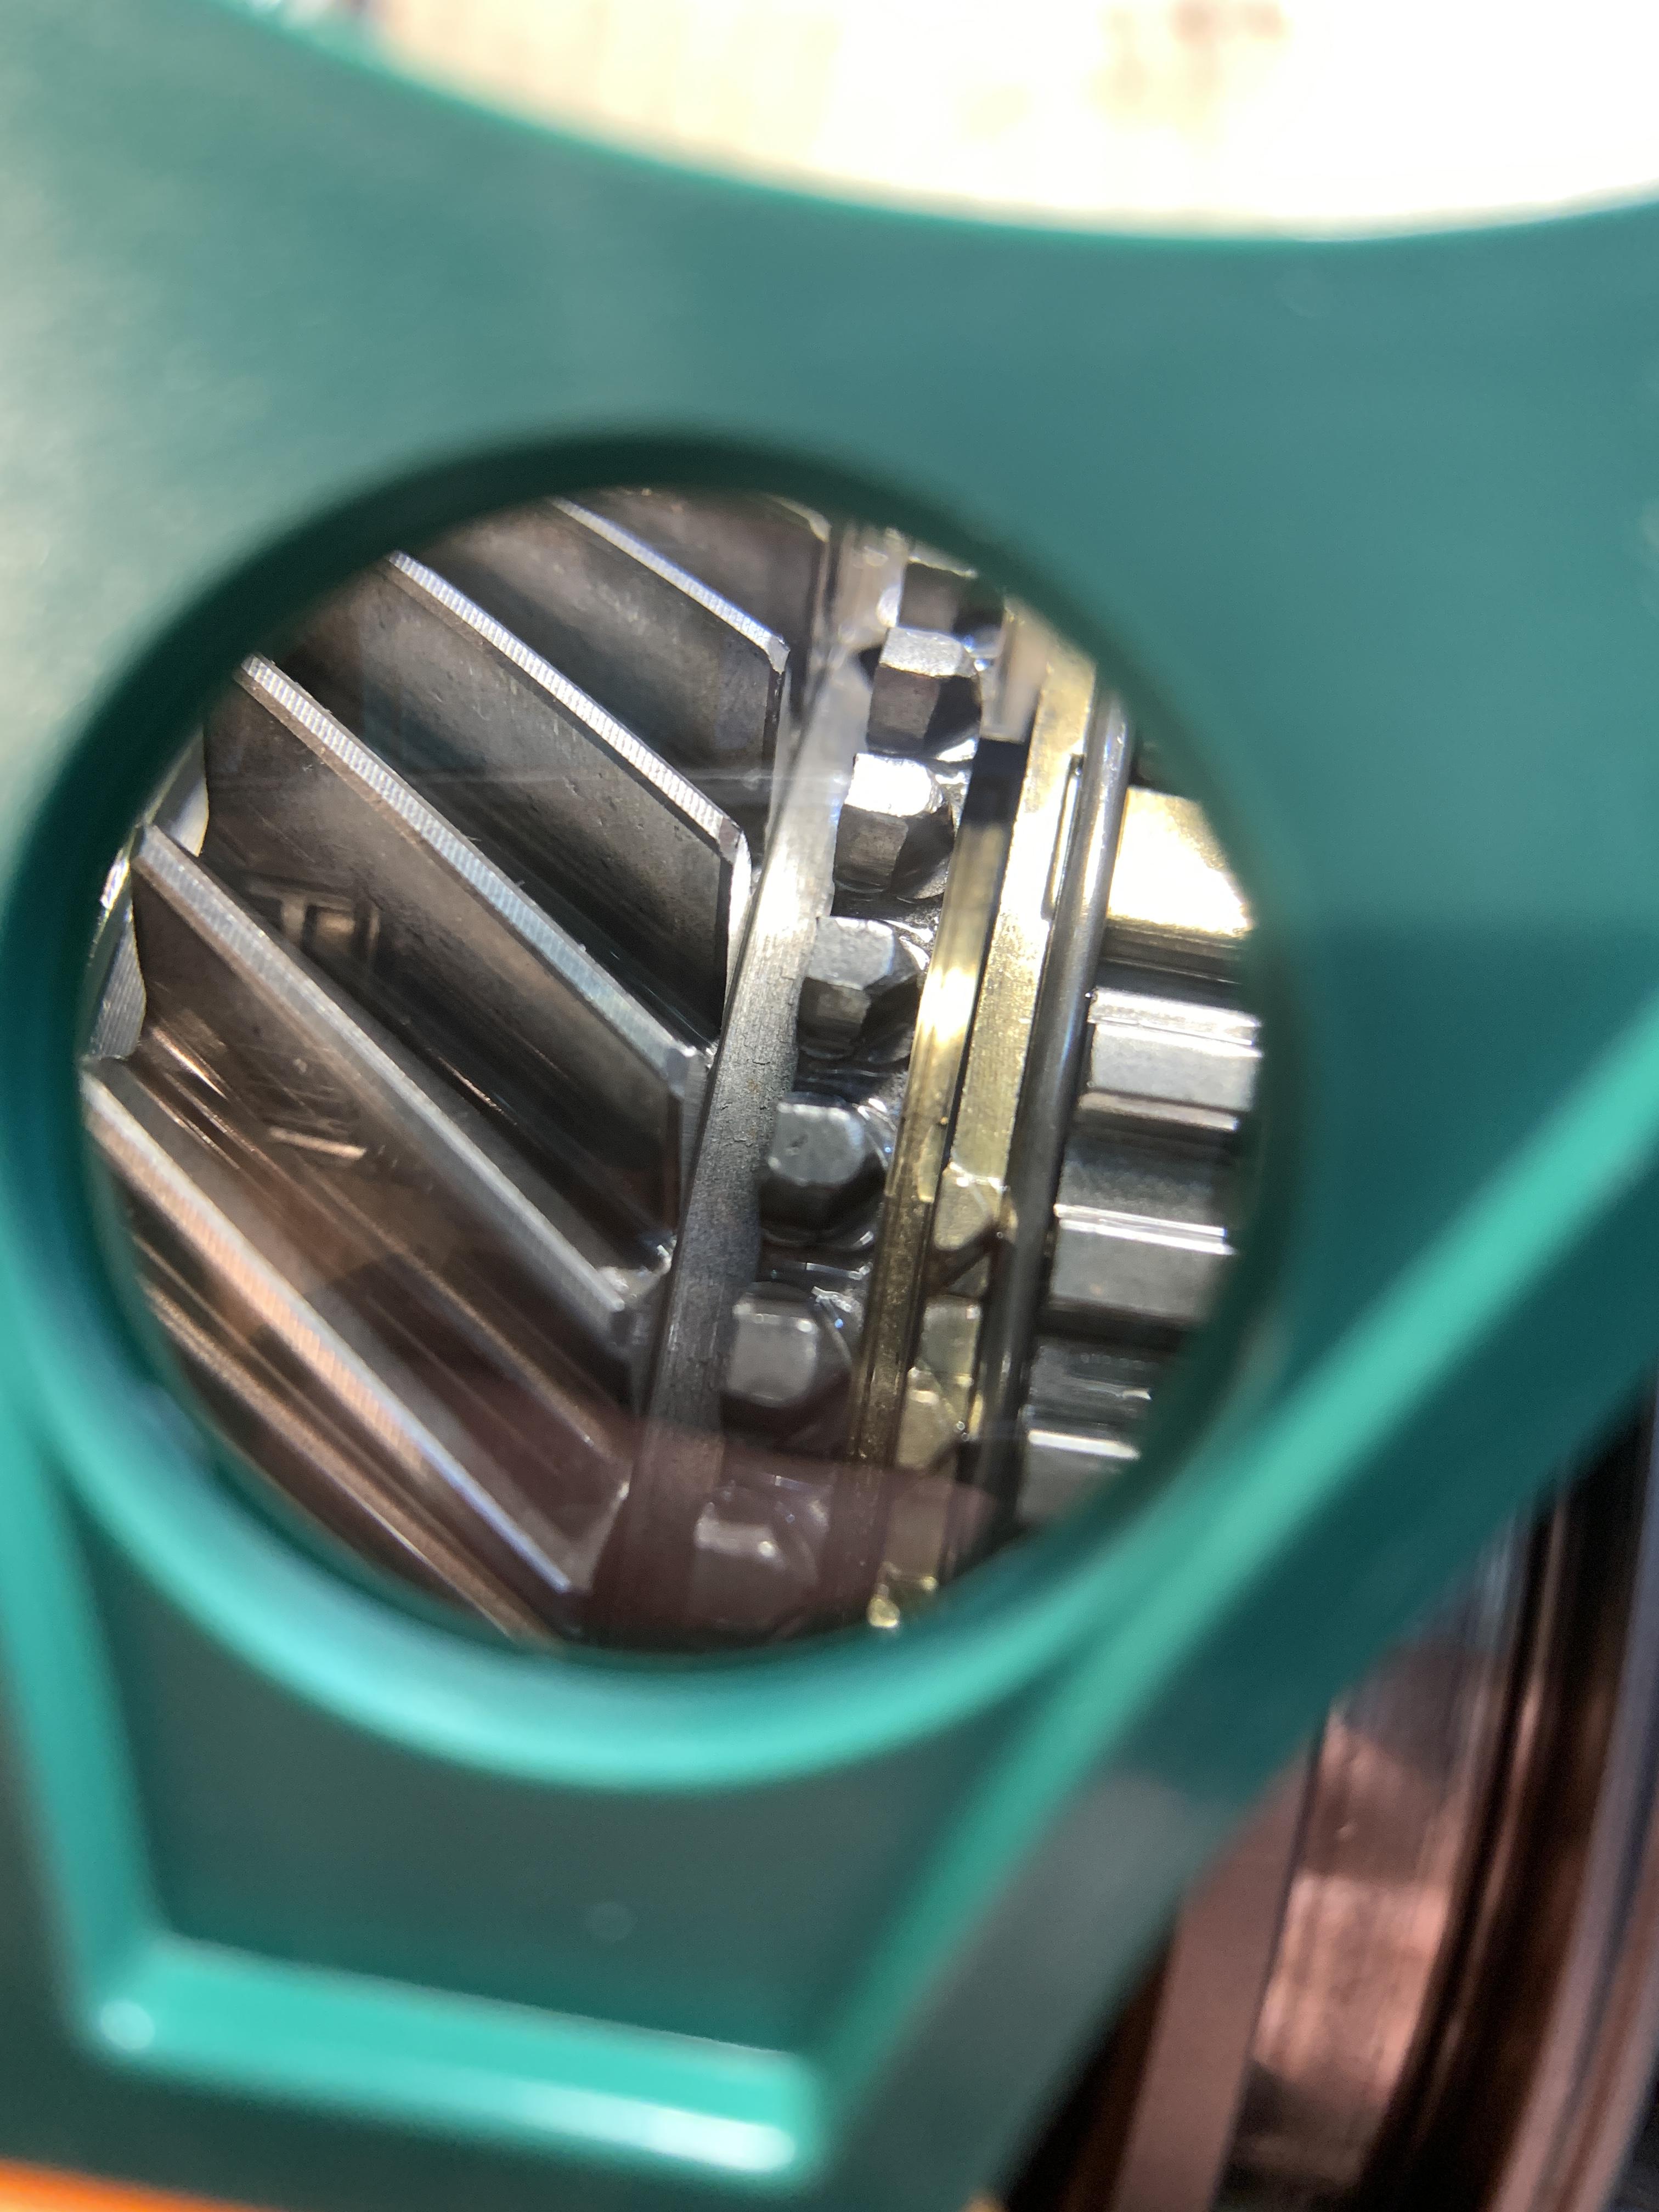

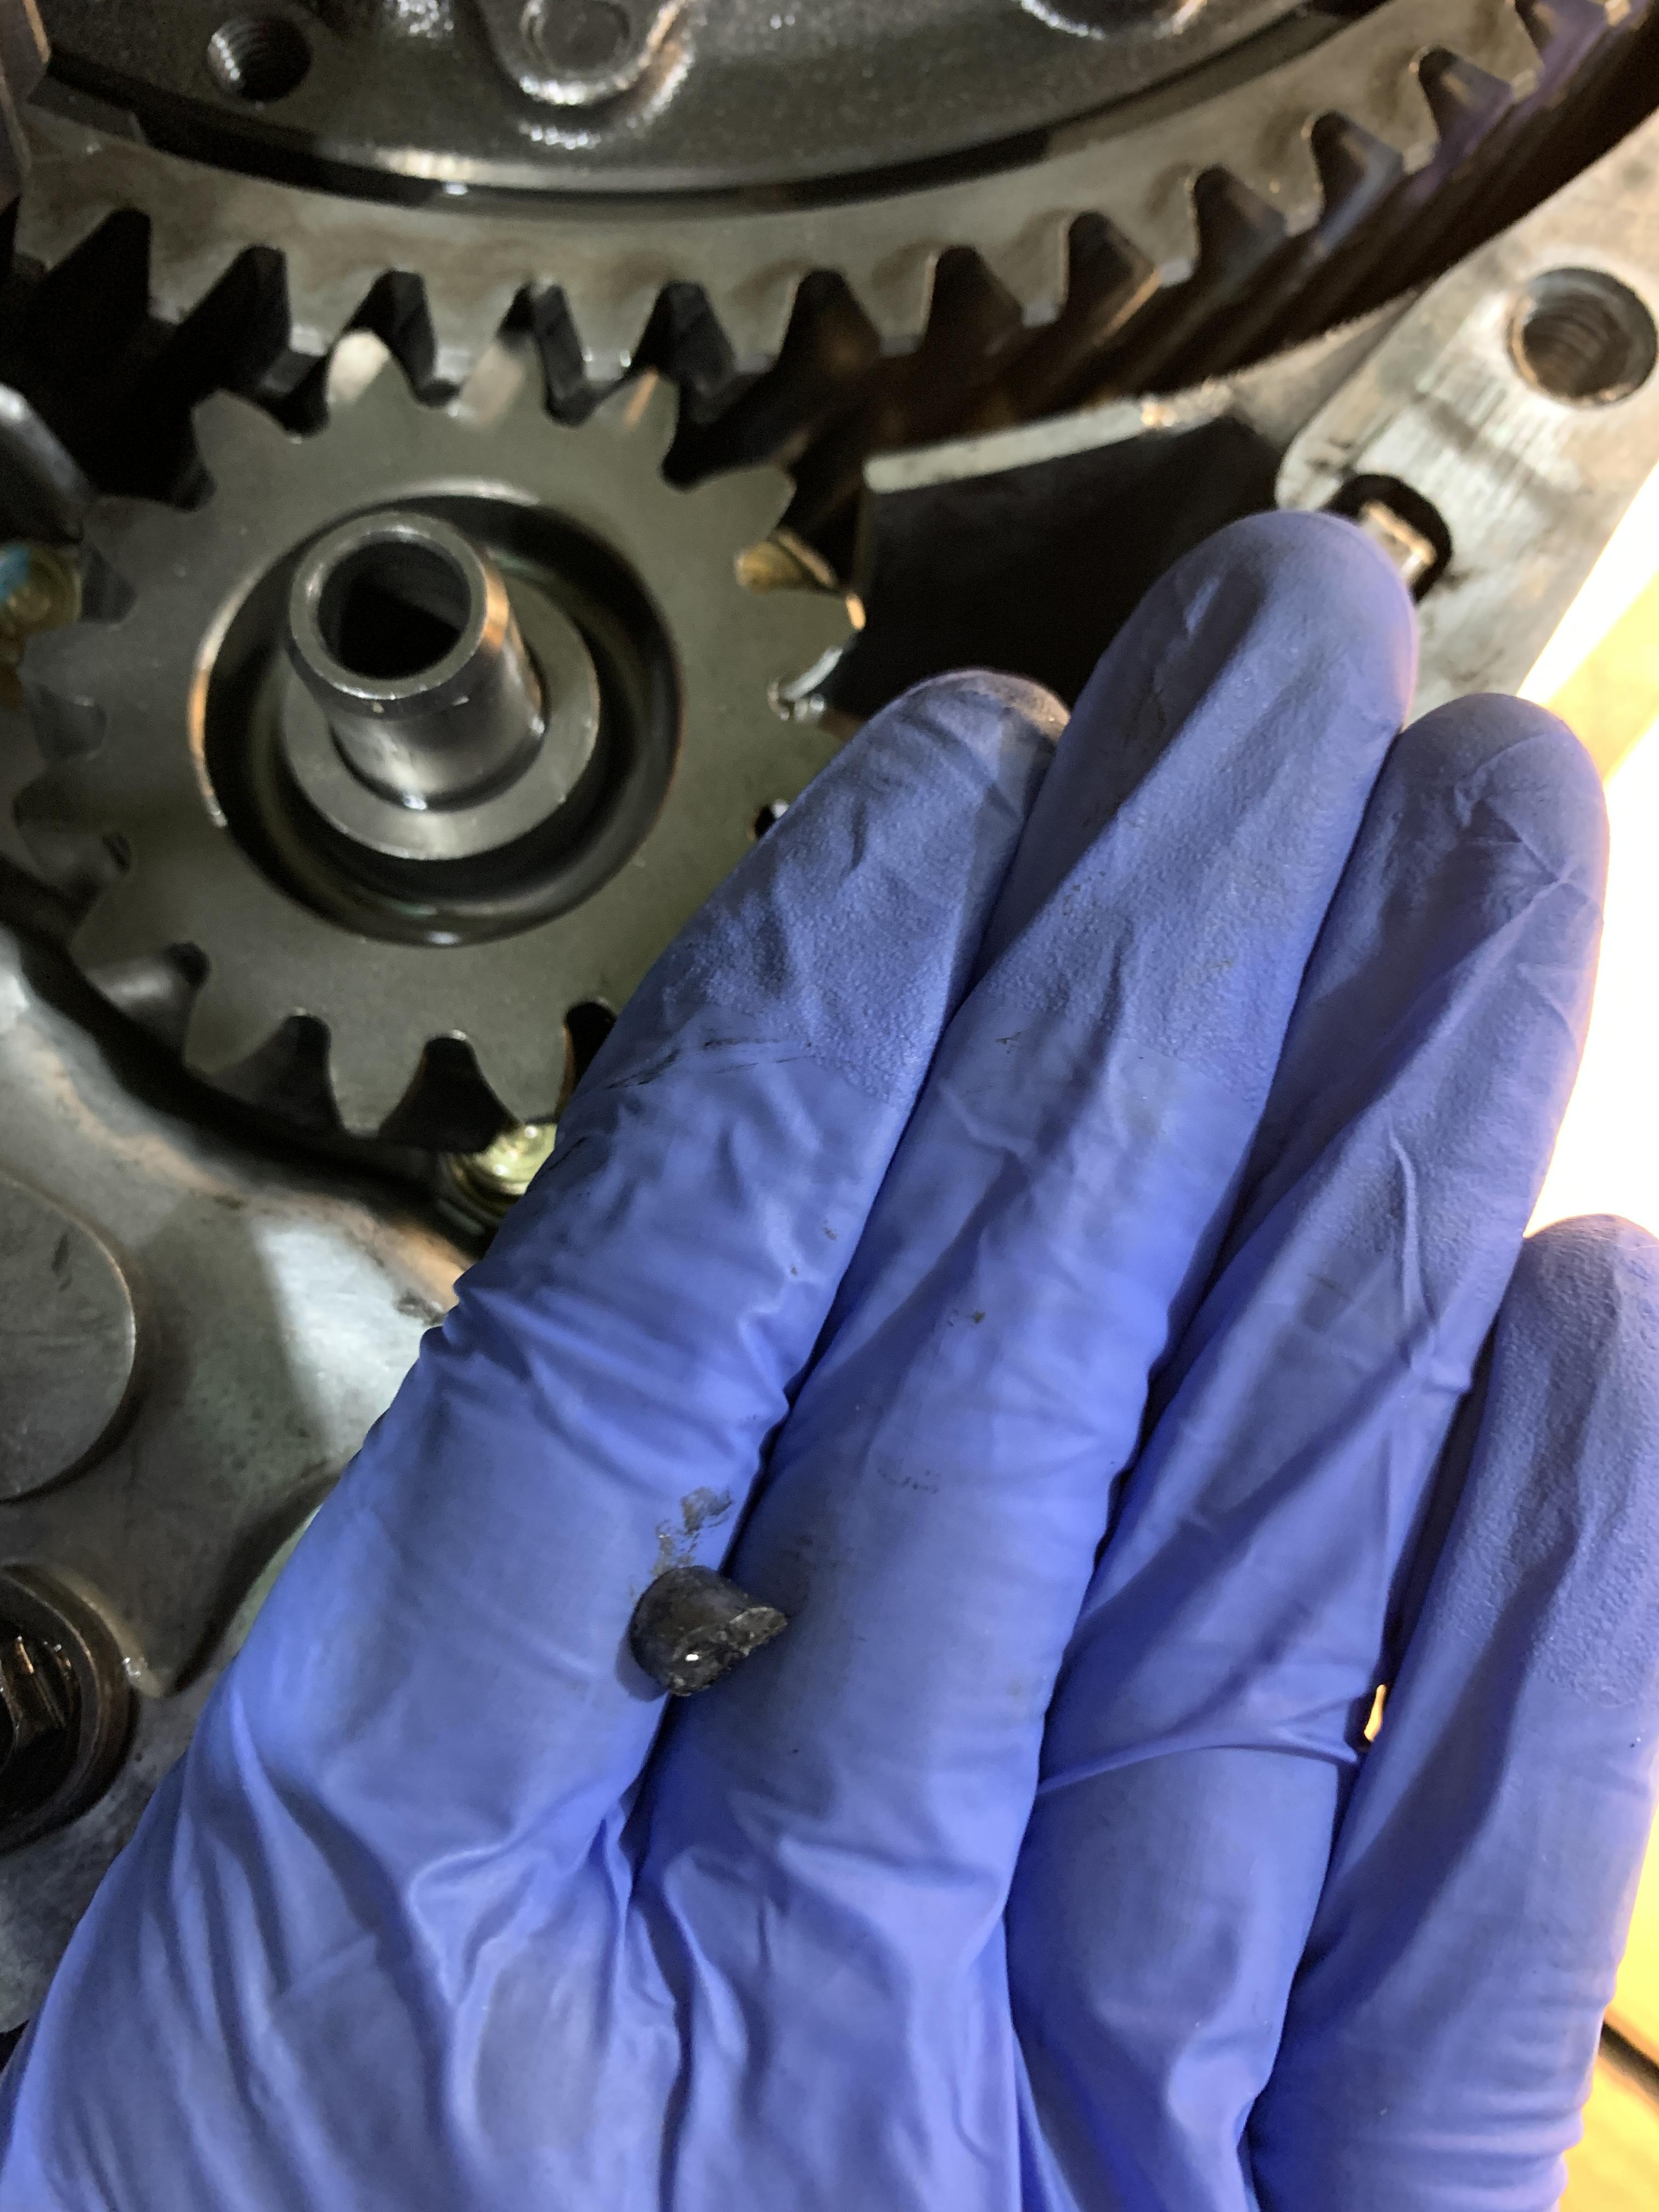
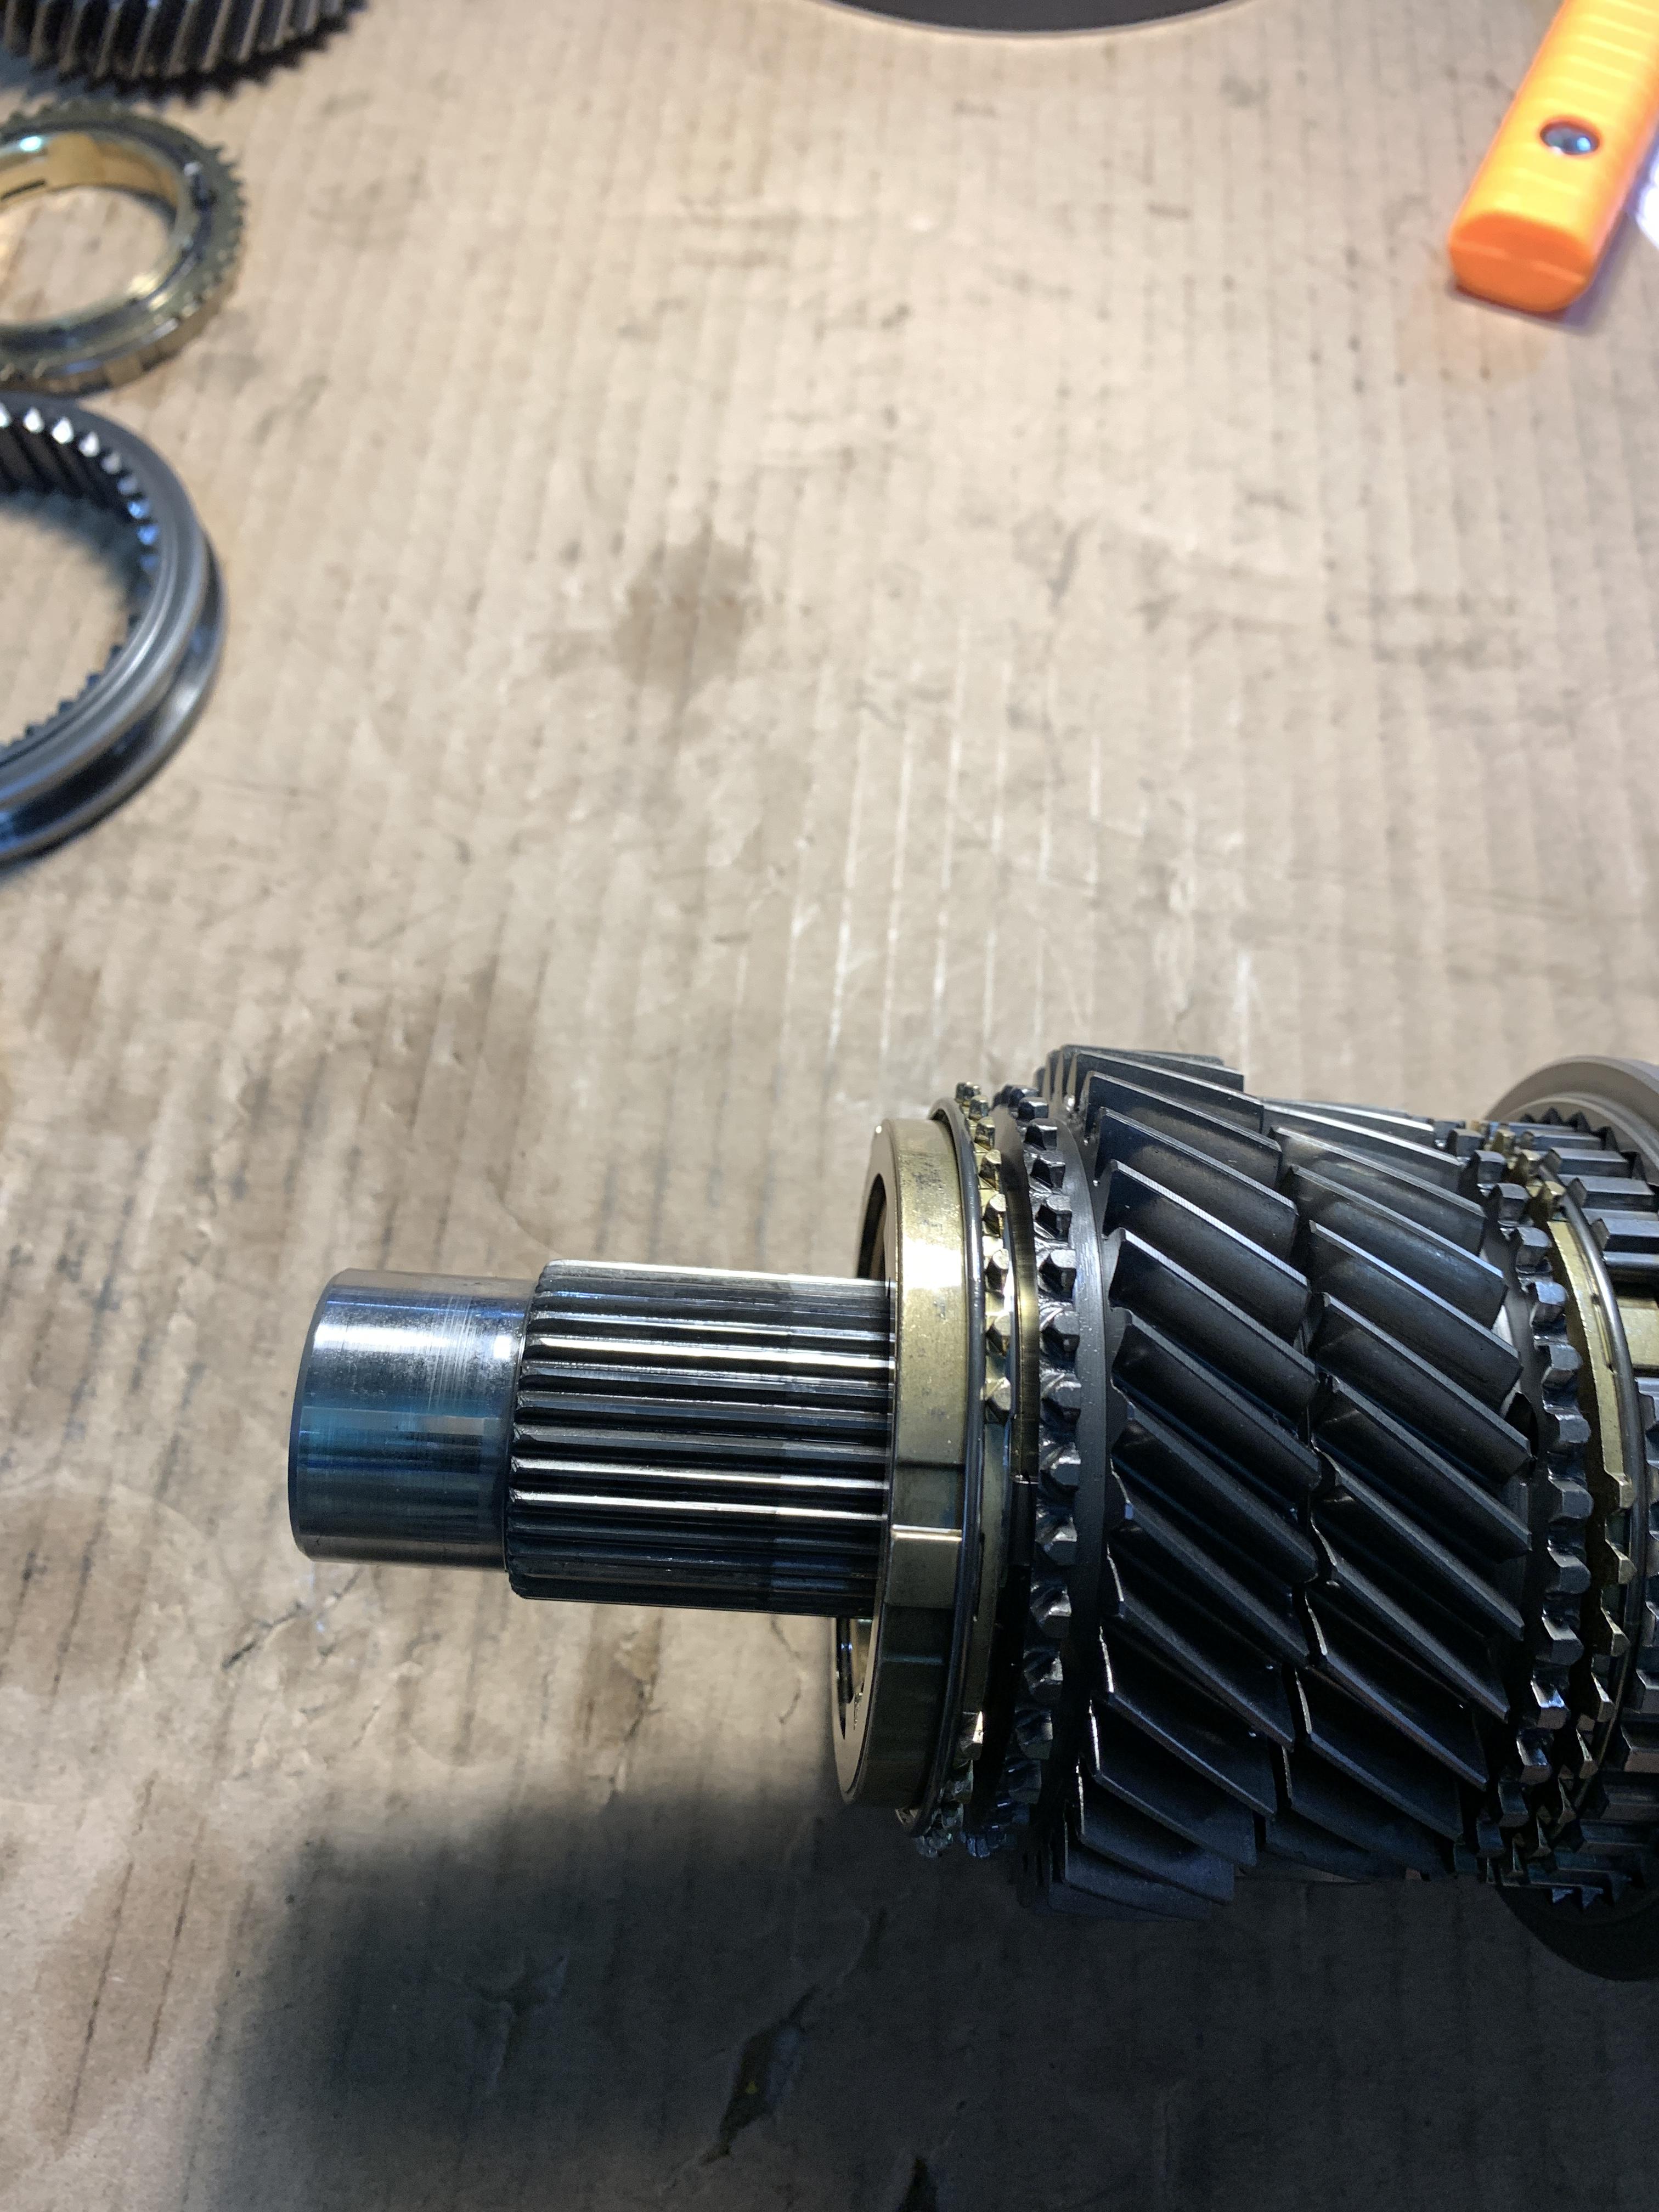
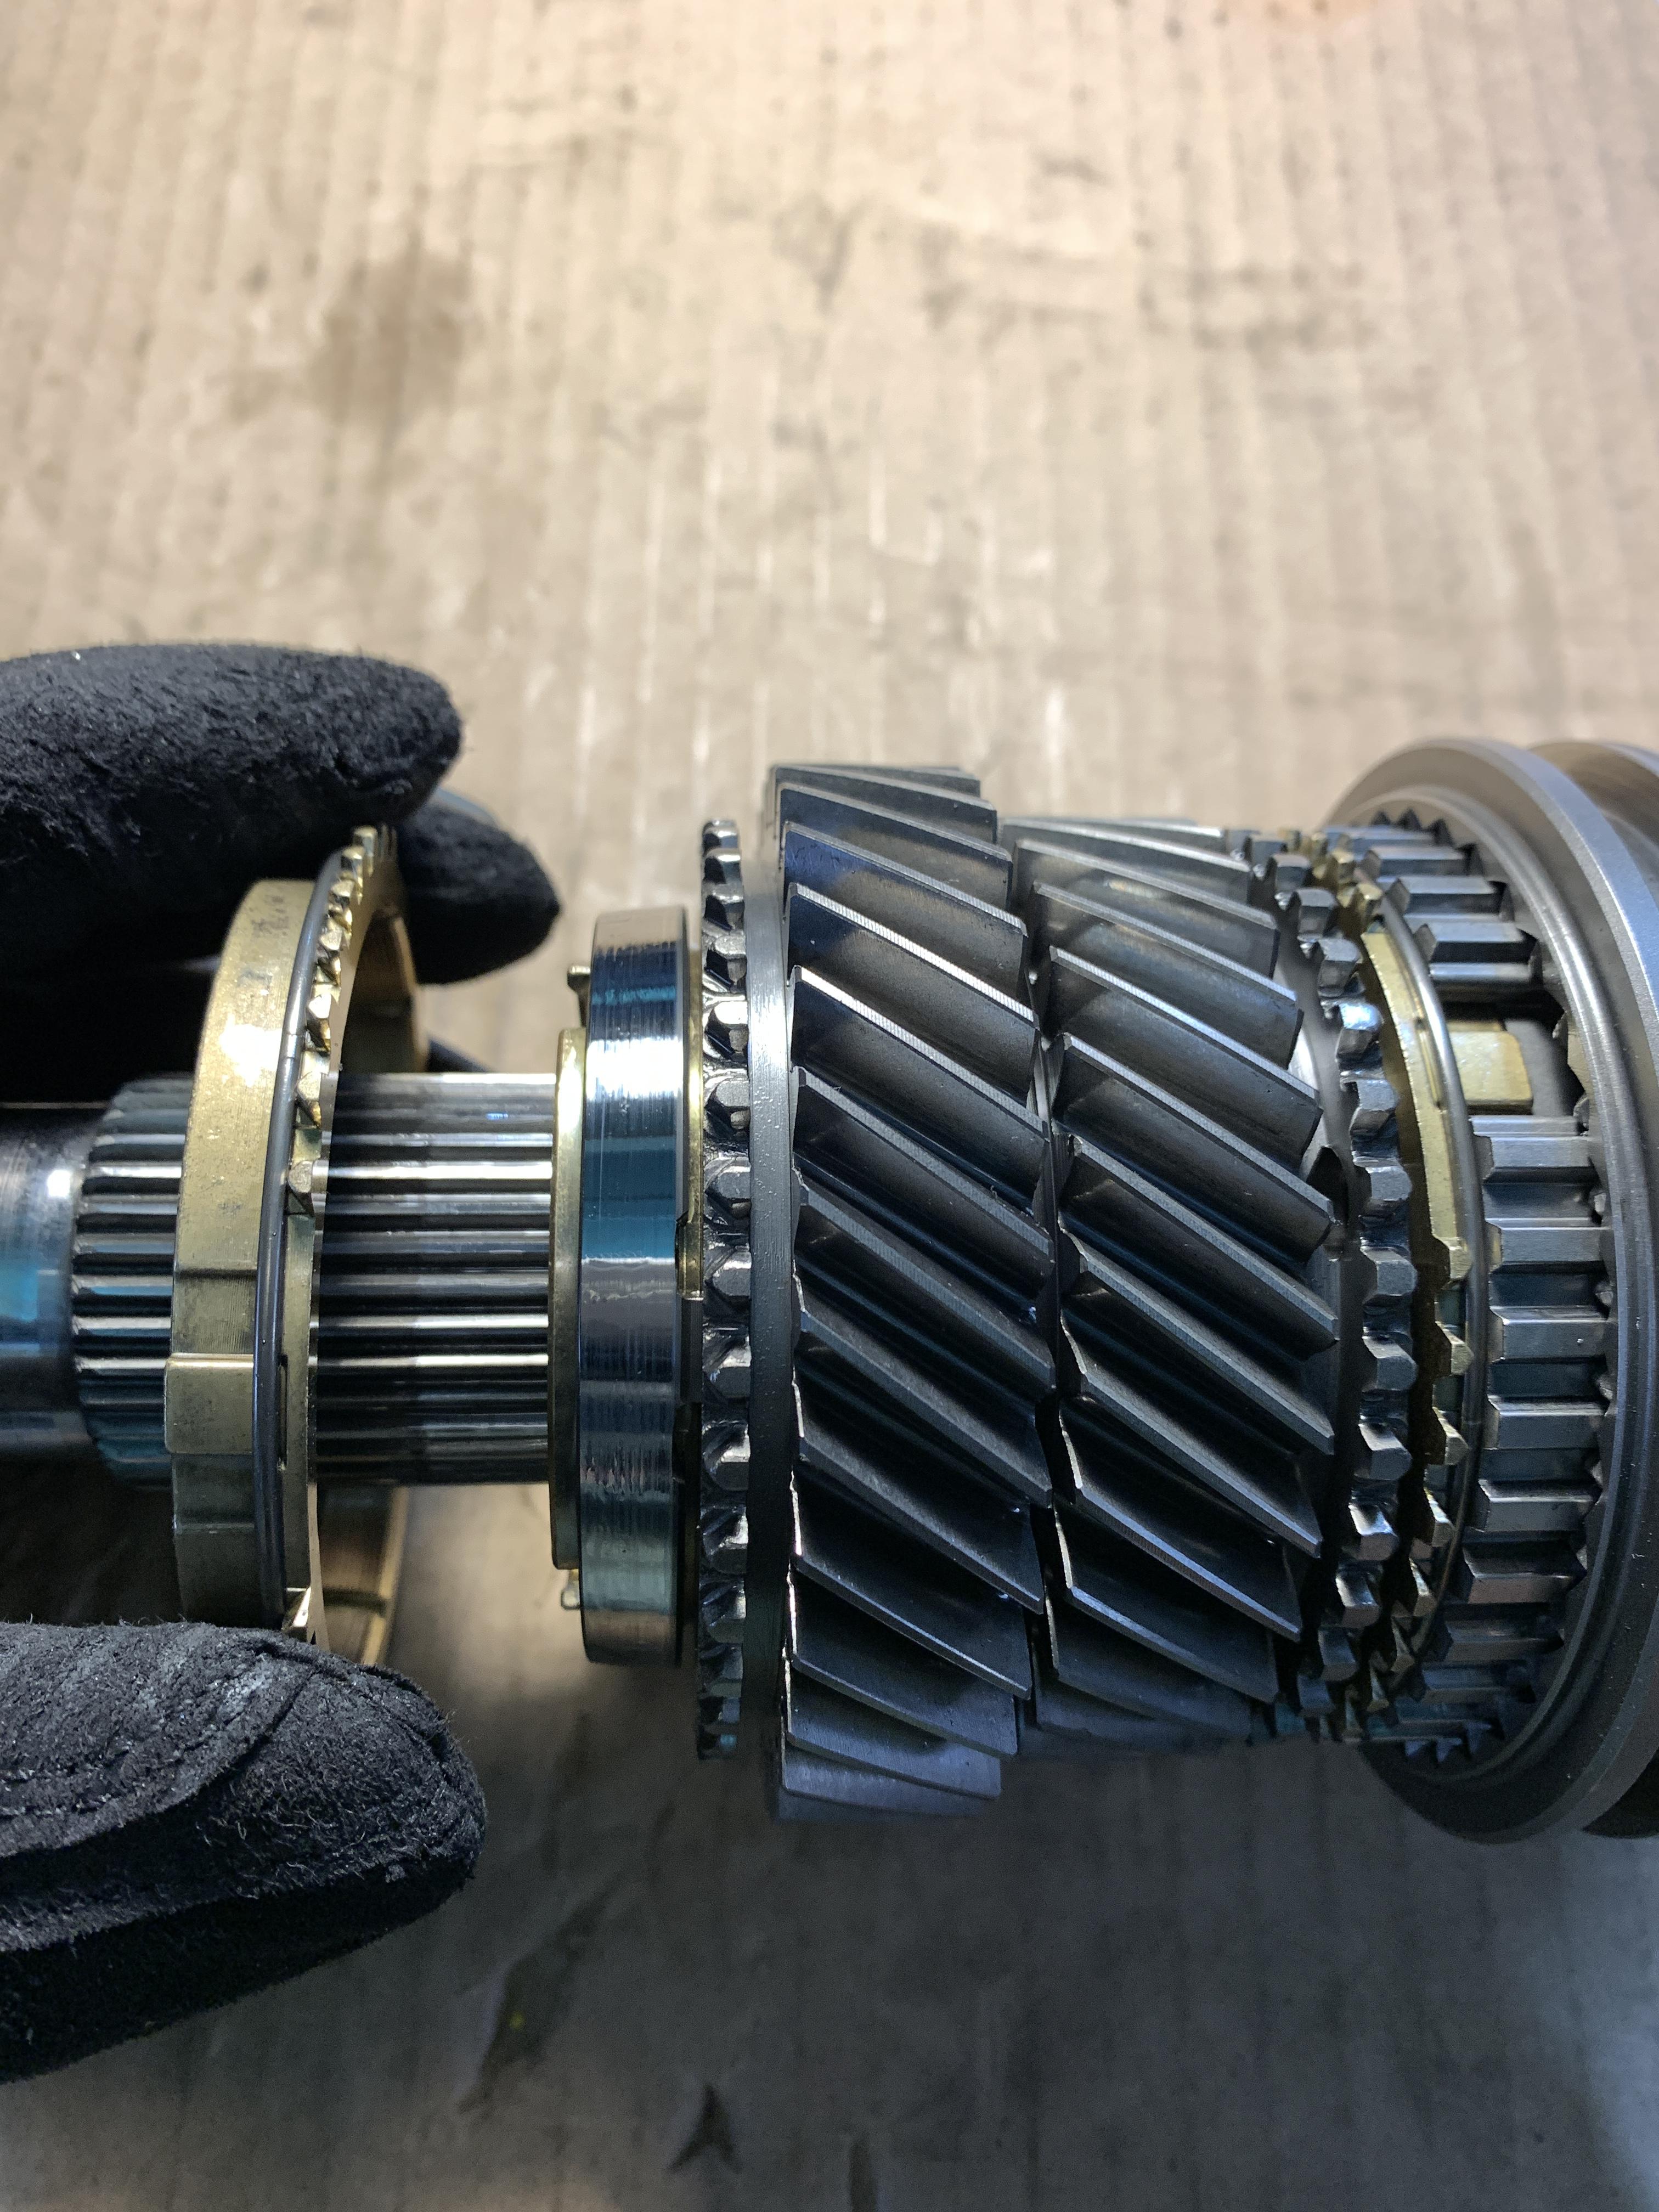
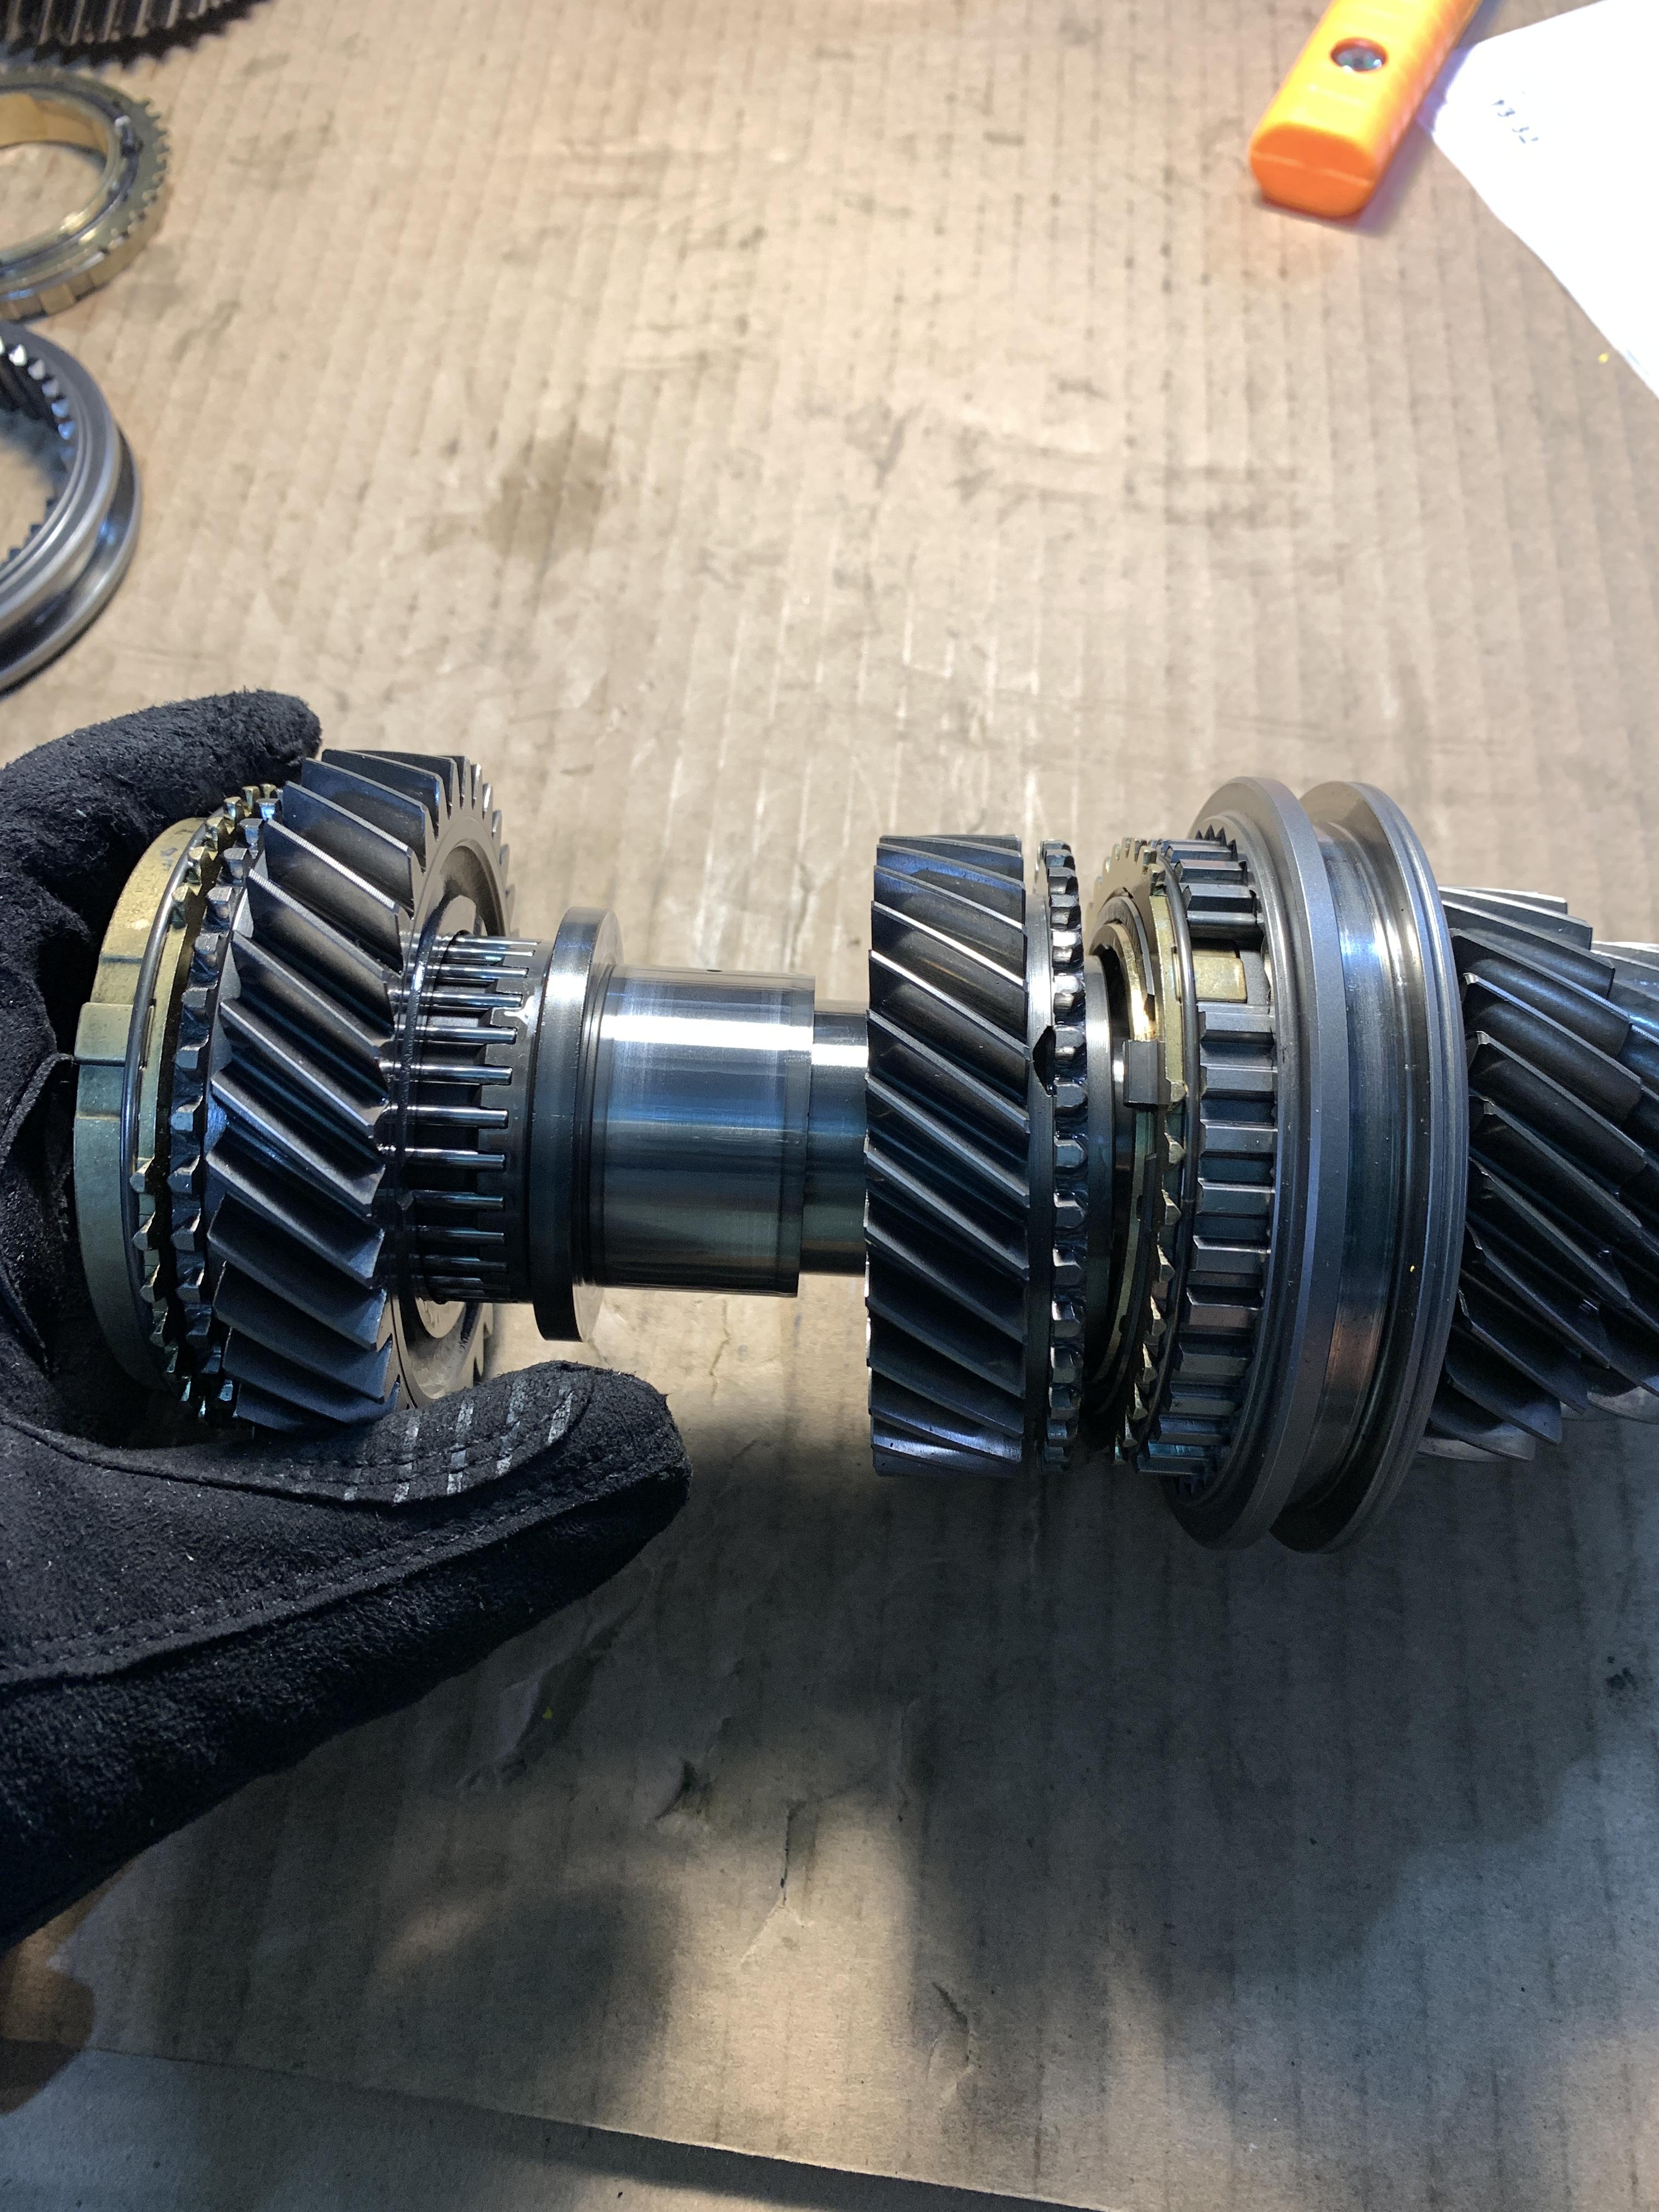
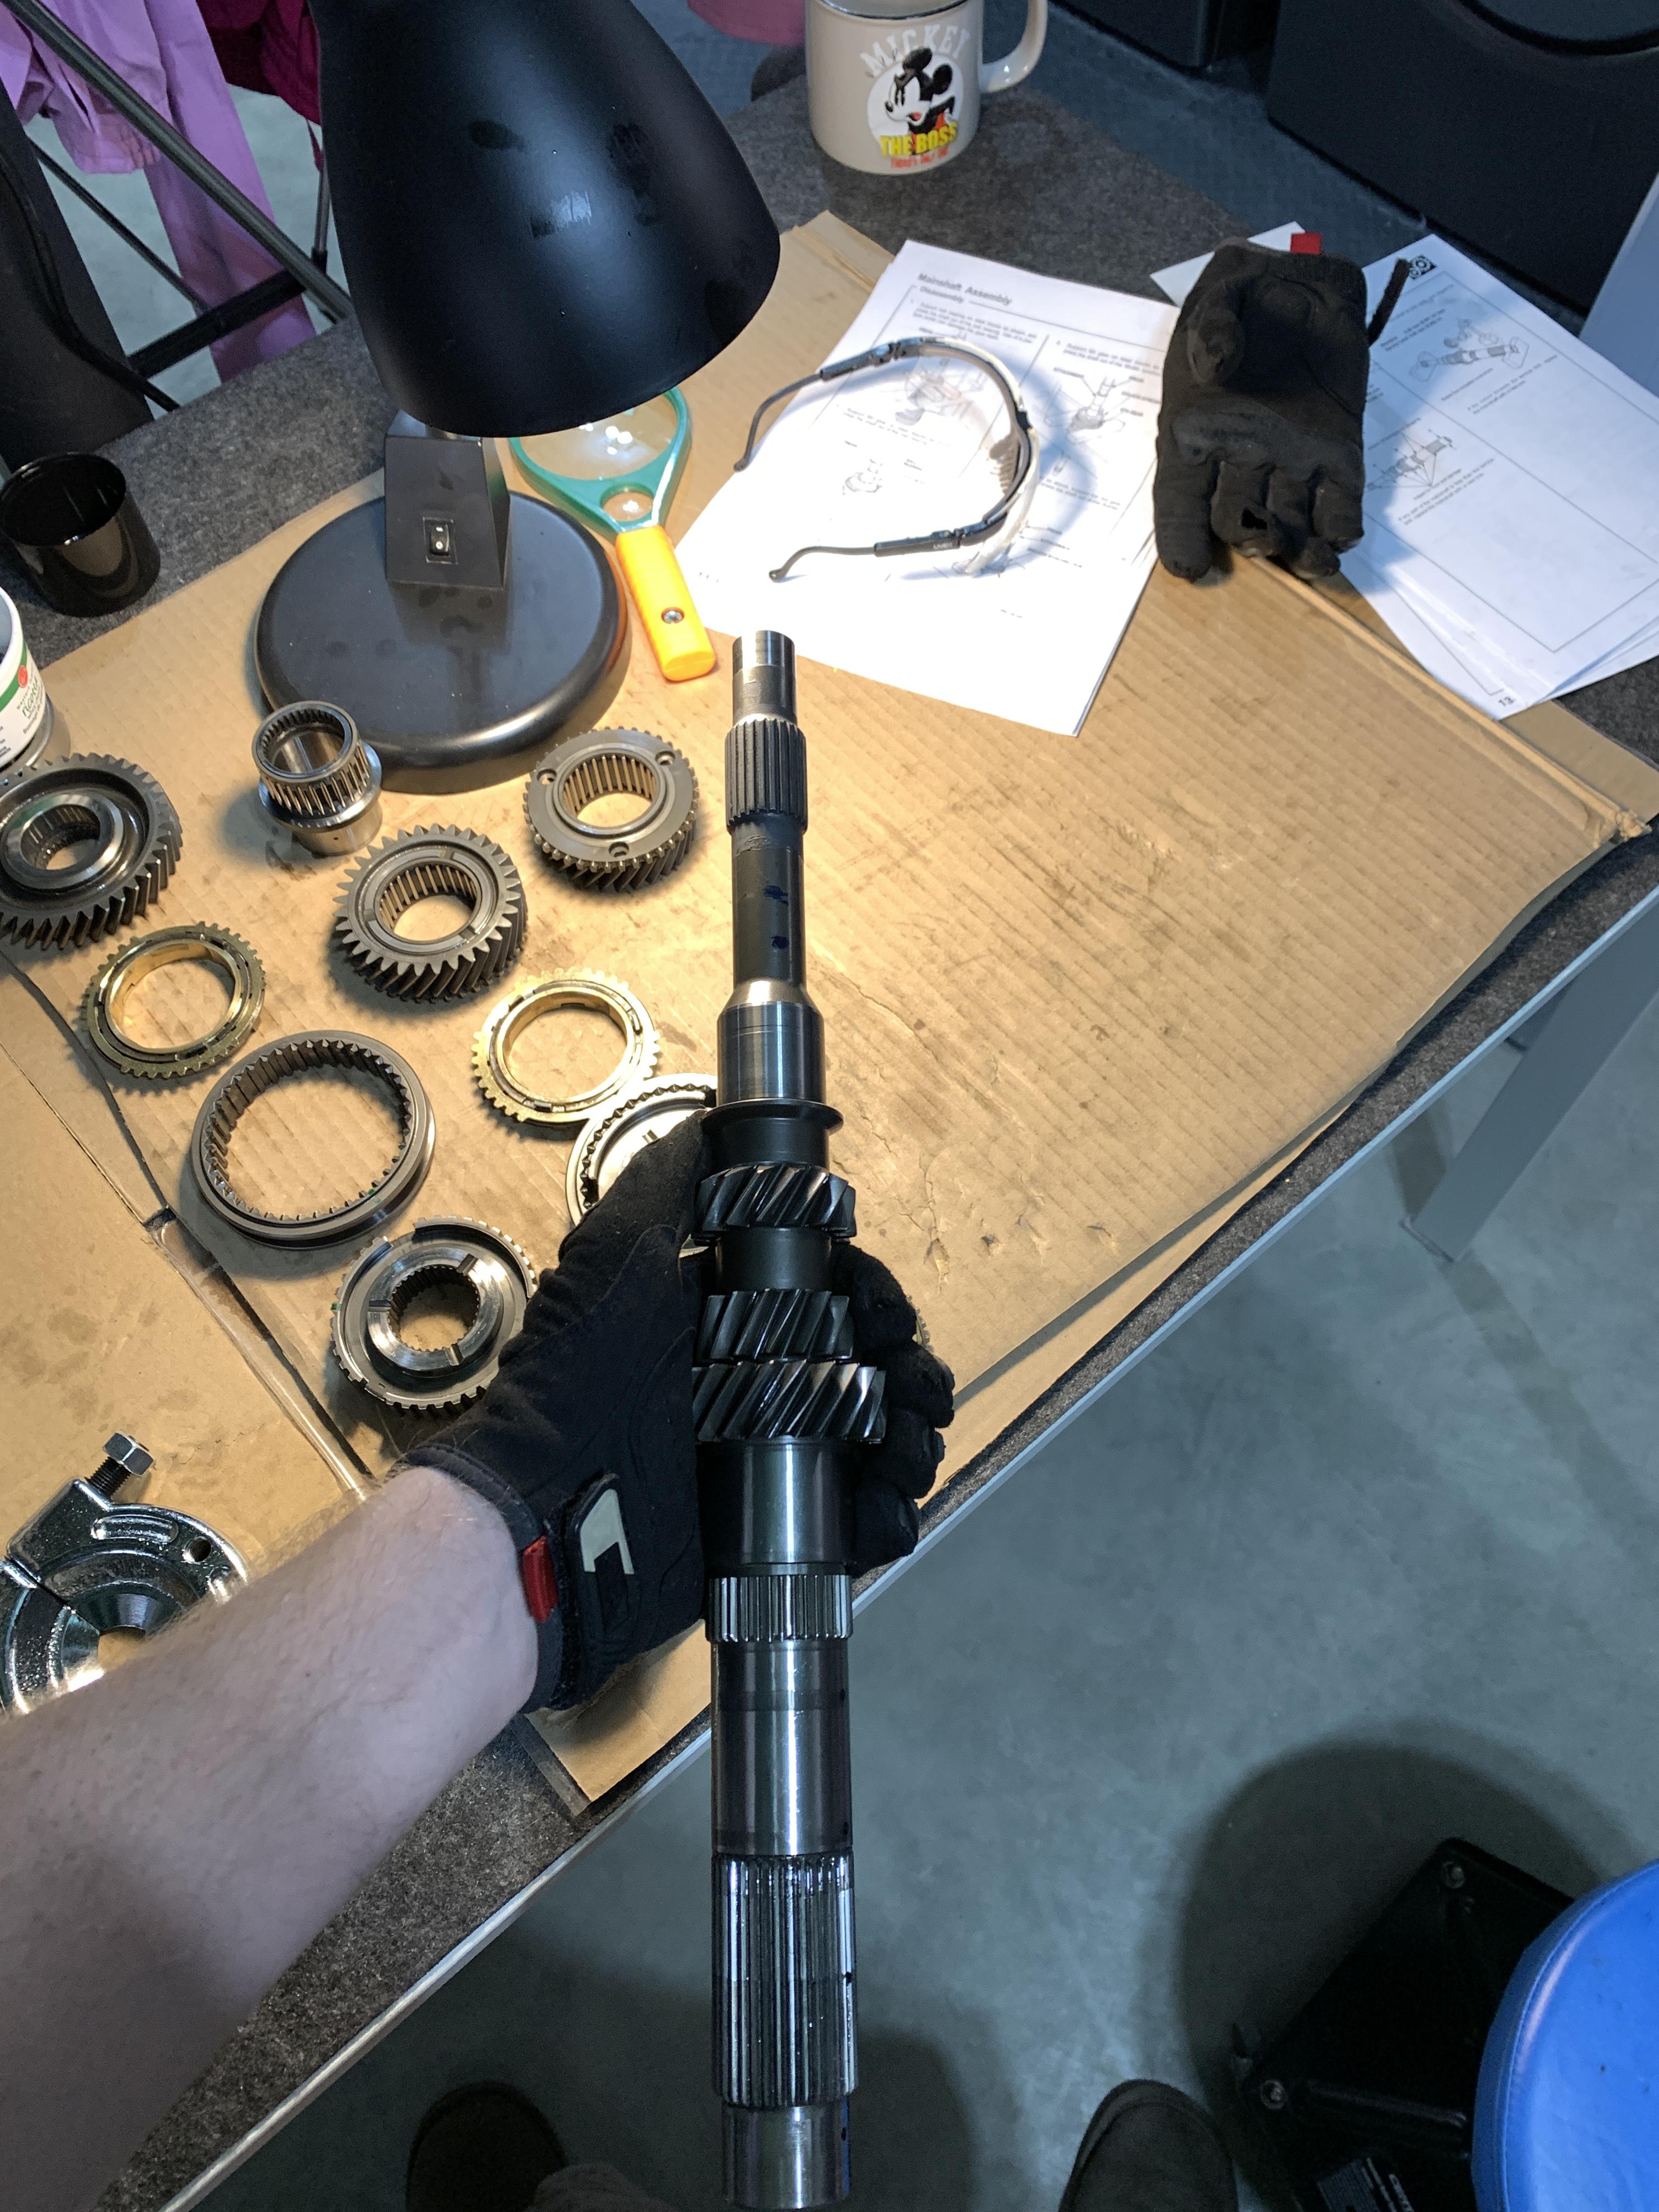
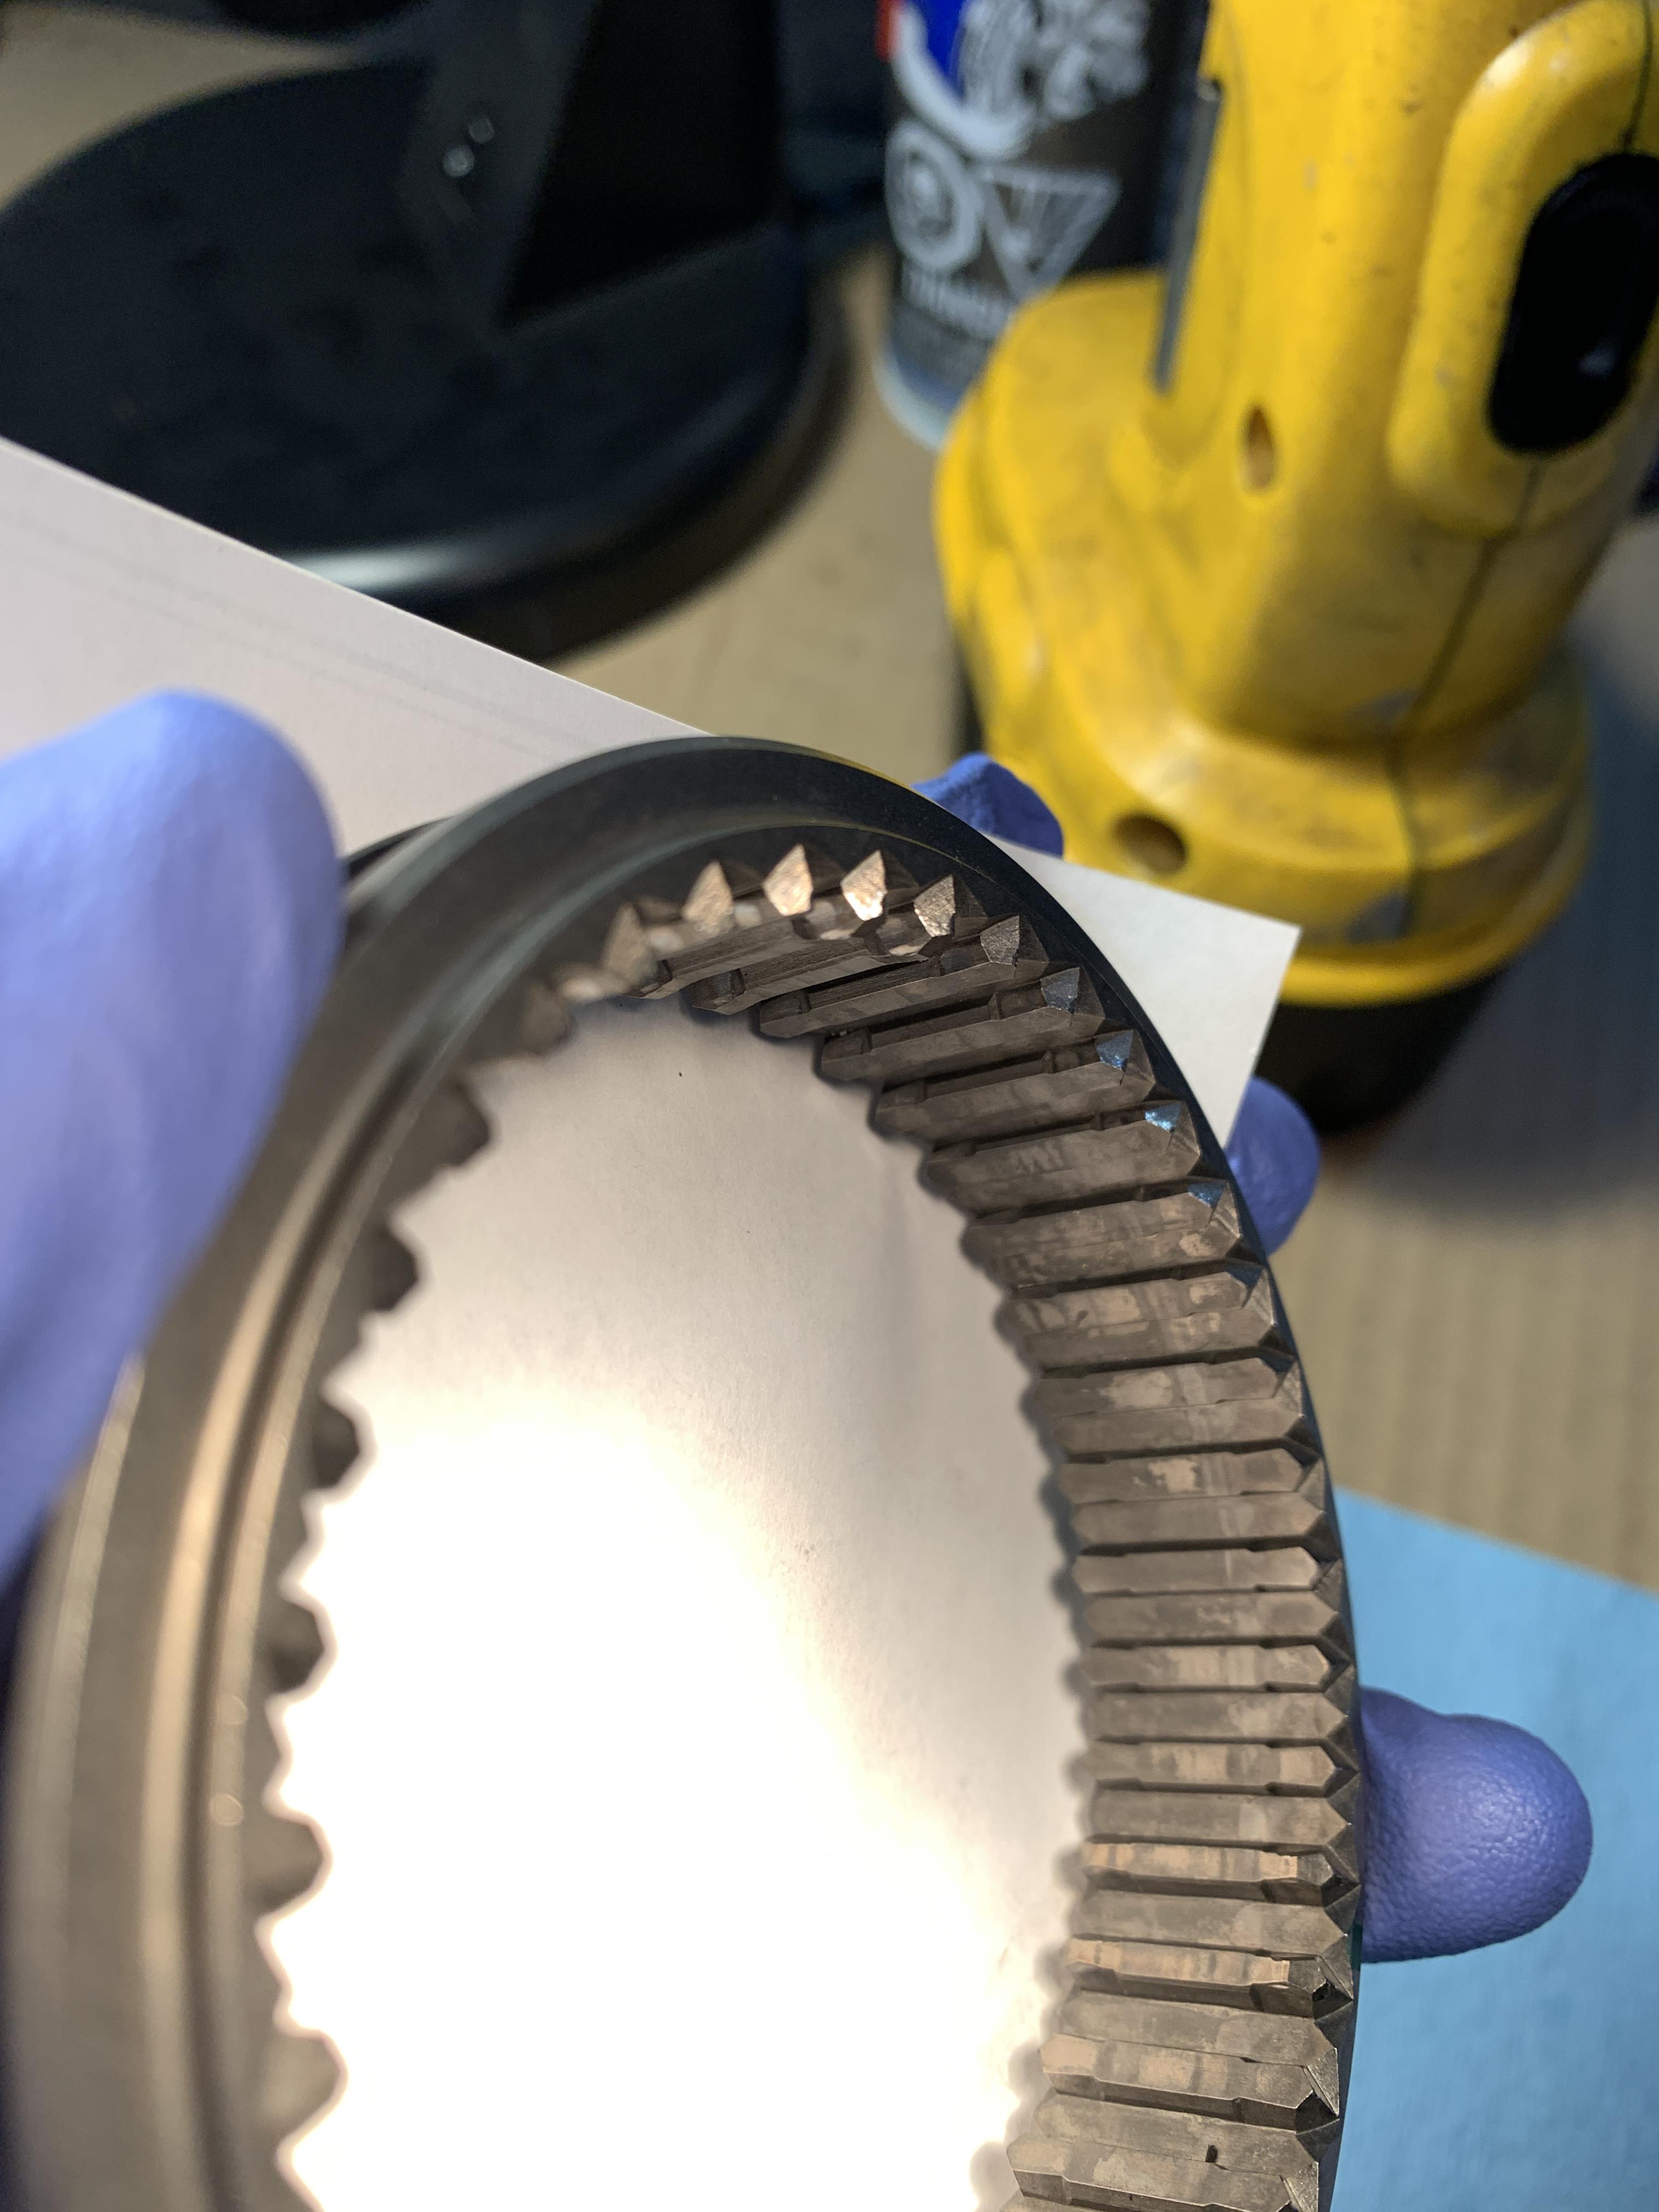
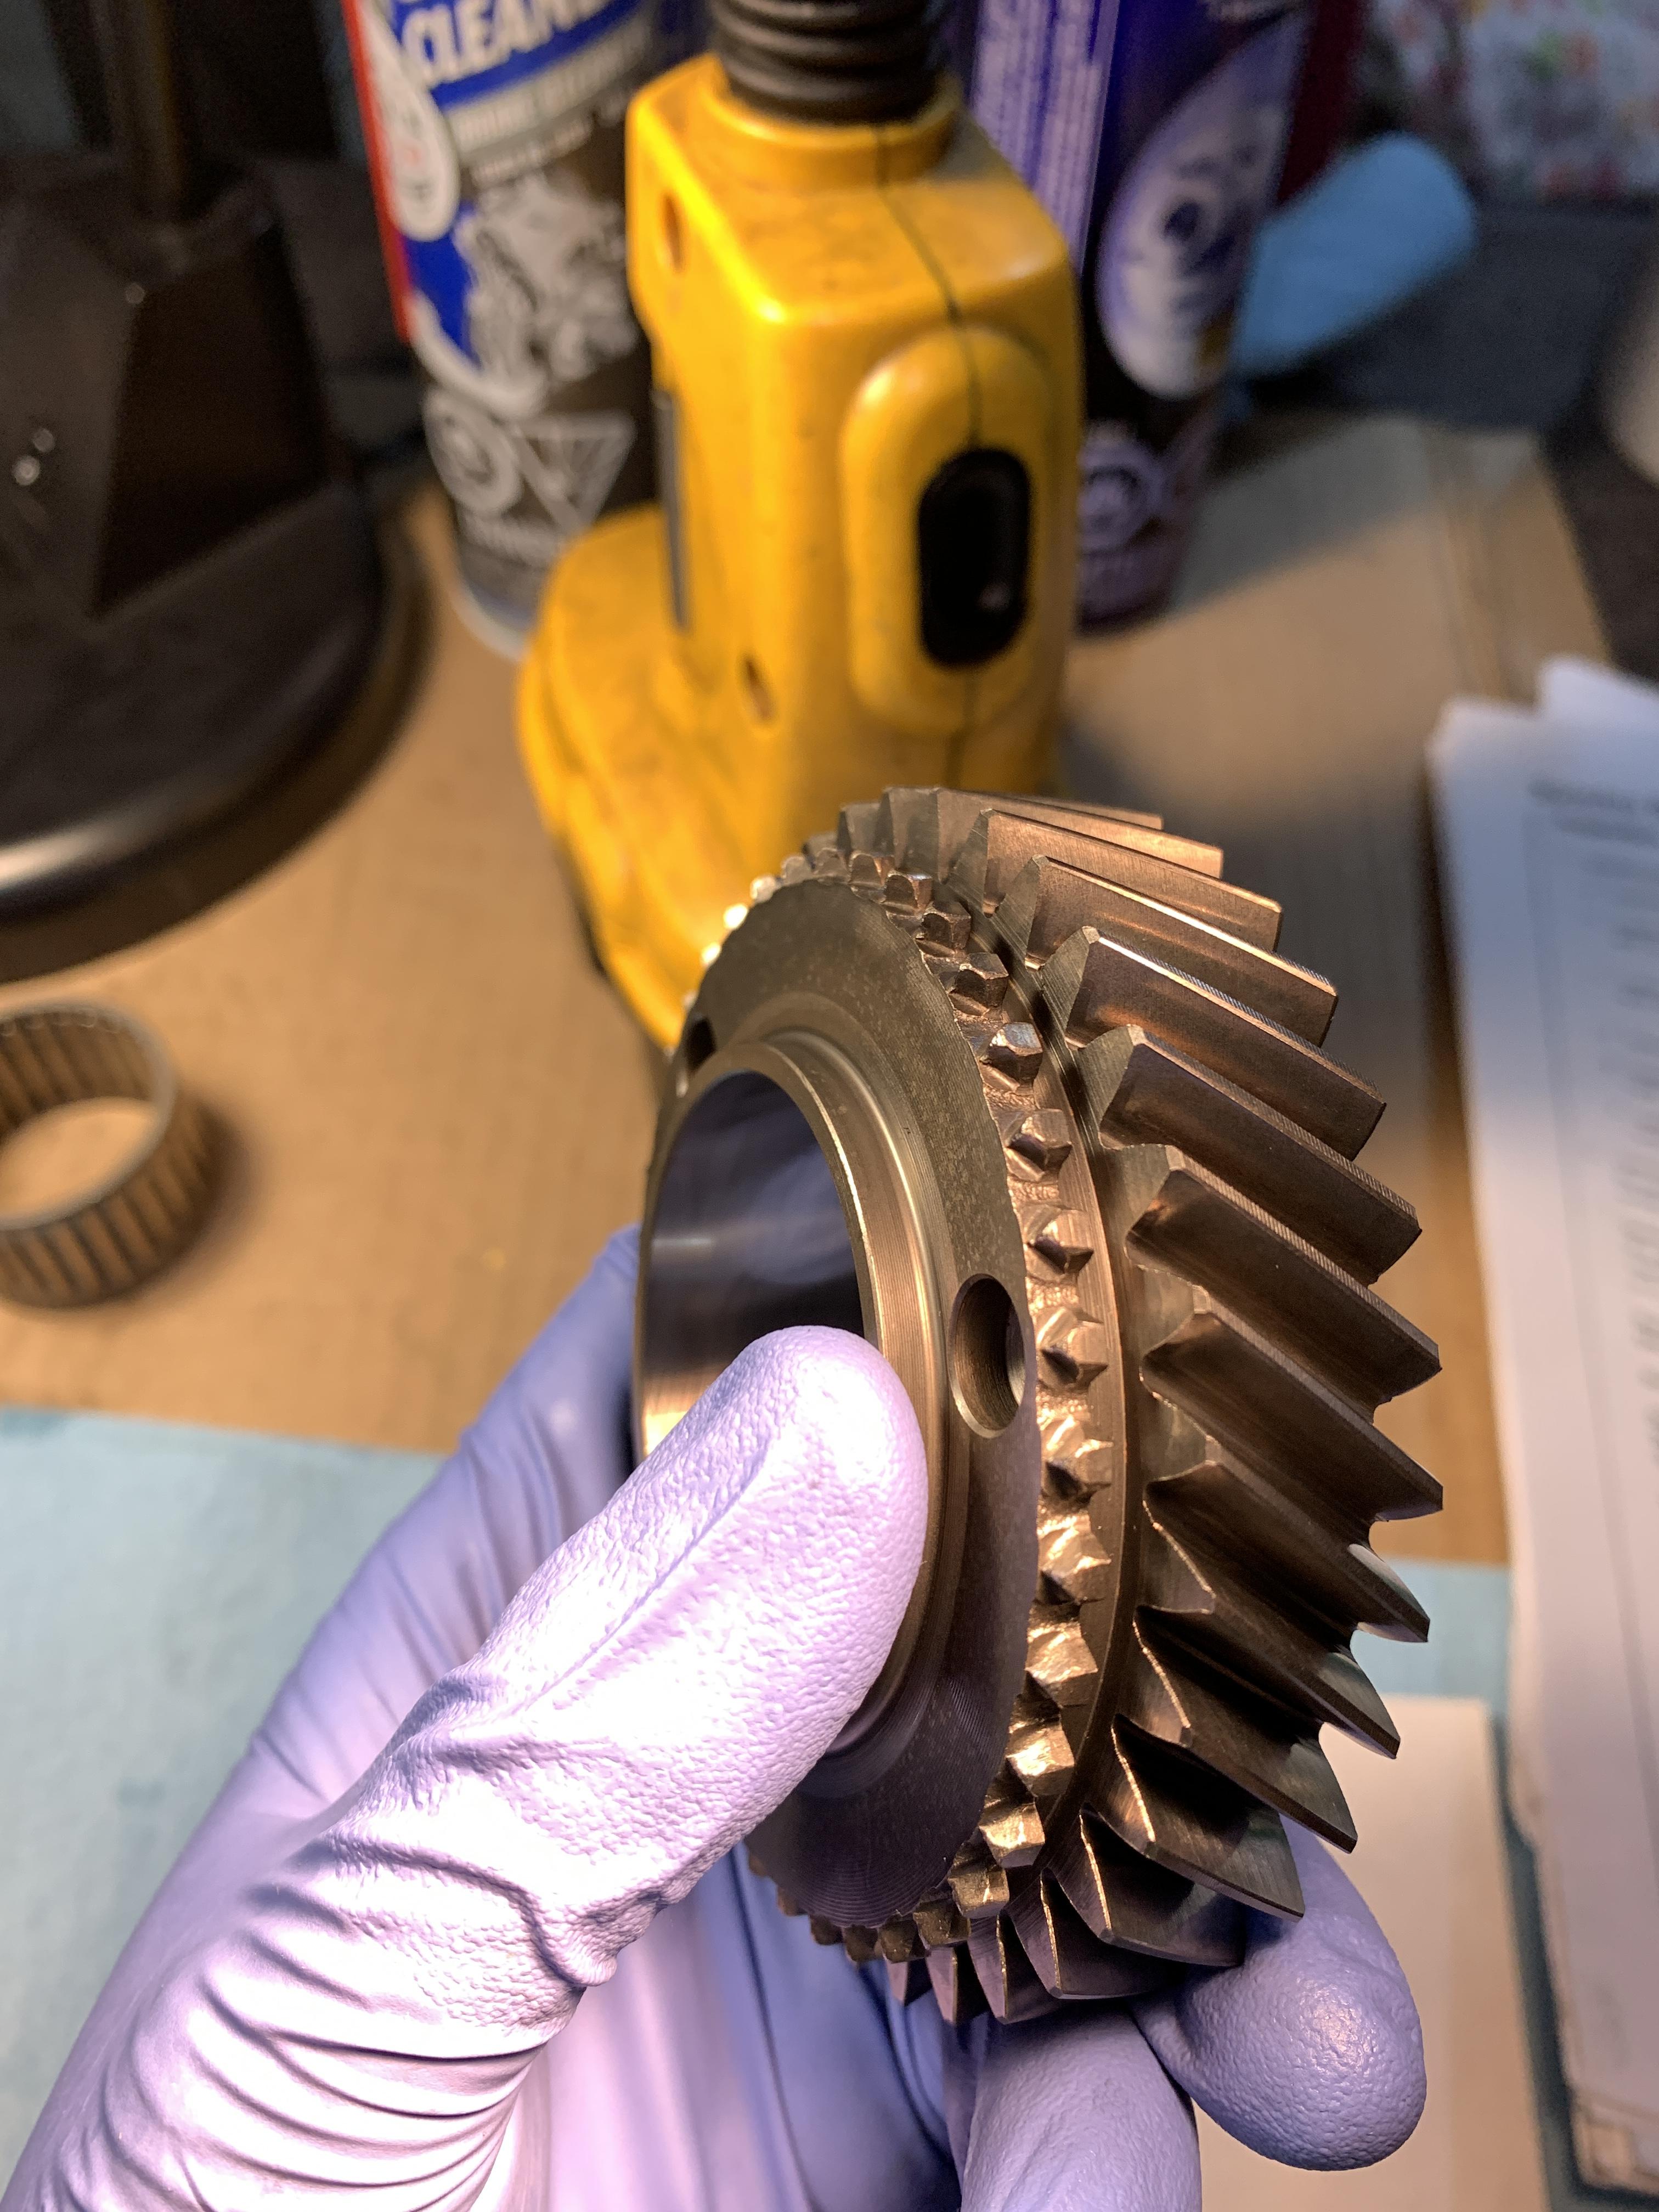
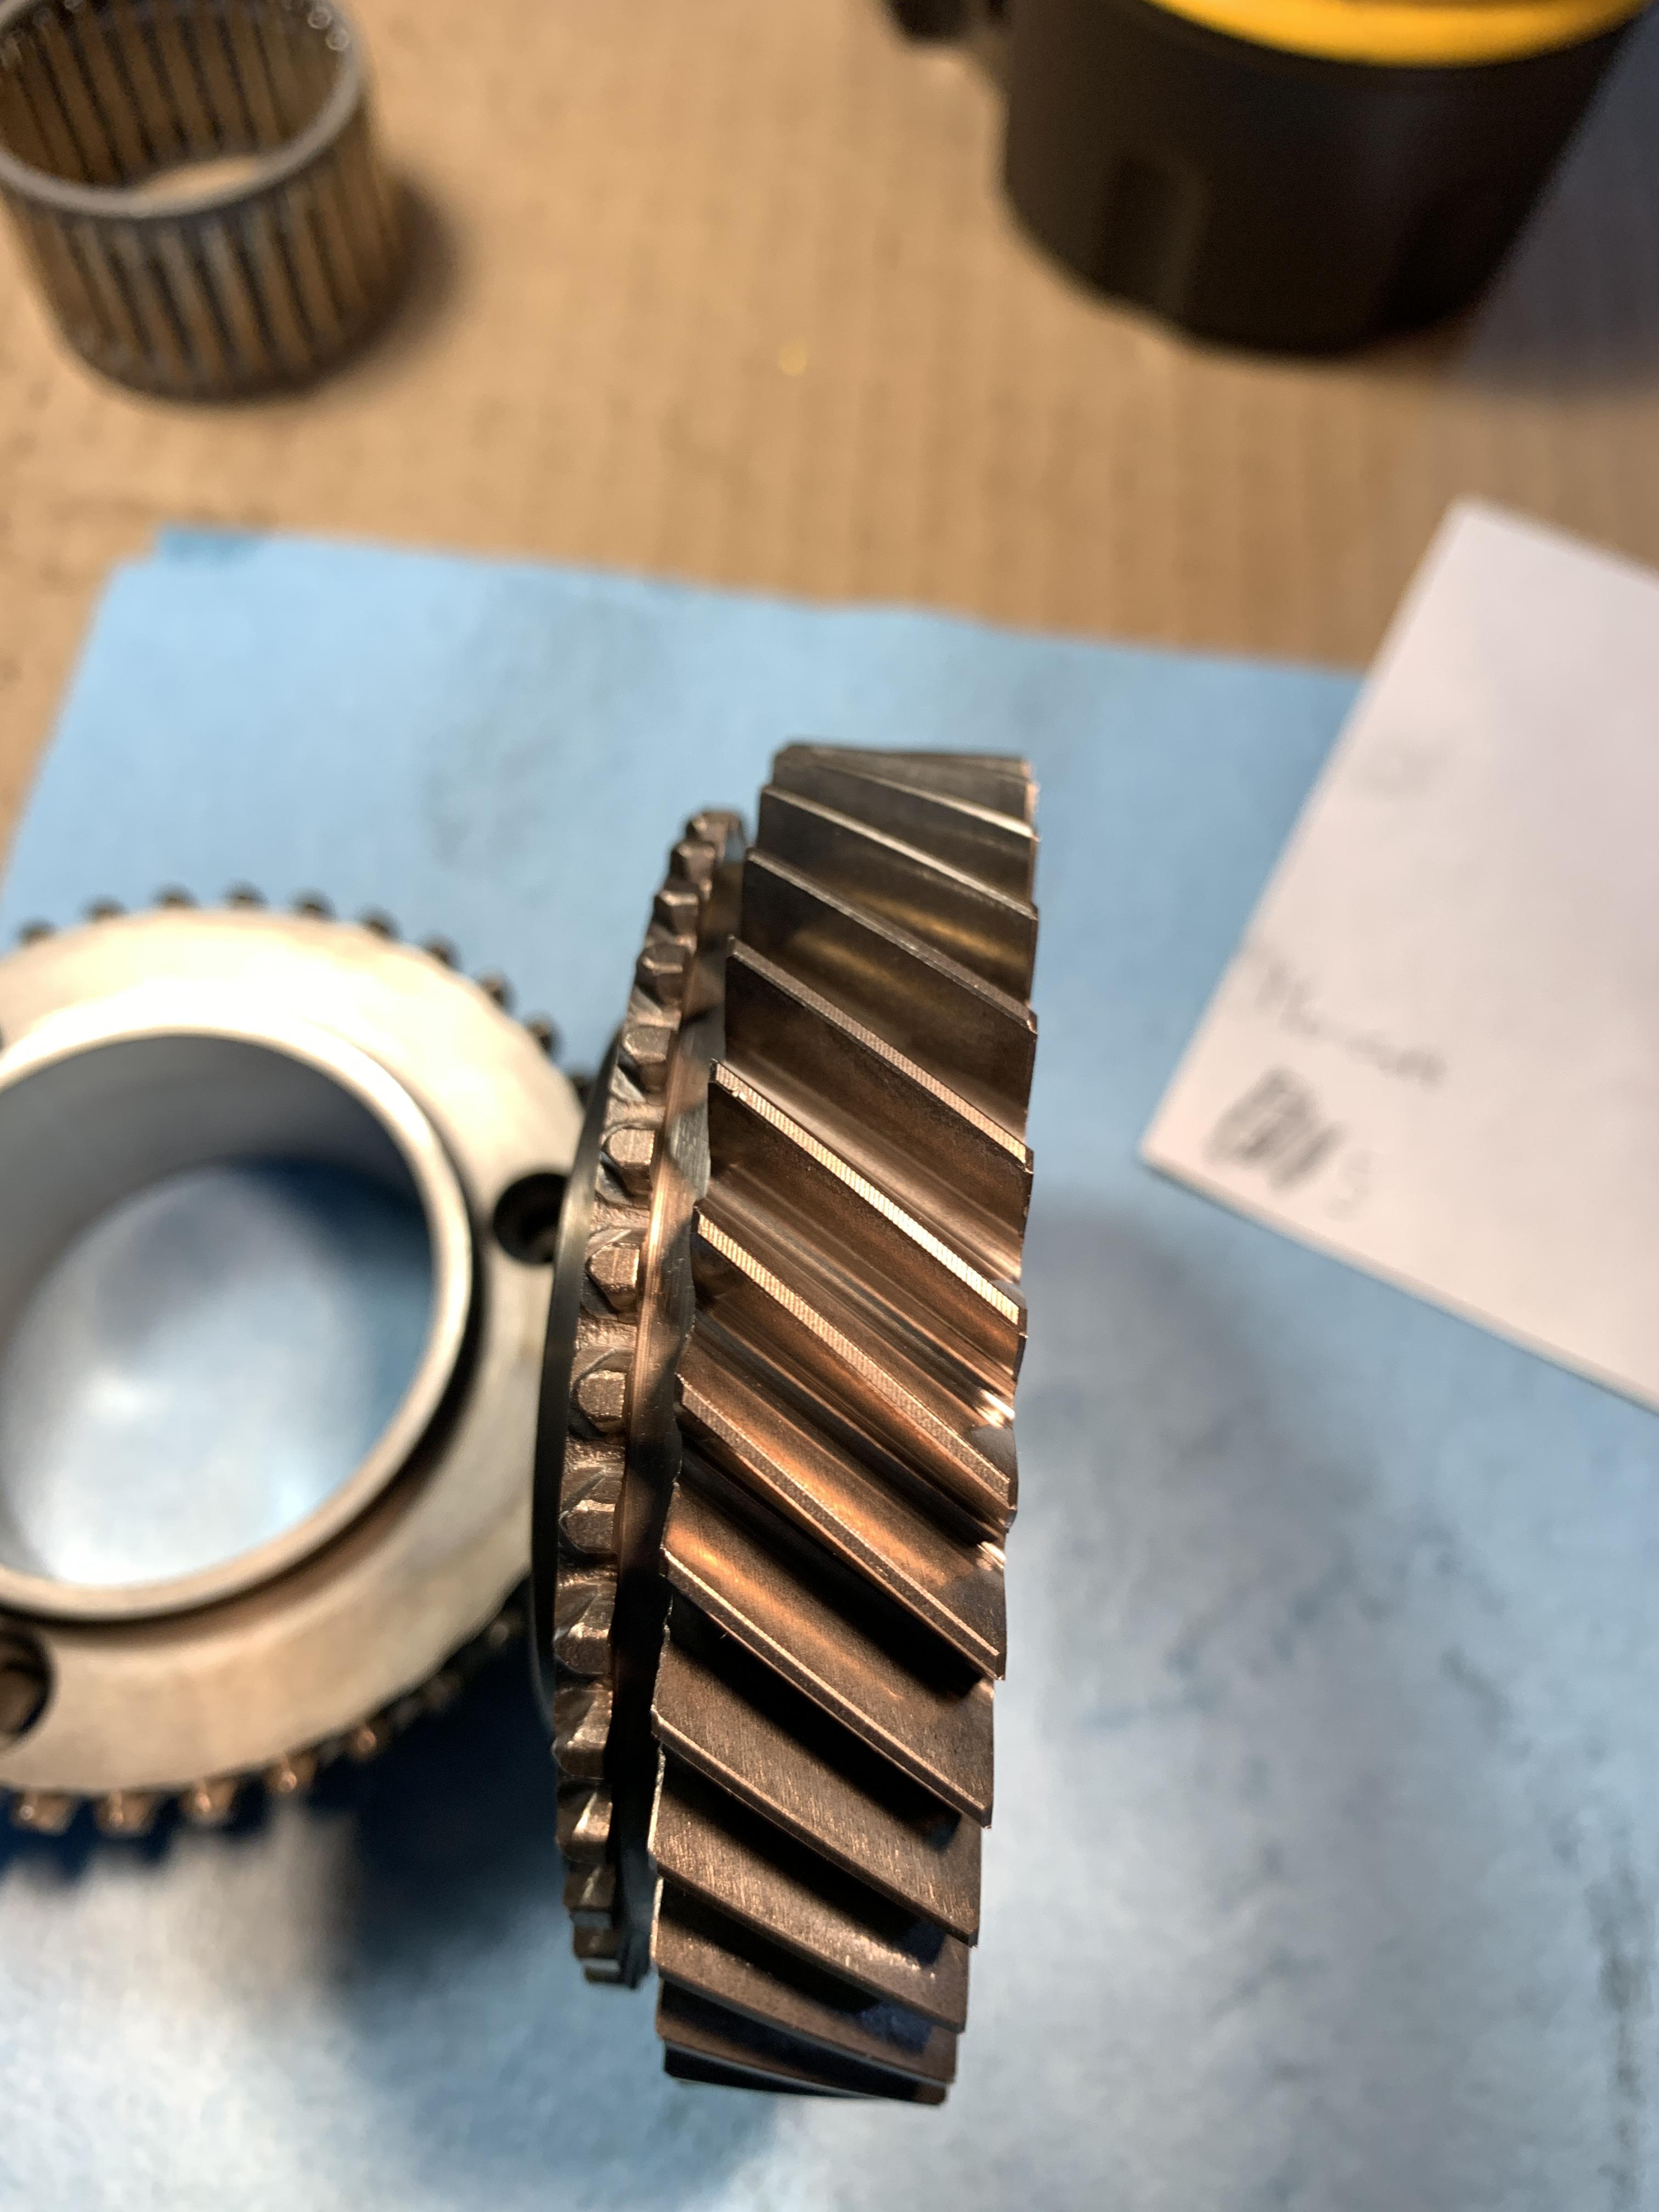
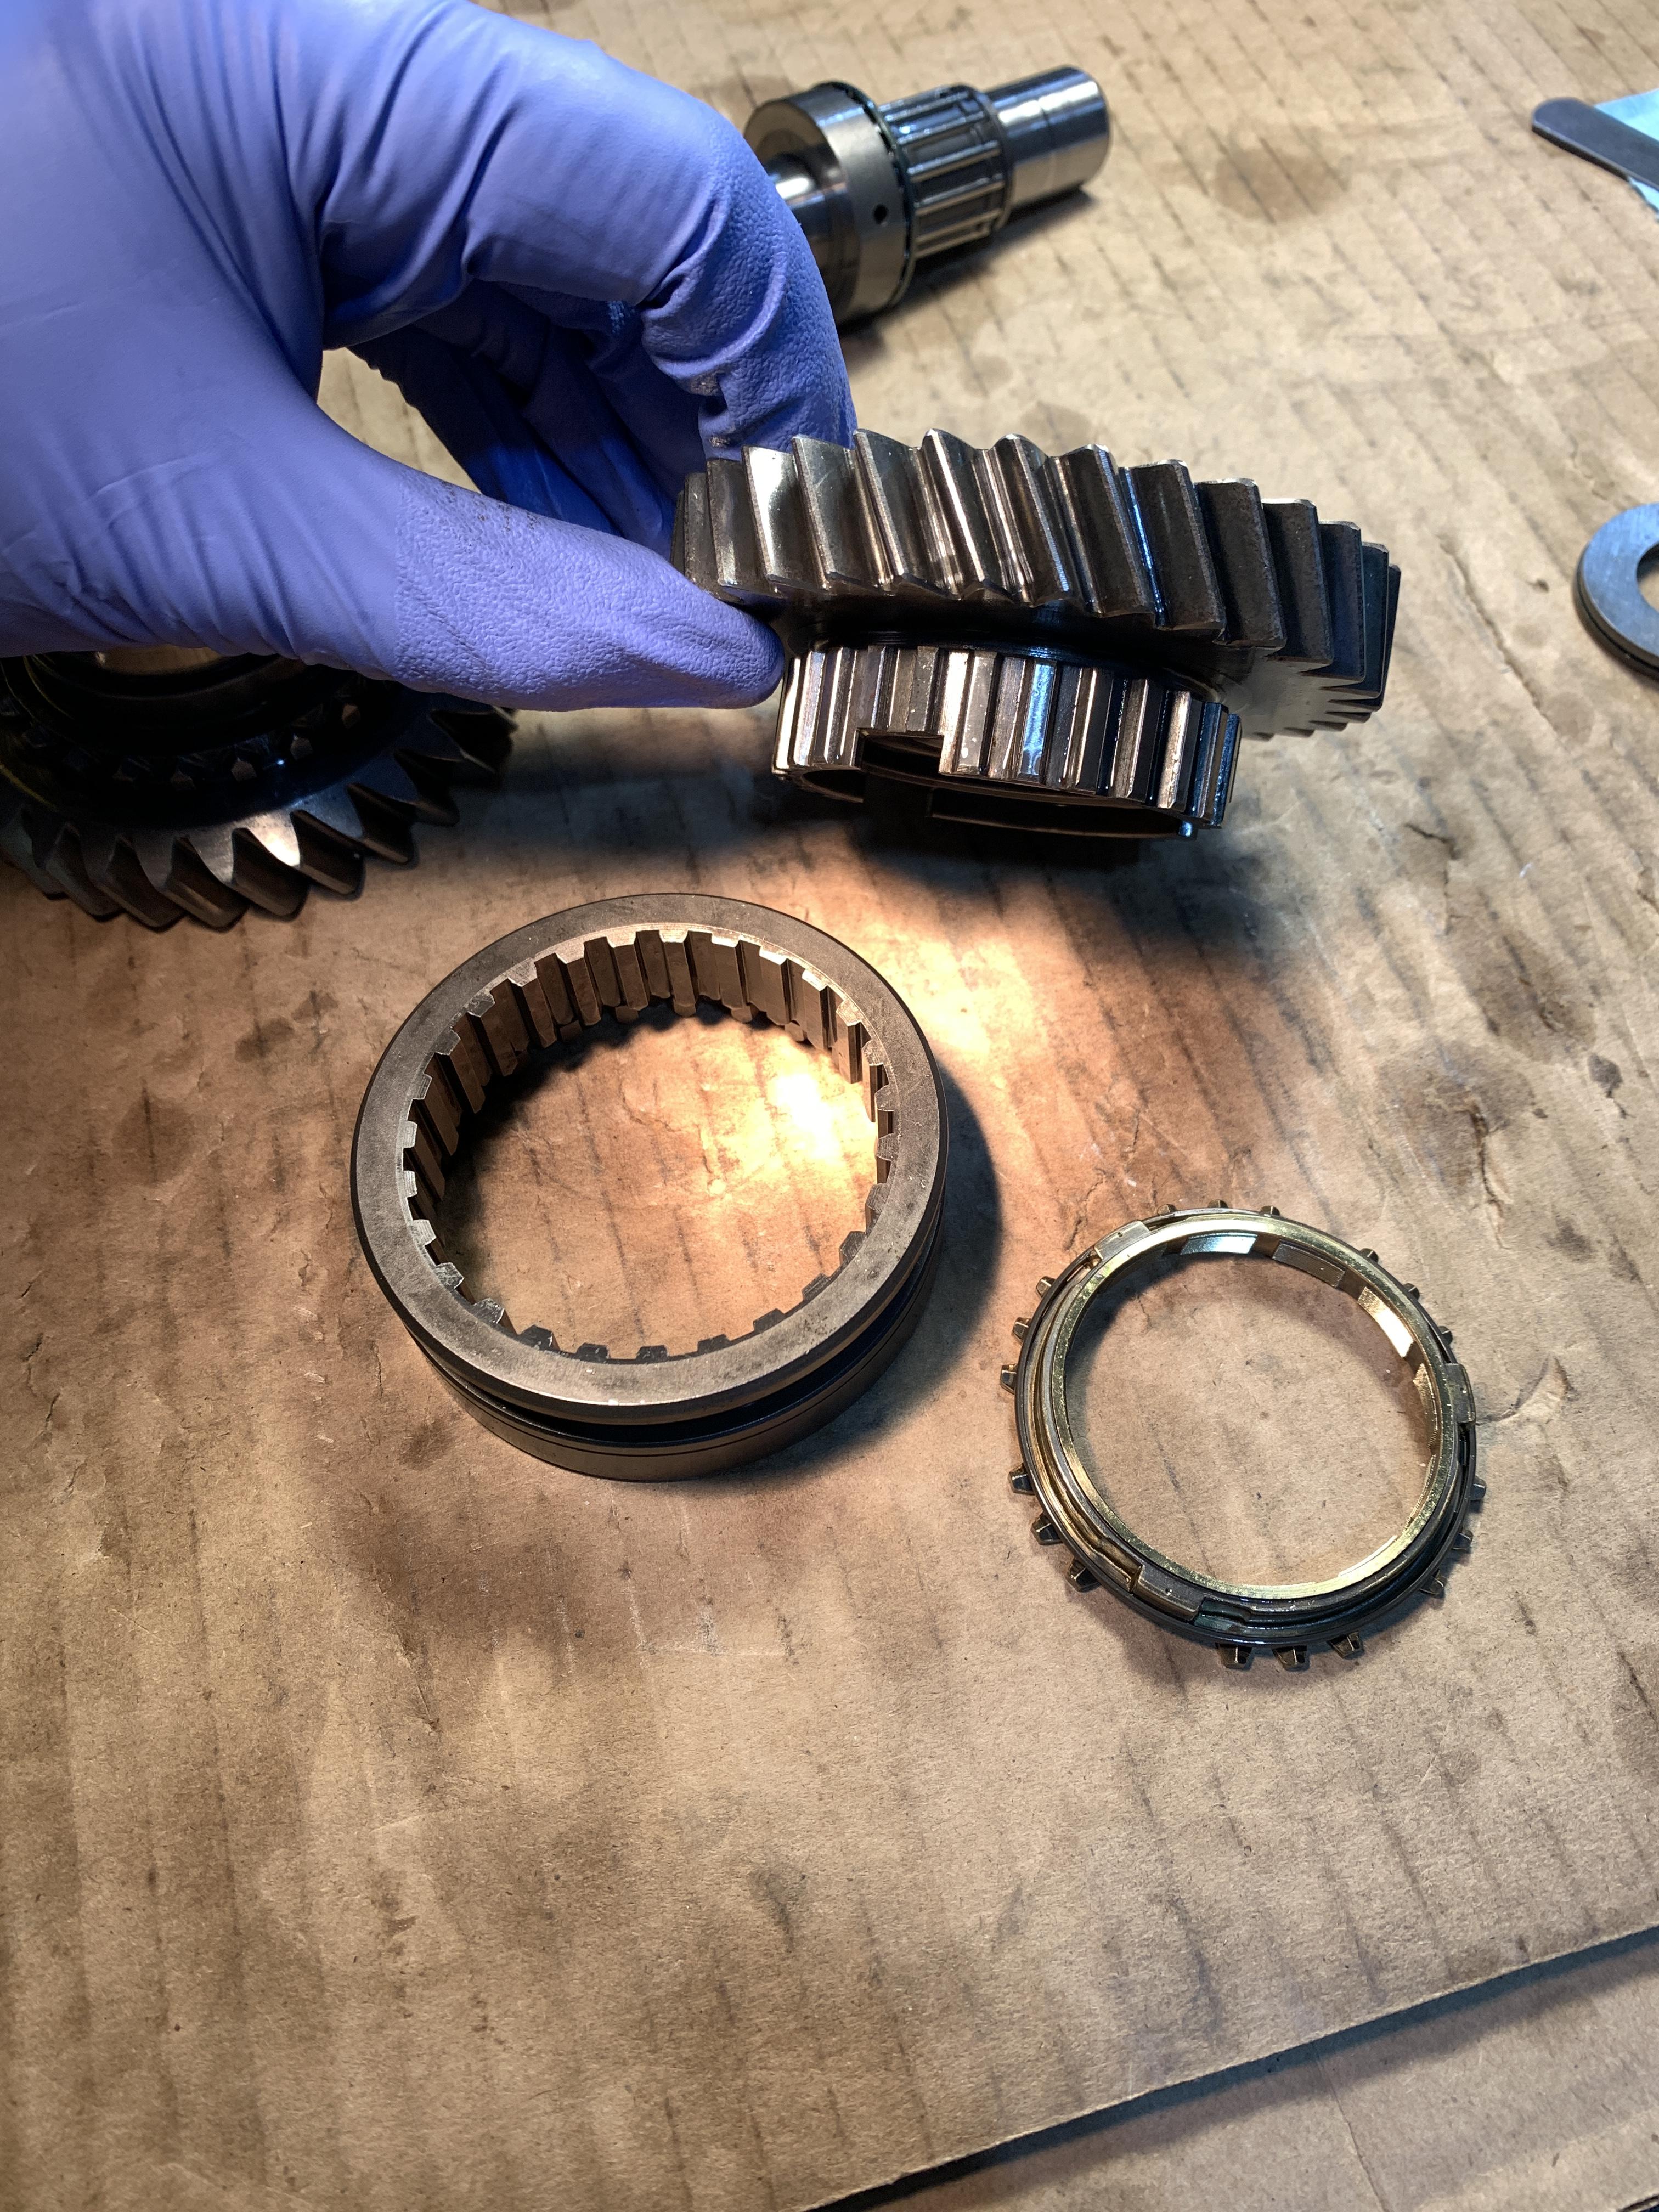
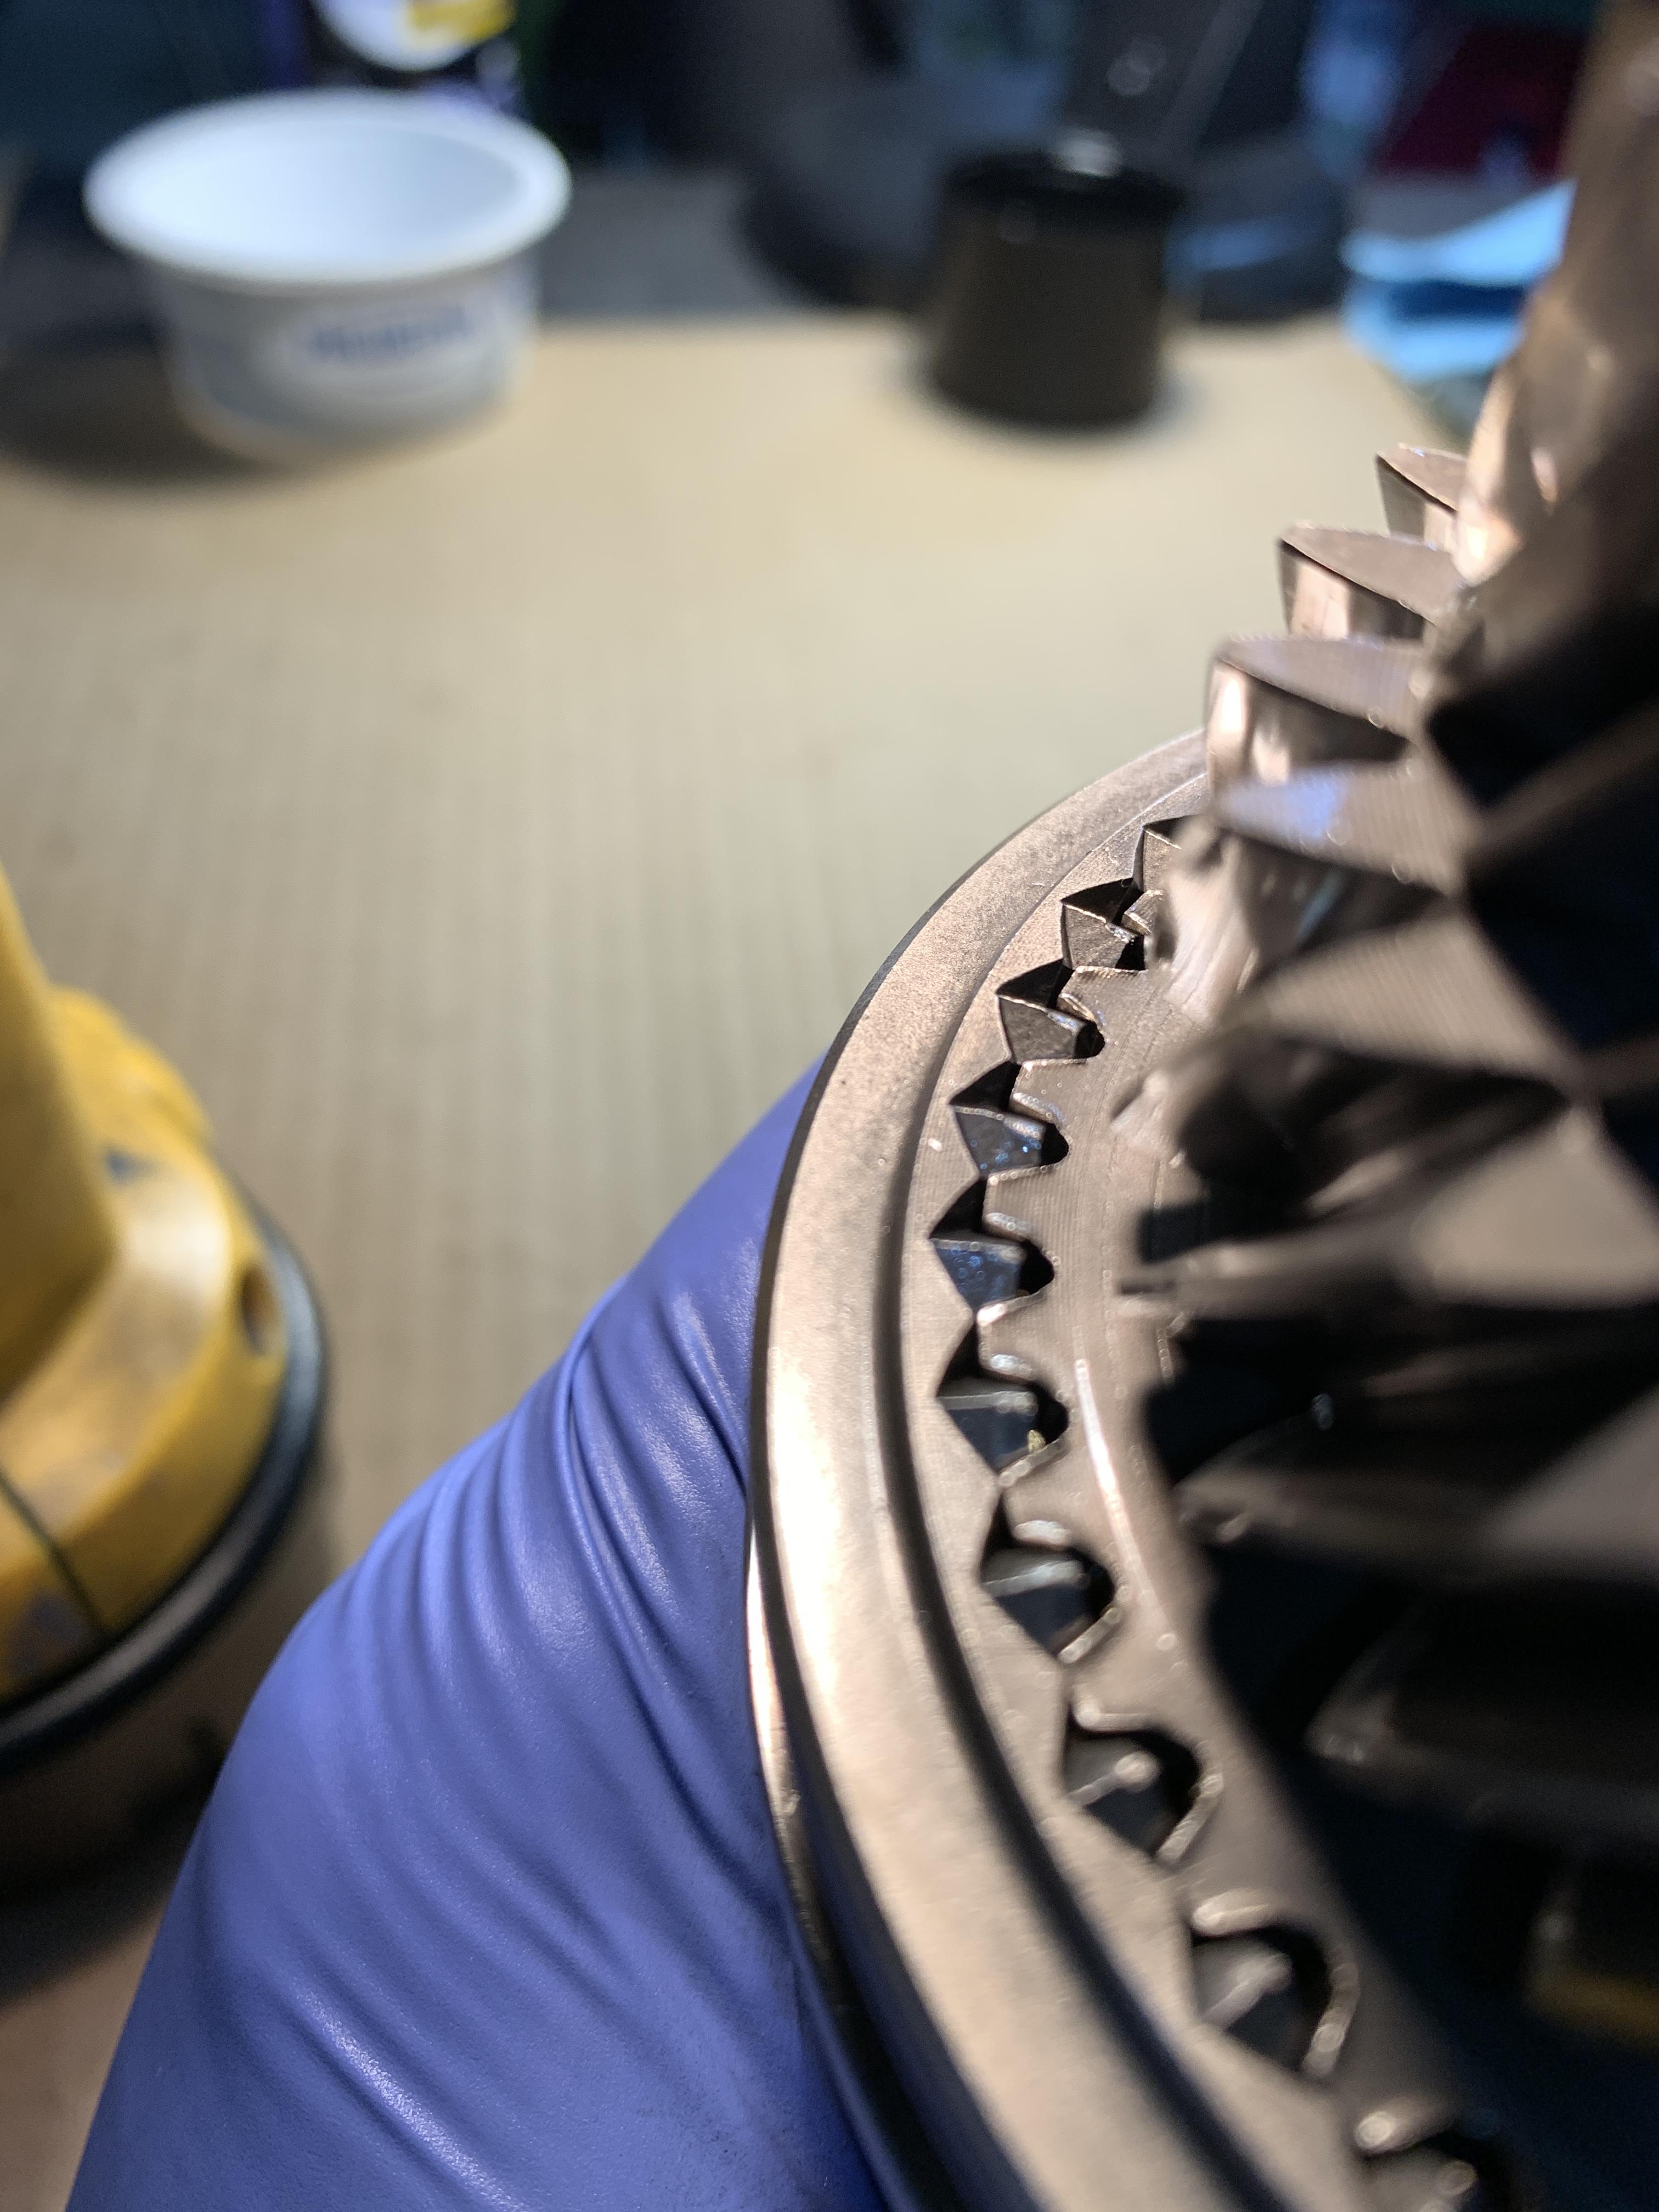
Synchro sleeve shifted to 3rd gear just out of view. Here we are looking at 4th gear proper. The mesh teeth are flawless and show next to no signs of wear but the little nubbin synchro gear teeth are mangled. I’m not sure if these are supposed to be like that but the service manual doesn’t call out to inspect these at all; only the gold colour synchro mechanisms and the synchro sleeves.
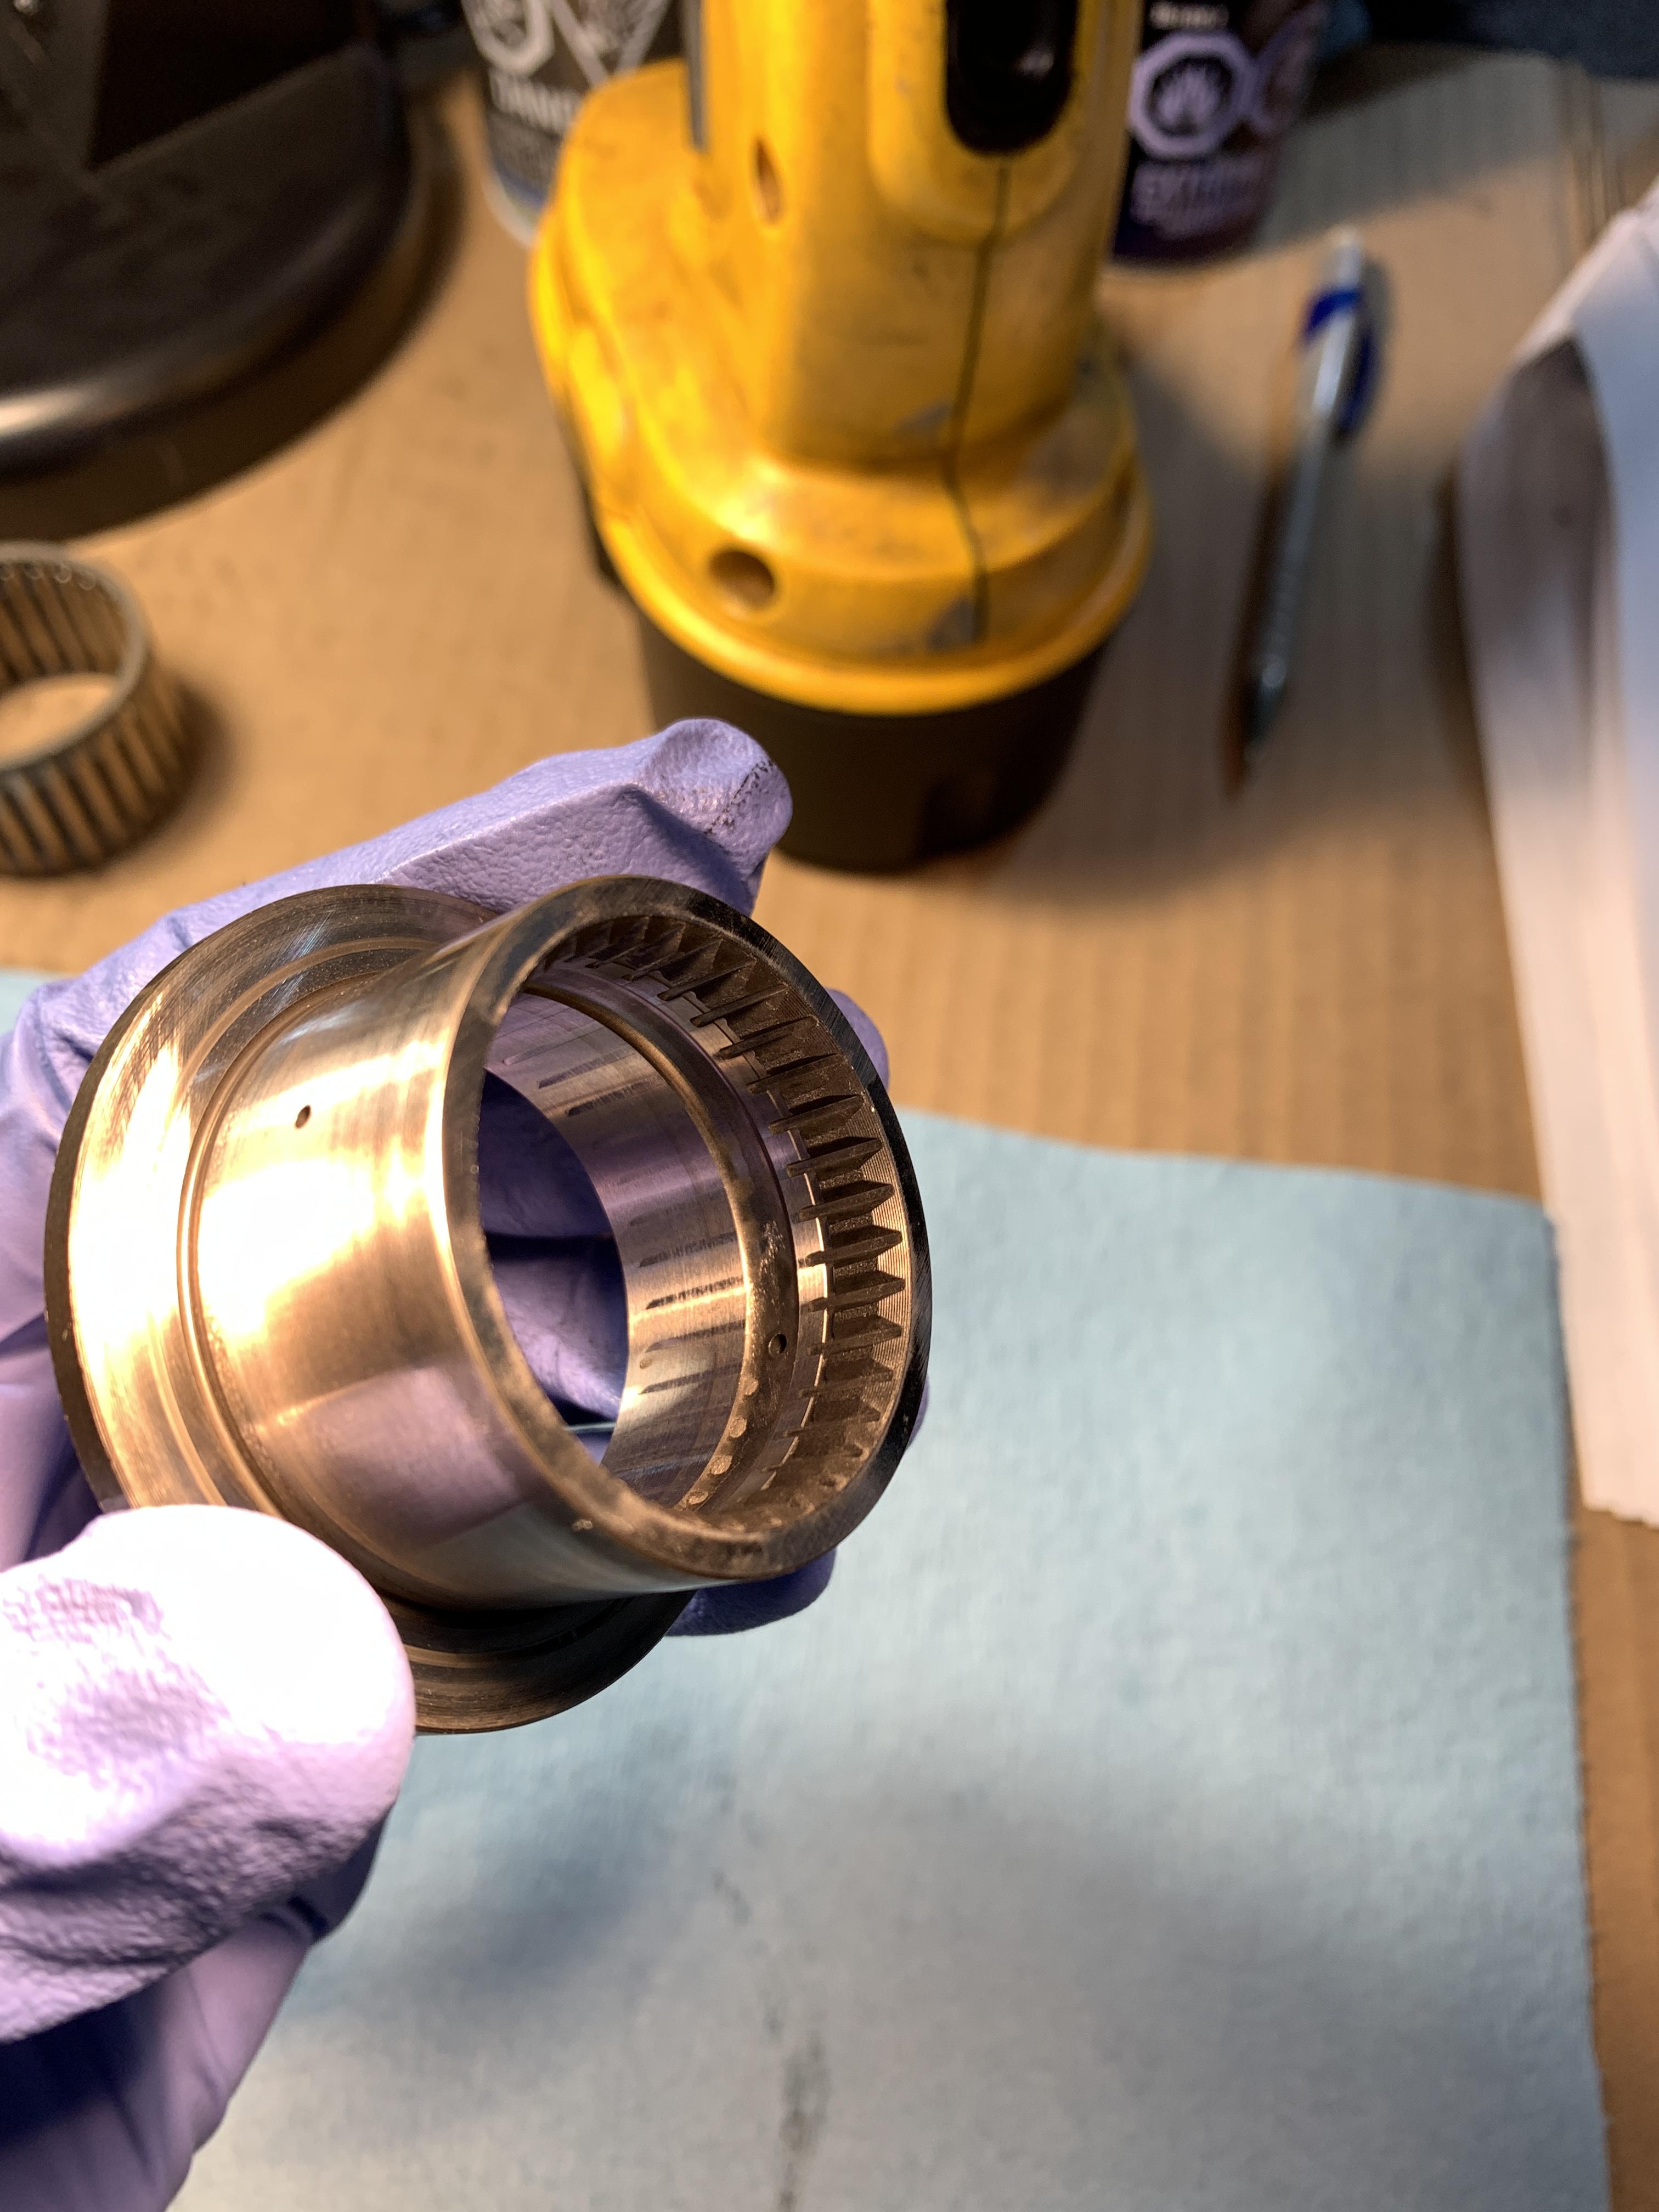
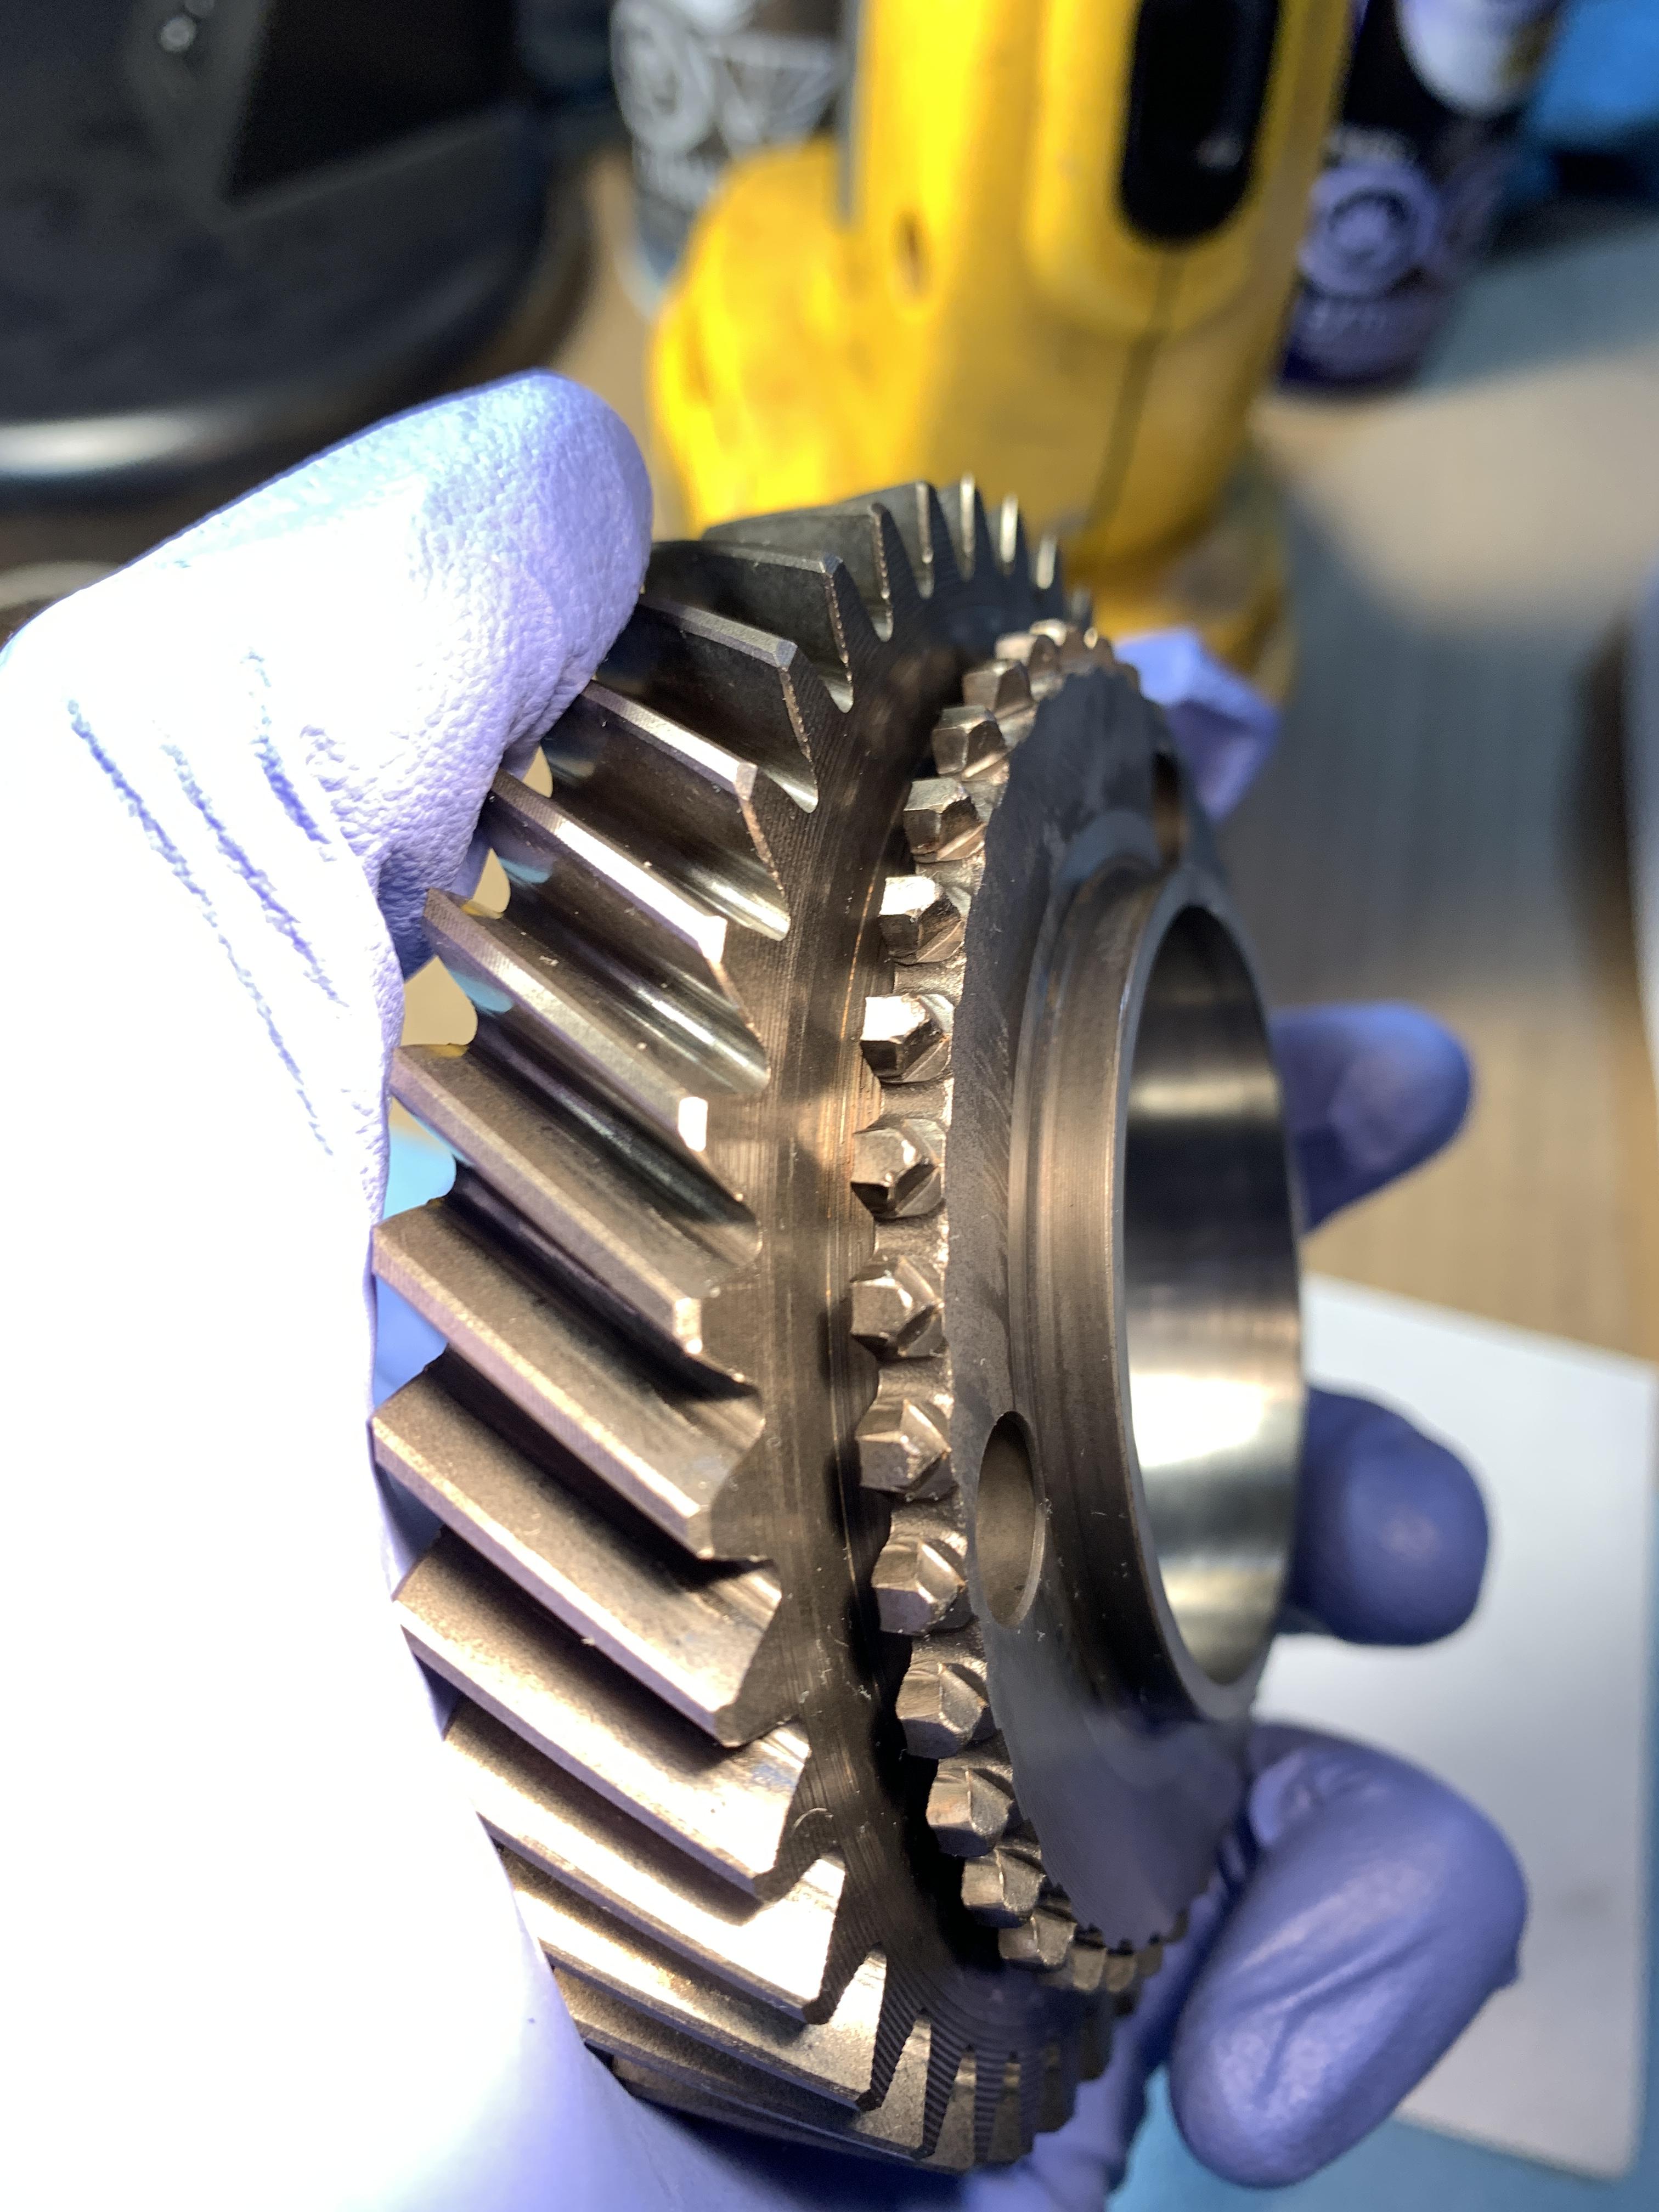
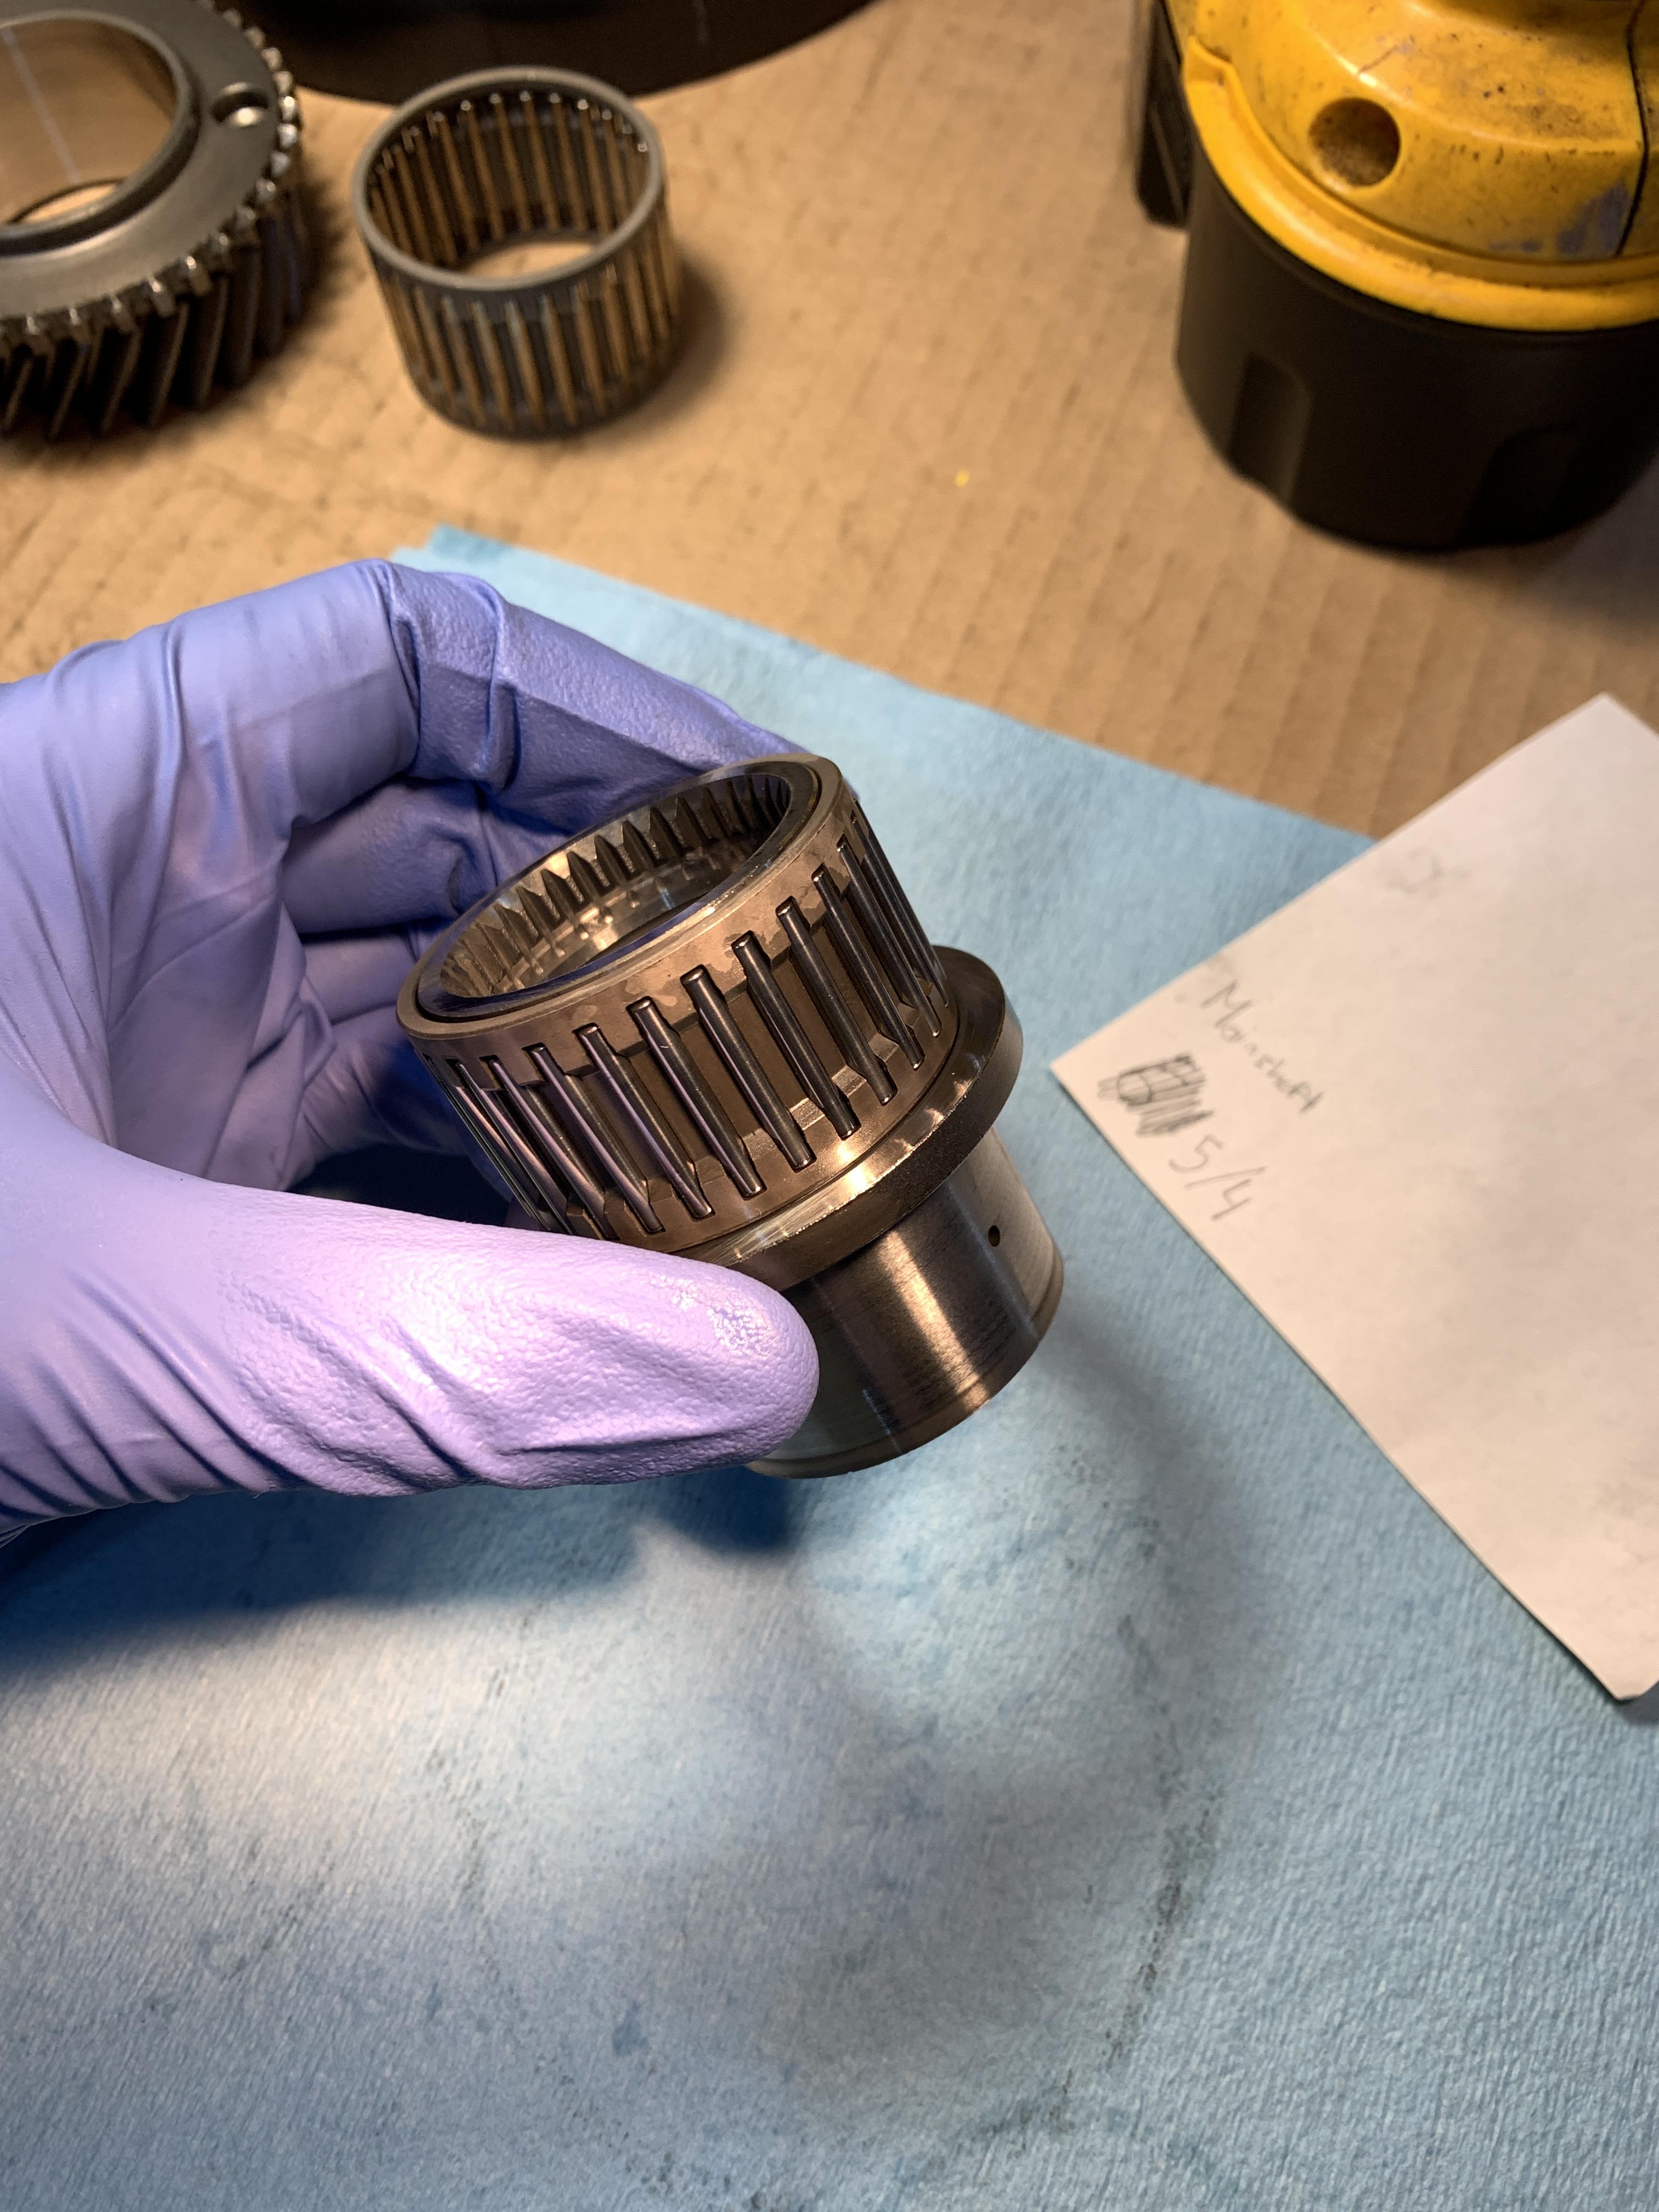
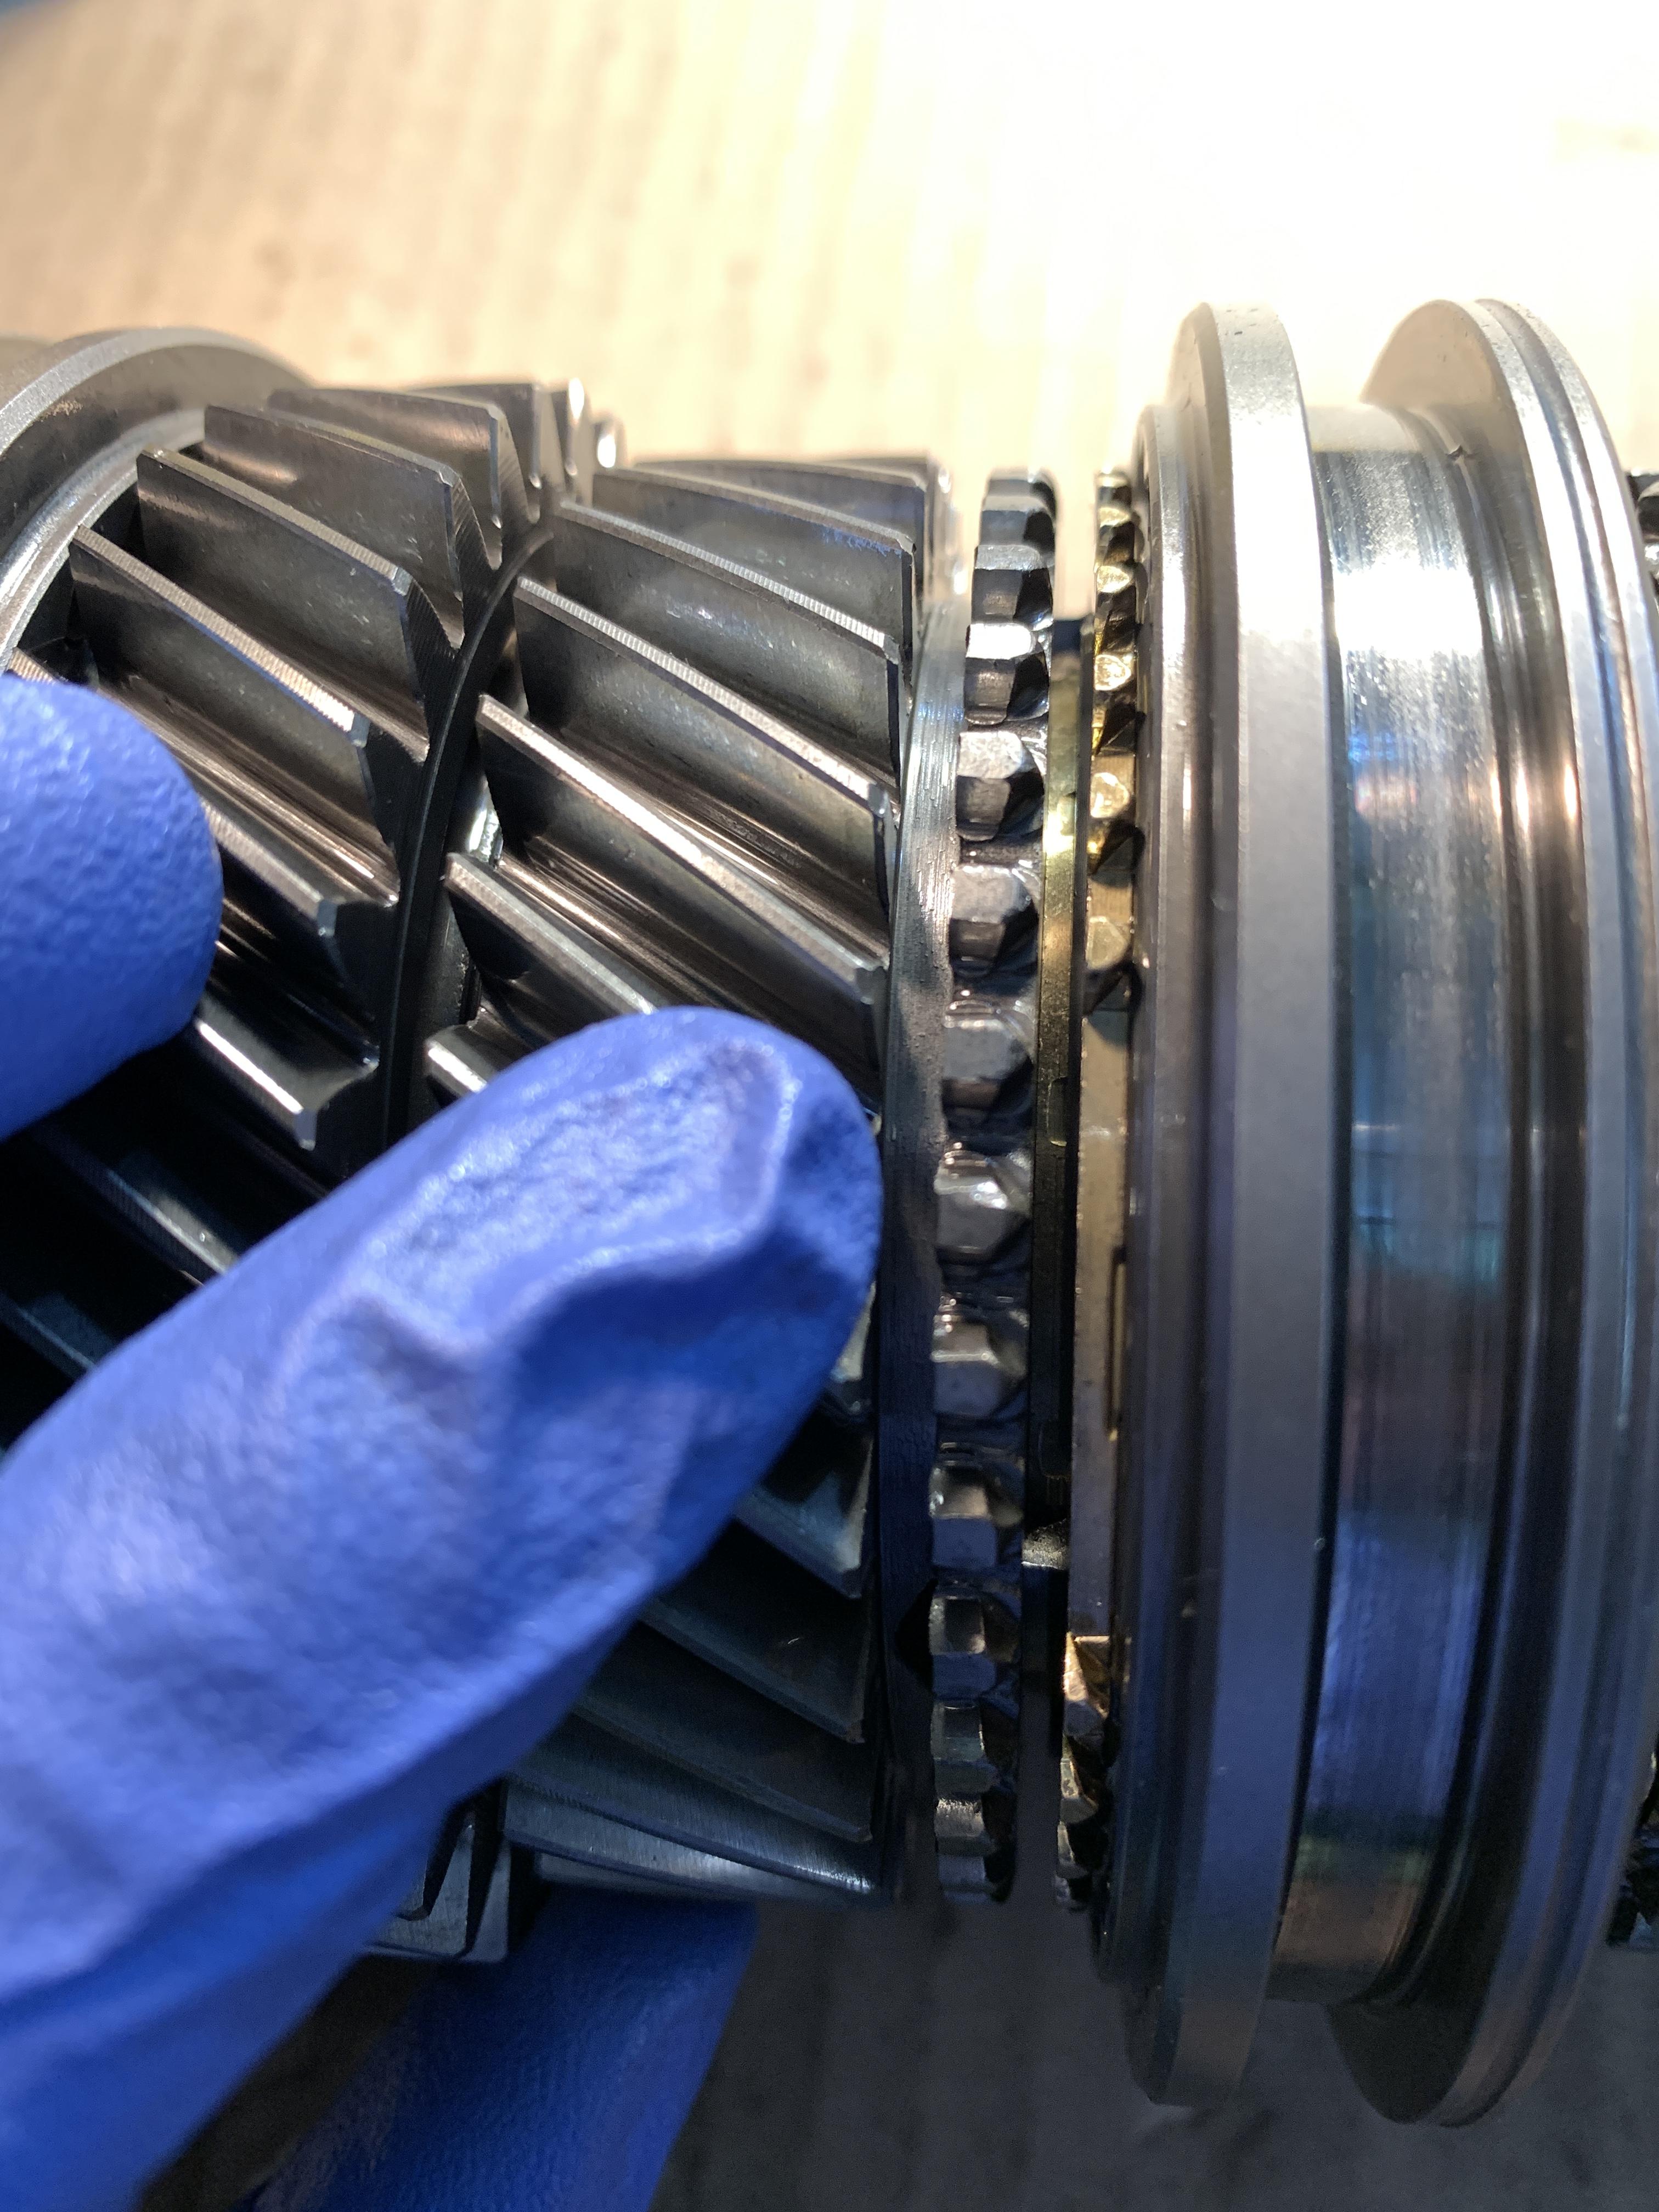
Notice the tooth right by my finger
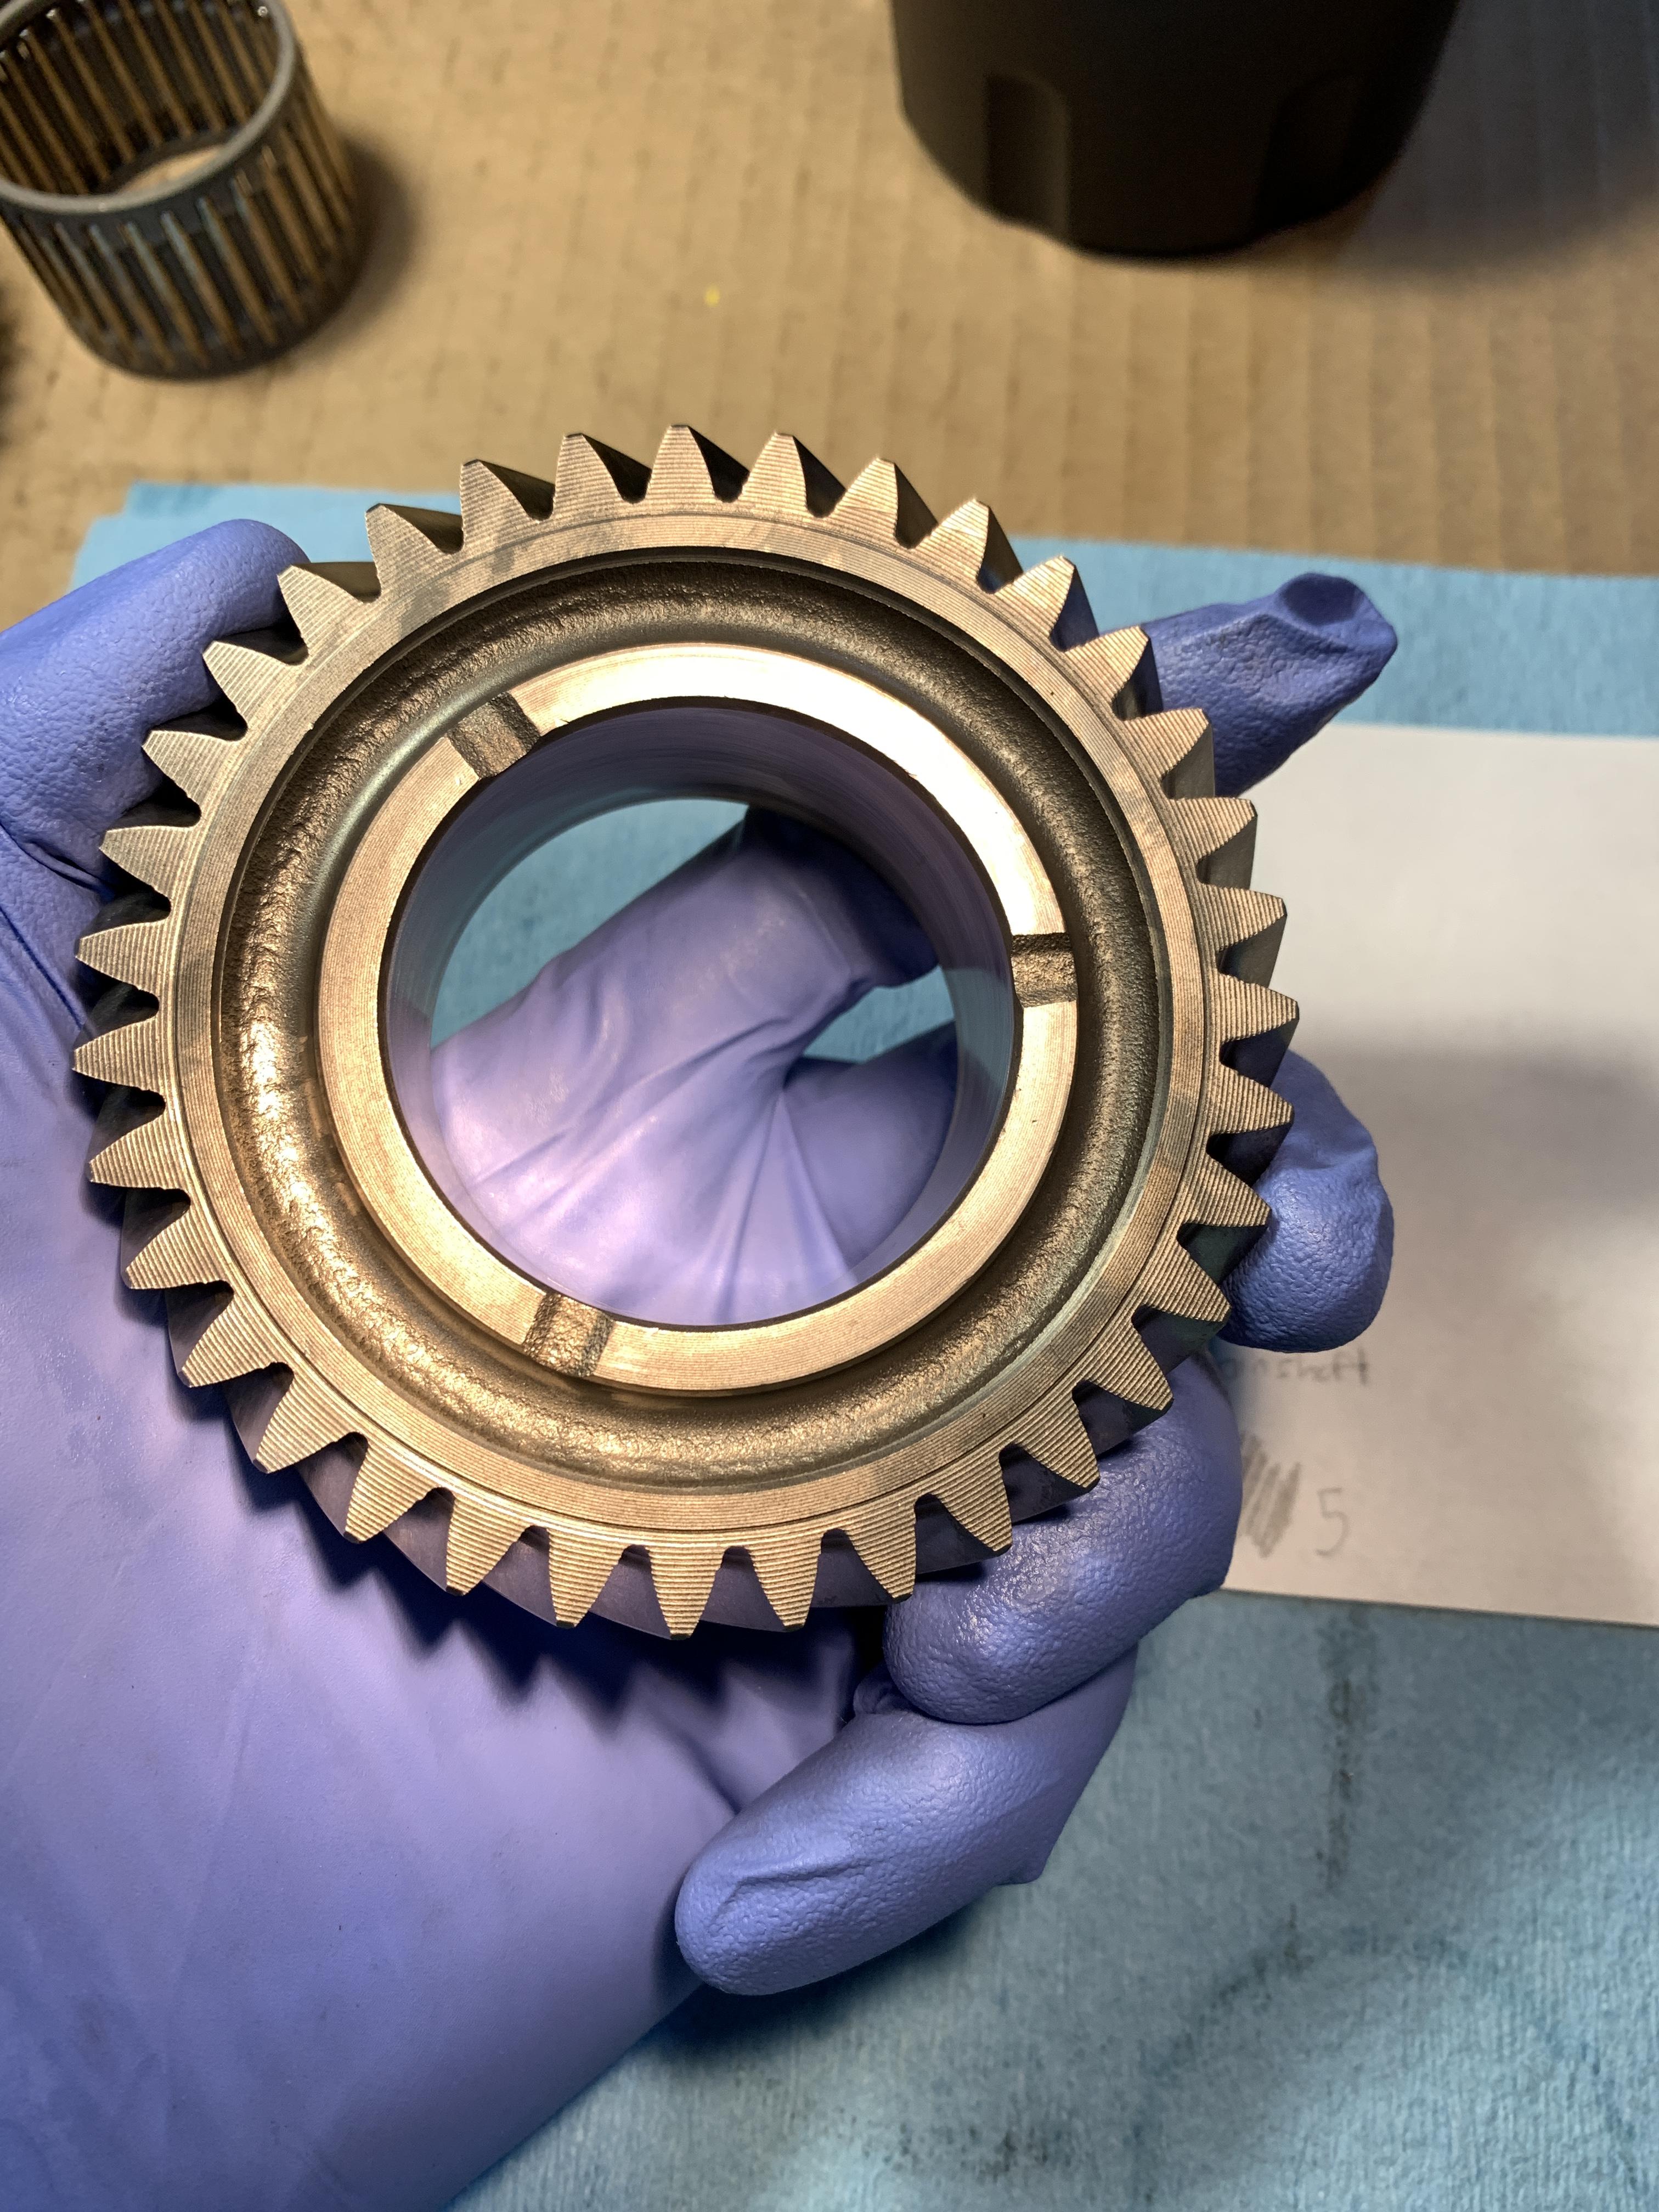
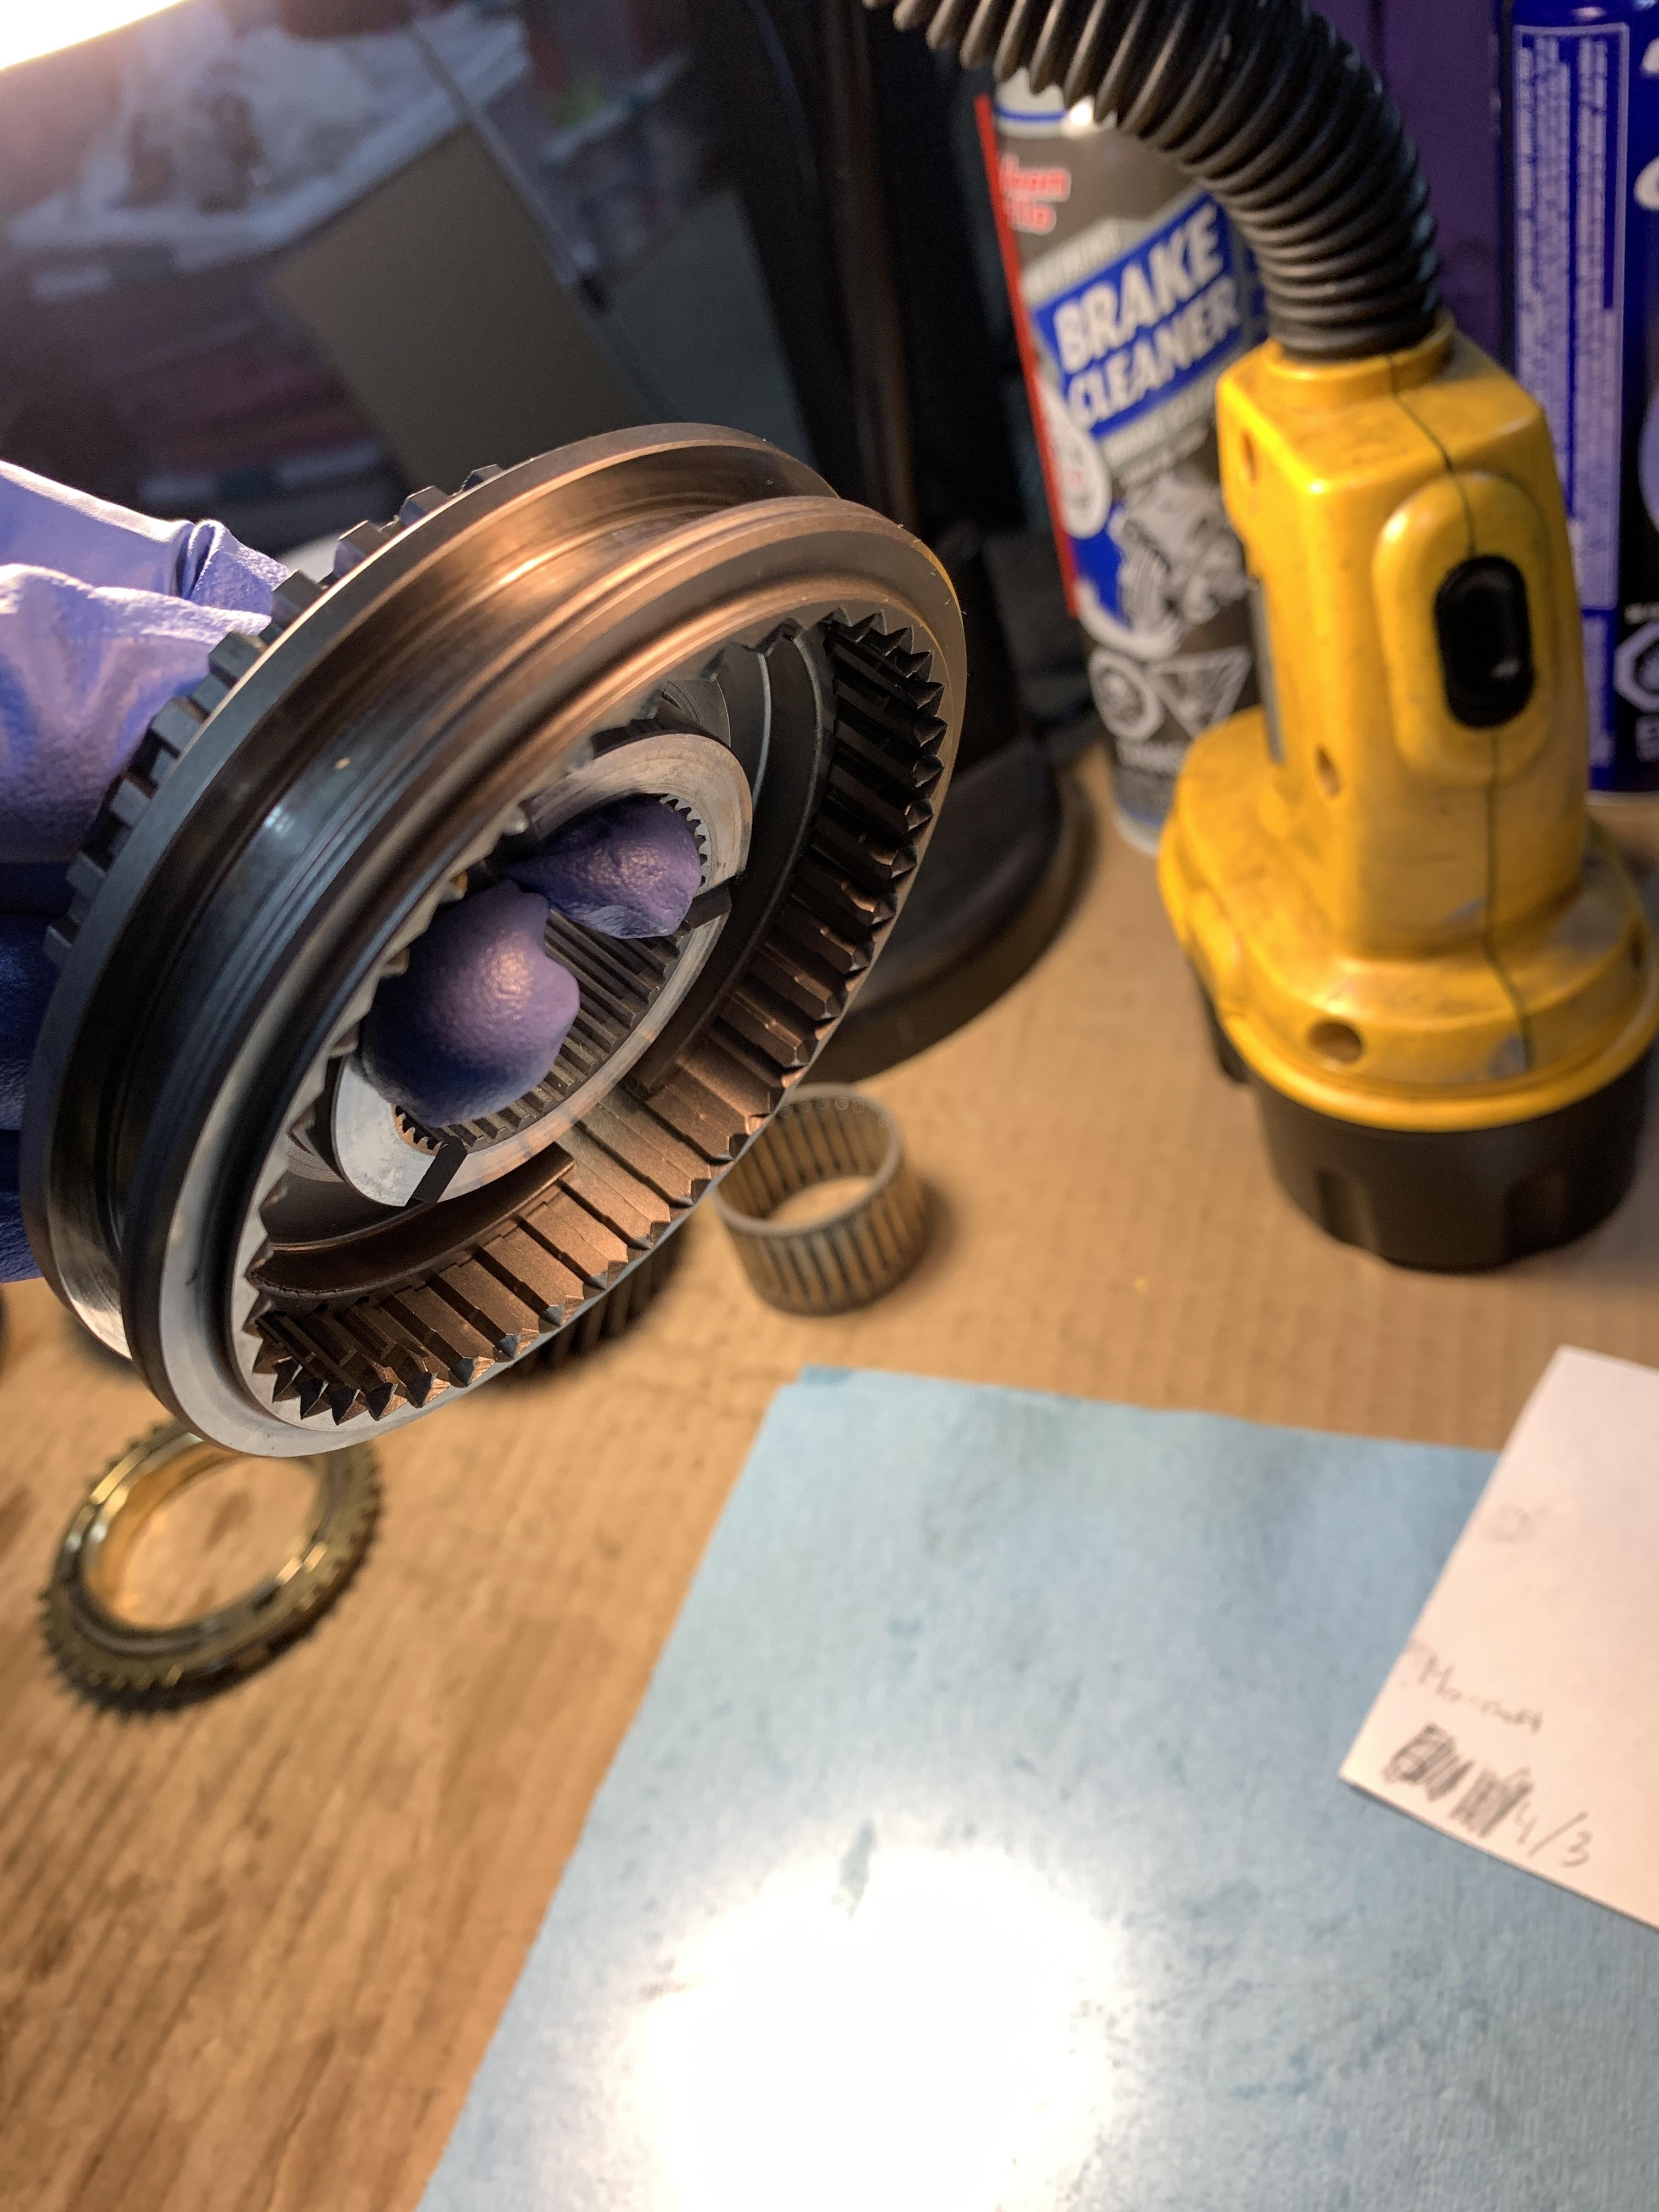
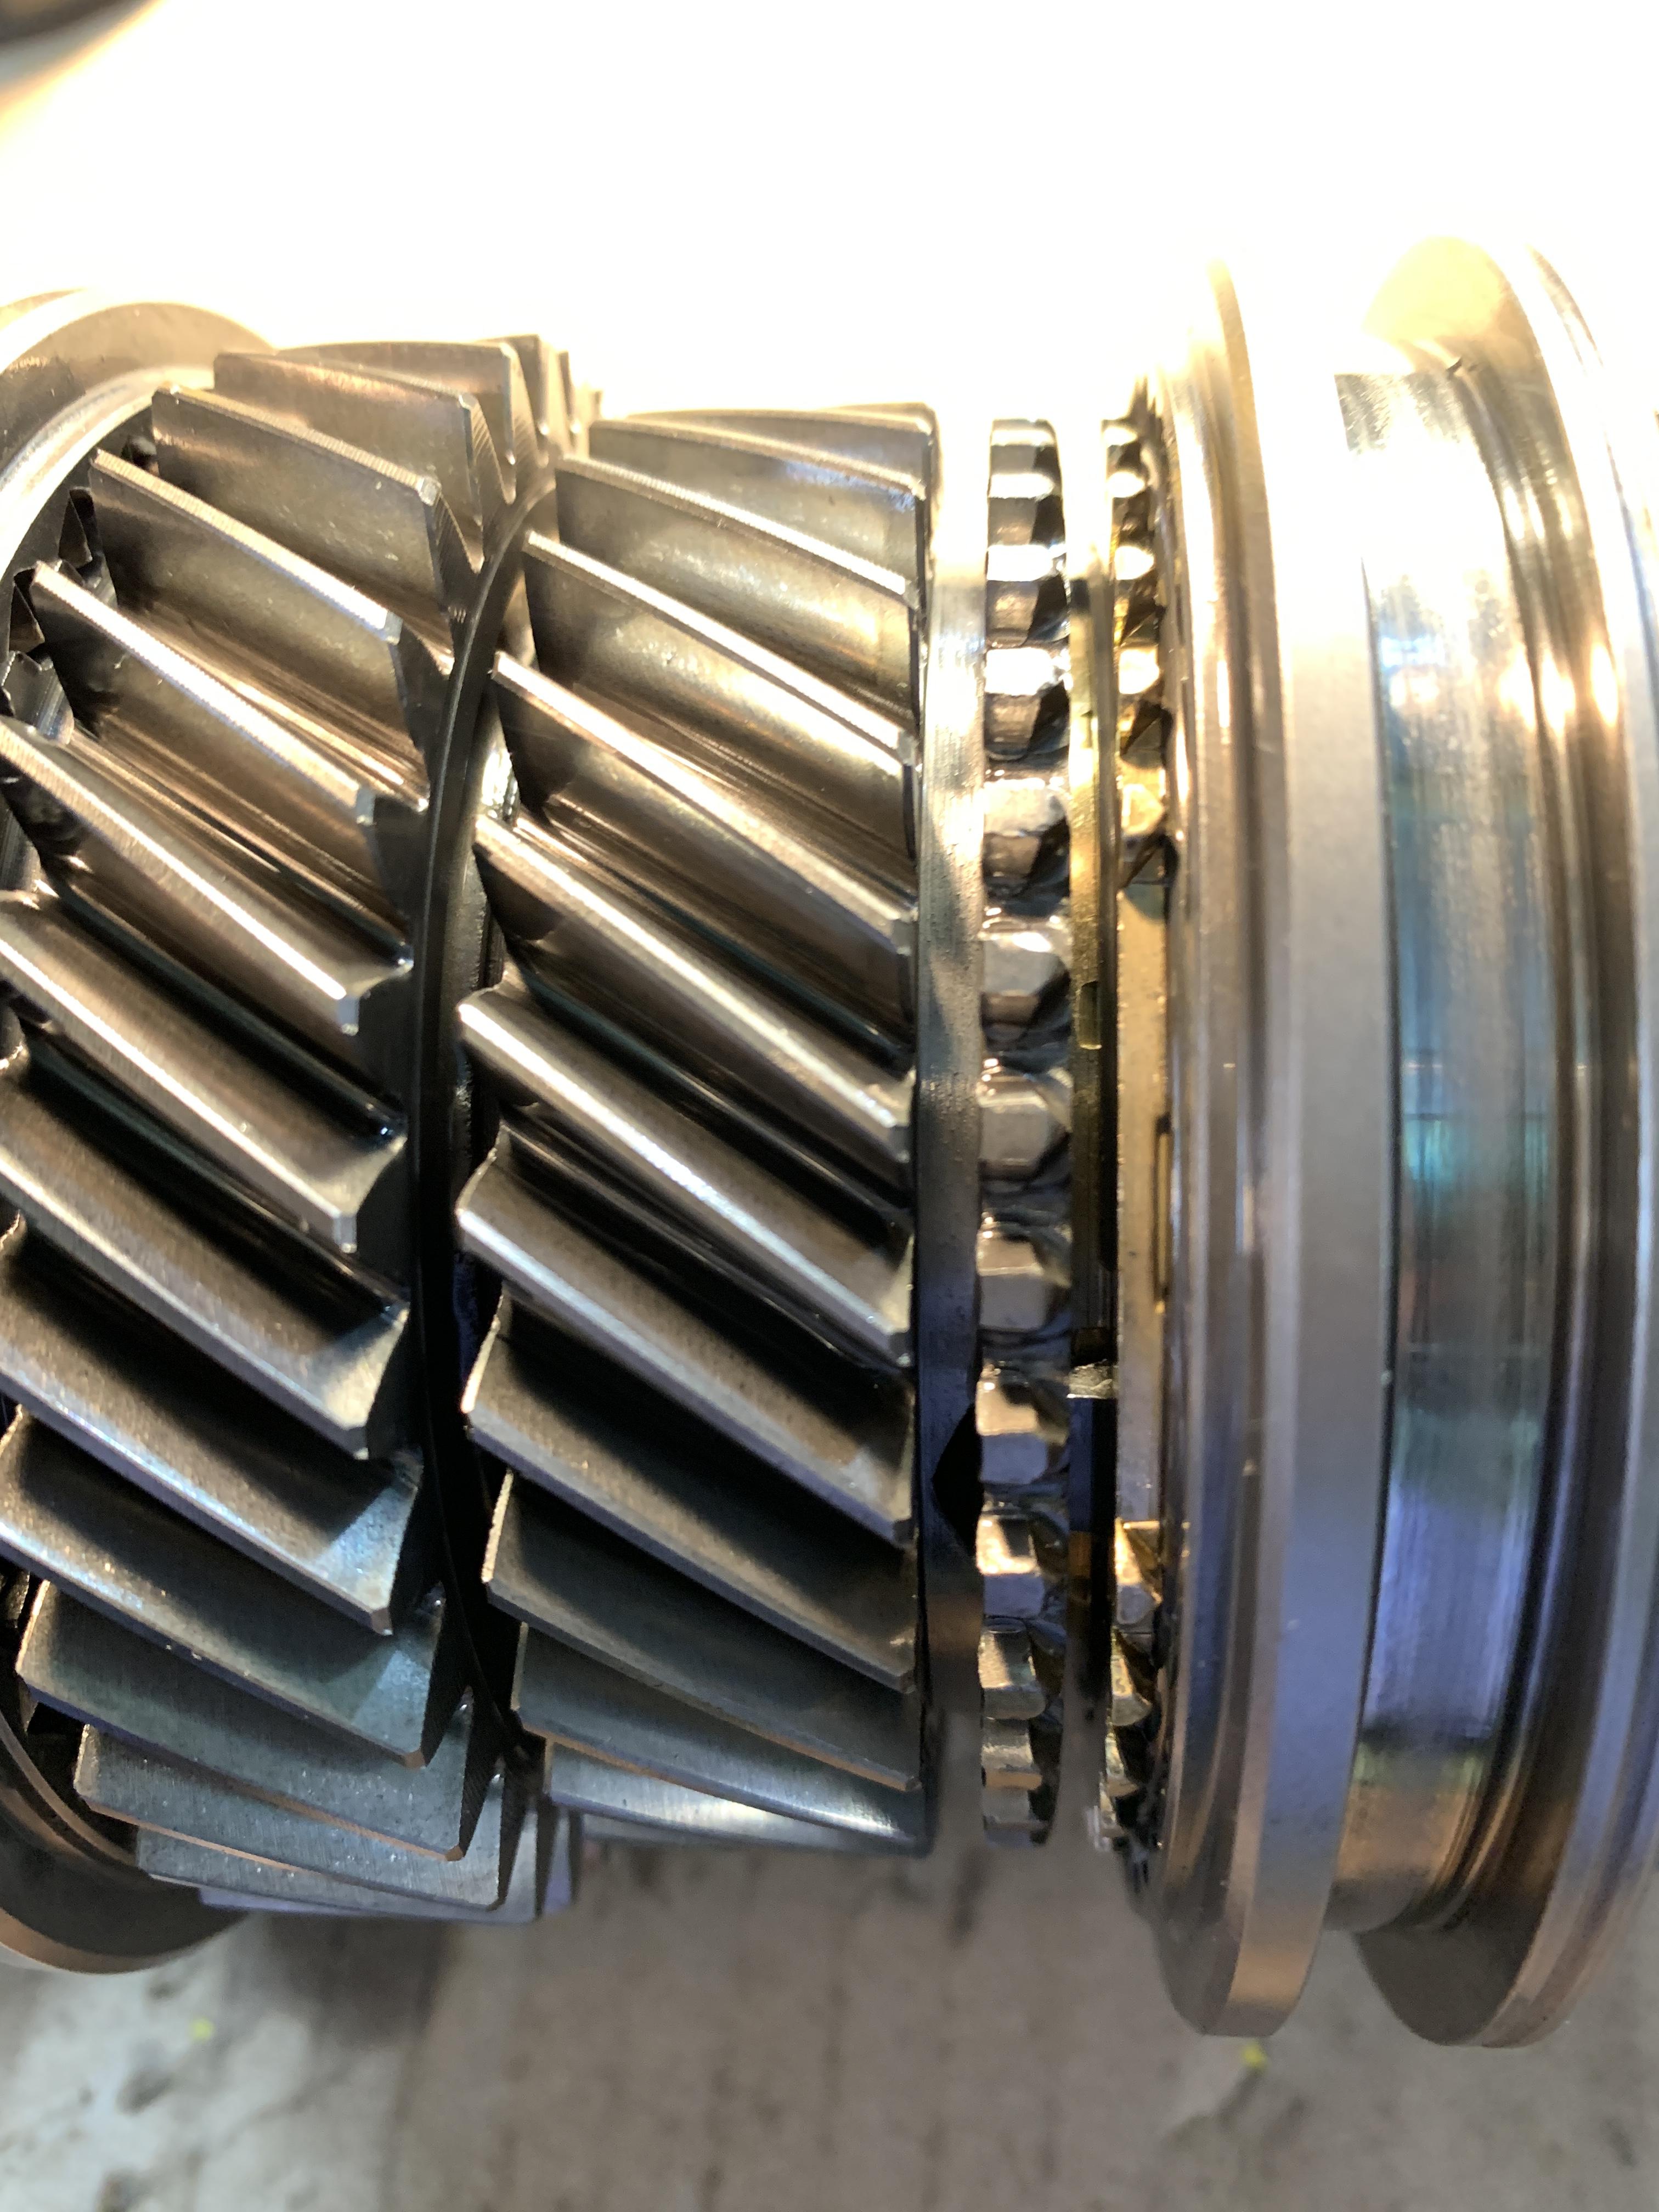
The green surround in the picture is the magnifying glass plastic.
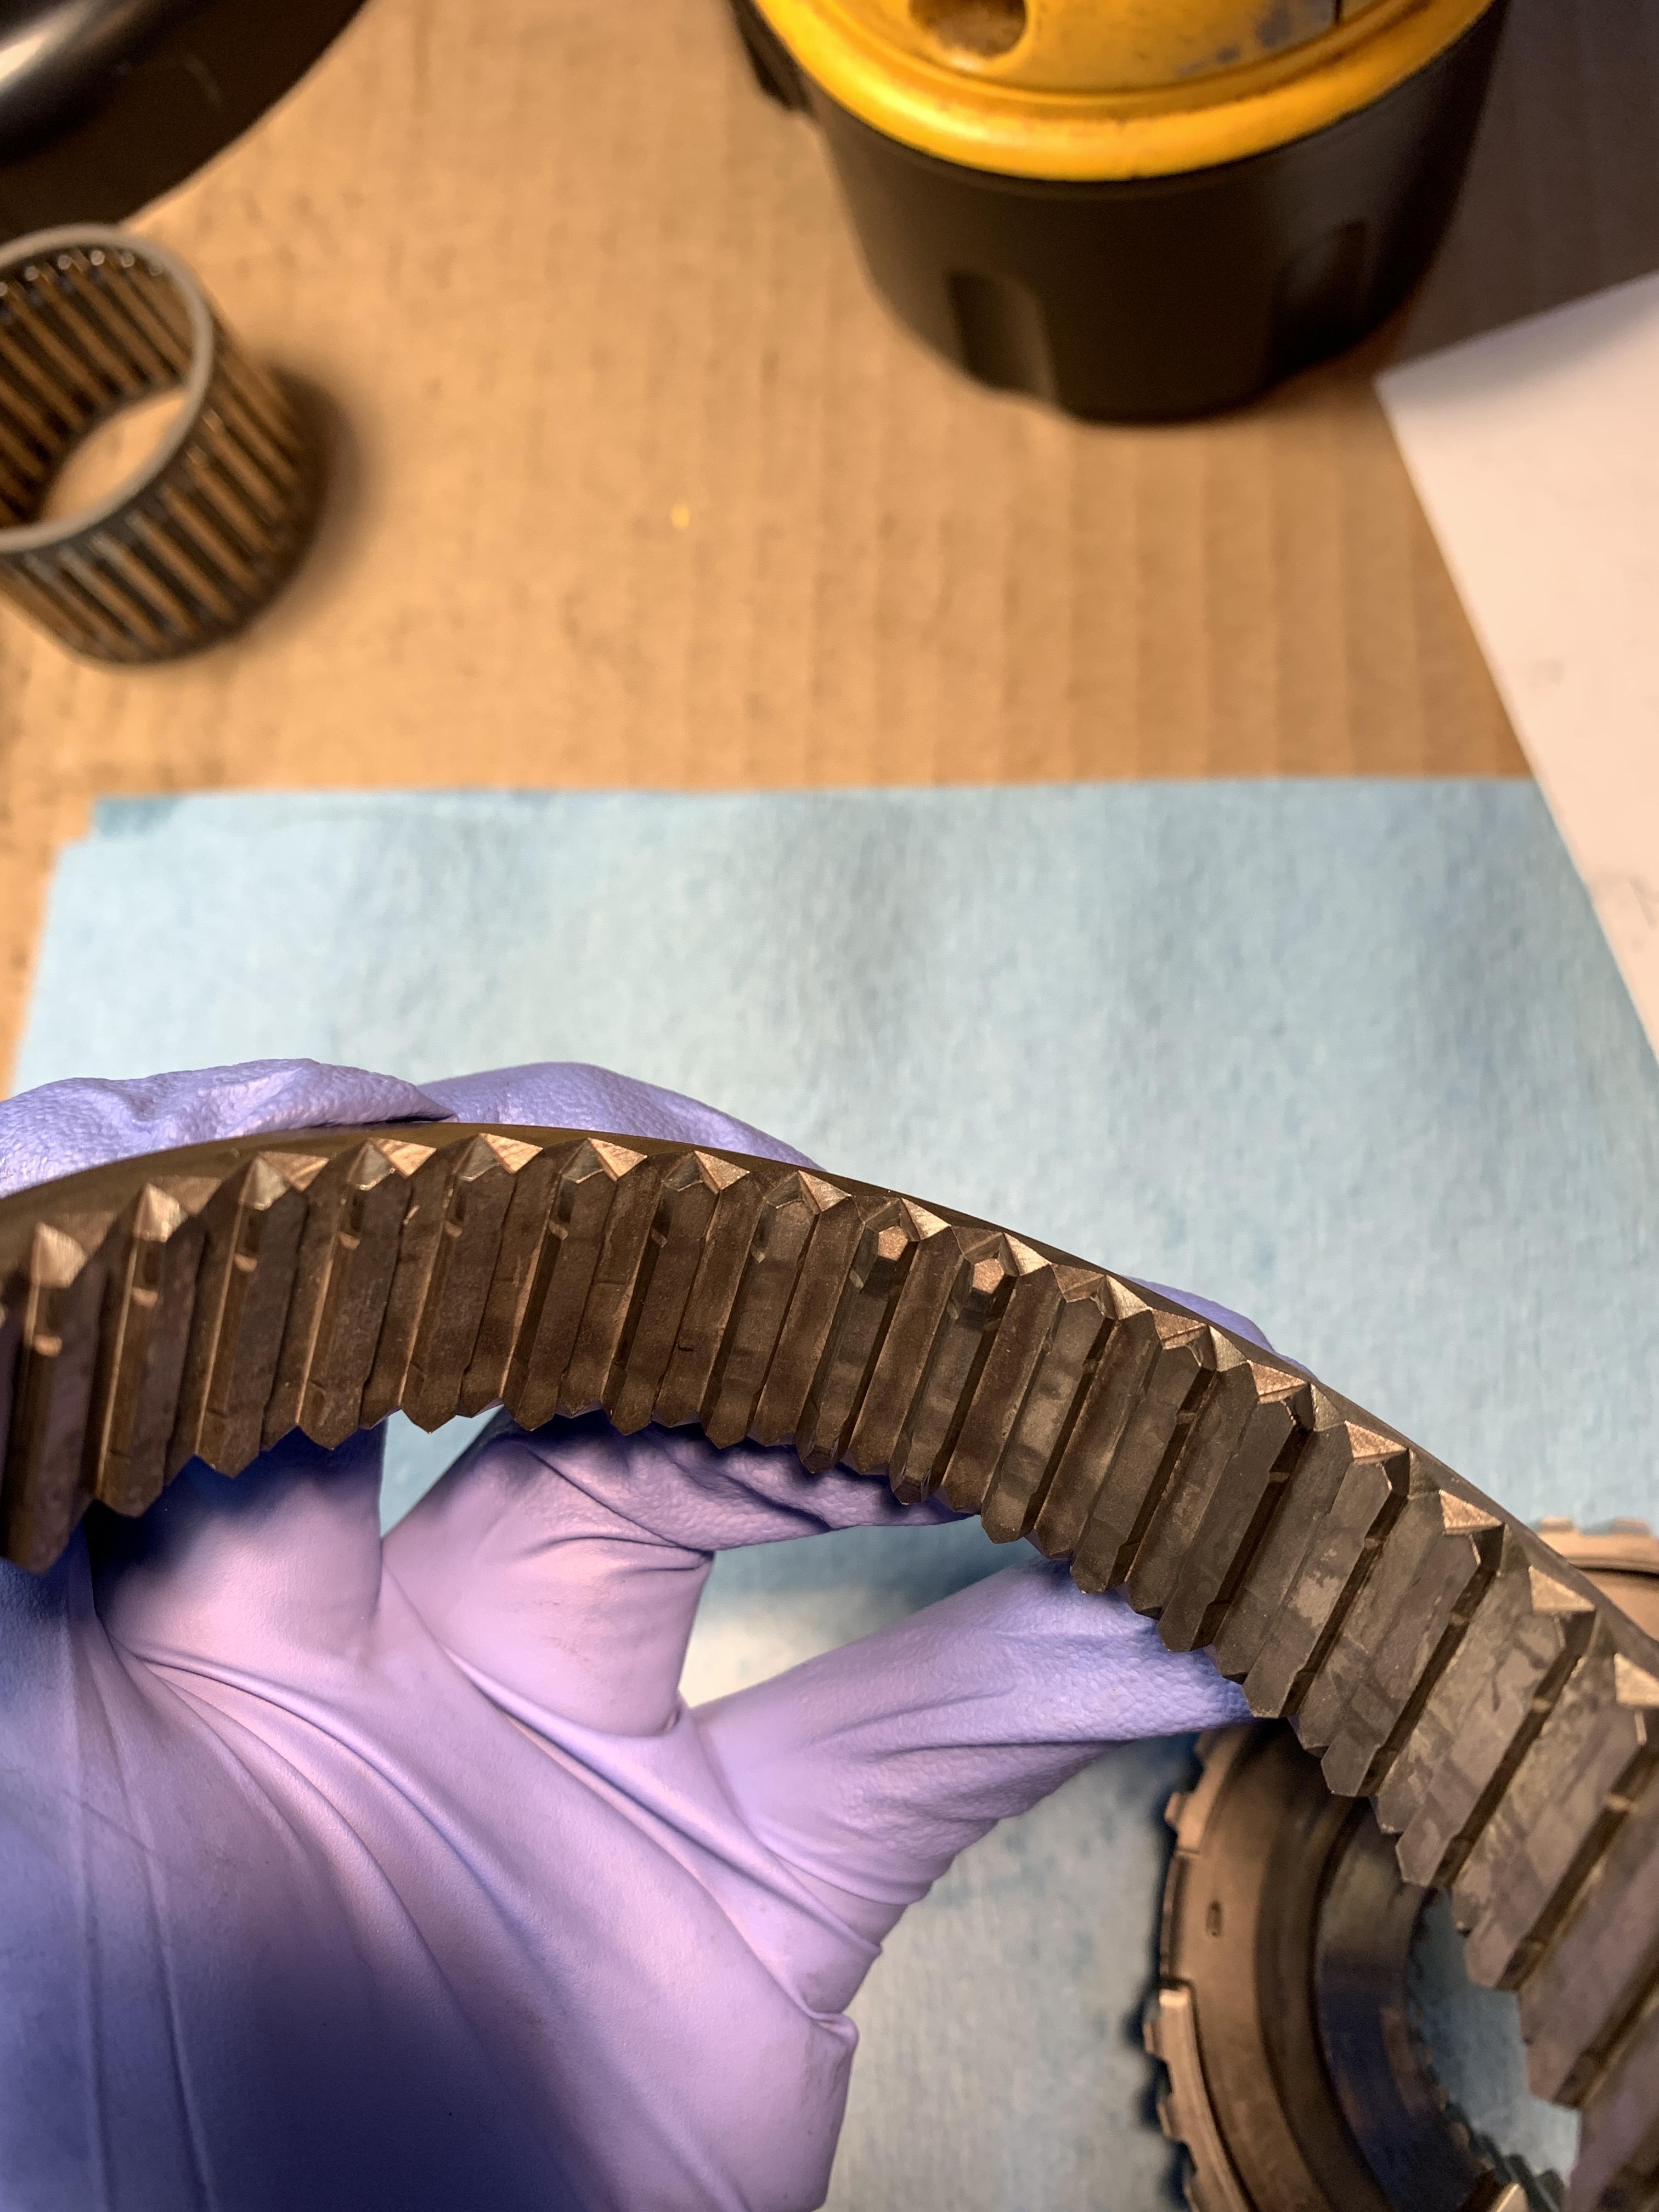
Synchro sleeve shifted to 3rd gear just out of view. Here we are looking at 4th gear proper. The mesh teeth are flawless and show next to no signs of wear but the little nubbin synchro gear teeth are mangled. I’m not sure if these are supposed to be like that but the service manual doesn’t call out to inspect these at all; only the gold colour synchro mechanisms and the synchro sleeves.
Notice the tooth right by my finger


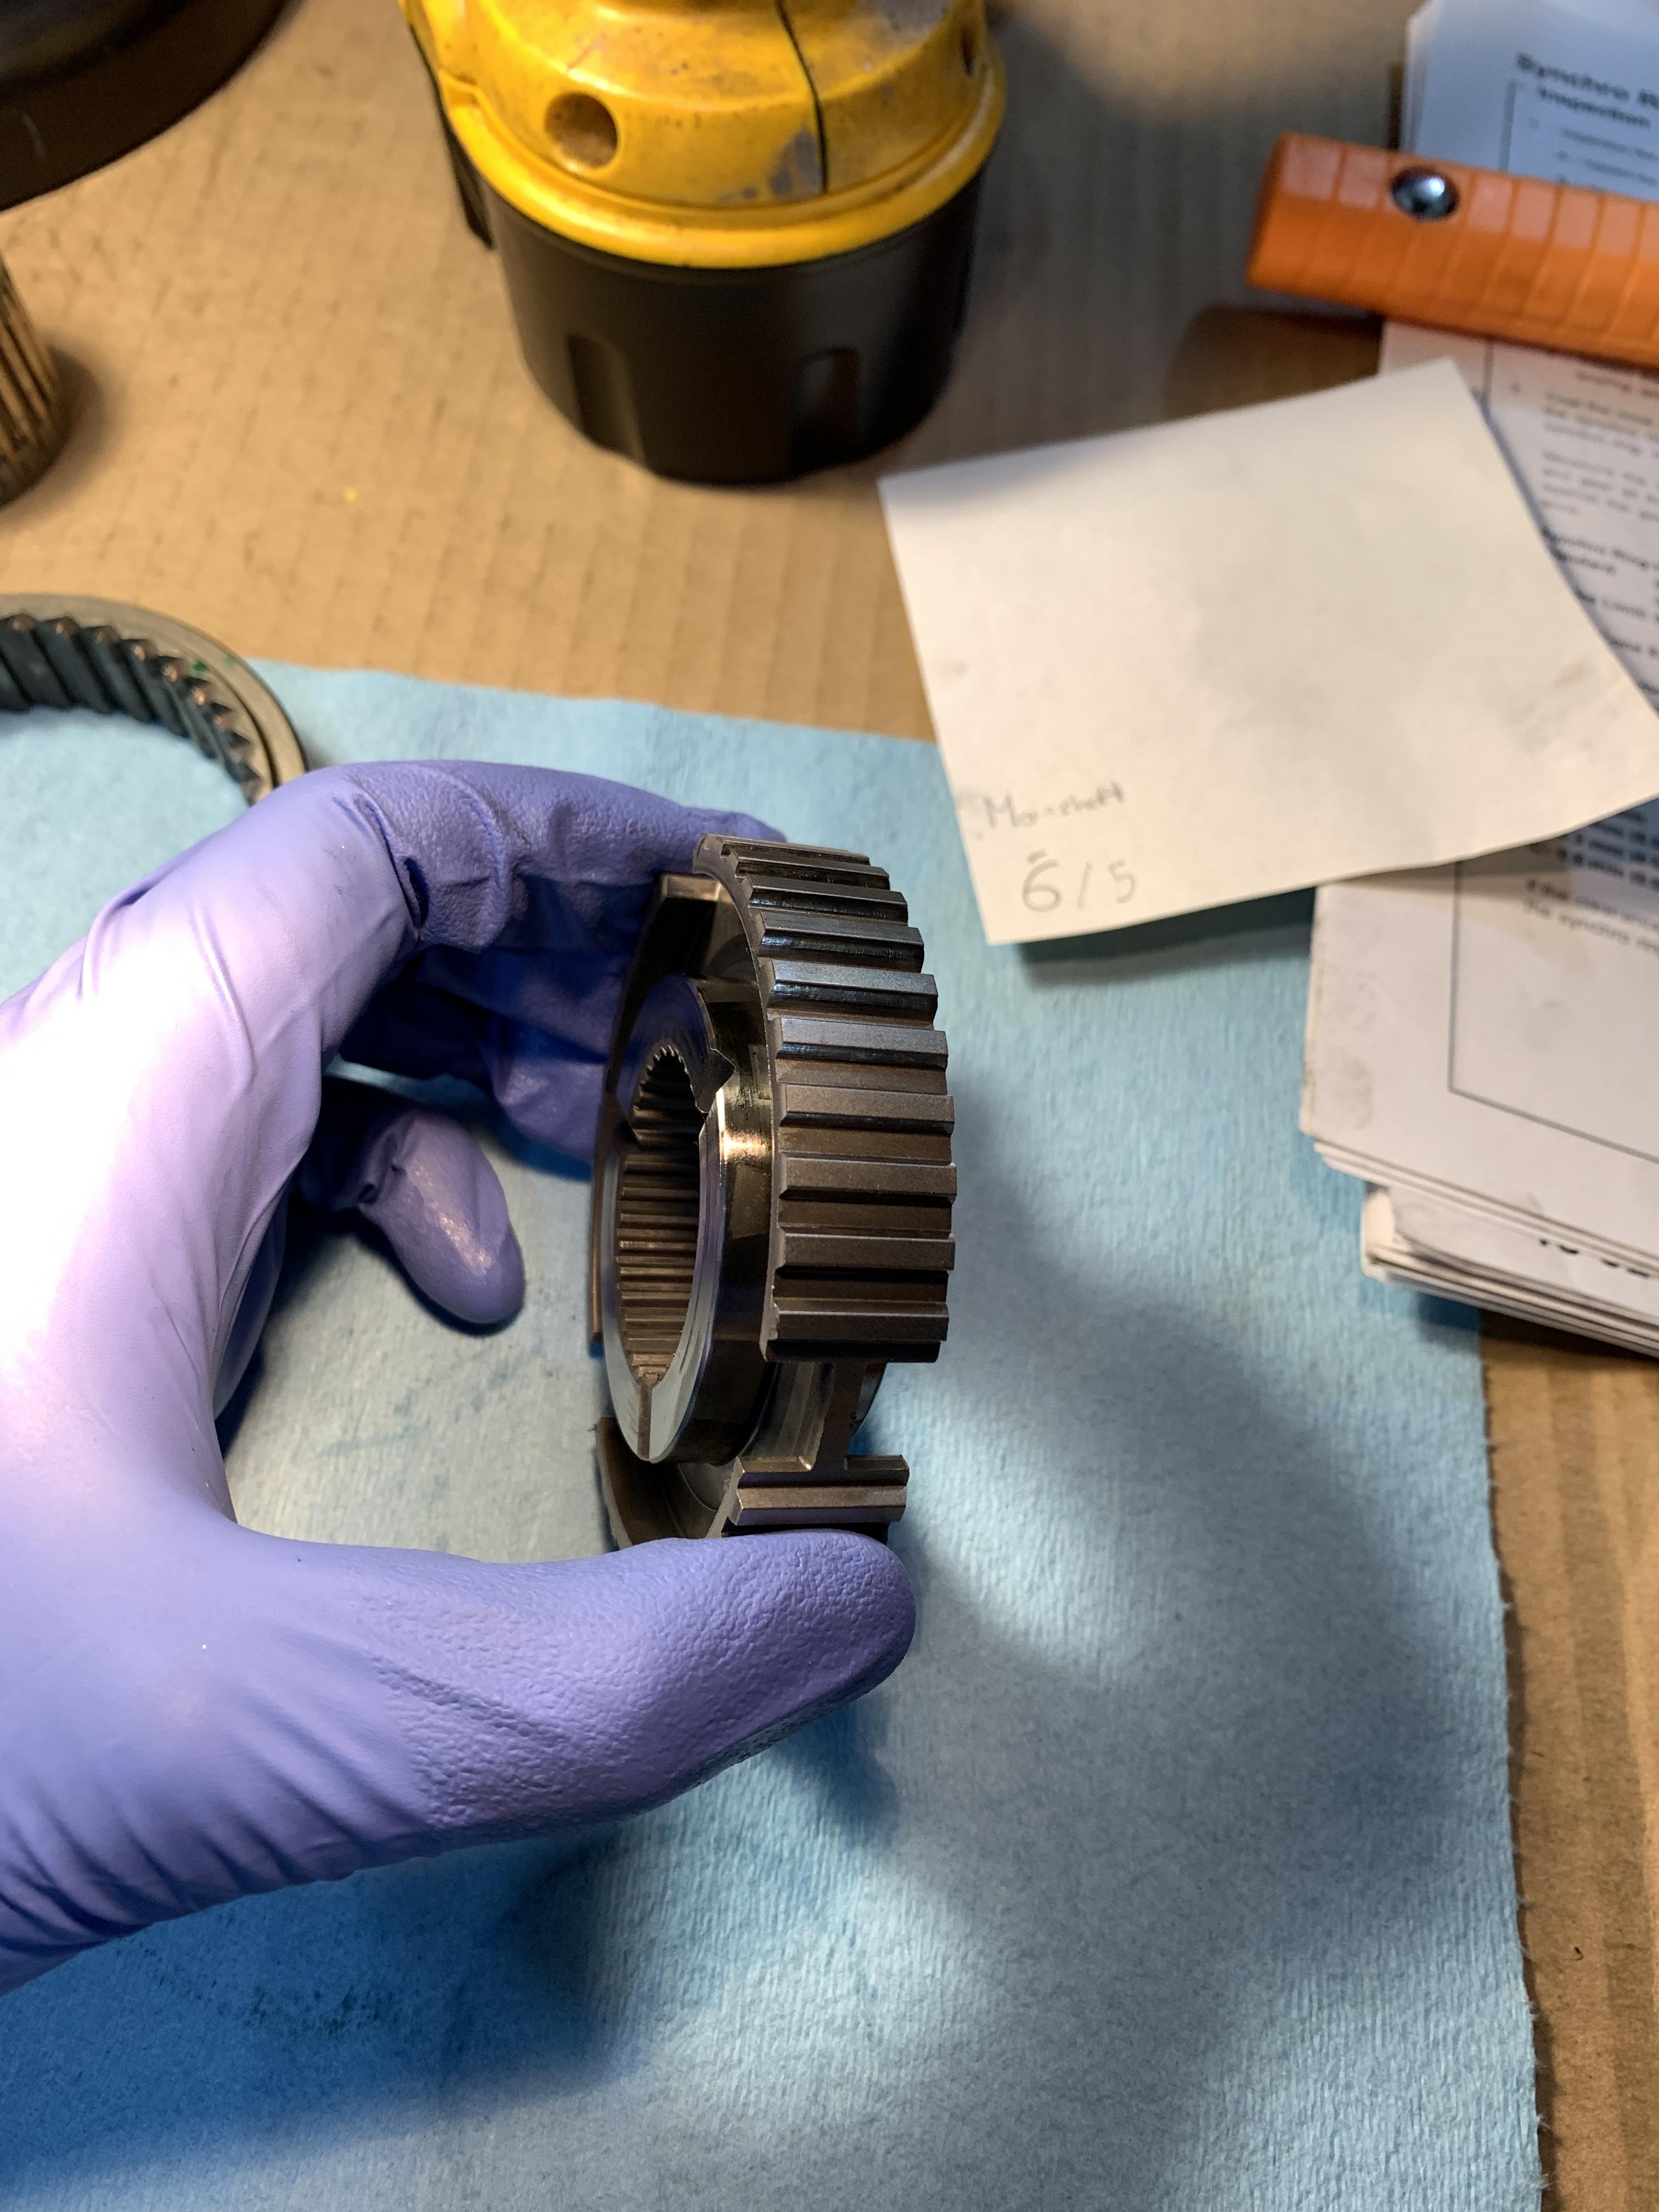
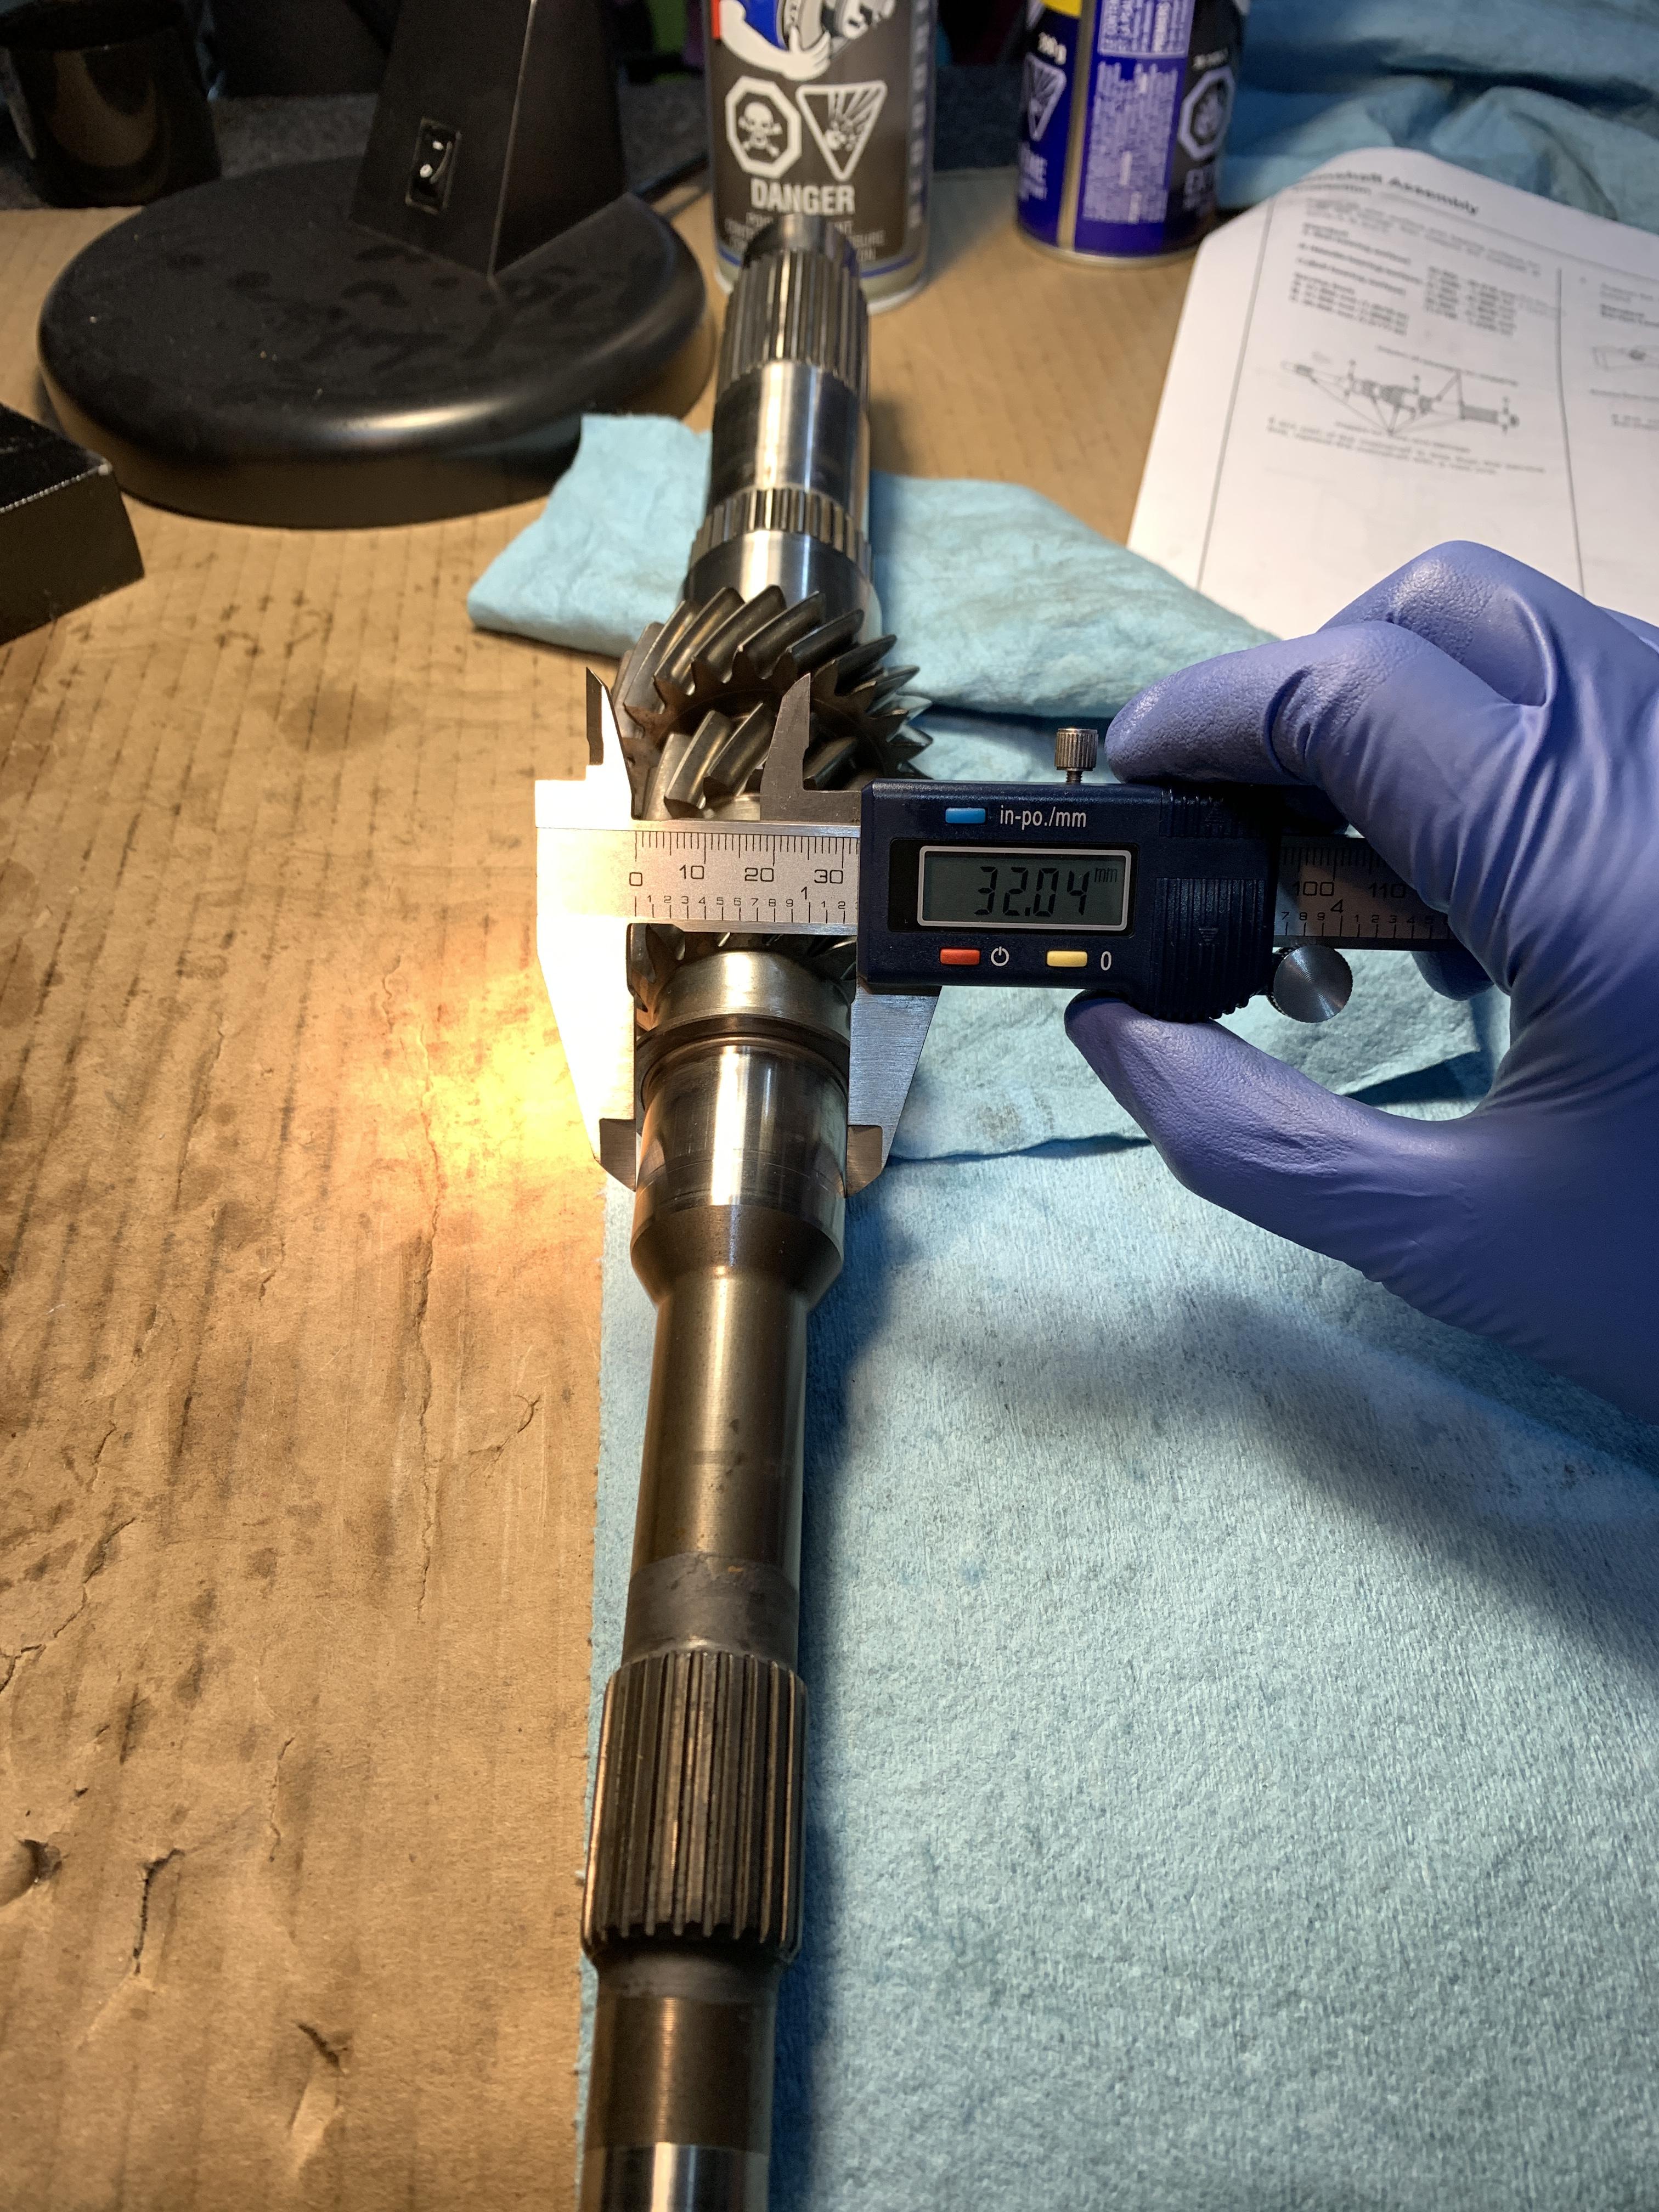
 I don't know how you can feel your fingers in that...