• Protip: Profile posts are public! Use Conversations to message other members privately. Everyone can see the content of a profile post.

Thom Ayotte Camber Kit Full Installation Instructional Video / DIY

Joined
19 December 2004
Messages
916
Location
Glastonbury, CT
I created this independent thread to so it would be searchable easy and have all the right Tags.

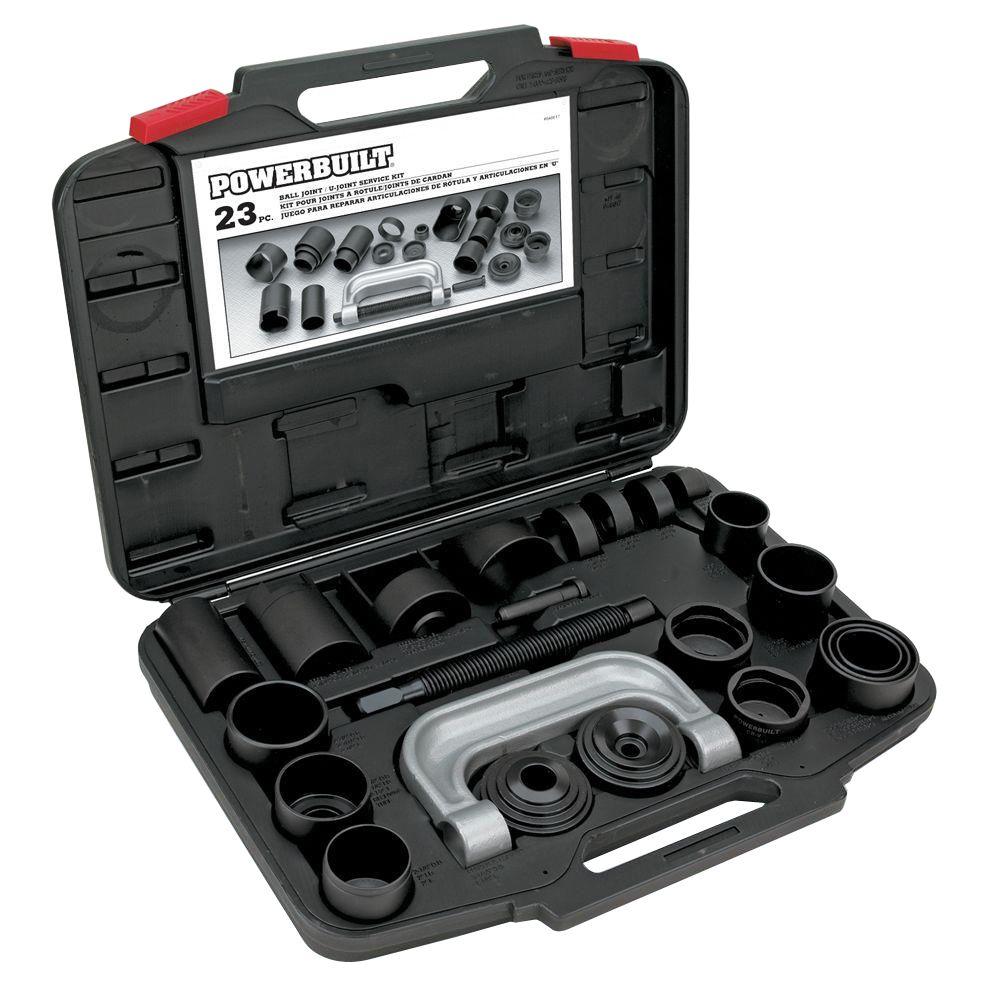
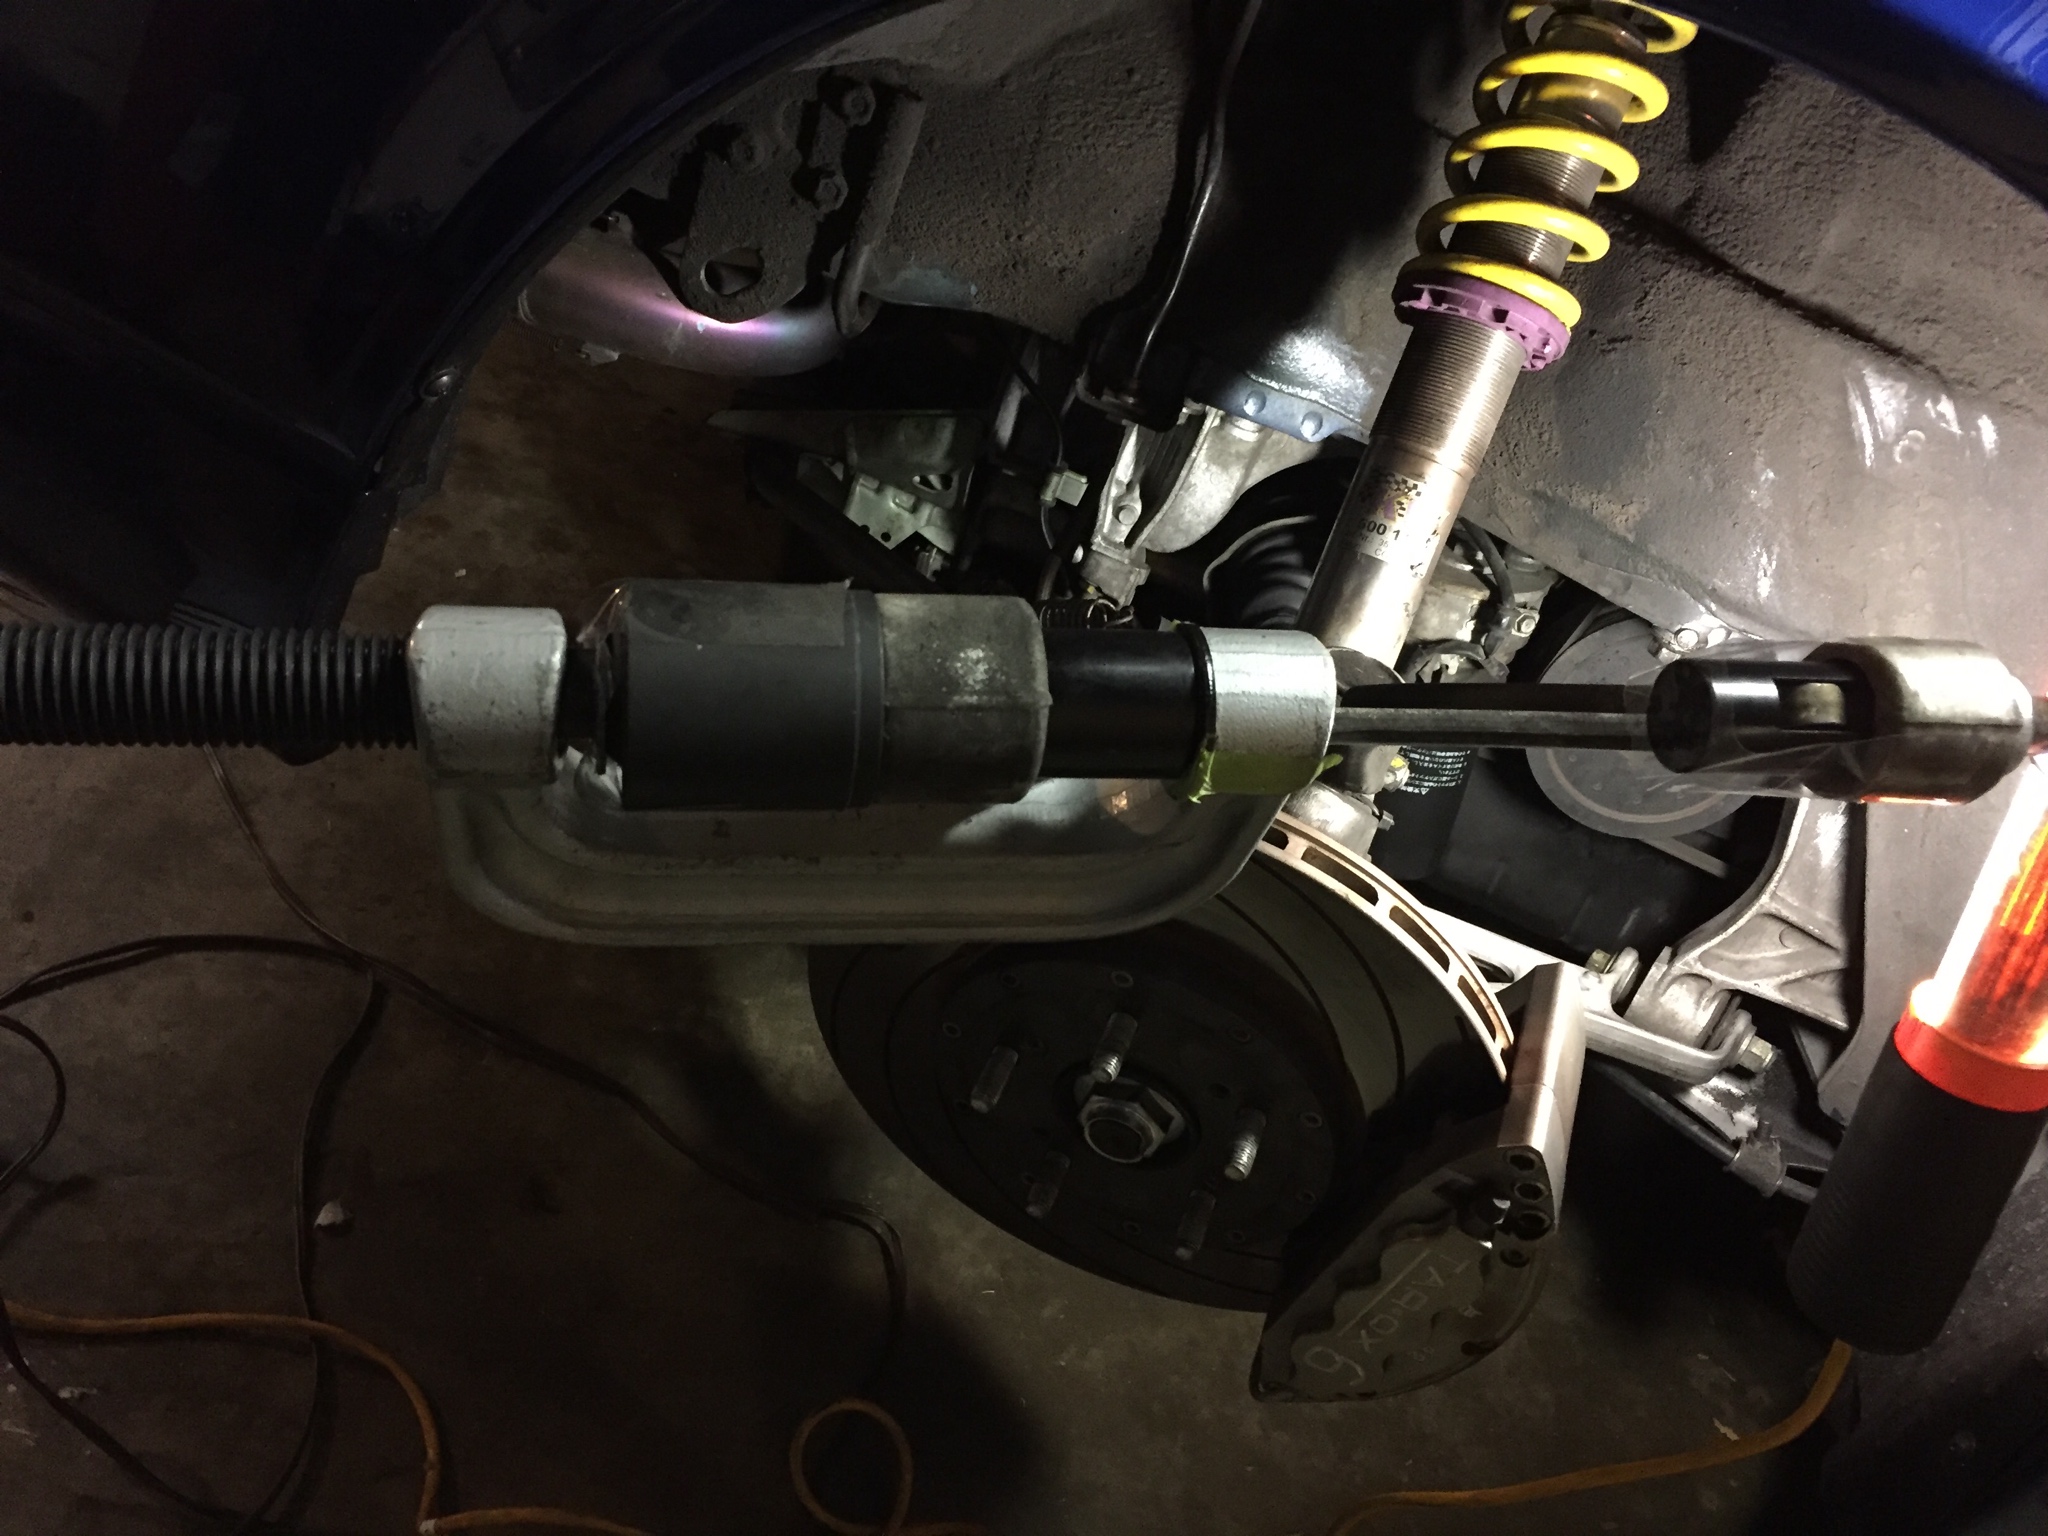
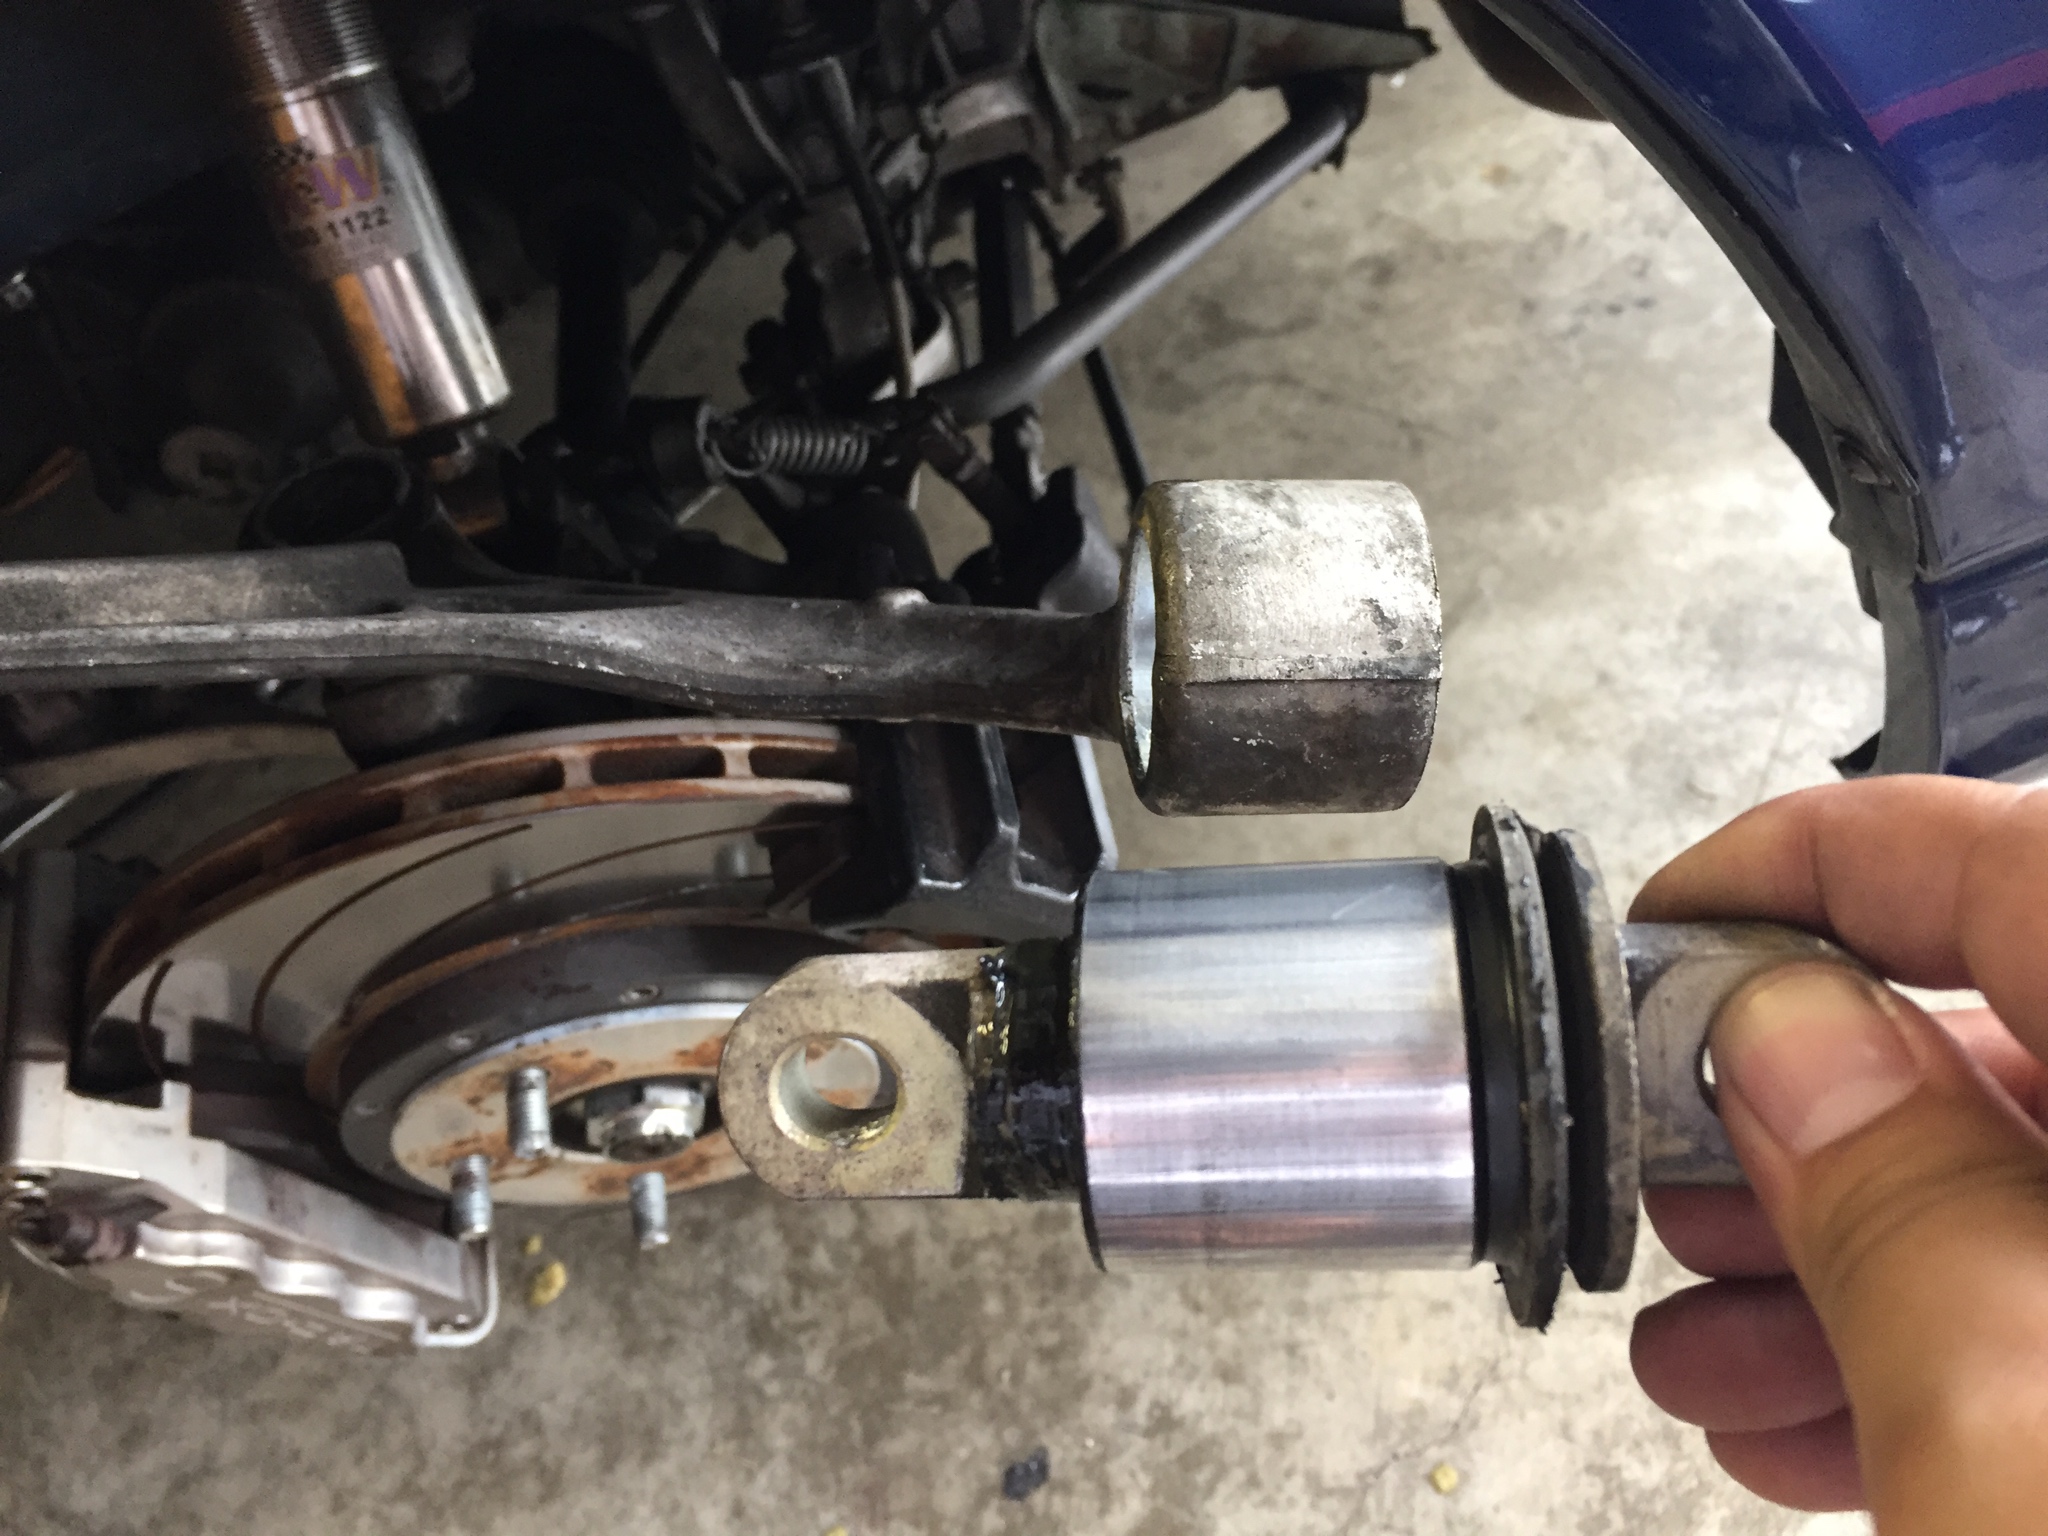
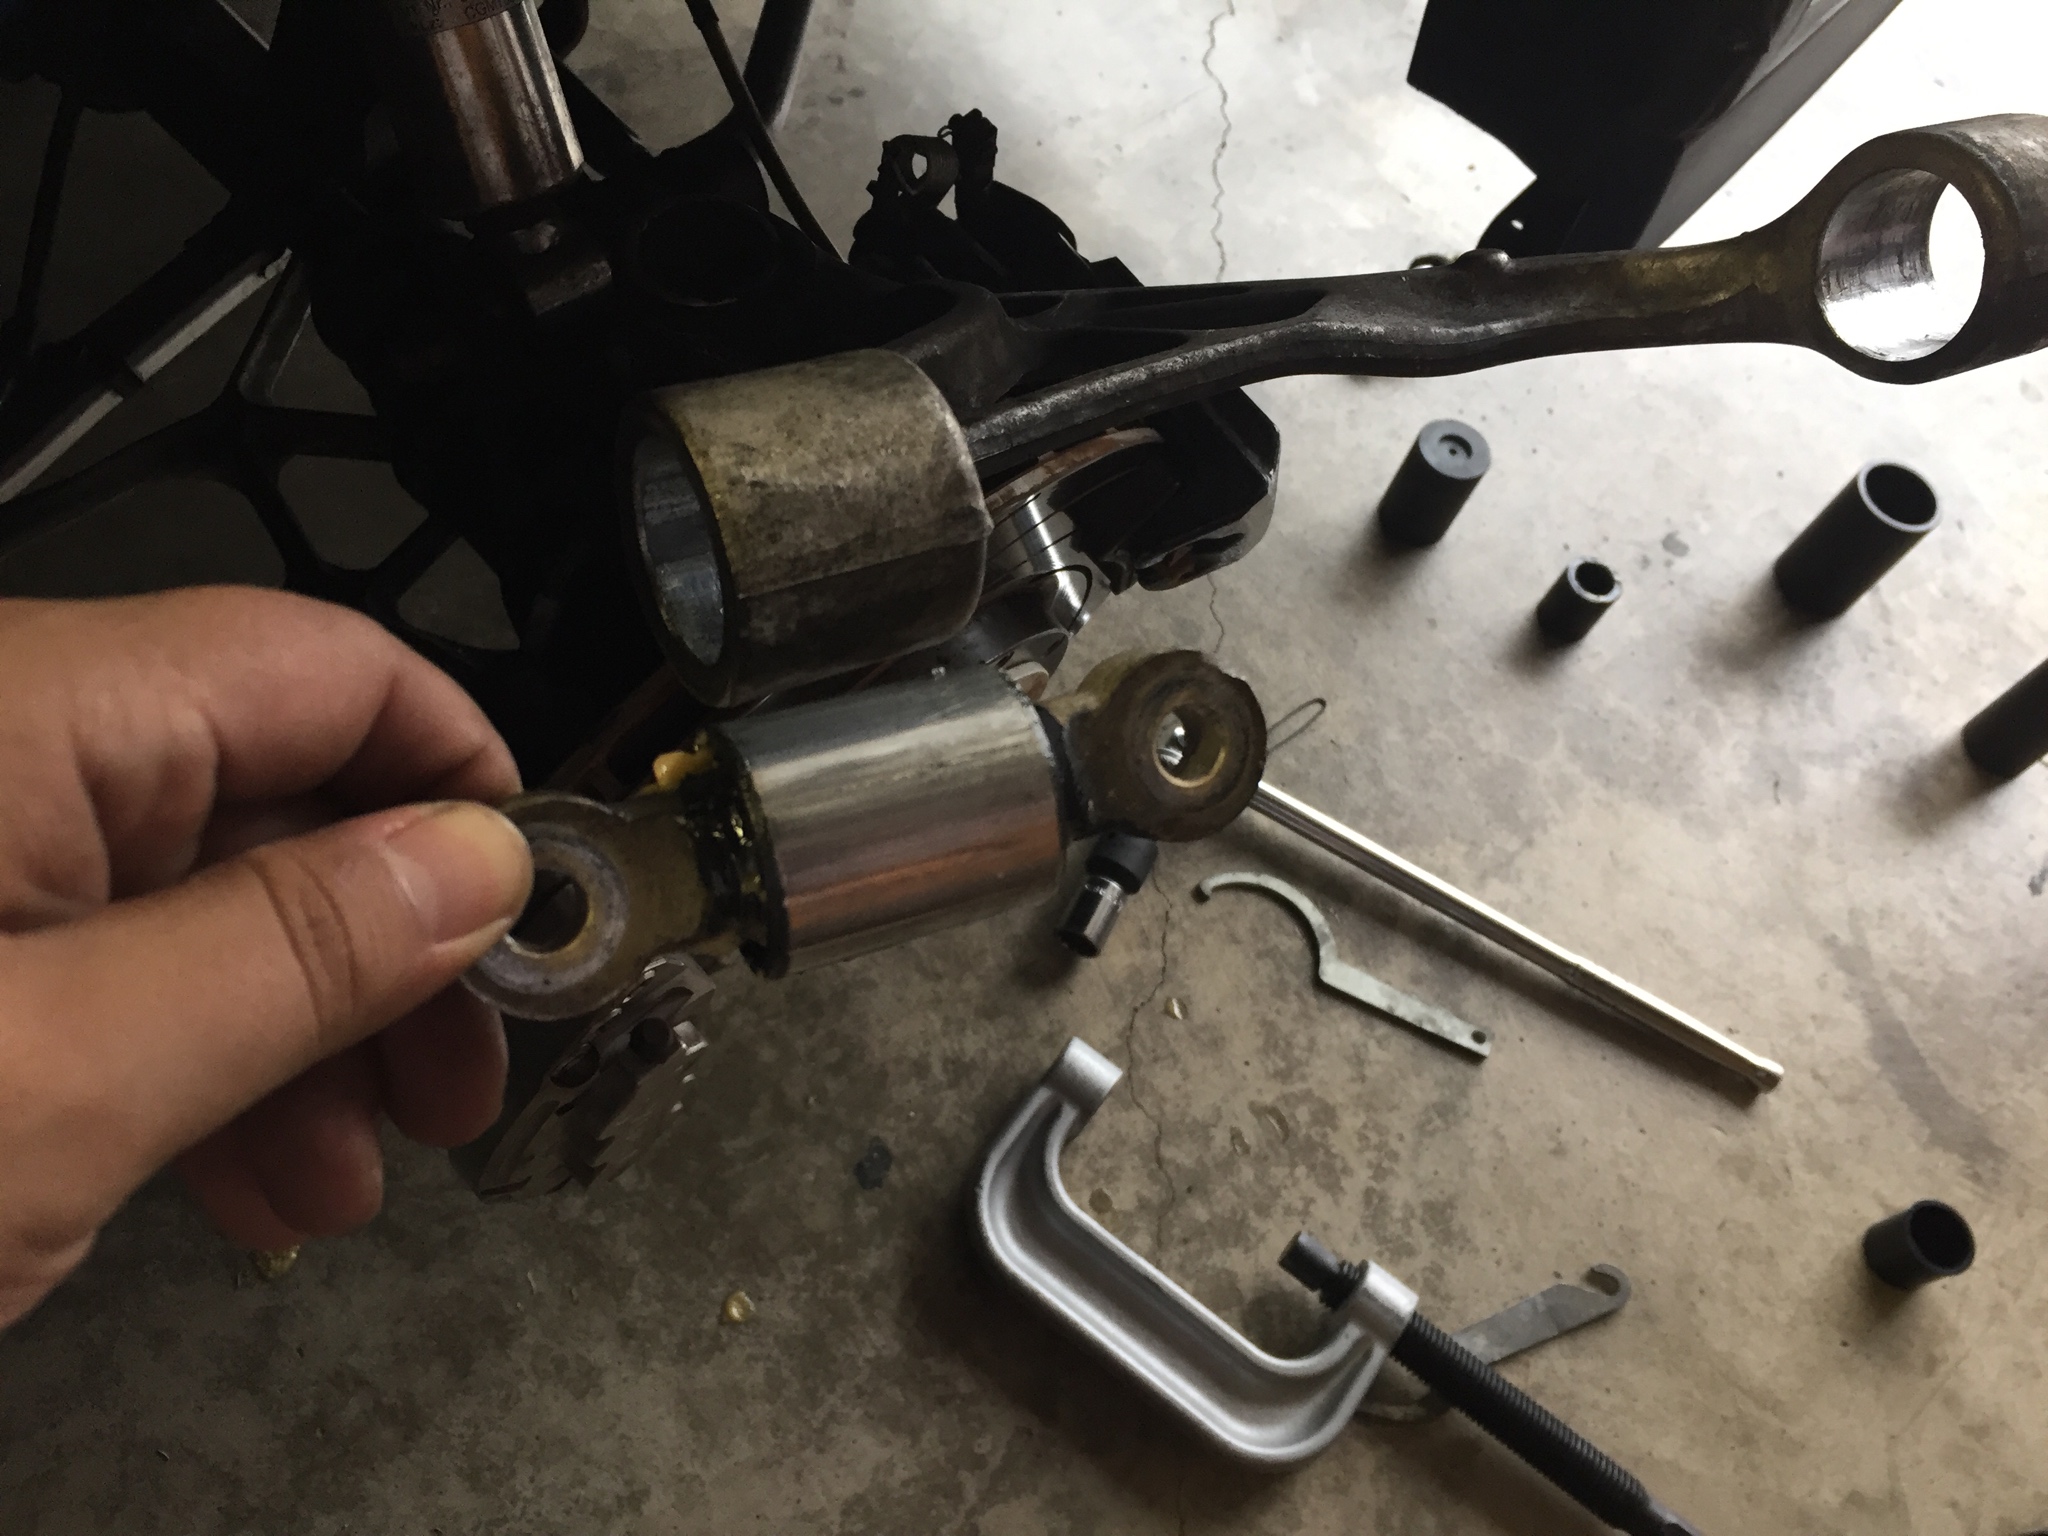
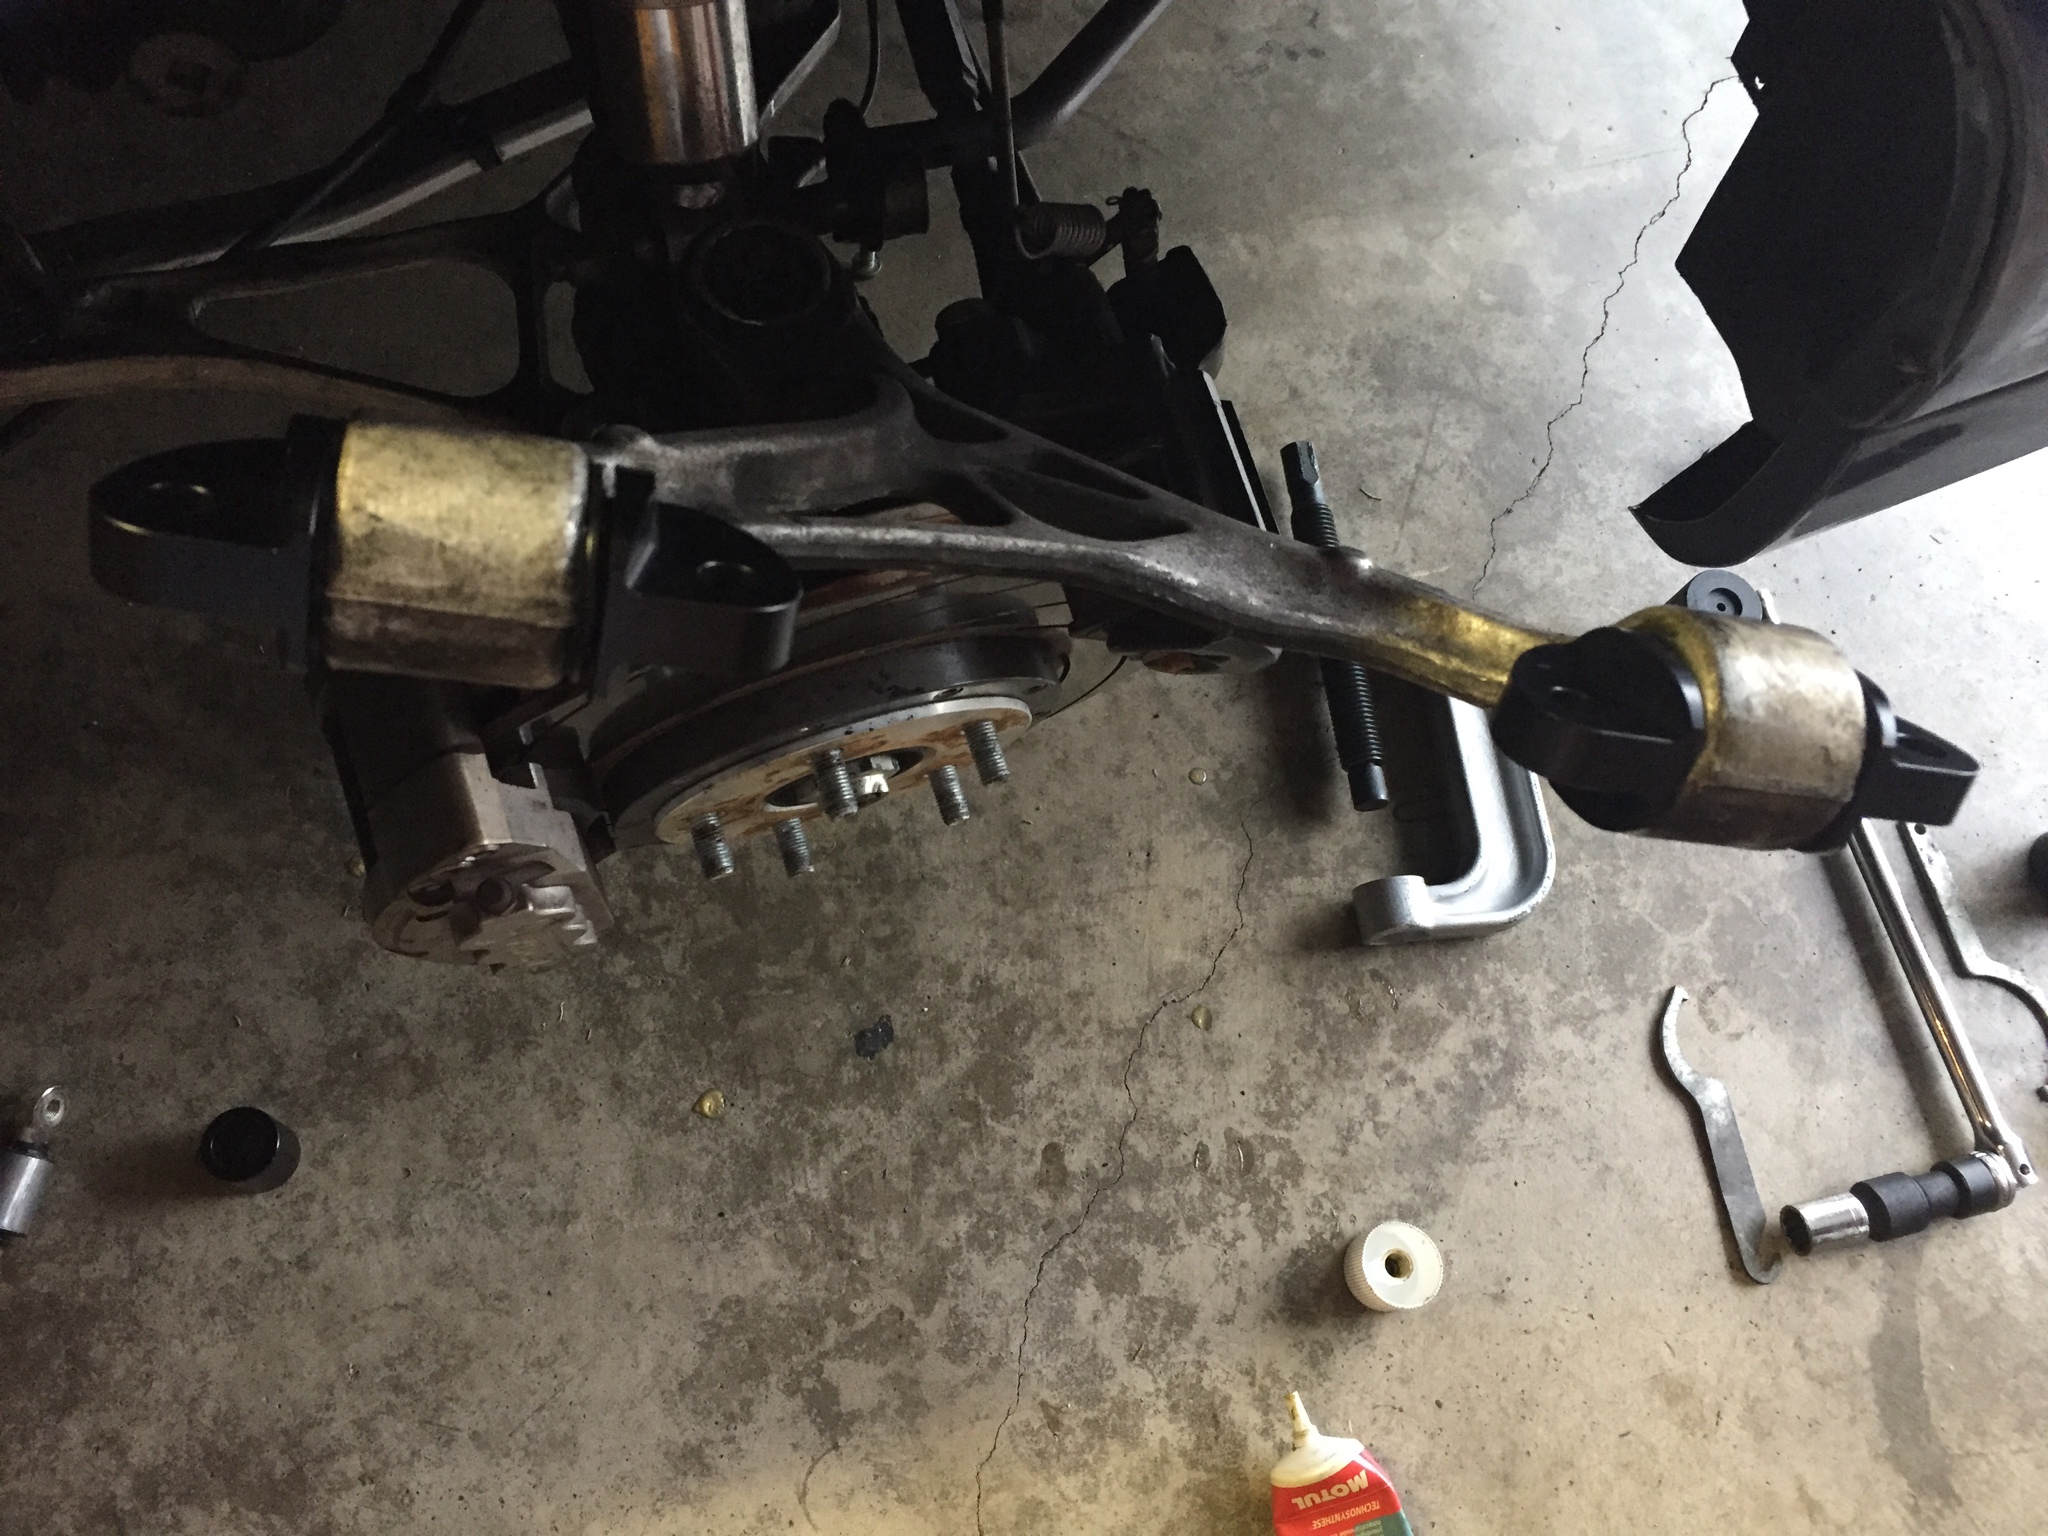
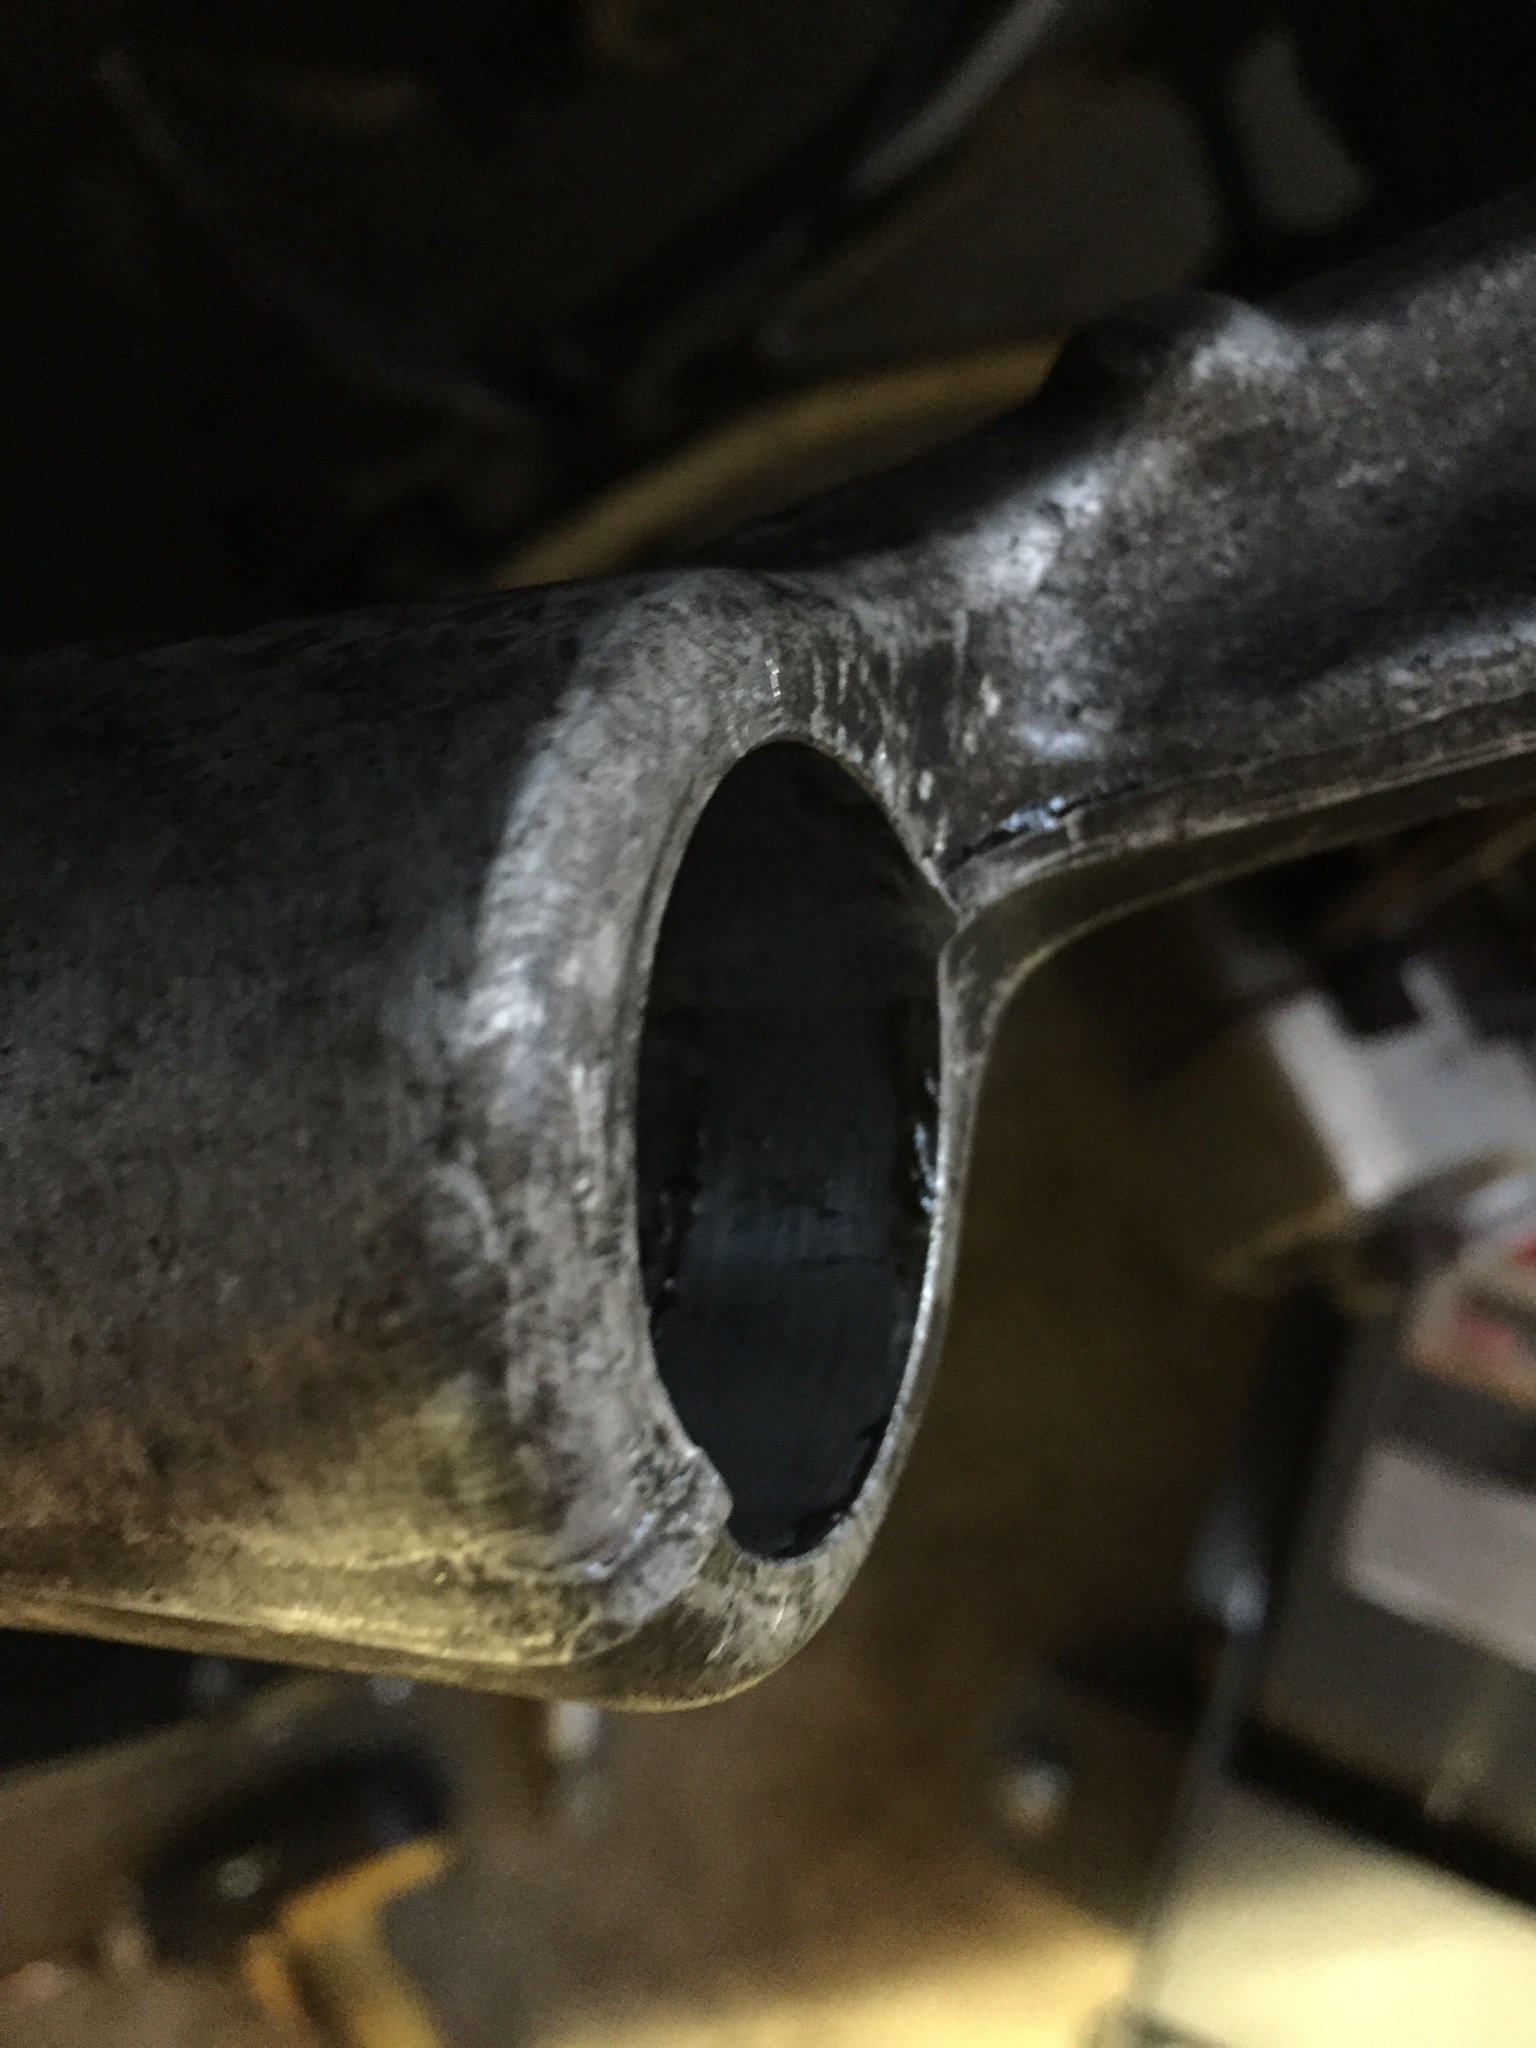
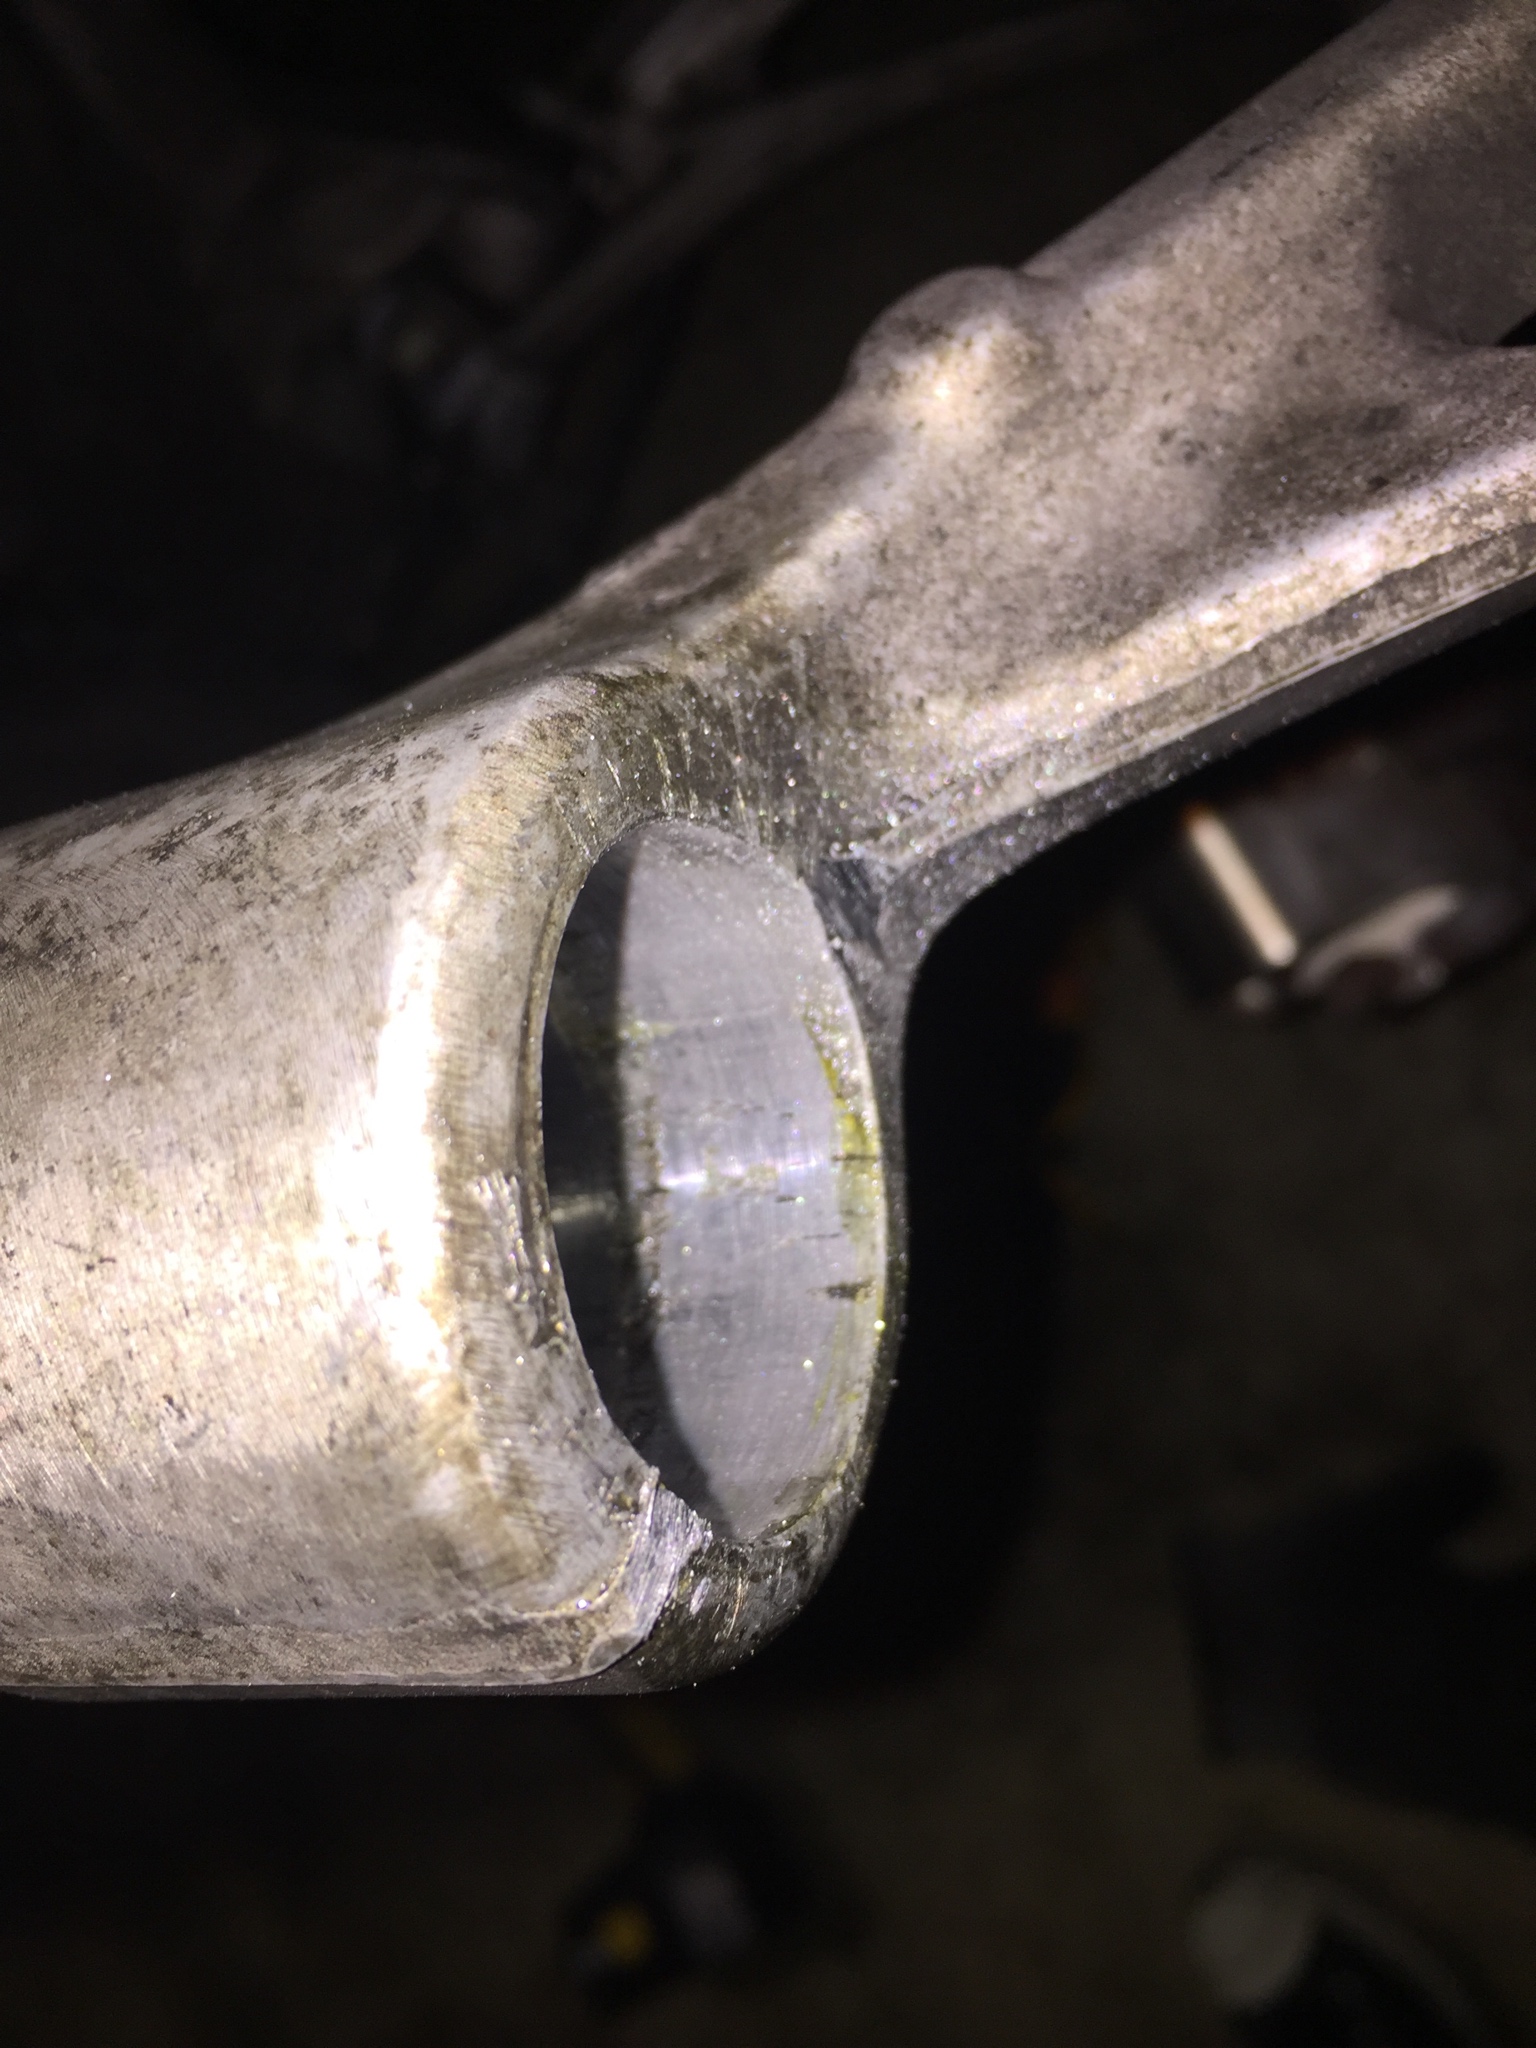
Summary: If you want to install a Thom Ayotte Camber Kit, this video will walk you through it step by step. Good luck. PM with questions.

Updated Video. Just a small spelling error. Nothing appreciable.

https://youtu.be/tS3w_mBWje0
 
Last edited:
@ 10:00 GREAT tid bit of info there.... Original Thom Ayotte kit users have noted that over time, a clunking noise becomes apparent, likely due to installation of the kit w/o having first ground down that surface flat.

@ 16:55 I FEEL YOUR PAIN!!! Had to take everything off... again lol :(

What a greatly detailed instructional video, wish I had this prior to when I tackled this late last year. Really nice of you to take the time to record this and post it up.

Another thing to note for the DIYers that may not have access to a press... Autozone (or most commercial auto parts stores) will allow you to rent out a bearing removal press kit.

I used a PowerBuilt 23 piece U-Joint press. Another cool thing about this route is that you don't need to detach the ball joint.

powerbuilt-garage-door-hardware-648617-64_1000.jpg


https://www.autozone.com/loan-a-too...int-and-u-joint-press-set-23-piece/449947_0_0

Here is how it looks in action:

Had a free Sunday yesterday so finally stopped being lazy Mexi and drove the car around for a bit before I took apart the rear upper a-arms.


Thanks to Richard Wong @
03 raw nsx for reproducing the Thom Ayotte rear camber correction kit as well as producing tools for easy removal of the oem bearings, I was able to tackle the driver side.

h1v4NTq.jpg


TQl20k4.jpg


VYIJra4.jpg


Kit installed:

sabH09m.jpg


Unfortunately, due to the nature of the welds on only one side, I was forced to remove the camber correction bearings and address the welds.


5U9SEWp.jpg


He3D2Gr.jpg


Before and after. As you can see, a tad bit of grinding had to be done for the bearing to sit flush against it #salvagetitle. This is likely the reason previous owners of this kit had complained that over time, there was “noise” coming from the rear upper arms. Passenger side will be done next weekend!
 
Thanks. Some good points. I’m not sure what would suck more:
A) Removing the ball joint
B) trying to press bearings out or in while on the car.

Next time the Honda tools for me. Of course, I’m not looking for a next time.


Sent from my iPhone using Tapatalk
 
where is this kit available for purchase?

Unfortunately, only available used or NOS (New Old Stock). Thom originally manufactured many years ago. Later Rich worked with Thom to relaunch a run which was years ago as well. As of now, I don’t think anyone has plans to sell new anytime soon. Rich had a set I installed which was NOS.

Check Prime market place an maybe a wanted post. Rich might have another set.


Sent from my iPhone using Tapatalk

Thanks for the heads up. I browsed and didn't find much
 
Back
Top