• Protip: Profile posts are public! Use Conversations to message other members privately. Everyone can see the content of a profile post.

***STICKY*** - Timing Belt & Transmission Rebuild Thread (2005 NSX 6MT)

Joined
4 March 2008
Messages
759
Location
Edmonton, Canada
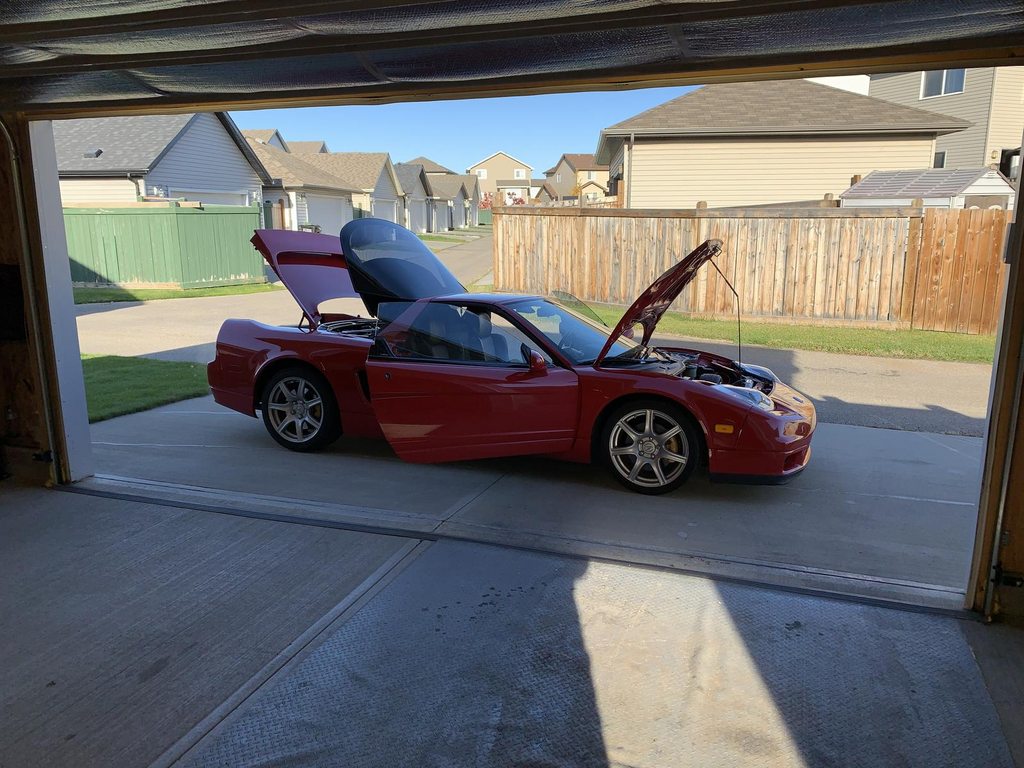
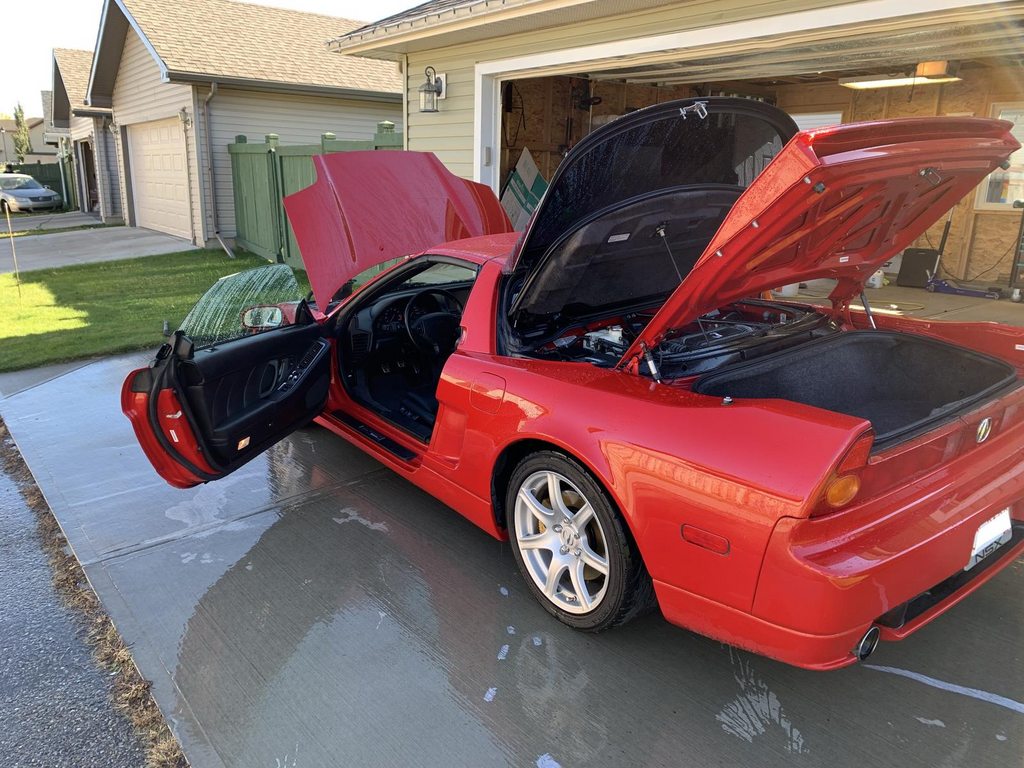
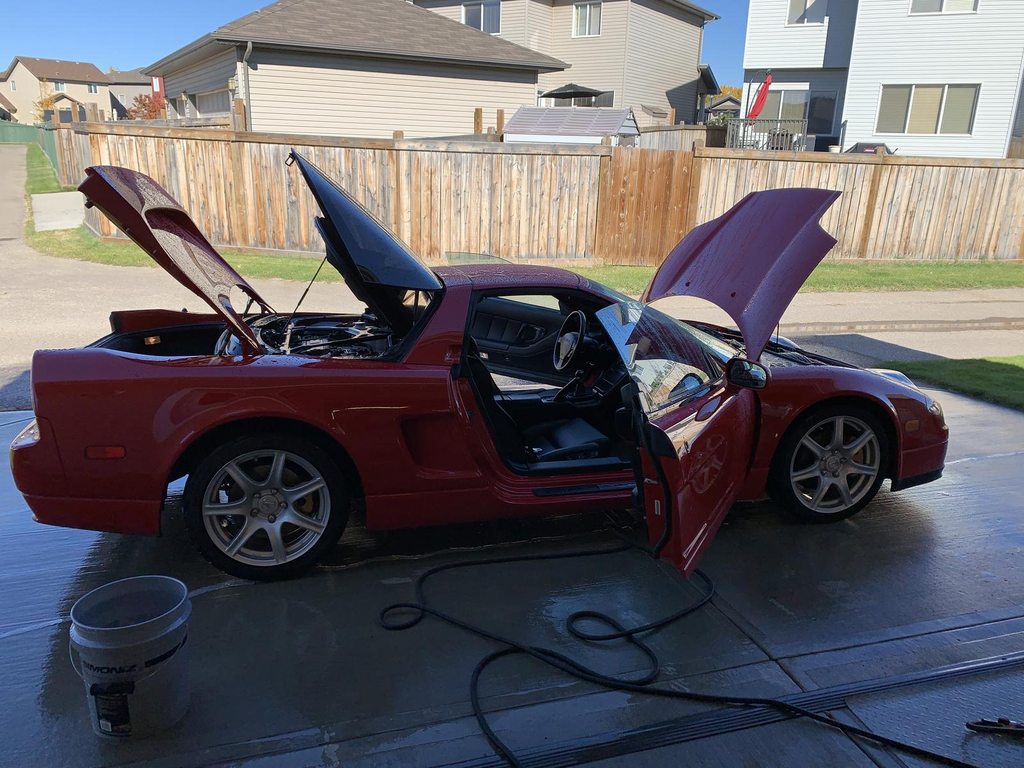
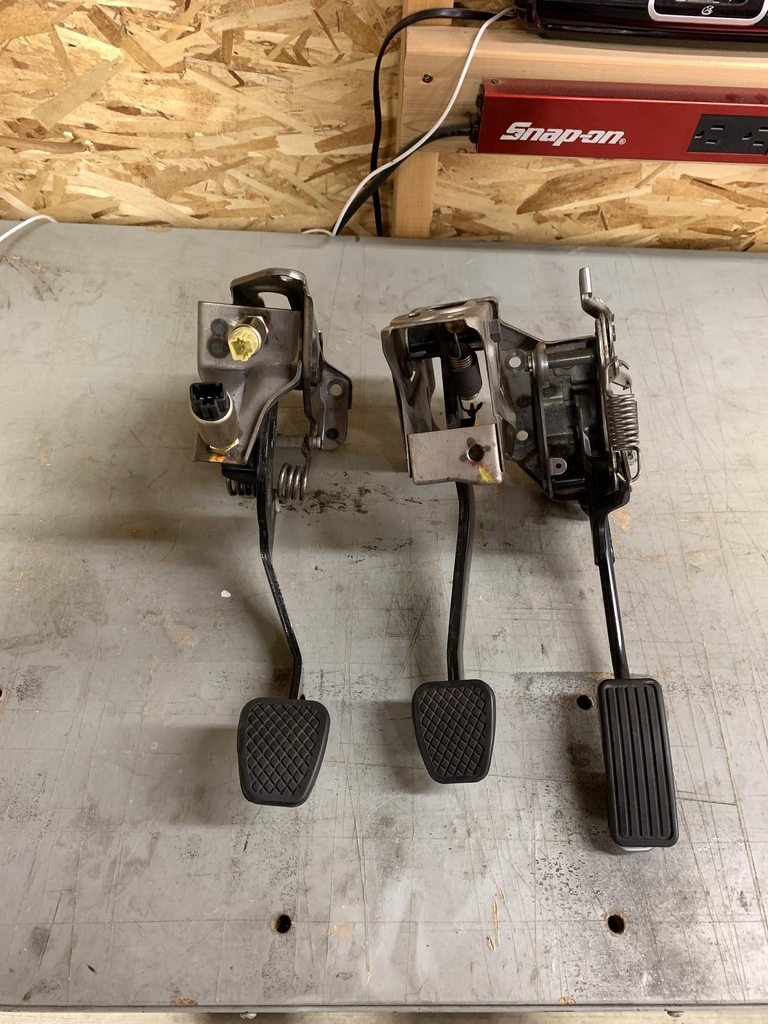
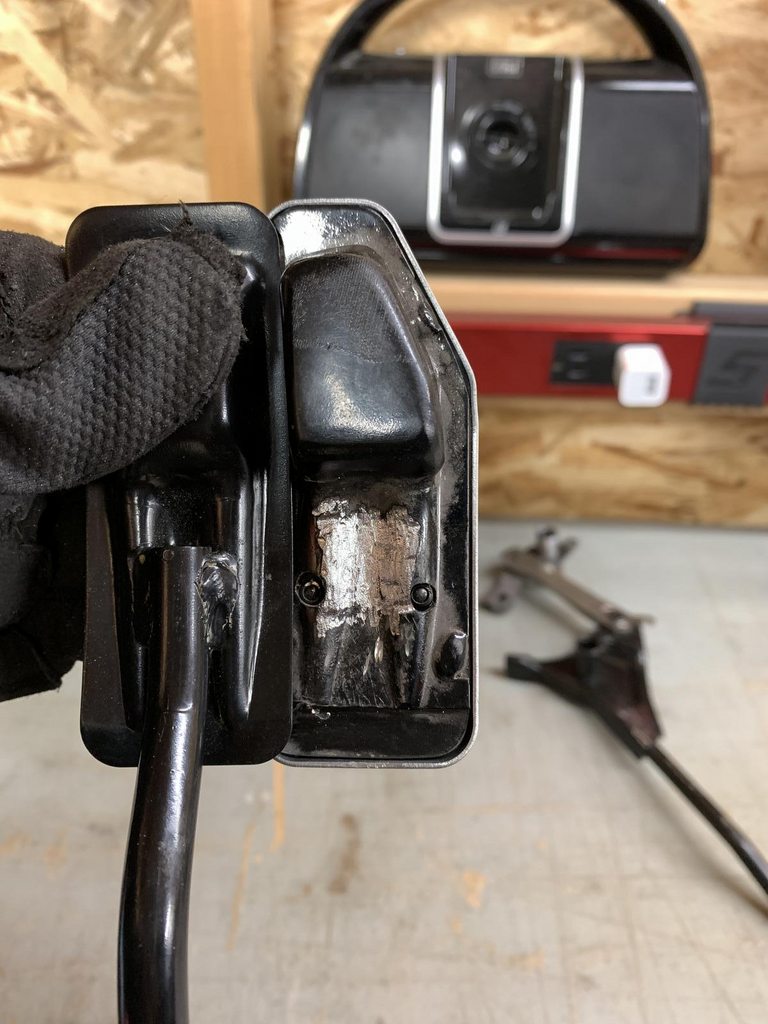
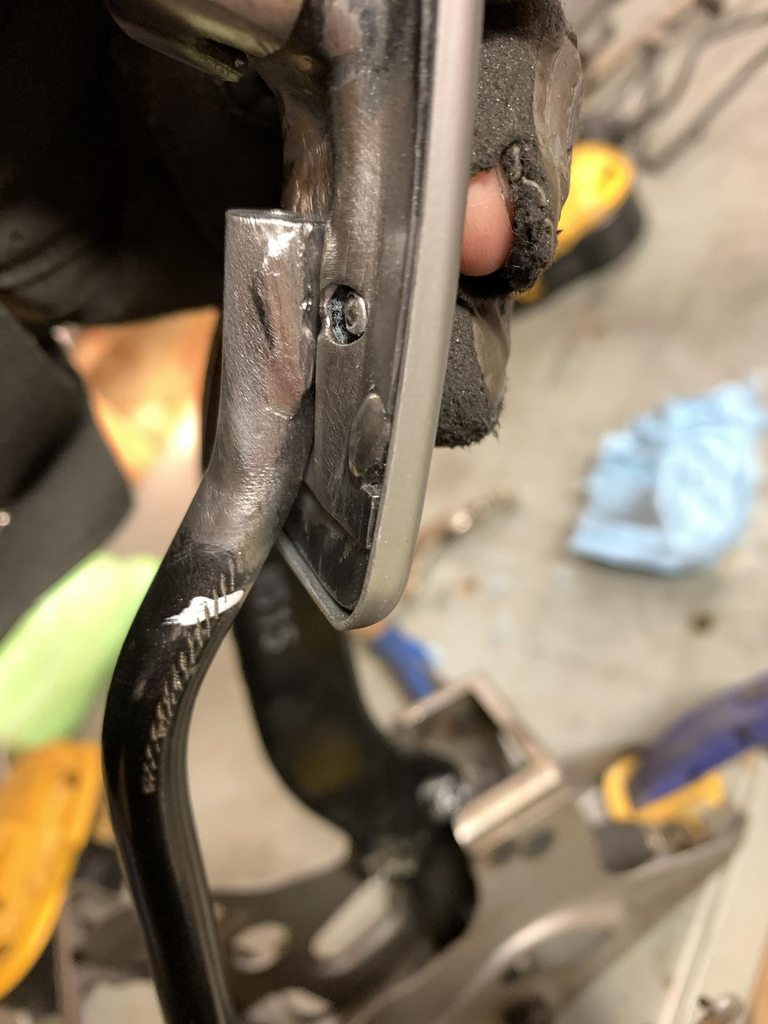
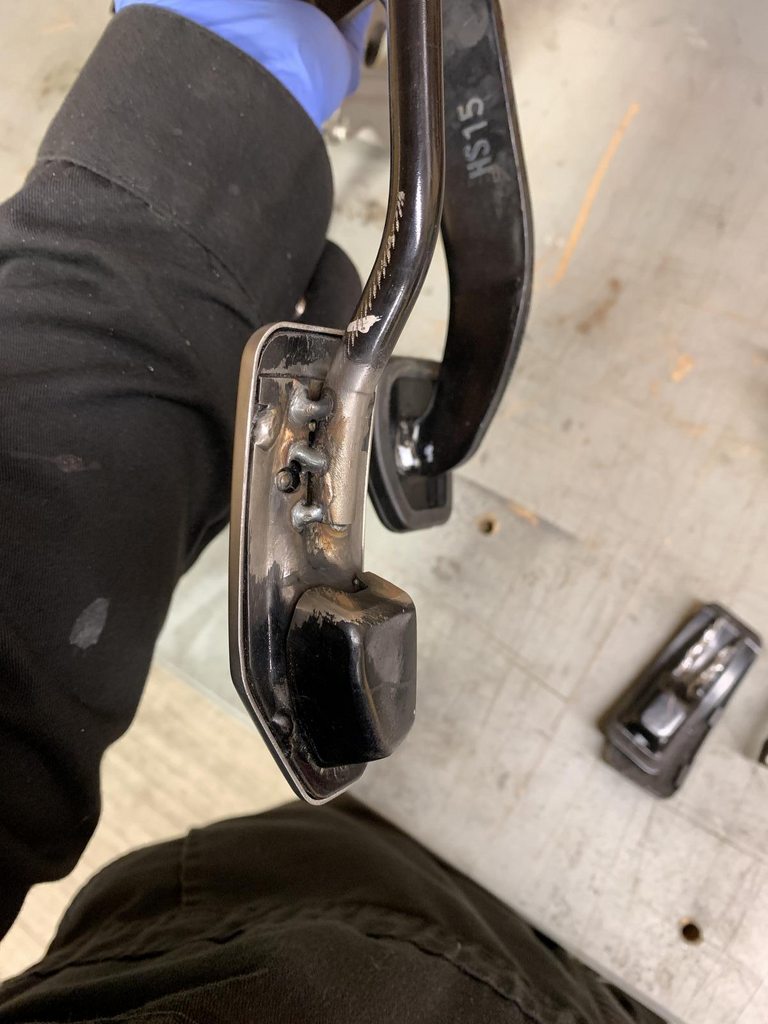
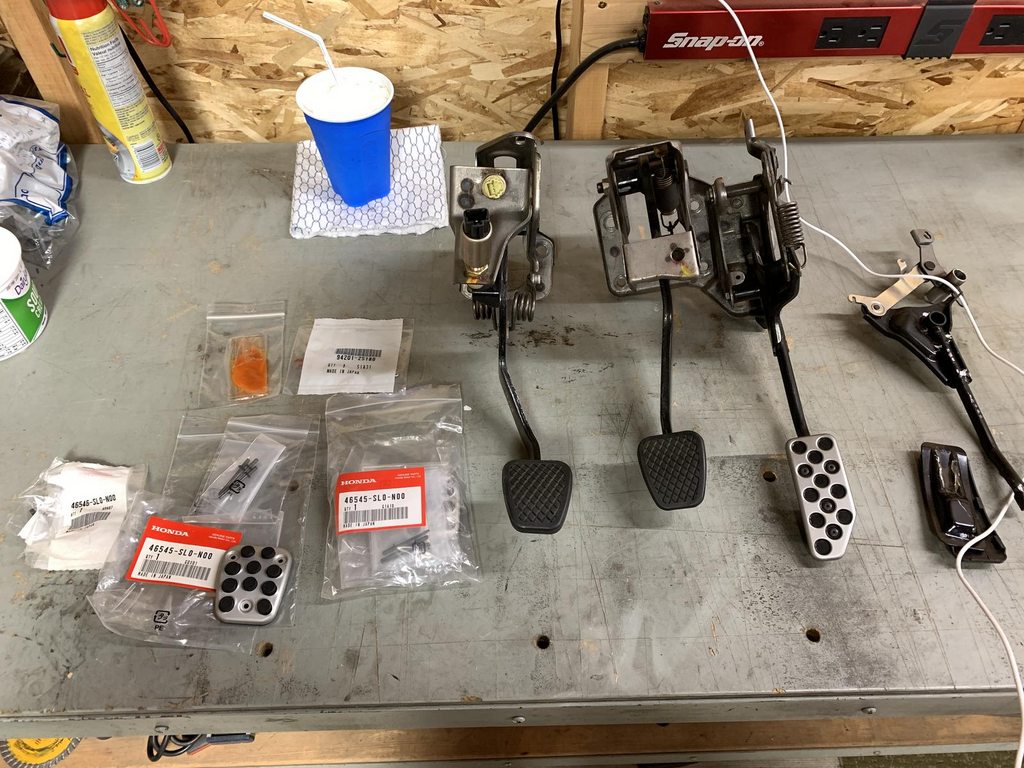
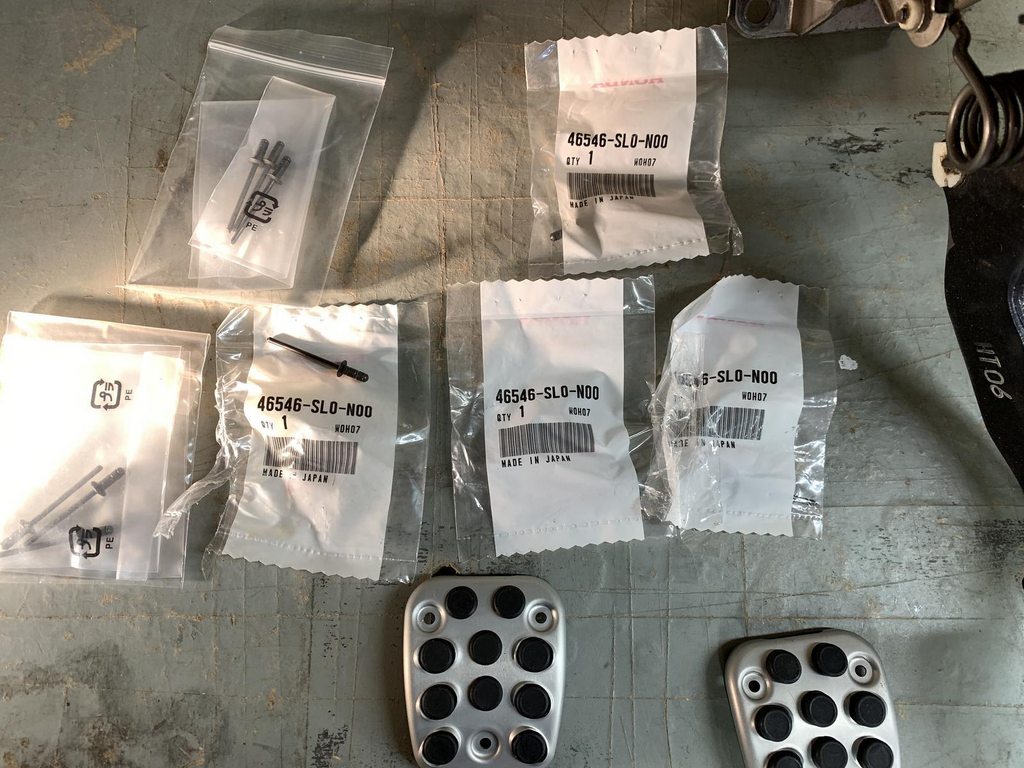
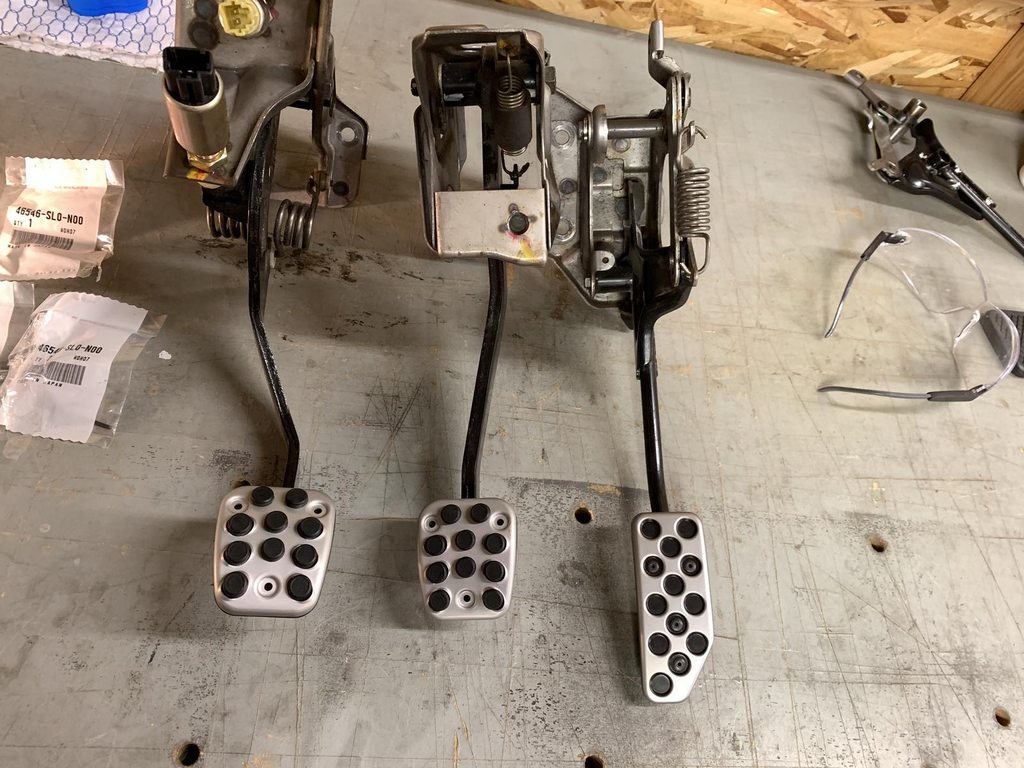
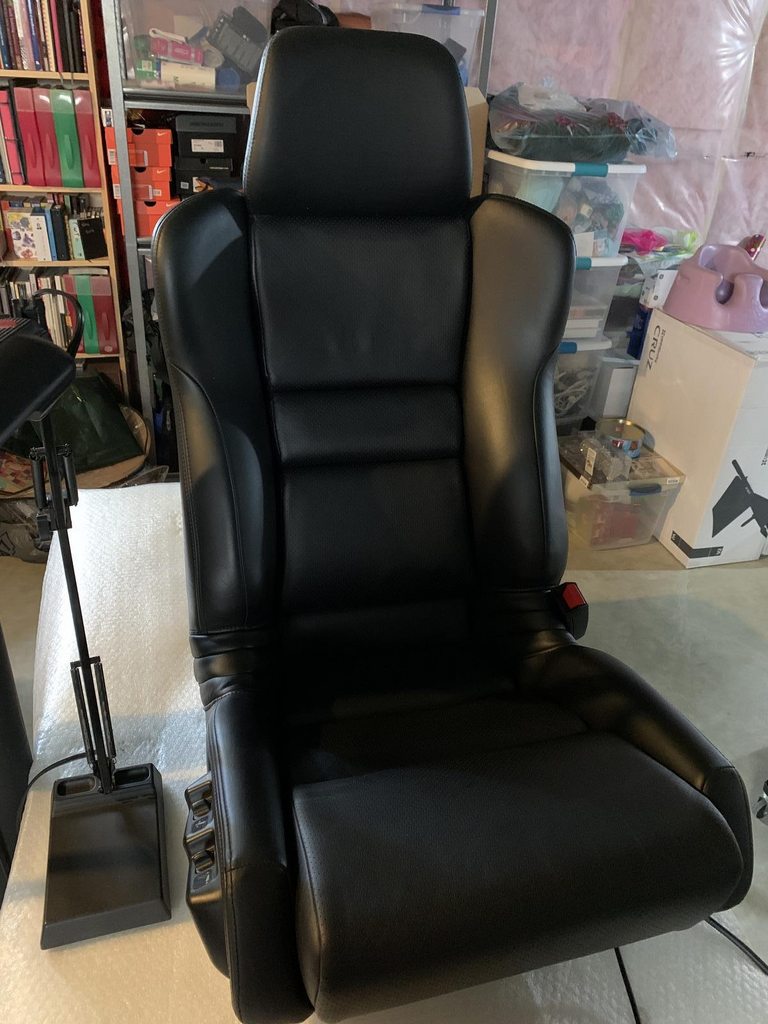
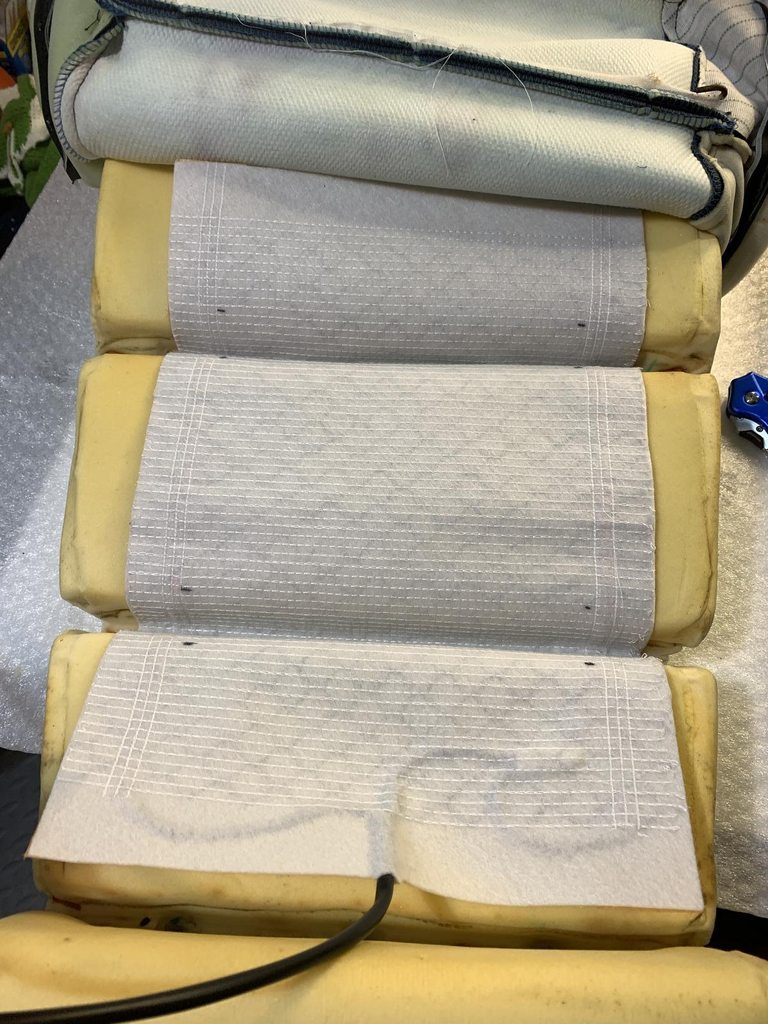
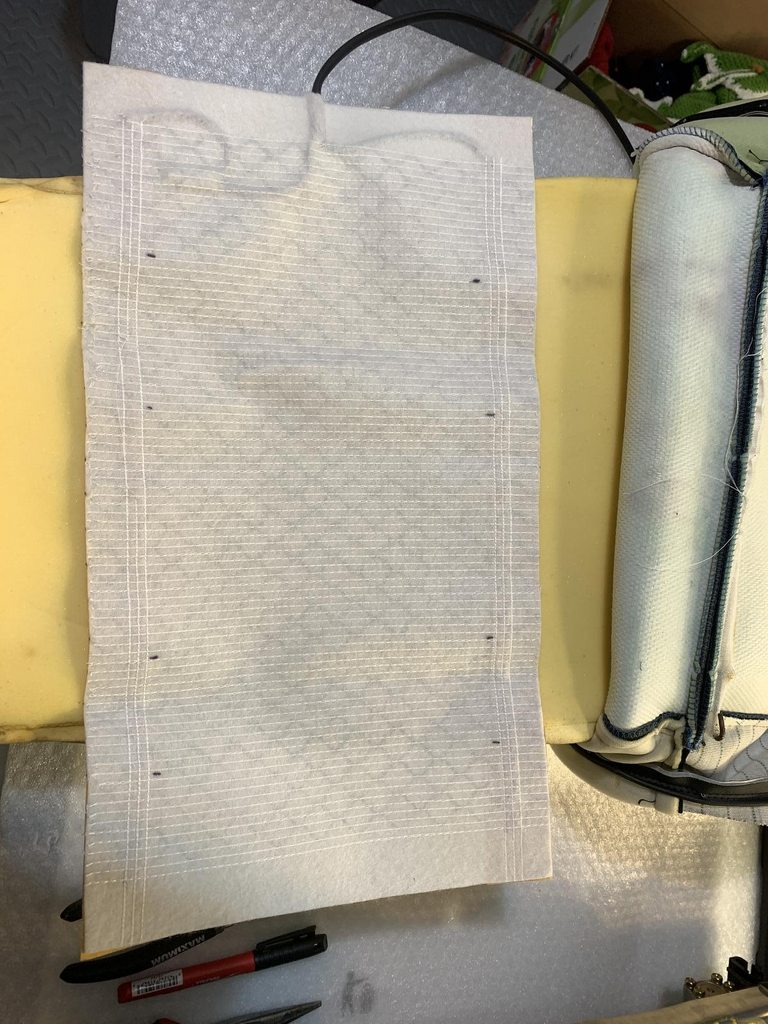
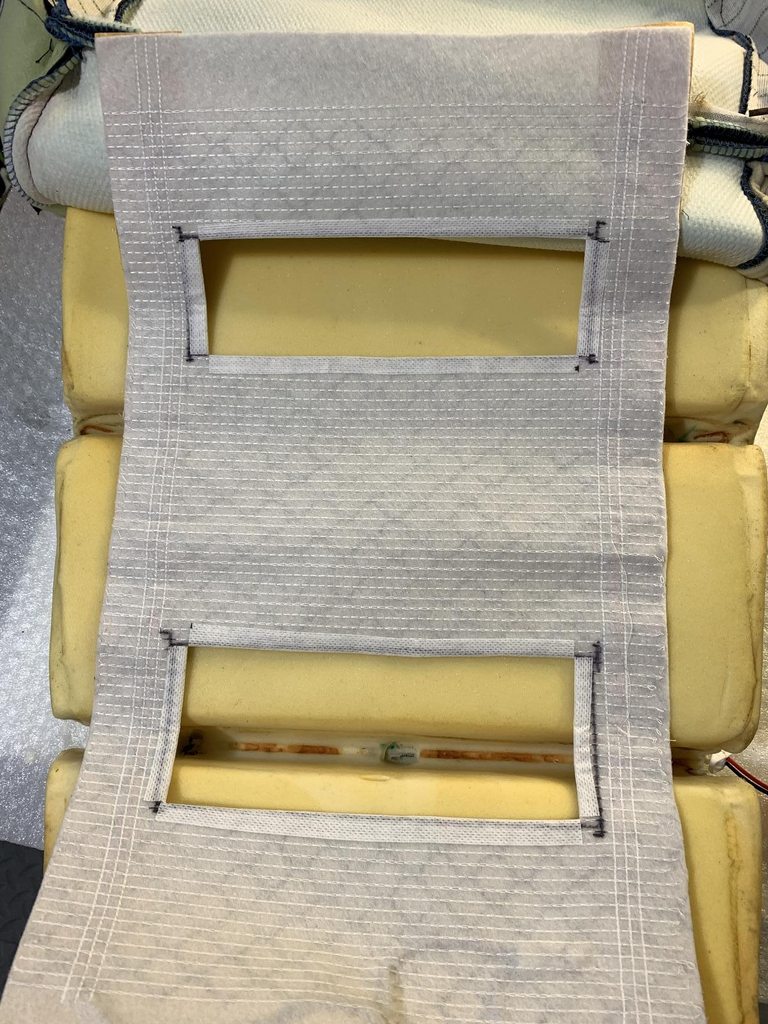
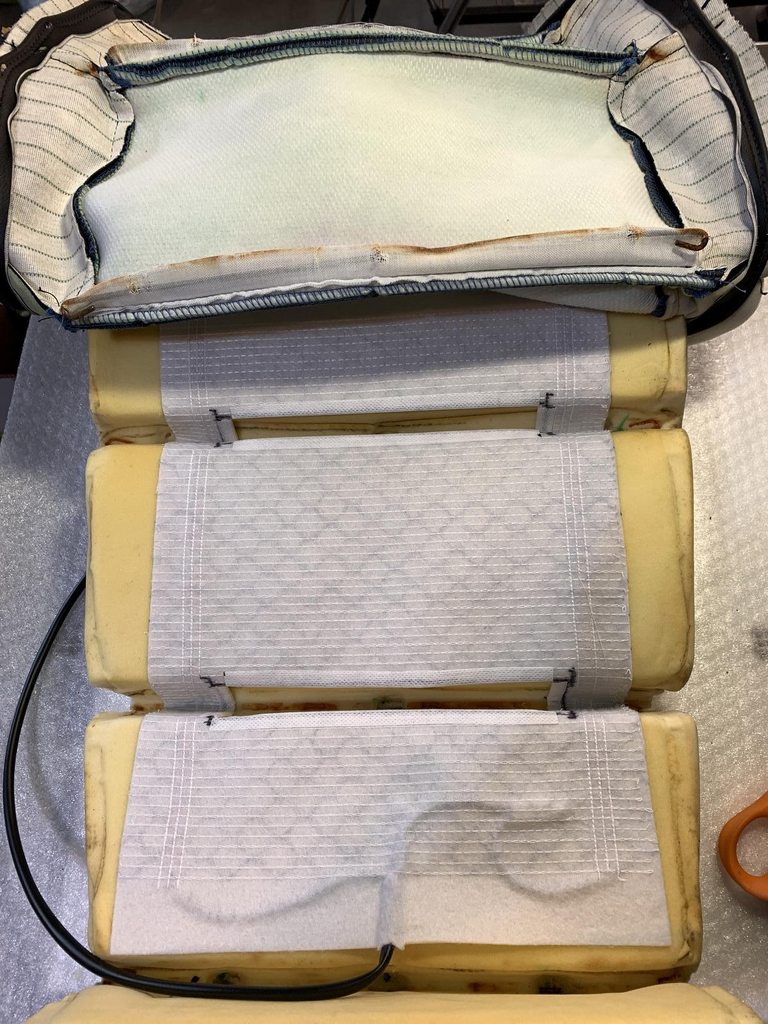
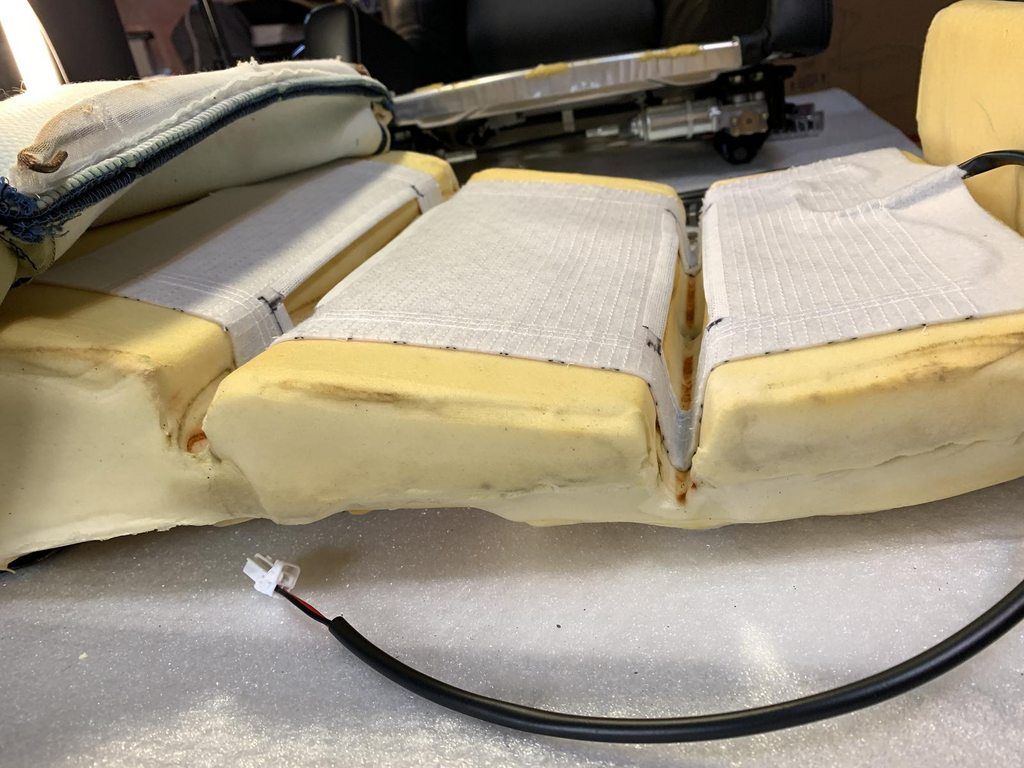
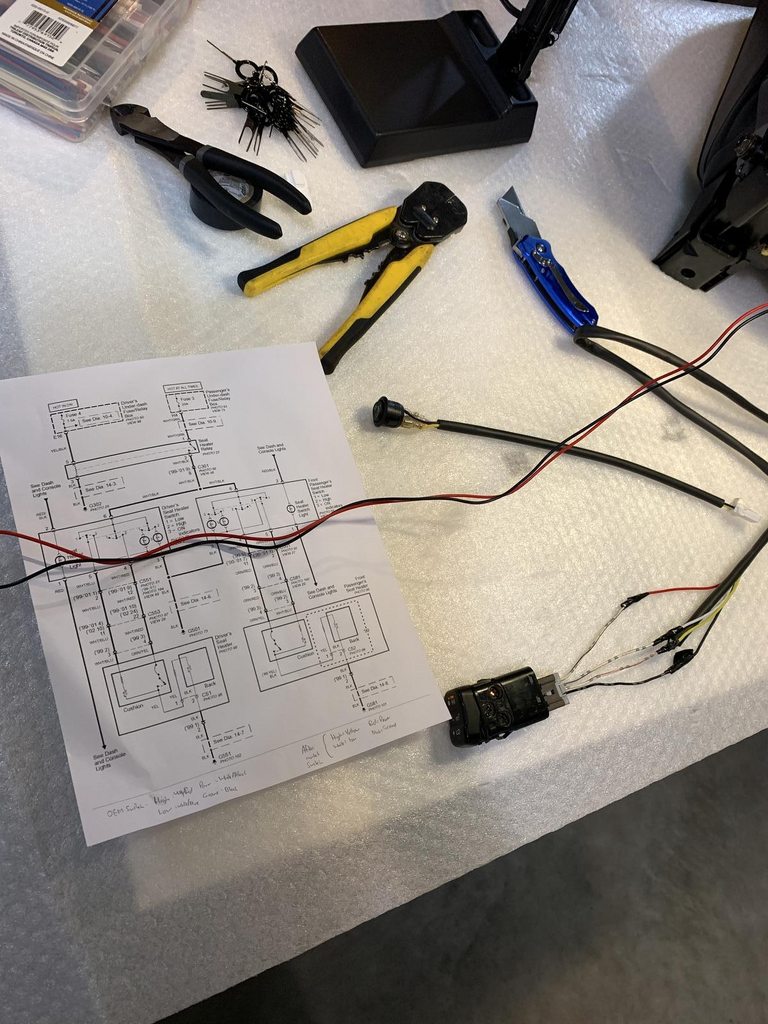
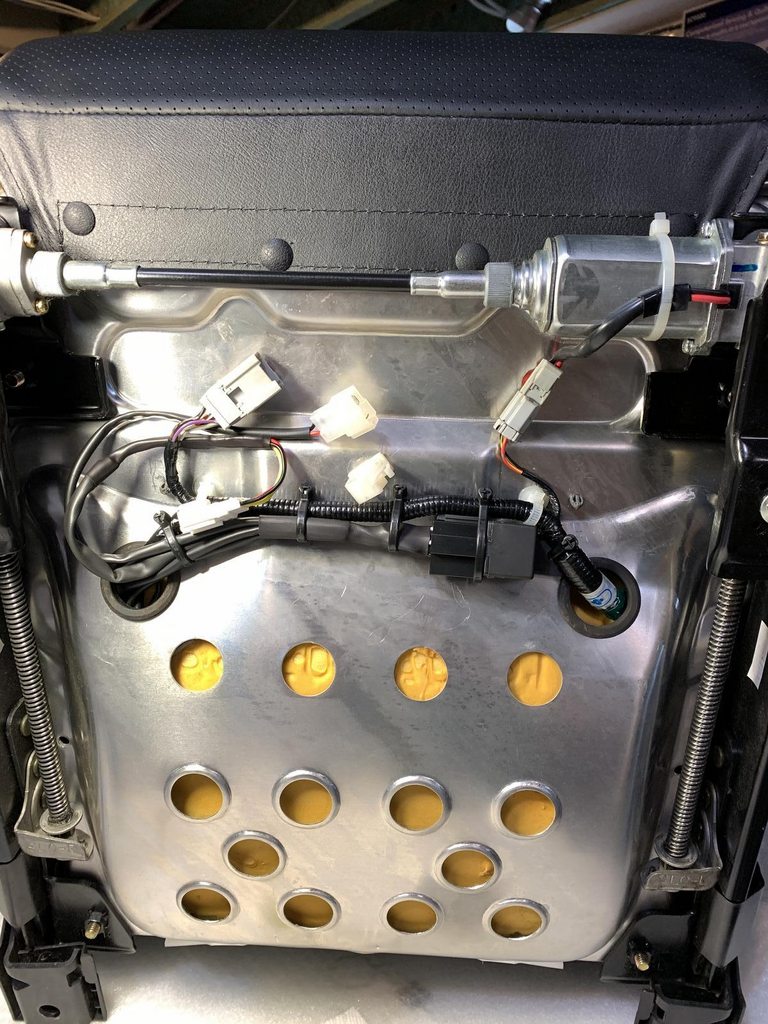
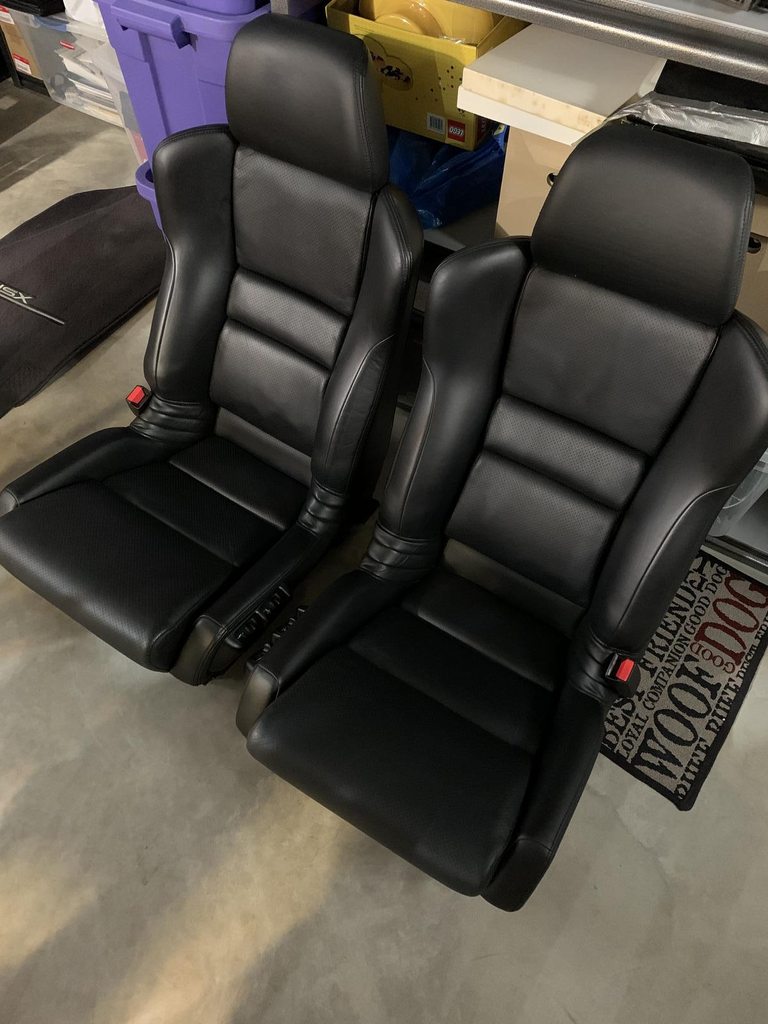
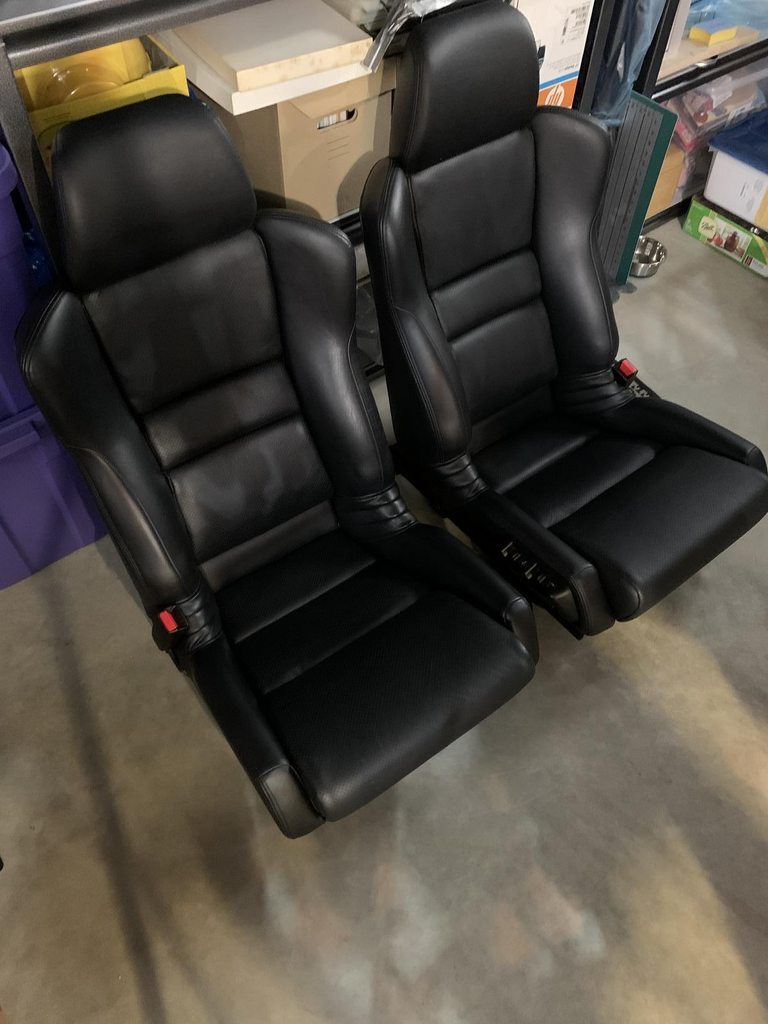
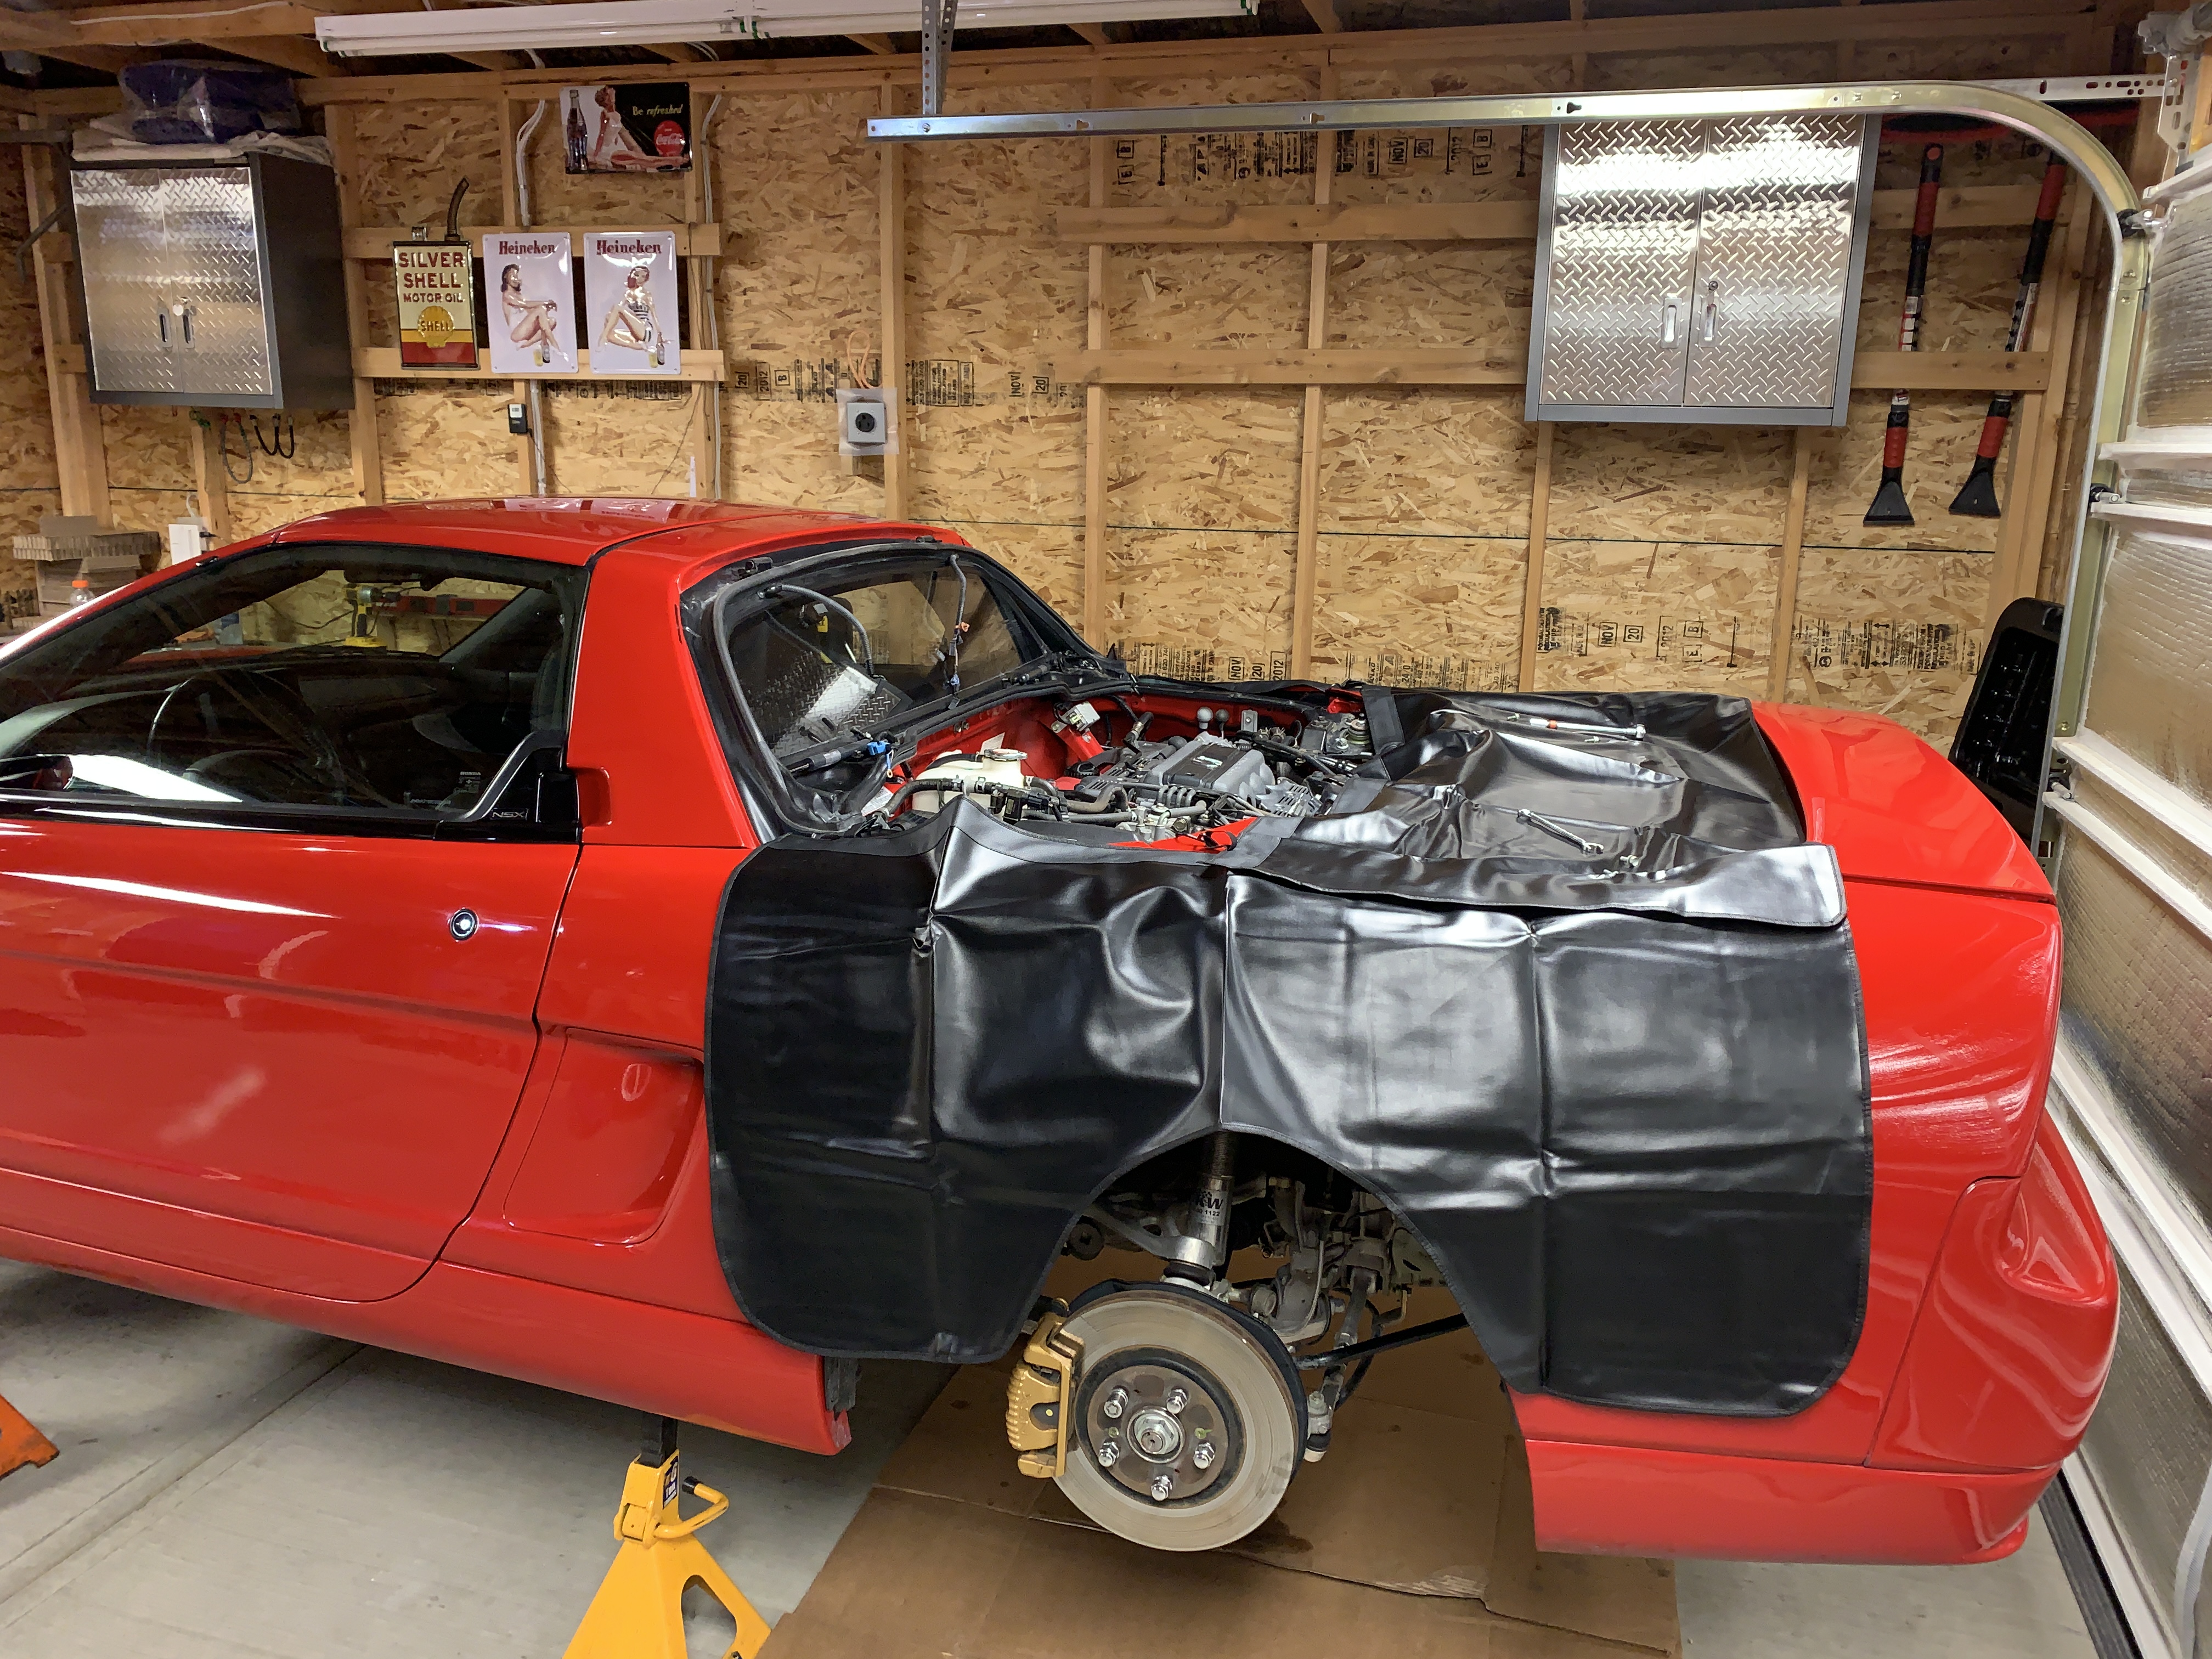
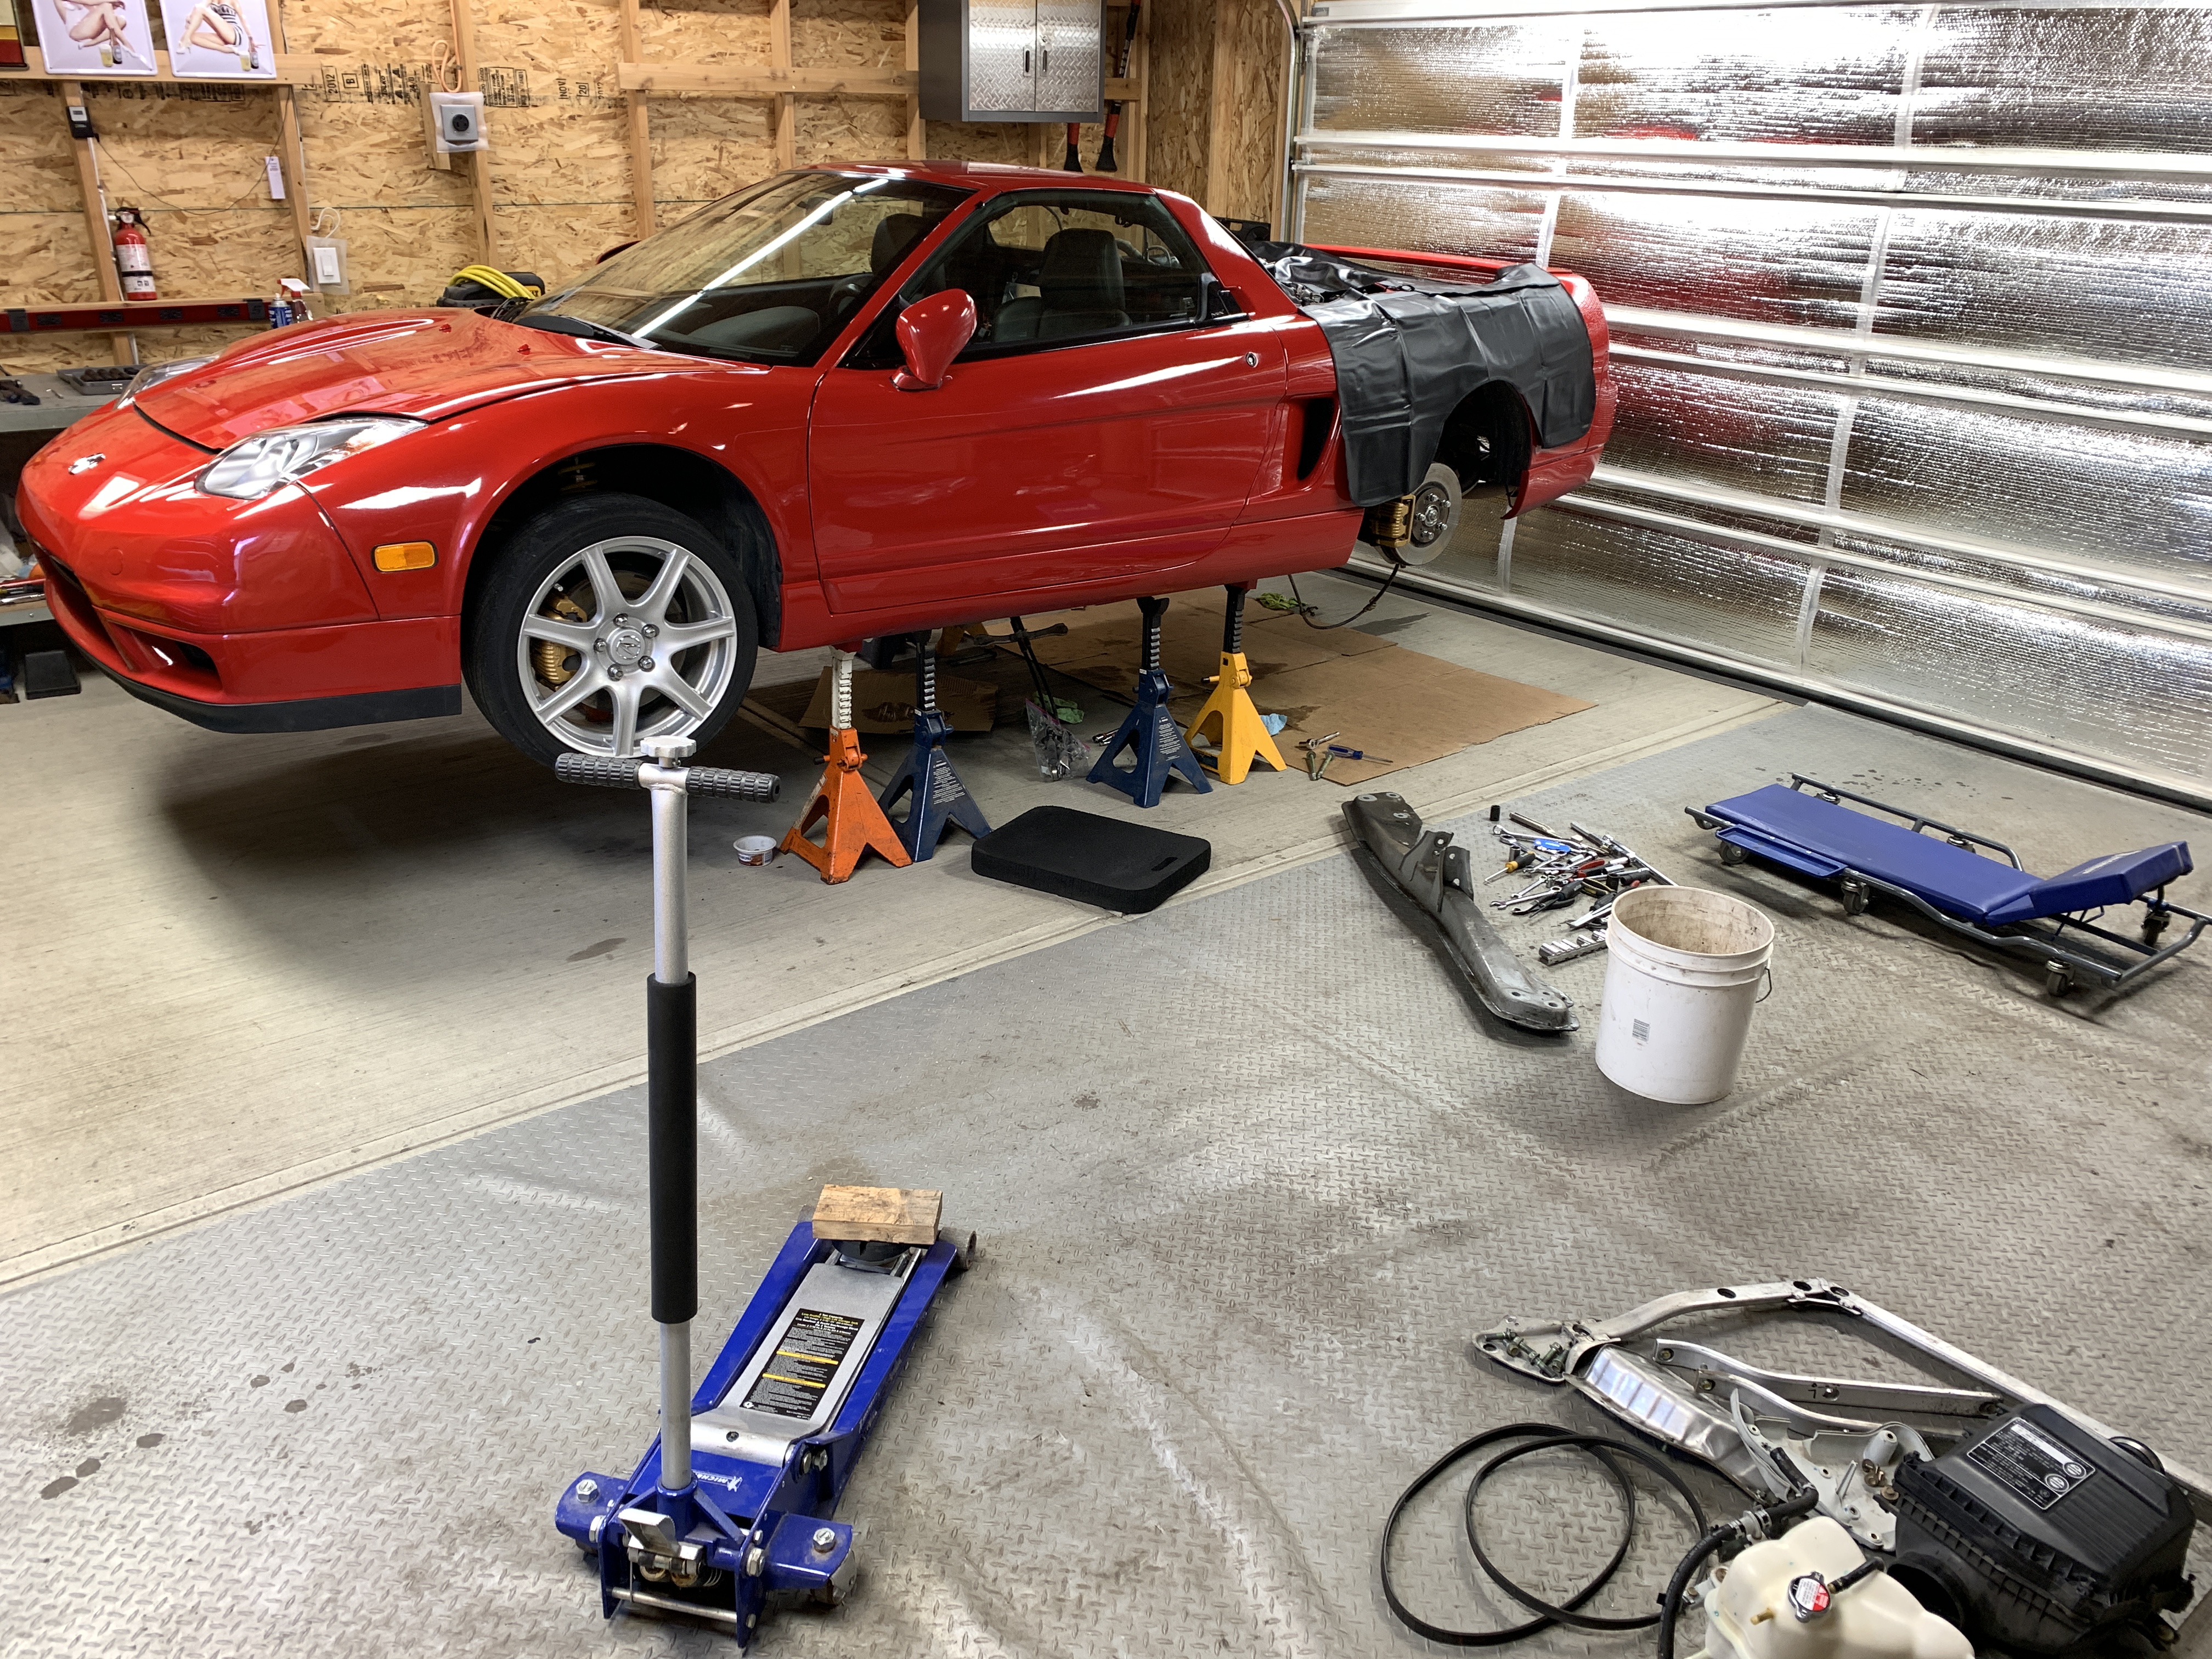
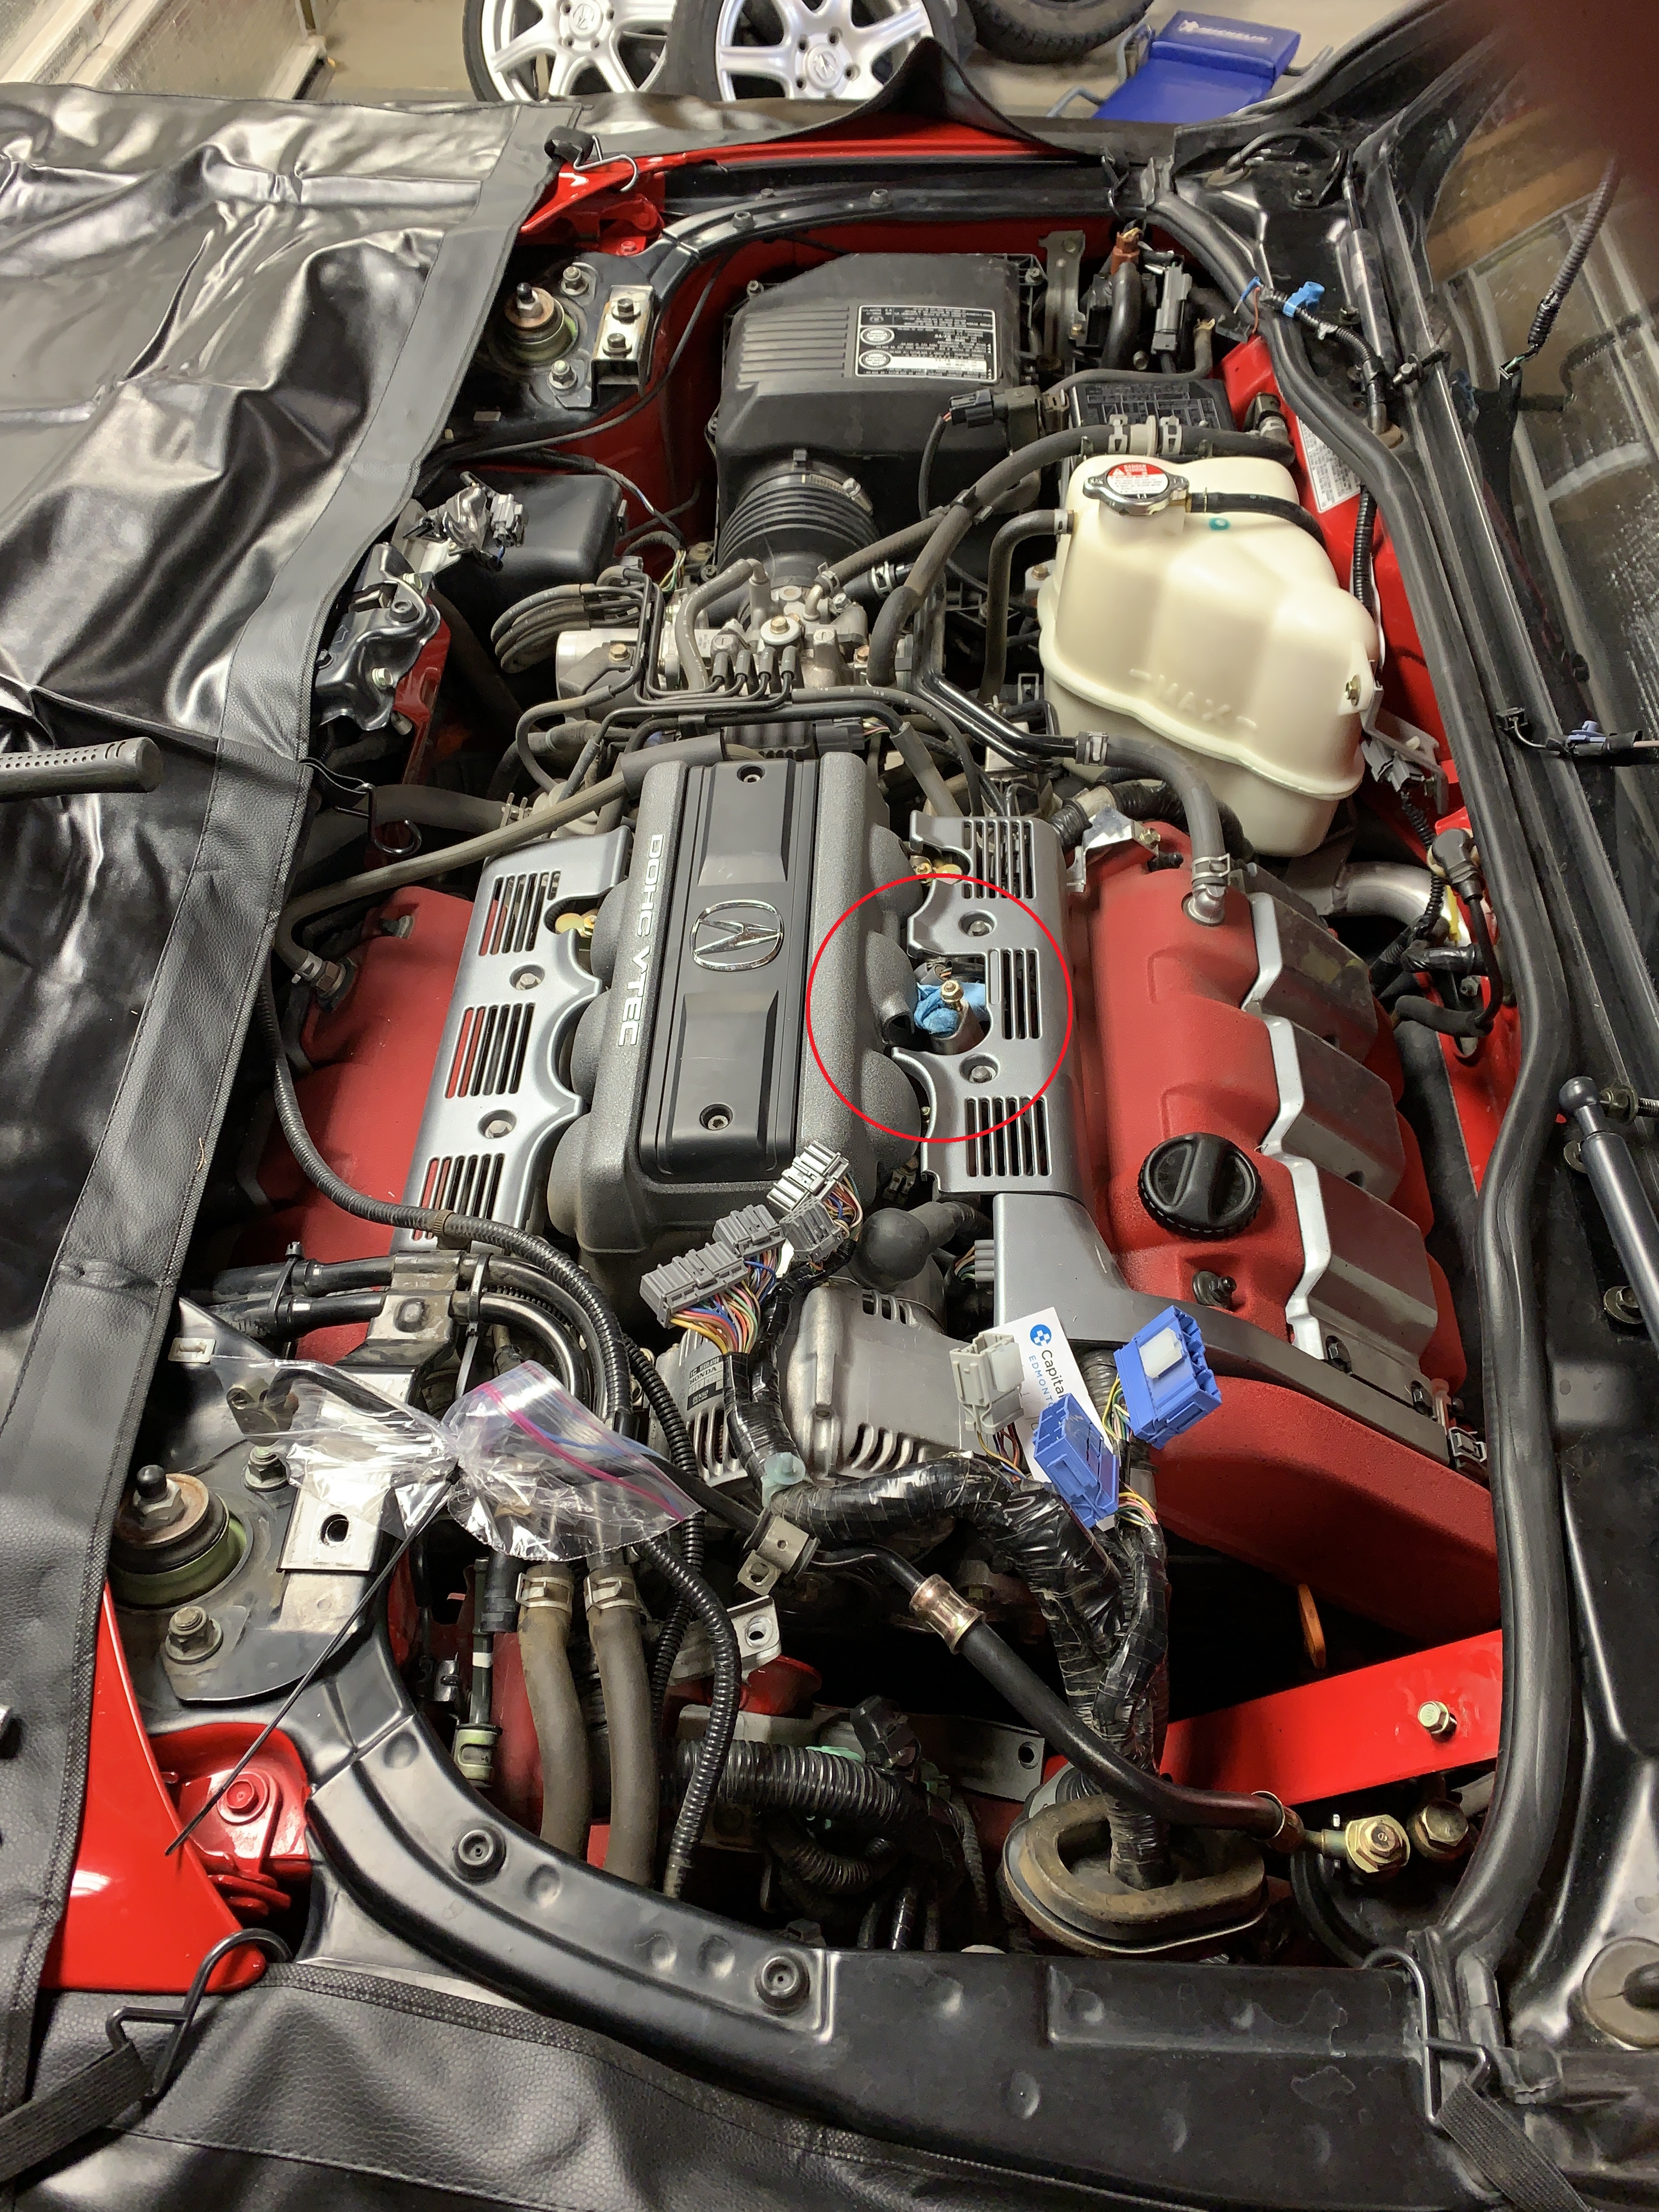
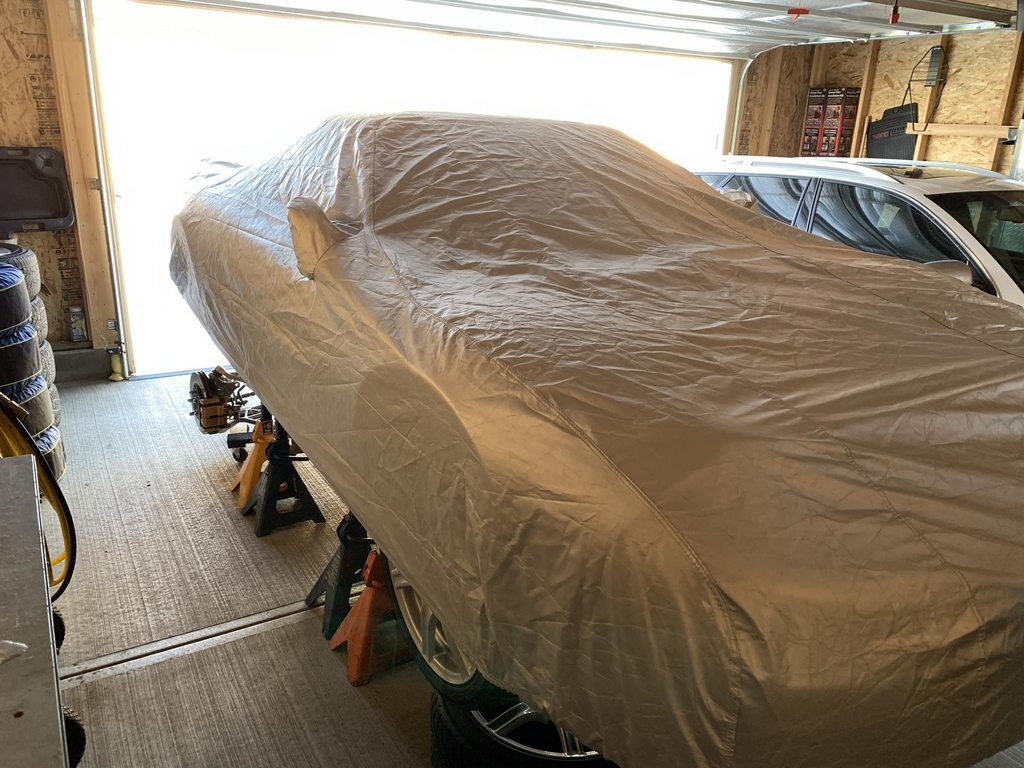
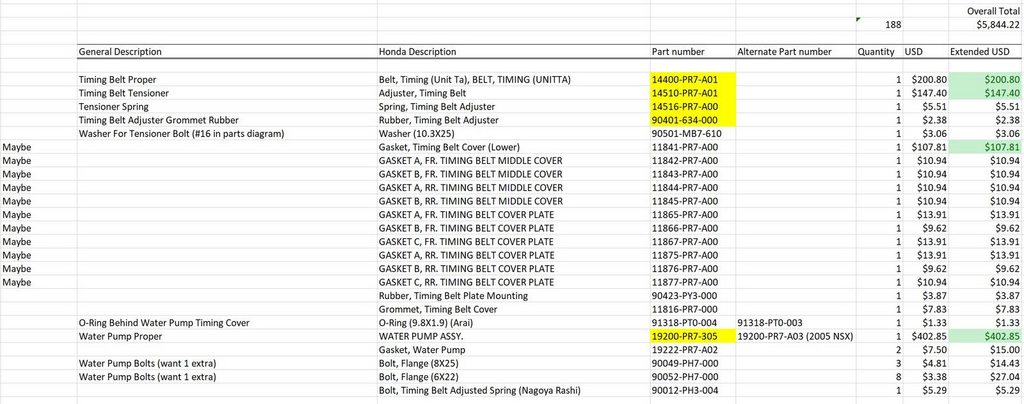
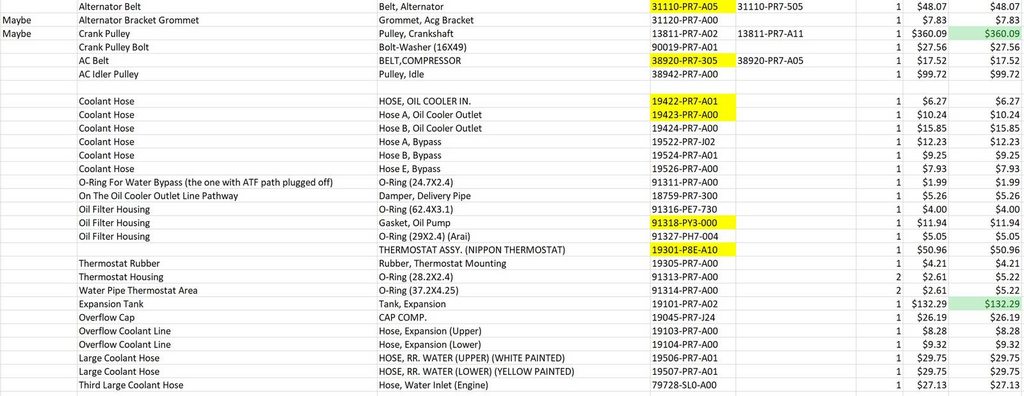
I’m preparing to do my timing belt and water pump. I’m way overdue on the belt as the service life is 7 years and mine is now 16 years old (nearly 17). I procrastinated quite a bit over the past few years avoiding the timing belt and did fun mods instead like NSX-R pedals and heated seats (I had the switches in a while ago but not the elements). I’ll post a few pictures of those but I’m mainly interested in your opinion on my parts list and if I missed anything timing belt/water pump related.

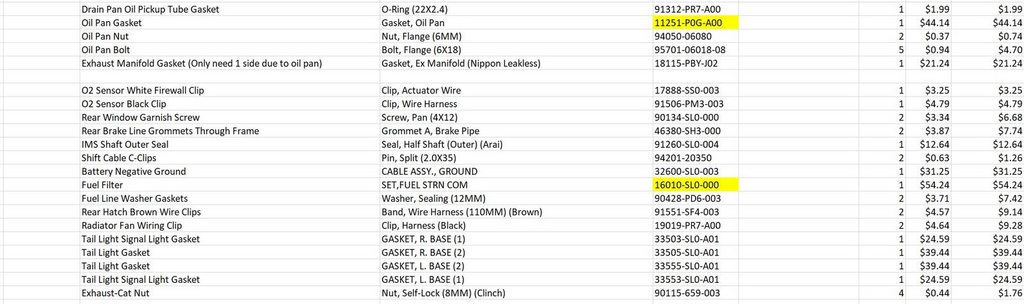
I’m planning to change everything that I see that’s easy to do while the engine is out (VTEC gaskets, coolant hoses, install an oil pan baffle, etc.). Some of the parts broke when I took them off so that’s why there are random little things like oxygen sensor clips and wire harness clips on the list. Then just some refresh items like rear taillight gaskets and new battery cable.

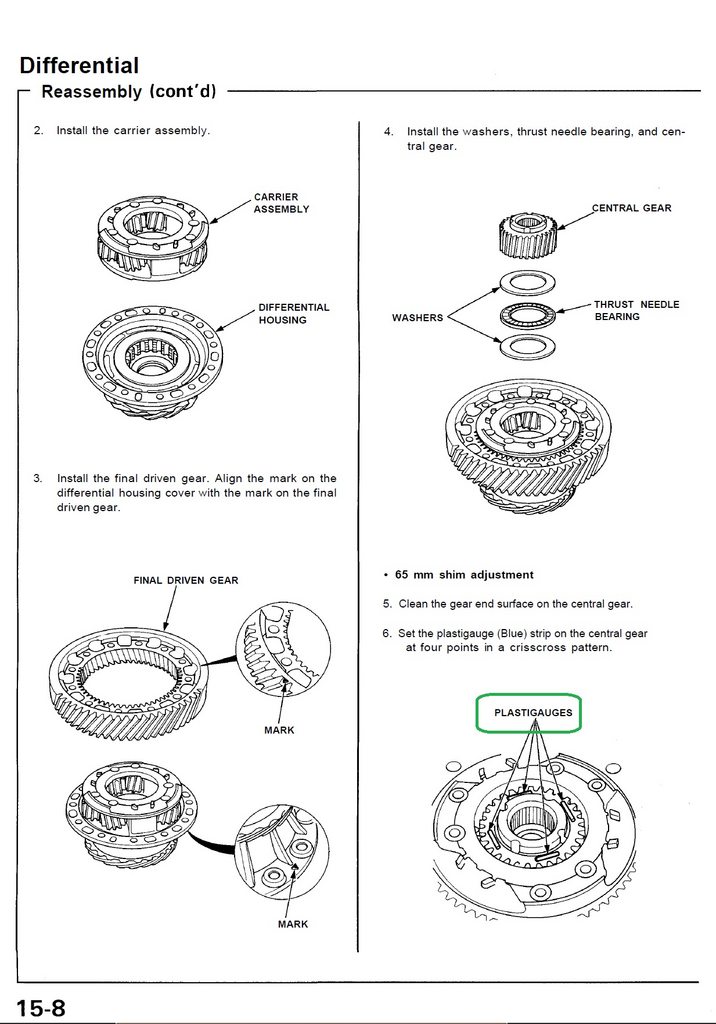
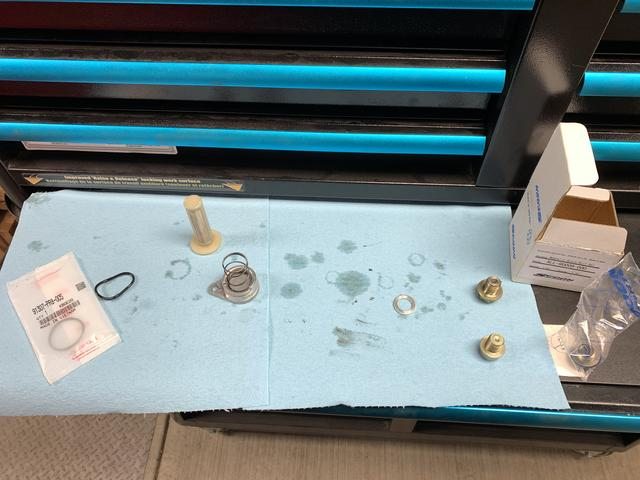
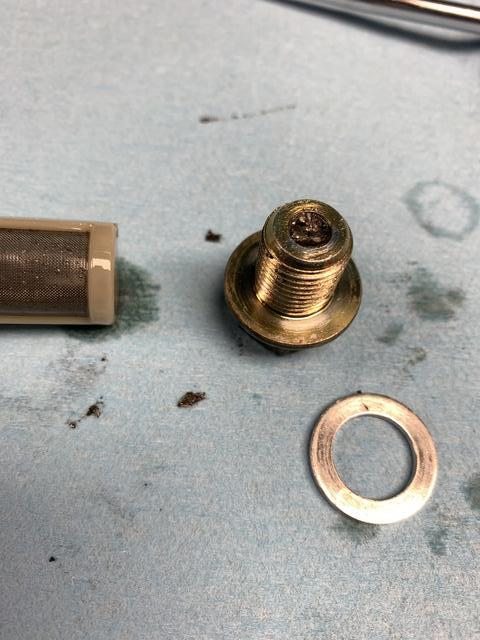
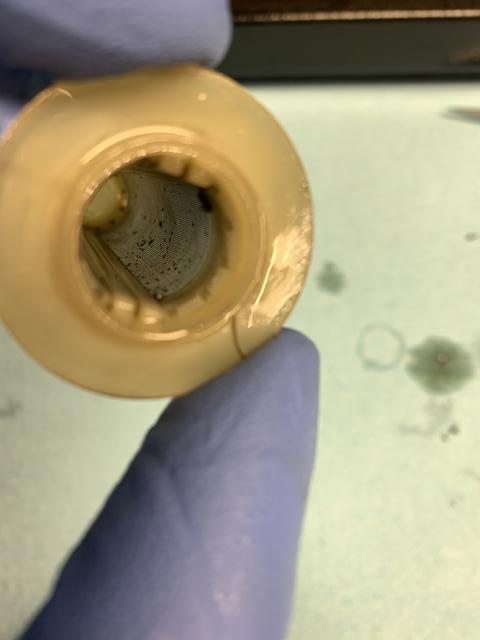
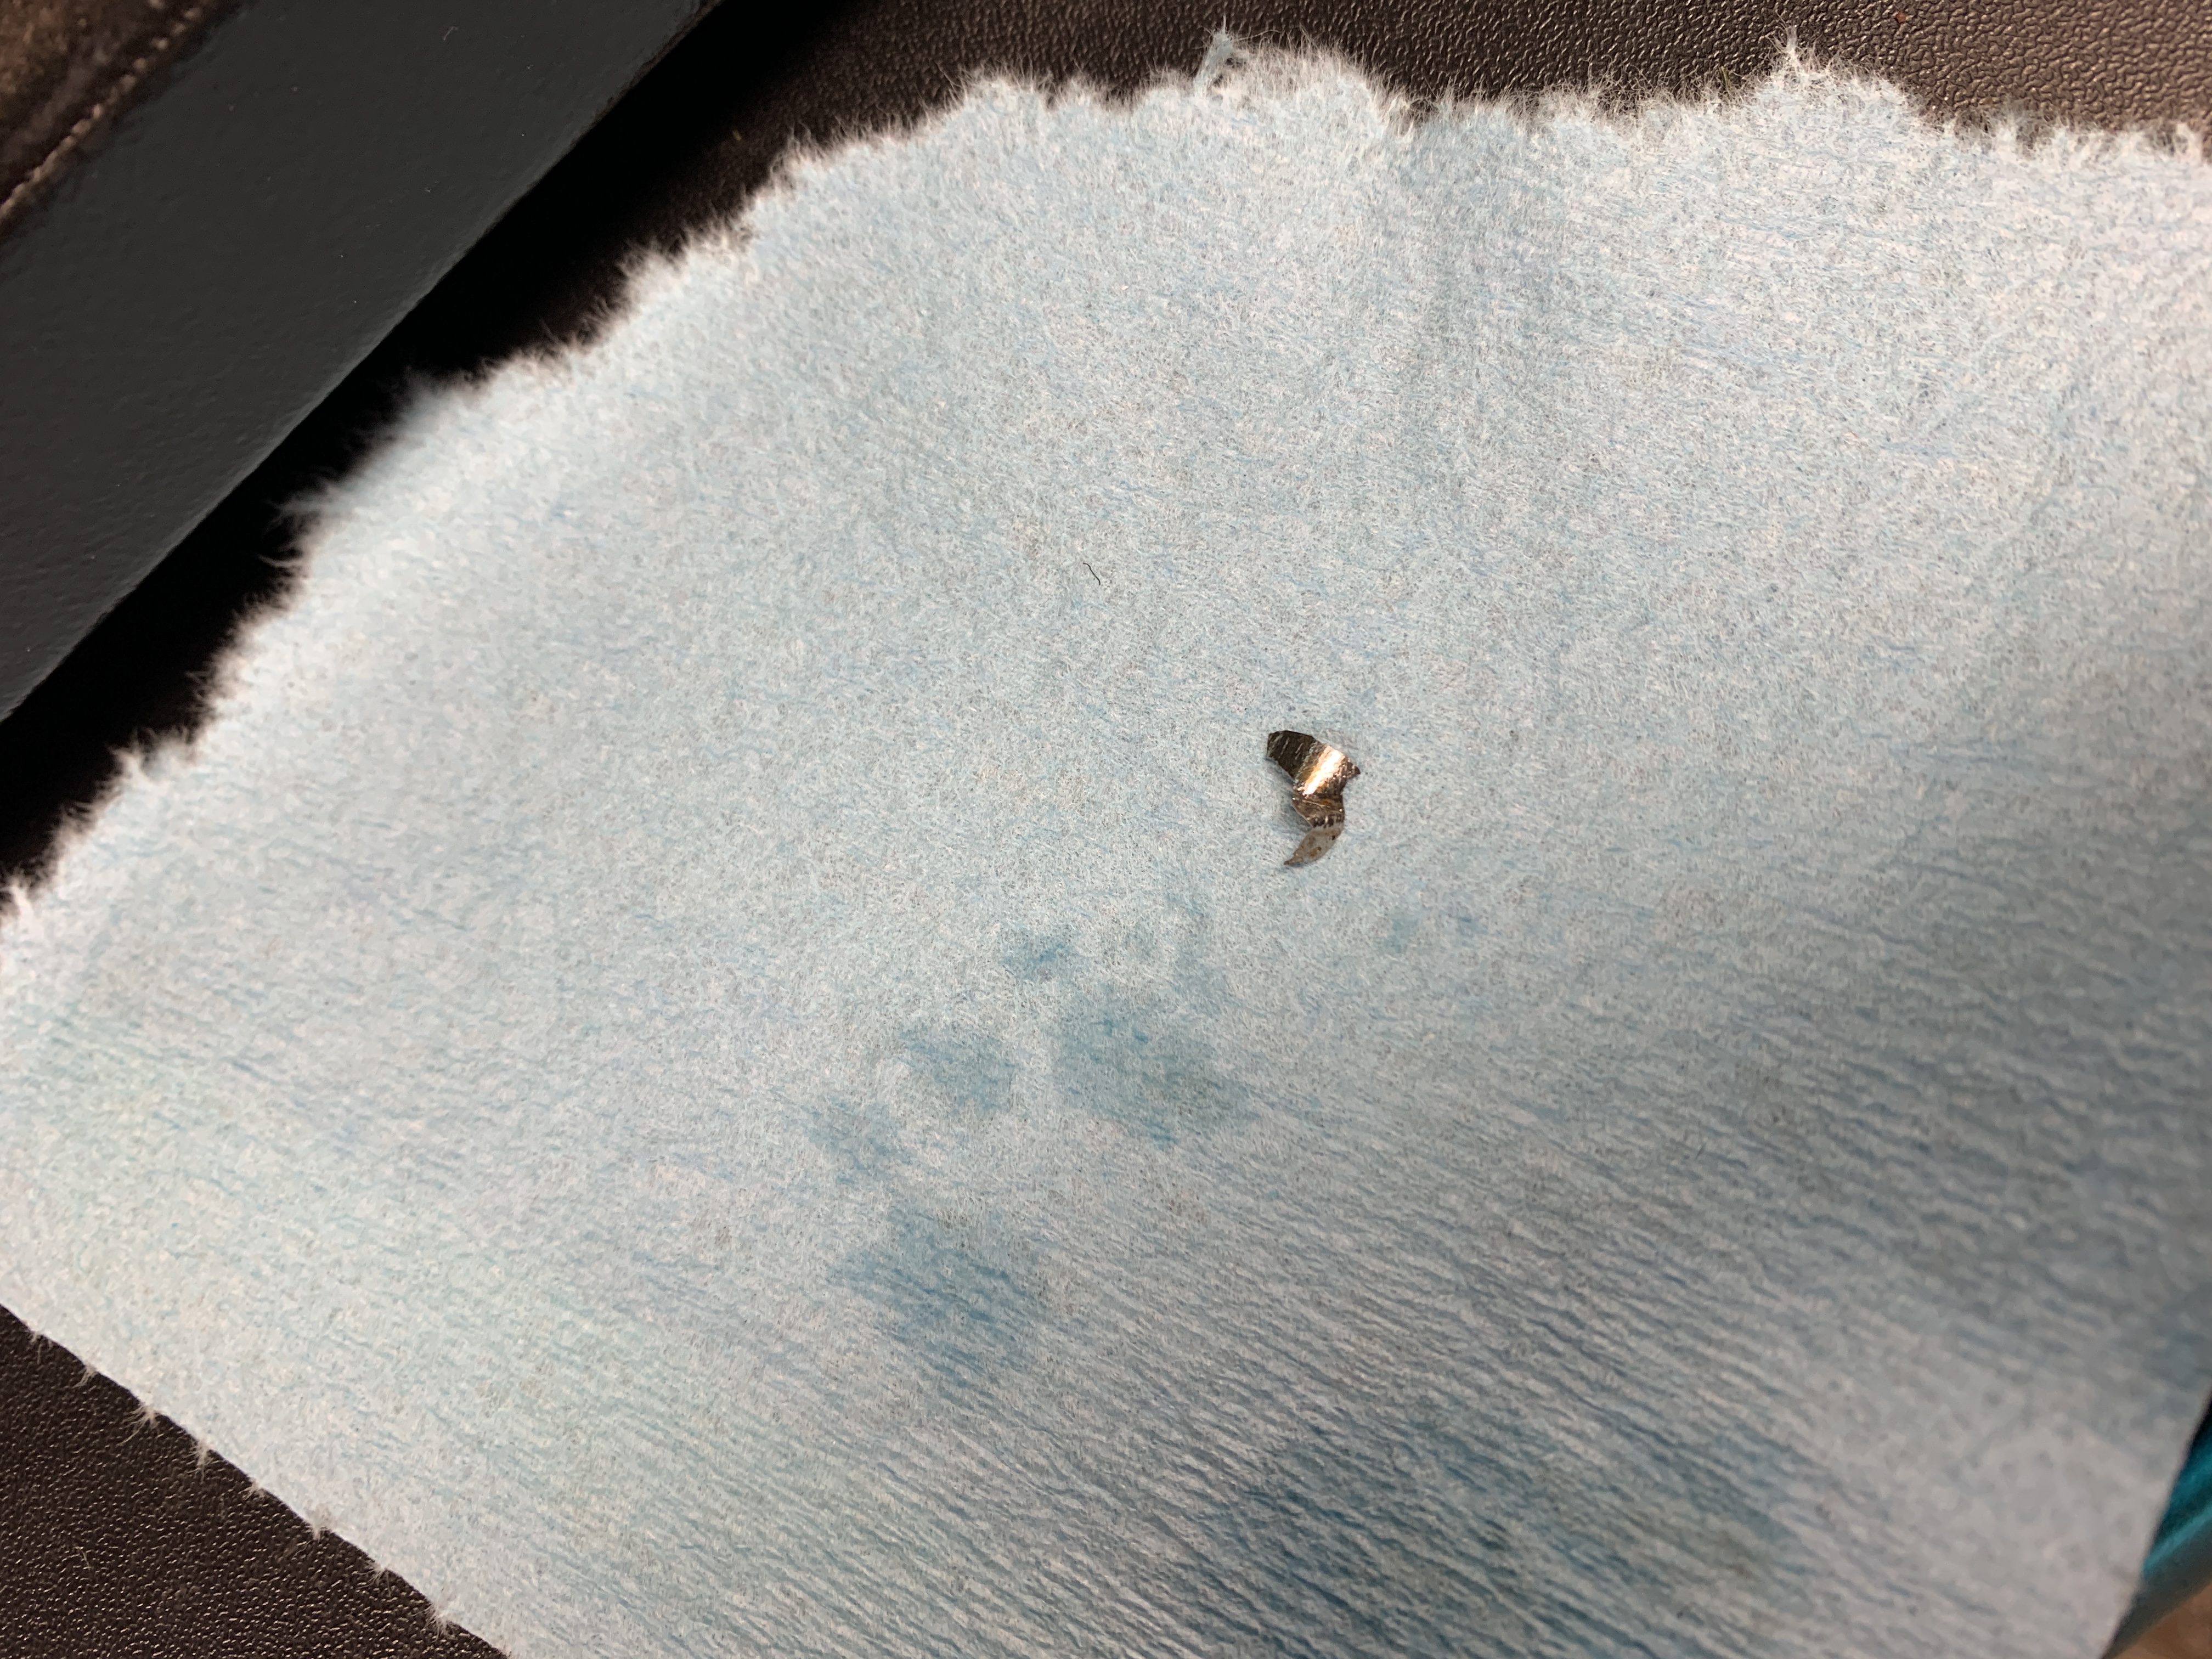
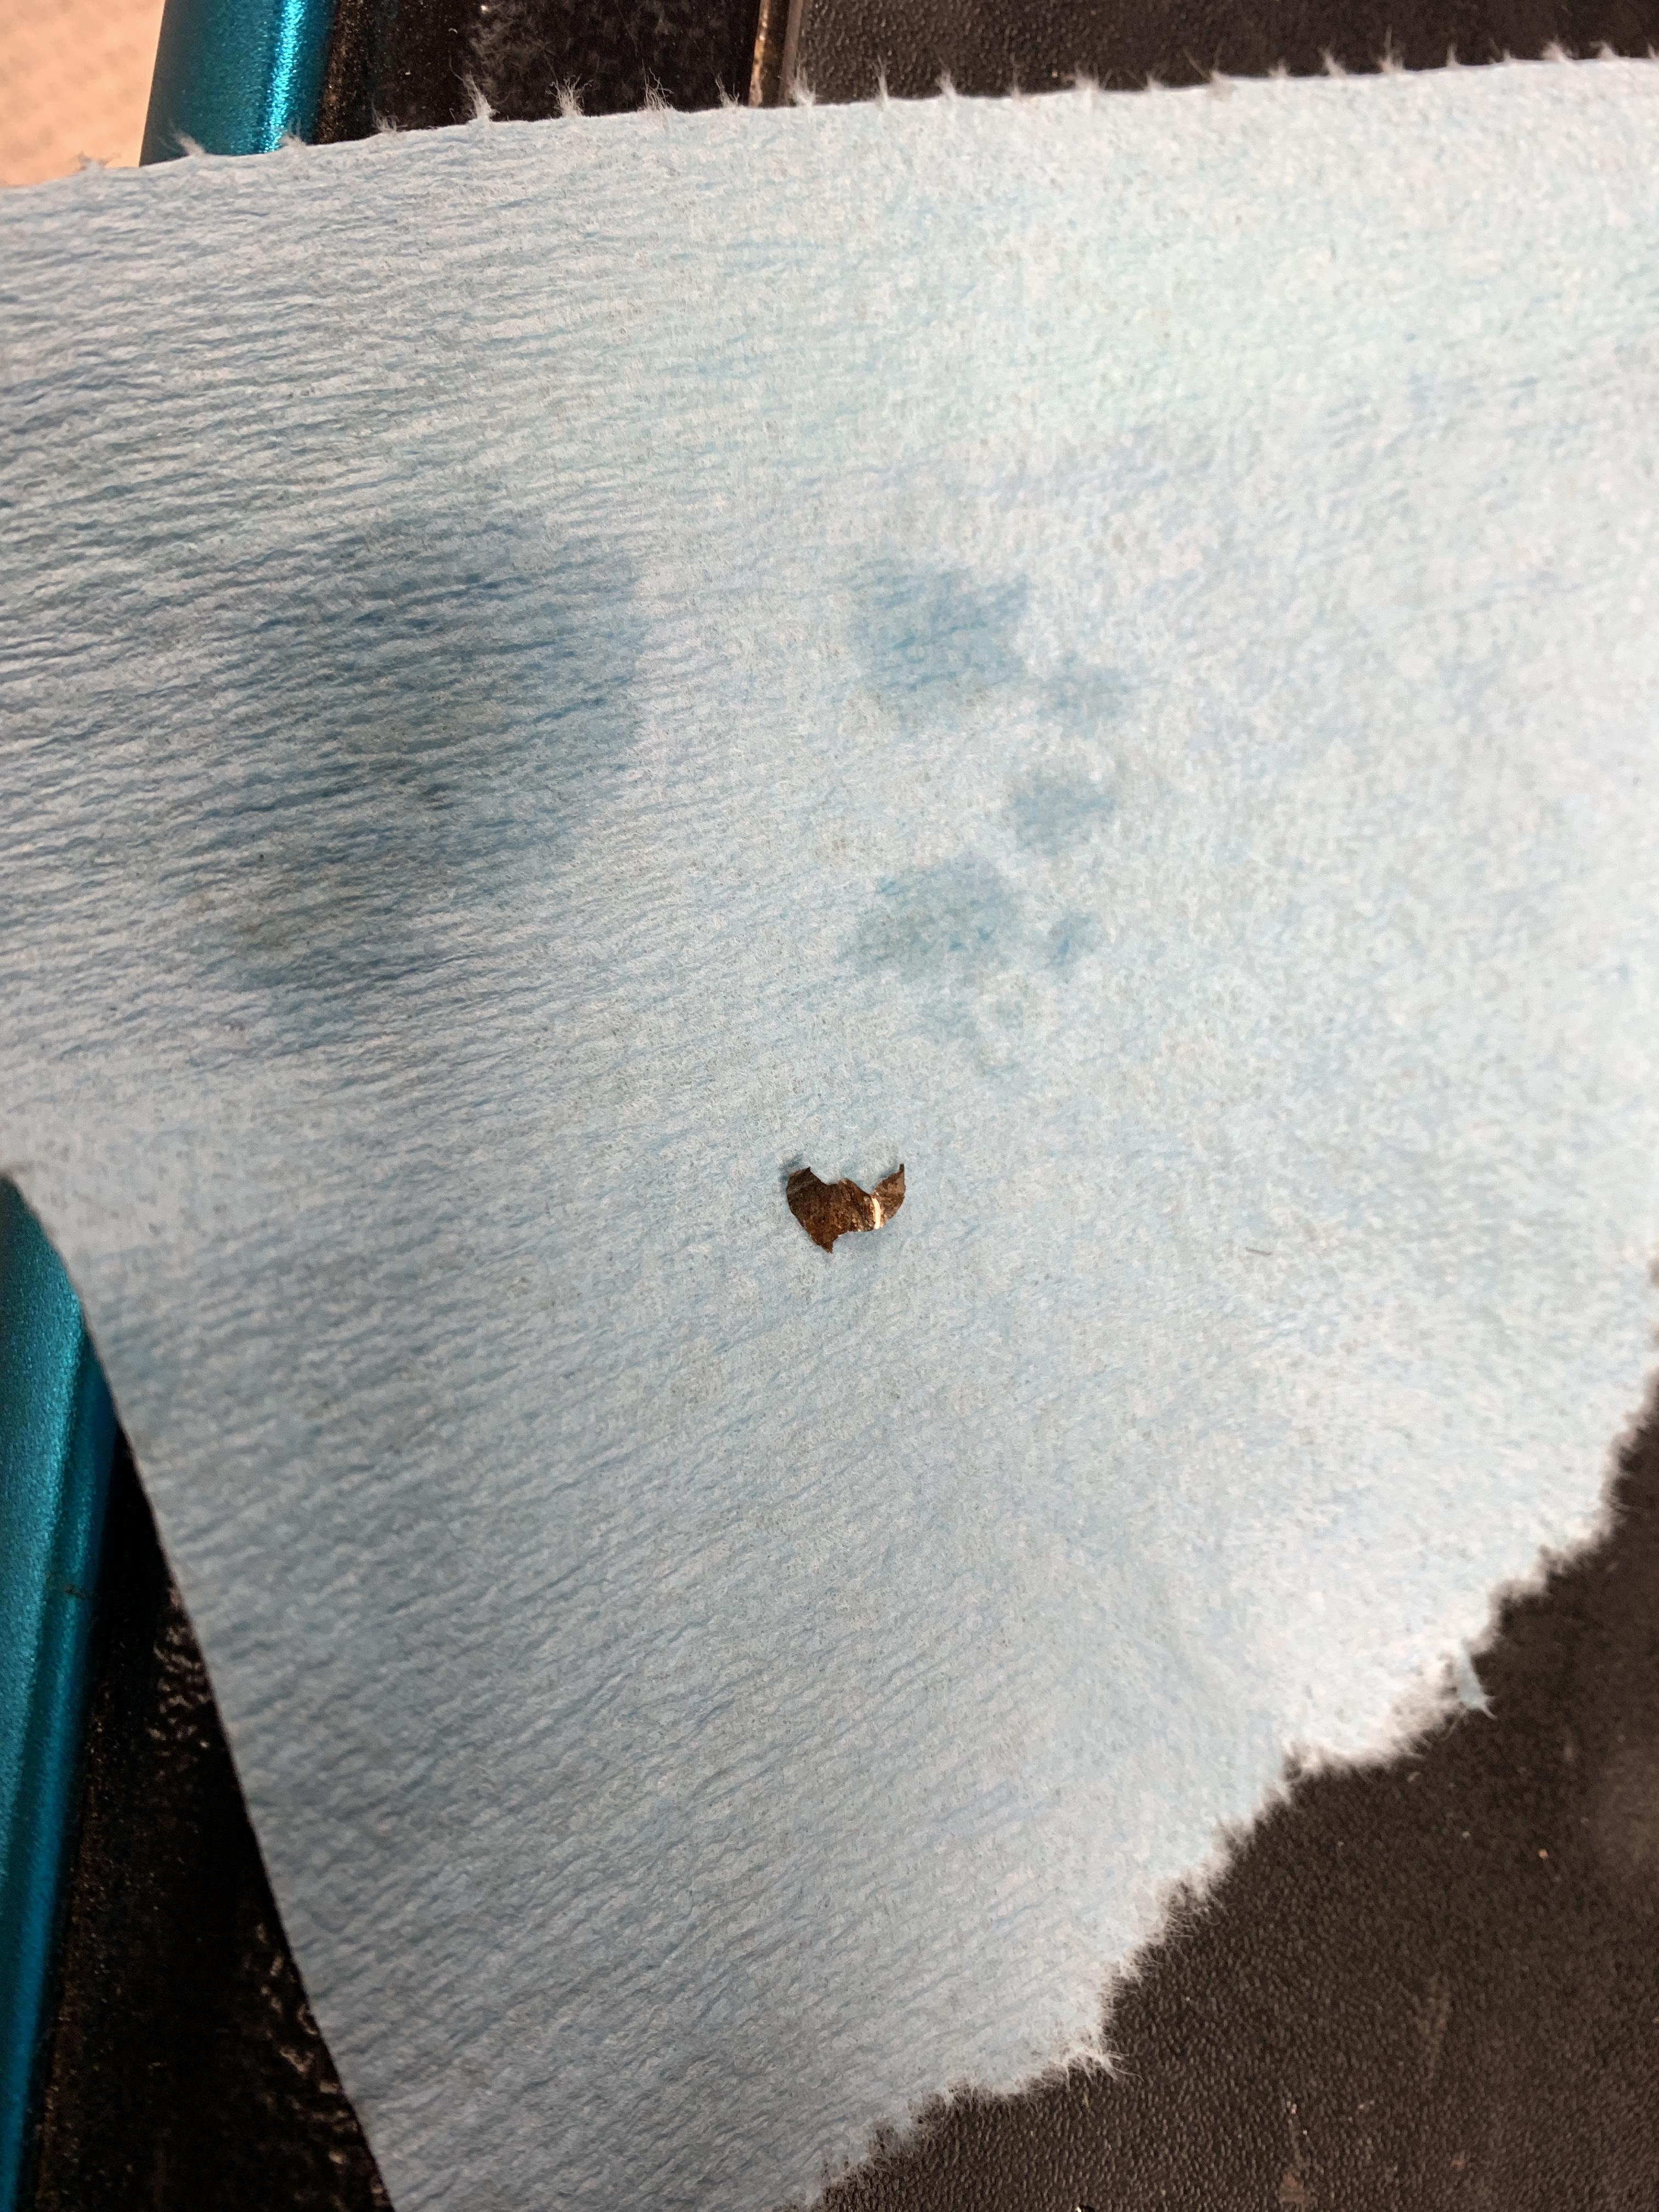
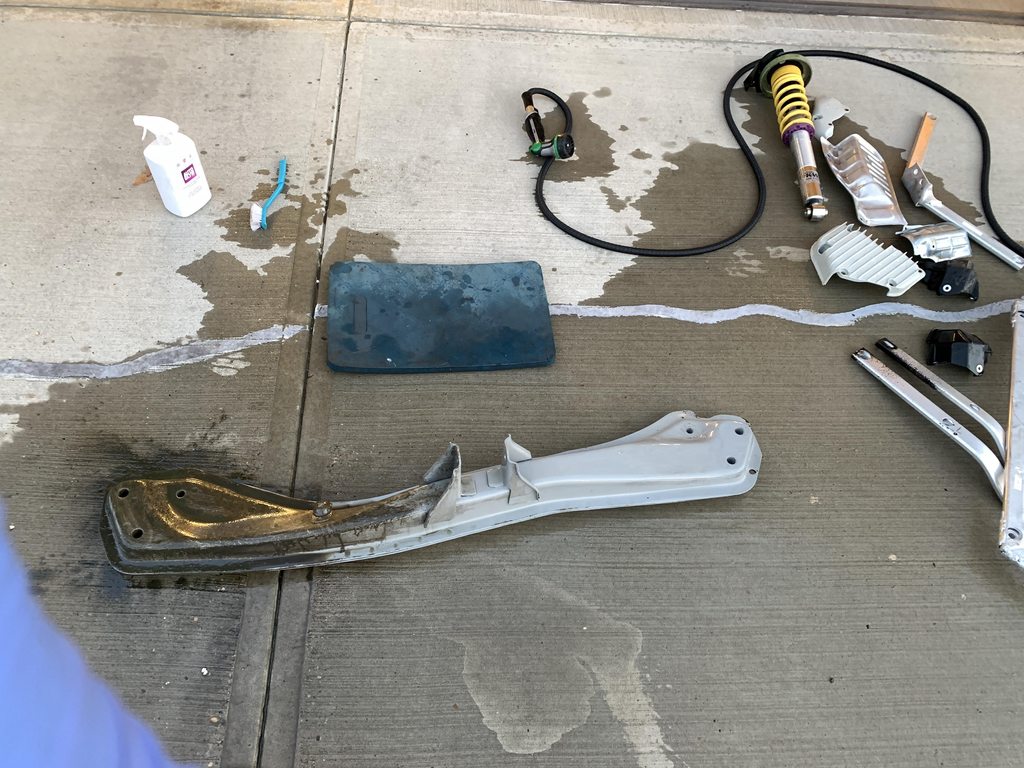
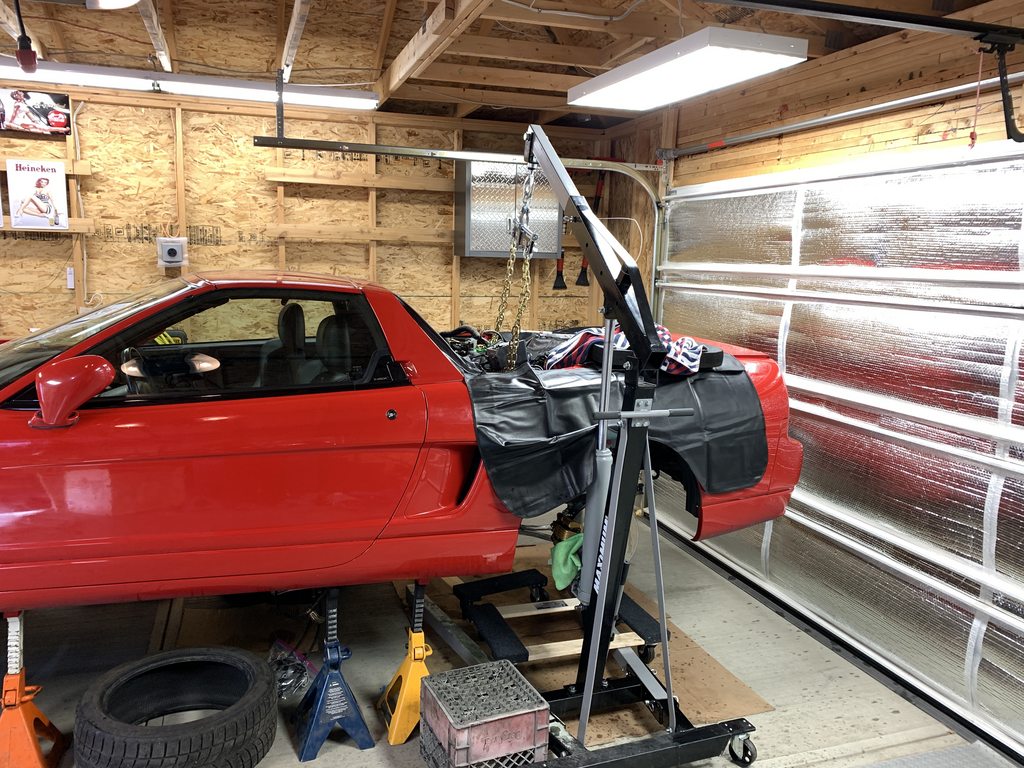
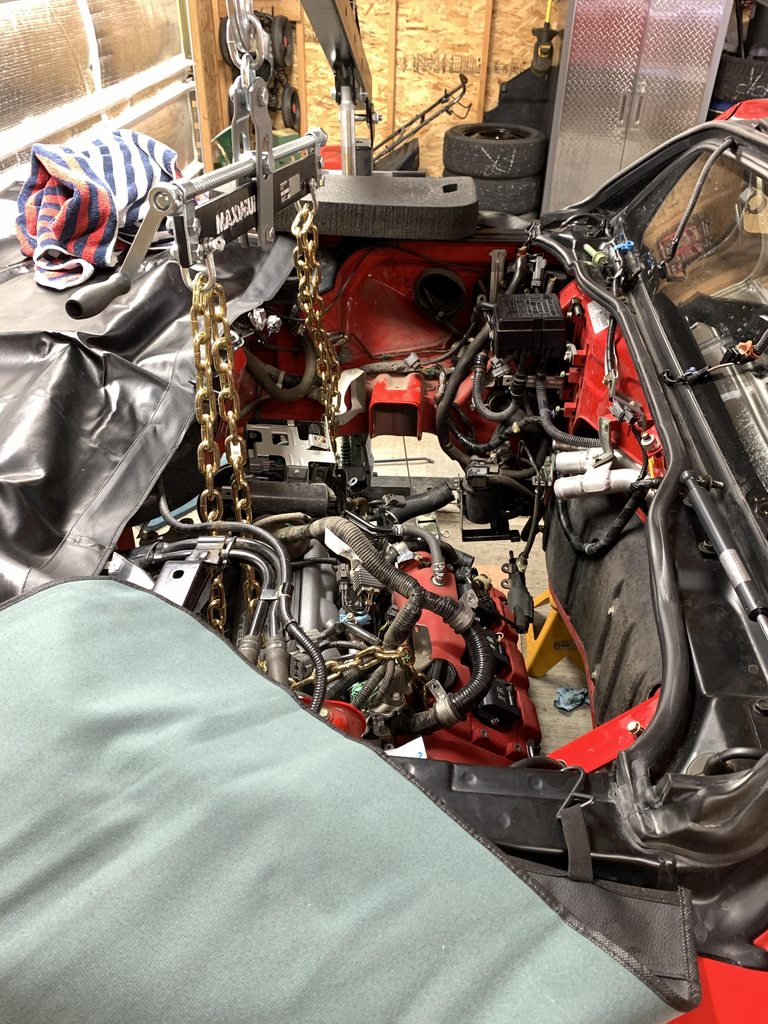
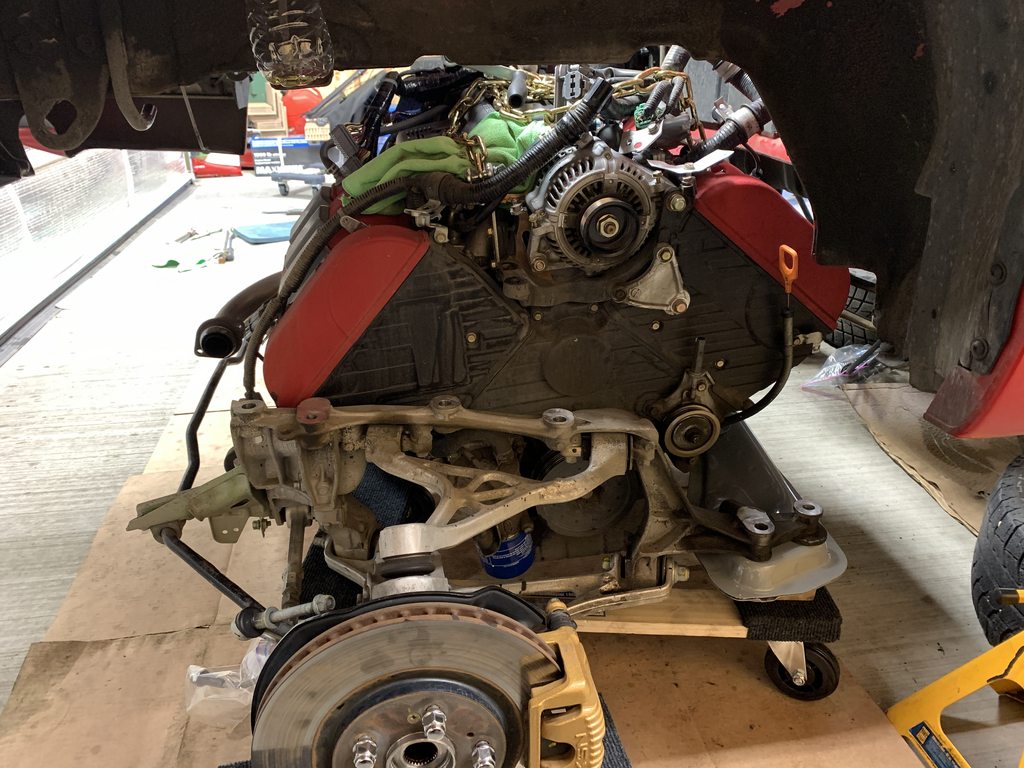
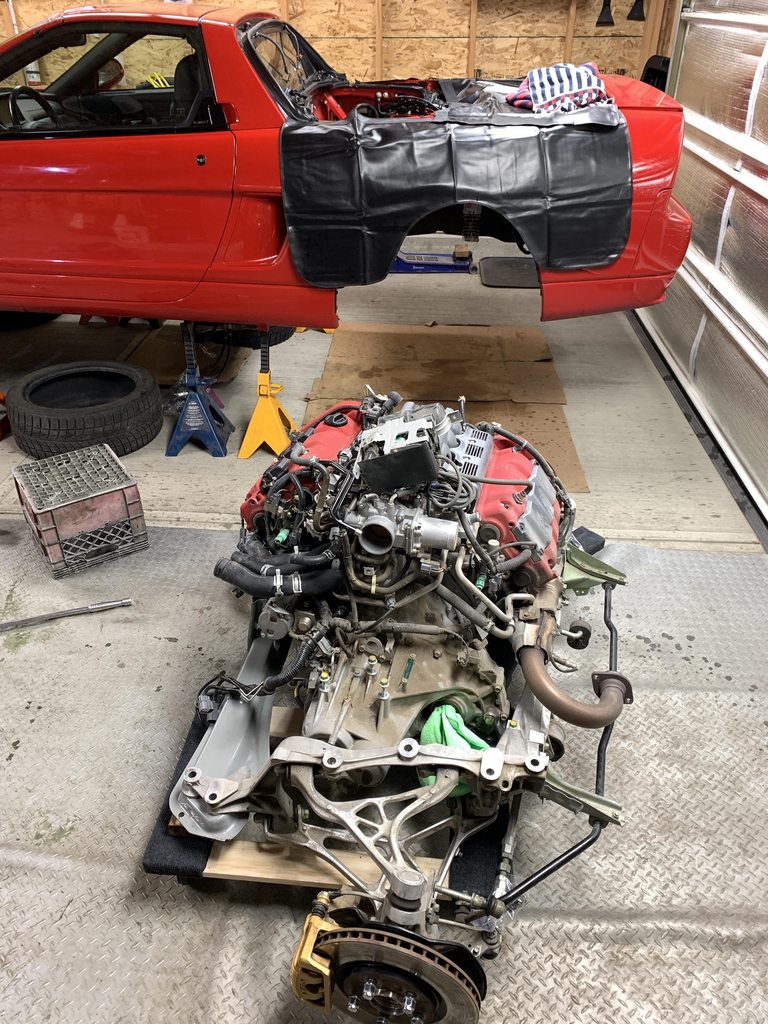
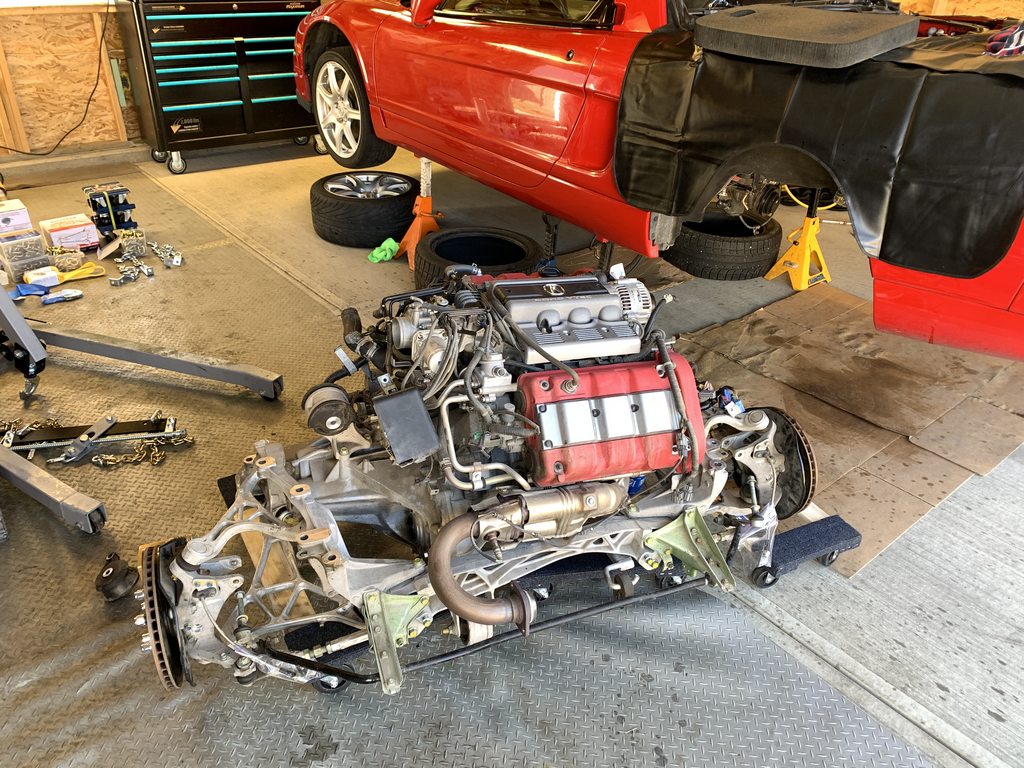
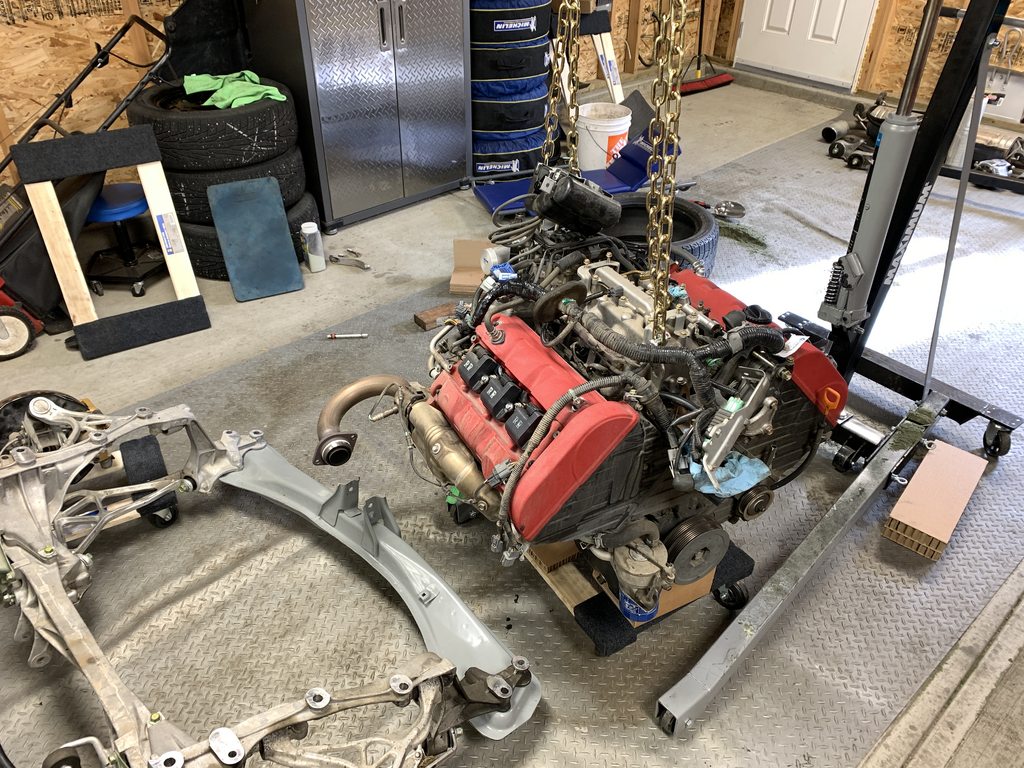
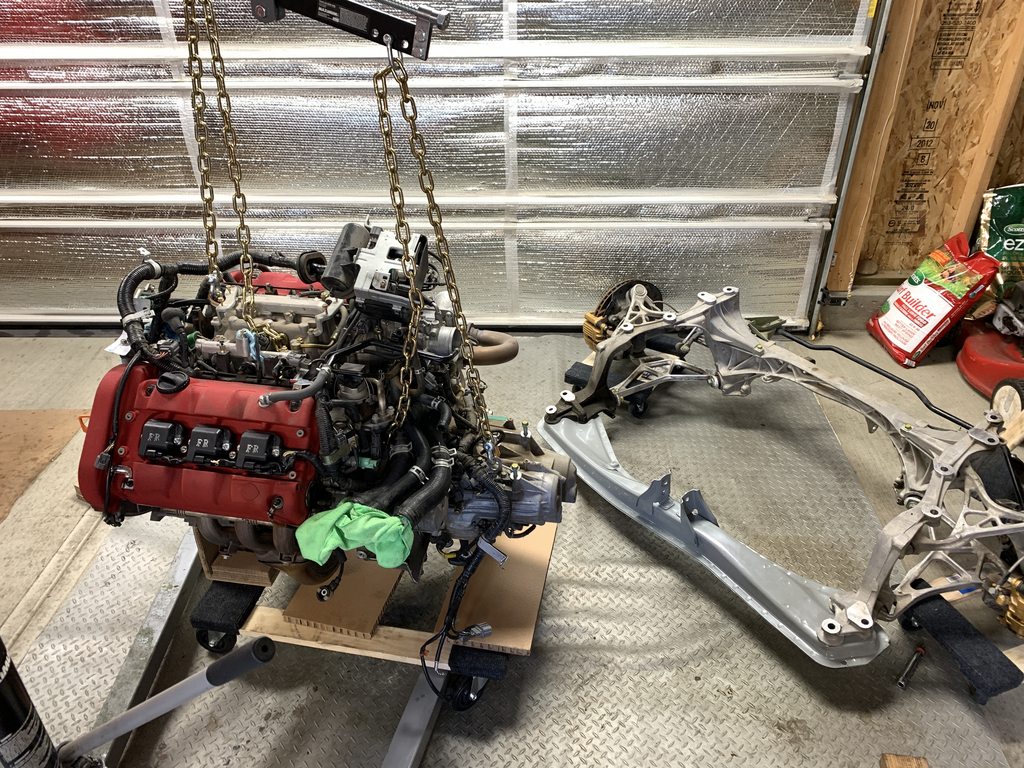
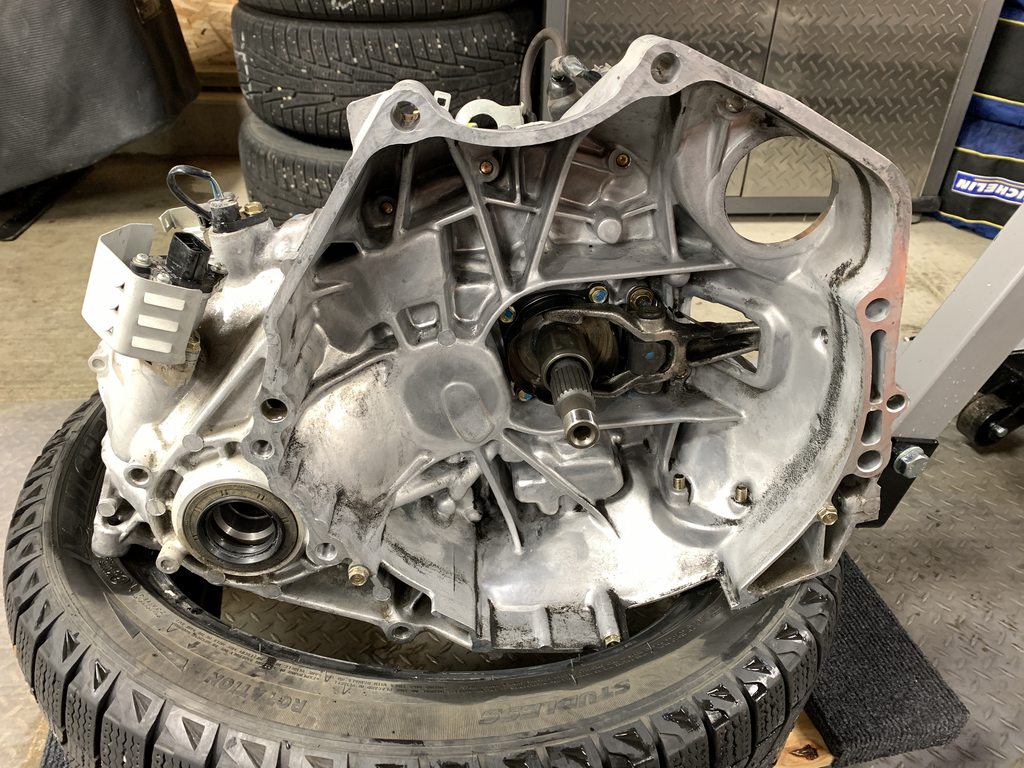
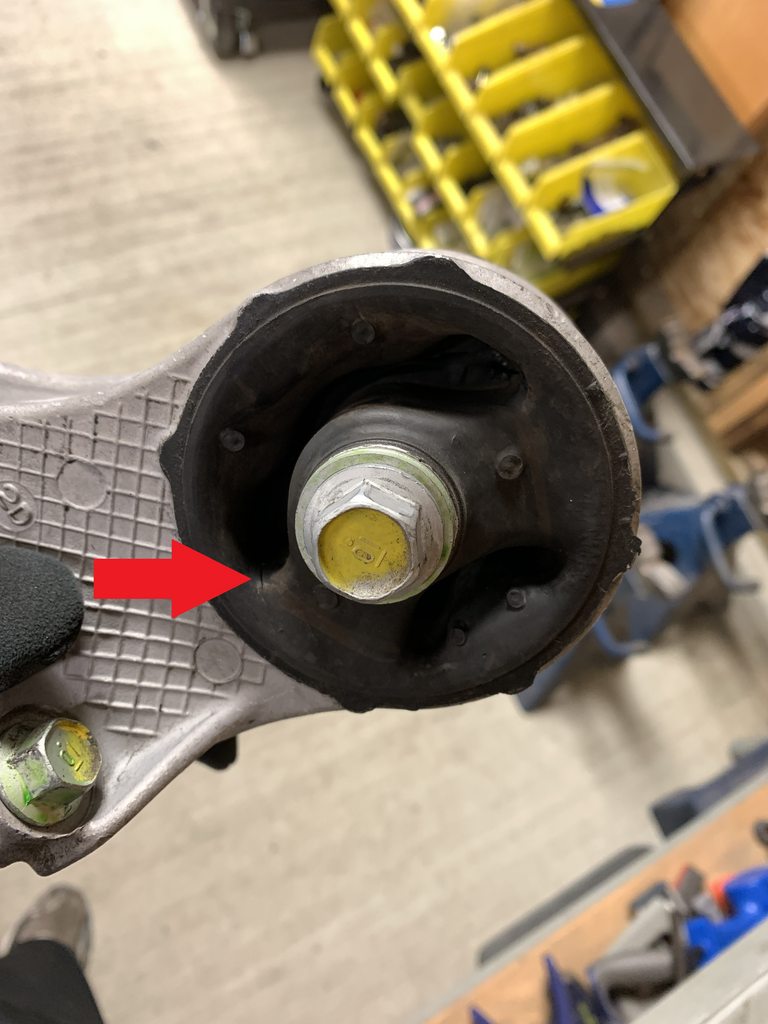
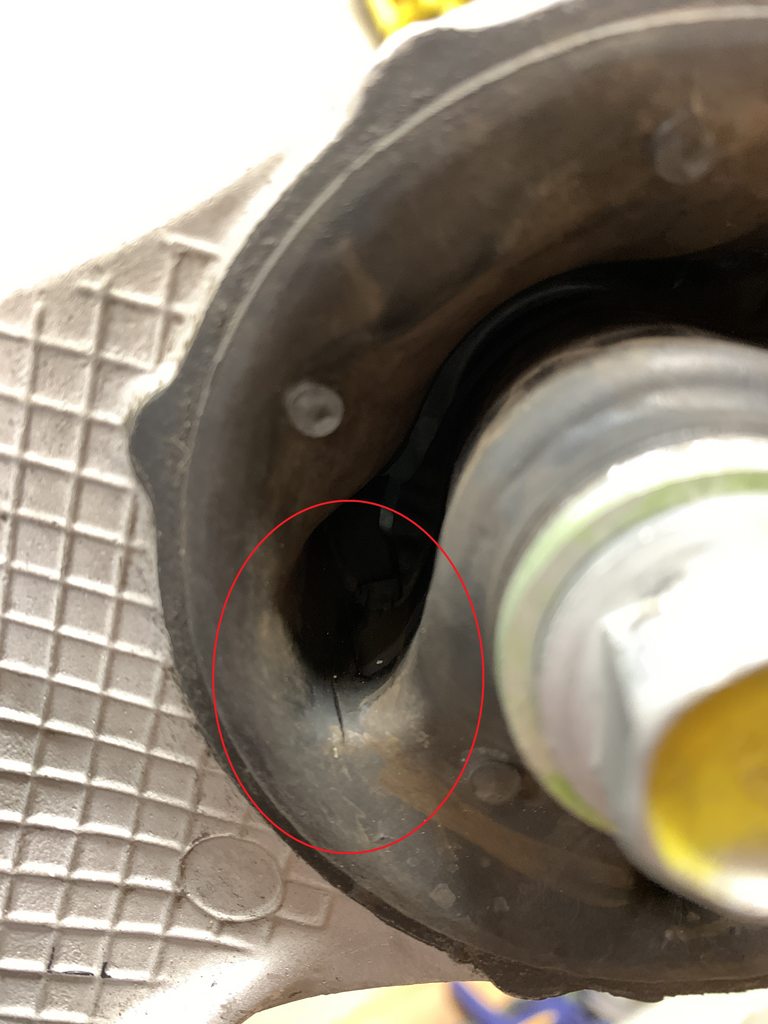
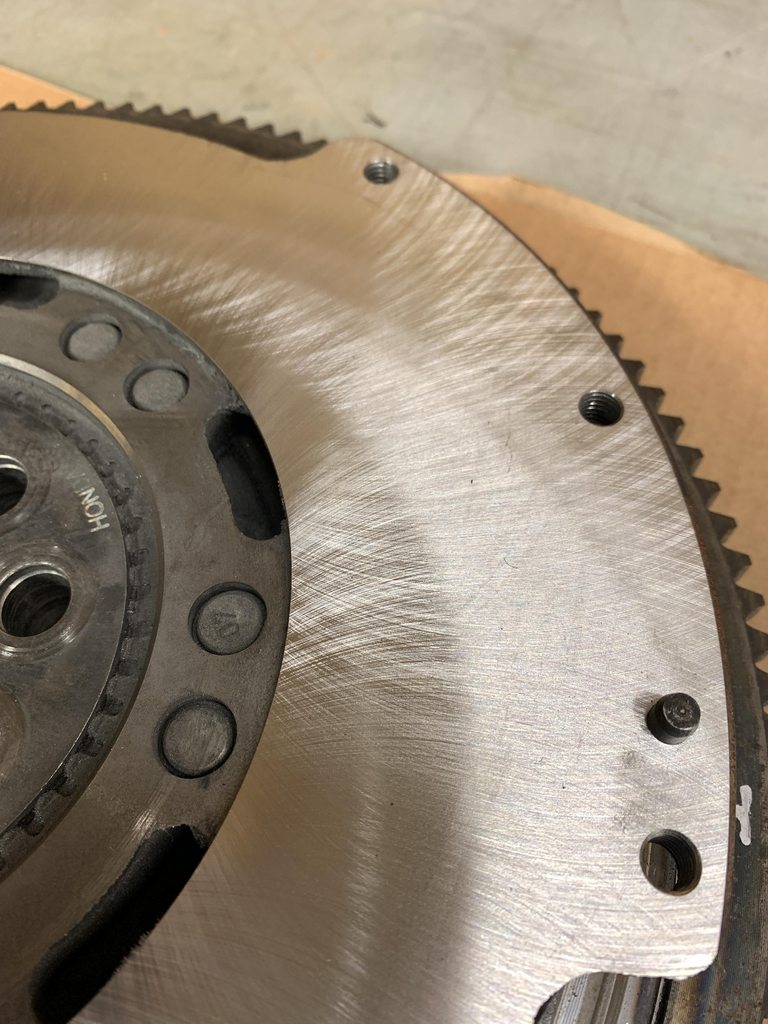
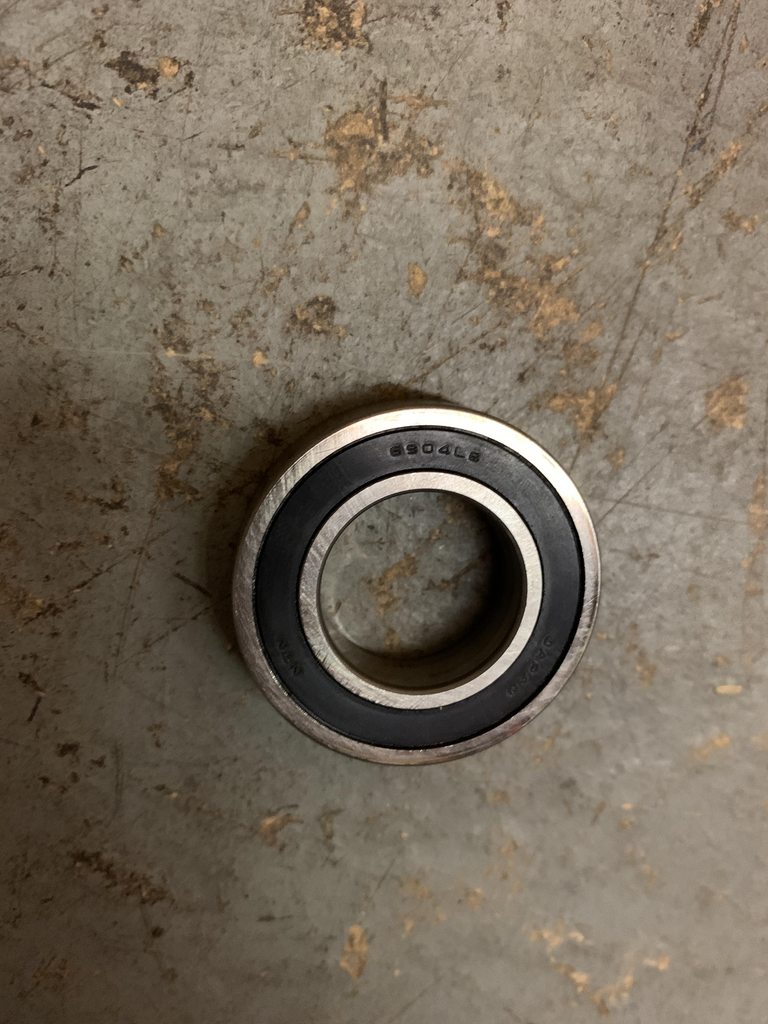
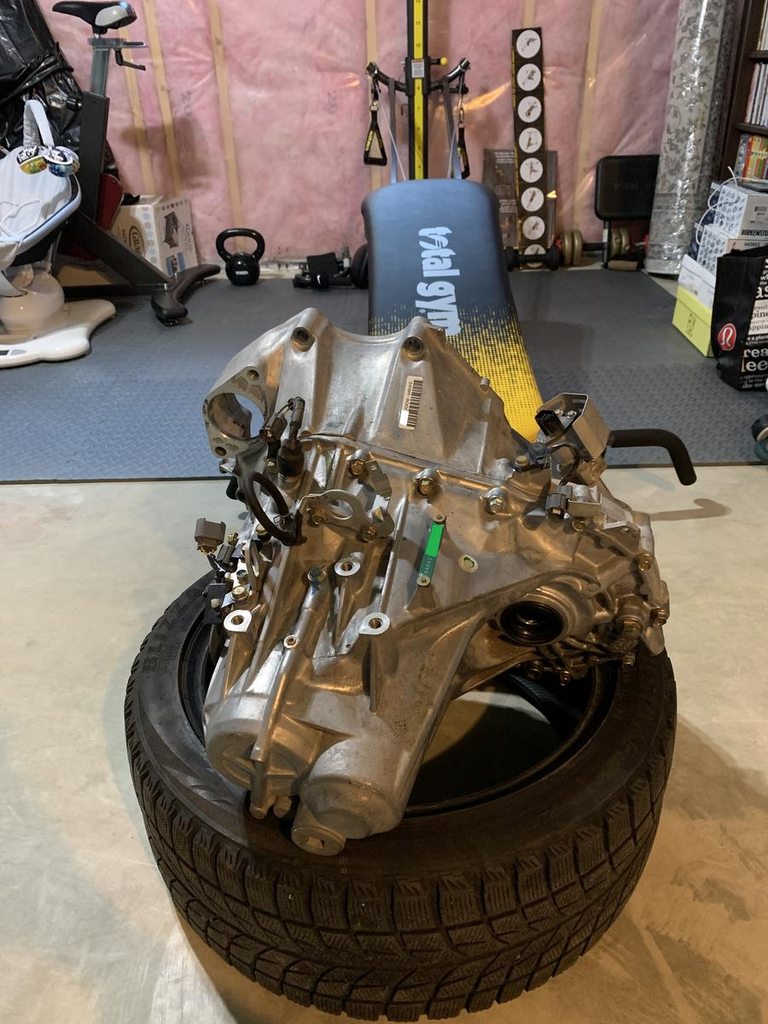
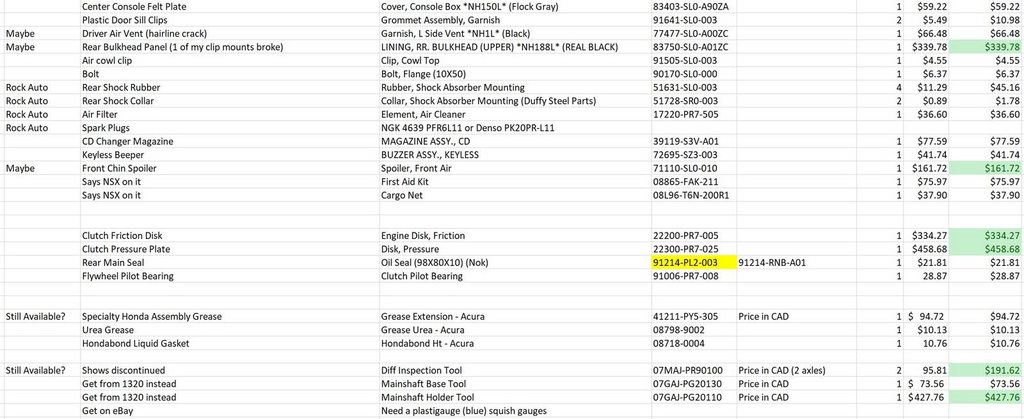
In the pictures below my main reason for pulling the transmission is I have to go through the synchros (maybe bearings) as I had a Spoon magnetic drain plug break off inside the transmission. I found little pieces of bearing in the fluid so with the timing belt due I figured I’d pull the transmission and rebuild it especially while all the parts are still available from Honda.

2qildUgh.jpg


PqSzrTph.jpg


YNKVZVRh.jpg
 
Few pictures of the NSX-R pedals. I opted for the cut and weld method instead of gluing.

Getting these out is a pain as everyone knows.
Jh2T9Mhh.jpg


I carefully grinded out the NSX-R pedal and marked the spots for welding.
GP7Sl0wh.jpg


Highly technical children’s white out marking the “top” of the pedal.
i48k0trh.jpg


I ended up painting the backside of the pedal full black afterwards.
gtTHLuOh.jpg


OBIiEn2h.jpg


Brake and Clutch were easy as they’re just riveted on.
8k6nWygh.jpg


dB37wwmh.jpg
 
I don’t actually have a picture of them with the rivets in and also don’t have a picture of them in the car (huge fail). I’ll take a couple when it’s out from under the cover next spring. You can kind of see them in one of the first few pictures.
AUZ31j2h.jpg
 
Heated Seats

Remove your seats like normal then remove the hog rings.

LoocOmxh.jpg


Lay down the pad and mark out where the channels are then cut them out.
7NEjjIDh.jpg


Qkbjtsbh.jpg


Make sure to wrap all ends.
7btgCIUh.jpg


ui69w1jh.jpg


KtE8WYoh.jpg
 
Then just flip the cover back on and re-hog ring it up.
I got my switches from a 2003 Acura TL and they are a direct fit into the NSX. No cutting or shaving of anything; just straight insert. I found the wiring diagram and made the high and low work using the OEM switches. Only one relay is needed since these heaters are a base 12 volt system. On low it triggers the relay and lines up the wires so it runs 6 volt (and hence lower heating). Very clever and nice and simple compared to the units with 4 relays per seat.

4qn7imBh.jpg


Then get your zip ties out and tidy everything up.
GuJj7t5h.jpg


dbkvjlzh.jpg


IEcrWsgh.jpg
 
Now to the fun part of the engine removal but first I’ll show what came out of the transmission fluid; it’s not good.

m2fxzqHh.jpg


Z6z5Ugyh.jpg


RMskHoxh.jpg


d6UJSL0.jpg


uPC8jxN.jpg


But what can ya do. At least the parts are still available from Honda.
 
For the engine removal I just did it with Princess Auto (Harbor Freight) furniture dollies and an engine hoist. No complaints. Would definitely have been easier with a hoist but that’s not where I am in life at the moment.

Got the engine cover and rear window off with the help of a neighbour. That window is mighty awkward when not attached to the car. After that just start pulling parts off the car.

2R78aYe.jpg


KgfVINO.jpg


IW1w4RN.jpg


Look closely in the picture below at the top of the coolant tank. All year I’ve been battling with coolant loss but the only place it was coming out was right where you see it. At first I thought faulty reservoir cap but it didn’t really make sense to be collecting on top of the reservoir like that. Once I pulled it off and looked closely I found a hairline crack right in that spot on the reservoir itself.

x6dNn0X.jpg
 
Xq42pBn.jpg


It’s just money…..FFS

ILFGUIx.jpg


As I was removing things I really didn’t have many bolts left over “loose” as I just re-threaded them back into their holes. I wrapped some sensitive stuff up so it doesn’t sit exposed over winter and moved all small things into the basement.

IO0Gbqoh.jpg
 
I might be the only nutcase that washes their cross member but it was filthy and turned out nice.

pYnZz9th.jpg


ARPO4W6h.jpg


I bought a cheap Amazon crank pulley holder tool and it worked like a treat. That crank pulley bolt is freaking tight and I thought the breaker bar was going to snap on me. It’s just out of view in the picture below but that 2.54 cm box beam is about 2 meters in length and I had to give it quite a bit of beans to get it off. All worked out well though.

M8NsQ87h.jpg
 
Now to the removal. I wish the hoist had slightly longer reach. How close it was to the quarter panel was a bit sketchy but it was sitting against the brake caliper/rotor so it was kind of self-limiting on how far it would roll forward. I was worried about how it would come down but honestly it ended up being a non-issue. I wish I had a hoist though then I wouldn’t have had to remove the rear window.

IkmQPZch.jpg


hW5mQA3h.jpg


ZRUFts7h.jpg


wwlX8Q7h.jpg


XCfWoZJh.jpg


DYnEWtVh.jpg


B4L2Ct8h.jpg
 
What do you guys think of these engine mounts? They are cracked the entire length of the rubber but it doesn’t go any deeper than what you see in the pictures.

GJq7pxkh.jpg


I2brScIh.jpg


My flywheel and pressure plate were in bad state. I’ve been driving manual cars for nearly 25 years now and the guys who re-surfaced my flywheel roasted me hard. Maybe I need some driving lessons haha. I have no idea why it looks like that and there was nothing in the way the car drove that would indicate a problem. I’m going to go for a new friction disc and pressure plate but not flywheel (freaking $3000 USD).

ceuolVfh.jpg


YMDKB40h.jpg


1cg6fhmh.jpg


cJFbp12h.jpg


Pilot bearing isn’t listed for a 2005 NSX but consensus on the forums is that it’s the same as 91-96. 91006-PR7-008. Bearing is labelled 6904LB.

kby8aOKh.jpg
 
That’s about as far as I wanted to get before the winter hit. One last thing I did was re-work my exhaust. I had some annoying rattles coming from it and when I took the heat shields off the exhaust was packed with rocks. I take it down gravel roads now and again so not surprising.

1vCQI8Eh.jpg


Then I repainted the underside back to black and polished my exhaust holes.

K4PHK9Wh.jpg


uf1ccIvh.jpg
 
Here is the current state of the car and the transmission sitting in the basement. Over the Christmas break I’m planning to crack the case open and see if can find anything wrong. Hopefully an obvious bad bearing jumps out at me. There is nothing worse when everything looks good but yet a loud howling still persists. I’m also trying to find all the inspection and clearance tools I’ll need to rebuild it properly but that’s proving difficult as some of the Honda tools are discontinued (differential preload tool 07MAJ-PR9-0100 for example). I might sacrifice some axles and make the tools myself but I’ll think on it. If anyone knows where I can get the diff inspection tools please let me know.
1WpxRKnh.jpg


mWbN0lHh.jpg


MQoCqtLh.jpg


TUeugK5h.jpg


I’m open to any suggestions or advice you guys may have prior to taking the transmission case apart. If I need to measure something, take a reading, or something like that. I don’t want to regret it after splitting the case.

For the timing belt and water pump I have my parts list below. Let me know if you see something I missed. Pretty much ignore anything under $20 as I figured that’s cheap enough just to replace but it added up fast if I’m honest. One other thing I’m still researching is in my list for example I have the dealer price of the taillight gaskets as $129 but I see on the MITA website that all 4 are $65 so I still have to do some value shopping.

The aftermarket things I’m planning to do and to buy are:
-Clutch alignment tool
-Crank pulley shield
-Oil pan baffle
-Maybe NSX-R red intake manifold cover ($307)
 
To sum up my questions:

1. Does the water pump part number 19200-PR7-305 fit onto a 2005 NSX? The number I have is 19200-PR7-A03. A big warning comes up saying the 305 won’t fit but I suspects it’s due to the new cover.
2. Would you guys replace the flywheel or pressure plate bolts with new ones?
3. I don’t have any part numbers listed for adjusting the valves other than the intake manifold gaskets. Is there something I should consider?
4. Do I have the correct fuel filter part number? 16010-SL0-000. Note that the connections to the fuel rail appear to be specific to the 2004/2005 year models.
5. Would you guys replace the engine mounts given the pictures above?
6. Does anyone know where I can get the differential inspection tools 07MAJ-PR9-0100? Or if someone has a set I can buy/rent?
 
Read through this thread before cracking the transmission to get some idea of what to expect. This thread is for a 5 speed but the transmission design is very similar just with one more gear. http://www.nsxprime.com/forum/showthread.php/212444-NA1-5-speed-Transmission-Rebuild-Thread The mainshaft "play" you note seems normal to me.

If the service manual doesn't call for flywheel bolt replacement I see no reason to do it. My car has the older twin disk clutch so I'm not sure what the recommendation for the newer one is.

I would replace (or fill) cracked engine mounts now rather than later, since it's so much easier to do now.

That fuel filter part number, 16010-SL0-000, should be correct, it's listed as fitting all NSX 1991-2005. The pipe that connects the filter to the rail is different on the late year cars as you said though.

What do you need the differential inspection tool for? There might be a way to workaround not having it.
 
Great work so far.

Agreed with everything in the post above.

You shouldn't need to remove the intake to adjust the valves unless there's something I don't know about the 3.2L's. You can still get the Honda valve adjustment tool from the dealer if you want, or since the engine is out most generic ones will probably work just as well. If you still want to remove the intake to replace various gaskets and clean parts, then it might be worth getting your VVIS screws tack welded so they never have the chance of backing out. That's what I'm planning to do during my engine refresh.

On your parts list, the oil bolt gasket is just a 10mm copper washer for the brake line banjo bolts. You can get a bunch of them for less on the aftermarket https://smile.amazon.com/gp/product/B01N4D8GJQ/ref=ppx_yo_dt_b_asin_title_o09_s00?ie=UTF8&psc=1.

I didn't find the diff inspection tool necessary during my rebuild. It's a bit difficult to lift the diff out of the case by hand but can be done. The only other time you would really need to hold it in place is if you're disassembling the diff and you need to torque the bolts back (have someone hold it for you or a vice w/plastic guards), or you're trying to test the breakaway torque. To test the diff preload I used this rubber expansion plug in the axle hole which gave enough friction to be able to use a beam torque wrench instead of buying the OEM tools (https://smile.amazon.com/gp/product/B00NUFRRZS/ref=ppx_yo_dt_b_search_asin_title?ie=UTF8&psc=1).

If you're resealing the taillights, I believe there's a few more donut-type gaskets for various studs on the lights for further sealing besides the main rectangular gaskets. On https://www.acuraautomotiveparts.or...gas/electrical-exhaust-heater-fuel--taillight, for example 75523-SD4-003 and 75528-SD4-003.

What're you planning on using the plastigauge for?
 
Thanks for the responses guys.

MotorMouth, I looked through your thread and I saw the diff preload workaround you guys made so I'll see if I can do something similar. The rest of the transmission hopefully there is not too much difference between the 6 speed.


BMH, you're definitely right about not needing to remove the intake manifold for valve adjustments so I definitely wrote that out wrong haha (not sure what came over me). Yes, your assumption was correct that it was for the VVIS screws. But given that it can be done in the car I might omit it on this occasion. And if the Canadian dollar wasn't so bad then I wouldn't hesitate but then again it's so so much easier with the engine out so I'm still on the fence.


Ah, good to know about those copper washers. I actually left my brake lines attached and instead disconnected from the hard lines so I didn't actually break those joints. I'll remove them from my list. Thanks!


For the diff preload looks like I can improvise like you guys did so I'll at least do that before I take the case apart. Yes, you are correct the diff inspection tools I need are to test the breakaway torque. The chunks that came out of my fluid were quite large so I'm thinking it's my diff that took the beating. The gears all felt perfect when driving but the howling seemed like a wheel bearing. I changed both wheel bearings, both axles, and even the intermediate shaft bearing prior to "accepting" that the problem lies within. But with the gears all seemingly good I'm thinking it's the diff that's the problem. I'm going to crack the diff open no matter what and at minimum change the bearings, guides, and measure the thickness of the clutches but I want to see if that broken magnet did something to the breakaway torque (somehow). The plastigauge I need for putting the diff back together shown on service manual Pages 15-8 to 15-10.

Thank you for taking a close look at my parts list (one of the larger ones I admit). I missed those tail light stud gaskets so I'll add those in :) .

hbYKo0Fh.jpg


Would you guys want me to document the 6 speed tranny rebuild? Realistically it probably won't be too much different than MotorMouth's thread I imagine.
 
I'd take care of any intake-related things now, it'll never get any easier. The intake plenum gaskets aren't cheap but I think there's aftermarket solutions as well, I'm trying to get a set of gaskets at the moment but the stock availability is spotty. The valve adjustment should certainly be done right before the engine is put back in the car.

For a lot of the items on your list, I'd rather order them from Japan (MITA, Amayama, etc.) than Acura. Almost nothing on the drivetrain is handed so you should be able to save quite a bit for certain items, like the clutch set is ~$100 less from JP (shipping makes it up but you can bulk order, include the timing cover gaskets, etc.) especially if you're running into backorder issues. You can substitute aftermarket for a few things too that are just as good as OEM (fuel filter, PCV, A/C idler pulley bearing, oil pan gasket).

On the trans stuff, I'd hope that much of what you saw in the fluid would be magnet pieces, you could check to see if they are magnetic. Key things to check in the transmission are the bearings, synchros, hubs and sleeve teeth, gear engagement teeth and main teeth faces to check for chips or rounding-off. I would plan to replace all the caged bearings just in case, the rollers on the differential might be fine if there's no marks. Obviously the synchros and maybe the hubs/sleeves if they're worn too would be prudent, there is a noticeable difference in shift feel between a new gear/sleeve/synchro and an old one so any new part helps. The magnet inside the trans case probably caught most of the Spoon magnet pieces after they were circulated a bit, but some might've made their way into a bearing race or small oil passageway which would be causing your issue.

As a point of comparison, my RR wheel bearing seemed fine when I spun it by hand, but it was creating some moaning under load at highway speeds which was fixed when I replaced it so the hand-spin test isn't always the whole story.

I wasn't aware the diff service included plastigauge, must be for the newer ones. The '91 FSM doesn't include that procedure. It would be nice to have some 6-spd specific things added to the thread if you want.

Are your tires good as well? When my first set of shit all-seasons were going out they howled so bad on the highway I thought my wheel was falling off.
 
Last edited:
would you guys want me to document the 6 speed tranny rebuild? Realistically it probably won't be too much different than motormouth's thread i imagine.

y e s p l e a s e

@Big McLargeHuge the differential design changed in 1995 (hence the different process) and I believe stayed the same up until 2005 from there. (Except the R models which kept the original design but with stronger preload springs)
 
Last edited:
[MENTION=20031]99 rs[/MENTION] how have I missed this awesome thread? Nice work!

Please do document the 6-speed for posterity. We now have three 5-speed records (mine, MotorMouth93's and Big McLargeHuge 's). There are no 6-speed rebuilds on Prime yet.

At a minimum I would change all of the bearings (except for the diff bearings, which are good to run to 200,000+ miles if no signs of damage/wear). On the NSX, the synchro hub and gear teeth tend to wear more than the brass blocking rings. Like Tyler said, I'd inspect those teeth for chipping and wear and replace if needed. On my 5-speed, I replaced all of the synchros (hubs and rings) as preventative, since these parts are often backordered and when am I going to be opening the transmission again? It might be smart to order the parts now just in case- you've got some troubling metal bits in the fluid that tells me you may find some damage.
 
y e s p l e a s e

@Big McLargeHuge the differential design changed in 1995 (hence the different process) and I believe stayed the same up until 2005 from there. (Except the R models which kept the original design but with stronger preload springs)
+1 please!

My 6spd is in the process of getting rebuilt now. Since I have only seen one very high level youtube video on it and no primates having documented it I chose not to risk it. I know enough to be dangerous.

Here's mine getting worked on. Is this the preload tool? I had assumed so. My Honda friend had to borrow it from another shop I believe.

AM-JKLXSog1j67iga8ypoHWR6gOhs-Ok8QgOJwZYHGmvihO-9qswzR-o00SPVIANjmymrOs6oaJ_nhmlTWpFyBwrg71kvU1mZQi1MsgPhUxmc7TUy8W_3Aouawn7wXj-CEcKFdCJbArMJy69j5iRZ7fSMag8ig=w2048-h1536-no
 
Back
Top