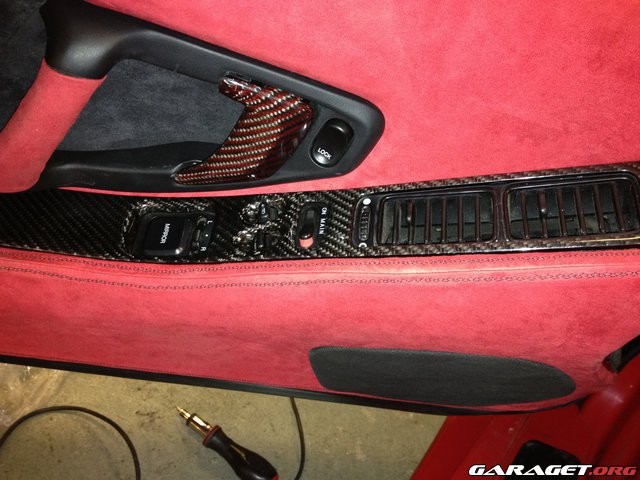
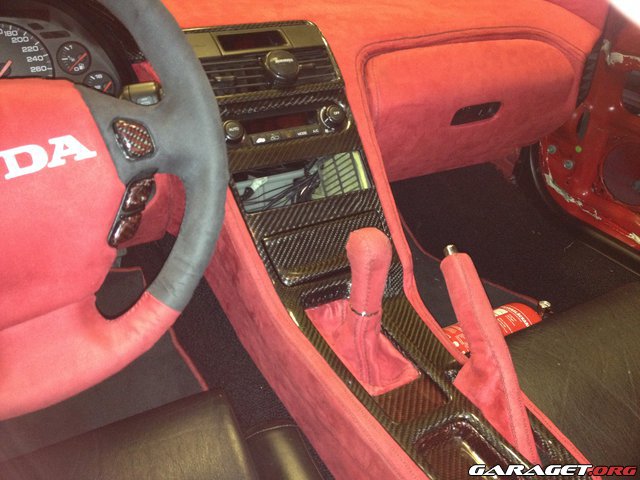
DIY: Interior reupholstering part 1 - The gluing

This is the 100:th post in this thread :biggrin:

Just a small update with some pics. Steering wheel done:


Emma took it out for a spin:


On our way:


Movie:

<iframe src="http://www.youtube.com/embed/J91dT_xuVbg" allowfullscreen="" frameborder="0" height="315" width="560"></iframe>

Vättern by night, is the second largest lake of Sweden. Pretty scenic:


Movie:

<iframe src="http://www.youtube.com/embed/vDbnOBxopOY" allowfullscreen="" frameborder="0" height="315" width="560"></iframe>

Took this before we went to bed, really shows the beautiful lines of the Veilside:


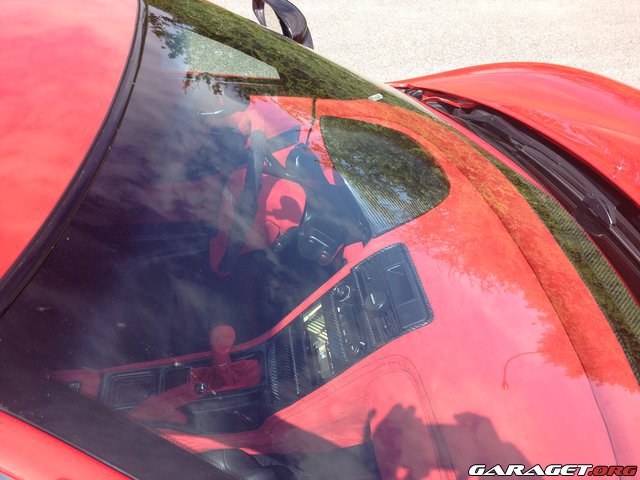
Bad weather on our way home, but the car looks good anyway :smile:


More to come, soon.

//Johan
 
Not directly related to this project but......

Last Fall I used hot glue to recover the lower drivers-side bolster. After being subjected to Texas summer heat it has all unravelled at the edges.

More work to do! This time I'll try contact cement or something else.
 
Lots of hard work. Good job learning how to do it all yourself.

Yes lots and lots of work but I needed to do this, and the car needed it.

Not directly related to this project but......

Last Fall I used hot glue to recover the lower drivers-side bolster. After being subjected to Texas summer heat it has all unravelled at the edges.

More work to do! This time I'll try contact cement or something else.

This is important! I would be set back 100 hours or more if I had chosen the wrong glue.
 
I have ditched the shift knob :eek:

The fabric I use is a bad choice for parts were you will have your dirty, oily hands. It gets really dirty, really fast. So I went with a round, bead blasted SS one from Dali:


That thing is heavy! 400 grams!

I'm waiting for the shorter gear stalk so I can get it down more for shorter shifts.

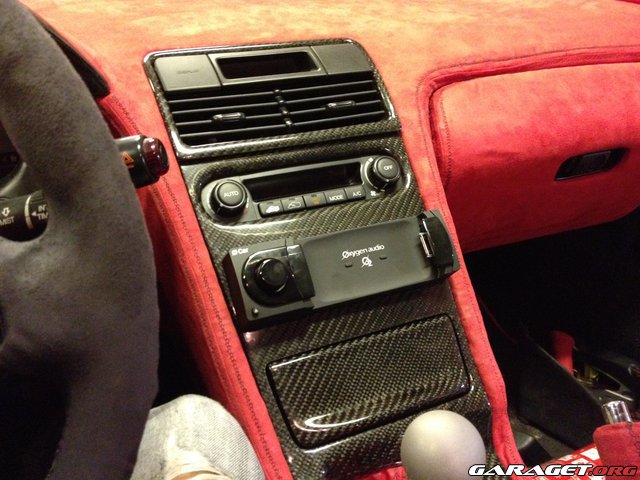
And I got a new head unit for the audio system:


//Johan
 
Last edited:
that looks really REALLY neat! looking forward to hear about how it performs!

I have ditched the shift knob :eek:

The fabric I use is a bad choice for parts were you will have your dirty, oily hands. It gets really dirty, really fast. So I went with a round, bead blasted SS one from Dali:


That thing is heavy! 400 grams!

I'm waiting for the shorter gear stalk so I can get it down more for shorter shifts.

And I got a new head unit for the audio system:


//Johan
 
I am very happy with my shift knob so far. I have a short shift and soon a short stalk too so that extra weight in the knob really helps getting the gears in smoothly.

I have also ditched the steering wheel :wink:

Simple reason. I was not happy with the quality of my work, and the material attracts dirt fast. I went with the Sparco Ring 330 mm with the NSX-R horn button and trim ring. Looks awesome! It was really expensive though... Whole kit went for something like 1k when including shipment and taxes! :eek:

It's tiny


Took this at work this morning :tongue:

'

I got the NRG quick release 2.5, which aids getting in and out of the car, and reducing the risk of theft. Plus I can pretend I am a real racer :biggrin:

Next up for the interior are new seats, audio amplifier and subwoofer but for next season.

//Johan
 
Good choice on swapping out the steering wheel and shift knob. Your old ones looked a bit strange wrapped in in red.
 
Last edited:
now get rid of those orange pants... geez

Did you see page 3?!?!??! I'm gonna go buy like three pair, 'cause this man's doing something right. :D


On-topic, I definitely prefer the new wheel/knob combination. Not as "custom", but it provides a break in having the same visual texture everywhere.
 
now get rid of those orange pants... geez

Såg det inte först men de där orangea byxorna förstör verkligen bilden!!! :)
Men nya ratten är helt rätt.

I've fixed the issue with my pants just for you guys.


Did you see page 3?!?!??! I'm gonna go buy like three pair, 'cause this man's doing something right. :biggrin:


On-topic, I definitely prefer the new wheel/knob combination. Not as "custom", but it provides a break in having the same visual texture everywhere.

THANK YOU! :biggrin:
 
Do you happen to have links to where you bought all the material from?
 
How Do I take the seat bottom off?

Hello Upholstery Meister,

I was thinking of redoing my driver's side seat BOTTOM, (the leather part you put your butt on, lol) Since, you seem to be the Interior reupholstering master, I thought I would ask you how the seat bottom comes off of the seat. And is there a process to remove the leather such that I can put new OEM leather back on it. Is it difficult? Impossible? is it 1 piece at a time or do all three pieces that make up the seat bottom go on at once or any pointers you could mention. Or can anyone chime in, if they have done this?

Thanks!

1) Why did you bump a SIX YEAR OLD post to ask a basic question?
2) Did you bother to look at the Service Manual (Page 20-40)? Find it here http://www.nsxprime.com/wiki/Service_manuals
3) The OP hasn't posted since 2015.
 
Last edited:
You can use fabric acoustic panels These are traditional acoustical treatment boards. Our resin frame fabric sound panels are produced under new technology which largely increases production efficiency and reduces the cost.

If you are a vendor and are promoting your goods you should register as a vendor. Otherwise pretty useless first post. Congrats.
 
Back
Top