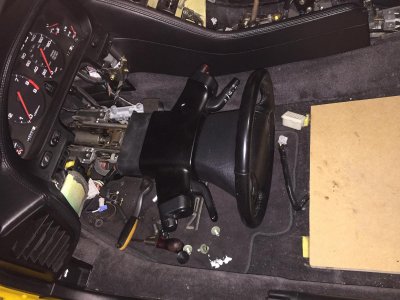
• Protip: Profile posts are public! Use Conversations to message other members privately. Everyone can see the content of a profile post.

Is the steering wheel supposed to move?

IMG_0990[1].jpgThanks very much for the reply. I went under and the white plastic seems to be in place.
I think I got mixed up with the issue in the thread, the problem with the steering column moving vs the steering wheel. The rivots seems in place since they don't move when I pushed on the column.
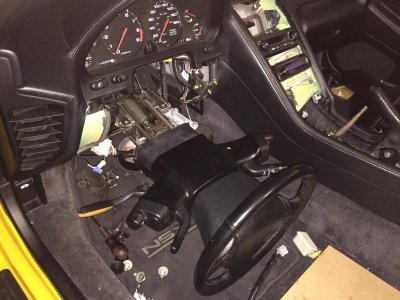
It's my wheel that is moving with free play from side to side about an inch. I was told there are bushings and inner and out tie rods that might be the problem.
I bought a set of oem wheels and it had oem tires but I misjudged their grip and hit a side walk curb and misaligned my steering wheel to the right to keep the car driving straight.
I had alignments done twice but still the free play and alignment was off so not sure what is broken inside.
Thanks for the help
 
Thanks for the help
Thats fine, the above info will still be useful for GraemeD as his rivets are broken. Good luck with your steering problem, if its a pwr str car a hit like that can cause expensive grief!
 
Last edited:
In graemed post, I think those alloy wedge things are supposed to be attached to the column with 3 rivets. His are loose and rotated 180. It seems the idea is that the wedge "gives " a few mm if the car has a crash, and shears those rivets, and take some shock out of the steering wheel to drivers wrist junction! The photo below shows the wedges in position and riveted. The LH side shows the restraining strap in position. RH side shows strap moved forward so you can see the wedge in the correct position. If those wedges are not riveted you will get sideways column movement when cornering hard. I guess the rivets are Aluminium Alloy so they give, you will see what material they are made of when you drill them out.
They are not "rivets" that hold the block in place. They are holes that are injected with nylon. The nylon solidifies and acts as a shear point. in your photo, it looks like someone installed those aluminum rivets. I did not want to loose the collapsibility of the column, and feel replacing nylon with aluminum changes the force required to shear too much and would compromise safety. I ended up drilling out the sheared nylon, cleaning the parts. I made a jig to hold the blocks exactly the correct distance apart, sprayed mold release agent on the wedge (to prevent the epoxy from bonding the block to the column) and then using an aerospace grade epoxy fill the free space between the wedge and blocks plus injected the epoxy in where the nylon used to be. Let it cure and reinstalled the column. Nice and tight again, and in a crash the blocks will break away like they are supposed to. I am not sure if the force required is the same as the original, but I feel it is better than replacing them with solid aluminum rivets (IMO)
 

Attachments

  • image.jpg
    image.jpg
    61.9 KB · Views: 145
Last edited:
Hi Graeme, Thats a neat job and should work well. I just checked on some old photos and in the 3 I have looked at closely including a 94, 96 and 99 NA2 one had pop style alum rivets, the other 2 the same aluminium solid rivets. Maybe they changed the spec for USDM from JDM / RH drive. Like lots of things on the NSX they do vary more than I would have thought. Cheers Scott
 
Hi everyone !!! My first shout will be a big thank you to GraemeD for sharing his solution !!! I did have the exact same problem... and it is now solved !!! :rolleyes:

So I also wanted to share my experience here... Inspired by GraemeD's solution, I went a slightly different way : instead of using epoxy resine, I decided to try to fill the 6 holes with a glue gun.

The result is just like OEM fitment !!! No more side moves at all of the steering column !!! Will see how it resists all along the months, years... :biggrin:

attachment.php
attachment.php
attachment.php
attachment.php
attachment.php
attachment.php
 

Attachments

  • IMG_3912.jpg
    IMG_3912.jpg
    280.1 KB · Views: 281
  • IMG_3915.jpg
    IMG_3915.jpg
    221.1 KB · Views: 277
  • IMG_3916.jpg
    IMG_3916.jpg
    240 KB · Views: 278
  • IMG_3919.jpg
    IMG_3919.jpg
    215.3 KB · Views: 274
  • IMG_3920.jpg
    IMG_3920.jpg
    230.9 KB · Views: 274
  • IMG_3921.jpg
    IMG_3921.jpg
    269.5 KB · Views: 272
Back
Top