Mod of the Day

Hi there,
can you tell me where you bought the center console and how much you paid for it?, looks perfect, I'm thinking of buying one in carbon or one just like yours for a double din, but I want a perfect fit and I do not know who sells them.
Thanks and keep goin whith the good work, looking good.


09-05-11_2247.jpg


09-05-11_2248.jpg


09-05-11_2249.jpg


09-05-11_2253.jpg


09-05-11_2252.jpg


...and the look I'm going for
PushStart.jpg


SOS car cover placed in a ...custom... bag lol
IMG_4024.jpg


IMG_4025.jpg
 
Hi there,
can you tell me where you bought the center console and how much you paid for it?, looks perfect, I'm thinking of buying one in carbon or one just like yours for a double din, but I want a perfect fit and I do not know who sells them.
Thanks and keep going with the good work, looking good.

Nice work!

I have a question, where you buy the double din console frame?

Thanks

The center console I purchased from BerzerkFury02 from this forum. To my knowledge it was the only one he made. I placed a wanted to buy ad and he replied. Shortly thereafter Prime moderators got a hold of him and after a falling out he was banned. Something about not providing an address. Talking from e-mails he has no real interests in making these anymore. I paid $280 all in with the ash tray door and shipping to Canada. The shipping alone was probably $40-$50. The address that it came from was a Texas address. Not sure what the real problem was but Daniel always kept me in the loop of what was going on and he kept my name confidential in while he was arguing with the lawyer/moderator.

Revision.jpg
 
Last edited:
My weekend mod was the SOS screen and navigation install. The parts used were:

Science of Speed 7" screen
OEM Honda navigation pod
Xory72 navigation pod holder bracket
Science of Speed double DIN bracket and harness
Pioneer AVIC X930BT
Pioneer 920XM satellite radio module
Hasegawa Kitagawa Sigma ( aka HKS) CAMP 2

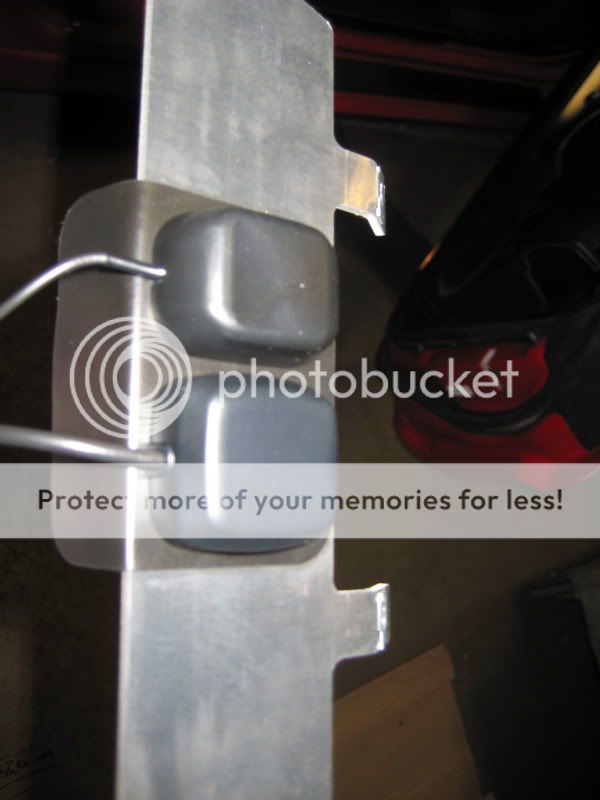
First step was to mount the remote control sensor into the machined plate. Science of speed says to silicone the sensor into place but I decided to use some foam tape which the aluminum bracket then holds down.

IMG_4292.jpg


IMG_4293.jpg


IMG_4295.jpg


Testing the screen a little bit to make sure it works
IMG_4320.jpg


IMG_4274.jpg


IMG_4275.jpg


IMG_4276.jpg


IMG_4278.jpg
 
Next step is to remove the OEM Honda felt tape from the sides of the nav pod
IMG_4303.jpg


IMG_4304.jpg


....and then you begin to cut apart the piece of plastic that Honda charges too much money for. The first two shots are the tabs that need to be trimmed. The screen can't really go forward with those tabs in the way. I suppose you could leave the tabs on but it wouldn't look very good. For cutting I just used a regular razor blade and just pushed it along with my fingers. The plastic cuts away easily.
IMG_4305.jpg


IMG_4306.jpg


IMG_4307.jpg


IMG_4308.jpg


IMG_4309.jpg


IMG_4310.jpg
 
IMG_4311.jpg


What it should look like after trimming
IMG_4312.jpg


IMG_4313.jpg


IMG_4315.jpg


Test fitting the Xory72 bracket. It attaches to the factory mount in the car where the clock used to be. The upper screws go through the nav pod and hold it down very nicely.
IMG_4317.jpg


IMG_4316.jpg


I loosely tied the screen controls away from the mounting points since they are not necessary.
IMG_4318.jpg


IMG_4319.jpg
 
I cut the silicone nozzle at an angle but it's not necessary. Also after this picture I ended up cutting more off since it wasn't coming fast enough
IMG_4321.jpg


IMG_4322.jpg


IMG_4323.jpg


More to come for the screen later but you have to let the silicone dry over night.

I bought a half height antenna and fog light switch from Australia. My plan was to wire the switch in between the antenna lead from the stereo to the actual antenna thereby having control of when it goes up and down (it's way too tall and really ugly). I succeeded at doing that but it also turns out that the same lead turns on the amplifiers in the car. So when I push the button the antenna goes down and the sound turns off but everything else still functions. I'll probably leave it like that for now considering the antenna lead is in a plug where you have to take the dash board off to get to. While I was at it I also wired the internal lights of the switches to the parking lights so they turn on with all of the other lights. The donor plugs I got were from a 1999 civic. There is a yellow 5 pin plug behind the cluster which plug right in to the antenna switch as well as the same green plug somewhere around the blower motor ion the inside of the civic. Both plugs work. The 6 pin switch was a bit more tricky to find and in the end I didn't get one. I made a 5 pin one work and an extra pin.
04-06-11_1535.jpg


04-06-11_1536.jpg


04-06-11_1537.jpg


04-06-11_1538.jpg


04-06-11_1616.jpg
 
IMG_4327.jpg


While I was at it some of the light bulbs were burnt out so I had to replace them. I bought some 12 volt light bulbs from The Source for $5 and replaced them. It was really easy and the bulb condoms fit on nicely.
IMG_4337.jpg


IMG_4339.jpg


IMG_4340.jpg


IMG_4341.jpg


IMG_4342.jpg


IMG_4345.jpg


The heated seat lights don't match all that well but they're close enough
IMG_4344.jpg
 
With the condom on the fog light indicator
IMG_4346.jpg


IMG_4347.jpg


After this I started taking apart the center console

IMG_4329.jpg


IMG_4330.jpg


IMG_4331.jpg


IMG_4332.jpg


In case anybody cares here is a short video of the vents doing their thing as I push the climate control buttons
<object width="425" height="344"><param name="movie" value="http://www.youtube.com/v/CaNDlu8rjC0?hl=en&fs=1"></param><param name="allowFullScreen" value="true"></param><param name="allowscriptaccess" value="always"></param><embed src="http://www.youtube.com/v/CaNDlu8rjC0?hl=en&fs=1" type="application/x-shockwave-flash" allowscriptaccess="always" allowfullscreen="true" width="425" height="344"></embed></object>
 
Last edited:
This is the replacement vent piece
IMG_4394.jpg


IMG_4395.jpg


This is the antenna adapter ($13 at Certified Radio) which allows me to use both the mast and glass antennas with both feeds going into the nav.
IMG_4396.jpg


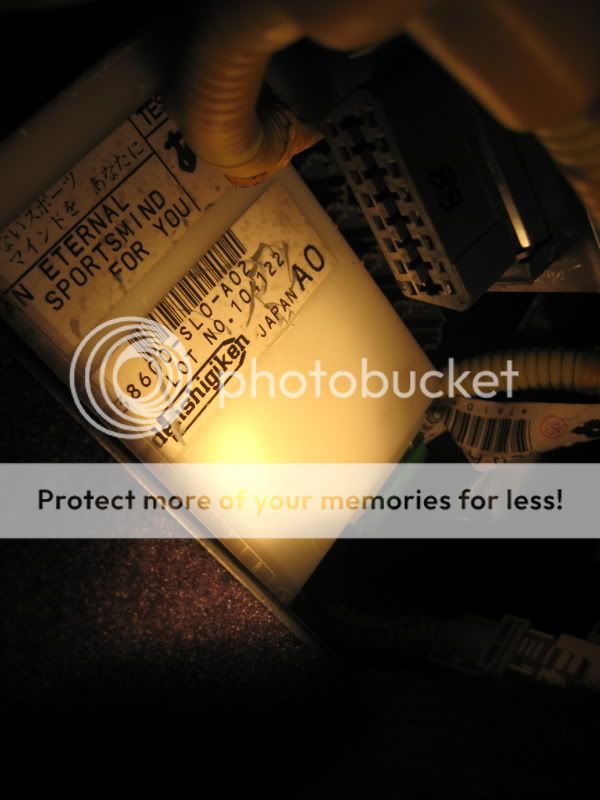
An eternal sports mind for me
IMG_4335.jpg


First thing I did for the navigation is to get the speed sensor wire. There is a convenient one going to the gauge cluster thereby making the wire have a short run to the stereo
IMG_4336.jpg


It is the orange wire
IMG_4353.jpg


IMG_4351.jpg


IMG_4350.jpg
 
I needed to find a place for the XM module. Since my car is a 2005 it doesn't have a bunch of clunky electronics in the "computer stack" There is plenty of room to mount the module there as well as the excess wiring and HKS module
IMG_4368.jpg


IMG_4369.jpg


IMG_4370.jpg


IMG_4371.jpg


IMG_4372.jpg


I mounted the XM and GPS antennas on the Xory72 nav pod bracket. This brings the antenna right to the top of the dashboard since they won't stick to the outside of the car (refer to high school science class if you don't understand why)
IMG_4373.jpg


IMG_4374.jpg


IMG_4375.jpg
 
IMG_4376.jpg


IMG_4377.jpg


I ran the Bluetooth microphone along the A-pillar
IMG_4385.jpg


IMG_4387.jpg


The OBD2 port is located up high in the driver's side foot well
IMG_4361.jpg


IMG_4362.jpg


The HKS OBD2 plug has twice the amount of wires as the NSX does
IMG_4389.jpg


IMG_4390.jpg
 
IMG_4391.jpg


IMG_4392.jpg


IMG_4393.jpg


Wiring some of the switches up
IMG_4399.jpg


IMG_4397.jpg


IMG_4398.jpg


I opted not to use this connection that comes with the SOS screen. Instead I cut off the plug and soldered the wires in directly to the car while still keeping the fuse)
IMG_4401.jpg


The HKS unit is not entirely plug and play as it needs a power source. HKS says to use the cigarette lighter but you can also power the pink wire up by connecting it to 12 volt accessory with the provided fuse and wire.
IMG_4405.jpg
 
The lights look more even in real life. My camera is just a point and shoot
IMG_4459.jpg


IMG_4461.jpg


Some general first impression shots
IMG_4403.jpg


IMG_4404.jpg


IMG_4406.jpg


IMG_4409.jpg


The coin tray is a little bit out of line. The mounting points aren't tall enough at the back which causes everything to shift when you tighten it down. I added some plastic material onto the end and it seems to be holding up. There is no mistaking it's aftermarket though.
IMG_4407.jpg


IMG_4408.jpg
 
IMG_4441.jpg


The nav pod screw covers. You see some cars without them and it looks really bad.
IMG_4445.jpg


IMG_4446.jpg


IMG_4449.jpg


20-06-11_2005.jpg


A strange thing with the NSX is it doesn't let you go full throttle according to the CAMP2. I would laugh if that was the way they got the NSX-R to be bit faster. I'm going to try and put full voltage to the DBW system at the throttle body and see if it opens fully. Unless someone knows of an easier way. I assure you I was practically standing on the pedal and 86% is all I got.
IMG_4488.jpg


IMG_4466.jpg


IMG_4467.jpg
 
KW's look like they've been on for many years
IMG_4433.jpg


Also put a NSX vanity plate on
IMG_4437.jpg


IMG_4438.jpg


Also had to drive back to Edson today to meet with the old landlord. KW's on the highway were really nice. The ride was as good as stock. Down the dirt roads it was a different story and the washboard type roads gave the ABS a hell of a workout. Also a fun fact: the NSX-T weighs 1420 kg according to a truck scale. This was me not in the car with about 55% of gas in it.

22-06-11_1411.jpg


22-06-11_1810.jpg


22-06-11_1811.jpg


22-06-11_1812.jpg


IMG_4481.jpg
 
Last edited:
Awesome thread, though it should be in the build thread imo. Also a pic says obd2 in drivers footwell, but abother pic says empty obd2 port and pic is of passanger side. Is it on drivers side?
 
Freakin' awesome work 99rs!
 
Back
Top