• Protip: Profile posts are public! Use Conversations to message other members privately. Everyone can see the content of a profile post.

Down Under Trackday NSX

Coming together nicely Fraser... but cutting the roof off to put roll cage in seems radical !! Mind you I'm getting the impression you're a bit that way ... :cool:

Looking forward to photos of the air jack mountings, and the "secret squirrel" bits :smile:

But what are the "wirless scales" you alude to ??
 
Well there's only 2 ways that we can get to the top of the main hoop to weld it properly and that is to remove the roof or to cut holes in the main sills on either side of the car so you can lower the cage through the holes to that you can get to the main hoop and then push them up and seal up the holes in the sills.

I preferred the ideal of removing the roof as I've got a spot weld removal tool so it shouldn't be a huge amount of work.......... then again I'm saying this before I've started it :)

The scales I'm referring to a corner weight scales to put the car on so I can measure the weight of the car as a total, but more importantly side to side and also across the corners to make sure we've got it balanced.

These are helpful when you're setting suspension heights and stuff as when ever you reset the suspension it'll also reset the balance of the car due to weight transfer......... The ones I have are wireless as normally you have wires all over the place from each scale back to the control box.

http://www.intercomp-racing.com/Products/SW777RFX_WIRELESS_PROFESSIONAL_SCALE_SYSTEM_903.cfm
 
Well it's been a good while since my last update, so sorry for the lack of ongoing pics and info, but there hasn't been that much happening since we've been waiting for the car to come back from the chassis engineers and they had a holdup for 3 weeks with their machine so we got put in a holding pattern.

Good news is that the chassis is now been measured up all good and we've got a map so we know where everything is at for setup later on which was the main point of that process.

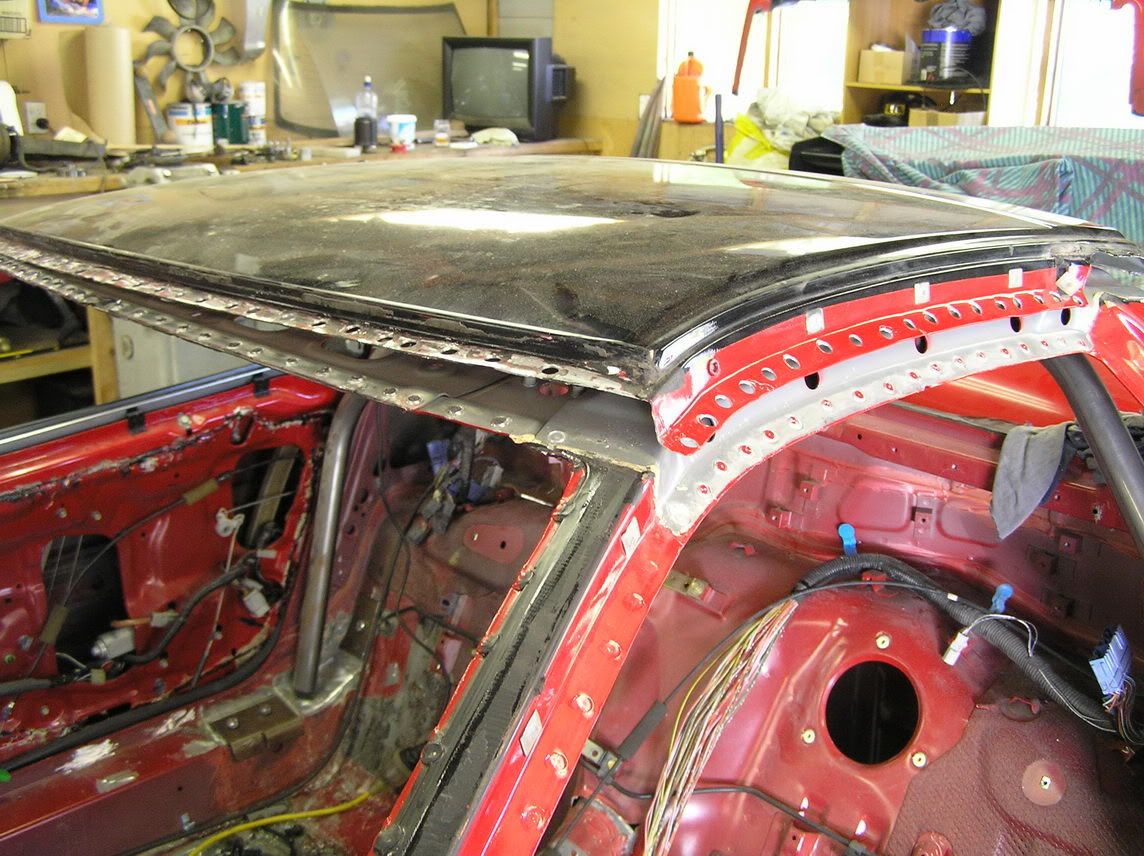
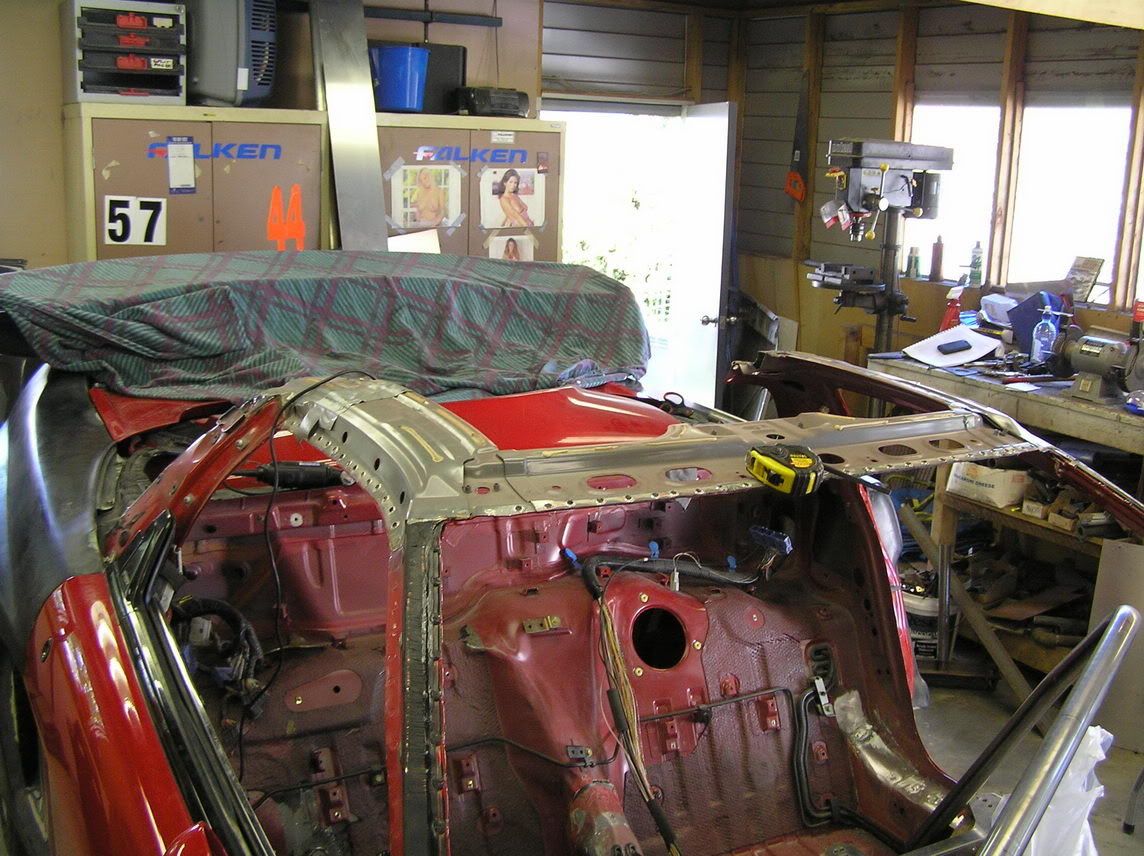
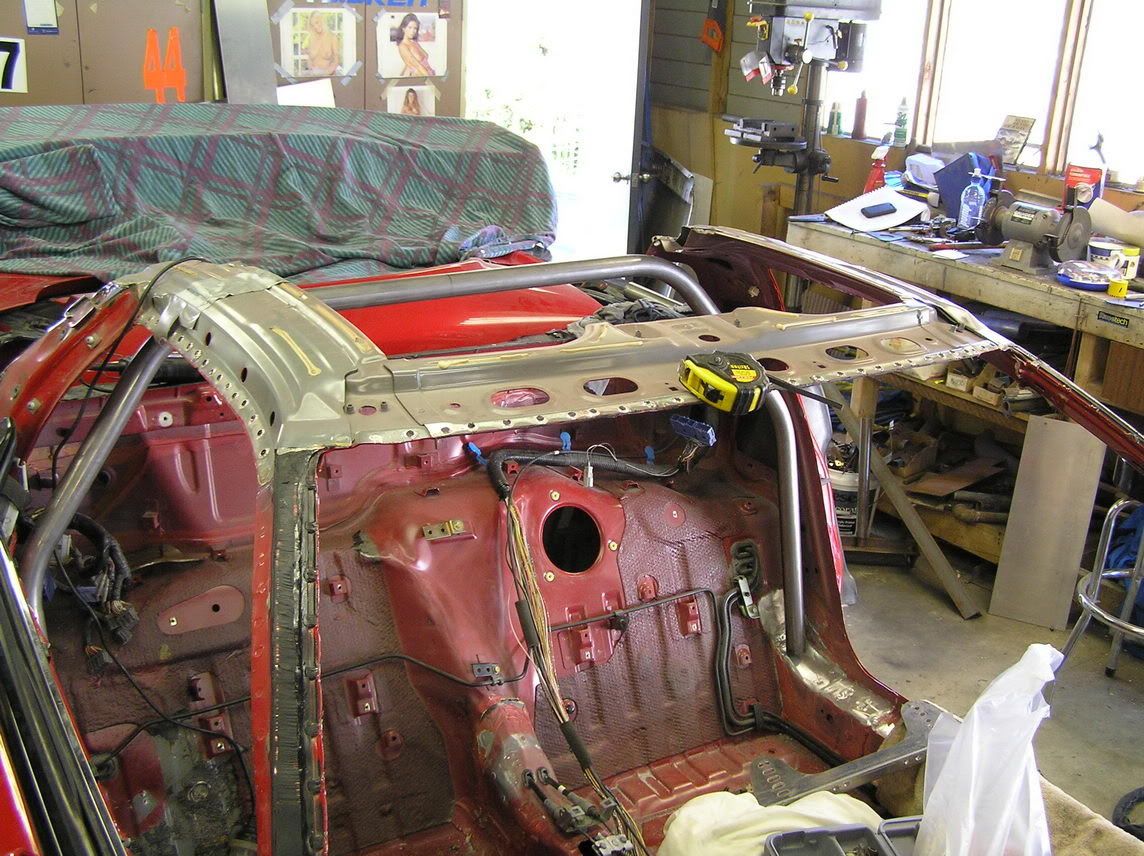
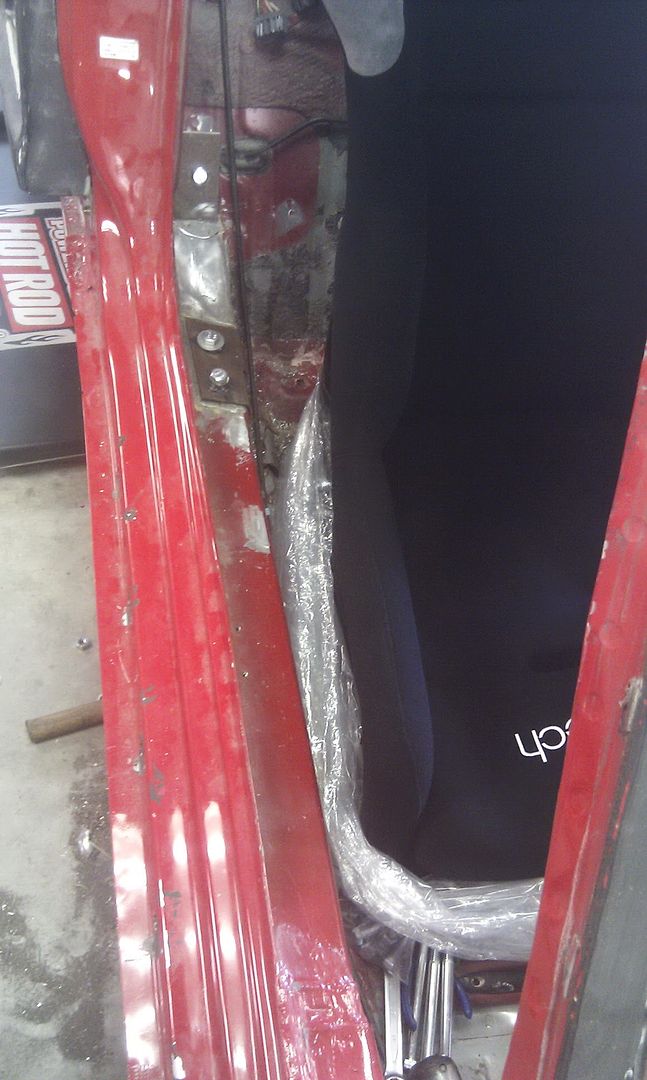
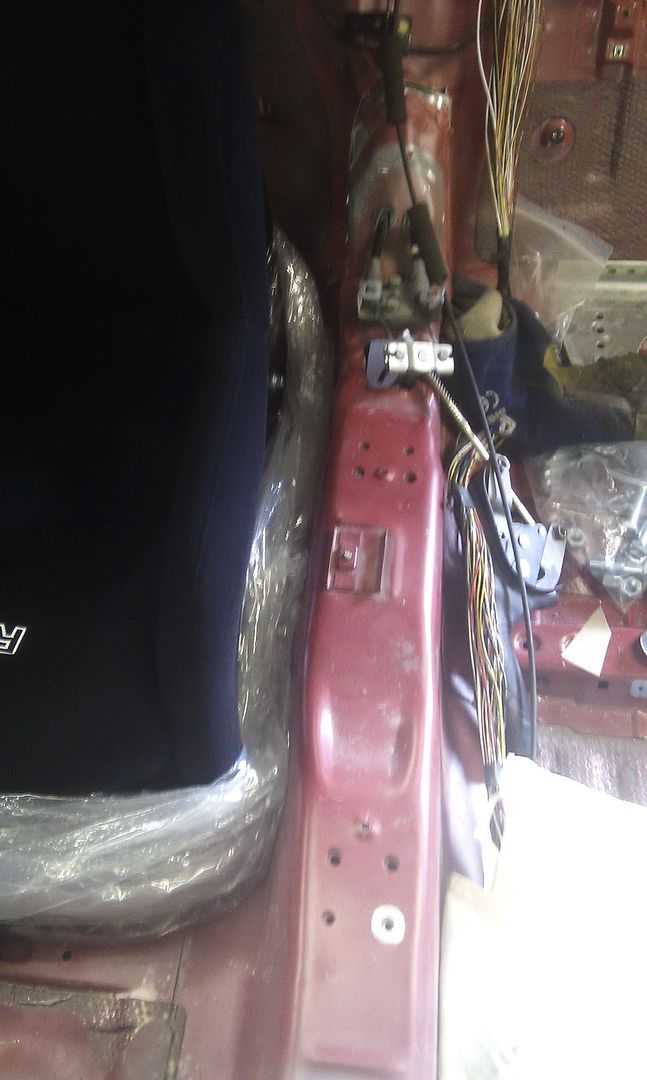
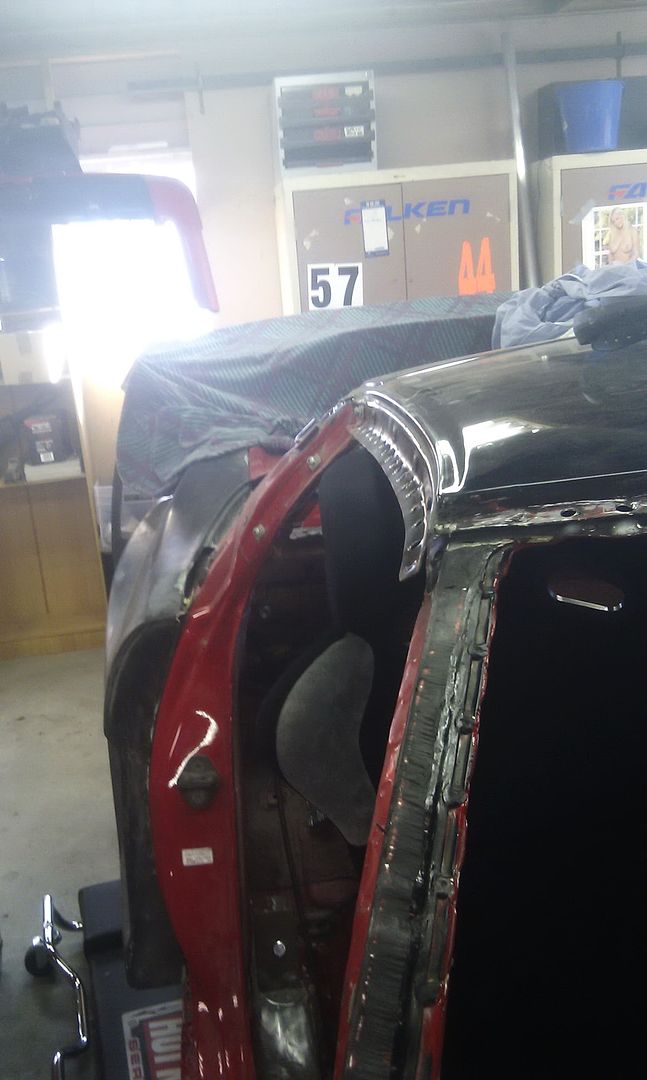
I got started removing the roof which wasn't as bad as I'd expected, but was still a mission. Bought myself a great little weld removal tool which worked perfectly in the most part (there's a pic of the round holes in the roof it leaves). That also means we can use the hole to realign the roof when it comes time to weld it back in place. Then once I got the top skin off I then had to start on the underneath skin / bracing which was much tougher as it's thicker also, so not the car looks like a T-Top........... but we've got the access we need to get the cage in and welded.

P1010049.jpg

P1010050.jpg

P1010044.jpg

P1010045.jpg


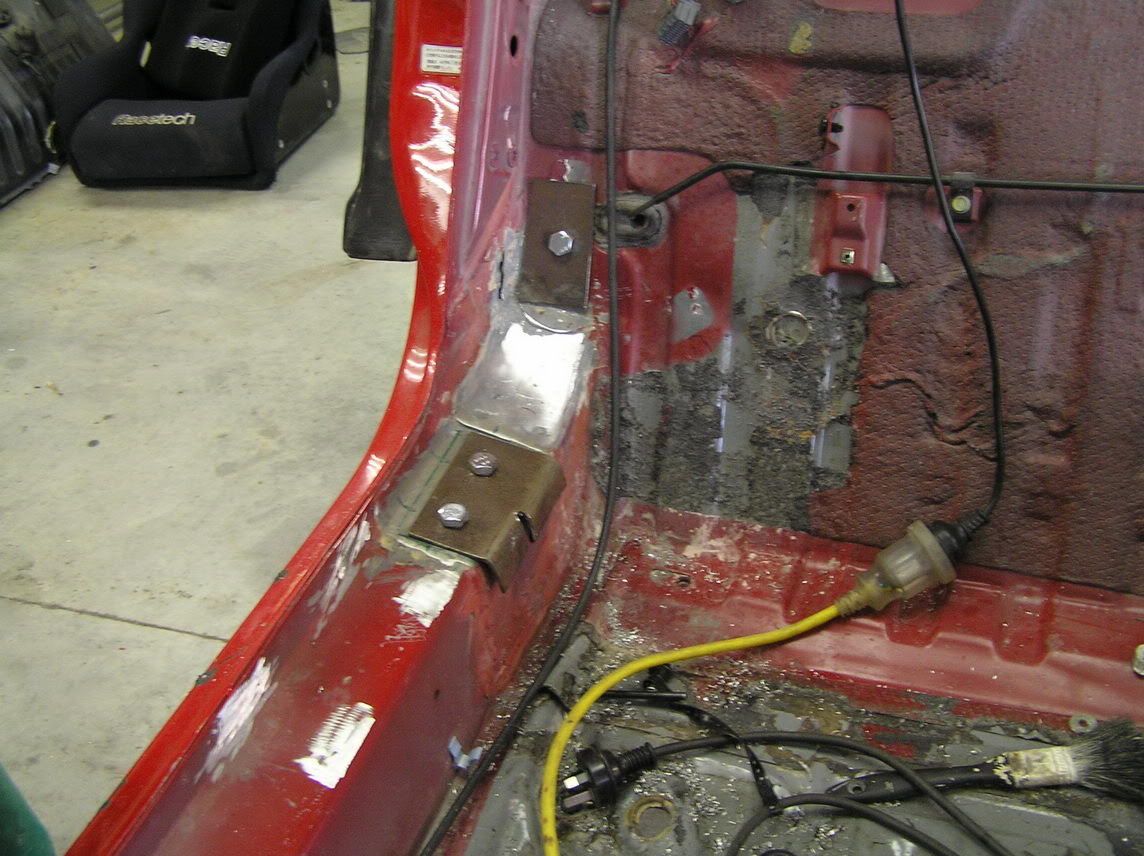
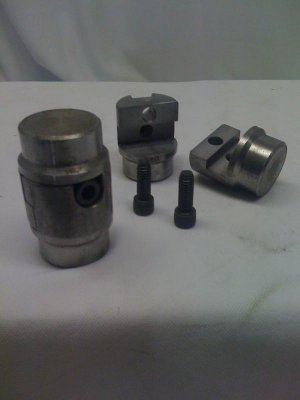
Steve then started making the footplates for the cage which have to be glued and bolted to the aluminium chassis rails and then on top of that will be welded a second landing plate which is where the cage itself is welded.

P1010046.jpg


I cleaned up and prepped all of the areas where the plates will need to be bolted and glued to and then Steve drilled the holes through the main chassis rails for the steel crush tubes which will go between the steel plates.
P1010047.jpg


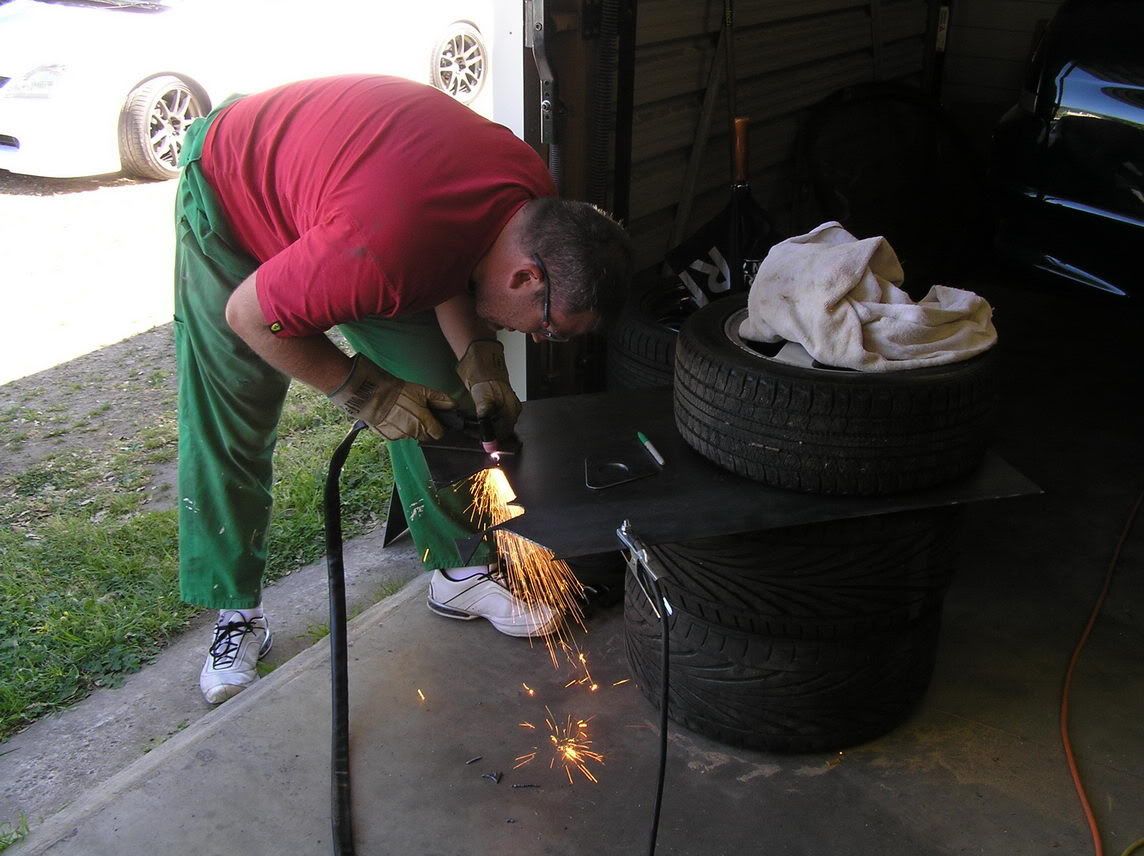
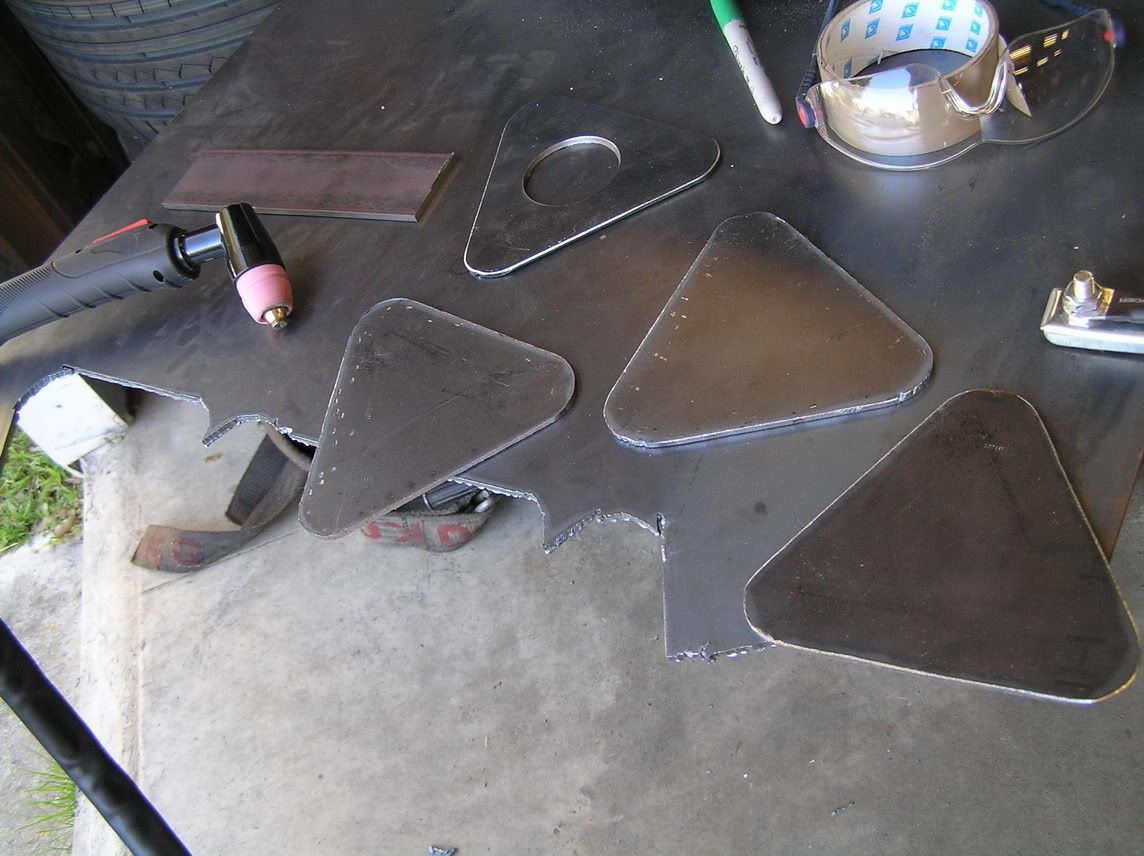
Then came the moment to use our new welder / plasma cutter ............ (Tim Taylor moment........) to cut out some plates for the top of the strut towers which will in turn hold the tube upright which will then in turn be the mounting point for all of the bars coming from the main cage and the cross bars between strut towers.......... first time using a plasma cutter and they're an amazing bit of kit......... sliced through some 4mm steel plate like butter...... awesome.

Here's the end result.
P1010051.jpg


Action shot !!! LOL
P1010052.jpg

P1010054.jpg


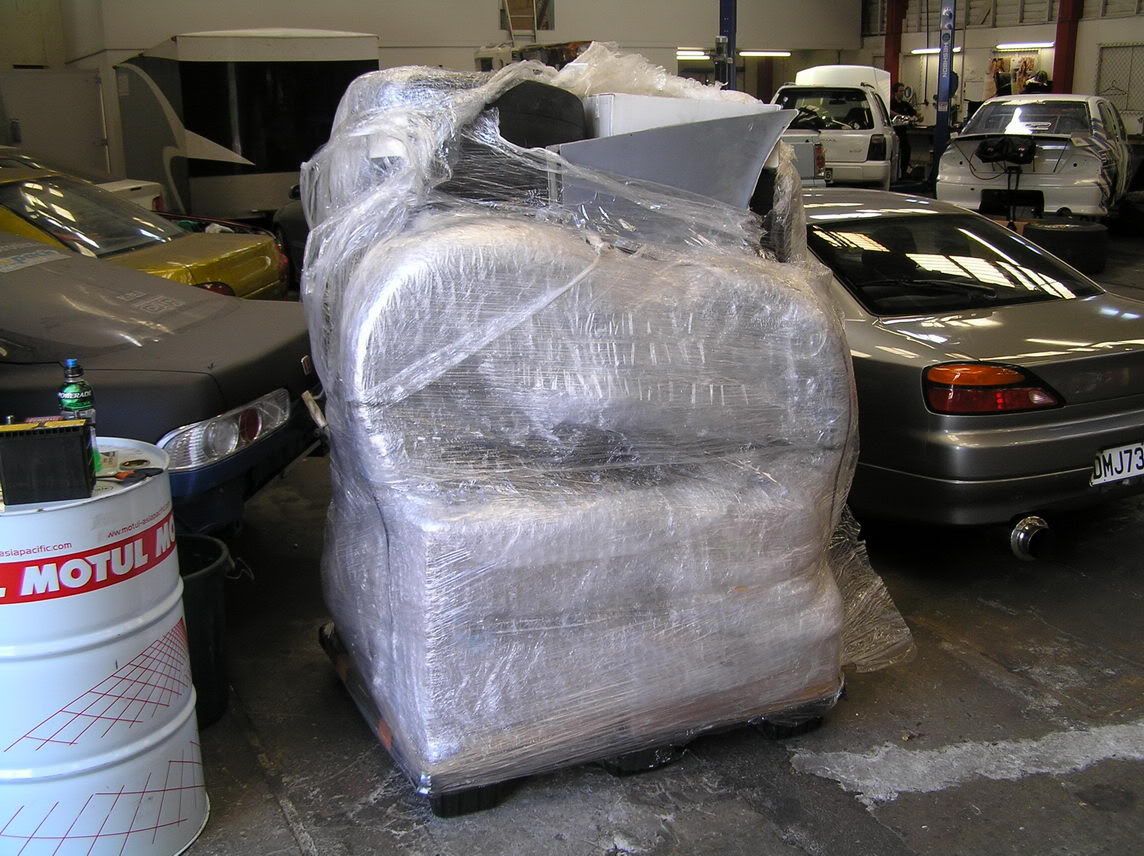
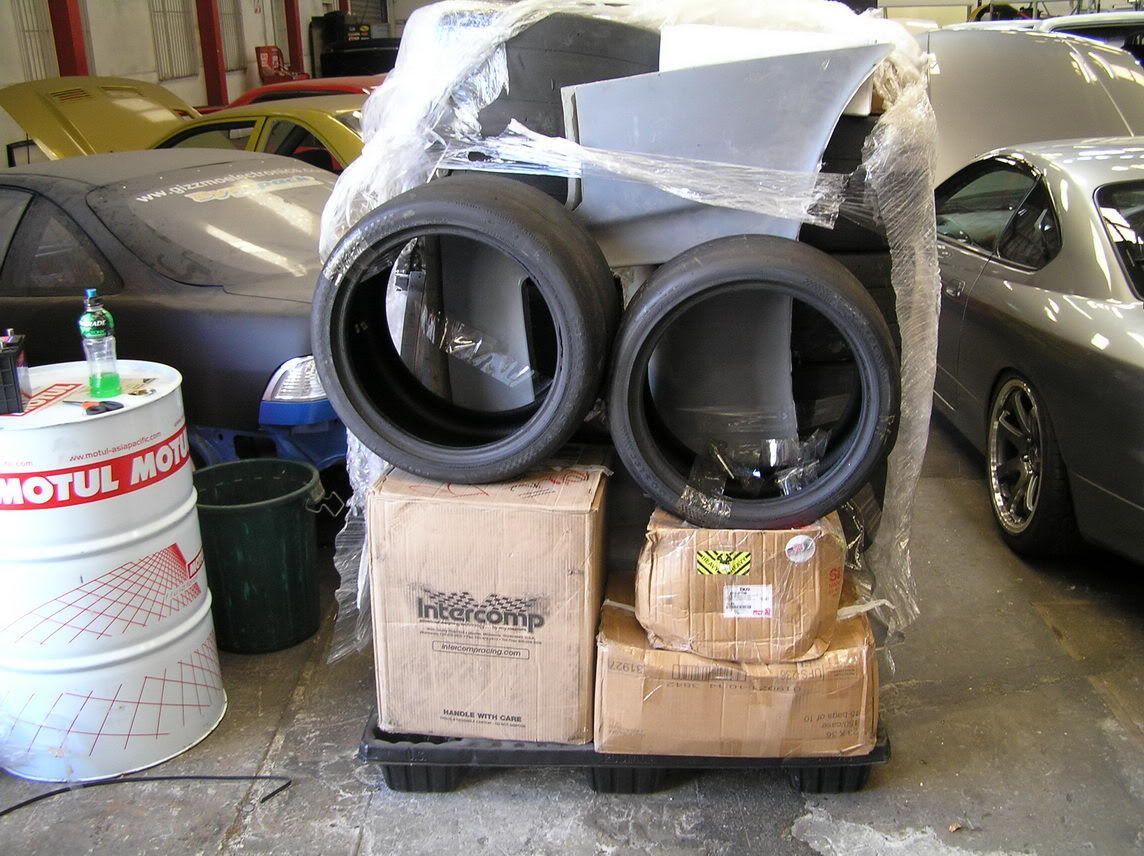
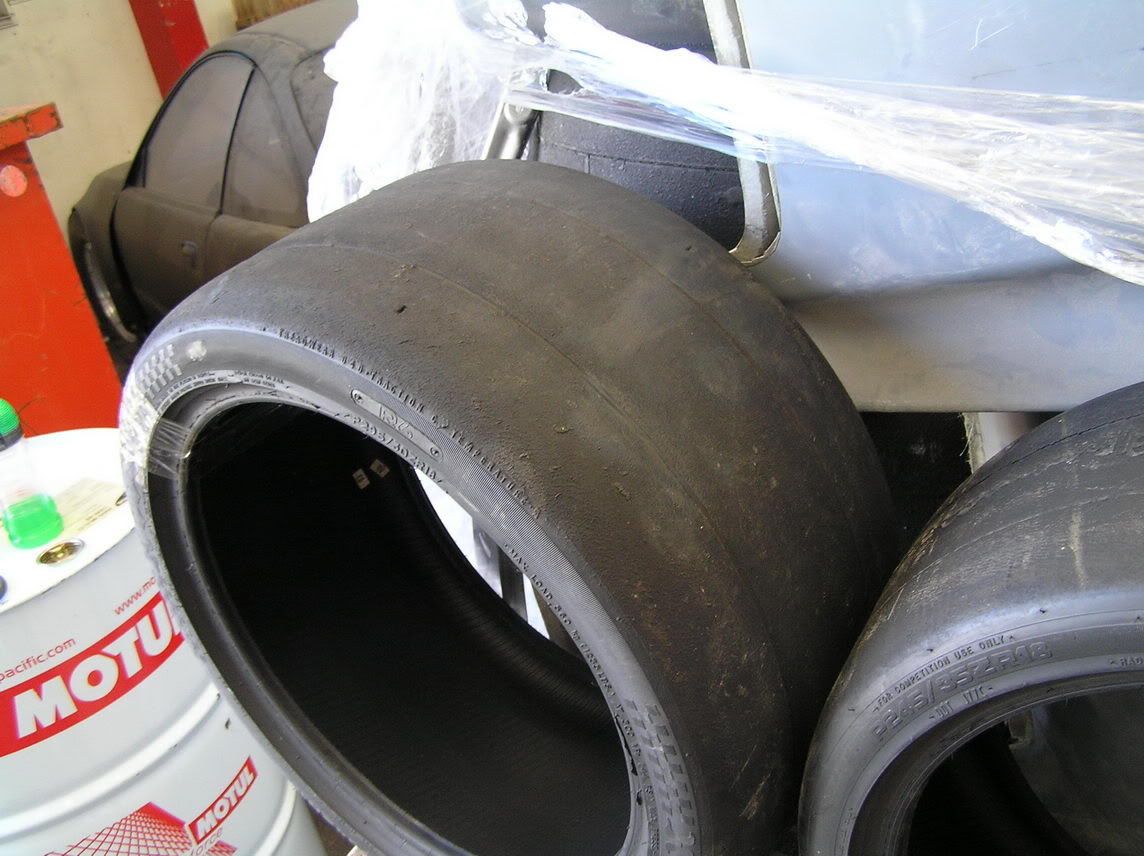
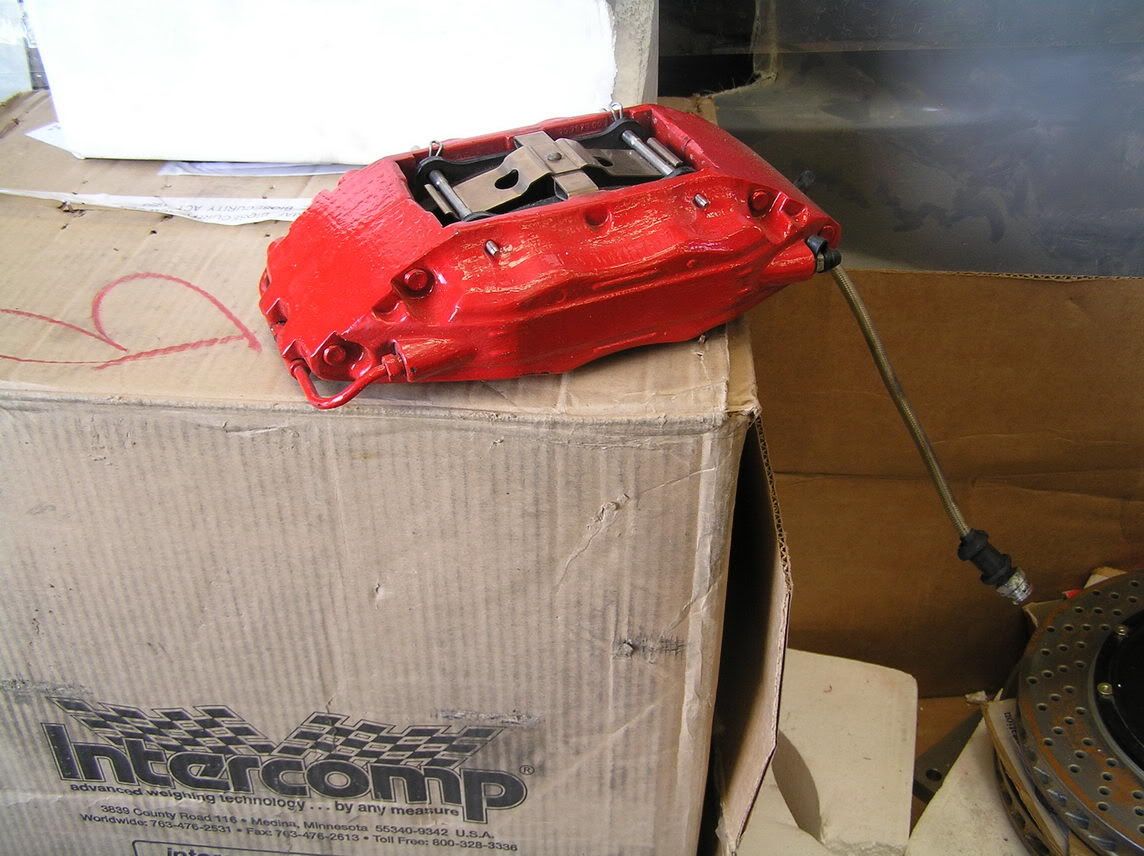
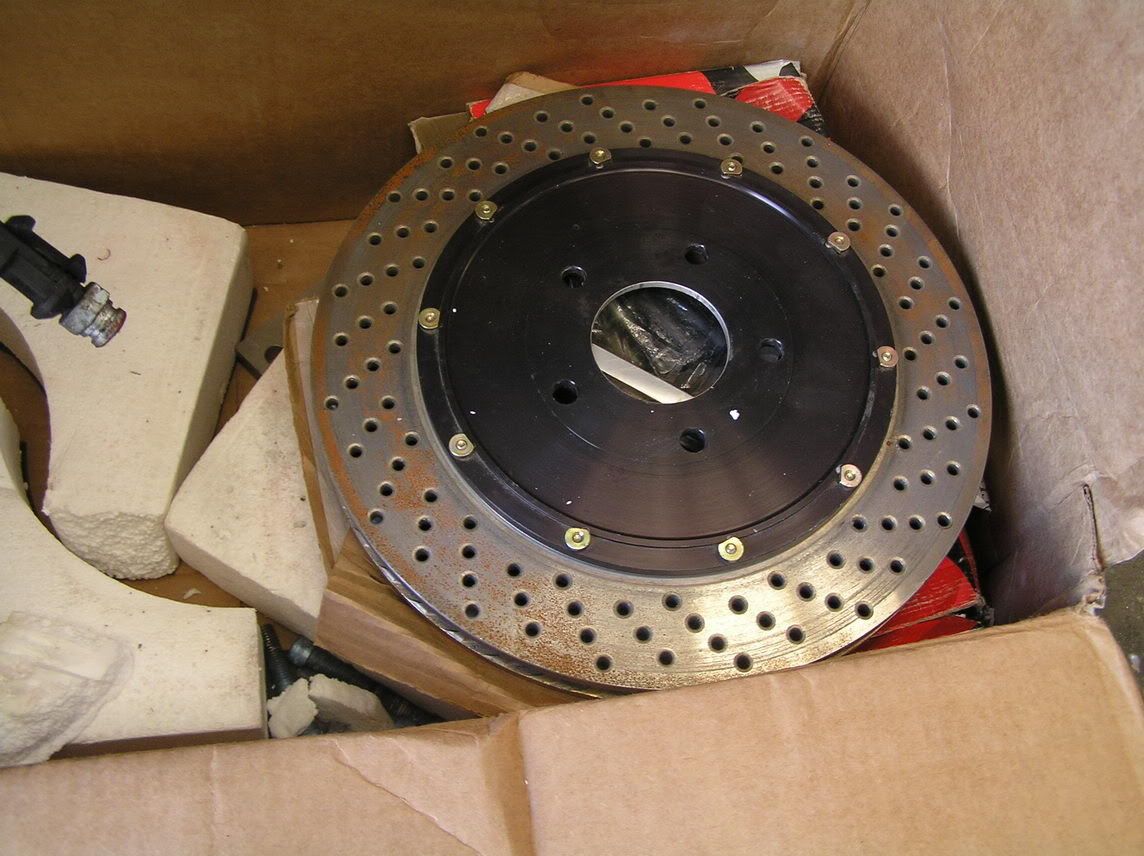
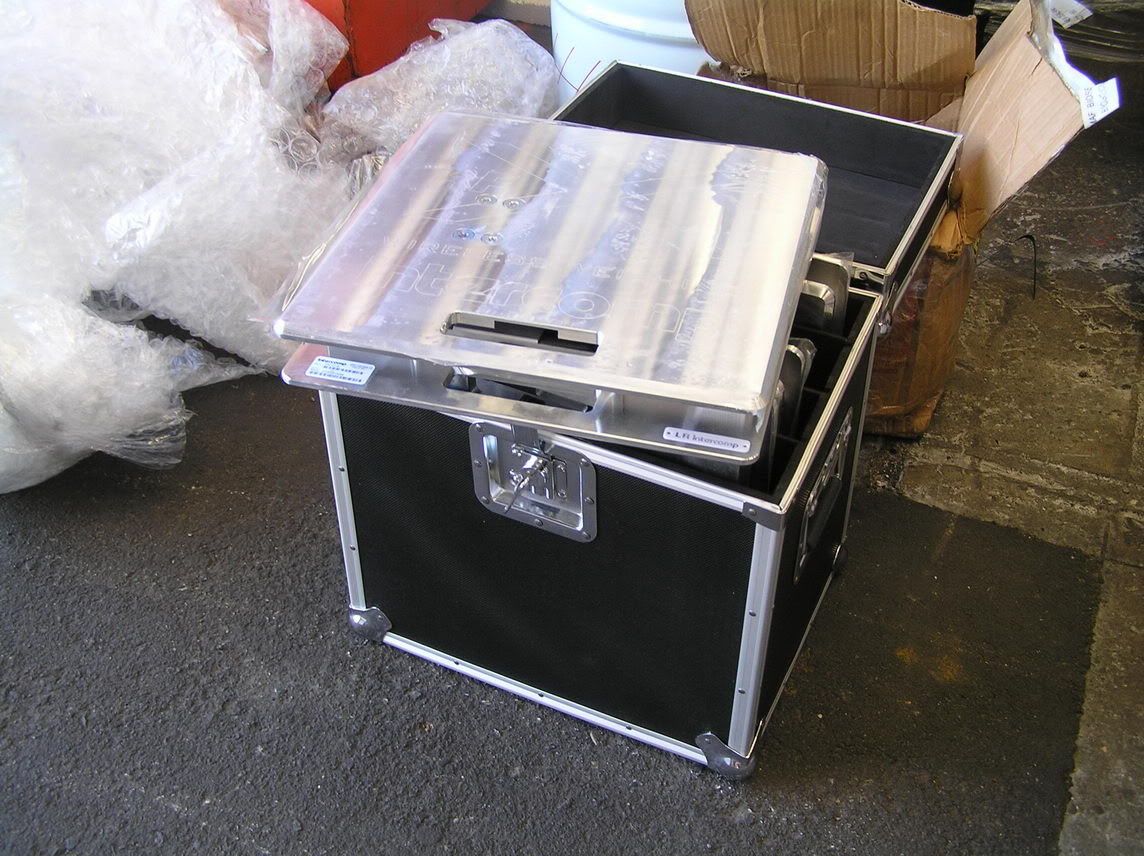
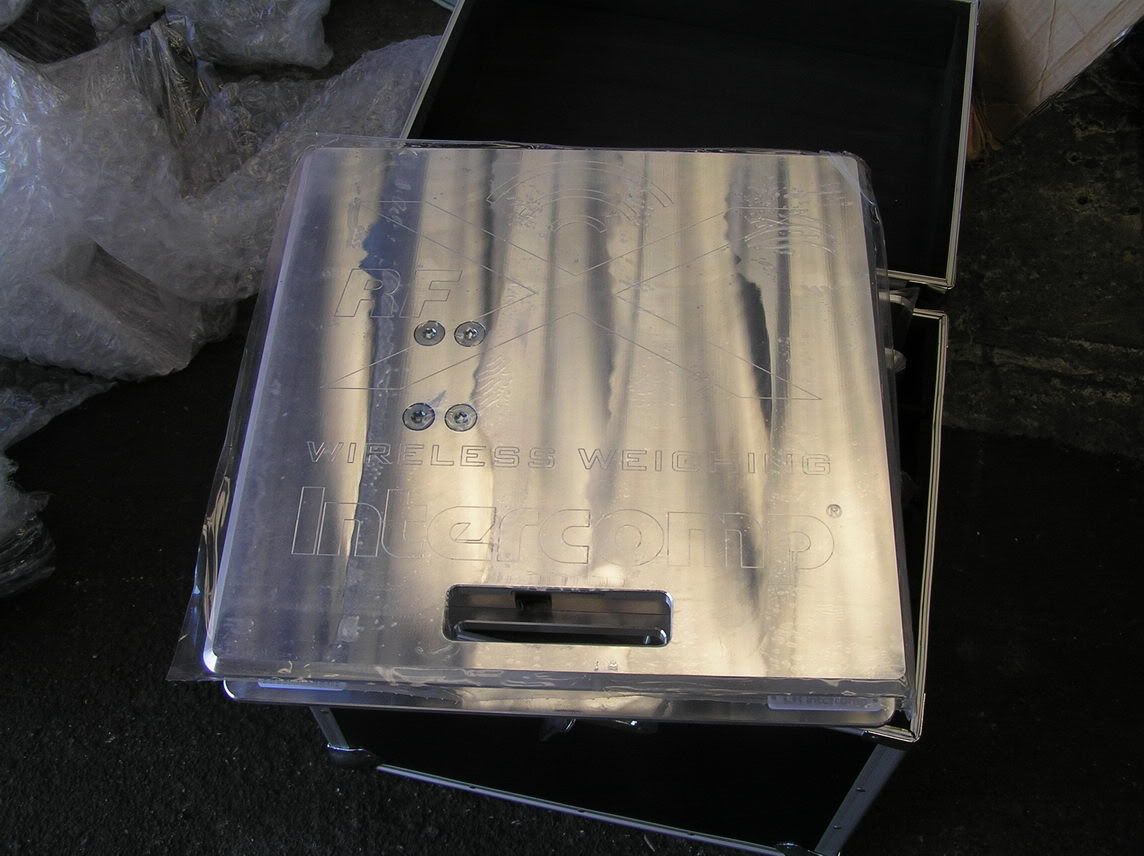
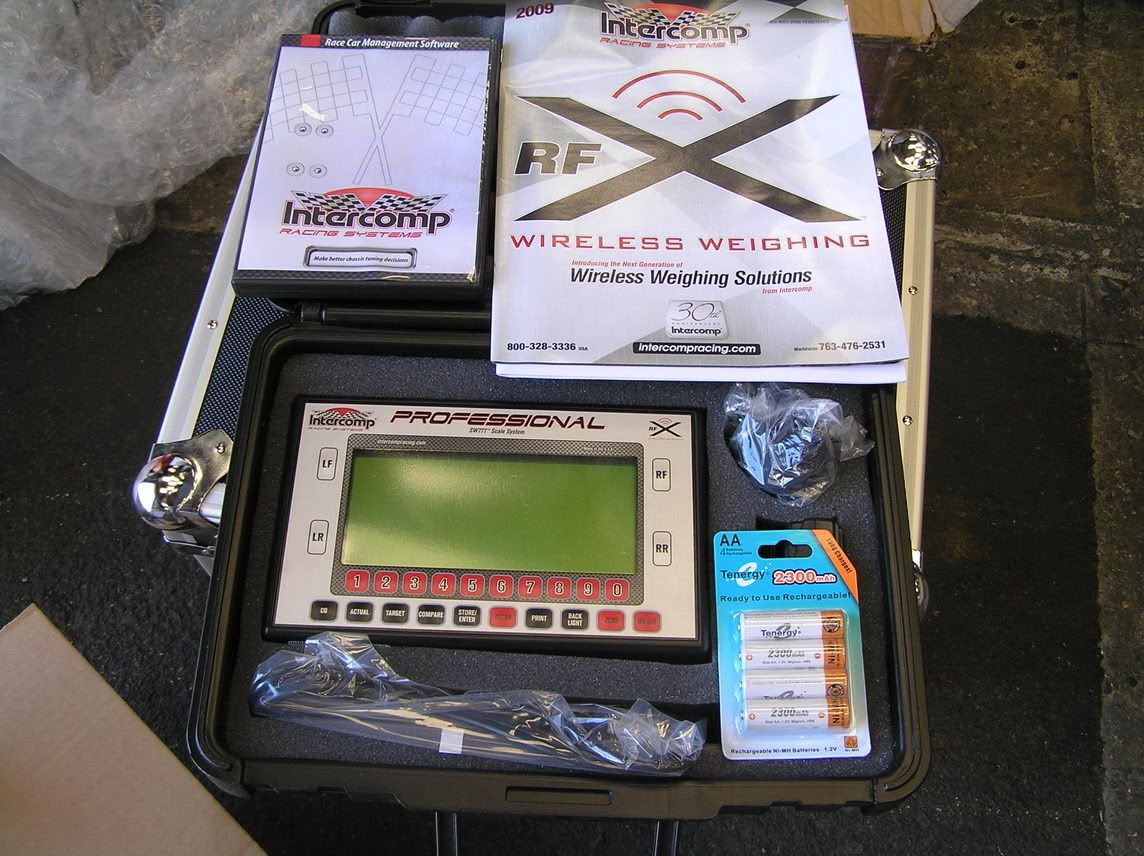
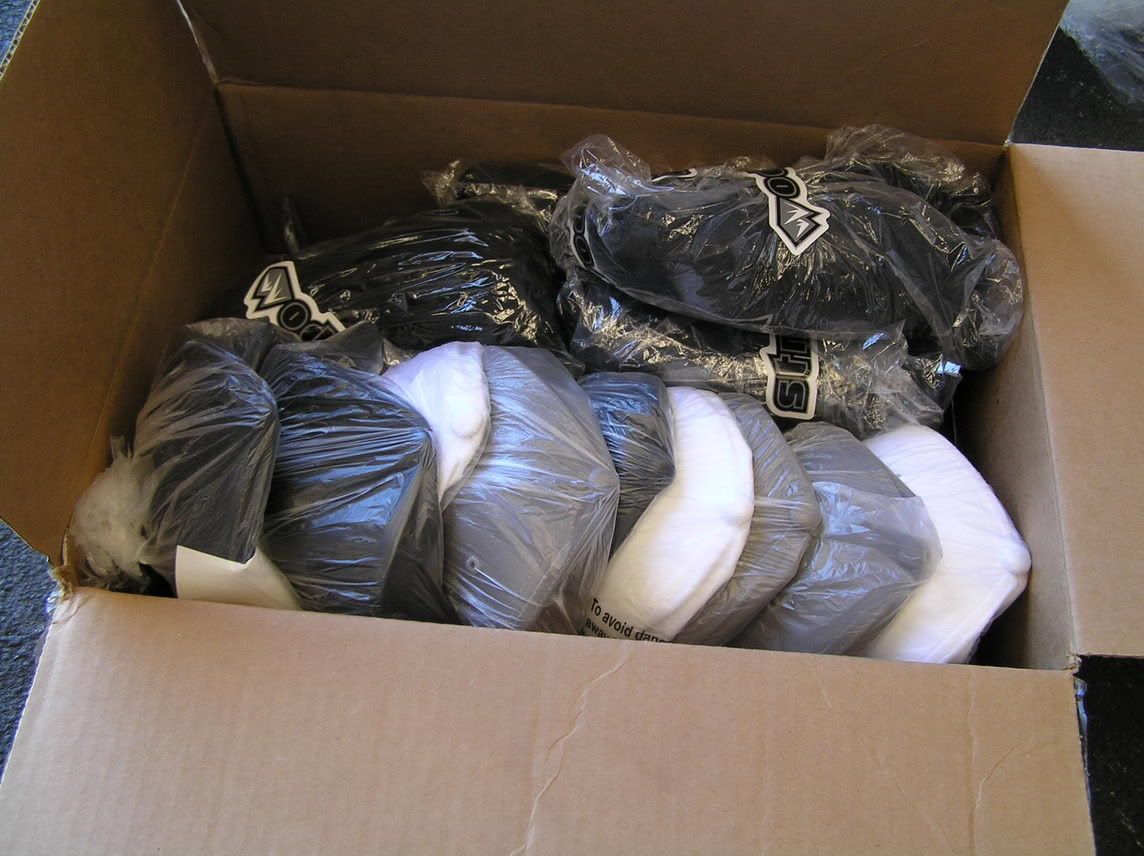
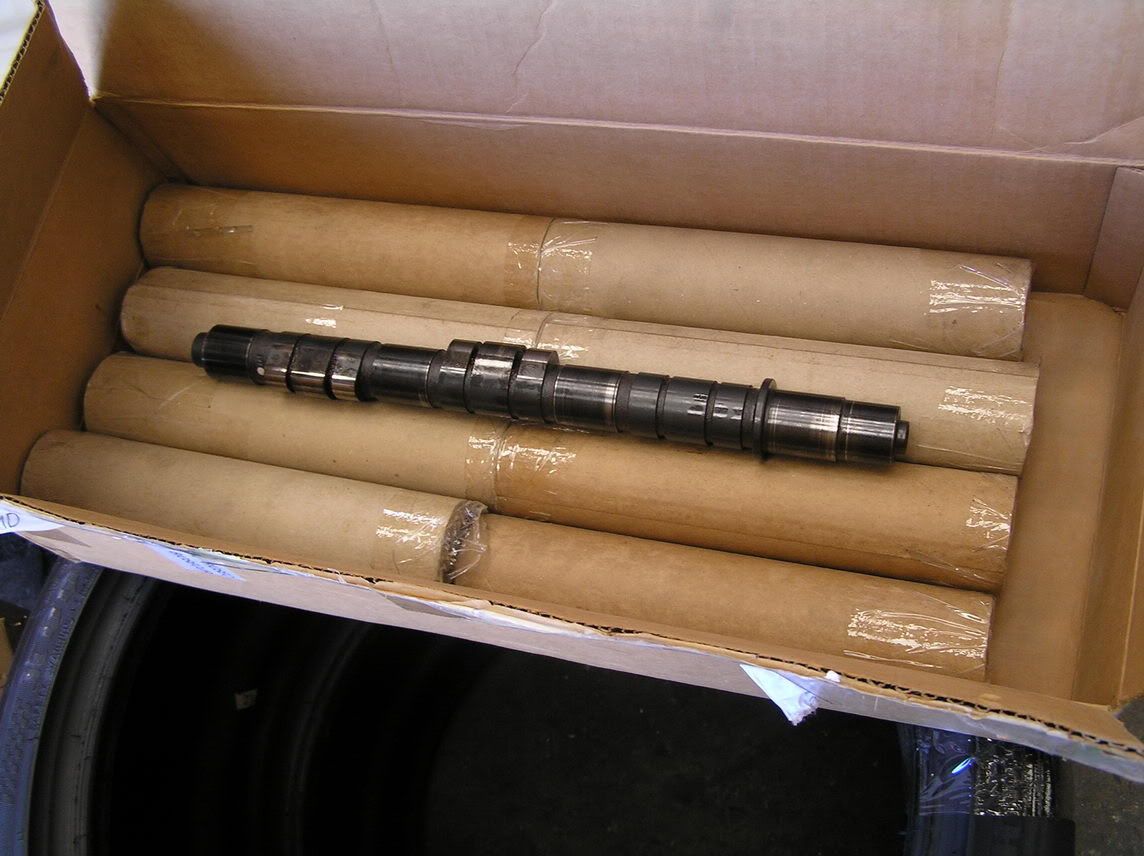
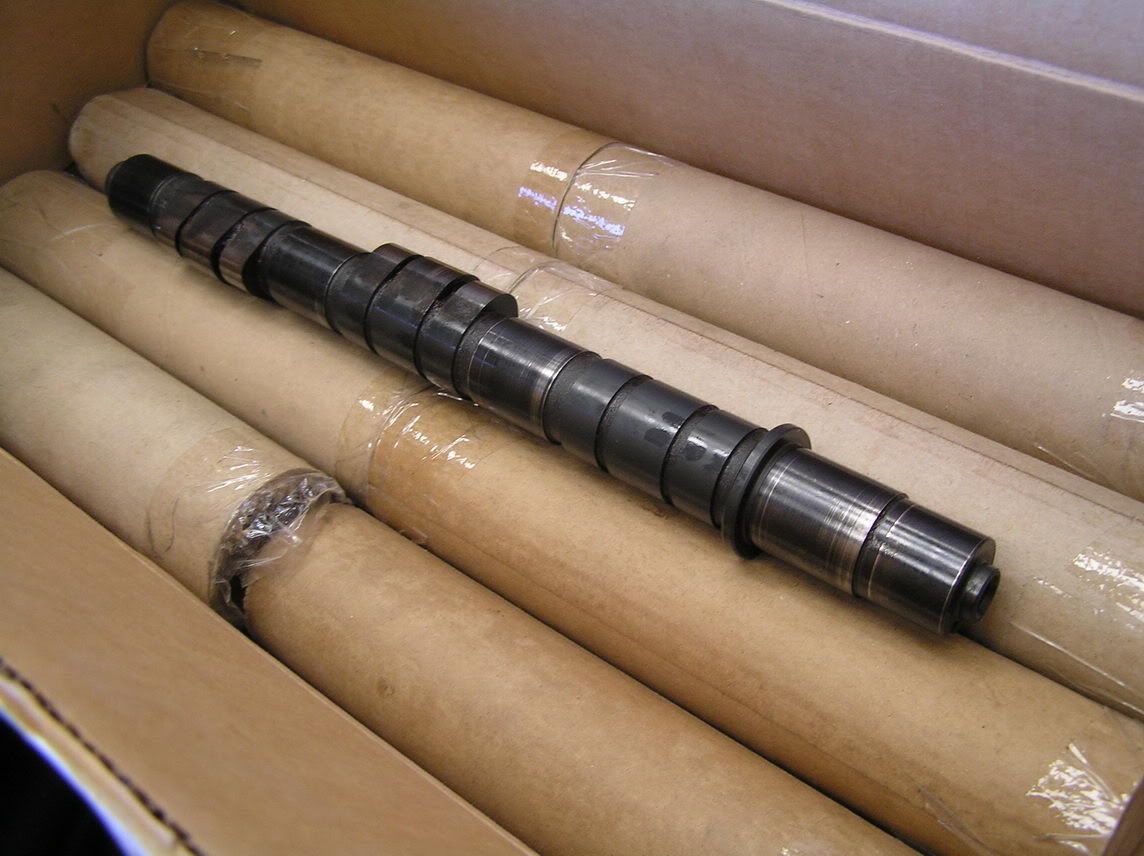
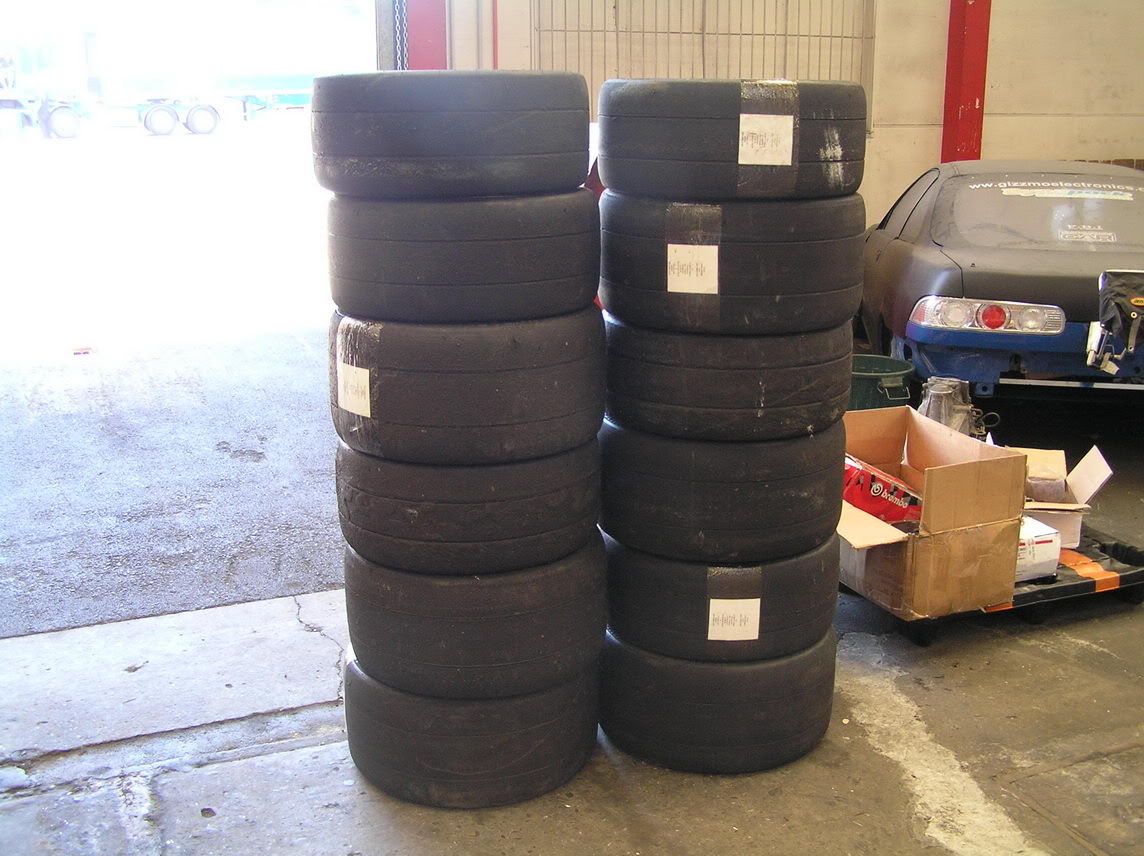
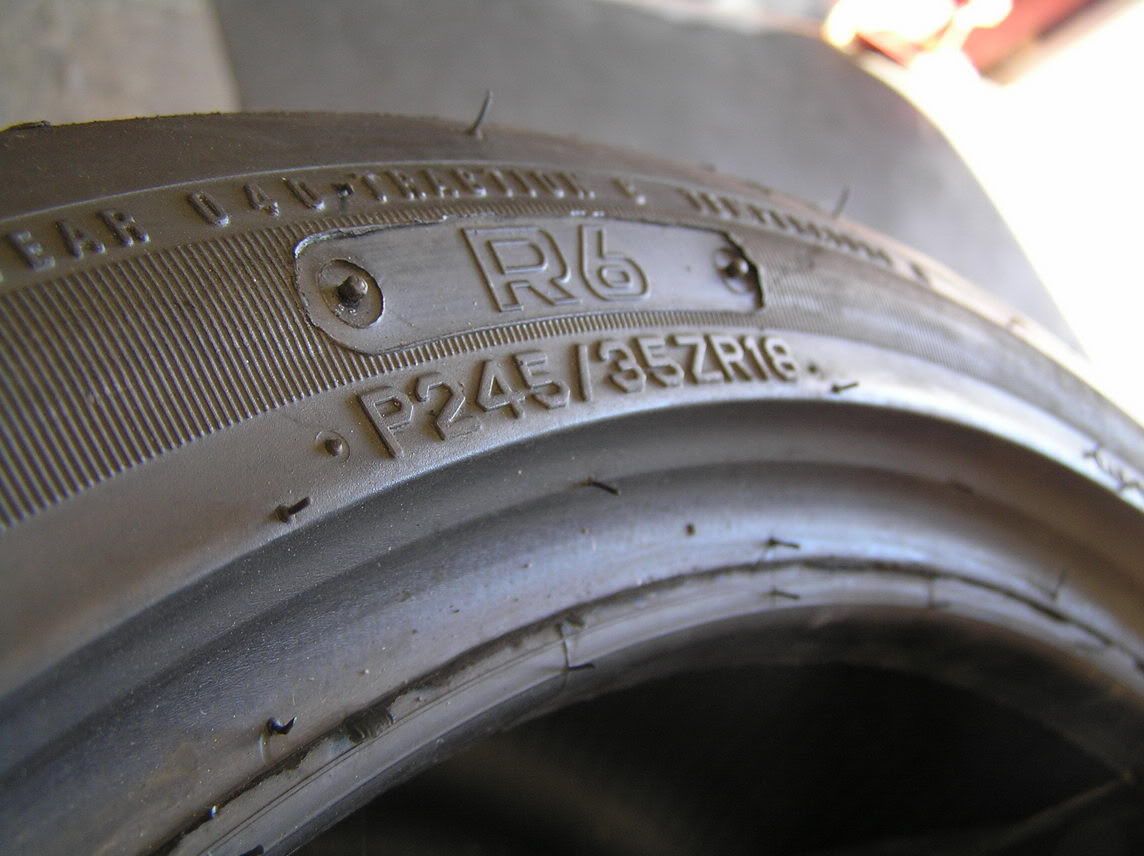
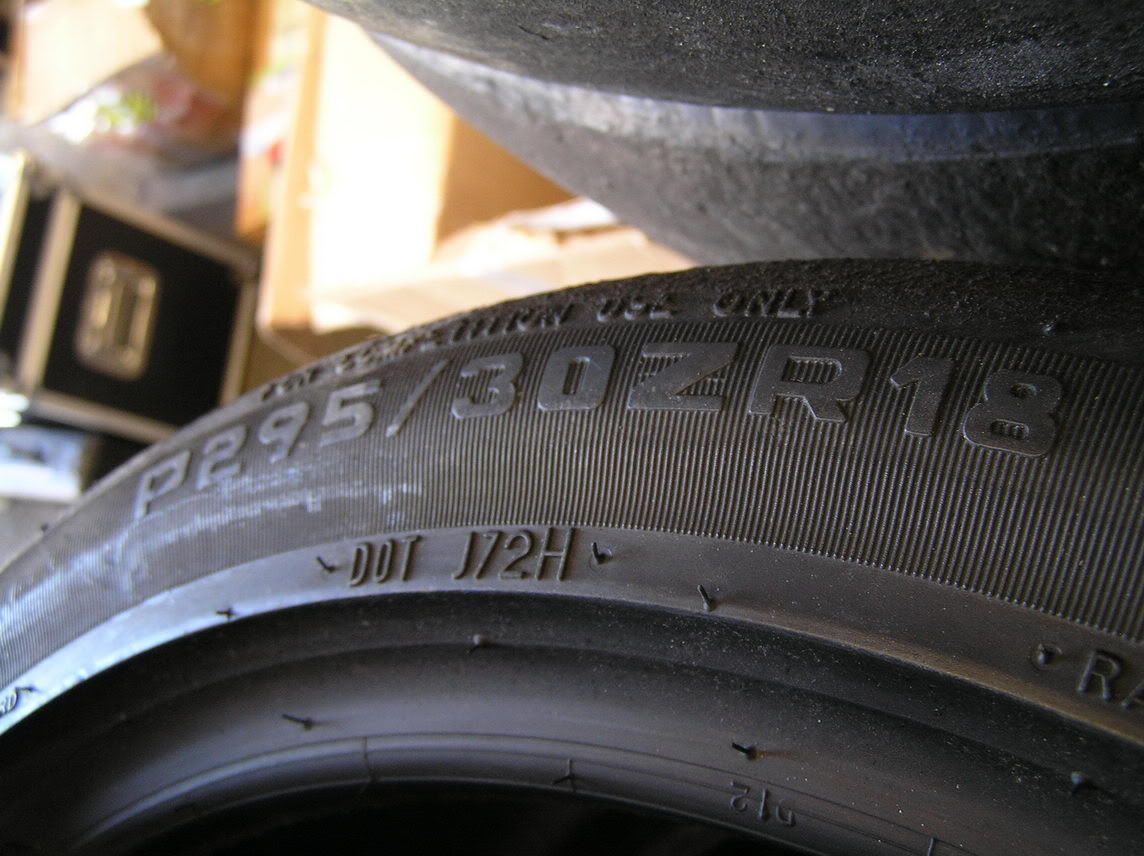
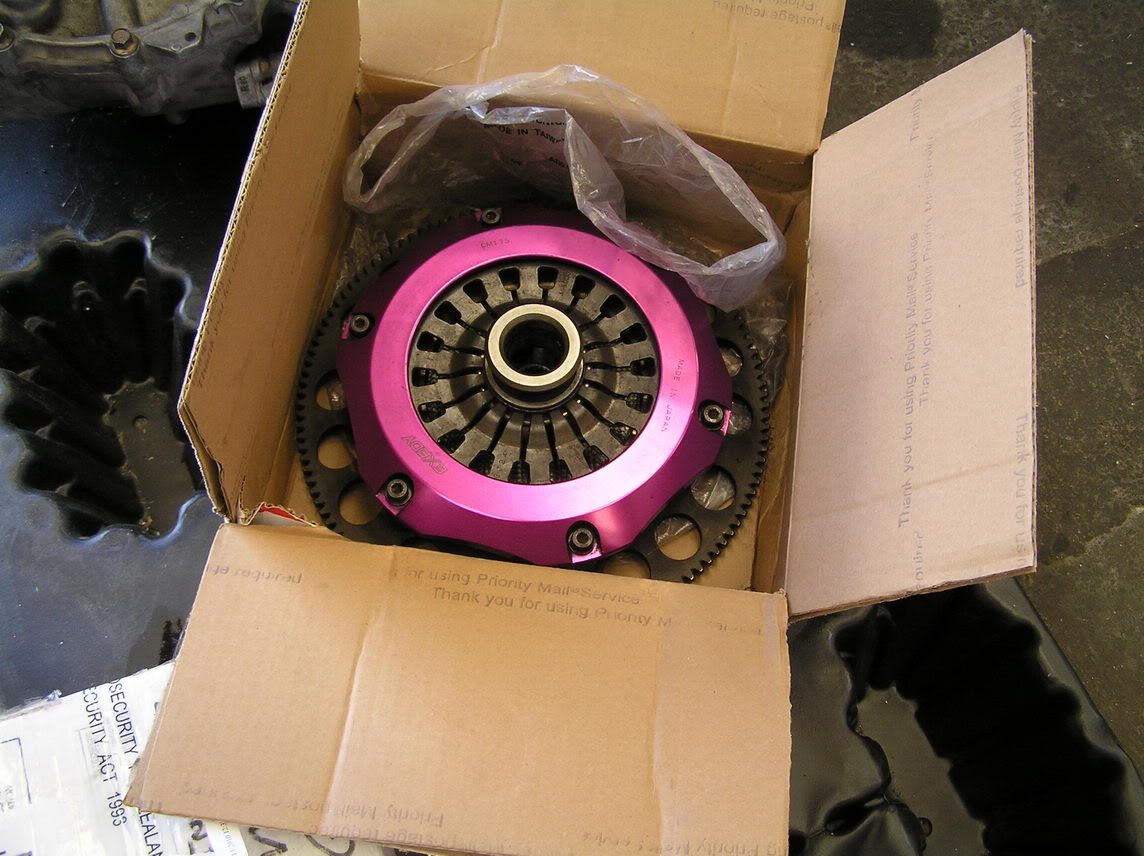
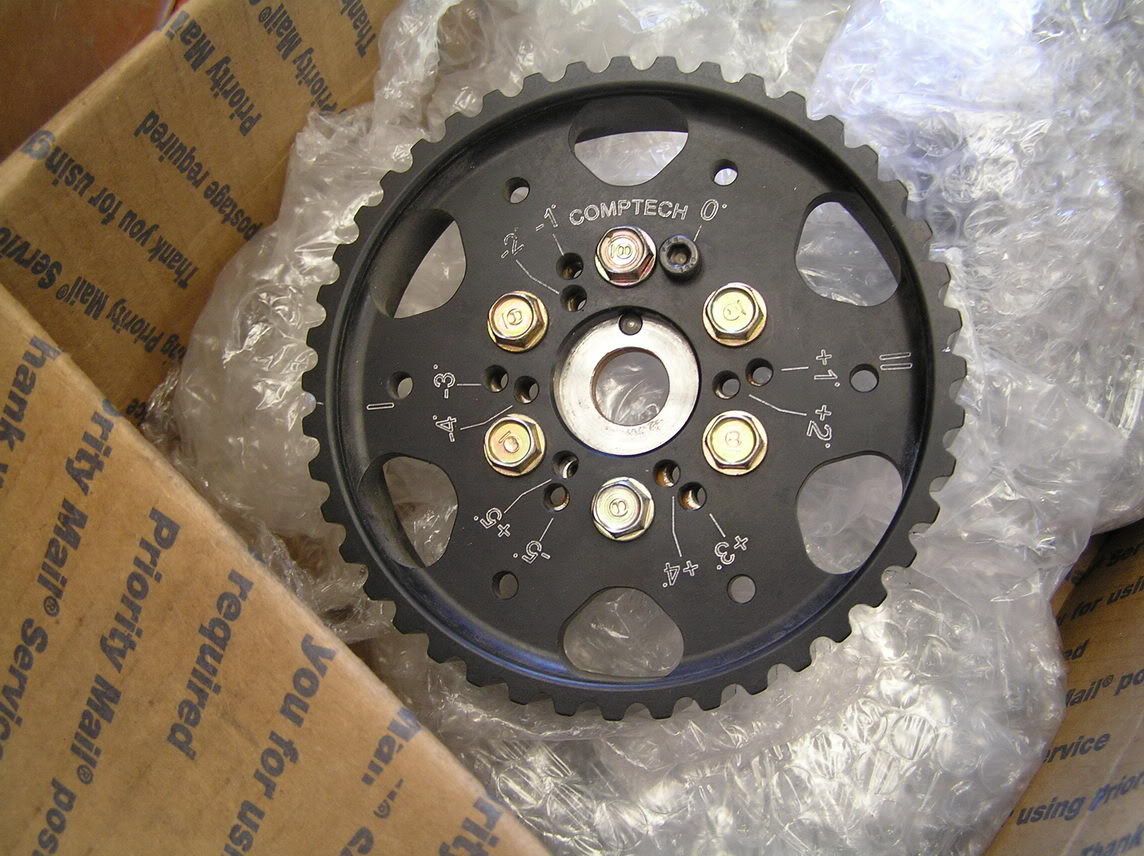
The rest of my stuff from the USA arrives very soon too (early next week) (tyres, gearbox, wireless scales, bonnet etc etc) so we're going to knock on with the cage hopefully next week as we have to get it approved before the end of the year as they're changing the regulations.

Once we've got the cage done then it'll go to Carboglass to have the undertray and aero stuff made as well as the interior carbon stuff, and then it'll be onto Speedtech for the engine stuff, electrical wiring and ECU / Dash wiring and setup.......... that is going to take a while, but I prefer to list it out like that as it sounds not as bad !!! LOL
 
that a very impressive rebuild :eek:

are the rule changes similar to what CAMS Australia now require, i.e. cage has to be welded to car, can't just be bolted anymore?

(personally I think that rule's way over the top!)
 
Yes our rules haven't allowed bolt in cages for a long time and to be honest after seeing how some of the bolt in cages move and fold up I'm not surprised !!!

Safety is number one for me with this thing........ I don't care if it's a little heavier, I just want to be in one peice should something bad happen ! :D

My new seats arrived today, so I'll take some pics later on but here's pics from the website.

9009front.jpg
4009hrback.jpg
 
Why did you have to cut the roof for the cage? What is special about this cage that others haven't done without cutting the roof?
 
I didn't want to drill big holes in the sills to drop the main hoop through so you could get to weld the top of the cage.

Also, some of the designs that have been made with the roof on have had to compromise on the design to be able to get behind with the roof on and I didn't want to compromise on the welds.

If you think about it, this is the only way to truly put the main hoop in place, then weld all the stays in place exactly as it will be when finished. With the roof in place you have to drop the main hoop down through the floor or sills to allow space to weld the top of the hoop, then try and get the angles of the rear bars right, weld them and then raise it back up....... I don't see that as ideal.........

Hope that makes sense.
 
I think so... but wouldn't "sleeves" help here where the main hoop attaches to the down bars? You wouldn't have to weld so high up after the main hoop is inside and so you'd have more room to work with, right? Can you also tell me what material and thickness you are using for the cage and if you have an idea on total weight?
 
Last edited:
I'm not sure what you're defining as the "down bars" ?

There's 2 issues with sleeves anyhow, first is that the regulations here in NZ mean we have to directly attach all bars to the cage, we can't attach the bars to a sleeve and then have that sleeve attached the cage.

The second issue is that the main hoop is of course one single peice of steel from one sill, up to the roof then across, then back to the other sill so there's not way to slide any sleeves up to the round part of the cage where the rear stays would join up and the main bars from the front of the car..

Maybe I've misunderstood what you mean about the sleeves, but the usual only 2 ways to make a cage is to remove the roof or drill holes to lower the cage through the car to weld the top and then put it back up............we've just decided on the first way, others have used the second way...... depending on the car and the clearance you might not need to use either, but since we need maximum head clearance for me (6 foot 4") then we need to be tight up against the roof.
 
Does this seat go as low as the stick seat? since you are 6'4" I guess that would be important. They look good!

I got it regarding the main hoop. Thanks.
 
You mean stock seat ?

If so then yeah these are much lower than stock seats and we're going to remove the stock floor and replace it and possibly lower it (only by 10mm or so) as the current floor is a bit damaged due to a previous smack from underneath the car so we will probably just cut it out and replace it to solve 2 things at once........ it's going to be tight for space for sure, but we're going to be a bit smart with the cage design to give us maximum space for me to be safe and comofortable, but I've got to be honest I didn't realise it was so tight for me when I started this project, just assumed I'd fit, but in the stock car I had to sit in a very odd position to fit.........

We'll get it right one way or the other :)
 
They are a NZ made seat, but they are world class and are used by a lot of global motorsport outfits as well...... they made the seats for the Subaru WRC team for instance and they also make seats for the competition Dodge Vipers and others so they're a fully FIA approved seat.

Just under $ 2400 USD for both seats including our local taxes so pretty reasonably priced.......
 
Looking good F1racer... I hope the other islanders are prepared for whats about to show up.

Why did you have to cut the roof for the cage? What is special about this cage that others haven't done without cutting the roof?

Dave,

Fraser has a unique charateristic found on this forum. He has an eye for chraftsmanship and choose to seek advice from many channels to accomplish his goal.

We helped Fraser and his fabricators work with the officials on the requirements for this rare aluminum race build. I myself was not impressed with what they came back with for the requirement in this case... but he is building the cage to the highest possible standard based on the rules layed out before him.

A cage becomes a skeleton of bones amoungst flesh (original chassis). If you have the ability for 100% penetration of welds on the main hoop (spine of the skeleton) pillar bars, and down bars in exchange for removal and reinstalation of the roof.... The benifits outweight your loss's substaintialy.

We removed our roof and learned how we would do it again had it been our second time... We also provided Fraser enough detailed photographs to understand our knowledge and take it to disect the roof like a surgeon as he showed us he can.

Hats off to the man for acquiring so much knowledge and not only impressing us with his eye for design.. but he has taught me many performance based designs to help us with our K20NSX.... found in the vendor section for unexplainable reasons.

We live in a country that has to many Nascar license plates.. this guys plate say's F1Racer.


I think so... but wouldn't "sleeves" help here where the main hoop attaches to the down bars? You wouldn't have to weld so high up after the main hoop is inside and so you'd have more room to work with, right? Can you also tell me what material and thickness you are using for the cage and if you have an idea on total weight?

Dave... just like the RSTB you have in your garage... the 1 piece desgn trumps a bolt together muliti piece design.. like the comptech bar at twice it's face value also in your garage but installed on your NSX.

When we were designing your roll bar... we had a requirement to make it removable. A four point cage must be multiple pieces in order to accomplish this.

We also aquired these clevis's instead of using slevevs. The difference in strength of multi-peice design is surface area and tolerances. The keyed design of a clevis allowes for the largest amount of surface area for the contacts while utilizing a cnc'ed low tolerance connection. Still making the 4 point roll bar removable.

attachment.php


attachment.php


Good job again mate... I want to drive it too :)
 

Attachments

  • roll bar clevis 2.jpg
    roll bar clevis 2.jpg
    25.4 KB · Views: 3,054
  • roll bar clevis.jpg
    roll bar clevis.jpg
    27.8 KB · Views: 3,064
They look like a great solution if you want a removable cage.......... what a good idea !! Never thought about that as a solution.

In our case as you said Ross, we're not allowed to have any such "joiners" or non solid parts in the cage, so it's a mission, but hopefully one we won't have to revisit as long as I can learn to keep it on the black stuff !! :)
 
P1010056.jpg


How cool is it that you posted a pic of a racetech seat sitting inbetween an R34 Skyline and a Type R Ep3 Civic...

Because of the country you live in.... all 3 of them are real....lol

All your toys are desired here man... I love it
 
Well it's been a bad day and a very good day all in one.............seems to be the name of the game with this build, but I guess it's just any build of this sorts that might run into issues every now and again.

I finally got chance to get the new seats up to the workshop to try them in the car and low and behold they don't fit !! :( The seats themselves fit OK, but the side head restraints are too high and you wouldn't be able to clear the door when closed and was too close to the side of the roof.

So I've returned them to Racetech, but the good news is that they have looked at doing me a couple of custom seats exactly the same but modified to suit without the head restraints or we possibly might be able to keep them, but we're going to do some more measuring, but we think due to my height we're going to be out of luck and are going to have to go without the restraints, but it's not like it's a major factor, but I just would have preferred the extra safety..such is life........ I guess at least I can claim to have a pair of custom one off race seats !! LOL

Not great pics, but you get the idea.......
IMAG0080_exposure.jpg

IMAG0081_exposure.jpg

IMAG0082_exposure.jpg

IMAG0083_exposure.jpg


Also, all of my stuff turned up from the good ol US of A........... yes yes...... OK I guess americans are good for some things after all !!! LOL ........ just kidding....... :D Once again Ross at STMPO has helped me out with the supply of some parts, but also had helped store stuff from numerous other suppliers and then forwarded the whole lot to me to save me the mucking around.

Now I know some people like Ross and some don't and I've seen first hand how things get out of hand on here, but for me Ross has been a godsend............. so helpful in putting this build together with advice and filling in holes in area's I wasn't informed enough in........

P1010060.jpg

P1010061.jpg

P1010062.jpg

P1010063.jpg

P1010064.jpg

P1010065.jpg

P1010066.jpg

P1010067.jpg

P1010068.jpg

P1010069.jpg

P1010070.jpg

P1010071.jpg

P1010072.jpg

P1010073.jpg

P1010074.jpg

P1010075.jpg

P1010076.jpg

P1010077.jpg
 
Last edited:
Back
Top