Hey guys/gals quick question. I'm getting my exhaust on Monday and will probably be looking to get it installed on Tuesday! :biggrin: Any suggestions on a local shop to do the install? I'd like to stay in the Santa Clarita or San Fernando Valleys.
Thanks
Thanks

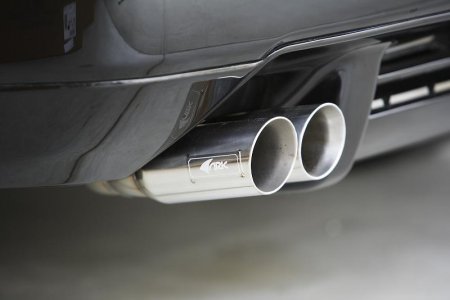
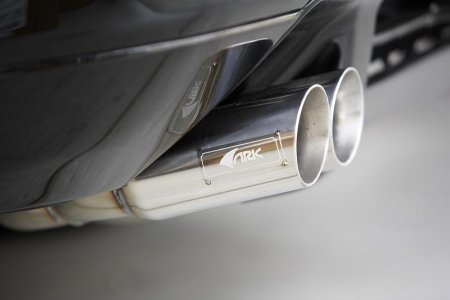
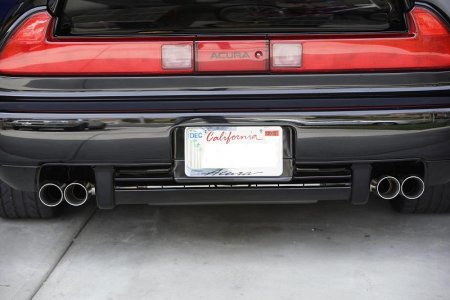
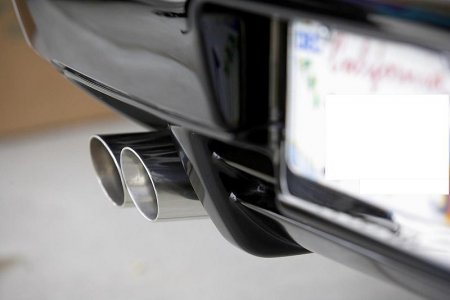
 ? that was the most fun i ever had installing my ark exhuast:wink: ...your really going to let some shop have all the fun