Just saw this:frown: and sorry to see one of our "family" members NSX in that condition. Hoping to see it back on the road soon.
-
Protip: Profile posts are public! Use Conversations to message other members privately. Everyone can see the content of a profile post.
You are using an out of date browser. It may not display this or other websites correctly.
You should upgrade or use an alternative browser.
You should upgrade or use an alternative browser.
This is how I want my "ish" build thread 1997 NSX
- Thread starter Teej
- Start date

Update: small but visually enhancing changes are coming when the car is back on the road. More Downforce USA stuff, more other stuff, more other other stuff. Will be the same car but closer to my Marsbase NSX vision. Will complete my brakes too so I have matching rears
Update: small but visually enhancing changes are coming when the car is back on the road. More Downforce USA stuff, more other stuff, more other other stuff. Will be the same car but closer to my Marsbase NSX vision. Will complete my brakes too so I have matching rears
sorry to hear what happened!!
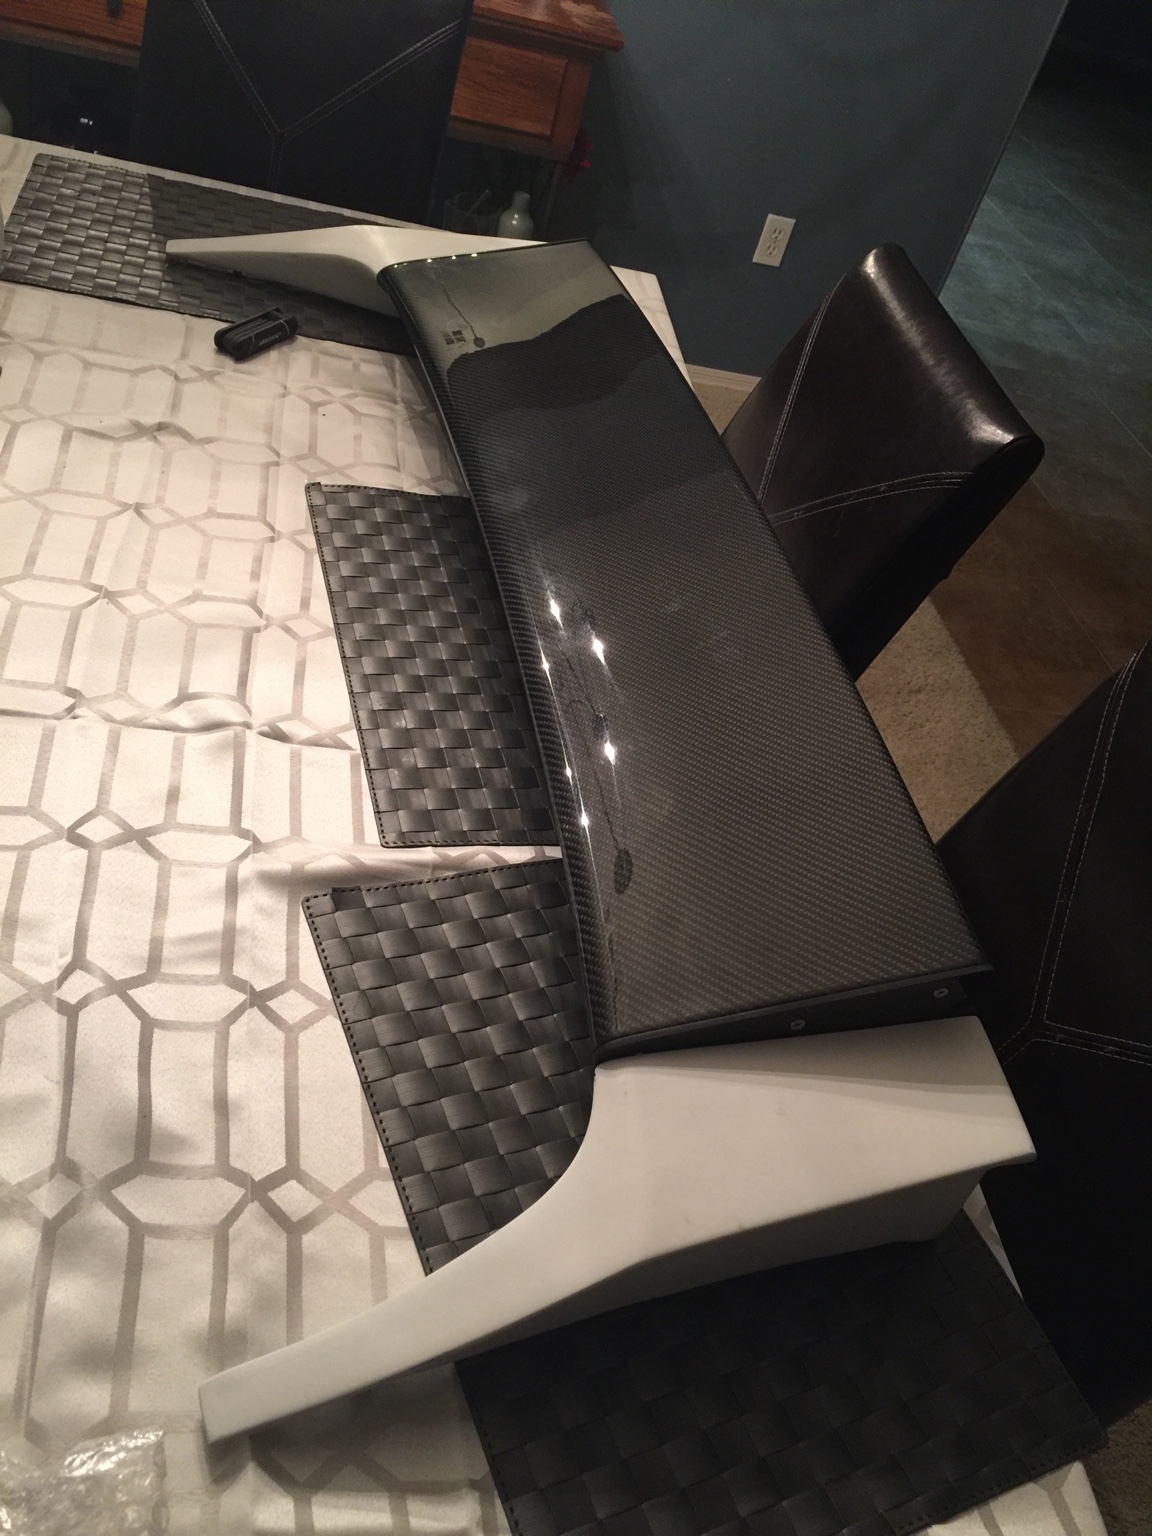
Time for a small update...new small changes are coming including this shine BYS style spoiler I just received and put together. Still needs some finishing but it looks to fit together better than some other owners same spoiler
Looks sharp!
Changes since you last saw the car include:
rear Futura Design BBK to match the front
Shine BYS style carbon fiber rear spoiler
new Downforce USA hood painted the way I want
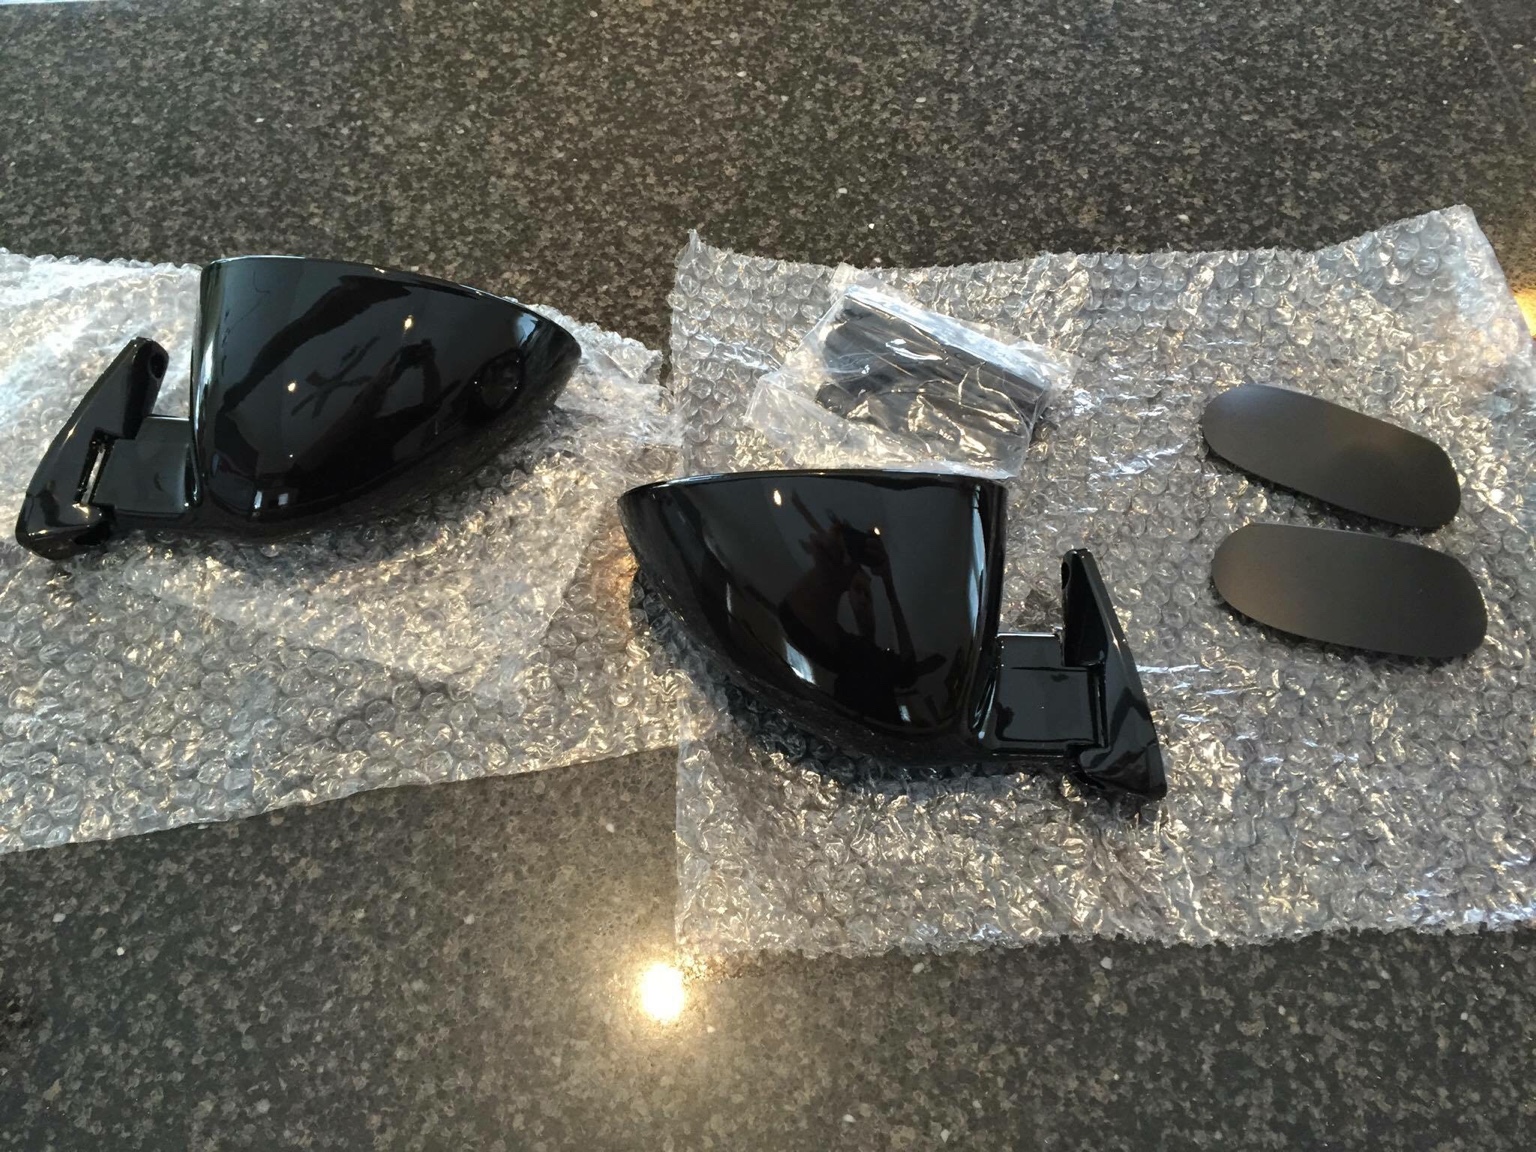
Downforce JDM style front fenders
Cool! I really like the look of JDM fenders, can't wait to see yours.
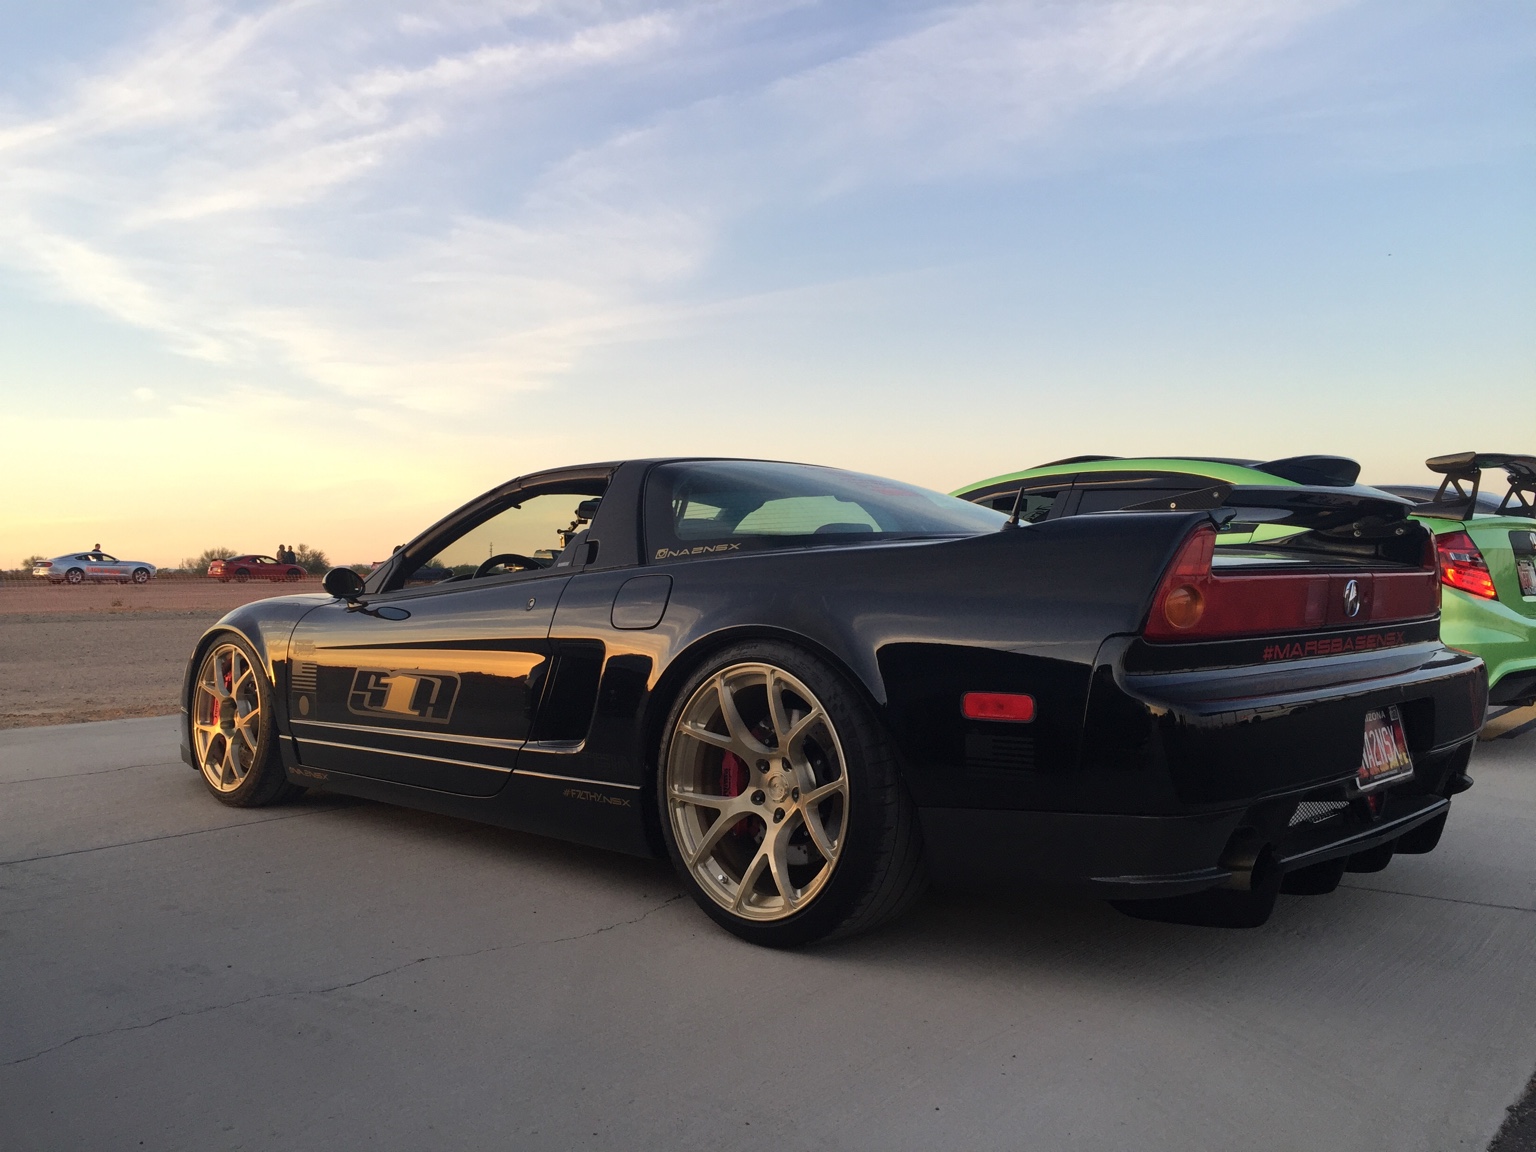
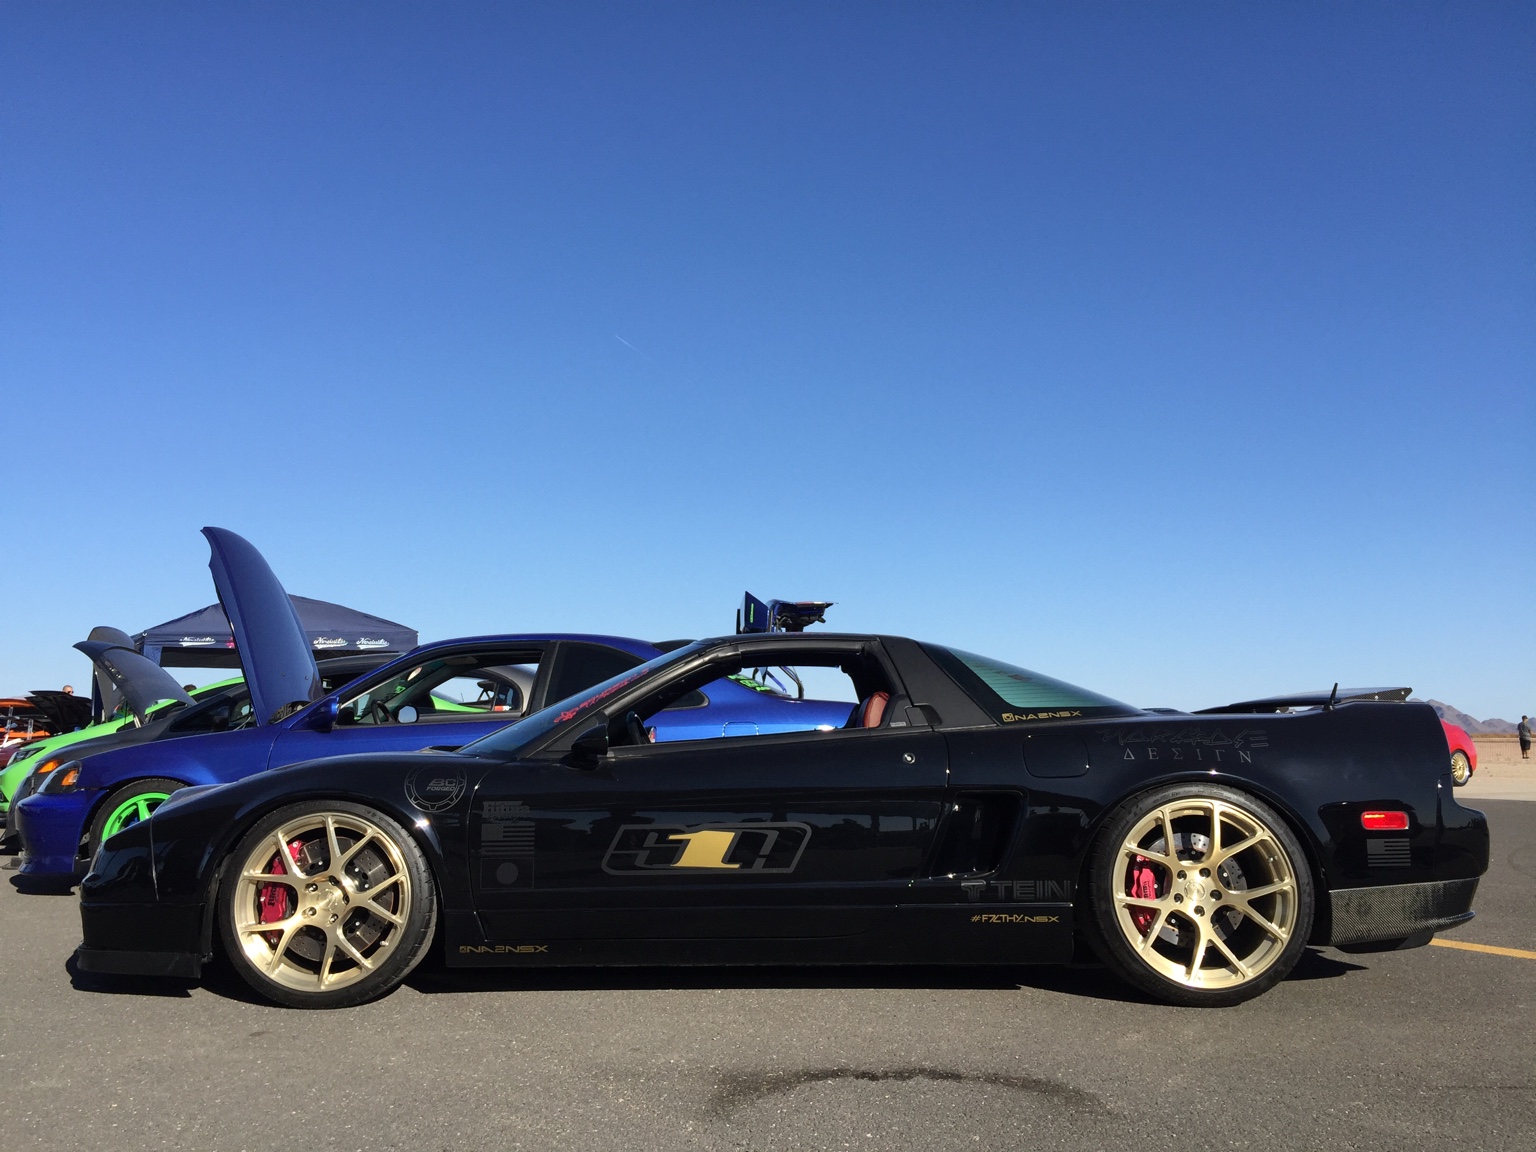
Present state before paint correction in a couple of weeks.
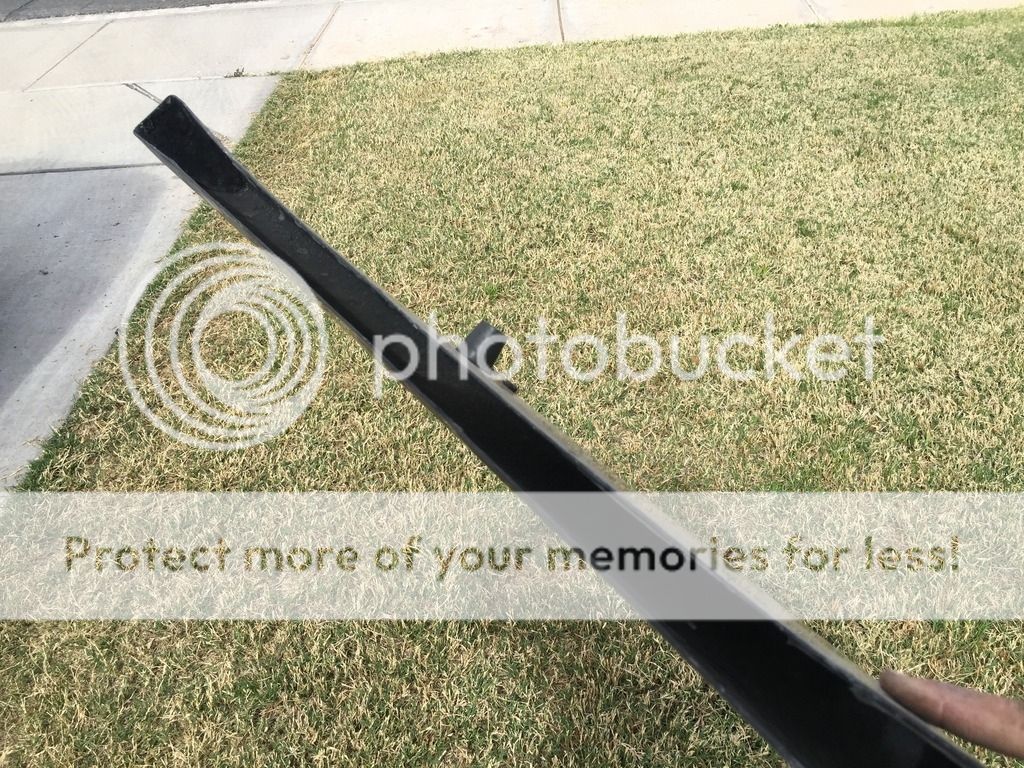
Okay.. time to get off my ass and start documenting again. So its been a couple years since I helped pioneer the Seibon lower valance with a diffuser idea. Throughout this time, I have gone through a Difflow, Downforce DF-R fiberglass, and now I am going back to Difflow.  The reason for going back to Difflow was just a personal preference and thirst for my once aggressive look. Over the past couple of years my vehicle as many of you already know, has endured a little stress. Slowly, the Seibon lower valance reinforcement skeleton that I had built started to break down. The big turning point was the tow truck incident of August 2014 when the truck dragged my car up on the flat bed, then when unloading the car, tried to "shake it off" the flat bed. The Difflow held up pretty well but the force was transferred to the Seibon carbon lower valance. It was not completely destroyed but had suffered some structural and cosmetic set backs. Still, I decided it was still "okay enough" to not mess with. After all, I have limited resources and limited access to a place where I could make the repairs without killing myself crawling around on the garage floor. And the cosmetic setback was just some spider webbing. Its pretty bad now.. so, here are some photos of it before I yanked it off. BTW, it was a pain in the ass to completely remove. My rivets were not in friendly locations, and at least some of the JB Weld I originally used was still holding on for dear life.
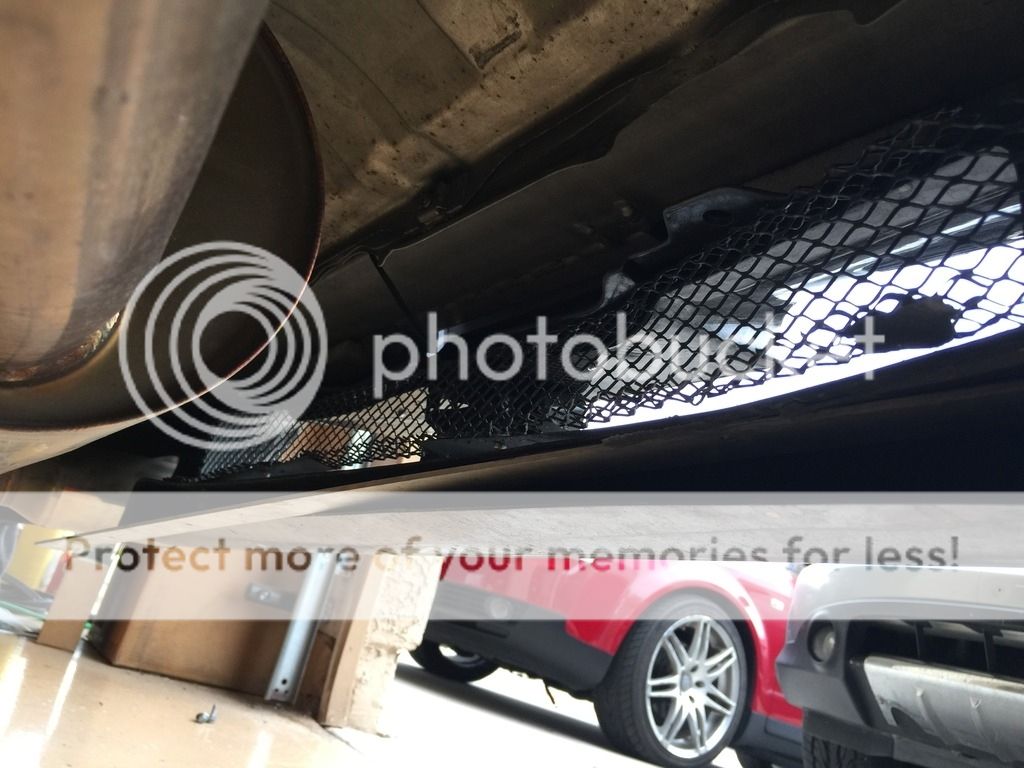
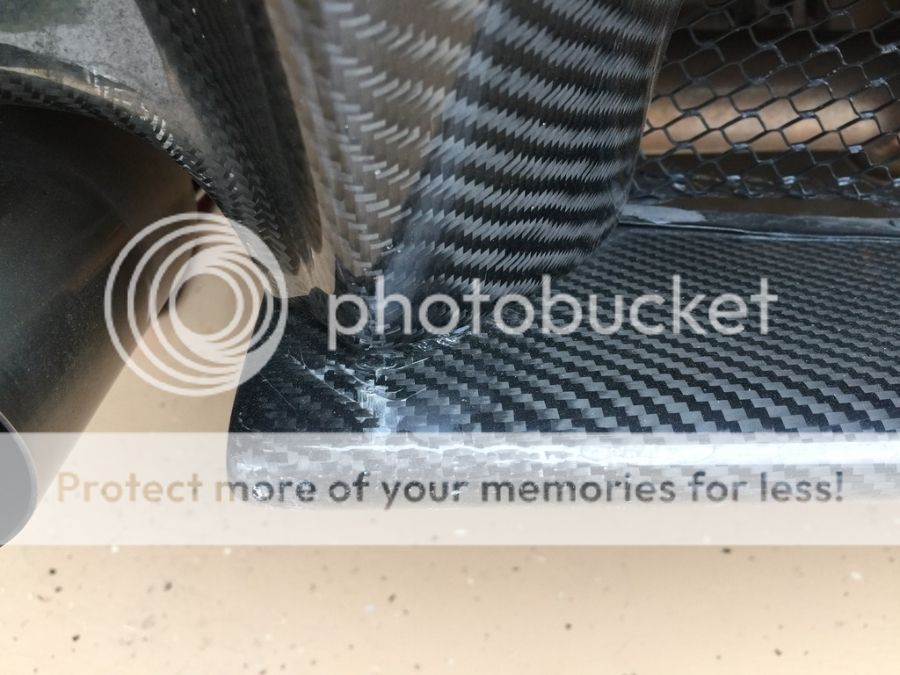
As you can see above, other than the stress cracks in the clear, and the screen coming undone in parts, the valance looks really good. Now, from underneath you can see how serious things have become. The great reinforcement bar has collapsed.
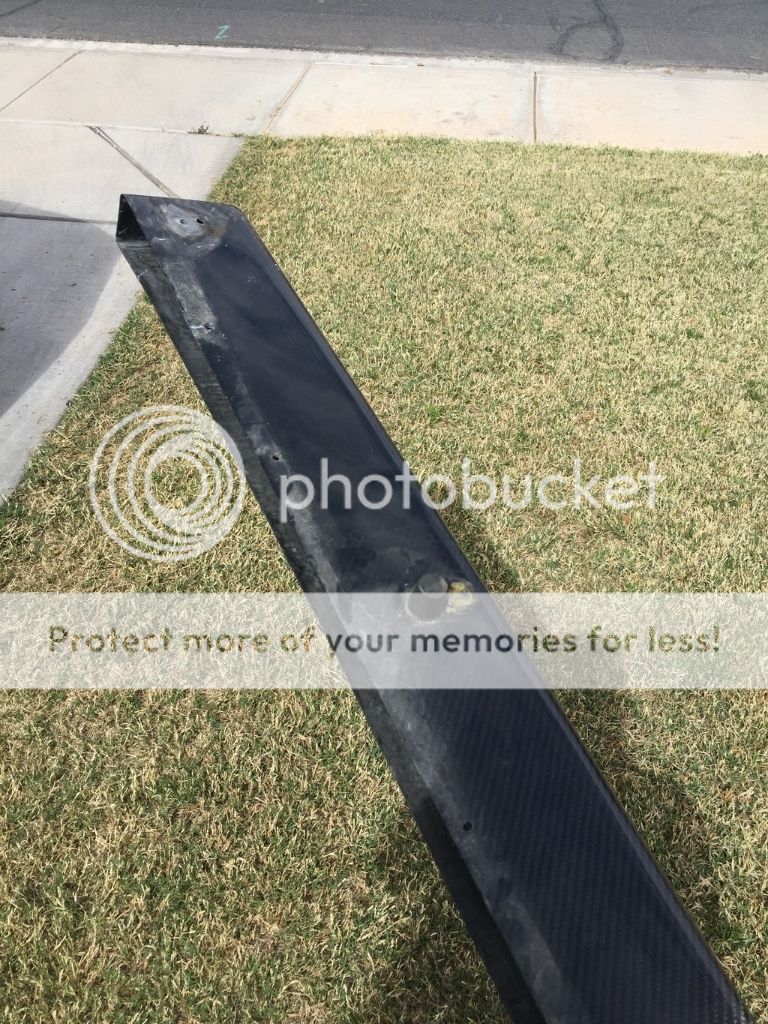
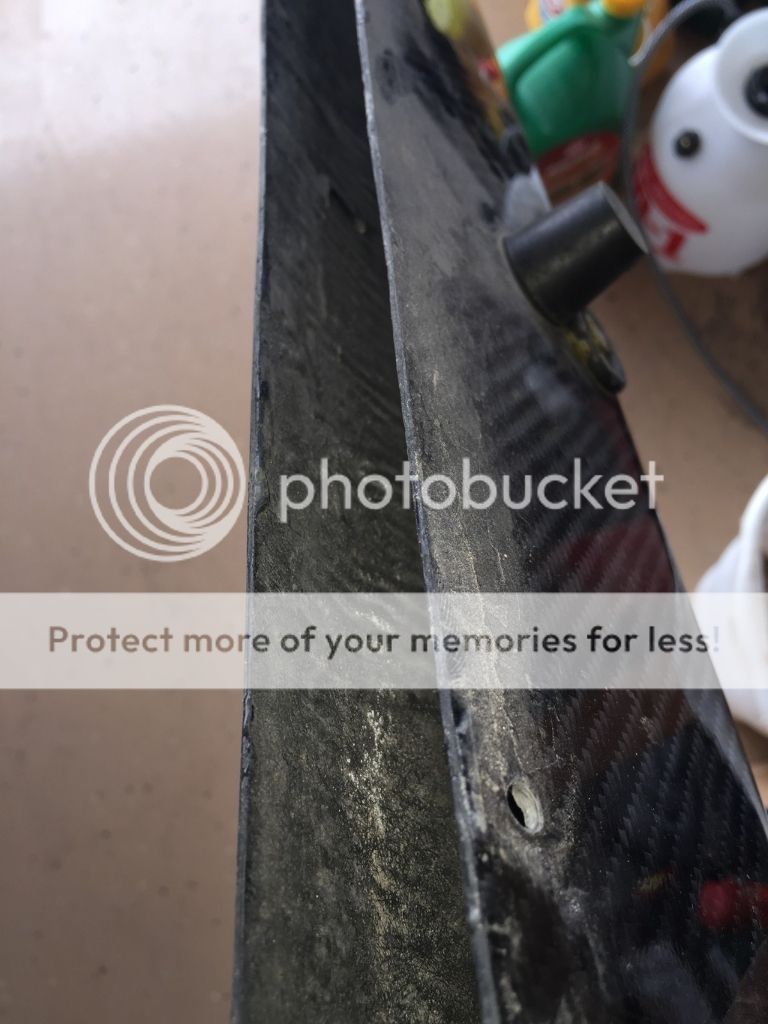
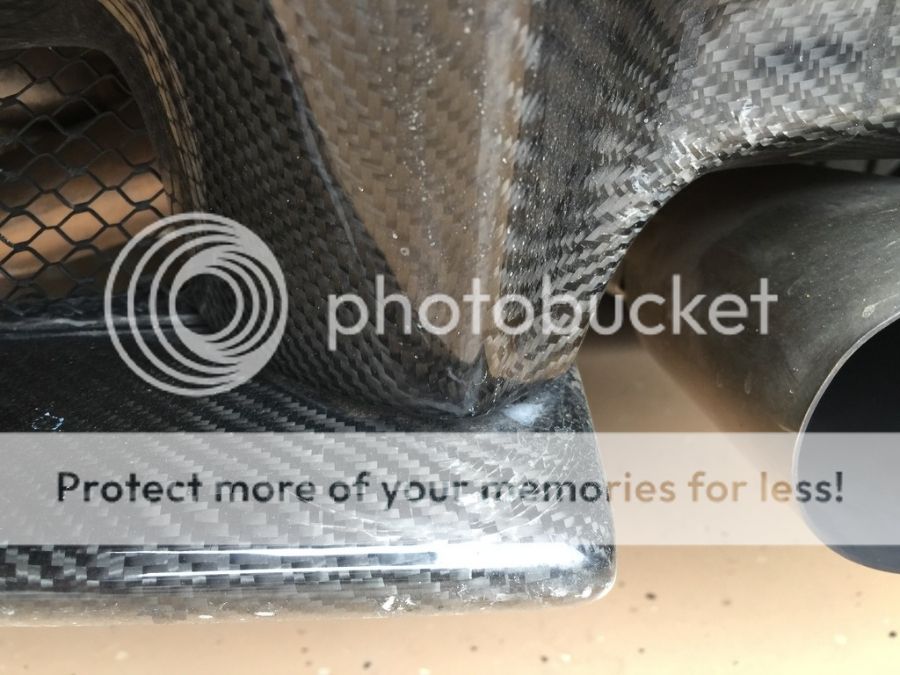
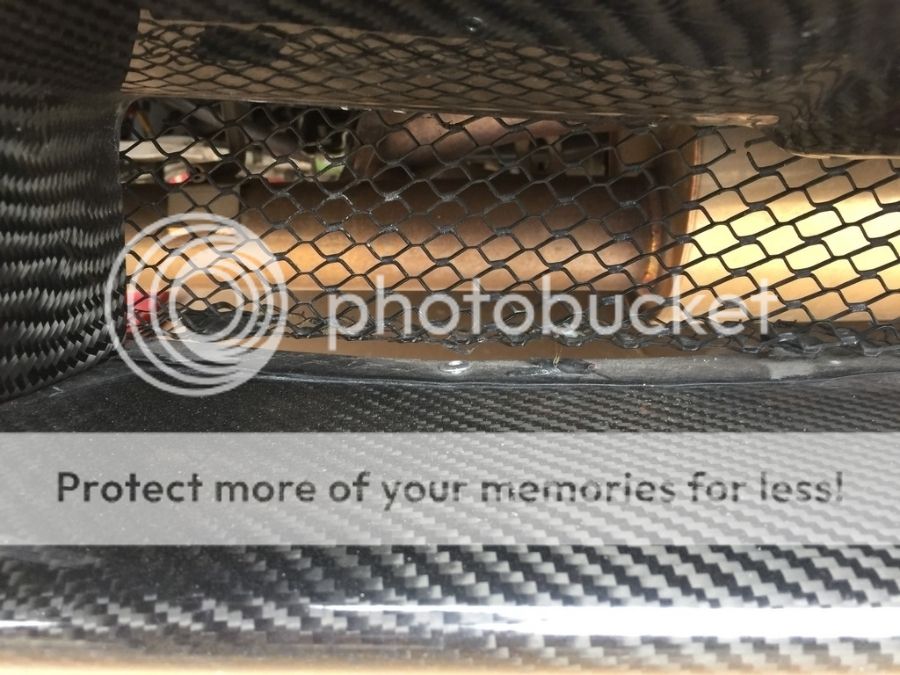
Fortunately I did not have to remove the entire bumper cover or even the top half of the Seibon valance, but I did have to get creative and messy to remove the bottom piece. As you can see, the center sag is back without the frame reinforcement. And I have no idea what all that wrinkly stuff is on the inside. Other than that, the piece has held up remarkably well and the repair should go faster than I expected. I think I'm just going to mask the edge and rattle can it black to leave 90% of it still carbon. Then I have to figure out what im going to do with the existing mesh, its in shambles. My thought is to cut off whats hanging and start over. Oh, if you are wondering what the big rubber thing is, its back support for the 3rd F1 style light. And the "O" ring provides a place to sit the triangle F1 light on so it doesnt slide around.
The reason for going back to Difflow was just a personal preference and thirst for my once aggressive look. Over the past couple of years my vehicle as many of you already know, has endured a little stress. Slowly, the Seibon lower valance reinforcement skeleton that I had built started to break down. The big turning point was the tow truck incident of August 2014 when the truck dragged my car up on the flat bed, then when unloading the car, tried to "shake it off" the flat bed. The Difflow held up pretty well but the force was transferred to the Seibon carbon lower valance. It was not completely destroyed but had suffered some structural and cosmetic set backs. Still, I decided it was still "okay enough" to not mess with. After all, I have limited resources and limited access to a place where I could make the repairs without killing myself crawling around on the garage floor. And the cosmetic setback was just some spider webbing. Its pretty bad now.. so, here are some photos of it before I yanked it off. BTW, it was a pain in the ass to completely remove. My rivets were not in friendly locations, and at least some of the JB Weld I originally used was still holding on for dear life.
As you can see above, other than the stress cracks in the clear, and the screen coming undone in parts, the valance looks really good. Now, from underneath you can see how serious things have become. The great reinforcement bar has collapsed.
Fortunately I did not have to remove the entire bumper cover or even the top half of the Seibon valance, but I did have to get creative and messy to remove the bottom piece. As you can see, the center sag is back without the frame reinforcement. And I have no idea what all that wrinkly stuff is on the inside. Other than that, the piece has held up remarkably well and the repair should go faster than I expected. I think I'm just going to mask the edge and rattle can it black to leave 90% of it still carbon. Then I have to figure out what im going to do with the existing mesh, its in shambles. My thought is to cut off whats hanging and start over. Oh, if you are wondering what the big rubber thing is, its back support for the 3rd F1 style light. And the "O" ring provides a place to sit the triangle F1 light on so it doesnt slide around.
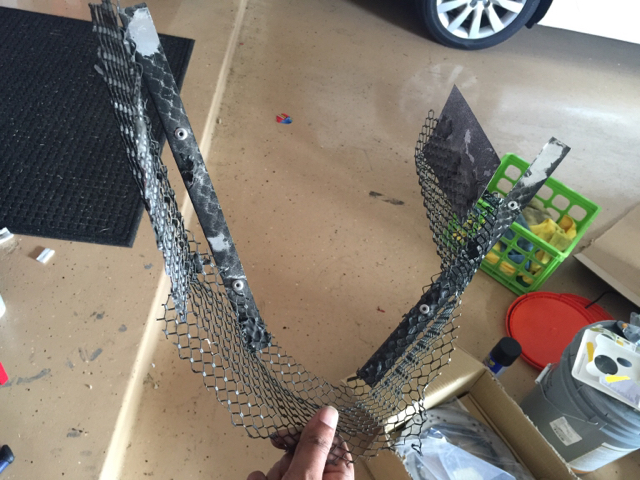
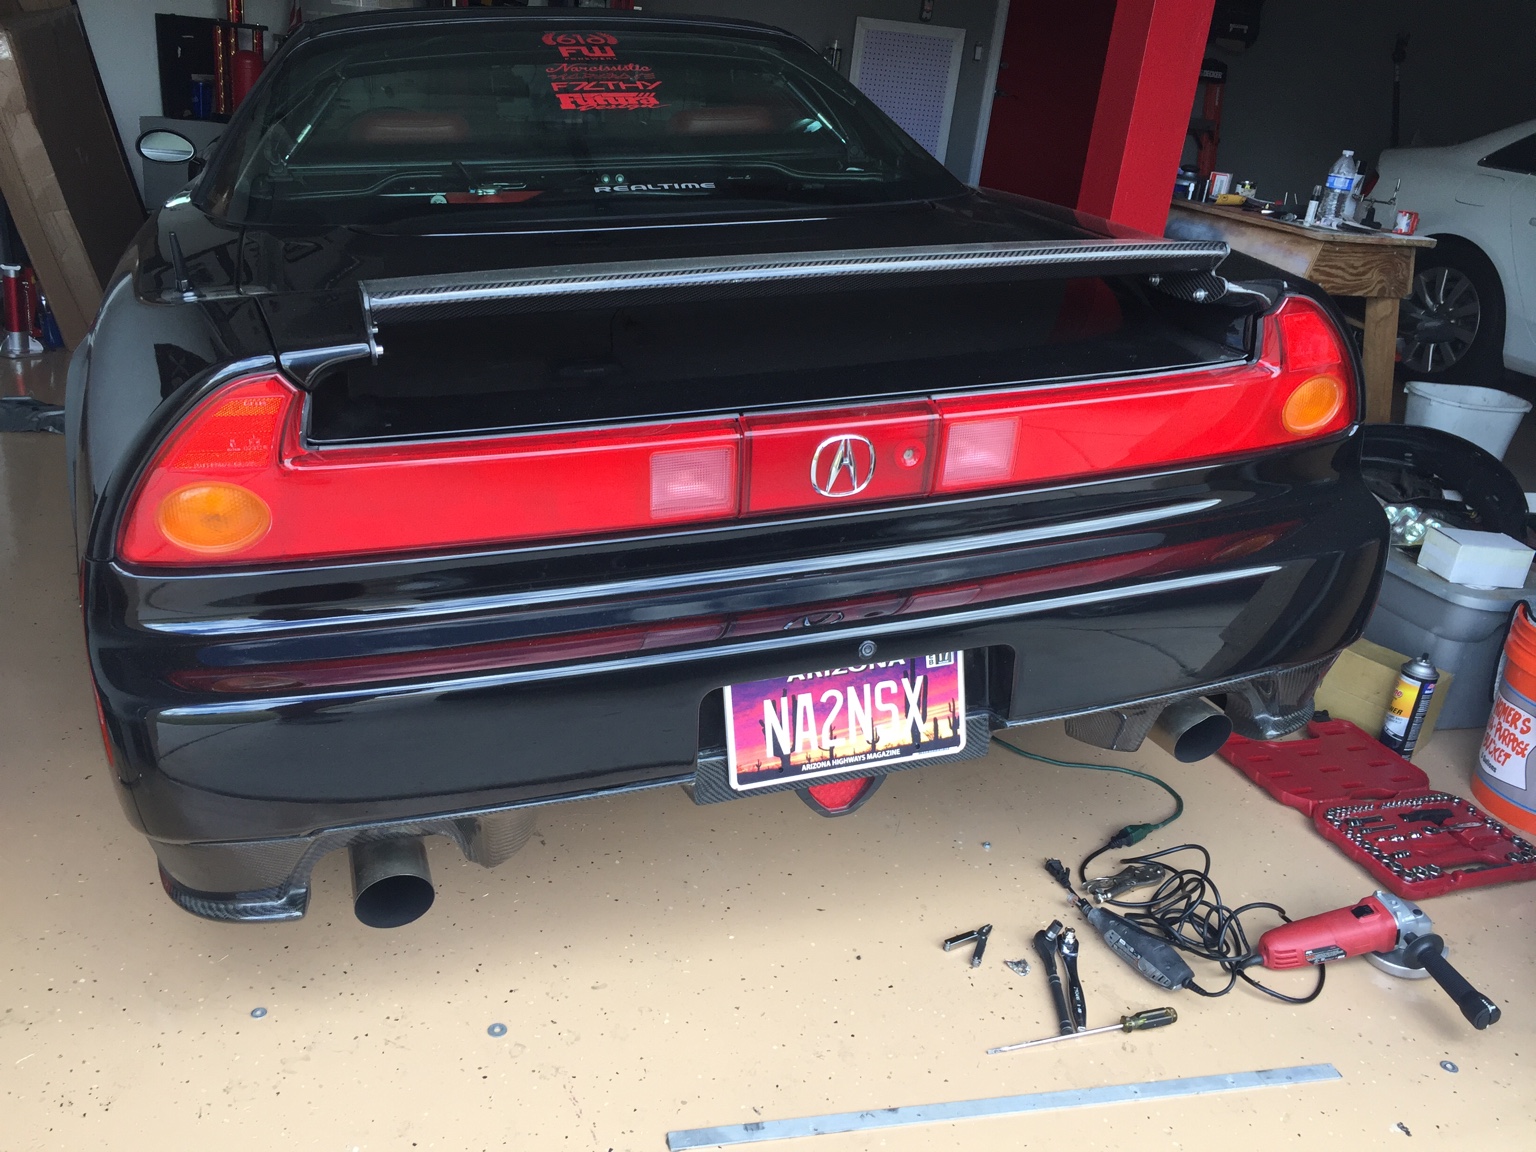
I used an angle grinder to carefully cut off the screen (I couldn't find my needle noses okay?) and will use the old screen as a template for the new screen. Also, car doesn't look too bad without the lower support, although my F1 brake light looks dangerously out of place. Speaking of, one of the two screws that hold the light to its bracket is gone. I will take this time to fix that as well.
WOW jhae... amazing.
Present state before paint correction in a couple of weeks.
Cool. Do you have a 1 car garage? I just moved and went from a 3 car to a 1 car garage. Haven't worked on the Nsx yet.. But we will see how that goes in such a tight space!
3 stall... most of the work I have to do I can do in the narrow 3rd stall
Update:
The new Difflow is chilling in my garage (thanks Greg) waiting for me to fabricate some new attachment brackets. This is due to the Seibon valance not having enough front to back width to utilize the brackets the Difflow diffusers come with.
In the meantime, I managed to find a solution to re-establish the gap in the lower Seibon valence bar. And this time I went Gorilla Glue instead of 2 part epoxy.
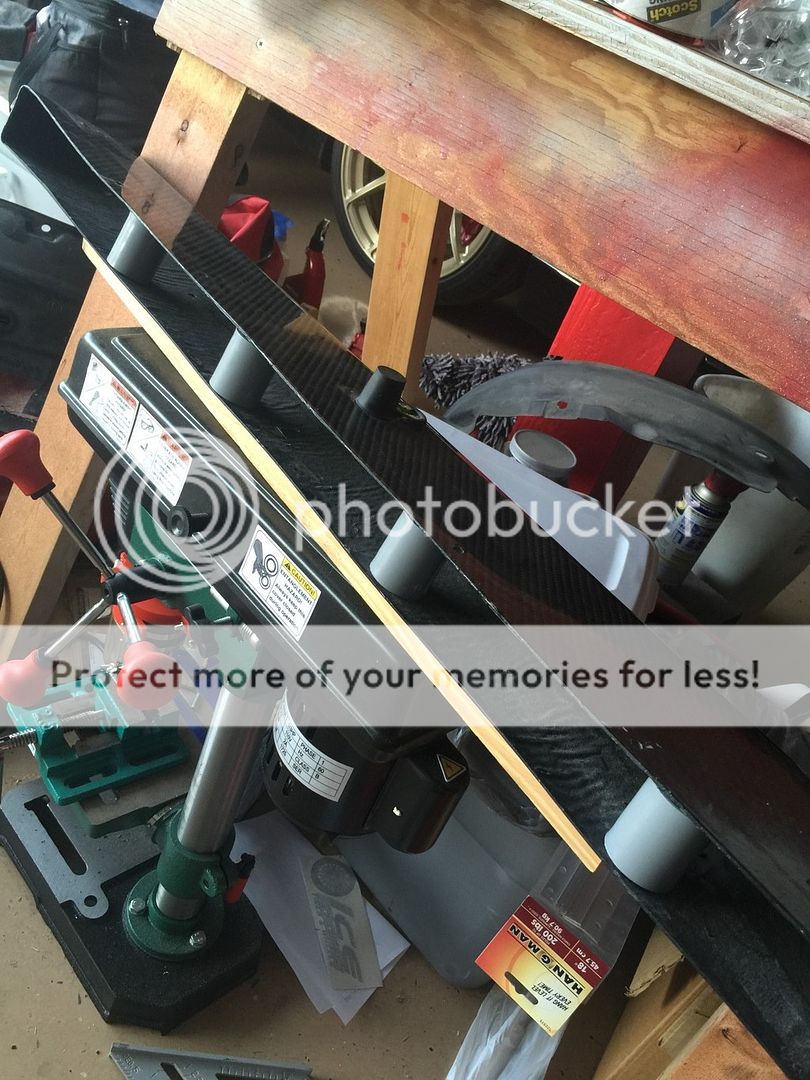
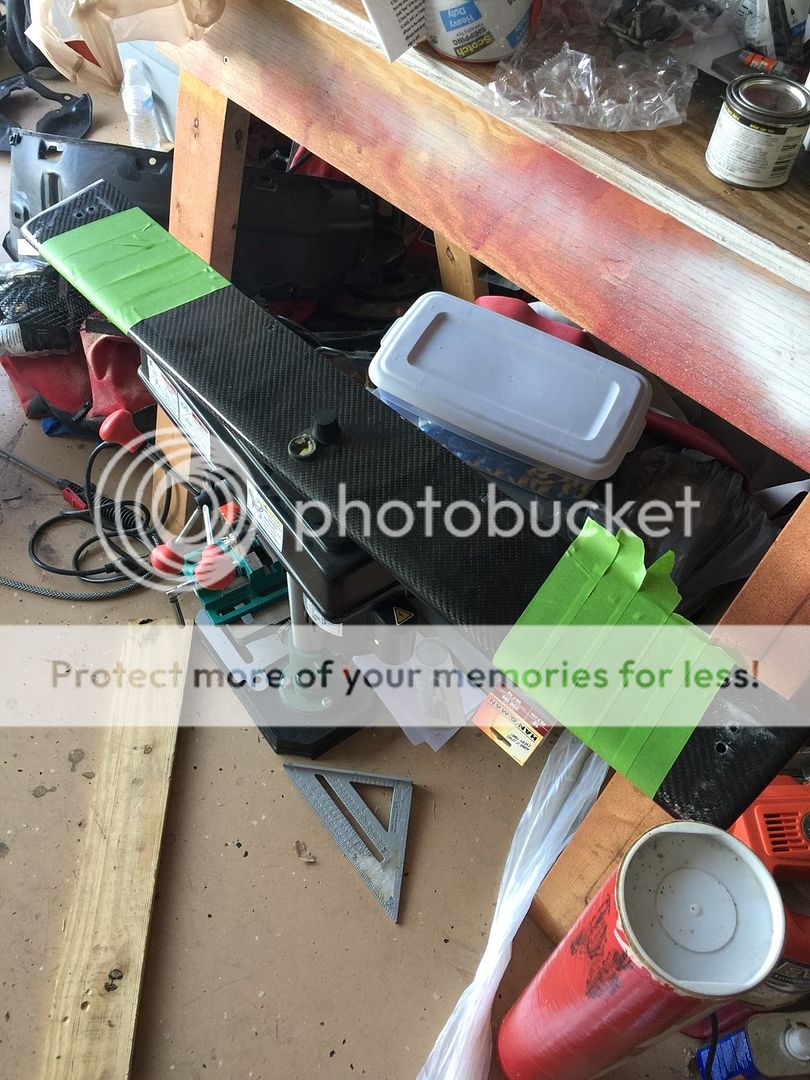
Next up was to tape off the ends so I could spray them black. I know, kind of a red neck approach but it meant I didnt have to sand down the cracks and re-epoxy and clear it. If I knew how to do that, I would have just done it.
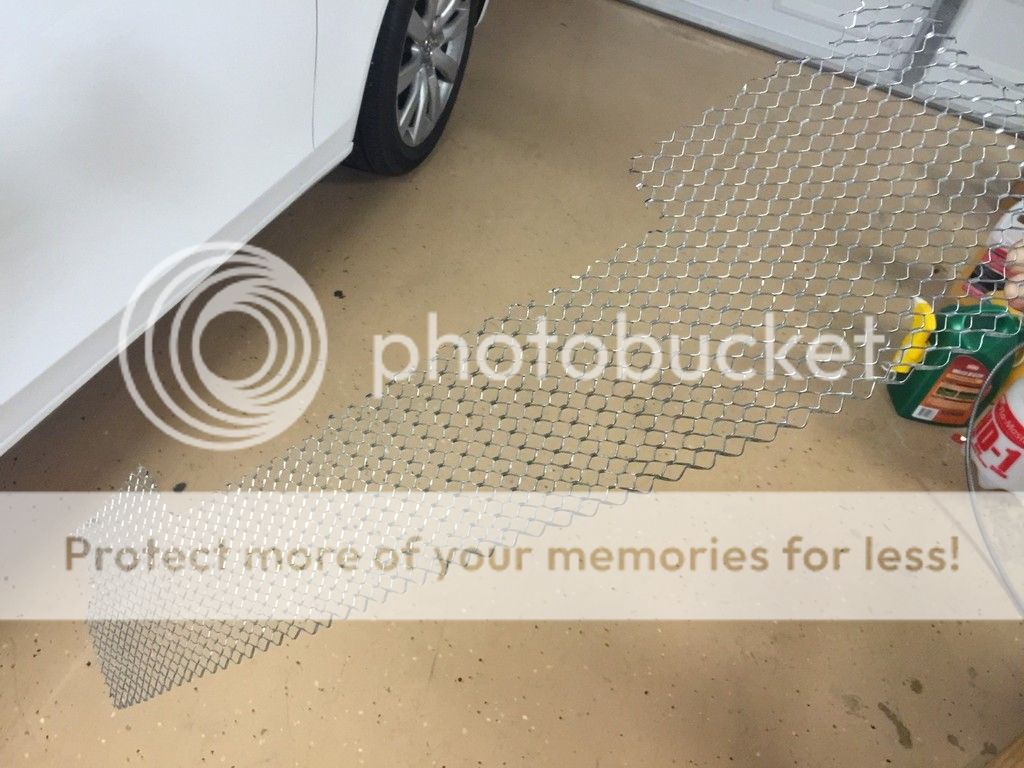
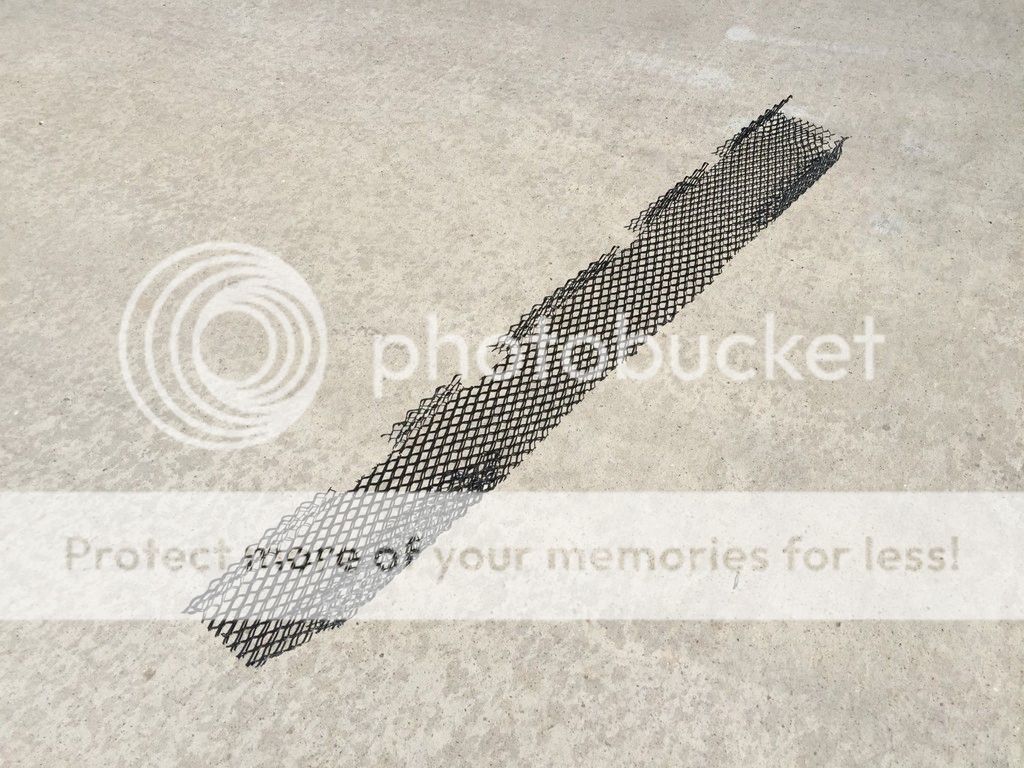
I used the leftover screen material from the original project (also used to updated side vents to an 02+ style). This is why I never throw anything away. Most would have probably thrown the screen away when they moved across the country.
Using a fat permanent marker, I roughly traced the original beat up mesh and cut the large screen down to size with my Dremel metal cutting wheel.
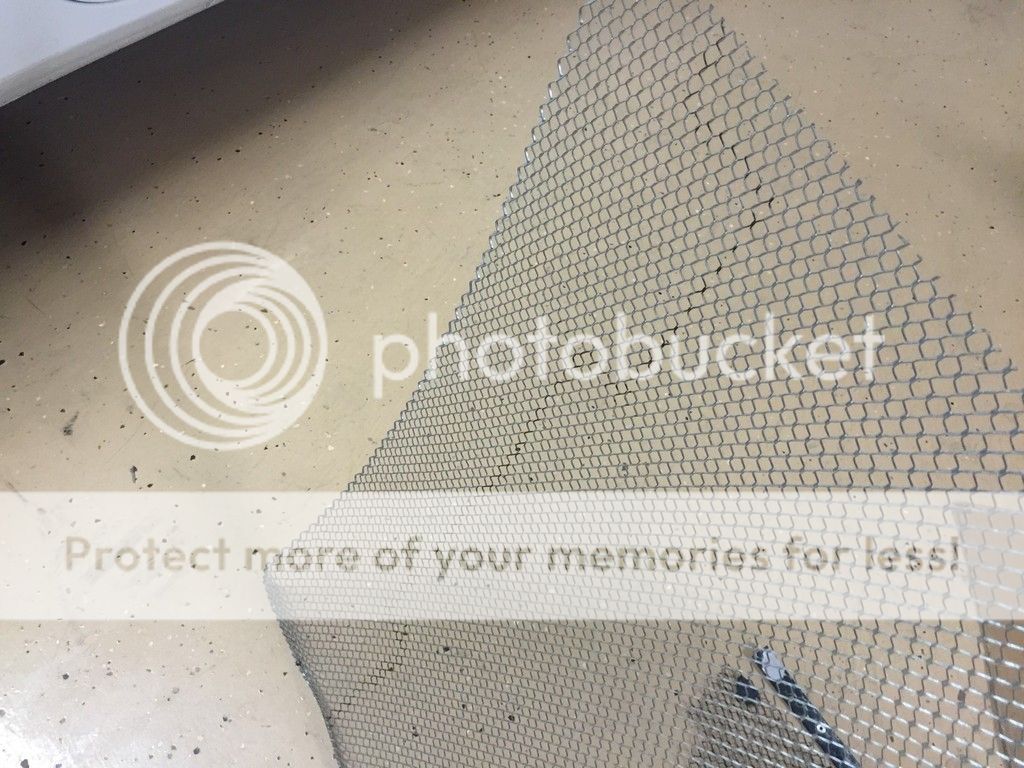
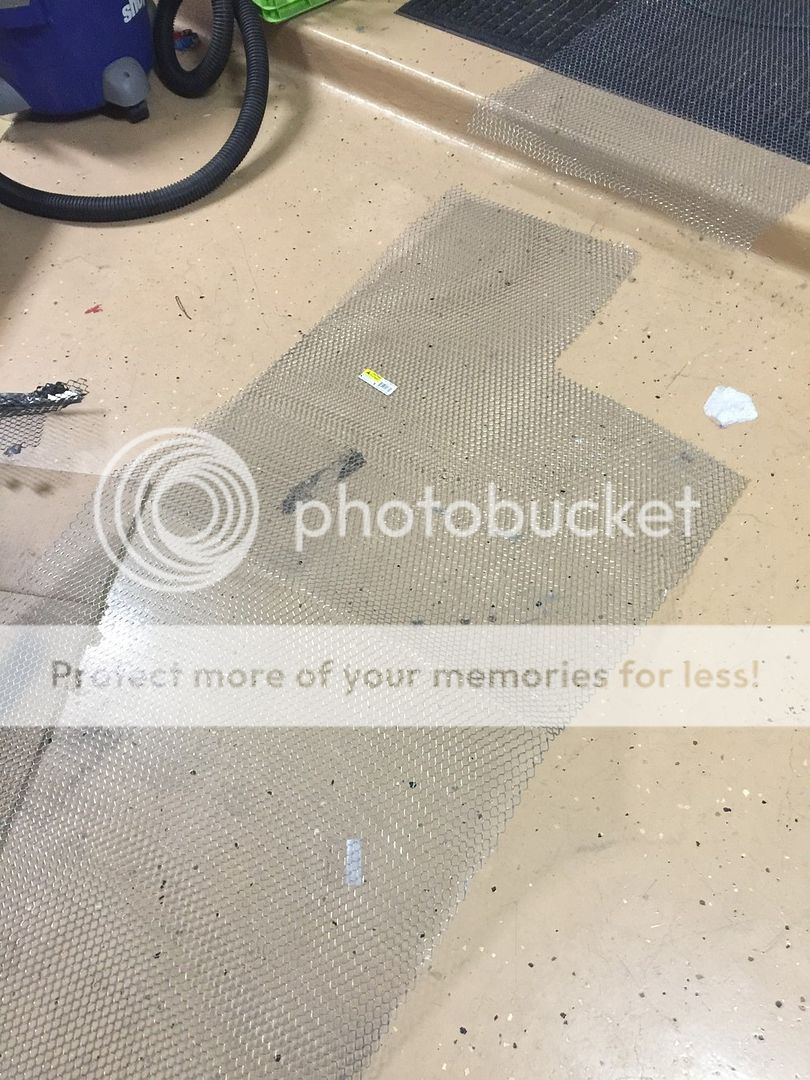
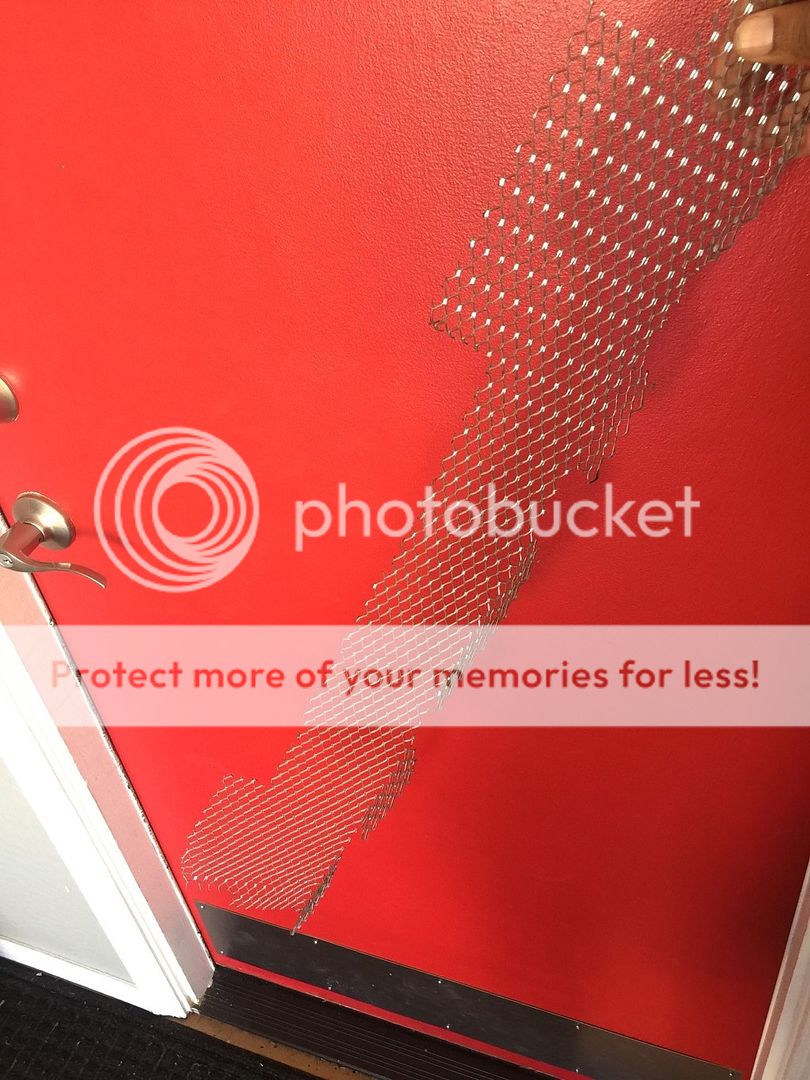
Looks good,... now to hit it with some black high temperature enamel (it gets hot behind that GTLW exhaust).
After install, good as new (sort of). This time around I did not use any rivet's. They were good at the time I originally assembled this valance a couple of years ago.. but once the tow truck caused the damage, the rivets became a liability when trying to repair. :wink:
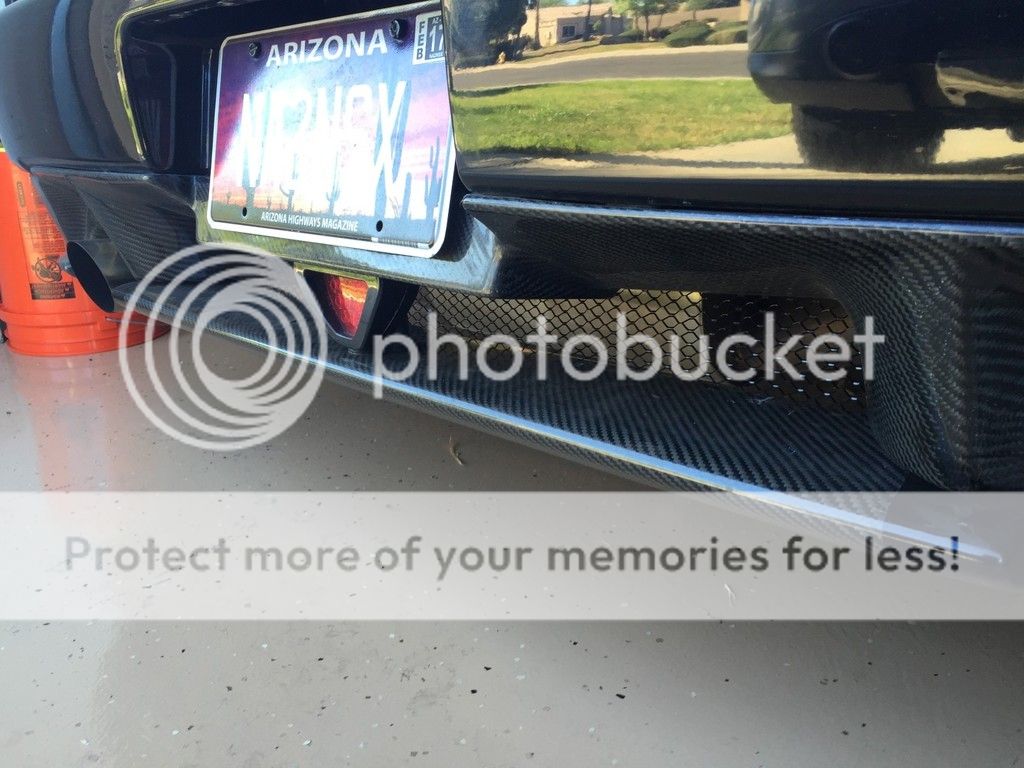

It looks a little better in person. That last photo above showed a dirty rear lower valence.
Hmmmm... whats next? I wonder.
The new Difflow is chilling in my garage (thanks Greg) waiting for me to fabricate some new attachment brackets. This is due to the Seibon valance not having enough front to back width to utilize the brackets the Difflow diffusers come with.
In the meantime, I managed to find a solution to re-establish the gap in the lower Seibon valence bar. And this time I went Gorilla Glue instead of 2 part epoxy.
Next up was to tape off the ends so I could spray them black. I know, kind of a red neck approach but it meant I didnt have to sand down the cracks and re-epoxy and clear it. If I knew how to do that, I would have just done it.
I used the leftover screen material from the original project (also used to updated side vents to an 02+ style). This is why I never throw anything away. Most would have probably thrown the screen away when they moved across the country.
Using a fat permanent marker, I roughly traced the original beat up mesh and cut the large screen down to size with my Dremel metal cutting wheel.
Looks good,... now to hit it with some black high temperature enamel (it gets hot behind that GTLW exhaust).
After install, good as new (sort of). This time around I did not use any rivet's. They were good at the time I originally assembled this valance a couple of years ago.. but once the tow truck caused the damage, the rivets became a liability when trying to repair. :wink:
It looks a little better in person. That last photo above showed a dirty rear lower valence.
Hmmmm... whats next? I wonder.
with such an aggressive diffuser, you going with a more aggressive wing?
No,,I used to run the oem one for a long time until I recently acquired the Shine BYS style.
Looks great Jhae, so glad you have the car back in one piece and better than ever!!
Thx Chris...it's still a project in the works
Your car looks amazing.:cheerful:
Present state before paint correction in a couple of weeks.
I remember when your convo was that of a purist, happy to see you conform to brining more to the community.
- - - Updated - - -
Present state before paint correction in a couple of weeks.
I remember when your convo was that of a purist, happy to see you conform to brining more to the community.
Similar threads
- Replies
- 29
- Views
- 3K
- Replies
- 388
- Views
- 58K
- Replies
- 172
- Views
- 51K
- Replies
- 1
- Views
- 5K