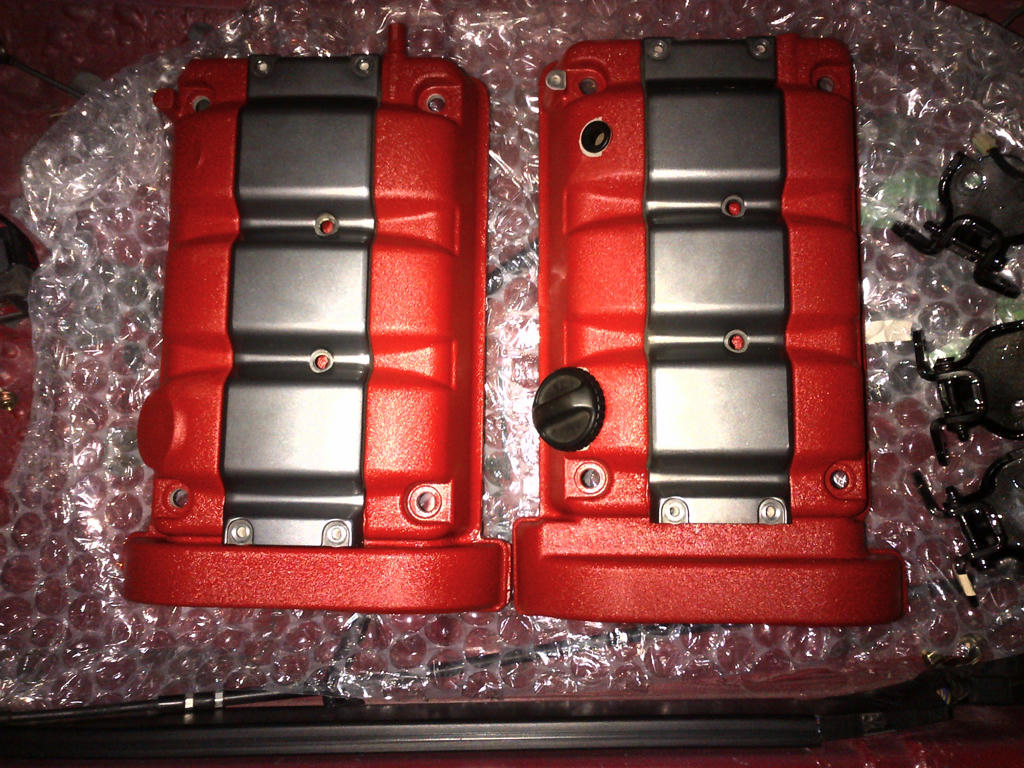
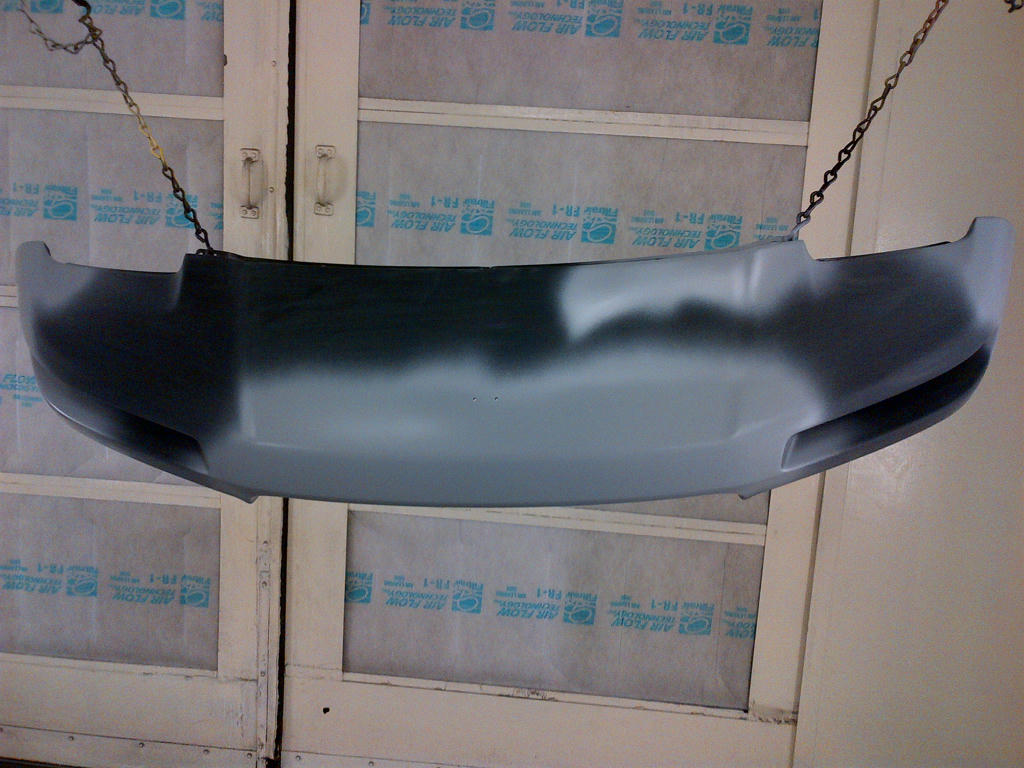
Nh-604p
Last edited:

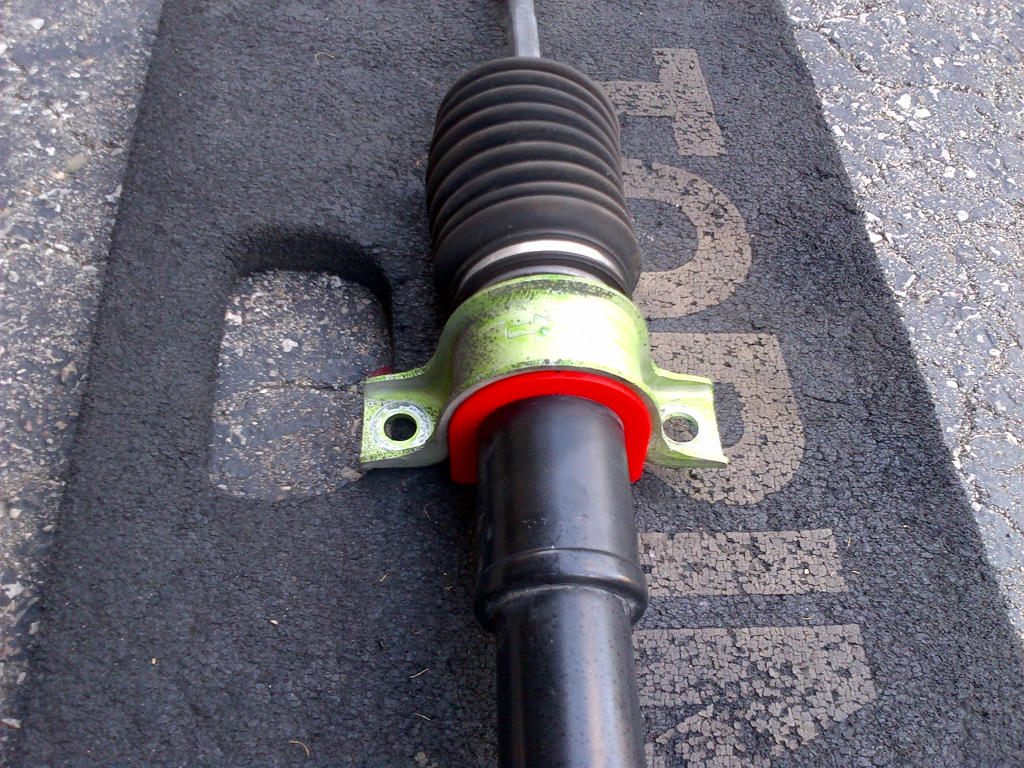
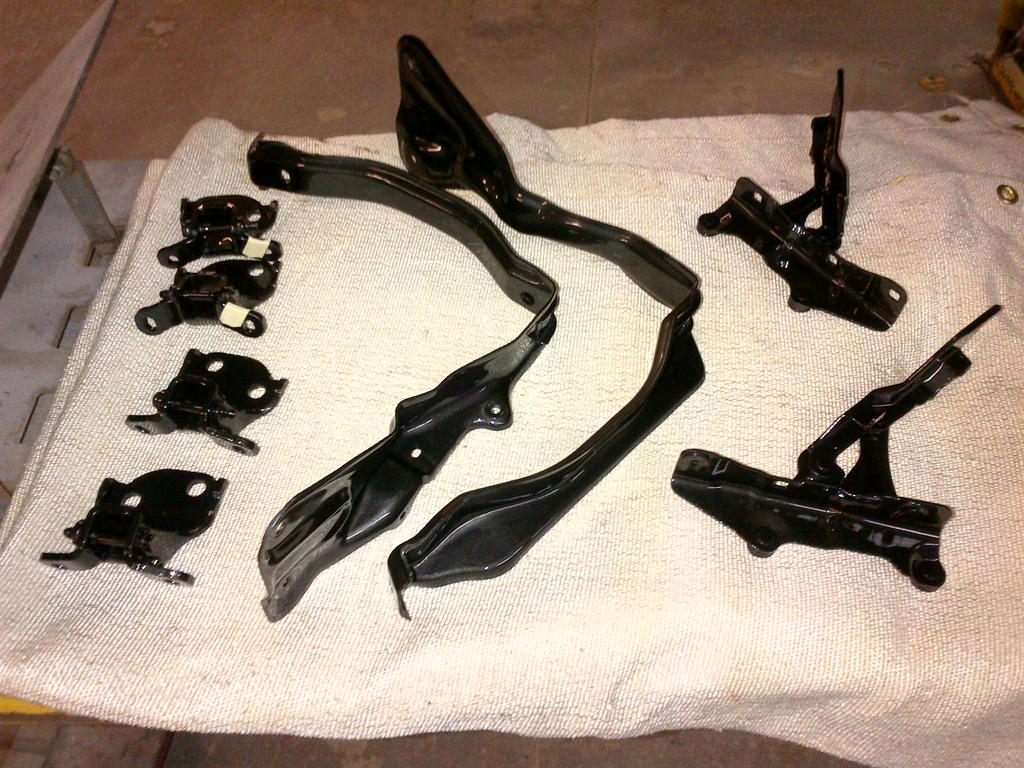
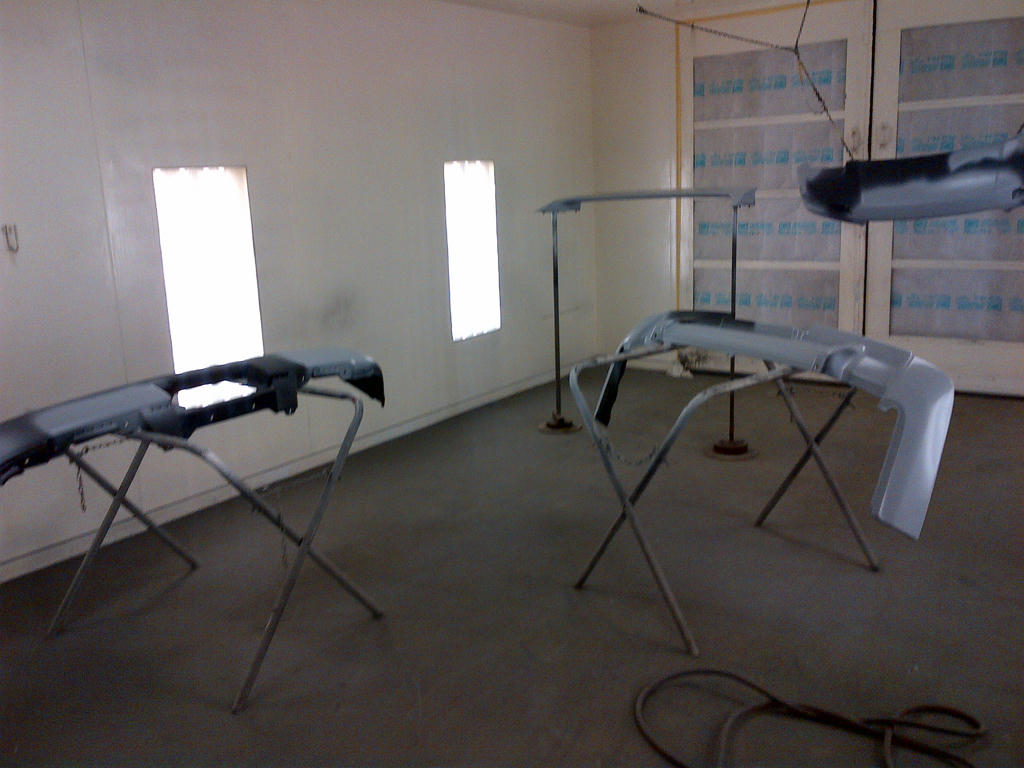
Oooo, you're right. Just checked out their web site and man, that color does look pretty nasty in some of the photos. Why can't they just make their bars a nice neutral color like black?
Nh-604p
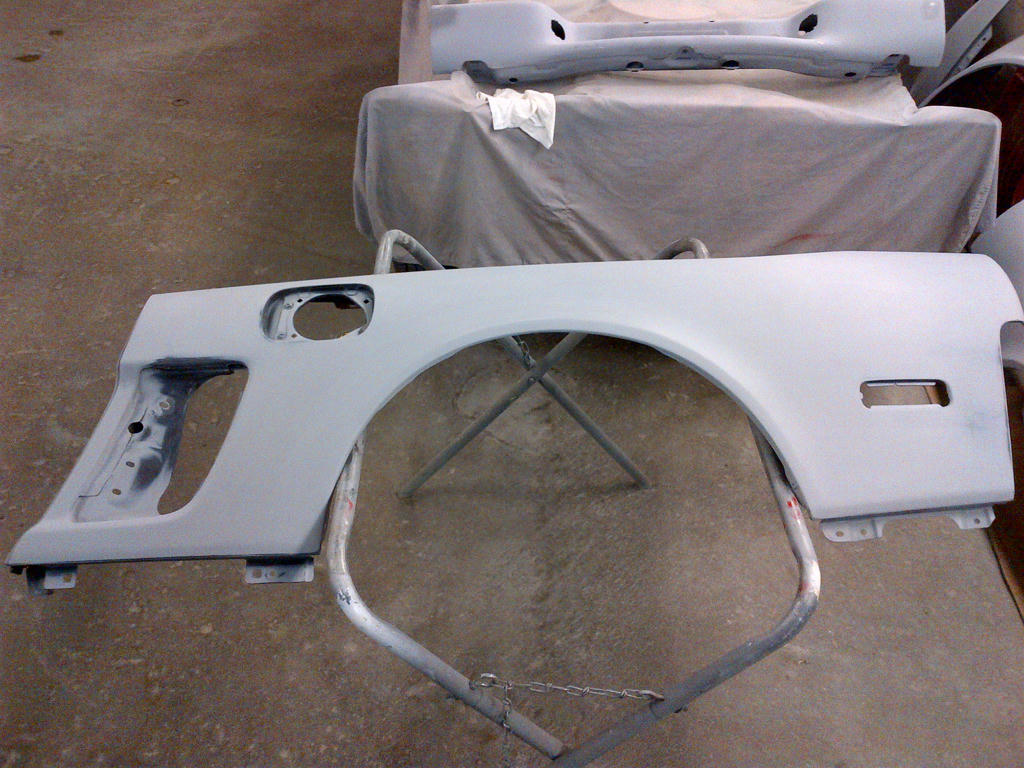
I see you edited your post lol but Ding Ding Ding... we have a winner NH-604P- Magnum Grey Pearl :biggrin:
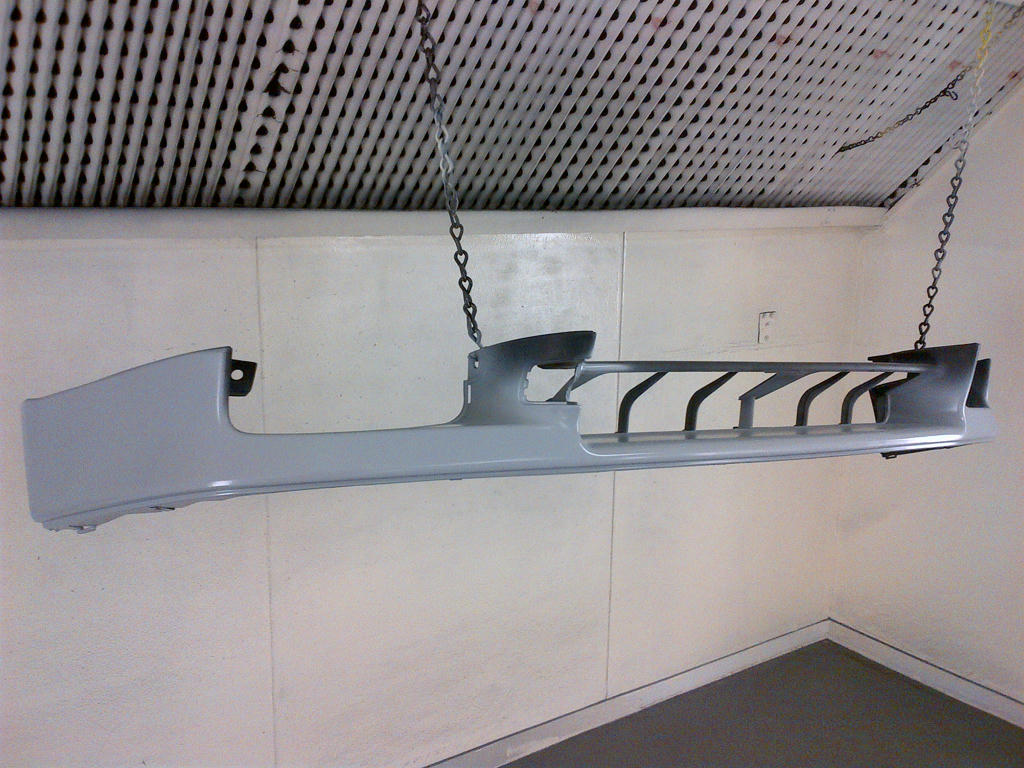
When I first heard of GT Spec, for my Mazdaspeed Protege, the bars were all orange. Fast forward a handful of years and the bars were all a nice blue, kind of like Laguna Blue. Now they are the weird color you get now. I think they just buy surplus paint when they run out and they just get whatever color is available.I don't know why I was wondering if that was a tradmark of GT-Spec? I'll probably powdercoat them satin or flat black later.
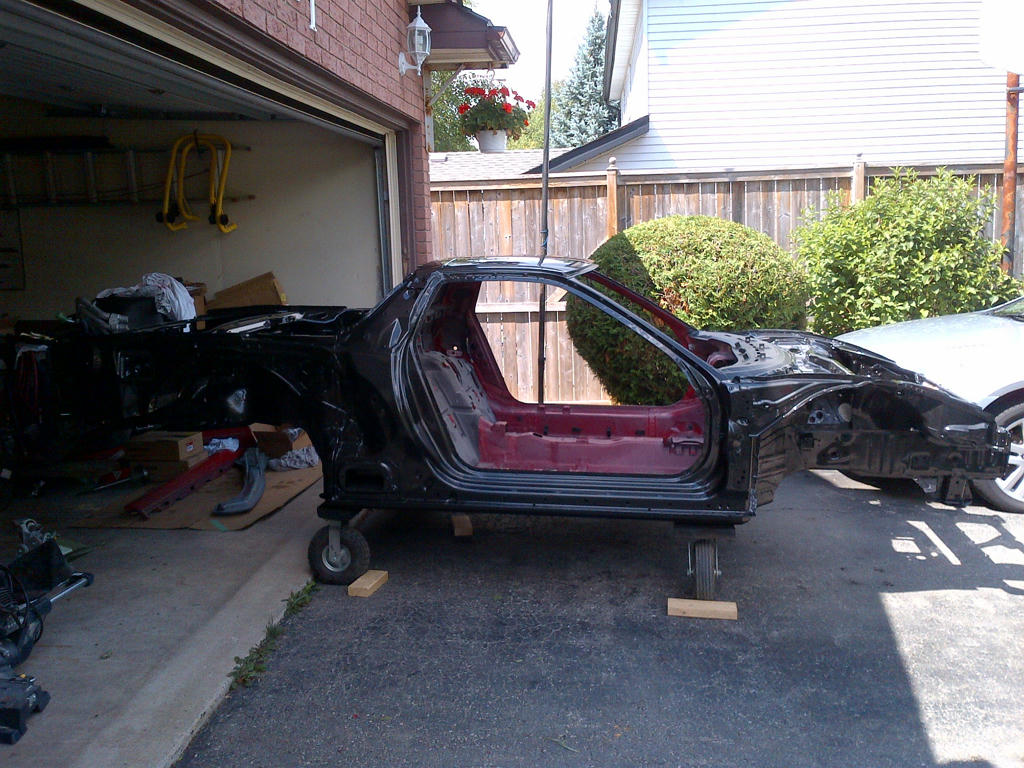
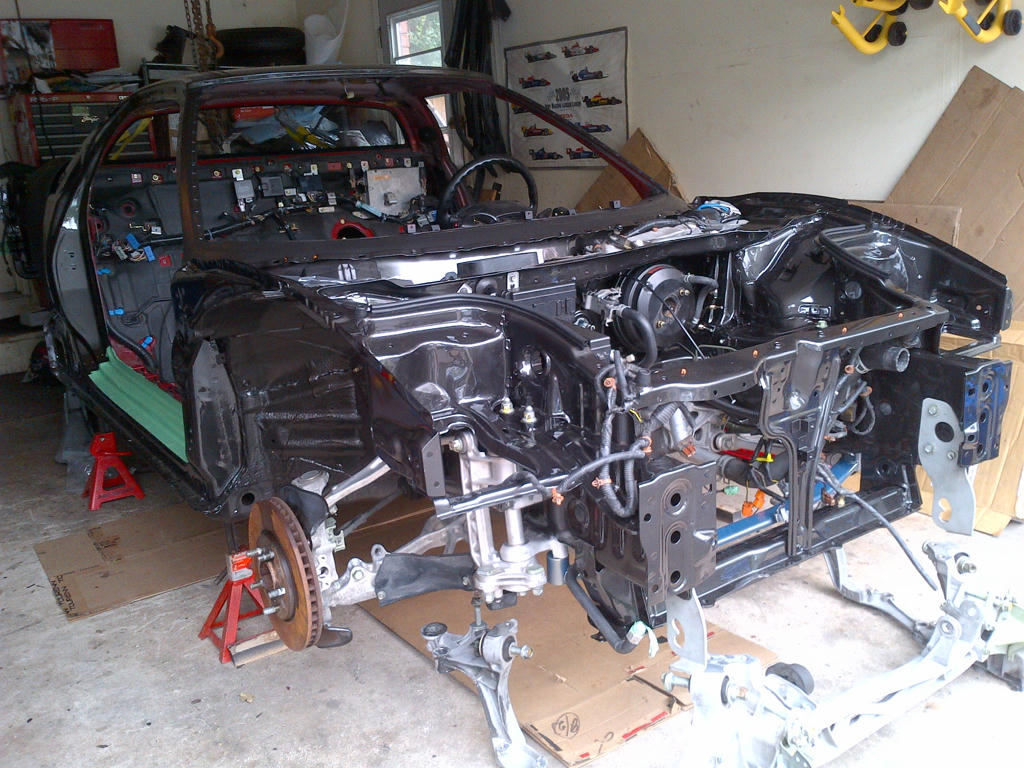
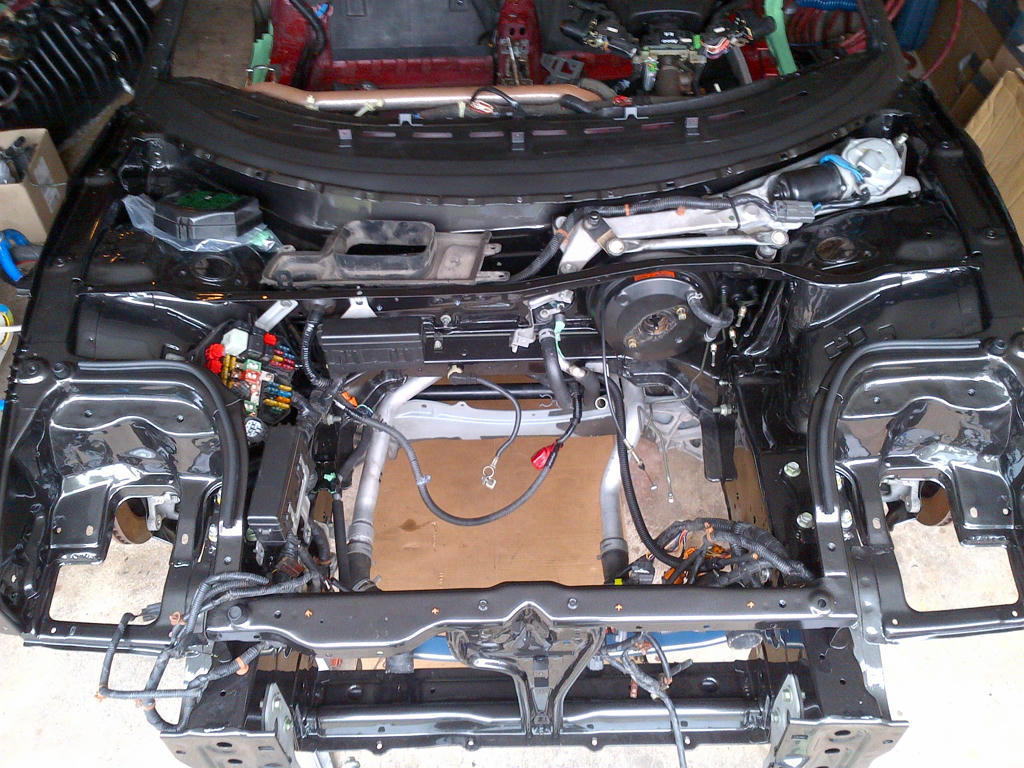
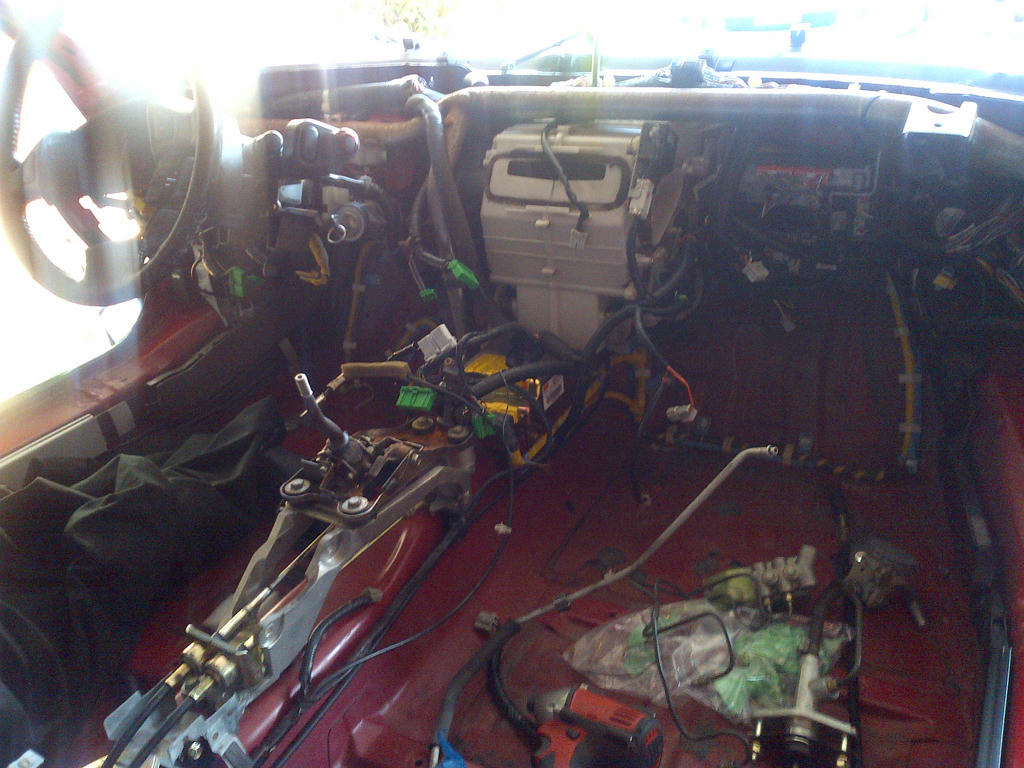
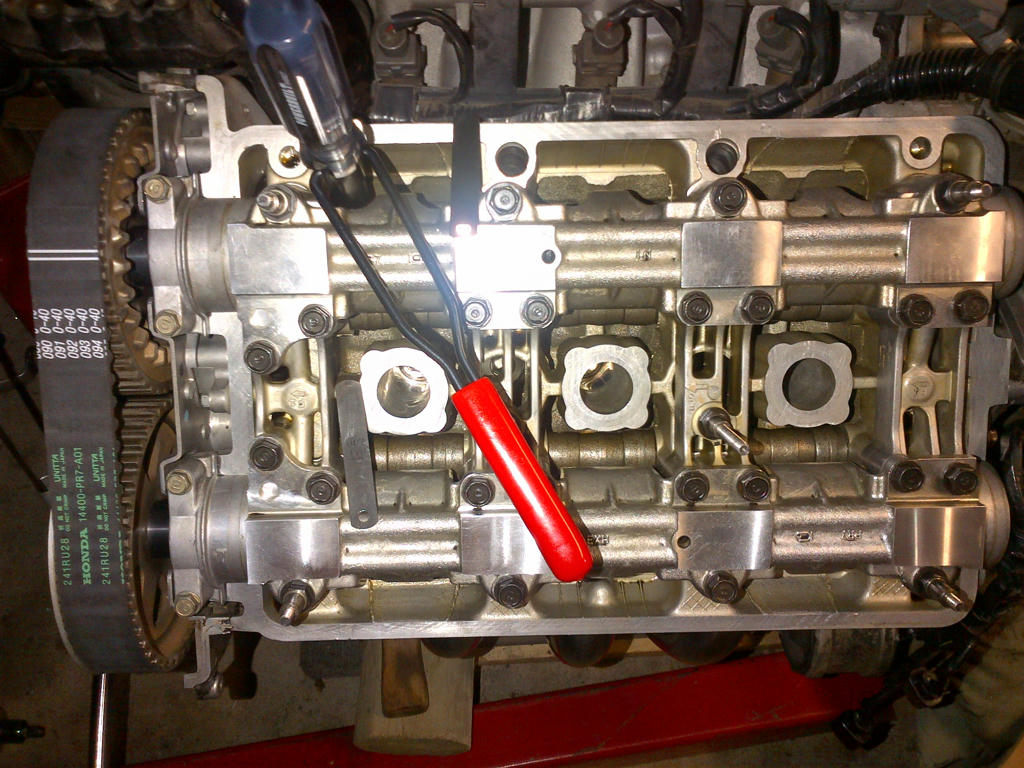
wow! the attention to detail has me drooling, could you ever part with the car after putting all this work into it?
When I first heard of GT Spec, for my Mazdaspeed Protege, the bars were all orange. Fast forward a handful of years and the bars were all a nice blue, kind of like Laguna Blue. Now they are the weird color you get now. I think they just buy surplus paint when they run out and they just get whatever color is available.
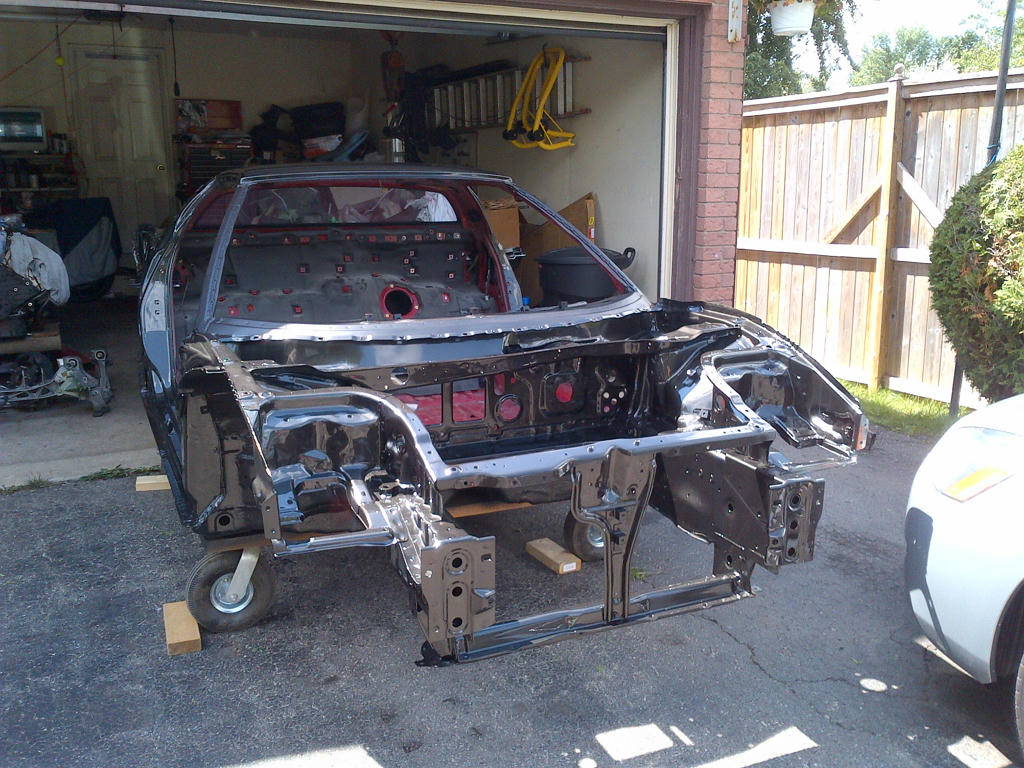
Nice pics. Keep up the good work.

I see you edited your post lol but Ding Ding Ding... we have a winner NH-604P- Magnum Grey Pearl :biggrin:
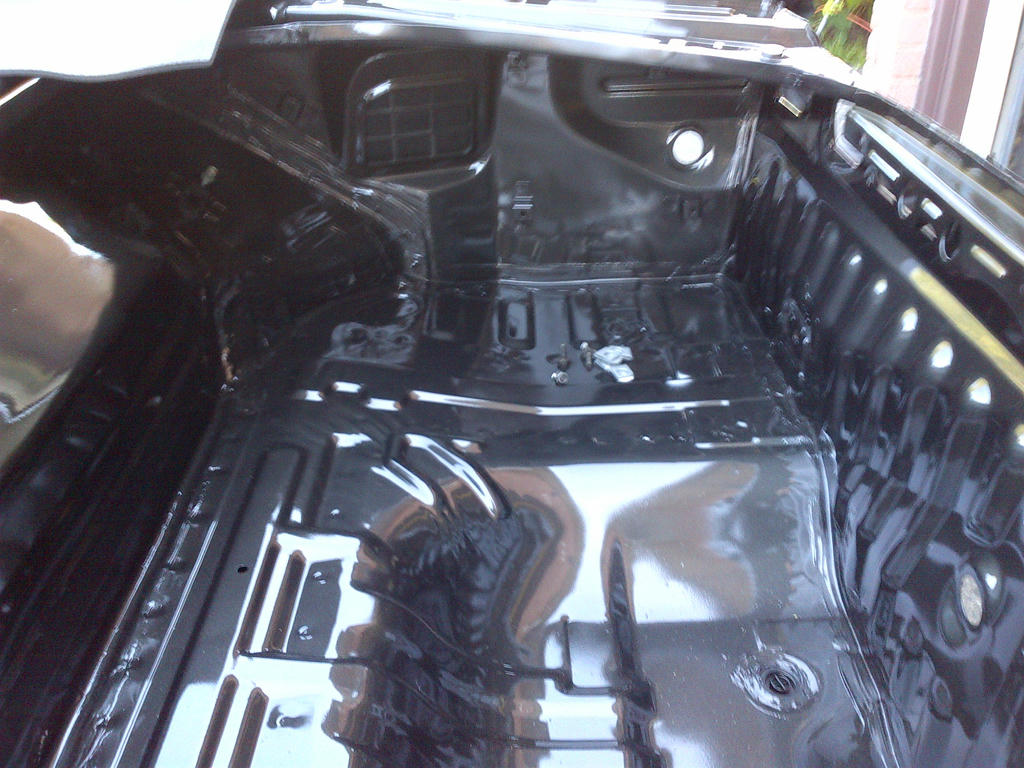
This is the greatest thing I've ever seen........ more!
this is a great great build. other then gil's car yours will be the only nsx in north america in this color i believe.
no 02 conversion for this badboy?!?!


update on this badboy?
looks phenomenal.
Just curious, I am about to get my one car checked for frame straightness before I go all in(almost identical to the process you have done) and I am not to confident in my local frame shops. Almost all wanted it a rolling chassis and I could only find one with the laser alignment check. Do you know how much they needed to adjust yours? Any knowledge you picked up along the way?
Great thread!
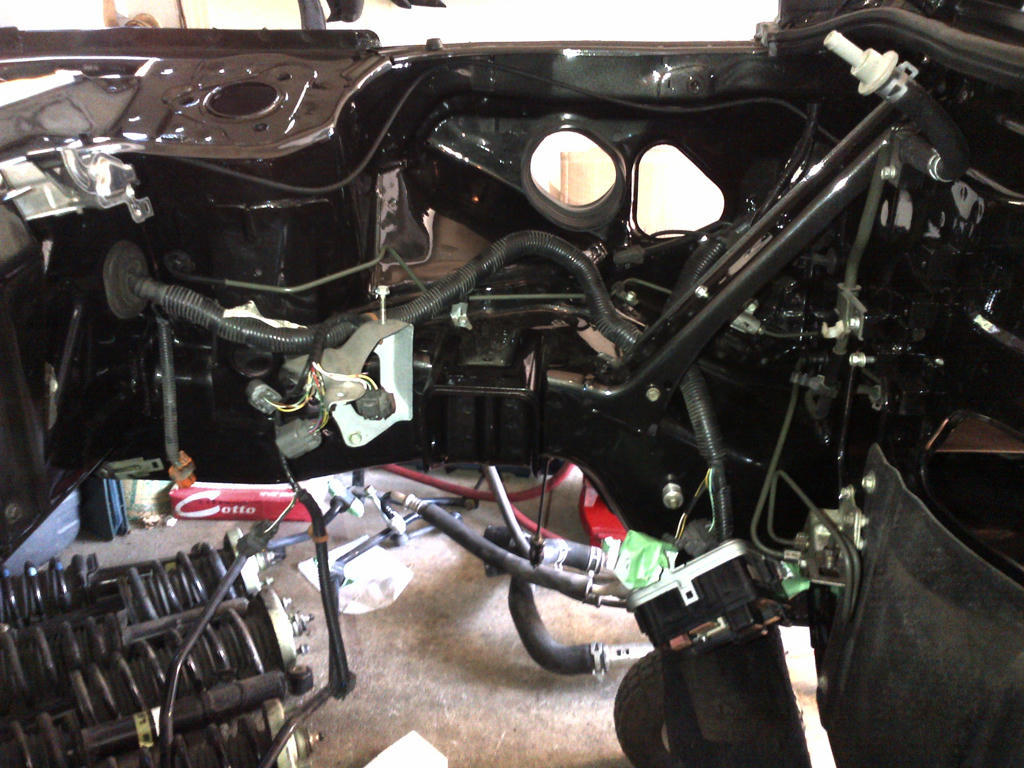
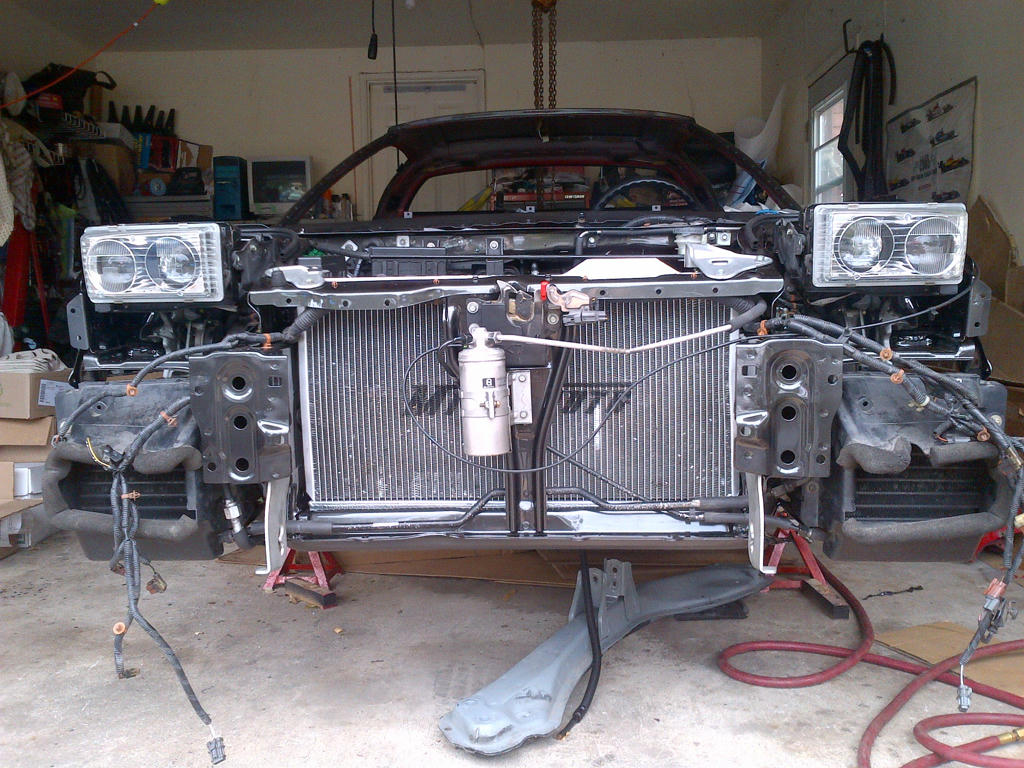
Thanks I’ve got more to come soon. I did not check the chassis on a frame machine until after transporting it from CA, trust me took a big risk in doing so. Lucky for me and our wonderful community I got someone to go by and visually check it out before making the purchase. One thing I can't do is bodywork, so once here I had the car sent to a trusted bodyshop familiar with Aluminum repair to make the necessary repairs. I've known the owner for well +10years. He is very skilled he did all the paint work on my '02 conversion on my '00 NSX-T as well as many other cars for me over the years.
I suggest if you are serious about building and you have access to the chassis, and the owner will allow you have the frame & alignment of it checked out prior to you buying. That would be the way to go for sure, at least there is no seconding guessing the base your building on is solid and structurally secure. If it cannot be repaired or costs too much then maybe not worth doing? You got to weigh out your options. I also have access to my old car so parts car is handy for sure, but that is entirely based on what you are planning to build right?
I should also mention here in Ontario, Canada rules are stringent. Along with a Standard Certification, and e-test it will also be required to pass a Government structural inspection, OEM Alignment in spec, all within 12months of my import date. Which I should mention is getting closer... ok back to work now.
best of luck. !!!
ontario/canada super super strict. not to go too off topic but if the usa car has a rebuilt/salvage title; under a new cdn owner the title automatically becomes 'salvage' and cannot be driven on cdn roads until e-test, alignment and full structural inspection before the car is given a cdn REBUILT title and then can be licensed for cdn roads.
if the car's title or history states "salvage fire" or "salvage flood" the car will immediately be given a irreparable title in canada and will never ever be legally allowed to be driven on cdn roads, regardless of how well the fix/build was.
looking forward to seeing pictures of this beast back together.


Come on, keep posting these picture, I know that you are further along than this with this project.
Bram
