• Protip: Profile posts are public! Use Conversations to message other members privately. Everyone can see the content of a profile post.

Cambo's '91 Formula Red Refresh Build from Oz

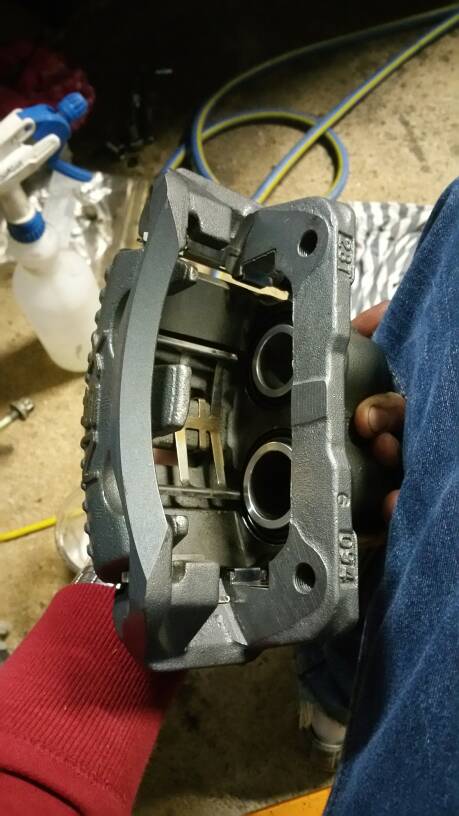
Great job! I doubt Honda could do a better, more thorough refresh!

Dave

Thanks Dave, I often wonder what level they go to in the Honda Refresh Program in Japan. I'd be interested, maybe I could get a job? ha ha... not

Damn! I wish I have the time and the skill that you have. I would love to do this to my NSX. :eek:

Thanks :D 
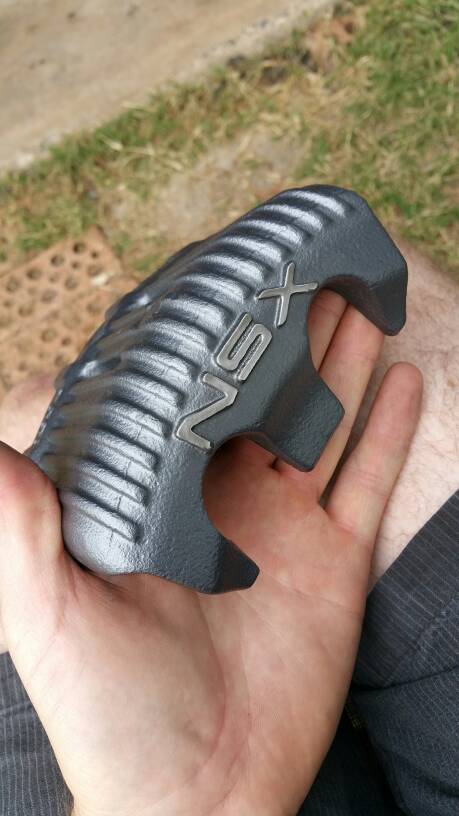
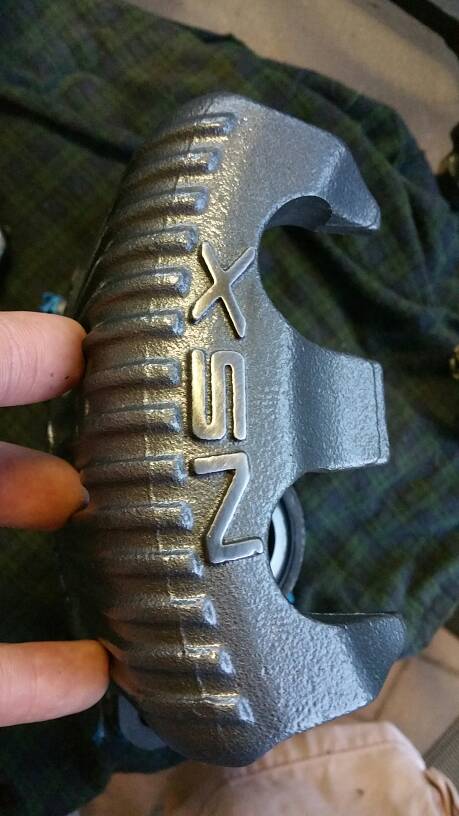
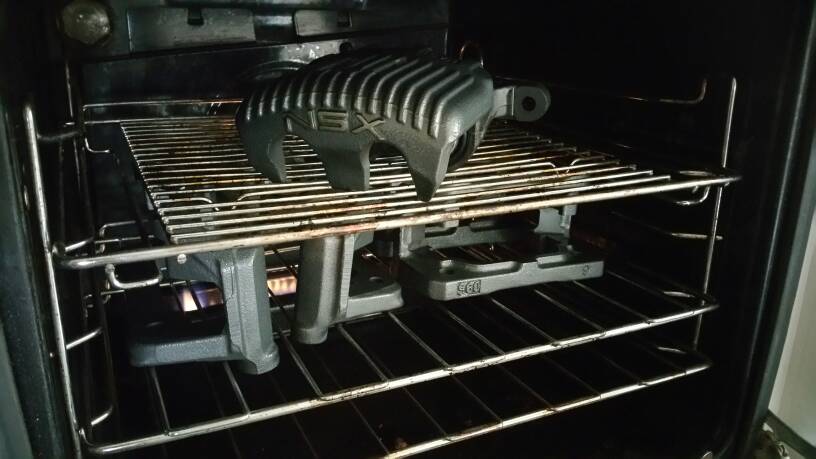
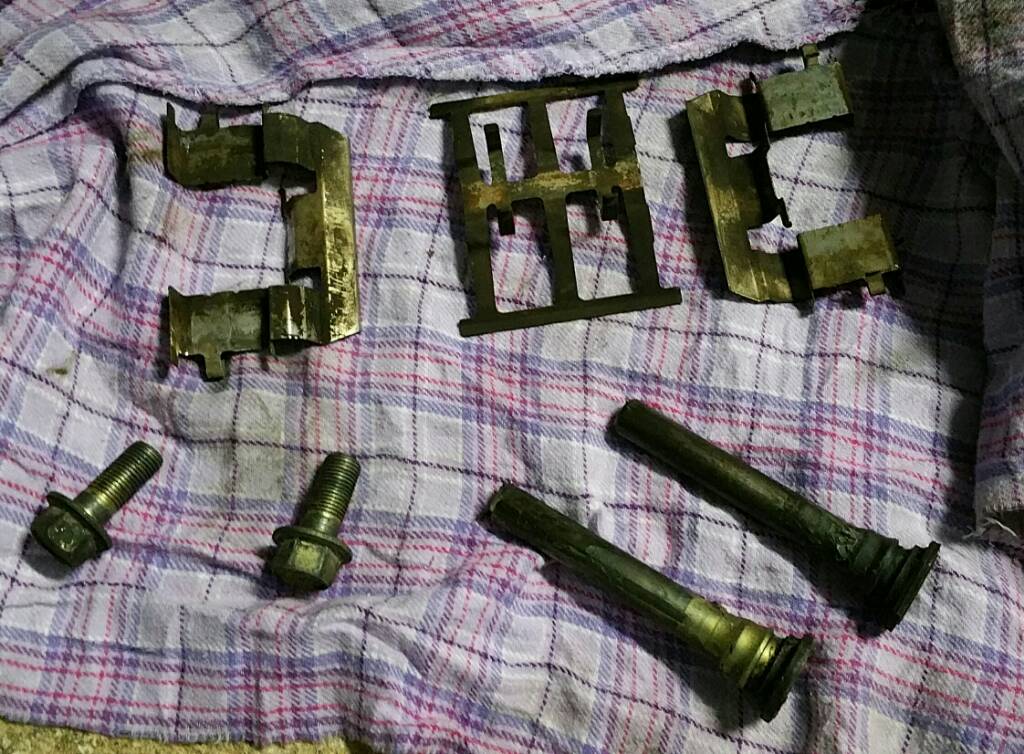
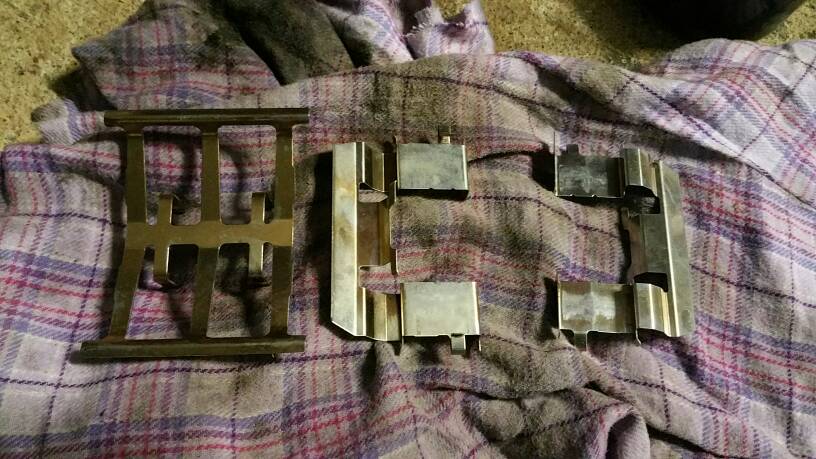
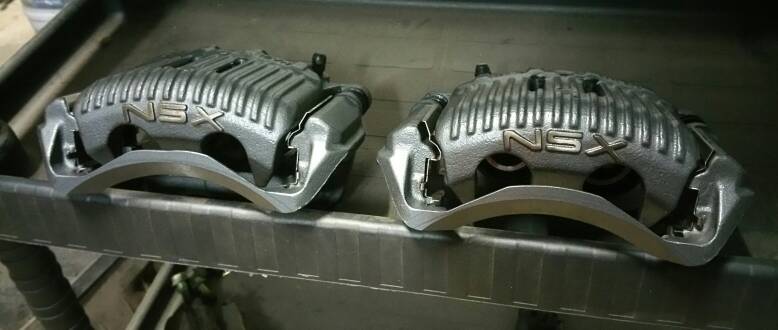
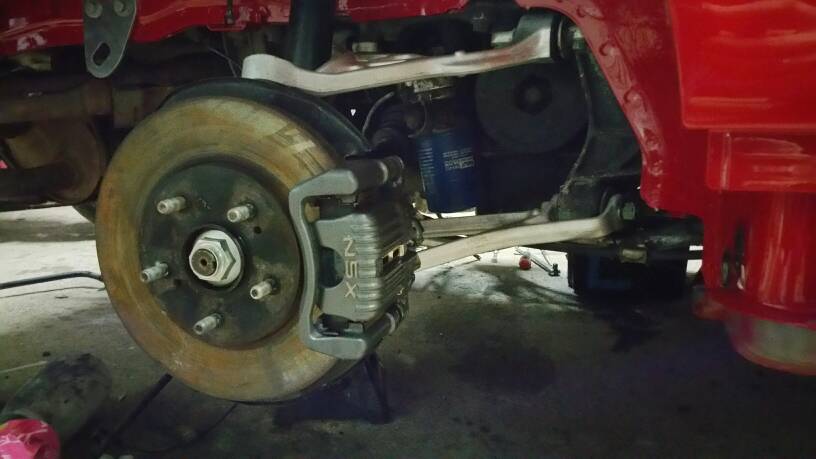
I think it's more about the time, I am sure taking a lot of it. Learning heaps as I go for sure.

Did you repaint these or did you just clean them????

Love your build and attention to detail... SUBSCRIBED!

I repainted these because the plastic had sort of gone 'dull'. I scuffed them up with some 800grit wet & dry first. The paint I used is designed to give a satin finish and is for exterior parts like that. I was pretty happy with how they turned out, and they look fantastic against the new glossy Formula Red. :)
 
Bit of a proud moment today when my Uncle who previously owned the car came to visit. I think he seemed impressed with the progress of the project so far and excited to see the end result!

c8db2b306b63934f80893a95773c4382.jpg
 
So after many months of waiting my ScienceOfSpeed sliding seat rails arrived!

14c5534f180ebdb7bbfc36e823228169.jpg


Time to test fit my Pole Positions which have been patiently waiting in a box in my spare room.

881a925313c03a244ffb836c70004c07.jpg


3d8961db805a1c8adfeb04a69280a867.jpg


Tada! They fit nicely and after getting the angle right feel amazing in the car. Legroom is improved too, I don't need the seat anywhere near the most far back it goes (long legs here).

2d7e3a15d19d314ae21f8d0fd75a4d19.jpg


Thought I'd try out the passenger side too for good measure. With OEM subwoofer removed and this seat combo, I can fully extend my legs in the passenger side. Awesome!

009f40029293f0283d476ccfe5d59486.jpg


Getting in and out isn't as hard as I thought it may be. Will be interesting when the car is back on the ground again, this may change... lol

Super excited!
 
So we finally got the wheel arches and bumpers done last weekend but I've been too busy to post an update until now!

I'll let the pics do the talking.

2c6666993d603f515544c007fae7e785.jpg


6c8d95018aa668de8b9e172853f9da8d.jpg


c648f6d06547334e947965a008e82f22.jpg


That finish!
7ef2f67ba385bfe030a010d6fbc5b2cc.jpg


Side skirts
69ccb7f85a26ec3175cc1b179909b36f.jpg


And the bit I was waiting to see with clear for ages - my carbon mirrors! So happy with how these turned out.
9d989e607eada84d03200cdcd5b66042.jpg


Masking up the arches to spray...
01cf8d5ee0c43bf2aae5f3536da3140d.jpg


And done!
5a8beb7c2cecb0e88a12ccccf34a808a.jpg


Final result makes me want to leave the car on stands and never drive it... haha
4e02d7b14eabfda12138403e167109ad.jpg


Also did the areas behind the pop up headlights which are black today.
Masked up...
a520b009706f24c40a86e167ea6ff1df.jpg


Painted...
d3a75d20eeed1ed6d3790d758c61116c.jpg


End result
26c6a2210b40ba5af3c4cca9b88ee661.jpg


a63e44855ee44208c44842705c38061e.jpg


bd2adc9520b38ca83a6476e2db4edf4e.jpg
 
Hi,

when you are finished with yours, can't you come to Portugal
to do this excellent job on another red one?? :biggrin:

Nuno
 
Rear tyres arrived. Still don't have wheels yet.. haha!

0fad1ae433bb51f058cee4a881d4b330.jpg


265/35R18 AD08R in comparison with standard 225/50R16 size RE002.
ff2b2e9ab92c650360f3c17f58799fd3.jpg


Painted the lower radiator support and got the last fiddy couple of brake hard lines installed.

1d94a3c38cd95bcf0662935482a58e3d.jpg


c394613a09474054eefb160cd93dad58.jpg


a0a09ffd77ac3d78c8ebee16f170dfba.jpg


Small bit by bit, it is coming back together. Front wiring harness and blower fan, radiator, battery to go in next.
8b998c1669147e200440704fd672e204.jpg
 
I'm hopeful my car turns out half as nice as yours as you've done a spectacular job. Thanks for the picture of the headlight bucket. I shared it with my painter to show him how I want my car masked.:smile:
 
Thanks cmc140! No problem at all :)

I've been busy putting the suspension back together after cleaning everything up. As I'm changing the standard suspension out soon I didn't spend ages cleaning up the spring/dampers.

Front:
681dfbfee8e26ff19d7ae31007d6b76f.jpg


Rear:
3a51d033b96de04f9fe811e4081d39d2.jpg

d329beaafd9202826b557c197d4fa3e6.jpg


Got to get the brake calipers off to the powdercoaters and the steering rack reinstalled, then it can sit on its wheels for the first time in months!
 
Last edited:
Painted my calipers and went for the machined letters look. Clearcoated in hightemp clear (not done for this pic). Pretty happy with the results!

3df697d741692aead5e0747a0c838194.jpg
 
So lately I have been working on the brake calipers - I rebuilt them with all new OEM seals and dust boots etc. This is a bit of a fiddly job, I got the hang of those damned piston dust boots by the time the last one was done but they really are a pest!

Some pics of the cleanup process and final result below. I used a high temp paint and also a high temp clearcoat to prevent the NSX lettering from rusting as I removed the paint from the lettering for a contrast look.

f163a418b05201a2e42ce80e8743a471.jpg


Baking the high temp clearcoat in the oven, lol... new meaning to "cooked my brakes"

94d797d89c2b5e865c6171212ebb9455.jpg


Pistons cleaned up nicely - NA1 NSX use 36mm and 40mm pistons in the front calipers, with a 282mm rotor. NA2 NSX moved to a larger 298mm front rotor but reduced the piston sizes in the caliper. NA2 NSX-R used the larger rotor and large piston caliper, so this is an easy to perform upgrade, only the caliper brackets and rotors need to be changed.

Interestingly, the same pad is used in the DC2 Type R albeit with a single piston caliper.

73b507ef6c7a38e4454d9095fa633ac0.jpg


ecdb1782484949f55b984ea3fd12742e.jpg


I cleaned up the stainless steel pad locating clips also. Before...

017c79a297642d9fdab2dc3a6c18543e.jpg


After...
f39f4aee01cc888b23b562ed87dbe066.jpg


So with the slide pins re greased and new seals and boots reinstalled here is the finished result:

8943d0394f8e21e93a8a5b5075ec1b5a.jpg


fa170f52a7867cc15a0dc1f641a5bf2d.jpg


Got the first side of the rear all back together.

eb0298a4eb2dc096909c480ea49f4aaf.jpg


Hoping that tomorrow I can complete the job and actually bleed the brakes! I don't think I've ever looked forward to bleeding brakes so much before. :)
 
Back
Top