• Protip: Profile posts are public! Use Conversations to message other members privately. Everyone can see the content of a profile post.

MotorMouth93's 1994 Berlina Black NSX Thread

I also started seeing low oil pressure on the in-dash gauge, initial research pointed to a bad pressure sensor, so I bought the ScienceOfSpeed oil pressure sensor and relocation kit which moves the sensor from the cylinder head to the firewall so it isn't subject to as much vibration. After that, idle pressure appeared to be even lower with the new sensor and I still wasn't seeing the pressure I should higher in the rev range either so I started to get worried. As a last ditch effort I ordered a new in-dash oil pressure gauge from Amayama (discontinued in USA) and then realized that there's no point in dealing with the factory gauge since they are notoriously bad. So, I bought an AEM electronic oil pressure gauge and sensor, installed it, and found my oil pressure readings to be just fine. Now the new cluster oil pressure gauge is sitting in my box of spare parts since removing the cluster is a pain in the butt and I have no real reason to install it anymore.

It sounds like the issue is the gauge itself then? I read a TSB where they said to replace both the sending unit and the gauge, but I would imagine the sending unit would be way more likely to fail. Interesting that the gauge failed.

Does the one you bought come with the face, or do you have to remove the needle and re-use it?
 
Hey Bud,

What's the model number of the fender clips?

thanks

OEM P/N 91545-SE0-003

Auveco P/N 16782

I bought the Auveco ones because they're much cheaper. TBH they suck, the only way to get them to reliably release is to use a small pick and pop the center tab up. The way they are formed doesn't allow the center pin to push in properly to release without breaking half the time. I've had to drill several of them out after they broke and wouldn't release. The OEM ones are much better.

It sounds like the issue is the gauge itself then? I read a TSB where they said to replace both the sending unit and the gauge, but I would imagine the sending unit would be way more likely to fail. Interesting that the gauge failed.

Does the one you bought come with the face, or do you have to remove the needle and re-use it?

I'd assume it's the gauge since I have an SoS sending unit mounted on the firewall now. I don't really care though as the AEM gauge says everything is fine and the factory gauge is notoriously terrible. I'm seeing 15psi at idle, 65psi at 3000rpm, 85psi at 5800RPM, then a dip to 75psi as VTEC engages.

The new gauge assembly includes the needle and face for both the oil pressure gauge and the water temp gauge as they are a single unit. The old one comes out as a single piece and the new one goes in.
 
Last edited:
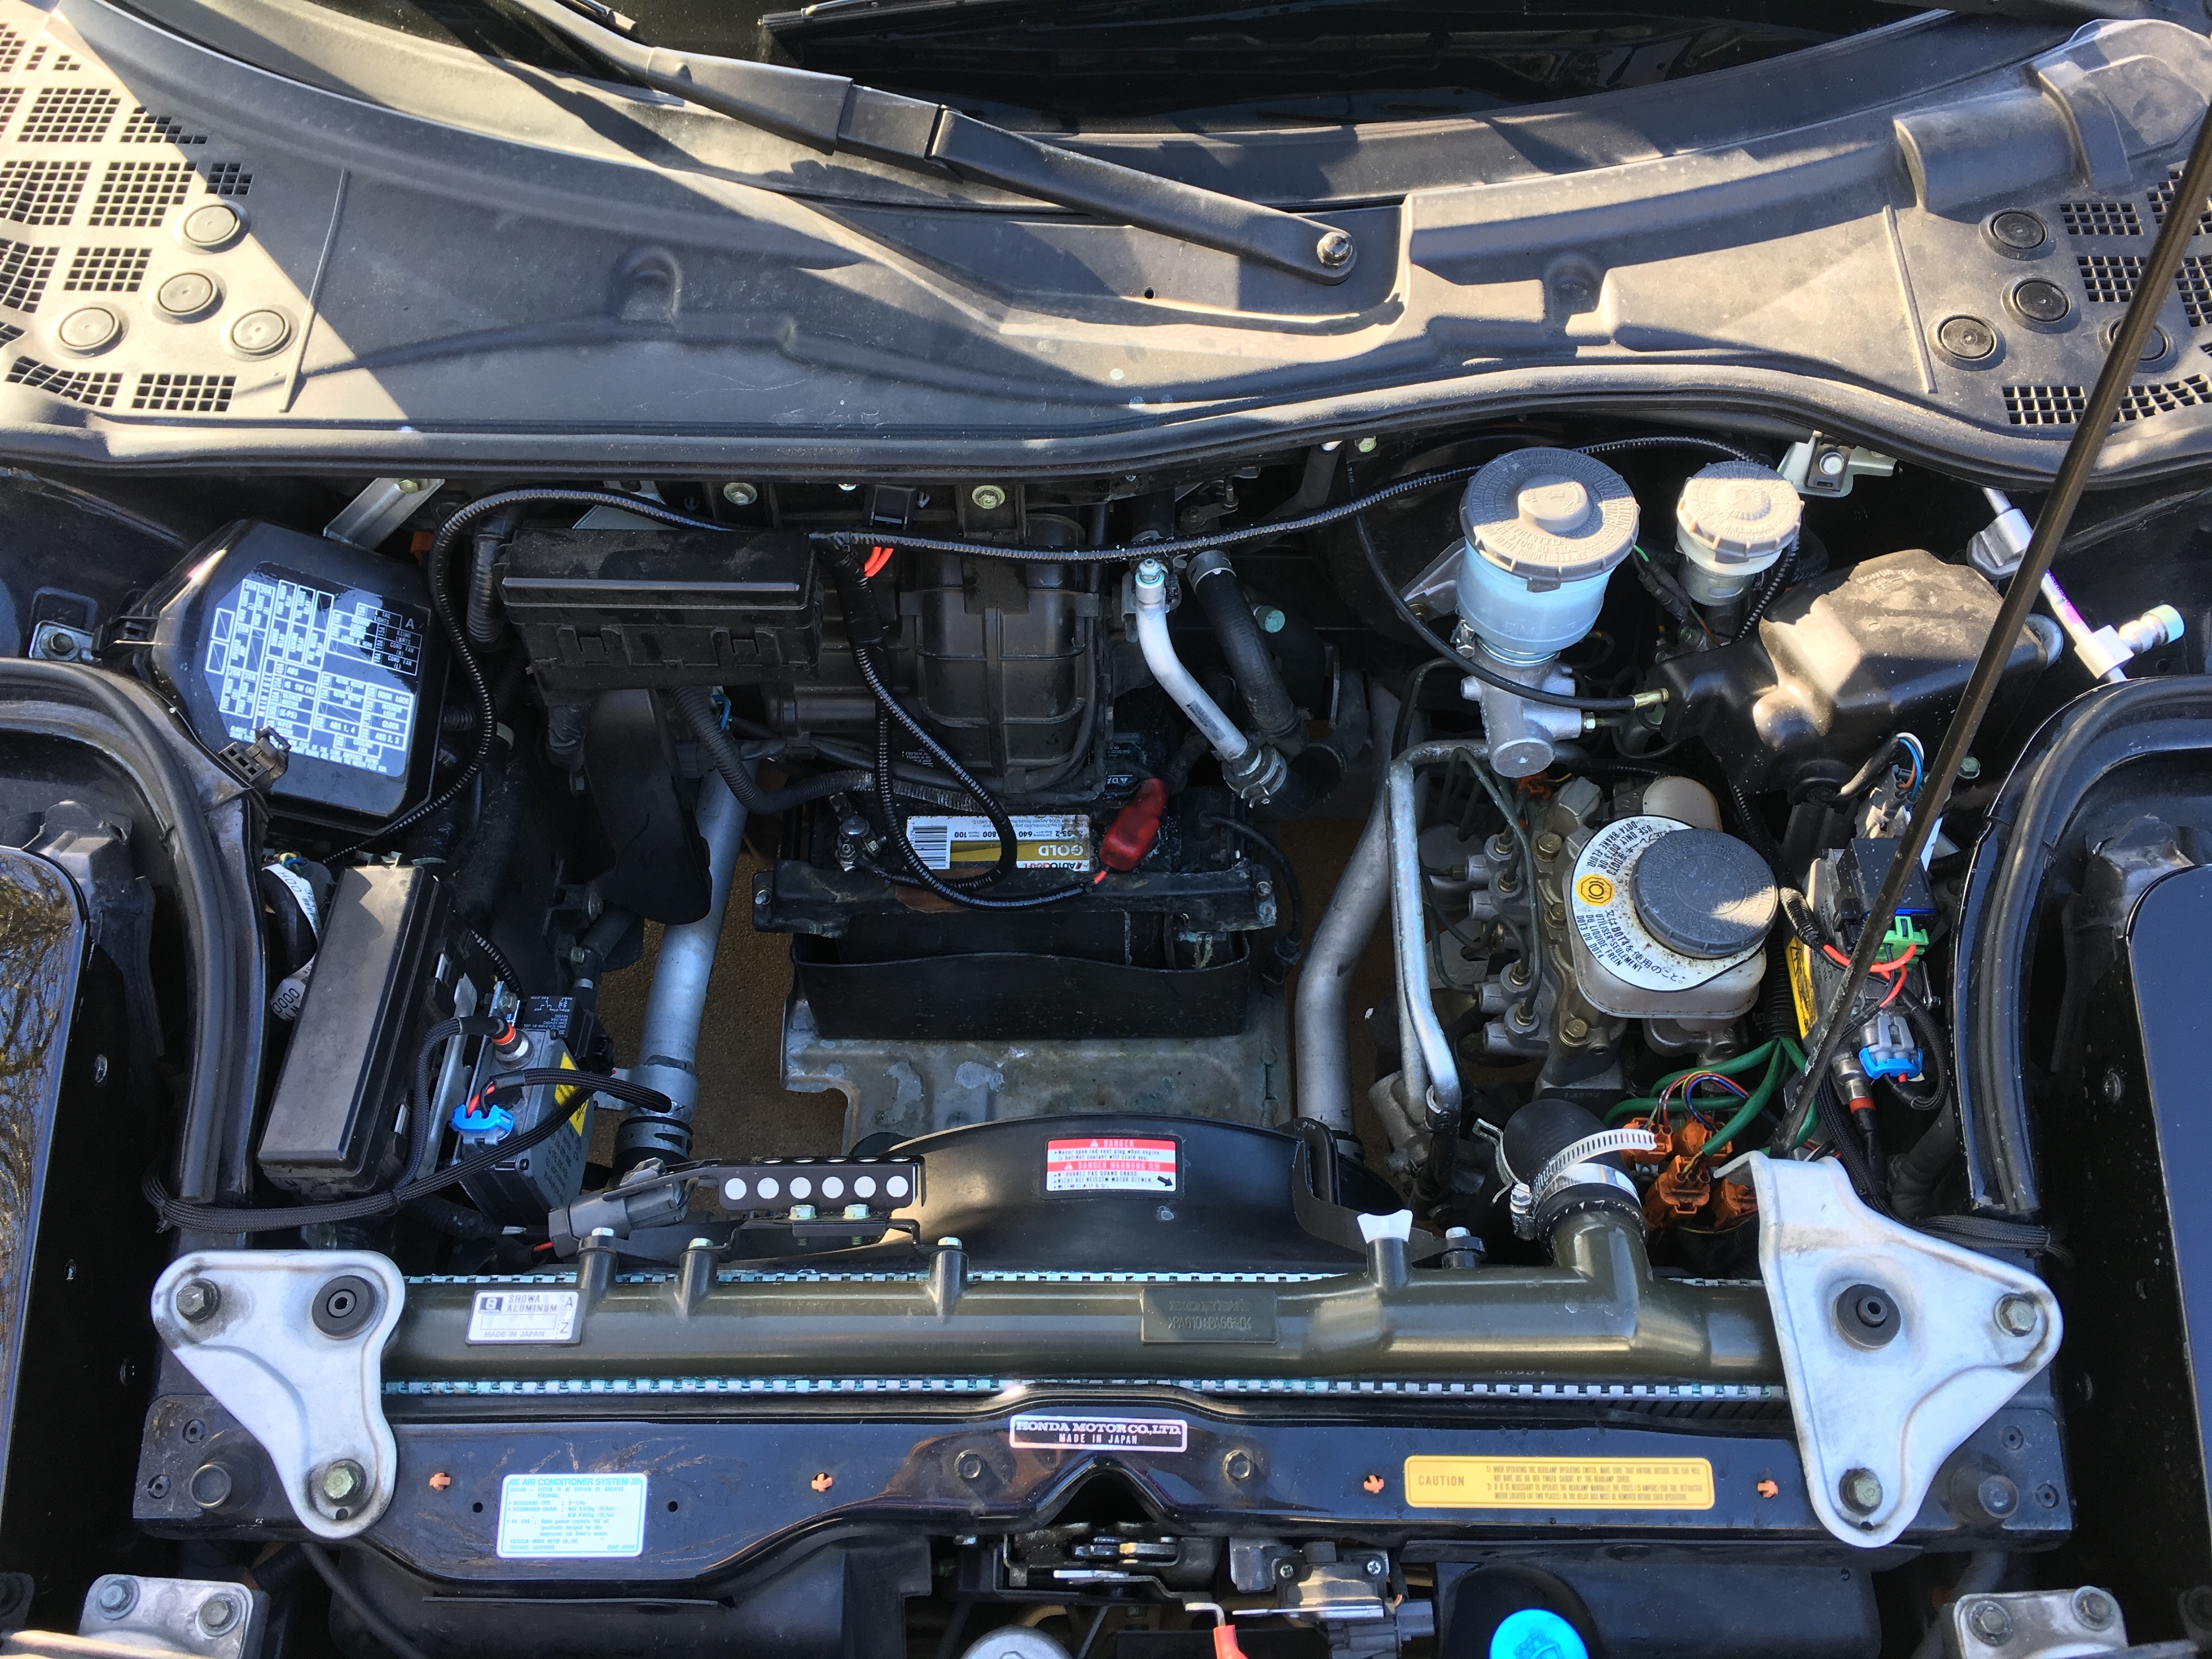
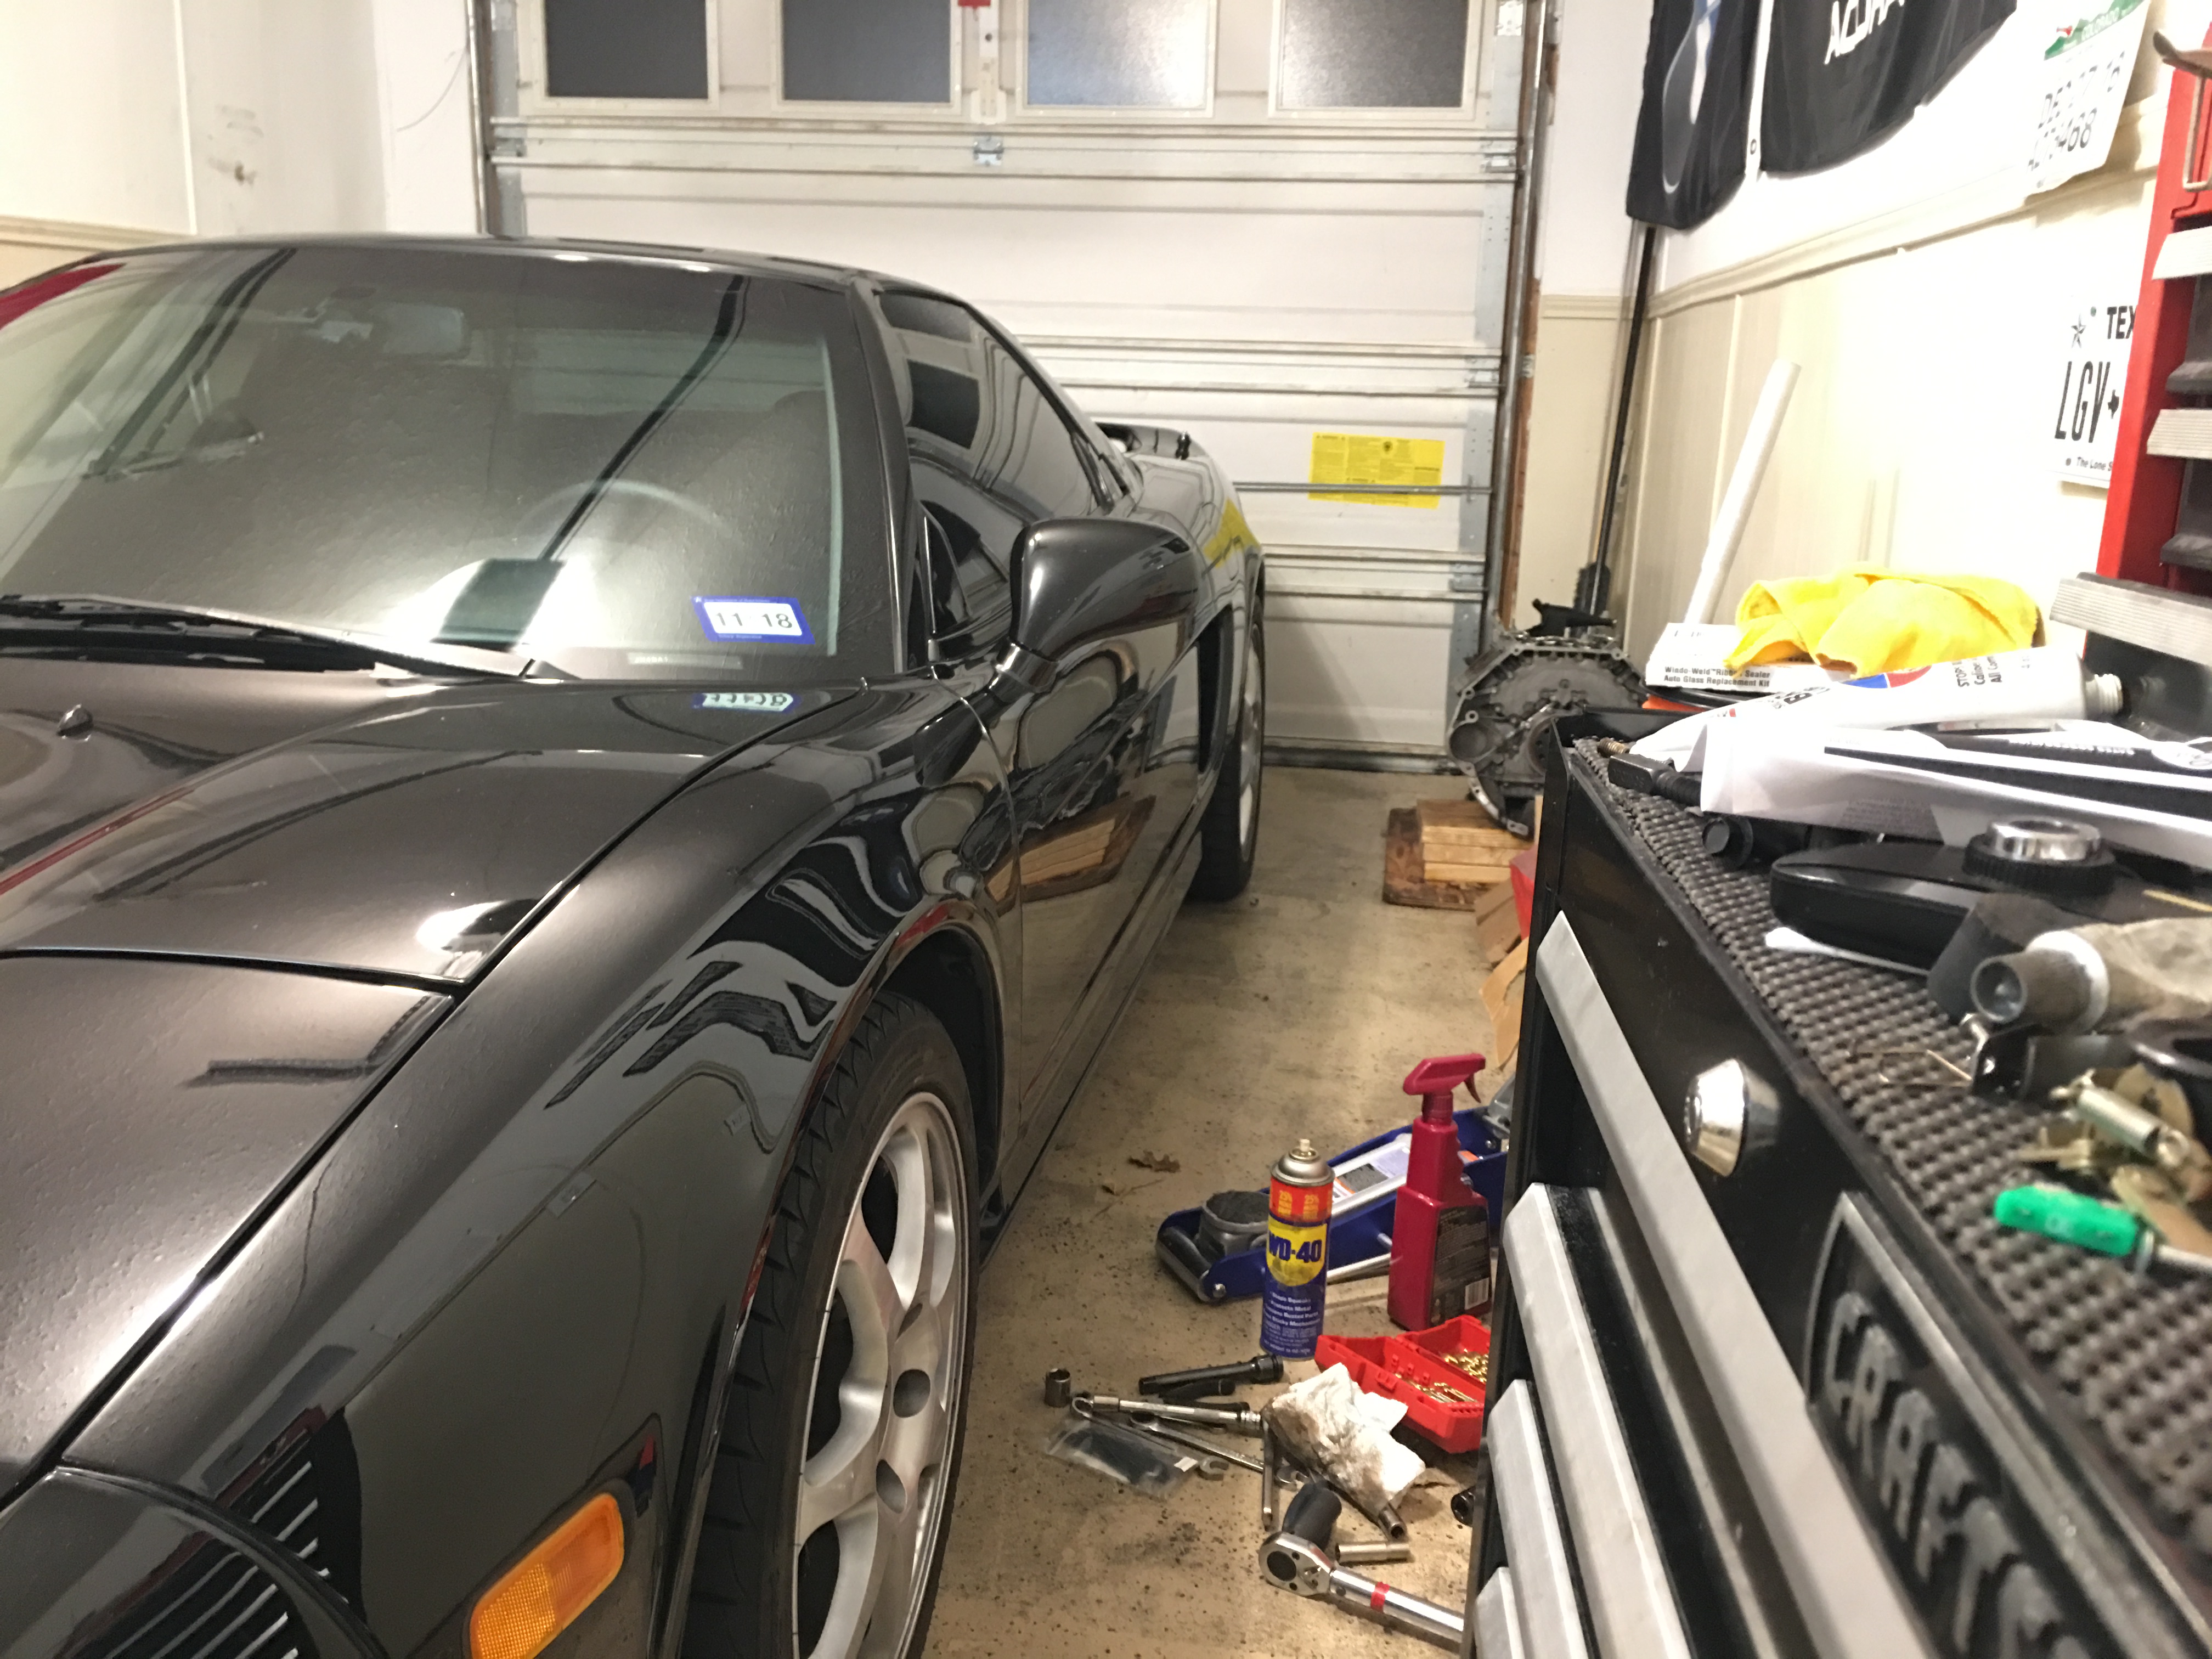
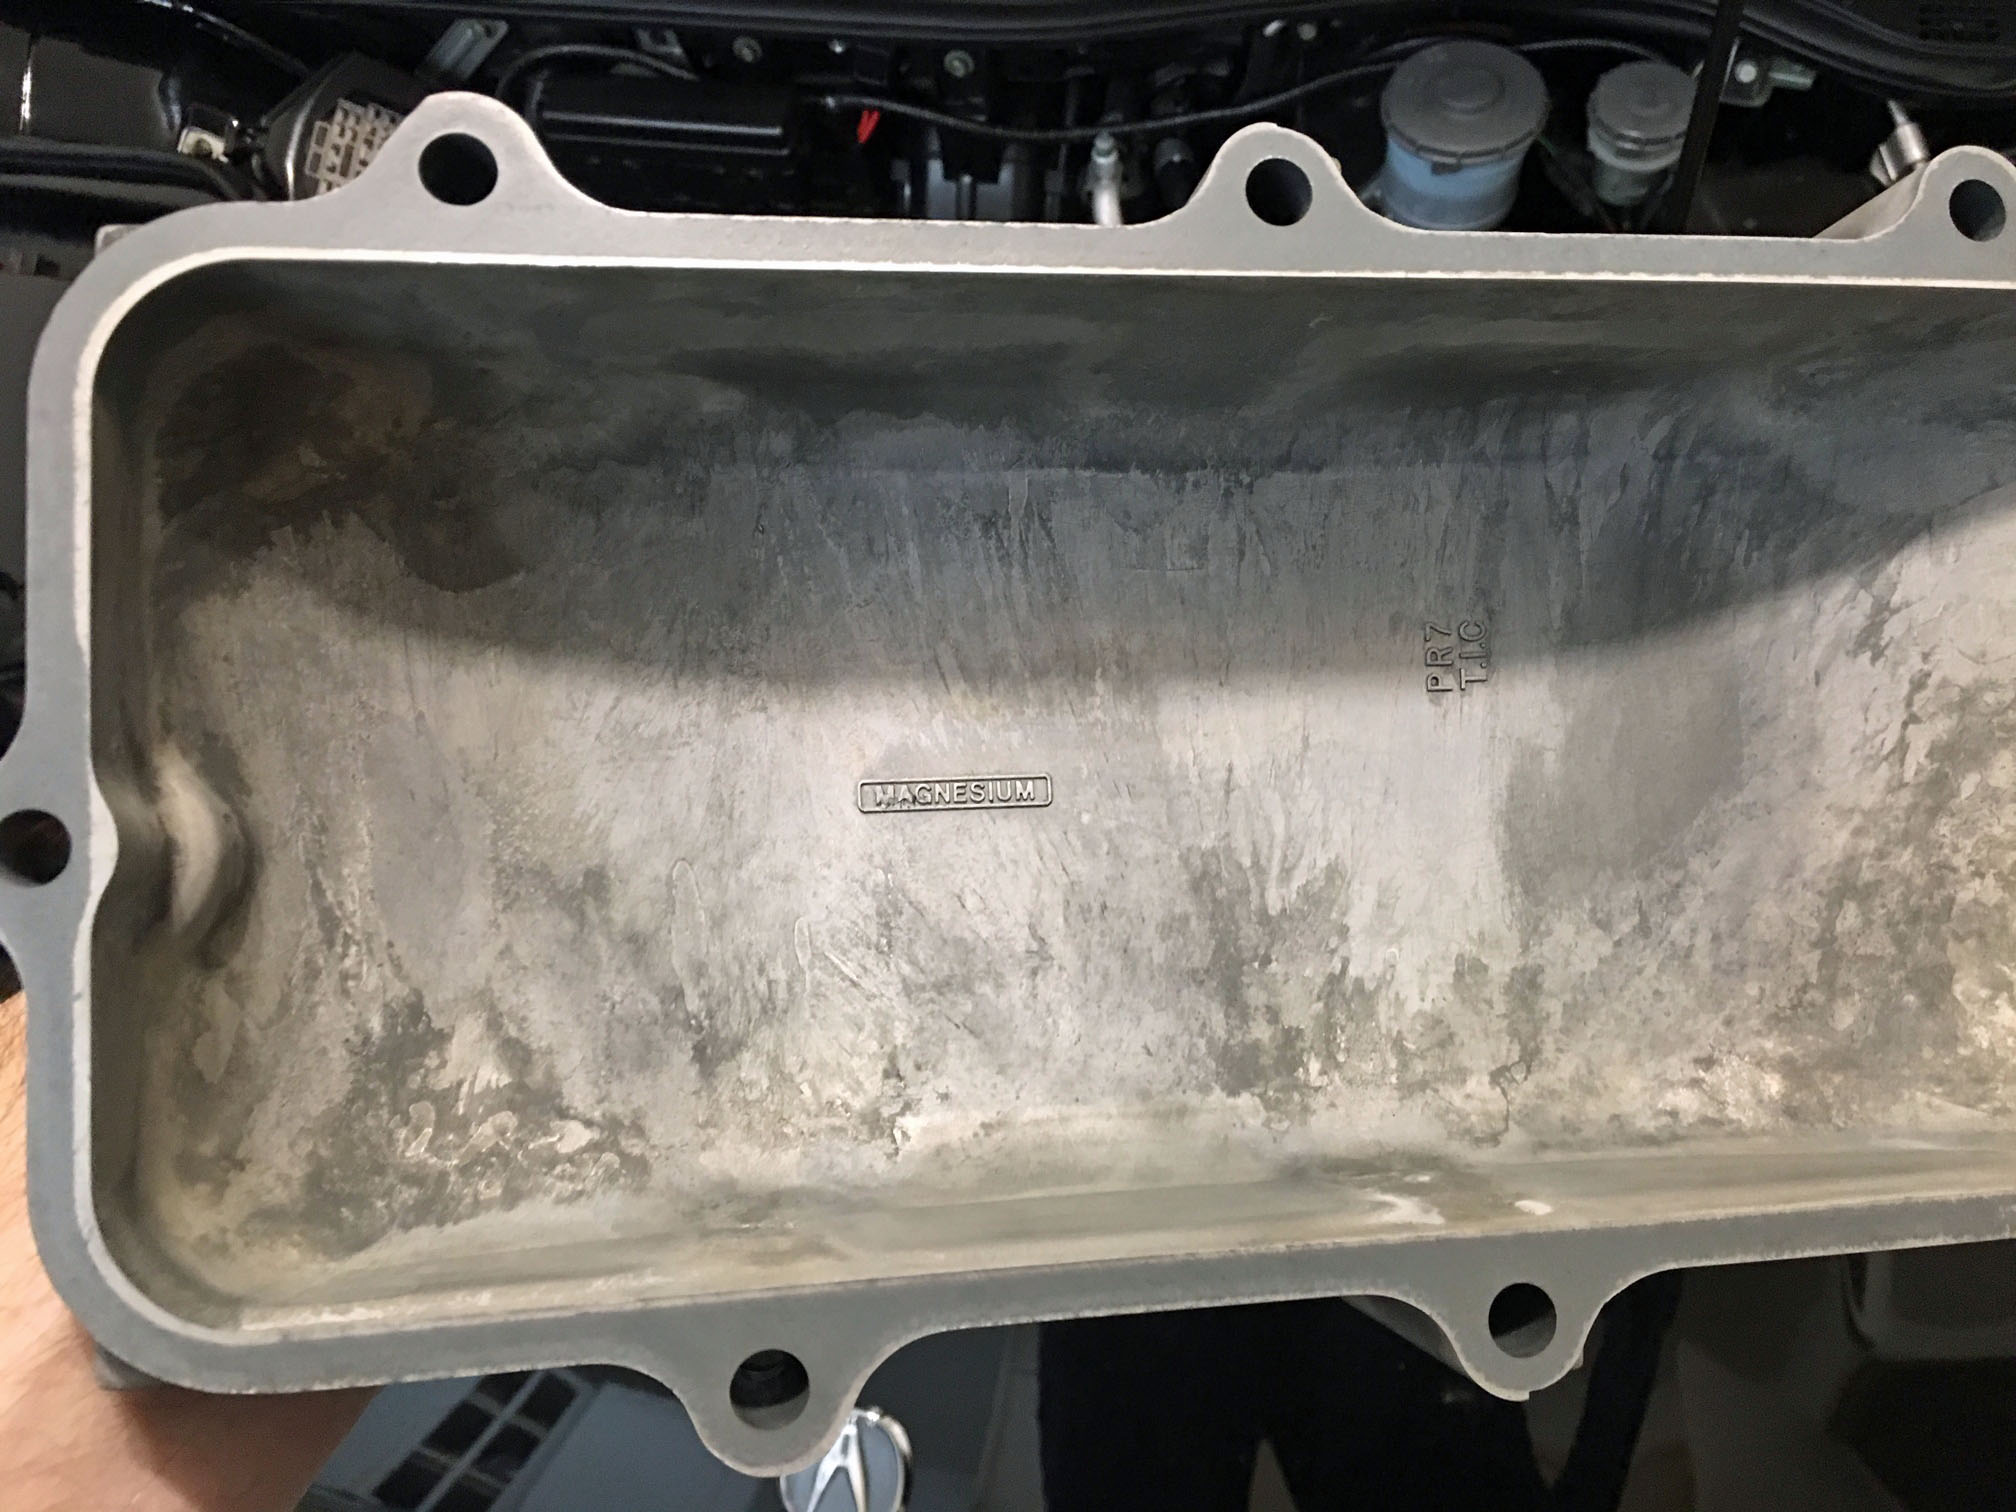
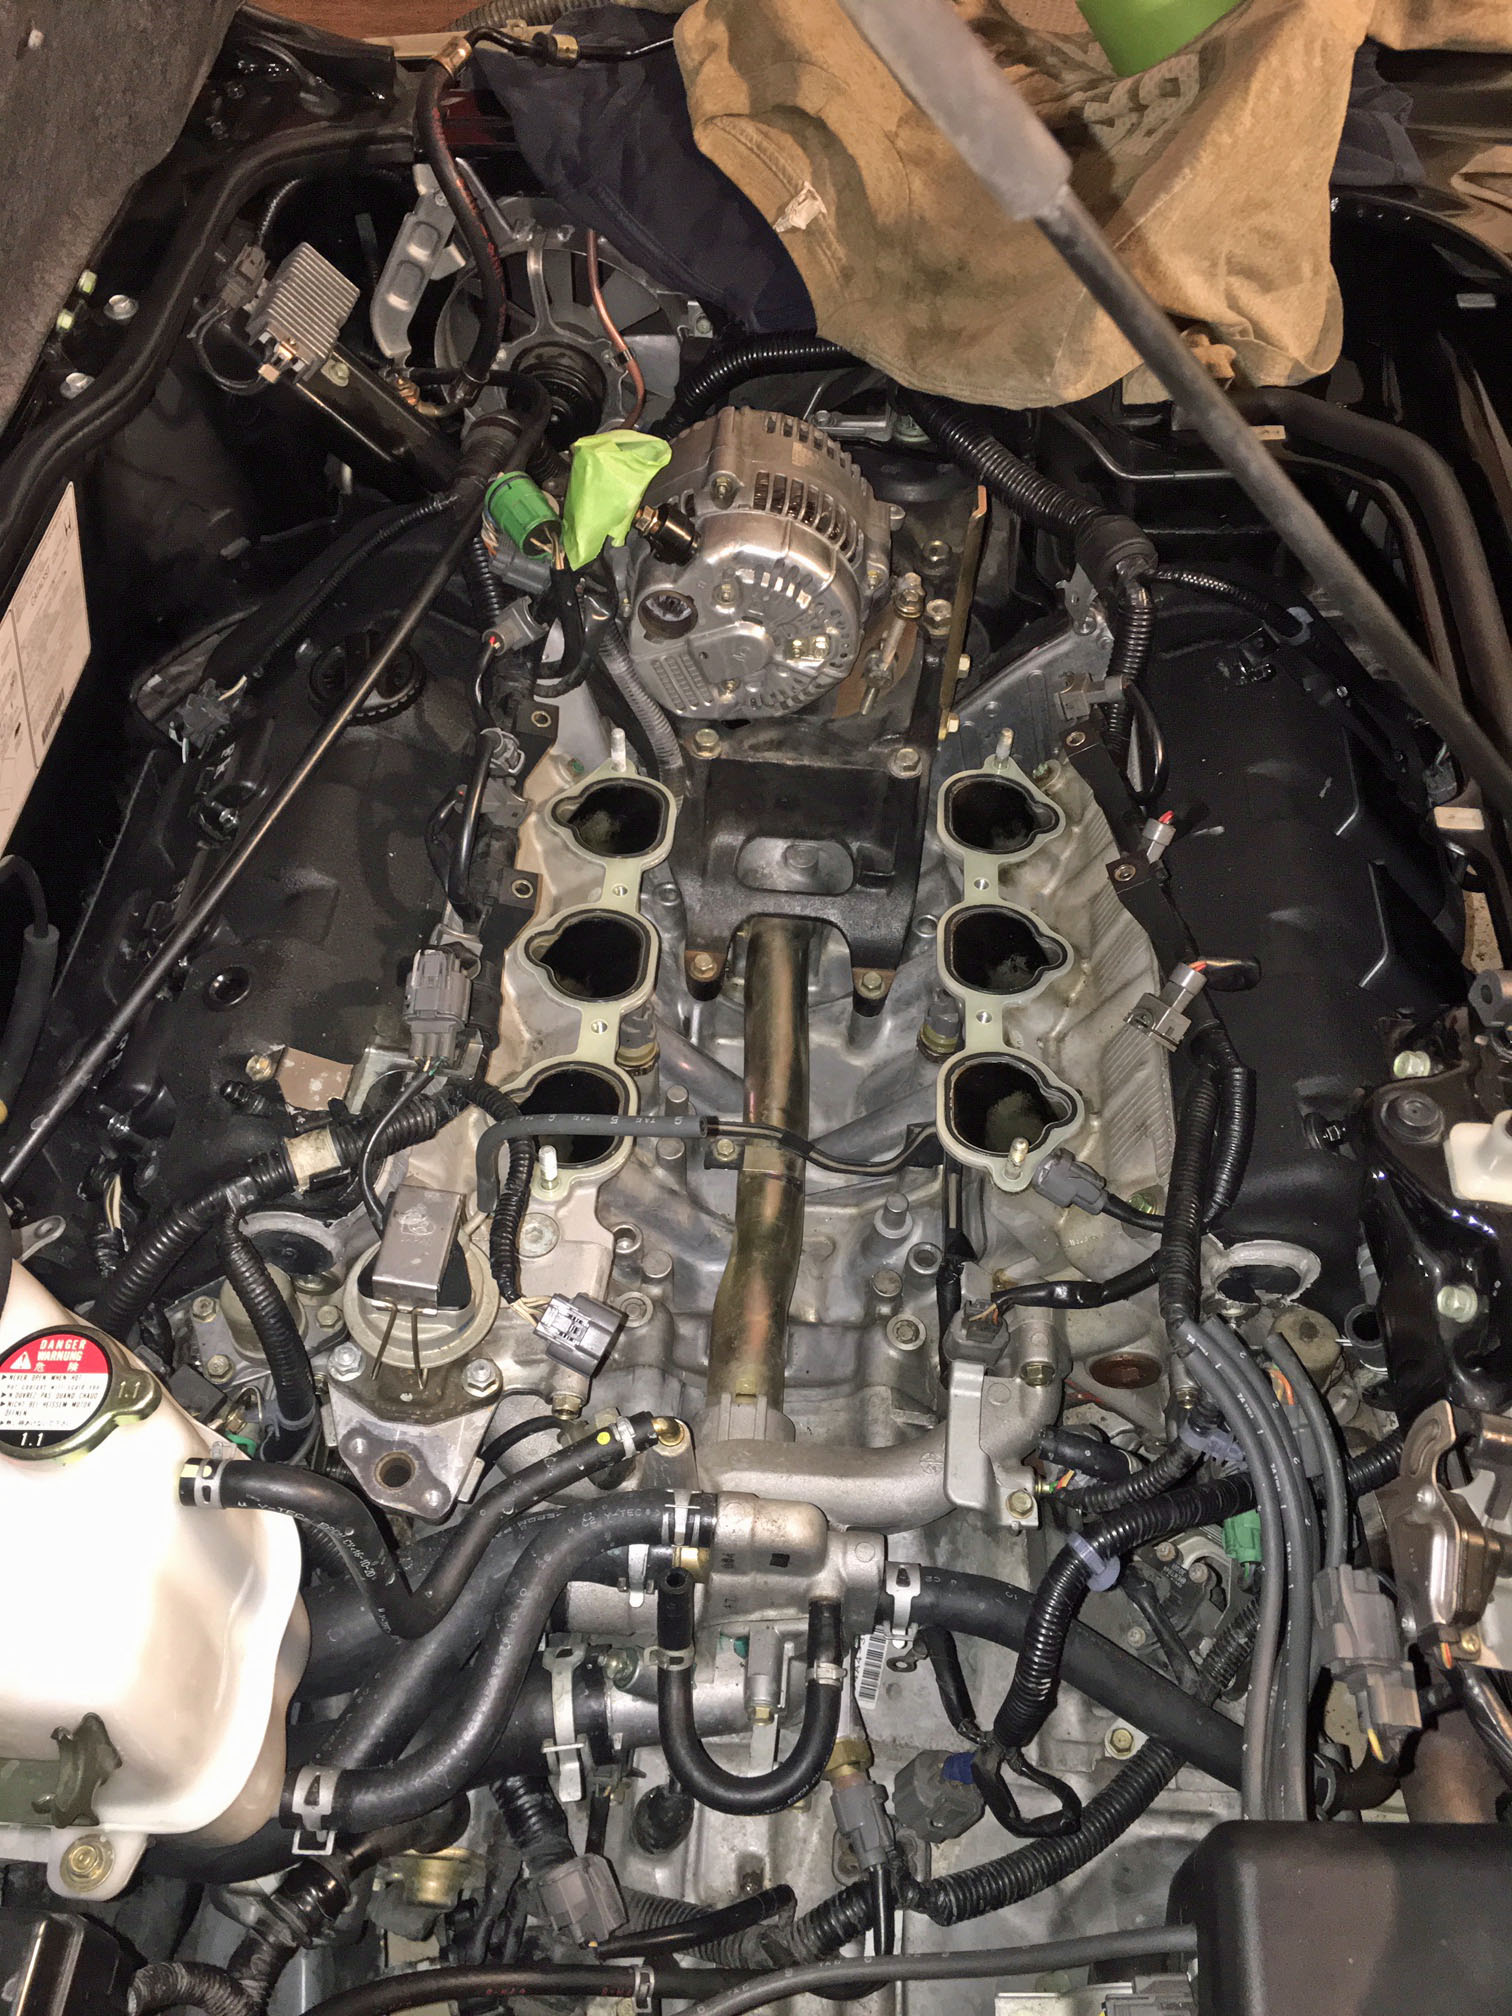
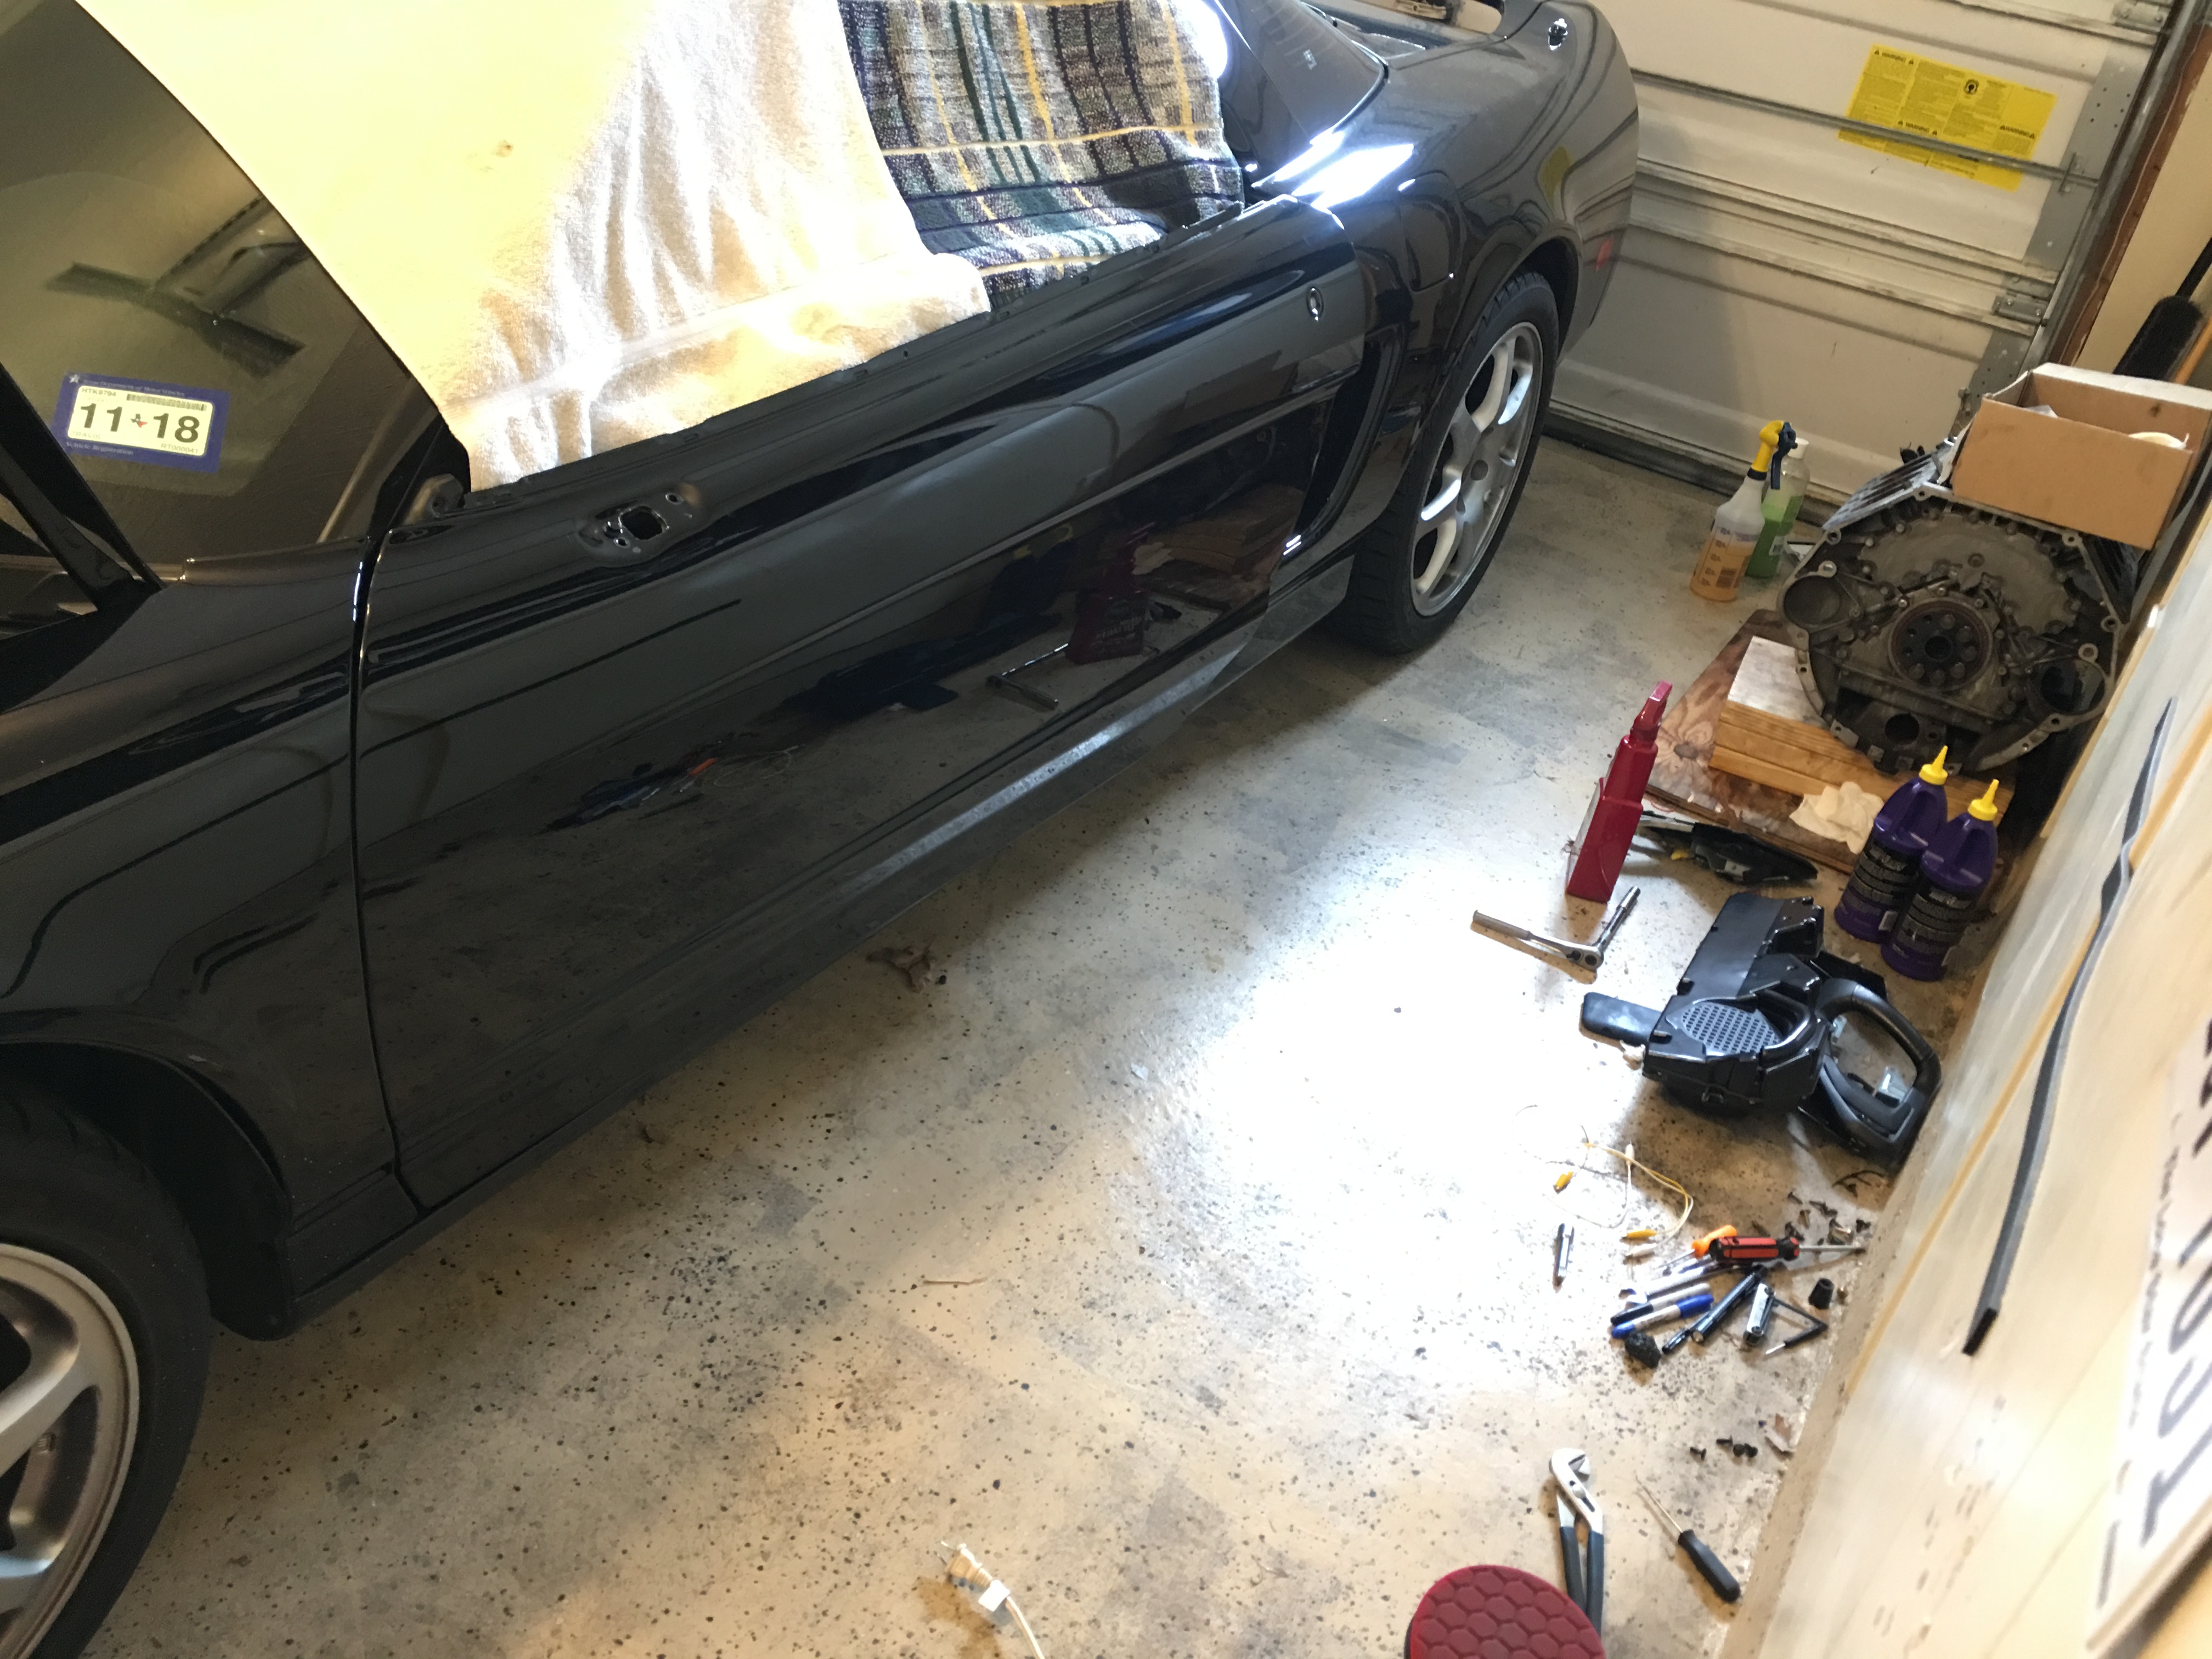
Got the car back from the shop, and it was a disaster. As [MENTION=12356]Mac Attack[/MENTION] predicted, the cost ballooned and ended up being 70-80% higher than initially expected. Suspension ball joint taper fittings were seized together and the shop was not willing to go the popular aftermarket ball joint replacement route due to the turnaround time so I was forced to replace about $1500 worth of OEM suspension components. This alone I don't really have a problem with, its 25 years old, stuff gets stuck, I understand that it's not feasible to have a car taking up a bay for weeks on end waiting for parts. However, a day or so after picking the car up I noticed a rather severe valve cover gasket oil leak dripping right onto the exhaust and I had brand new OEM valve cover kits put on.

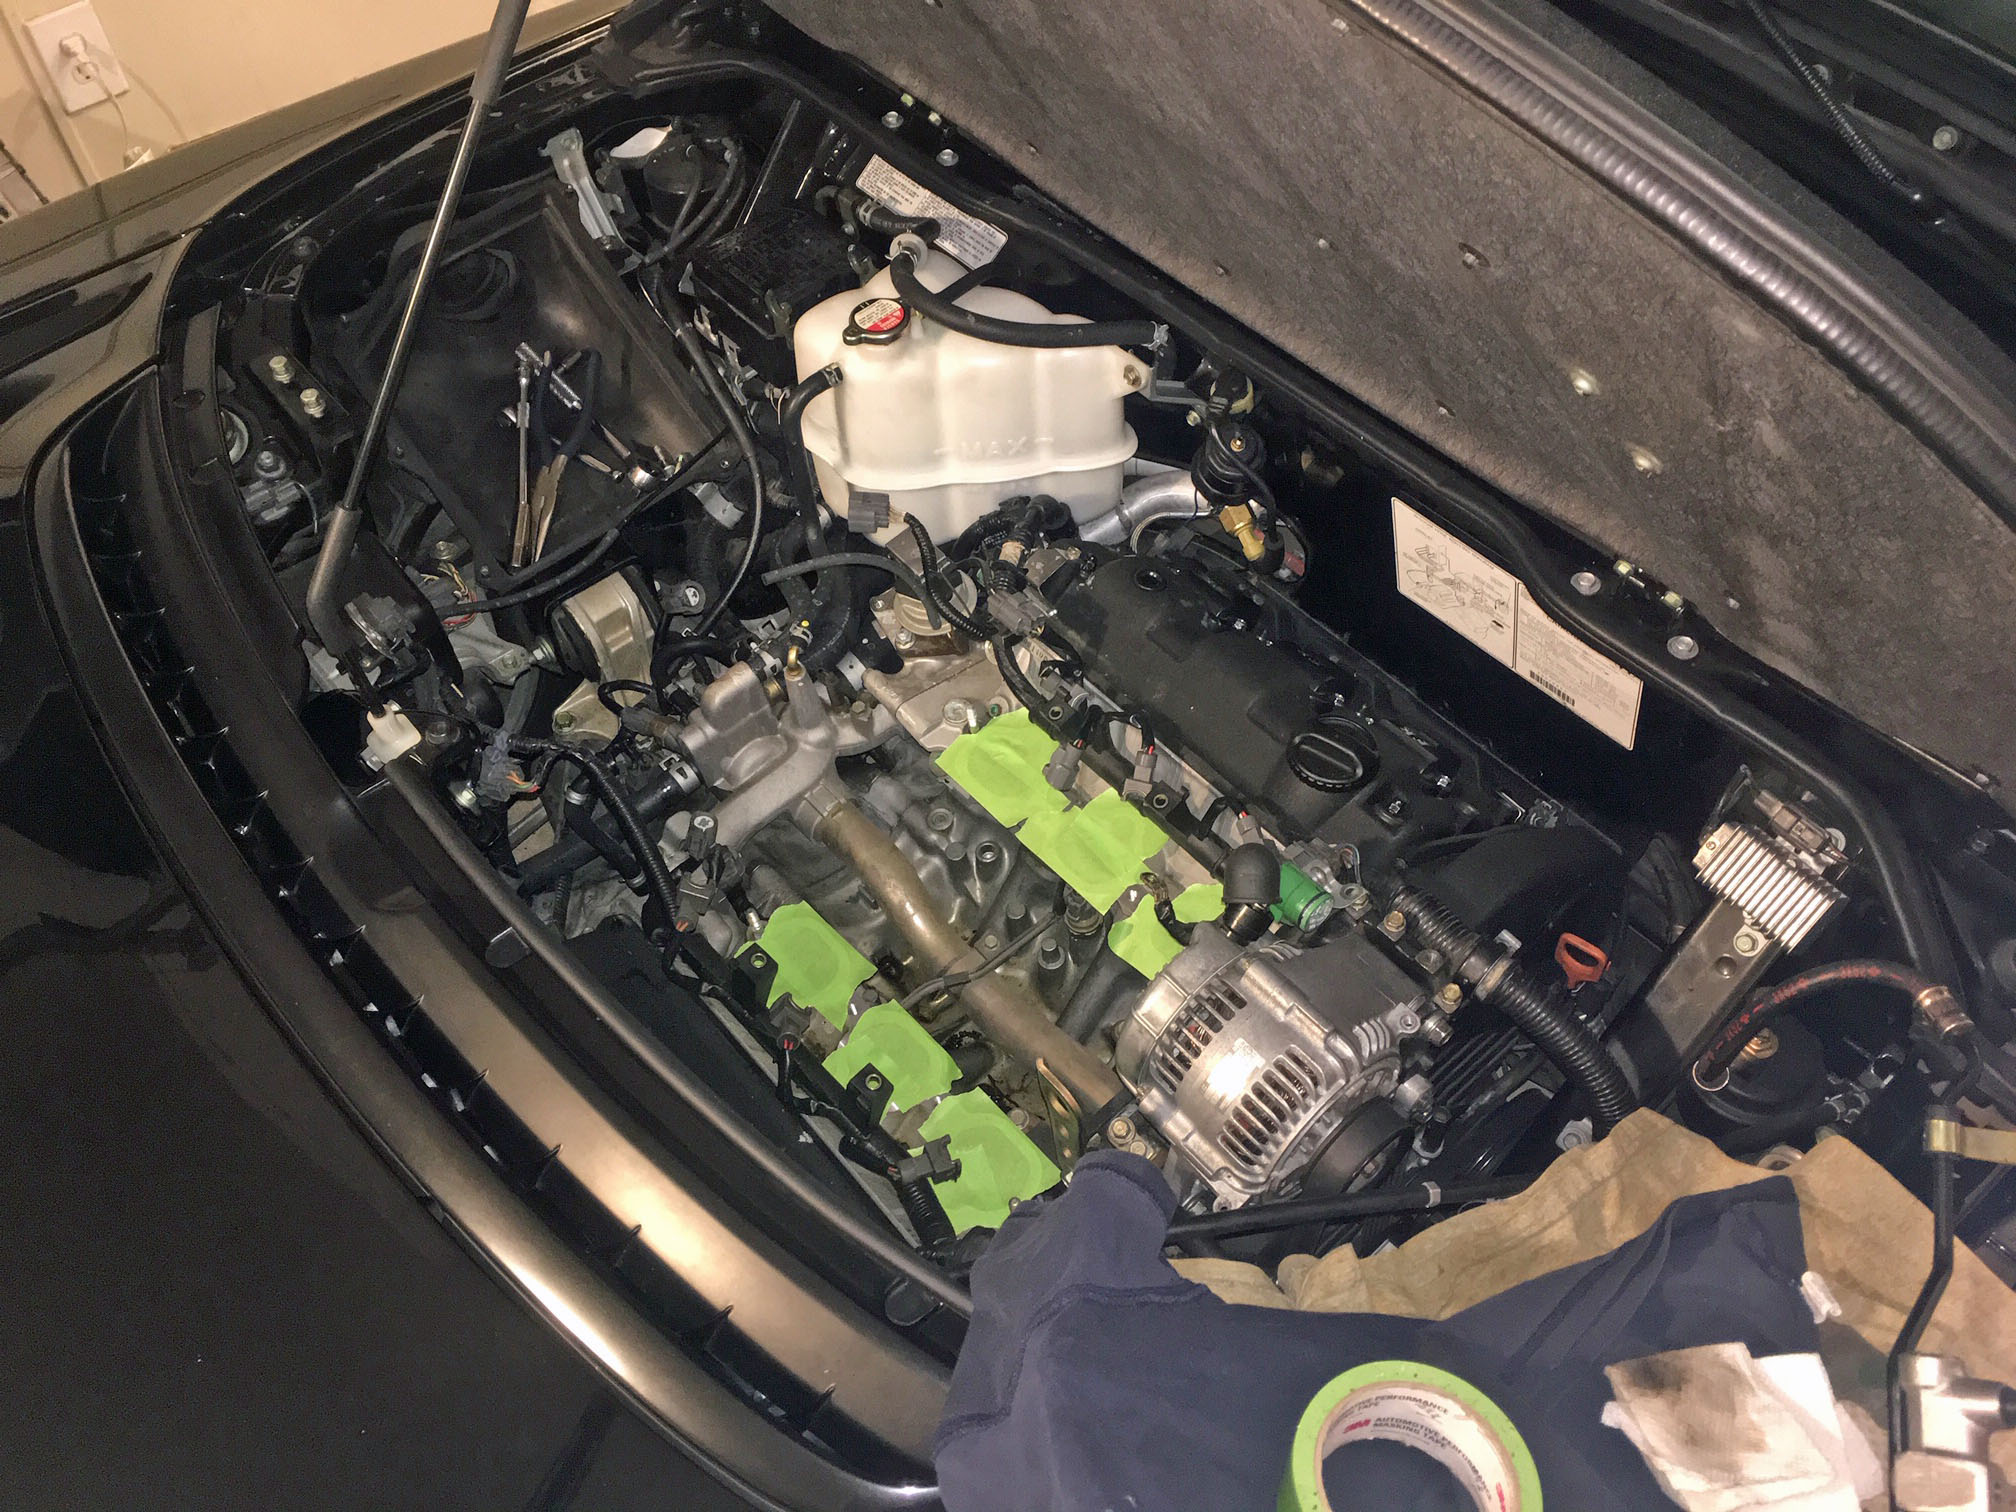
There is absolutely no excuse for a valve cover gasket to leak if the engine is out of the car while the work is being performed, it is ridiculously easy to see everything and to clean everything before installation. As far as I can tell the tech was just lazy and didn't clean the sealing surfaces properly.

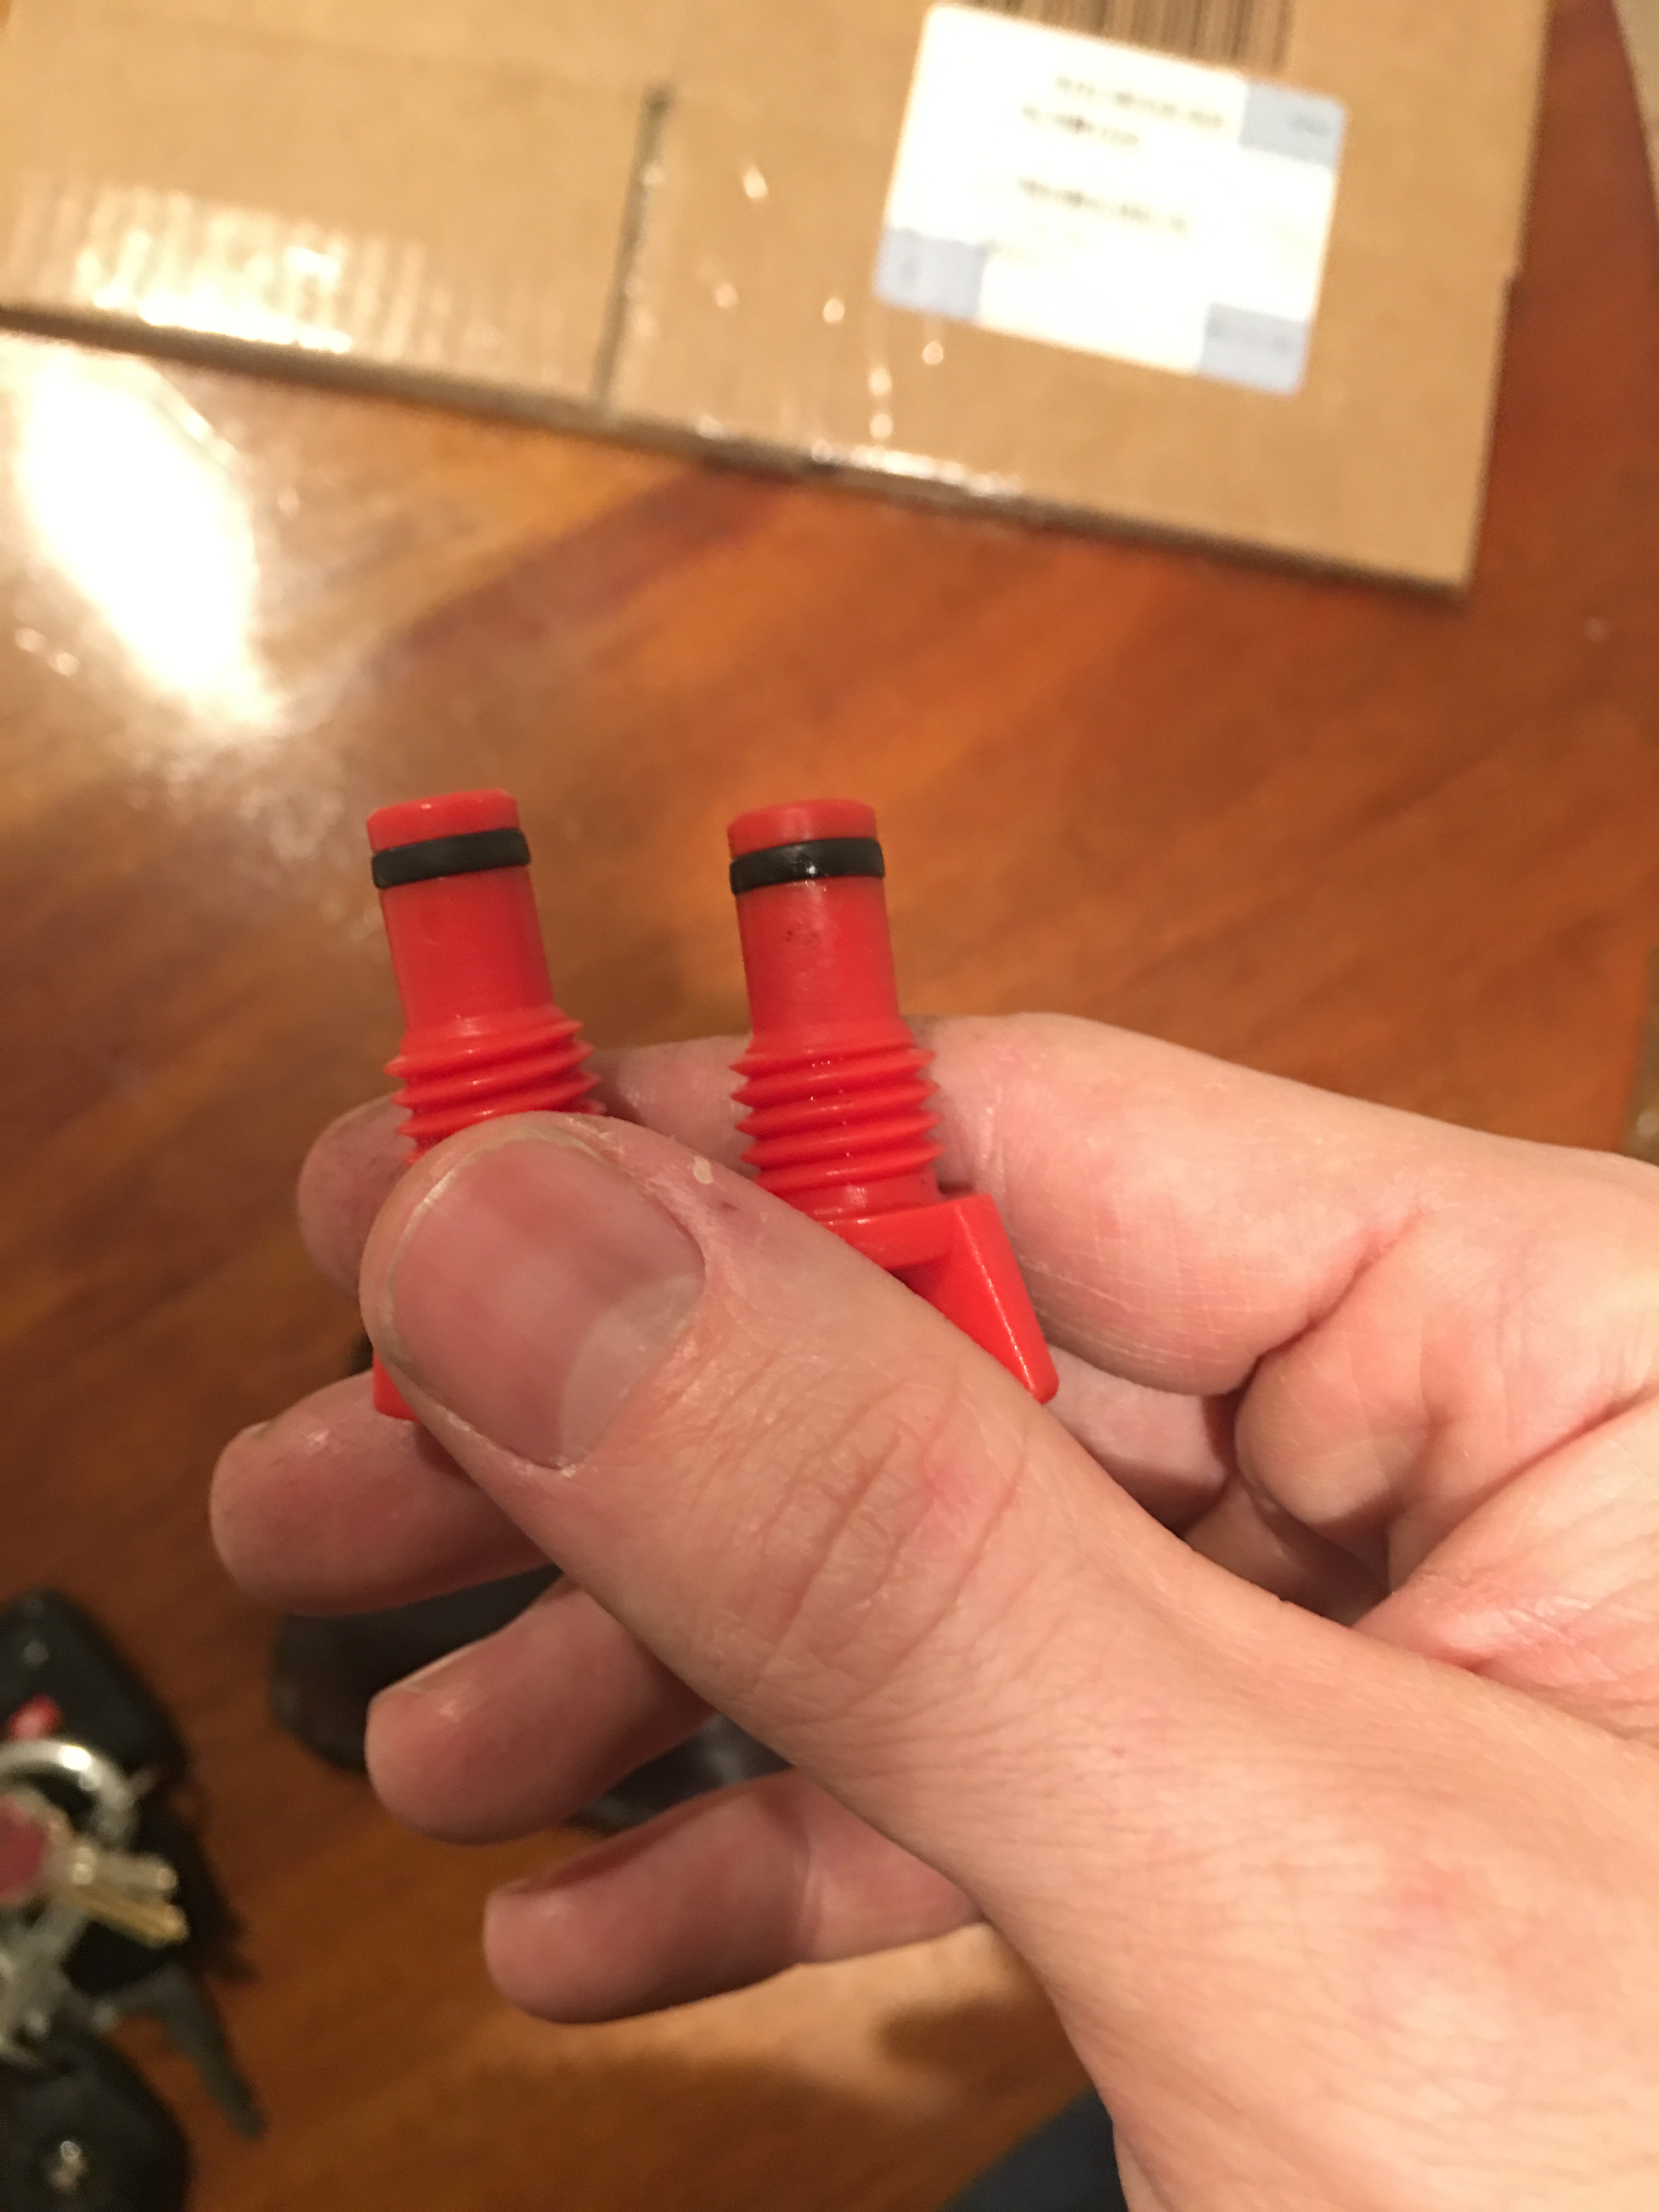
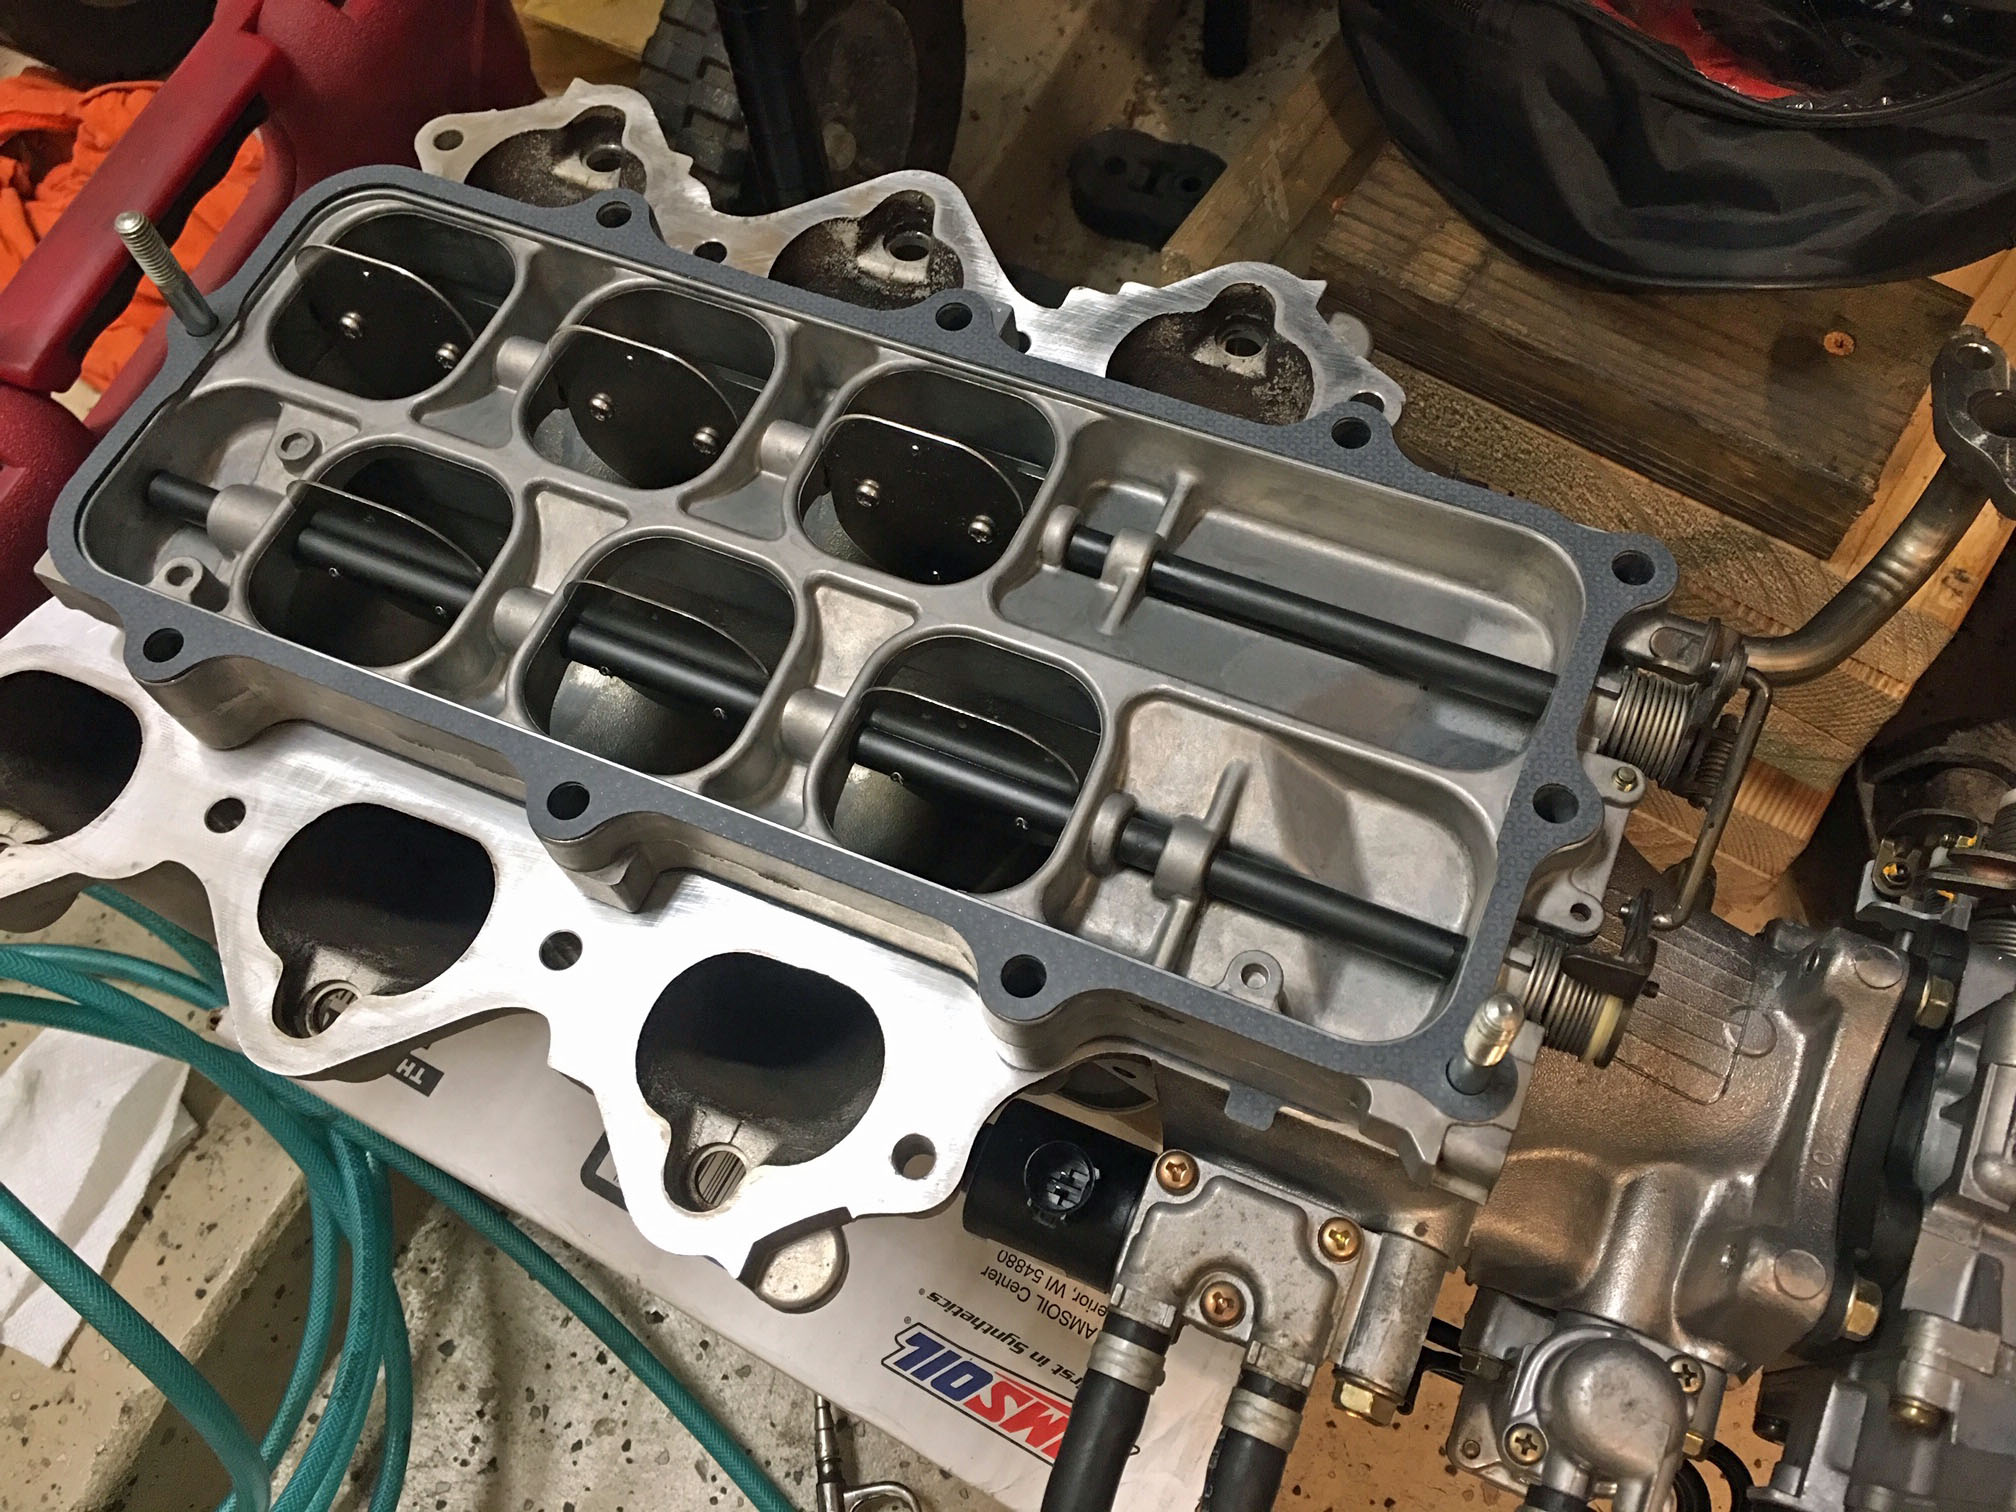
Also, the cam plugs have gobs and gobs of Hondabond around them, you are not caulking your shower, you don't need that much sealant. Frankly, I will be surprised if I don't have to pull the engine myself and replace a bunch of seals that I just had replaced because they were installed improperly.

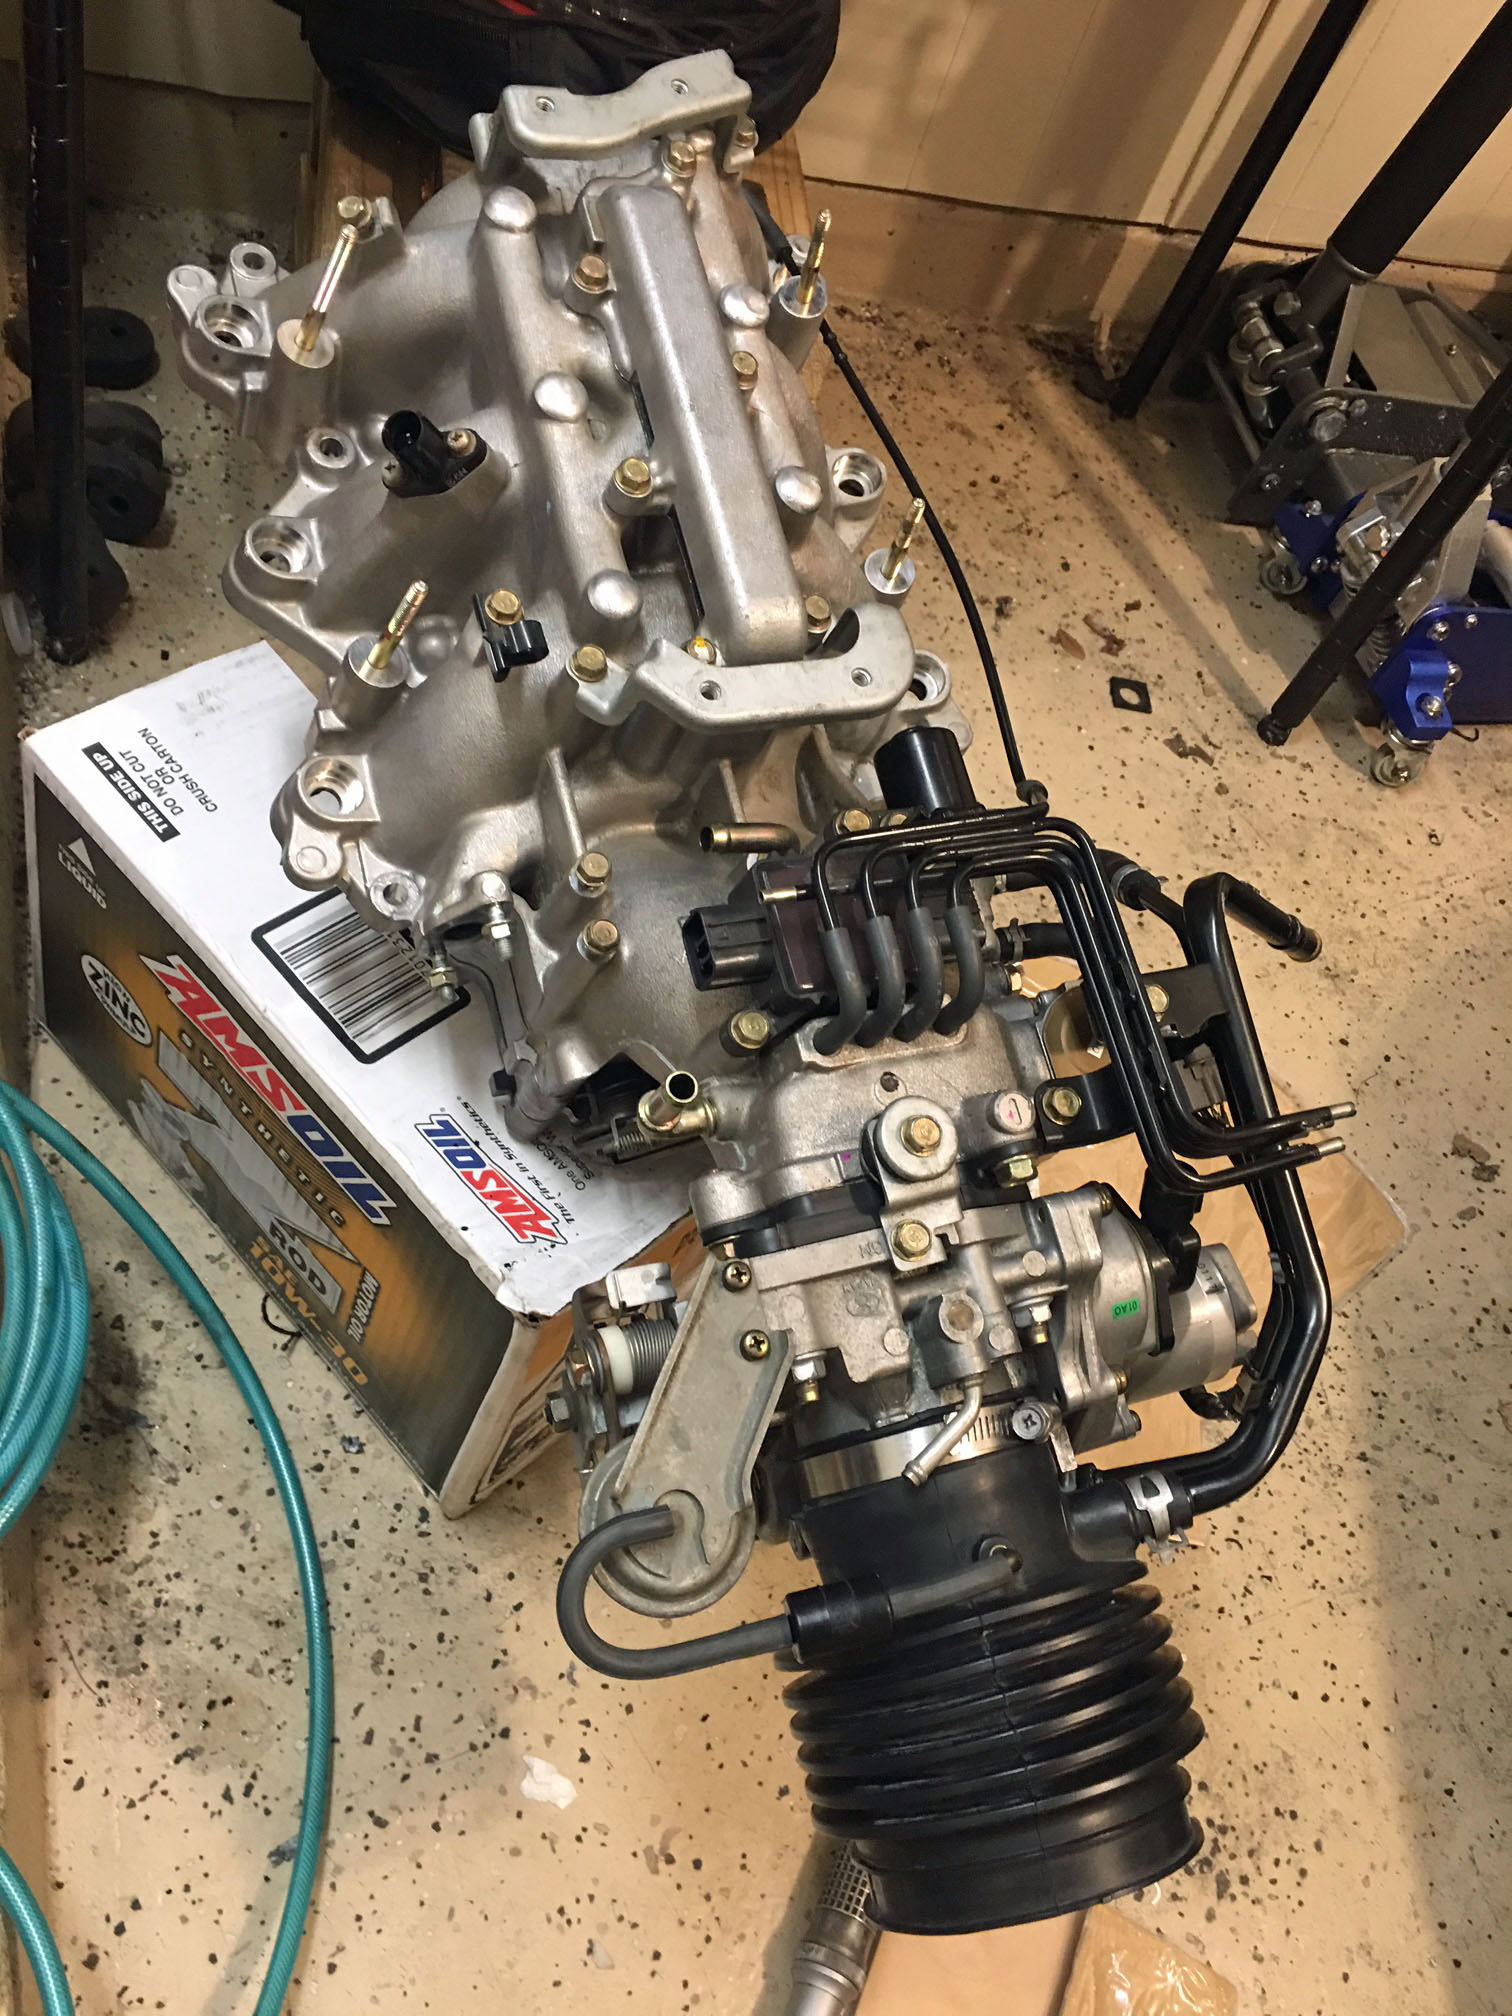
And there's lots of valvetrain noise now, apparently they didn't bother to do a valve adjustment after pulling the cams, it's almost like they just threw the lifter assemblies back in wherever without bothering to make sure they went back to the same place or even checking the clearance.

I redid the valve cover and the leak appears to be gone, but it looks like sometime soon I will have to do it again and adjust the valves.

Anyways, lesson learned.

--------------------------------------------------------------------------------------------------------------------------------------------

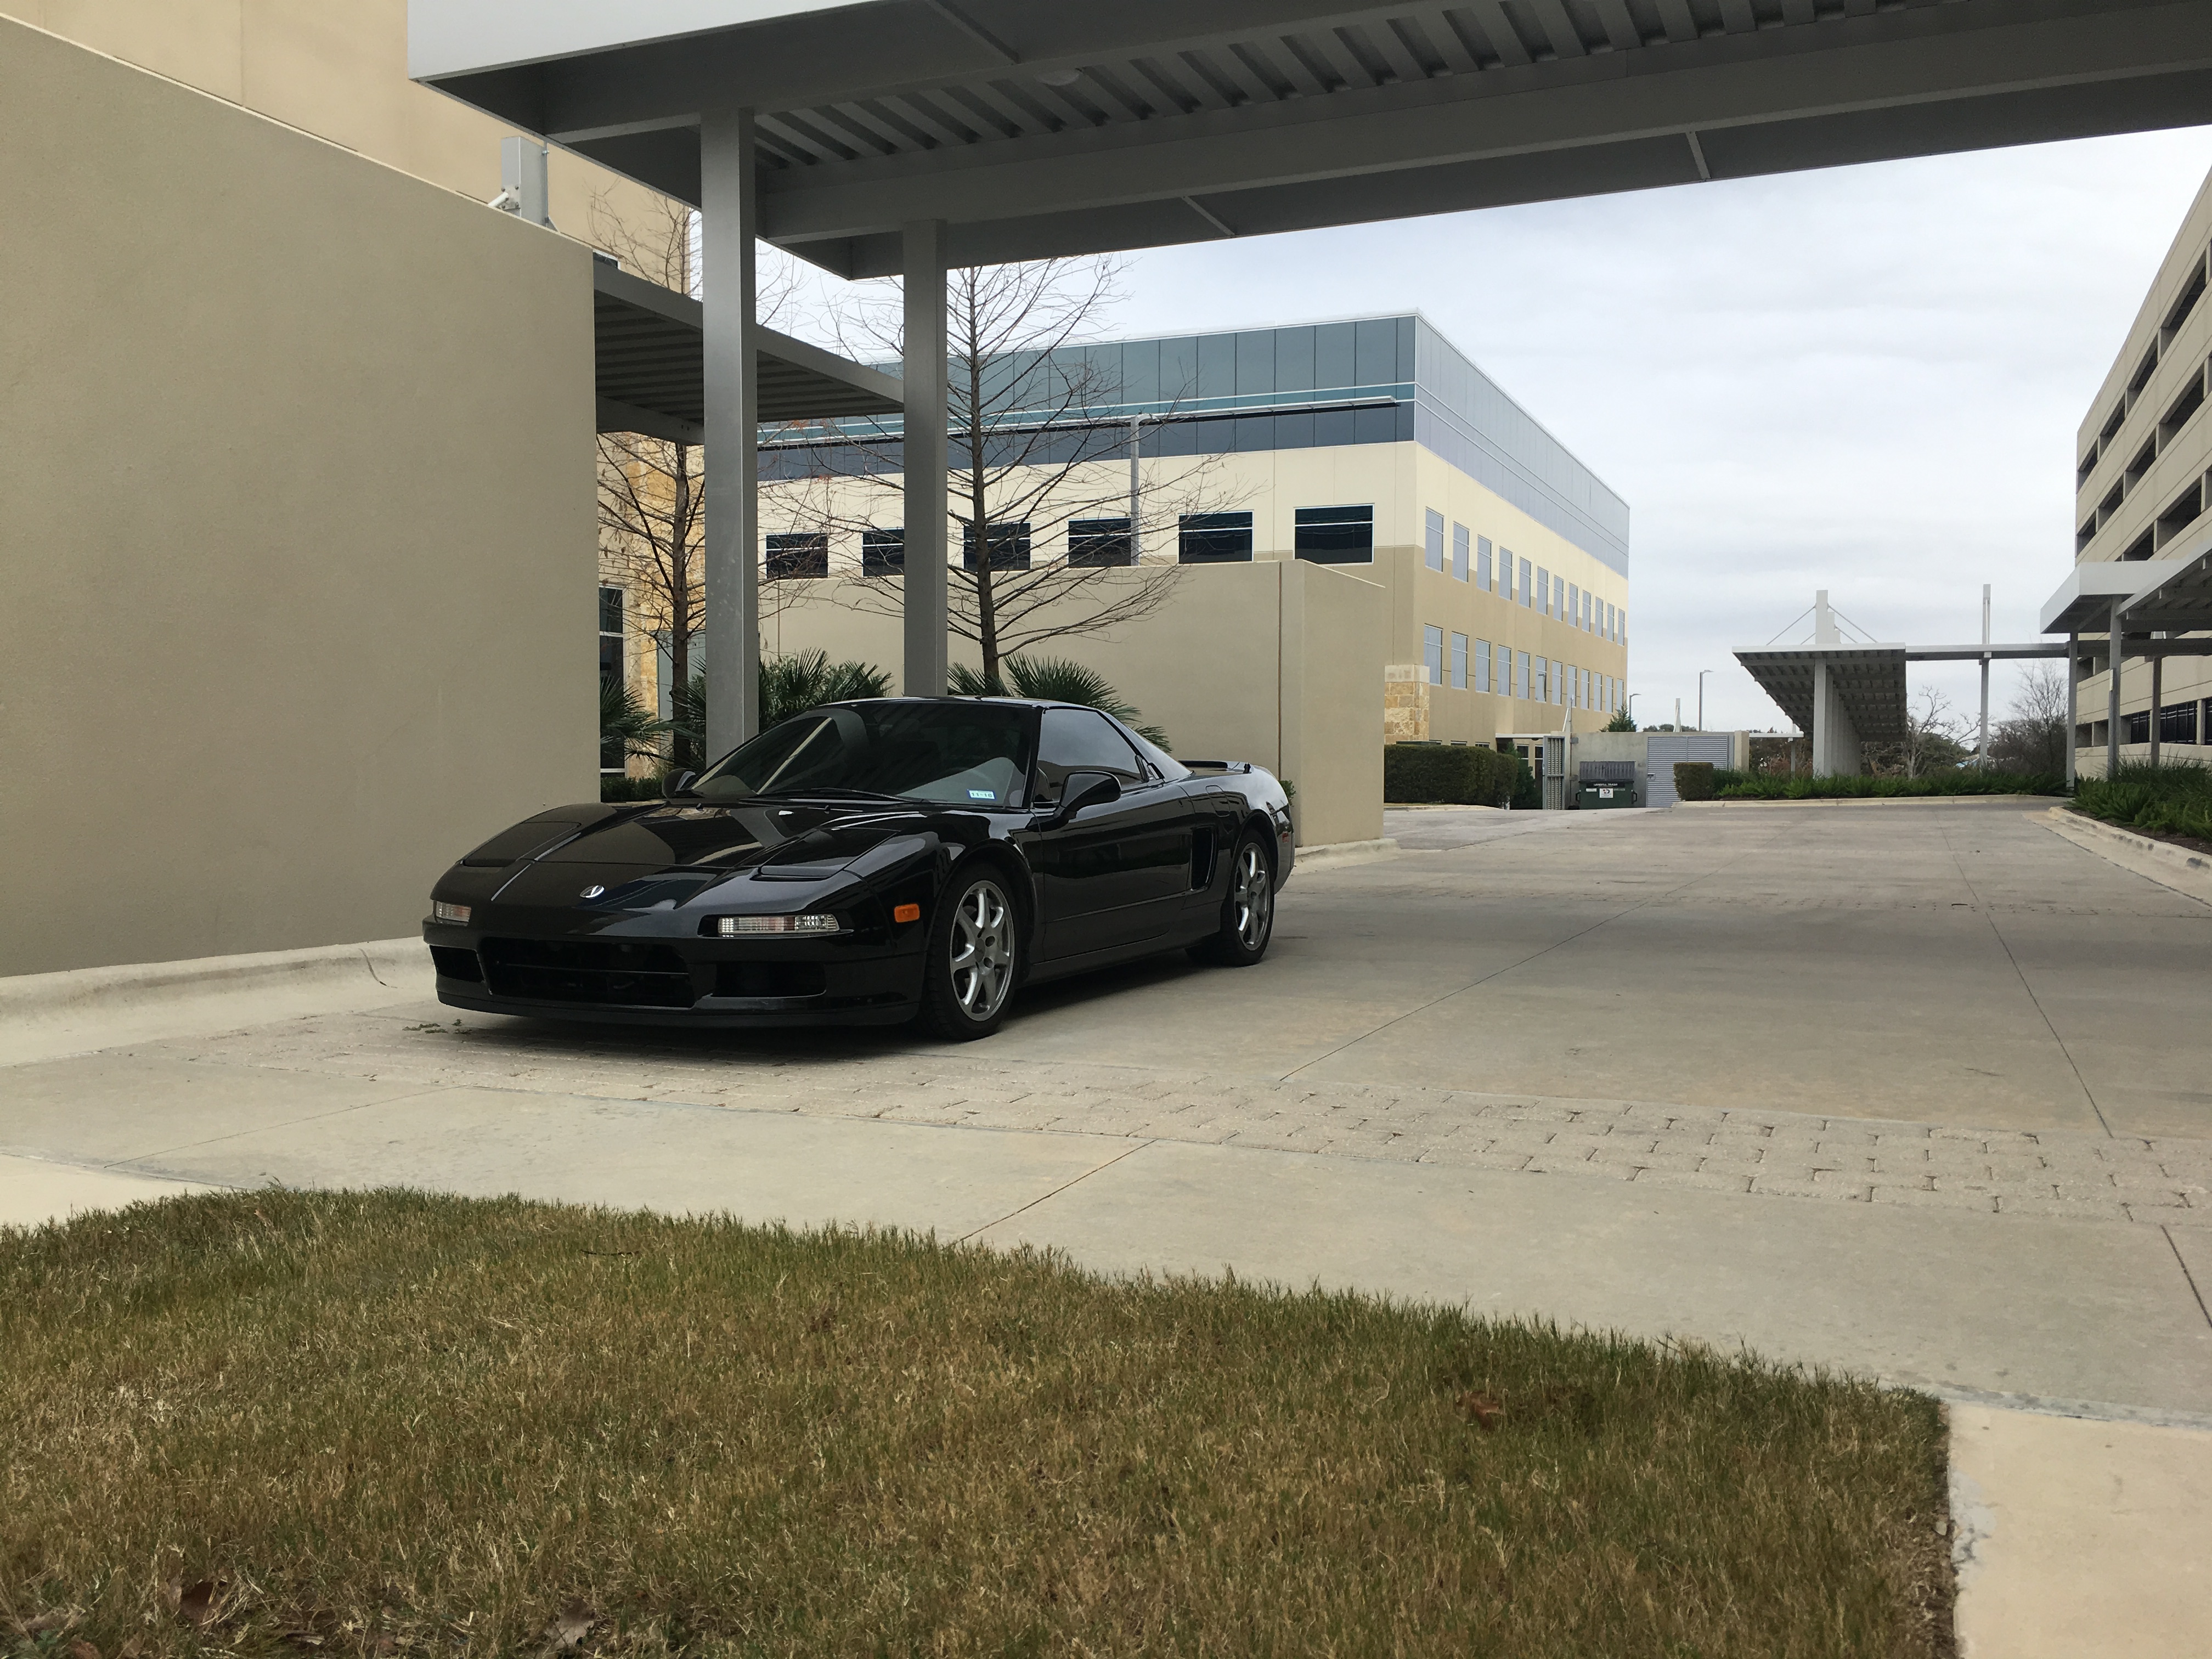
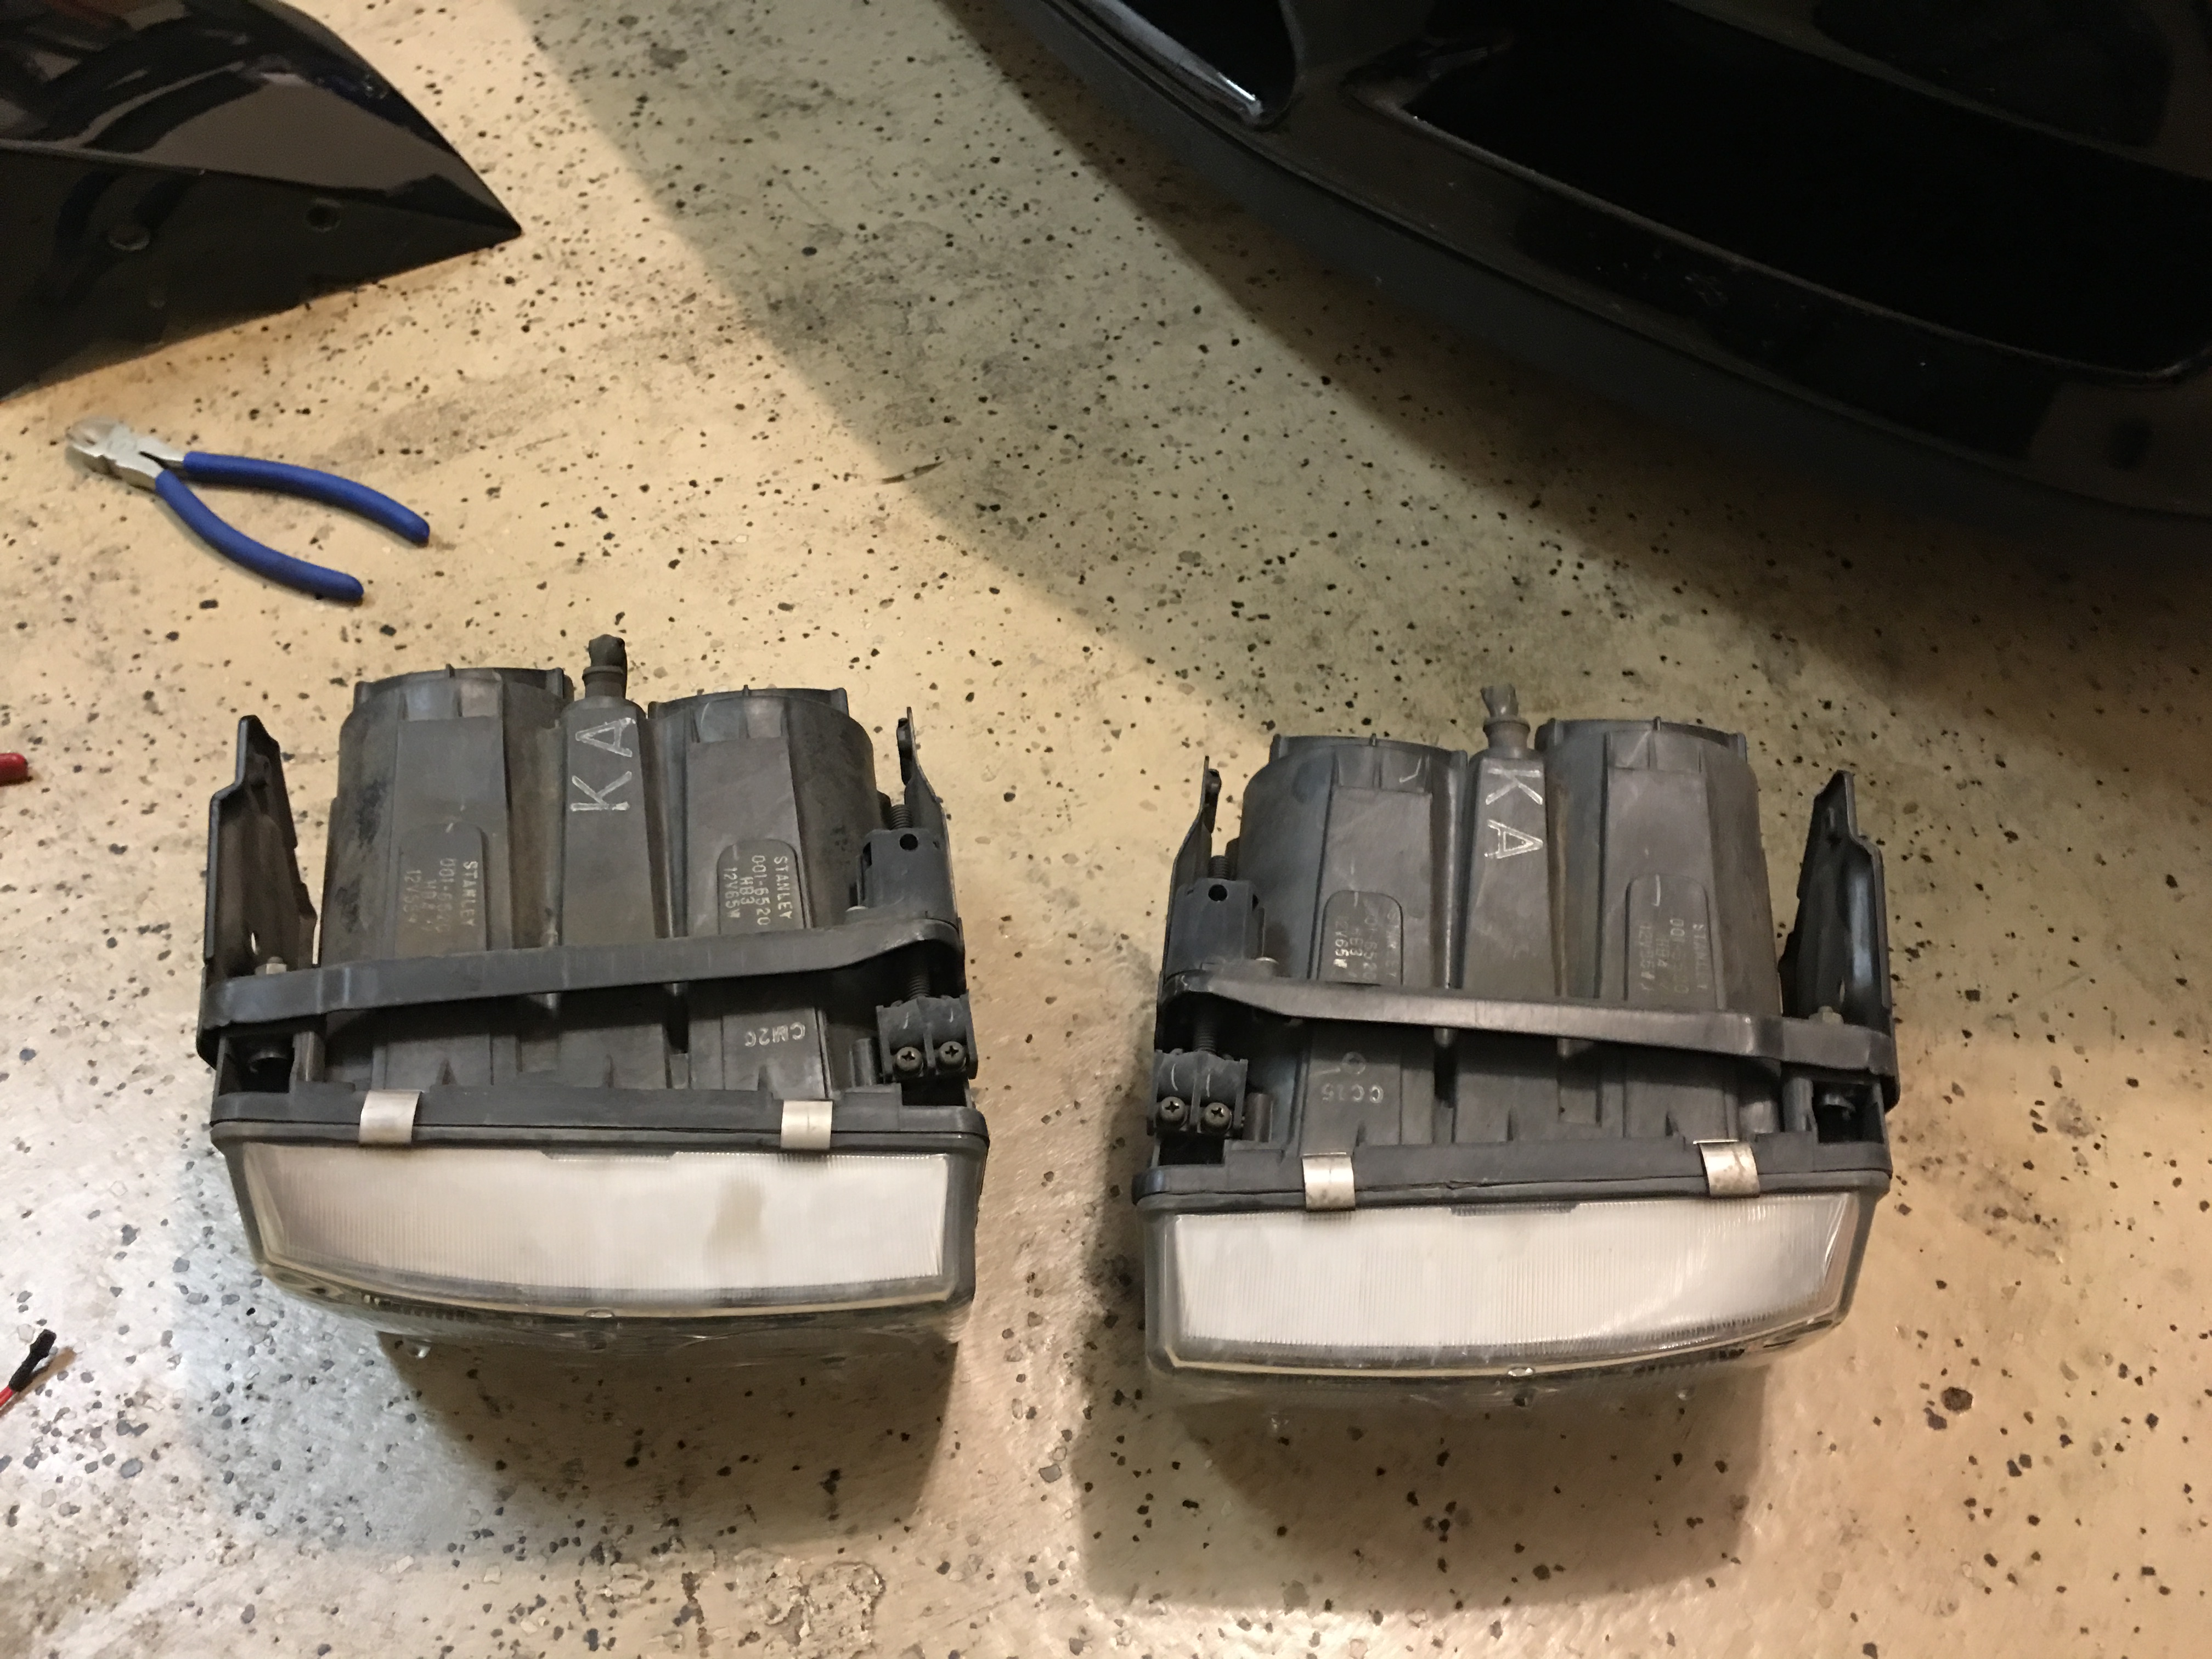
After taking my headlights apart in July expecting a quick week or two project, I finally finished my HID retrofit 4 months later.

IMG_1076.JPG


The most time consuming part of this was the wiring. At first I was just going to tweak the factory headlight harnesses a bit and install the ballasts behind the light assemblies. That didn't end up working out though because the factory wiring is old and fairly high resistance, and the ballasts wouldn't reliably ignite the bulbs using that setup. I bought the OrganizedGarageStatus kit that included the Morimoto projectors, projector brackets, and clear lenses.

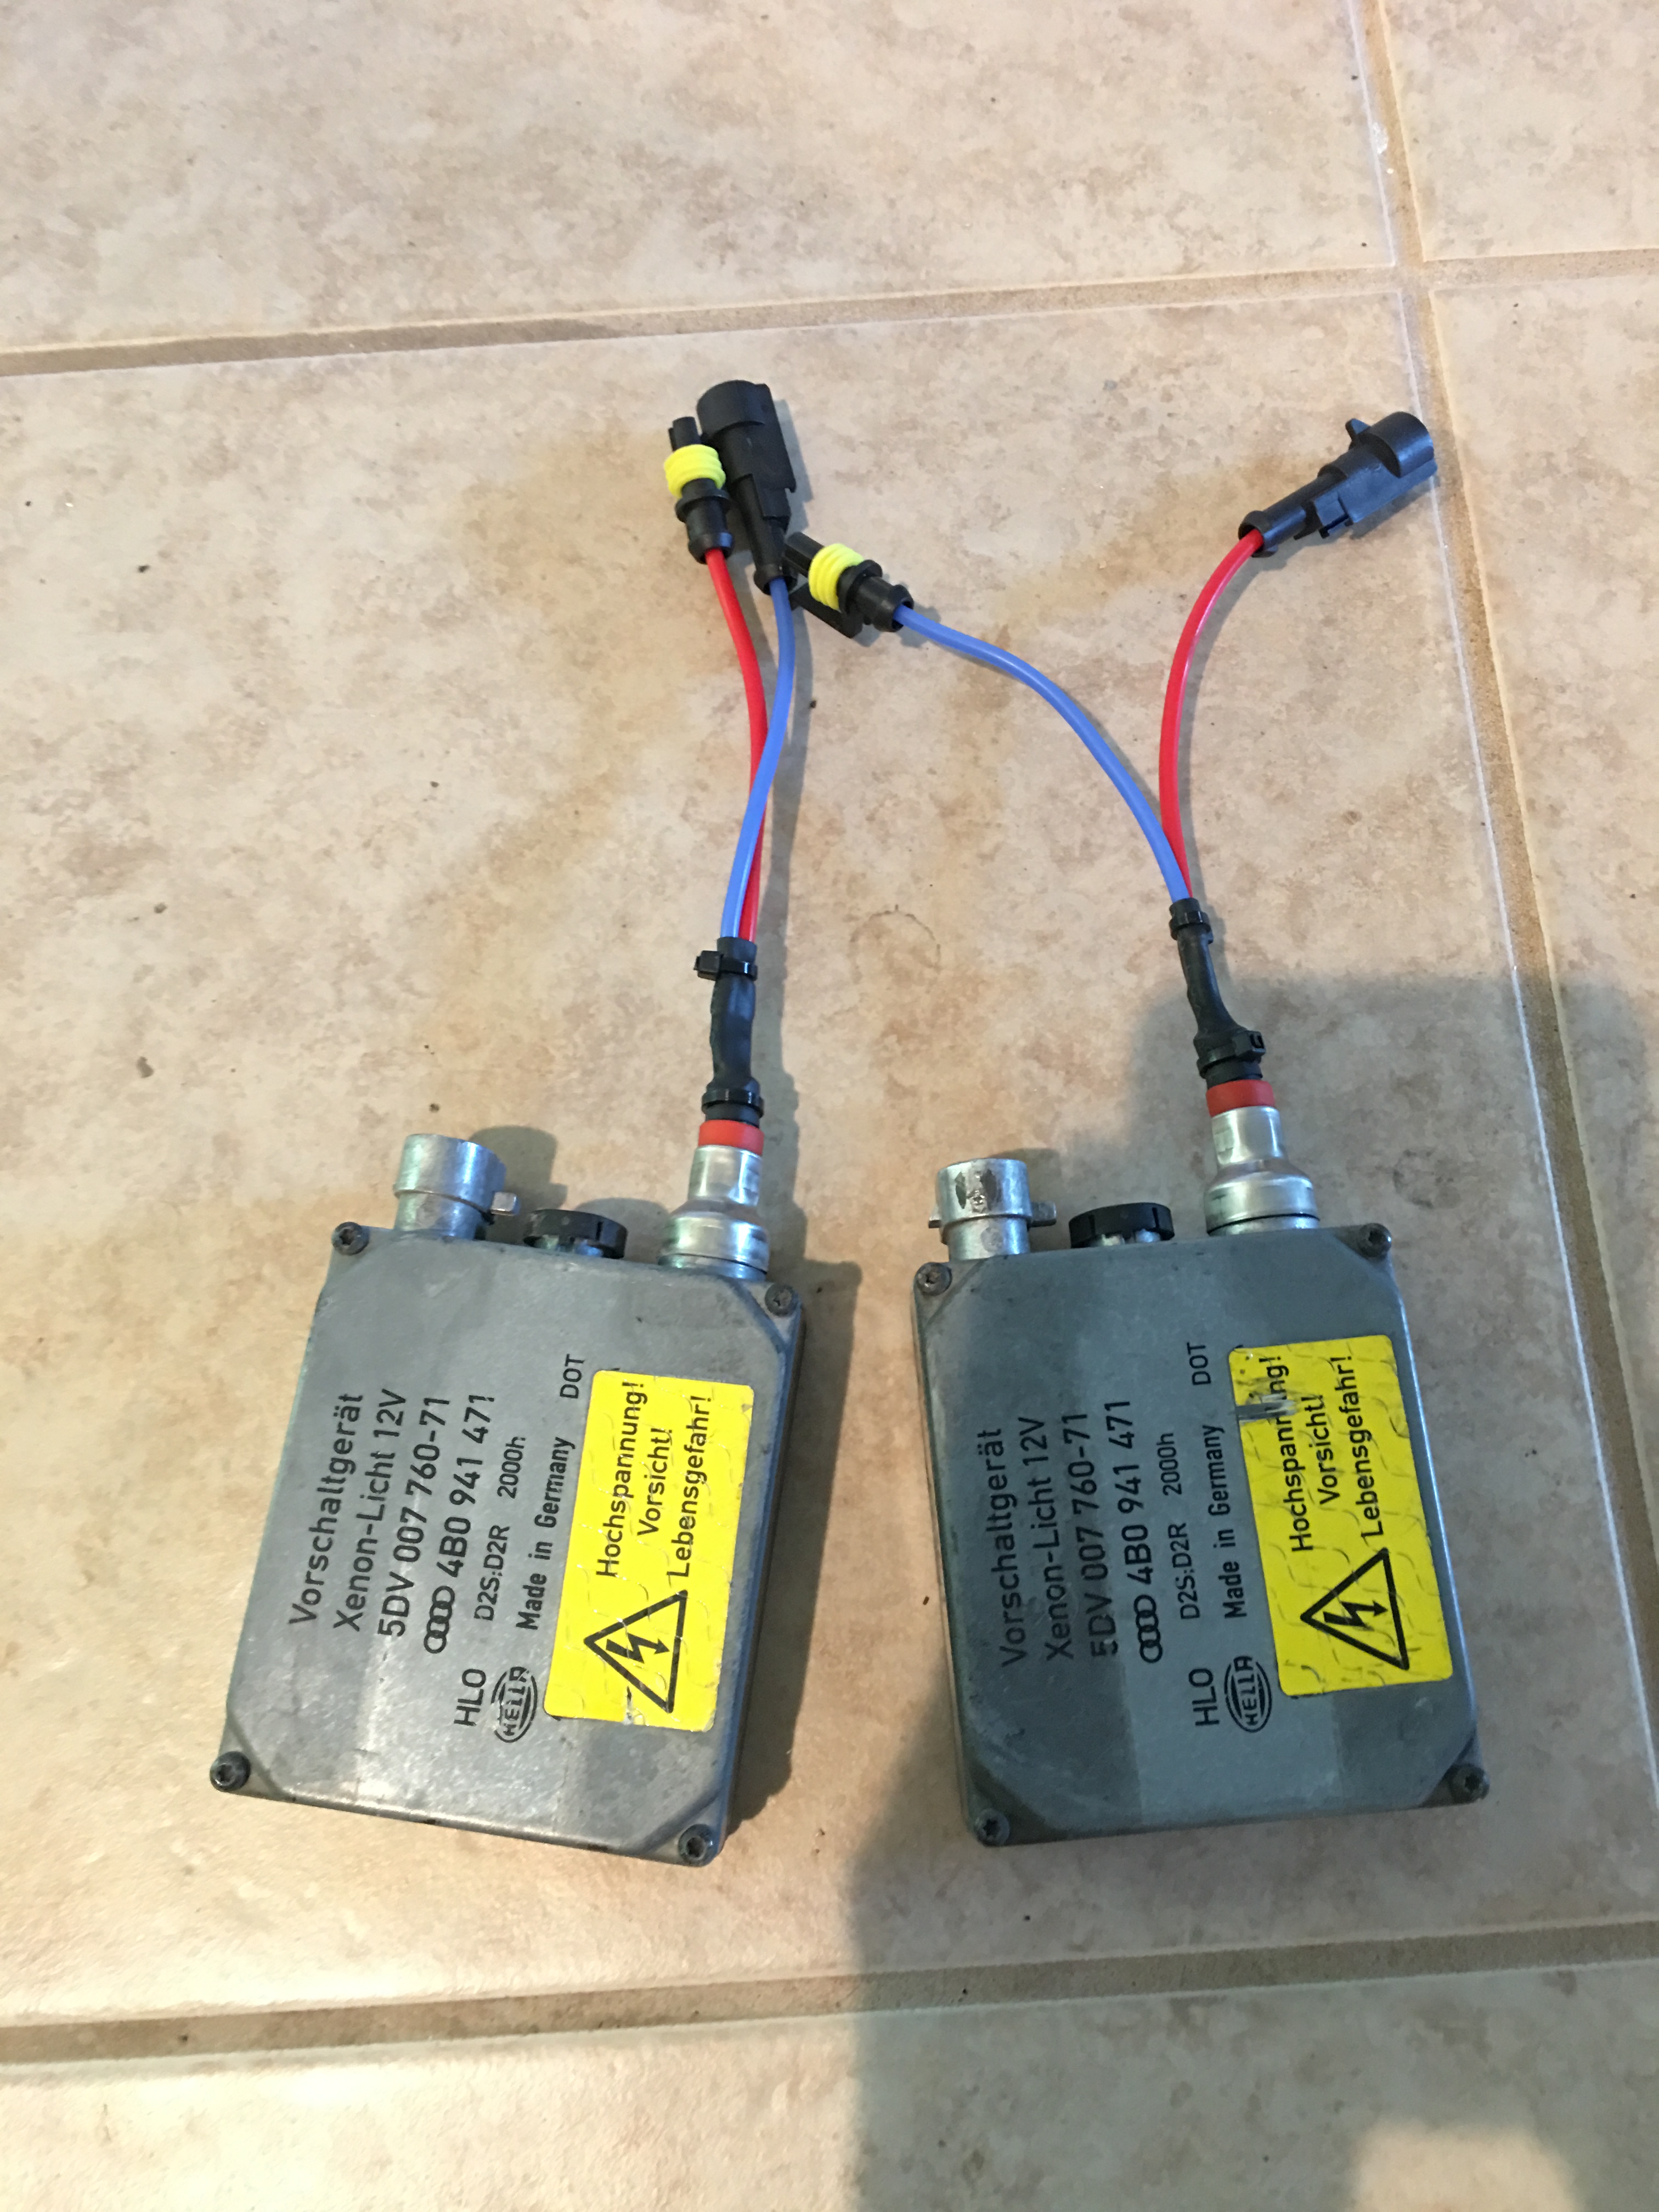
The ballasts I'm using are the tried and true Hella gen 3 found in many many cars over the past 20ish years. They're easy to find, relatively cheap, 100% weatherproof, and very reliable. They typically come with D2S connectors but I cut them off and soldered on AMP connectors to run them with the Morimoto H1 bulbs, then sealed the connection using adhesive-lined heat shrink tubing. This is the first iteration with very short wires, along the way I redid the solders with longer wires when I changed the ballast mounting position.

IMG_1082.JPG


This was my first ballast mounting solution: zip ties. I wasn't happy with this either, which was another factor in my scrapping of this method.

IMG_1084.JPG


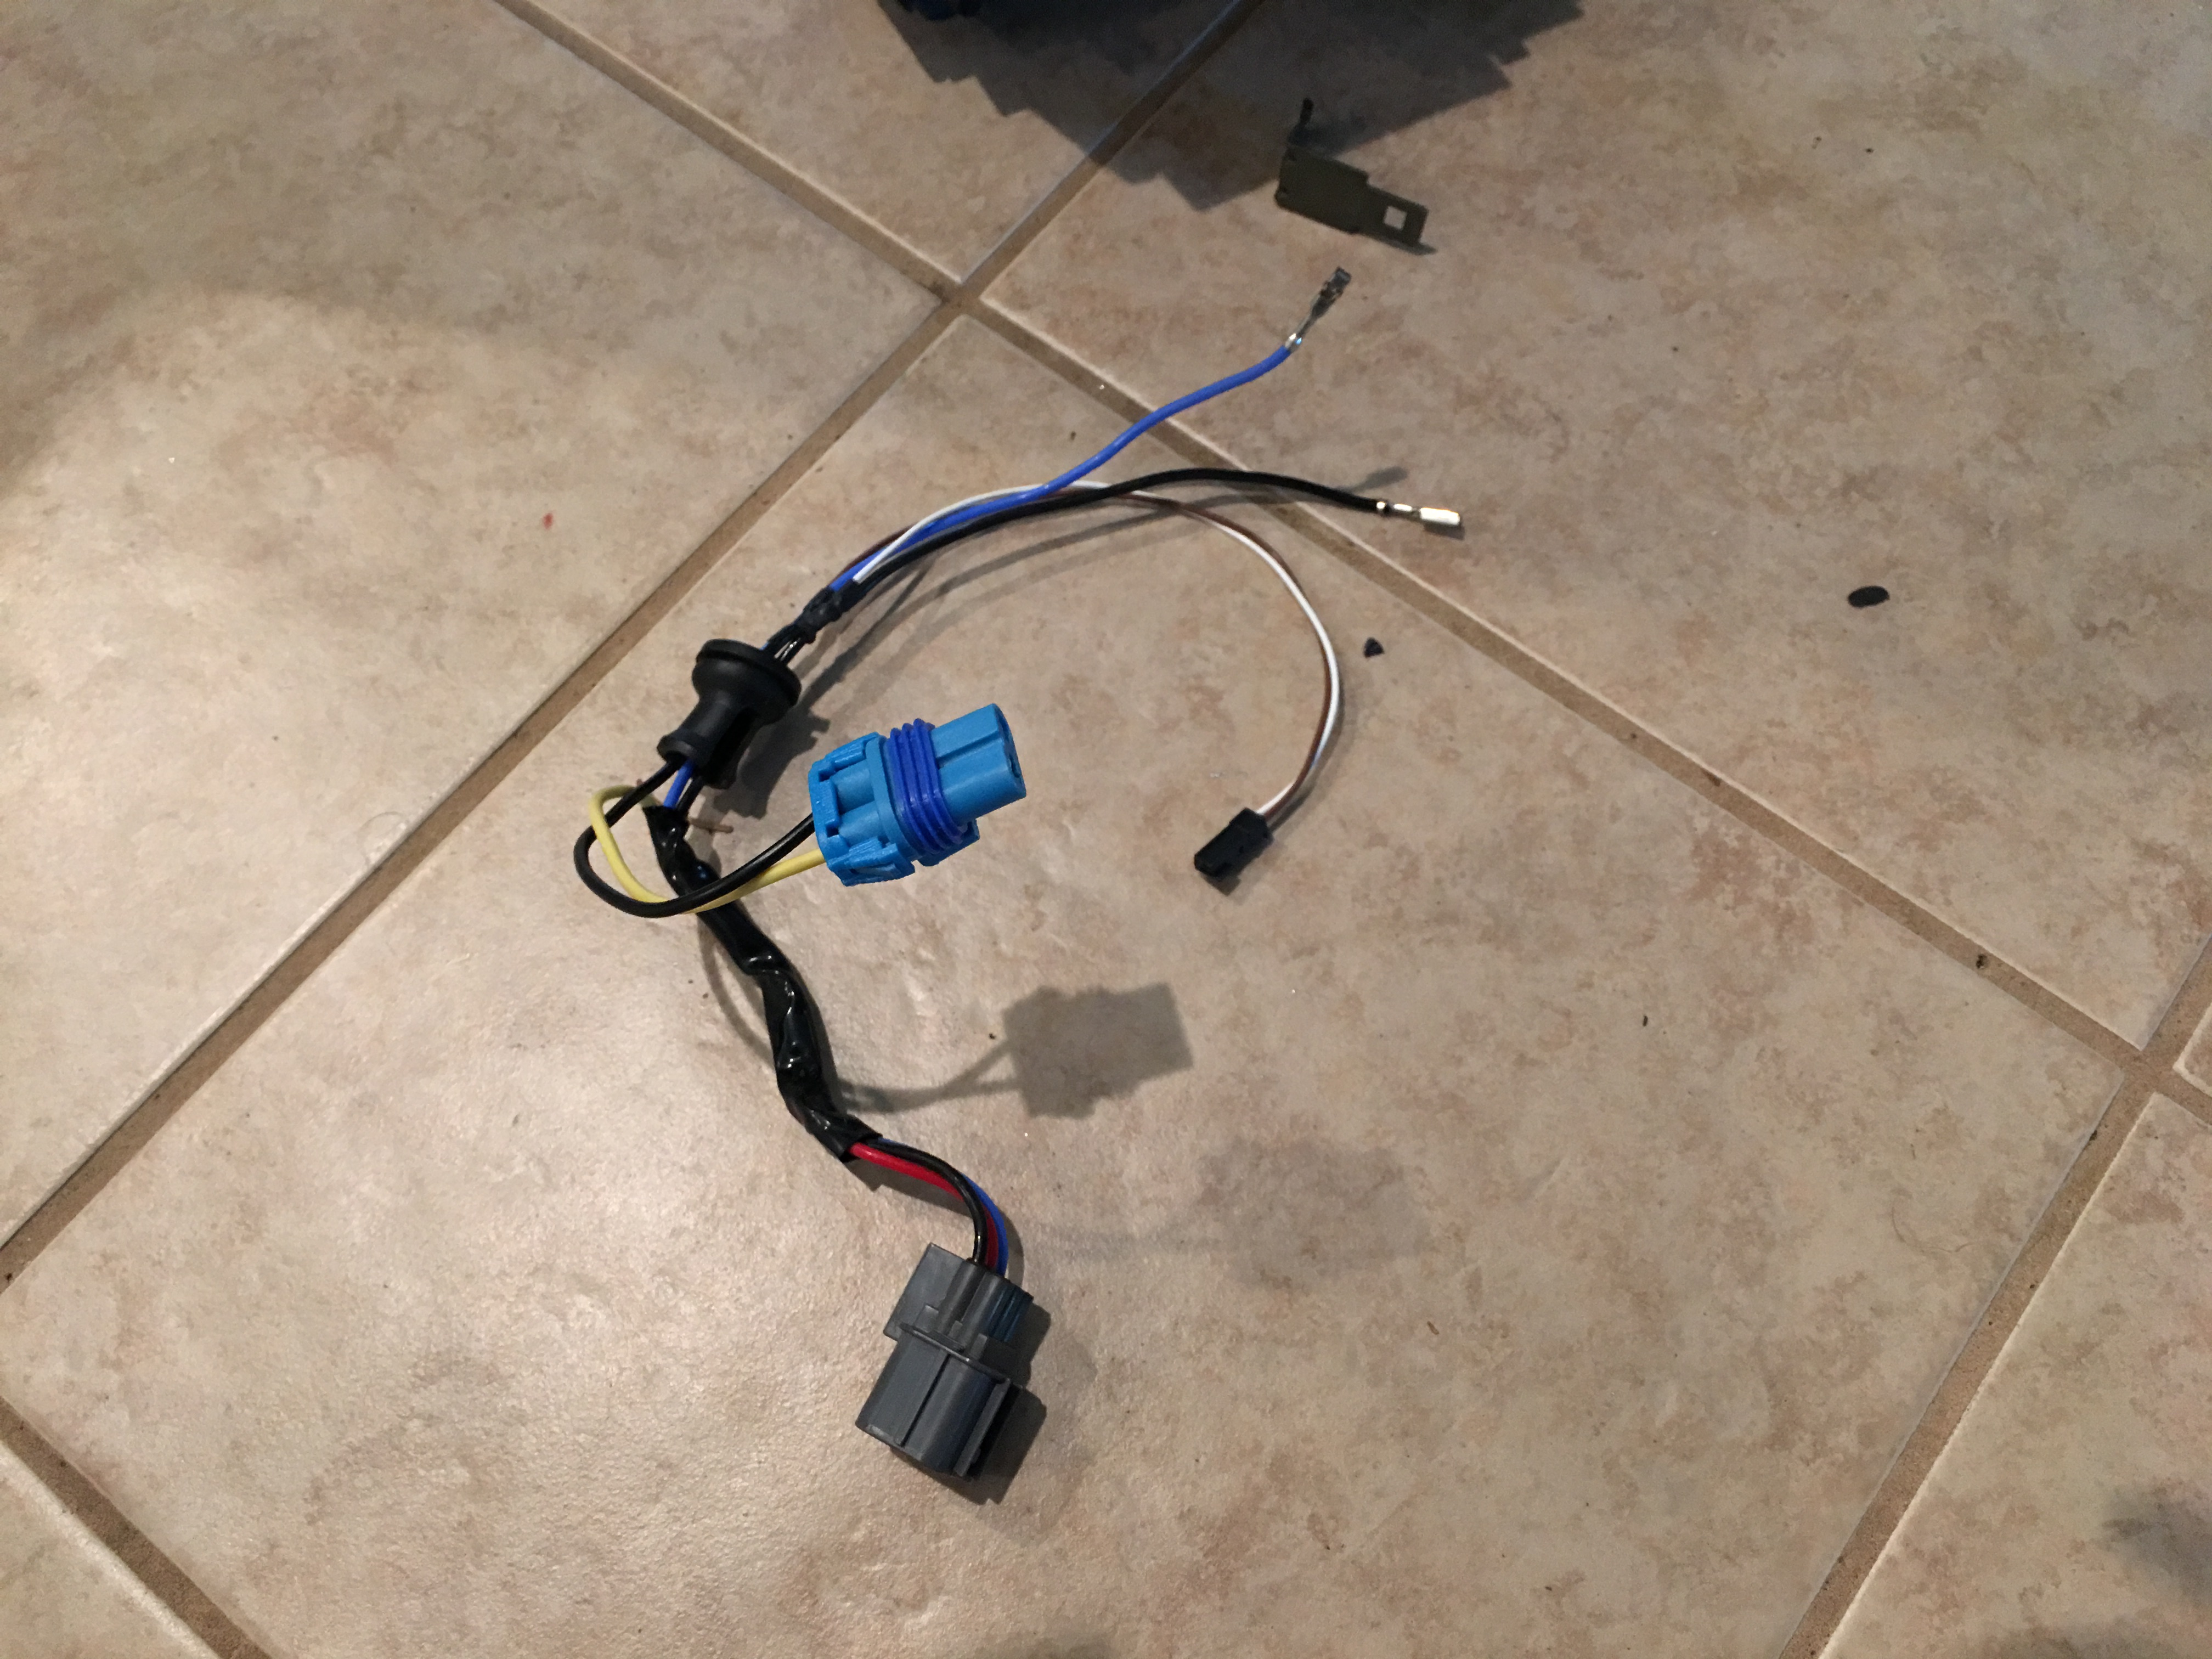
First headlight wire harness, it was a modified factory harness.

IMG_1086.JPG


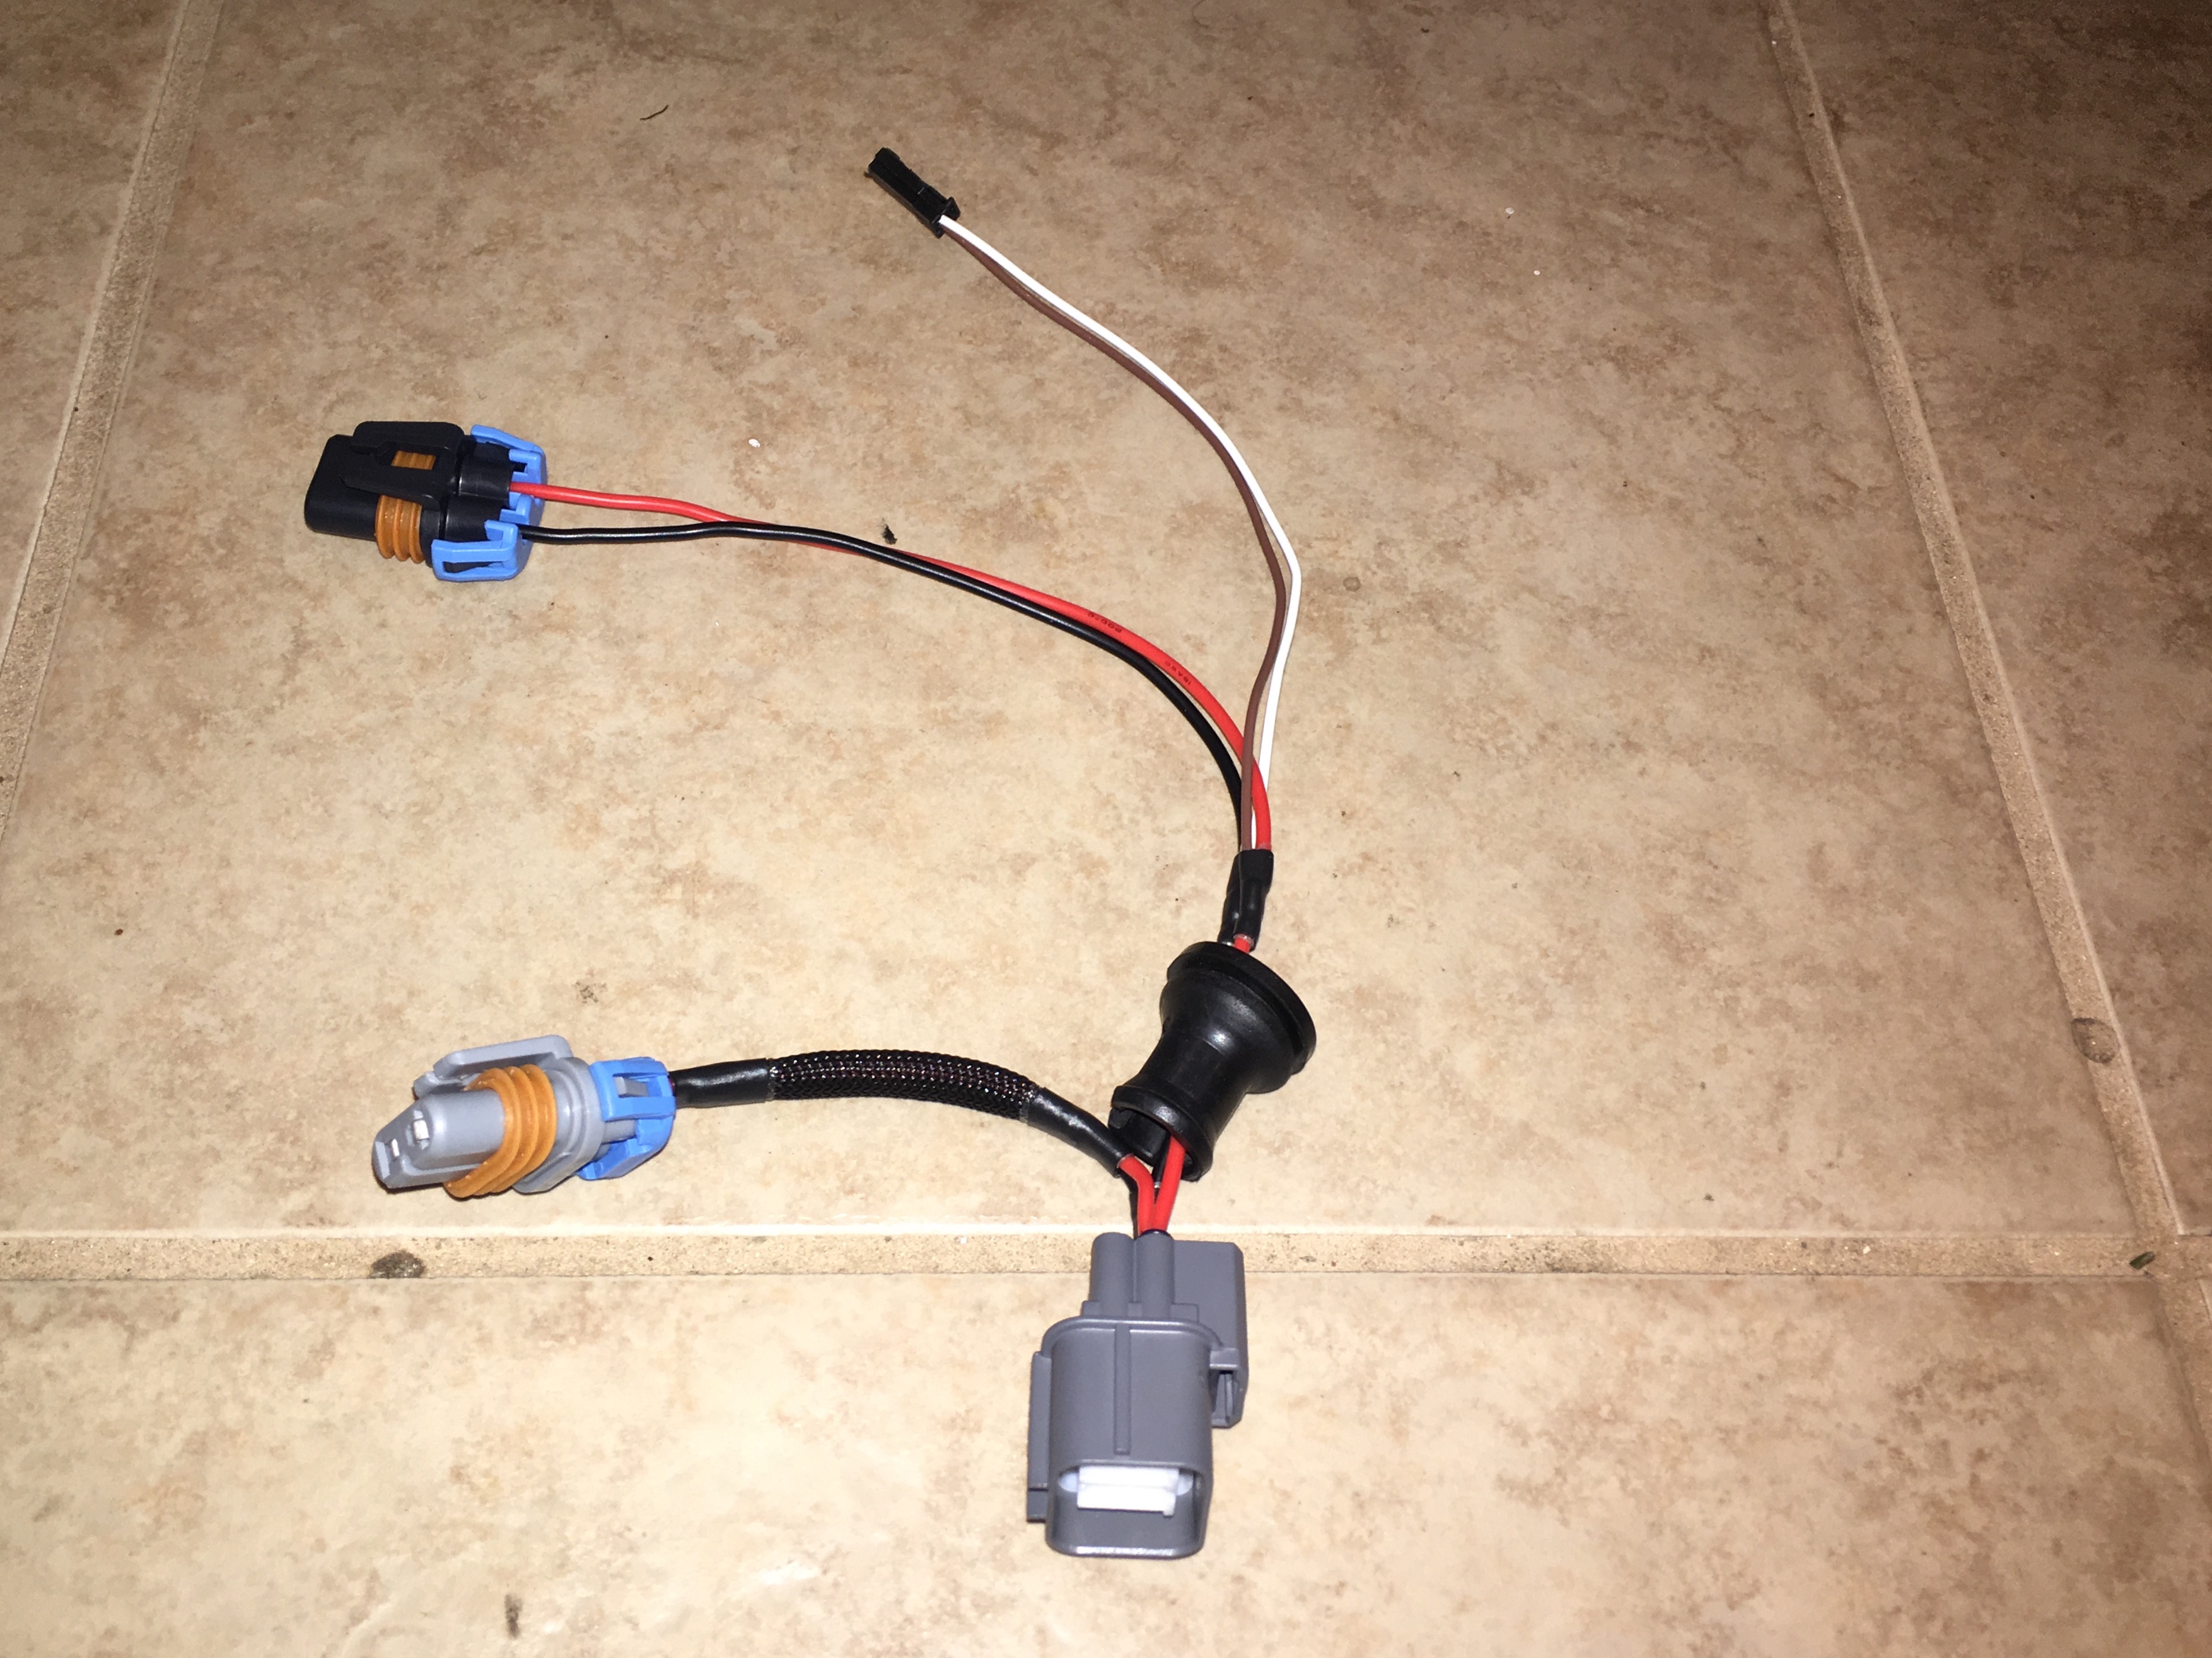
I didn't like it so I made my own from scratch after sourcing the factory plug components, but the 9005 plugs I bought didn't fit in the NSX housing so these were scrapped too, and I ended up reusing the original NSX plugs.

IMG_1109.JPG


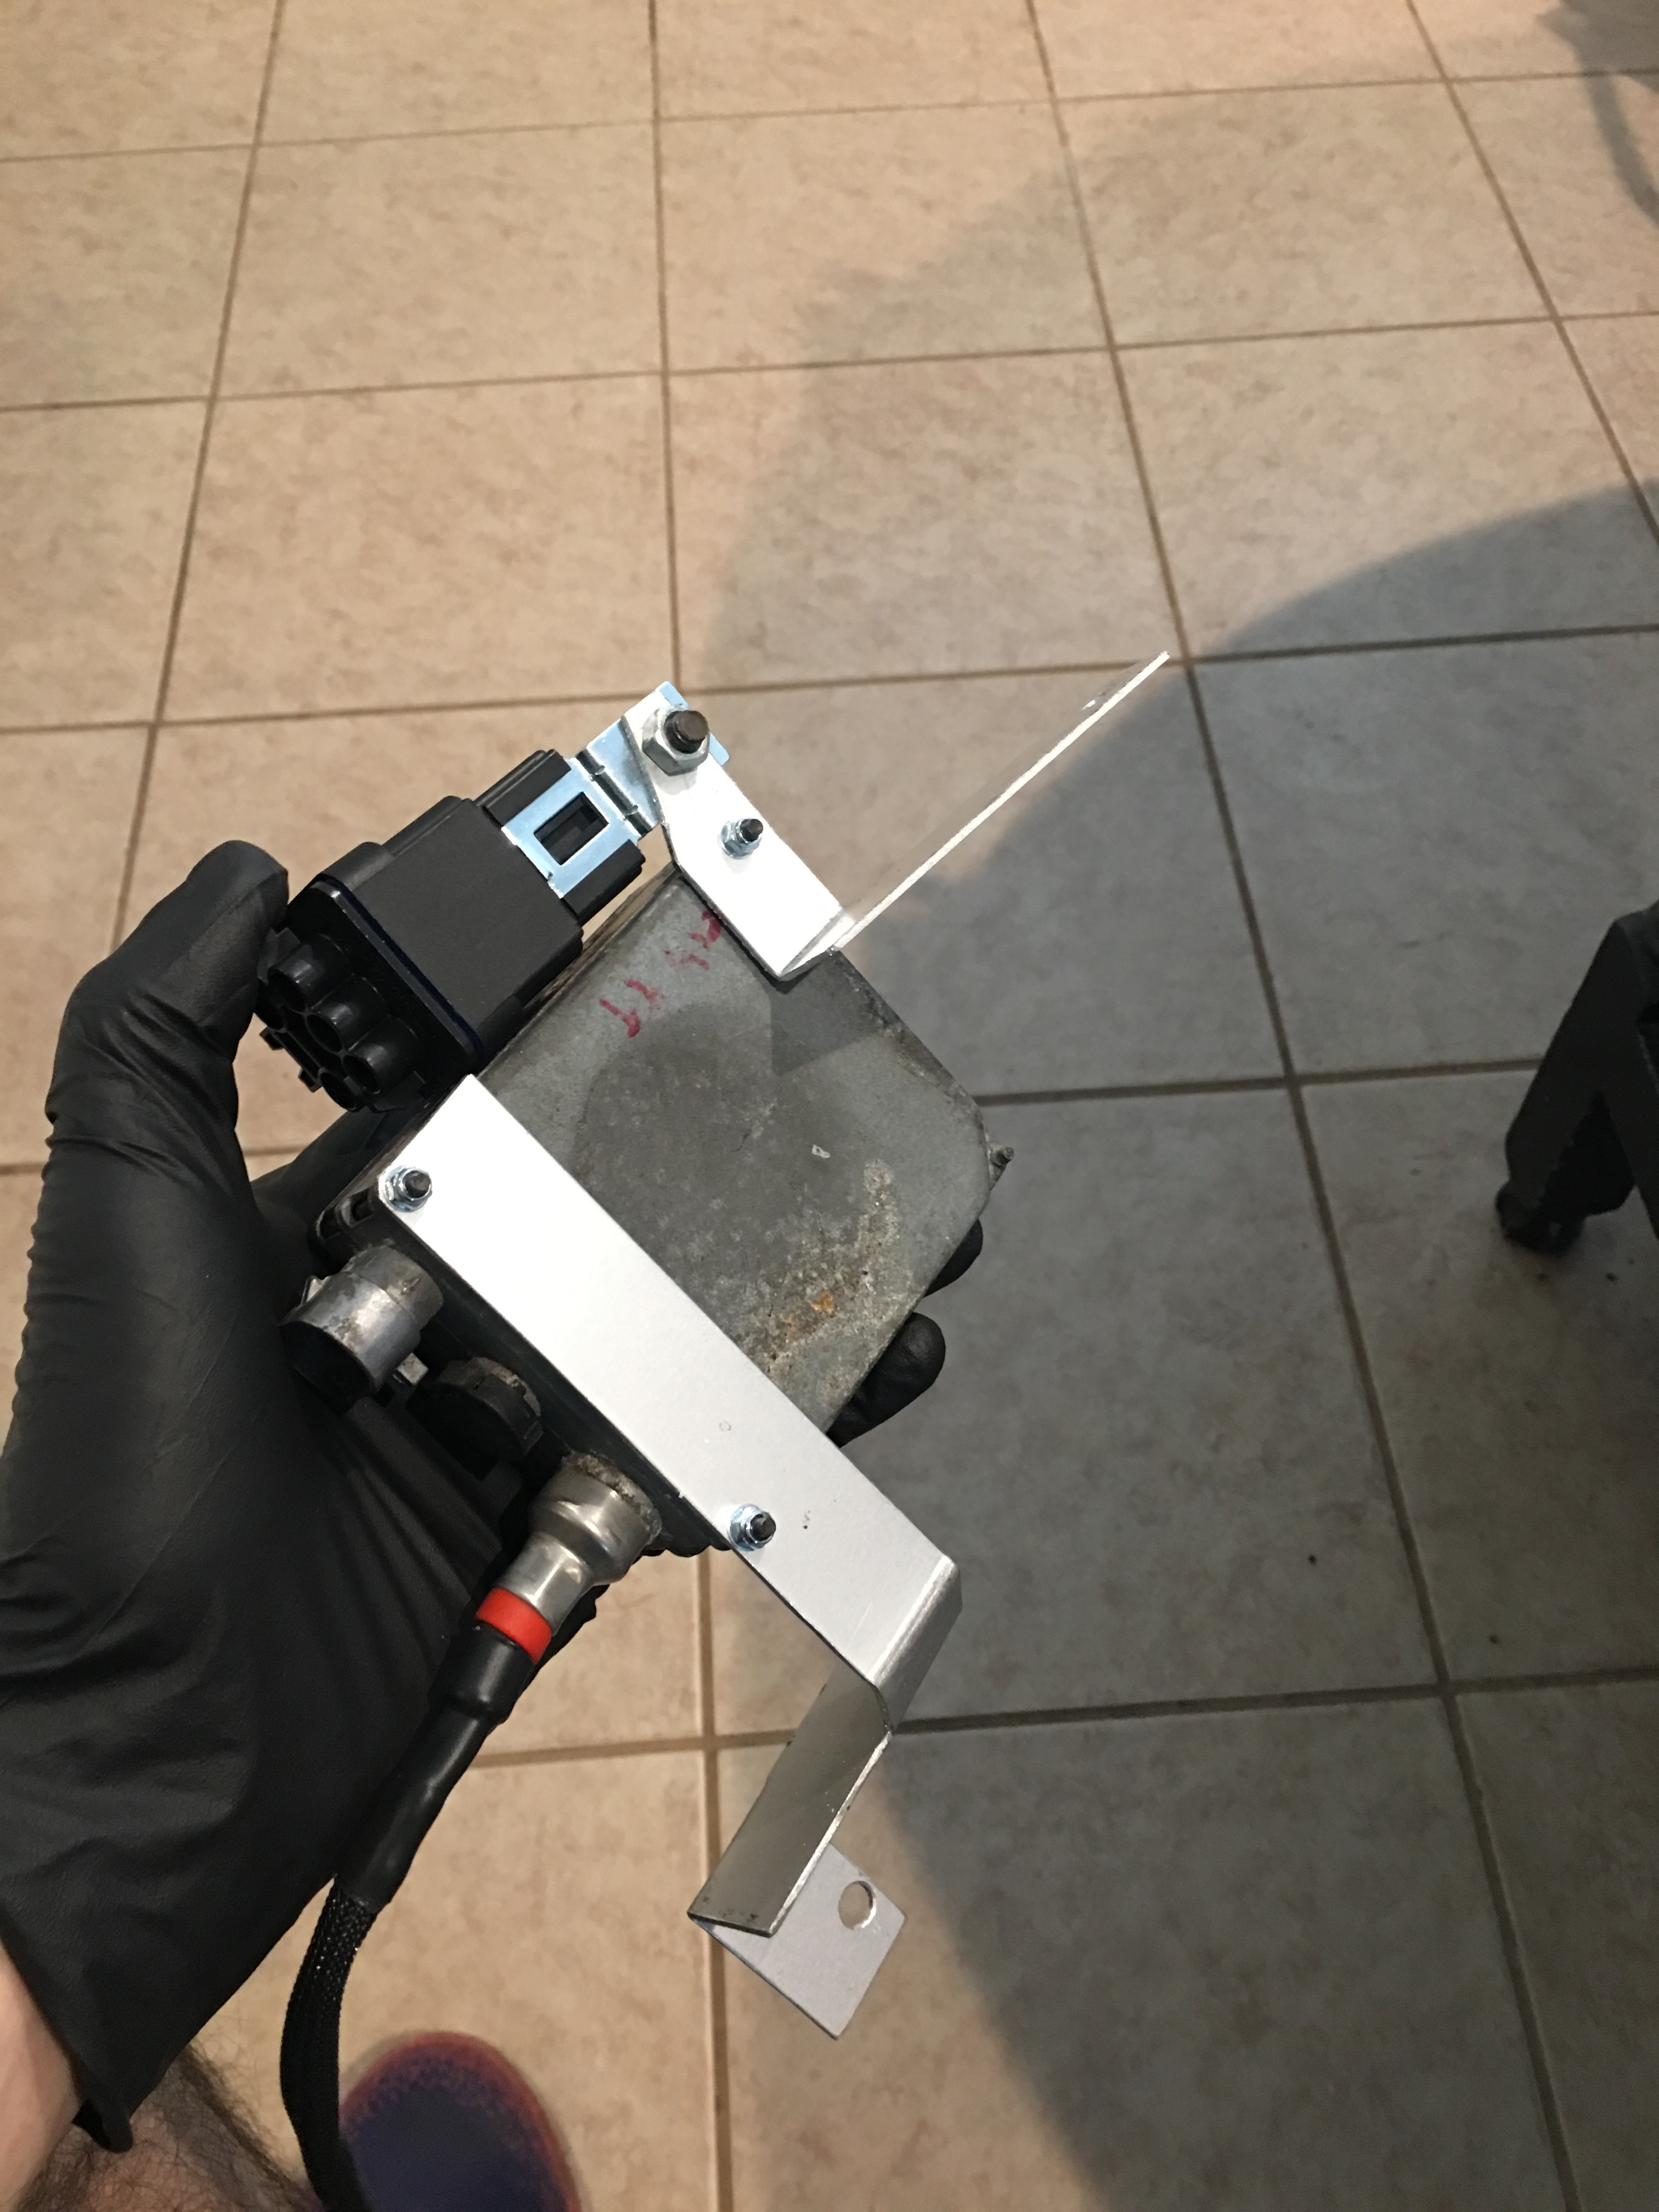
Unfortunately I don't have pictures of the final headlight harness, but rather than a 9006 plug coming out the back for the ballast, it had a smaller waterproof connector that goes to a relay that controls the ballast. I made these (not particularly pretty) ballast and relay brackets from aluminum.

IMG_1249.JPG


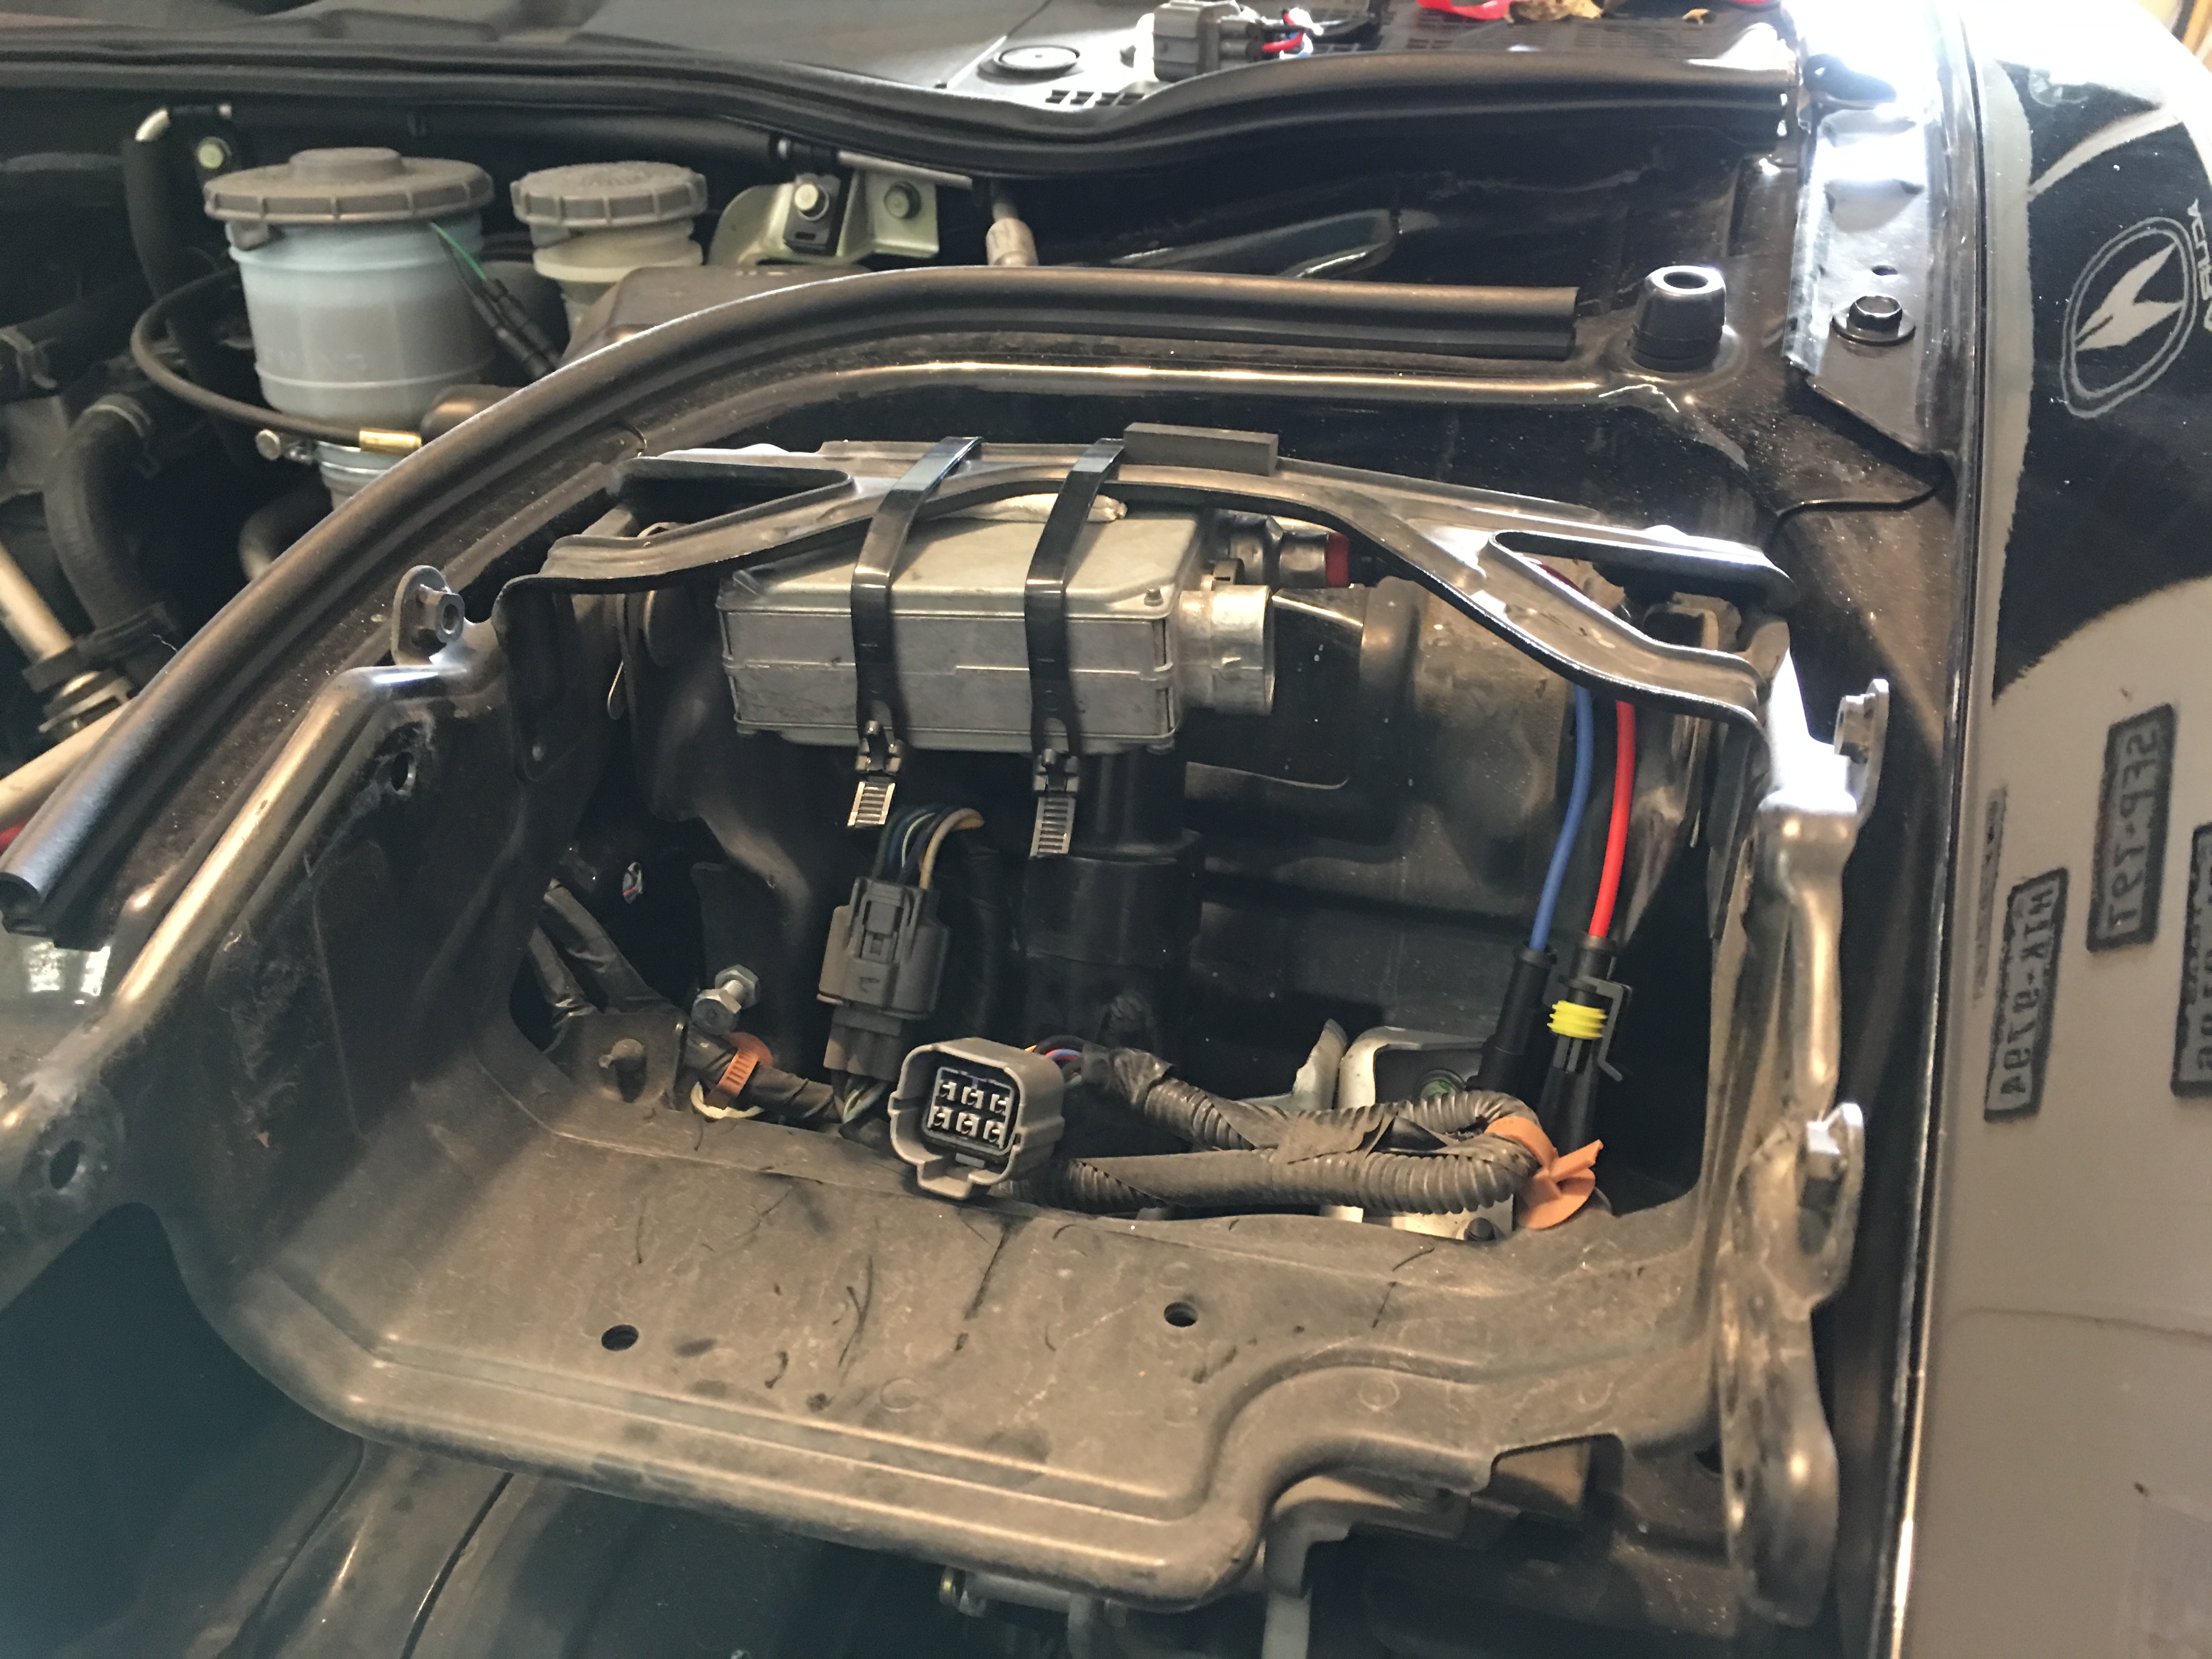
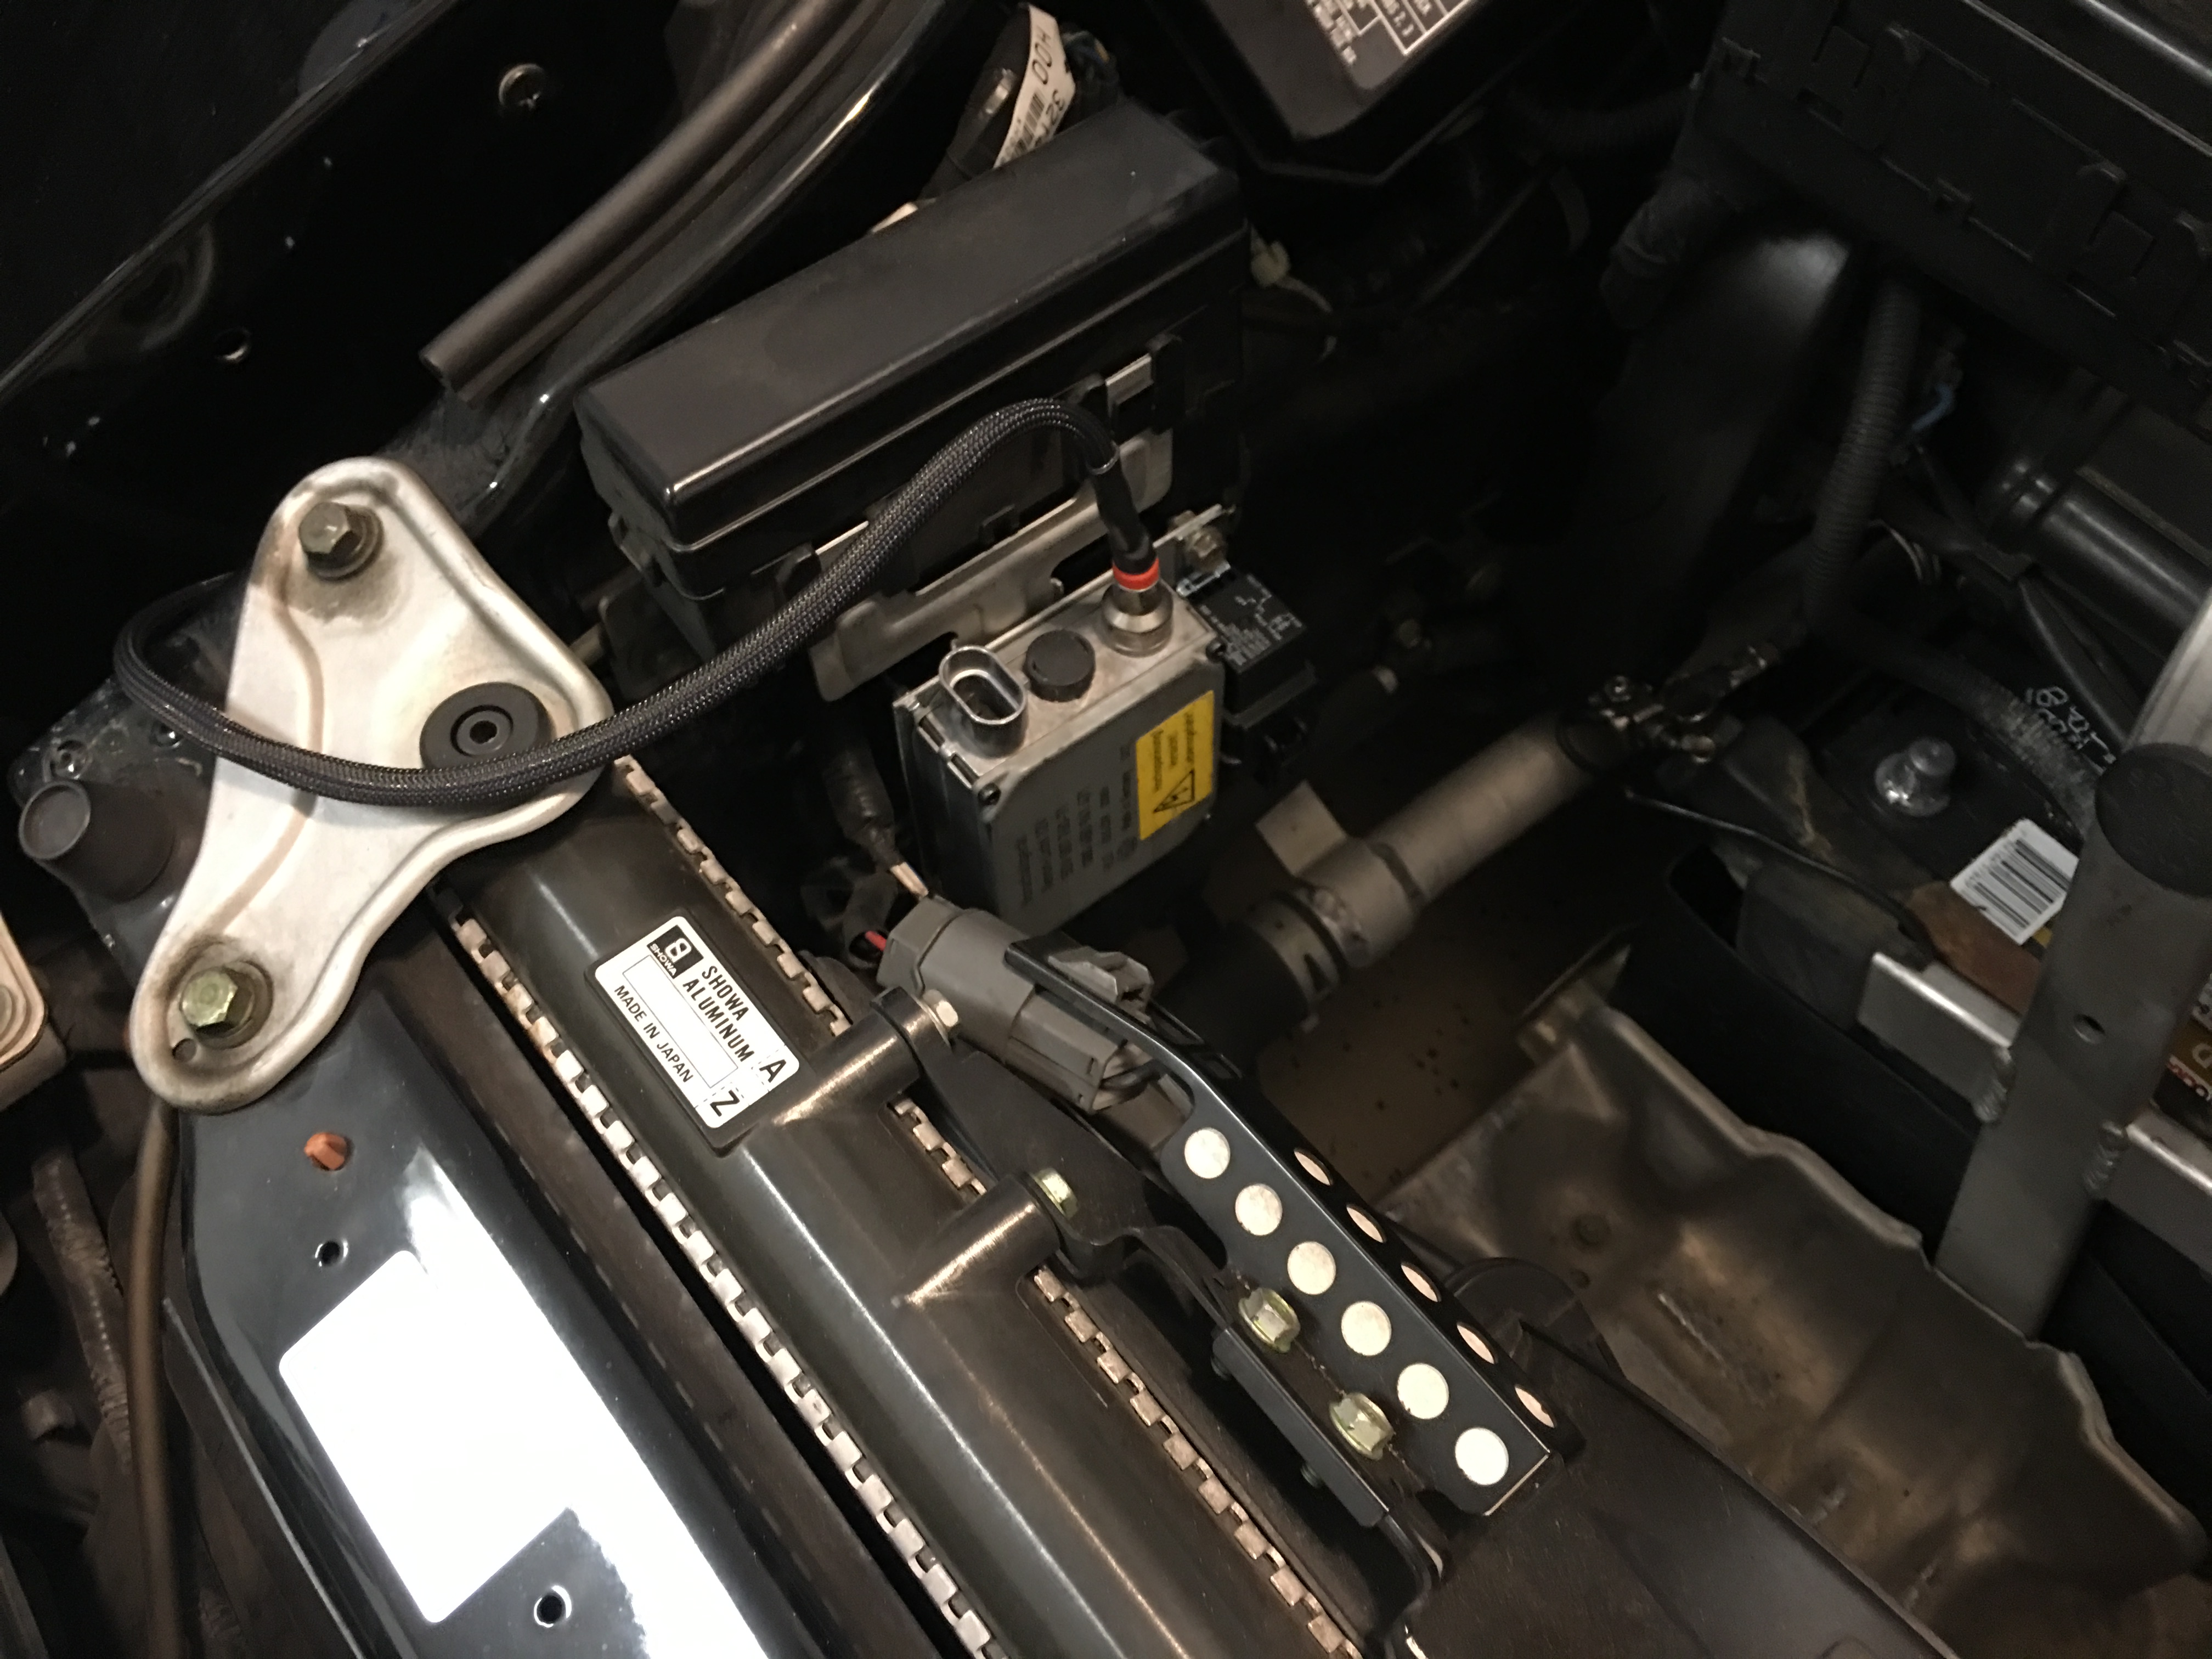
Passenger side mounted.

IMG_1251.JPG


Driver side mounted.

IMG_1252.JPG


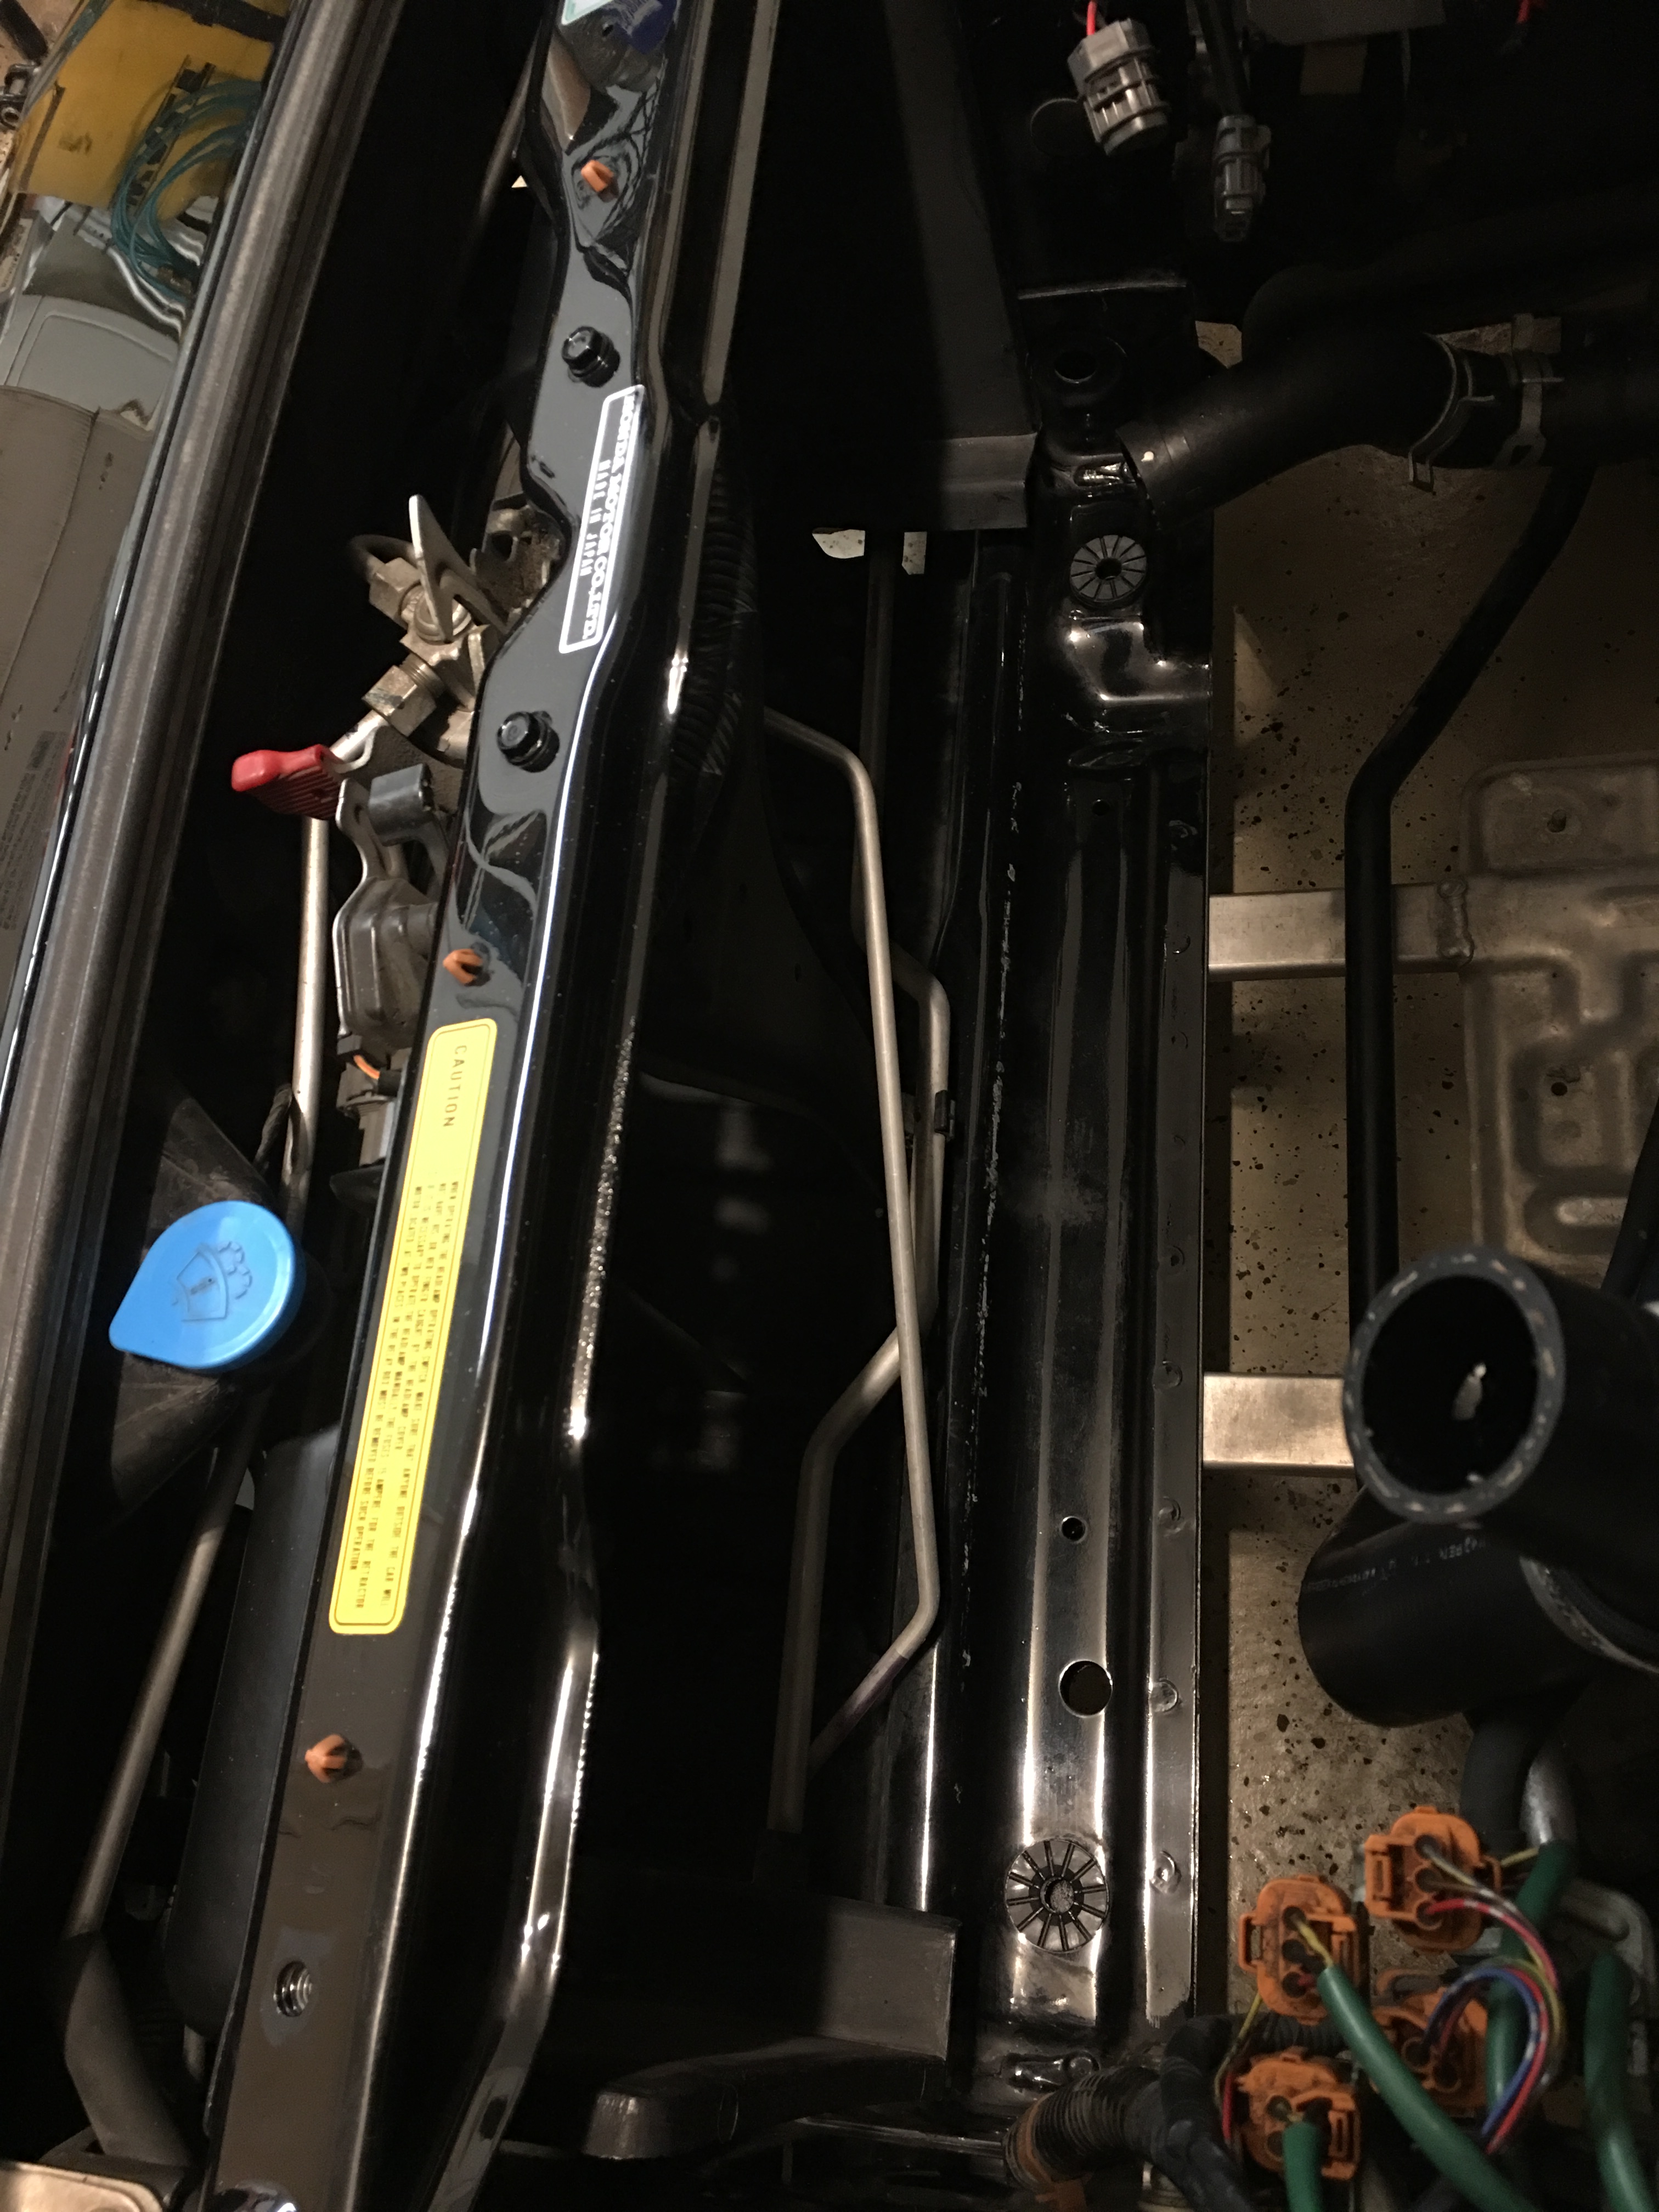
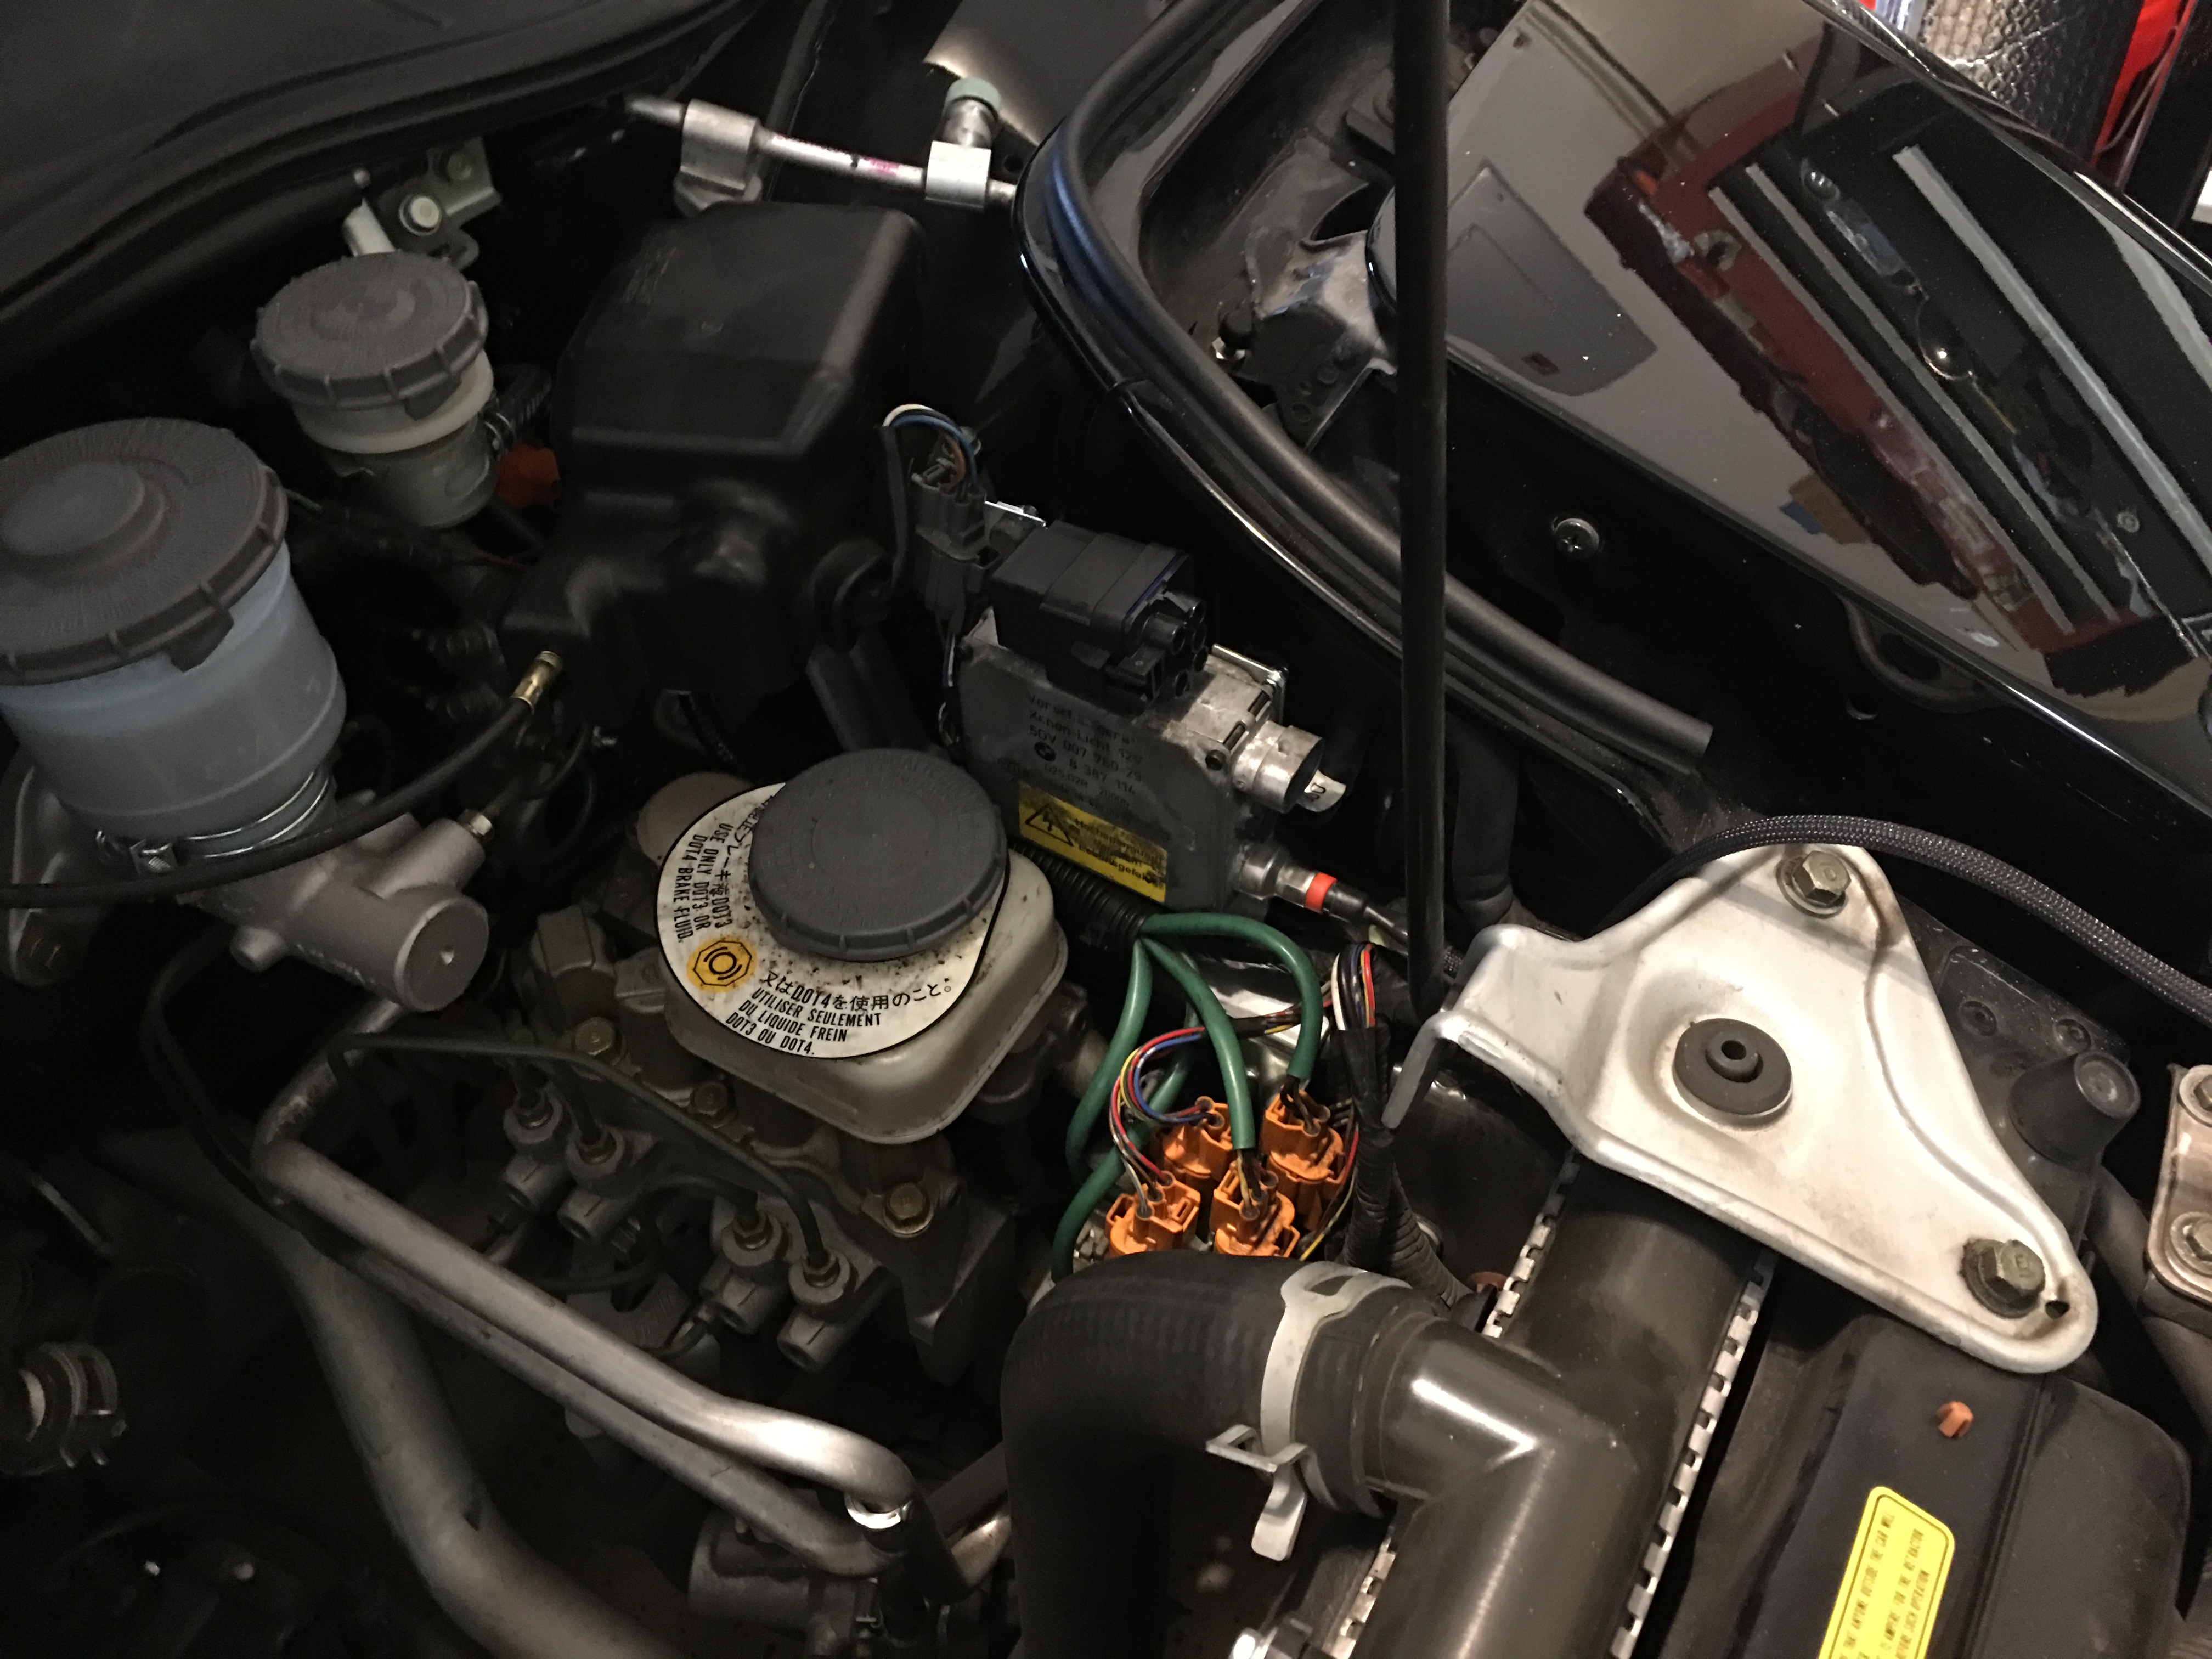
Everything wired up. I didn't want to drill anything or poke holes in grommets so I ran the ballast turn-on signal and the HID bulb wires in front of the headlight weather seal, then zip-tied it to the factory harness that allows the lights to go up and down, then finally into the connectors at the back of the lights.

(I forgot to upload the picture here I'll do it in a little while)
IMG_placeholder.JPG


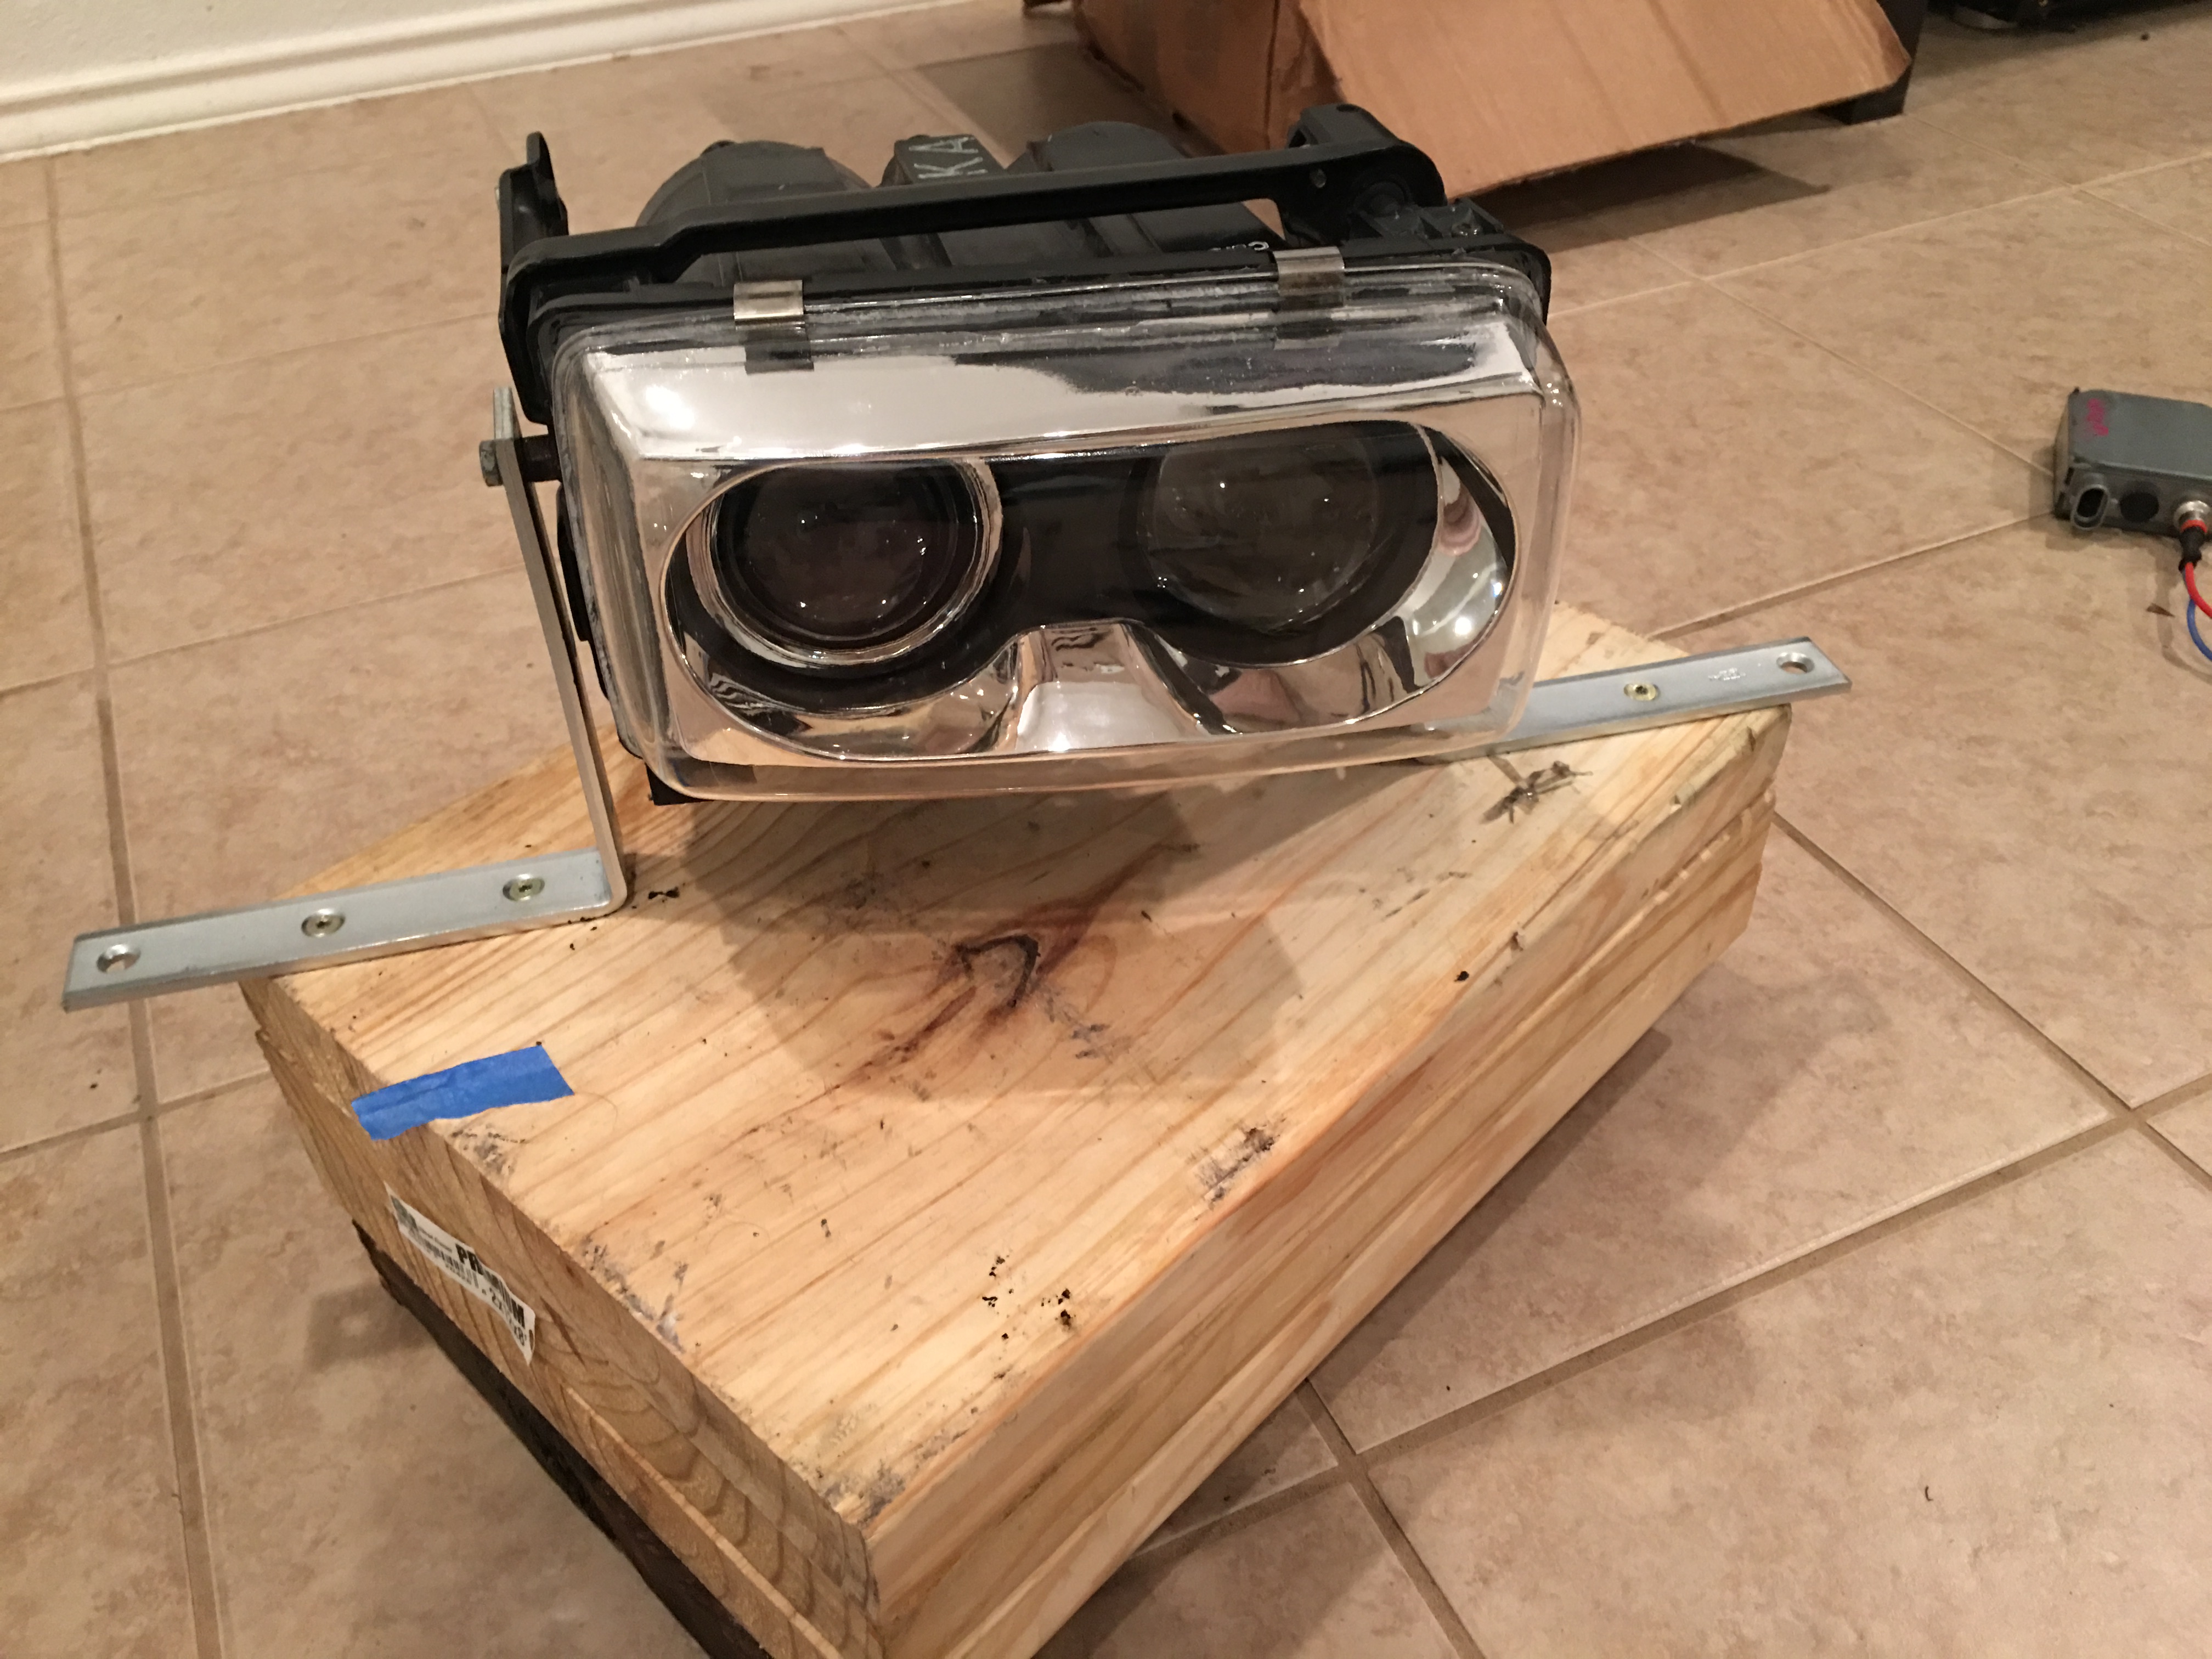
To align the lights, I built this rudimentary jig to hold the lights perfectly horizontal while I set the alignment of the HID projects and high beam projectors.

IMG_1466.JPG


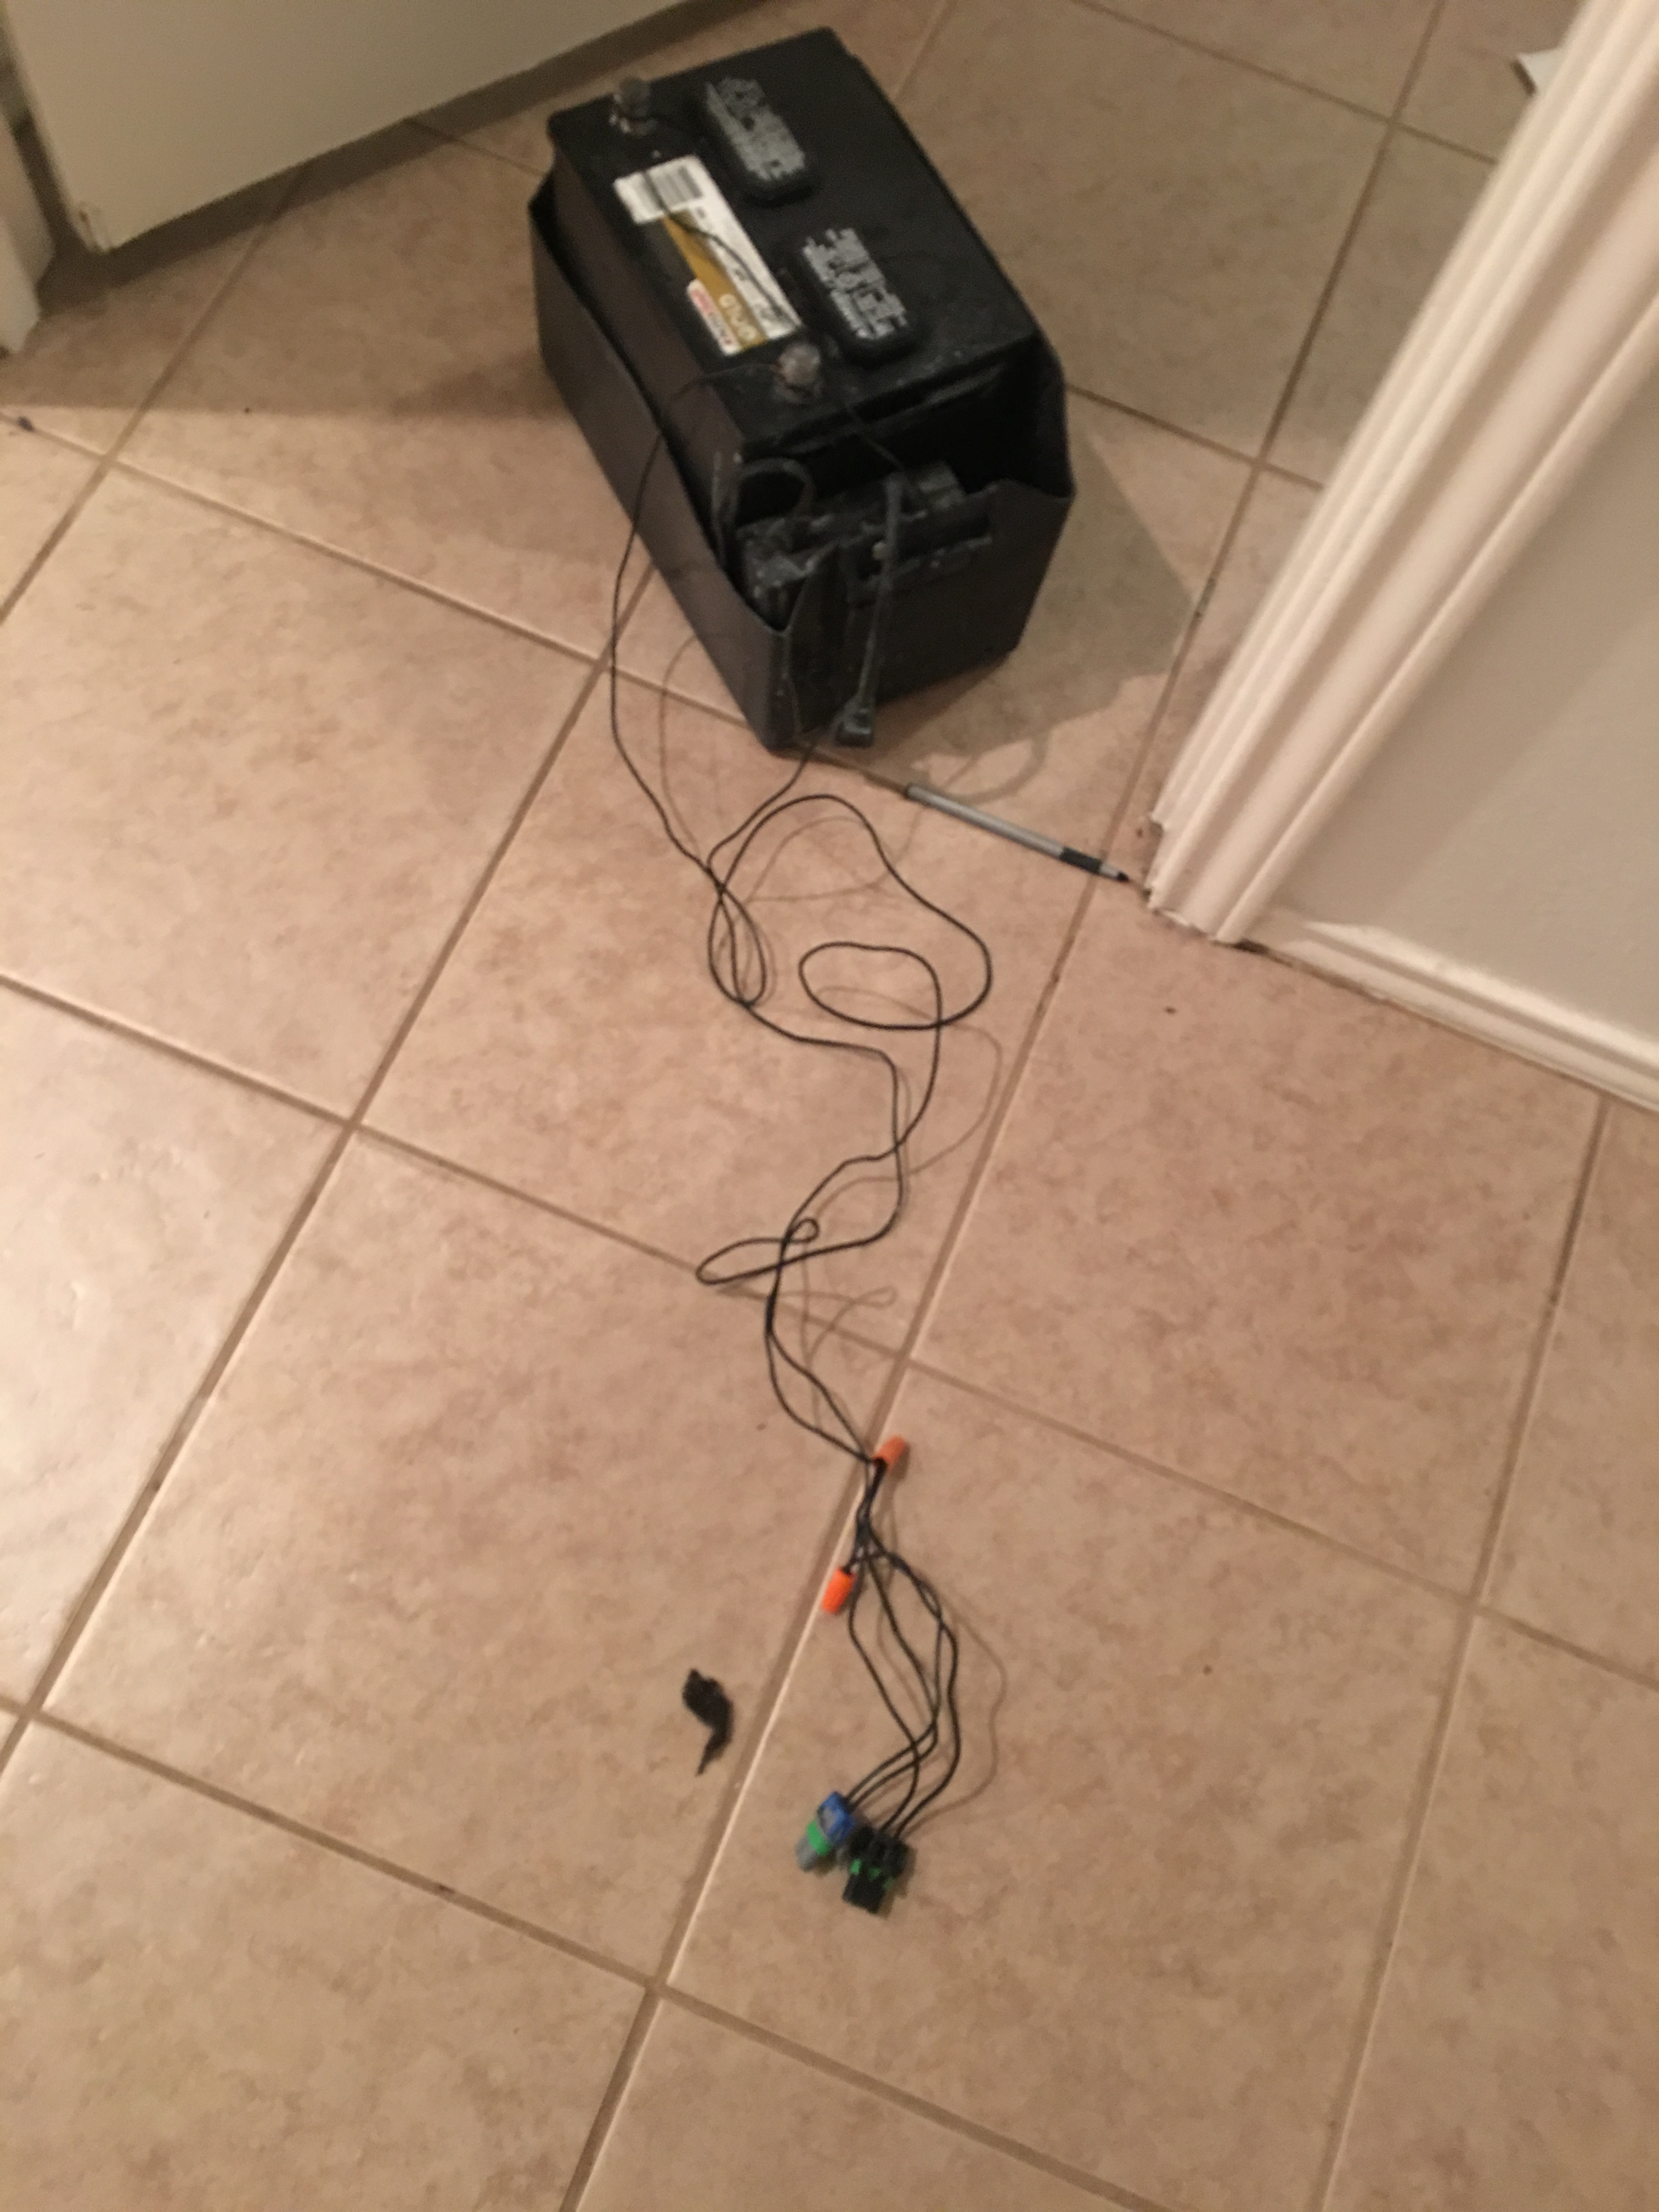
Test wiring setup: the car battery with a 9006 and 9005 plug.

IMG_1467.JPG


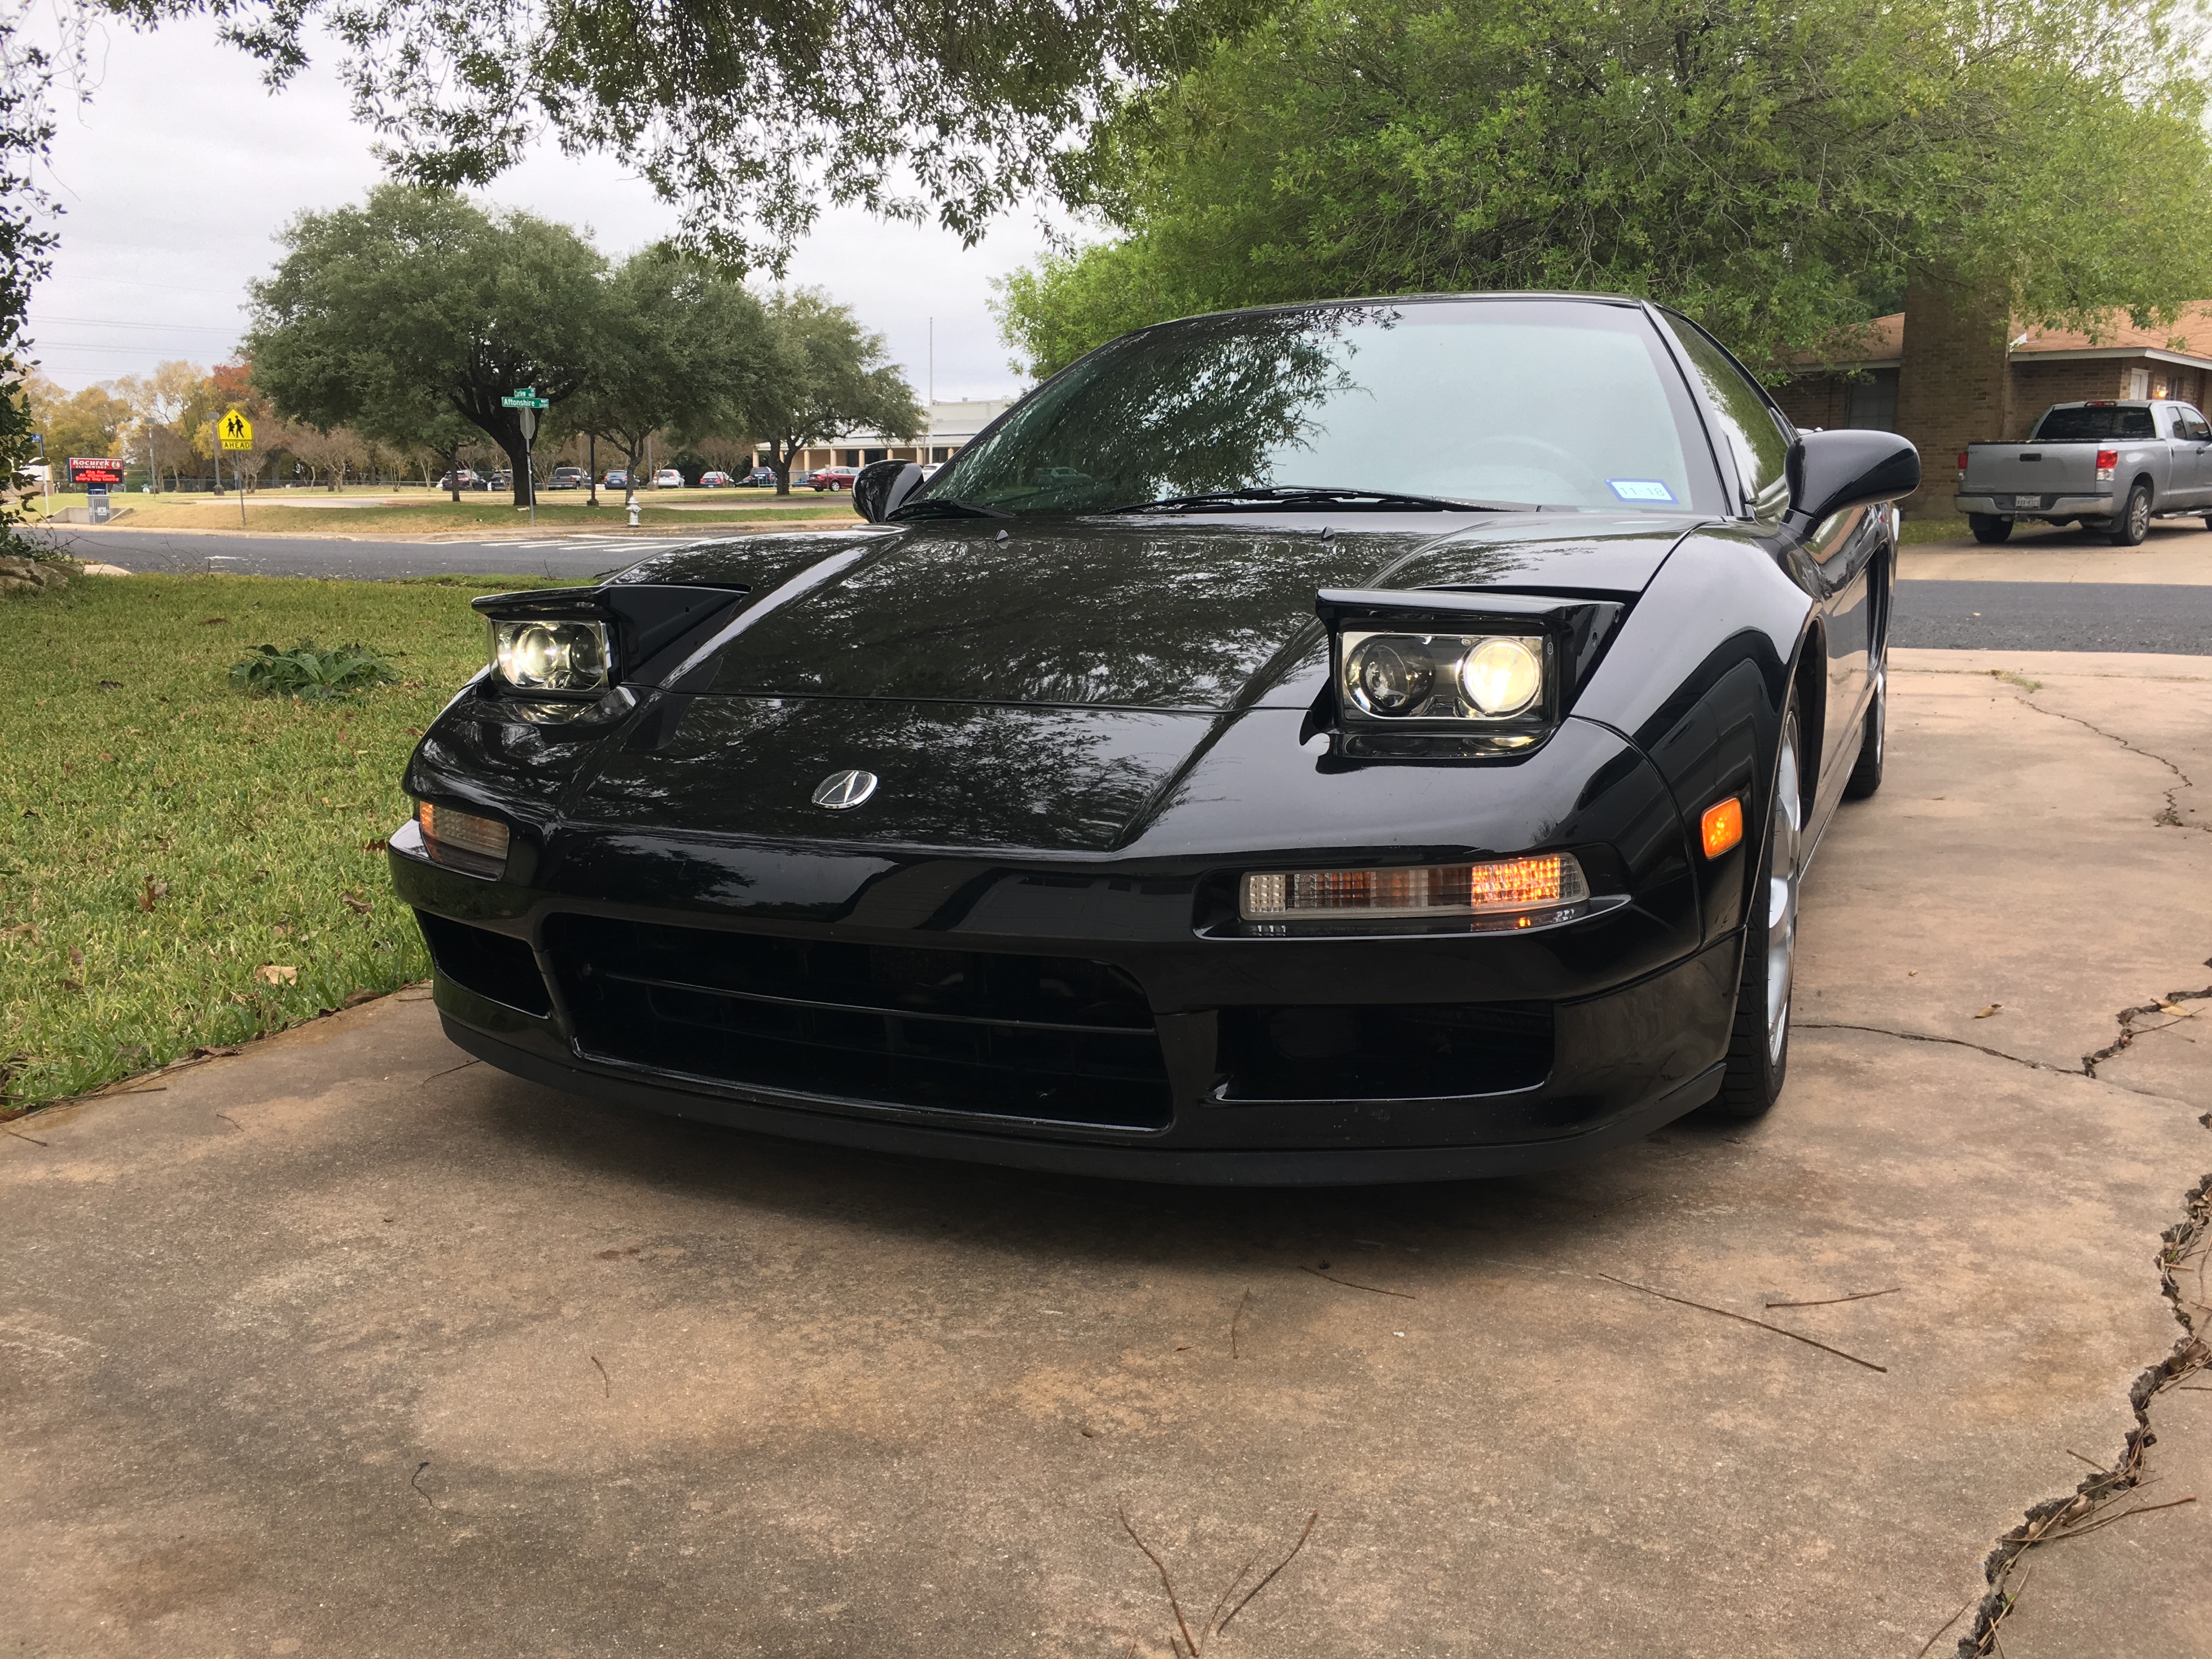
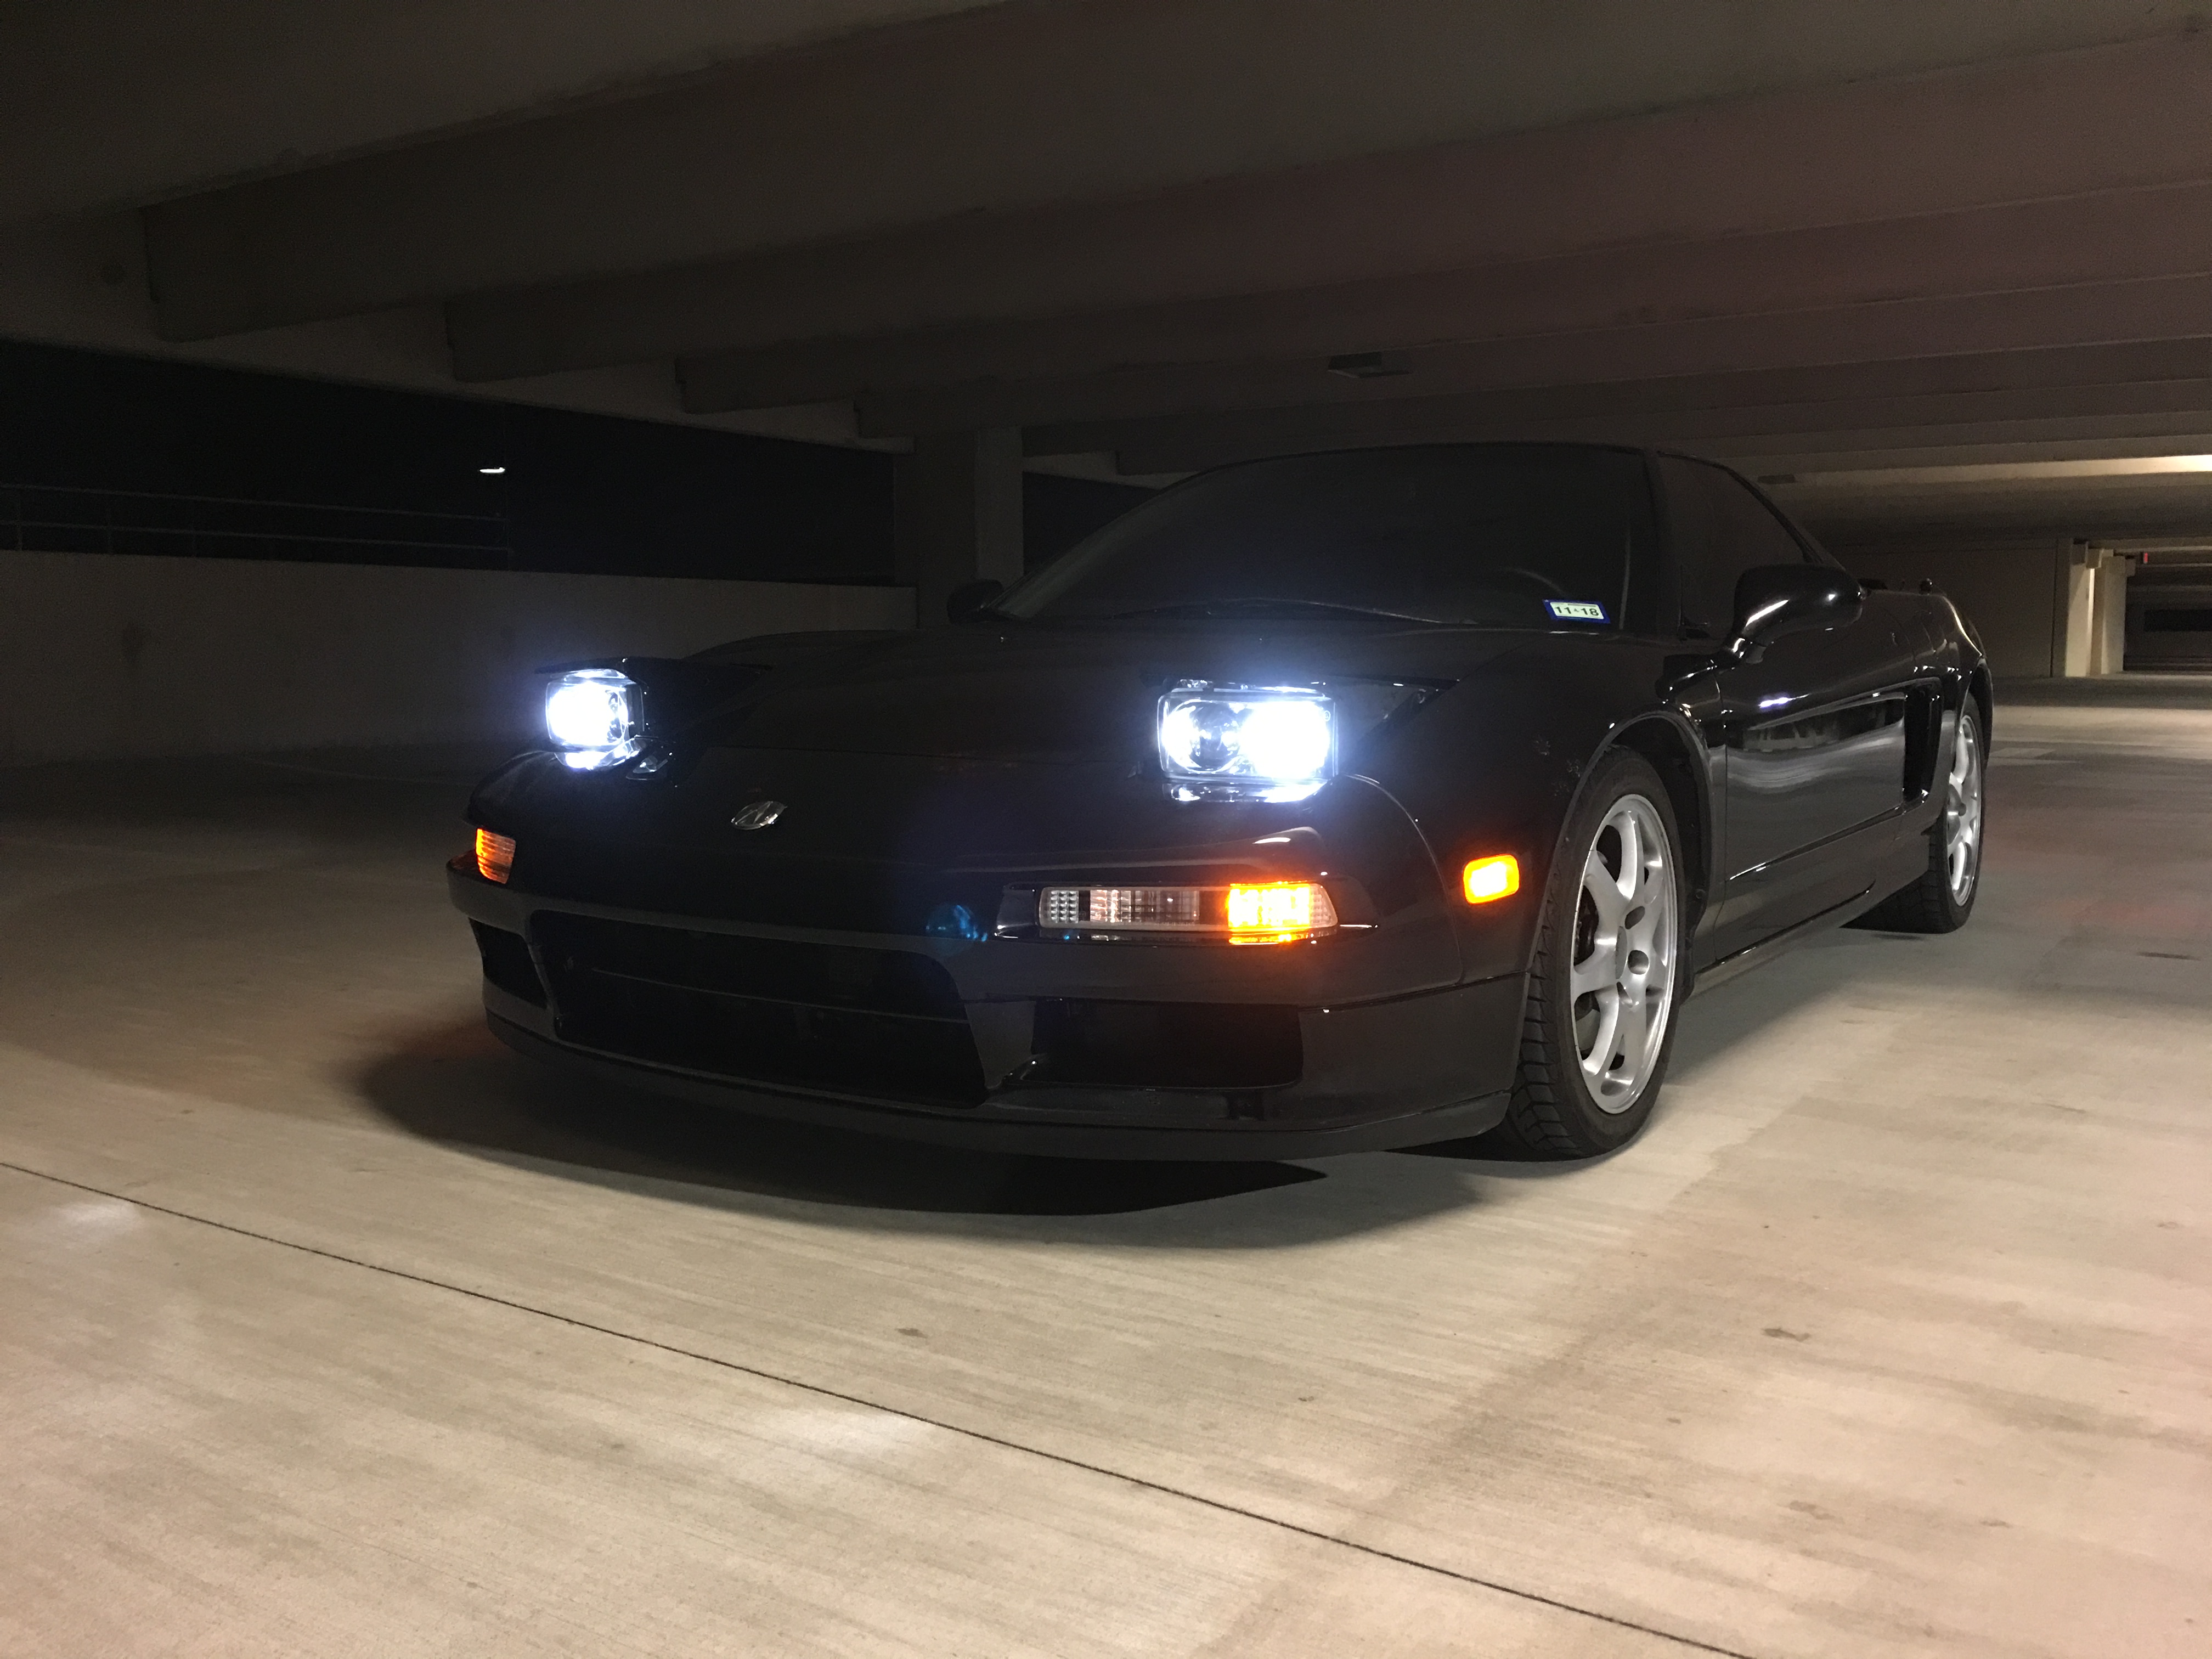
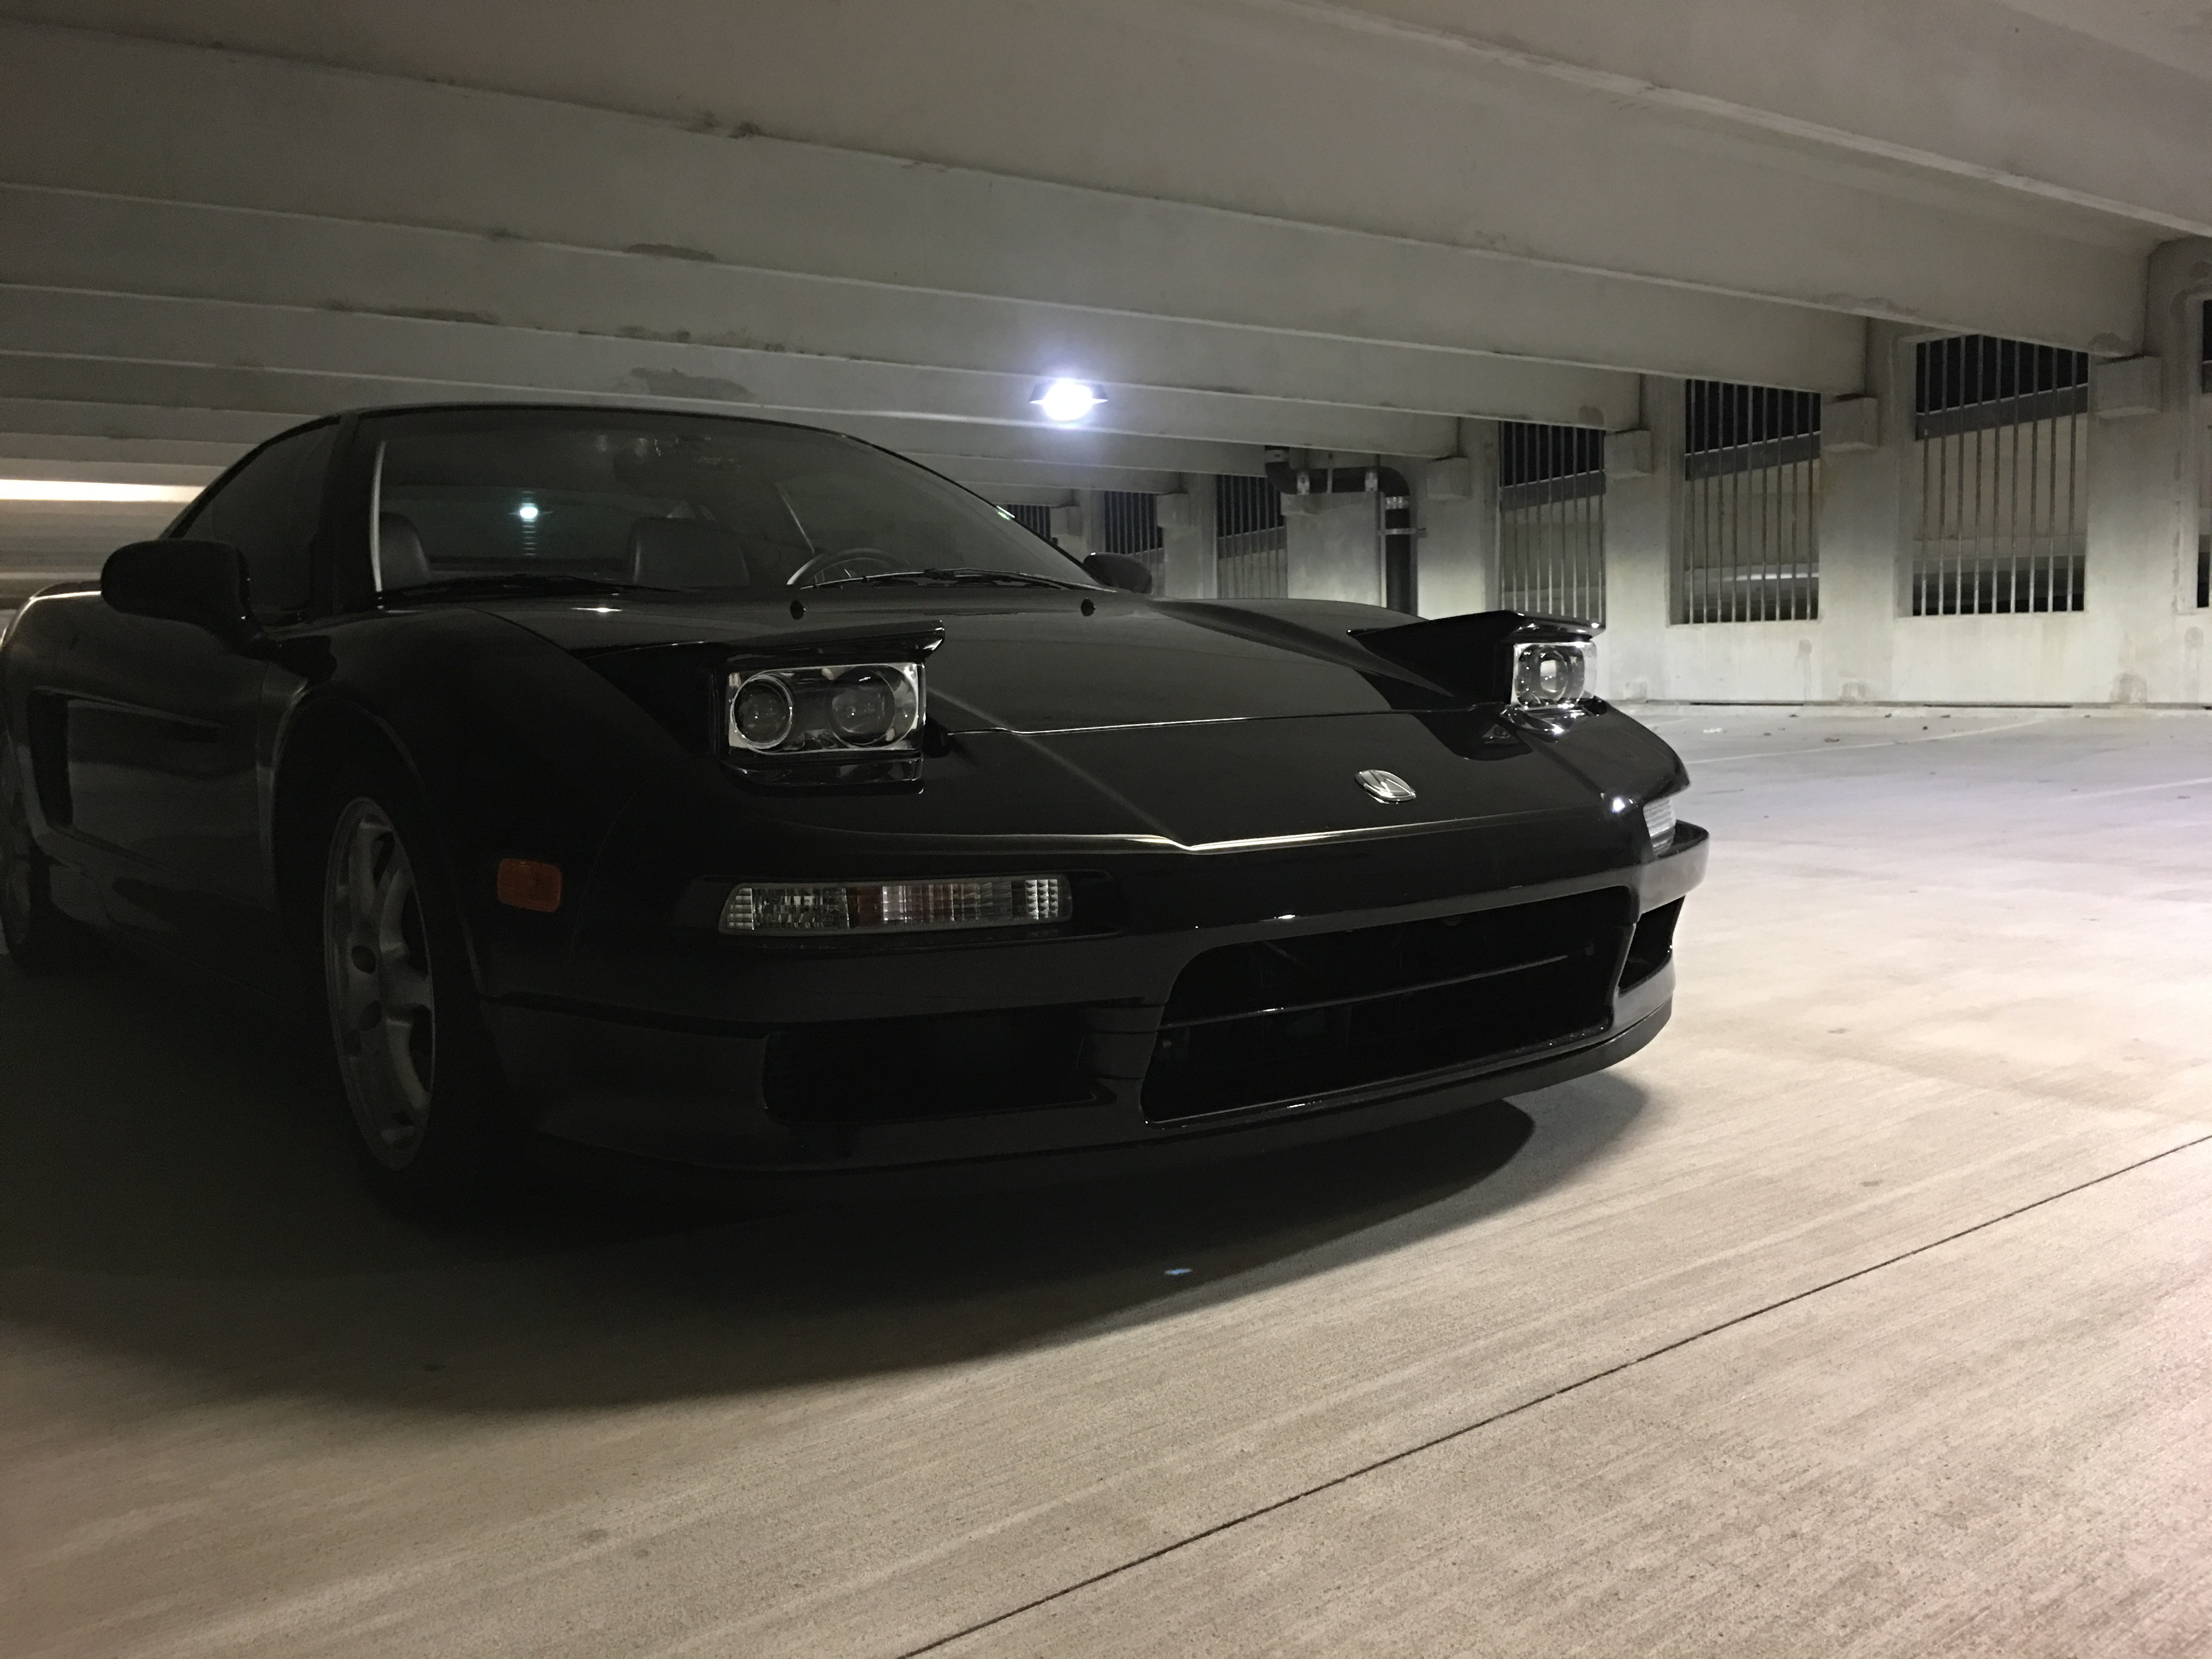
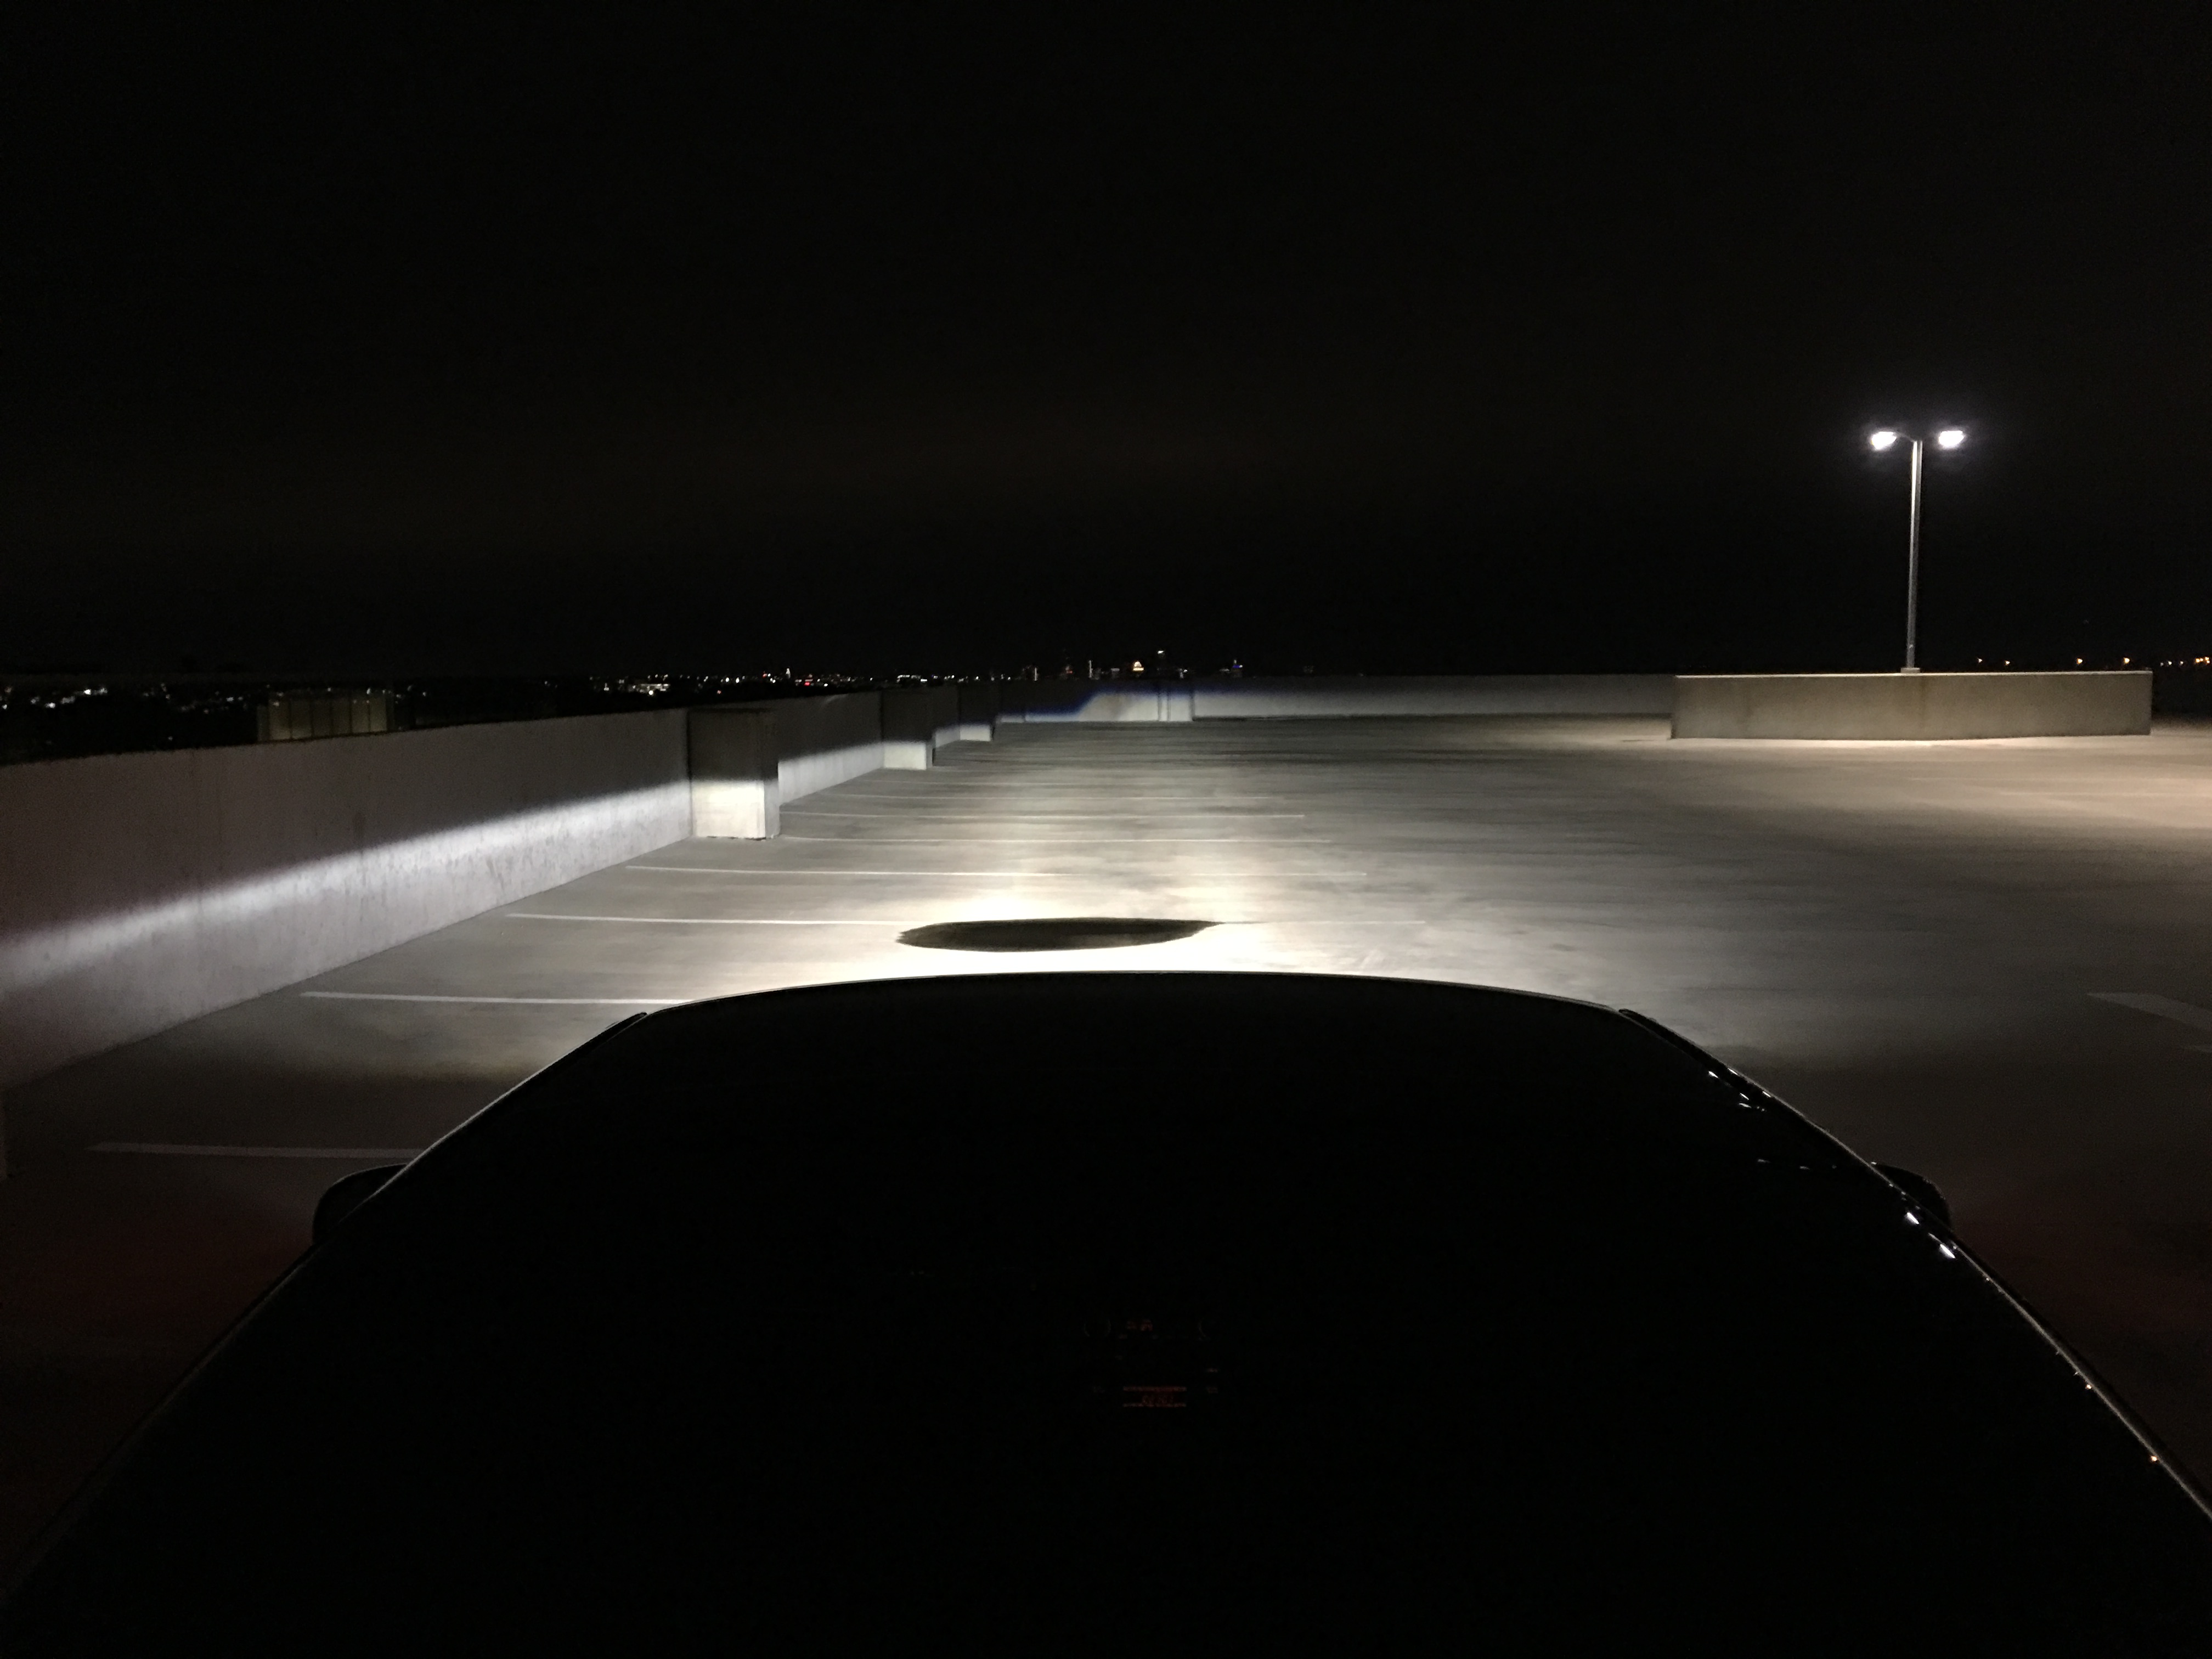
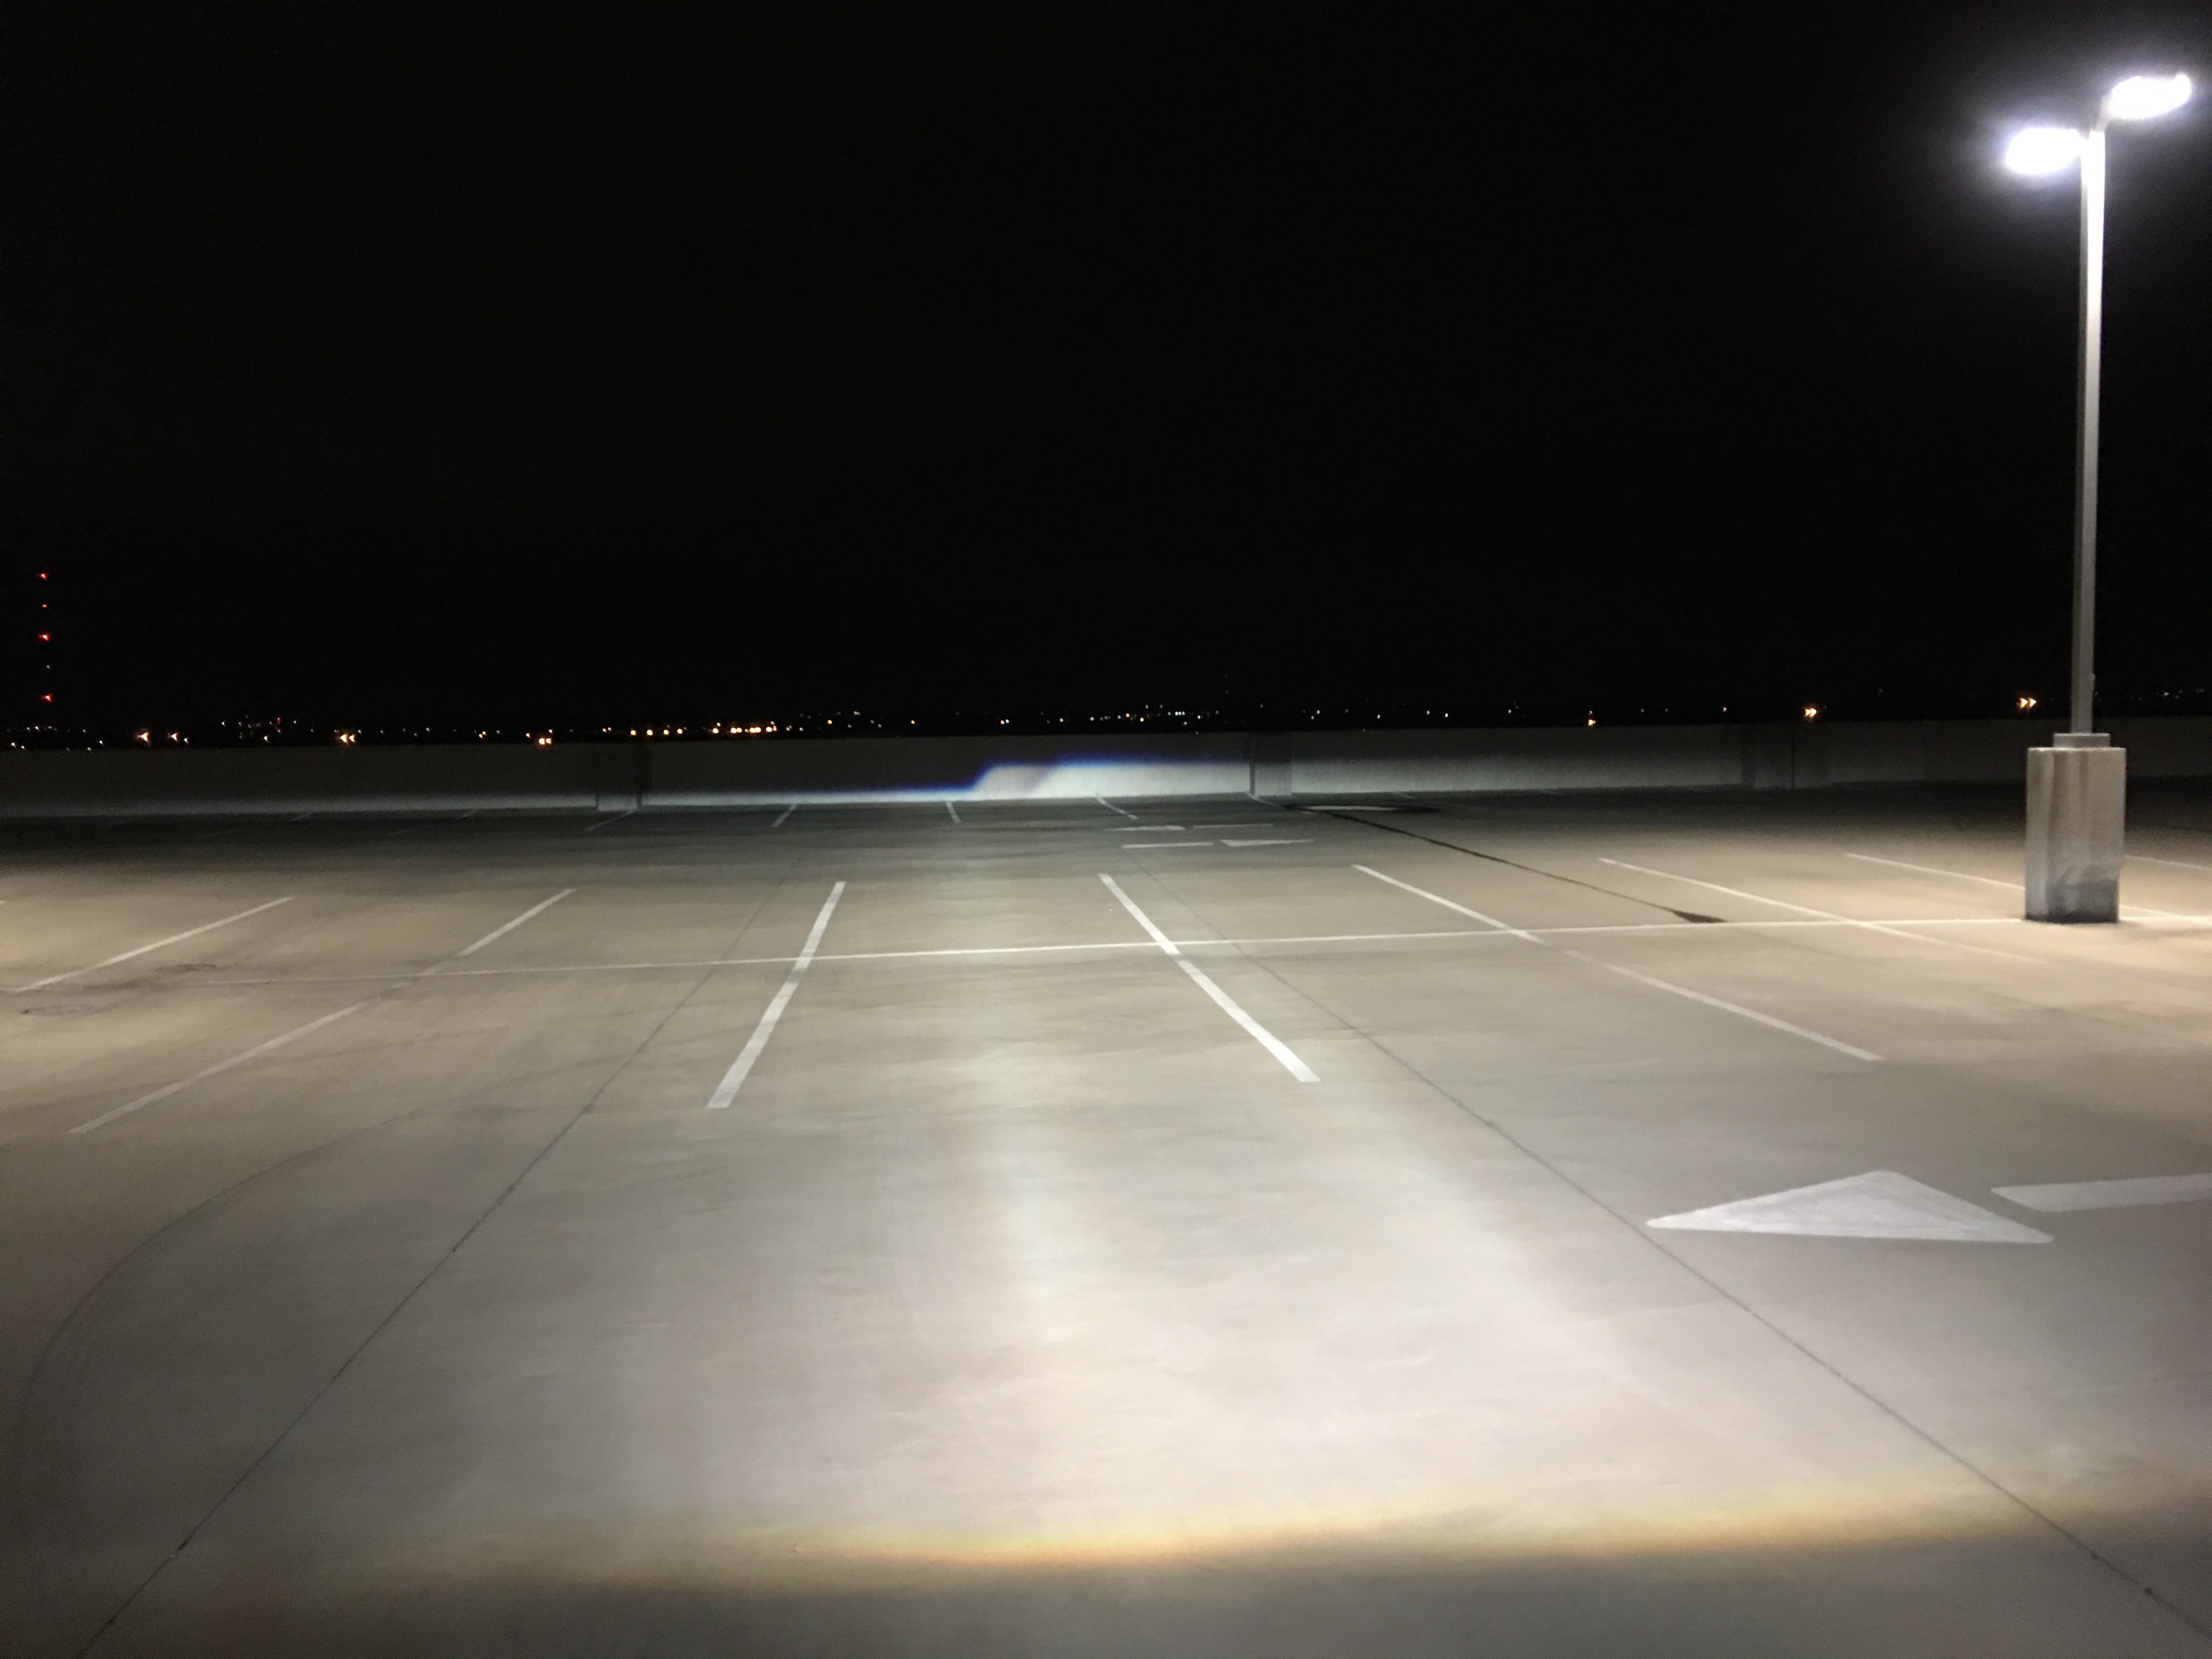
Headlights installed.

IMG_1469.JPG


IMG_1488.JPG


IMG_1492.JPG


The output is absolutely amazing, it blows away any of the drop in HID solutions, like absolutely no comparison whatsoever. The OrganizedGarageStatus clear lenses, while pricey, make a huge difference as well, the factory glass lenses distort the output too much and lose clarity as they chip over time.

IMG_1482.JPG


IMG_1487.JPG
 
The headlights look great!

Sorry to hear about the engine work. You never know how it will turn out... Sometimes you'll be pleasantly surprised, and other times.... Well, it could have been much worse.

Why did they remove ball joints? There's no need to for engine work - Unbolting the suspension arms is far easier.

Also, I'm just curious if you replaced the valve stem seals like you were planning to earlier? Seems like a pain if you do it with the heads bolted to the block.
 
That's great! Fashioning your own brackets- way to be a DIY champ. Just make sure you have a good ground.

About the shop. That sucks, but I went through that process too many times to count. Finally I found one that was good that I trusted and also works with aftermarket parts. They are okay with having the car sit in a bay for a while too if their business is slow.

I've had a shop where I would have to literally drop by every other day to help them make decisions and check up on their status. Sometimes these places have trouble finding good work and so they just play a numbers game. You will be the best mechanic to work on the car... but if you find a good shop then it's worth every penny. Personal referrals are key there.
 
Yes I had them do the valve stem seals. I'd assume they hooked up shop air through the spark plug holes to keep the valves from dropping down while the springs were off.

As for the ground, the relay harness bolts straight to the battery with ring terminals. There is a short run of 12AWG silicone wire from the positive terminal to a fuse holder mounted on the firewall, then from there it splits into two 16AWG wires one running to each relay/ballast, then back again the same way to the negative terminal. All wires are encased in wire loom, joints are protected with adhesive-lined shrink tubing, and all connections are either soldered or crimped, I ended up buying a crimper specifically for this project. All connectors and relays are waterproof OEM spec (not necessarily Honda, but from other makers), and I was able to source the 6-pin headlight connectors to my harness seamlessly connects to the factory wiring. The factory NSX wiring is fairly high resistance so I bypassed it completely. :)

The control arm issues were on the driver side so I'm assuming it had something to do with the clutch change. They only needed to separate the lower ball joint to get the axle out I presume but apparently it's threads had been torn up pretty badly by someone else before I got the car so the joint needed to be replaced as it was deemed a hazard to drive on. Then the replacement joint they sourced wouldn't fit (aftermarket part, not available from Honda) so the whole hub needed to be replaced. To get the hub off required separation from the UCA joint, which was seized and broke. So I had to buy a new hub and UCA. I still have the old parts so I might have them rebuilt by Carbon6Composites then try to sell them or something.
 
Last edited:
Yeah, don't follow the early service manual to remove the clutch or service axles. That was an early mistake Honda corrected in the later SM's, or maybe it was a tech bulletin (I forget). It takes two minutes to undo the two lower control arm bolts (after you use a sharpie to mark the camber bolt position) and voila!

Trick for next time!
 
Yeah, next time I will be doing it myself, I don't care if it takes months I'm not letting someone else touch it again.

Anyways, here's the forgotten picture of the HID wiring. Strangely enough this is the part I'm most proud of and probably the most time consuming part. I wasn't happy with any of the existing HID wiring diagrams or methods I found for this car so I started from scratch, but maybe this can save someone else some time in the future.

IMG_1562.jpg


From the battery terminals both 12 gauge wires run up to the fuse block (bolted where the spare tire holder used to be) which houses a 40A fuse.

From there they split off into 16 gauge segments running around each side to the relays mounted next to the ballasts.

From each relay there is a short bit of wire connecting to the ballasts.

The ballasts have ignitors built in so the wires run around the front of the head light weather stripping and back into the bucket and up into the folding portion alongside the factory wiring.

The custom headlight harnesses split the high beam signal into two, one going to the bi-xenon projector high beam solenoid and the other going to the factory halogen high beam projectors. The low beam signal doesn't go into the light housing at all, and instead plugs into the relay coil wires which go back around the weather stripping and back to the relay.

The Morimoto H1 bulbs have AMP connectors and a built in rubber grommet on the wires, so I just drilled the appropriate sized hole in the headlight housing cap, ran the wires through, and put the grommet in place.

The wires going from the battery to the ballasts are sheathed in regular wire loom, while the wires from the ballasts into the buckets use braided nylon sheathing for better flexibility and because it just look good.

Also the car is filthy, I can't wait to get the 540 out of the garage (motor swap in progress :/ ...) so I can give the NSX a full detailing again. I also have a new radiator and mounting grommets on the way since the top seal on mine is seeping a bit.
 
Last edited:
I saw in one of your earlier posts that you had removed part of your seat cushion to get some additional headroom and I'm thinking of doing the same (I'm 6'4") on my targa. I tried to PM you but it wouldn't let me, was hoping to get some advice on how you tackled that project. I'm in Austin as well. Mind shooting me an email with some tips on how to disassemble and reassemble the seat, and how best to cut the foam? [email protected]

Thanks and sorry to hear about the shop problems. Perhaps you can share with me offline which shop you used, I'm a new owner and would rather not experience the same issues you've had by going to that particular shop.
 
It's been a while, I've mainly been busy dealing with the motor swap on the 540i and the associated woes, which still aren't all resolved. I found that there's some pretty bad scoring in one of the VANOS oil distribution housings so I get to pull all the timing stuff off again. It runs fine but it makes the typical VANOS clunking sound and I'm seeing some oscillation in the timing advance on the bank with the scoring.


Anyways...


IMG_1637.JPG


Started off by fixing the coolant leaks that appeared after the dealership worked on the car. They tried to blame the brand new OEM coolant hose (which wasn't leaking) which I had bought myself so conveniently wasn't a warranty issue by claiming it didn't fit properly (it fit just fine). Turned out they had tried to reuse the drain plug and bleeder plug O-rings which had been completely flattened by old age and were leaking, but it was close to the hose so I guess they didn't look closely. Then after swapping out those O-rings I found that they top seal of the radiator was seeping a bit too, I can't really blame the dealership for this though as it's 25 years old and it was bound to give up eventually, and I think being jostled around while the hoses were being swapped out was enough to push it over the edge. If you look at the previous photo of the front bay you can see coolant residue all around the top of the radiator where the plastic top is crimped to the core.


IMG_1528.JPG


I wanted to buy an OEM radiator but those are out of stock in the entire US with no estimated date of arrival so I went with an aftermarket all aluminum Koyo radiator. Whether it lasts as long as OEM remains to be seen but it appears to be good quality. With the radiator removed I also cleaned out the front bay, radiator shroud, and pretty much everything else I could get to up there, then replaced the rubber radiator mounting grommets as the old ones were getting hard.


IMG_1682.JPG


IMG_1683.JPG


Everything cleaned and reassembled. I found the washer fluid tank completely full of regular water...I have literally never used the washer fluid but when I had the bumper off a year or so ago I made sure it was at the correct level with actual wiper fluid, so I guess this is another nice easter egg from the dealer. After sucking it all out with a big syringe I filled it back up for wiper fluid where it will continue to go unused.


IMG_1684.JPG


The AC idler pulley had some play in it so I swapped that out too, and at the same time learned an important lesson about buying bearings on Amazon. The first Amazon bearing had the center hole too small despite having the same part number. The second Amazon bearing seemed to be the right size but was stamped "JAPAN" while being shipped from China....I don't know about you, but to me that screams counterfeit, so no go there too. Finally I wised up and stopped buying cheap crap on Amazon and bought one through a legit bearing supplier and it worked great, all in all I think I spent like $40 on all the bearings which is still half the price of a new idler pulley from Honda so I still came out ahead. Swapping them out was fairly simple, beat the old one out, tap the new one in with a big socket.


IMG_1707.JPG


There's a fellow NSX owner who sells weather stripping kits to keep water from dumping on the rear bank coils so I installed that.


IMG_1711.JPG


When the dealer pulled the cams apparently they didn't even bother to check the valve clearance, or they just did a terrible job of it, you decide. There was a ton of valvetrain noise so I did the front bank first since it seemed the noisiest but I still need to do the rears. I'm getting reallll tired of redoing valve cover gaskets.


IMG_1788.JPG


I also finally pulled the trigger on wheel spacers, 15mm front and 25mm rear. For the past month or so I've been dealing with a weird vibration at high speeds, I narrowed it down to the cheapo 5mm spacers I had on the rear wheels to keep the tires from rubbing on the Bilstein spring perches. With the spacers gone the tires could touch the perches under some circumstances, so I found a good deal from a fellow owner on some proper H&R spacers.


The rears were simple, they had built in studs so swapping them out took a few minutes, the fronts need extended studs though which were much more time consuming. The front studs won't come out without separating the hub and bearing and the generally accepted solution is to grind a millimeter or so off the carrier. With the old ones out it was a simple job of getting the new studs in using an impact gun and an open ended lug/washer to seat it.


IMG_1806.JPG


The NSX front hubs are super easy to work with, just 4 easily accessible nuts hold the hubs to the knuckle.


IMG_1807.JPG


I'm really happy with how my DIY powder coated brake calipers are holding up, they still look perfect ~18 months later.


IMG_1808.JPG


Fronts done, MUCH better fitment. I'll try to post some better pictures when I get the chance.


IMG_1809.JPG
 
Great job on the spacers... it looks much more flush.

Got a rock guard for the radiator? Those have saved mine from so many bugs and rock chips.

How did you find out which bearing to order?
 
Yeah the spacers make a huge difference with the stock wheels, I can't believe I waited this long. I was planning on new wheels at some point but I might just have mine refinished instead to keep the factory look.

I never really thought about a rock guard but now that you mention it it sounds like a good idea, thanks.

There was some other thread here on Prime about replacing the alternator bearing. The OEM part is an NTN 6203LLU with a 17mm bore, there are a bunch on Amazon but some of them are counterfeits from China, some aren't clear on the bore size, etc. so I bought mine from here: https://www.motionindustries.com/productDetail.jsp?sku=00051864

You should be able to use pretty much any 17mm ID x 40mm OD x 12mm width double sealed bearing as long as it meets the RPM requirements though.

Oh and here's some rather low quality pictures showing the fitment a bit better.

IMG_1811.JPG


IMG_1813.JPG
 
Last edited:
I haven't been able to get the VVIS screws out of my mind so I pulled the intake manifold to clean and check everything. Of course, the screws hadn't moved at all, so I just applied some penetrating thread locker as a precaution. From here on out I'll just be checking the screws with a borescope during oil changes.

I hadn't really messed with this part of the engine before, so the sheer number of vacuum and coolant lines running to things was very surprising. I had forgotten just how many vacuum lines cars from the early 90s had, and this throttle body is just ridiculous.

IMG_1871.JPG


Also pretty dirty, but should clean up just fine.

IMG_1872.JPG


Intake manifold removed and intake ports taped up. There was a film of oil in the bottom of the V from a past VCG leak.

IMG_1876.JPG


Kinda neat how the bottom part of the intake manifold is magnesium.

IMG_1917.JPG


Intake manifold cleaned, all gaskets/O-rings replaced, and being reassembled.

IMG_1916.JPG


IMG_1928.JPG


Right before the manifold went back on. Tape removed, gasket surfaces cleaned, new gaskets in place.

IMG_1927.JPG


Also, while my Ridies seat covers were being installed by a local upholsterer, I decided to pull all of the panels covering the rear bulkhead and clean them up. Some of them had been removed and reinstalled before I got the car so they were a bit loose and squeaked a bit. I added some felt around the edges to help prevent squeaks and replaced all of the plastic clips. Also, one side of the elastic supporting the pocket on the passenger side had come undone as it's just stapled to the particle board backing of the panel.

IMG_1909.JPG


I repaired the broken elastic by stitching a loop on each end and using wire to hold the ends together. This should hold much better than the staples.

IMG_1930.JPG


Everything cleaned and ready for reinstallation.

IMG_1933.JPG


And back in the car.

IMG_1937.JPG


I also resoldered the main relay and applied a conformal coating since I had easy access to it with the rear panels off.

IMG_1937_2.jpg


I did a leakdown test out of curiosity/precaution and I'm super happy with the results. Very consistent ~1psi drop across all cylinders with a 50psi input pressure.

Order is
3 6
2 5
1 4

IMG_1937_3.jpg


My upholsterer had some things come up so I don't have my seats back, but they should be done within a week or so.
 
Last edited:
Wow attention to detail- dealing with those bulkhead panels is such a pain when you have the seats in and it's easy to break tabs or plastic grommets left and right. I would have never thought to stitch. I used epoxy (never again) and glued Velcro tabs on mine so that I could just pop them on. I'm happy with the Velcro but I hate hate hate working with epoxy. It gets everywhere and smells way worse than superglue.
 
Amazing work as usual!

What thread locker did you use? What's your thought on some people welding the fasteners to prevent them from coming loose?

After alternating between brake cleaner and compressed air on the screws to get all the oil out of the threads, I used Loctite 290 green.

Welding would be a great idea, the factory screws are stainless steel (non magnetic) I believe so care would need to be taken there.

Wow attention to detail- dealing with those bulkhead panels is such a pain when you have the seats in and it's easy to break tabs or plastic grommets left and right. I would have never thought to stitch. I used epoxy (never again) and glued Velcro tabs on mine so that I could just pop them on. I'm happy with the Velcro but I hate hate hate working with epoxy. It gets everywhere and smells way worse than superglue.

The rear panels all came off fairly easily for me, that might be because somebody else in the past had messed up reinstalling them since the top part was pretty loose (Somebody had smashed on it to the point that the metal alignment pin on the driver side had completely folded). I like the adhesive/velcro solution.
 
It looks like you've put the IM back on already, but if you haven't, now might be a good time to preventatively-replace the knock sensors. Over time, the piezo electric transducers become more noisy (which ends up pulling timing and reducing power) or they simply stop working. There's more than a few folks on here that have had them go bad over the years. Just something to consider depending on year/mileage - Especially if you have the manifold off for other reasons.

Also a note for others - Be careful replacing this intake manifold because it is easy to pinch the wire loom for the crank/cam position sensor near the alternator!
 
Hey @MotorMouth93. When you have time, can you create a detailed guide on how to rebuild the calipers? I have been doing some reading but haven't found enough information to confidently help me tackle this.

Thanks!

EDIT: did some research according to your post about it being similar to other Hondas, so I think I feel pretty confident about it.
 
Last edited:
I wrote up this tutorial for Integra rear brakes a few years ago, and NSX rear calipers are the same thing just bigger. Everything in the rebuild process is 100% the same.

https://honda-tech.com/forums/acura-integra-6/diy-rear-brake-caliper-rebuild-3248158/

For the rear calipers you'll need these snap ring pliers as the NSX calipers are too big for the homemade solution.

https://www.amazon.com/Motion-Pro-08-0279-Master-Cylinder/dp/B000WJJ4U6

For the rebuild kits I like the OEM Honda kits, they're about $50 per corner and include everything you need including grease. I know some of the kits are no longer available from Acura but they can still be sourced from Honda Japan via sites like Amayama. There are (far cheaper) aftermarket kits available too but they usually don't include the rubber bellows for the slide pins.

The only tricky part is getting the dust boots seated properly on the pistons. I think I have a video somewhere of me doing it so I can try to dig that up if it would be helpful.
 
Last edited:
With my seats off at the upholsterer I decided to tackle the driver side door. Since getting it back from the body shop about a year ago the door has been covered in swirl marks from a bad polishing job, the handle has been making creaking sounds, and the window regulator has been making popping sounds at the bottom of the window travel.


Disassembling the door was a huge pain in the butt, but with the help of the service manual I was able to do it without breaking anything.


IMG_2027.JPG


Close up of the "polished" finish from the shop.


IMG_2028.JPG


With the door polished and still somewhat disassembled, I applied PPF like I've done on the rest of the car.


IMG_2032.JPG


Reassembling the door panel. I use 3M window-weld ribbon sealer to attach the moisture barrier.


IMG_2044.JPG


I also removed the barbed metal clips on these triangle pieces because it's almost impossible to get them off without breaking them and just used blobs of ribbon sealer here too. Easy off, easy on, stays put well.


IMG_2046.JPG


Door fully reassembled for the first time in over a year. I had left off a few difficult to install pieces since I knew I'd be going back in.


IMG_2047.JPG


I also got my seats back finally, they came out great, well worth the wait.


IMG_2060.JPG


IMG_2061.JPG


Driving the car on a nice Saturday morning, I couldn't figure out why there was so much wind noise and why everyone else was driving so slow. Turns out my speedometer was reading 15-20mph too low, and instead of going 65mph I was actually going 85. I'd heard a few stories about weird stuff happening when the cluster capacitors started to fail, so I disassembled it and replaced all of them with new capacitors from Digikey. $15 in parts and a few hours later and my speedometer works again.


IMG_2085.JPG


As far as the wind noise goes, I think I'll do a full replacement of the weatherstripping and adjustment of the frameless window tracks this winter, the parts are fairly affordable if ordered from Japan and I need to do it before they are discontinued for good.
 
Driving the car on a nice Saturday morning, I couldn't figure out why there was so much wind noise and why everyone else was driving so slow. Turns out my speedometer was reading 15-20mph too low, and instead of going 65mph I was actually going 85. I'd heard a few stories about weird stuff happening when the cluster capacitors started to fail, so I disassembled it and replaced all of them with new capacitors from Digikey. $15 in parts and a few hours later and my speedometer works again.

I've been meaning to get around to this since they're some of the last remaining electrolytics in my car, any chance you'd be able to post a BOM?

BTW, amazing thread!
 
Unfortunately, I accidentally tossed the paper where I had written the exact values written down. For some reason I used a piece of loose junk mail for it instead of the notebook where I usually write this sort of thing down.

I made a mistake on my Digikey order and ended up not changing out two of the smaller caps because I didn't feel like making another order, so I can't use the order for reference because I don't remember which parts were the wrong ones.

Basically, I have no way of giving you an accurate parts list. I'm sorry I can't be more helpful. :/

When I go back and replace those two that I didn't do the first time I'll post a full parts list.
 
Back
Top