Hi,
they don't list any for NSX on their website.... care to explain ? :biggrin:
Thanks,
Nuno
they don't list any for NSX on their website.... care to explain ? :biggrin:
Thanks,
Nuno
Hi,
they don't list any for NSX on their website.... care to explain ? :biggrin:
Thanks,
Nuno
There are few. One and less important for me is that these are 500hp rated. Another one more important is that there is finally a set from that company that has been making axles for drag and high hp/tq cars for years and with great success. Given the price for this set versus potential oem parts you need to fully rebuild your set it makes it even better proposition. Then there is no down time. If you have no or minimal wear on your oem shaft and/or you're not chasing crazy power output numbers you're most likely better off just buying new boots and repacking your set.What are the benefits of those shafts? Or is it Oem replacement?
Thanks. Not surprised but really glad to hear.Congrats on getting the shafts. They hold up well for others.
Np. Ah and fun it will be..Thanks for the clarification, have fun on the install
")

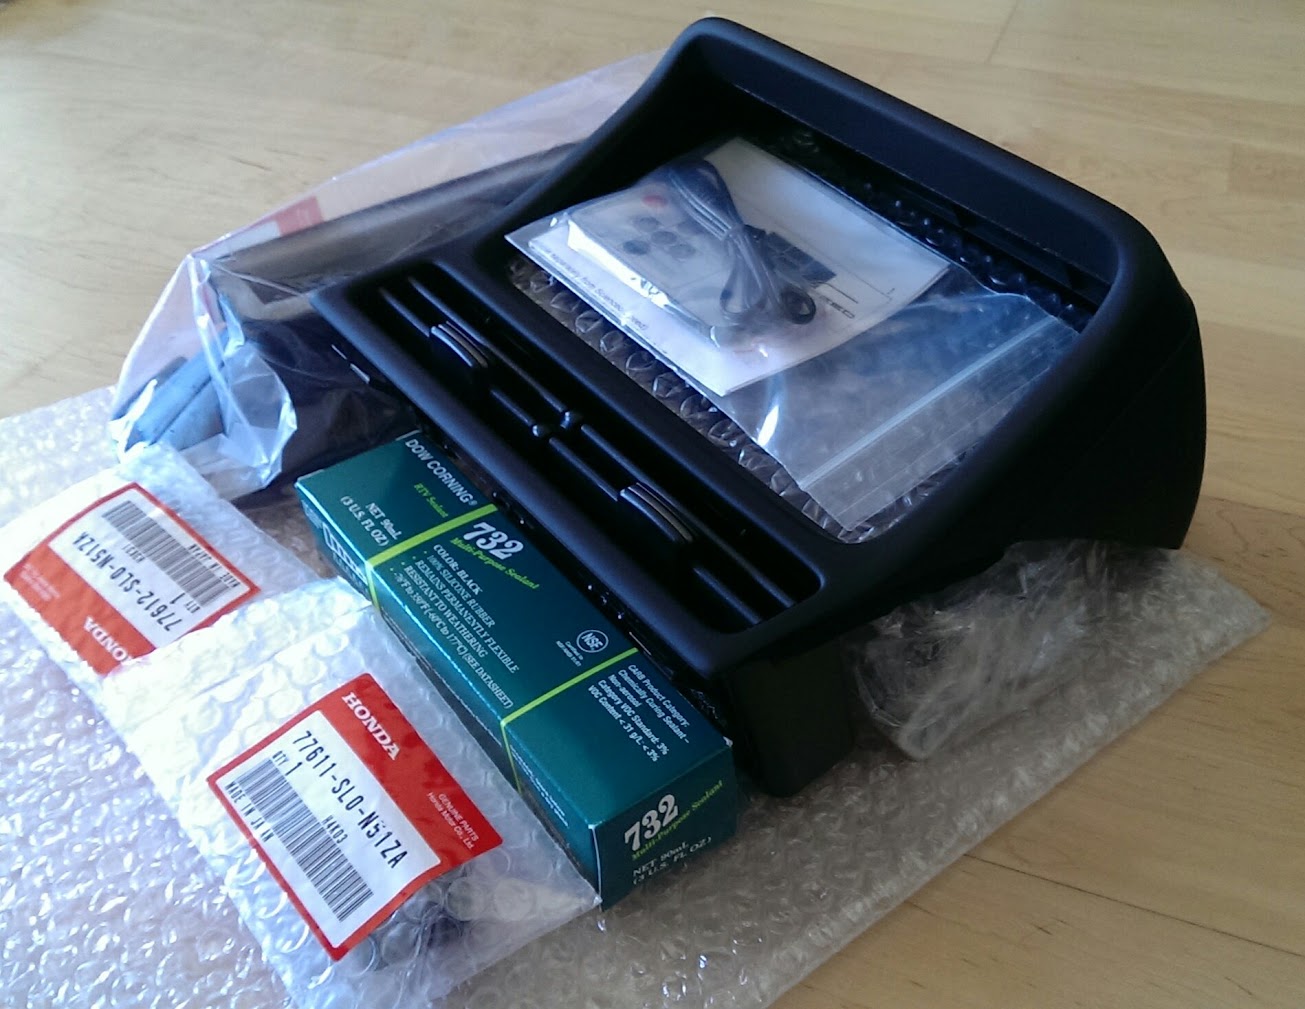
Thanks Robert! Today marks my first day with ITB build - pretty excited about it. Stay tuned for moreAWESOME WORK ROMAN!! Cant wait to see your results with the nav pod and your review of the Ti Dave non compliance stuff.
DID I READ THAT CORRECTLY.....
Yeah you got that right - but it's just the beginning of the long journeyDID I READ THAT CORRECTLY.....
Let's catch up when you're here.Make sure you tell your PO before heading up this way
Yeah you got that right - but it's just the beginning of the long journey
I'm trying to put everything together. Started with fuel system now. There are so many issues to fix once you go ITBs - sometimes I question my sanityYeah I can only imagine and I know for sure you will be doing most of the work on your own. Cant wait for updates!!
ITBs! I'm watching carefully, you go through all the hard work and then I can follow your path!

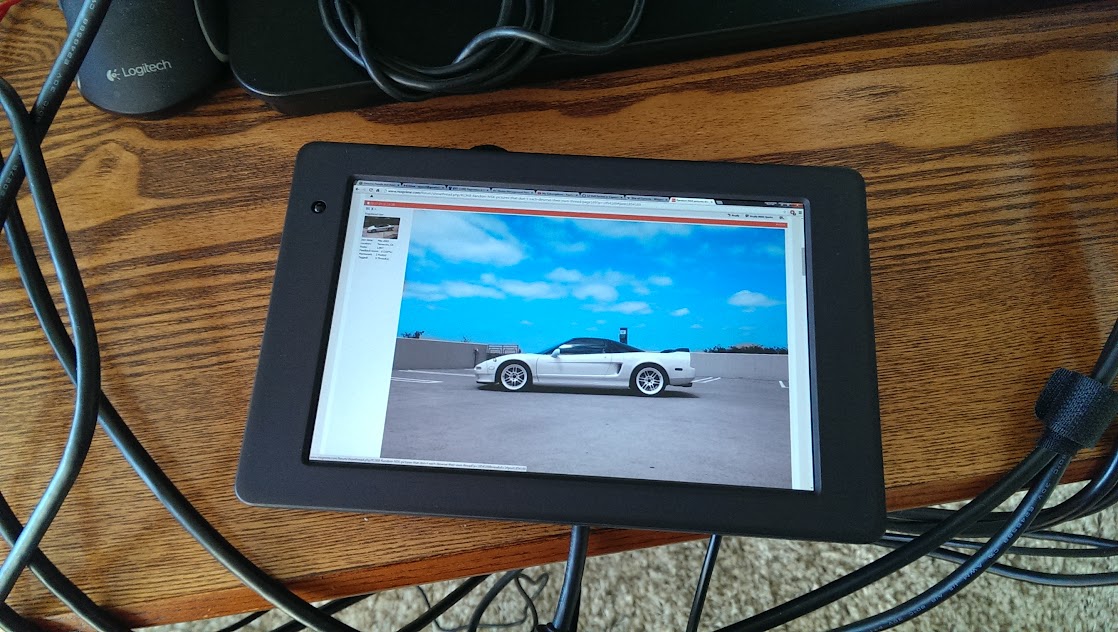
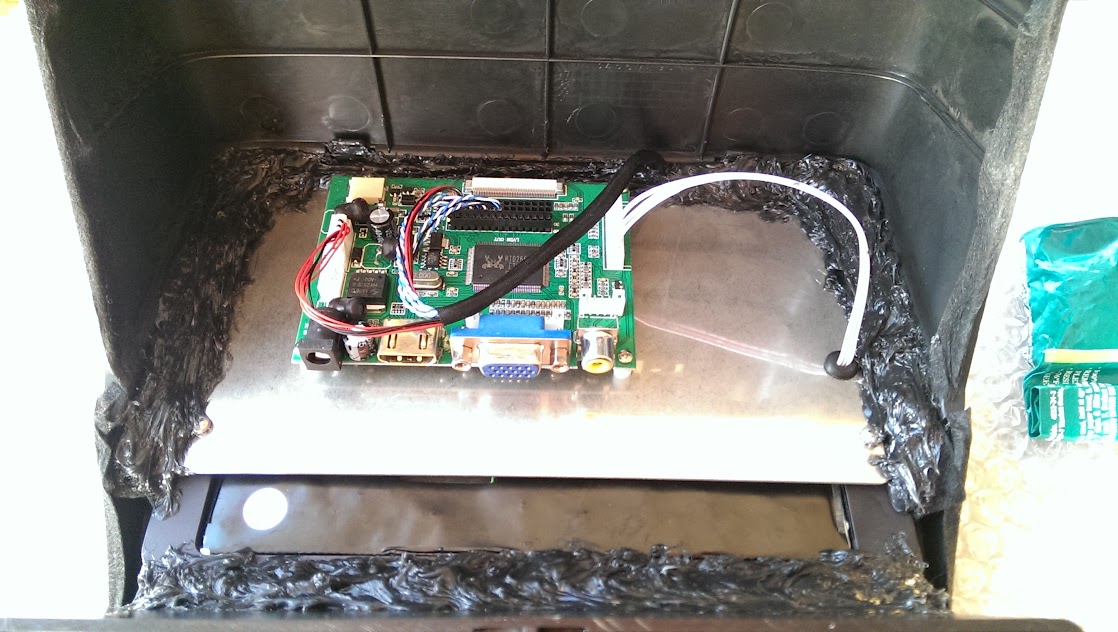
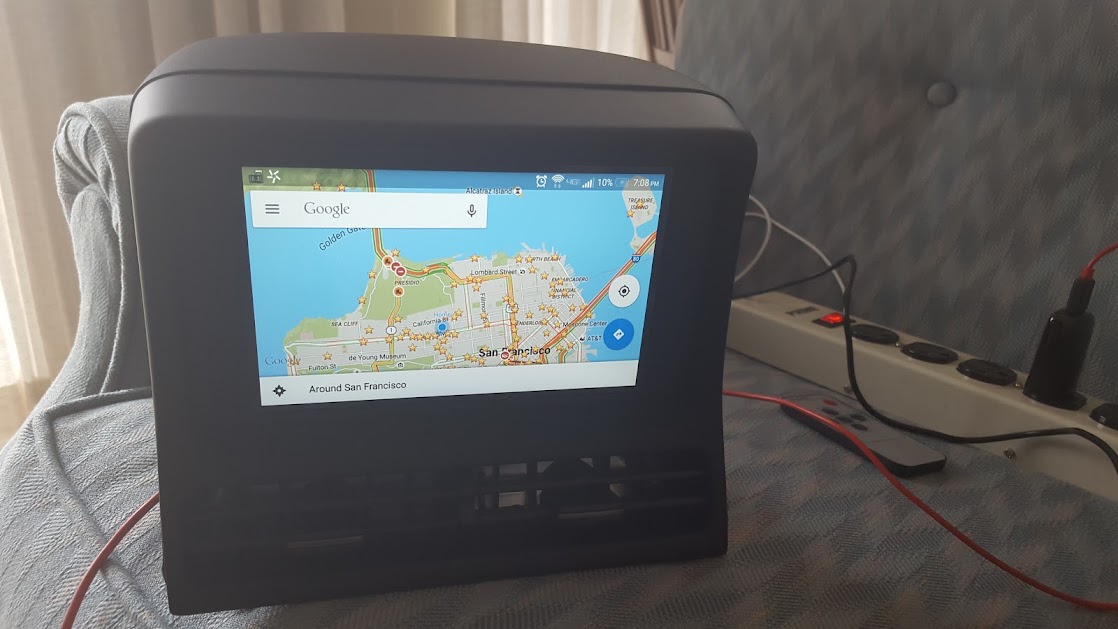
Starts once it gets +12v; If no signal there is configurable timeout to shut it off.Does the monitor turn ON when you start the car? Or you have to use the remote?
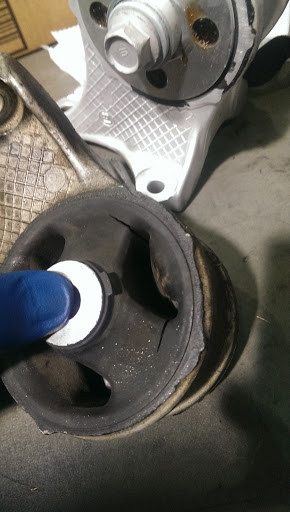
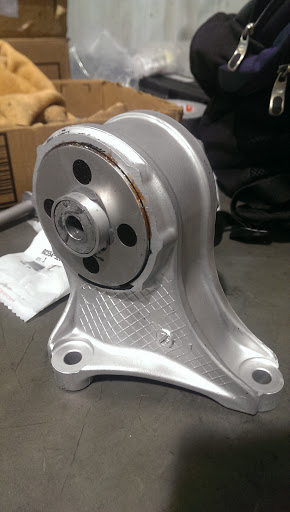
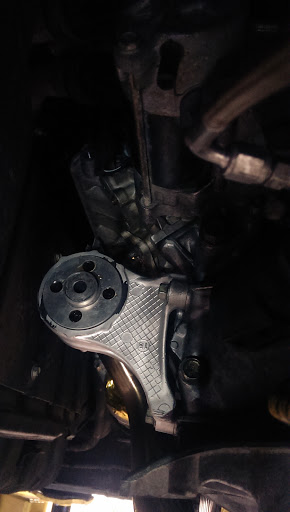
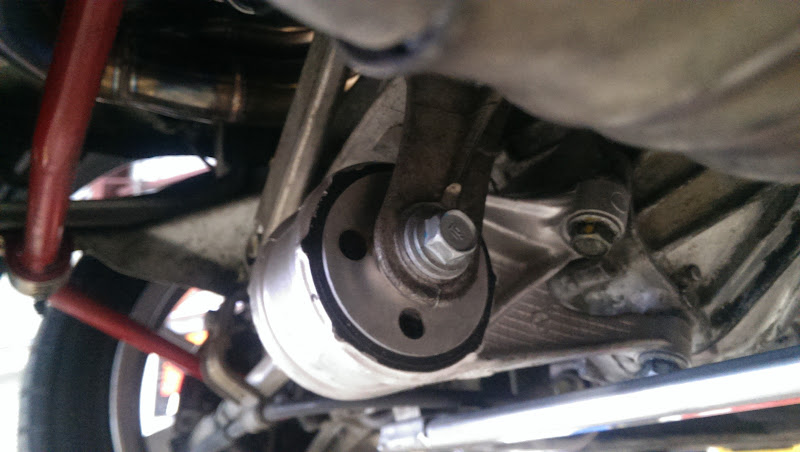
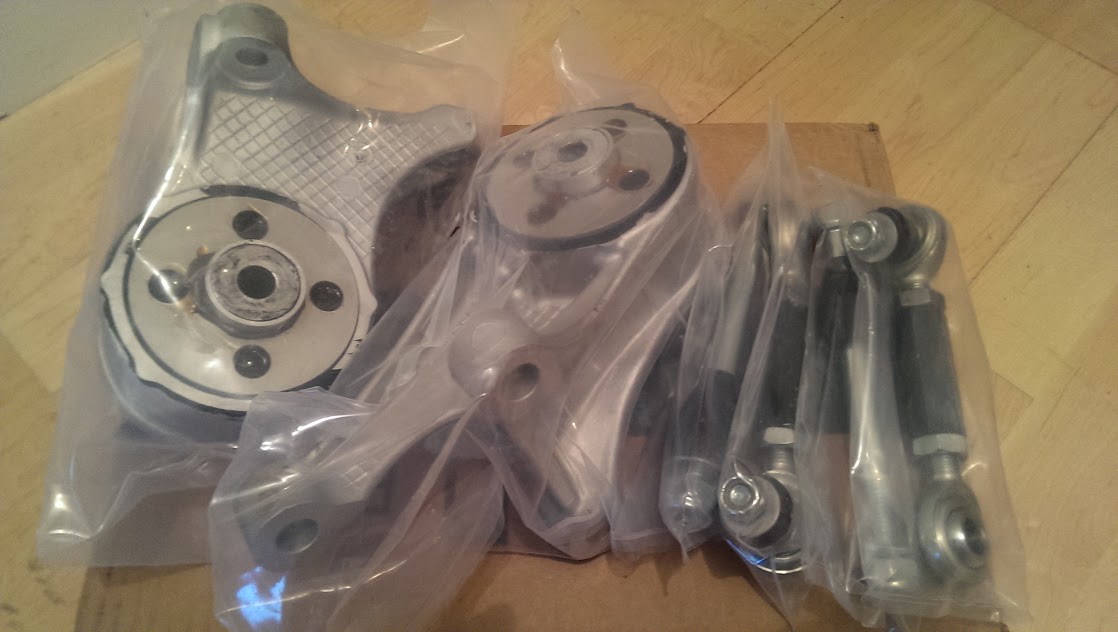
Finally had a chance to put tiDave's F/R mounts in yesterday. Took me around 4 hours including putting car on the lift, slowly dropping necessary parts to get access to the front engine mount. Plus random chit chats with guys around the bay. And taking time to torque everything to spec. Realistically it can be done in about 3 hours or less.
I was a bit on the fence about using anything but OEM mounts. And it turned out to be the case this time too. These are great but too stiff for me (or I believe any street car); even though all the extra vibration transfer is almost not noticeable above 3.5k rpm. They give really nice solid feel when on/off throttle and when shifting above 4k rpm. So basically great mod for the track cars.
Agreed. Although it's not that bad but like I said this is good for track car. Street - nope.My experience with engine mounts is mixed. I had them on my Integra Type R, vibrations to almost crack the windshield but I loved how the car became so accurate and "stiff". But I was also 24 years old and did not mind the vibrations at every traffic light. Now it would drive me insane.
Point of no return now haha! Great build!ITB build update - tagged