• Protip: Profile posts are public! Use Conversations to message other members privately. Everyone can see the content of a profile post.

Time Attack CTSC NSX

Green is not the thickest. Green is middle. Check Dave's measurements:

Rod bearing thickness by color
Blue ....0.0594”- 0.0593”
Black ...0.0593”- 0.0592”
Brown .0.0592”- 0.0591”
Green ..0.0591”- 0.0590”
Yellow .0.0590”- 0.0589”
Pink ....0.0589”- 0.0587”
Red .....0.0587”- 0.0586”
 
The rod bolts in the picture above are OEM.

Honda only allows a mismatch of one bearing thickness color. Therefore, the difference between bearing thicknesses for each color bearing is0.0001" to 0.0003." Pretty crazy. You take more of a chance screwing this up with an align hone than you do just putting it back together like the factory did.

My rod bearings were green top and brown on the bottom.

Dave
 
Last edited:
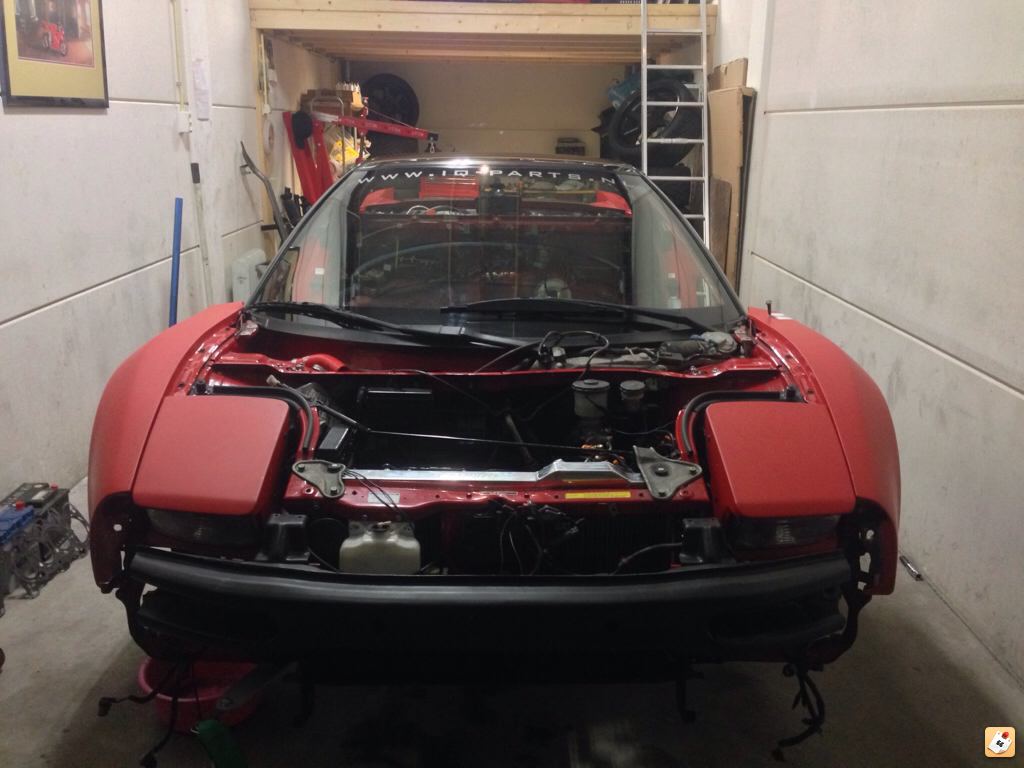
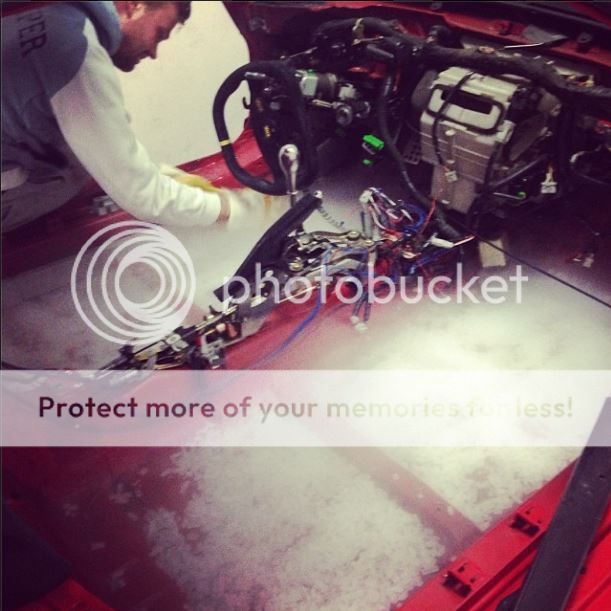
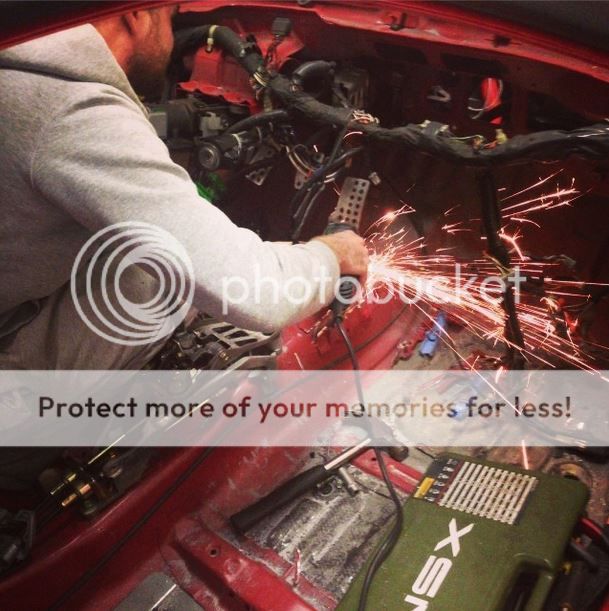
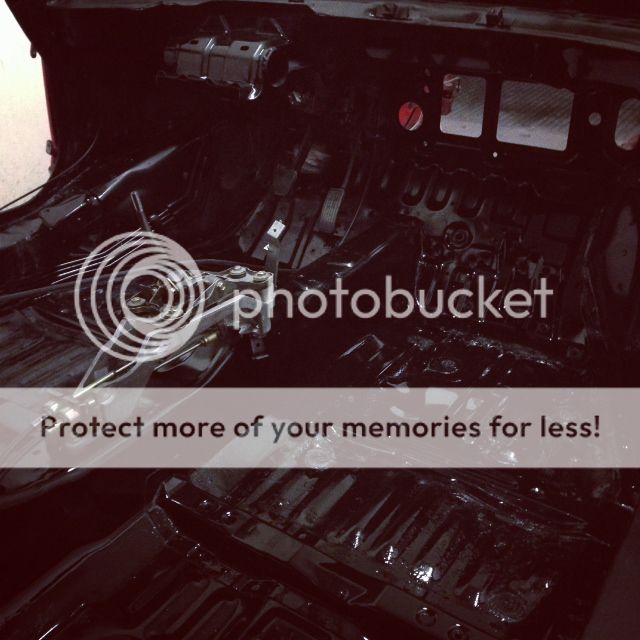
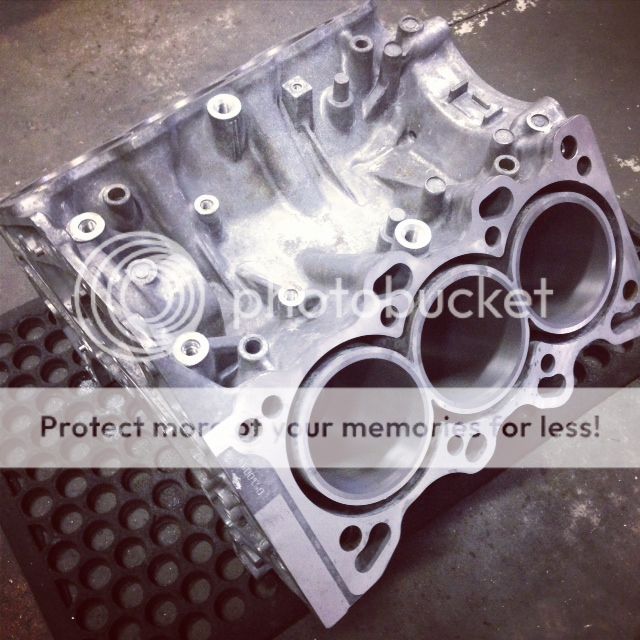
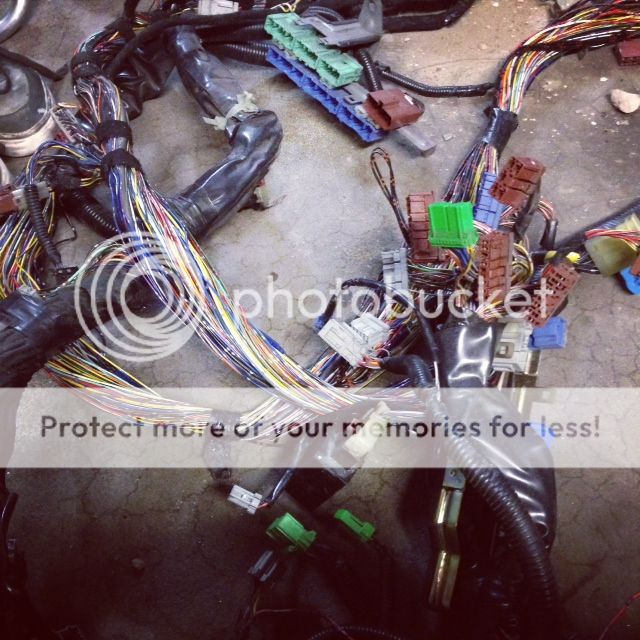
We have a new engine in. But some issues with the electronics.. We think the main relay isn't working properly. We can't get the starter motor to turn. It doesn't get any power. The starter relay doesn't get any power too, so it seems the main relay is the bottleneck. Luckily we have a spare NSX :p So we will take the main relay from my dad's car and see if it will work.

In the meantime we have some new goodies on the way!

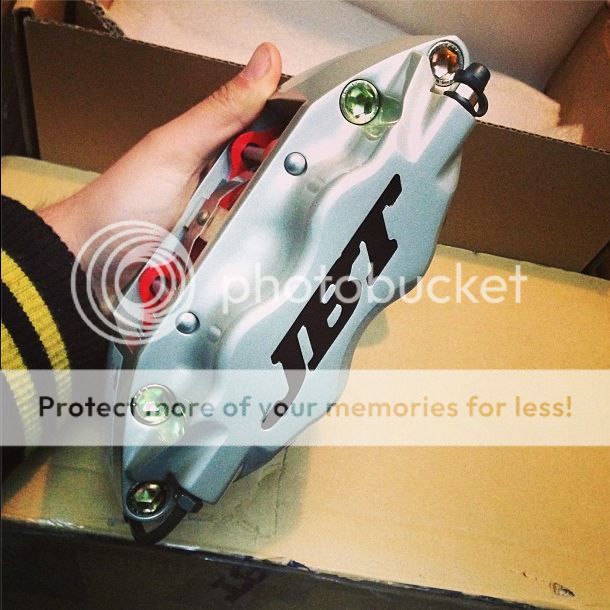
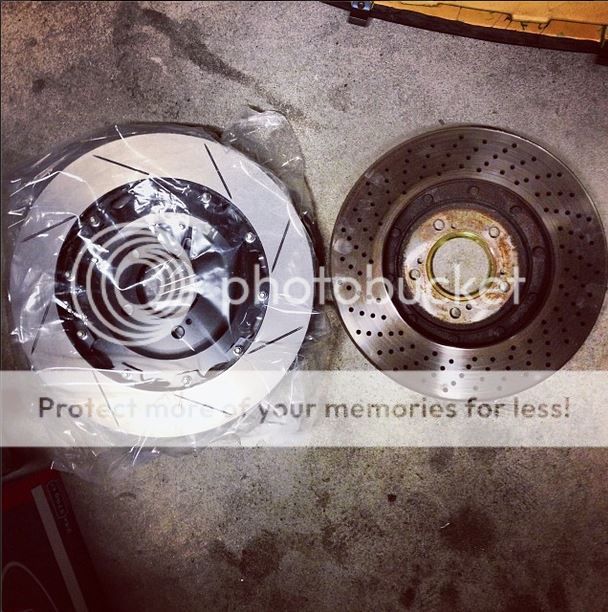
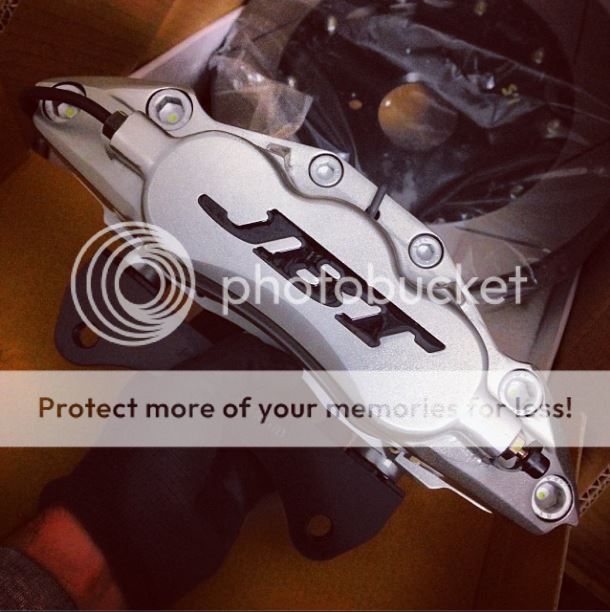
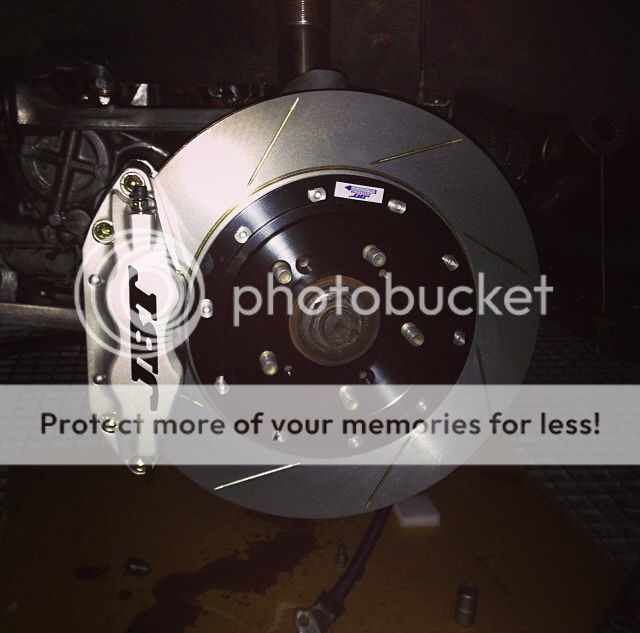
Takata 6 point harness, for both seats. And new brakes! JBT 6pot 355mm front and JBT 4 pot 330mm rear (thanks Bas!). The Takata's will most probably be in today and the brakes next week. Expect lots of pictures ;)

- - - Updated - - -

And the updated spec list:

Engine

CT Engineering Supercharger
CT Engineering Oil Pump
AEM EMS ECU
550cc Injectors
Walbro 255 LPH Fuel Pump
Science of Speed Fuel Pump Power Distribution Kit
CT Engineering Fuel Pressure Regulator
Custom High Boost Pulley
Wiseco/SOS 9:5:1 Pistons
Science of Speed Forged Valves
Science of Speed Dual Valve Spring Kit
Science of Speed Titanium Valve Spring Retainers
Science of Speed Dual Valve Spring Base Set
Science of Speed Lost Motion Assembly Kit
MLS Head Gaskets
ARP Head Stud Kit
CT Engineering Adjustable Cam Gears
Power Enterprises Timing Belt
Science of Speed Damper Pulley Shield
Dali Racing Coolant Tank
SFS Silicone Coolant Hoses
Gruppe M Kevlar Intake
Downforce Intake Scoop
Super Taitec C3 Model 2 Exhaust
CT Engineering Headers (graphite heat wrapped)
CT Engineering Test Pipes
Exedy Ceramic Twin Plate Clutch
Science of Speed Oil Pan Baffle


Exterior

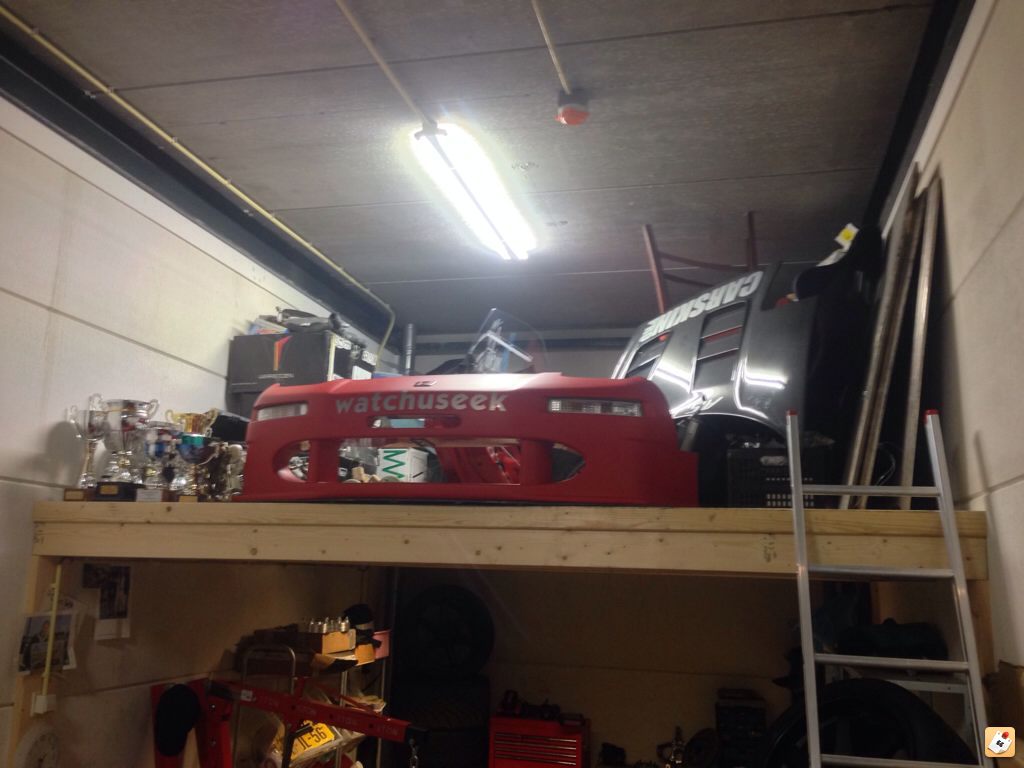
Taitec JGTC 2000 Front Bumper
Custom Carbon Splitter
Seibon Carbon Louvered Hood
Taitec JGTC 2000 Rear Fenders
Taitec GT500 Carbon Wing
Yokota JGTC Front Fenders
Marga Hills Side Skirts
Gruppe M Carbon Side Vents
Downforce Carbon GT Diffuser
Downforce Carbon Decklid
Downforce Carbon Bezel
Plastics4Performance Rear Hatch
Plastics4Performance Side Windows
Plastics4Performance Partition Window
Takata Tow Straps
CarSkin Pro Matte Red Wrap


Suspension

KW V3 Clubsport Coilovers
Dali Racing Race Front Swaybar
Cedar Ridge Fabrication Heavy Duty Toe Links
Cedar Ridge Fabrication Heavy Duty Beam Bearings
Cedar Ridge Fabrication Compliance Clamps
Cedar Ridge Fabrication Adjustable Sway Bar Links
CT Engineering Competition Front Camber Bushings


Wheels and Brakes

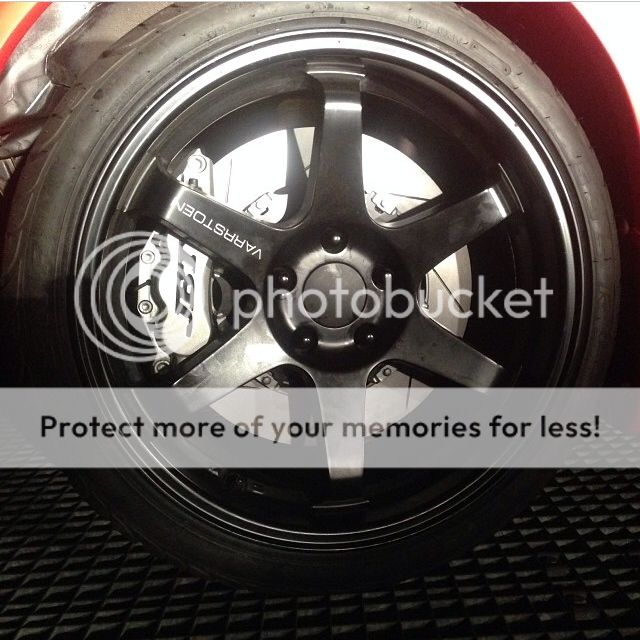
Varrstoen 18×9.5 Front
Varrstoen 18×10.5 Rear
Federal 595 RS-R 245/35R18
Toyo R888 295/30R18
JBT 6pot 355mm Front
JBT 4pot 330mm Rear
Dali Brake Ducts
Movit Steel Brake Lines
AS Motorsport ABS Delete


Interior

Safety Devices 6-point FIA Roll Cage
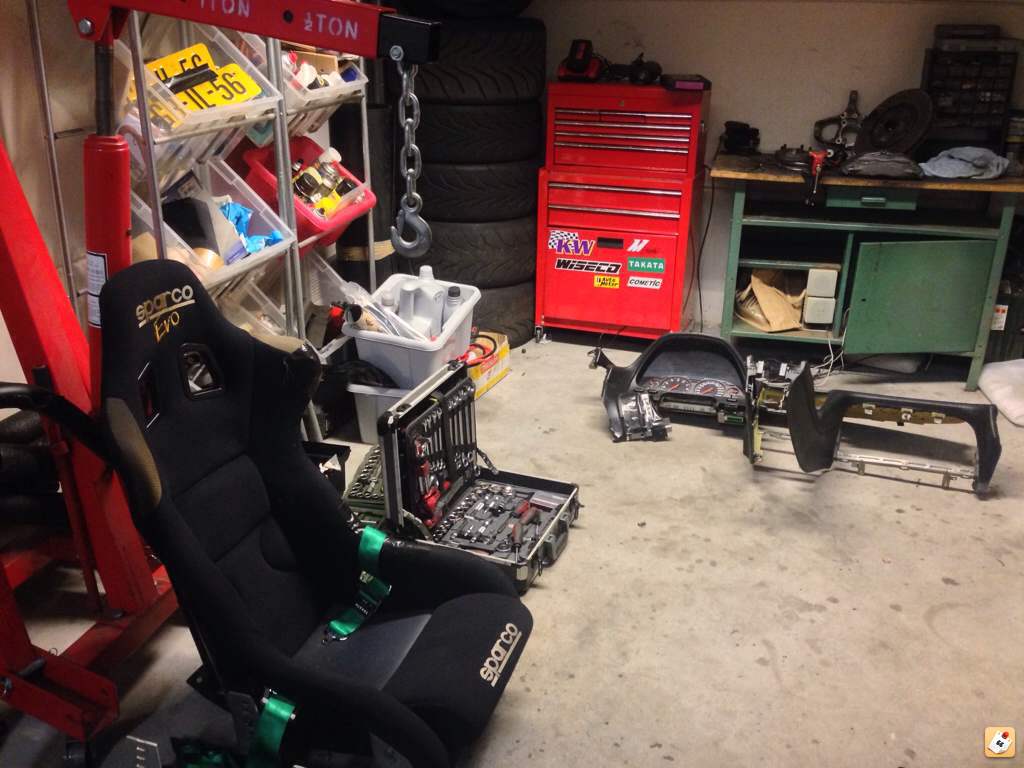
Sparco EVO FIA Bucket Seats
Takata Race 6 FIA Harnesses
Autometer AFR Gauge
Autometer Oil Pressure Gauge
Autometer Oil Temperature Gauge
Sparco Pedals
OMP Steering Wheel
Zanardi Shift Knob
 
Wow, that's too freaking scary!
Did you figure out why did the bearing actually spun? What is there to do so it doesn't happen again?

Both relays are working fine.. So something is blocking the signal.. We cannot find it and we have no time to figure it out, so we are rerouting the wiring for the starter motor and make a new start button on the dash which directly controls the starter motor. That should work fine.

We don't know anything about the other motor yet. The company who built is closed until the end of September. So unfortunately we have to wait.
 
Hi Dimer,
Will the 355mm disks clear the 18" wheels?
 
Today I manage to start the engine (a donor automatic engine from Austria with our manual gearbox) of Dimer his race NSX ;) I used a doorbell (tomorrow the start panel with start button will be delivered) as a start button :D This way I overrided the ignition switch and the faulty starter relay. Reordened some ground wiring and ended up with a smooth running engine as a result. We haven't replaced the auto intake camshafts with manual ones. This will probably will work out for the better. Because the primary cam of the automatic camshaft is higher than the manual one. Thus more torque below vtech. The vtech cam of the manual camshaft is a little lower, but with forced air of the supercharger this will be largely compensated. Monday the engine will be retuned and the AEM will get new mappings ;)
 
Last edited:
We had some problems with the 'new' engine. Just before we were going to the dyno the engine probably blew a head gasket. So it is back in the shop. The car should be up and running by the end of this week. So we can have it remapped next week. This shit never ends...

In the meantime we have received the new rear calipers and discs. We hope to receive the front calipers and discs next week or the week after.

Capture_zps4bac472f.jpg
 
They look very similar to the Brembo F40....
I could be interested by a rear set?
What's the width of the friction track?
Would you also measure the diameter of the pistons?
Many thanks!
 
I've been an avid lurker for some months now, and I just had to let you know how truly awesome this build is. I aspire to own an NSX within the next couple years, and this is everything I hope my car will be when that goal comes to fruition. Too good to remain silent on this one!
 
Dimer car looks HAWT!!!

1) what did you do for seats (the head protection)
2) what did you do for a harness bar on that cage?
3) Does the front half require you to remove the A pillar covers?
4) Can you use the OEM door panel with the side bars?

Thanks for answering all the questions for me. If you don't mind I am cross posting your photos.
 
Thanks for the compliments!

1) I had to ditch the seats as they didn't work with the cage. I have my Sparco EVO's back in. They fit great but unfortunately no extra head protection.

2) I have a separate harness bar, which goes behind the cage.

3) I don't think so. I have them removed anyway, but I've seen NSXs with this cage and full interior. 4) including the door panels. I'm not going to use the OEM door panels. We are making our own ultralight panels.

I just came back from the garage and we stripped her again. The seats, doors, dashboard and cage are out again. We are going to remove the heater, sound deadening material, reduce the amount of wires and then paint the complete interior black.

atabu5e9.jpg


4a3egygy.jpg


zy7y3ane.jpg


a2a7aty2.jpg


Dimer car looks HAWT!!!

1) what did you do for seats (the head protection)
2) what did you do for a harness bar on that cage?
3) Does the front half require you to remove the A pillar covers?
4) Can you use the OEM door panel with the side bars?

Thanks for answering all the questions for me. If you don't mind I am cross posting your photos.
 
awesome, thanks. What part of the seat didn't fit? couldn't you just remove the head protection if that was the problem?

Also do you have a pic of the harness bar? is it like ti dave's bar at all? seems like a lot of extra weight to have both. Its not light!
 
awesome, thanks. What part of the seat didn't fit? couldn't you just remove the head protection if that was the problem?

Also do you have a pic of the harness bar? is it like ti dave's bar at all? seems like a lot of extra weight to have both. Its not light!

The seat mounting was different, so I sat way too high. My helmet touched the roof and we had to remove the head protection as well to get the seat to fit right. I've seen that Sparco also has a seat with removable head protection, I might look into that one.

My harness bar is a custom one. It is basically a square steel bar from one pillar to the other. It is indeed quite heavy, but it won't matter in weight if you have one in the cage or separate. Having it in the cage is better for strength and rigidity though.
 
I haven't updated this in a while..

Both engines are at the shop. They are trying to build one good engine out of all the parts we have. If all goes well I have one good engine back next month. In the meantime...

New front disc vs Old front disc

Capture1_zpsebb08f21.jpg


Front:

Capture2_zps2dae46a1.jpg


foto4_zpsb7eed0ea.jpg


Rear:

foto5_zps549fb62d.jpg


What do you do when you don't have an engine to work on? Yes, you start gutting..

Capture3_zps620bdfd7.jpg


Capture4_zps4d3c71ba.jpg


Capture5_zps59c80f31.jpg


124C0C93-FE23-4208-9D1C-90794A7DEF09_zpsqagtjxrp.jpg


978FBBFA-7CC0-4346-9FDF-E0ED44A27169_zpsepgmp7ka.jpg


3ABA456F-A478-4070-9B23-50F4DF446BEF_zpshryma6nf.jpg


We are going to modify the existing roll cage. We will add a cross bar in the back, make the cage a bit higher to clear my helmet. Then we are going to make a bar in the front where we can attach the steering wheel to. We will also make a frame in the front where we can attach the bumper, splitter, radiator etc and connect that to the cage as well.

When that is done we can start cleaning it and paint the inside of the car. In the meantime we are continue to simplify the wireloom. Lot's of stuff to do and so little time to do it :)
 
Last edited:
Looks like you used the dry ice method to remove the sound deadening. How did that work out for you? You doing the same for the rear firewall?
 
I haven't updated this in a while..

Both engines are at the shop. They are trying to build one good engine out of all the parts we have. If all goes well I have one good engine back next month. In the meantime...

New front disc vs Old front disc

Capture1_zpsebb08f21.jpg


Front:

Capture2_zps2dae46a1.jpg


foto4_zpsb7eed0ea.jpg


Rear:

foto5_zps549fb62d.jpg

Any reason you went from cross-drilled to slotted?
Is one better than the other or just preffered?
They look awesome by the way.
 
Well, some parts went off easier than others. Especially the middle part was quite tough. We burnt the remaining stuff and everything from the firewall. It smells really bad, but it is just as easy.

Interesting. The middle was the easiest for me. It cleaned up easily and compared to the front and rear sound deadening material. Maybe it had to do with difference of assembler or something.

Either way nice looking brakes. I agree good move on swapping over to slotted rotors. I always hear about cracking going on with cross drilled rotors.
 
We painted the interior black:

foto1_zps9afee08d.jpg


At the engine shop they are rebuilding the motor. They are waiting for some parts and then they can start building:

foto2_zpsa8c51c0a.jpg


foto4_zpsea214d63.jpg


In the meantime we are trying to make some sense out of the wireloom :D

foto3_zps38f0b9fe.jpg


And the chassis is at Purple Haze Automotive for some rollcage and chassis modifications:

foto5_zpsce81fa36.jpg


The Civic in the left corner is an original Mugen factory racecar.
 
Back
Top