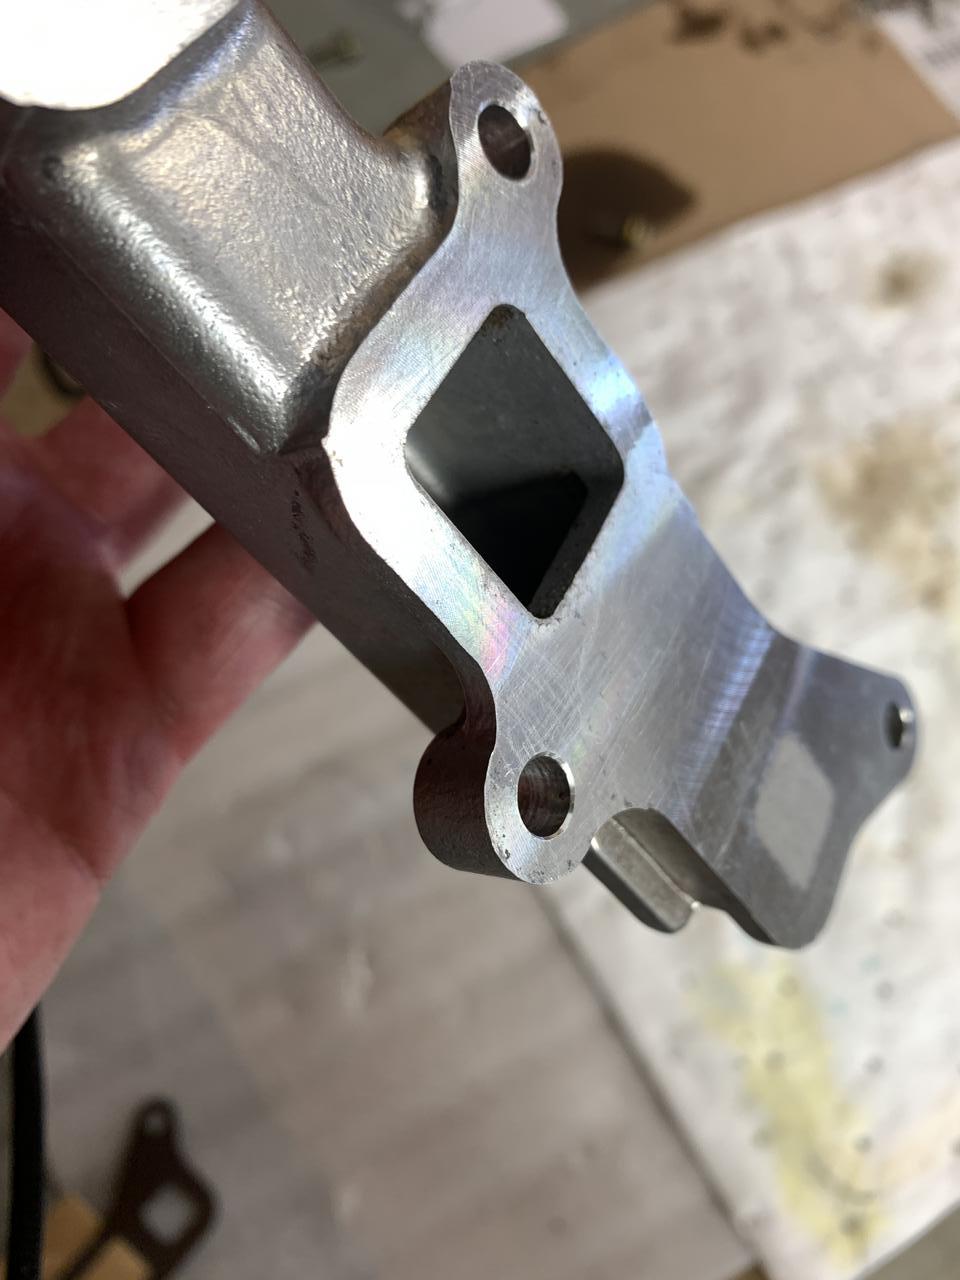
Bolt those covers on, then install the cam gears. At this stage I put the old belt on and used the belt (in combination with the crank pulley bolt) to hold the cams and torque the pulleys down to the proper spec. Once that’s done, re-align TDC and then remove the water pump. The original bolts had sealant on them so I chased the threads. Side note, the new water pump DOES NOT come with new dowels. 1 was stuck in the original water pump but I had to hunt for the second one as it fell out on me. I had the garbage under the engine as I was brake cleaning and thankfully it landed in there.
Said dowel in the shop rag there
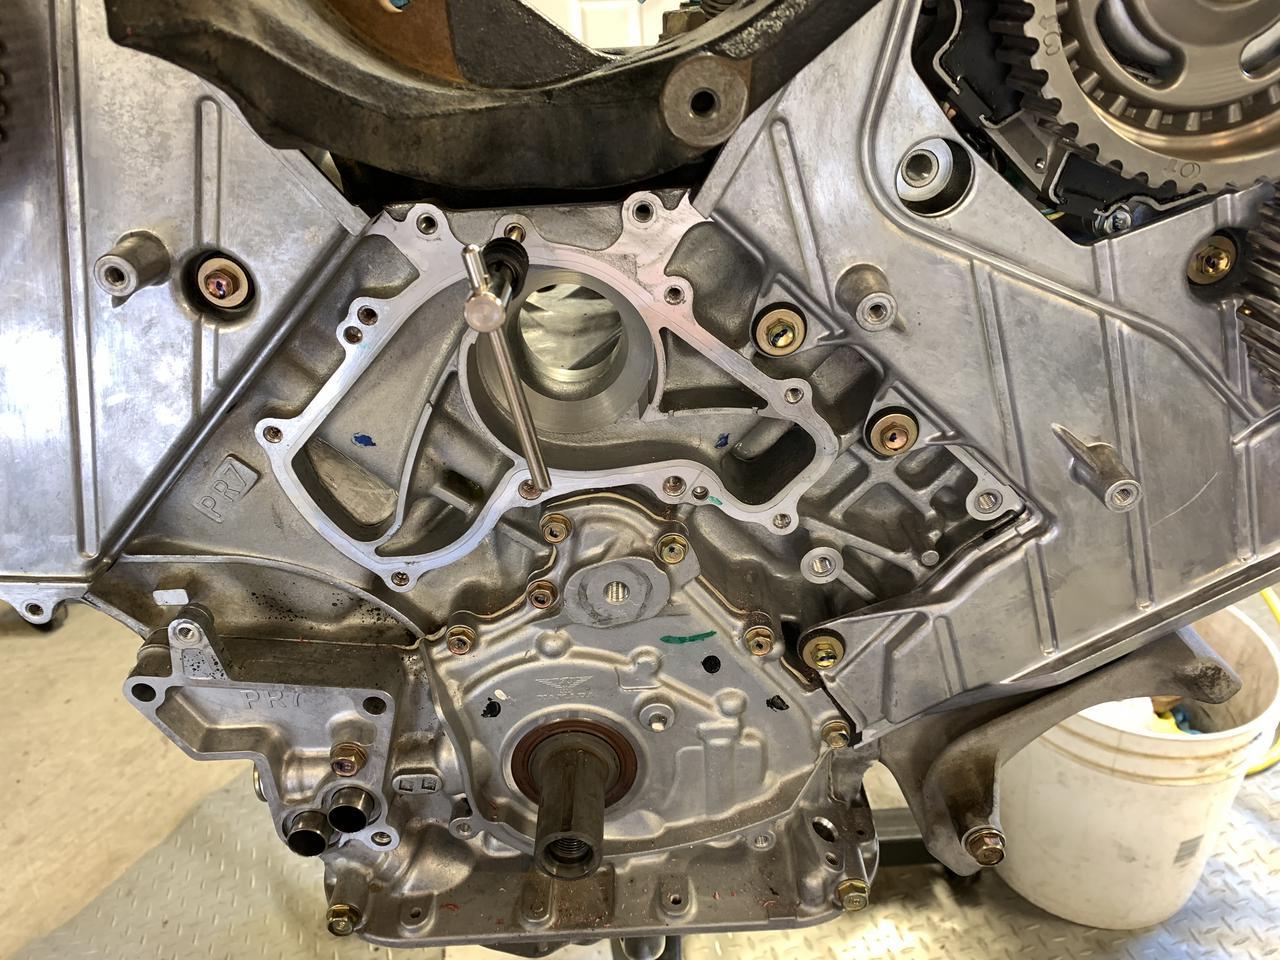
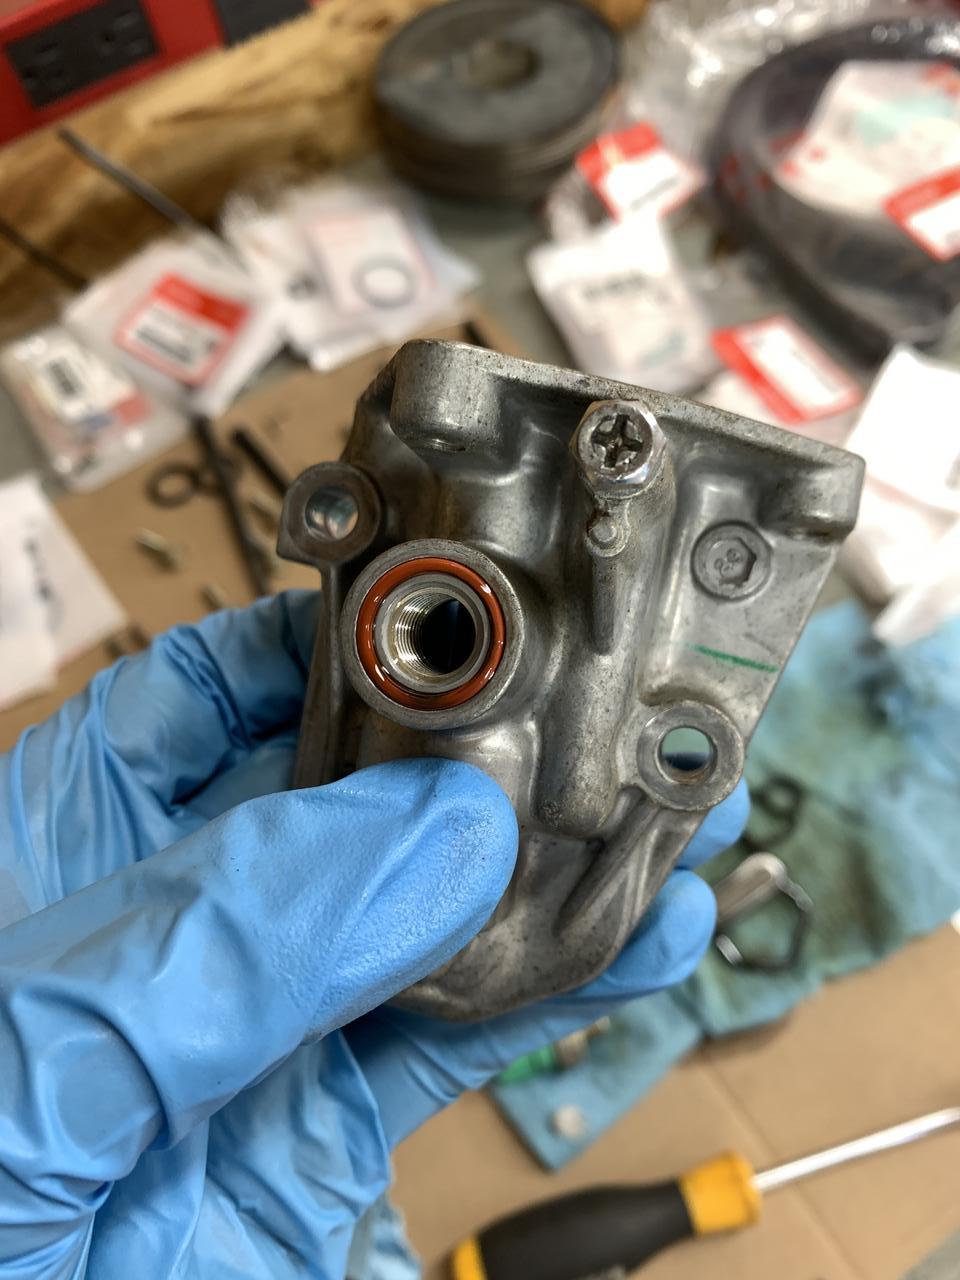
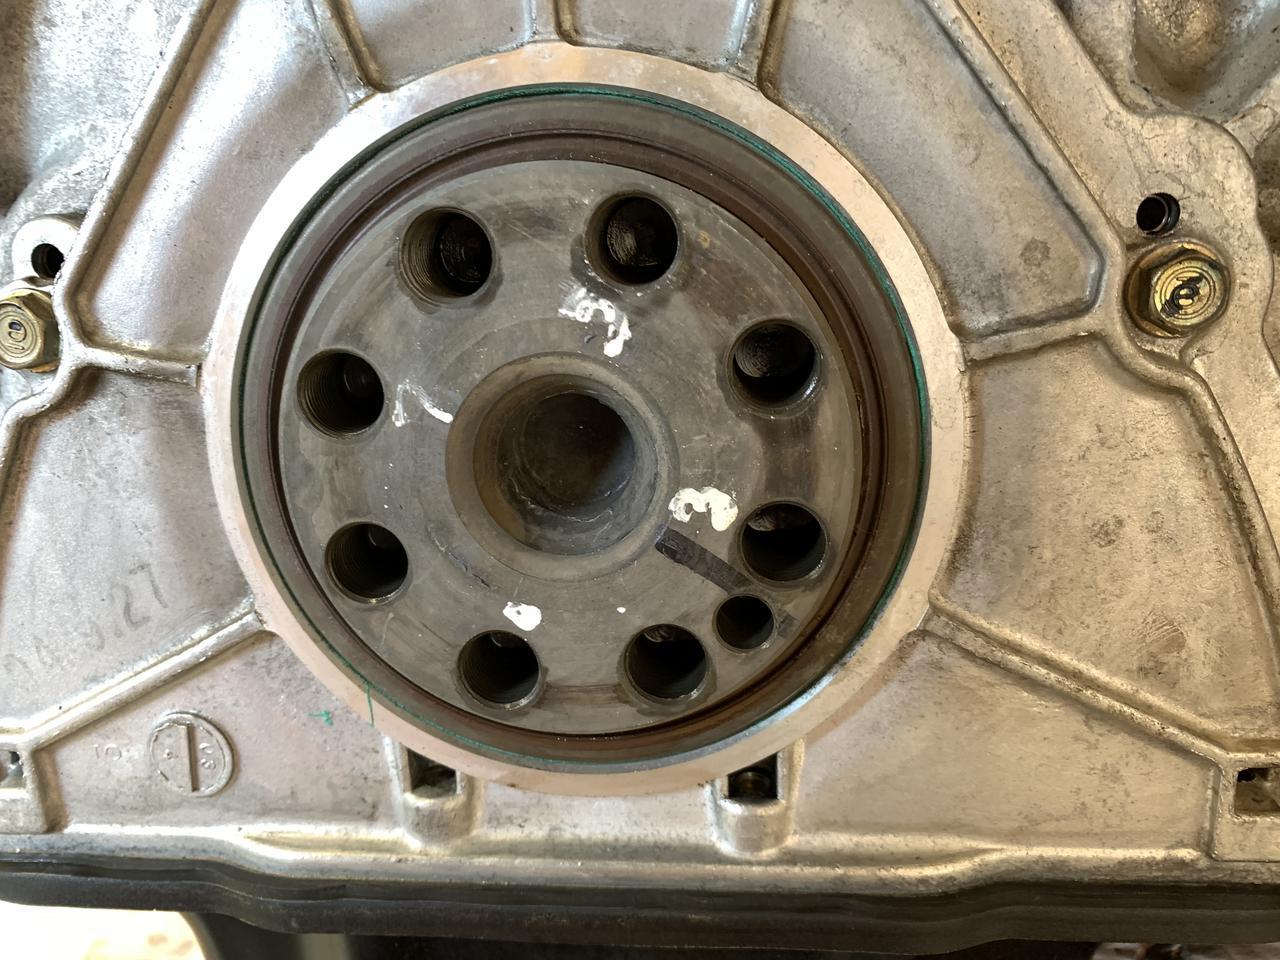
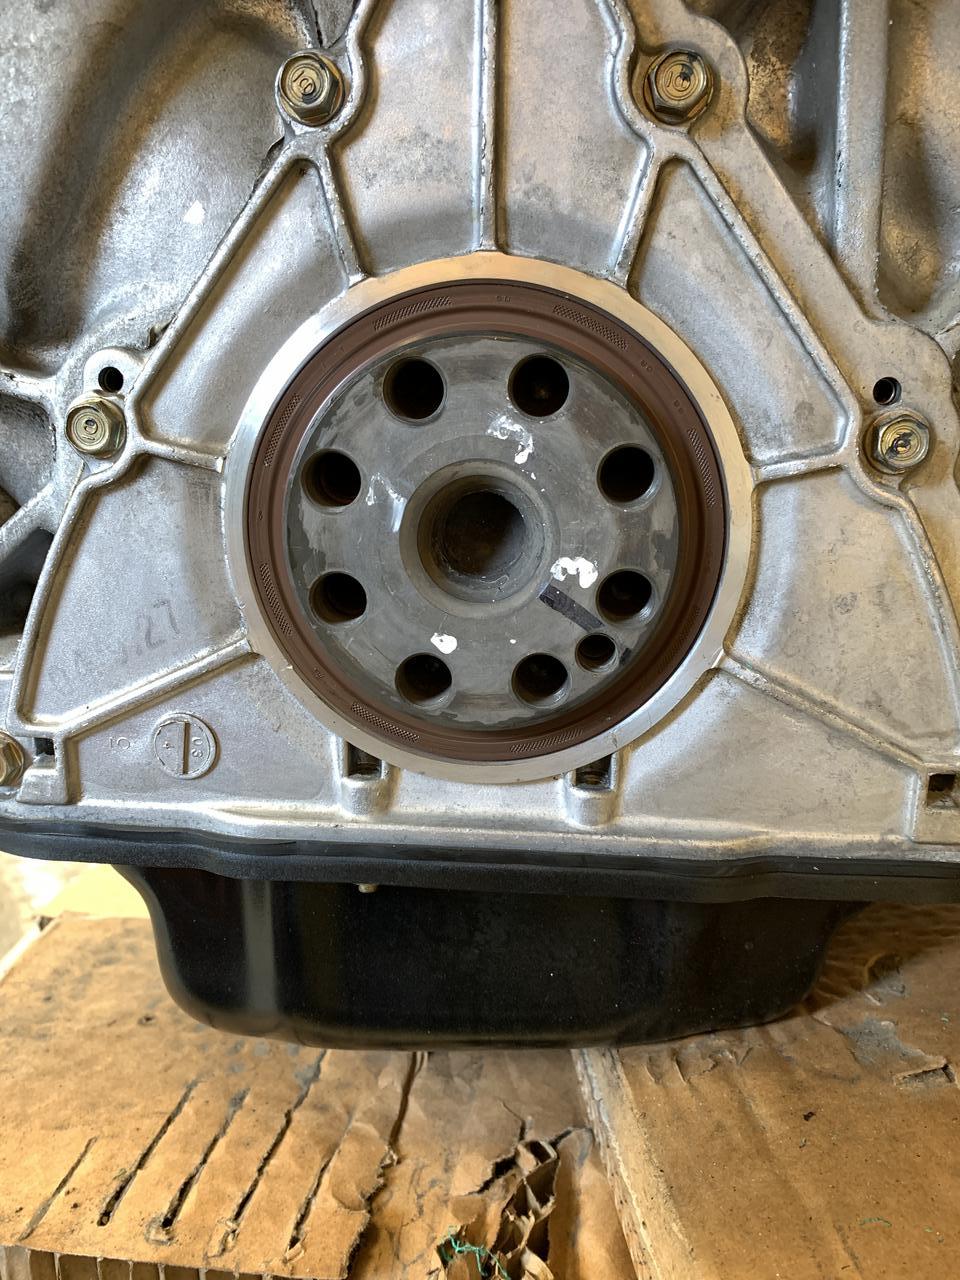
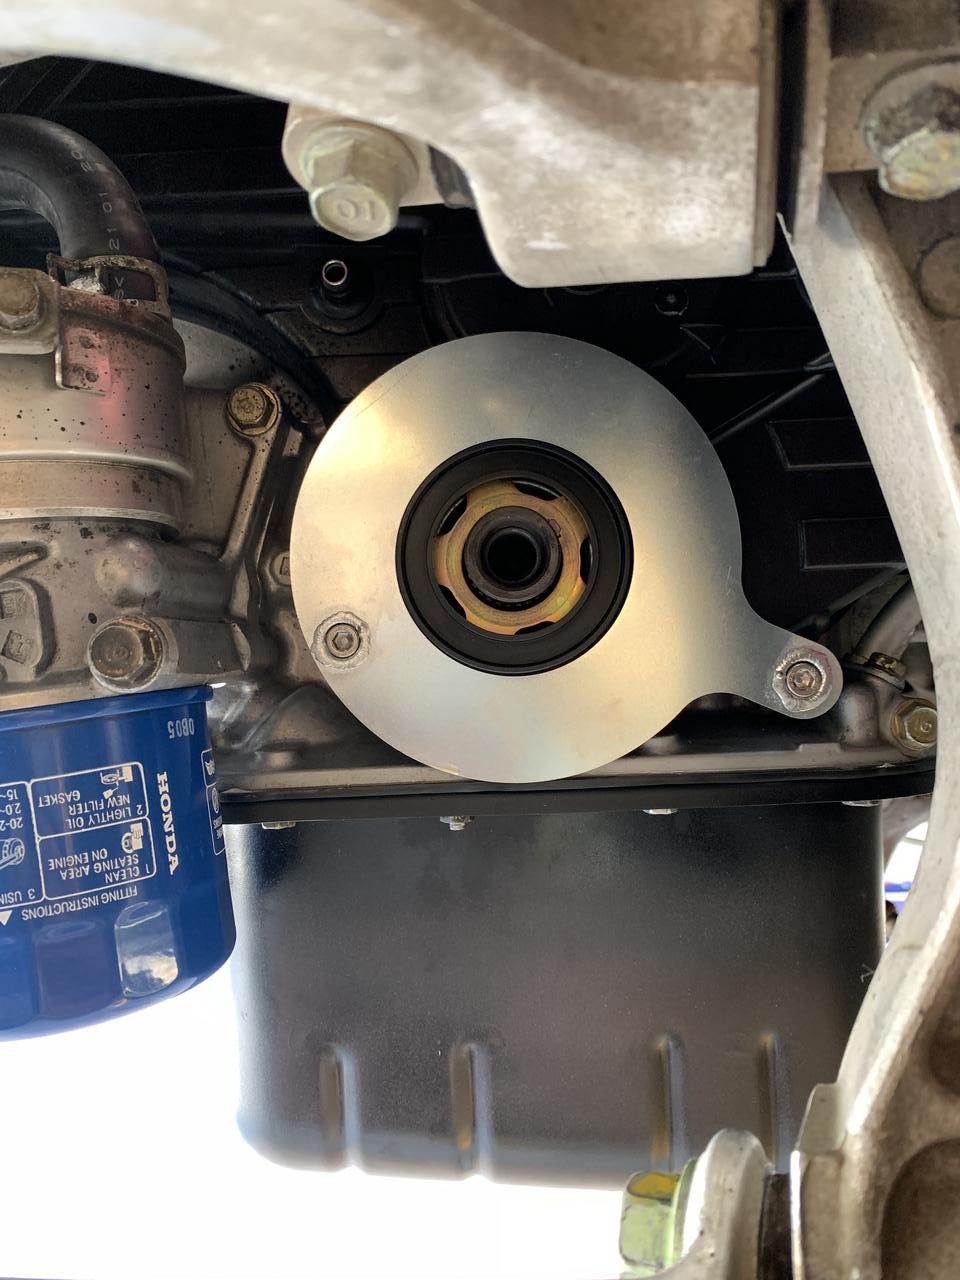
The crank seal was so so much easier and “like normal”
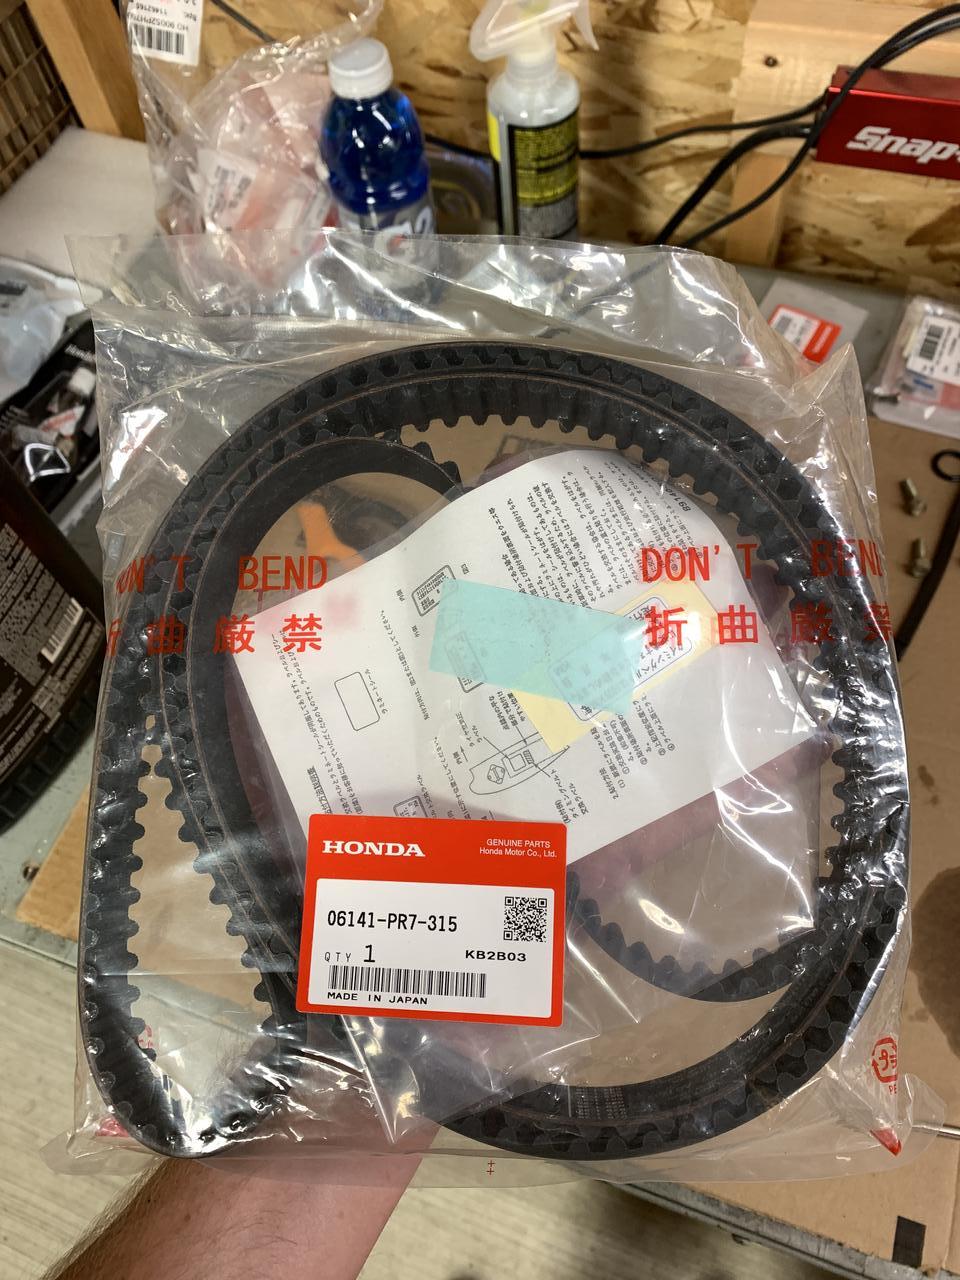
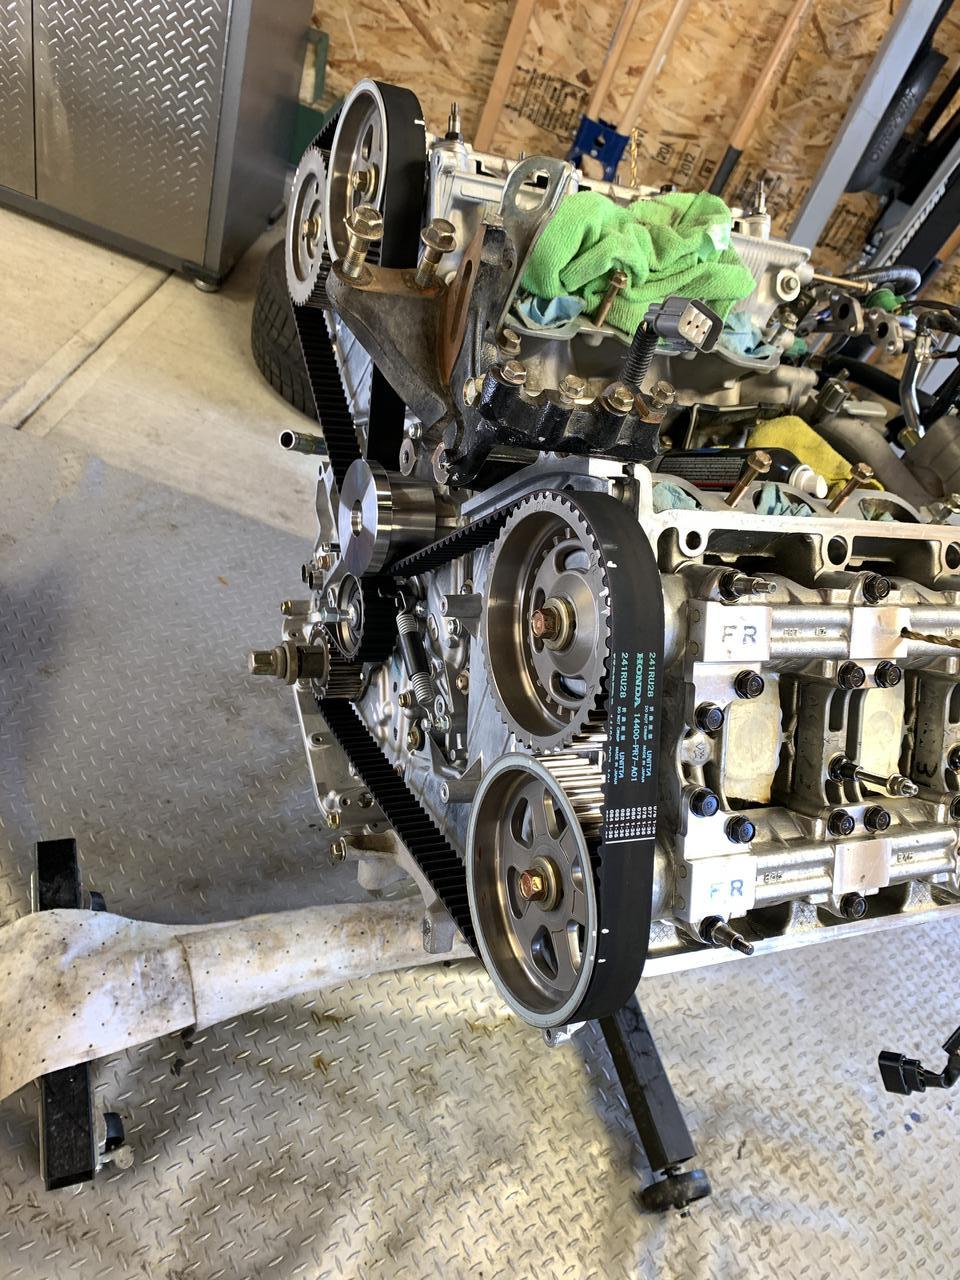
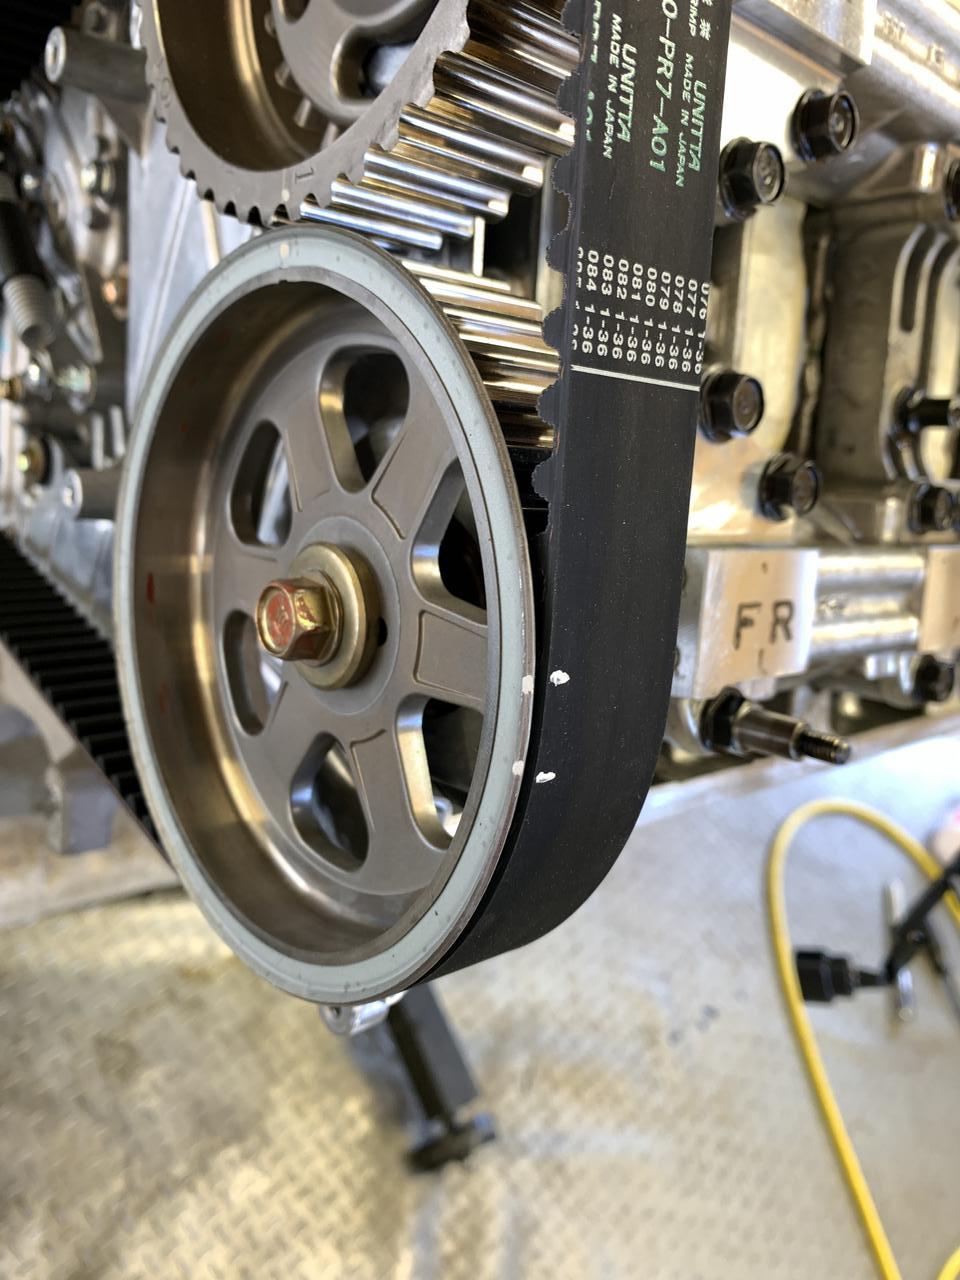
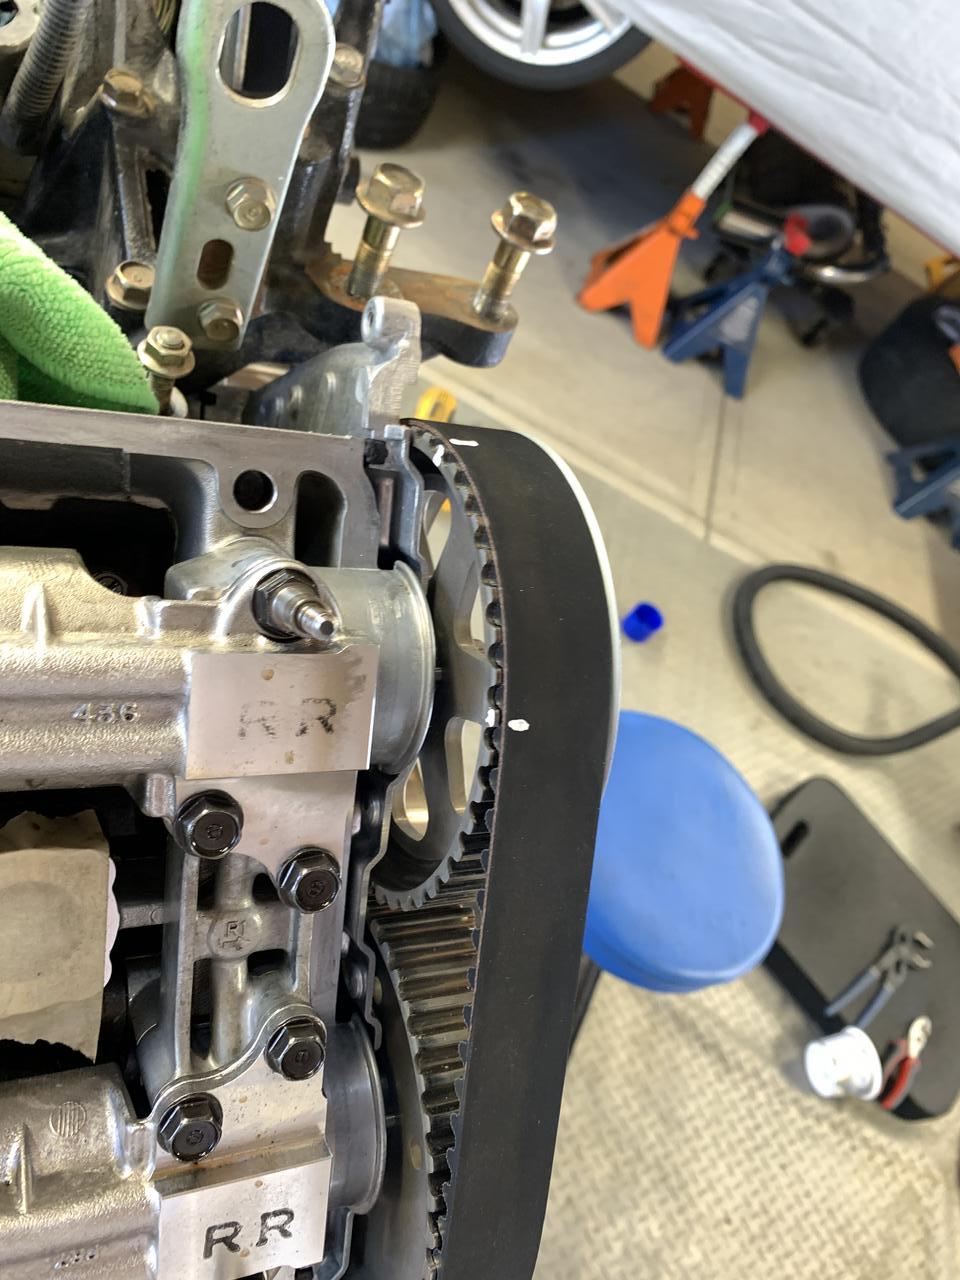
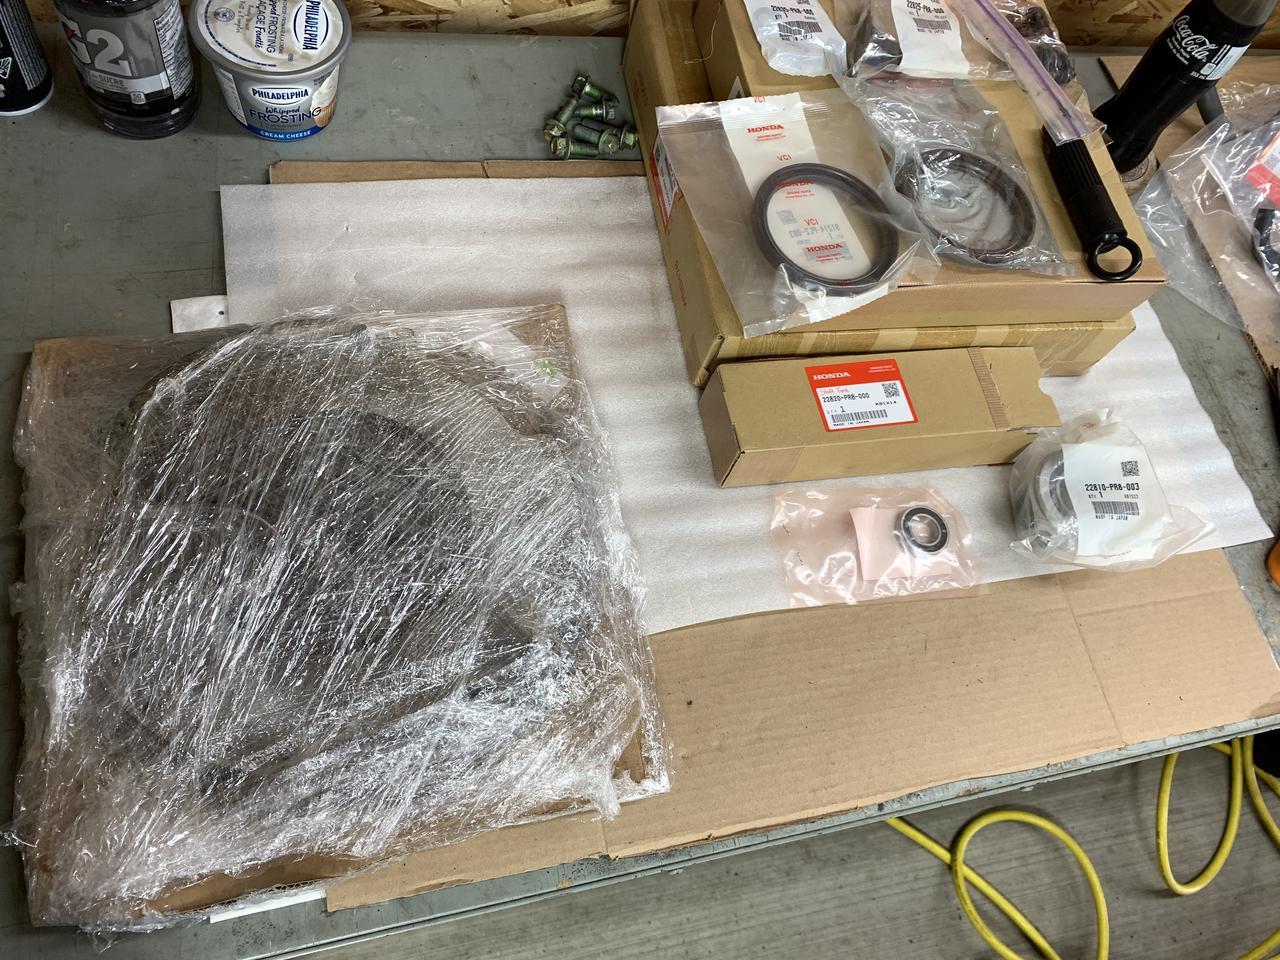
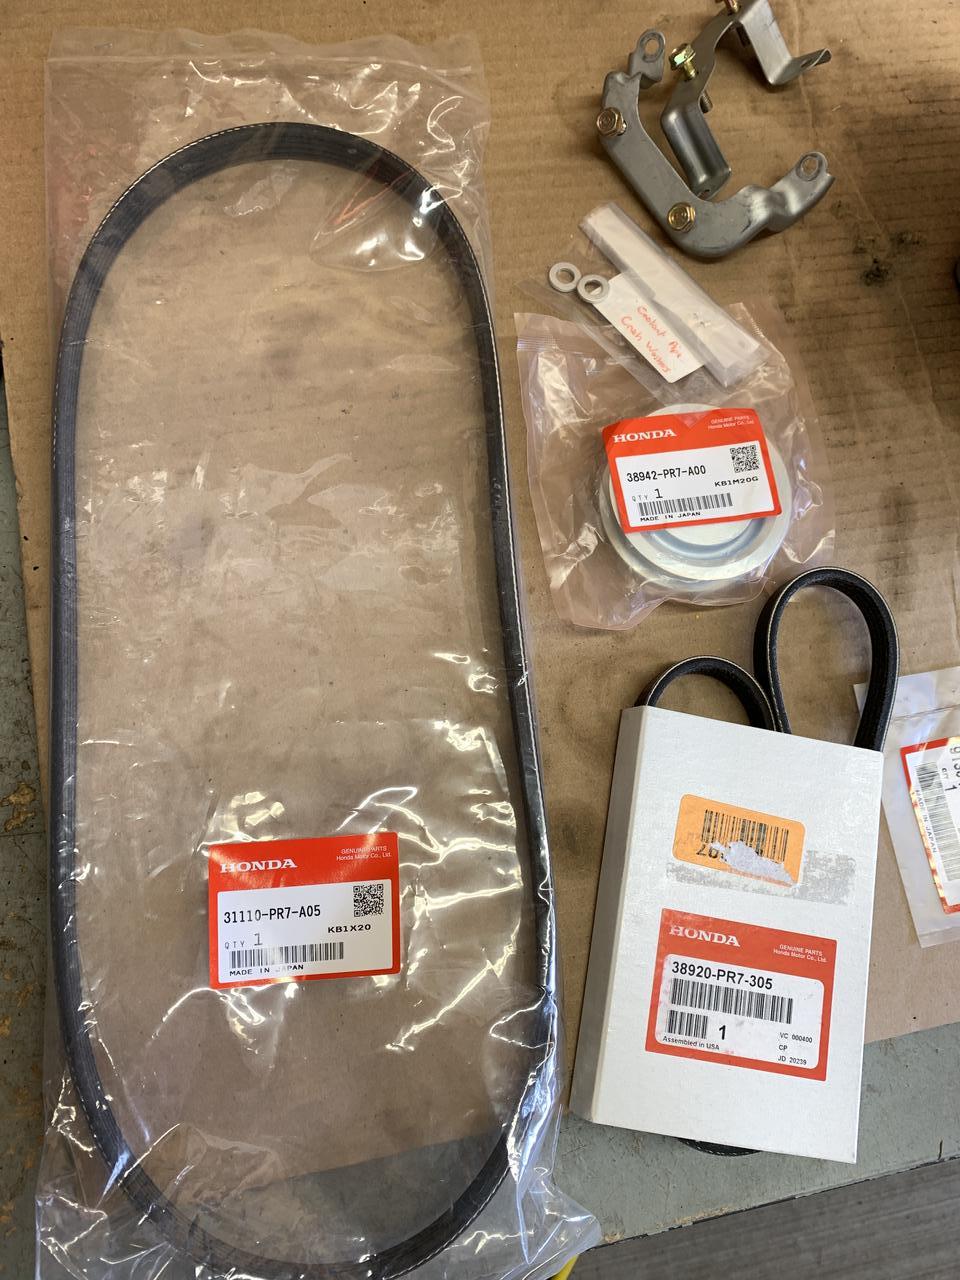
Bolt the water pump and new tensioner in (I also bought a new spring) and then the timing belt. The outside package has a different part number but the belt itself matches.
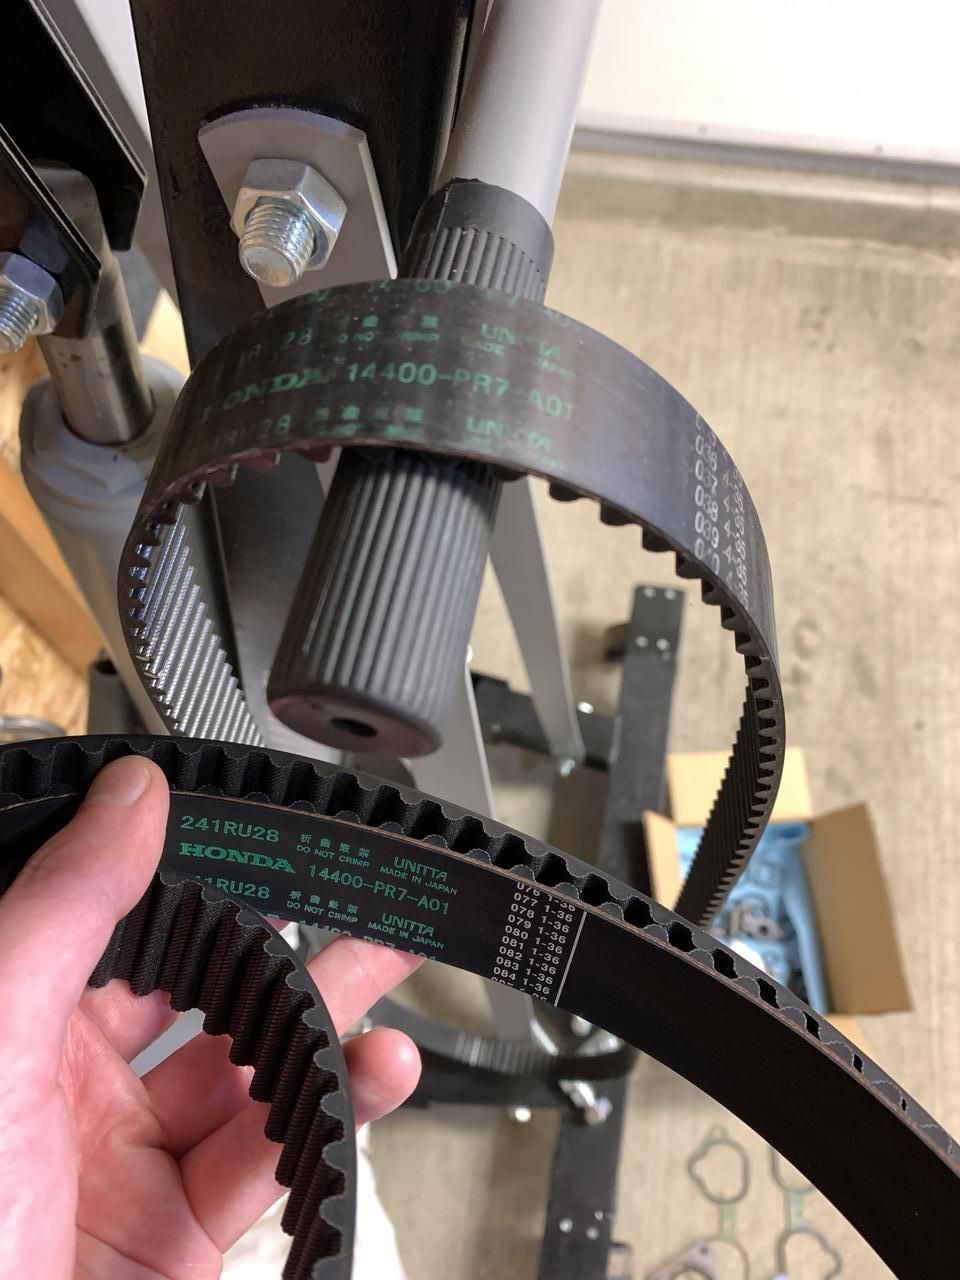
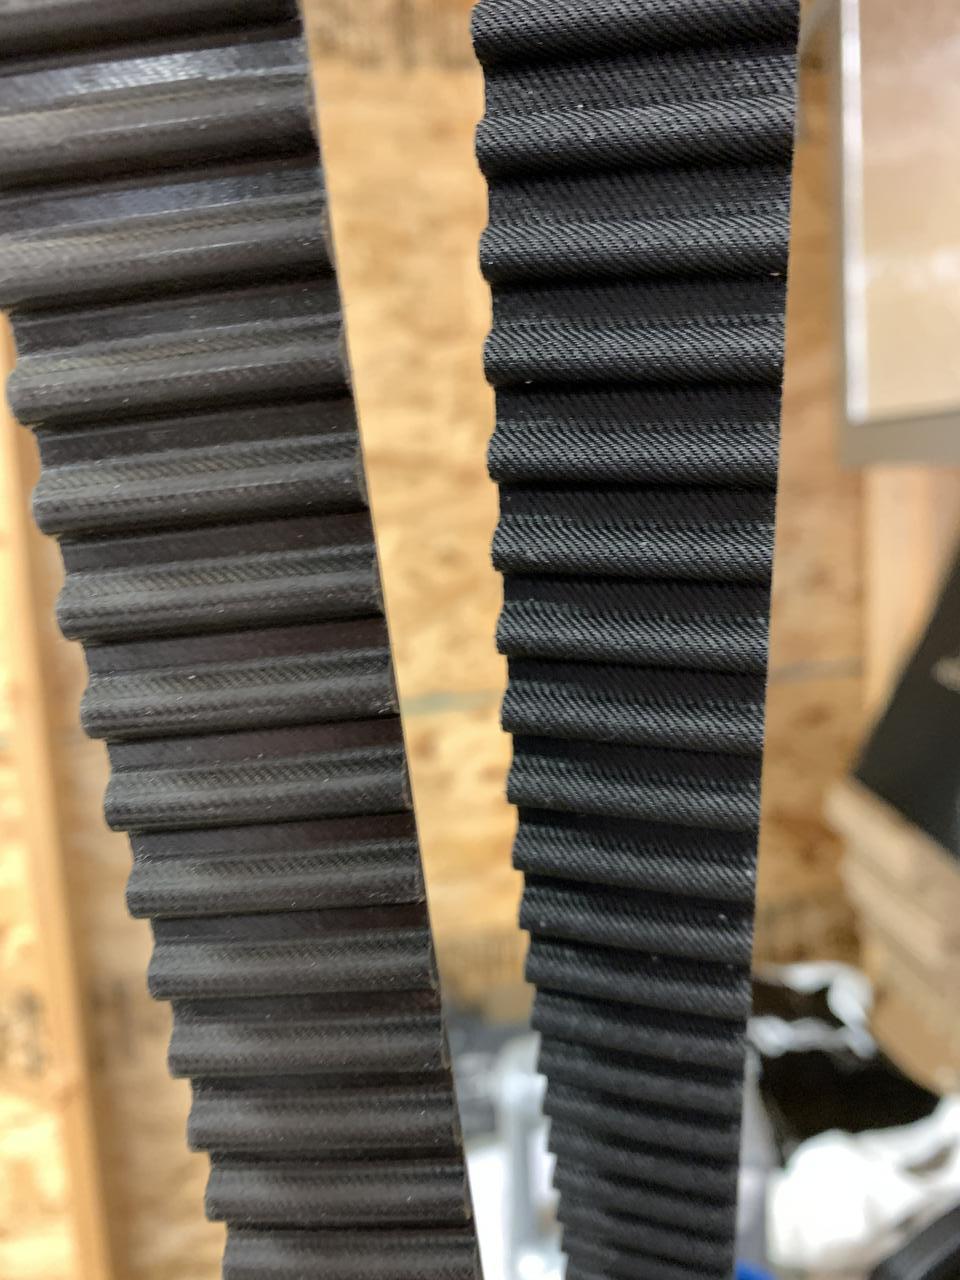
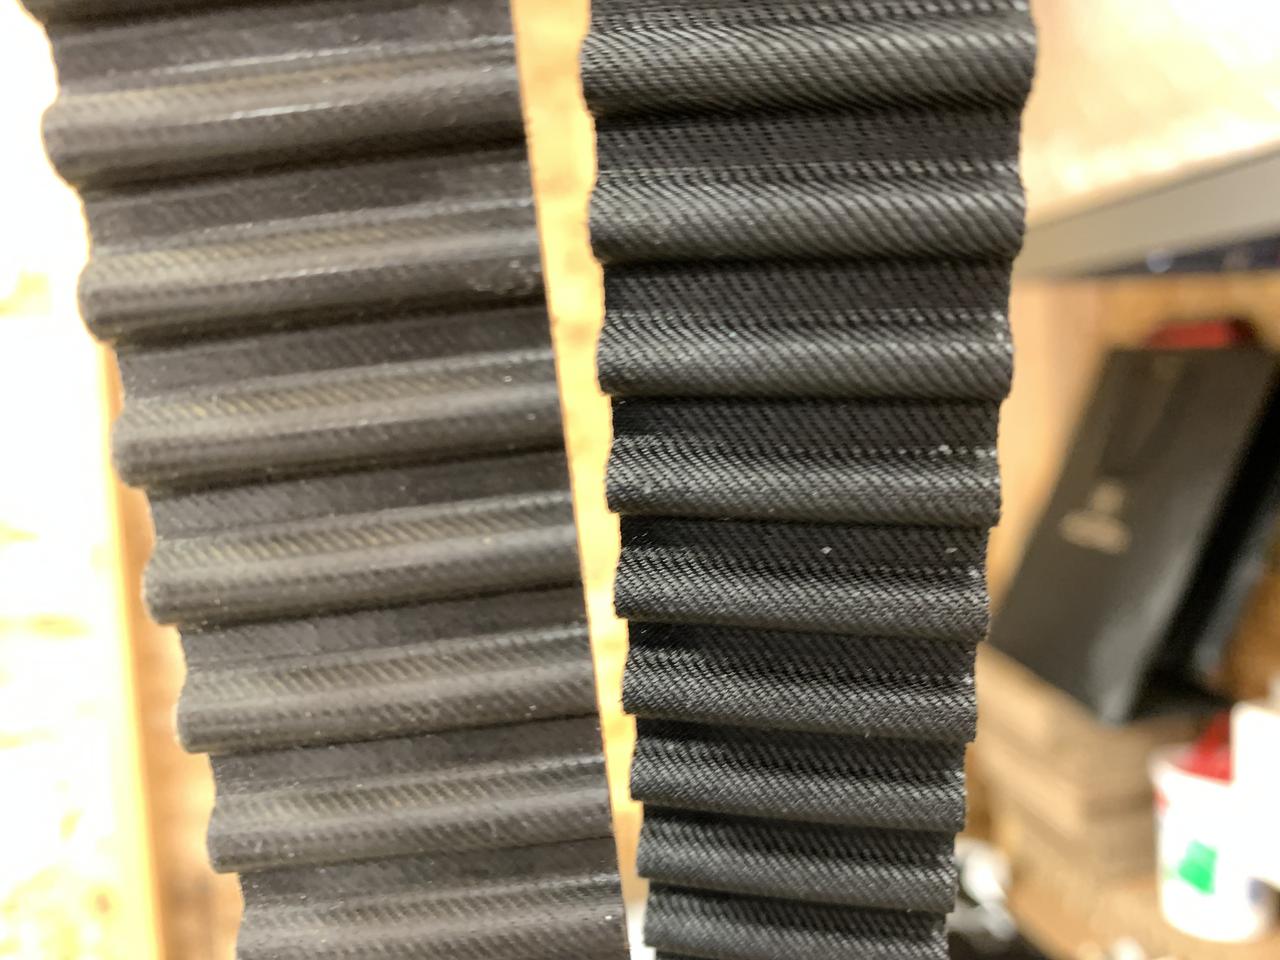
You can see some wear on the leading edges of the old belt (that’s not camera flash) but overall no cracks.
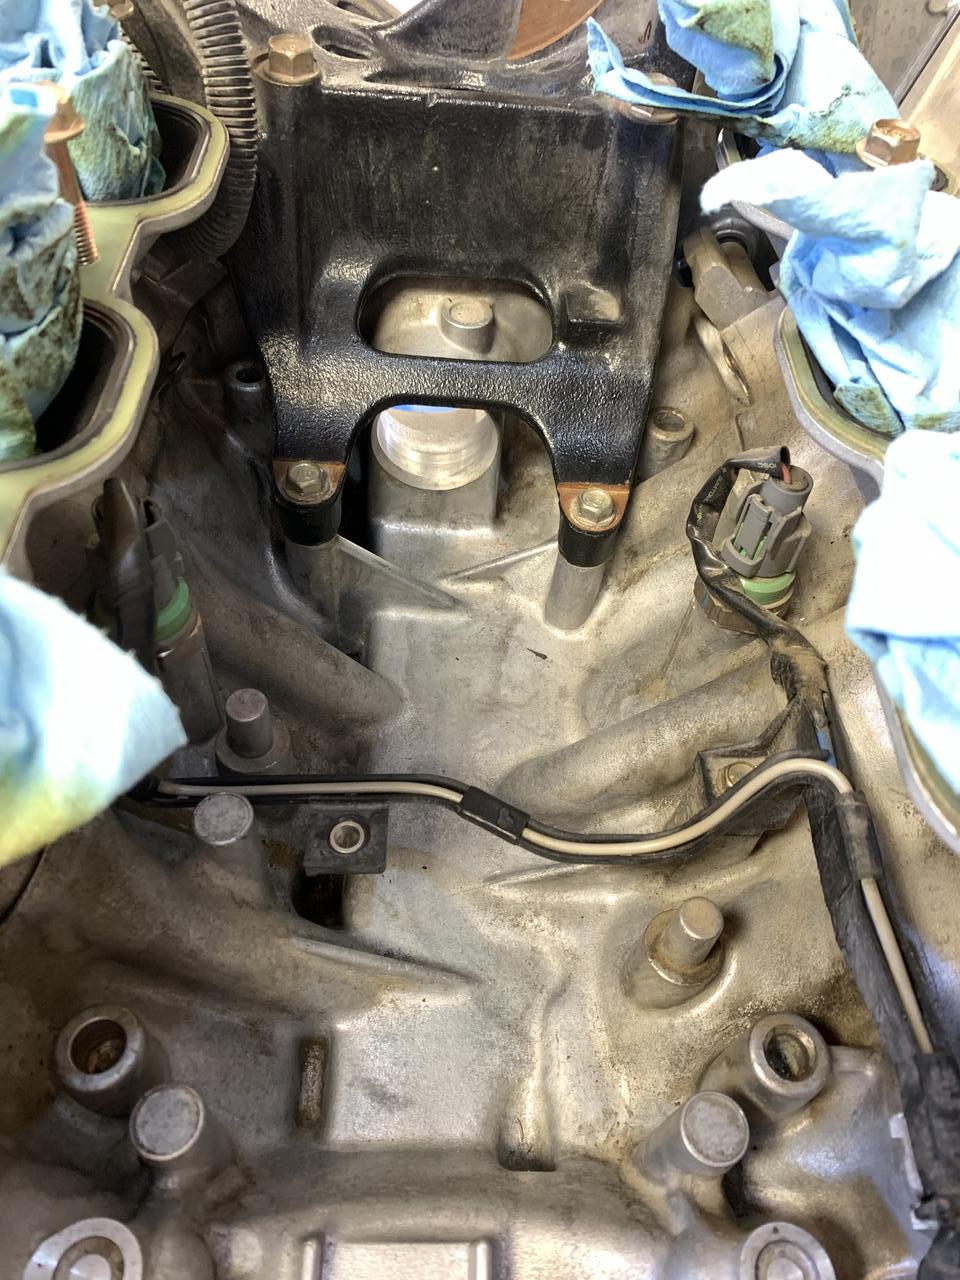
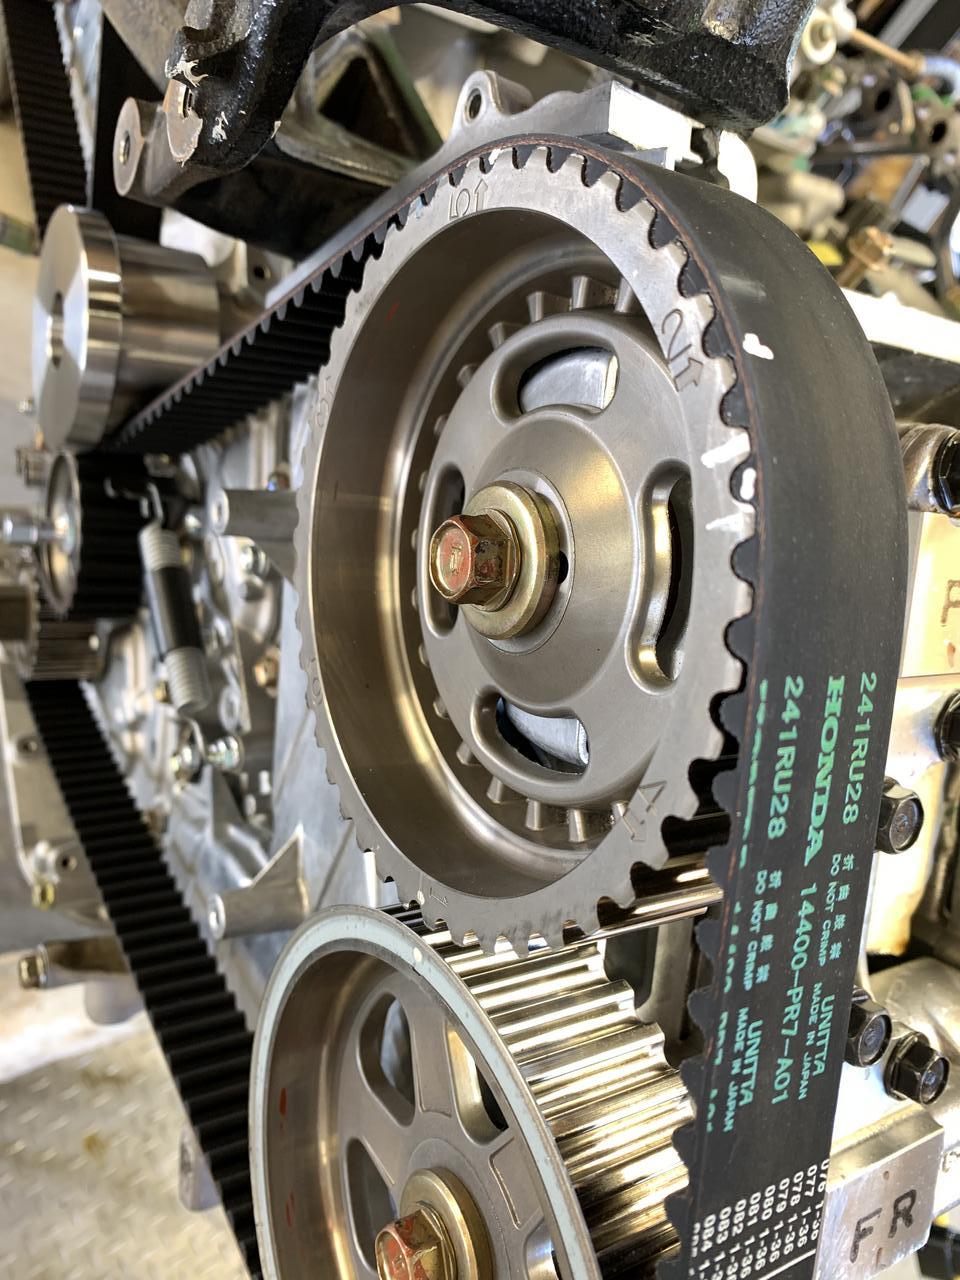
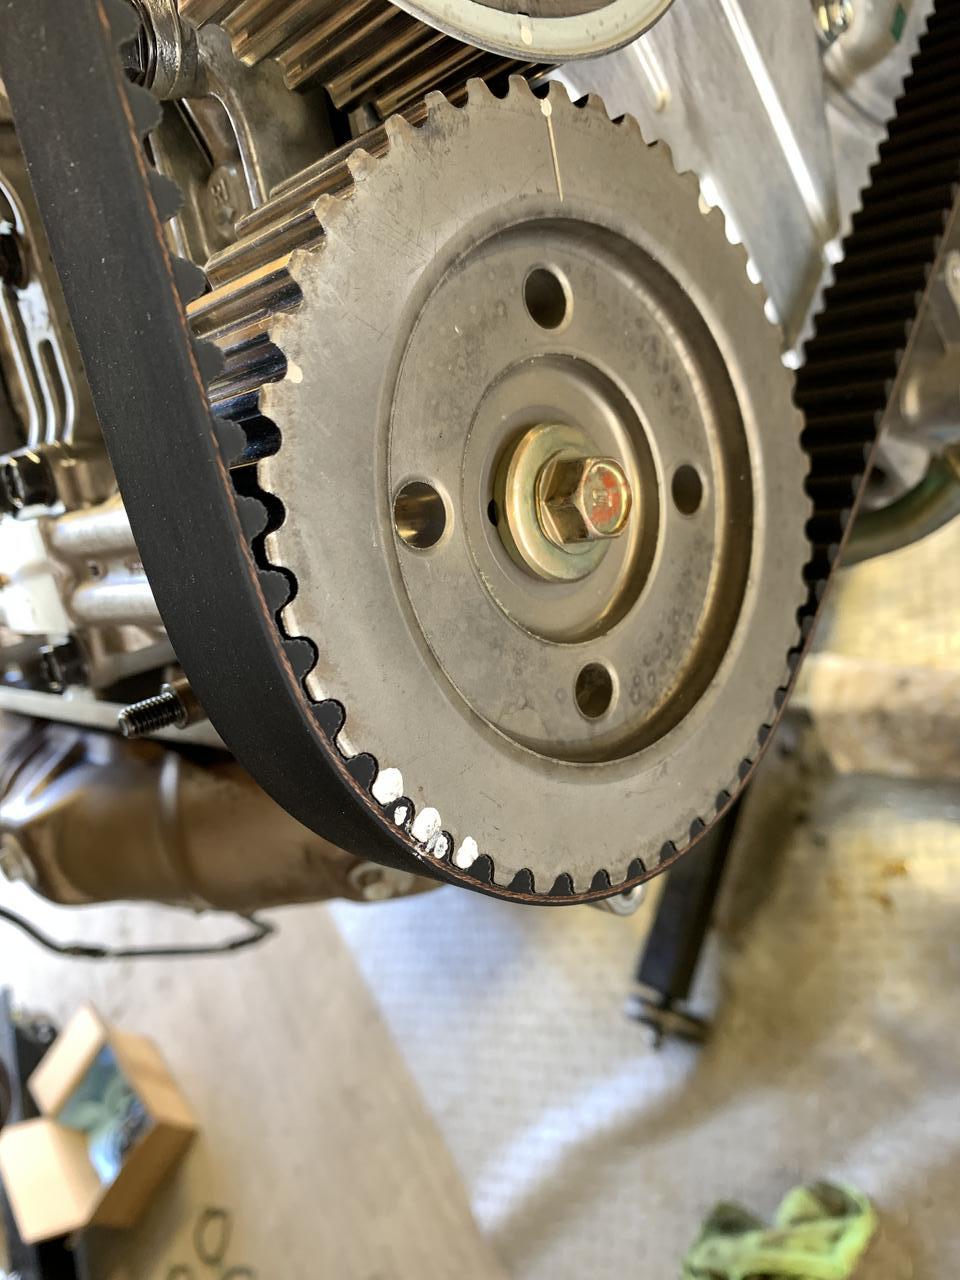
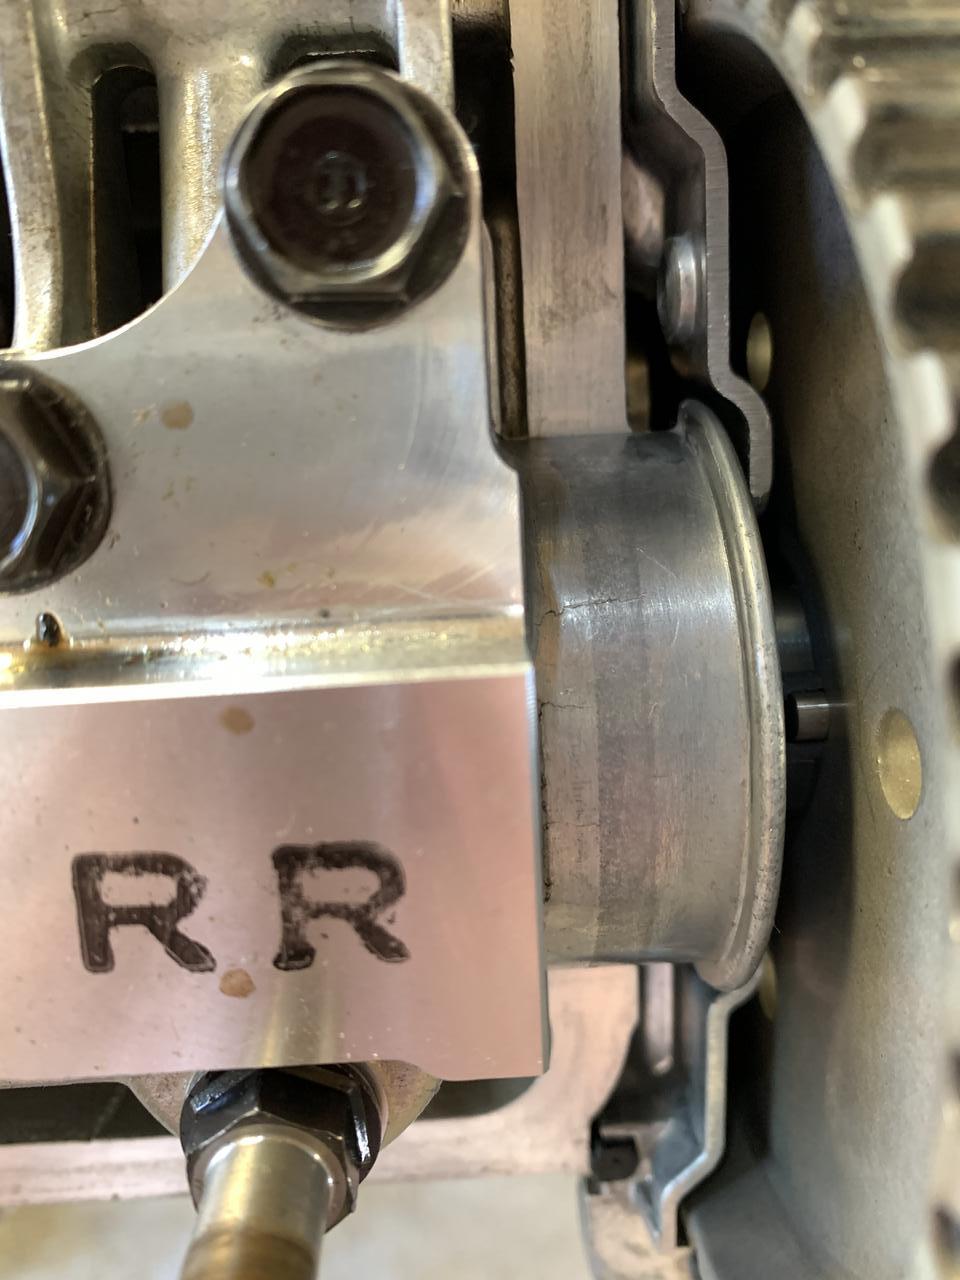
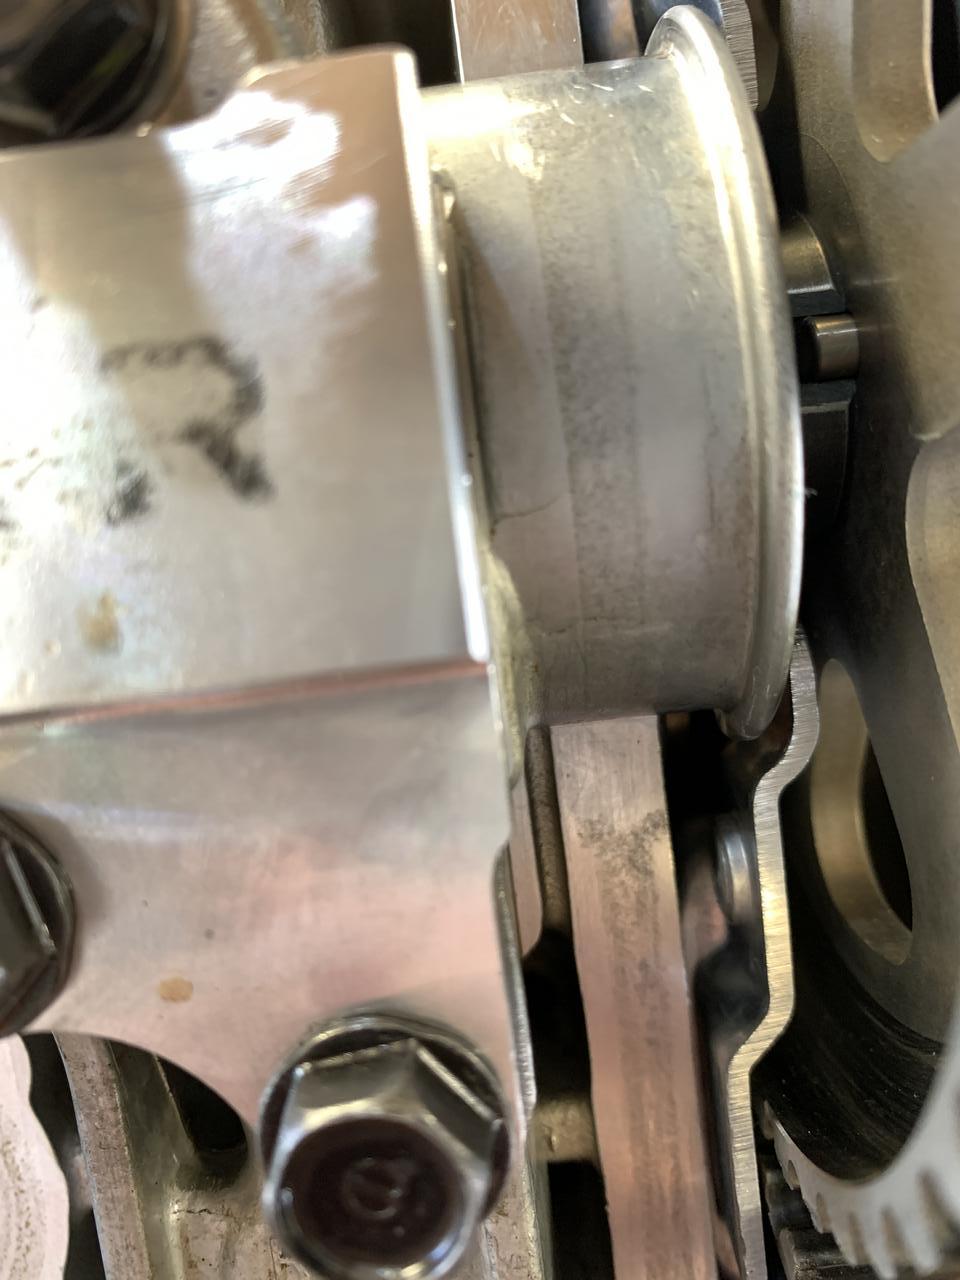
I’m really happy I made those marks. The exhaust cam on the forward bank just wouldn’t match up. It was 1 tooth off. I had to spin the crank ~5 -10 degrees and then it matched up. I spun the engine a few times after and all marks lined up perfect. I can see how people get the belt 1 tooth off in the forum threads I have seen over the years. Especially with the frame rail right against the side of the engine in-situ.
Once I buttoned everything up on the belt and tensioned as per the manual I did the valve adjustments. This took me a while. Most were loose by ~0.001 inches. Meaning if spec was 0.007-0.0008 mine came in at 0.009. Only 1 was 0.010. I got them all bang on perfect. Valve adjustment would suck if the engine was in the car. Poor lower backs across the nation…..
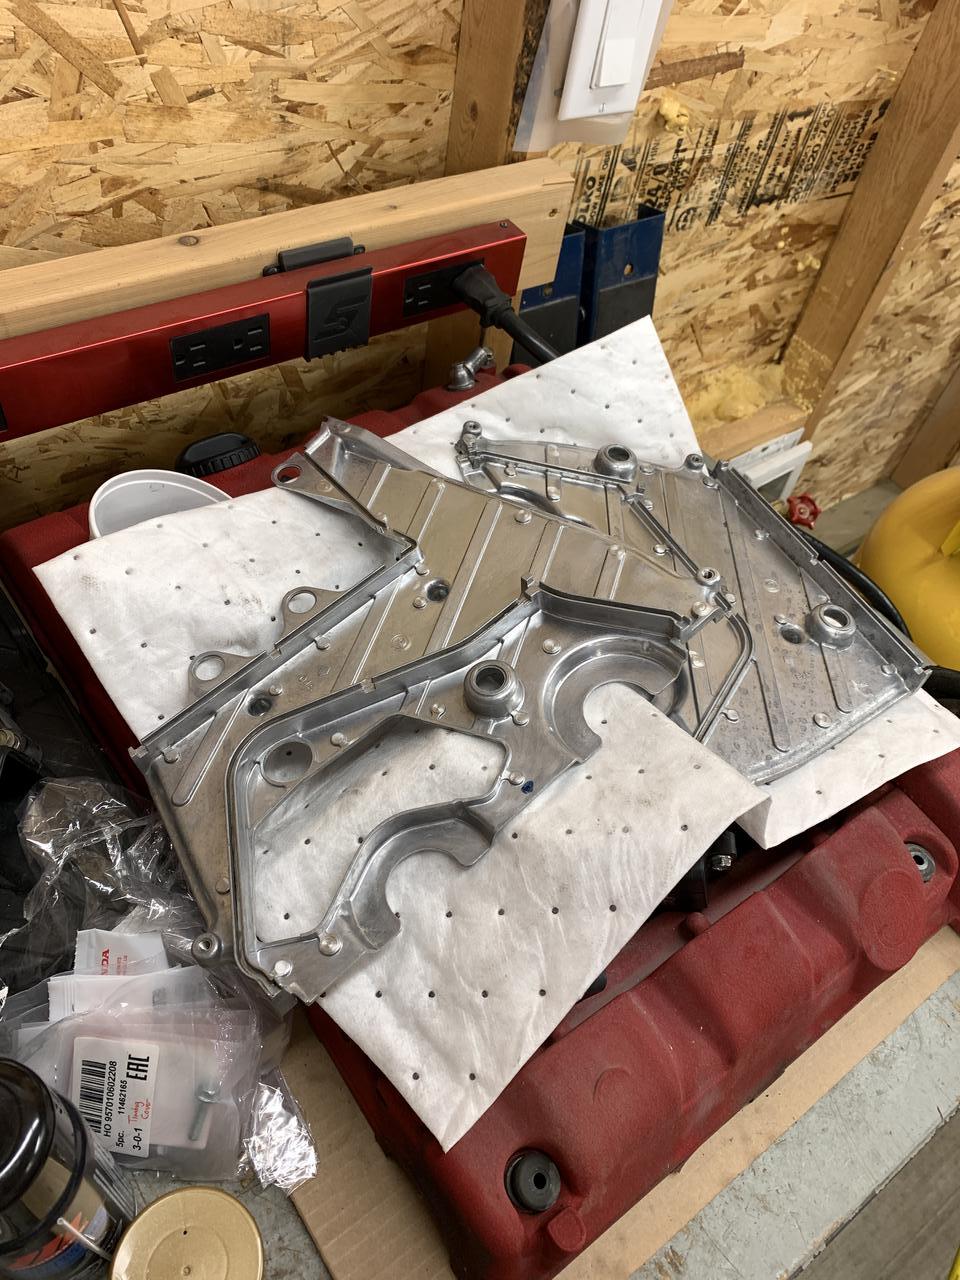
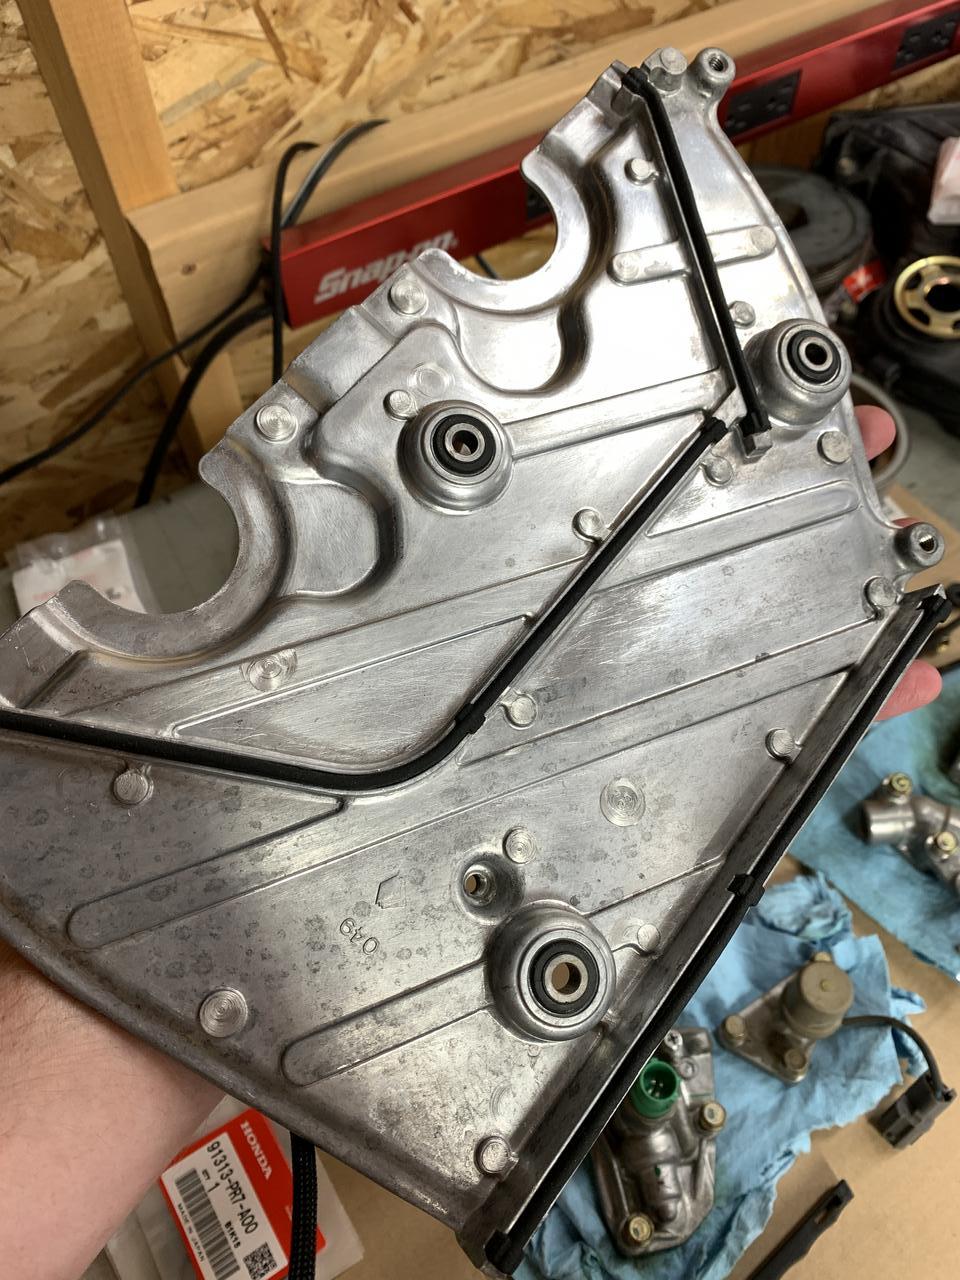
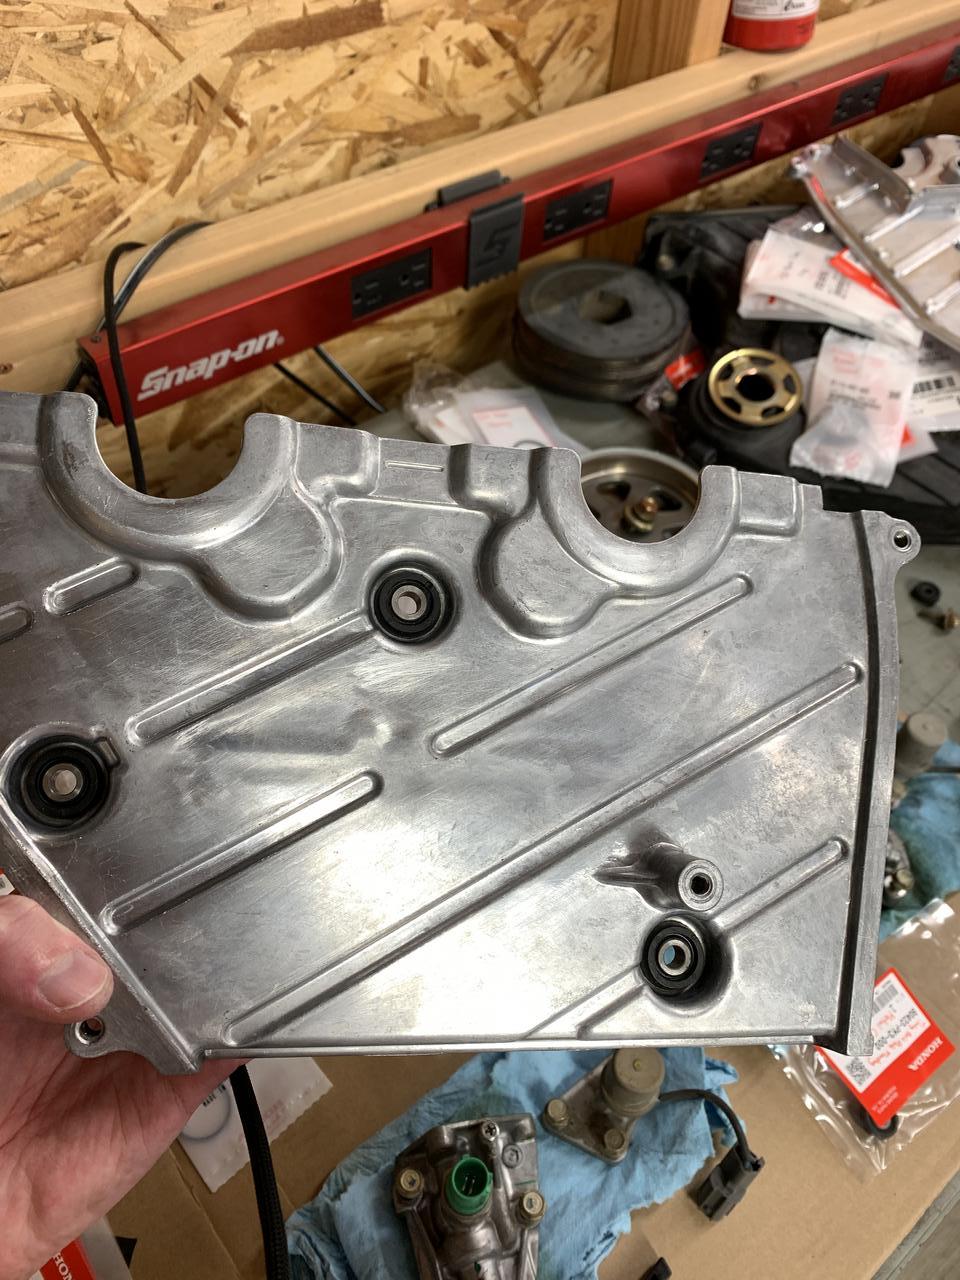
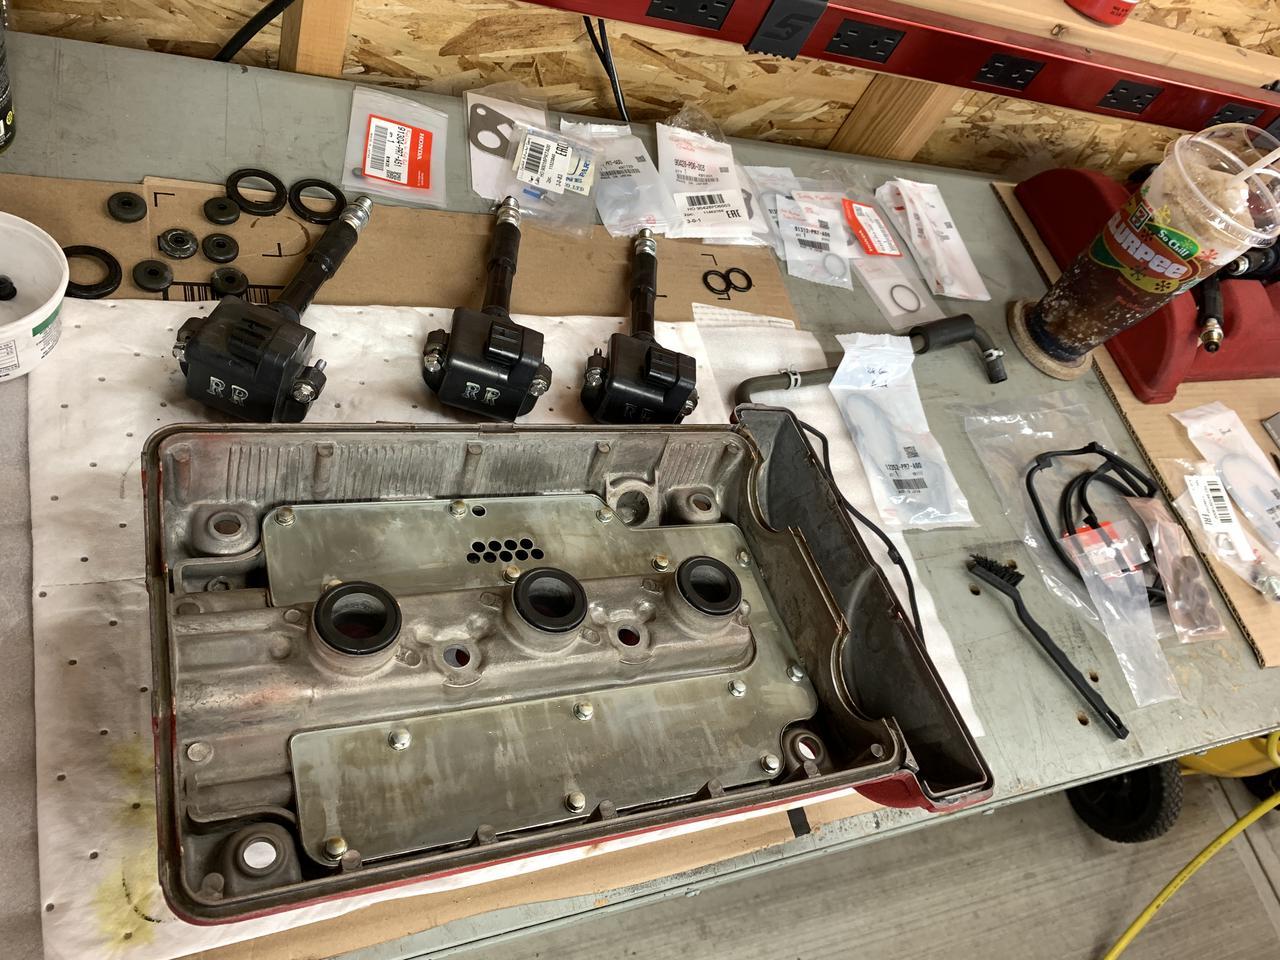
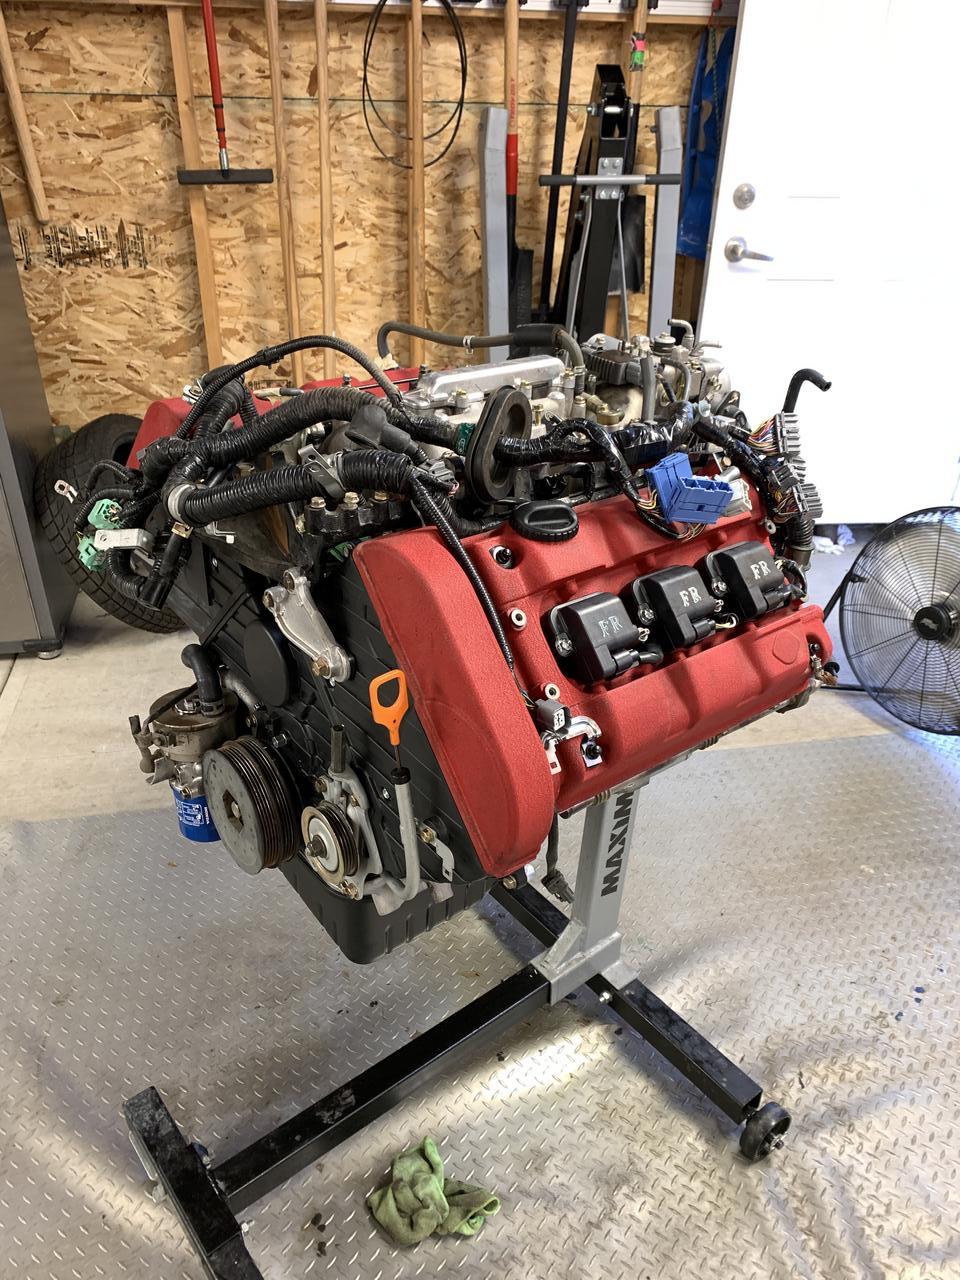
Start on re-sealing the valve covers.
Once again the castings seem to be miffy on my particular car. These never leaked and they don’t hold much pressure so maybe I’m just being too picky.
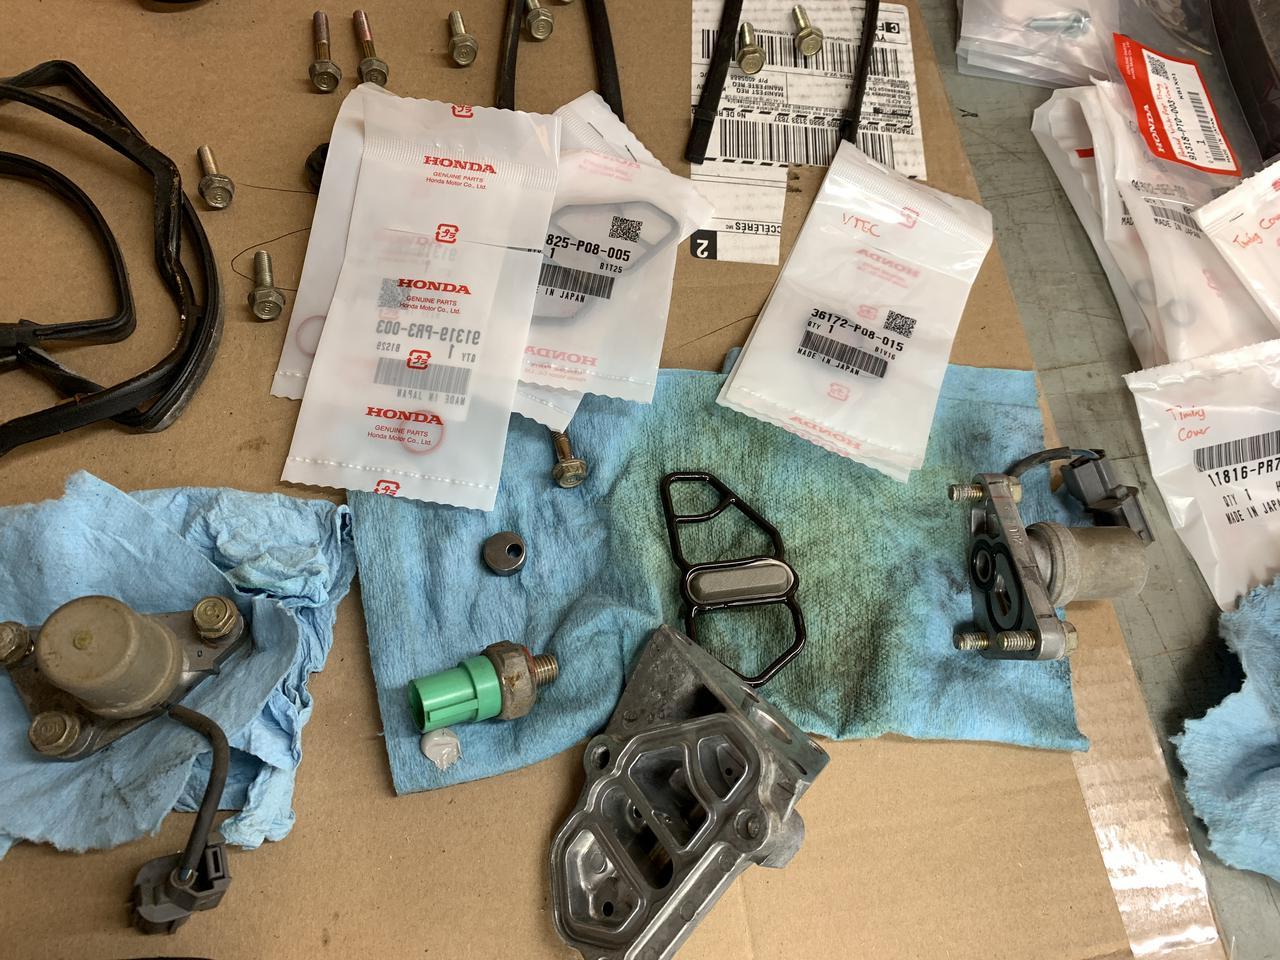
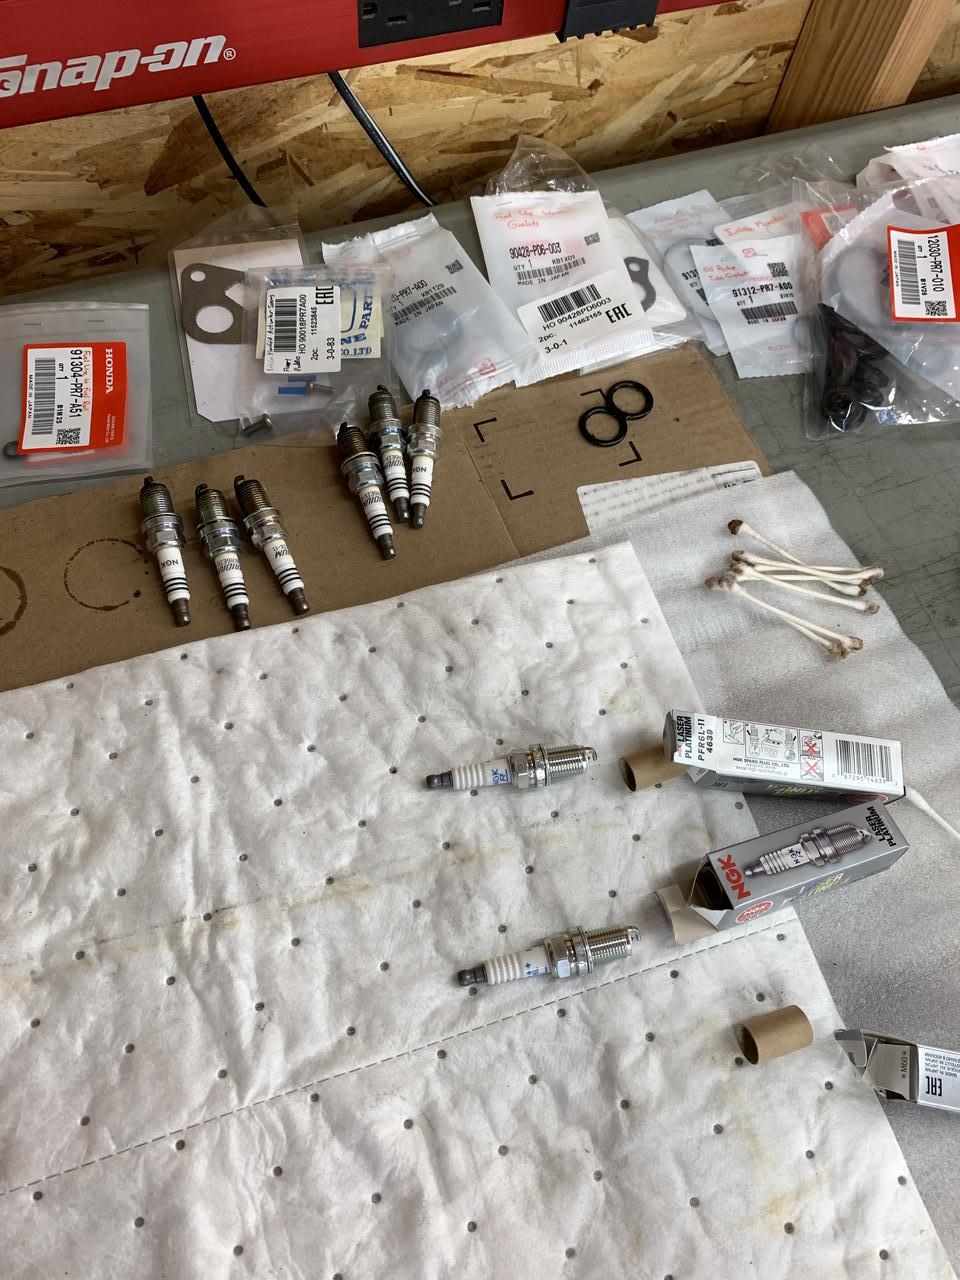
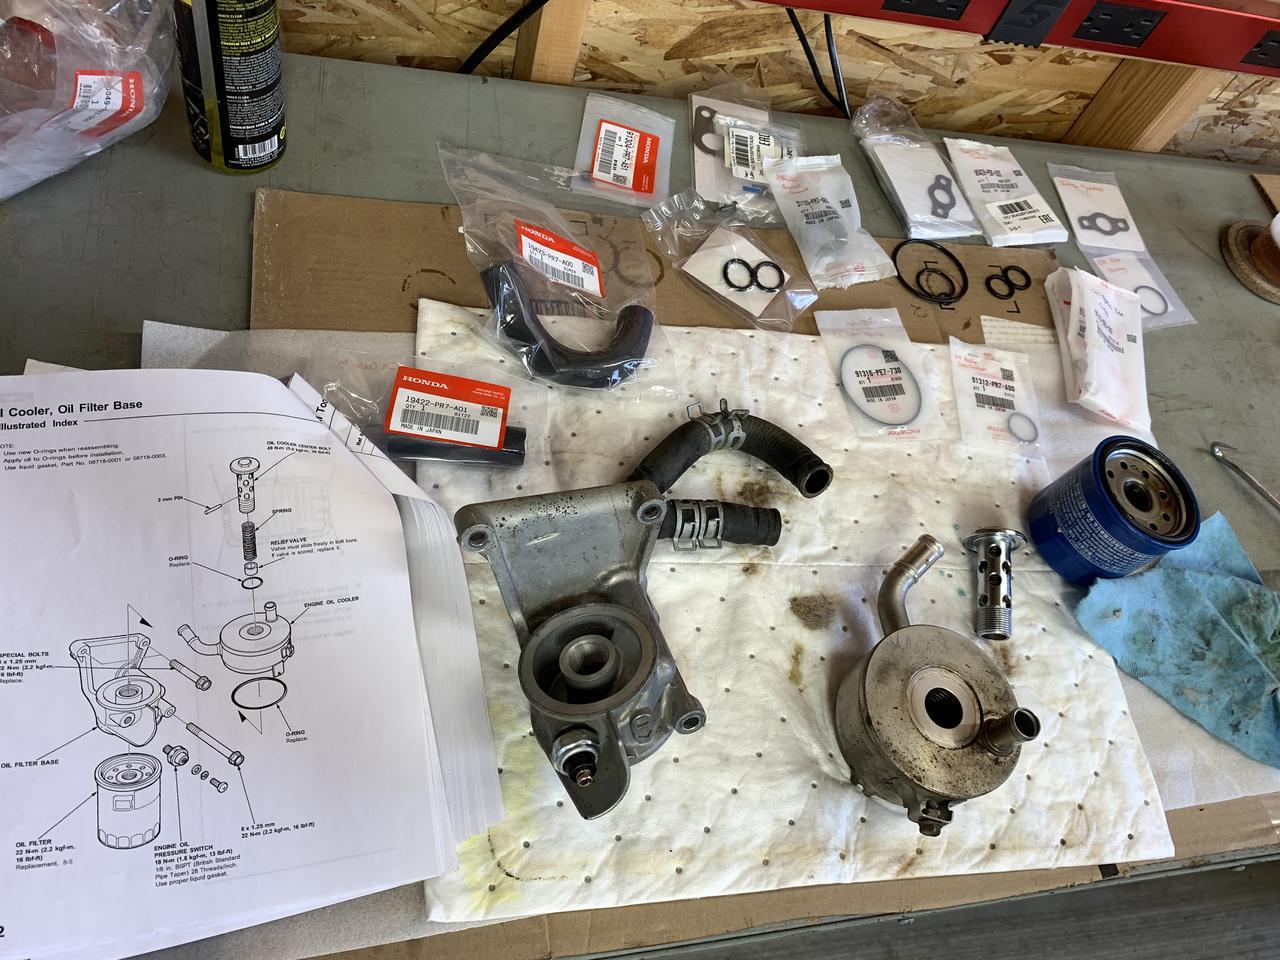
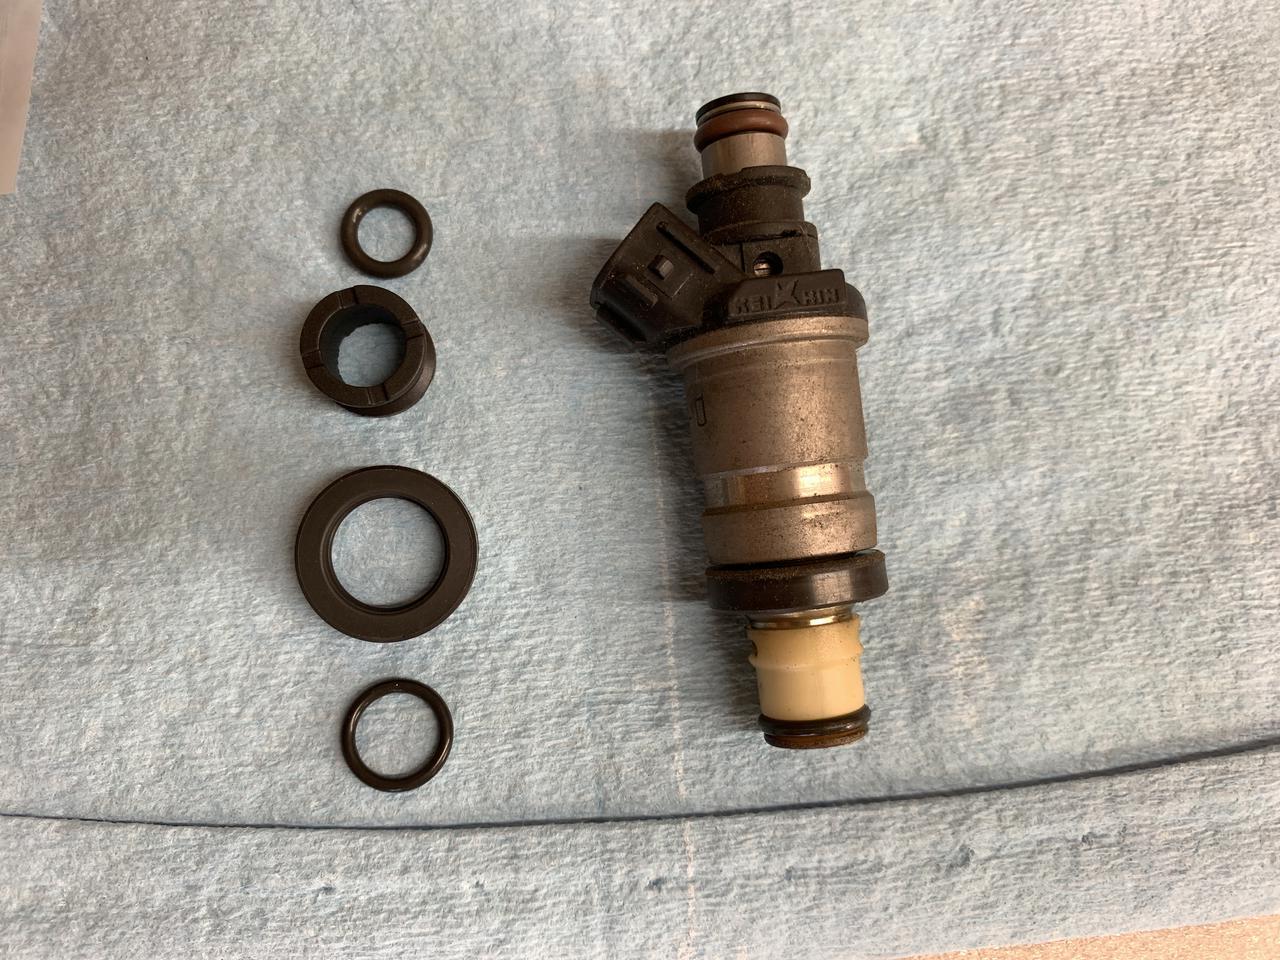
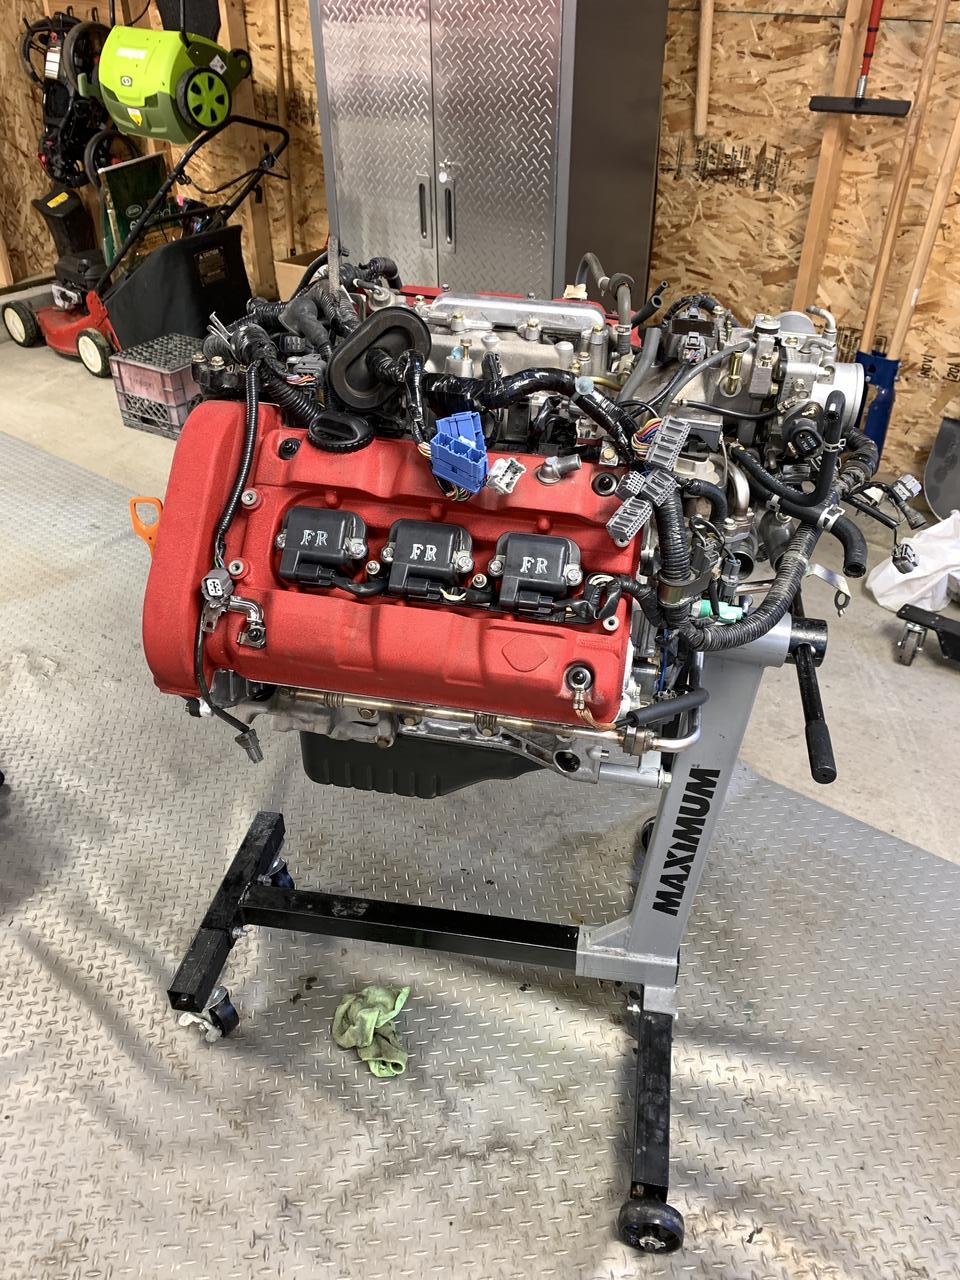
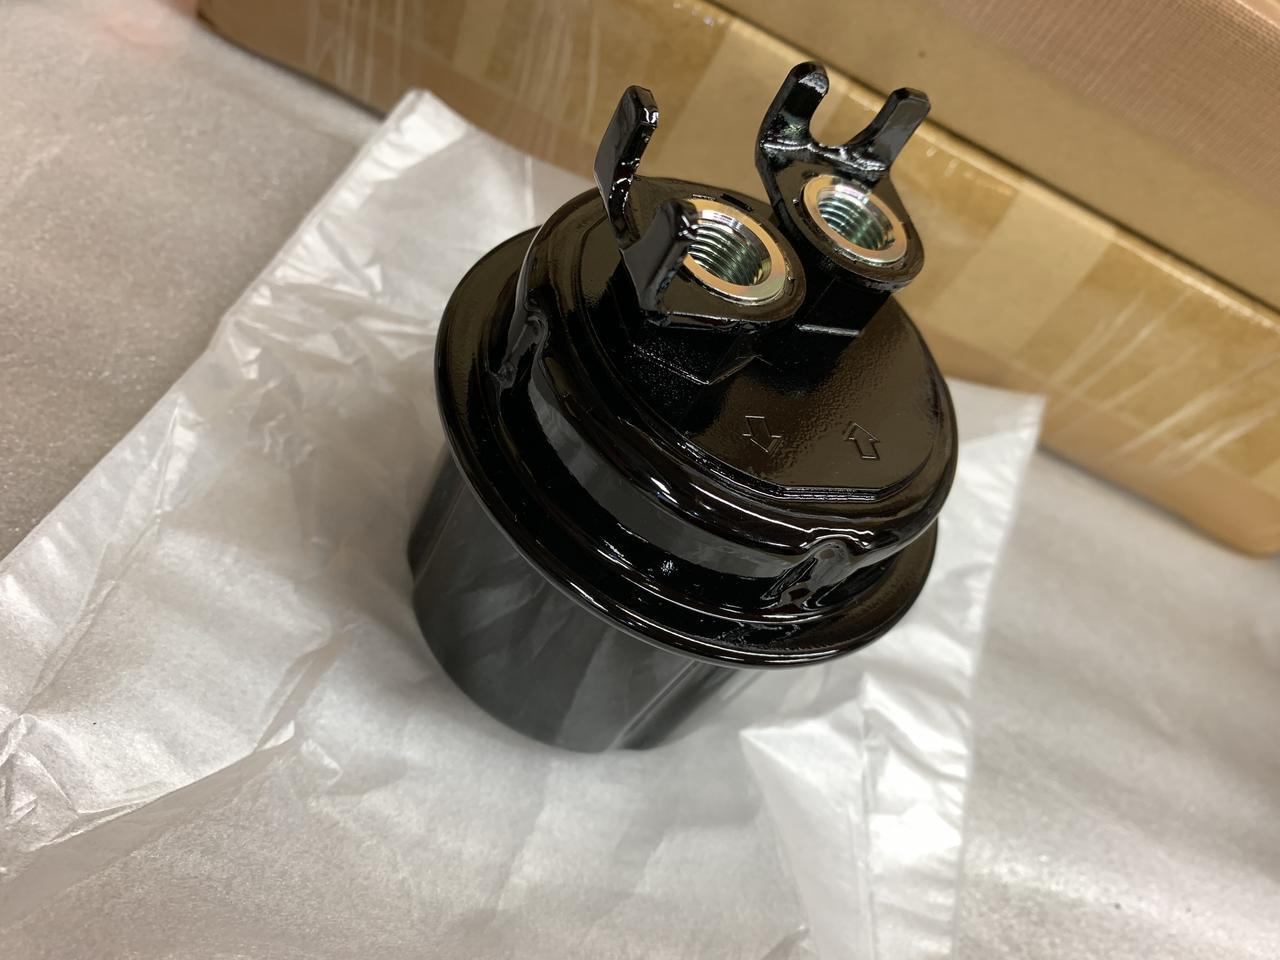
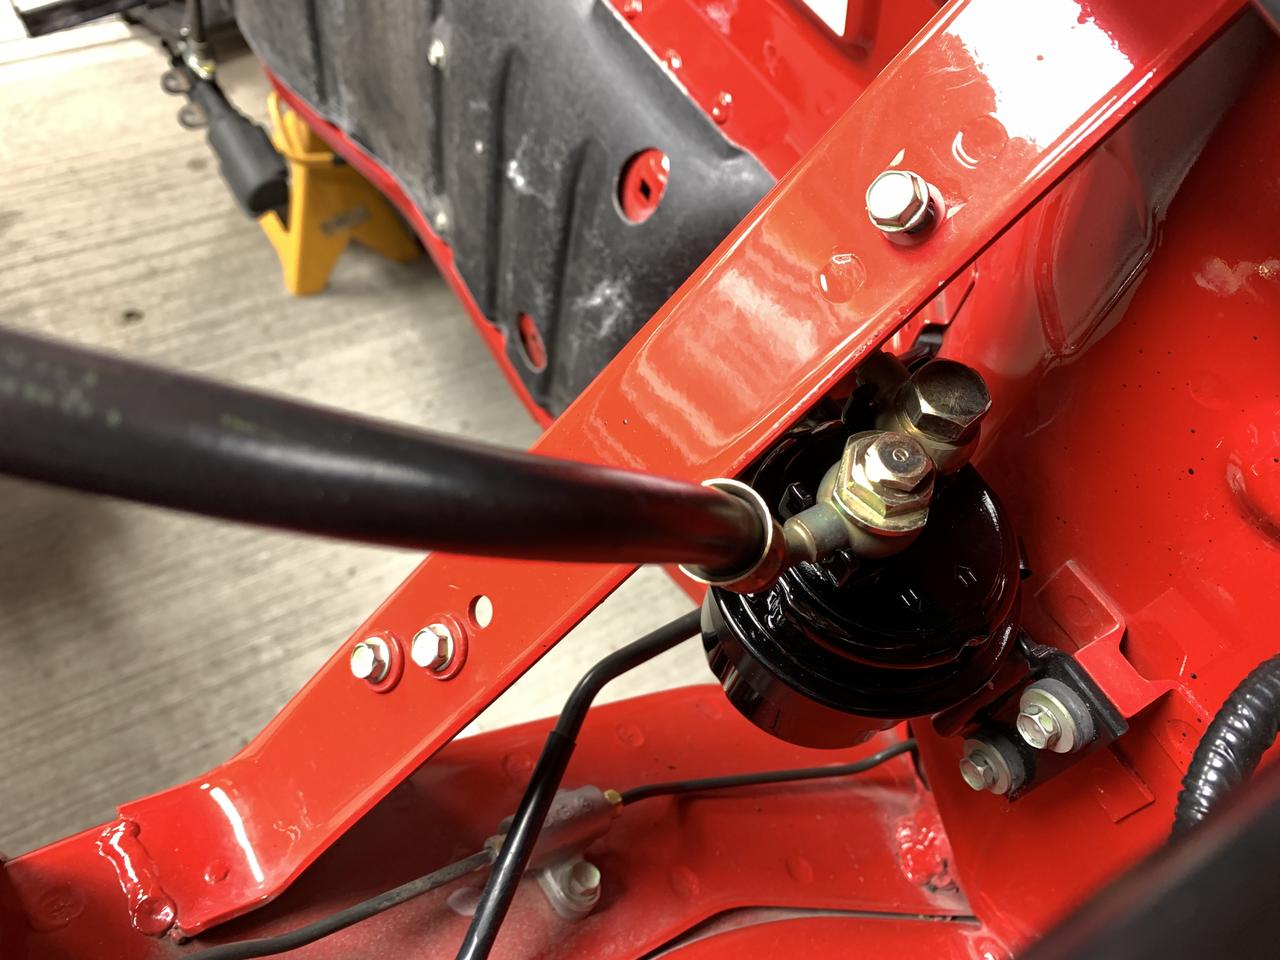
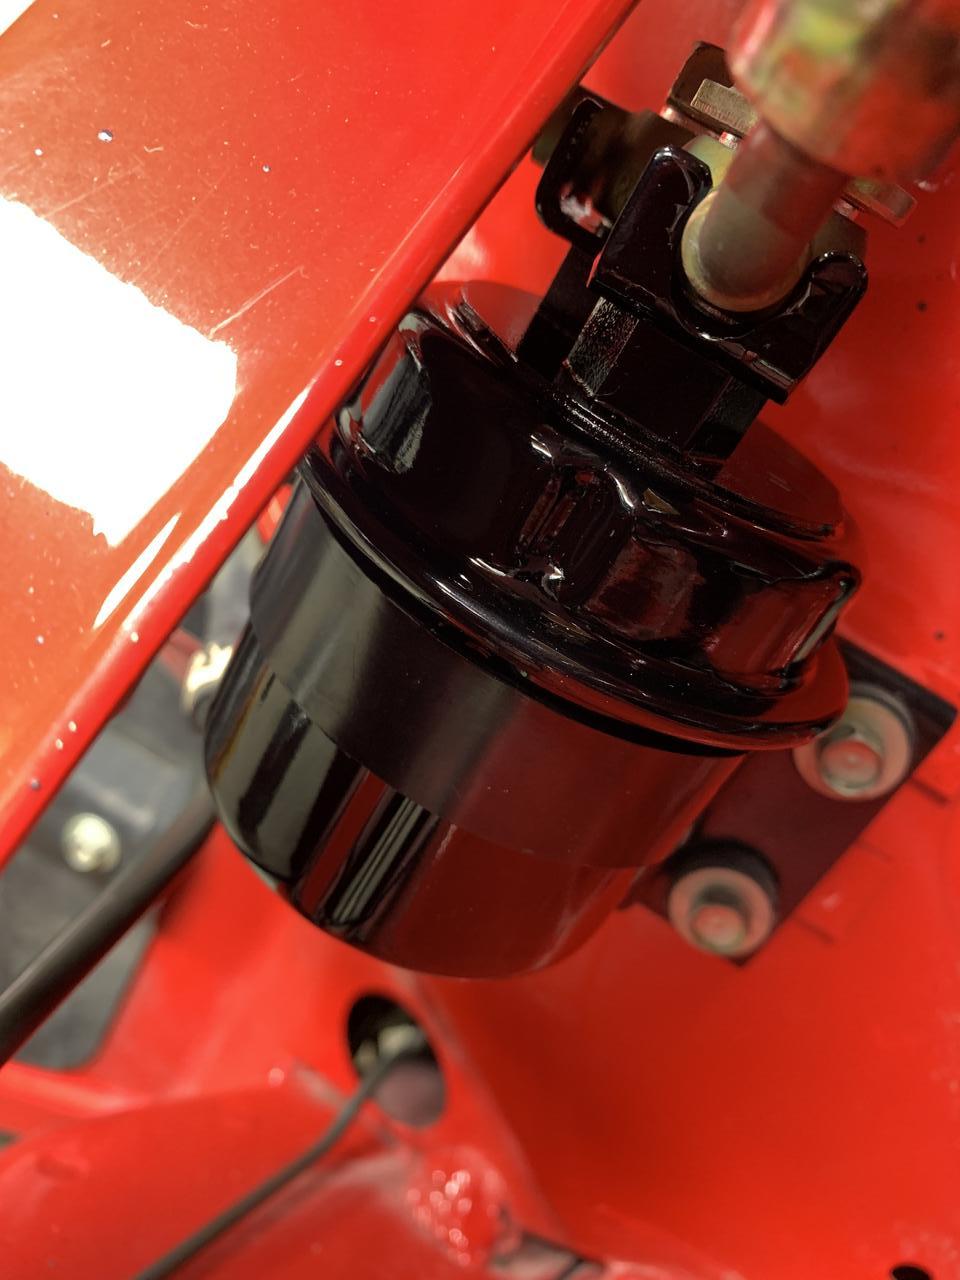
Change the sparks plugs, re-seal the oil cooler and then slap everything back together
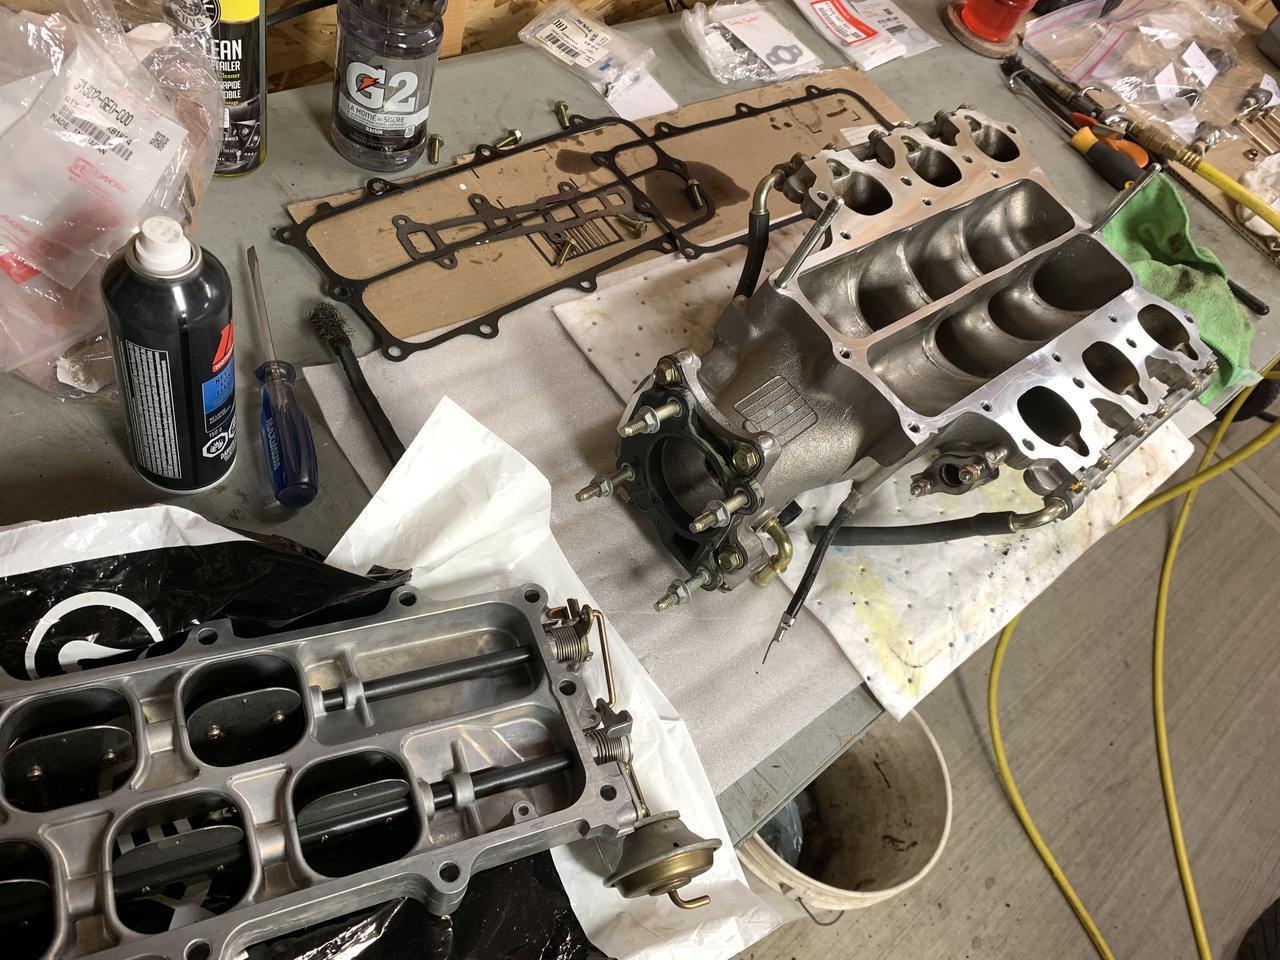
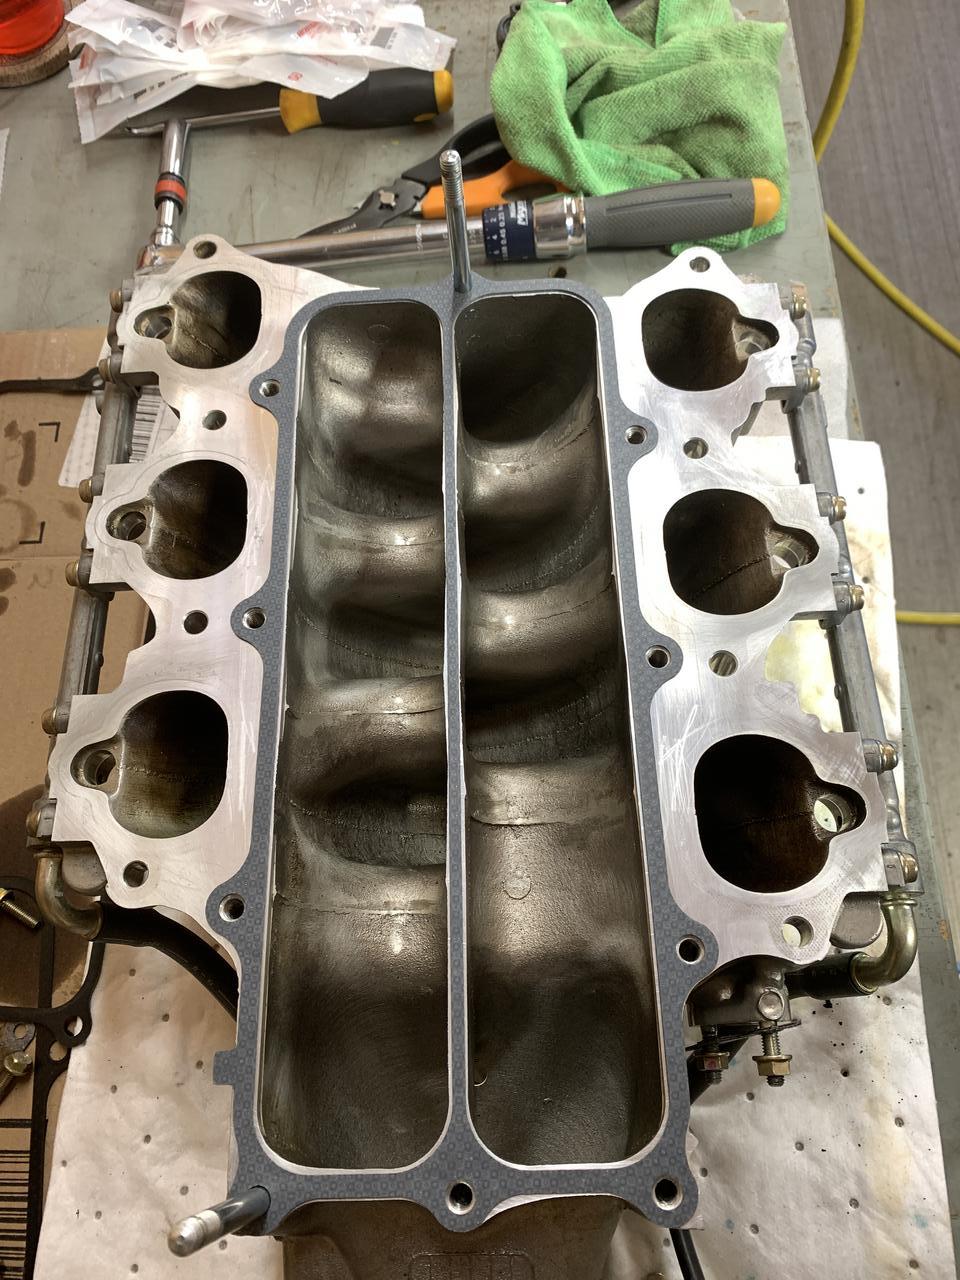
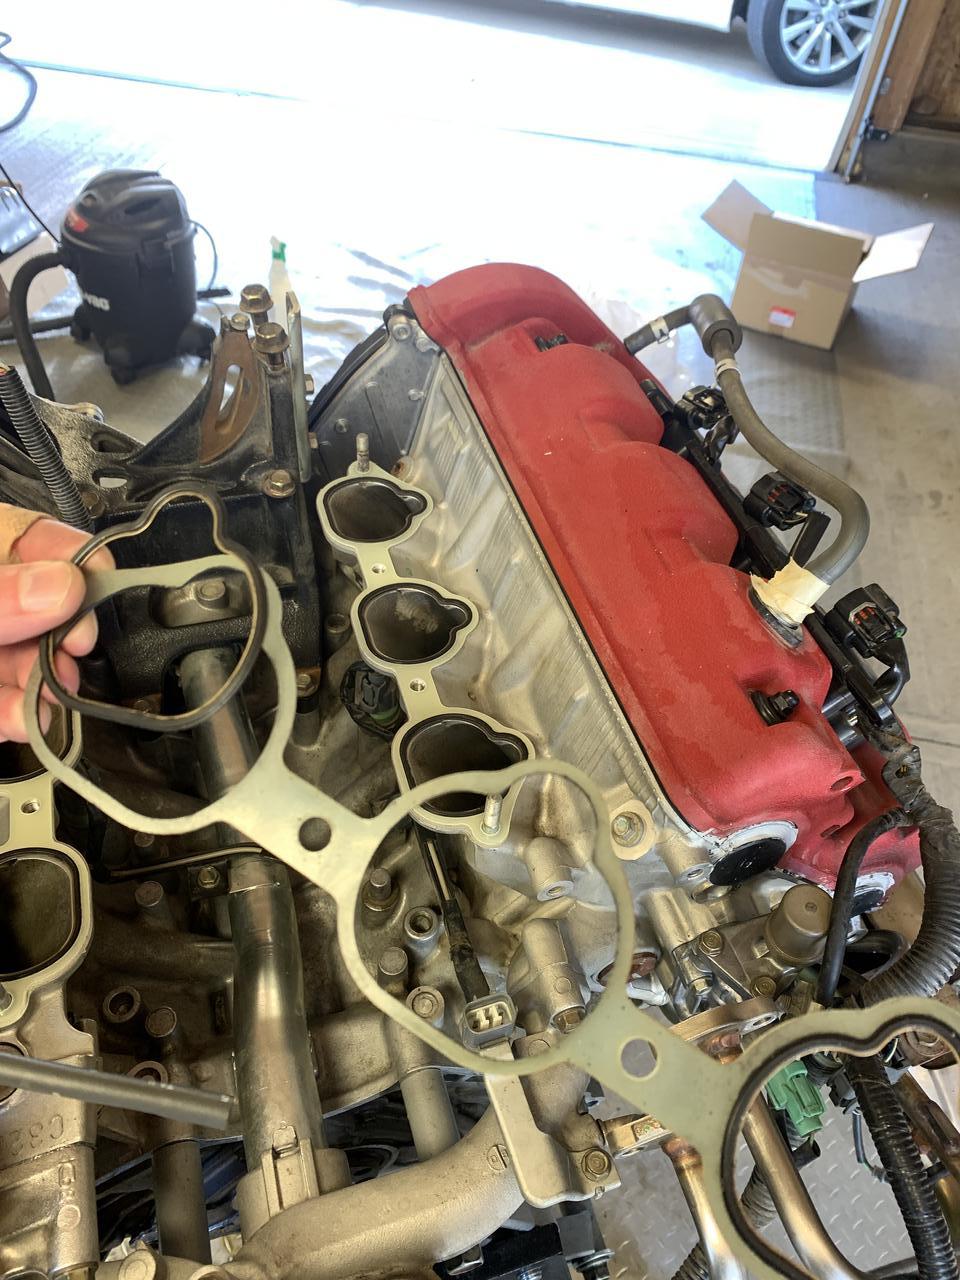
Then put the intake manifold on. This being my own car I took about half a day cleaning every single passage and every single port. I got the EGR perfect. I scrubbed every solid part I could. I suppose that’s the benefit of “free” labour.
I know it probably shows up looking the same in the pictures but I assure you that manifold is spotless
The gasket is straight, the metal casting isn’t.
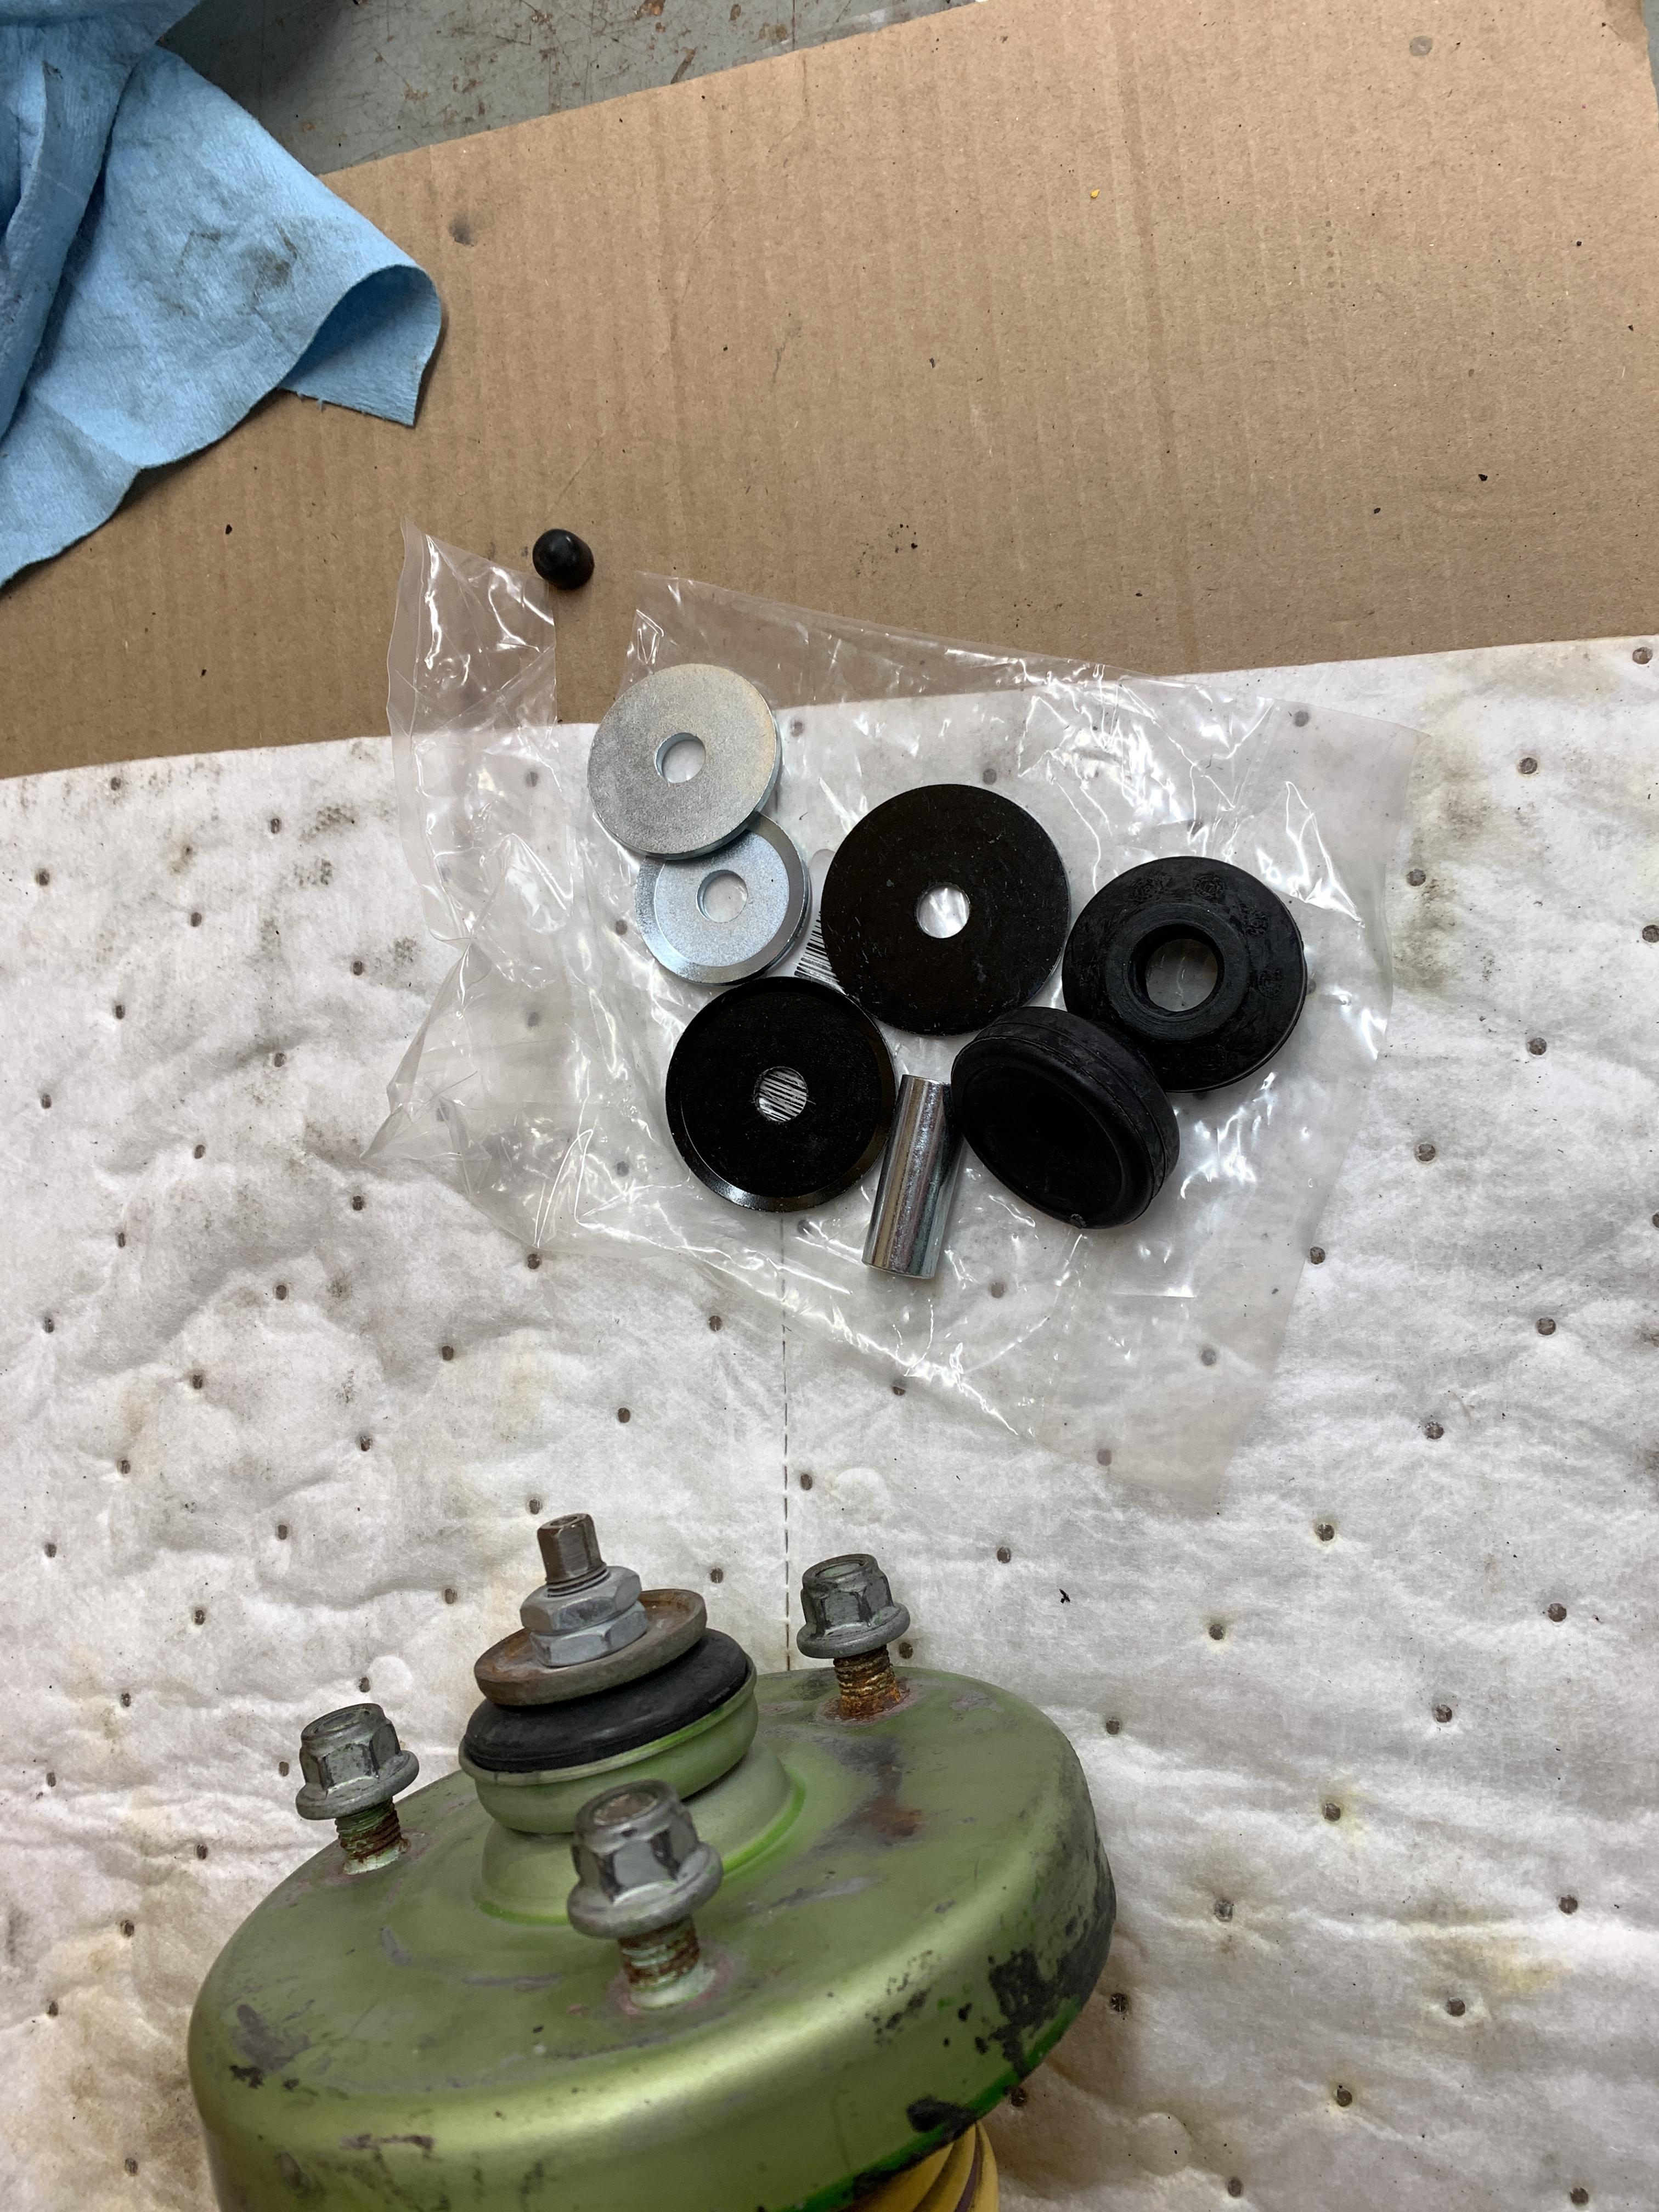
For some reason the manual calls to replace the bolt washers even though they’re metal. They were cheap so I did them.
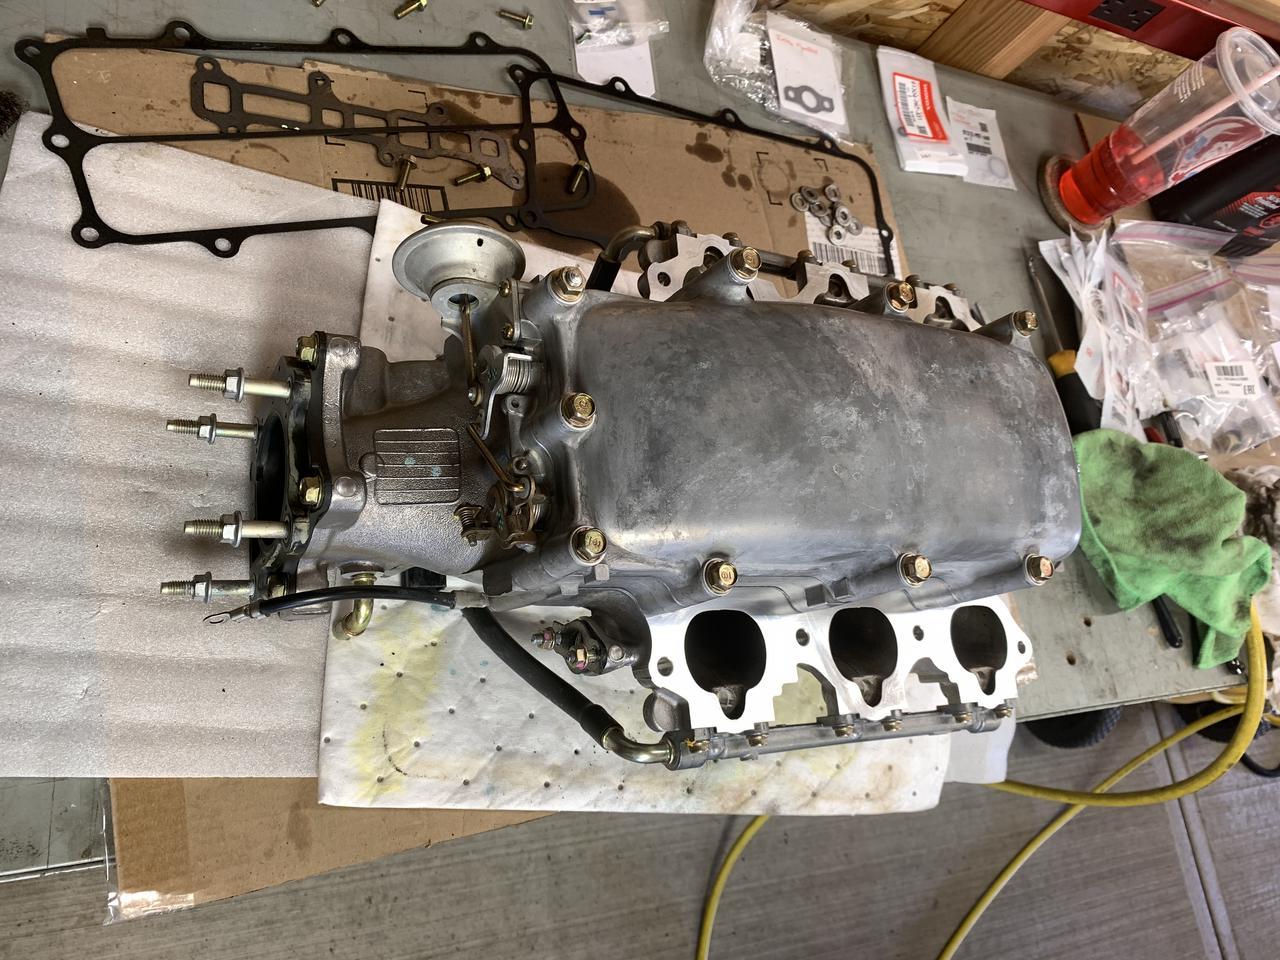
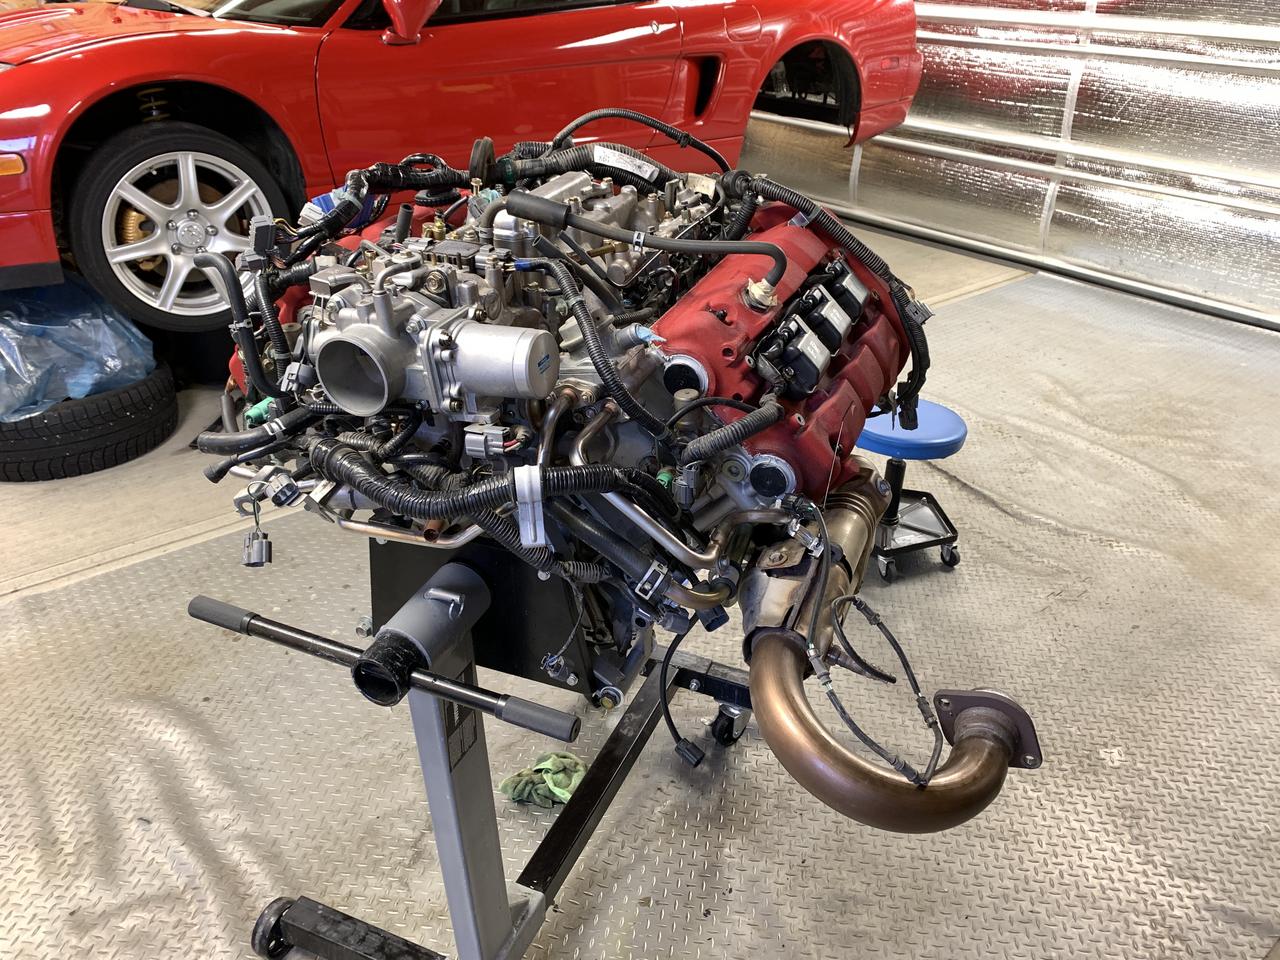
After that intake manifold is ready to go on the car. I’m happy I changed my manifold gaskets. They looked perfect but when I lifted them they disintegrated. And my car only has 24k miles on it. The new one is on in the background.
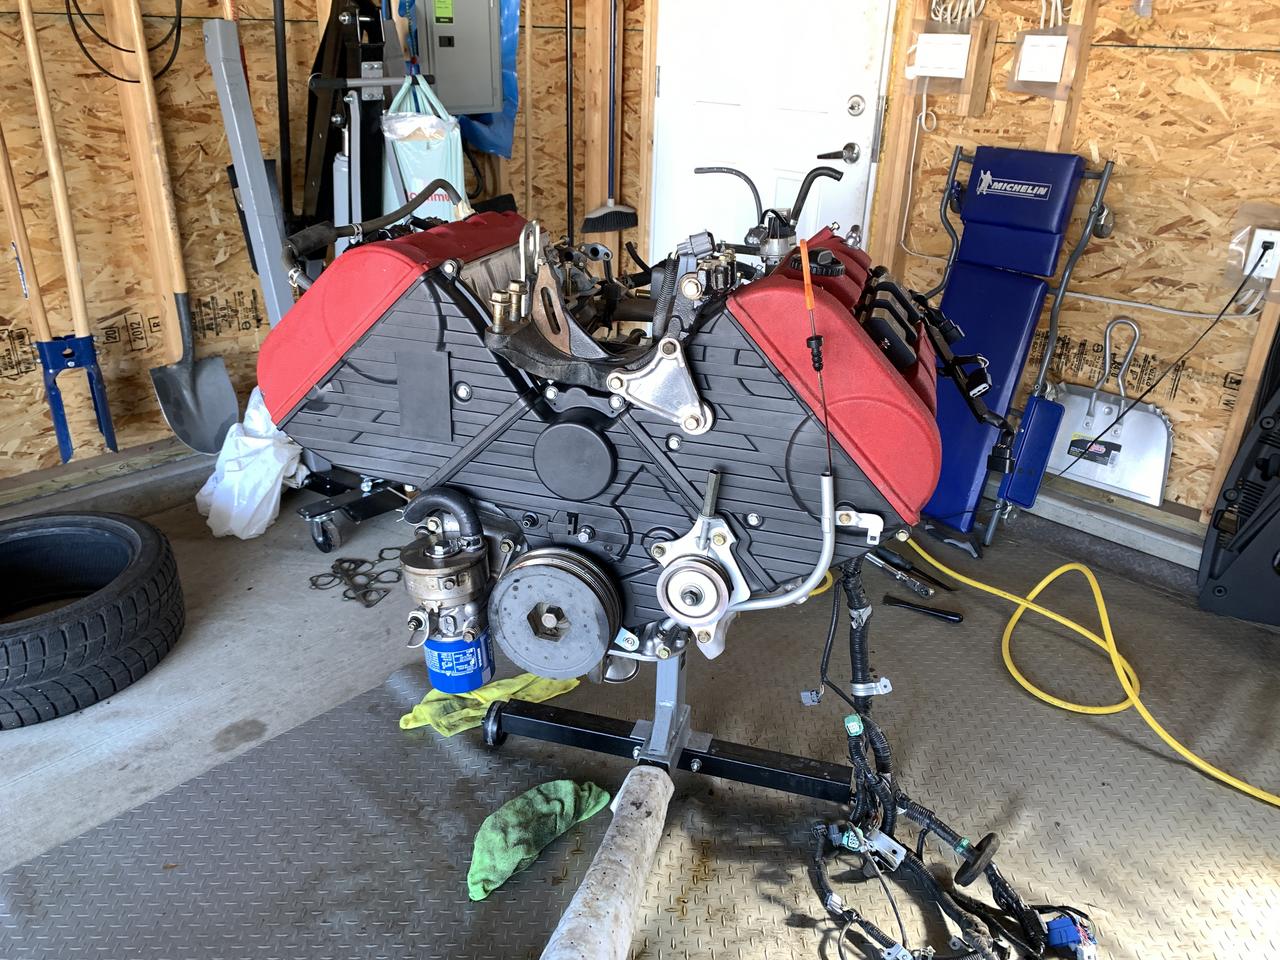
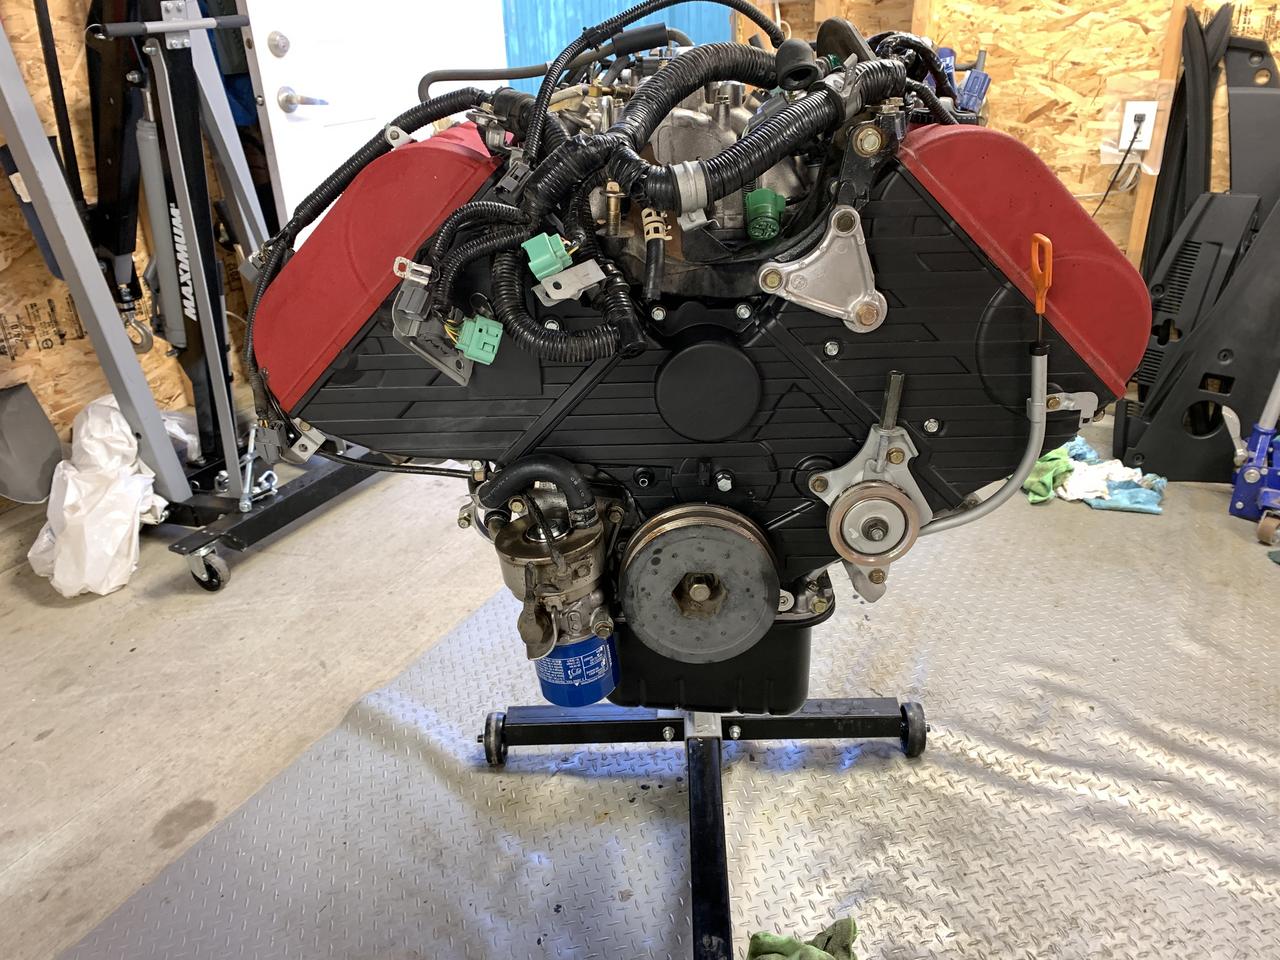
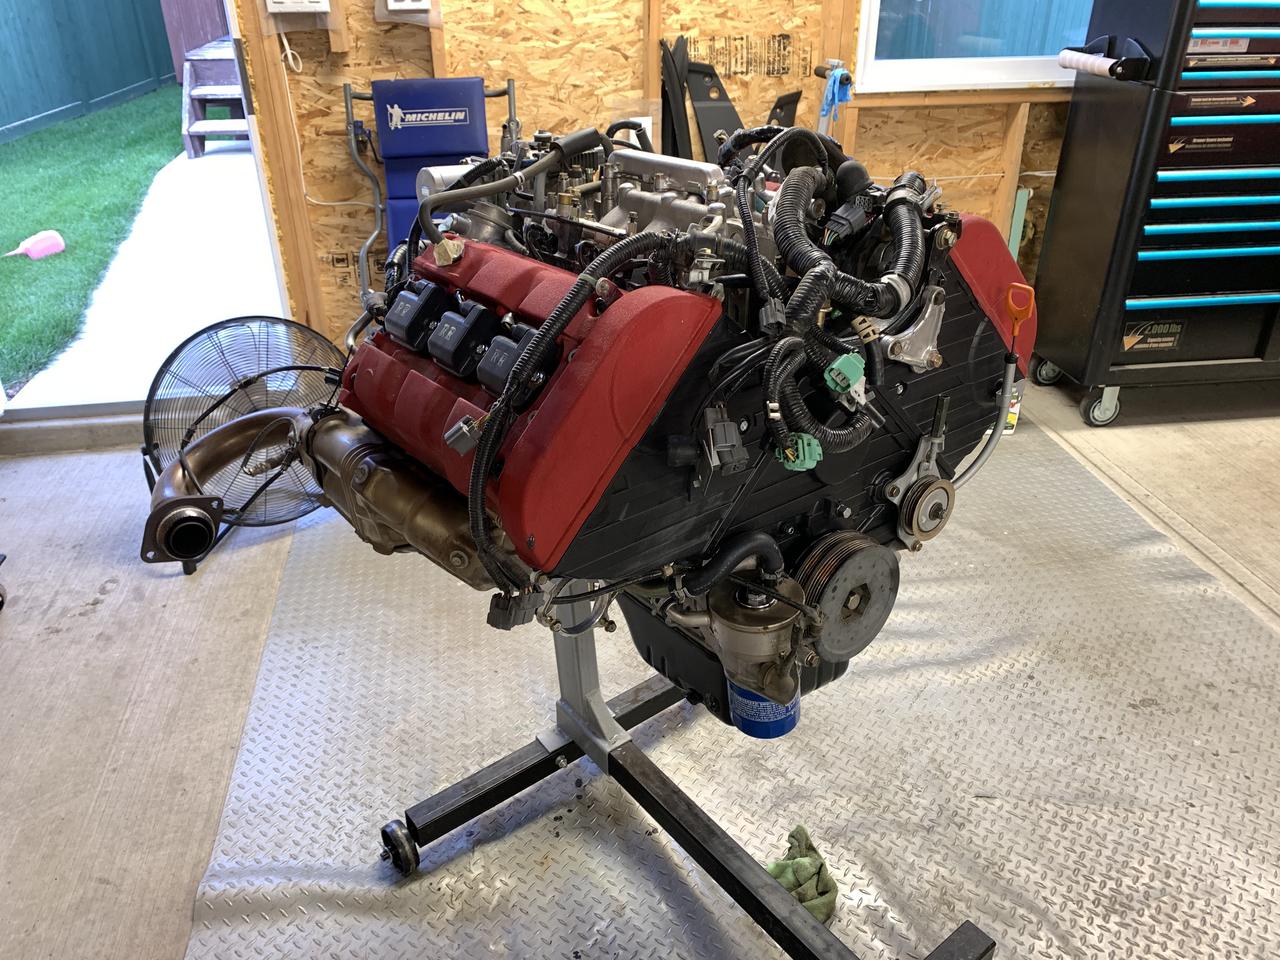
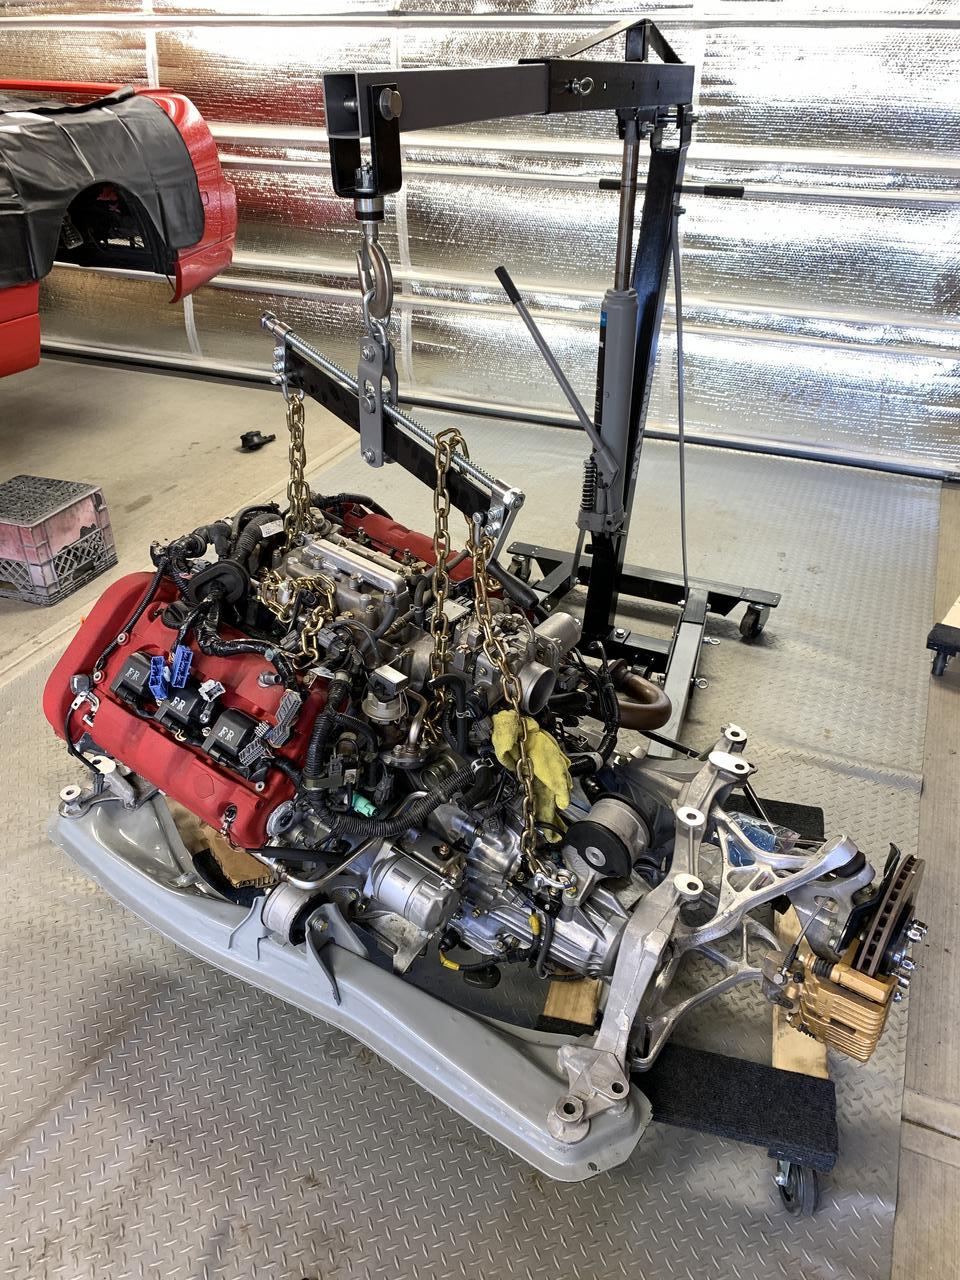
Completed engine now done. Note I have a new crank pulley but I put the old one in just in case it gets bumped while installing the engine. Can also see a Cedar Ridge pulley shield just peeking out.
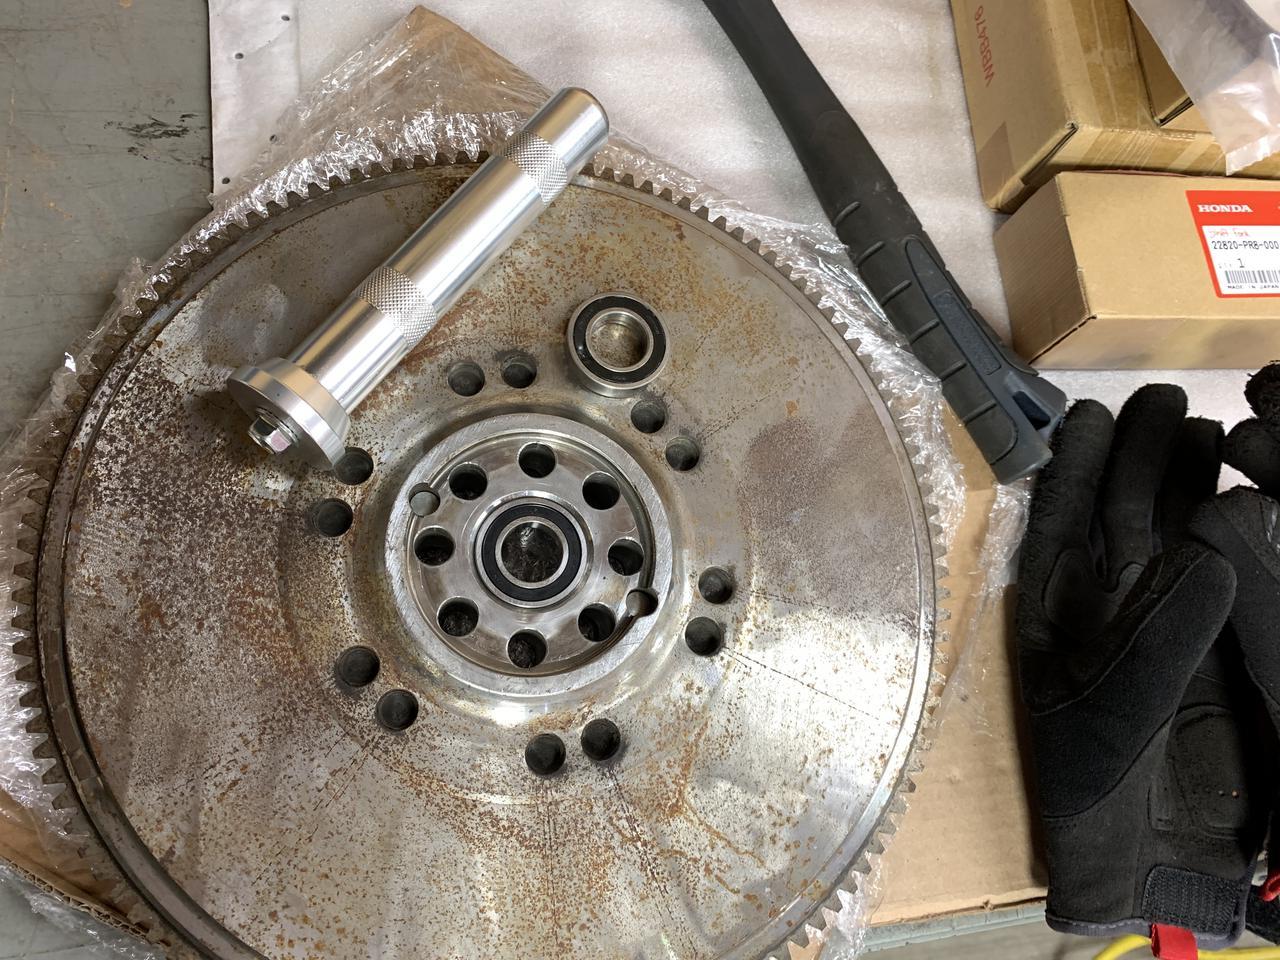
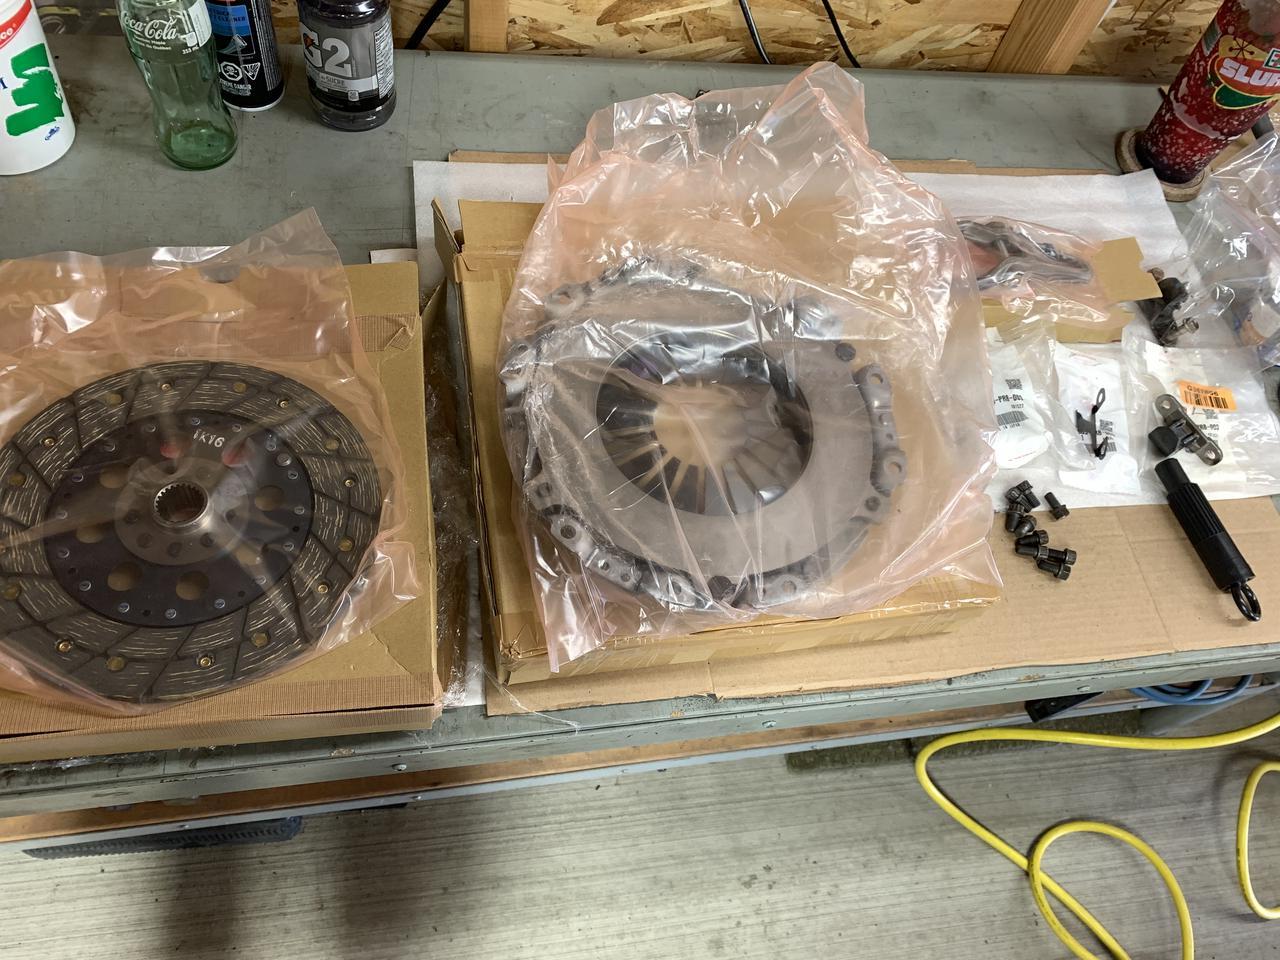
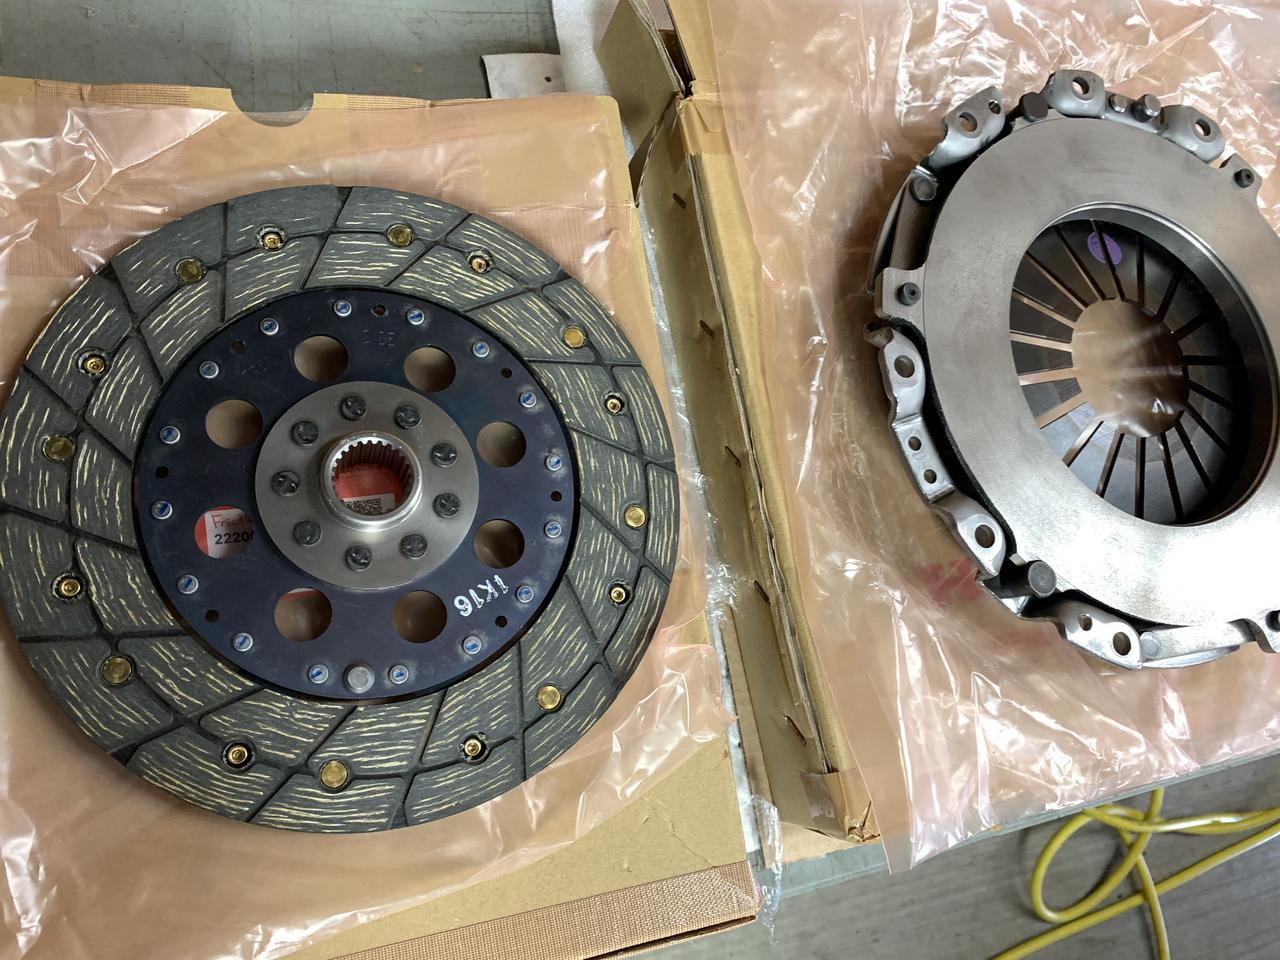
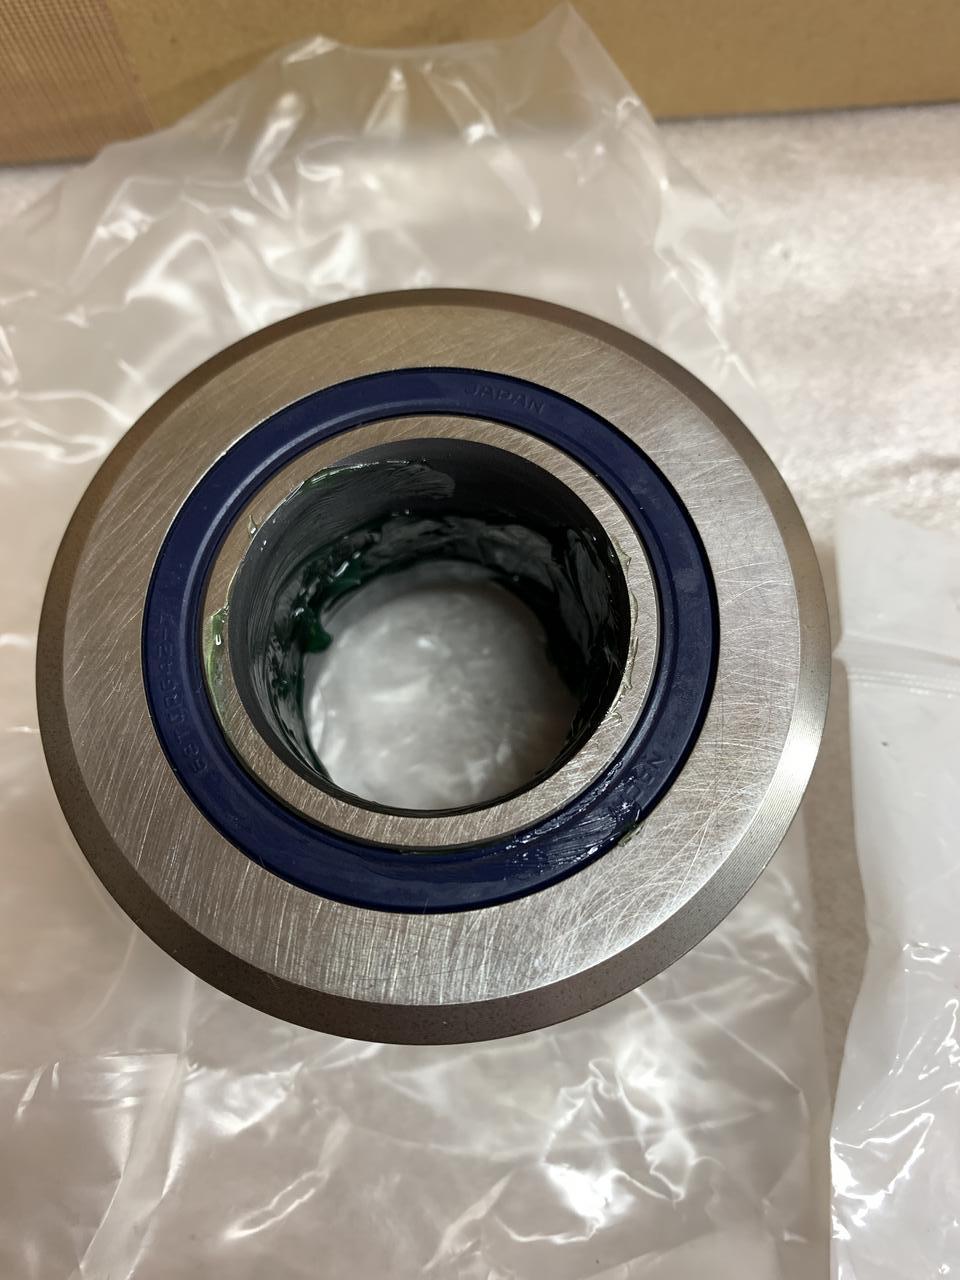
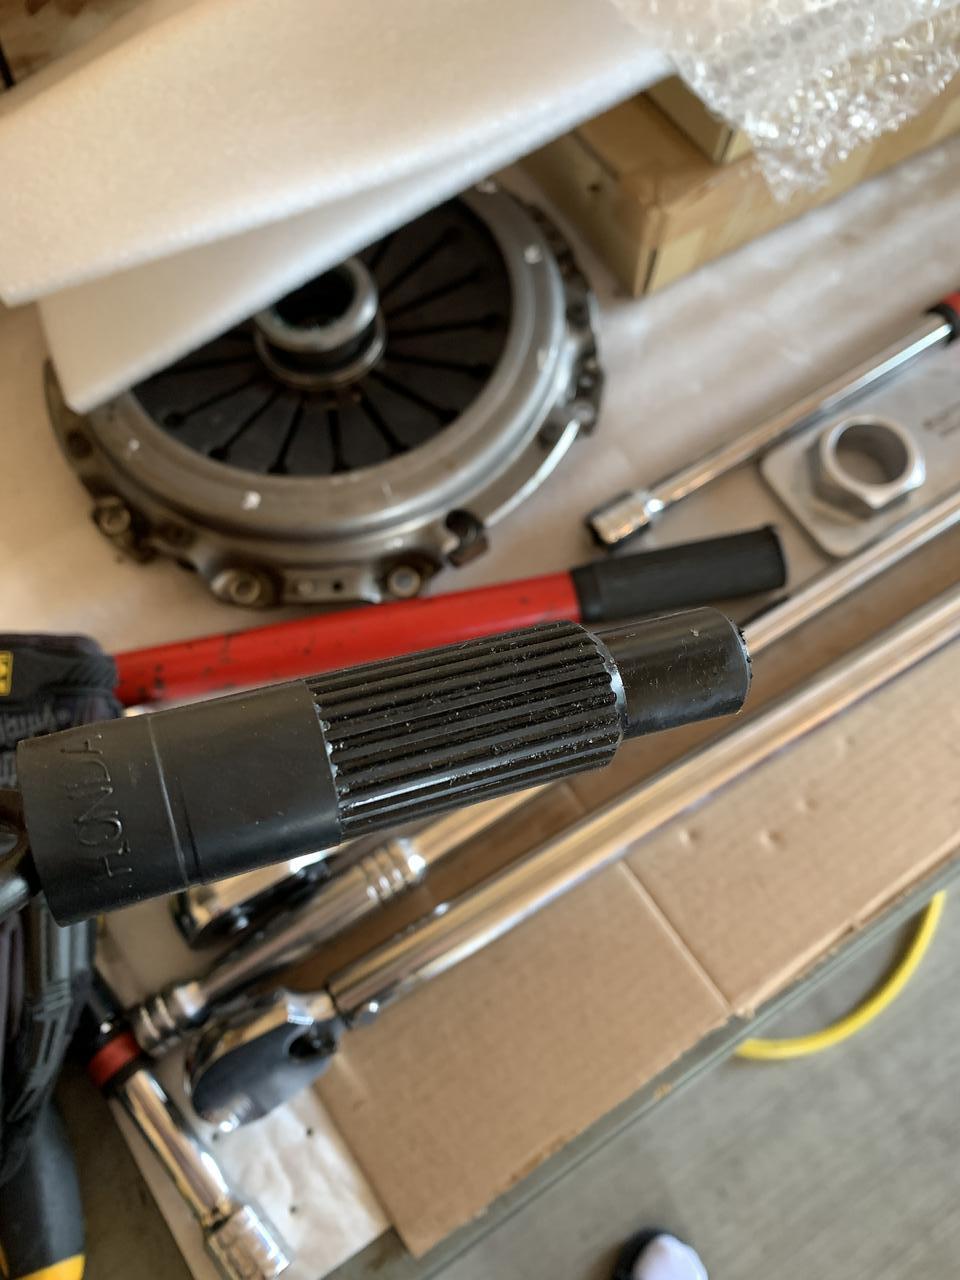
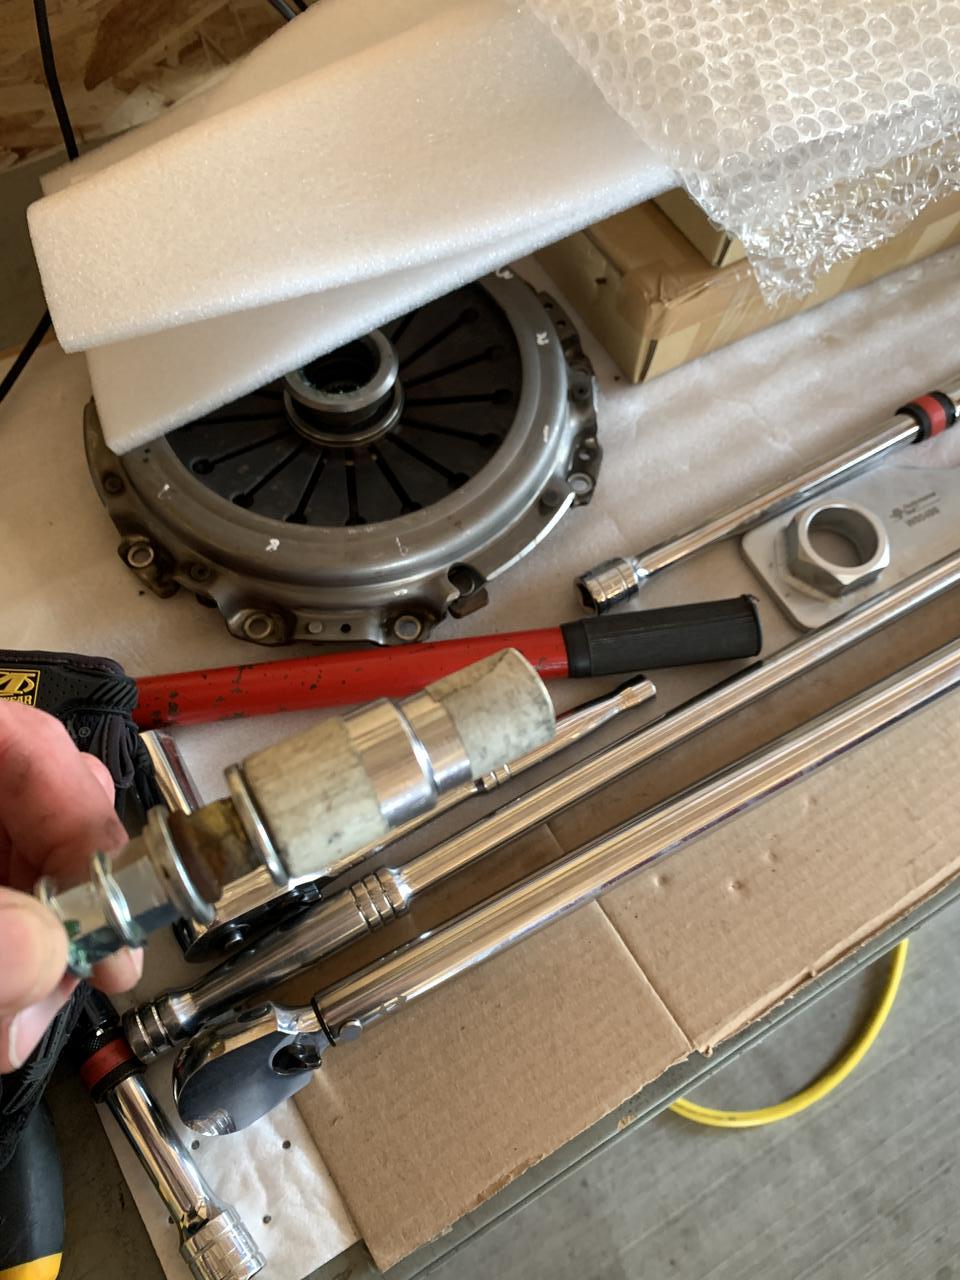
Install a new pilot bearing. I’m a bit antsy about this new bearing. It came new out of the package but felt “crunchy” when spinning it. Hopefully once some grease gets flung around it’ll get better.
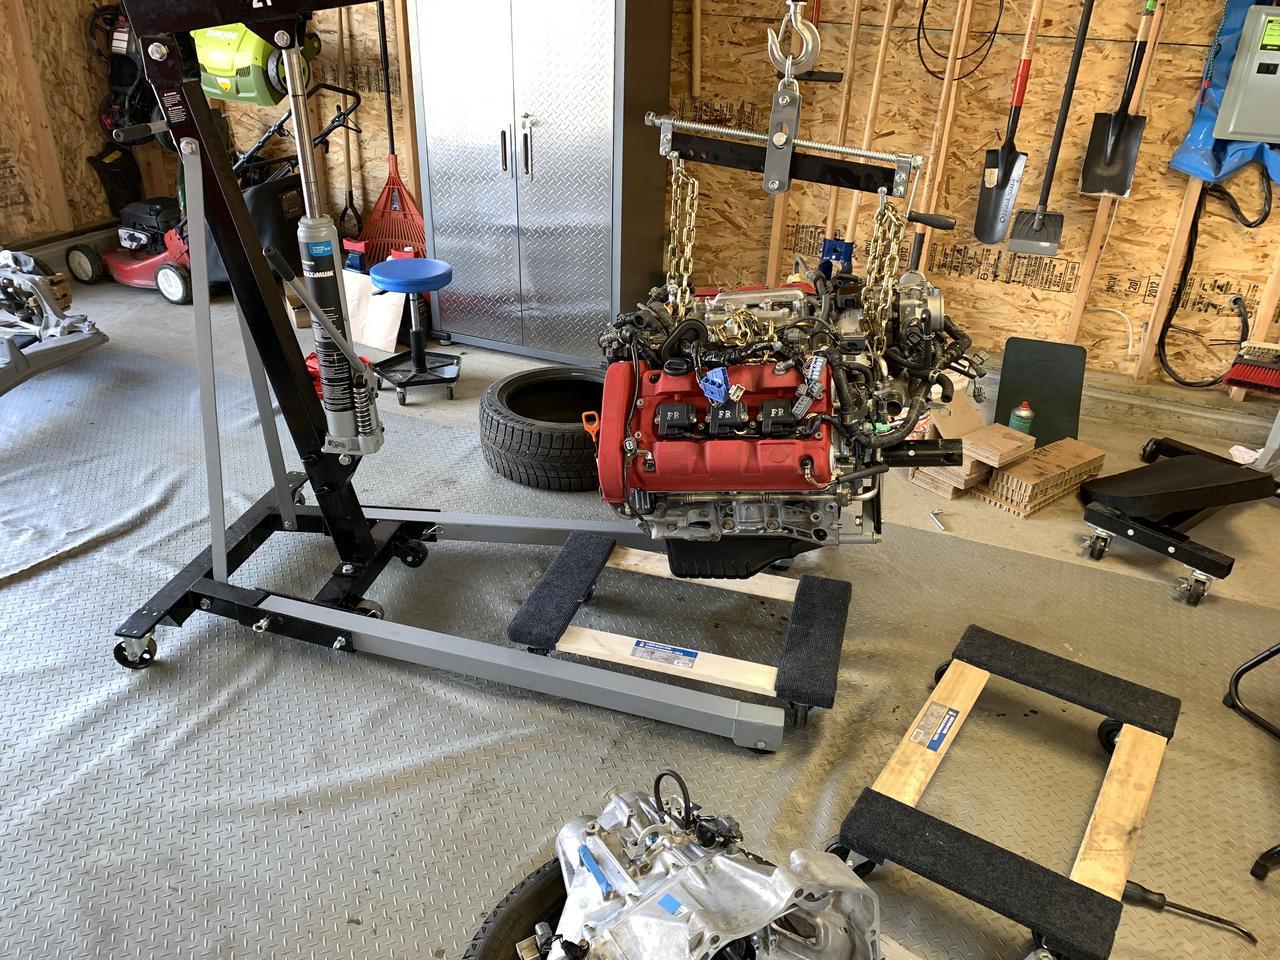
Now finally time to get the engine off the stand.
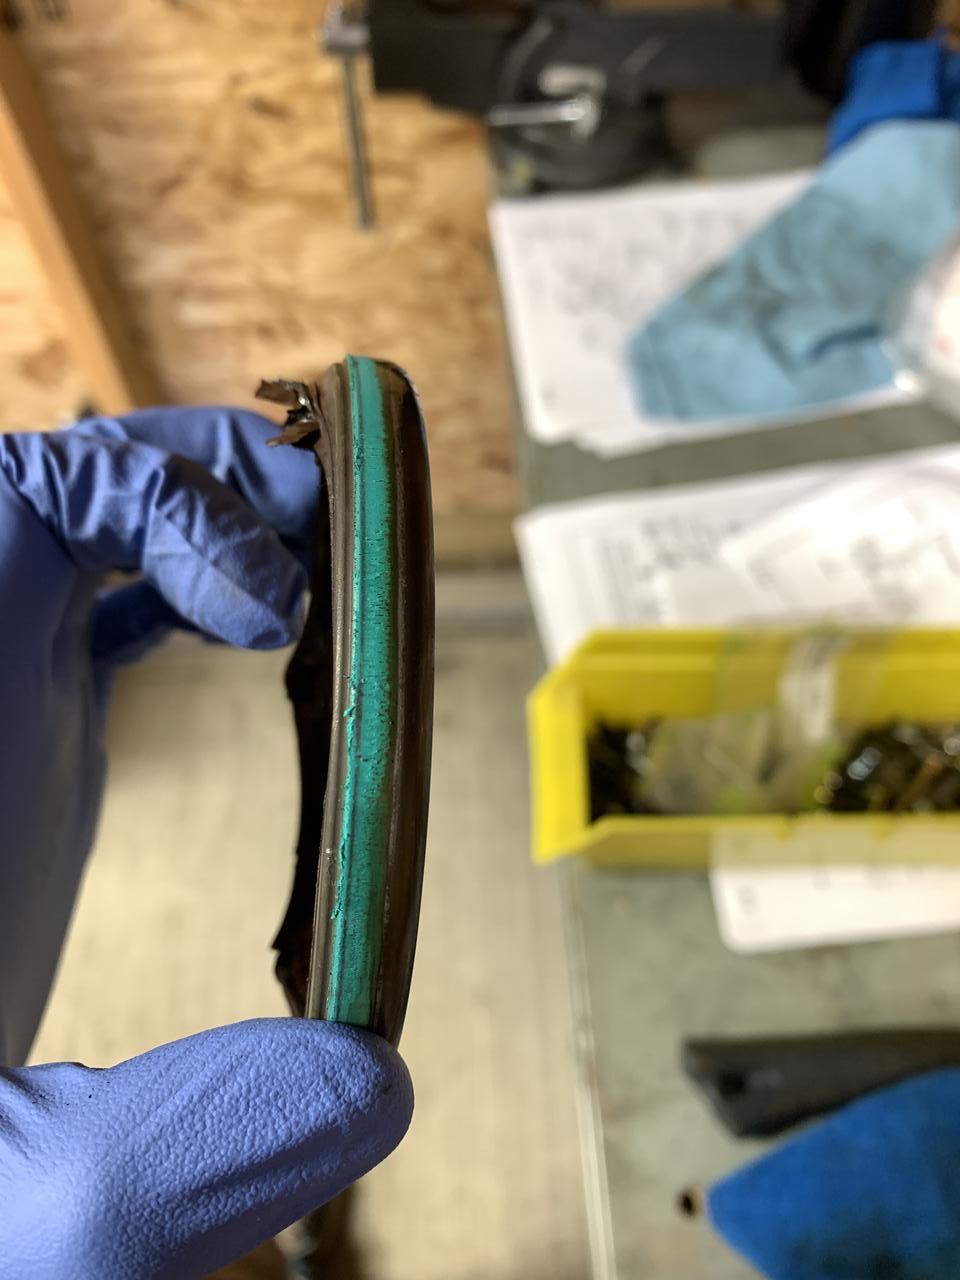
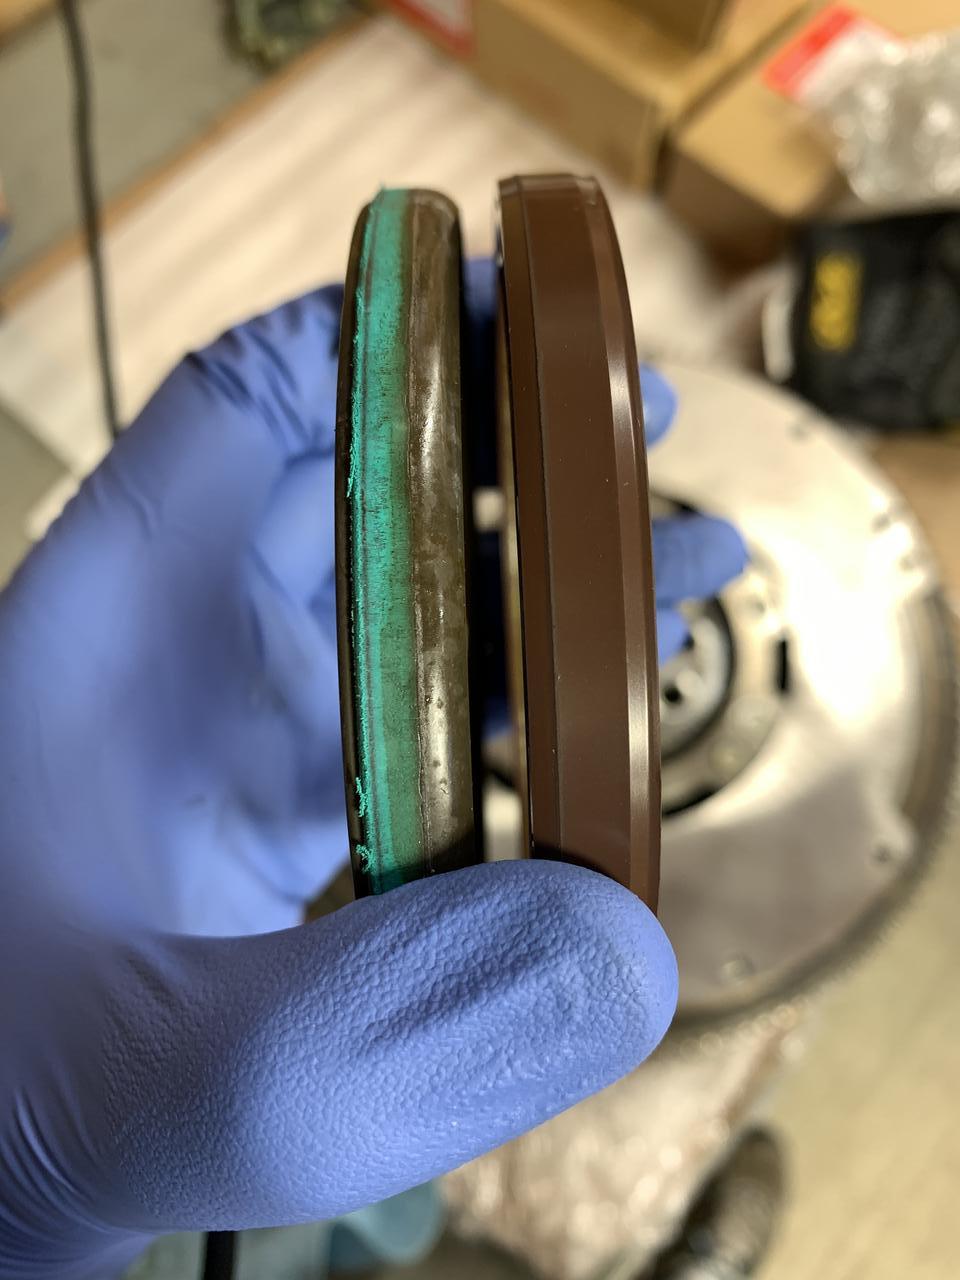
This is the first time (other than the cams and rear plugs) that I’ve seen a rear main seal glued in from factory. This had some really strange blue paste on it. It didn’t flake up for the most part but either balled up or stringed off like a spider’s web. It showed no signs of leaking so of course by me changing it I probably made it worse and more likely to leak in the future.
They definitely changed the design since 2005. Since the service manual doesn’t specify what that paste is nor do they call for any sealant I re-installed the new one like I’ve done in every other car (I went in dry other than some grease around the spinning portion of the crank). Hopefully it holds.
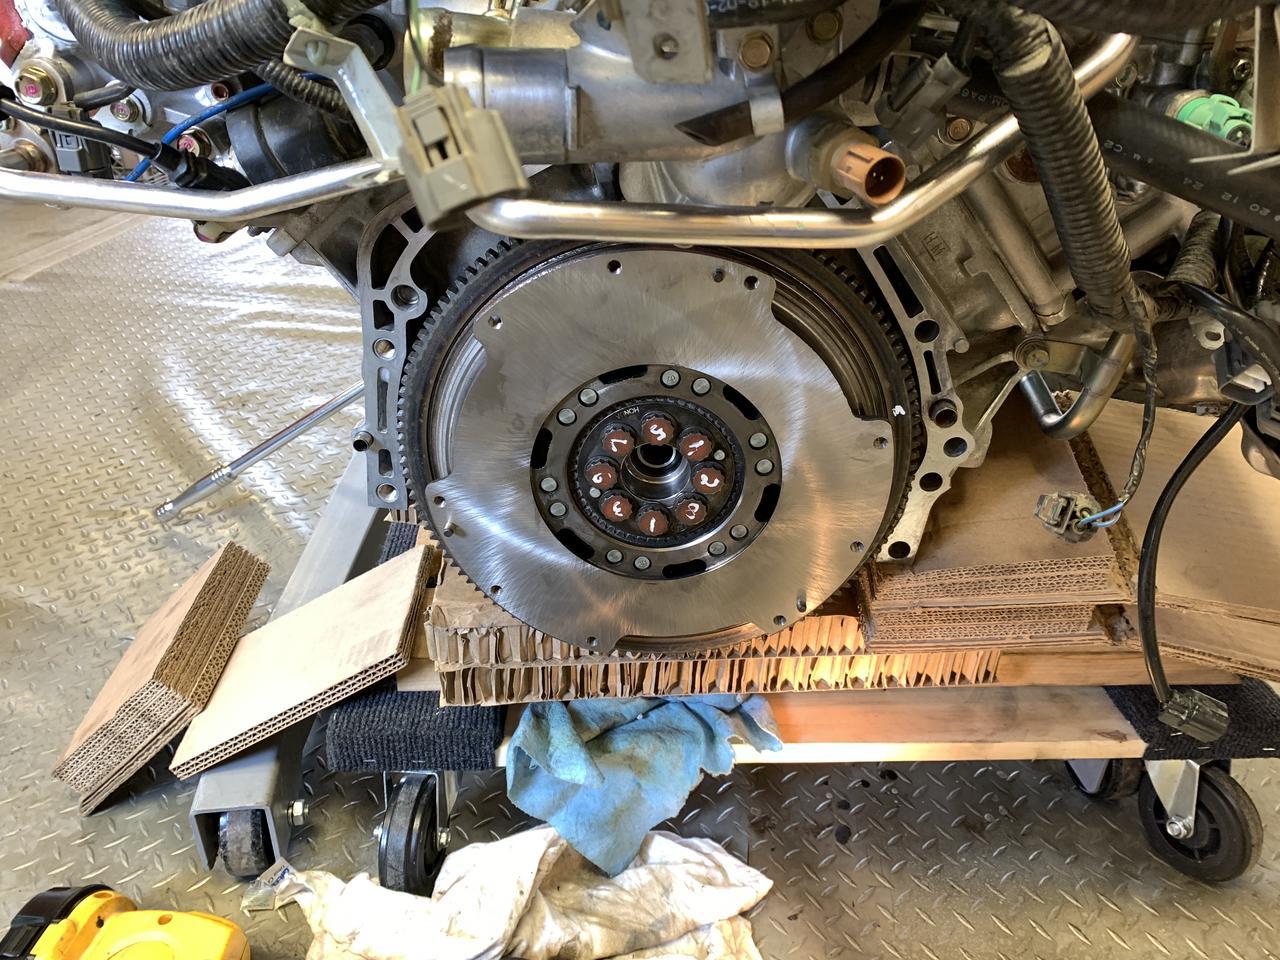
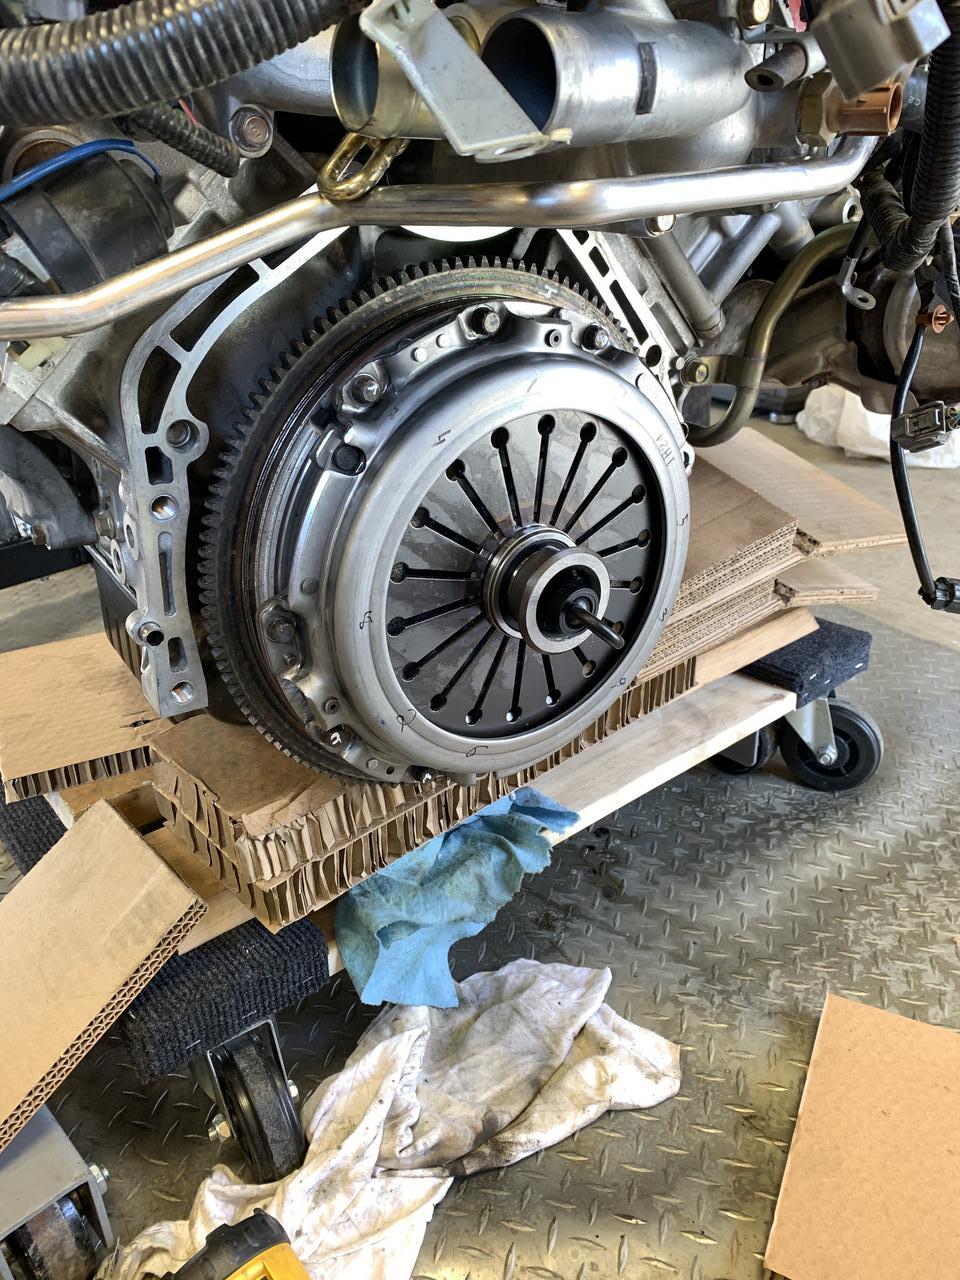
Torque the flywheel on. Ignore the numbers as that was from when it was coming off.
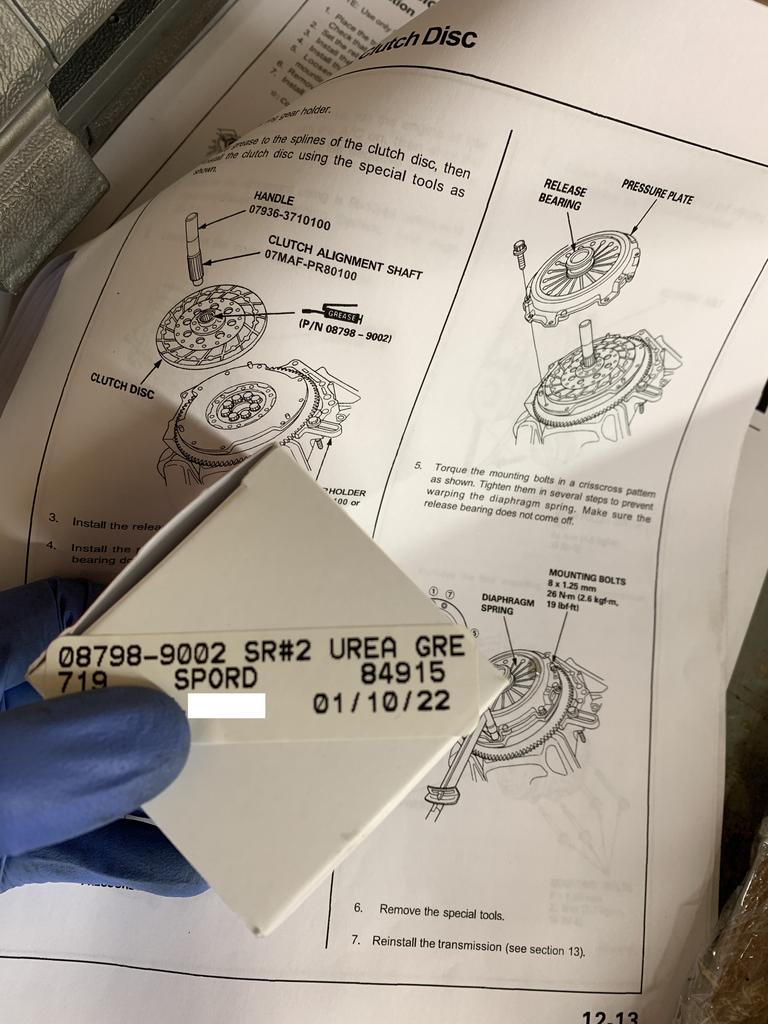
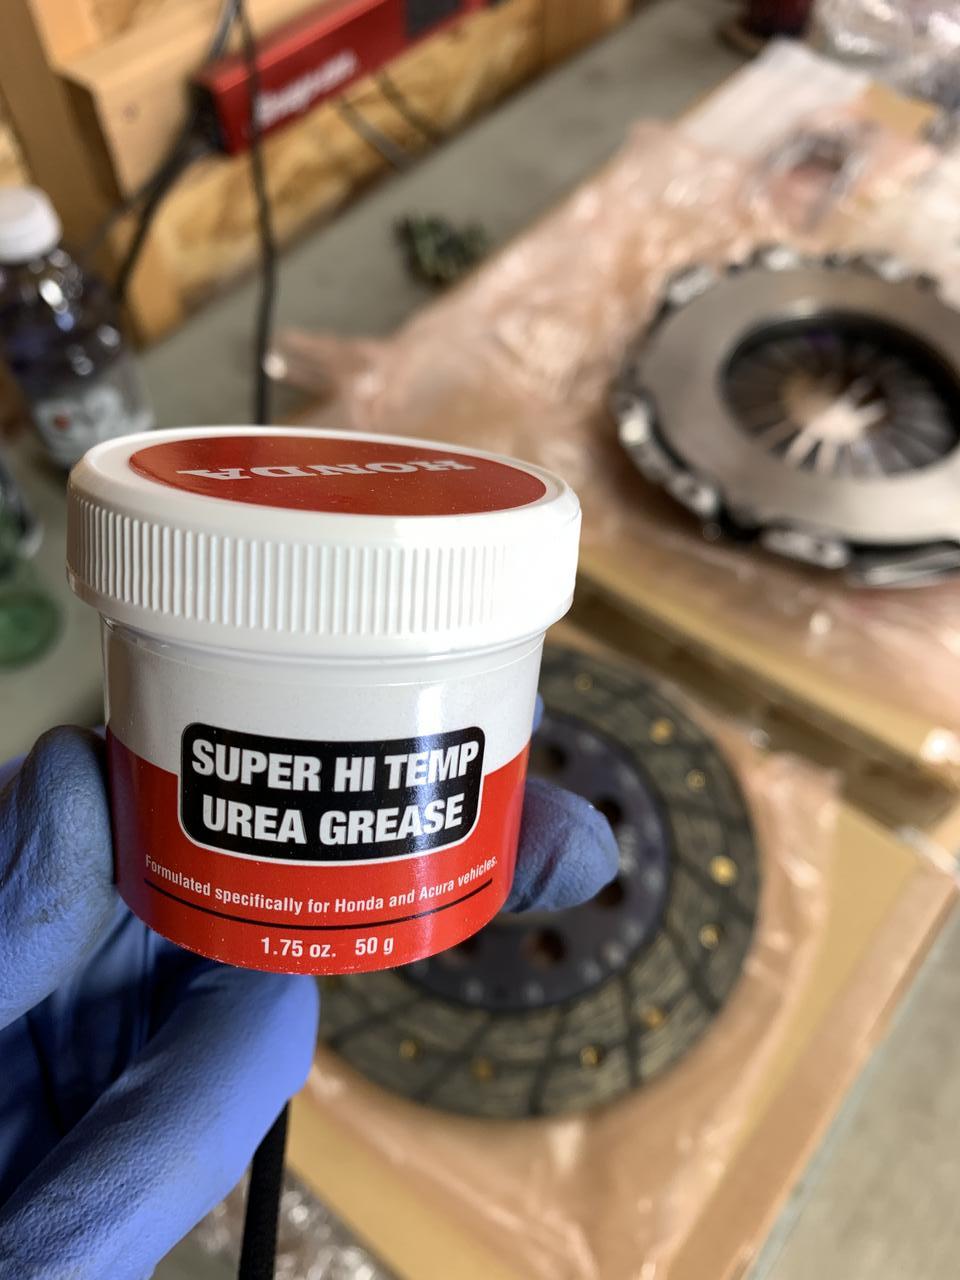
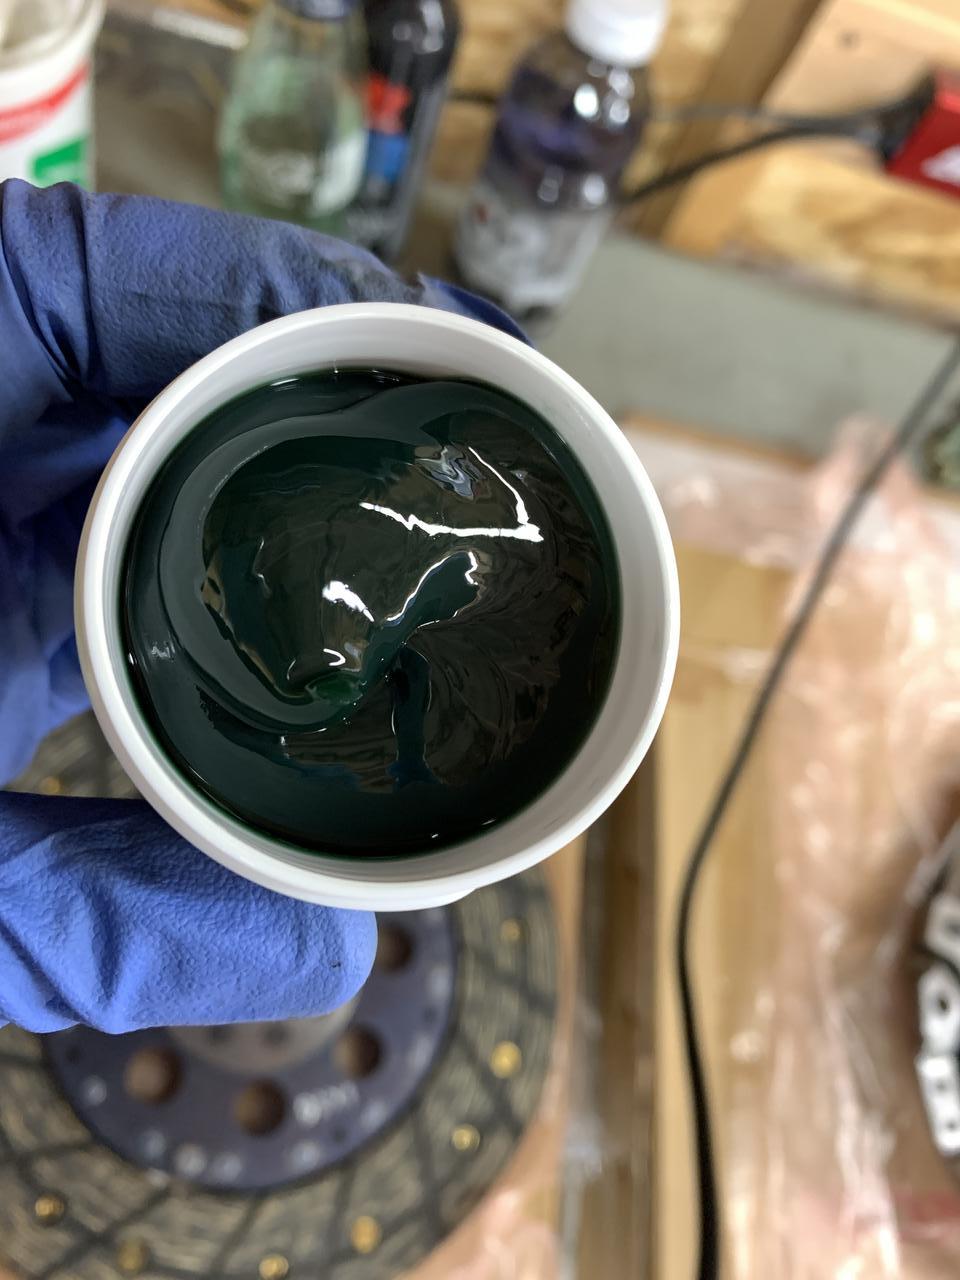
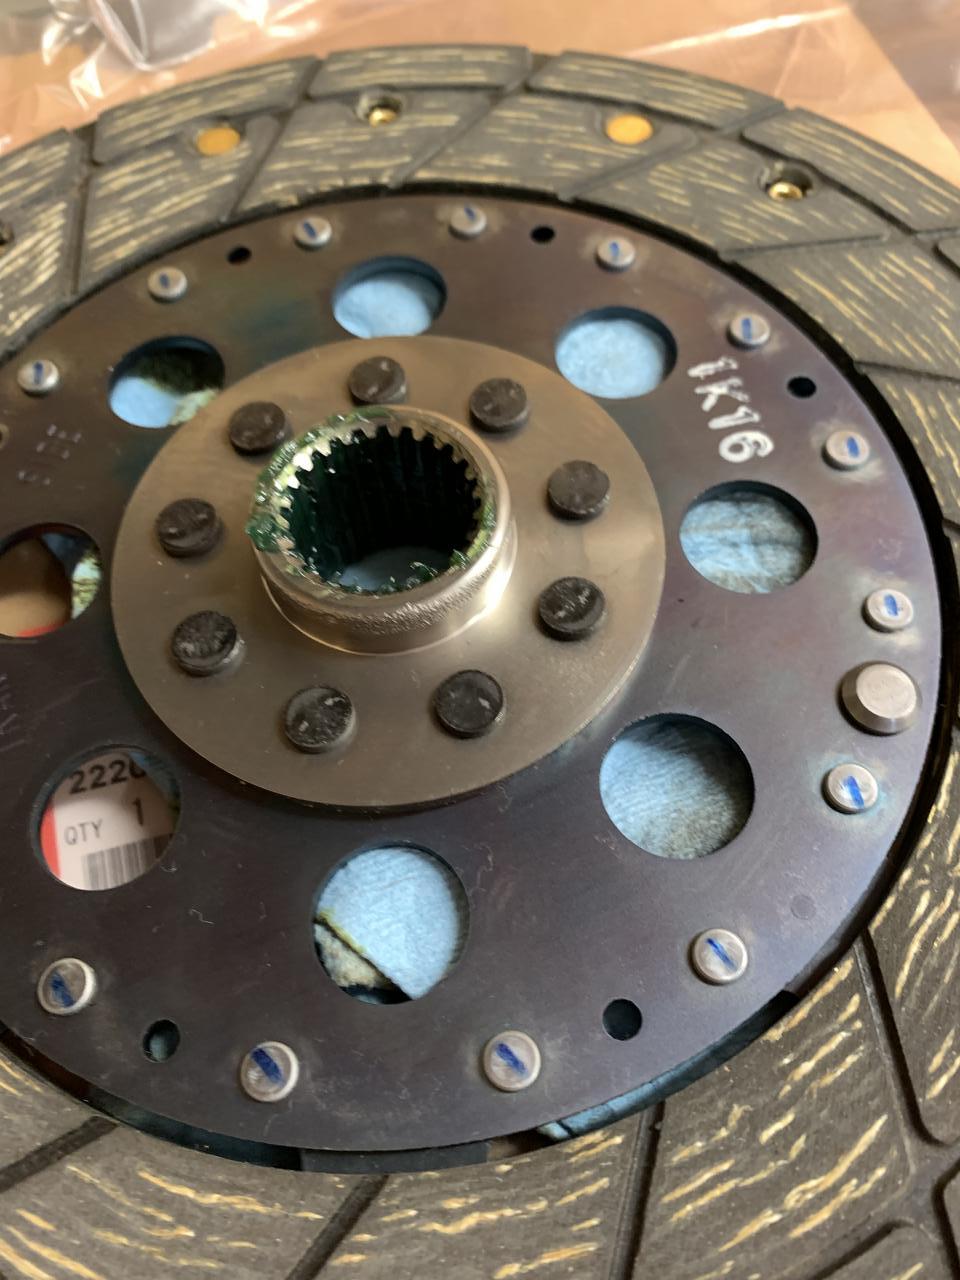
Goop the urea grease on everywhere that it says to. For the throwout bearing it says to only get it in the groove. I tried but just wouldn’t go in only the groove. Then I noticed they say to grease up the sleeve on the transmission side too so the point is moot. I say go to town on the grease.
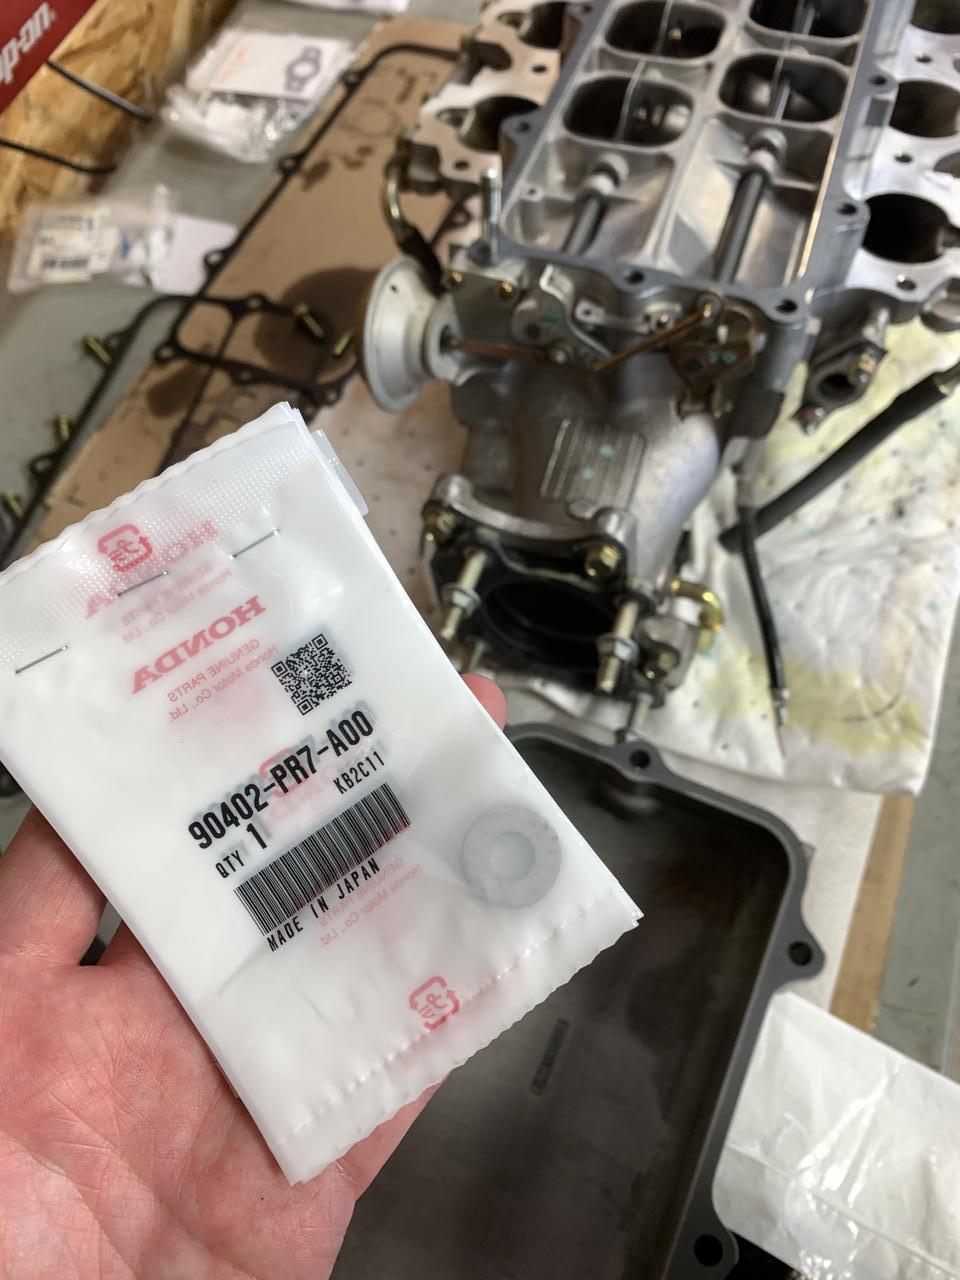
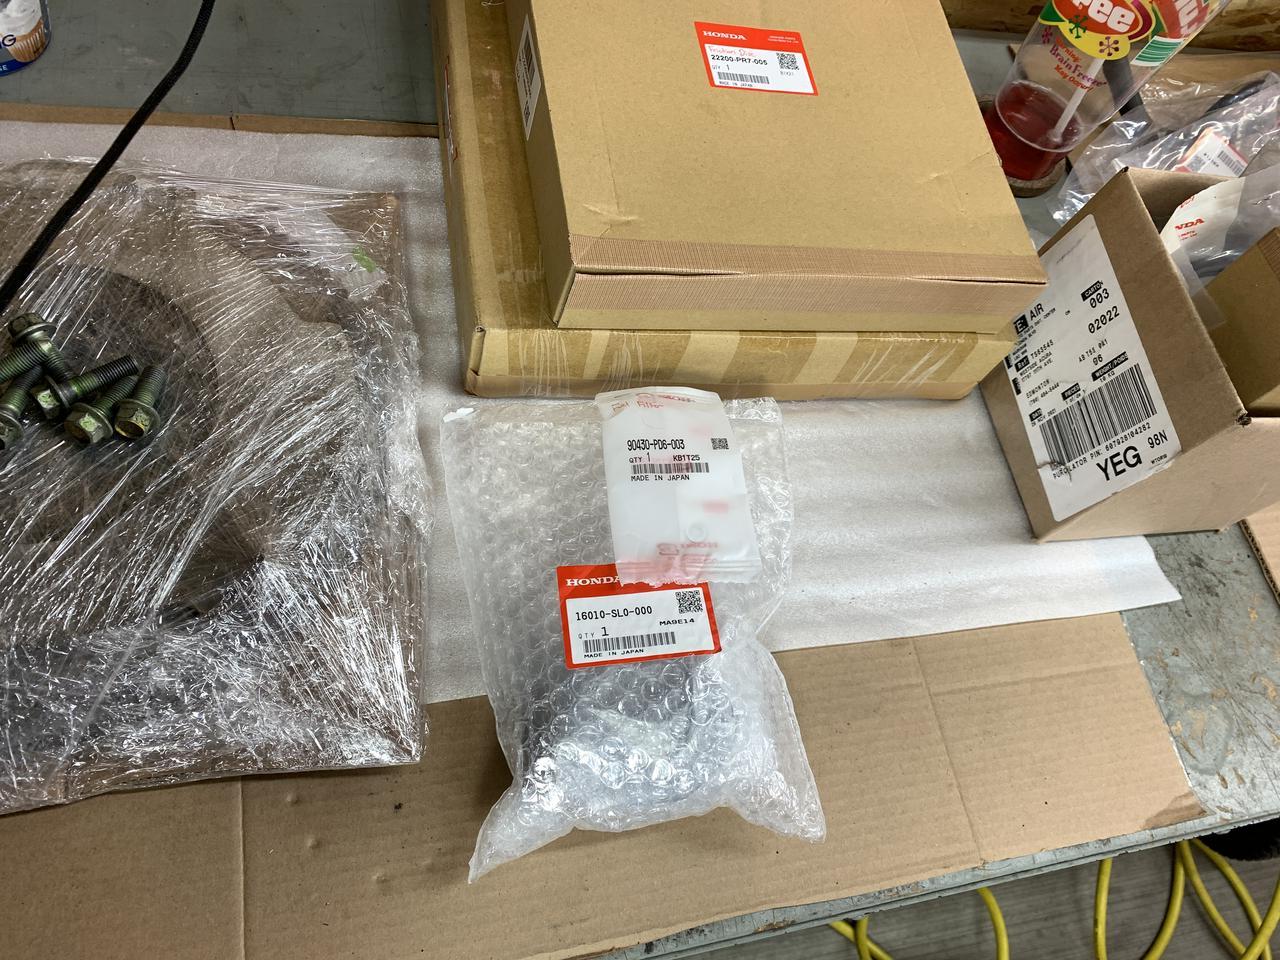
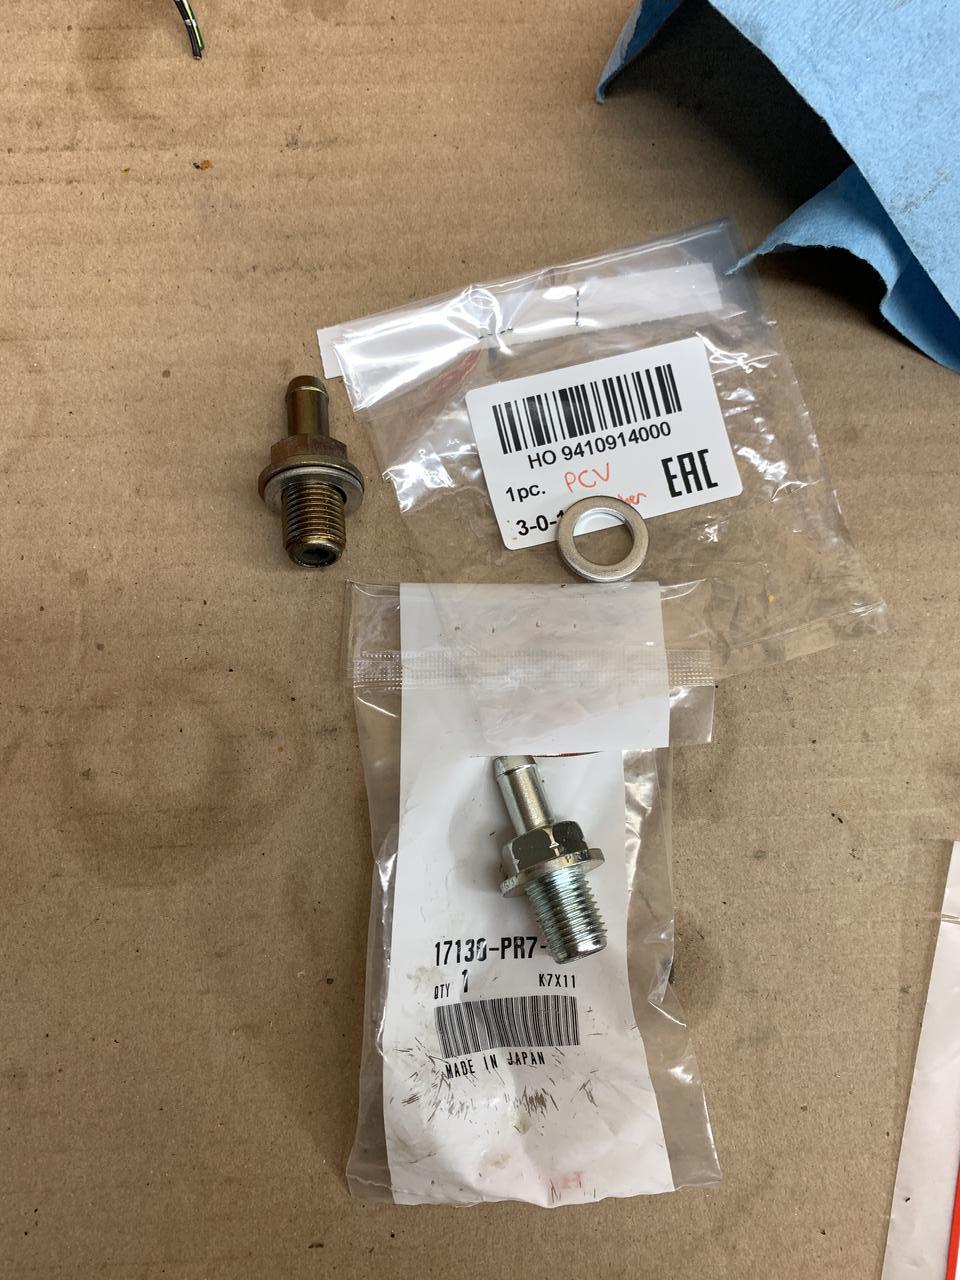
Notice the part number on the page
Unicorn piss $$$ at its finest. Nearly $90 (in Canada).
At this point can start to bolt everything together.
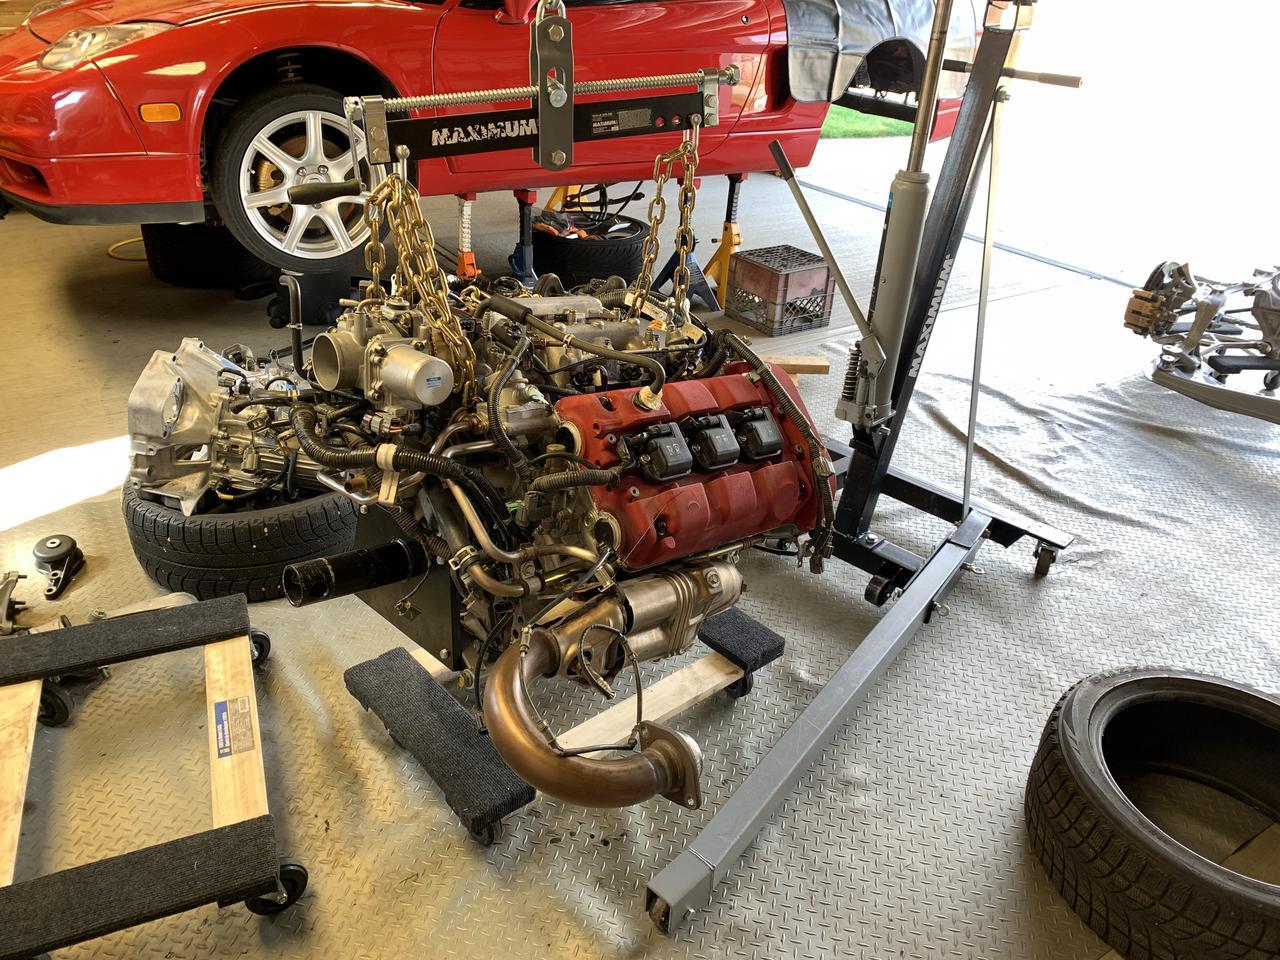
I called a buddy to help me with the tranny. We couldn’t slip it on as we were hoping would happen. I then called another neighbour over to help us as we thought that maybe the splines weren’t lining up so we had him spin the crank while we pushed…… and we still couldn’t get the tranny slid on. We had long bolts threaded in to use as guides for the tranny..and it still wouldn’t go on. We got behind the stupid thing and rammed it like you would your first girlfriend and it still wouldn’t get in the hole. What was supposed to be a 5 minute job turned into freaking 2.5 hours. It turns out that f-ing $5 plastic clutch alignment tool is a piece of crap!!! Notice in the picture above it’s slightly pointing downwards? Well…I didn’t…until 2 hours later when someone suggested we check the alignment. We had to make our own tool out of sockets and once we did the tranny slid on like butter. The picture below is our sarcastic “victory” pose as we were all laughing at ourselves. FFS
Here you can see the tool we made to mimic the plastic one. A socket and masking tape fit very snuggly into the pilot bearing and then the splines of the friction disc. We stuck a long bolt through the center and then just spaced everything out with many large nuts.
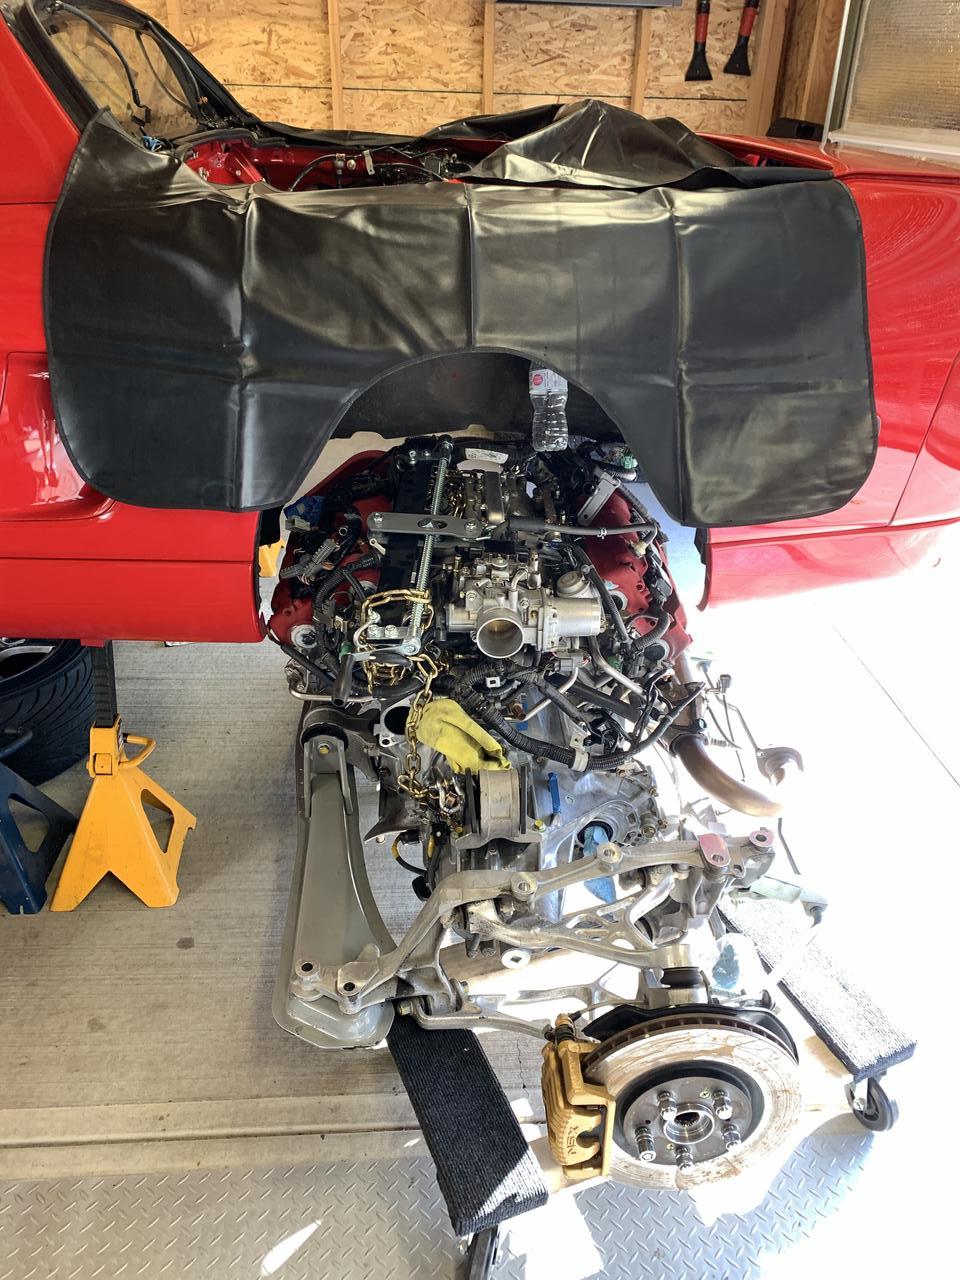
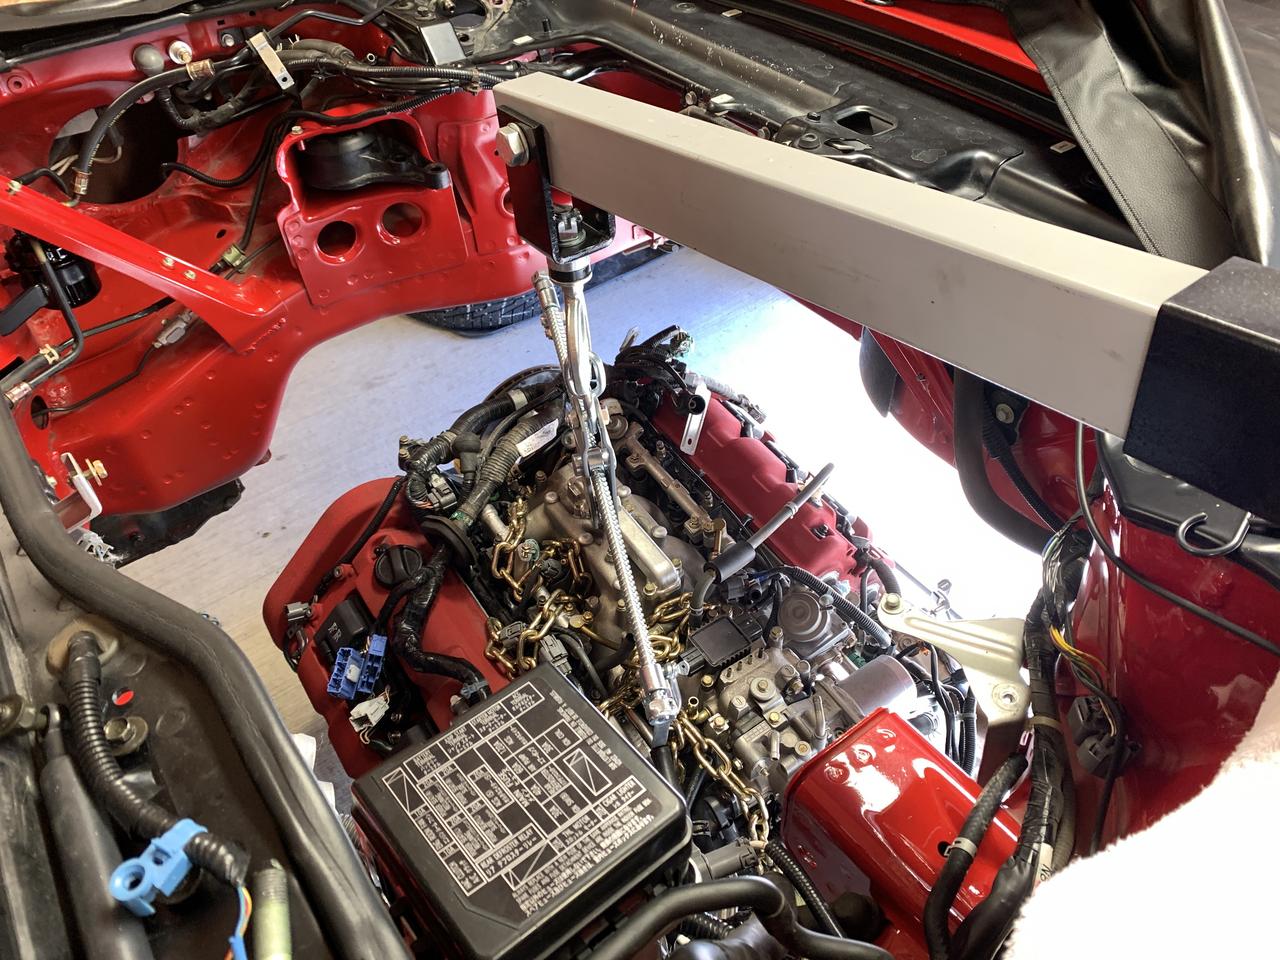
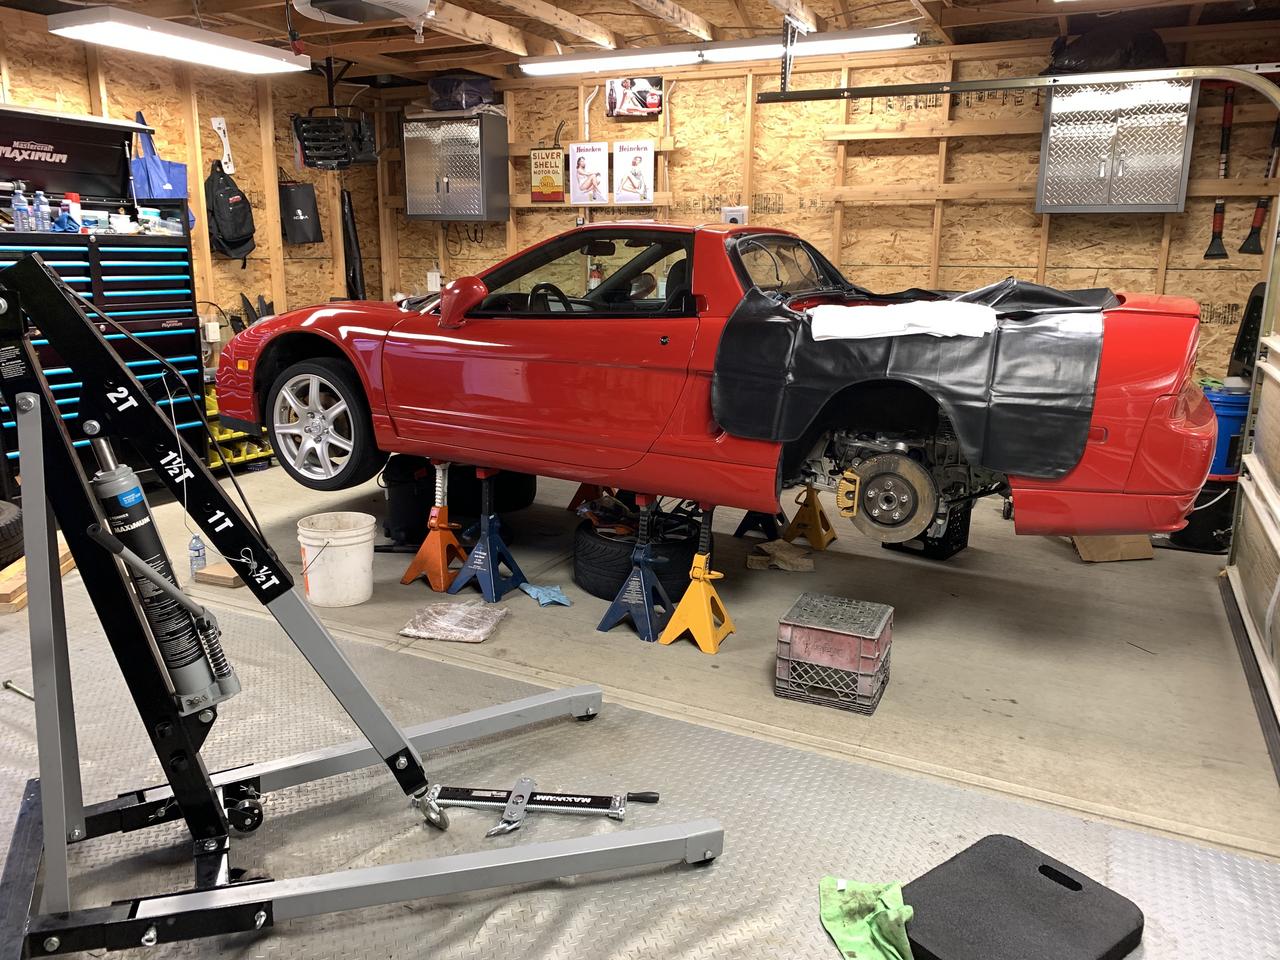
It was smooth sailing after this. Bolt the engine/tranny into the cradle. Slide it under the car. Jack it up. It’s easier going up since you don’t have to guess the length of the chain required so the boom doesn’t hit the quarter panel.
The joints in the concrete caused me huge issues. The casters wouldn’t roll over them nicely and everyone went home. I had to sit on my ass and leg press the engine under the car. Very professional….and half this forum will roll their eyes but it worked!!!! I wish I had a hoist.
We had our second kid at the end of August so things were hectic over the past few months. I’ll put some closure to the rest of the engine install now in an abbreviated form.
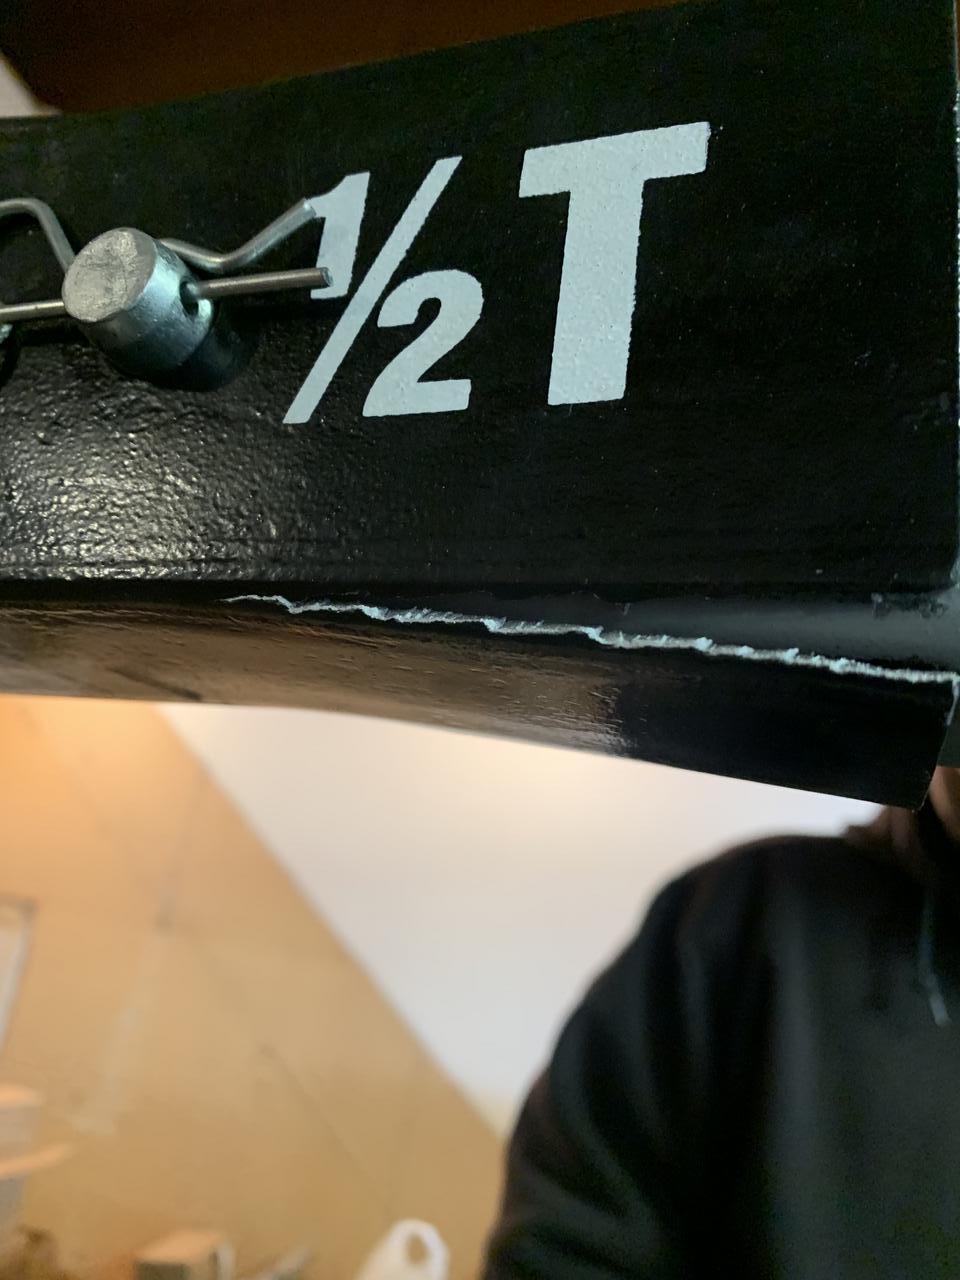
Somewhere in-between us trying to get the transmission on or me lifting the back end of the car up with the engine hoist it cracked. Truthfully I exceeded the load rating and coupled with the dynamic forces of the “bouncing” transmission this isn’t surprising:
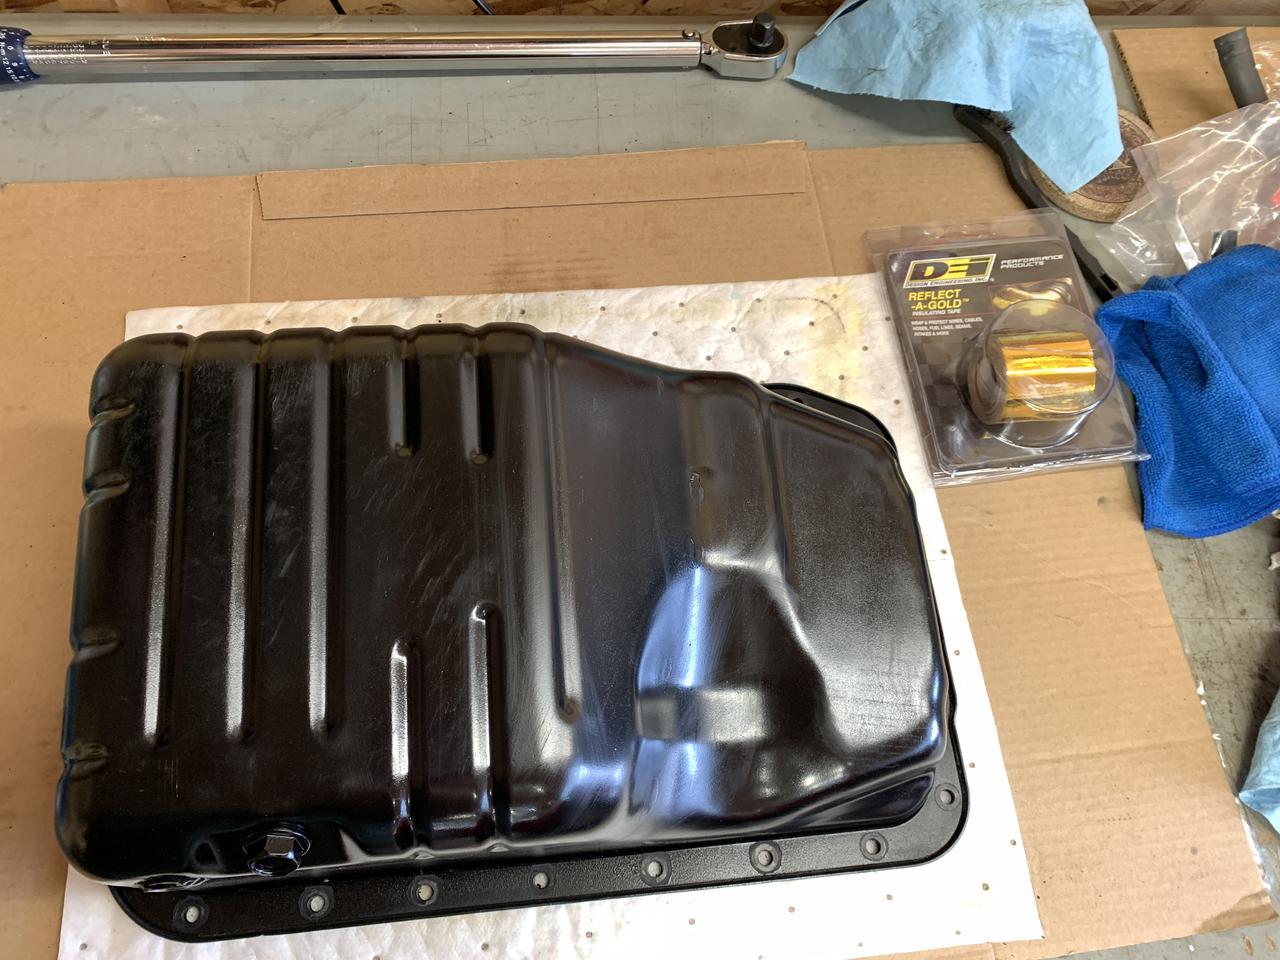
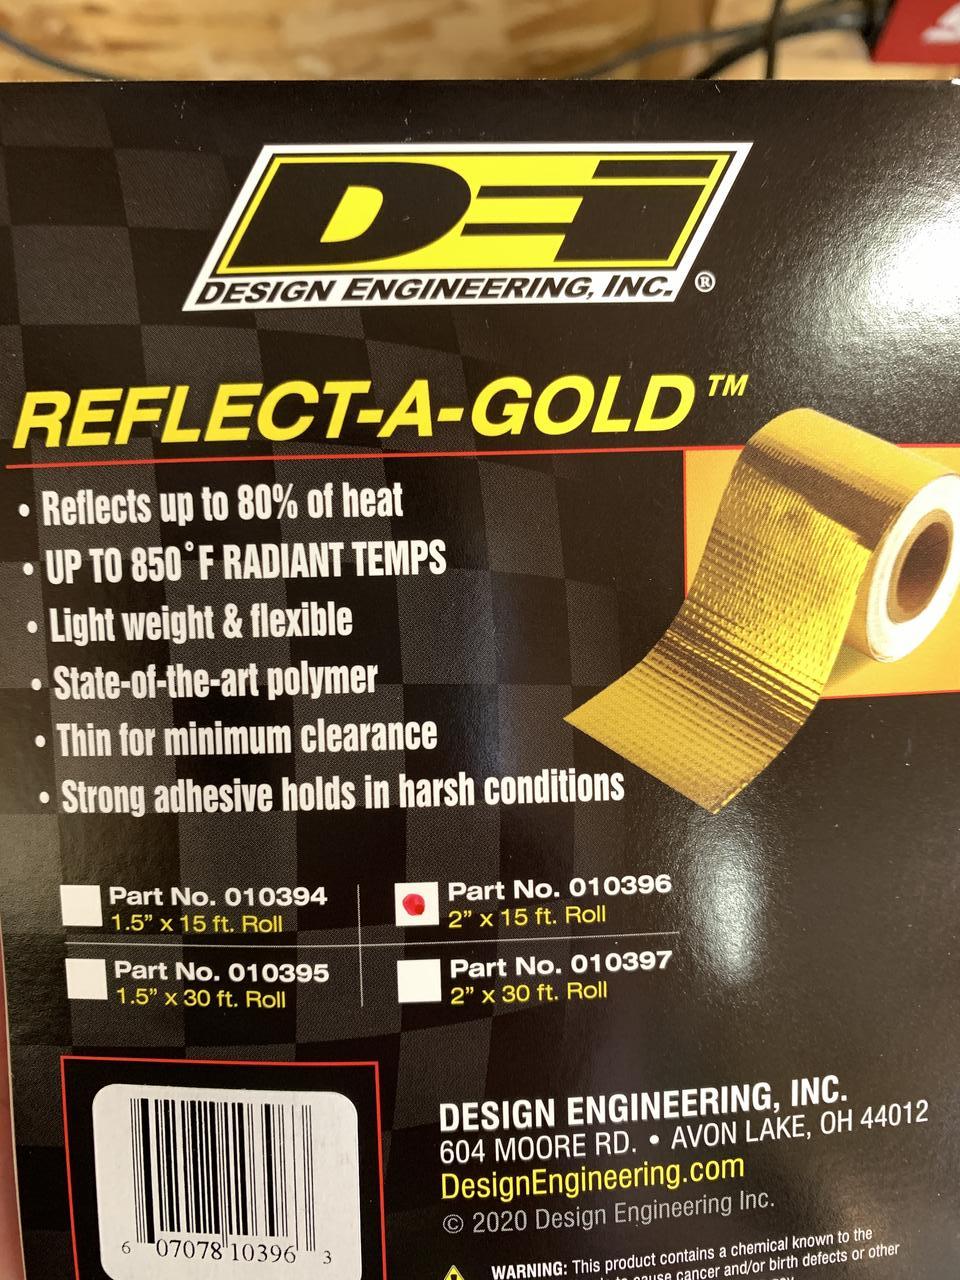
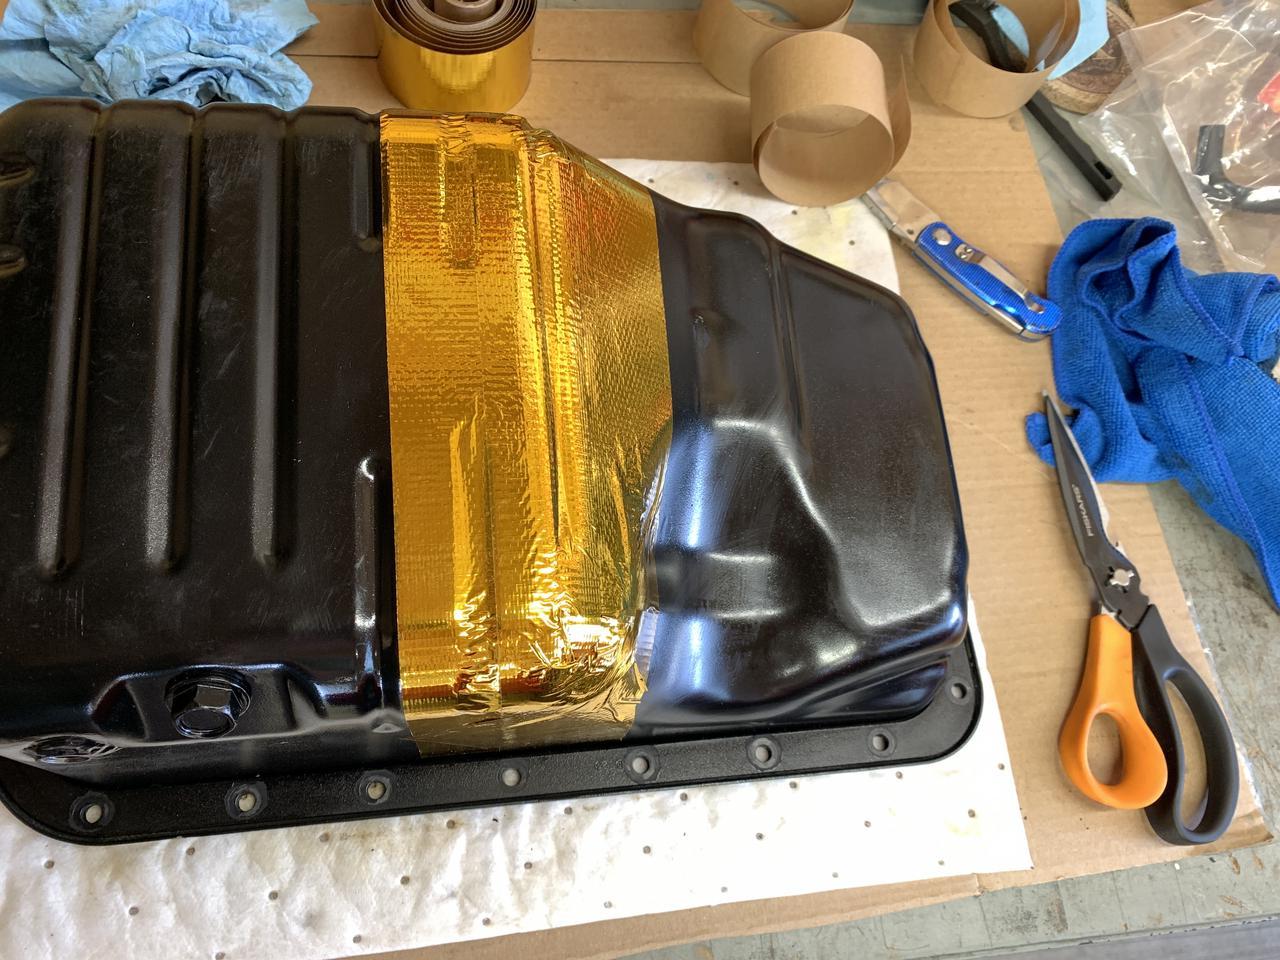
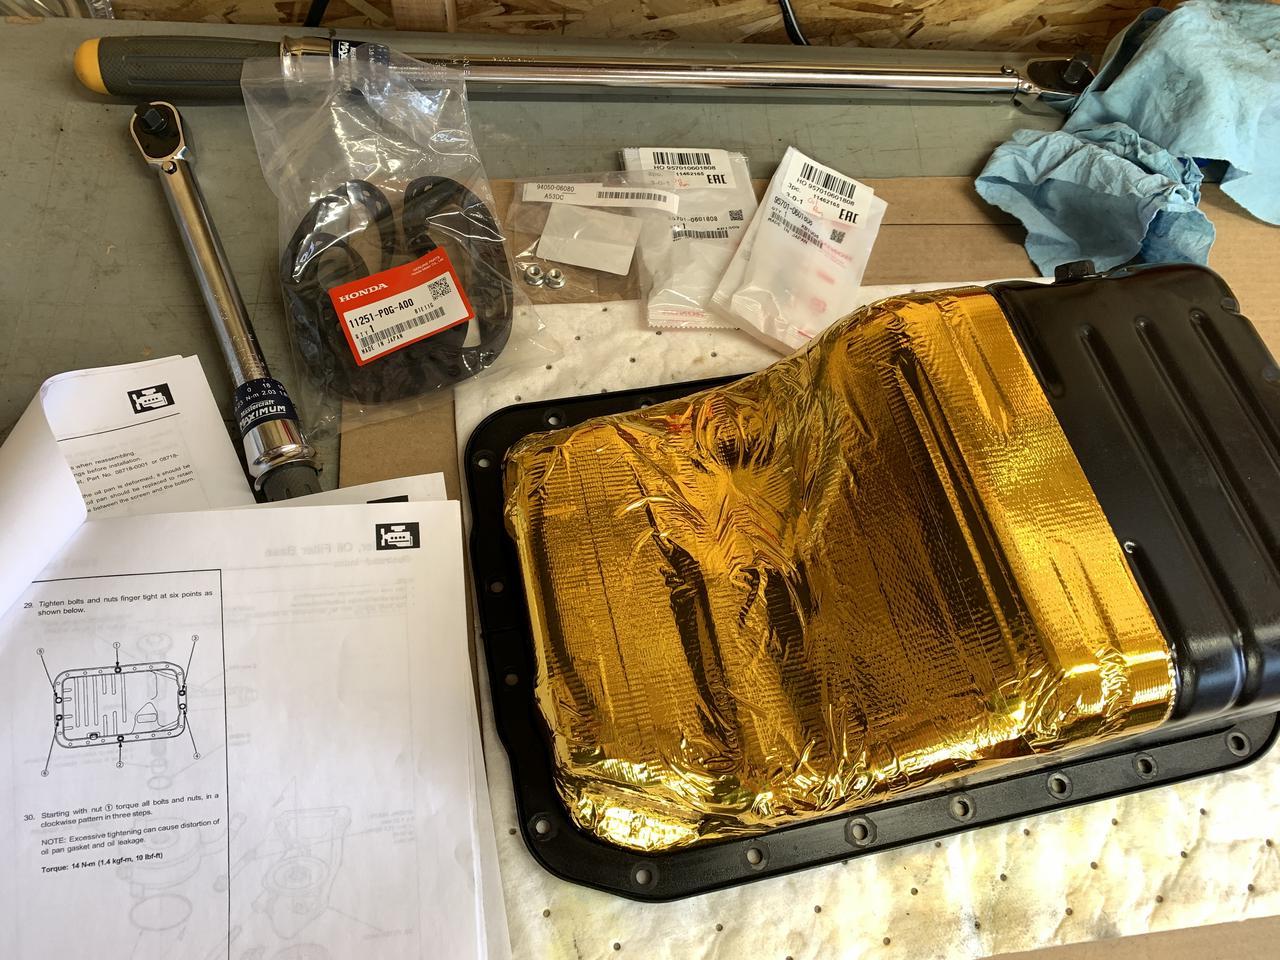
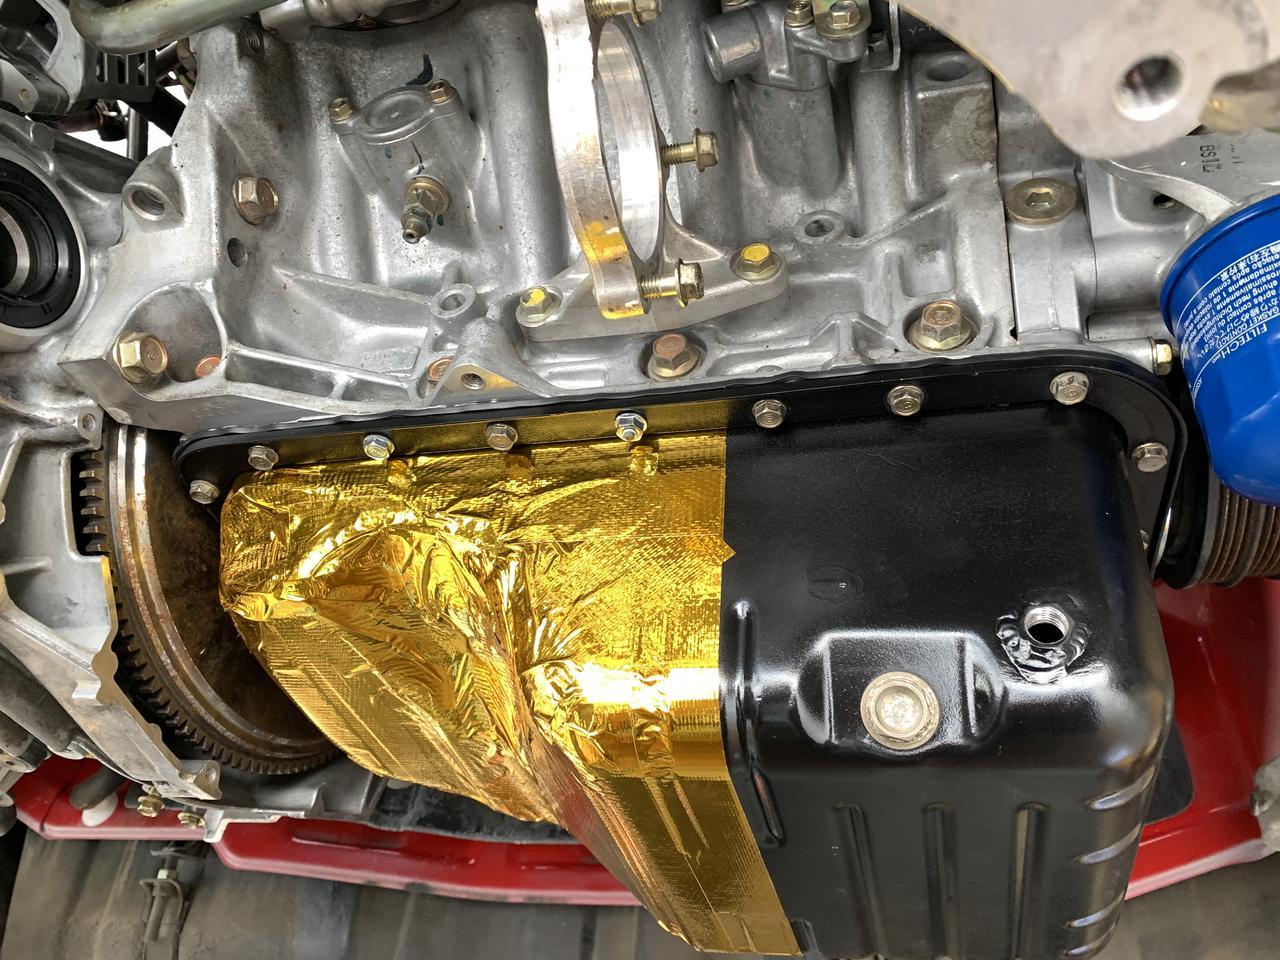
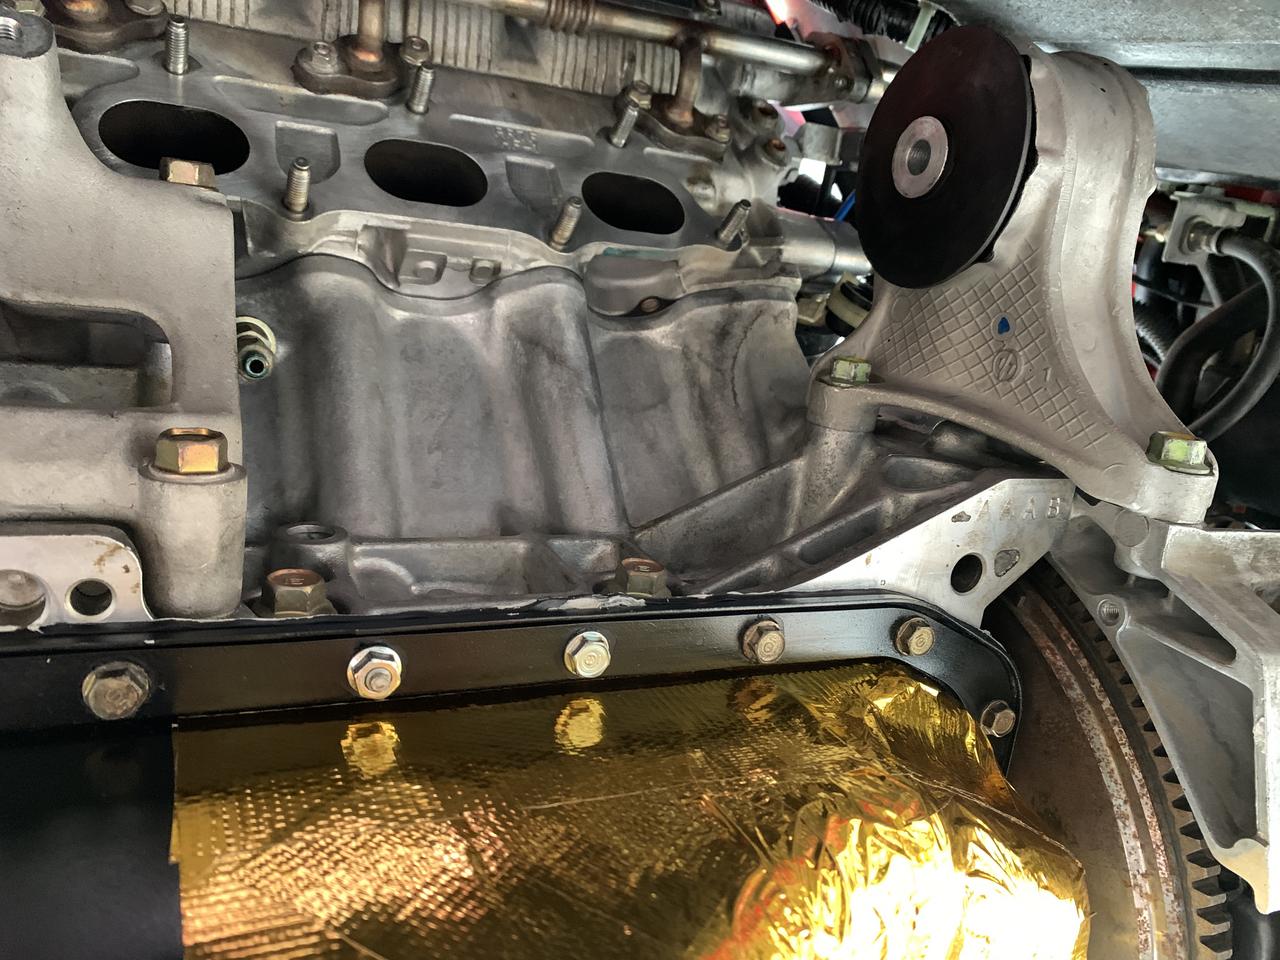
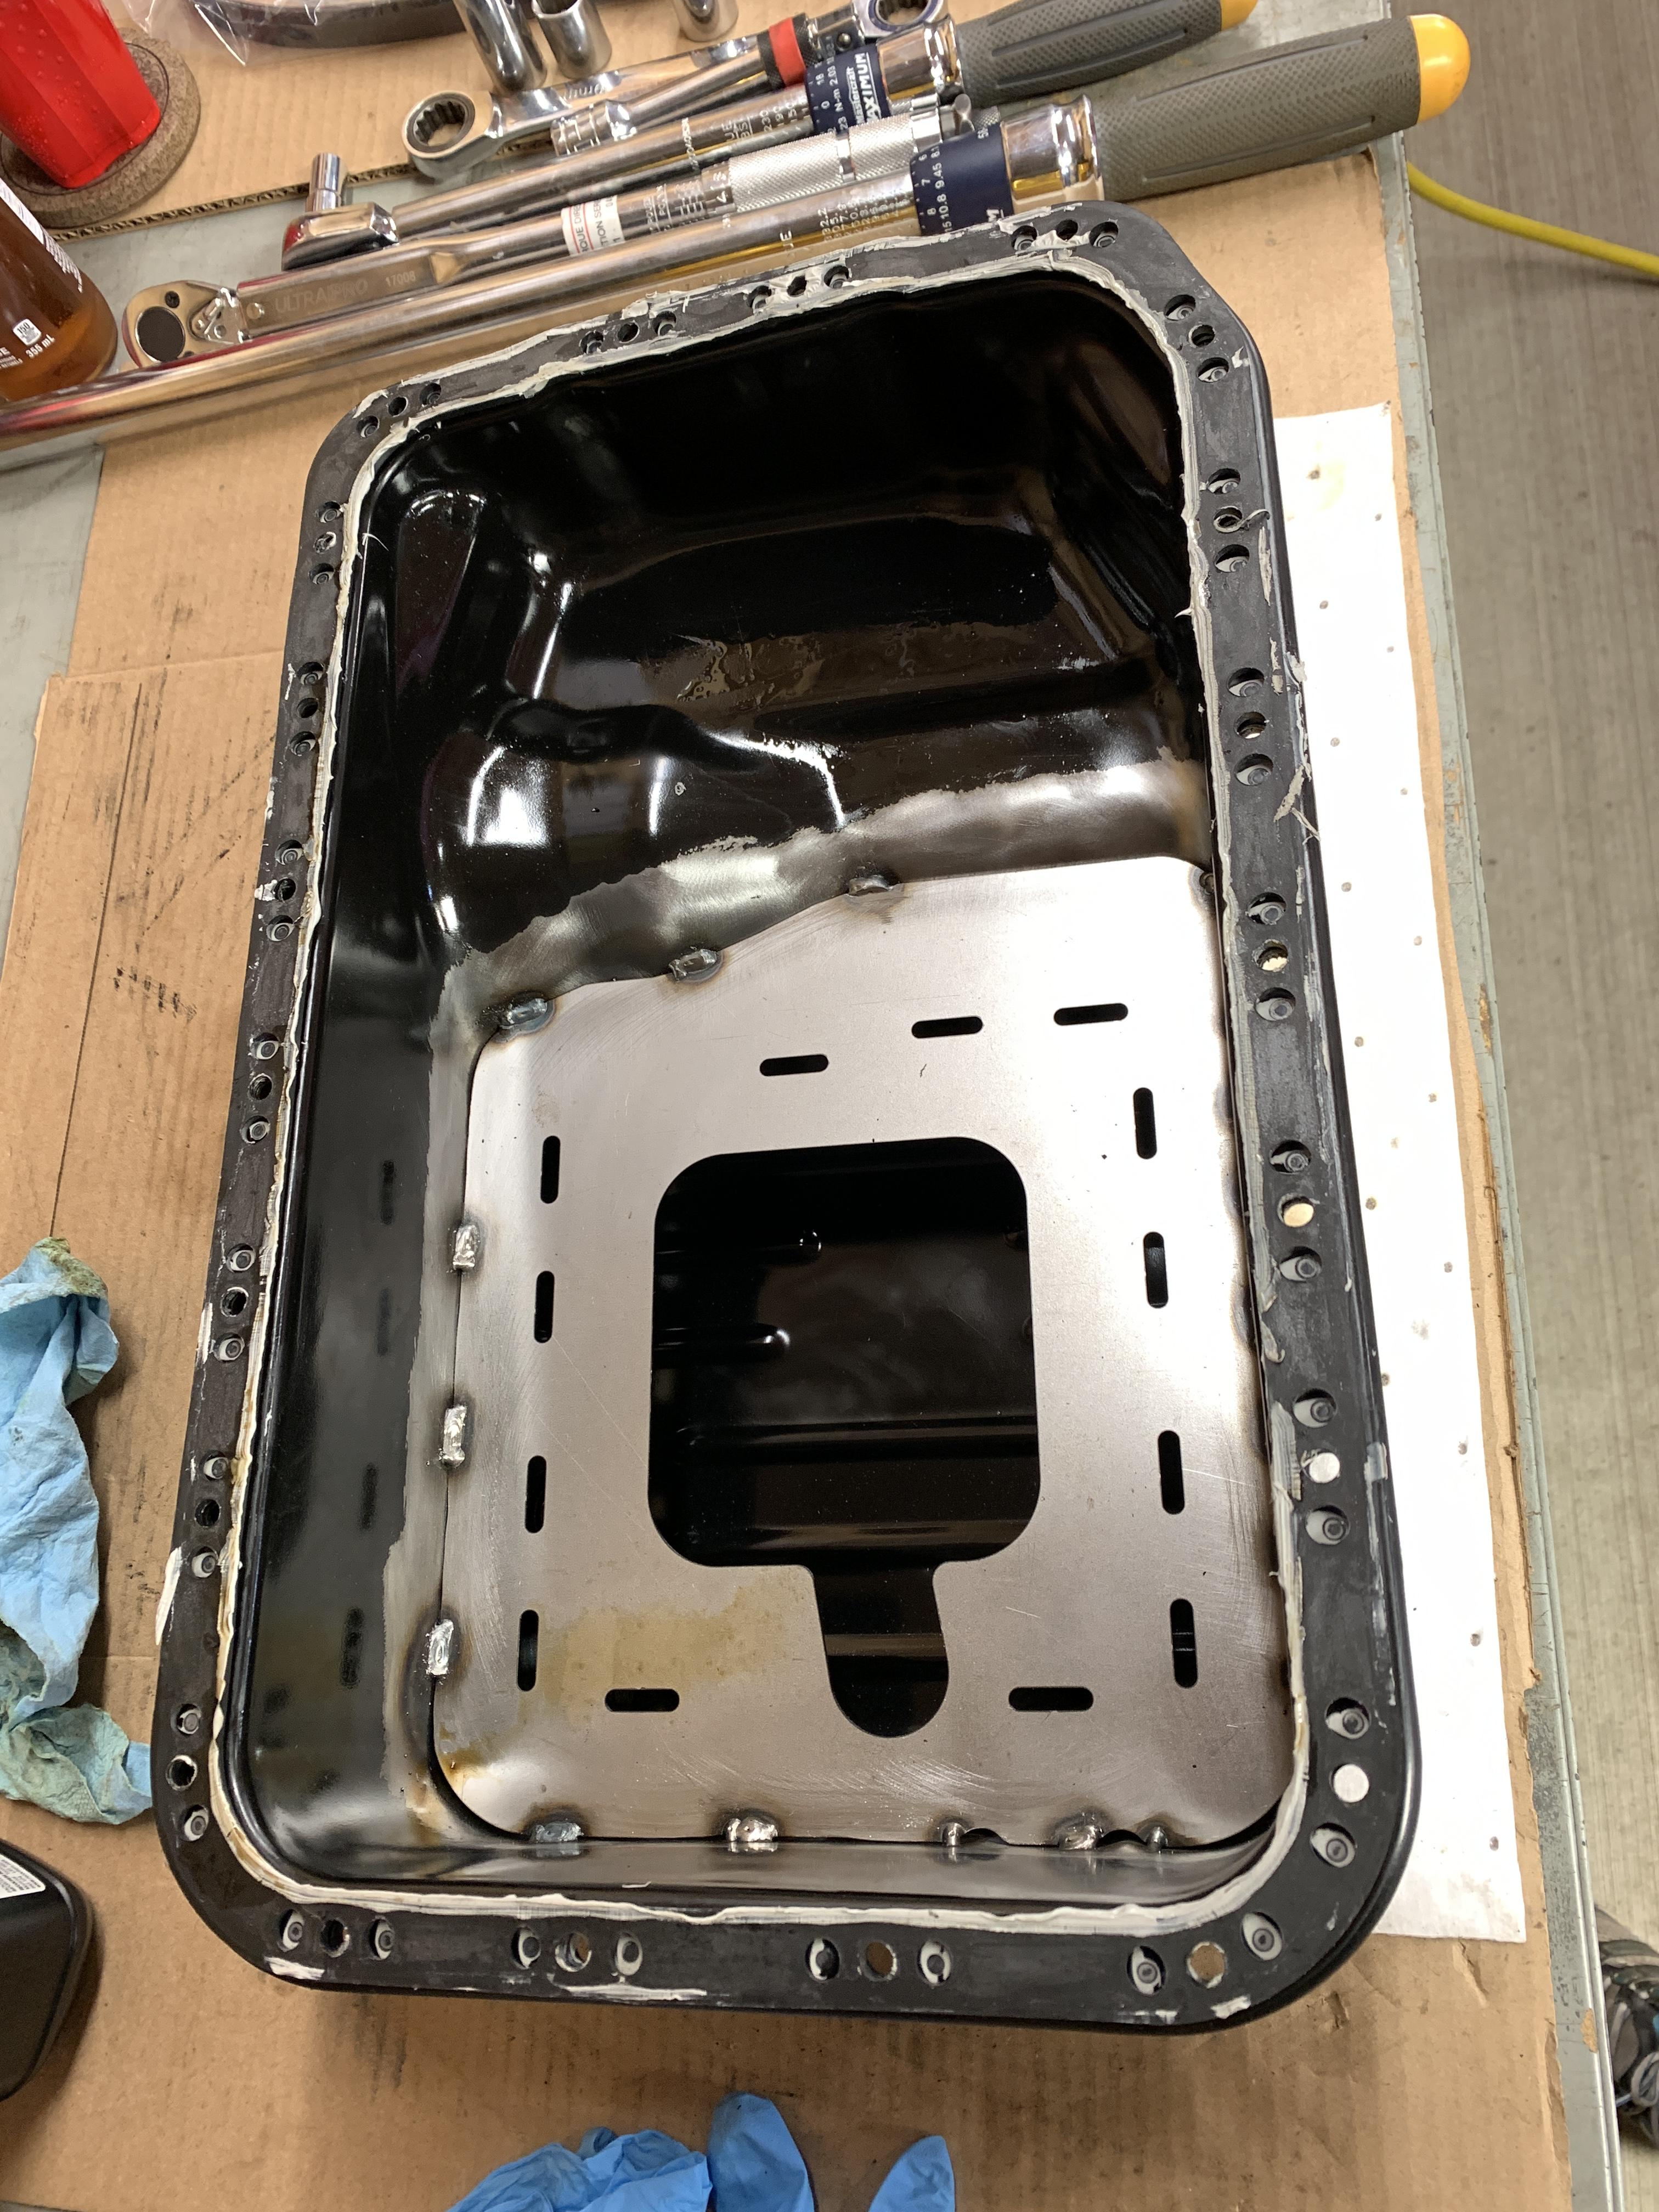
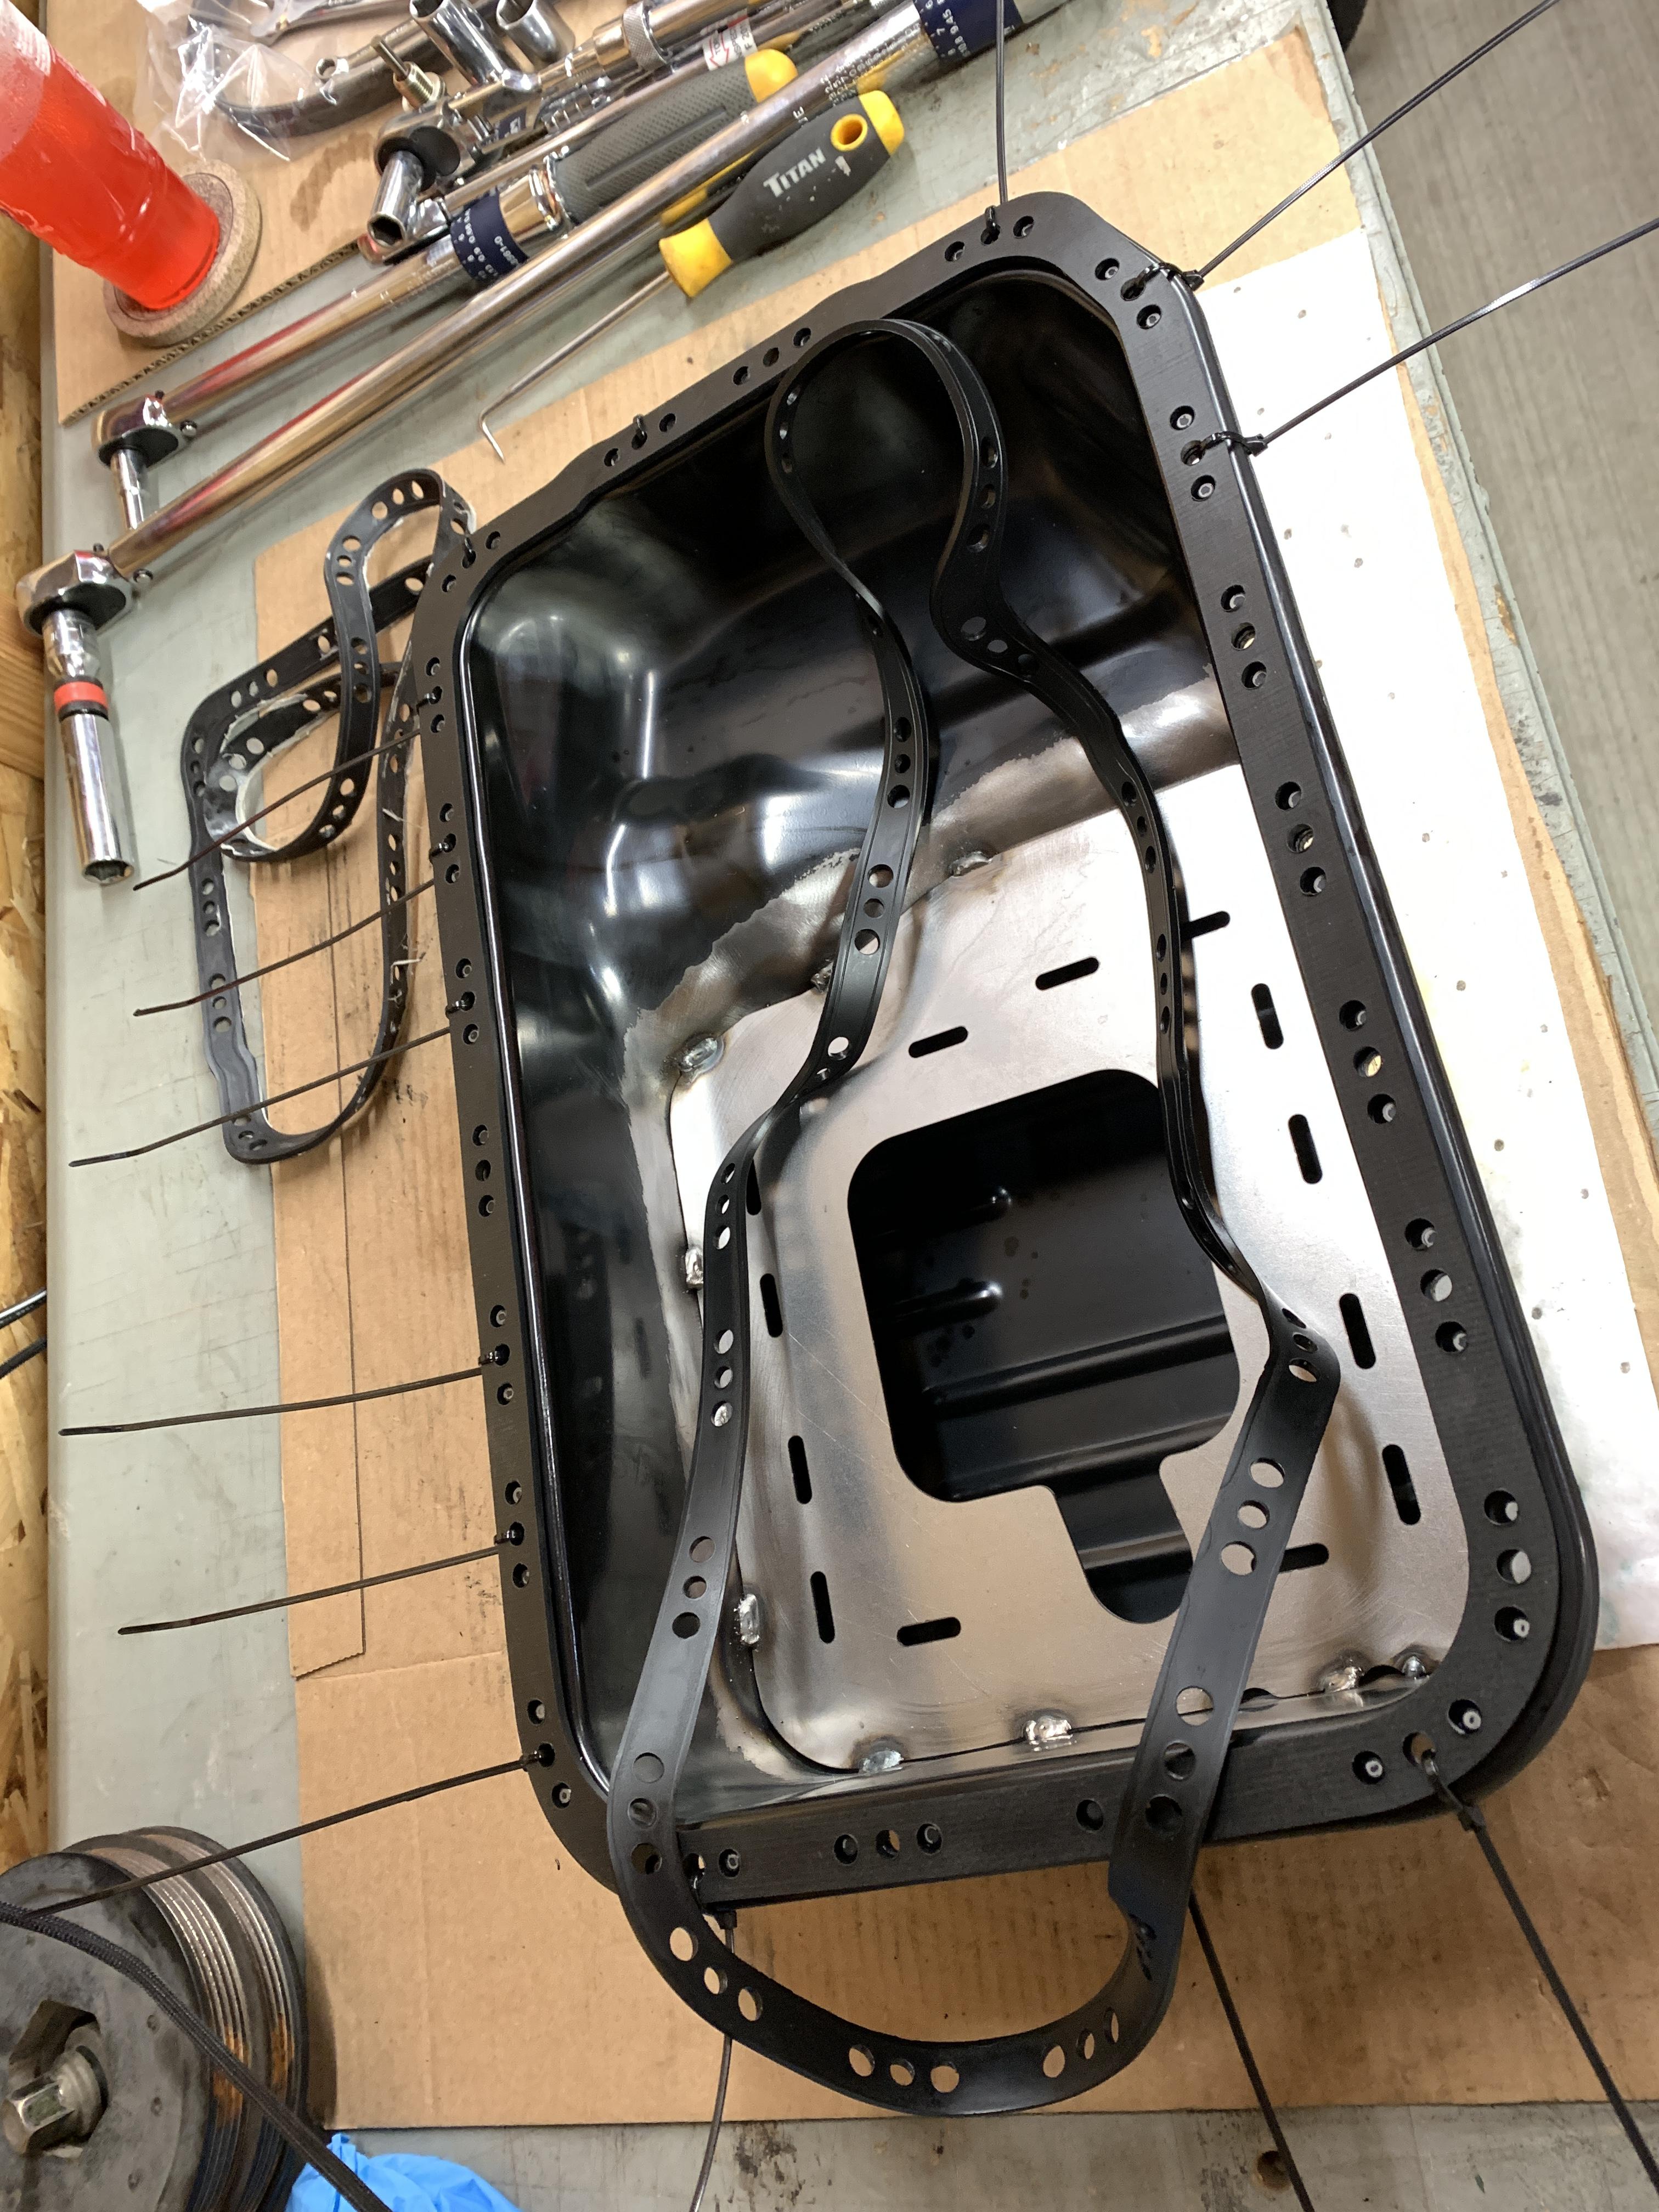
Next up was the oil pan. I have seen some people put some reflector tape on to limit the effects of the front exhaust manifold heat on the oil. I figured I would hop on that train while I had everything accessible. It probably doesn’t do much for daily driving.
I failed a little bit at applying the tape. The corners is what killed me. I tried relief cuts but it still ended up looking like an amateur did it.
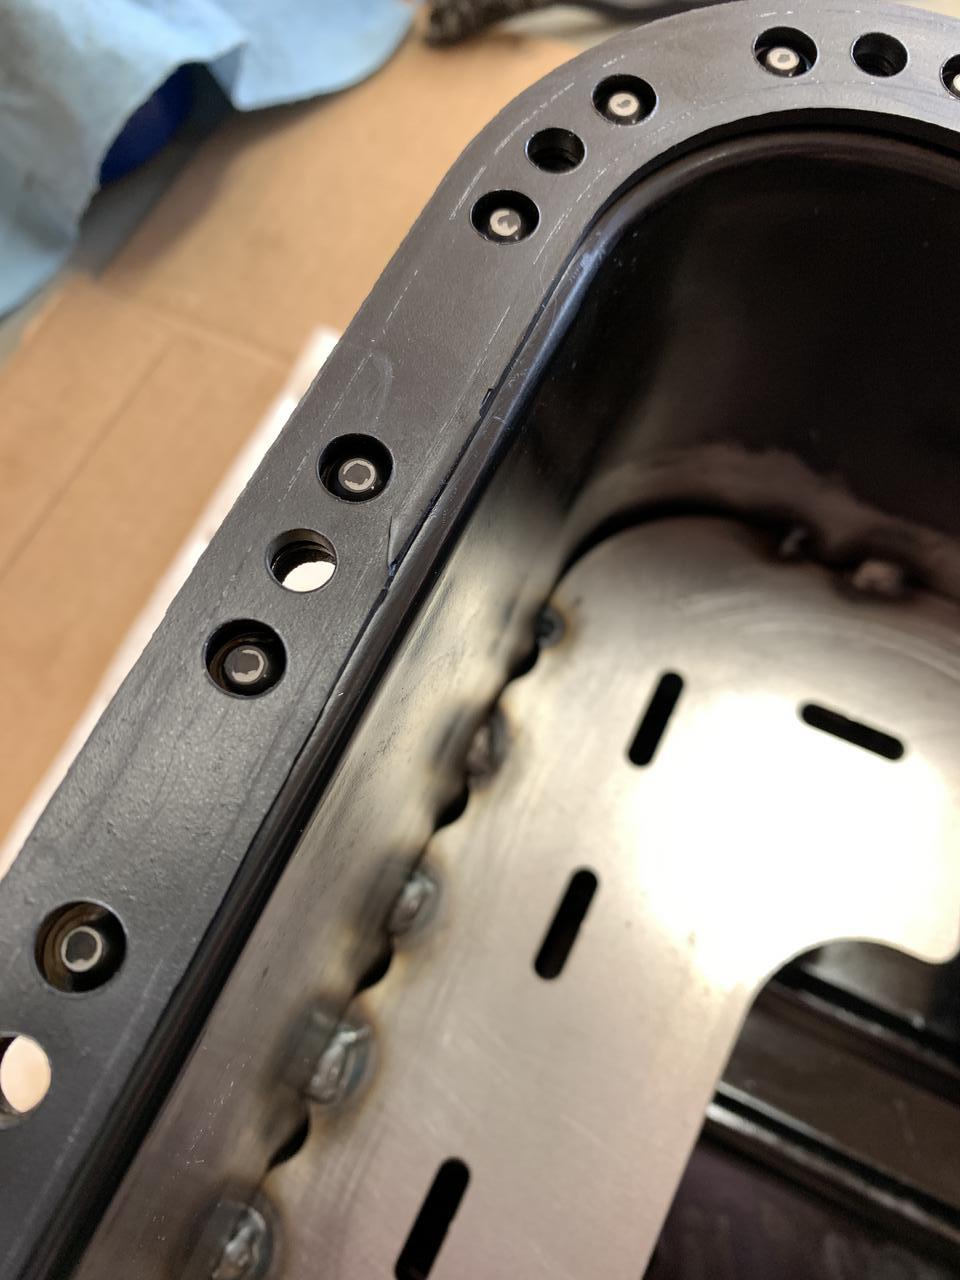
My new oil pan gasket had a minor cut in it. I assure you I didn’t nick it when I was opening it. This came like that from the factory.
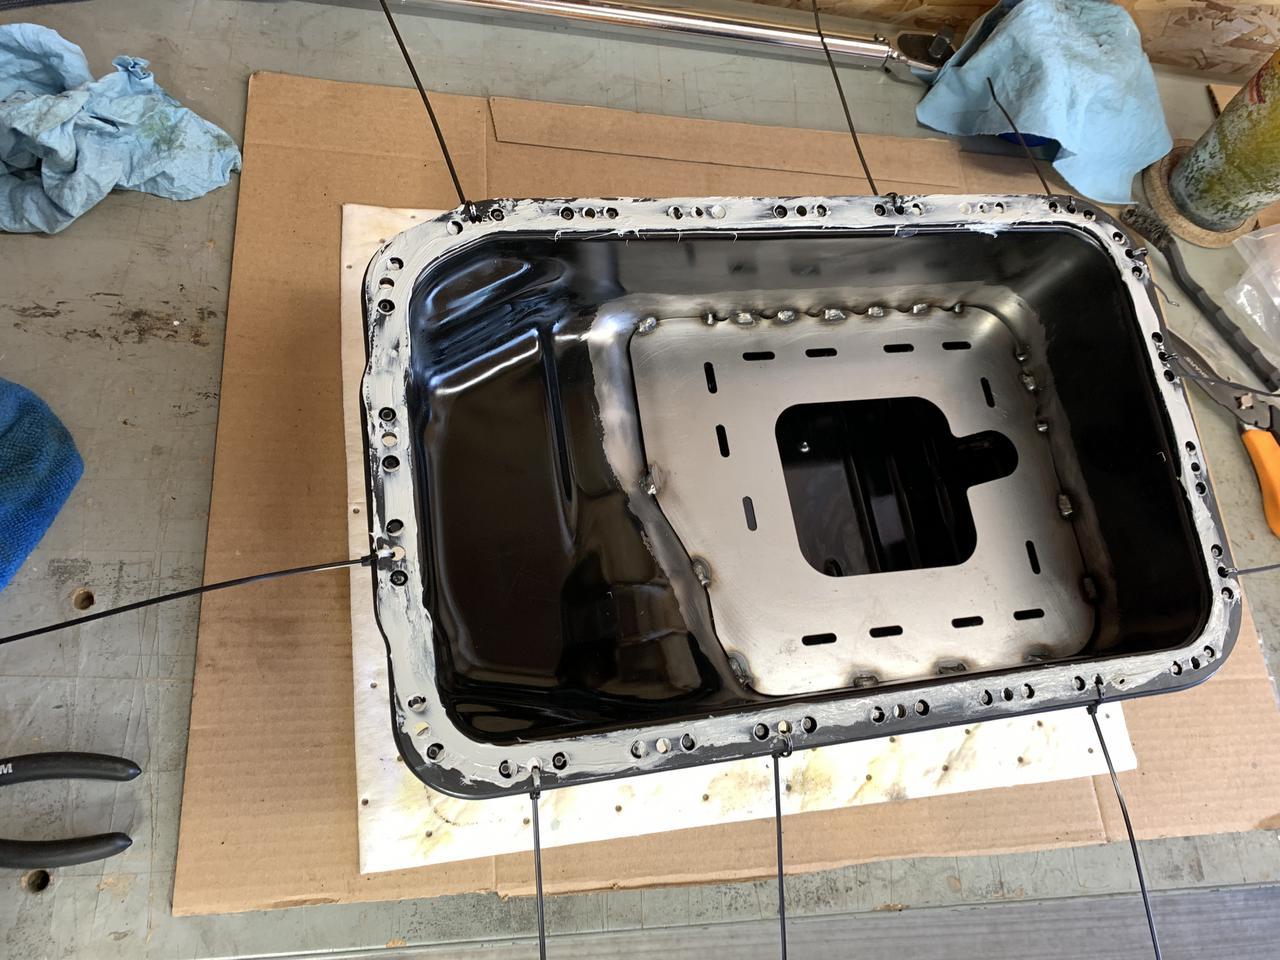
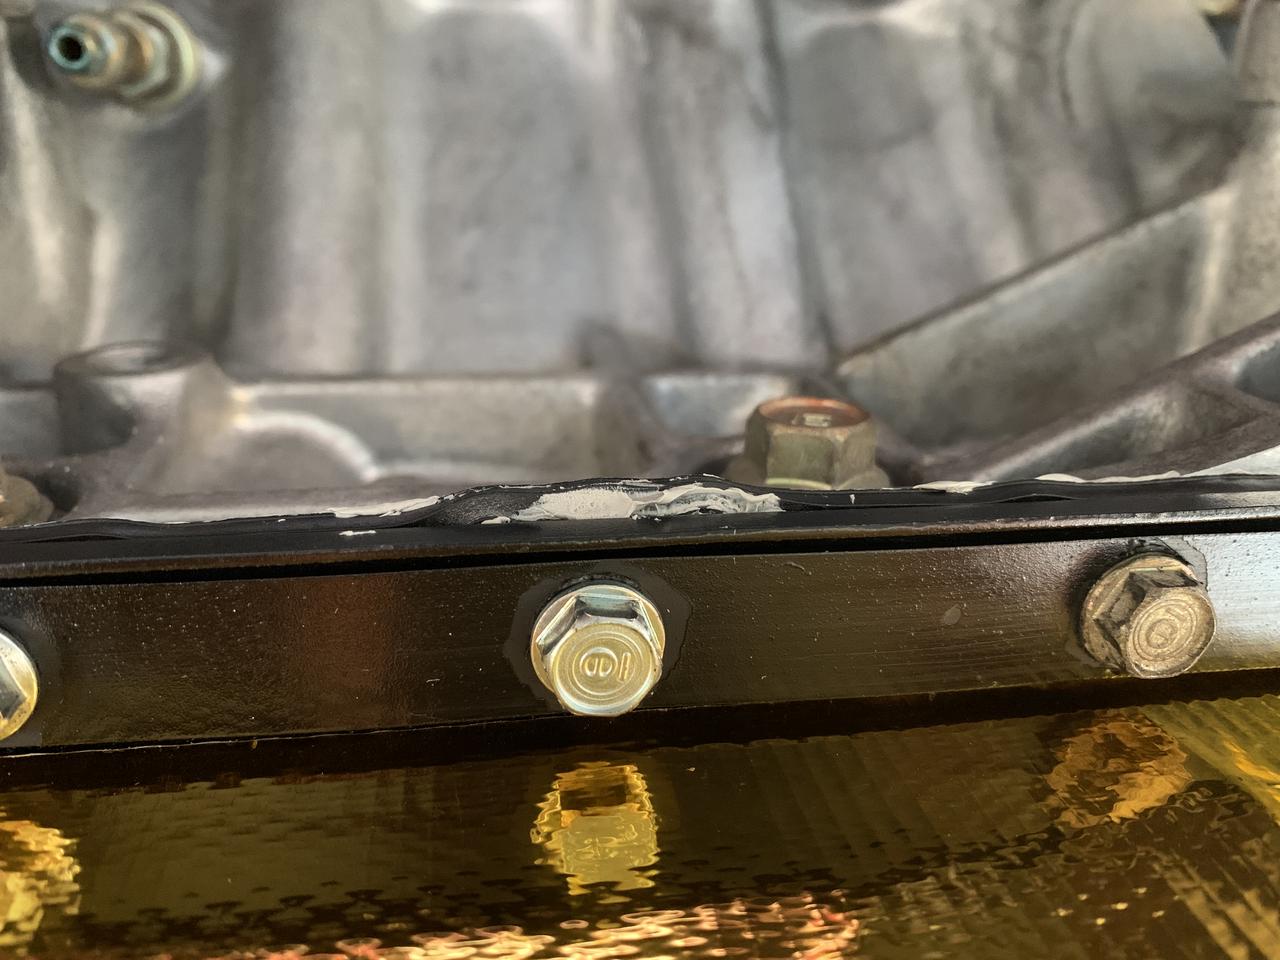
So I figured I would put some Hondabond on to seal any potential leaks.
I then followed the service manual exactly as prescribed and turns out that it’s wrong. It way overtightens the gasket. But the squish wasn’t too bad so I left it.
I left it like that for a few days but it was eating away at me. I ended up removing the oil pan again, scraping all of the sealant off, re-using my original gasket (I bought a fel-pro one and holy crap what a piece of junk that is – it was rock hard), then I used the forum approved method of just snugging each bolt up gradually until you just barely see the gasket puff out.
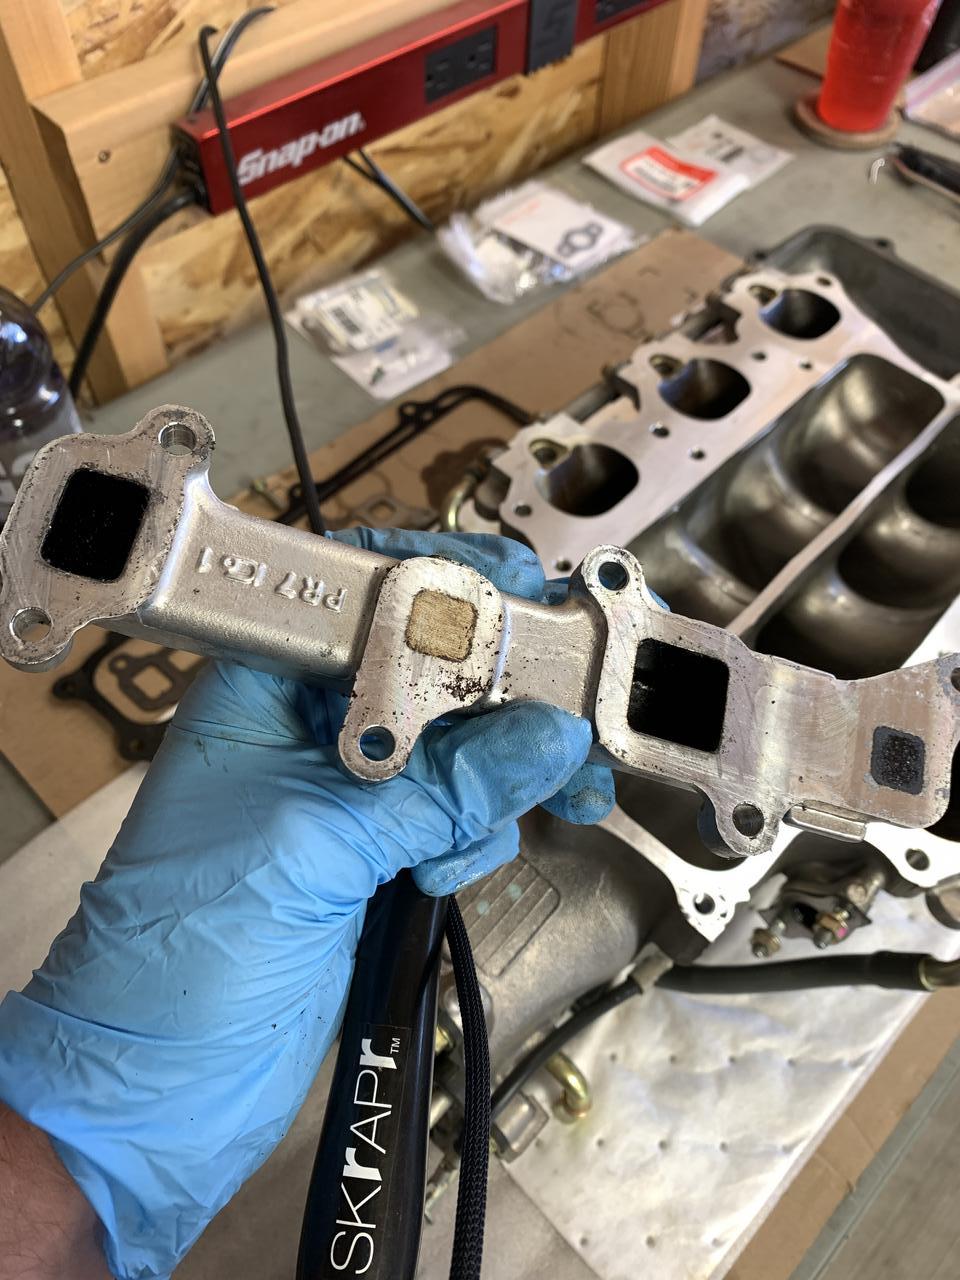
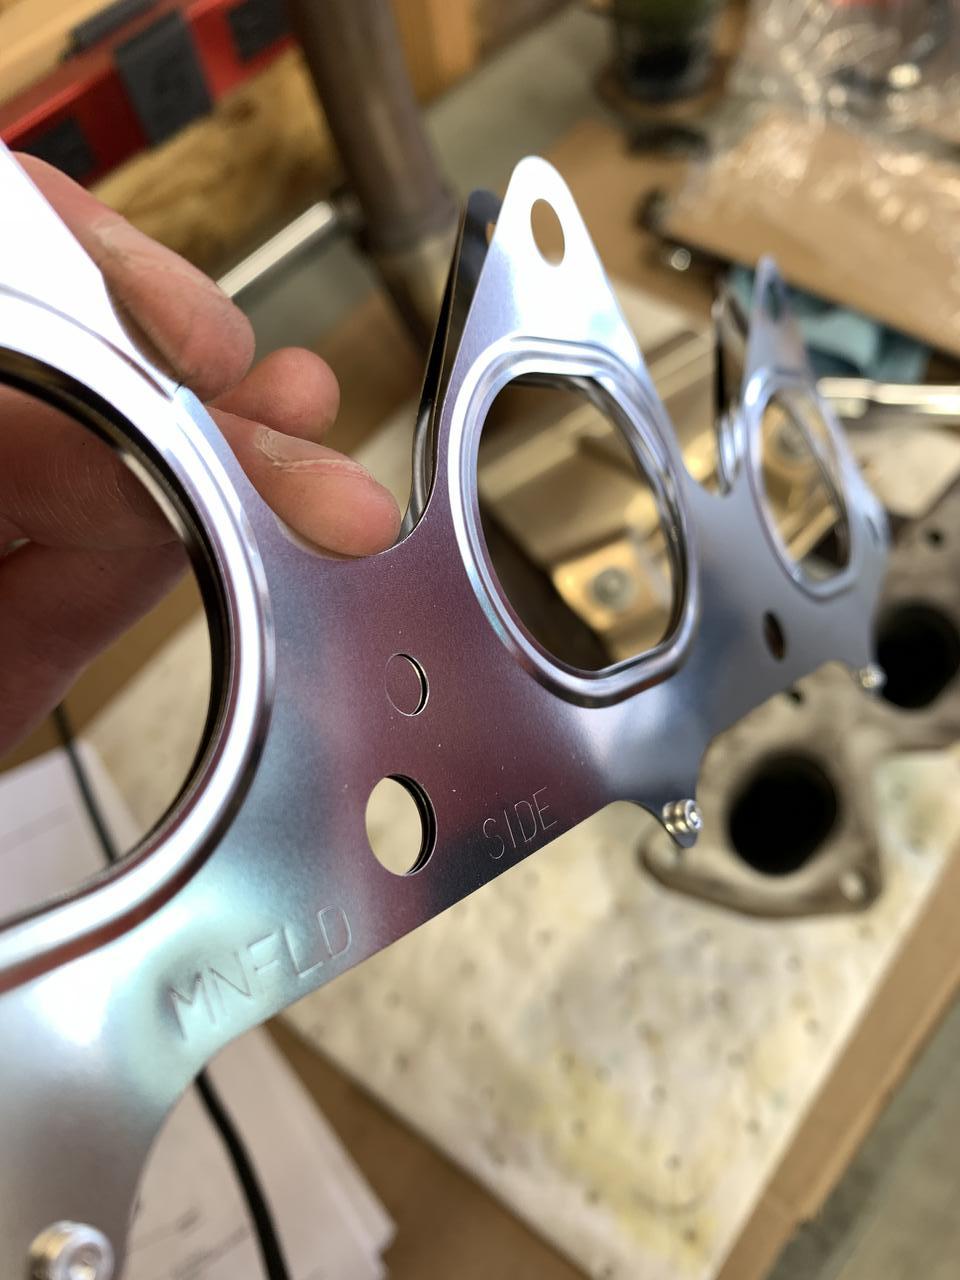
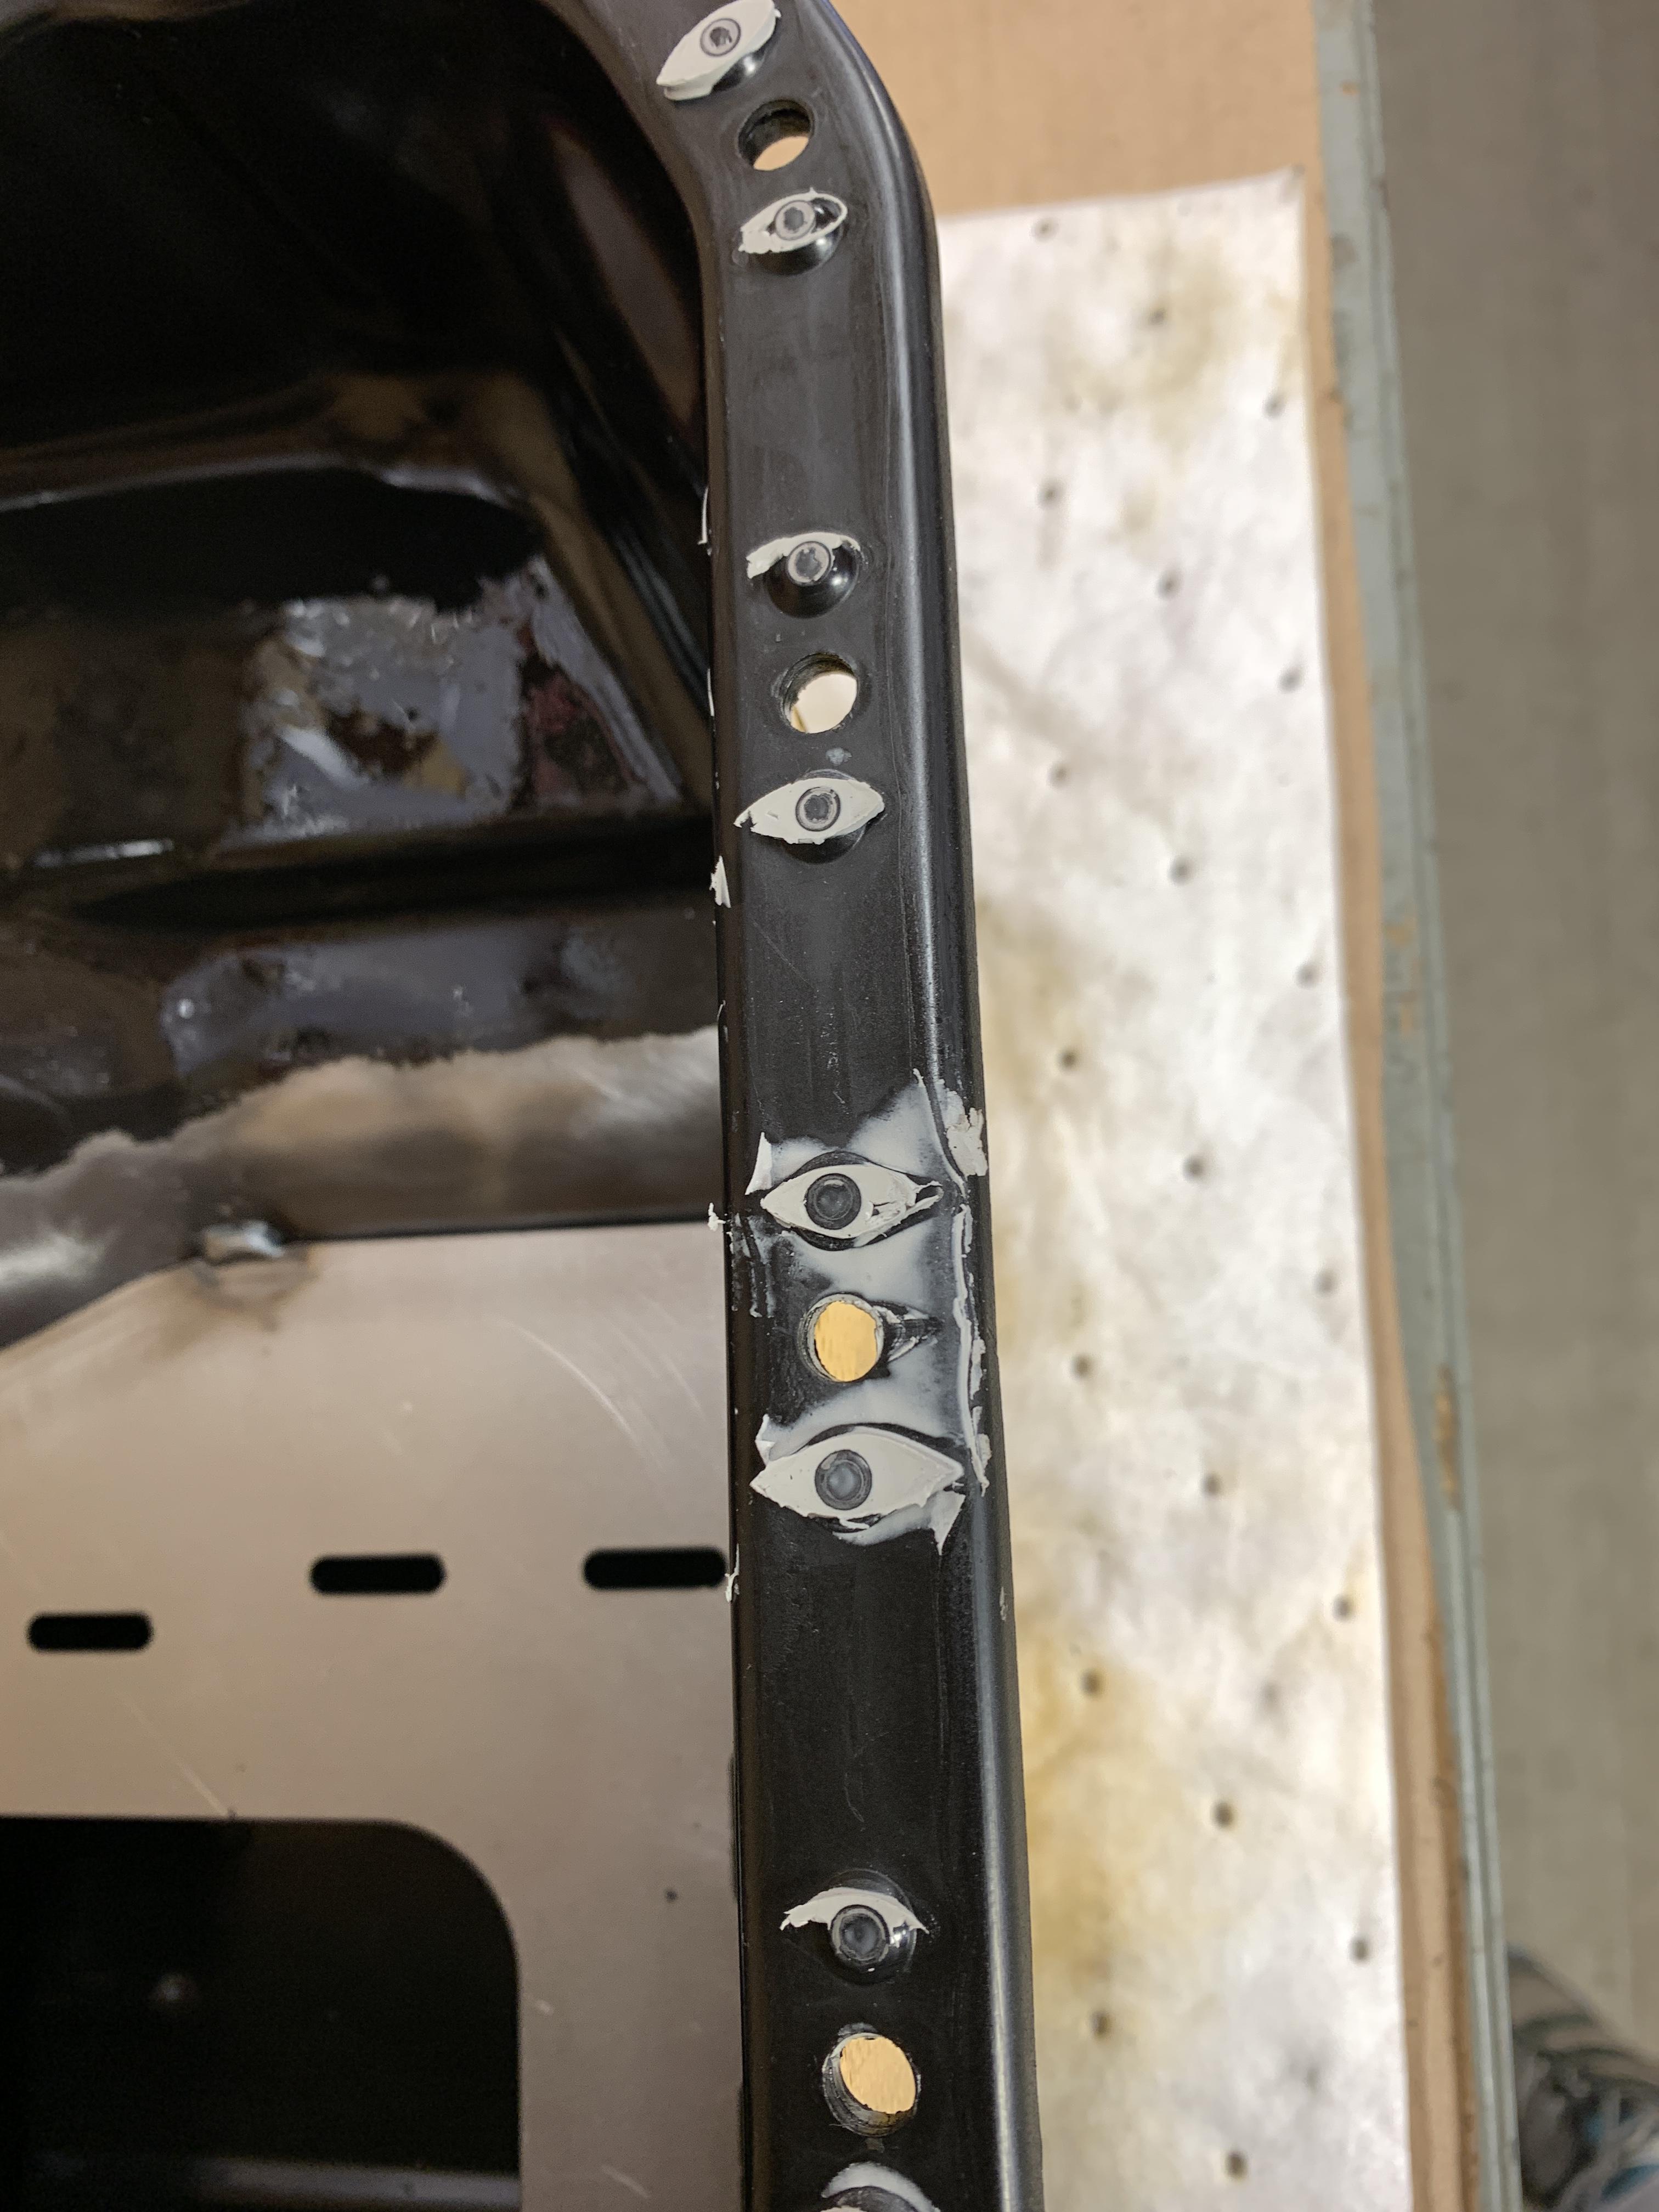
Next up was the front exhaust manifold with new gasket. The gasket is directional for some reason:
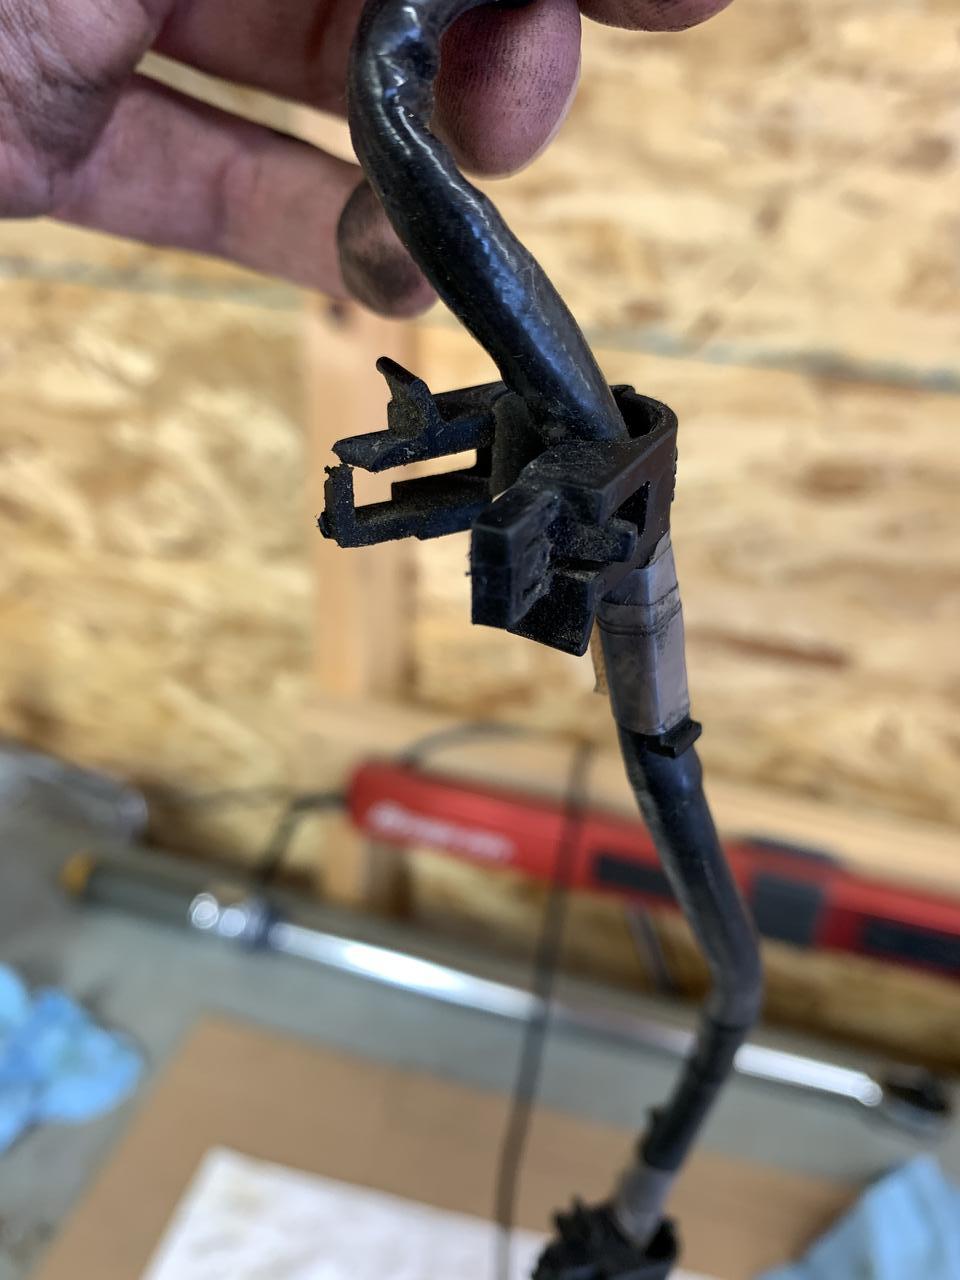
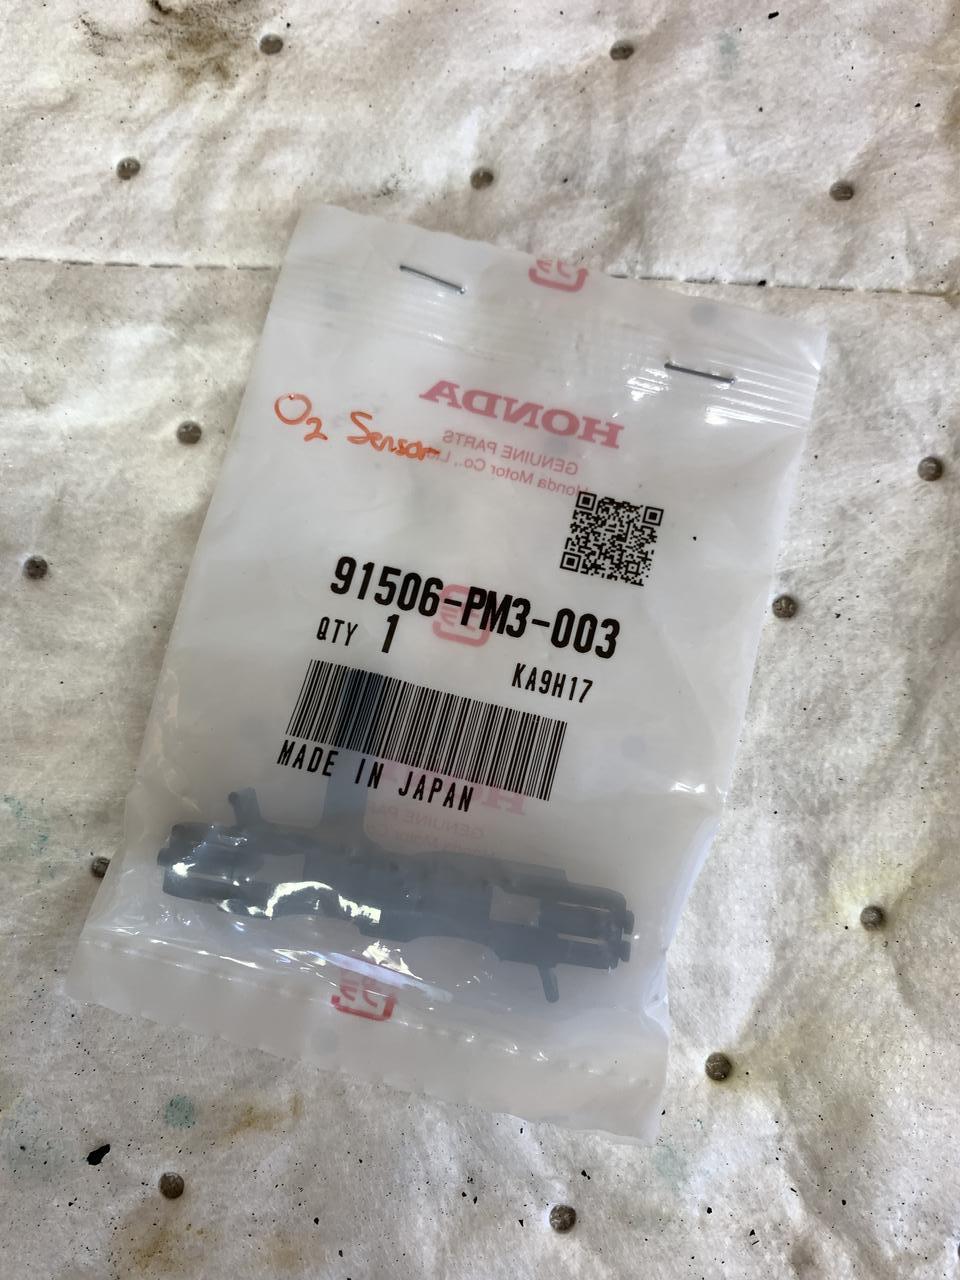
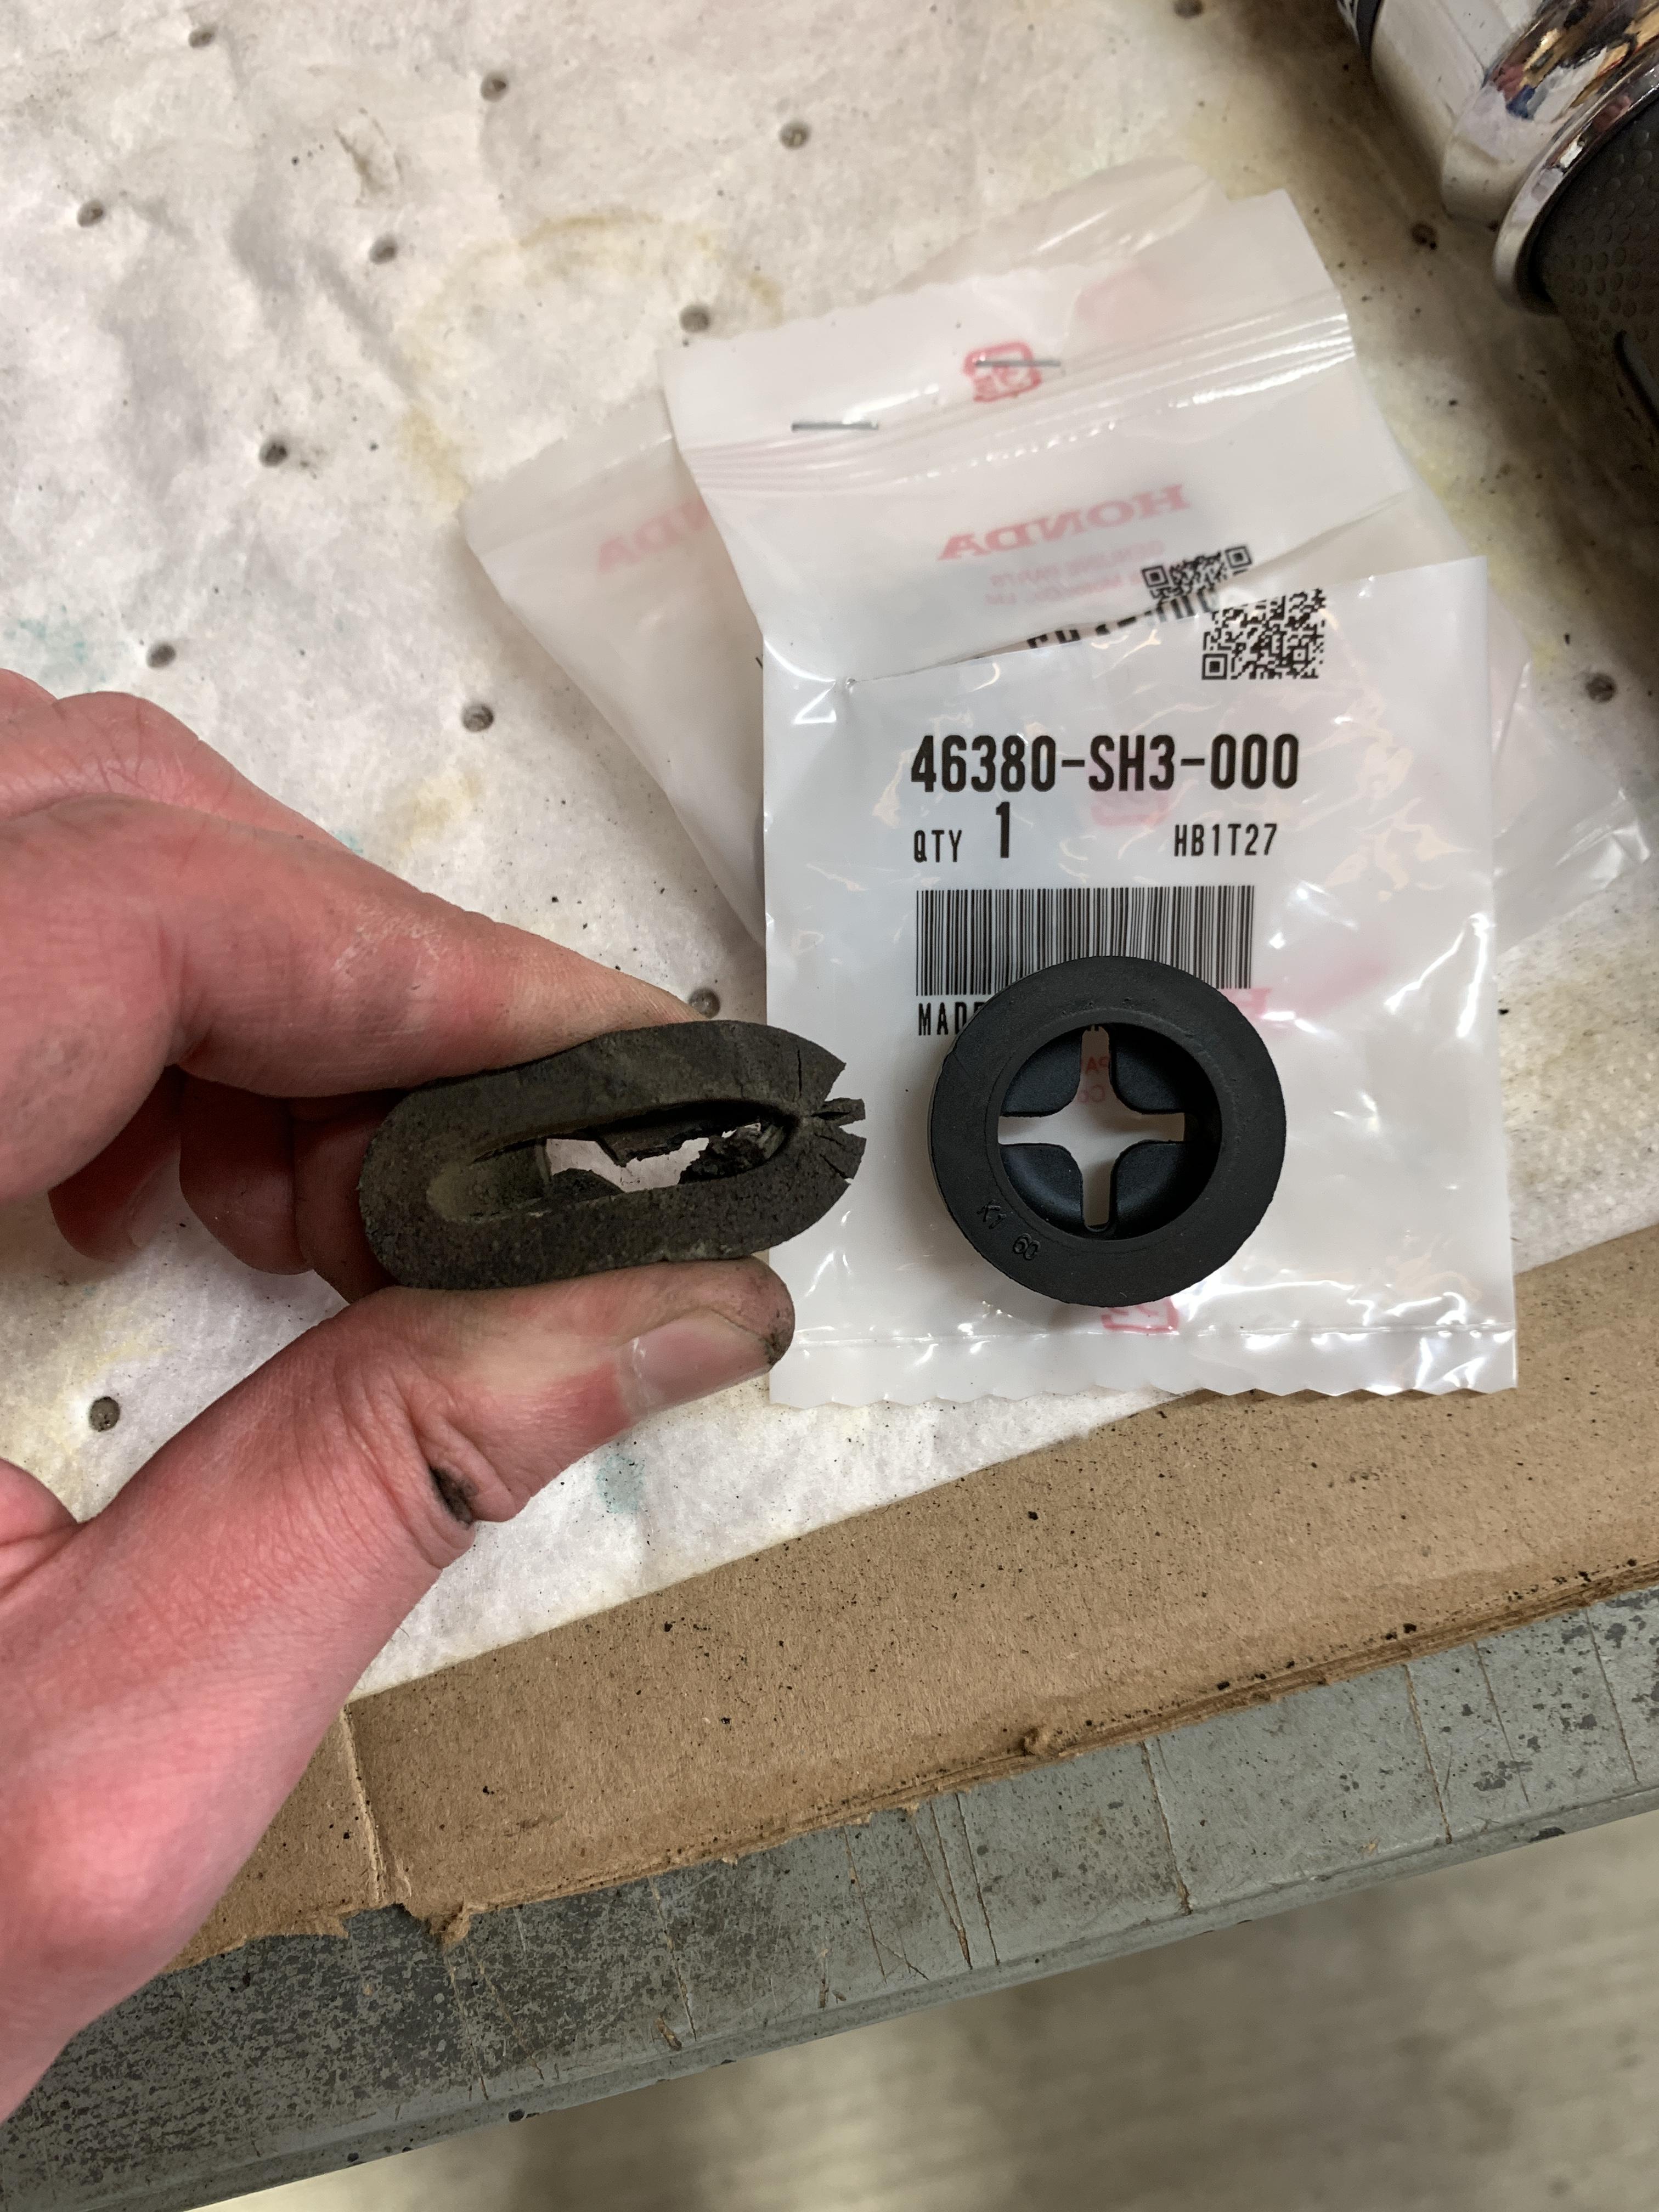
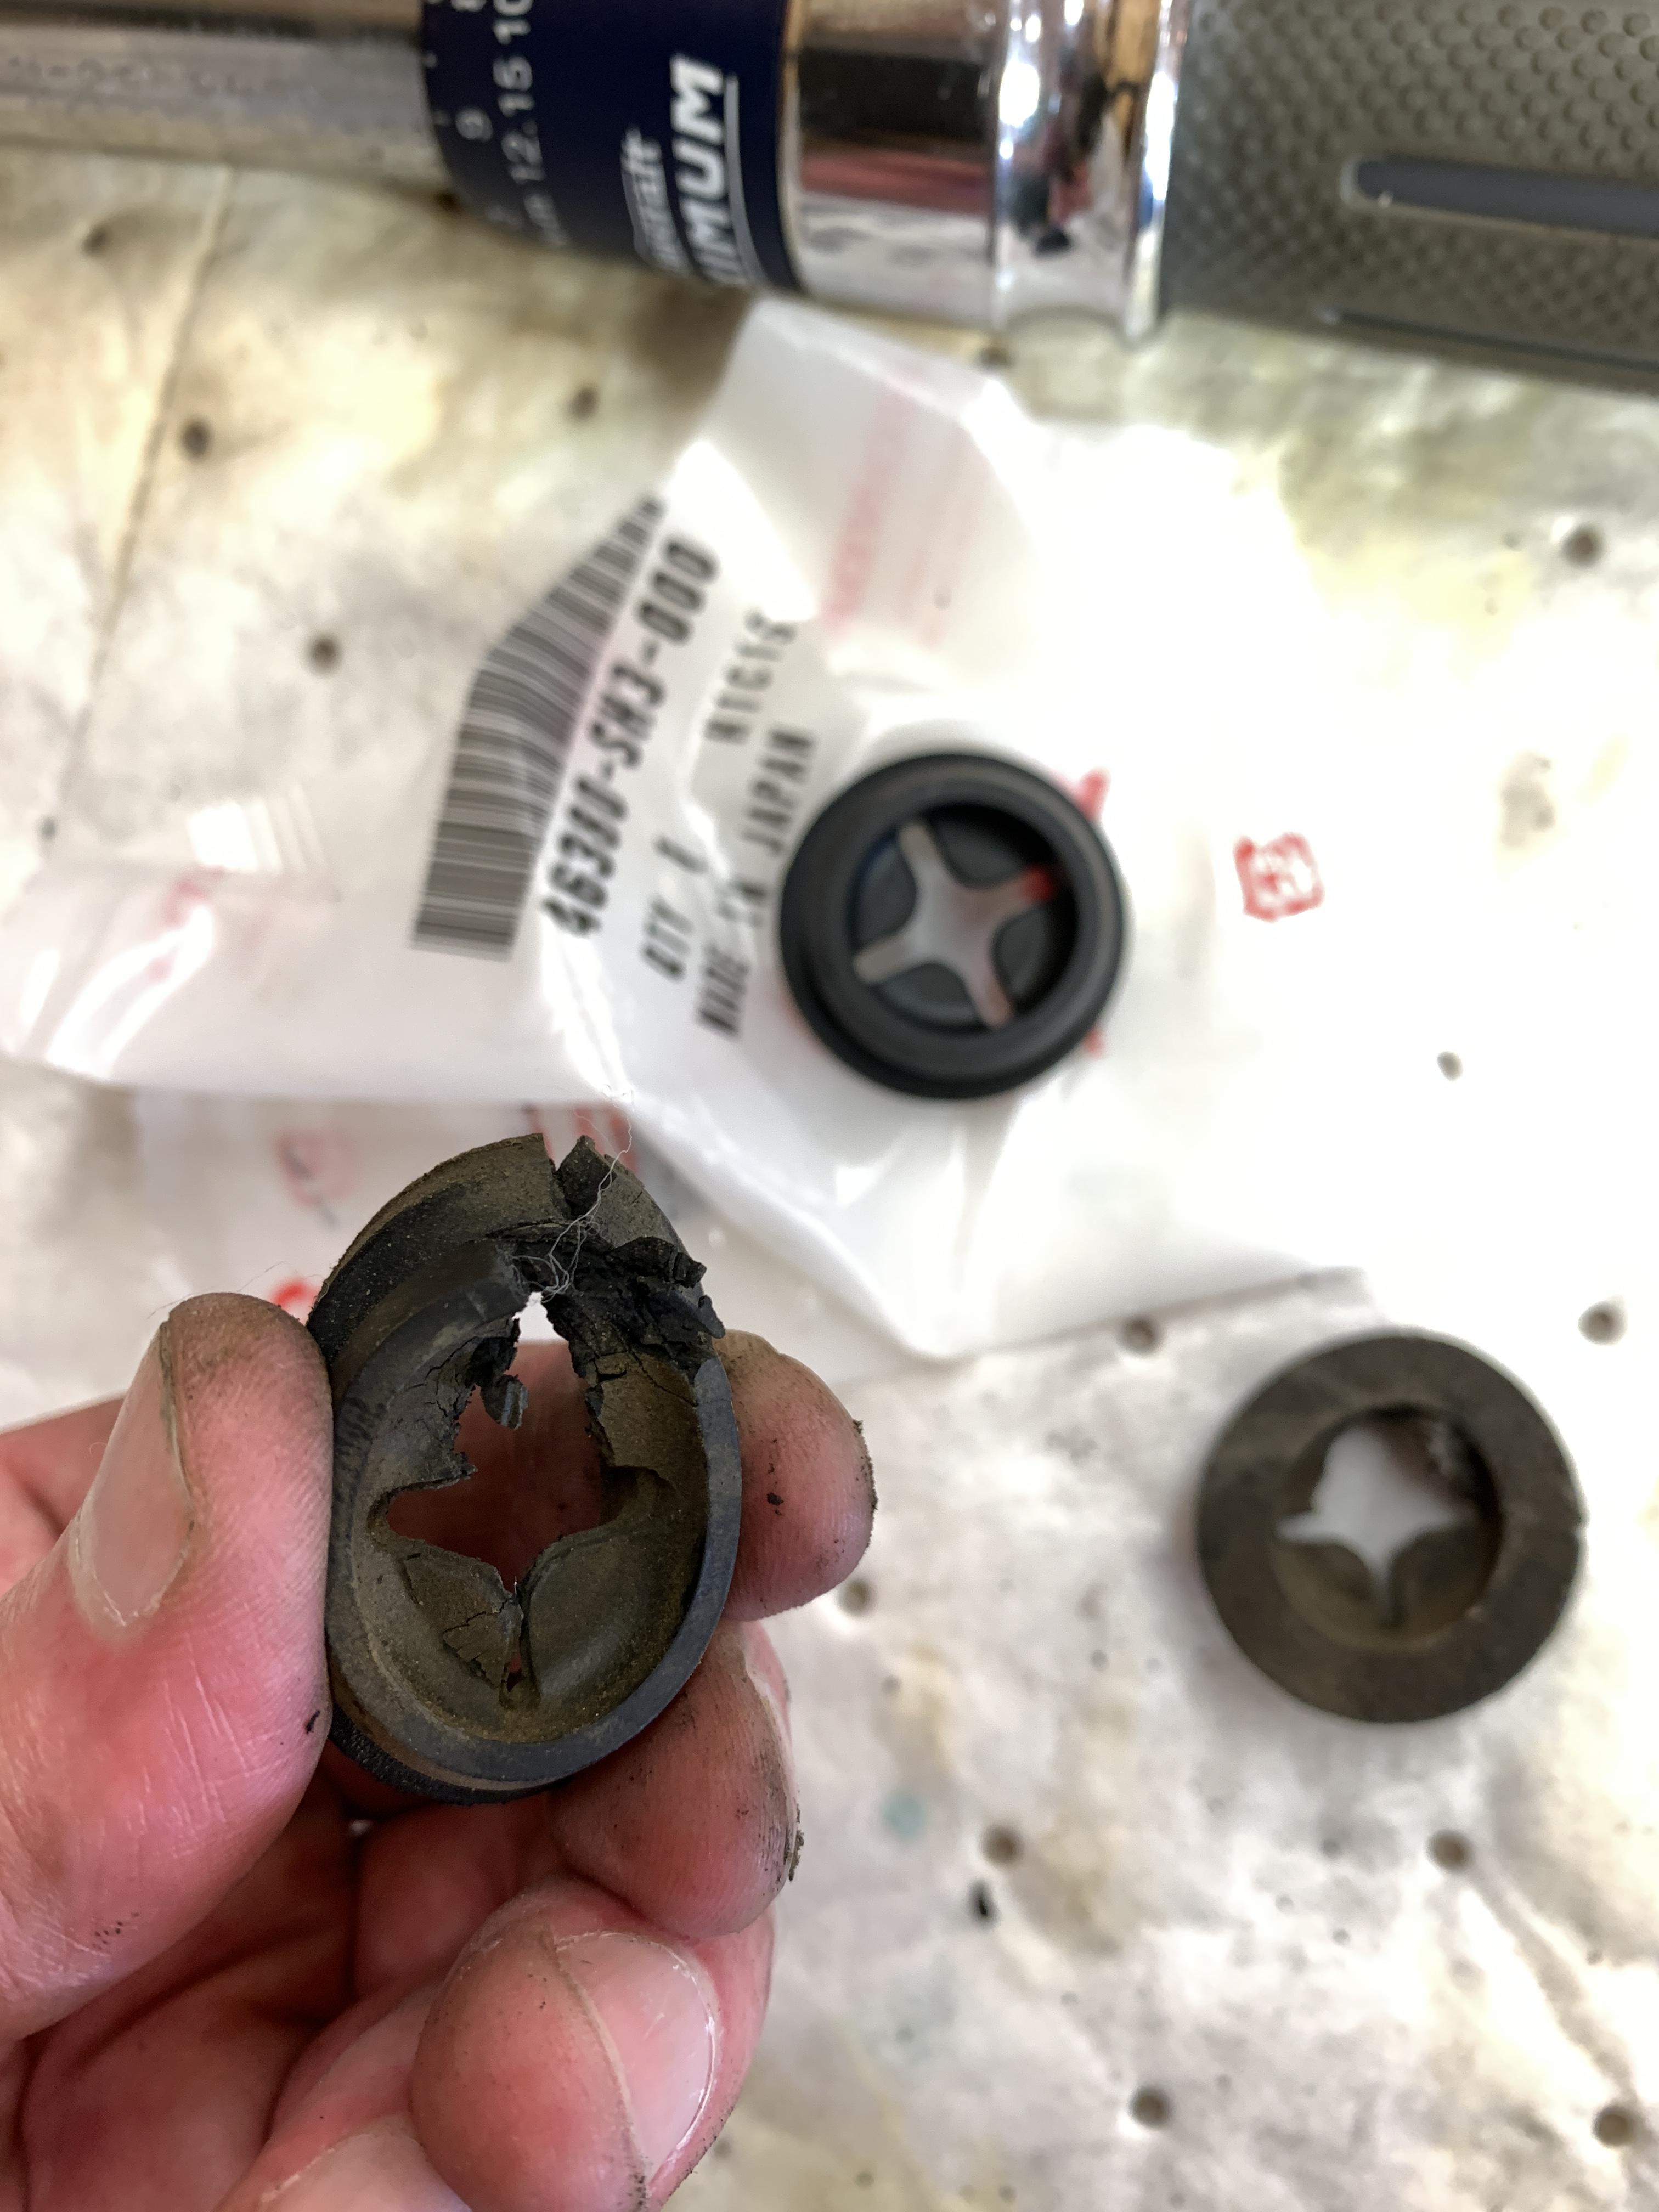
Then move onto the oxygen sensors. I snapped this clip when I was taking it out so I replaced it.
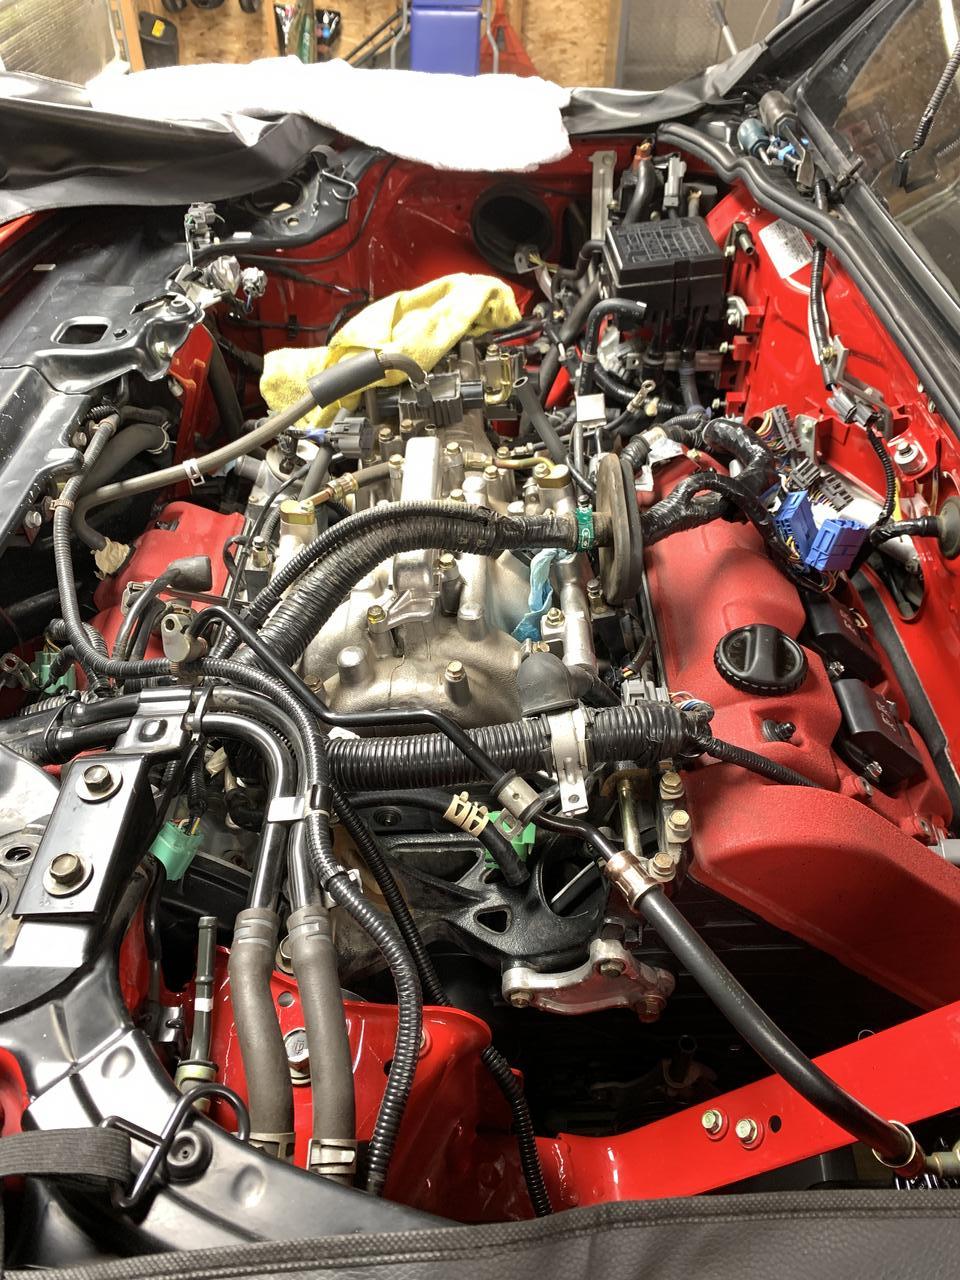
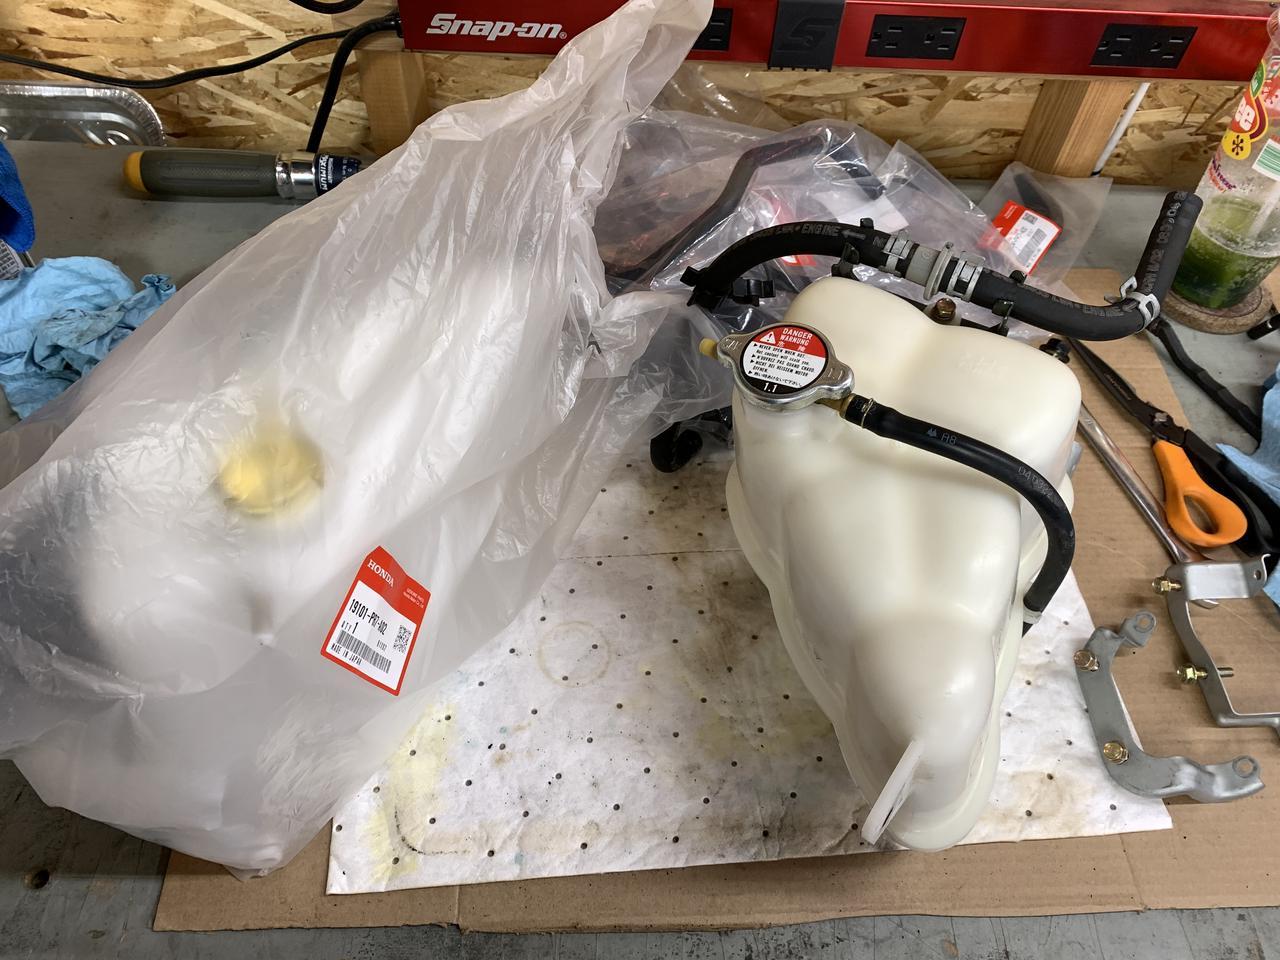
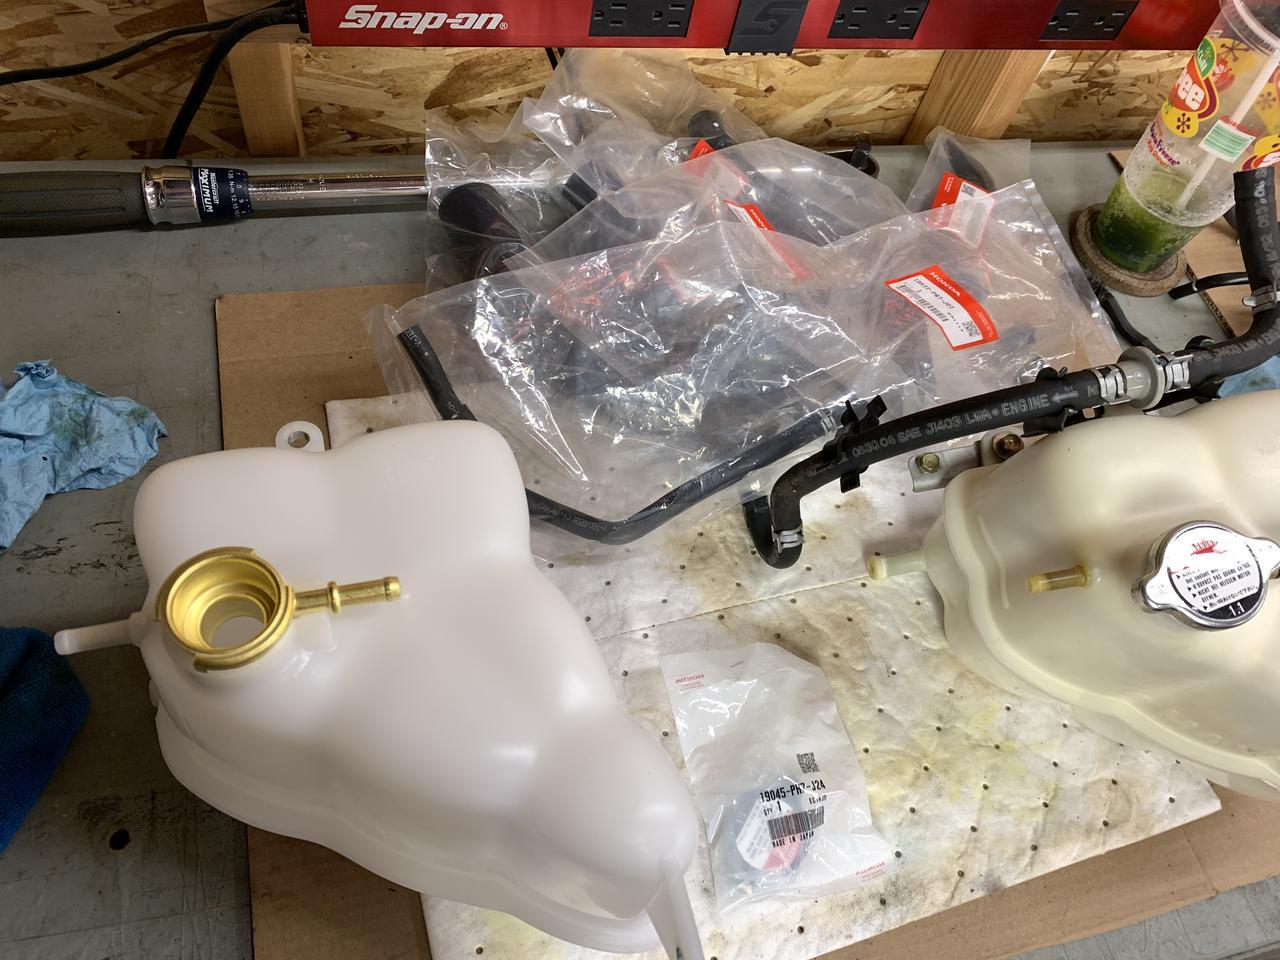
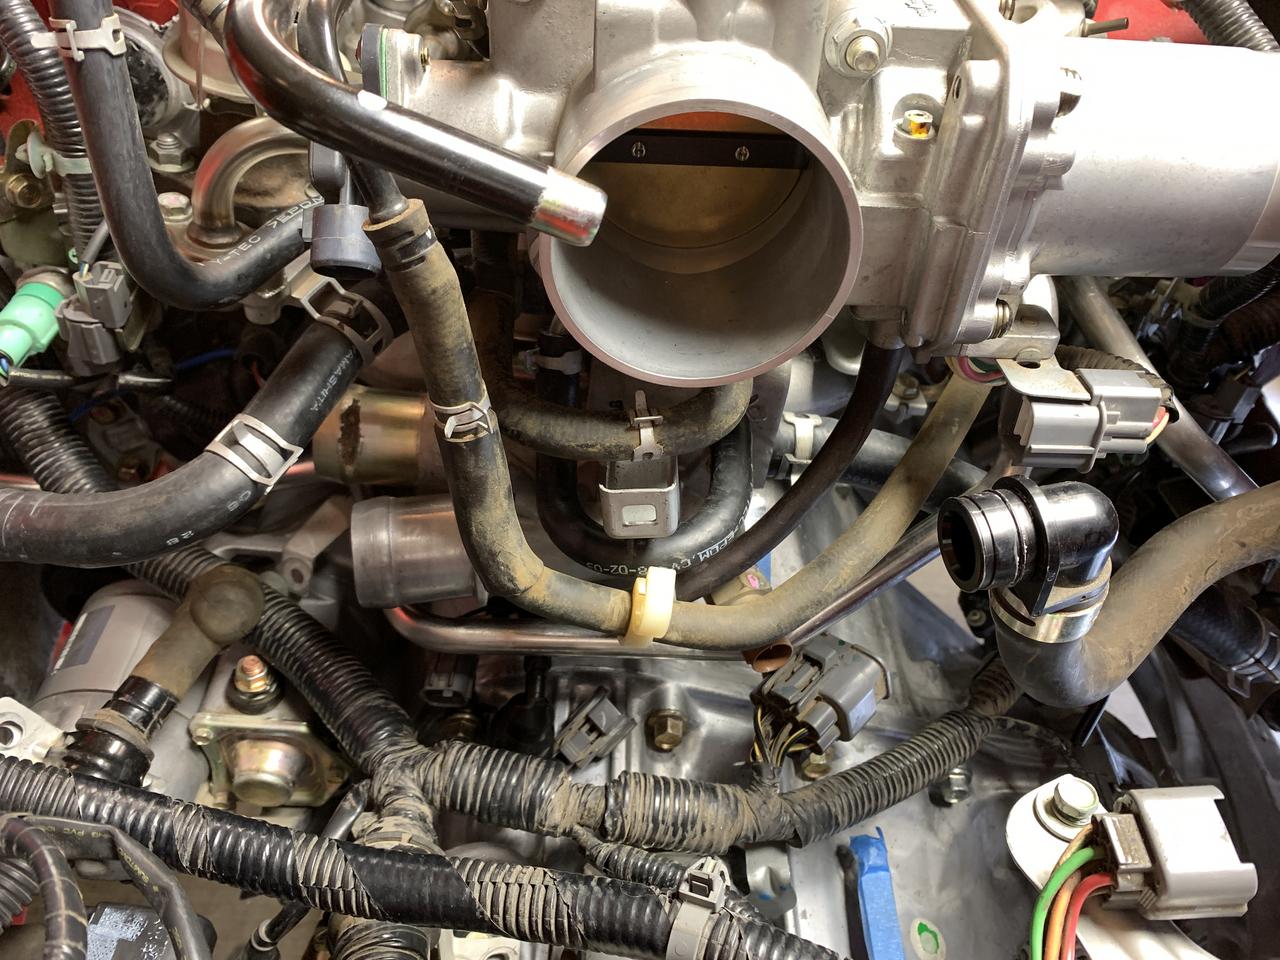
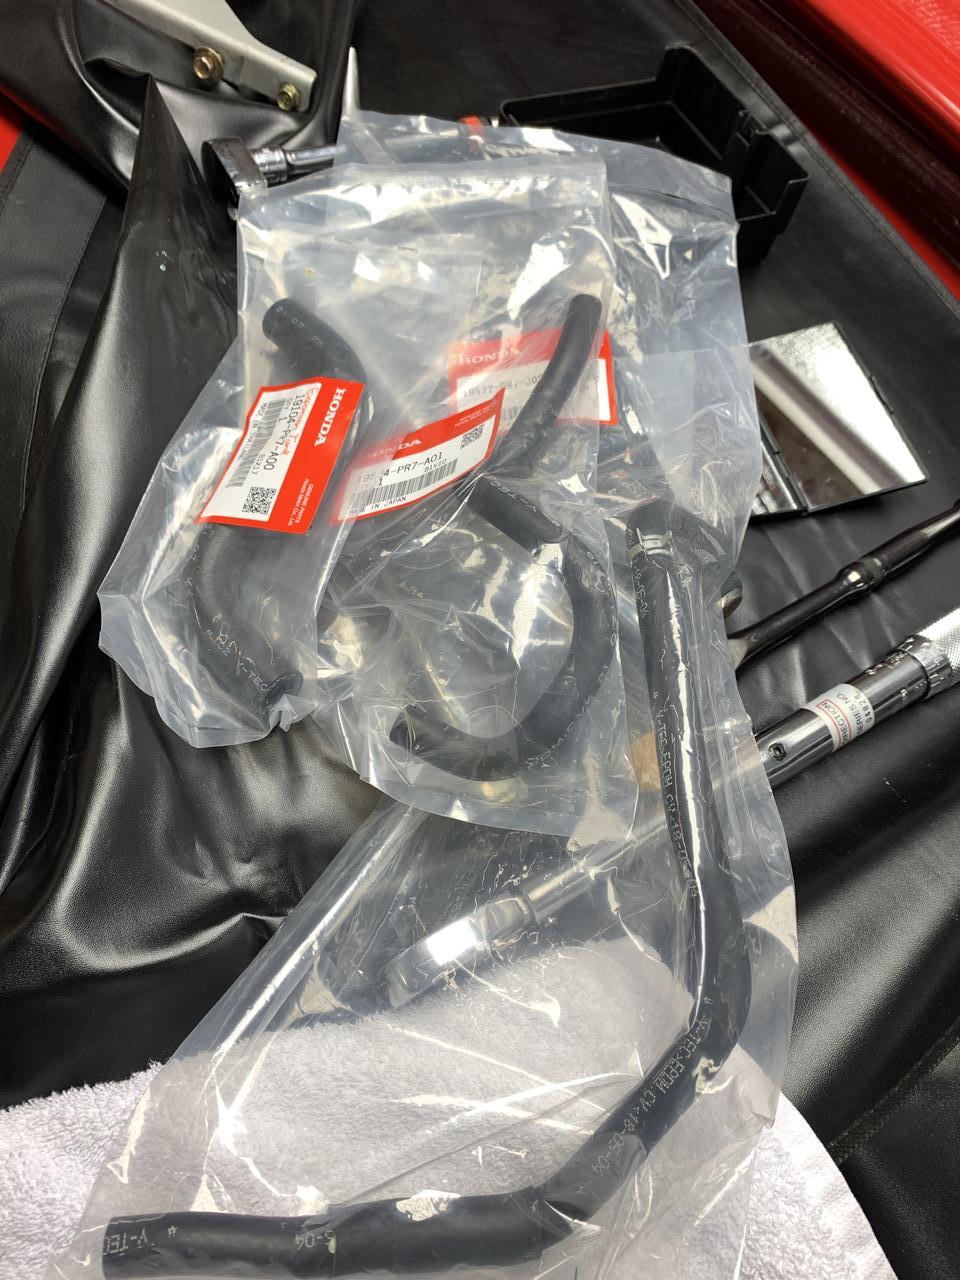
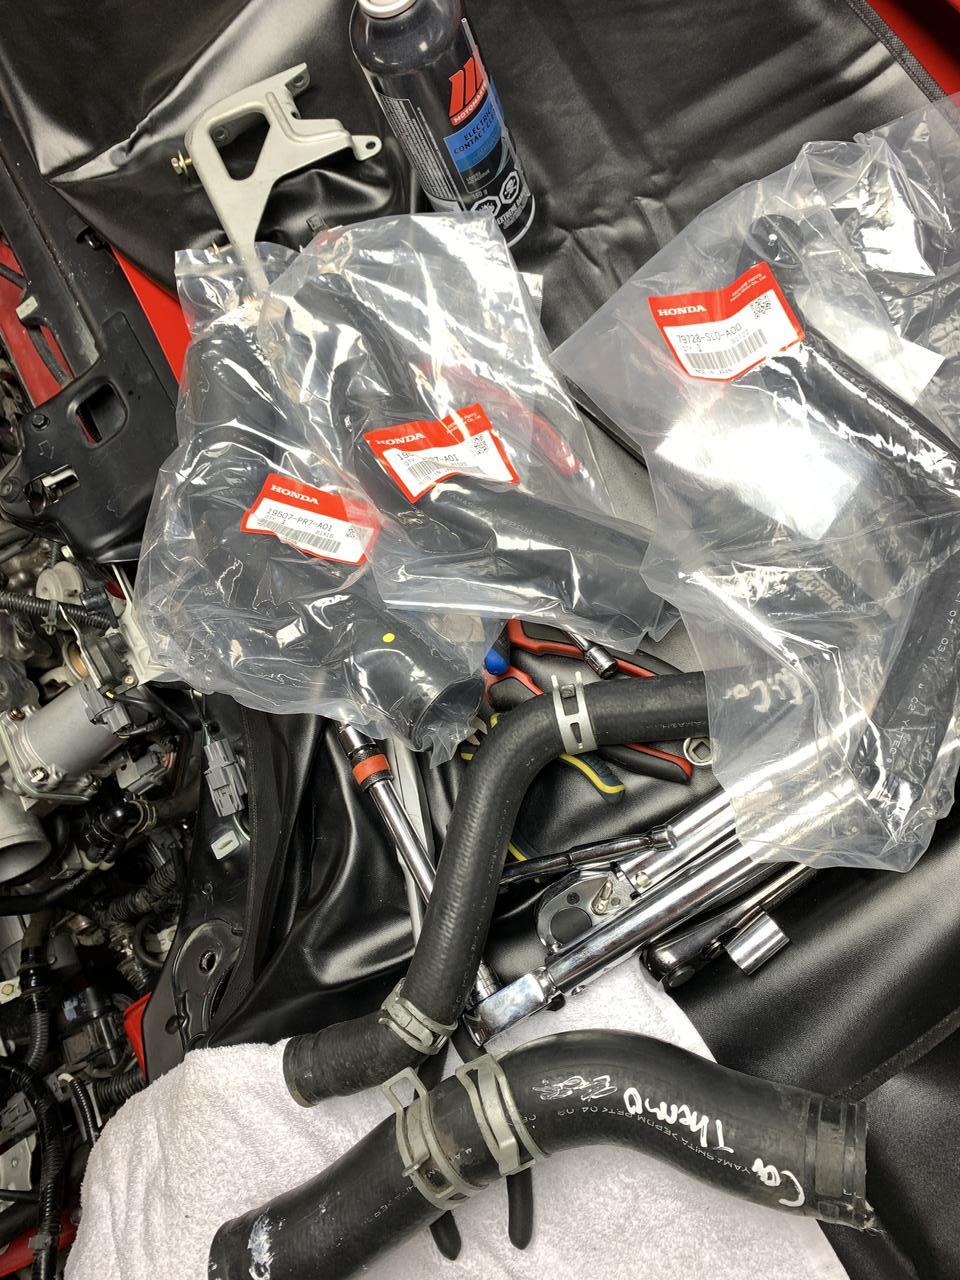
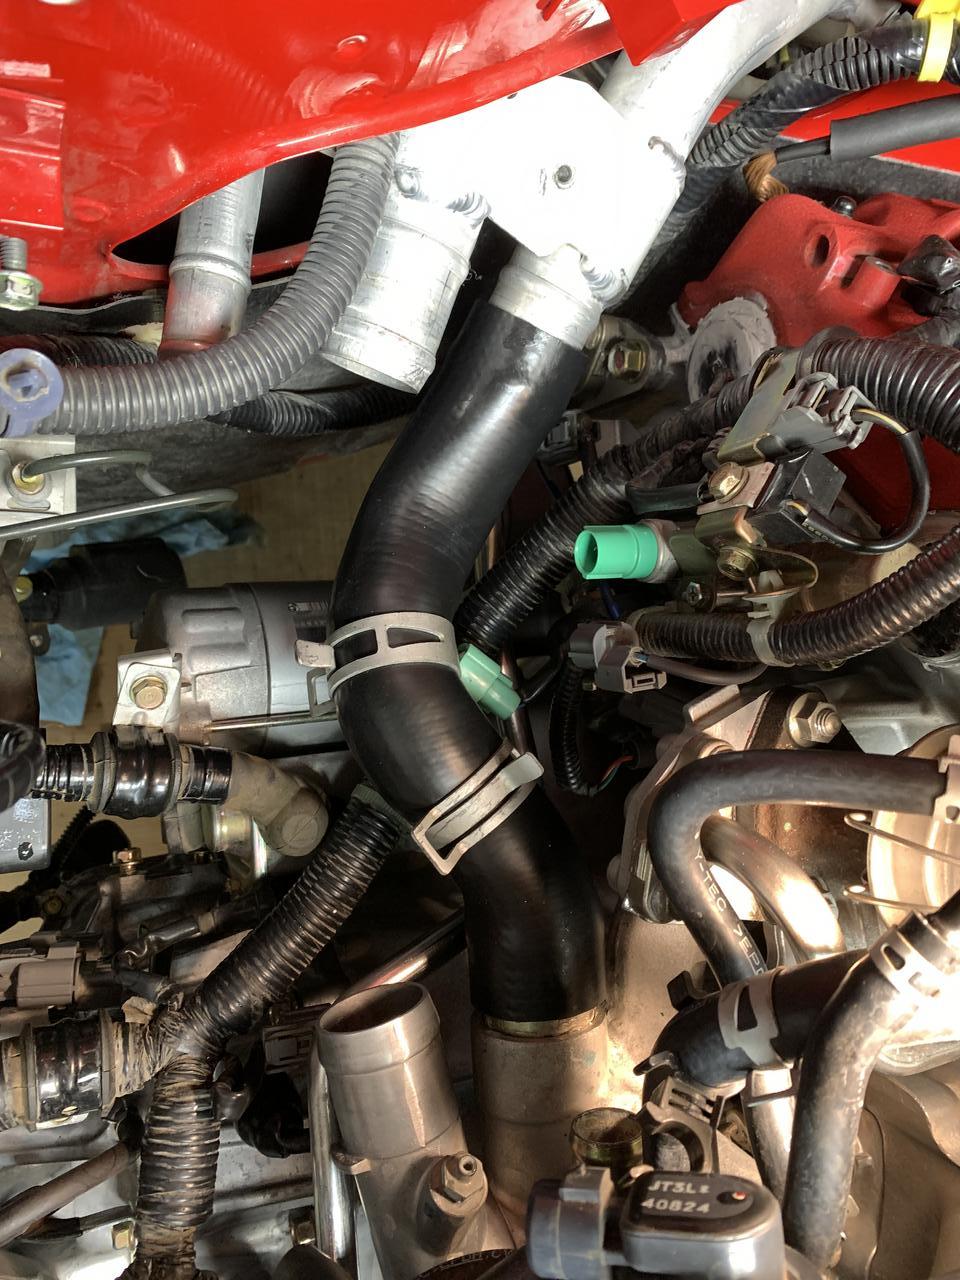
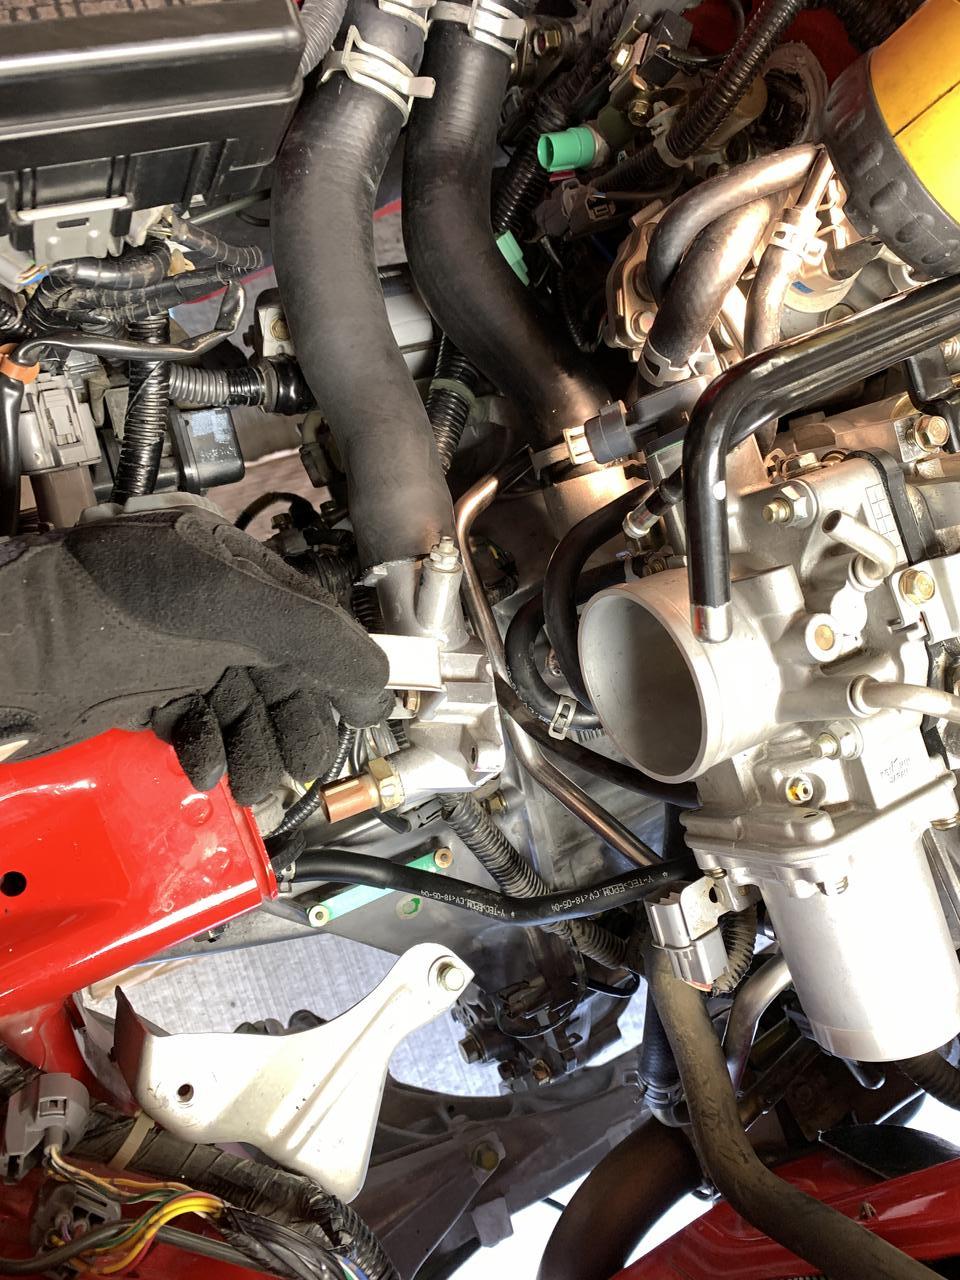
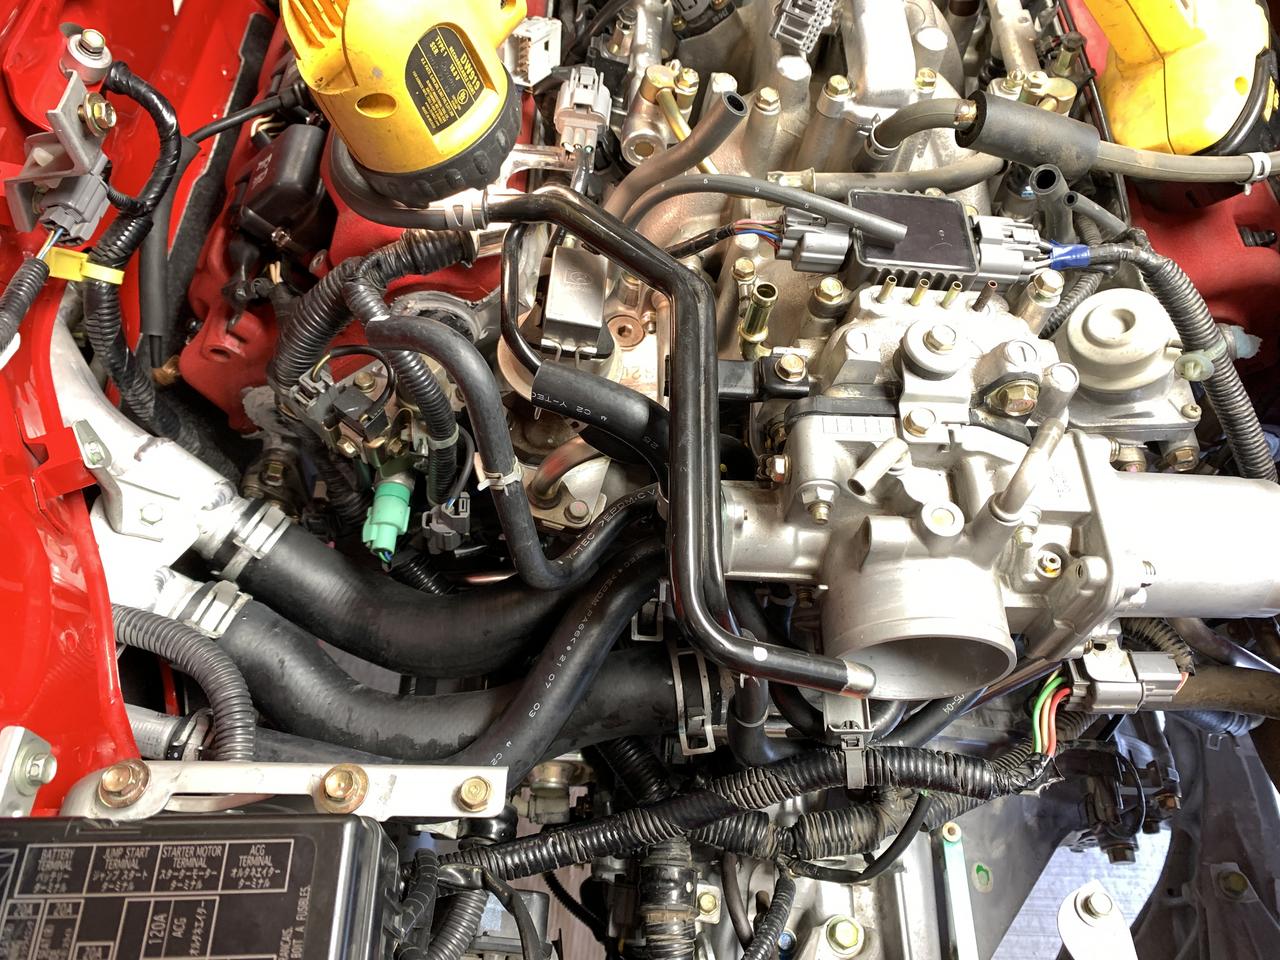
I now moved on to buttoning up the coolant system. I bought all new hoses and new expansion tank.
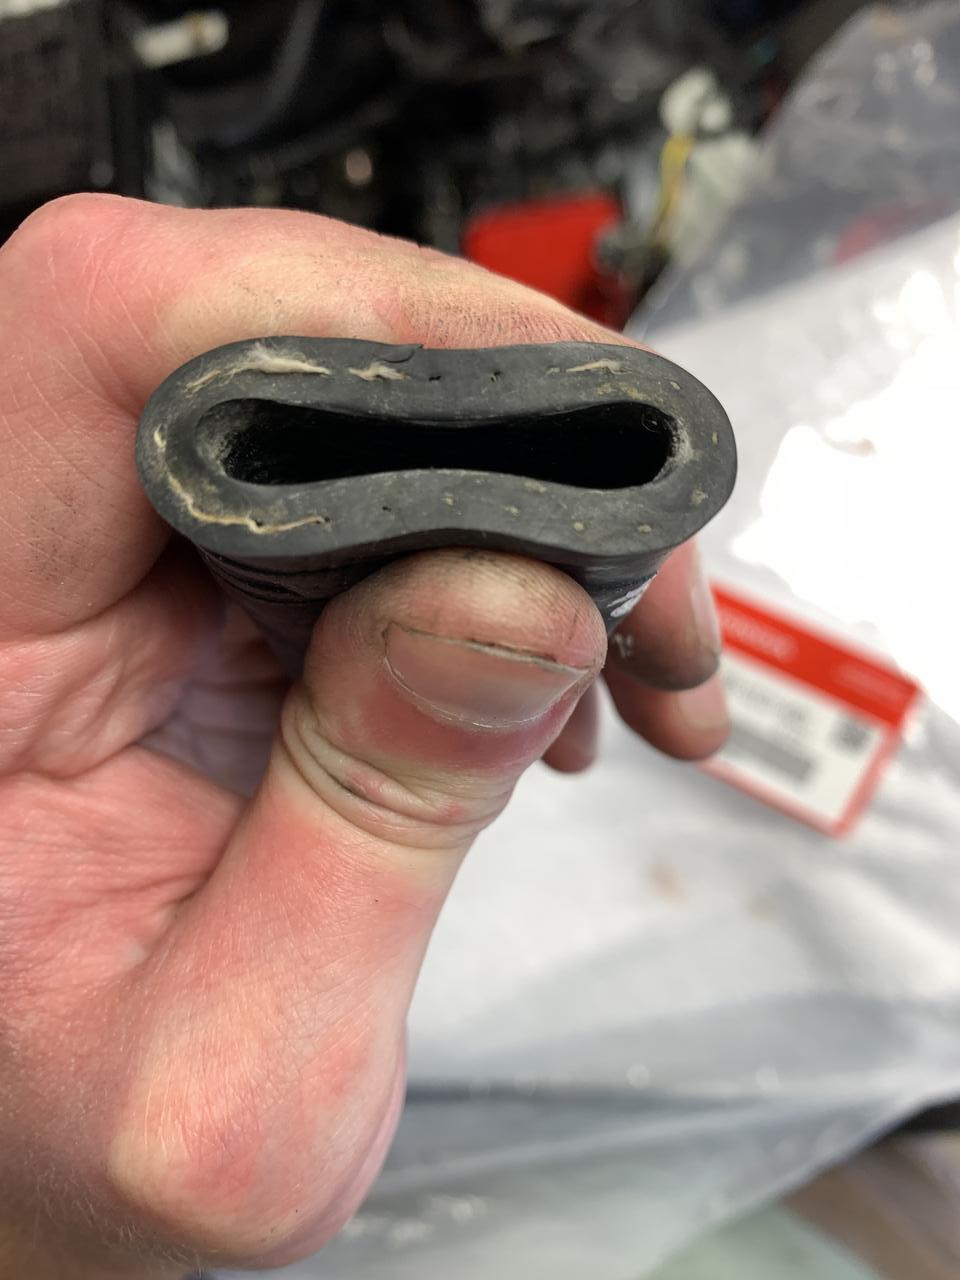
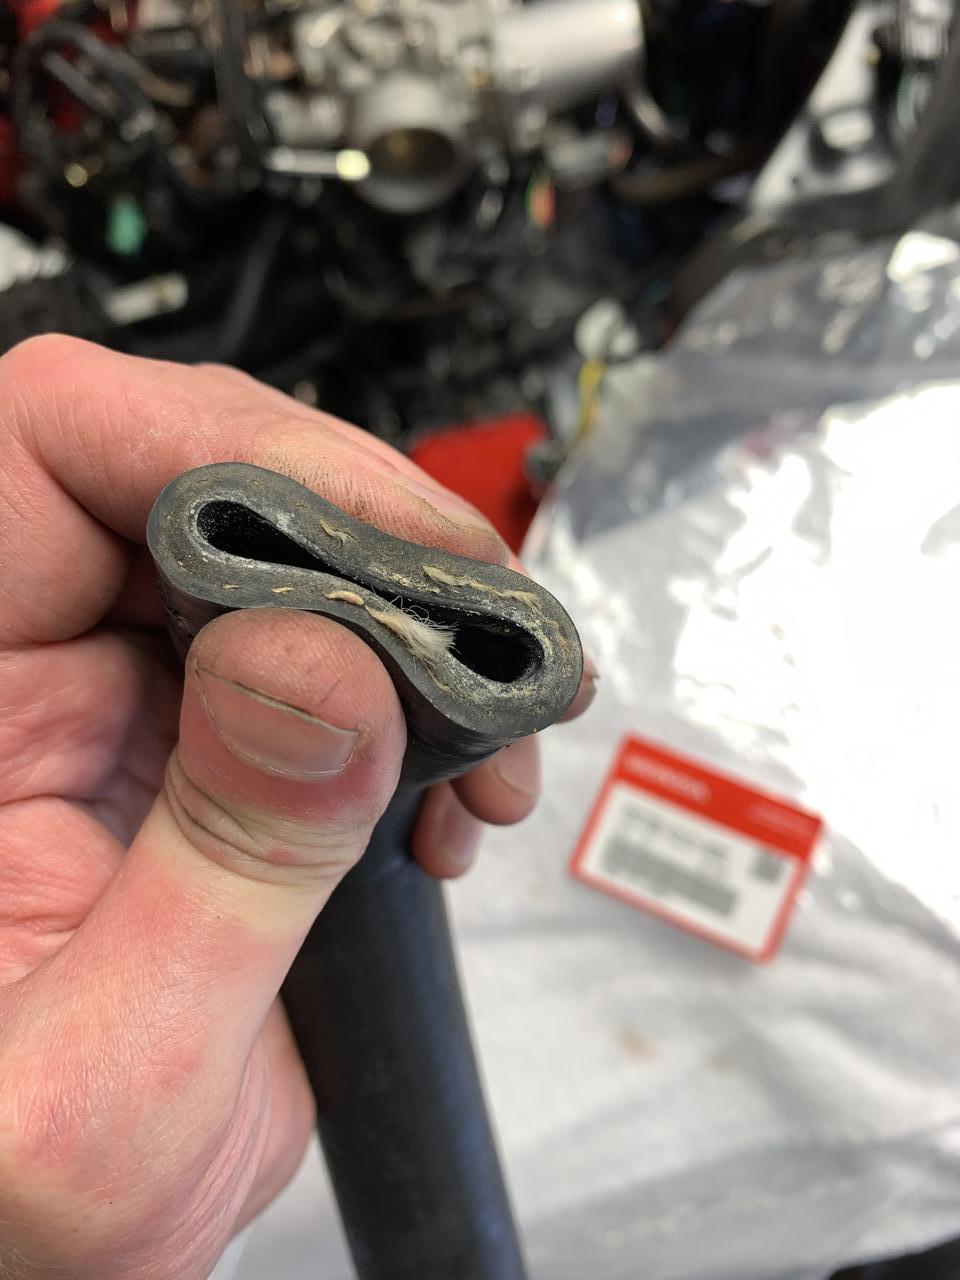
None of my hoses were leaking and none showed cracks but they were still stretched out. Insert childish joke about your girlfriends and wives here:
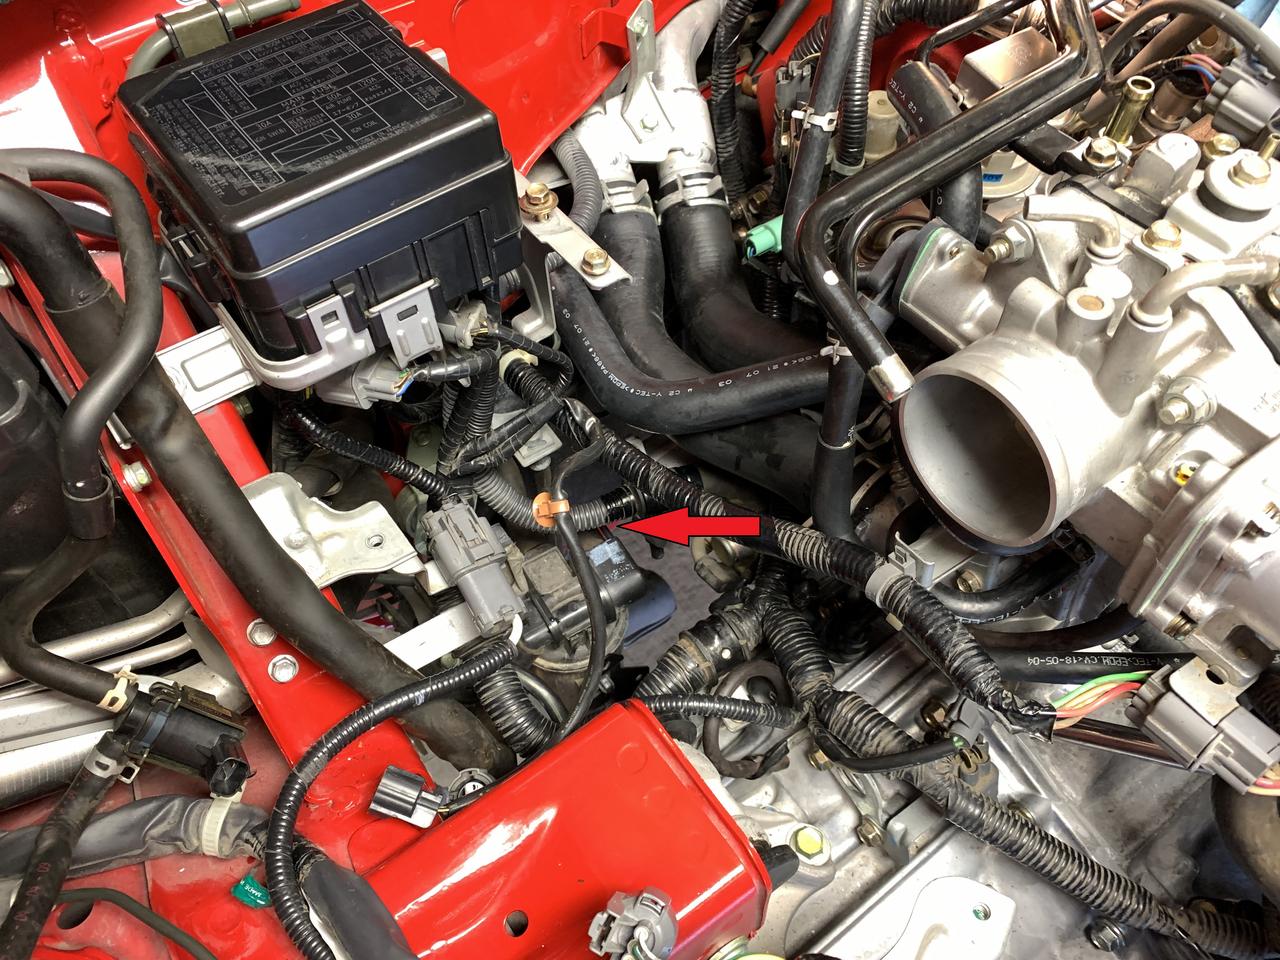
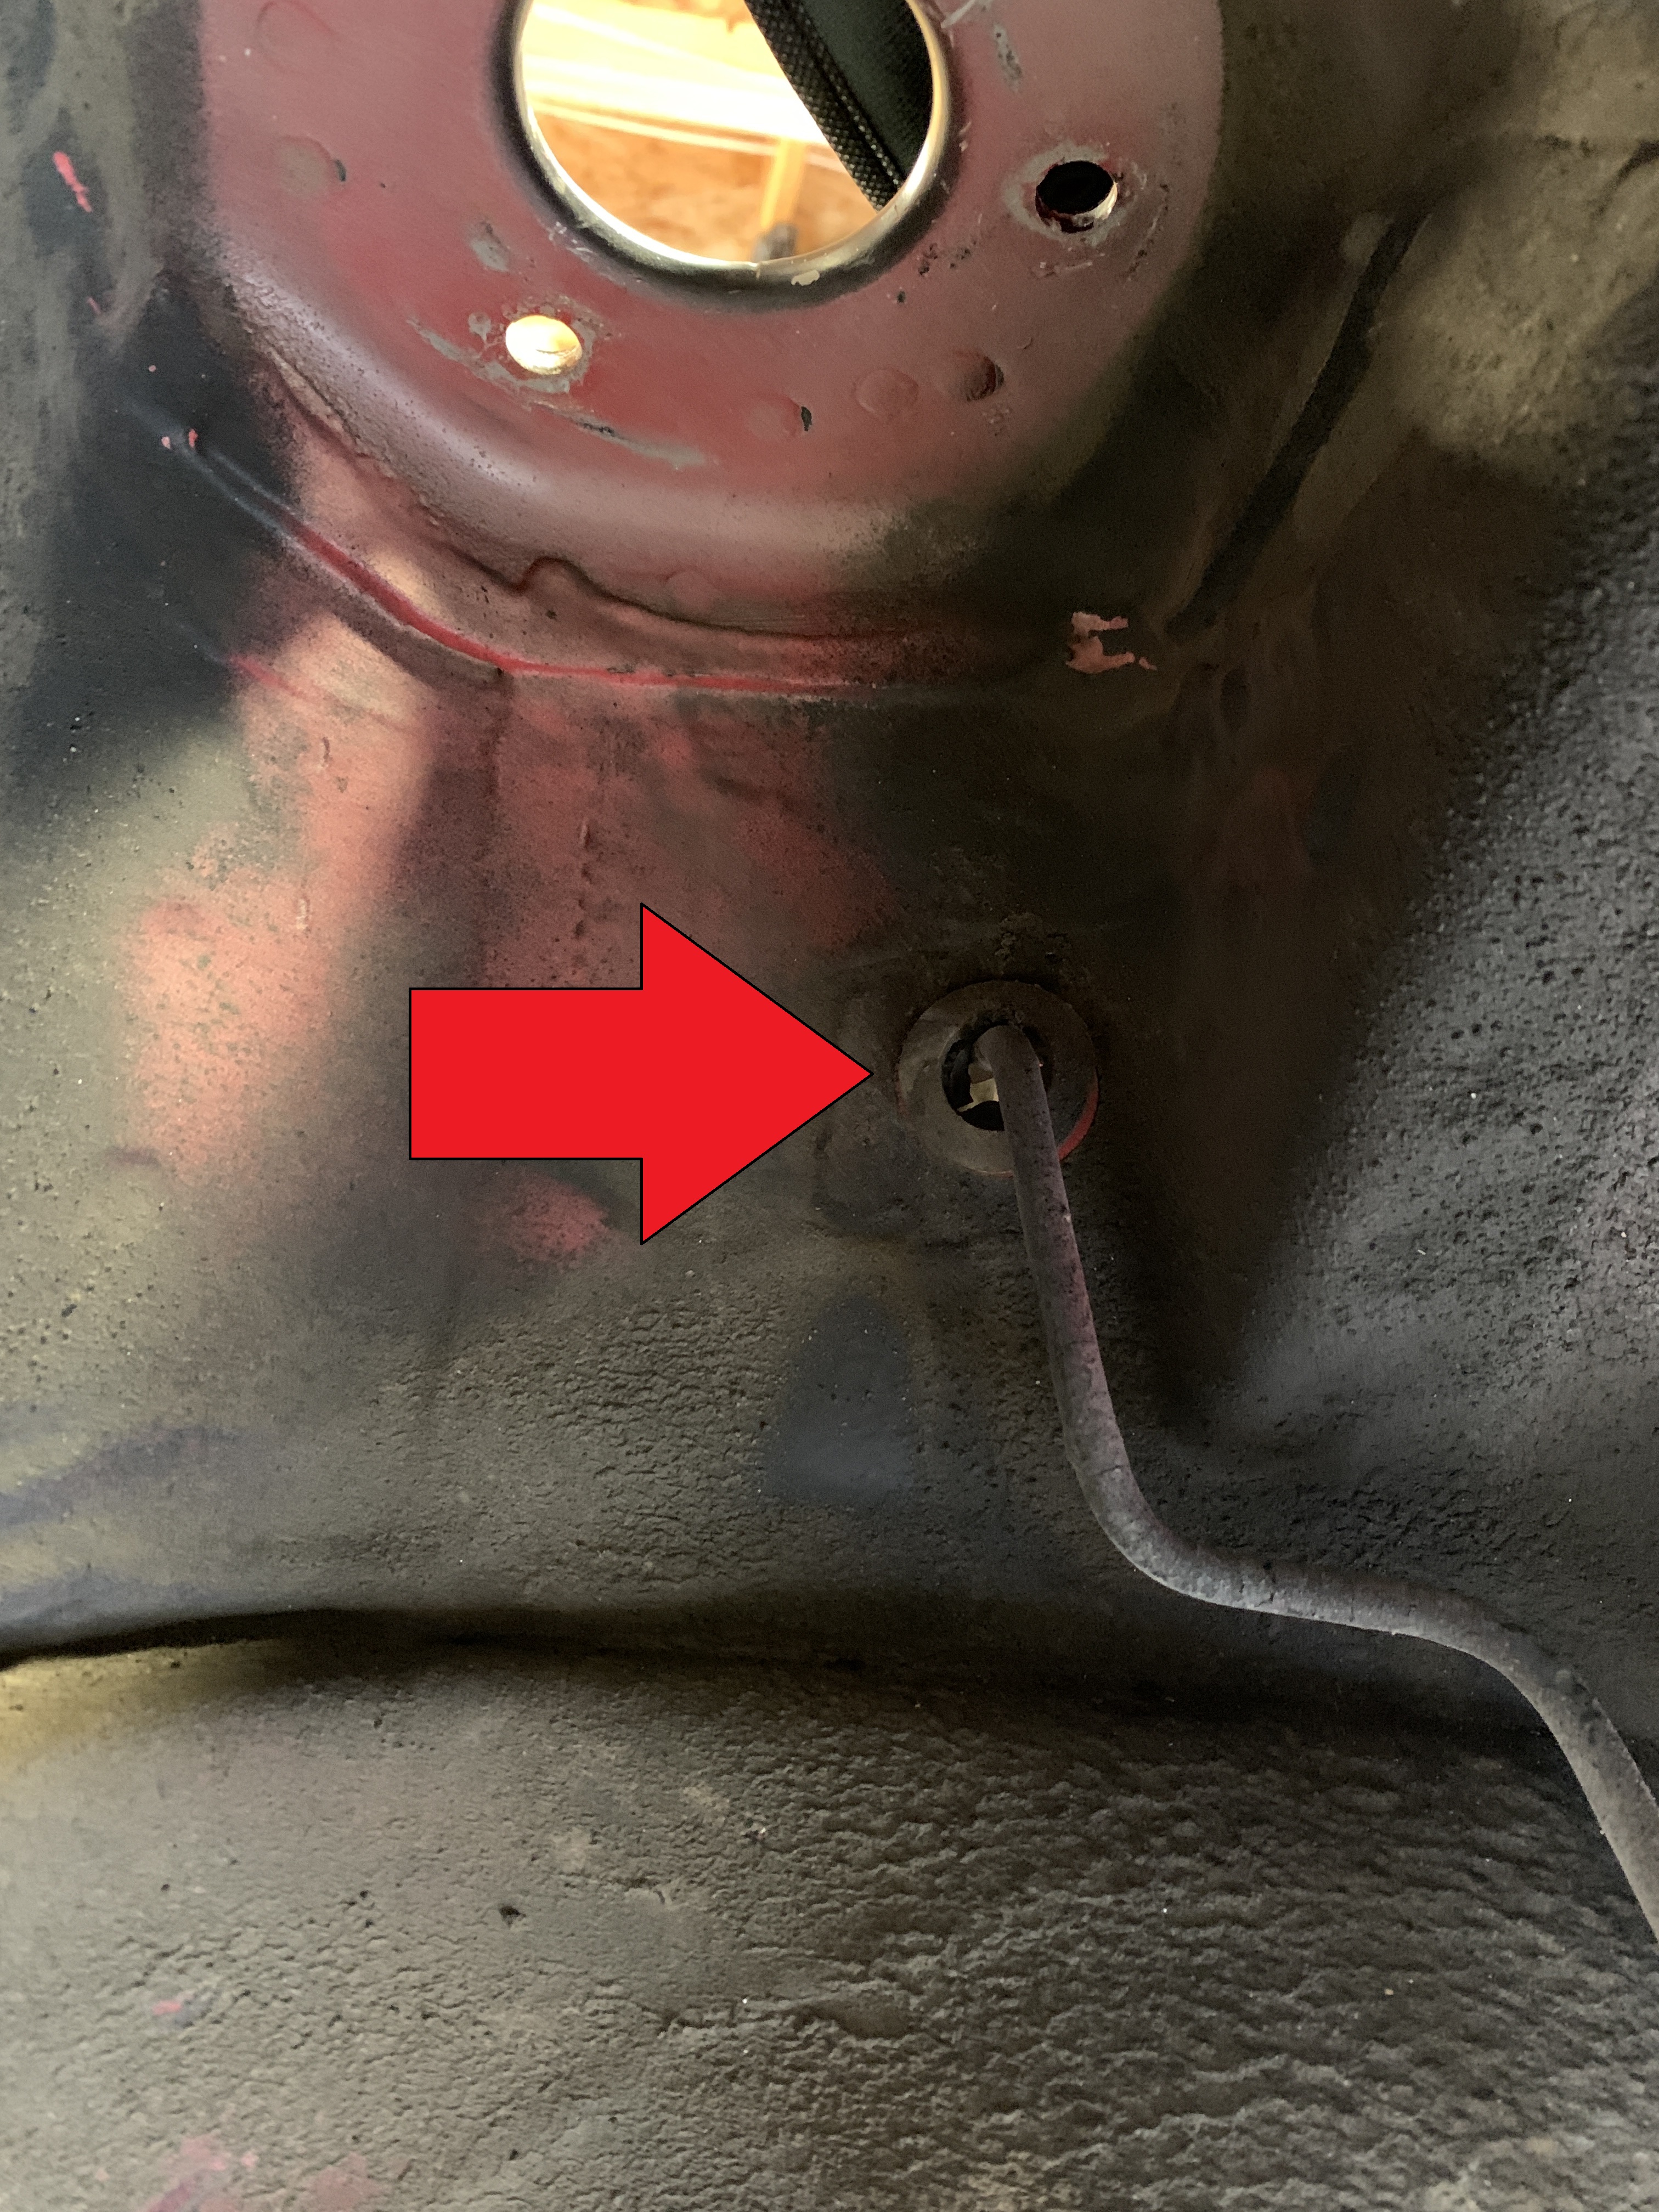
For some reason many of my connectors had the insert come out. Make sure to check each one when you put it back.
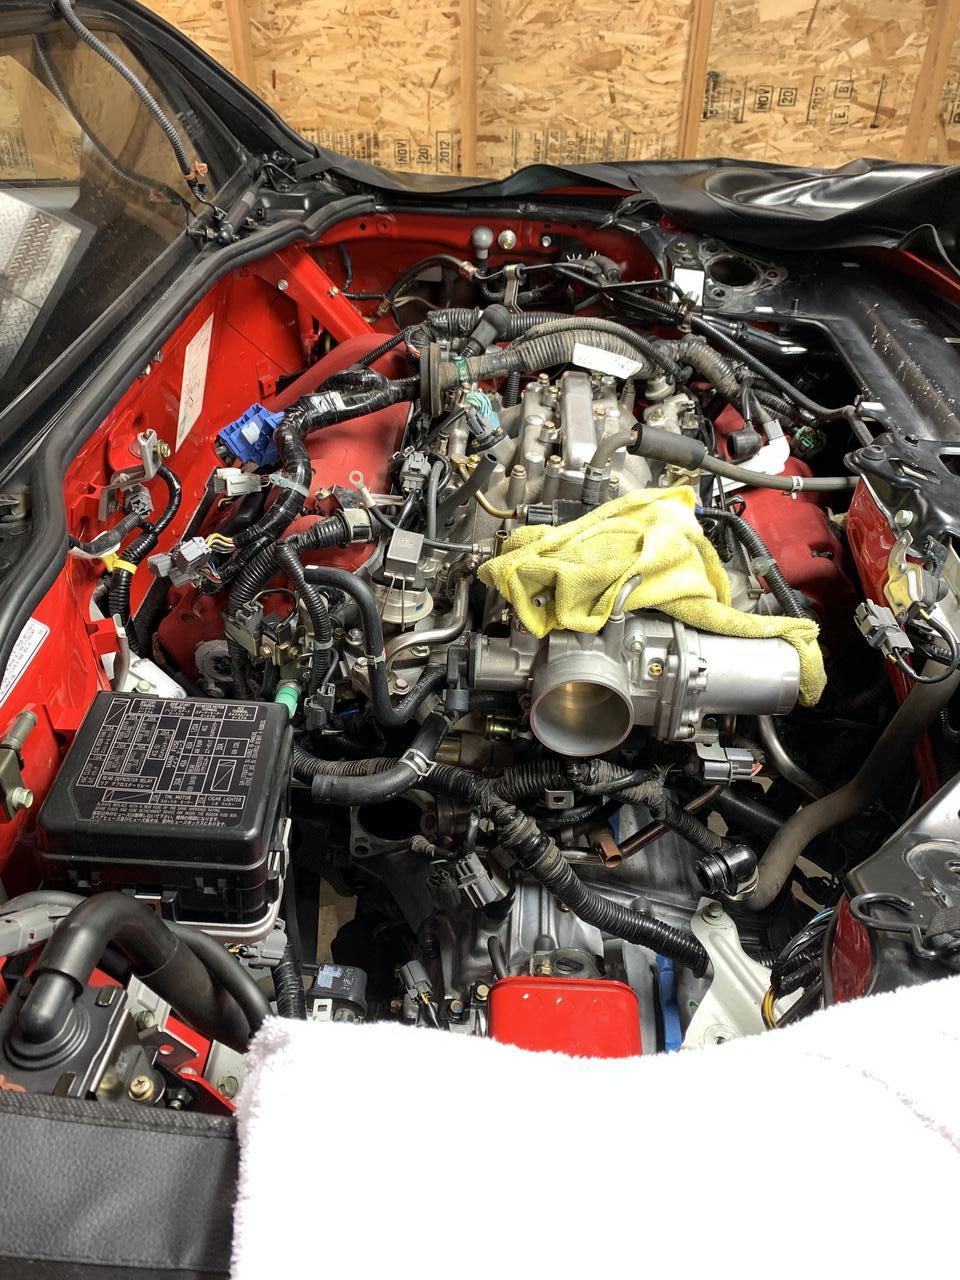
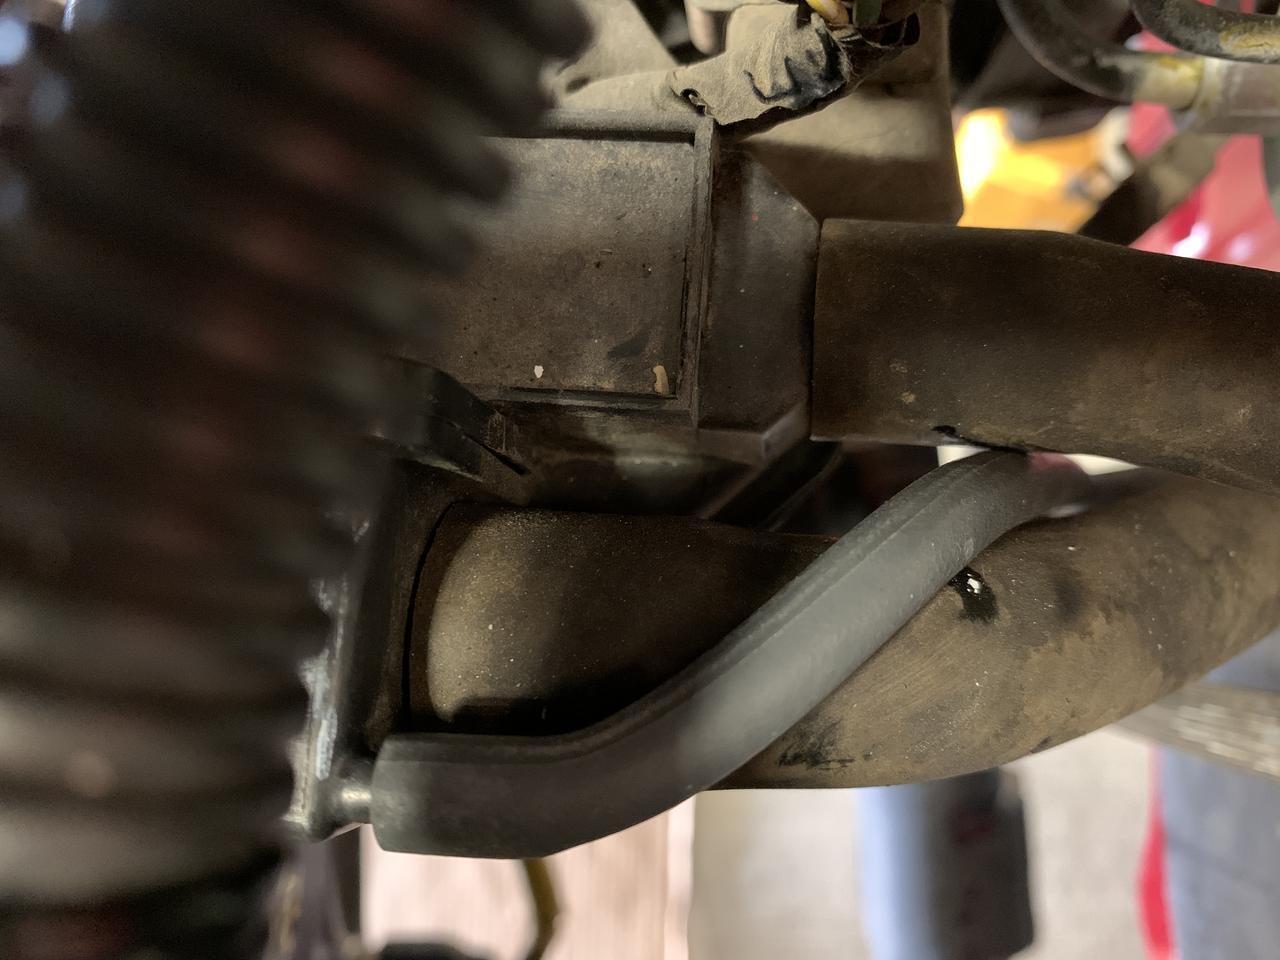
What an absolute PITA those large hoses were from the engine to the rear firewall.
To get to this part was relatively easy; getting that last little bit was tough. I am by no means an angry man but I had to actually stop and come back the next day to finish these hoses off.
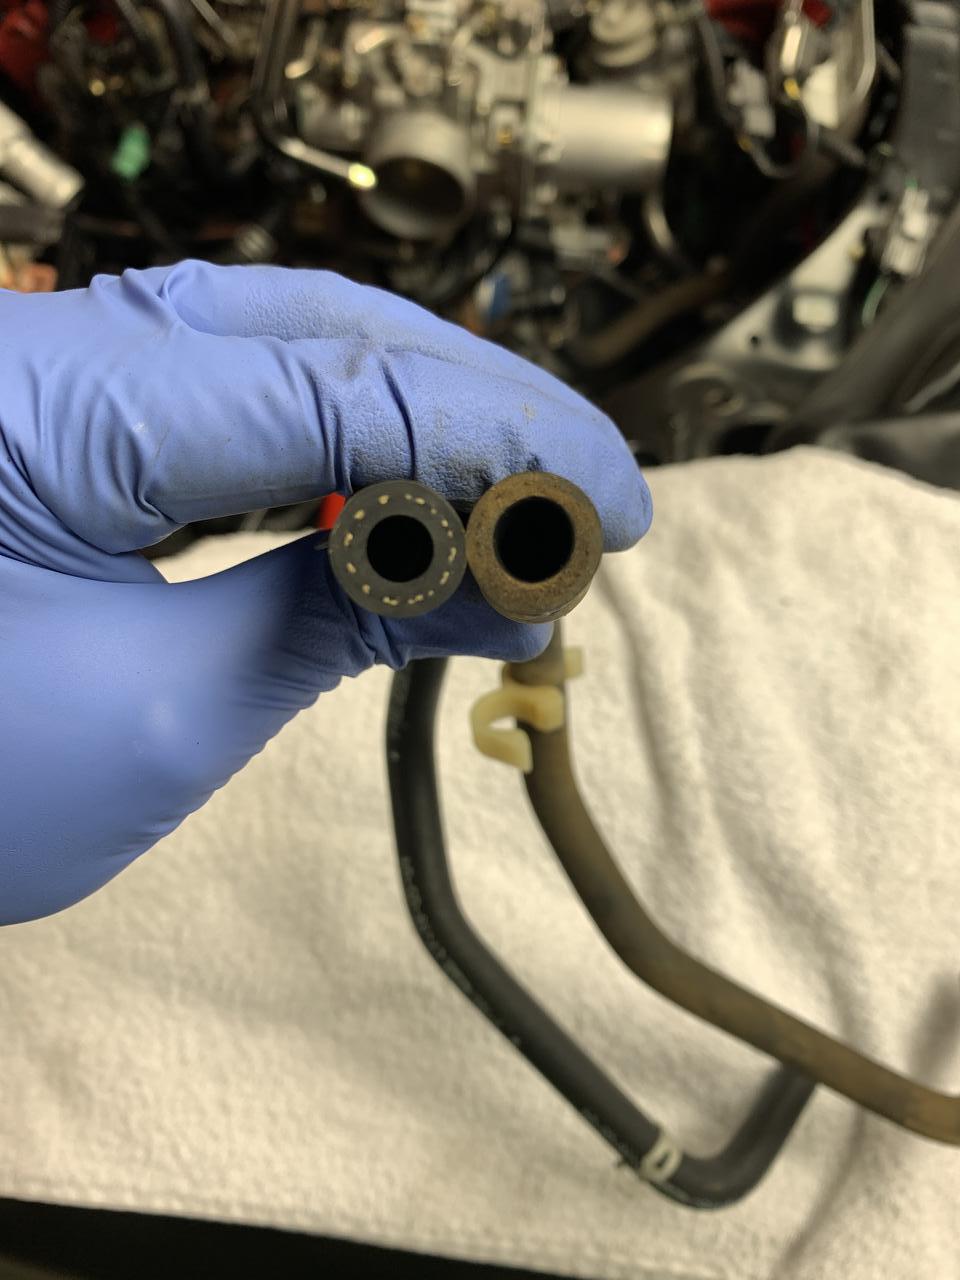
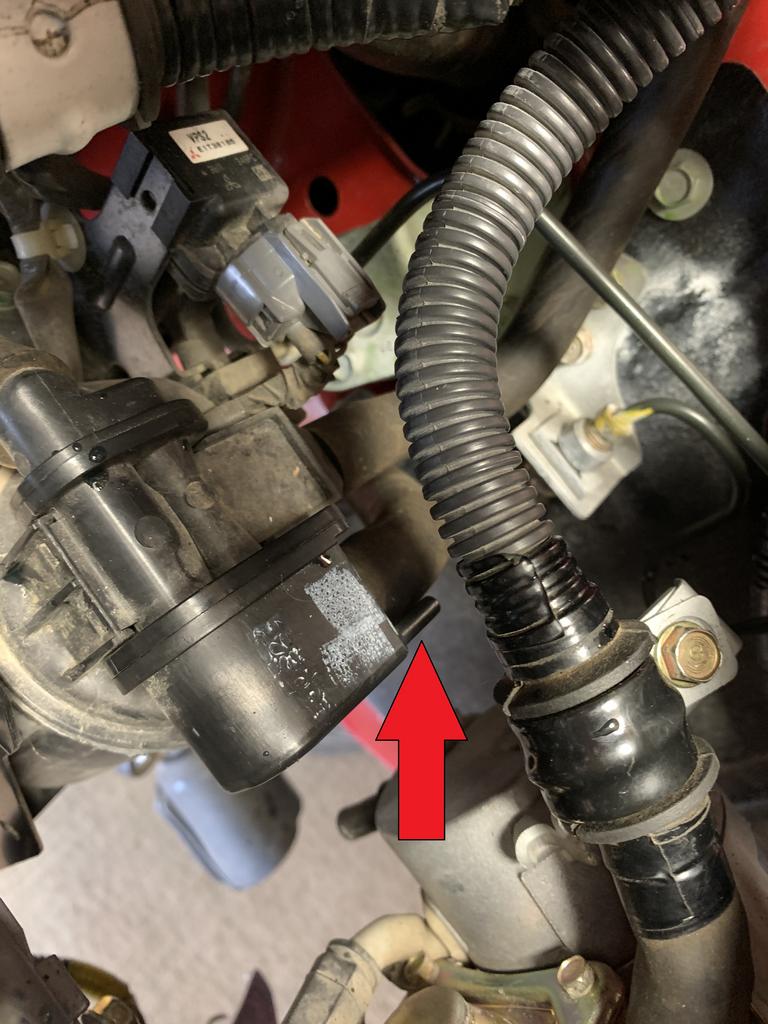
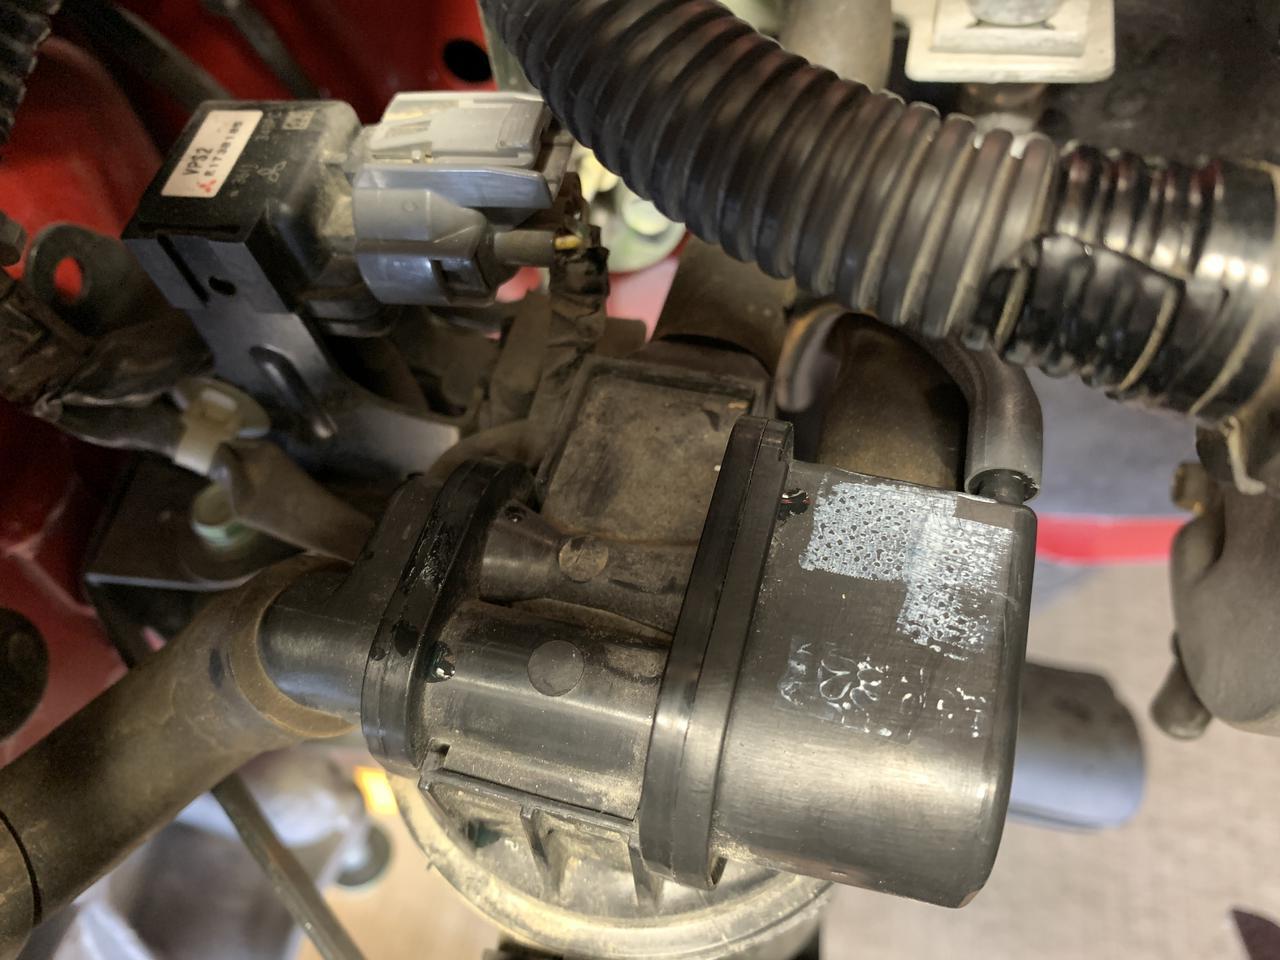
The middle one was slightly easier since you can remove the thermostat housing.
The small one is a non-issue compared to the large ones.
It was about at this point where the bulged out oil pan gasket bothered me enough to take it off again. So here it is at round 2:
The sealant got everywhere
Scraping the engine side off was actually pretty easy. It’s as if the sealant didn’t stick as well with such little pressure on it. Maybe that’s why they say not to do it.
Shown is the fel-pro gasket which I didn’t end up using. I re-used my original since it was still nice and soft.
This site uses cookies to help personalise content, tailor your experience and to keep you logged in if you register.
By continuing to use this site, you are consenting to our use of cookies.