• Protip: Profile posts are public! Use Conversations to message other members privately. Everyone can see the content of a profile post.

NA2 ‘97’ NSX Type S/S-zero conversion - from ‘95’ C30A AT to complete C32B MT

Joined
27 April 2023
Messages
25
Location
Australia
Hi,

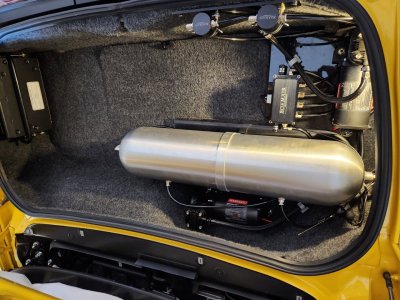
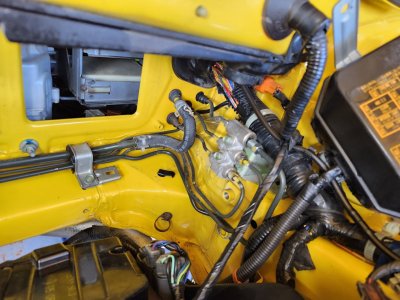
I’m from Australia and have been working on my swap. I’ve refrained from social media but need to reach out for some help on the electrical side of things since this to me is much more complex than the mechanical side. I hope that by sharing my project, it would also help others out there like me in the future.

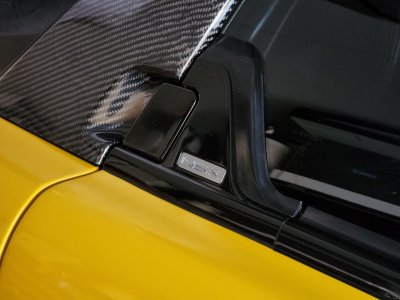
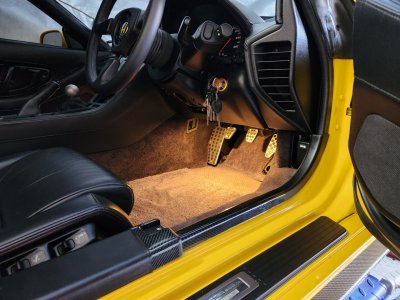
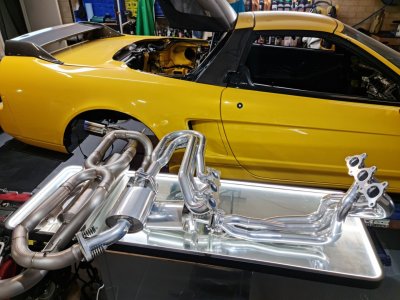
I bought a ‘95’ yellow NSX-T that was well restored and kept in a museum in South Australia. The NSX was my dream car since I saw it only briefly when my eyes caught it on the road when I was 12 the the 90s. I’m grateful to now own one since 2019.

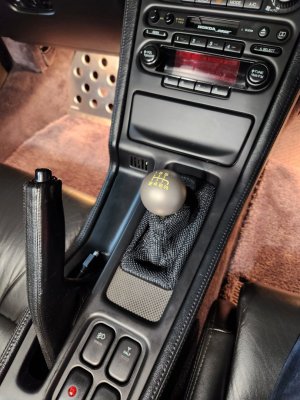
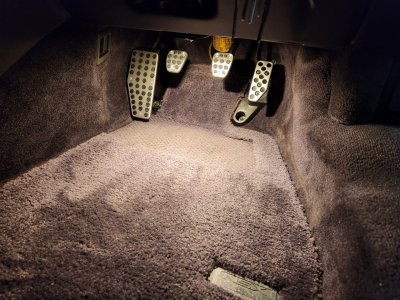
I was blessed to have had a chance to buy a crashed yellow 28,000 miles ‘97’ NA2 Type S 6 speed MT that was written off in 2020. I didnt get started on stripping the car till later. It was such a privilege to have this as my DIY project car; since Ive worked my way up starting with JDM civic Rs and integra Rs in my early 20s in my home garage. In the RHD NSX market includes Japan and Au, there were only 20-30% of NSXs sold in Manual; everything was automatic, the NA2 spec with the C32B 6 Speed was even more rare. Hence why the market price for legit RHD Manual NA2 NSXs are more than double or triple the value of Autos. It might not be the same case with LHD NSXs since the ratio was opposite to the RHD market. So for us in the RHD market; its rare to experience a C32B 6 speed NSX.

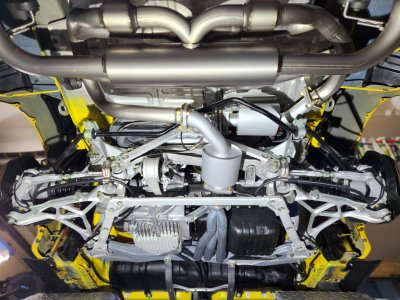
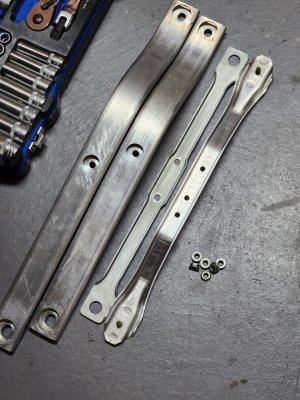
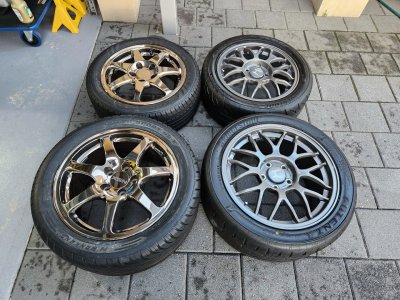
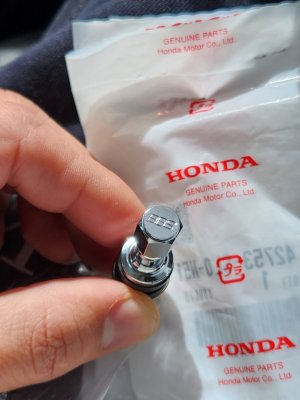
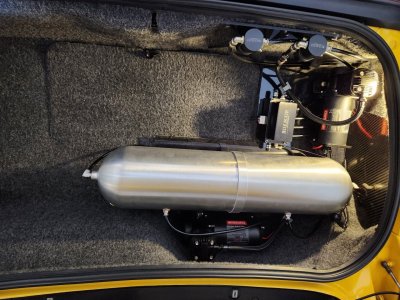
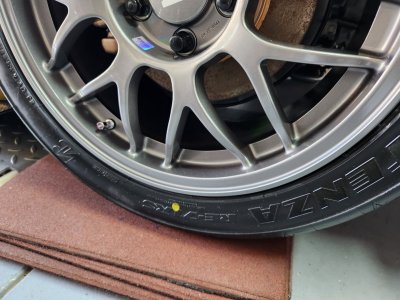
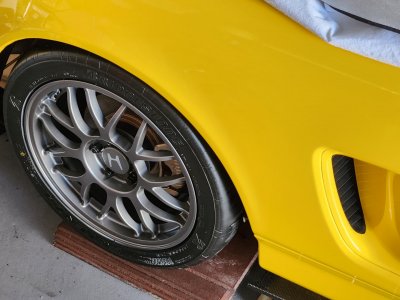
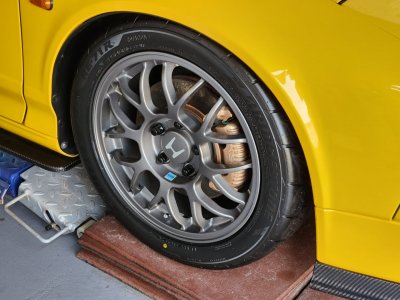
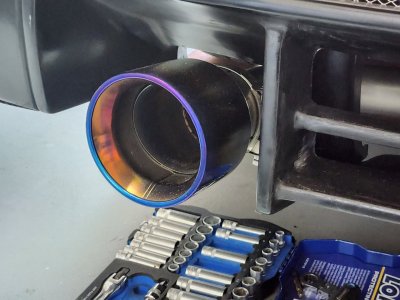
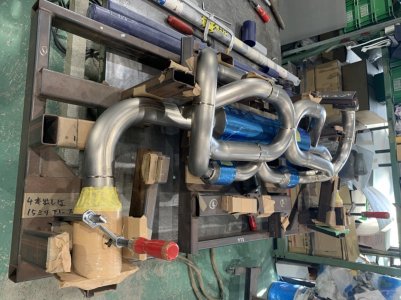
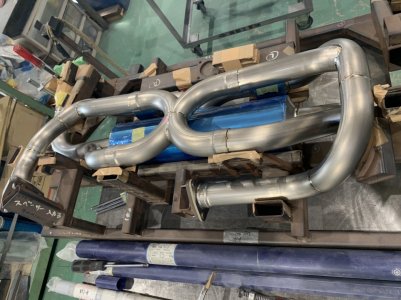
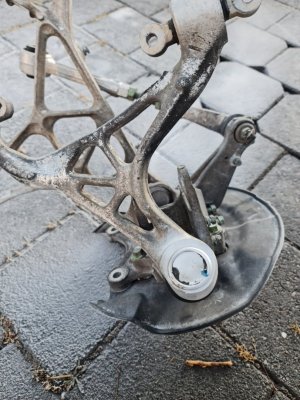
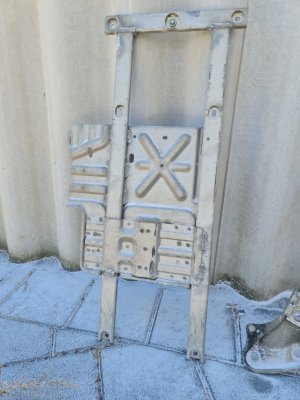
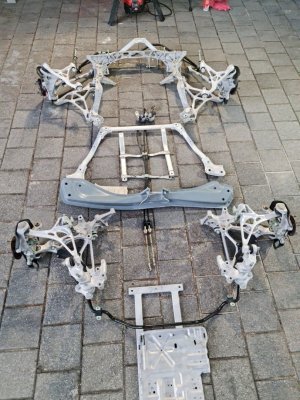
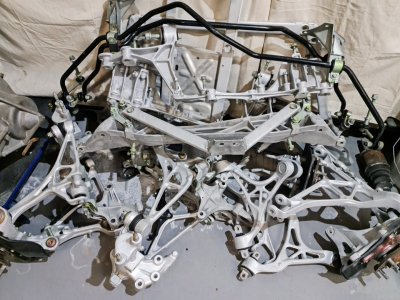
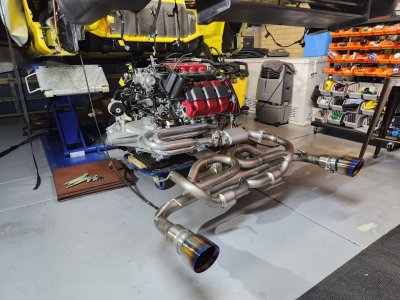
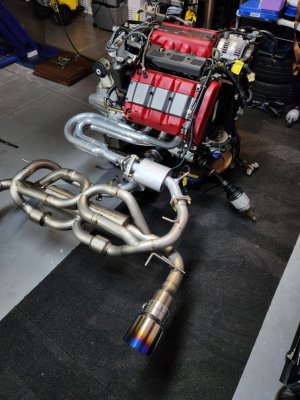
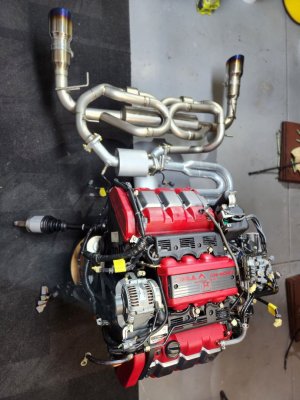
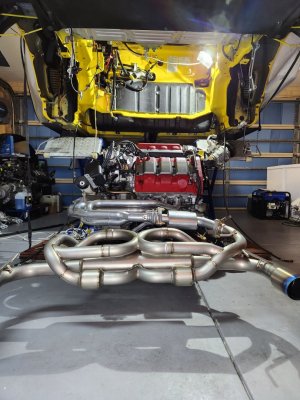
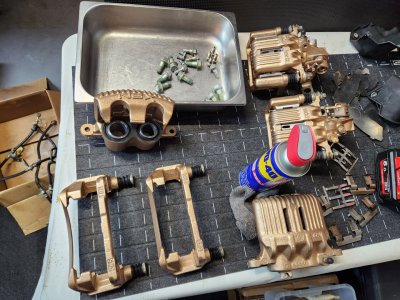
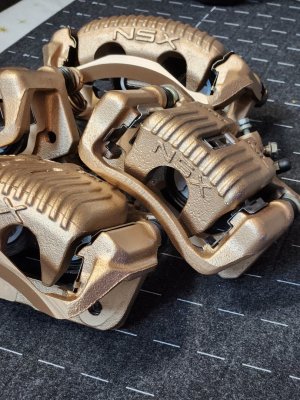
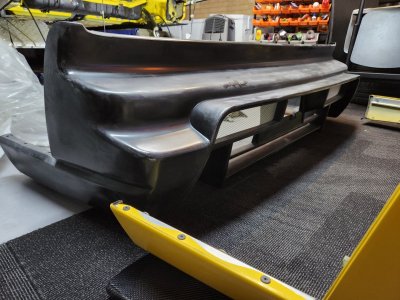
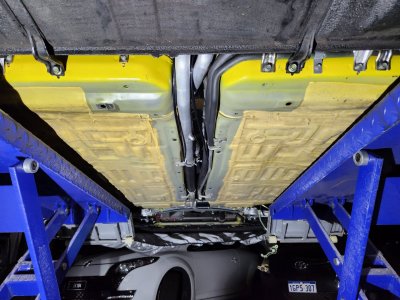
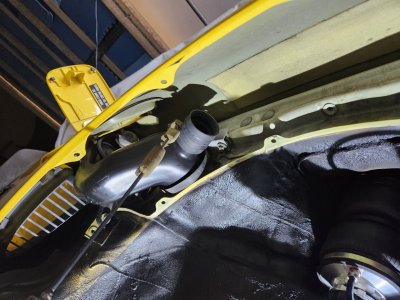
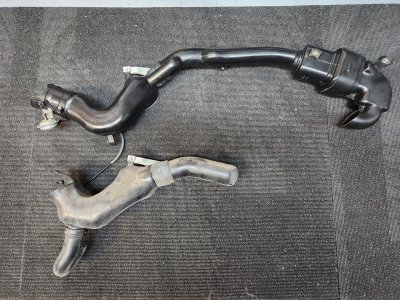
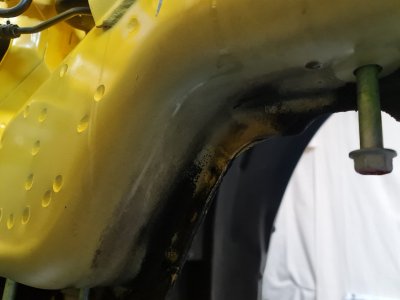
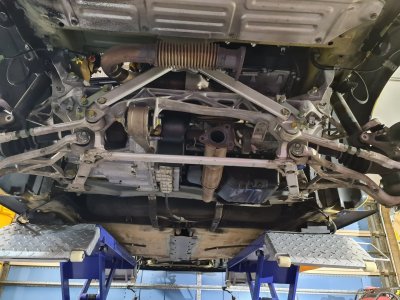
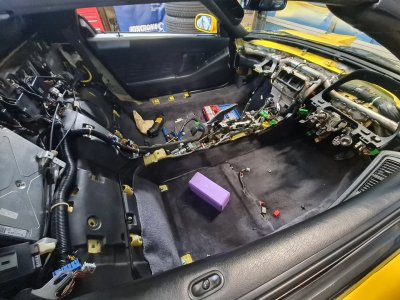
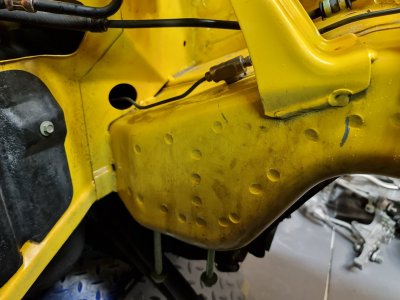
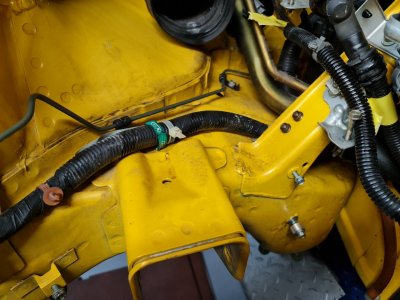
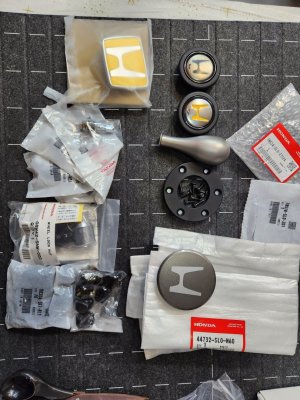
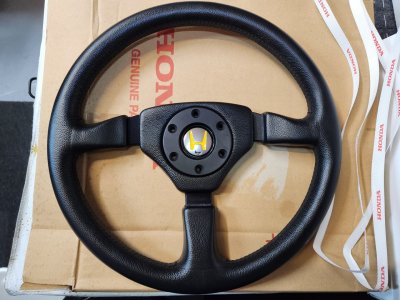
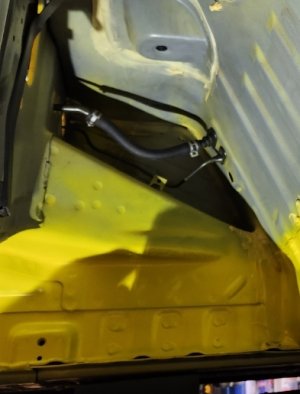
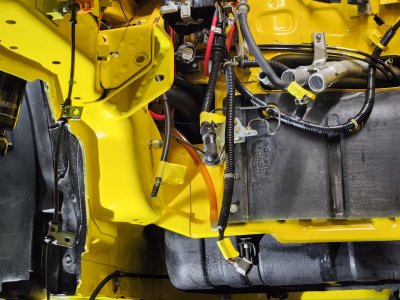
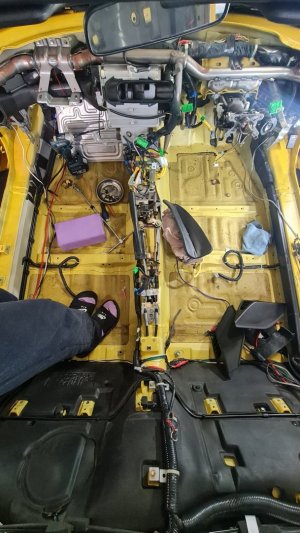
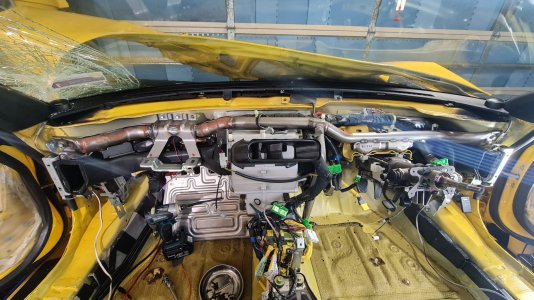
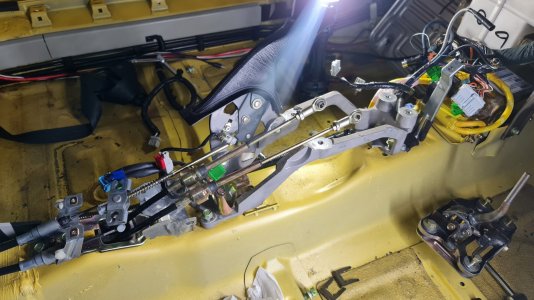
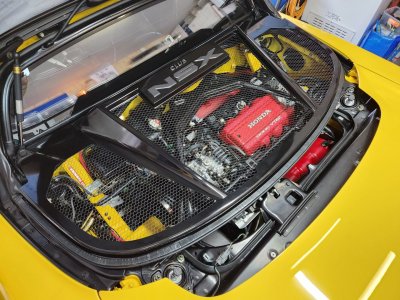
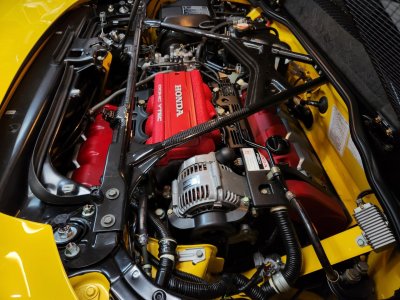
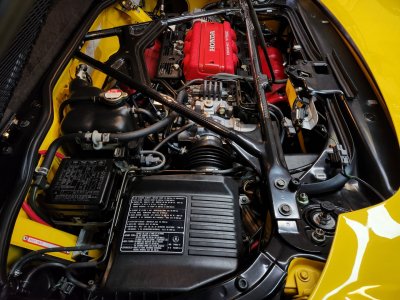
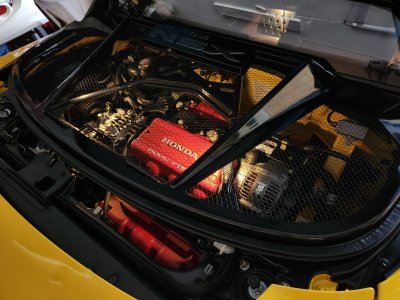
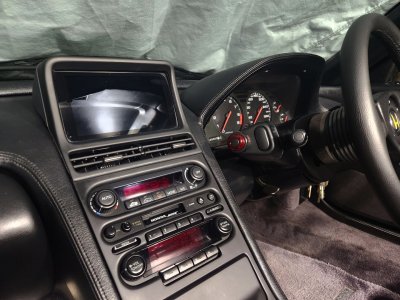
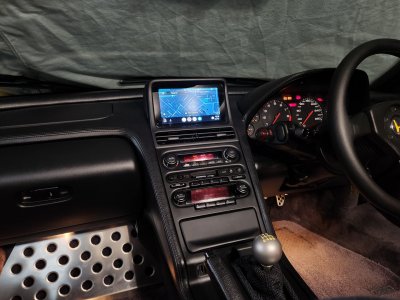
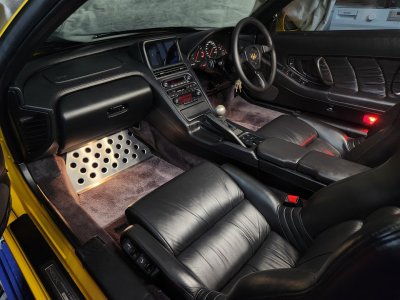
Below are some photos of how the journey started with 2 yellow NSXs(1 wrecked.) I’ll continue adding more posts when I have time.

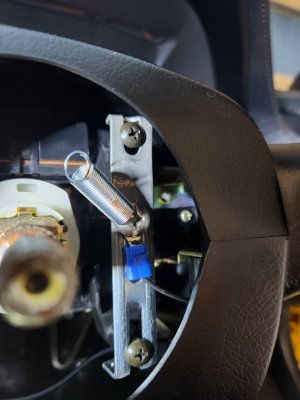
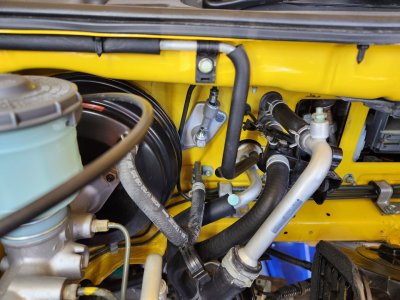
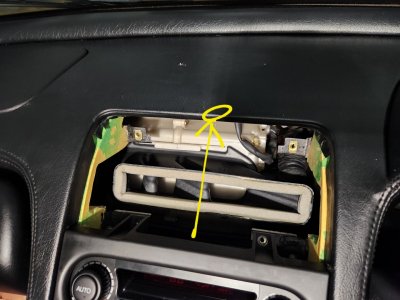
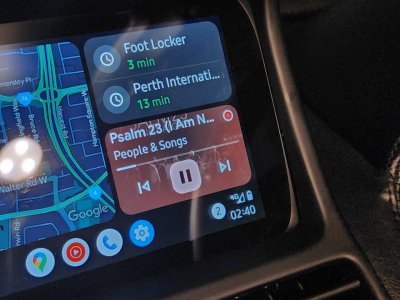
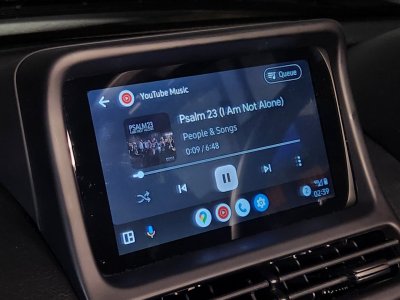
But right now, I have an important troubleshooting task that I need help with.
Thanks fam.
God bless.

20210831_162720_optimized.jpeg20210820_173032_optimized.jpeg
20211216_233957_optimized.jpeg20230427_233543.jpeg20211013_190255_optimized.jpeg20211013_201506_optimized.jpeg
20211026_175738_optimized.jpeg20210825_172300_optimized.jpeg20230707_045549.jpeg20211122_170634_optimized.jpeg20211027_171929_optimized.jpeg20220105_192537_optimized.jpeg20211217_223042_optimized.jpeg
 
Last edited:
Since this is a straight out powertrain swap, I have all the components such as engine, gearbox, ECU, engine harnesses etc., except… I didnt think I would need the NA2 Manual Chassis ‘Side harness’ that connects to the left side of the firewall and into the interior.

Chassis Side Harness - Auto Chassis harness comes with a 14pin Connector with the odd plugged off pin #14.
Engine Side Harness - Manual C32B harness comes with an 8pin Connector with the odd #8 pin being Black/yellow instead of the yellow as per the service manual.
20230428_165312.jpeg20230427_232212.jpeg20230427_232205.jpeg20230428_165256.jpeg

I’ve removed the 8pin connector from the C32B and repinned it with the 14pin Connector off the C30A since I didn’t think to strip off the side harness from the NA2 chassis before I got rid of it(yes… the realisation later.)

So I’ve repinned them all except 1 wire that I can’t identify and have no idea where it leads to, but I did notice a number of Black/Yellow wires leading to the modules along the left side of the firewall inside the interior. But none that runs to the ECU engine harness.

So basically I need help figuring out what is this Black/Yellow wire from the C32B engine ‘side harness?’ As it is the only wire left hanging out unconnected.
I know that I need to wire this line into one of the modules along the interior firewall, but where?

Thank you
 
Welcome to Prime! What a cool project- a legit Type-S! I'll answer your troubleshooting question here :):

The 8-pin connector you reference is not present on US 5 or 6-speed manuals. Both transmissions have the reverse and neutral switch 2-pin harnesses, and the 6-speed has a 3-pin reverse lockout solenoid harness. There is no 8-pin plug on the transmission. Are you sure it's not part of the main engine harness? It's also possible that it could be a JDM/RHD wiring thing.
Hi Honcho,

Thanks for your response.
I’ve looked at the JDM manual and its called ‘engine harness’ which consists of Connector #1(8pin) and #2(2pin.)
IMG_0542.jpegIMG_0546.jpegIMG_0541.jpeg

Which looks to be the same as the USDM Manual which corresponds to C529( both MT & AT,) and C528. I dont have the ETM manual so its hard for me to investigate deeper. But according to the diagram, it looks to match between JDM and USDM. Buts its called Side Harness in the USDM Manual.
IMG_0545.jpegIMG_0544.jpegIMG_0543.jpegIMG_0539.jpeg

What do you think?
As for the reverse solenoid 3 pin, I’ll need to locate that to check, but I know that everything is connected except that 1 Black/Yellow wire on the 8pin connector.
 
Here are photos of the harness(left side) from the C32B engine that comes to the fuse box.
It consists of 4 ends.
1. 8pin connector (engine)
2. 2pin fat connector
2. 2pin connector for the vacuum operation of the intake snorkel butterfly valve.
4. Power line to the fuse box (might be for the starter motor.)
20230728_203209.jpeg20230728_203137.jpeg
20230728_203131.jpeg

Here is what Ive done to re-pin the engine harness 8pin connector; to swap with the AT 14pin connector to match the side harness with the corresponding colors. But as you can see, the Manual says the engine connector pin #8 is ‘YEL*’ but I have Black/Yellow on the C32B.

Another note is, on the AT side harness and C30A, the pin #14 is not used. But the manual says ‘YEL*’
IMG_0548.jpeg
 
Last edited:
The only loose connectors on the C32B was the engine harness(left side,) the ECU harness, sensors in the Throttle body area and vacuum box, and Grounding. Nothing to do with the Reverse gear switch or backup lamp. Everything else was already connected to the engine.
20230728_201846.jpeg20230728_201902.jpeg20230728_202442.jpeg20230728_202521.jpeg20230728_202840.jpeg
 
I did an 1993 OEM RHD AT->MT conversion.

I have a guide if you DM me.

Tip: Never get rid of the donor car until you are 100% done with the project.

It is easier to replace ALL harnesses (except under bonnet). Lotsa subtle wiring differences between AT and MT. Most of the modules are MT labeled, not that I can find any effective difference from AT other than the label. The upshot is that you can make the car 100% MT that only a factory record check could determine the original configuration.

Also get all the hard clutch piping, especially in the passenger compartment. Have to drop the fuel tank to get to the connection to the damper.

Also, where did you get JDM manuals?
Praise God someone replied 🙌

Yes I missed that one harness that's worth $600USD.

I have done the entire conversion with all OEM parts including the Clutch hard lines which was such a pain in the butt, going through the front, then interior, through the fuel take and firewall. It was really a whole nother level compared to traditional Front engine cars just for a clutch line.

Got all my parts from the wrecked Type S, Japan and Amayama. Keeping it factory finished.

I got my manuals from yahoo auction, I bought a 97 acura nsx electrical manual but it still doesn't tell me what that black/yellow line is.

Will DM you.👍
 
WHRDNSX is your neighbor and has done many AT->MT conversions. He just did one a month ago...

The NSX wiring evolves a little bit by bit over time and gets a little messy once you start getting into the weeds.

I don't know what that wire does, but had you posted before you got rid of the doner you know what my advice would have been.
 
Small updates, personal touches.
 

Attachments

  • 20230814_214447.jpg
    20230814_214447.jpg
    341.2 KB · Views: 34
  • 20230814_193807.jpg
    20230814_193807.jpg
    111.6 KB · Views: 32
  • 20230803_042842.jpg
    20230803_042842.jpg
    192.1 KB · Views: 30
  • 20230803_042856.jpg
    20230803_042856.jpg
    243.5 KB · Views: 28
  • 20230803_033342.jpg
    20230803_033342.jpg
    238 KB · Views: 31
  • 20230803_033041.jpg
    20230803_033041.jpg
    278.2 KB · Views: 32
  • 20230803_033114.jpg
    20230803_033114.jpg
    301.1 KB · Views: 33
  • 20230803_015710.jpg
    20230803_015710.jpg
    249.5 KB · Views: 36
  • 20230818_173714.jpg
    20230818_173714.jpg
    531 KB · Views: 41
  • 20230721_120516.jpg
    20230721_120516.jpg
    100.2 KB · Views: 40
  • 20230721_120457.jpg
    20230721_120457.jpg
    127.4 KB · Views: 38
  • 20230721_110106.jpg
    20230721_110106.jpg
    207.8 KB · Views: 38
  • 20230721_110045.jpg
    20230721_110045.jpg
    153.6 KB · Views: 34
  • 20230721_104805.jpg
    20230721_104805.jpg
    152 KB · Views: 36
  • 20230905_221312.jpg
    20230905_221312.jpg
    323.6 KB · Views: 37
  • 20230905_221254.jpg
    20230905_221254.jpg
    189.1 KB · Views: 43
  • 20230907_230058.jpg
    20230907_230058.jpg
    437.7 KB · Views: 47
5" titanium aftermarket tips for R35GTR, fits onto the titanium NSX GT One F1 v7. Perfectly fills the gaps on the NSX-R GT rear bumper. Off to spray painter soon.

NA2 NSX-R pedal covers + Civic Type R footrest.

NA2 Type S dark gunmetal option with new OEM black option lockouts. GYEON coated

Calipers custom bronze, color mixed on spot by sight.

225/45R16 RE-71R
255/40R17 RE71-RS

Roamair Japan air suspension.

NA2 NSX-S Zero door emblem.
NA2 NSX-S Zero Steering wheel and hub.
Custom yellow 'H' momo horn

NA2 NSX Type R shift boot and shift knob.
 

Attachments

  • 20230908_150939.jpg
    20230908_150939.jpg
    161.7 KB · Views: 43
  • 20230908_151027.jpg
    20230908_151027.jpg
    322.3 KB · Views: 37
  • 20230908_151018.jpg
    20230908_151018.jpg
    382.6 KB · Views: 34
  • 20230908_151508.jpg
    20230908_151508.jpg
    266.4 KB · Views: 31
  • 20230908_150808.jpg
    20230908_150808.jpg
    218.1 KB · Views: 31
  • 20230908_150733.jpg
    20230908_150733.jpg
    254.2 KB · Views: 38
  • 20230908_151231.jpg
    20230908_151231.jpg
    294.4 KB · Views: 41
  • 20230908_151528.jpg
    20230908_151528.jpg
    234.7 KB · Views: 42
Took out every part and soda blasted every nook and cranny. Complete clean only possible this way.

GT One Japan sent me the process of the Titanium V7 exhuast muffler, made to order. The design details are very apparent to the pros.
 

Attachments

  • S__29818889.jpg
    S__29818889.jpg
    263.1 KB · Views: 38
  • S__29818891.jpg
    S__29818891.jpg
    240.9 KB · Views: 34
  • S__29818887.jpg
    S__29818887.jpg
    198.5 KB · Views: 33
  • 20211201_230803_optimized.jpg
    20211201_230803_optimized.jpg
    252.5 KB · Views: 33
  • 20211122_170653_optimized.jpg
    20211122_170653_optimized.jpg
    287.6 KB · Views: 31
  • 20211027_175026_optimized.jpg
    20211027_175026_optimized.jpg
    193.5 KB · Views: 29
  • 20211027_175831_optimized.jpg
    20211027_175831_optimized.jpg
    195.9 KB · Views: 25
  • 20211122_170759_optimized.jpg
    20211122_170759_optimized.jpg
    175.5 KB · Views: 28
  • 20220105_192807_optimized.jpg
    20220105_192807_optimized.jpg
    259.3 KB · Views: 29
  • 20211216_231616_optimized.jpg
    20211216_231616_optimized.jpg
    307.8 KB · Views: 32
  • 20211217_224426_optimized.jpg
    20211217_224426_optimized.jpg
    258 KB · Views: 35
  • 20230425_052730.jpg
    20230425_052730.jpg
    346.7 KB · Views: 37
  • 20230425_051315.jpg
    20230425_051315.jpg
    231.8 KB · Views: 35
  • 20230425_051436.jpg
    20230425_051436.jpg
    157.9 KB · Views: 35
  • 20230407_214927.jpg
    20230407_214927.jpg
    196.2 KB · Views: 30
  • 20230407_194203.jpg
    20230407_194203.jpg
    415.4 KB · Views: 32
  • 20230407_195959.jpg
    20230407_195959.jpg
    260.7 KB · Views: 33
  • 20230404_184429.jpg
    20230404_184429.jpg
    322.3 KB · Views: 34
  • 20230329_201336.jpg
    20230329_201336.jpg
    322.1 KB · Views: 34
  • 20211218_000917_optimized.jpg
    20211218_000917_optimized.jpg
    234.6 KB · Views: 35
Some before and after shots of the 27 year old NSX-T.

Big clean up and 2K paint Y52-P touch up.

JDM NA2 intake snorkel vs JDM NA1.
 

Attachments

  • 20230329_201336.jpg
    20230329_201336.jpg
    322.1 KB · Views: 34
  • 20230329_201359.jpg
    20230329_201359.jpg
    243.7 KB · Views: 32
  • 20230329_201409.jpg
    20230329_201409.jpg
    217.7 KB · Views: 30
  • 20230329_202343.jpg
    20230329_202343.jpg
    299.8 KB · Views: 30
  • 20230330_203355.jpg
    20230330_203355.jpg
    290.5 KB · Views: 30
  • 20230330_190001.jpg
    20230330_190001.jpg
    710.7 KB · Views: 30
  • 20211216_175053.mp4
    4.2 MB
  • 20211215_204832_optimized.jpg
    20211215_204832_optimized.jpg
    144.5 KB · Views: 31
  • 20211012_203725_optimized.jpg
    20211012_203725_optimized.jpg
    295.1 KB · Views: 31
  • 20211012_221704_optimized.jpg
    20211012_221704_optimized.jpg
    334.6 KB · Views: 34
  • 20211215_202520_optimized.jpg
    20211215_202520_optimized.jpg
    201.4 KB · Views: 33
  • 20211215_202527_optimized.jpg
    20211215_202527_optimized.jpg
    231.3 KB · Views: 30
  • 20211215_204828_optimized.jpg
    20211215_204828_optimized.jpg
    111.5 KB · Views: 27
  • 20211215_205242_optimized.jpg
    20211215_205242_optimized.jpg
    187.9 KB · Views: 28
NSX-S Zero steering wheel complete kit From Honda.

NSX-S Zero horn is different to the trained eye. Bronzey Grey satin finish vs the normal glossier neutral grey Type S.

Made my own grounding for the steering boss for the horn to work.

Exciting parts to come...
NA1 NSX-R front chassis lower braces.
 

Attachments

  • SmartSelect_20230908_160438_Buyee.jpg
    SmartSelect_20230908_160438_Buyee.jpg
    287.8 KB · Views: 31
  • 20230707_050117.jpg
    20230707_050117.jpg
    425.3 KB · Views: 31
  • 20230708_030036.jpg
    20230708_030036.jpg
    125 KB · Views: 31
  • 20230708_030031.jpg
    20230708_030031.jpg
    110.1 KB · Views: 30
  • 20230707_050111.jpg
    20230707_050111.jpg
    231.1 KB · Views: 33
  • 20230707_050348.jpg
    20230707_050348.jpg
    315.8 KB · Views: 34
Last edited:
Got rid of the heavy Targa roof compartment for a light JDM aftermarket one. Had to order new coupe hinges to suit.

Wired LED lighting that turns on with the footwell lights that trigger upon opening the driver's door.

C32B type S and R engines are literally the same since the part numbers of the camshafts and number of internals are all the same. But the 6 speed transmission gear ratios are a bit different.

OEM hard clutch line***
Was one of the most pain in the butt job of the conversion. Fan unit had to be removed since its RHD, to run it along and fastened to factory positions, long hard line piece runs through the front firewall, then interior which requires you to fasten them to the factory conduit in its specific location among other lines and harnesses, then it goes through the interior firewall and into fuel tank well, to be mounted onto the factory mounting tabs. Then lastly the easiest was the unique looking piece that mounts in the engine bay, it seems to have a small cylinder inbuilt.

Took the opportunity to change the seals on the fan unit, and add a JDM carbon air cabin filter.

Clean up and prep for paint touch up was also a huge part of the job. But 1000% worth it because it's the only chance to do it while everything is out of the chassis. I can add that since the NSX is aluminum, there was zero rust to deal with. Amazing. Will outlast generations.
 

Attachments

  • SmartSelect_20230908_165912_Gallery.jpg
    SmartSelect_20230908_165912_Gallery.jpg
    126.7 KB · Views: 33
  • 20221212_175941.jpg
    20221212_175941.jpg
    292.4 KB · Views: 31
  • 20221214_201511.jpg
    20221214_201511.jpg
    203.2 KB · Views: 31
  • 20221214_201900.jpg
    20221214_201900.jpg
    136.1 KB · Views: 30
  • 20221214_201908.jpg
    20221214_201908.jpg
    114.3 KB · Views: 29
  • 20230329_201314.jpg
    20230329_201314.jpg
    332.8 KB · Views: 29
  • 20210824_221241_optimized.jpg
    20210824_221241_optimized.jpg
    169.4 KB · Views: 28
  • 20210824_221530_optimized.jpg
    20210824_221530_optimized.jpg
    471.1 KB · Views: 27
  • 20210825_025240_optimized.jpg
    20210825_025240_optimized.jpg
    349.8 KB · Views: 26
  • 20220919_201120(0).jpg
    20220919_201120(0).jpg
    188.3 KB · Views: 29
  • 20220919_200804.jpg
    20220919_200804.jpg
    453.1 KB · Views: 29
  • 20230908_161309.jpg
    20230908_161309.jpg
    436.5 KB · Views: 30
  • 20230908_164810.jpg
    20230908_164810.jpg
    306.1 KB · Views: 29
  • 20230908_164826.jpg
    20230908_164826.jpg
    329.8 KB · Views: 26
  • 20230908_165039.jpg
    20230908_165039.jpg
    299.7 KB · Views: 25
  • 20221212_175937.jpg
    20221212_175937.jpg
    236.5 KB · Views: 27
  • 20221212_175934.jpg
    20221212_175934.jpg
    244.7 KB · Views: 25
  • 20221212_175923.jpg
    20221212_175923.jpg
    192.6 KB · Views: 27
  • 20220919_200756.jpg
    20220919_200756.jpg
    259.3 KB · Views: 25
  • 20220919_200810.jpg
    20220919_200810.jpg
    442.1 KB · Views: 40
Weight reduction count.
- 3kg Lithium battery
- Removed spare tire for storage.
- Removed targa roof compartment.
- Stock cast iron headers replaced with stainless ceramic coated F1 headers. Stock cats replaced with ceramic coated resonators. Heavy stock muffler replaced with titanium muffler.
- driving without roof, lighter again lol, guess that's handy.
- Type S BBS wheels, lighter than normal wheels.
- air suspension shocks are surprisingly light and lighter than stock.

I weighed the OEM NSX seats to my SR3 Recaros off my EK9 and to my surprise, they weigh slightly less than the recaros. So the only way to go lighter here is going for a carbon seat like the S Zero and Type R NSXs. But probably not worth it, as the stock seats are super comfy.

All of which helps going faster in a straight line lol, as this car is more for the once in a while weekend drive that is appreciating in value; not track car or street racing. We have other cars suited for that. Hence the air suspension
 
Wireless Android Auto and Apple Car Play.

Found a 7" screen with a body that has perfect width fitment in the Navi pod. So snug it doesn't move. The height however has 5mm gap on top and bottom, but is remedied with rubber seals.

The rear base clamp(indicated yellow arrow) actually had the perfect position and size that it rests on the dash ridge(yellow circle) when bolted down. So no other modifications were required.

Aux cable from the 7" tablet into an 8pin converter that goes into the back of the OEM Bose system for audio through the CD channel.

Power from the ACC and grounding, fires up and turns off upon ACC key position.

No other cables required as its wireless, like the new modern cars today.

Probably one of the easiest mods so far.
 

Attachments

  • 20230910_233903.jpg
    20230910_233903.jpg
    249.7 KB · Views: 38
  • 20230910_233844.jpg
    20230910_233844.jpg
    228.4 KB · Views: 38
  • 20230910_233809.jpg
    20230910_233809.jpg
    312.6 KB · Views: 41
  • 20230910_232914.jpg
    20230910_232914.jpg
    104.3 KB · Views: 42
  • 20230910_232846.jpg
    20230910_232846.jpg
    141.9 KB · Views: 46
  • 20230913_214558.jpg
    20230913_214558.jpg
    301.5 KB · Views: 45
  • 20230913_214549.jpg
    20230913_214549.jpg
    291.3 KB · Views: 46
Cool mod! Looks seamless- did you use any kind of rubber or foam to mount the tablet? I'm curious is it would rattle inside the nav pod.
 
Ill take more detailed photos when i can. It was straight out luck it fit so perfect. The backing of the tablet leans against the ridge, so no it doesn’t move or rattle.
 
Here are the update pictures on the wireless carplay/Android auto.

Added a medium firm foam I got from the packaging of the unit. Presses up very tight against the ridge of the dash when the navi pod is screwed down, with no movement at all. Even when I pressed hard, see photo.

Mini jack for reverse cam.
Aux jack for audio.
Power jack.
Very clean setup for a $100 unit from Ali express. It runs android 11 or 12 by memory. The width of the unit fits snug perfect with no movement. The height is about 5mm shorter top and bottom with a total of 10mm. But it is remedied with automotive rubber door/bonnet seals.
The unit powers on and off by the ignition switch into ACC like the stock stereo.

What was such a complicated task as found on the internet in the past, is much easier today. Just a bit of creativity required.
 

Attachments

  • 20230916_024040.jpg
    20230916_024040.jpg
    239.9 KB · Views: 27
  • 20230916_024354.jpg
    20230916_024354.jpg
    266 KB · Views: 28
  • 20230916_023951.jpg
    20230916_023951.jpg
    180 KB · Views: 25
  • 20230916_023906.jpg
    20230916_023906.jpg
    263 KB · Views: 25
  • 20230916_023607.jpg
    20230916_023607.jpg
    186.8 KB · Views: 25
  • 20230916_023433.jpg
    20230916_023433.jpg
    104.4 KB · Views: 25
  • 20230916_023222.jpg
    20230916_023222.jpg
    126.6 KB · Views: 25
  • 20230916_023113.jpg
    20230916_023113.jpg
    217.3 KB · Views: 25
  • 20230916_022606.jpg
    20230916_022606.jpg
    324.3 KB · Views: 25
  • 20230916_022432.jpg
    20230916_022432.jpg
    174.4 KB · Views: 25
  • 20230916_021716.jpg
    20230916_021716.jpg
    169.7 KB · Views: 30
  • 20230916_024528.jpg
    20230916_024528.jpg
    260.8 KB · Views: 33
Last edited:
Wow, well done on the project thus far. Were you able to resolve the electrical questions?

Where did you get the metal foot plate on the passenger side foot well?
 
Back
Top