- Joined
- 4 July 2011
- Messages
- 670
This is my first ever DIY post so please bare with me. I inquired about these blue convex mirrors a few months back and got some members interested so I went ahead and did a group buy for these mirrors. I received the mirrors over the weekend and decided to do the install on my car and taking pictures along the way to maybe help others tackle this when they receive their mirrors. The steps are identical for both mirrors. The pics I took below are from doing both mirrors so it will look like I switch between driver and passenger.
Step 1:
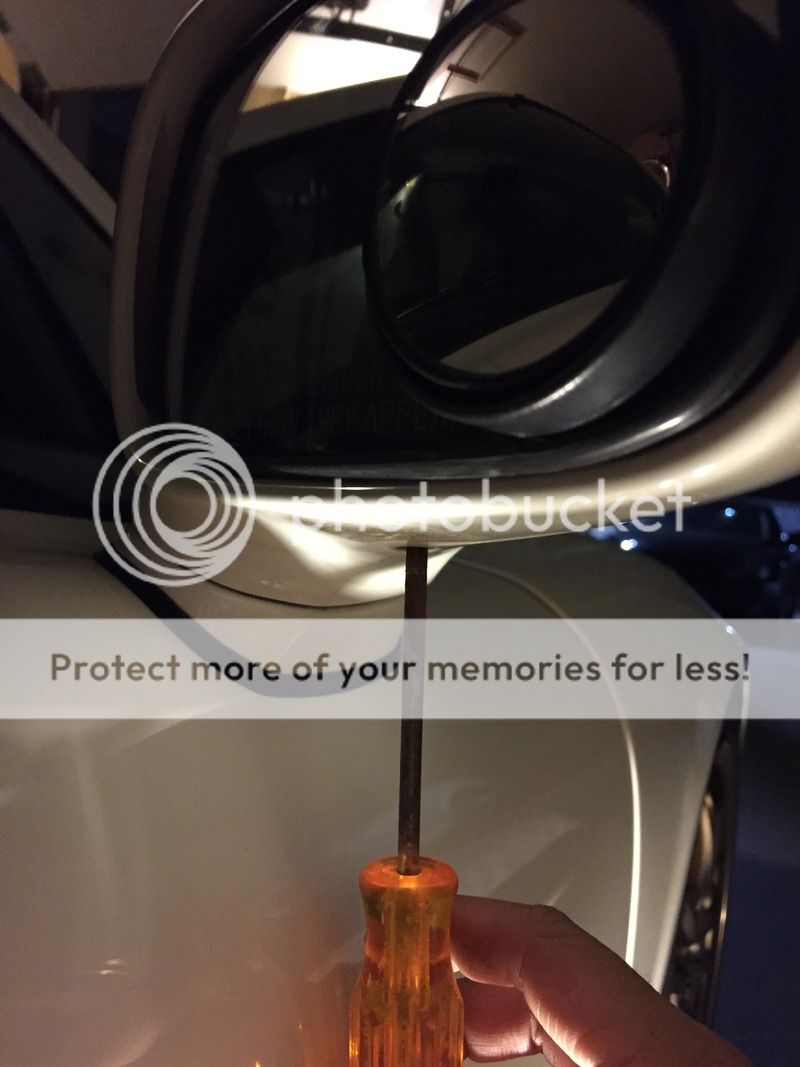
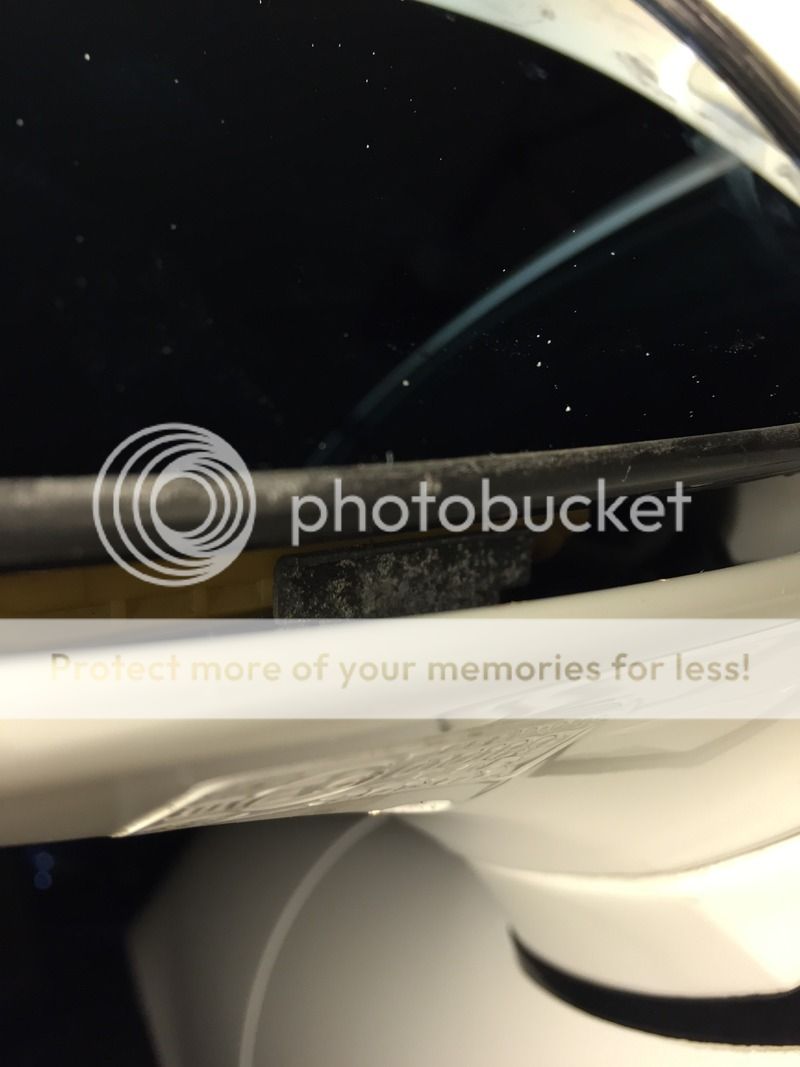
Locate the hole beneath the side mirrors, you can access the phillips screw via this hole. Go ahead and loosen the screw but not necessary to remove the screw all the way. You just need to loosen the screw to loosen the bracket that holds the mirror in place. You can push the mirror up to see the bracket, if it doesn't loosen on its own after you loosen the screw then take a flathead and wedge it off.
Step 2:
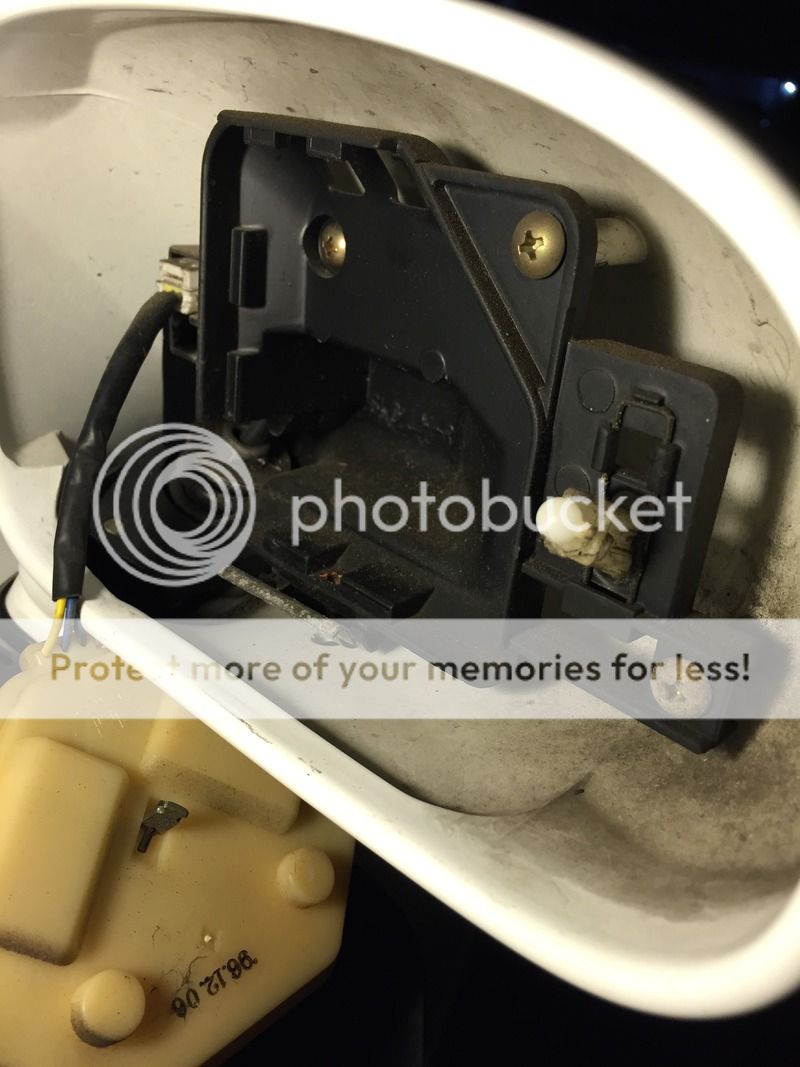
Once its loosen, the mirror is still attached by a plastic rod towards the outer part of the car and the wiring. Gently pry/pull the mirror so it will pop off the rod then disconnect the wiring to the motor.
Step 3:
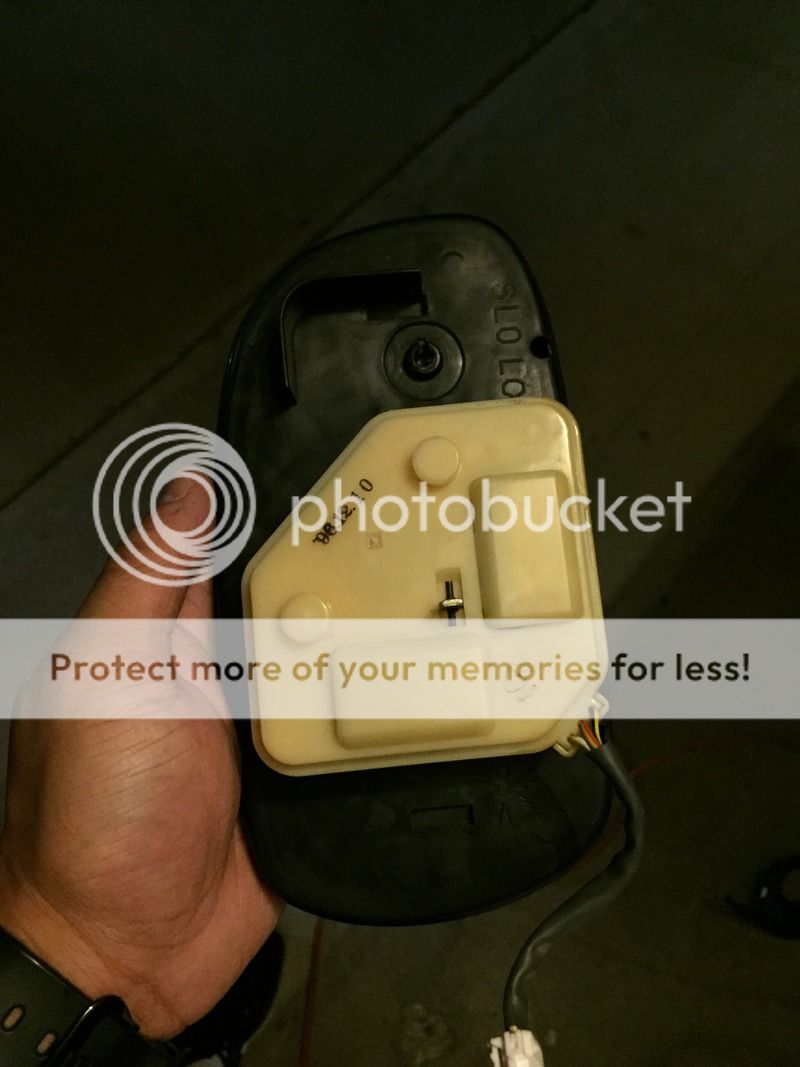
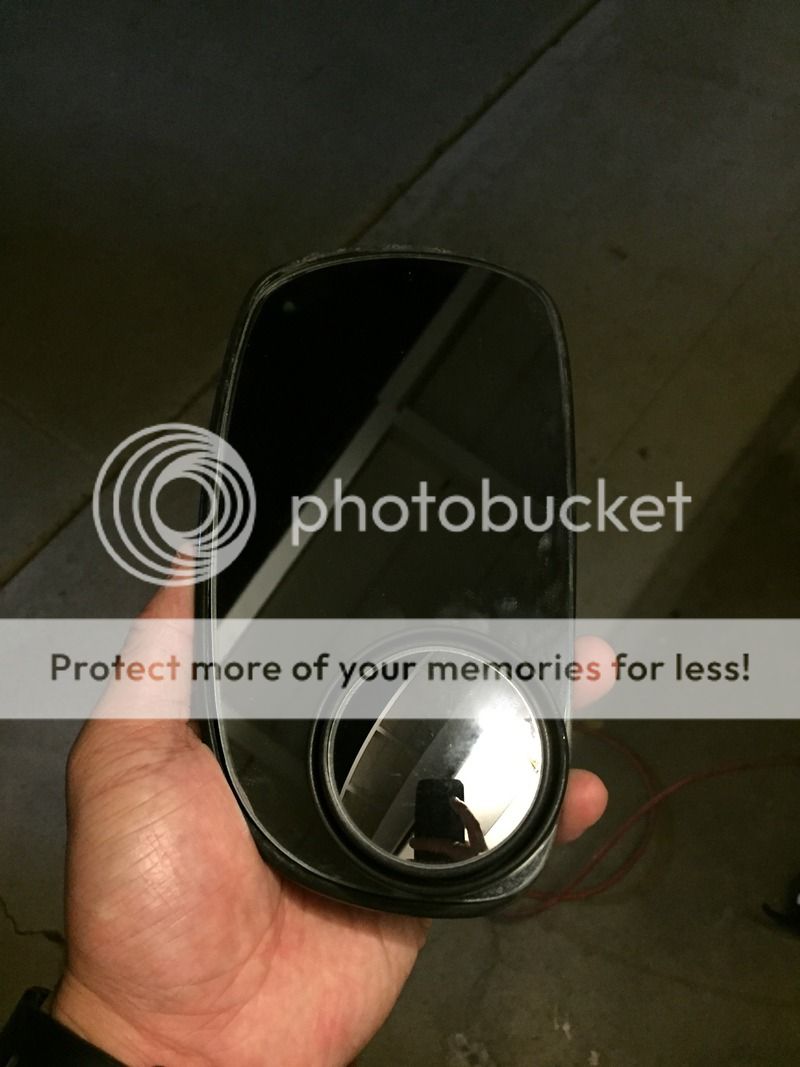
This is what you should have in your hand when the mirror and motor is off the car. Its now a good time to clean the dust inside of the mirror housing on the car.
Step 4:
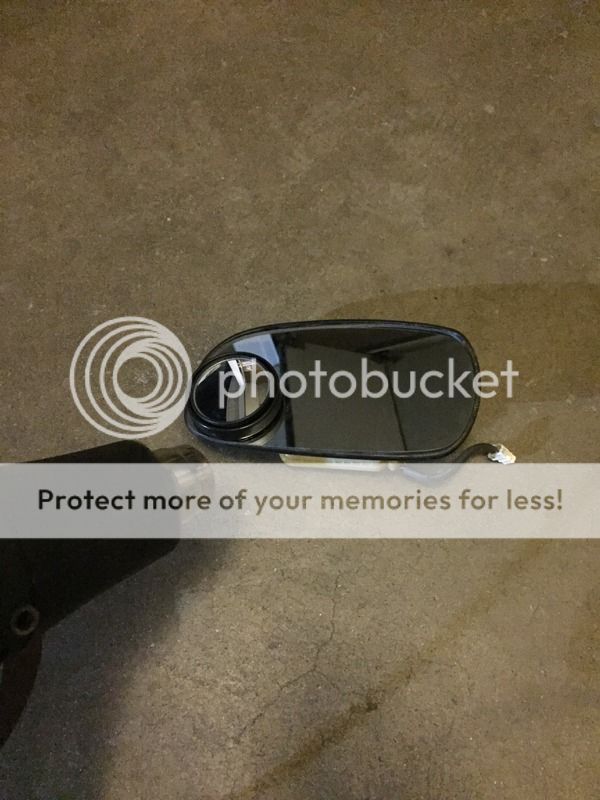
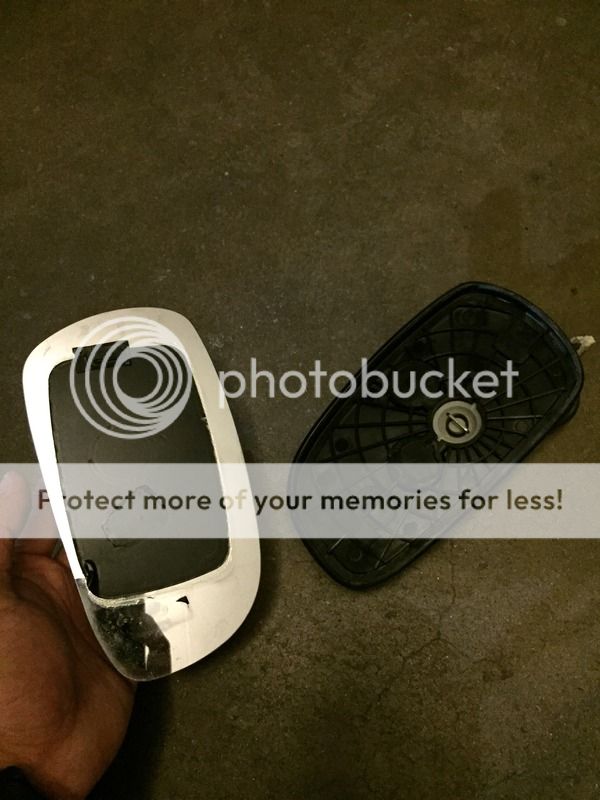
I used a heat gun to heat up the plastic lining around the mirror. You can use a hair dryer or some have also used boiling water but basically there are glue behind the stock mirror. The heat will soften the glue and the lining so it will be easy to pry the stock mirror. Start with one end and move your way around. Once you are able to take the stock mirror out, clean/remove and old glue from the mirror housing.
Step 5:
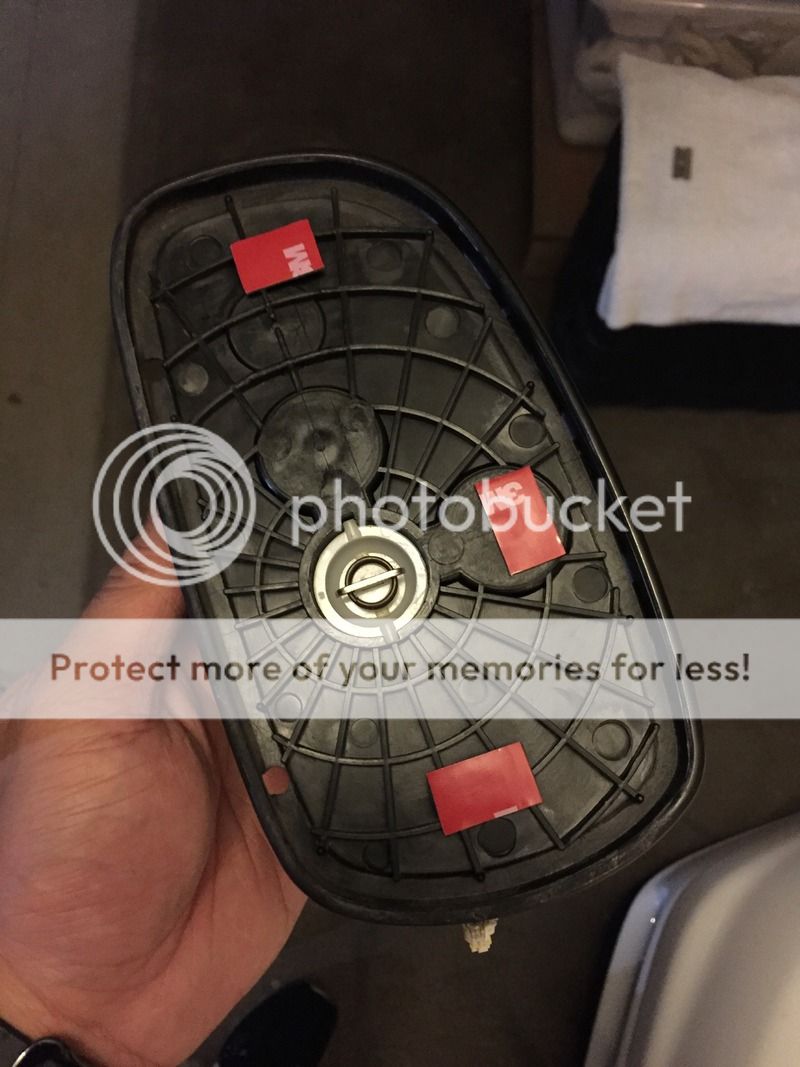
*(OPTIONAL)* The mirror will come with 3M tape for each side for those who are lazy and just want to slap it on top of the stock mirror. I decided not to go that route obviously. I went ahead and place a few small pieces of 3M double sided tape on the mirror housing as seen, I am not sure if this will help the mirror or not since its convex and not flat but I guess its to reassure it will not fall out.
Step 6:
Go ahead and pop the blue convex mirror back into the housing, use some heat if needed. I didn't have to use any heat. Just be gentle with the mirror as you do not want to crack it. Once its in and sits proper, you are done.
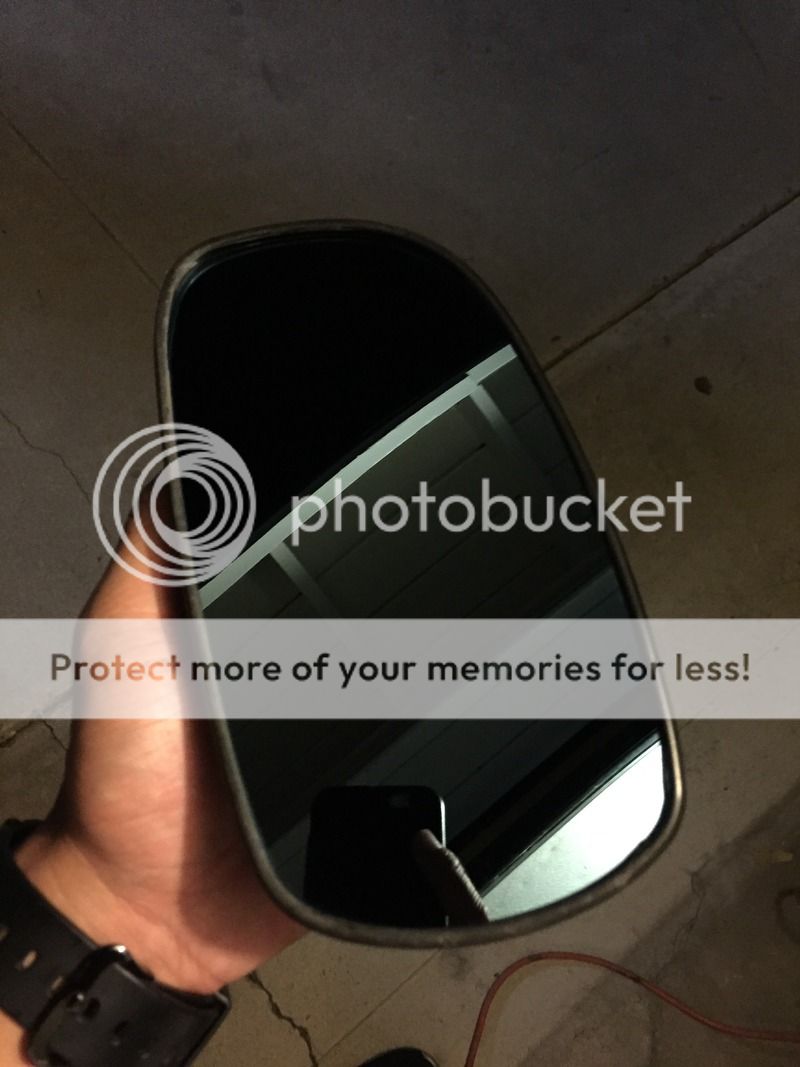
Step 7:
Go back to the car and pull/pry the little white rod off and put the round end back into the mirror housing. Once this is done, re-installing the mirror back is just the reverse order of taking it out. Make sure the white rod pops back into its retaining clip, plug the wire back, align the mirrors so the bottom bracket will hold the mirror in place and tight when the screw is tighten.
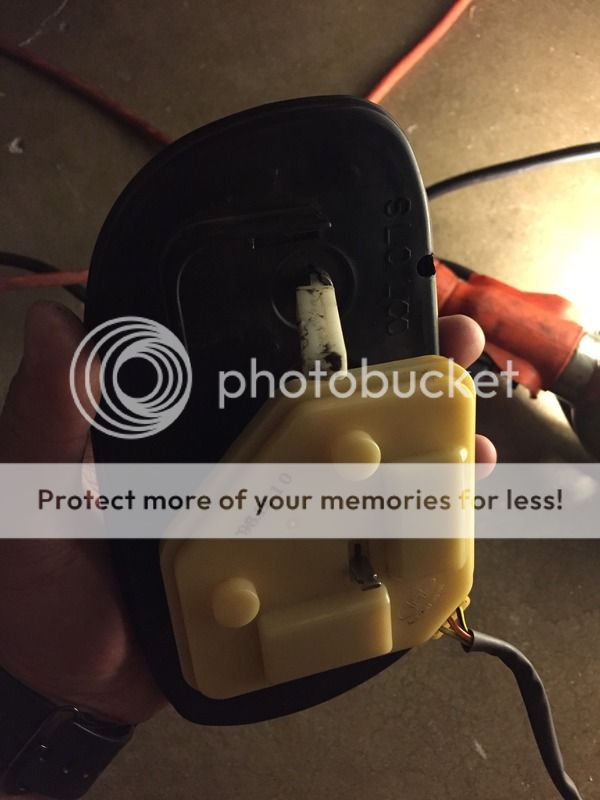
Finished Product:
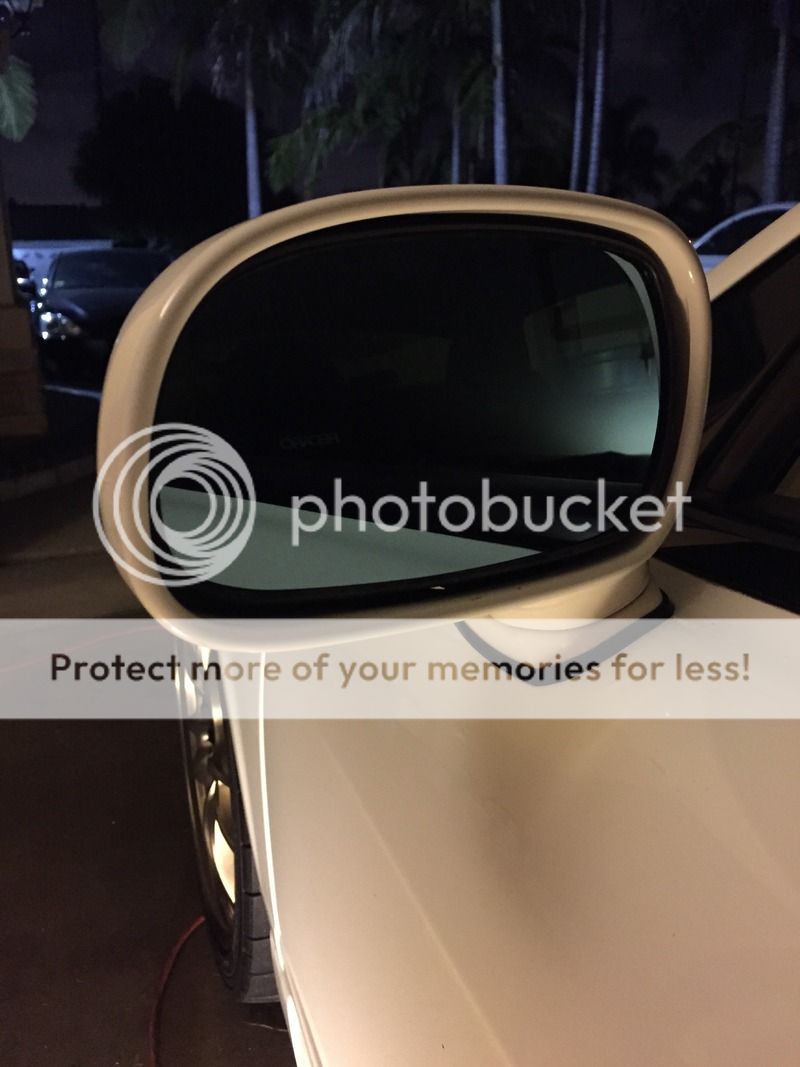
*NOTE* It may take some time to get used to the convex mirrors so be cautious. The purpose of this mirror is the reduce glare and eliminate blind spots that the stock mirrors do not offer.
Step 1:
Locate the hole beneath the side mirrors, you can access the phillips screw via this hole. Go ahead and loosen the screw but not necessary to remove the screw all the way. You just need to loosen the screw to loosen the bracket that holds the mirror in place. You can push the mirror up to see the bracket, if it doesn't loosen on its own after you loosen the screw then take a flathead and wedge it off.


Step 2:
Once its loosen, the mirror is still attached by a plastic rod towards the outer part of the car and the wiring. Gently pry/pull the mirror so it will pop off the rod then disconnect the wiring to the motor.

Step 3:
This is what you should have in your hand when the mirror and motor is off the car. Its now a good time to clean the dust inside of the mirror housing on the car.


Step 4:
I used a heat gun to heat up the plastic lining around the mirror. You can use a hair dryer or some have also used boiling water but basically there are glue behind the stock mirror. The heat will soften the glue and the lining so it will be easy to pry the stock mirror. Start with one end and move your way around. Once you are able to take the stock mirror out, clean/remove and old glue from the mirror housing.


Step 5:
*(OPTIONAL)* The mirror will come with 3M tape for each side for those who are lazy and just want to slap it on top of the stock mirror. I decided not to go that route obviously. I went ahead and place a few small pieces of 3M double sided tape on the mirror housing as seen, I am not sure if this will help the mirror or not since its convex and not flat but I guess its to reassure it will not fall out.

Step 6:
Go ahead and pop the blue convex mirror back into the housing, use some heat if needed. I didn't have to use any heat. Just be gentle with the mirror as you do not want to crack it. Once its in and sits proper, you are done.

Step 7:
Go back to the car and pull/pry the little white rod off and put the round end back into the mirror housing. Once this is done, re-installing the mirror back is just the reverse order of taking it out. Make sure the white rod pops back into its retaining clip, plug the wire back, align the mirrors so the bottom bracket will hold the mirror in place and tight when the screw is tighten.

Finished Product:

*NOTE* It may take some time to get used to the convex mirrors so be cautious. The purpose of this mirror is the reduce glare and eliminate blind spots that the stock mirrors do not offer.


