all looking great, here's how i did my gear shift and steering wheel, it might help you get the finish you aspire to. http://www.nsxcb.co.uk/showthread.php?8624
use 2 needles on the basket-ball stitch, gives a more even finish... basically it fills in the spaces in the stitches on your first gear knob picture.
been there, done that! HTH
Wow! Really impressive result! Looks OEM and not DIY =) Thanks for the tip with the dual needle approach, this made the result look much better.
Inspirational thread bro. I've actually started on a couple pieces of my own with a few more underway. Keep up the good work!
ERIC
Thanks! And thanks for posting pics of your install. Looking good! Have you done your seats by yourself? And what is the reason why you didived your center lid into two pieces?
This thread is absolutely incredible!
This really has me wanting to do my door inserts. are you using alcantara?
Thanks alot! I'm glad I can inspire other people to start doing stuff themselves. The door inserts alone can be done in a weekend. I'm using a fake alcantara. Didn't want to take any chances with the insanely expensive real thing that cost 10 times more than what I am using since I haven't done anything like this before, and that I have seen previous work with the fabric I'm using with really impressive results. The big question is the UV sensitivity.. I'll get back to that in a few years =)
Weekly update
Things are slowly progressing, as expected. Doing a couple parts at a time, advancing upwards with more and more difficult parts. Here is what I got done in the last week:
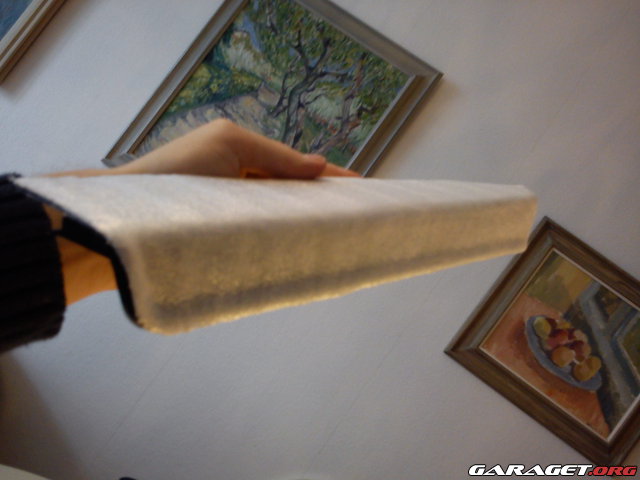
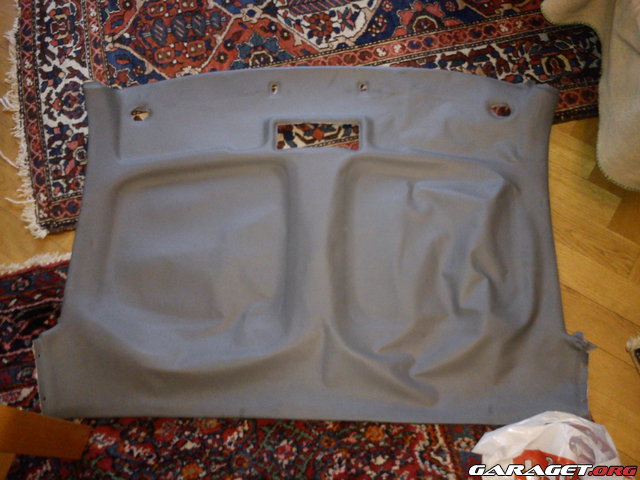
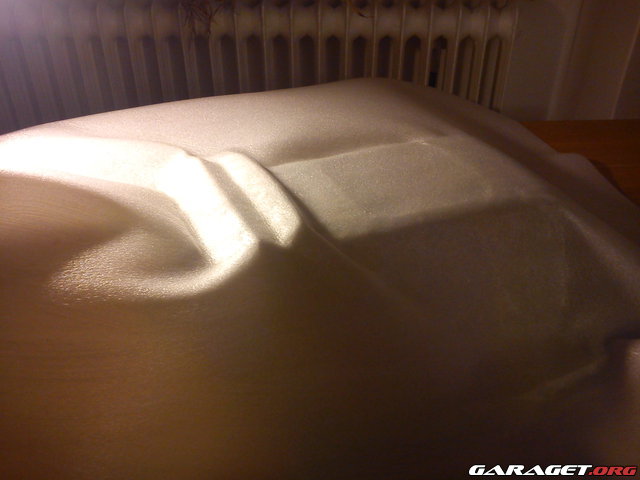
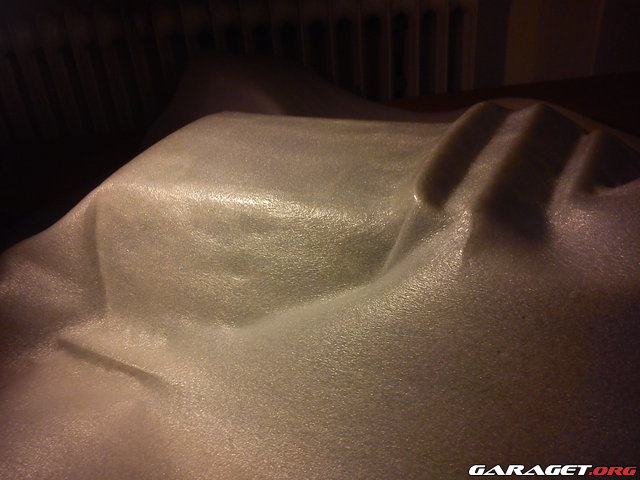
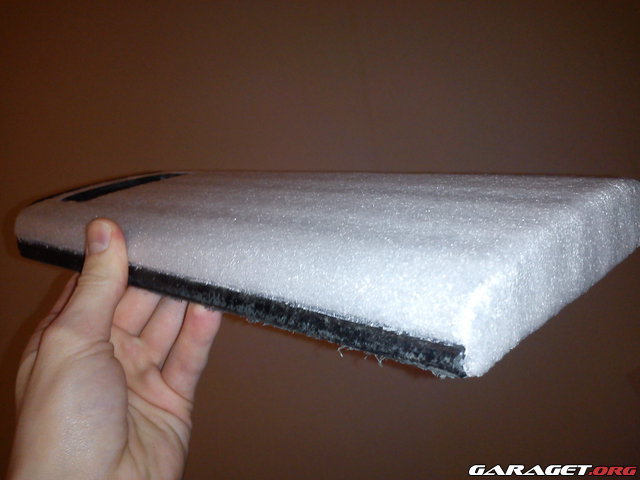
Got the lid covered in foam:

Knee bolster in foam:

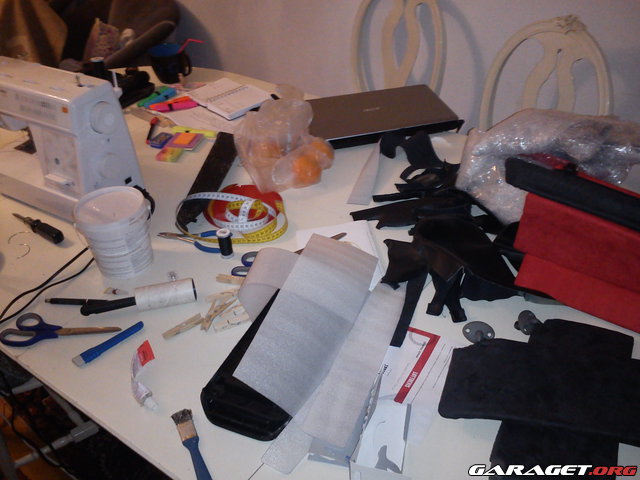
Feeling confident now so doing many simple parts at the same time, thereby saving time:


Sloppy leather, passenger side all done!

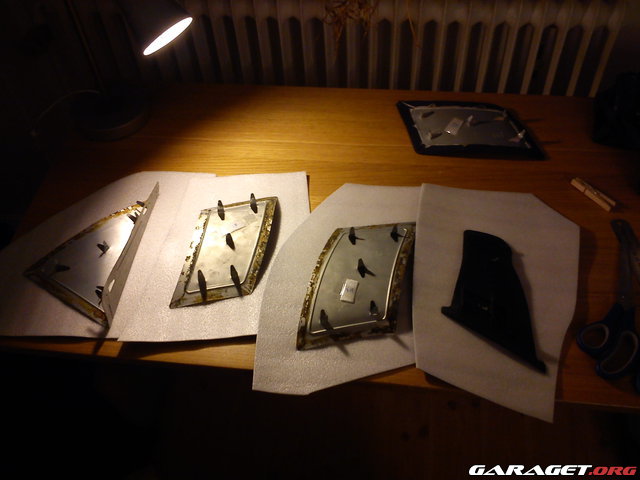
Old leather piling up:

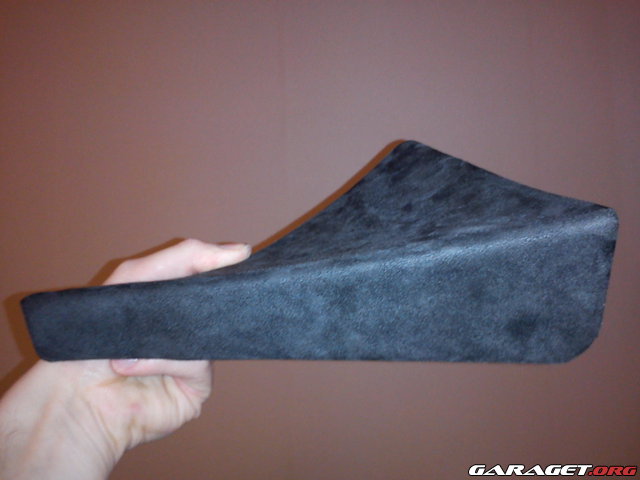
Passenger door detail:

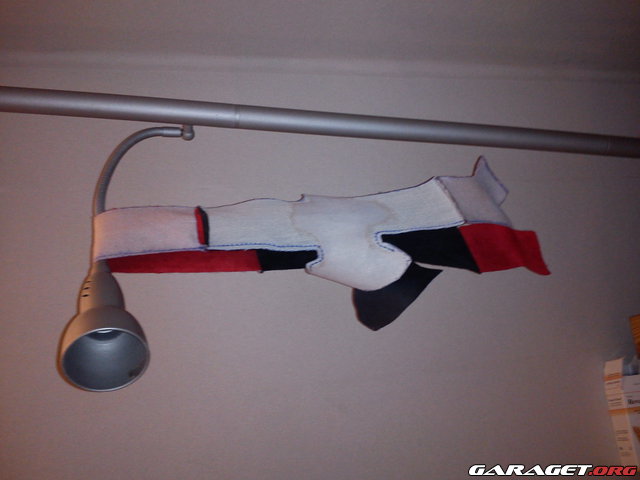
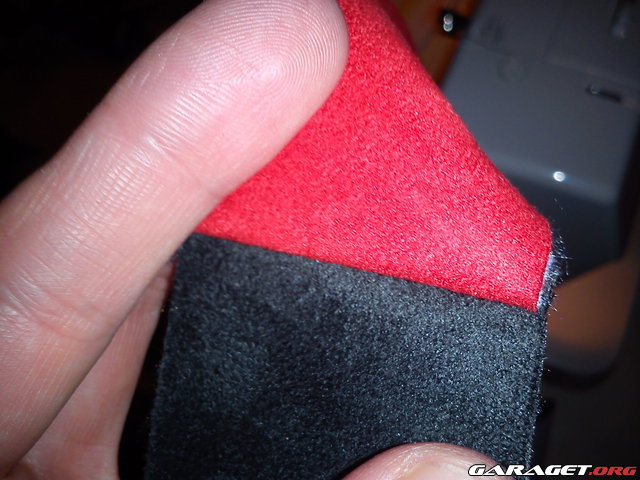
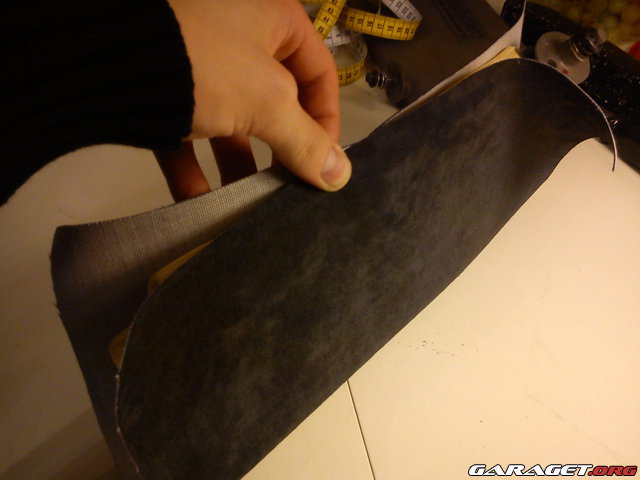
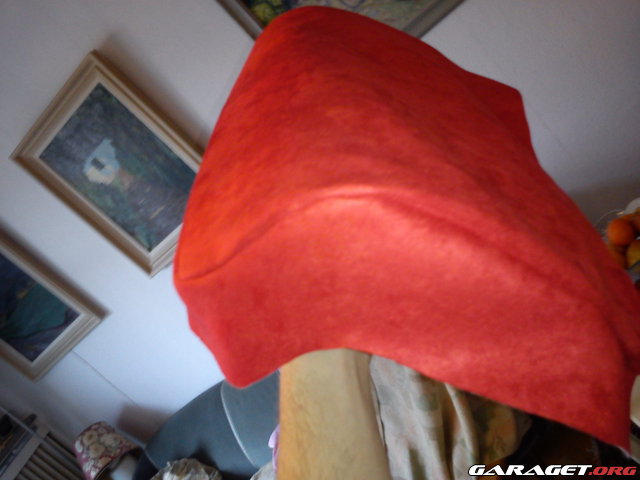
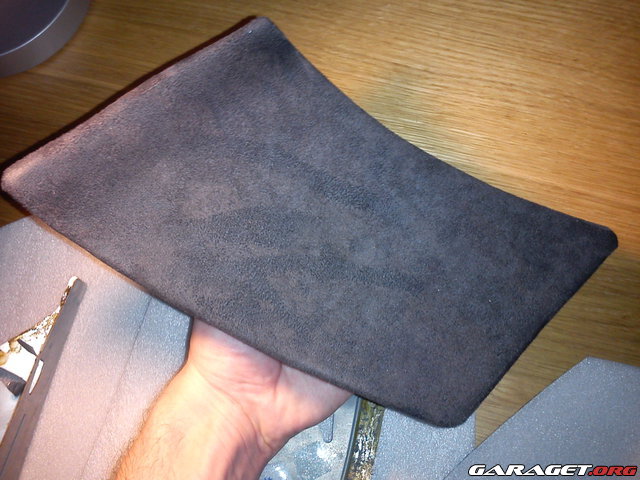
Showing the furry texture of the fabric:

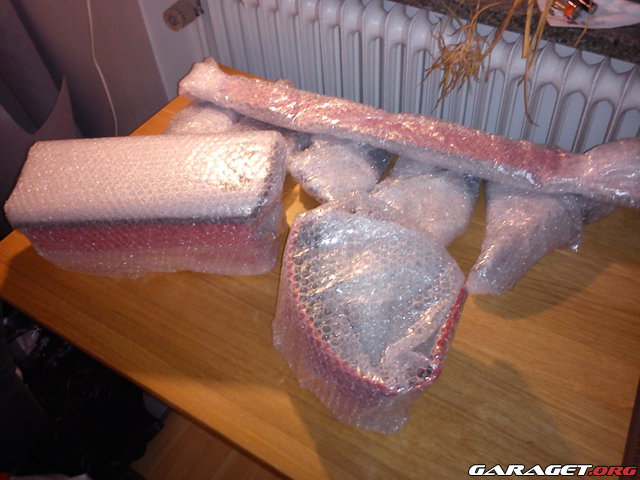
All packed up and ready for transport!
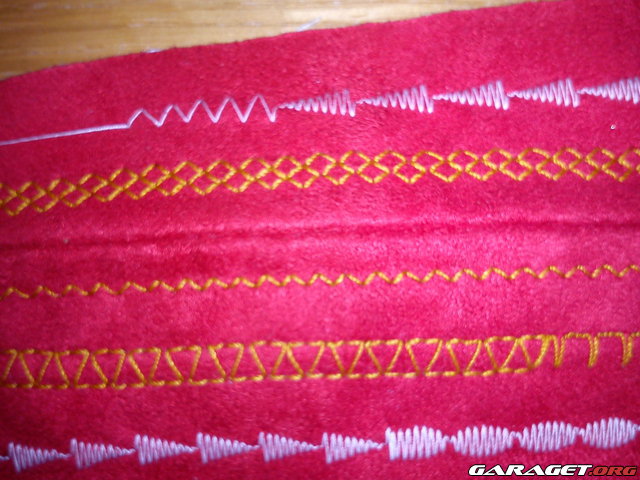
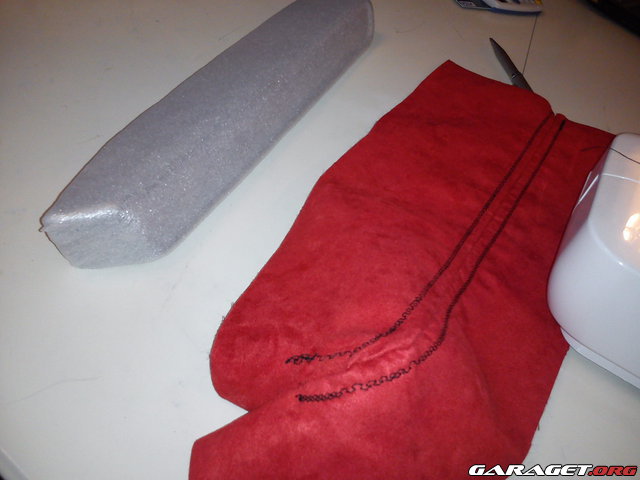
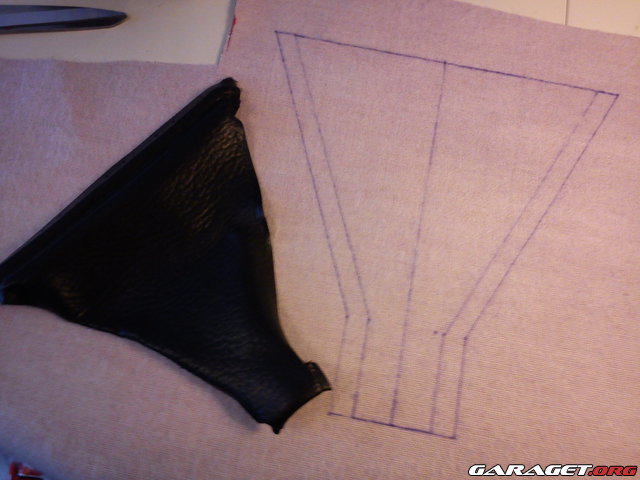
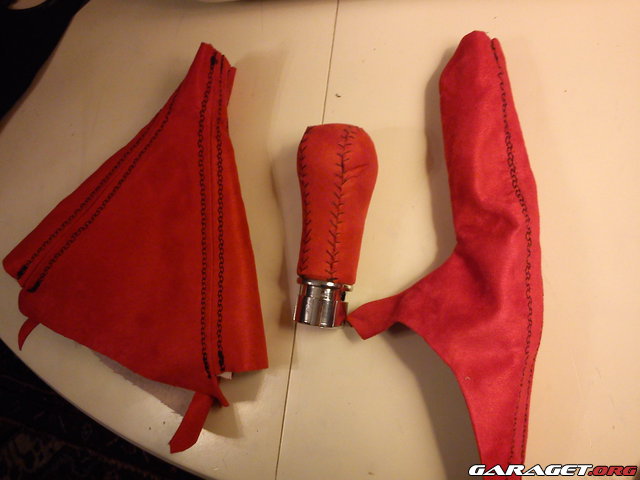
Shift knob version 2.0:

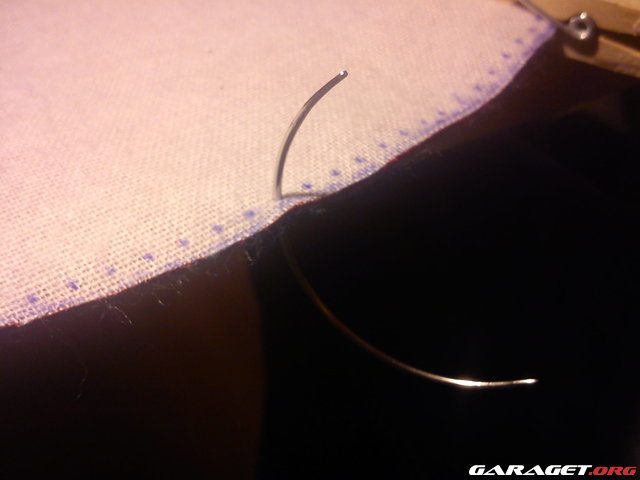
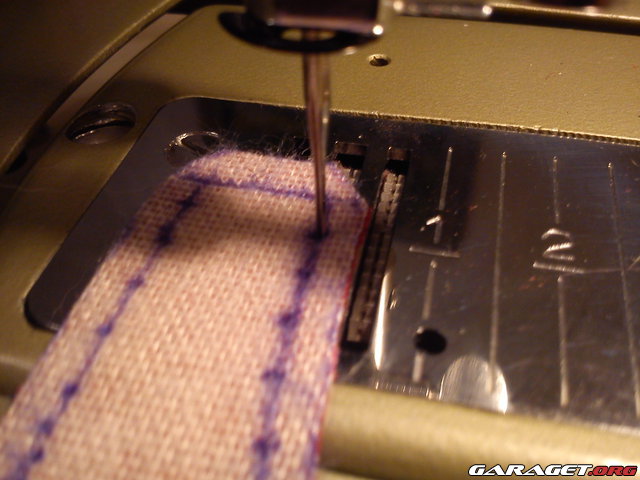
Marking thread holes:

Punching holes with the sewing machine:
Partially glued to the knob:

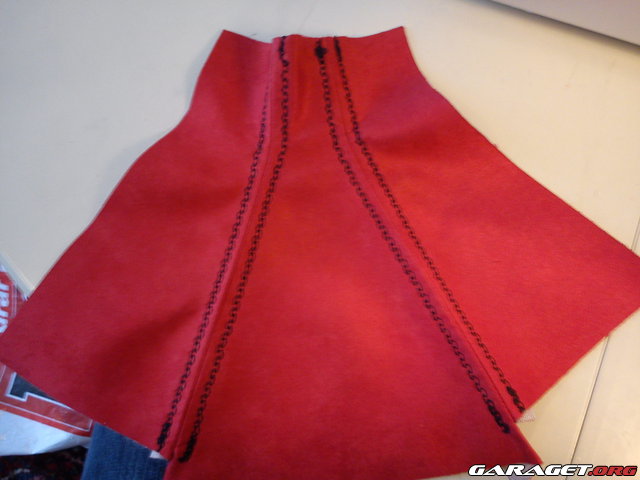
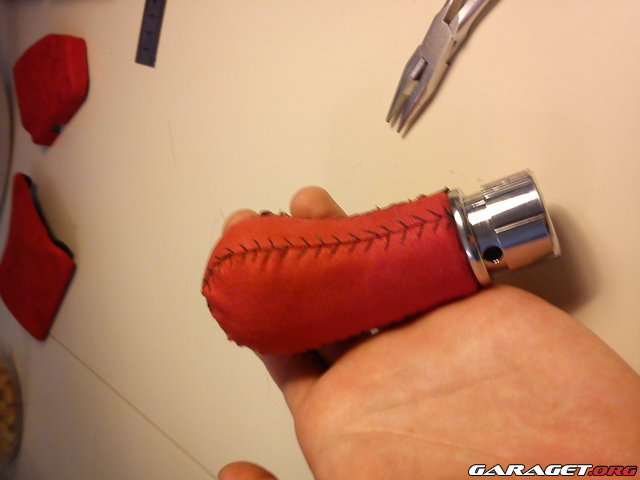
And thanks to the excellent tip from prime user britlude, use dual needles for the "basketball stitch" pattern:

Starting:

One side done:


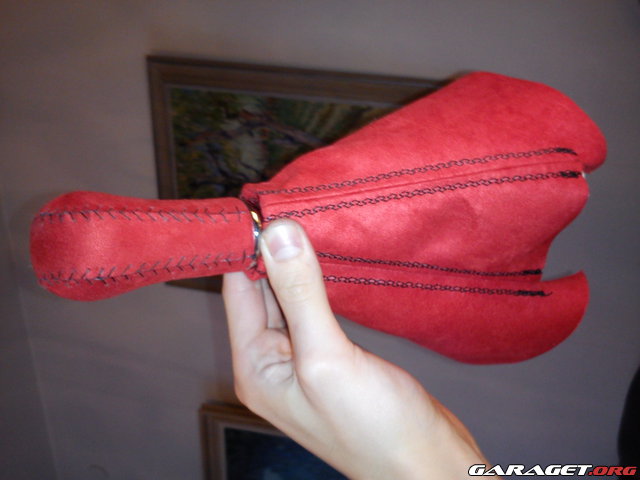
Done! No professional quality craftmanship but I'm satisfied. The main purpose of me doing the knob is to learn and prepare myself for the steering wheel. The knob is probably going to be replaced with aftermarket anyway.

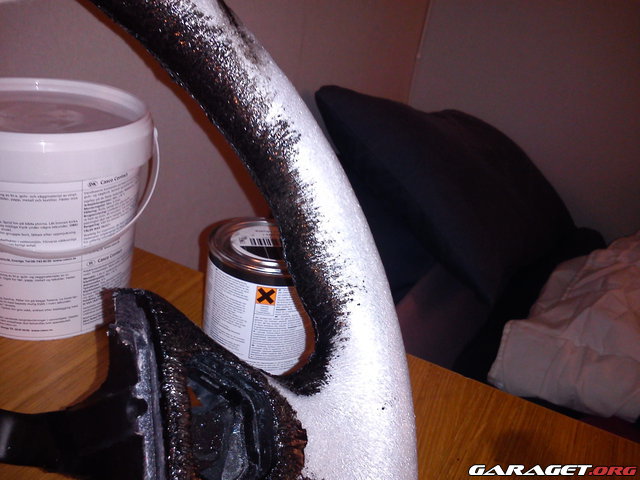
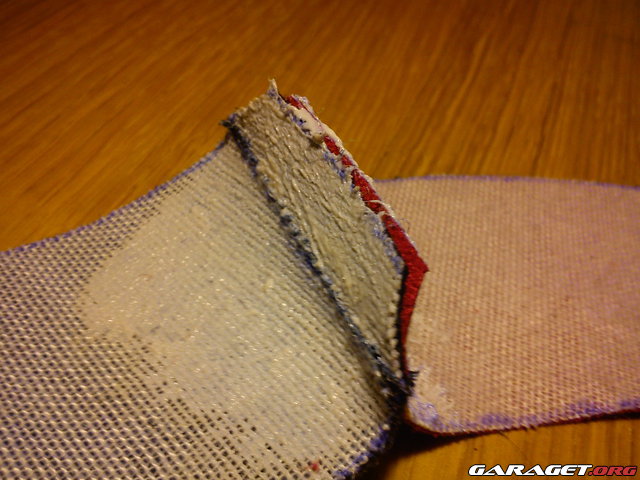
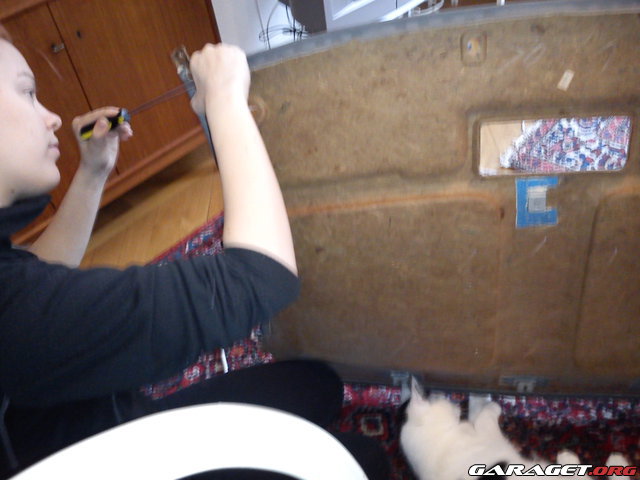
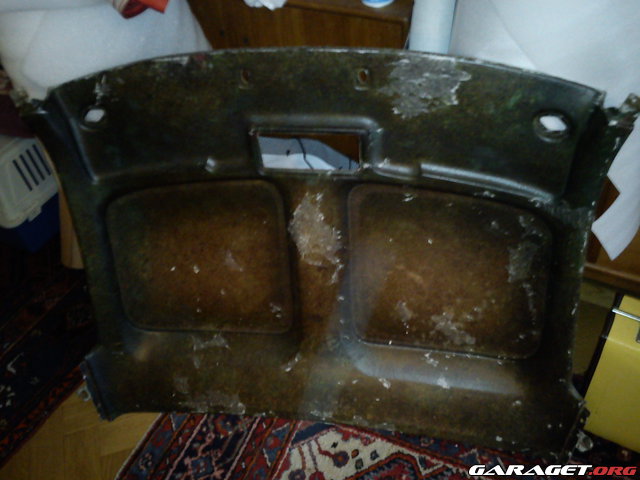
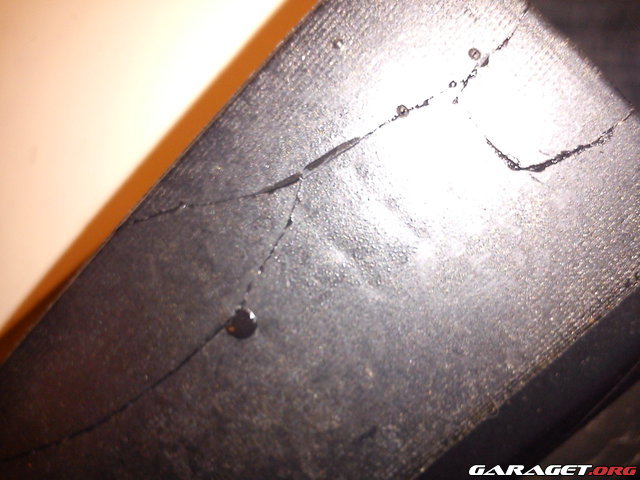
When taking this part off the car, it feel into pieces in my hands. Someone has been here before jerking around. No problem though, glue is king:
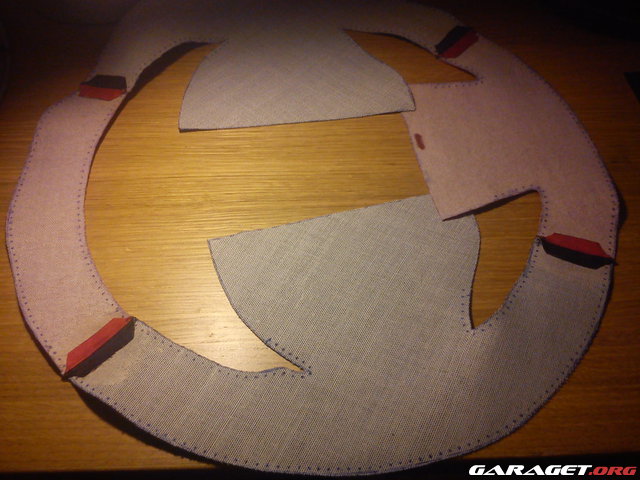
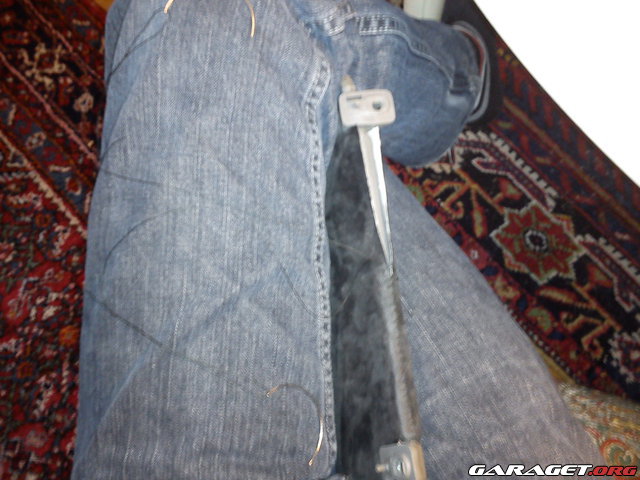
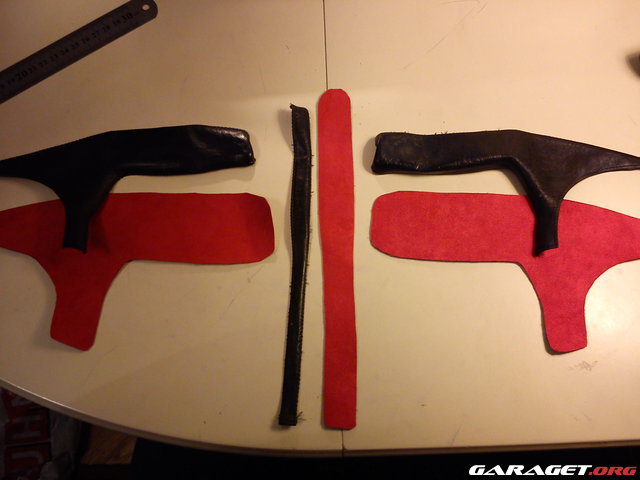
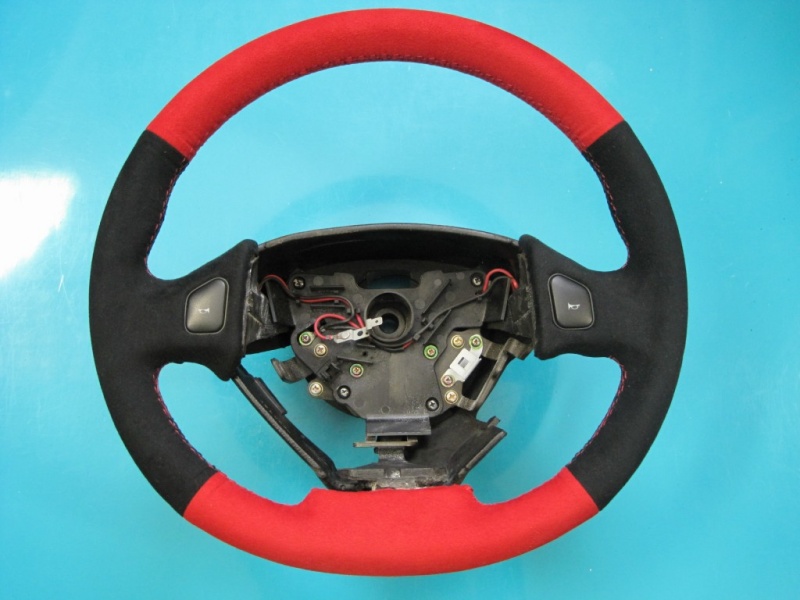
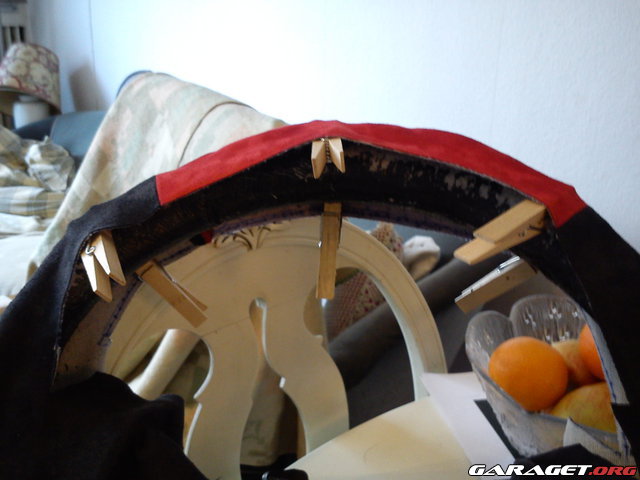
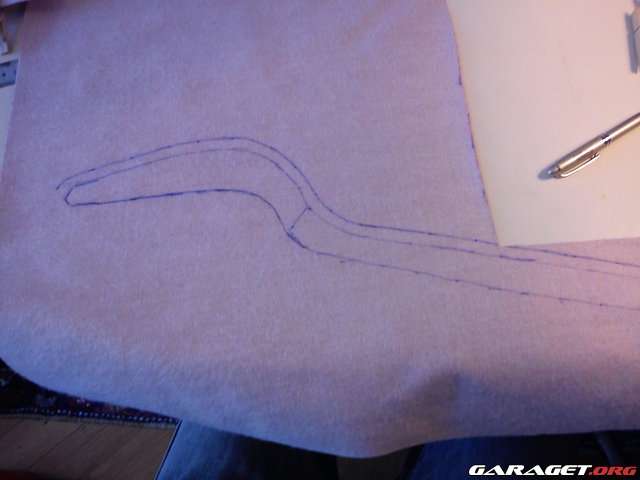
Steering wheel:

Version 1.0:

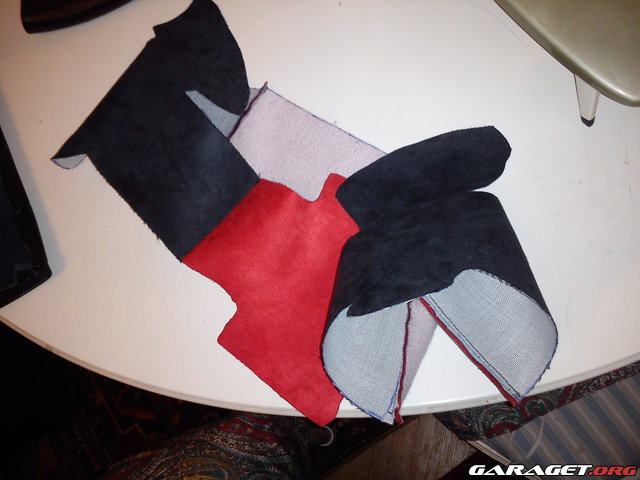
Well, you get the idea:
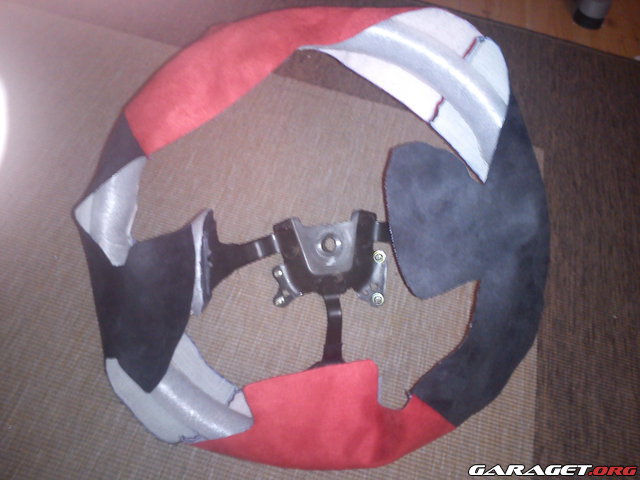
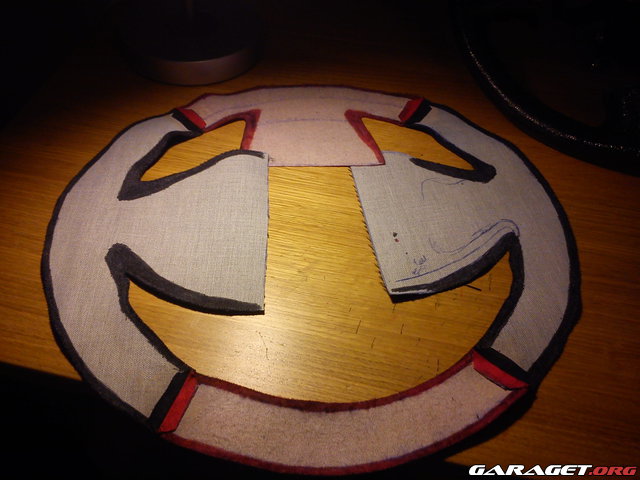
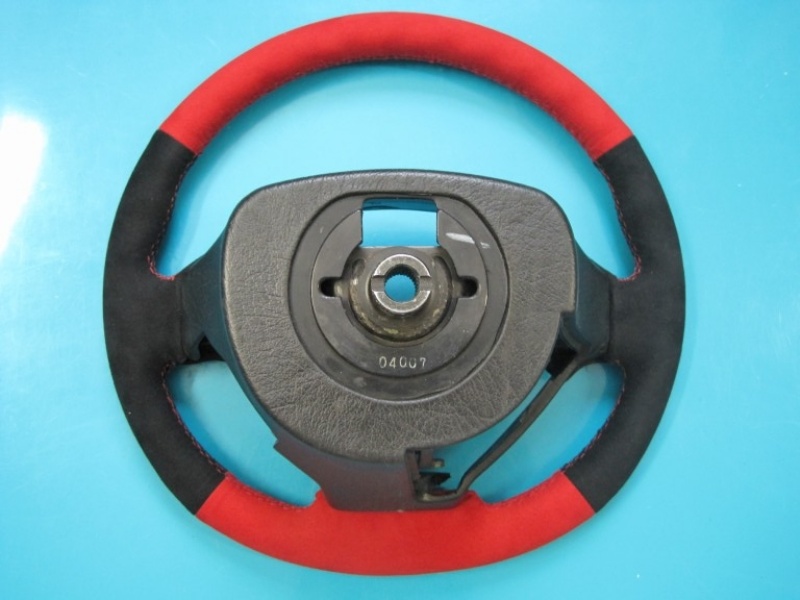
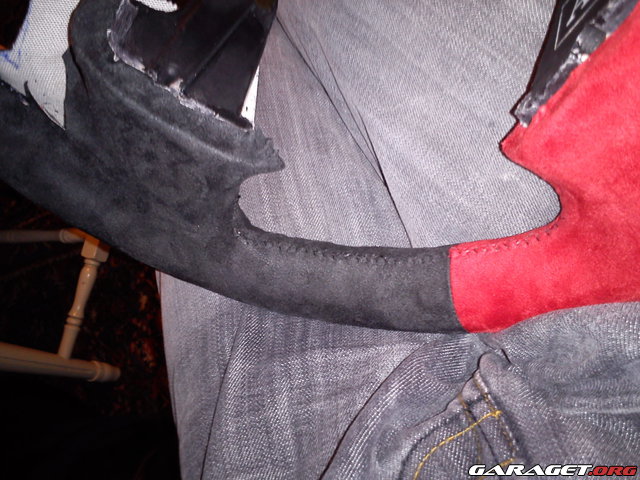
This is the optimistic approach that will probably fail. The steering wheel piece is a one-piece part. Leather is soft and stretchy and therefore easy to stretch around nasty corners. My fabric is quite stiff and it is easier to get creasing in these areas. But I wanted to try it out first, it might work :smile:
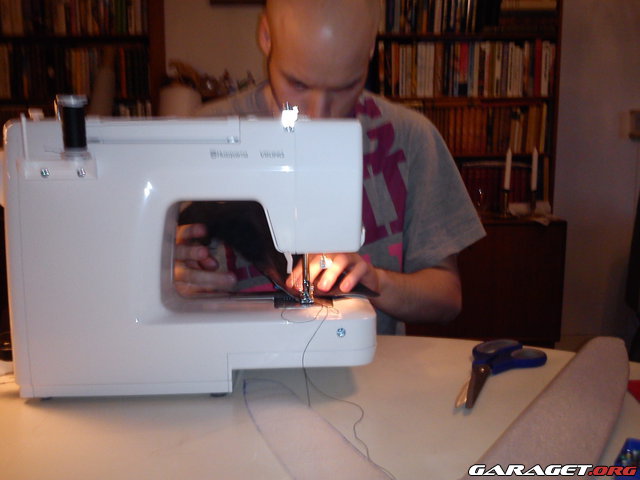
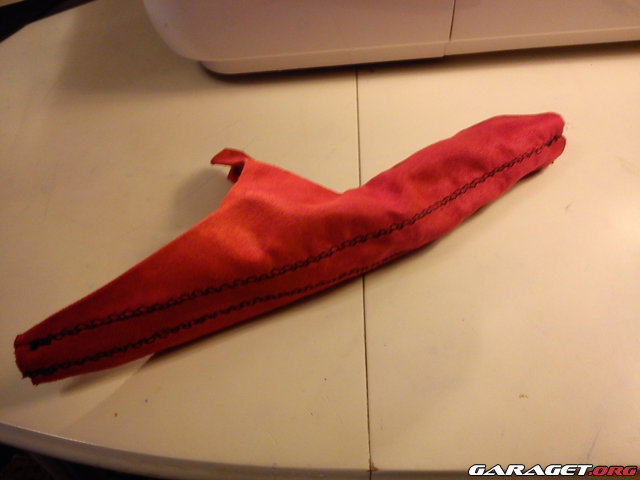
If it fails, I'll do a two piece approach with stichings both on the inner and outer parts. More on this next monday! Also gave up on my old sewing machine. Messing up the seam alot so I'm going to do something I have never done before in my life, make a visit to the sewing detail store and get a brand new machine!
//Johan
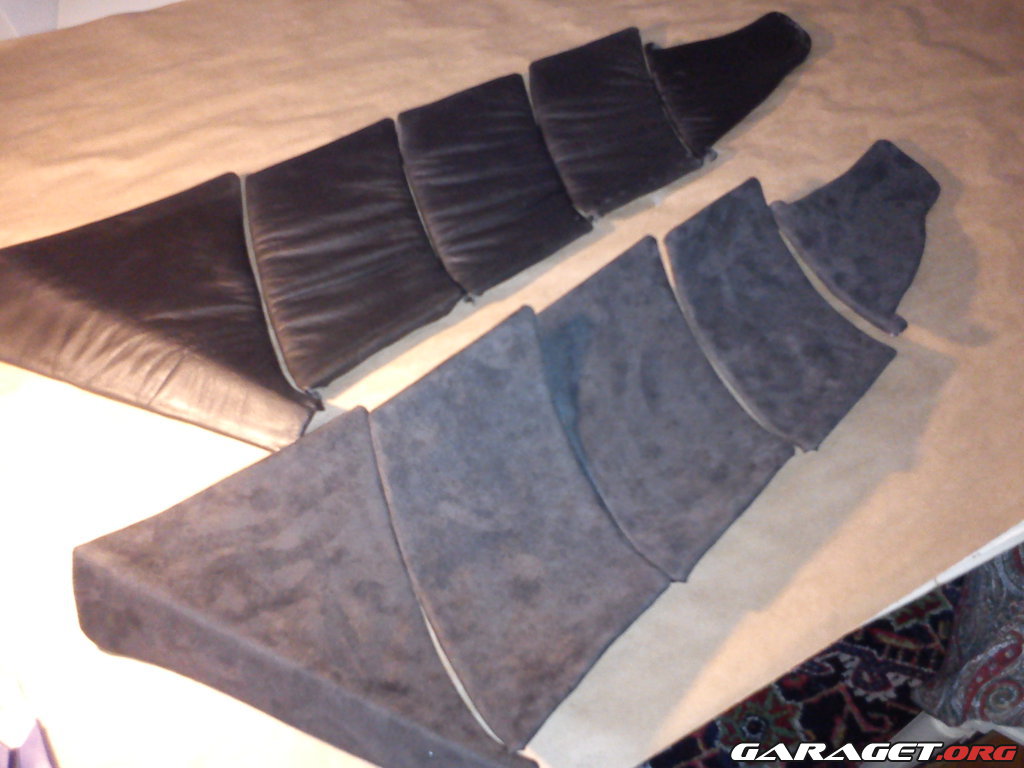
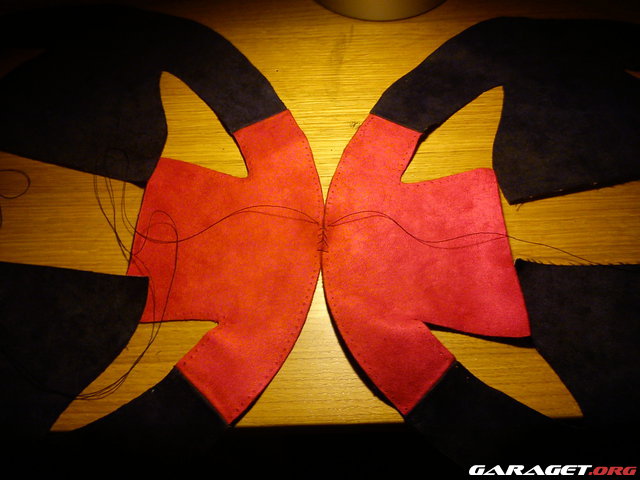
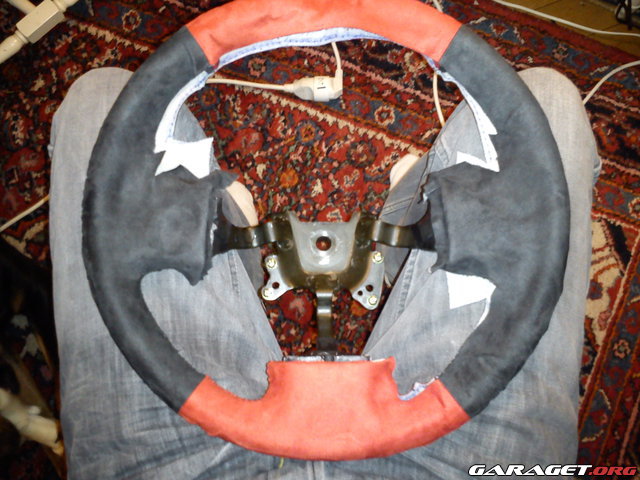
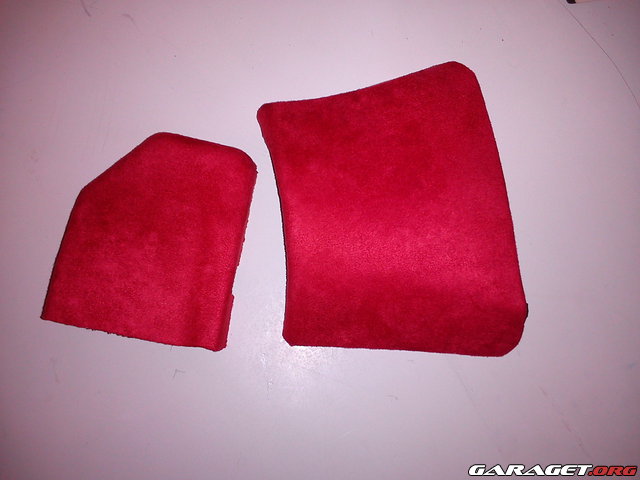
EDIT: Forgot these parts. Belongs to the steering wheel assembly:
Last edited: