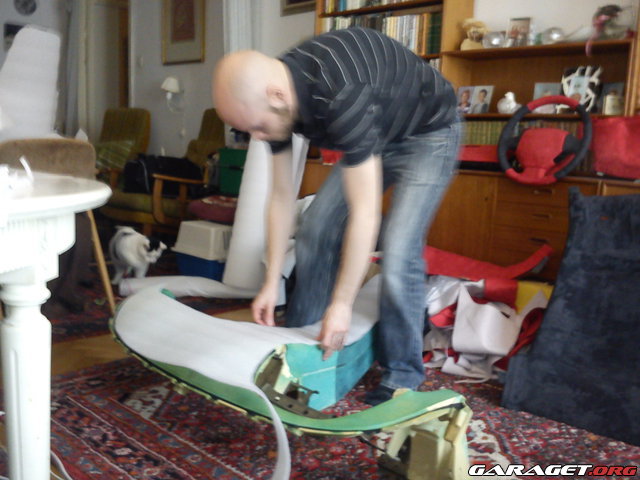
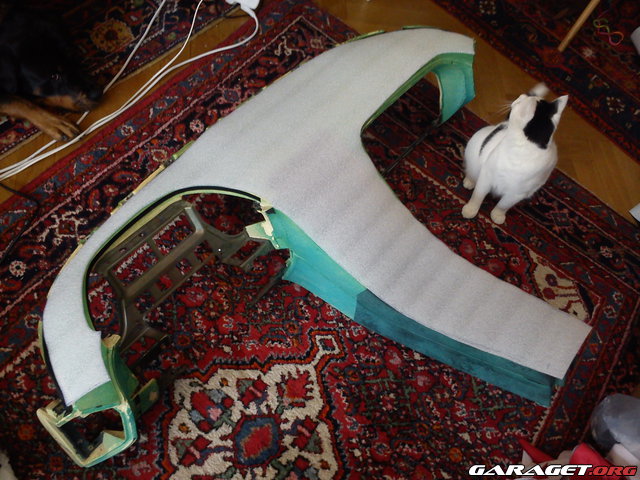
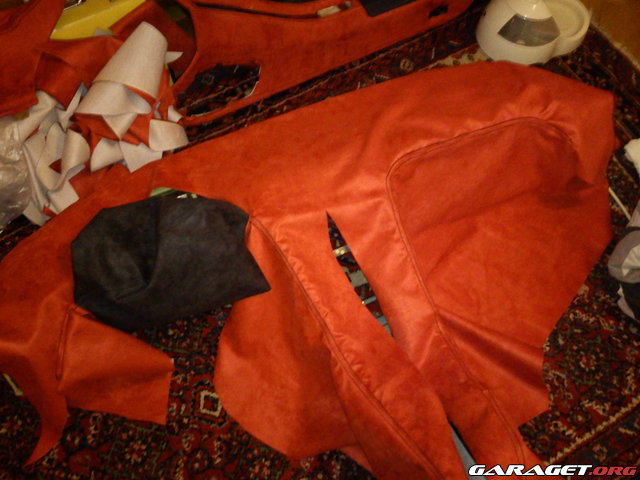
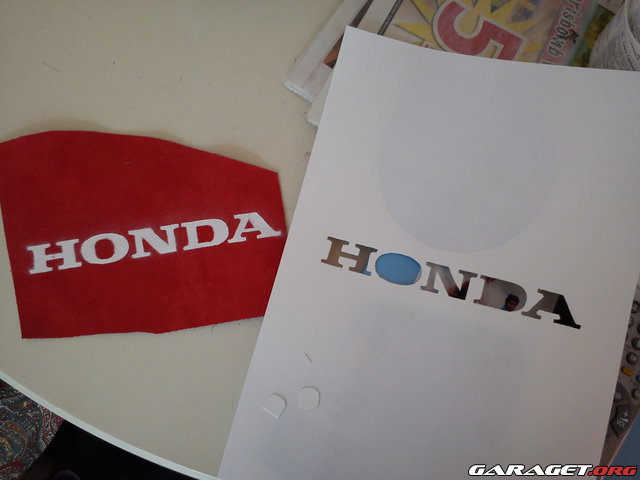
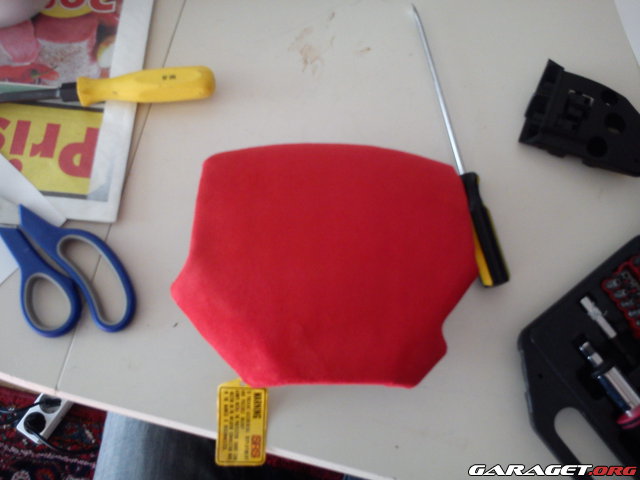
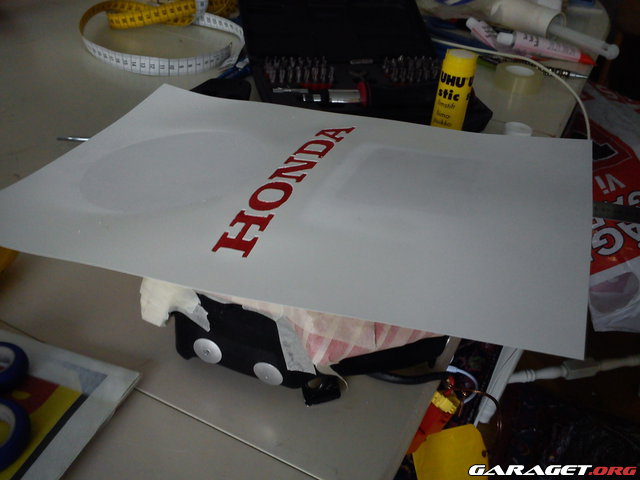
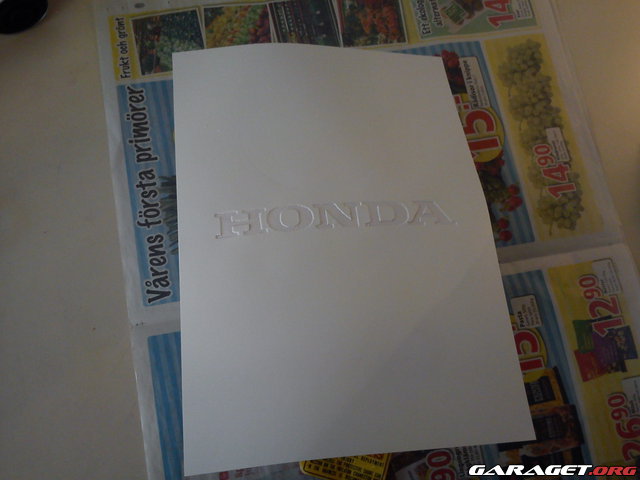
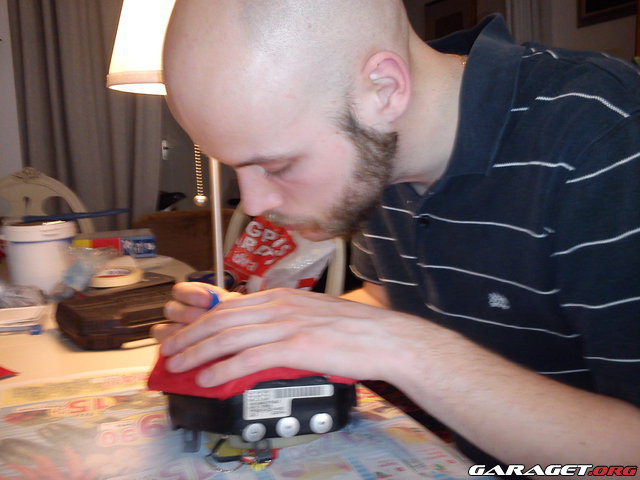
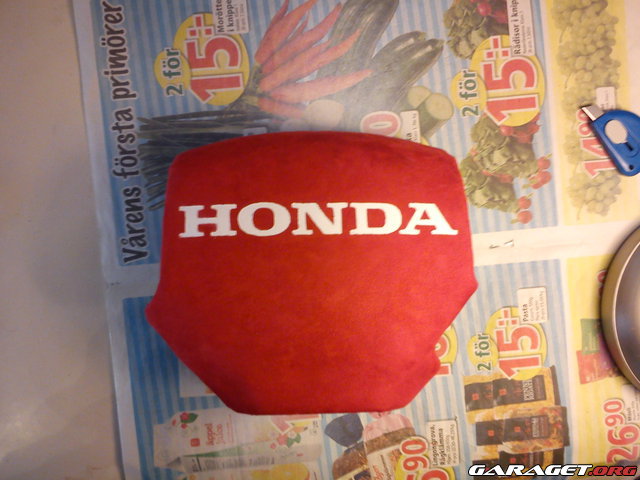
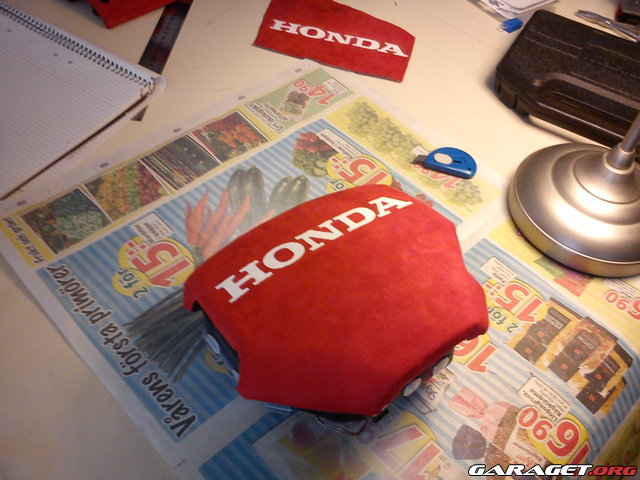
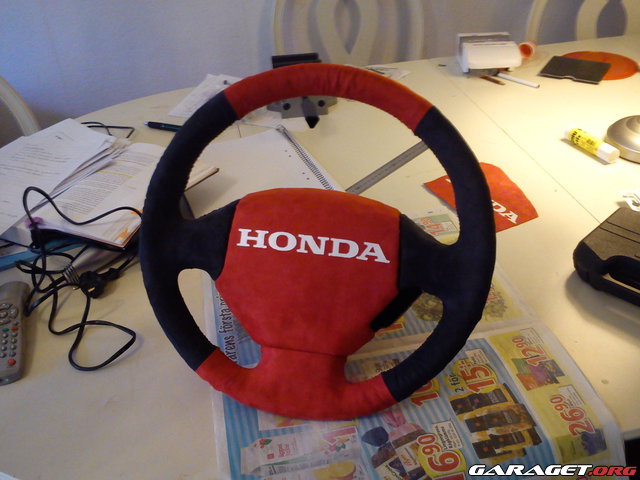
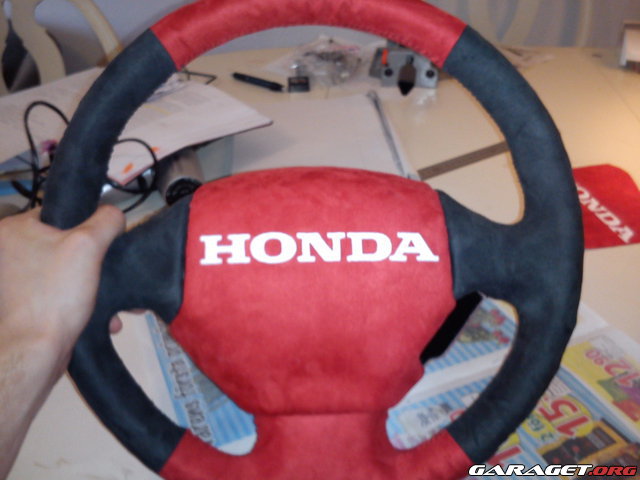
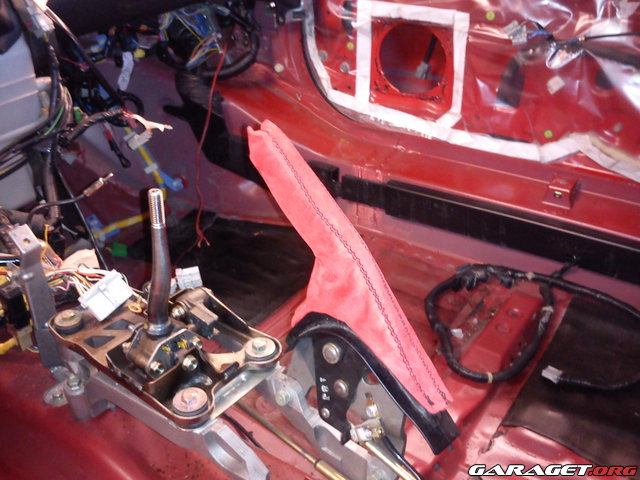
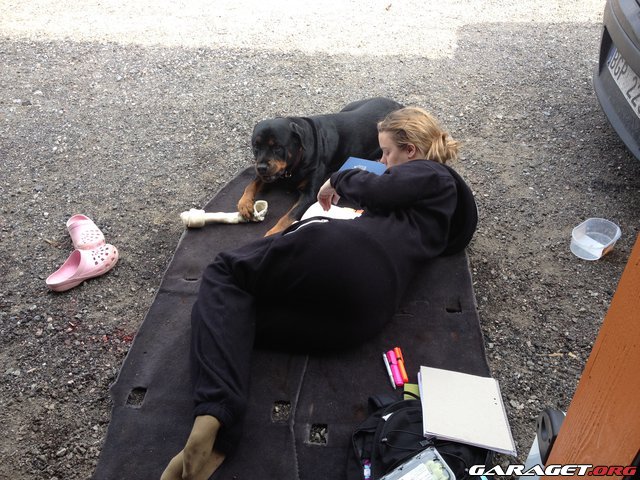
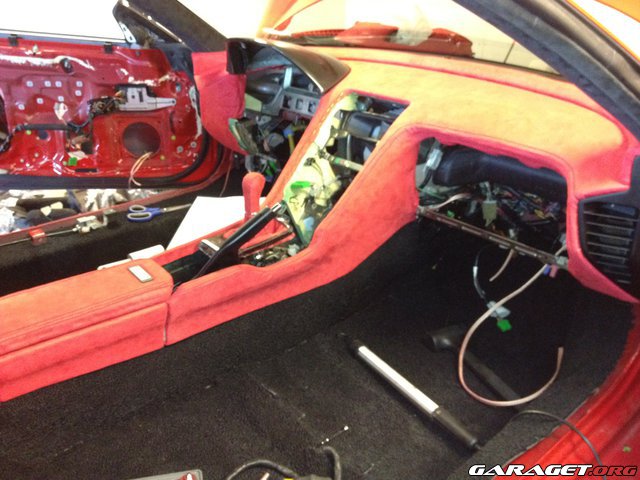
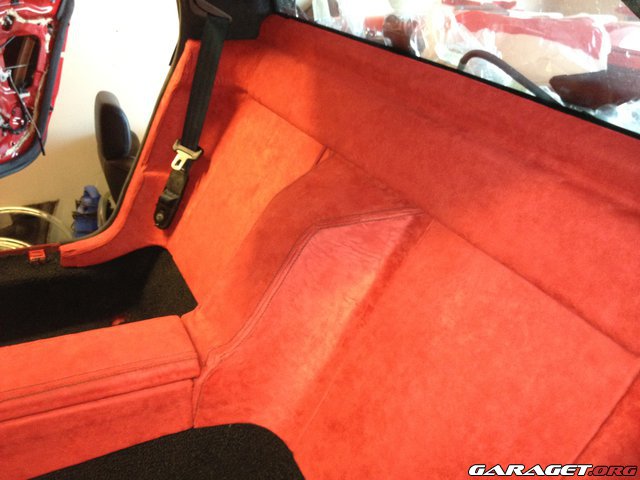
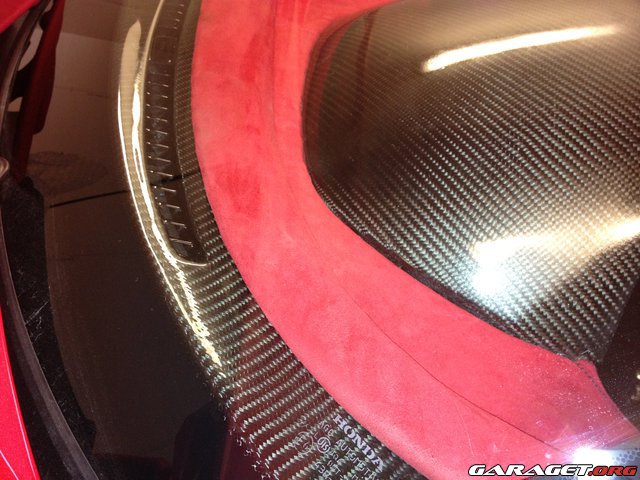
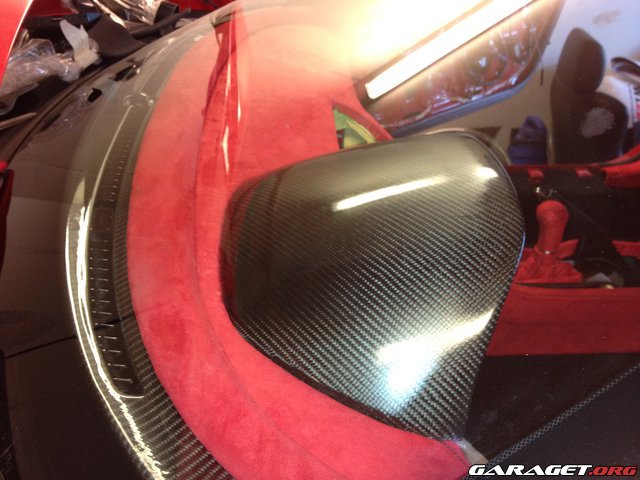
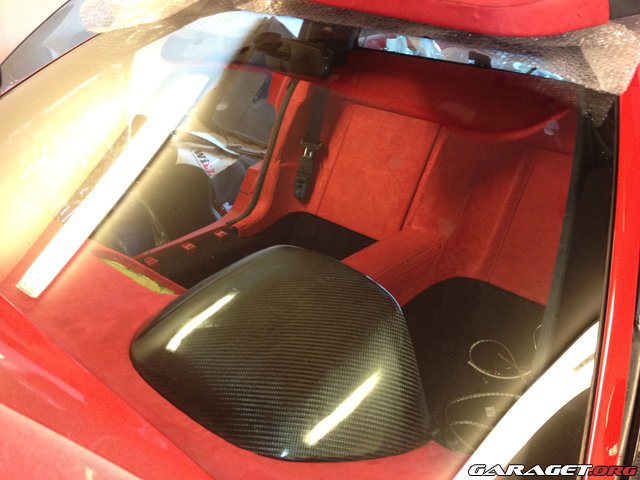
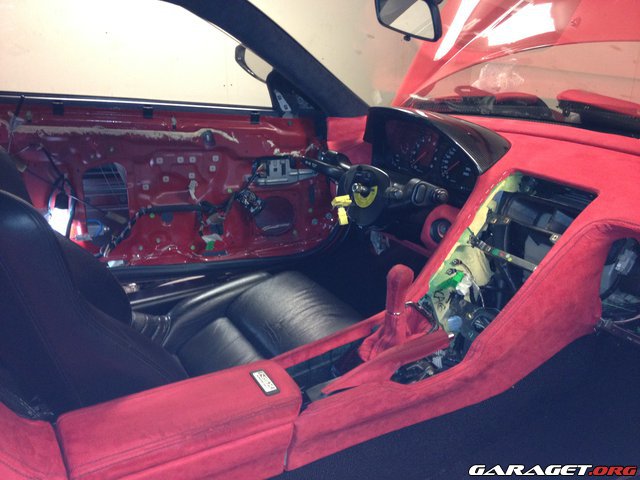
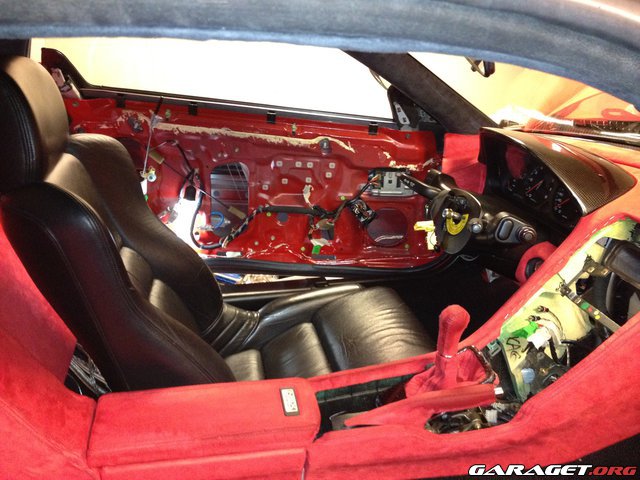
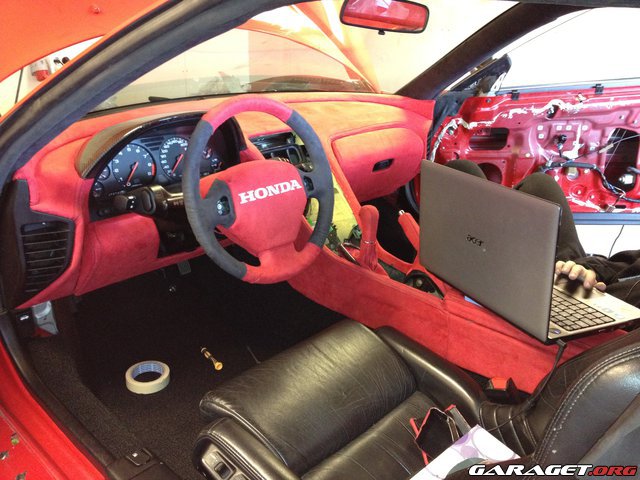
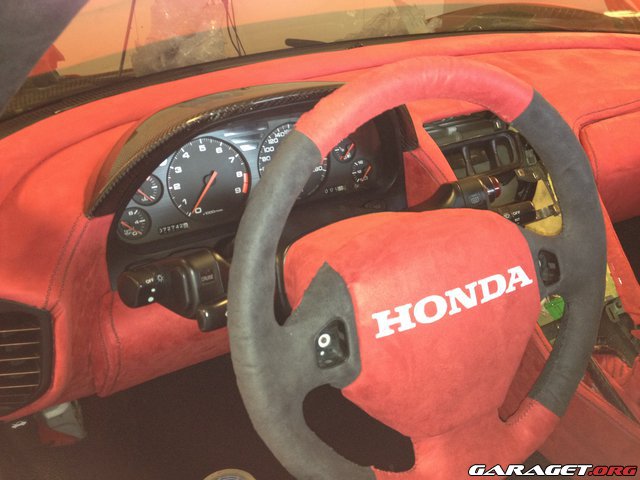
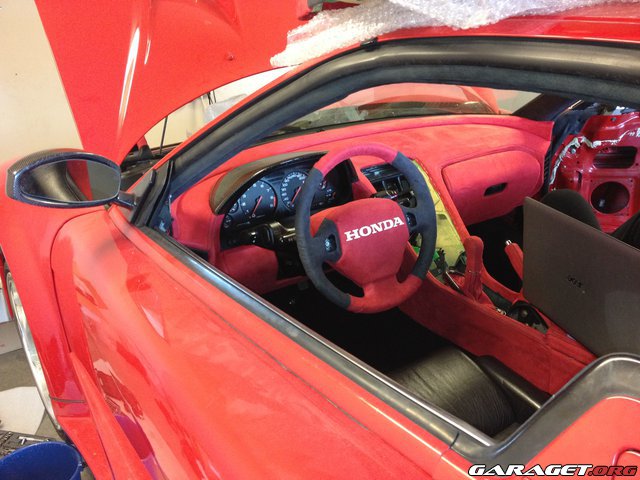
Looks good. I love the Rottweiler. I have one as well and they are the best dogs you could ever own. Like some others have said, I would change the shift boot, knob, and brake handle to a contrasting color like black and maybe a different material. I would also ditch the steering wheel for an aftermarket with quick release. Maybe something that has some CF on it to compliment the other CF pieces. The painted HONDA just sort of makes that part look cheap unlike the other parts of the interior. Overall, you've done an outstanding job and I couldn't imagine spending that much time on a project. I'm sure you've learned so much from doing it and that knowledge is probably worth more than you would have spent to pay someone else to do the work.