• Protip: Profile posts are public! Use Conversations to message other members privately. Everyone can see the content of a profile post.

DIY: Interior reupholstering part 1 - The gluing

that glovebox looks stunning!

Thank you! I'm 98 % satisfied with it, with 90 % being my tolerance level :wink:

Weekly update
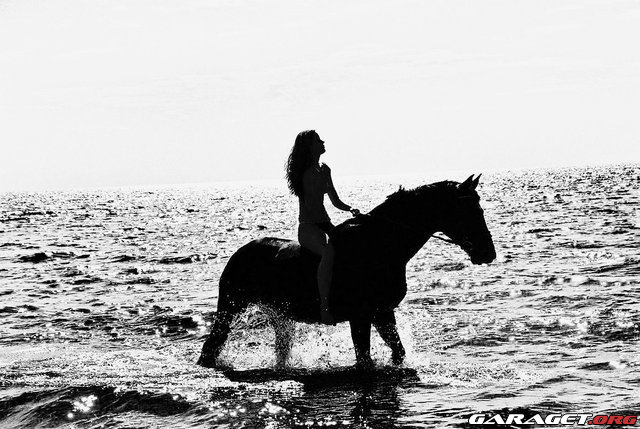
I didn't have to much time this weekend since all saturday was spent on the ice with my dad and a friend hunting for northern pike:


Emmas record from last summer, 6080 grams:

252571_10150651822065442_782240441_18997007_6361914_n.jpg


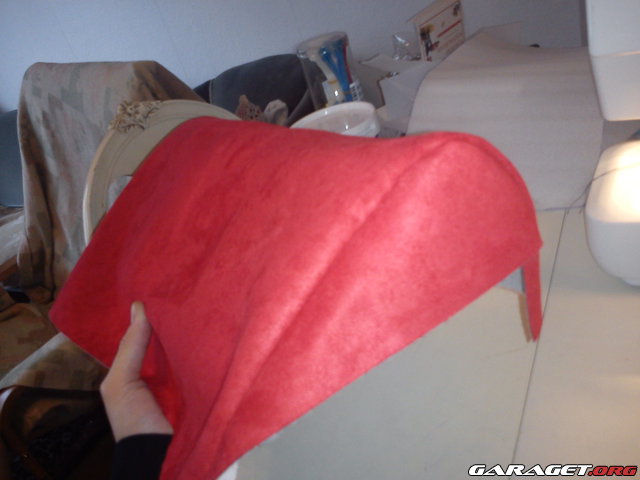
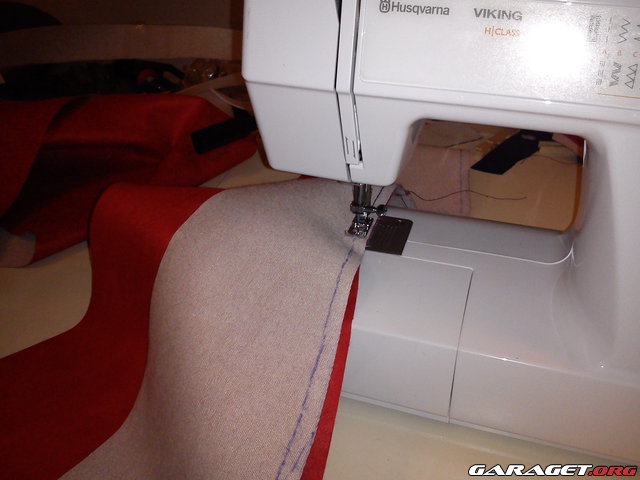
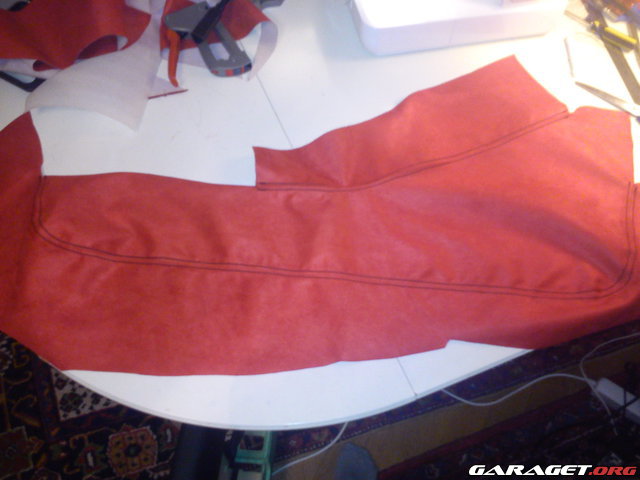
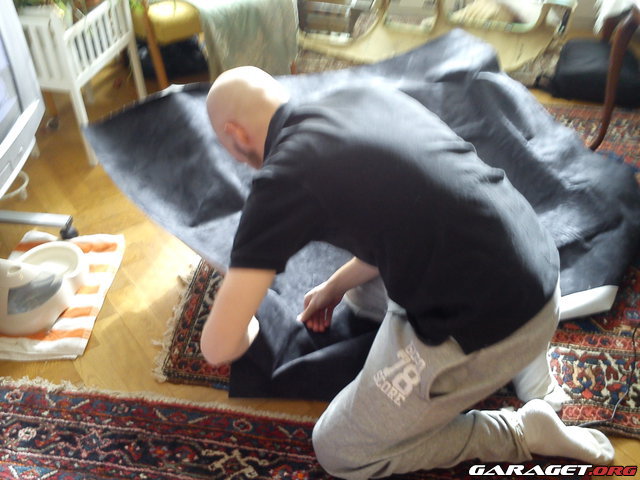
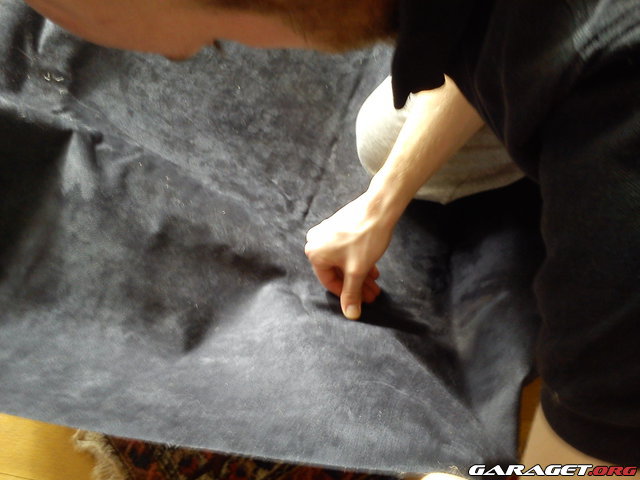
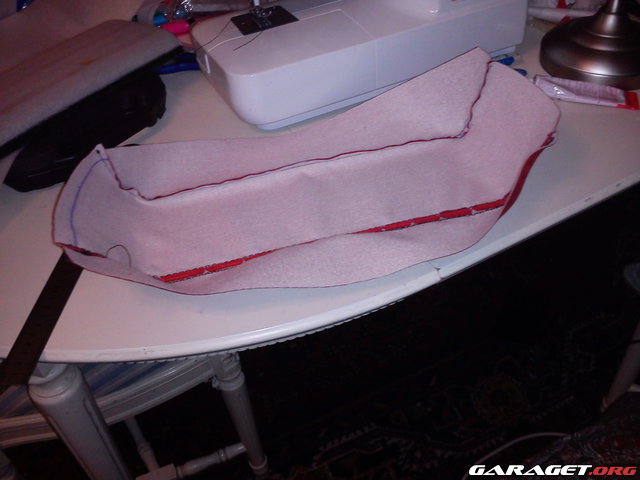
But sunday was a sticthing day!


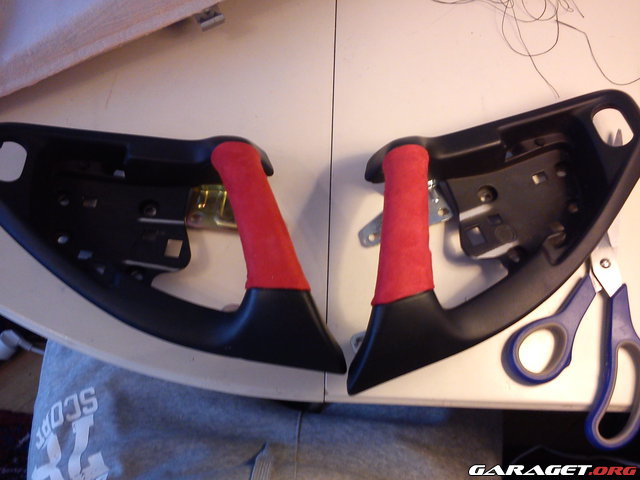
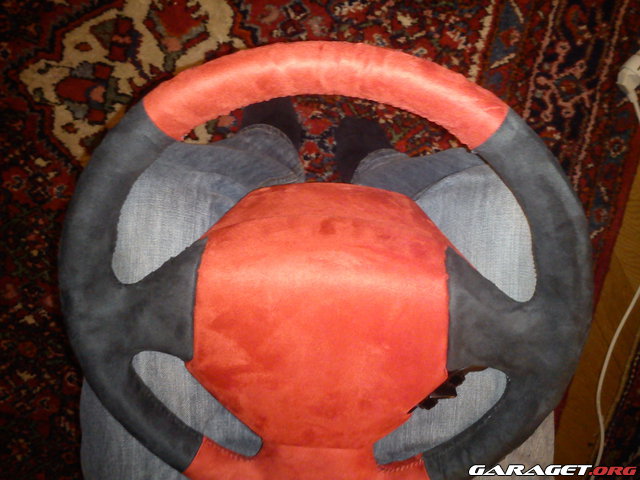
Steering wheel finished to 90 % quality finish, barely acceptable but I cannot afford to invest more time now in order to perfect it:


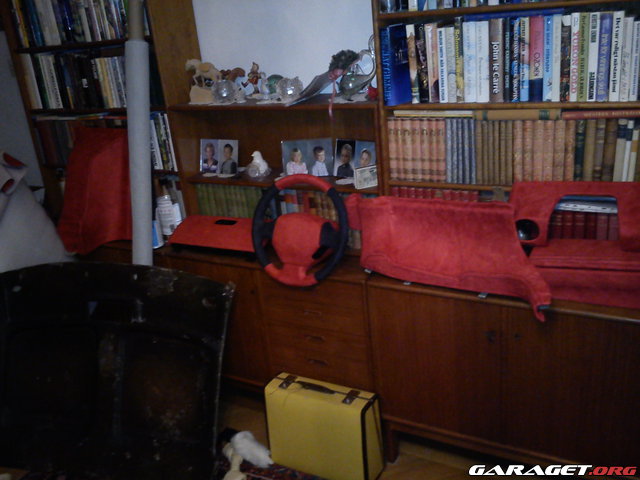
Here with all the ancilliaries attached, minus the buttons:
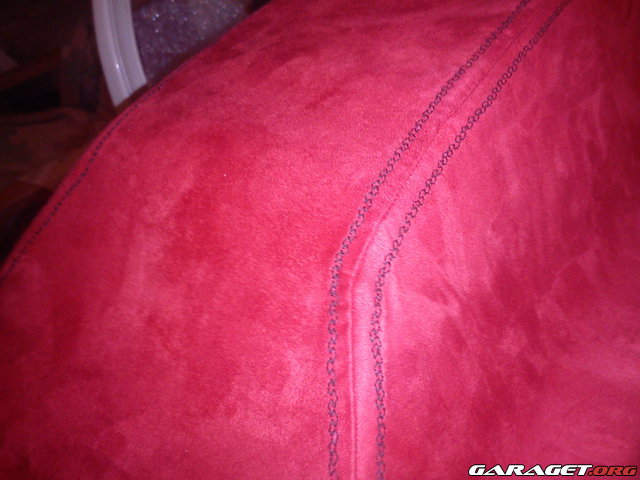
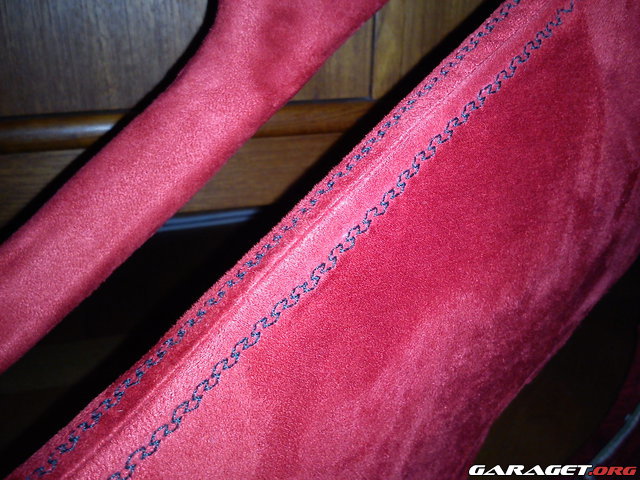


Inner seam:


Outer seam:


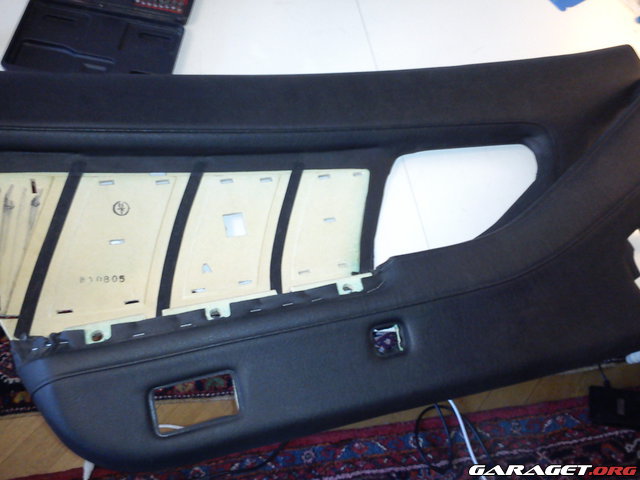
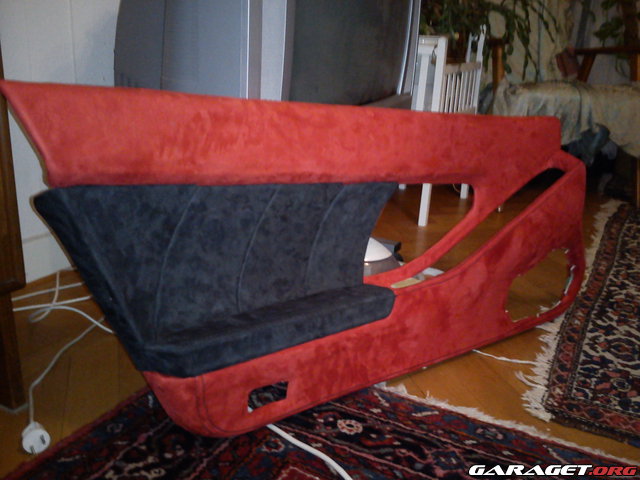
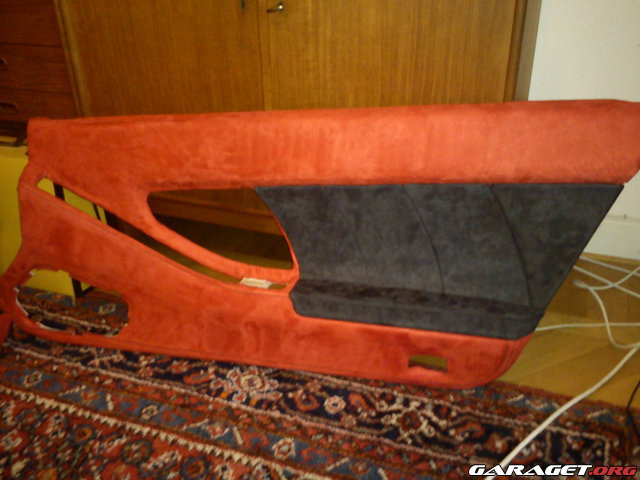
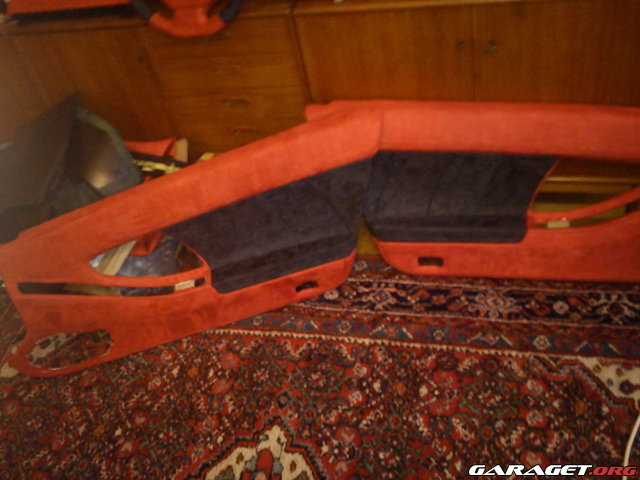
Two parts ready for installation!


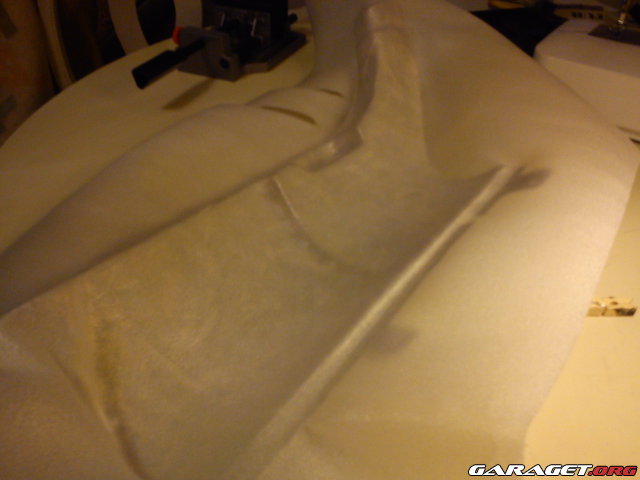
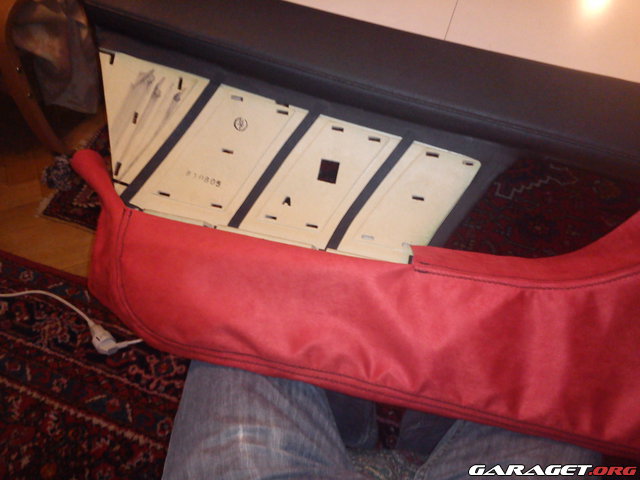
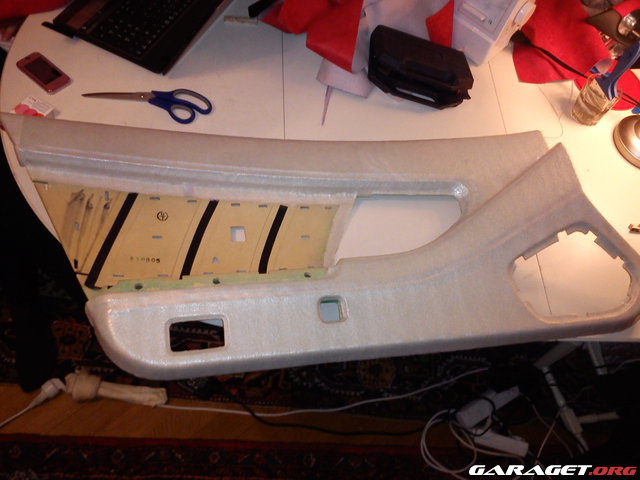
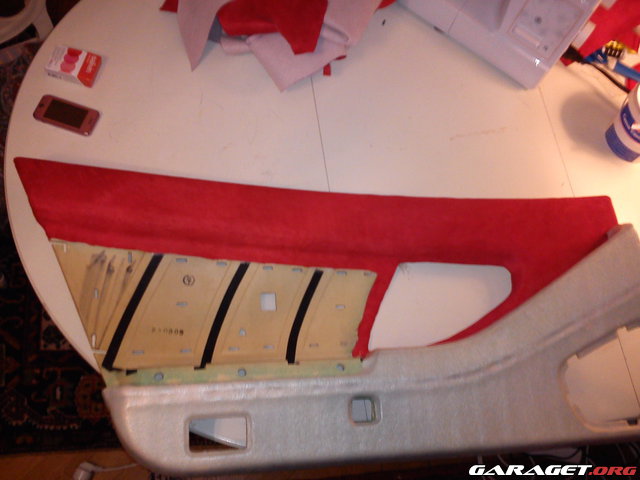
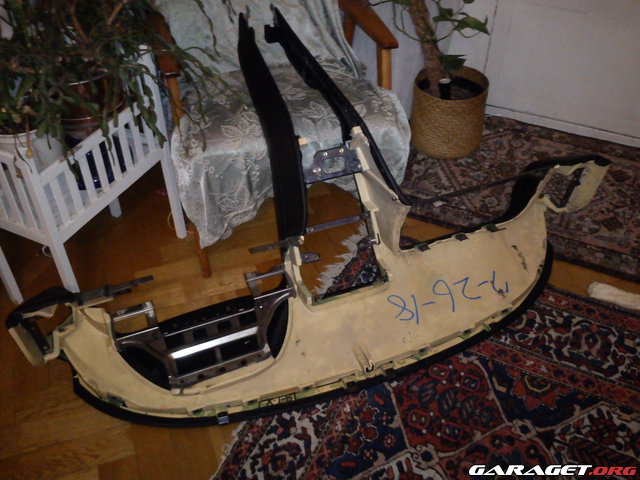
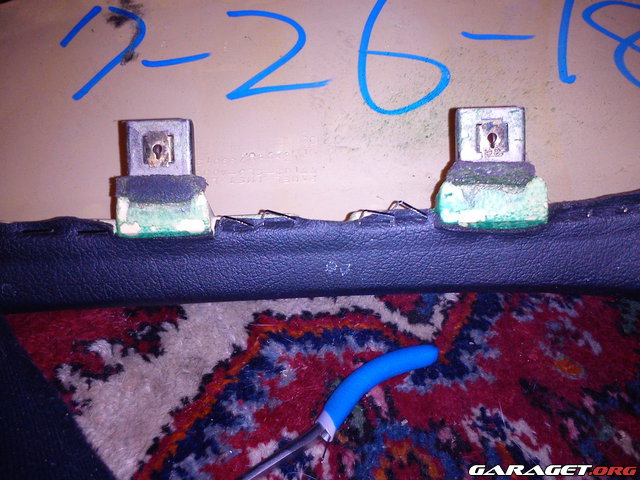
Had time to start with the center lid:


Disclaimer about the airbag assembly. I would not recommend covering this part at all, probably a very bad idea. I don't know to what extent this will interfere with it's normal operation during a crash. Risk of fatal injury, do at your own risk, I am not responsible for any injury that might occur if you decide to do this yourself.

More to come next week :biggrin:

//Johan
 
why not have the centre of the steering wheel/airbag normal as is? it looks a tad funny currently likely this imo.

as always amazing work!

Disclaimer about the airbag assembly. I would not recommend covering this part at all, probably a very bad idea. I don't know to what extent this will interfere with it's normal operation during a crash. Risk of fatal injury, do at your own risk, I am not responsible for any injury that might occur if you decide to do this yourself.

More to come next week :biggrin:

//Johan
 
Yea, Im not a fan of what you did to the wheel, but boy I wish I could do interior work half as good as you can.:frown:
 
why not have the centre of the steering wheel/airbag normal as is? it looks a tad funny currently likely this imo.

as always amazing work!

Yea, Im not a fan of what you did to the wheel, but boy I wish I could do interior work half as good as you can.:frown:

Thanks! I wanted the design of the interior to be "flush" with a consistent choice of material and color so I think the original "leatherly" texture and color of the airbag assembly would brake away from my original design. I also contemplated if I should have done it in black instead of red. It's easily changed if I change my mind.

I also think it looks a bit funny. Kind of like a toy car's steering wheel :rolleyes: but I got a few more tricks up my sleeve... Ain't done with it yet :tongue: I think it will look much better when I'm done and I also think that it will look awesome when installed together with all the other interior bits :biggrin:

K1ng124, I started out with this with no prior knowledge or experience and learned as I went. I am absolutely convinced that if I can do this, everyone else can too. I takes some dedication and patience, that's were the probem is mostly :tongue:

amazing amount of job, awesome result
eek.gif

Thanks!
 
Great project and for me its interesting to see how you are developing your skills ... oh to have the time.

Ref the steering wheel, a couple of thoughts ... if you cut the material to a smaller circumference, would it stretch to a tighter fit during stitching? Will the fact that you have covered the Airbag actually prevent this from working should the worst happen??

Keep up the great work

Subscribed :smile:

regards, Paul

Thank you and some thoughts on your thoughts. First, Yes. That is the trick, to find the right circumference that is small enough for a more snug fit but large enough in order to get in around the wheel. Some stretch in the fabric would ease everything significantly. I intended to iterate towards an optimal diameter but really don't have more time for that now, I'm thinking of getting a spare wheel and working with it on-season when time is not an issue. There is also the issue of finding the right gluing technique.

For the airbag assembly, I used as little fabric as possible on the sides so that it interferes as little as possible. However, I have no idea what the real consequences are if it deploys. There is a risk that it would delay the moving front of the gas expansion sphere and also alterate it's traveling path resulting in a not so optimal function. That and having the fabric smack you in the face real hard probably is not that comfortable.

If I crash and survive, I'll let you know :wink: Otherwise someone else will let you know :tongue:
 
Weekly update
I dedicated this weekend solely to the project and got some things done. Since I've started with some of the more complex parts, I quickly realized where the difficulties lied. First off is getting a consequently high quality of the cosmetic seams. This is really a question of experience, which I lack at the moment but I intend to get better. Secondly, gluing the sewed up fabric to a complex shape is difficult. It is a constant battle against creases, which are very difficult to get rid of once they formed. Thirdly, time is always an enemy. With the season coming up on me fast I feel a bit stressed, which is NOT good. There is a risk that I will have to settle with a lower quality than I want. Sitting with large creases in a glued up part which has taken 6 hours or more to complete can really get the mood down, knowing that you have to redo it all again.

But I knew what I got myself into, and who doesn't love a challenge? :biggrin: And besides, Emma baked some delicious cakes this weekend so I had plenty of *I-feel-sorry-for-myself* snacks eating when things didn't end up the way I wanted it to:


First I got a nice little package:


Red carbon fibre 2x2 twill 200 gsm. Now I need to learn how to work with this too :tongue: The pics doesn't show the right color, it looks almost orange on the pics but is a much nicer, darker red shiny color IRL. Feels like snake skin when handling it.

Continued on the lid, got it glued properly:


And mounted:


Some scratches, I'll fix those later:


It can be opened!


Knee bolster:


Something else:


Testing fit:


With cosmetic seams:


Gluing!


Finished!


Passenger side thingy:


Johans collection of NSX art:


I ran out of red fabric so I'll have to order more. Next weekend I'll be going snowboarding and fishing with my family and friends so I won't have time for this project, but I am going to start working with the CF :smile: I'll get pics up when I have something to show you :tongue:

//Johan
 
Last edited:
I would love to! But I would have to charge you by the hour and I'm working at about 1/3 of the time it takes for a pro to get the same job done at 3 times the quality.

So take it to the pros or do it yourself :wink:

Okay, I'm at least going to attempt a few small things like the knee bolster. This should end poorly. I demand more photos! Put it all back in already! :frown:
 
Okay, I'm at least going to attempt a few small things like the knee bolster. This should end poorly. I demand more photos! Put it all back in already! :frown:

If you get your head in the game when covering up stuff yourself, I think it will end happily :smile:

Just got back from a few business trips from around Europe and haven't been able to work on this for a while, but I started on some CF parts:


Going to work on the interior this weekend and pics will be up on monday! Putting it in? Well you have to wait a few more weeks for that :tongue:

//Johan
 
Did you follow a specific howto for CF wrapping? I have the supplies to try this myself but the first attempt was a huge disaster.
Specifically, I glued the CF down with 3M upholstery adhesive, but as soon as the resin hit it the glue came right off and made a big mess. That was using the DING-ALL surf board resin, which I don't recommend. It smells REALLY bad, hardened way too fast for me, and it's yellow. I'm not sure why people are using it for CF wrapping other than the fact that it's cheap. I have some epoxy resin I got on ebay but I haven't tested it out yet.
 
Last edited:
Did you follow a specific howto for CF wrapping? I have the supplies to try this myself but the first attempt was a huge disaster.
Specifically, I glued the CF down with 3M upholstery adhesive, but as soon as the resin hit it the glue came right off and made a big mess. That was using the DING-ALL surf board resin, which I don't recommend. It smells REALLY bad, hardened way too fast for me, and it's yellow. I'm not sure why people are using it for CF wrapping other than the fact that it's cheap. I have some epoxy resin I got on ebay but I haven't tested it out yet.

Video:
http://www.youtube.com/watch?v=6rTWaV1imzs

PDF:
http://www.carbonmods.co.uk/Downloads/carbon-fibre-skinning-starter-kit.pdf

Got all my stuff from them. Good luck!
 
you put alot of work into this.... but I still think Emma is hotter than your car.. haha, sorry!

I think Emma is hotter IN my car hehe! :smile:


Weekly update
Failed three times on the driver side thingy:


But here it is, after I remade it from scratch!


These two parts are the most difficult ones I've done yet. Takes a lot of time and patience to get the fabric where you want it and I didn't succeed perfectly with this task, but it will have to do for now.

Got the head liner covered in foam:


And continued on to the door handles:


I ran out of glue so I started on the driver side door trim:


Making mock-ups for correct sizing of the fabric:


Drawing board:


Test fitting:


Sewing:


Functional seam:


Test fitting lower part with cosmetic seams:


Going to continue now with the door side but here is a video of me trying to do some sewing:

<object style="height: 390px; width: 640px">


<embed src="http://www.youtube.com/v/LsSuVQKAf_A?version=3&feature=player_detailpage" type="application/x-shockwave-flash" allowfullscreen="true" allowscriptaccess="always" width="640" height="360"></object>

Tissla vs Tippen. They crack me up sometimes... :wink: Tippen won.

<object style="height: 390px; width: 640px">


<embed src="http://www.youtube.com/v/y52WCWahe8A?version=3&feature=player_detailpage" type="application/x-shockwave-flash" allowfullscreen="true" allowscriptaccess="always" width="640" height="360"></object>
 
you put alot of work into this.... but I still think Emma is hotter than your car.. haha, sorry!

Emma got all excited about this comment and she wants to show you guys how she really looks *with-make-up-and-"proper"-clothing* :tongue:


I love my girl :biggrin:
 
Weekly update
I've been extremely productive this week because I had the privilege of working from home, so I had the evenings AND the weekend all booked up for this. Let's take a look of what I did.

In order to reduce the risk of getting creases on the lower parts of the doors, I did the lower part in three pieces:


With cosmetic seams:


Test fitting:


And after taking off about 1000 of these:


... the door was stripped of its leather:


Me and Tippen gluing:


Foamed up:


Upper part done:


My Quality Assurance program:


Test fitting lower part:


Glued and stapled!


Cosmetic seam:


With the "not-so-sloppy-anymore-inserts" and armrest:


Other one foamed up:


Starting on upper piece:


Concentrating...


Upper part done:


Starting on lower part:


Done!


The door trim was actually quite easy to do! They do not challenge you with complex shapes so they're easily wrapped and no natural creases are formed.

The headliner though... This part is a nightmare. To this day, this is the second most difficult part to get an acceptable quality of. My first shot was a big f**k up. My fabric is far too stiff to be able to cope with the creases that arise. The problem is that the two "valleys" that's sitting right above your head (to allow taller persons to fit in the car) are too deep and falls to steeply. Tai used real alcantara and a different glue and he was able to get it done. The solution to my problem was to partly fill up these valleys with more foam (now using 5 mm thick foam in two layers, a total of 1 cm reduction). After a couple of hours of pulling, pushing, swearing, re-gluing and a little help from Emma, I got it done too! Lets take a look:

Filling up:


War against the creases:


Done! Sorry about the bad image quality. Sun went down and ambient lightning is bad.


Le Grande Finale:


Started pulling the staples, then ran out of time and energy for this week:


And got a nice little package from SOS:


Just some bits and pieces for my new audio system, a short shifter, VVIS delete (scared as hell seeing the destructive force of those little screws when they come loose), door levelers...

Looking forward to next weekend! Going for a few more trips this week.

//Johan
 
Emma got all excited about this comment and she wants to show you guys how she really looks *with-make-up-and-"proper"-clothing* :tongue:

I love my girl :biggrin:


OMG, thats it, I gotta move to Sweden... :eek:

we need some pics of Emma in your car, because sexy goes with sexy....
 
Congratulations on your wonderful work ... and for the beauty of Emma, a practical question, can you explain how to remove the knee pads under the steering wheel? I tried several times to remove it but to no avail, when the screws are removed, the pieces are still held up, even with great force, the clips are firmly attached to the dashboard
 
Congratulations on your wonderful work ... and for the beauty of Emma, a practical question, can you explain how to remove the knee pads under the steering wheel? I tried several times to remove it but to no avail, when the screws are removed, the pieces are still held up, even with great force, the clips are firmly attached to the dashboard

I ran into the same problem on my refresh porject. You just have to pull on it really hard- those clips hold tight! Make sure you did not miss any screws before trying it!
 
Back
Top