I'm dropping the motor tomorrow morning. My NSX has been down for several months due to a blown coolant hose, resulting in 27% leak at one piston.
The consensus seems to be a blown head gasket and possible head warp. We will see once it is out. Hopefully that's all it is. I got around to installing a lift in my shop this month, and am ready to get into it. I've never done this before, so wish me luck.
Anyone have tips or suggestions for me? Here is basically what I'll be doing.
Dropping the whole subframe assembly. Following the service manual mostly; minus the part about removing the ball joints. Doesn't seem necessary. I'll also be loosening the crank pulley before dropping it for ease.
Here is the list of things I plan to do while in there.
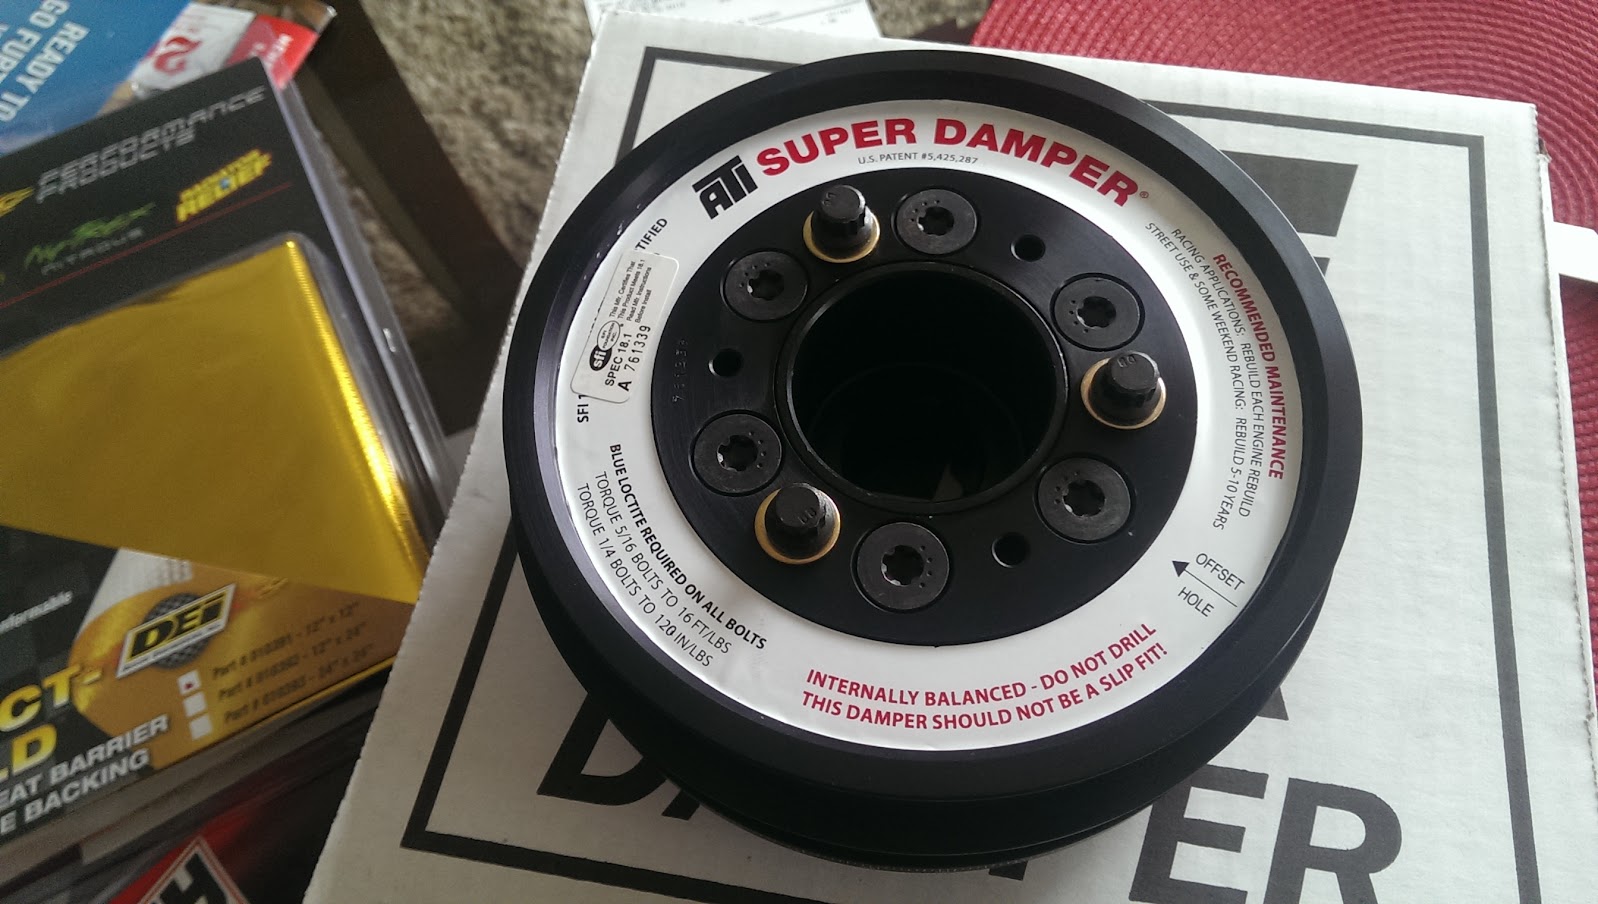
- Timing belt, and possibly harmonic balancer (read of possible delamination from age)
- Cedar Ridge Balancer shield.
- Cedar Ridge baffled oil pan with bunge for oil temp sensor.
- Defi ZD Display (oil temp, water temp, oil press)
- Need to find a "t" joint to install OEM oil pressure sensor and aftermarket press sensor. Any recommendations?
- Coolant pressure drop warning light (link)
- All rubber hoses, plus any other rubber items I can replace.
- Updated design lost motion valves.
- Valve seals.
- Headgaskets.
- Clean injectors.
- Check clutch wear.
Other stuff.
- The ABS noise. Anyone know how to fix this? I was told it's a simple fix, but couldn't find anything on Prime about it.
- Replace brake lines.
Please chime if you have have any recommendations for things to do while I have the motor out.
I think I have most of it covered, but I'm open to any advice :smile:
Mike B
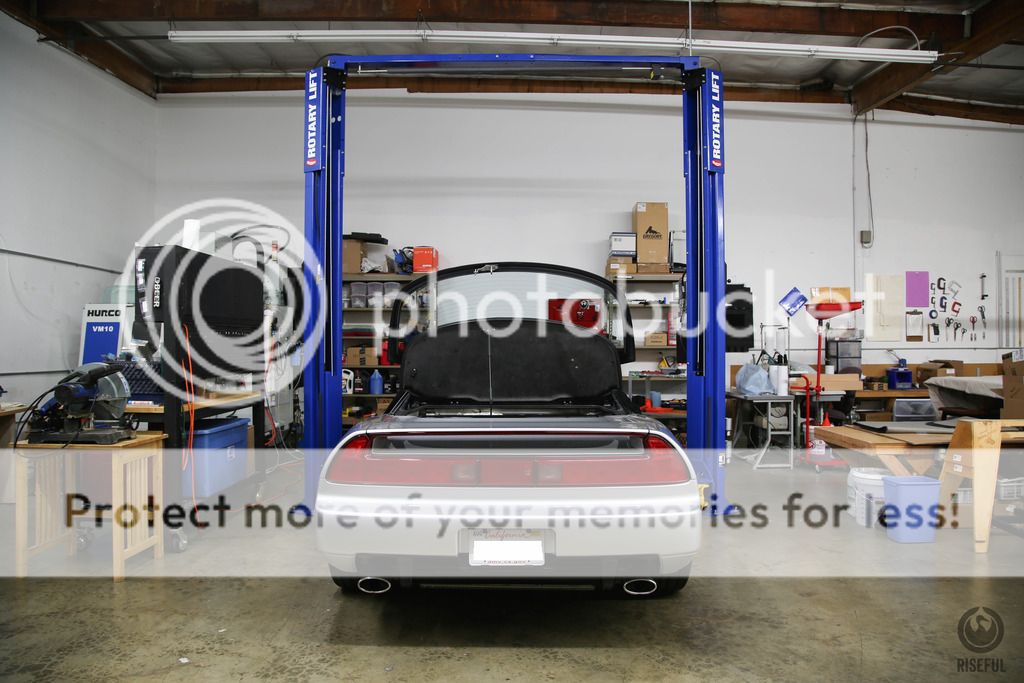
The consensus seems to be a blown head gasket and possible head warp. We will see once it is out. Hopefully that's all it is. I got around to installing a lift in my shop this month, and am ready to get into it. I've never done this before, so wish me luck.
Anyone have tips or suggestions for me? Here is basically what I'll be doing.
Dropping the whole subframe assembly. Following the service manual mostly; minus the part about removing the ball joints. Doesn't seem necessary. I'll also be loosening the crank pulley before dropping it for ease.
Here is the list of things I plan to do while in there.
- Timing belt, and possibly harmonic balancer (read of possible delamination from age)
- Cedar Ridge Balancer shield.
- Cedar Ridge baffled oil pan with bunge for oil temp sensor.
- Defi ZD Display (oil temp, water temp, oil press)
- Need to find a "t" joint to install OEM oil pressure sensor and aftermarket press sensor. Any recommendations?
- Coolant pressure drop warning light (link)
- All rubber hoses, plus any other rubber items I can replace.
- Updated design lost motion valves.
- Valve seals.
- Headgaskets.
- Clean injectors.
- Check clutch wear.
Other stuff.
- The ABS noise. Anyone know how to fix this? I was told it's a simple fix, but couldn't find anything on Prime about it.
- Replace brake lines.
Please chime if you have have any recommendations for things to do while I have the motor out.
I think I have most of it covered, but I'm open to any advice :smile:
Mike B


")