A few vids of Jeremys recently completed personal project NSX equipped with www.umbrellaautodesign.com push button height adjustable suspension and used in conjunction with tein ra coilovers.
http://www.youtube.com/watch?v=ys6zCuSJIYQ
http://www.youtube.com/watch?v=RzcYJkBZNW8
http://www.youtube.com/watch?v=Xf8eUrcE-xc
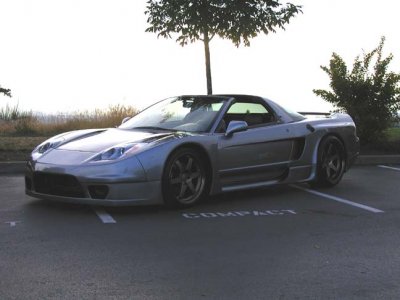
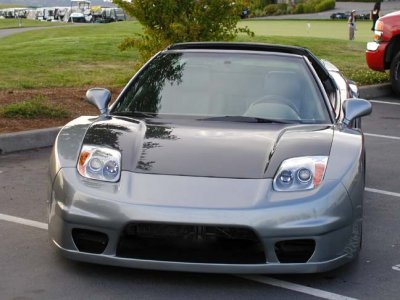
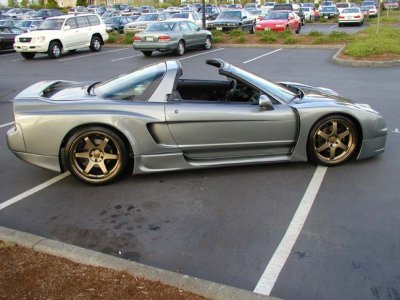
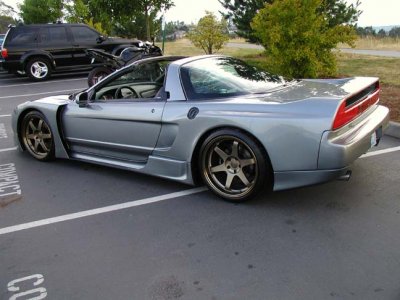
this build was an impressive feat as all work on this car excluding the suspension system(which was done by Myself and Jeremy) was done personally by Jeremy M (nssexy91)
A few details:
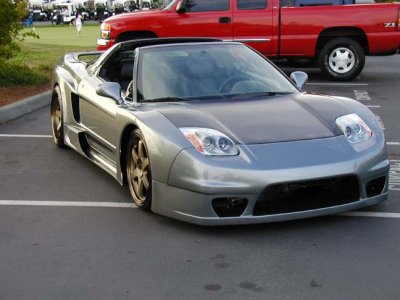
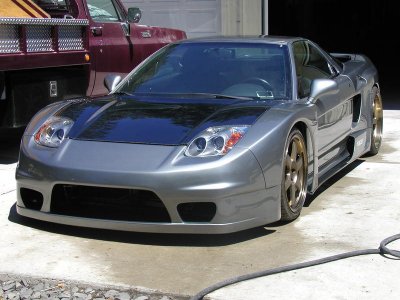
1998 NSX
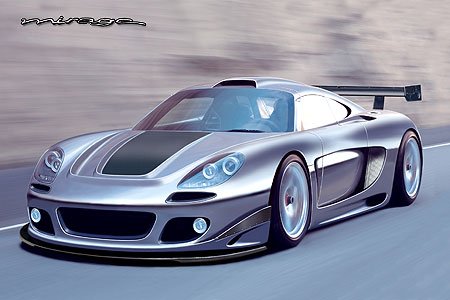
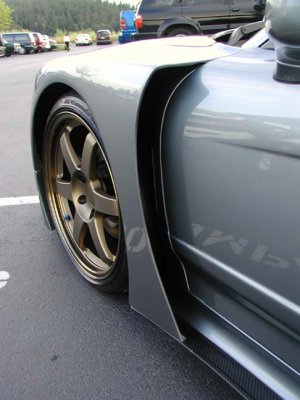
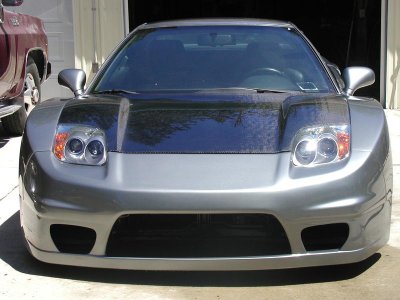
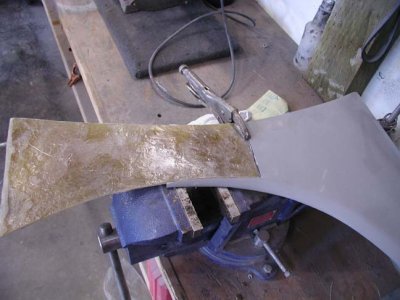
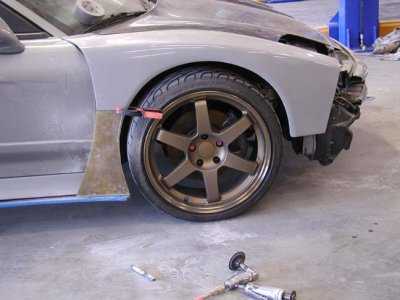
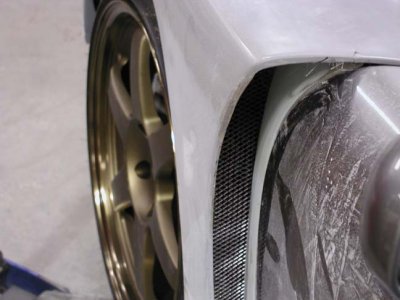
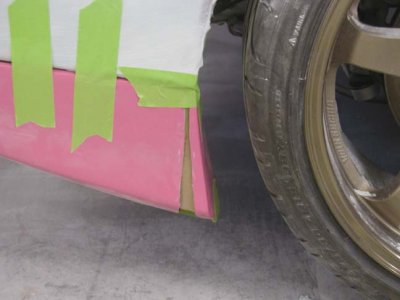
sorcery widebody
complete concourse quality paint job
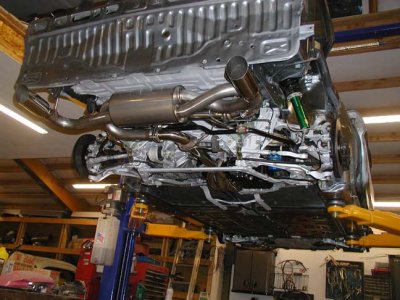
all undercoating stripped
full undercarriage repaint
all suspension removed and baking soda blasted
motor removed and fully cleaned and tuned
2002 front end conversion
sorcery front bumper modified to resemble Alpine NSX(by Jeremy)
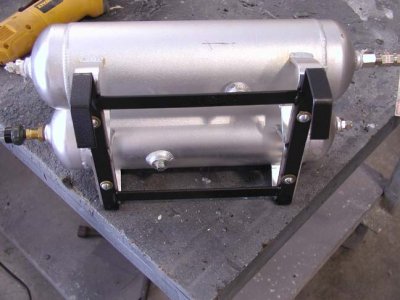
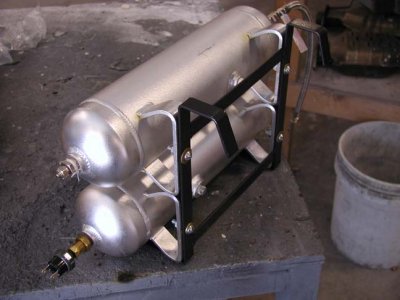
Umbrella Auto Design height adjustable suspension.
Pics and a full write up of the build coming soon!!
Details on the suspension system can be seen here:
www.umbrellaautodesign.com
http://www.nsxprime.com/forums/showthread.php?t=89374
Enjoy
Ravi
http://www.youtube.com/watch?v=ys6zCuSJIYQ
http://www.youtube.com/watch?v=RzcYJkBZNW8
http://www.youtube.com/watch?v=Xf8eUrcE-xc
this build was an impressive feat as all work on this car excluding the suspension system(which was done by Myself and Jeremy) was done personally by Jeremy M (nssexy91)
A few details:
1998 NSX
sorcery widebody
complete concourse quality paint job
all undercoating stripped
full undercarriage repaint
all suspension removed and baking soda blasted
motor removed and fully cleaned and tuned
2002 front end conversion
sorcery front bumper modified to resemble Alpine NSX(by Jeremy)
Umbrella Auto Design height adjustable suspension.
Pics and a full write up of the build coming soon!!
Details on the suspension system can be seen here:
www.umbrellaautodesign.com
http://www.nsxprime.com/forums/showthread.php?t=89374
Enjoy
Ravi
Last edited: