I decided to redo the paint job on my customized trim panel that was modified for my double DIN stereo install. I used the Honda Graphite Grey 88-00928 that D'Ecosse had mentioned in a previous post. The color I had before was the Rustoleum metallic black which didn't look bad, I just felt the metallic flakes were too big.
I started off trying to sand off the old paint but quickly got tired of that so I ran to Osh and picked up a spray can of Jasco Graffiti remover. I actually had to buy two cans to complete what you will see. When I shot it on there, I started to see the finish bubbling and peeling away. Turns out that the factory finish on the console trim as many already know is metallic underneath and covered with a coating that makes it scratch and stain resistant. The pictures here do not do it justice, it's really a beautiful looking metallic color once you get all the coating off.


This is the stuff all peeled off, the pictures don't do the factory finish justice at all, it's one of the coolest finishes you will ever see. Ignore the bondo.


I started off trying to sand off the old paint but quickly got tired of that so I ran to Osh and picked up a spray can of Jasco Graffiti remover. I actually had to buy two cans to complete what you will see. When I shot it on there, I started to see the finish bubbling and peeling away. Turns out that the factory finish on the console trim as many already know is metallic underneath and covered with a coating that makes it scratch and stain resistant. The pictures here do not do it justice, it's really a beautiful looking metallic color once you get all the coating off.
This is the stuff all peeled off, the pictures don't do the factory finish justice at all, it's one of the coolest finishes you will ever see. Ignore the bondo.
Last edited:


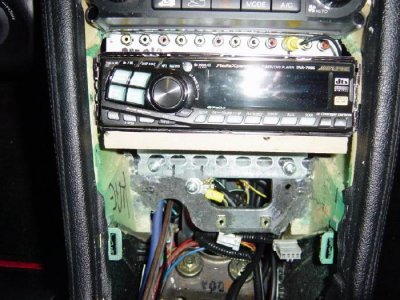
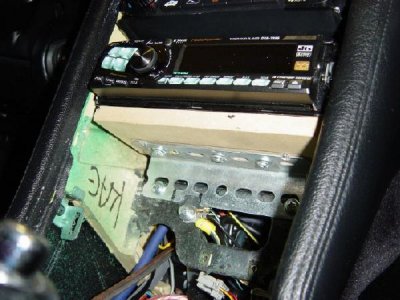
") Ok, first, the trim piece is not used. Doesn't fit.
Ok, first, the trim piece is not used. Doesn't fit.