• Protip: Profile posts are public! Use Conversations to message other members privately. Everyone can see the content of a profile post.

Down Under Trackday NSX

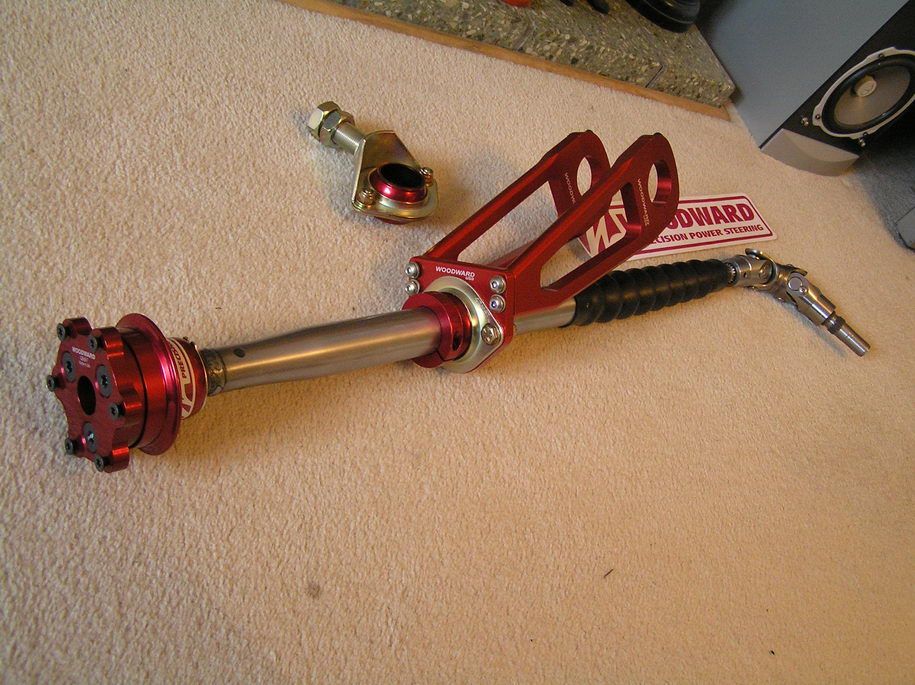
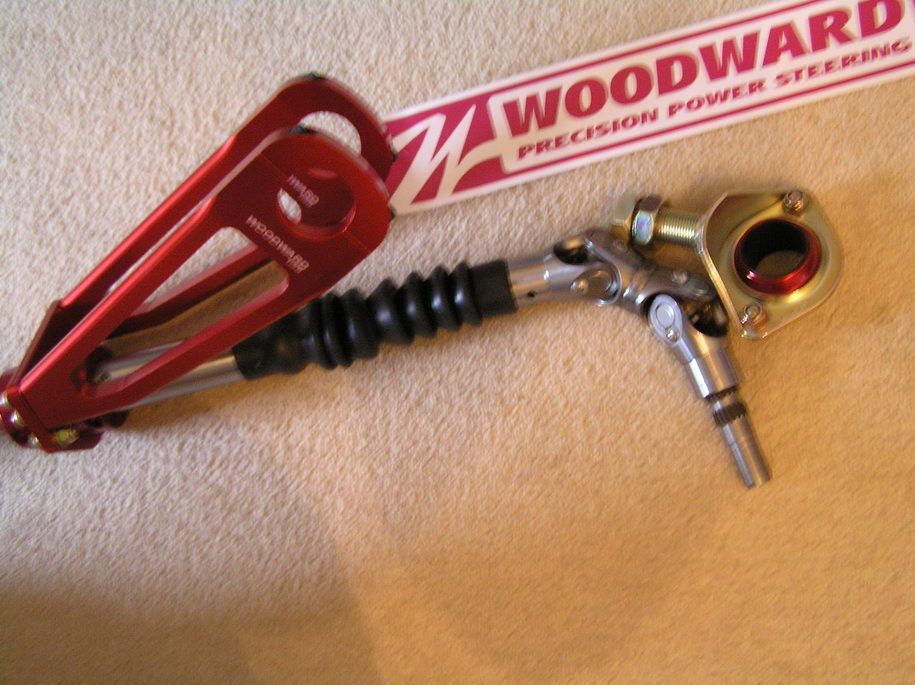
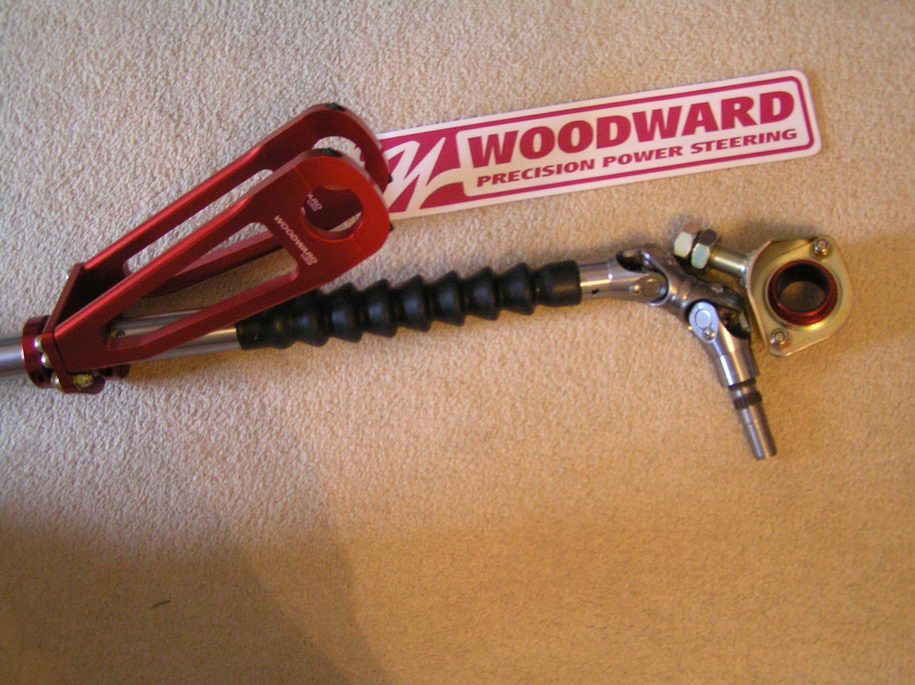
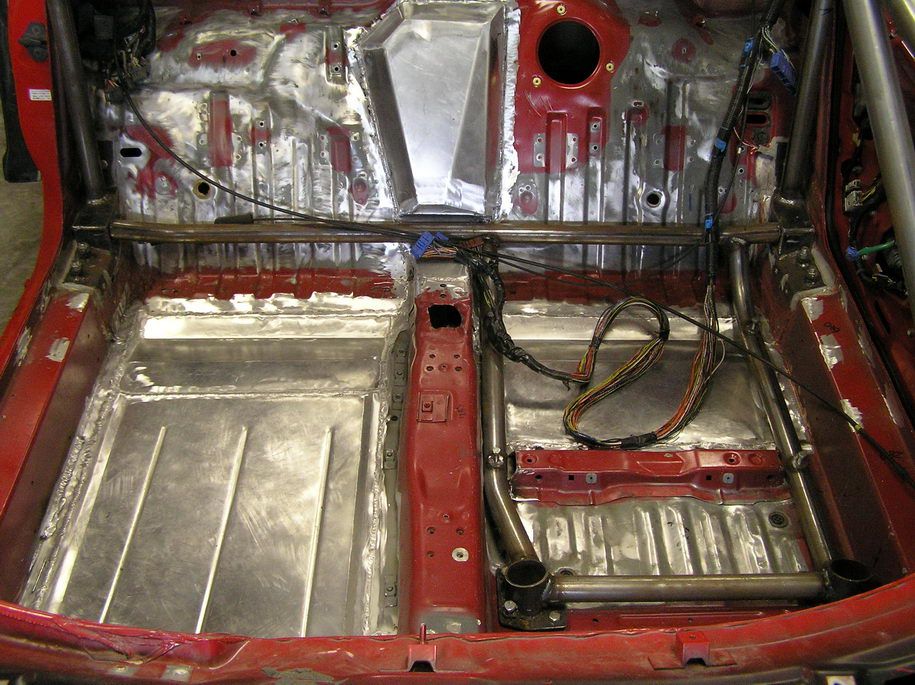
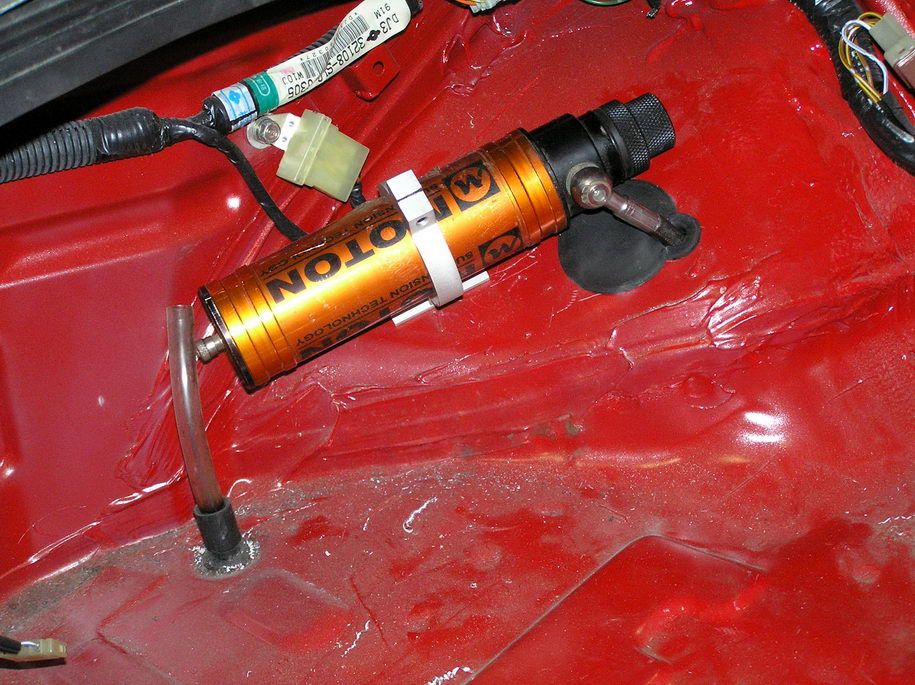
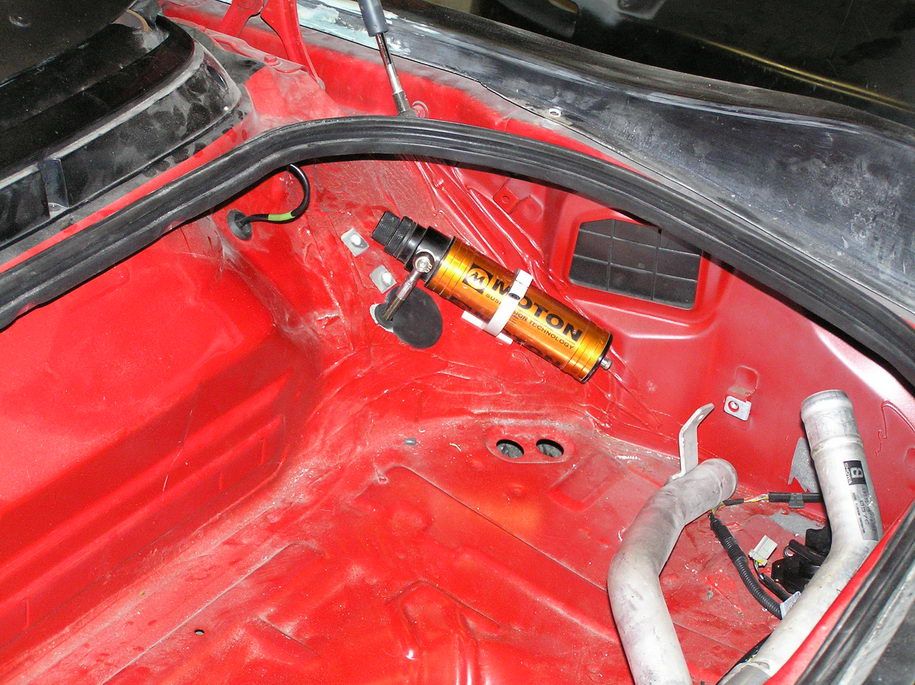
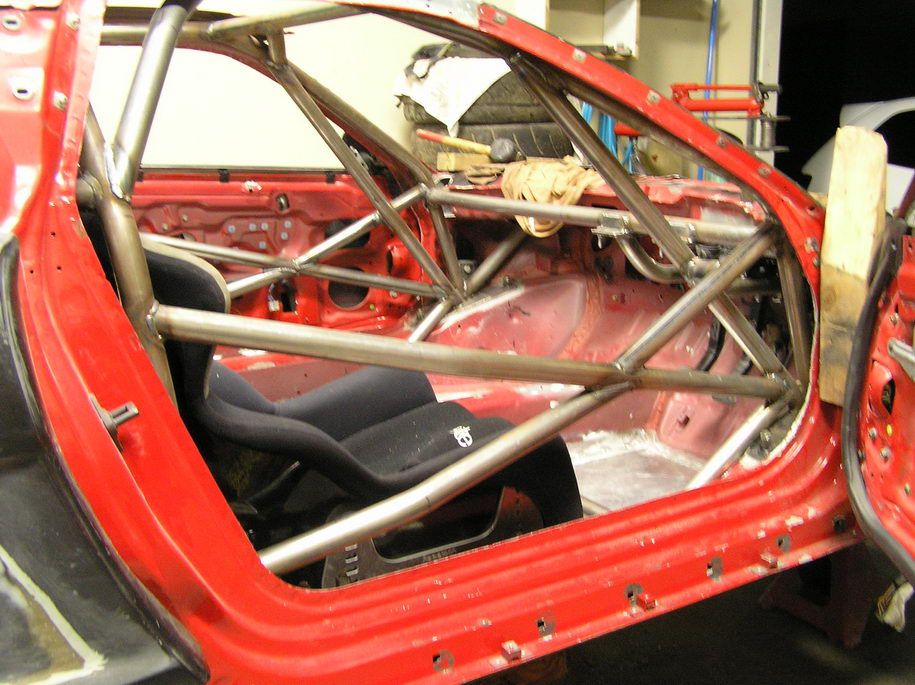
Yeah, I can't see why the billet part would be any less capable than the factory part unless it's installed incorrectly I guess.......... either way, we'll make a judgement call when we get the oil pump out as the whole engine has got to come out and get a partial strip anyhow so we'll play it by ear.

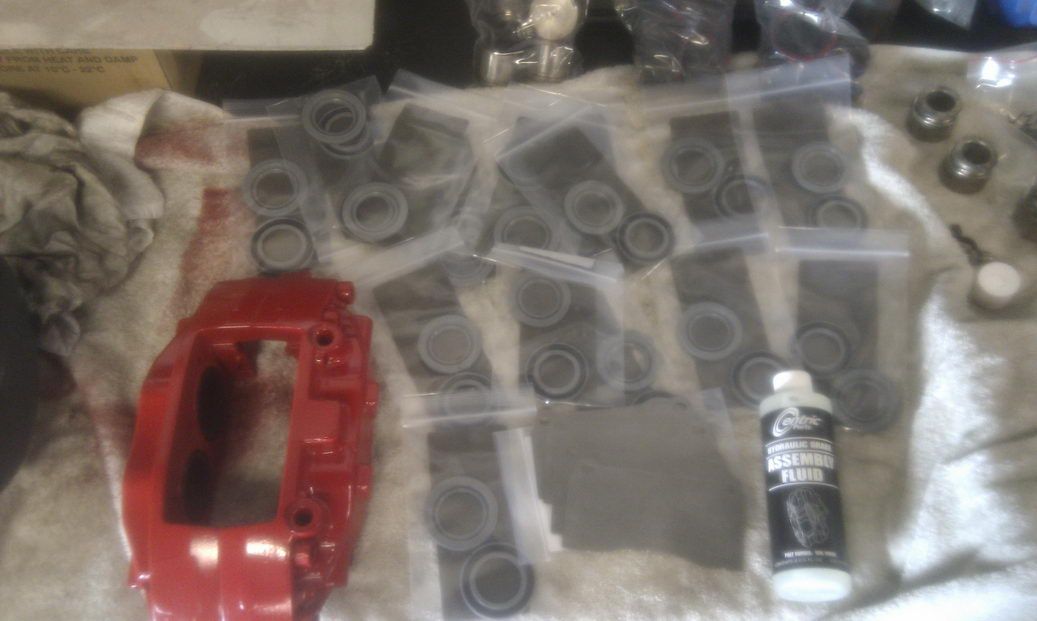
To be honest it's a pretty expensive part, but it's also of course worth it if it does indeed stop any issues with the factory unit.......... we may never know if it all works OK !

I think it's easy for one person to have an issue and then someone else hears about it and tells someone else etc etc and before you know what's going on there's over 100 people who had the issue when in fact there was only one issue but 100 people who heard about it.........2 completely different things !!
 
interesting info STMPO (as usual) ...

I hadn't realised (note correct spelling for a "down under" thread. Translates to "realized" in American :smile:) Cedar Ridge and TiDave are the same .... learn something every day on NSX Prime !
 
Last edited:
OK so some good news......... we've finally got to a decision on the wheels.......... it's definately 100%, no going back now kinda 100% LOL

Advan RG-D in 18x8.5 and 18x10.5 in Gold.
rgd-186.jpg


I went this way based on price as the RZ-DF were 50% more, and when I looked at the original inspiration for the build I realised the RG-D's were the closest fit so it means I'll be able to afford an extra set sooner since they're cheaper.

ArtaNSX_3.jpg
 
Those are a fine choice of wheels there!

It definitely sounds like you've got quite the help there should you decide to do a full Targa.

I'll be watching this thread with interest, hopefully I'll be able to see the beast in person at some shows!

Do you know roughly how many NSX's are in the country? They are one of the rarest supercars in this country, 911's are about as common as Corollas lol. I've only seen a red one running around in Auckland (in fact I stalked it and know where it's parked), a black one with quite a nice exhaust tone, the yellow one Honda was trying to sell for 110k a few years ago and the current one on TradeMe. All are early model, I'm not sure if we have even a single late model one.
 
I'm actually not sure how many there are, but there aren't that many I'm sure.

I know one of the guys who probably owns the red one in AKL you've seen and he does like to track it regularly and has over 200,000kms on it so he's certainly enjoyed it since new !!

I suspect there's not many more than 10 in the country, but don't know for sure of course.
 
Only 10 makes me wonder ... was the NSX sold by Honda in NZ or are they all grey imports?

They're quite rare in Australia too, I'm not sure of exact numbers but only about 100 - 150 were sold here.
 
I know they did sell them as official NZ cars as my friend in Auckland bought his brand new from Honda NZ, however I suspect there's more imports than official cars as they were well over $ 200K when new here.....

There might be more than 10, it's just a guesstimate based on the amount that I've seen and heard of being around........
 
yeah they were v. exe in Oz too... around $160K in 1990
up to around $260K at end of model run ~ 2003/4
 
I think they became illegal in NZ after 1992 for not meeting certain frontal impact requirements. Honda NZ did sell a handful, but it's hard for most to justify spending that much on "just a Honda".

If the red one is based in Mission Bay/ Remuera region then we're talking about the same guy
 
OK, little bit of progress today.

Parts for the brake rebuild arrived, just some seals and dust boots and titanium backing plates to stop thermal transfer and extend the life of the dustboots.

It was actually easier than I thought to reassemble and a shed load easier than stripping them down LOL !! :D

Sorry for average pics........ only had cellphone on me....

IMAG0137.jpg


IMAG0138.jpg


IMAG0139.jpg


IMAG0140.jpg


And also stripped and painted the handbrake calipers ready for fitting too, so now they're all looking flash........ just gotta wait till the wheels get here in a month and then can fit the brakes. At the moment I can't as if I do I only have factory wheels to move the car around so I'd be stuck if I put the brakes on now.

IMAG0141.jpg
 
Well, not really much progress to show, although yesterday I went to see the car and the new floor is fully welded on both sides now so that's awesome.......

The the guys at Halcrow engineering (aluminium specialists) are just working on the section in between the seats we had to cut out to allow the seat mounting bar that goes from side to side. The they also need to put a patch in the passengers side wheel well, we had to cut that out to help us see when we were drilling through the main chassis rails.

Once those jobs are done (I think they'll already have done the centre part) so there's only a couple of other small issues to cover off so I expect the car back next week and then we'll be able to get the roll cage and seat mountings finished if Steve is able to spare the time as I'm not clever enough to use his tube bender :D and the fact that he has to make the cage so he can sign it off of course as well......

Thankfully, we've really already broken the back of the cage work as you've seen and of course it's always motivating to see it nearly complete !! :D

Now I know I said we'd decided to make our own steering column but Dale made the suggestion to look at Woodward columns and I figured we really didn't need to spend time and money making our own steering column when it was reasonably cheap to buy one already made from a specialist and more importantly these units can collapse, which they do primarily for crash protection, but I wanted to be able to shorten the steering column as the pro driver who's going to help us get the car setup when it sees the track is shorter than me so I wanted to be able to have him reach everything without having to compromise too much and then when I'm using it I also know it'll collapse if needed too.

P4050107.jpg

P4050108.jpg

P4050109.jpg

P4050110.jpg
 
So Halcrow engineering have worked their magic and today called me to drop the car back off which is awesome as the car finally has a proper floor again.

P4080113.jpg


P4080114.jpg


P4080116.jpg


And then I test fitted some of STMPO's Wizdom mirrors which are a little harder to see out of than the factory units, but I prefer the look of them and all going well I won't be looking in my rear mirrors too much LOL !!! :D

P4080112.jpg


So tonight I've made up some more mounting plates for the drivers side seat mountings and drilled the holes in the new floor and tomorrow I'm going to make up what I can of the seat mounting bars and then Steve will have to make the rest as they need to be made using the tube bender and that's Steves little baby so I no touchy grasshopper !!

Hopefully it won't take too long to get the seat mountings done for the drivers side done and then we can get on with mounting the pedals and the steering column as well, but Steve has managed to get himself a real job now so his time is going to be way more limited, but we've got a plan so we'll just work away at it as we can.
 
Well it's hard to see from the pictures, but we needed to cut the bottom chunk out to get the cross bar that goes through the tunnel for the seat mountings and so I just cut the rest out so we could just make a single replacement peice........ probably didn't need to, but got a bit over exuberant with the cutter I guess !! :D

Sparky......... you and me both mate !!! I always thought it would be build with all of the stuff we've done, but just didn't realise just how much effort was involved....still a looooong way to go yet too, but we're all good.
 
Progress all round today (well some of it was yesterday).........

Got the rear brakes all mounted up with the handbrake calipers all mounted too...... I think they look awesome and even better in the flesh
P4120119.jpg


P4120120.jpg


Then I finally got the shock canisters mounted properly. Got the fronts mounted too, but forgot to take a picture !! :(

P4120121.jpg


P4120122.jpg


And since I had time I really wanted to get an idea of weight for the car as our target weight ready to run is 1050KG or 2315LB was just a wishful figure, so I put everything in the car that wasn't already mounted like seats, front bumper, front guards, front brakes and the roll cage parts we hadn't welded in yet to try and get as close as I could. Only things missing are front brake rotors, radiator, fire extinguisher and battery. I'd think that lot is around 35-40KG.

P4120123.jpg


P4120125.jpg


P4120126.jpg


P4120124.jpg


P4120127.jpg


Given the fact that it's still got the auto transmission in it I'm really happy with the weight as once I put the manual box in I'd expect to gain some weight back, but I'm not 100% sure if the manual box is lighter than the auto, but I'd expect so..........

I'd also expect that I'll get a little bit of weight back when I get my proper wheels as I think the factory units are heavier than the new ones.
 
Last edited:
Once again we've been working our little arses off this week and we've managed to get to a reasonable large milestone in that even though some of the bars are just taped in for position, the cage is essentially nearing completion which is awesome.

Steve put in some hard yards the other day to get the seat mounting completed on the drivers side so the whole seat mounting setup is now welded completely and bonded to the car as well as bolted in place of course.

I bent up the passenger side intrustion bars so they just need to be welded in place. I was particularly happy with the effort as Steve had given me a quick tutorial on using his tube bender and although I'm sure he would have done it in half the time, I did get there in the end and he was happy with the result so I consider that a win !

Today we have been working on getting the pedal mountings all sorted and I'm dead chuffed with the result. I cut 2 plates which luckily easily lined up with the existing factory brake booster holes in the firewall so they're attached to good strong shell that won't move and then I made up some plates for the bar to run up to and then some more plates that will go on the cross bar of the dash. This means the whole pedal assembly is removable and not considered part of the cage as it's not welded to the cage but bolted so that is good also.

P4170128.jpg


P4170129.jpg


P4170130.jpg


P4170131.jpg


Steering wheel isn't in final position, but just put in for effect so you can see the idea .!!

P4170132.jpg


P4170133.jpg


P4170134.jpg
 
I like the little touches, for example the subtle use of black duct tape around the cage "X" .... no doubt a critical component :smile: :smile: :smile:
 
Another update after a few days of work.

Sorry it's been a little while since I posted, but as is always the case we'd done a fair few hours of work with very little to visually show, so didn't seem much need to post, but the cage is getting ever closer to being fully legal, but Steve keeps adding more bars for the monkey (aka me) to play with..........

Then we remembered that we hadn't really finished things at all regarding the cage as we forgot we still needed to do the seatbelt mountings so "fabrication monkey" (a close relation to driver monkey !) made up some plates to go either side of the floor and also made some spuds to take the belt mounting eyelets we needed. Then tonight I drilled out the holes and riveted the plates together and then we welded the spuds to the plates so they're not going anywhere !!

P4270140.jpg


P4270141.jpg


That's it for now.........

You can see the extra bar up by where the front roof bars come along and then meet the main hoop. Also Steve added some little bars that go between the front legs and the front windscreen support bars to tie it all together nicely.

P4270138.jpg


P4270144.jpg


P4270143.jpg


P4270142.jpg


Other progress has been in the area of the front brakes............ For the first time ever I've been able to get the fronts mounted properly too thanks to Barry at Manon Race Products who made the awesome brake brackets I needed. He adjusted for me from the first prototype and sure enough they are mm perfect !!!

The front calipers are slightly larger than the rears and so are closer to the wheels, but the new wheels are meant to have more barrell clearance so we should be OK and there is still some area's we can shave a mm or so to give us what we need so I'm relieved they all fit !

P4200139.jpg


P4270145.jpg


Third area I've been working on is getting the new Wizdom mirrors I got from STMPO sorted. Now they came with a manual adjuster, but I wasn't happy with it so I found some electric units from a Ford of all things !! *yes sorry die hard Honda fans !* but they were one of the only ones I could find that was small enough to fit in.

I've only very roughly cut out inside the mirrors to allow for room and then we're going to make up an new epoxy mix for the base to sit into in the right position and it will make a perfect fit for the base. Will post more pics once I move things along.

P4270135.jpg


P4270136.jpg


P4270137.jpg
 
Just a quick update with the solution for the second steering column support......

Once I got the first one in place and checked the position was exactly where I wanted I realised that the back stay was hardly taking any load at all and is really more about alignment and stability than it is about load, but have made a fairly heavy duty bracket to hang it off anyhow as no doubt with all things, at any time, there may well be more load on it than expected !

P5010146.jpg


P5010147.jpg


After looking at it and talking with Steve, we've decided to drop the Works Bell tilt up solution and are just going to have the standard removable style wheel now. Initially I was going to run the tilt up only as didn't see the point in buying a quick release as well and then when I bought the steering column I got a quick release with it so I thought I'd just run both so that I could flip it up when needed and then remove as well if I wanted, but once the column was in place and more importantly the cage was in place I realised that since everything is so tight in the cabin with the oversized "driver monkey" aka me........ that it wasn't going to work very well and would be better if the wheel just wasn't there at all when getting in and out !

Trouble was that the flip up was quite deep so when it was removed the steering column had to come towards the driver to get it to the right place and then there wasn't an easy solution for mounting the supports......... ! So I thought I'd make an adaptor which I spend about 2 hours making out of aluminium and then once I'd made it I realised it would be better to use a previous spacer that came on the car so I used that instead and of course it was perfect so my 2 hours was wasted, but hey, I learned a lot and it was finished beautifully........just a shame it's not needed !!! LOL


So next step is going to be sanding the inside and cage to prep it (arrrrrggggghhhh) for Steve to paint..........yay !
 
So next step is going to be sanding the inside and cage to prep it (arrrrrggggghhhh) for Steve to paint..........yay !


I wouldn't waste the time sanding the cage....unless you mean just dressing down some excess welds or spatter. Soda blasting is far superior paint prep (unless you're using a transparent candy color), & takes about 1/10th the time! It wouldn't hurt to spray the whole thing with lacquer thinner & final wipe with a micro fiber cloth just before paint. Ask me how I know!
 
Last edited:
Back
Top